

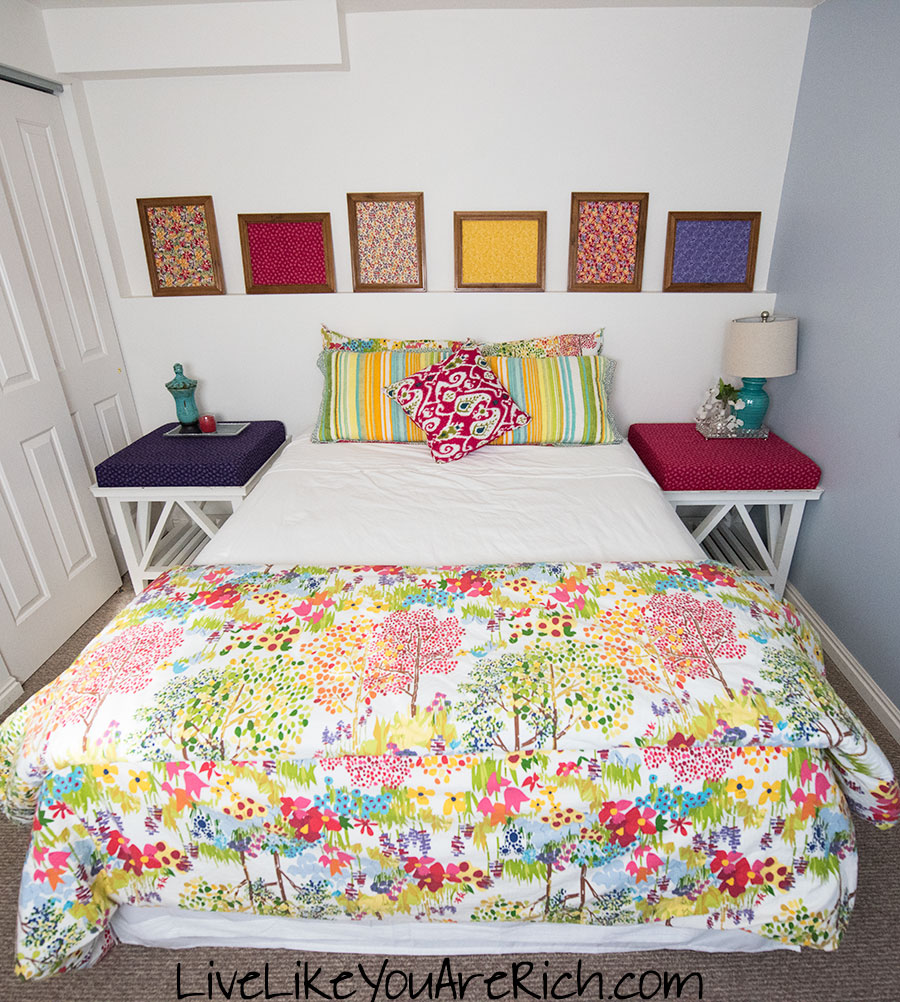
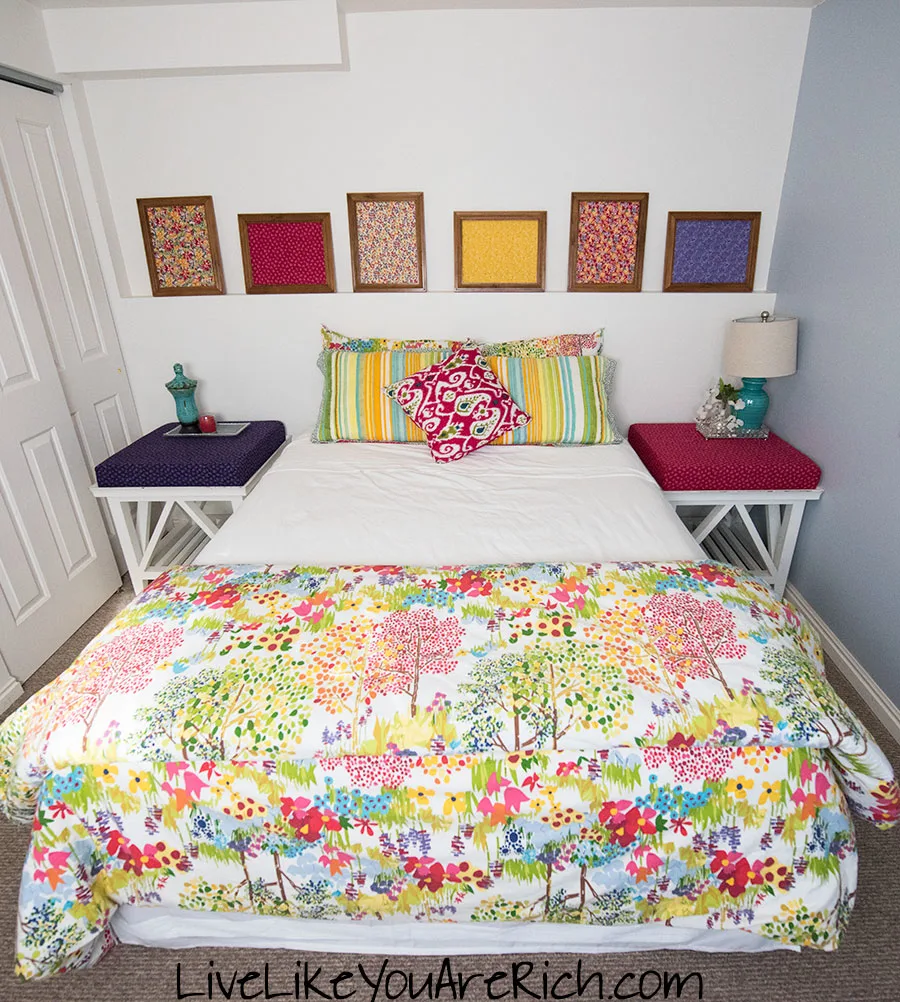
This DIY Fabric Wall Art is inexpensive, simple and easy to make. Last fall I was redecorating my guest bedroom downstairs. I needed inexpensive wall art and saw a fabric project on an online decor website. I decided to try it out.
It is about as simple and inexpensive as ‘DIY’ gets.
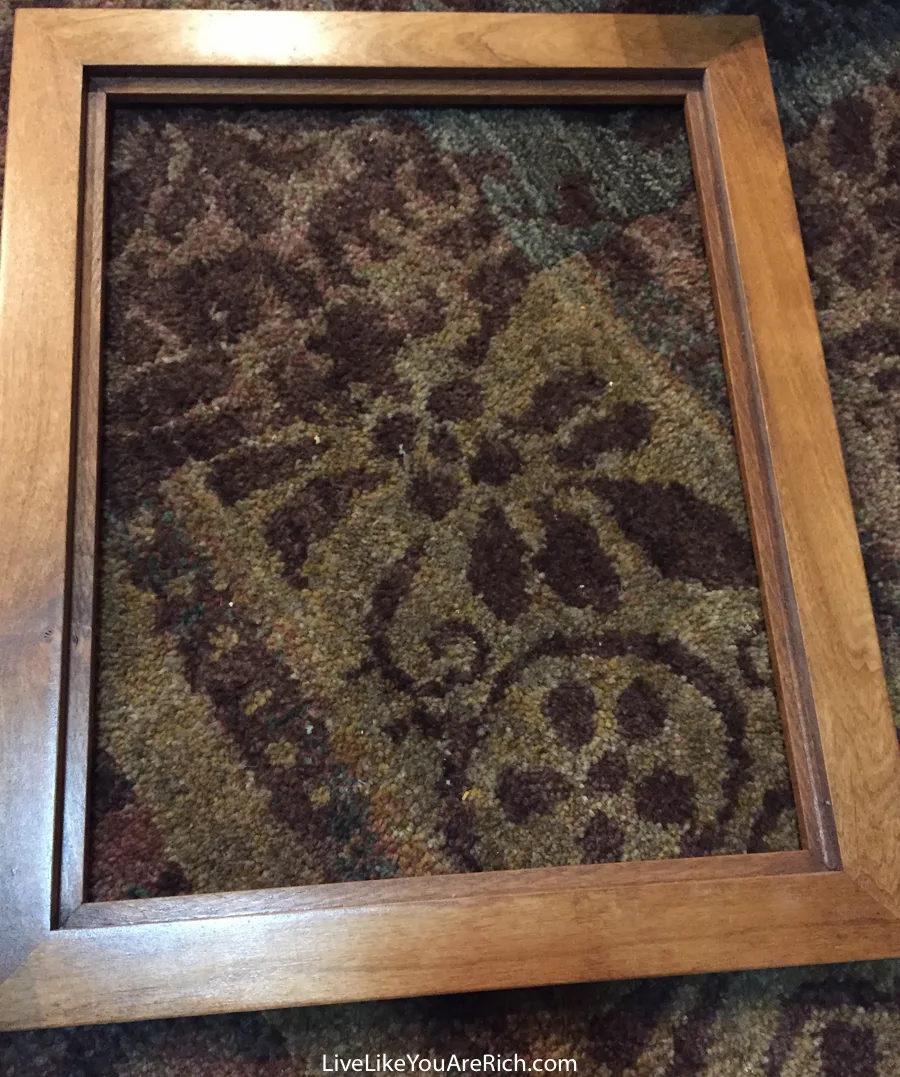
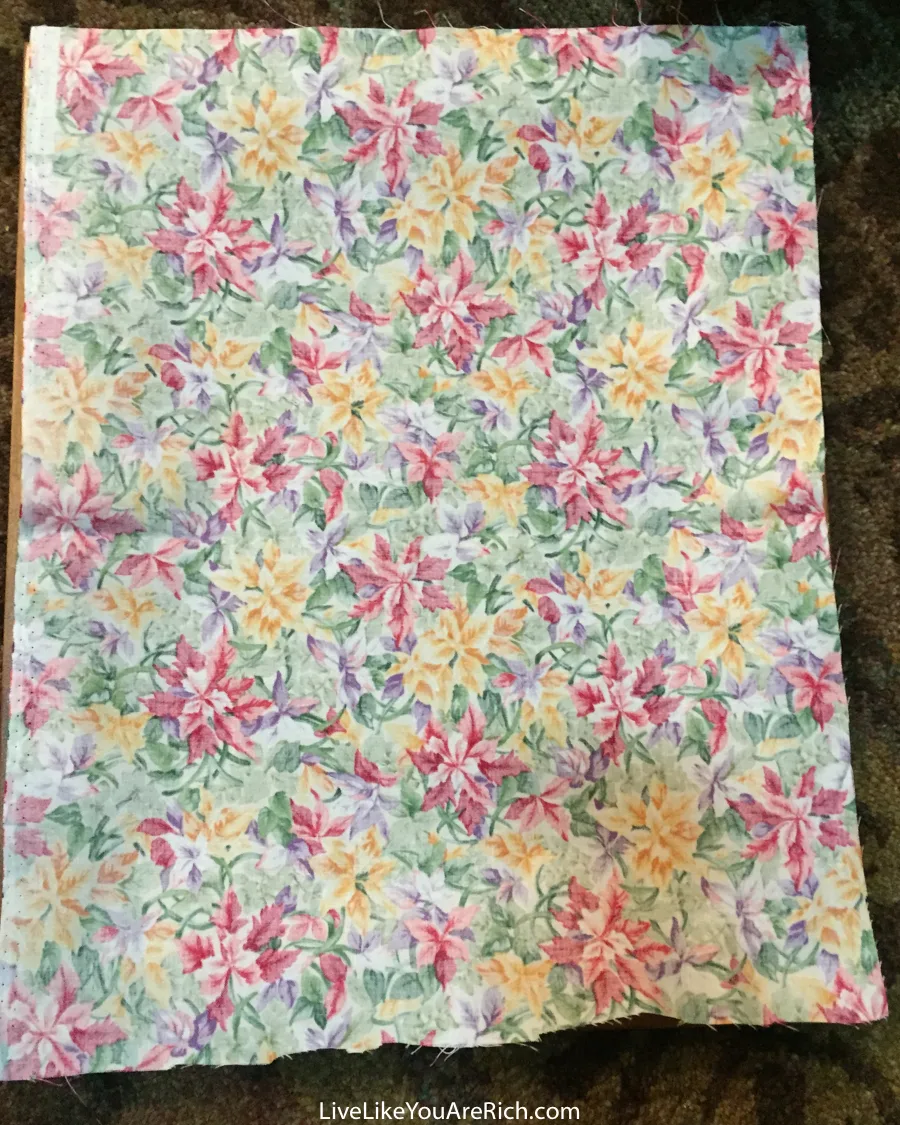
For the materials, I found 6 matching frames at a garage sale for $5.00 total. I found a bunch of fabric remnants, yards, etc. at another garage sale which averaged about .50 cents each. Then I got out my staple gun and staples that I already had in my garage.

First, cut the fabric to fit the outside rim of the frame (which should add about an inch on each side)—this is so you have a little material to work with.

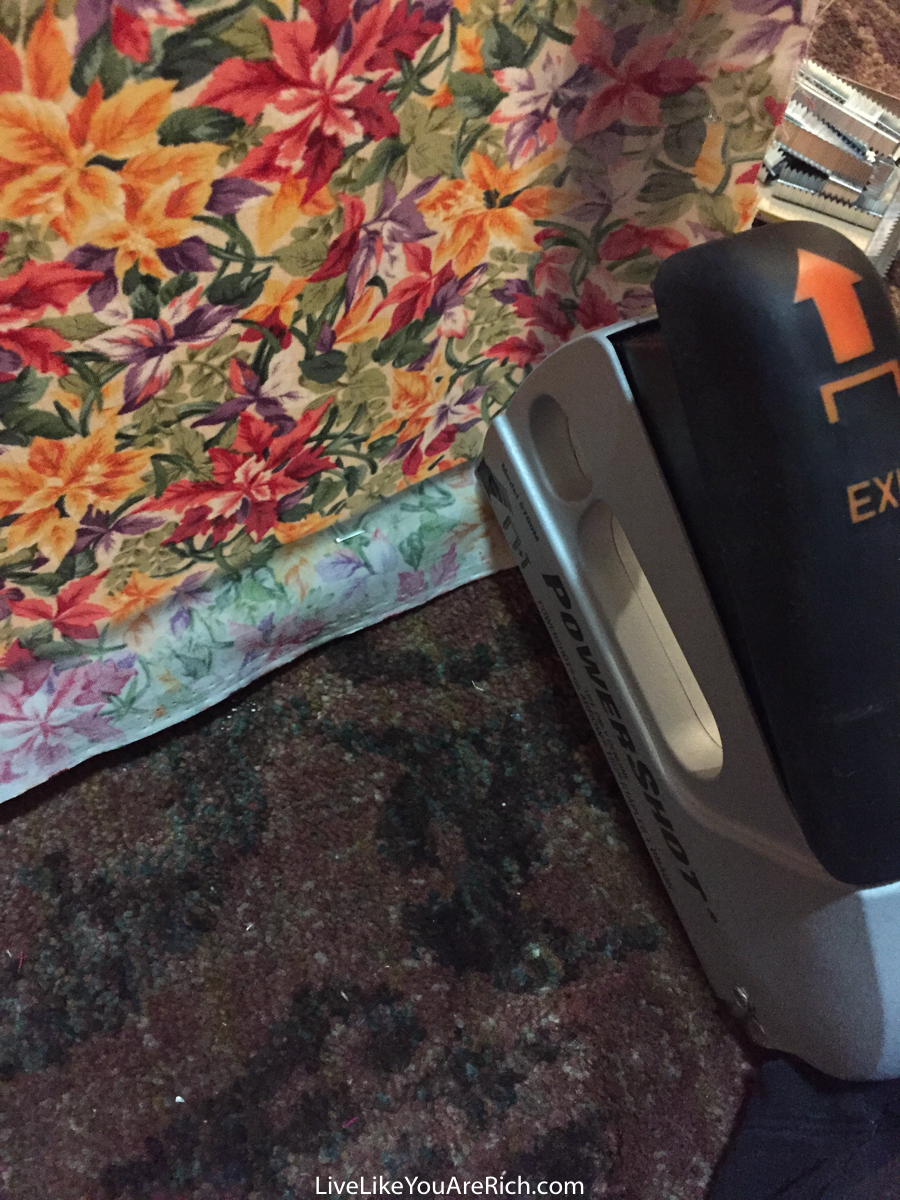
Next, make sure the fabric is centered/lined up correctly. Pull it tightly. Then use a staple gun (Stanley Sharpshooter) and staple the fabric to the frame using (5/16″ light duty) staples .

The important part of this step is to make sure you are stapling towards the side/thicker side of the frame instead of straight down/forward. If you staple forward your staples could pop through the front of frame and be seen or even split it because it is the thinner part of the frame. So staple into the side of the frame.
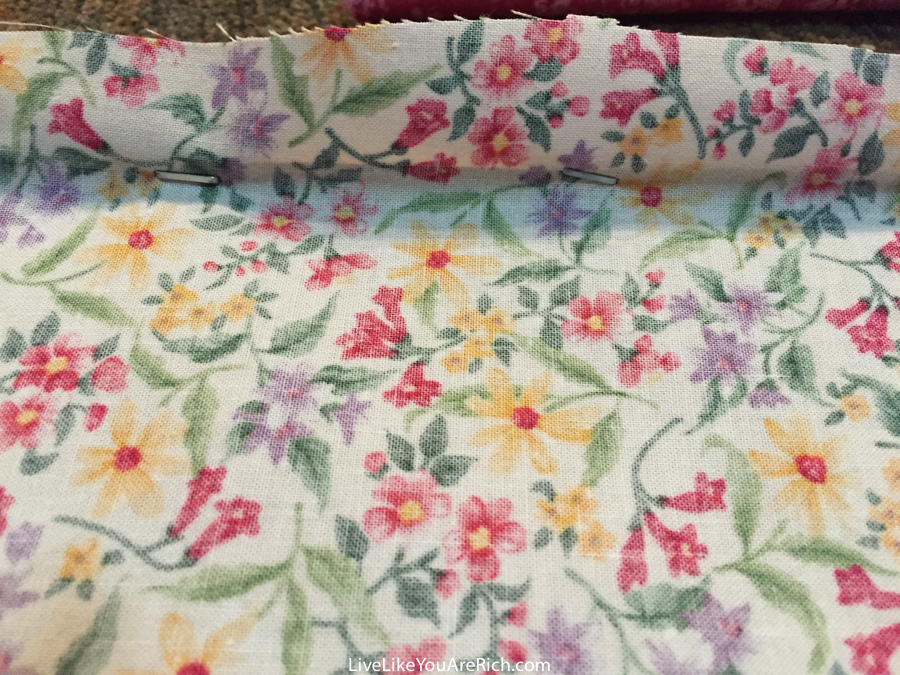

Work your way around stapling the fabric across from each other. I would staple two staples and then pull the fabric tight and staple two on the opposite side of the frame. I worked my way around like that to make sure there wasn’t any lag or wrinkles.
The nice thing about this project is that you can redo/undo if necessary.
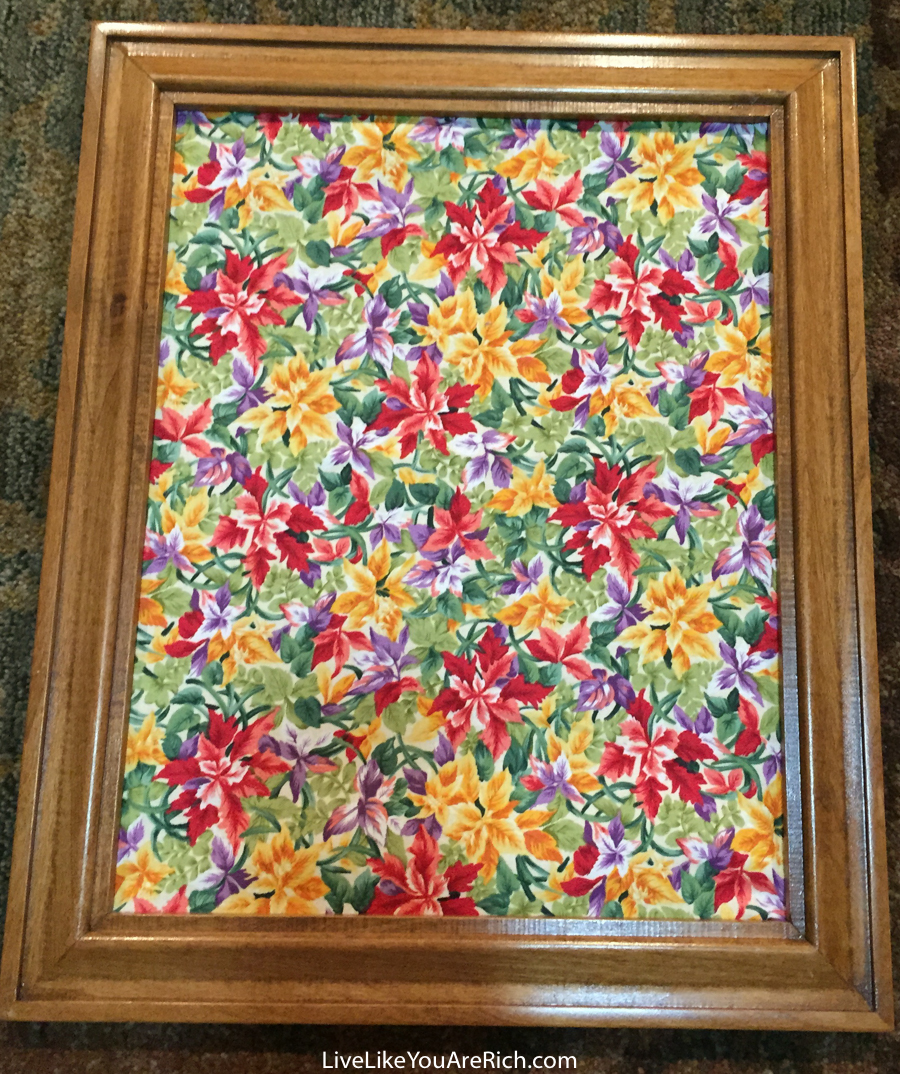
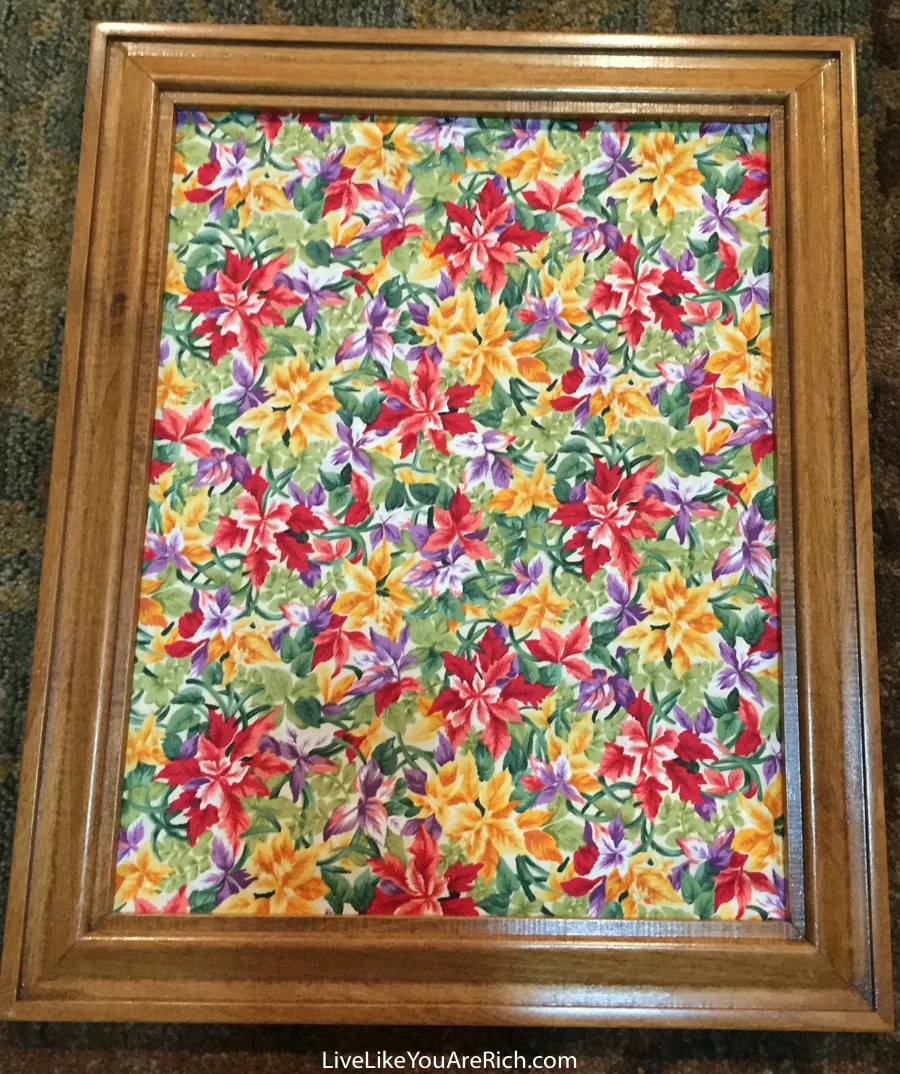
After it is all stapled and pulled tight, trim the fabric.
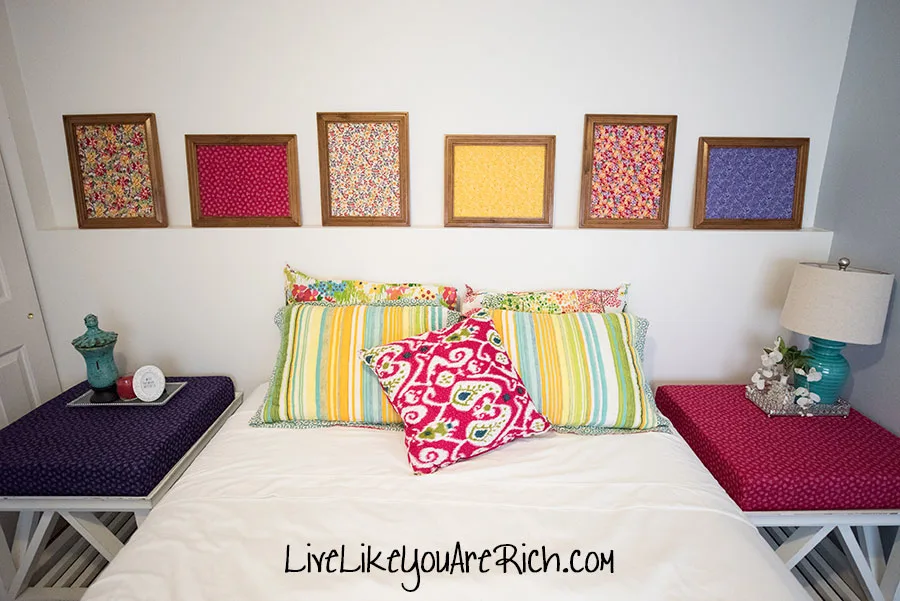
And you are ready to hang or display your DIY Fabric Wall Art as desired!
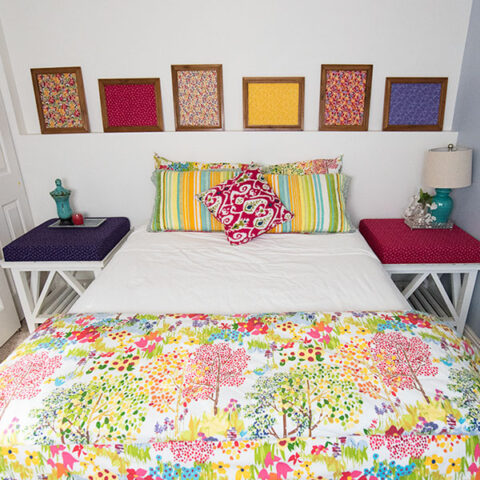
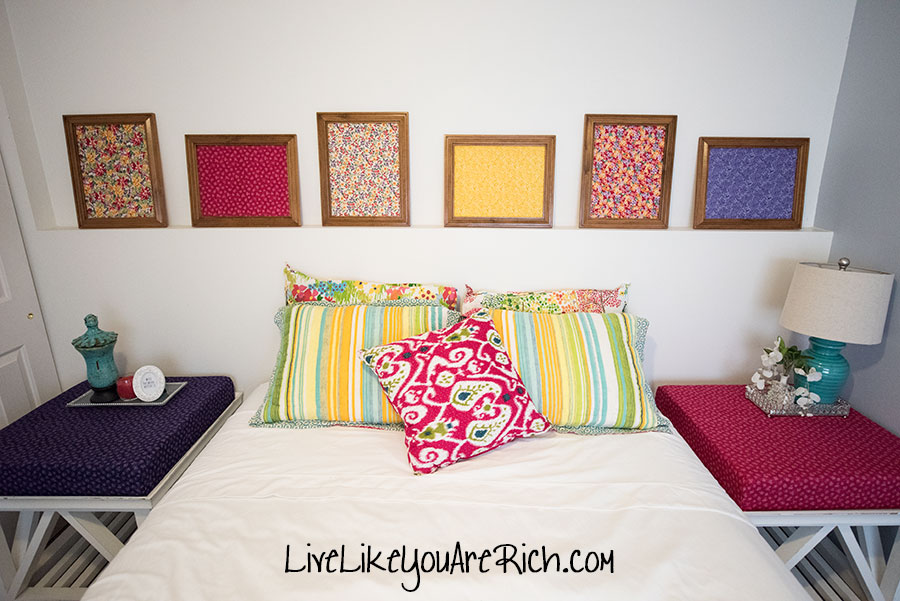
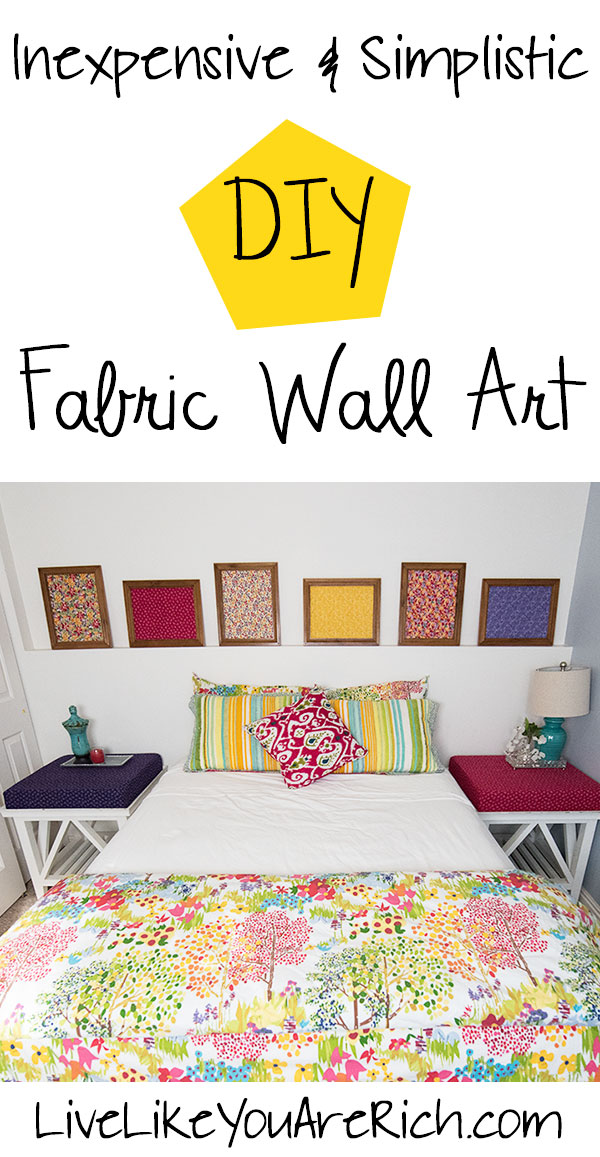
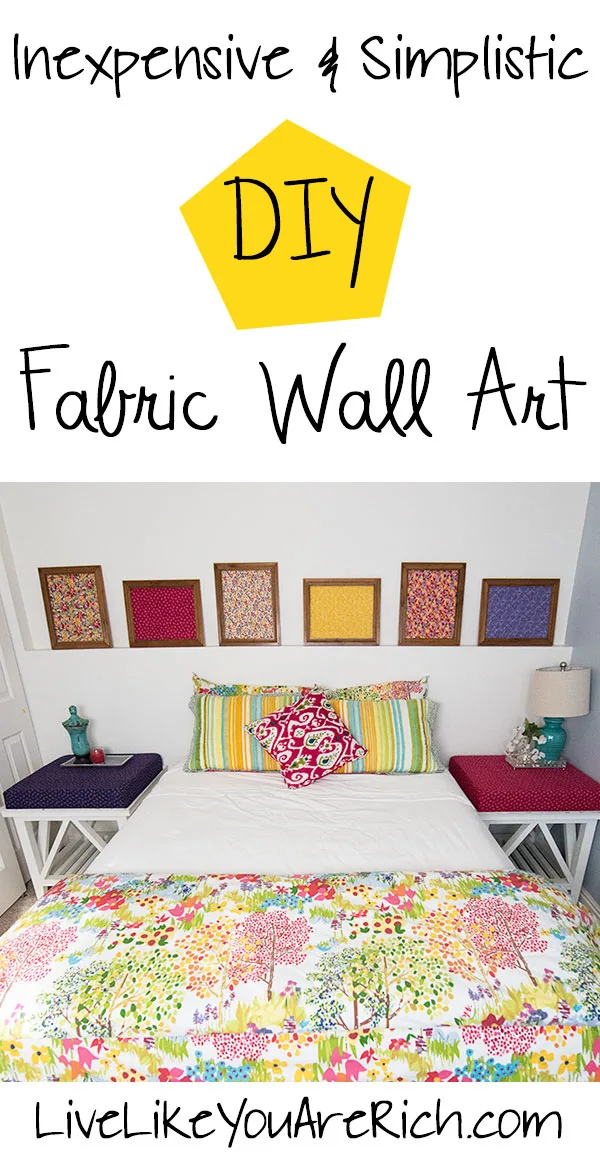
These are the six I made.
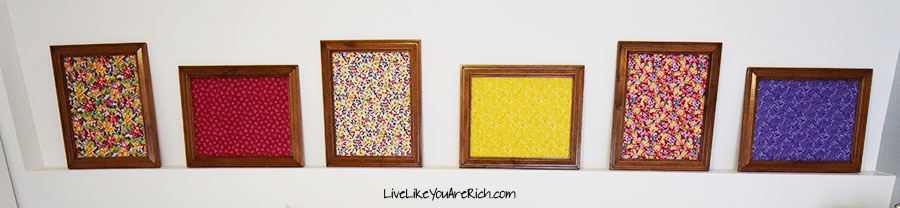

For under $10.00 I made 6 framed wall art items—granted they are quite simplistic—but they work well in the space I used them in.
Early this year, I actually moved three of them up to my master bedroom when I redecorated. I’ve liked having them on the wall in my room as well!
Supply List
Staple gun (Stanley Sharpshooter)
Frames
Fabric
Scissors
Happy DIY-ing!


For other ‘rich living’ and DIY tips please subscribe, like me on Facebook, and follow me on Pinterest and Instagram.
SheIn
Monday 28th of March 2022
thanks for the work you have put into this post!
How to Easily Up-Cycle an Old Trunk | Live Like You Are Rich
Friday 19th of August 2016
[…] this is a very simple and customizable DIY project. I was able to use the same fabric I used in my DIY fabric wall art (found here) and on my DIY memory foam side tables (found here) so that the trunk would tie together with the […]
jodie filogomo
Thursday 26th of May 2016
What a great idea especially for my mother who has a ton of extra fabric laying around!! jodie thursday favorite things!
Anita Fowler
Tuesday 31st of May 2016
Yes it is just so simple and fun! Thanks for stopping by!
Suzie@Suzie'sView
Thursday 26th of May 2016
This is simply genius! I love the look. So happy to find your awesome blog at the fav things hop. I am now a new fan & follower!
Anita Fowler
Tuesday 31st of May 2016
Thank you Suzie that is so nice of you! I'll stop by on your blog too.