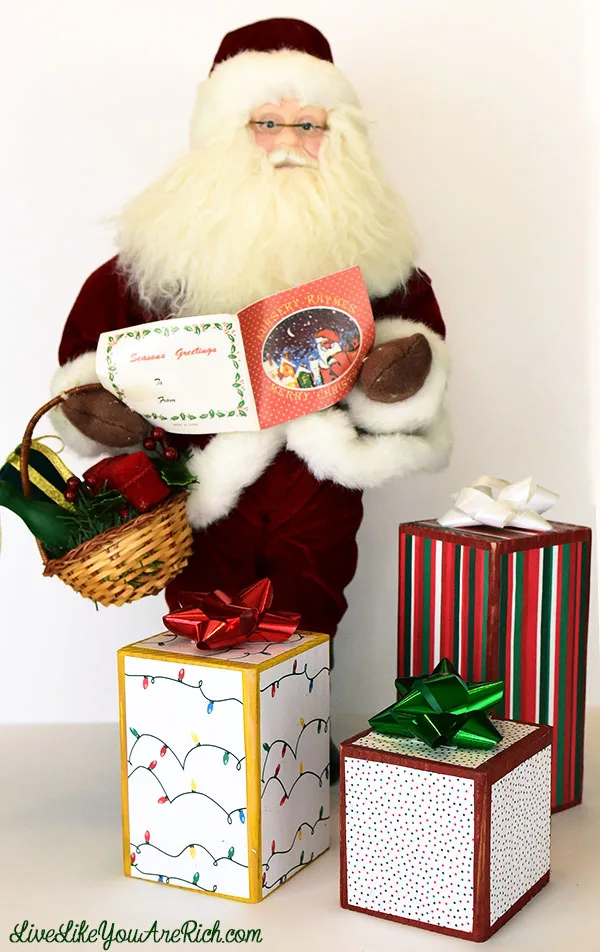
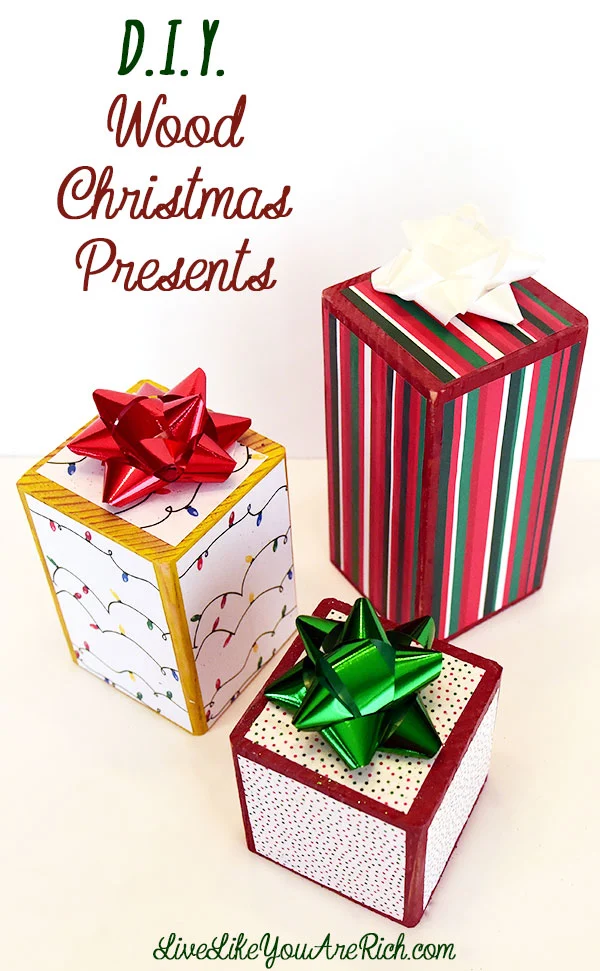
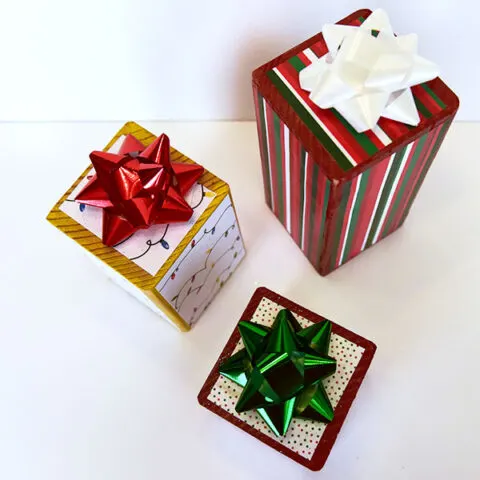
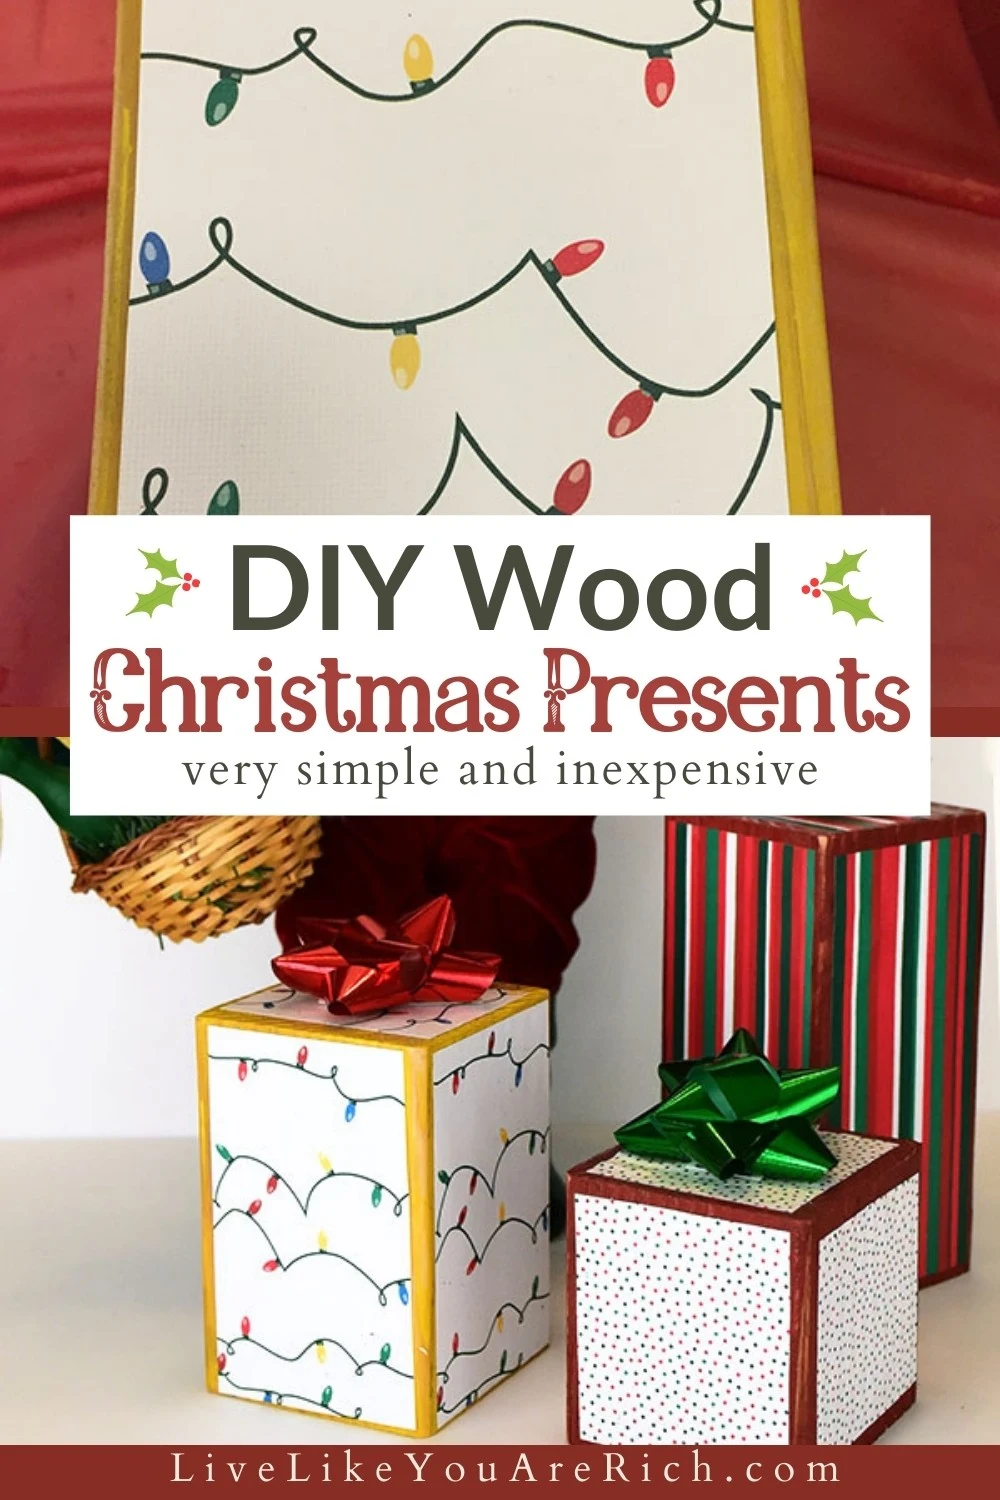
I made these D.I.Y. Christmas Present Wood Crafts. They are very simple and inexpensive. Further, they are durable and will hold up for years—even with little kids in the house. Standing alone they look great. I also really like the wood Christmas presents displayed next to my Santa.
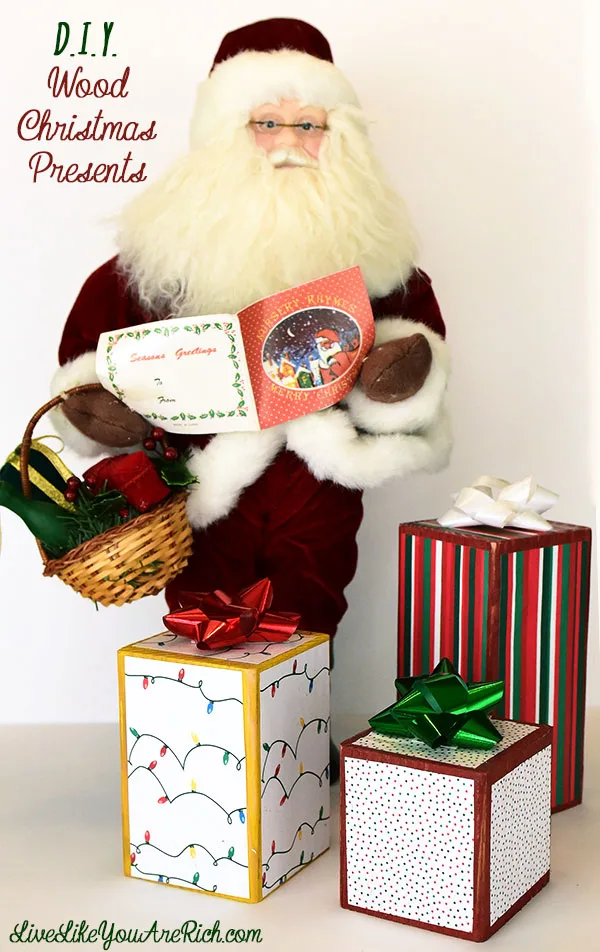
Instructions
1. Get a 4×4 that is at least 15.5″ long. They will cut the lengths for you for free at Home Depot or Lowes. *Note: Look at the names of the wood instead of measuring because 4×4’s actually measure out to be 3.5″x3.5″… don’t ask me why.
- 1st present= 3.5 inches tall, 2nd present= 5 inches tall, & 3rd present= 7 inches tall.
2. (Optional) Sand the edges until they are somewhat smooth. Brush the dust off. My blocks were already smooth so I didn’t find this necessary.
3. Paint the edges. I found that just painting the areas/edges that the paper would not cover saved on paint and time.
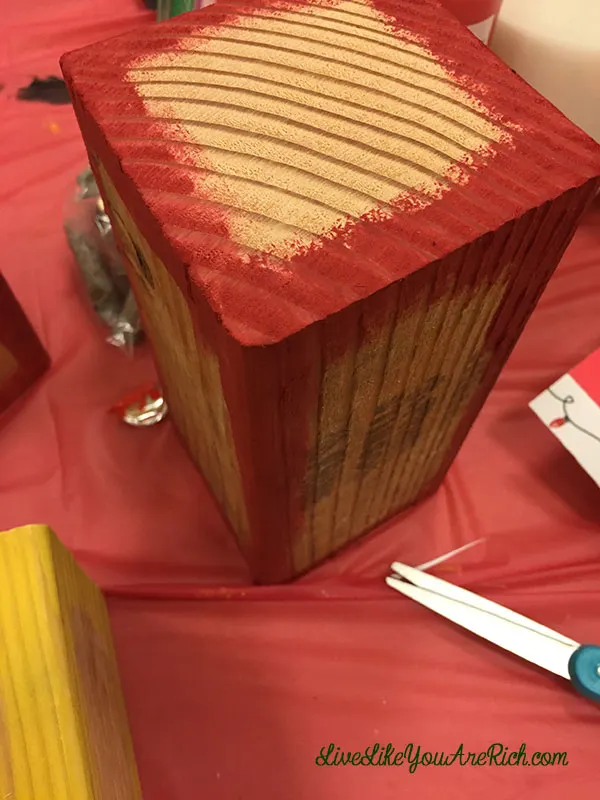
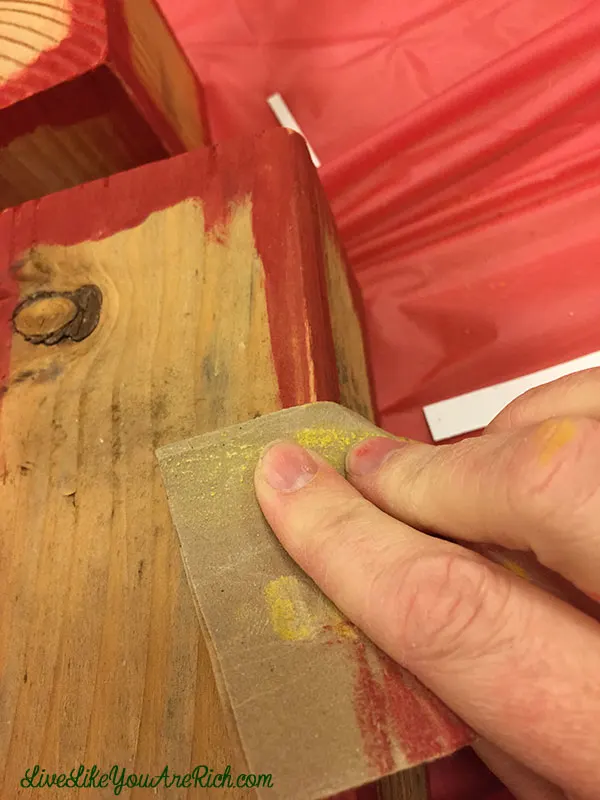
4. Once the paint is somewhat dried, distress edges with sandpaper (if the distressed look is desired).
5. Take 12×12 scrapbooking paper (3 different but coordinating prints) and cut the paper to fit each of the 4 sides and top. When you cut make sure to leave space so you can see the wood/paint on all of the edges. I just used a pencil, put the paper on top and traced it, then cut and trimmed if it needed. *Tip: the 7-inch present should be made out of paper that does not have a horizontal or vertical print (or you will need to buy two so all four sides have the same pattern).
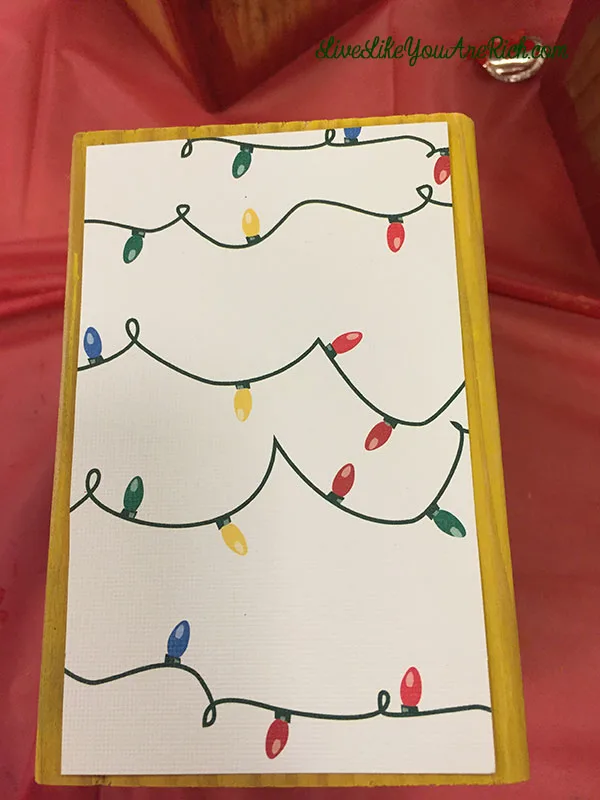
6. Apply Mod Podge to each side (one by one) and place the paper on the Mod Podge before it dries. Apply Mod Podge over the paper. Do this for all 5 sides (15 times). This goes very fast and only took me about 20 minutes to do all of them.
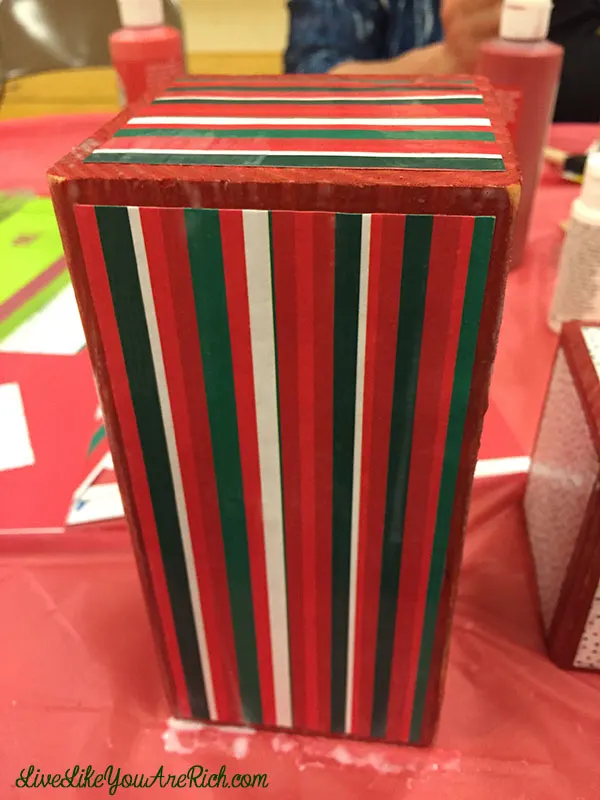
7. Let the presents dry while you are finding ribbon or bows. I used a thick ribbon at first and did not like the way it turned out. I liked the more simplistic look of just a bow on top or a thin ribbon. If needed glue the bow down with a glue gun.
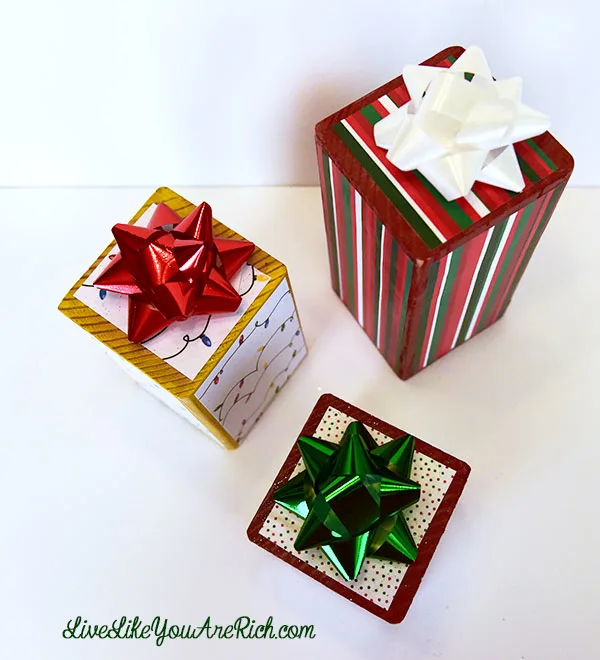
Supply List- I had everything but the wood at home so this was only a few dollar projects, but here is the list of the things I needed. I will use 95% of this supply list on other crafts as well.
- 4×4 (at least 18″ long) and cut to lengths
- Mod Podge
- Brush for Mod Podge application
- Sand paper
- 3 (or 4 depending on the print) Christmas 12×12 scrapbooking papers
- Bows or ribbon-thin (I tried thick ribbon and didn’t love the way it looked). Small present tags would be cute too.
- cool glue gun– or hot
- cool glue Sticks– or hot
- Optional- a Santa figurine. One similar to mine can be found here.
Merry Christmas!

For other ‘rich living’ and inexpensive crafts subscribe, like me on Facebook, follow me on Pinterest, and Instagram.

Chelsea @ Life With My Littles
Wednesday 16th of December 2015
Cute! And you're right, a great, durable decoration with young kids in the house!!
allie @ Through Her Looking Glass
Tuesday 15th of December 2015
Dear Anita, your wooden presents are adorable. Simple and classic. Perfect decorations for Christmas. Also a cute gift!
Anita Fowler
Tuesday 15th of December 2015
Thank you Allie that is so sweet of you. I never thought of them as a gift, but that would be so fun!