• Skip to primary navigation
  • Skip to main content
  • Skip to primary sidebar
  • Skip to footer

Live Like You Are Rich

on any income...

  • Finances
    • Save Money
    • Make Money
    • The Credit Game
    • Couponing
    • Tips & Warnings
    • Financial Fitness Bootcamp Course
  • LOVE with Family
    • Love
    • Pregnancy & Postpartum
    • Parenting
    • Faith
    • The Random & Important 
  • Home Improvements
    • Preparedness
    • Organization & Cleaning
    • Efficiency
    • Interior Design
    • Home Updates
    • Home One
    • Home Two
    • Home Three
  • DIY & Crafts
    • DIY’s & Crafts
    • Holidays
    • Valentines
    • Easter
    • 4th of July
    • Halloween
    • Thanksgiving
    • Christmas
  • Our Favorite Recipes
    • Quick and Easy Family Favorites
    • Breakfast
    • Lunch
    • Starters, Soups & Salads
    • Dinner
    • Desserts
    • Smoothies & Drinks
  • Hosting
  • My Book

DIY Memory Foam Side Table Toppers

May 20, 2016 By: Anita

Share to Your Social Media

  • Share
  • Tweet

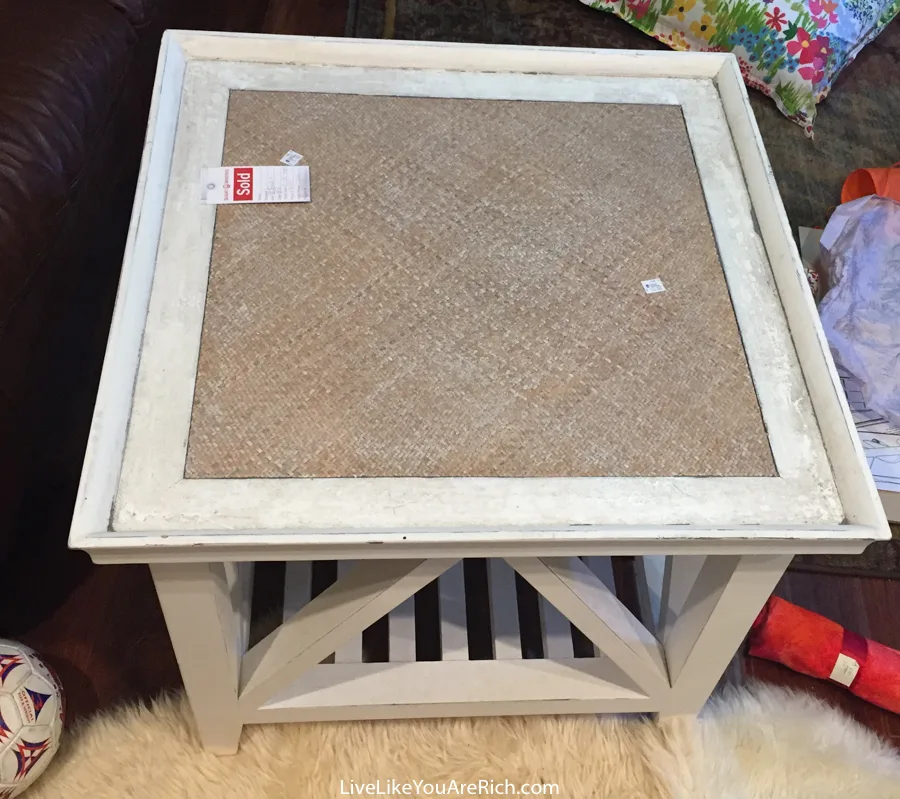
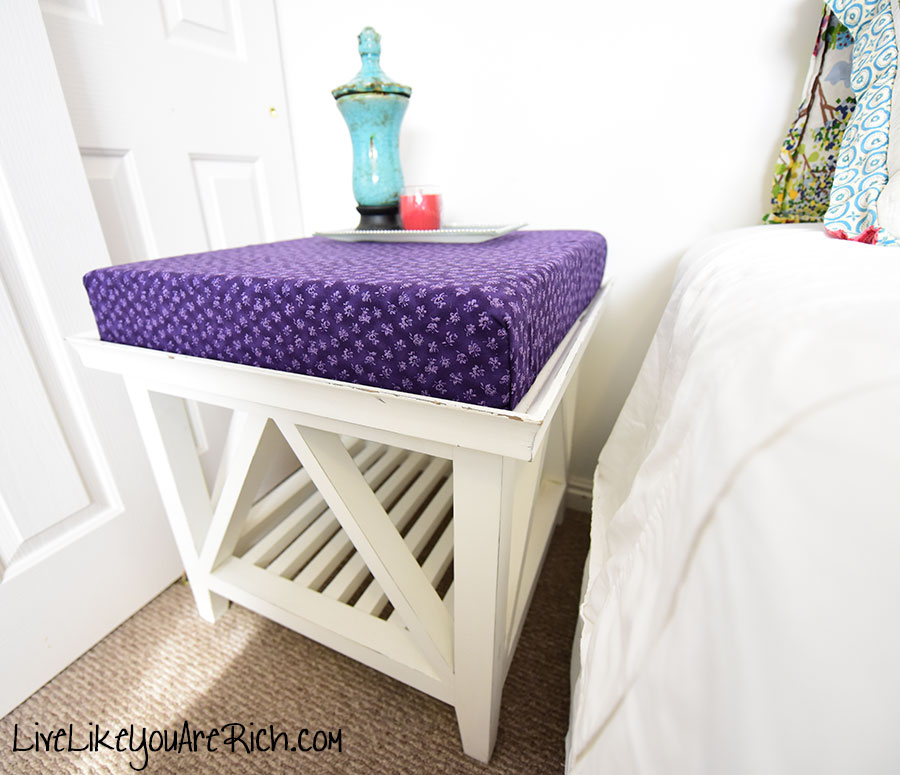
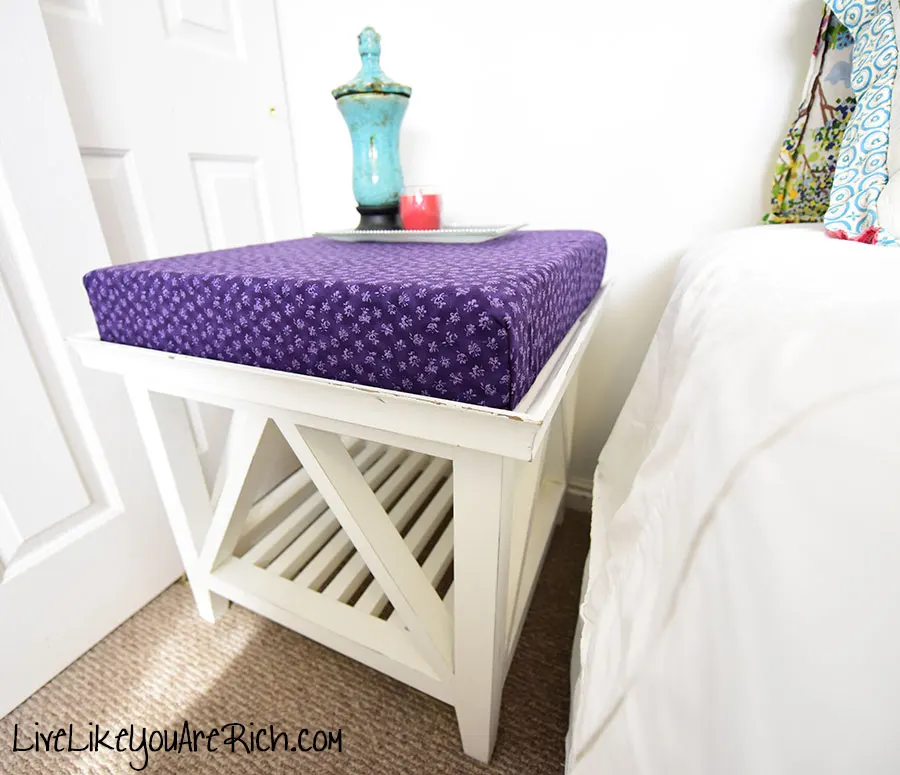
I found these darling side tables at Deseret Industries for $15.00 each. They sold them to me as a set for $25.00.

DIY Memory Foam Side Table Toppers

I went to JoAnn’s and bought 4″ memory foam to top them. I made sure to use a coupon because memory foam is pricey.

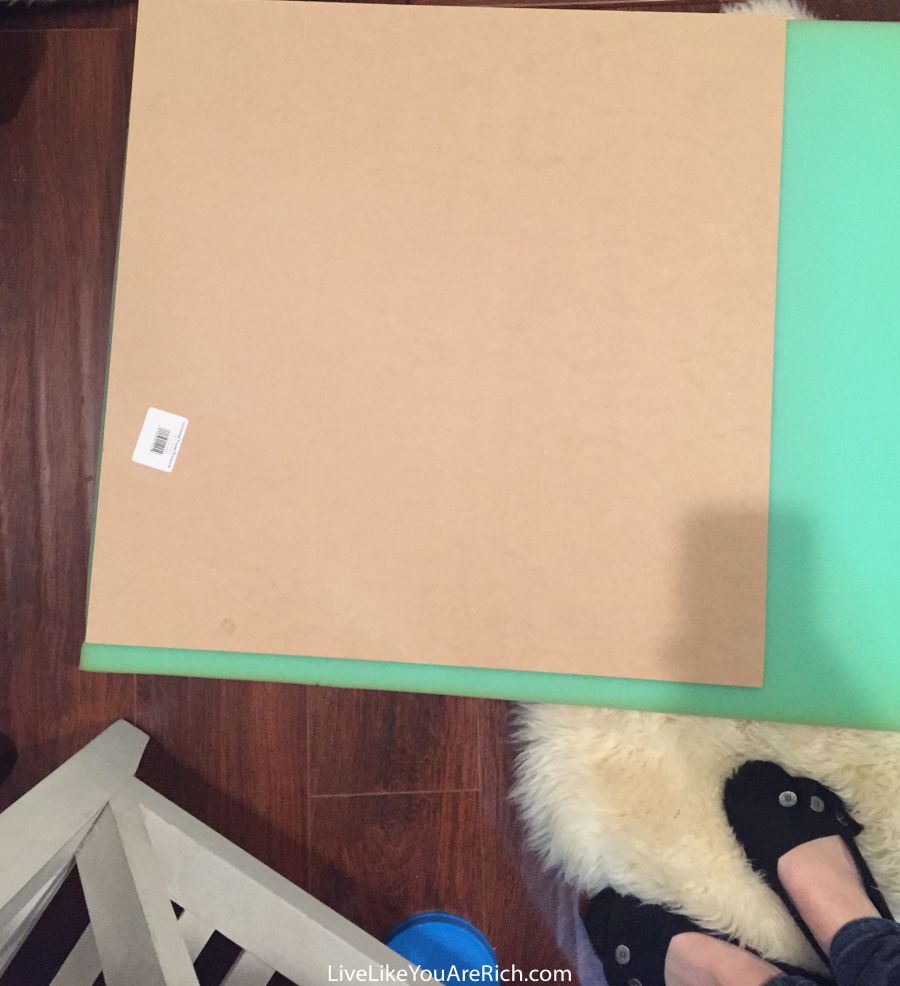
Then I went to Home Depot and picked up 1/4″ 2×2′ medium density fiberboard.

DIY Memory Foam Side Table Toppers

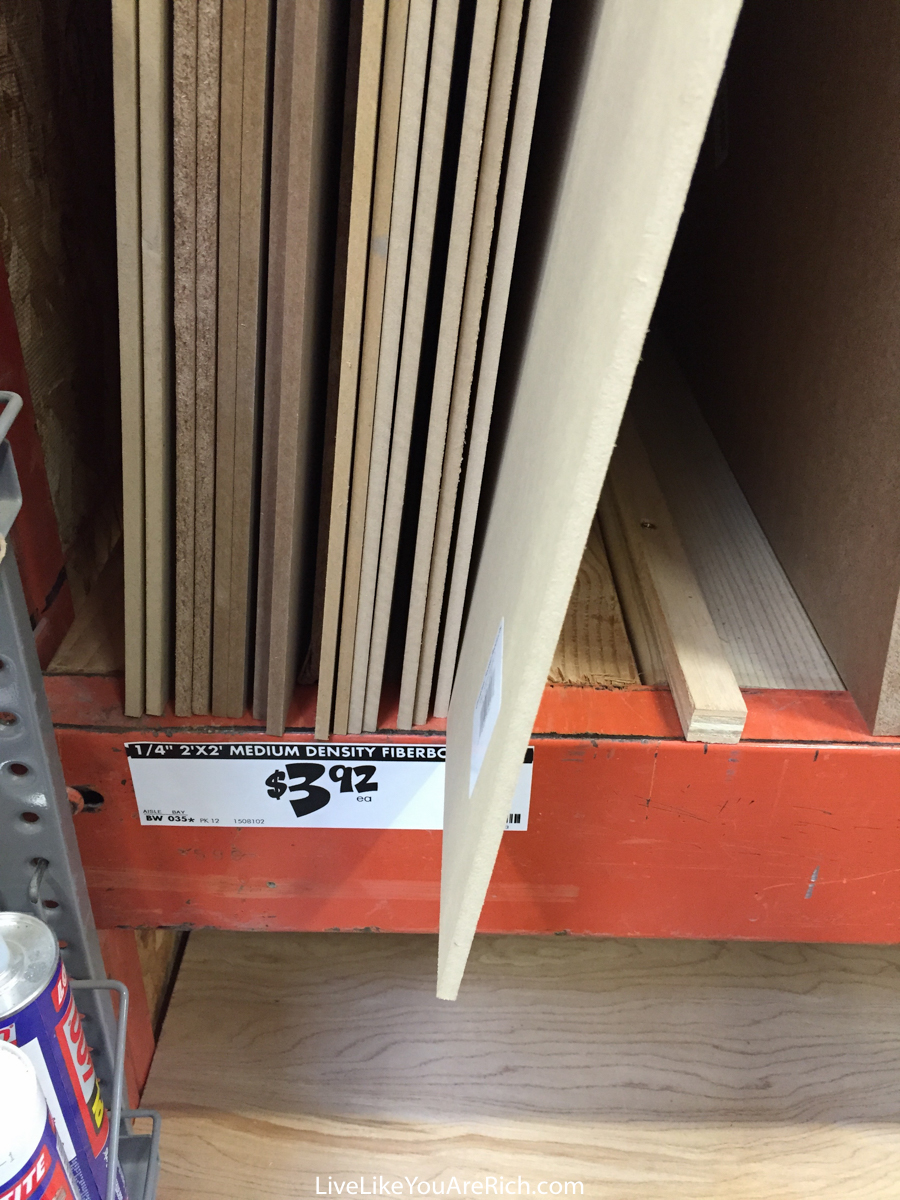
I had them cut at Home Depot to size. I picked up some wood glue, and extra staples(5/16″ light duty) for my staple gun there too.

I had found a bunch of fabric remnants at a garage sale the week before for .50 cents to a dollar a piece and I planned to use one for each table.

Once I had all of the supplies ready, I began.

First, I washed the tables a few times as they were very dirty. The wood and paint was already—either purposely or not—worn for a nice vintage look.

Then I traced the fiberboard on to the memory foam and used a knife with a sharp edge to cut the sides.

sidetable3

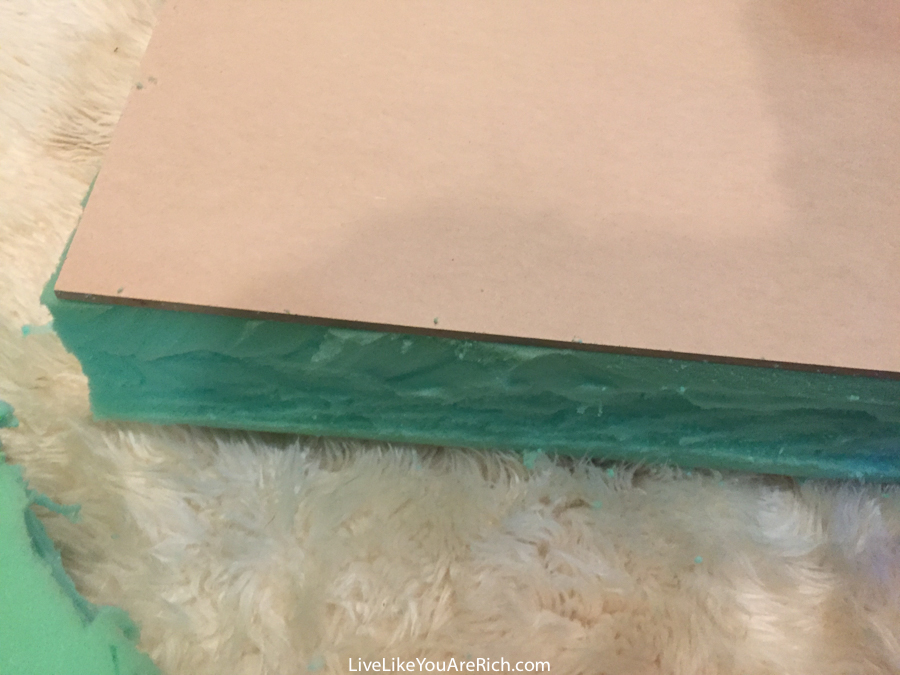
IMPORTANT- I learned by trial and error, do not saw back and forth on the memory foam. Only cut in one direction (similar to going with the grain when you are cutting wood). If you saw at it, it will end up looking like this. I now have to hide this side by facing it towards the wall.

sidetable11

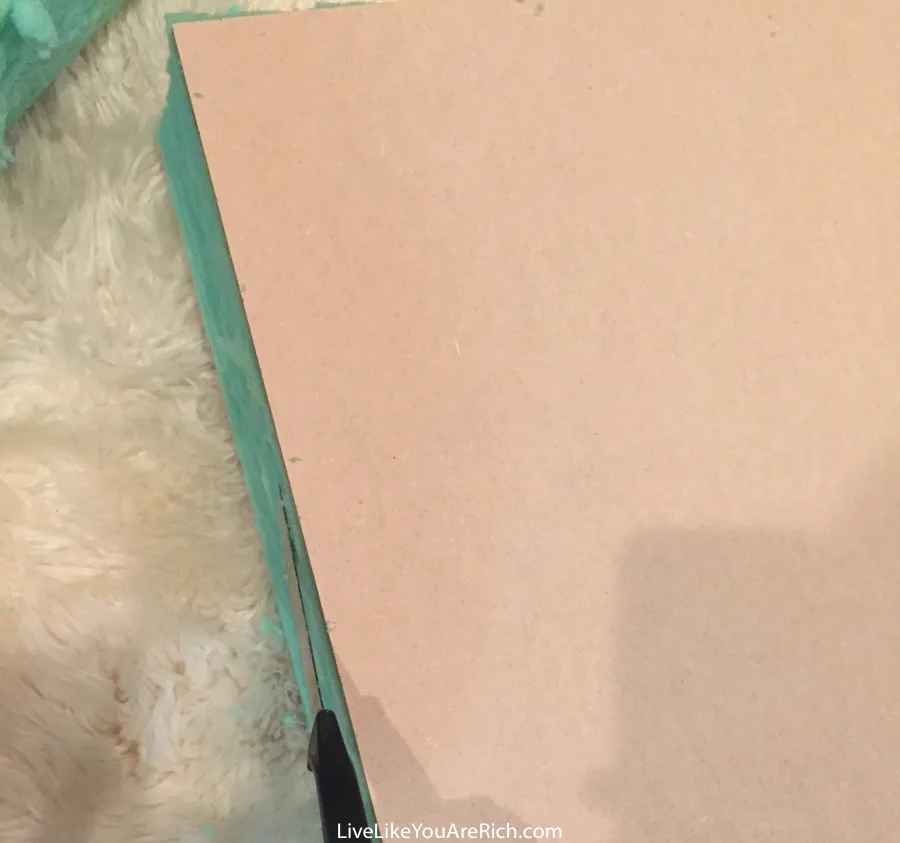
You can see the difference, this side was cut correctly (going in only one direction and lifting the knife to cut again).

sidetable12

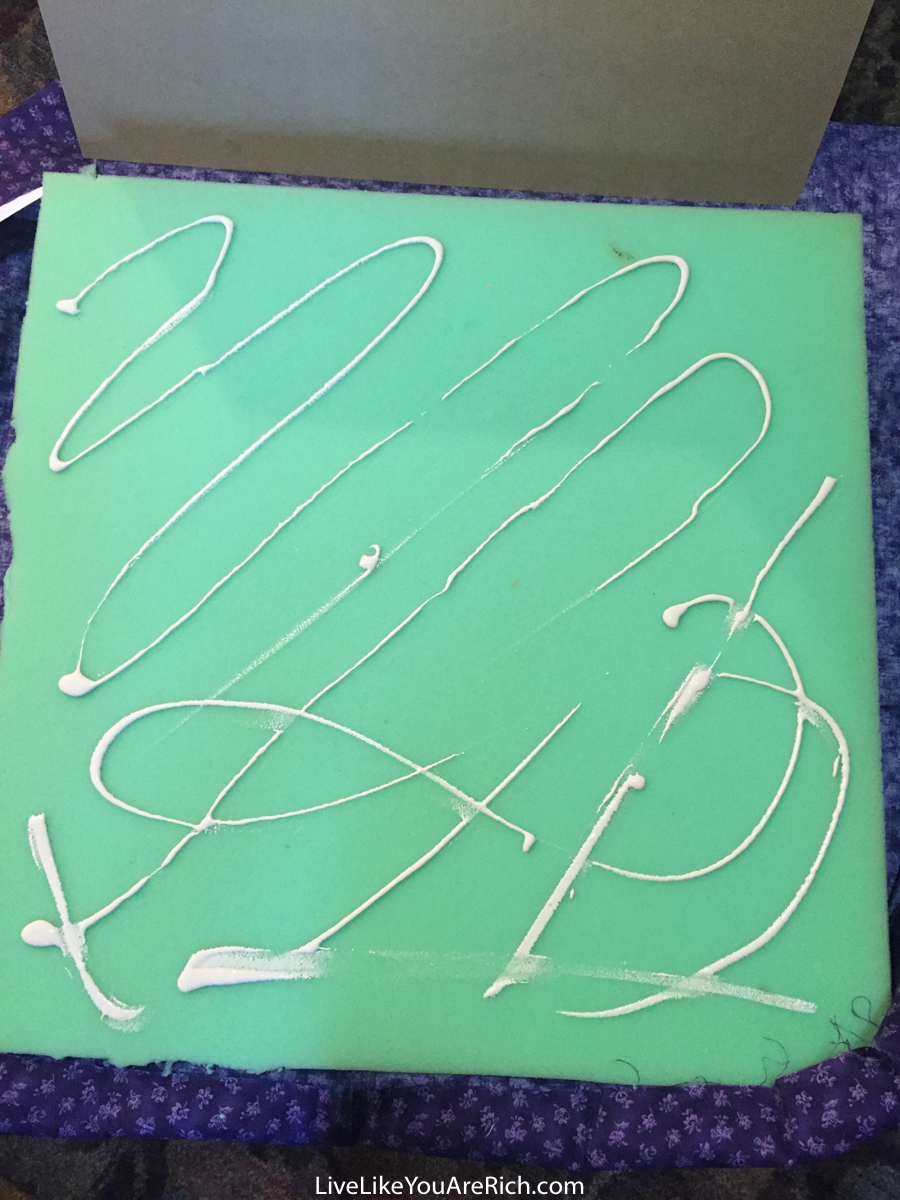
Next, I glued the board to the memory foam using wood glue.

sidetable6

Then I measured and cut the fabric accordingly, making sure to leave enough to fold the edges over so it wouldn’t fray.

sidetable4

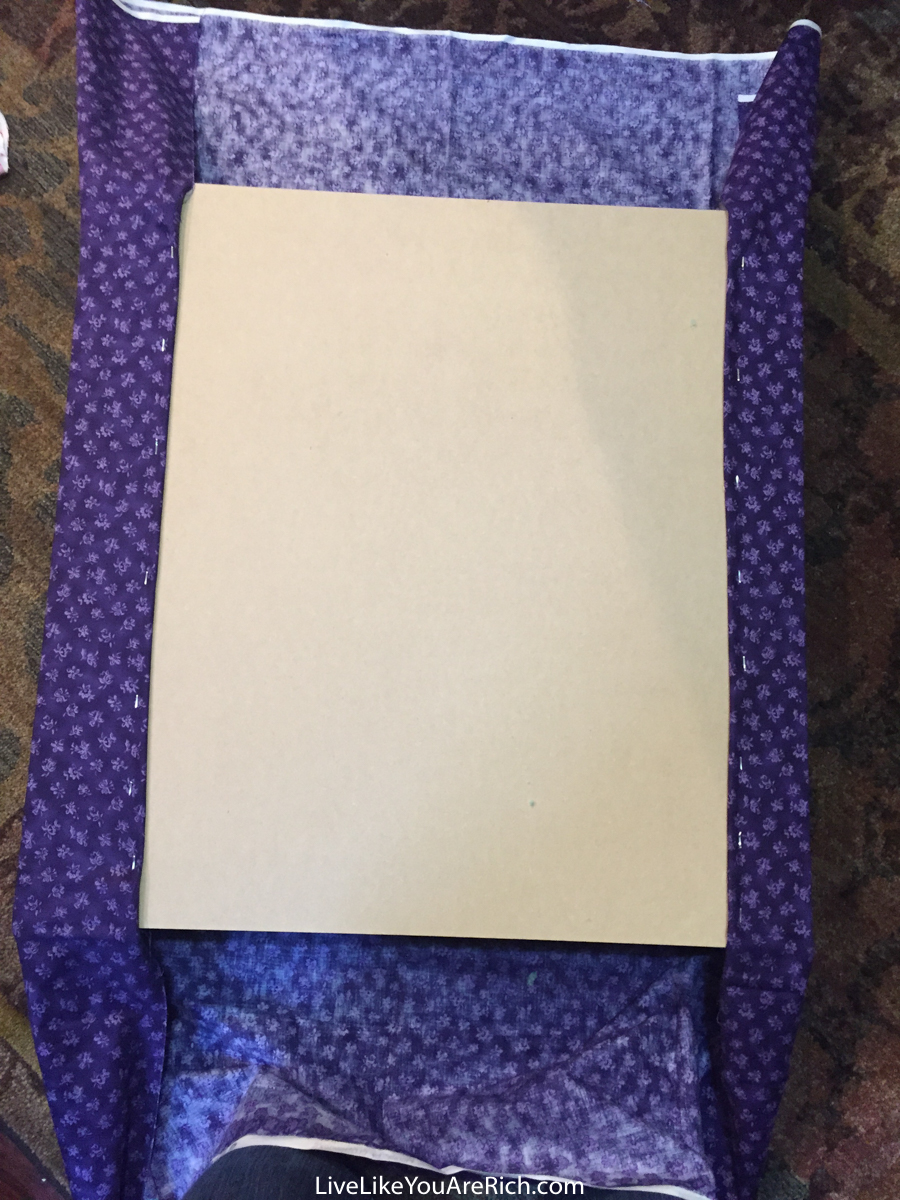
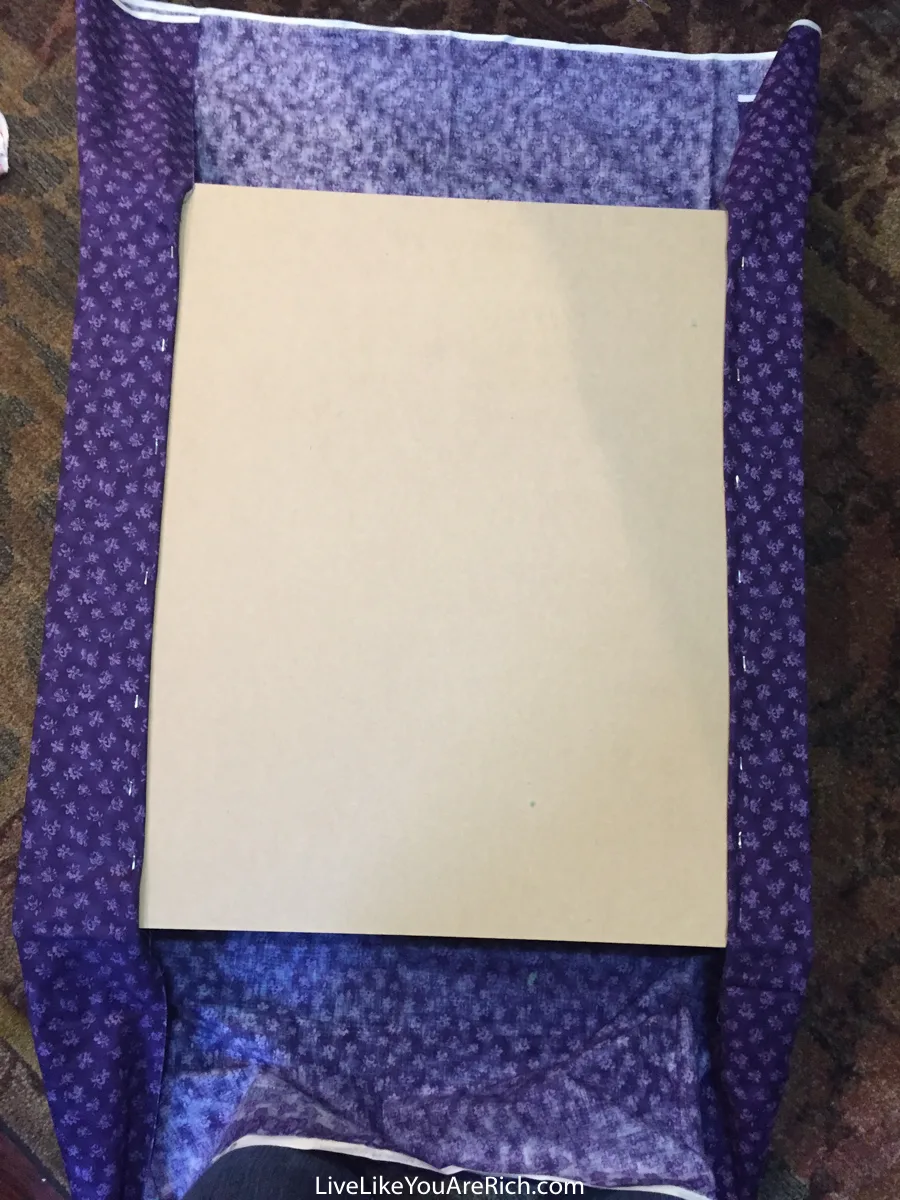
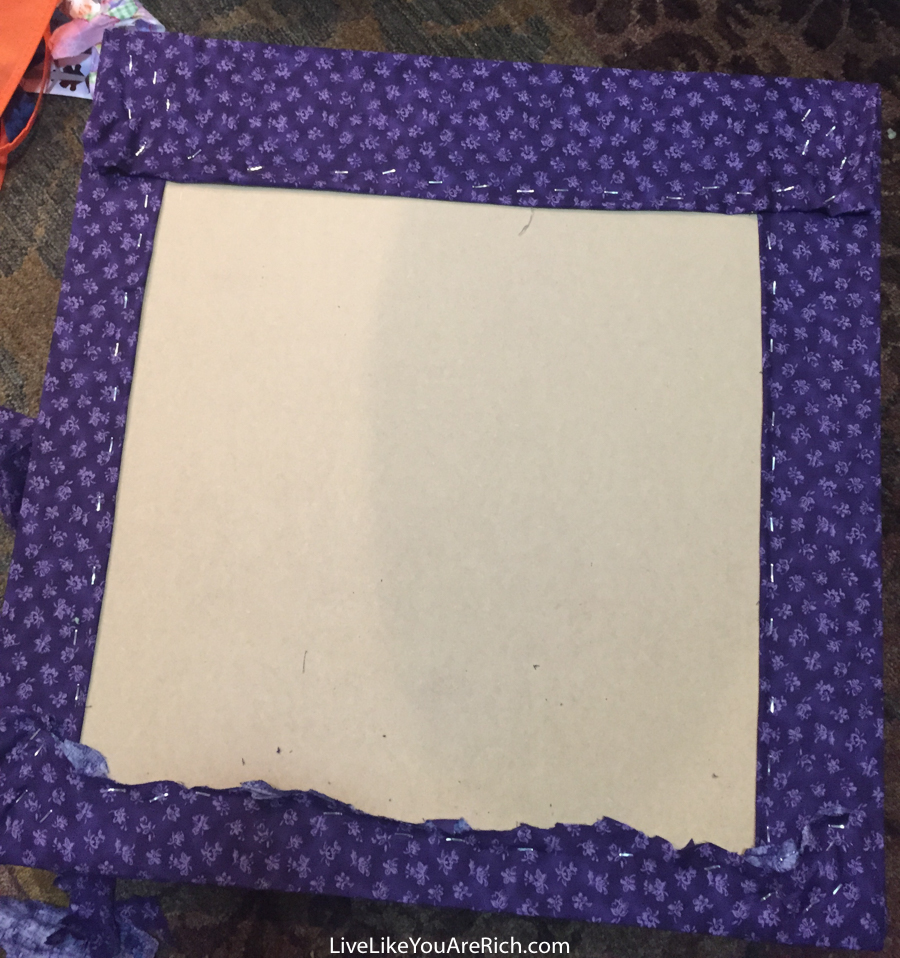
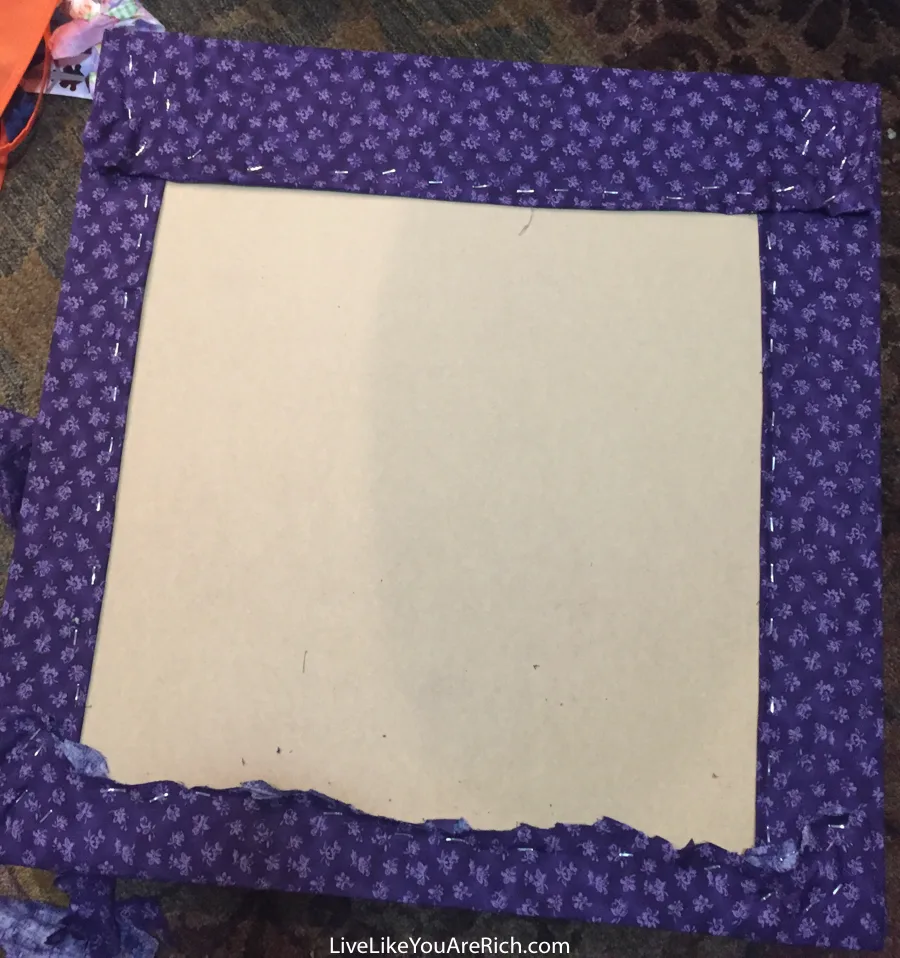
Finally, I took my staple gun (Stanley Sharpshooter) and stapled the fabric to the board pulling tightly.

sidetable5

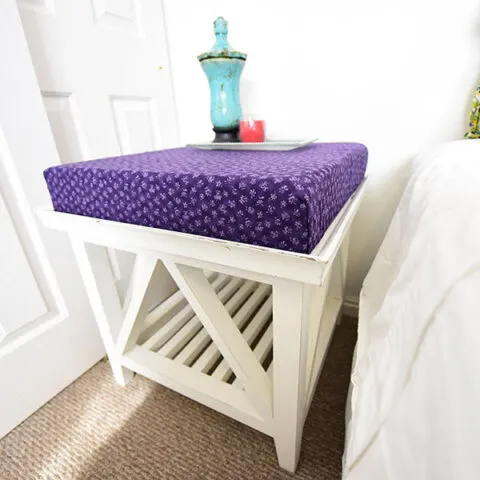
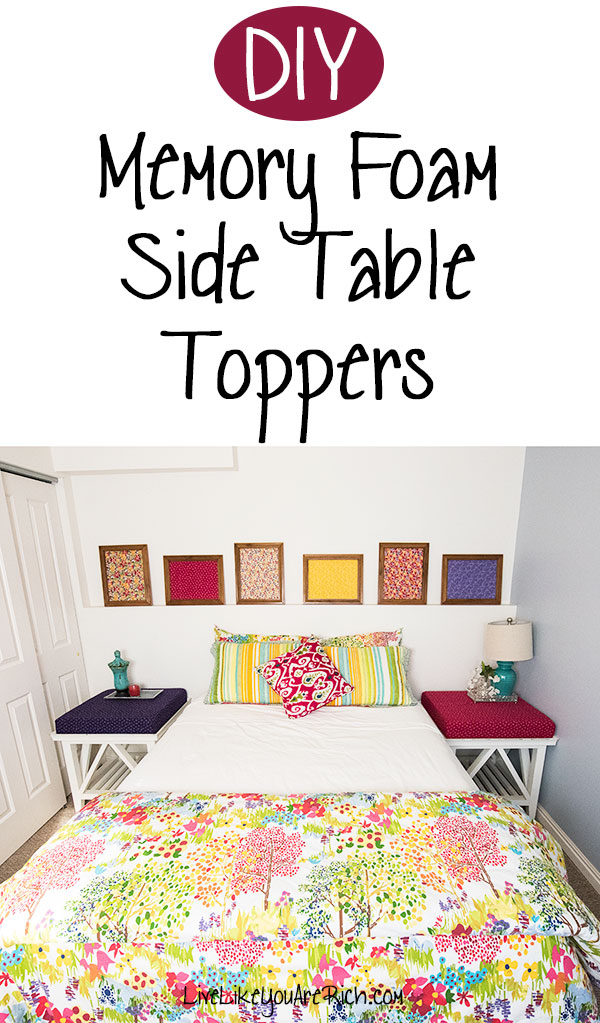
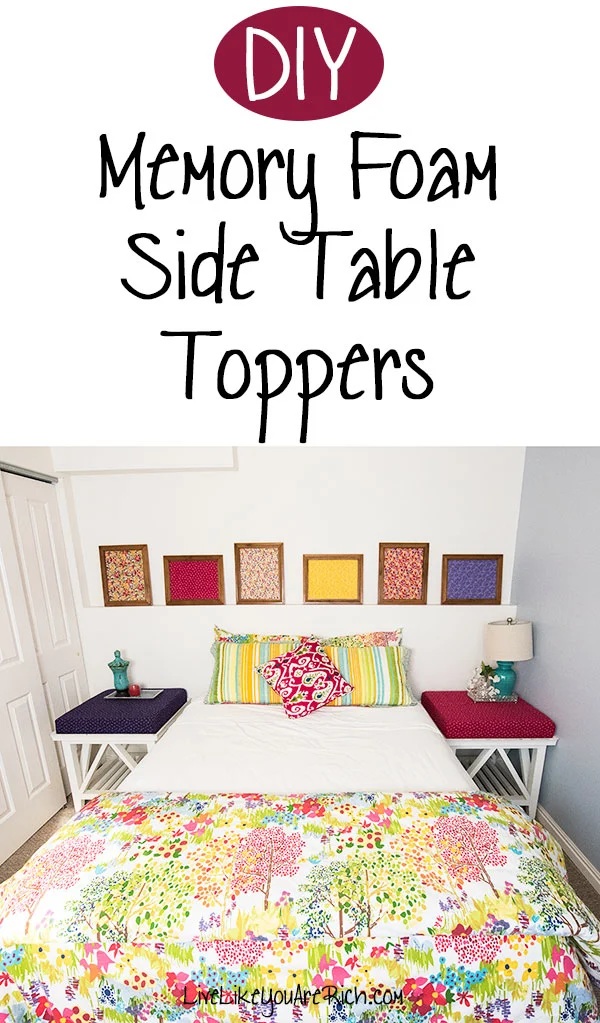
I set it on top of the end tables I bought to finish it off.

sidetables10

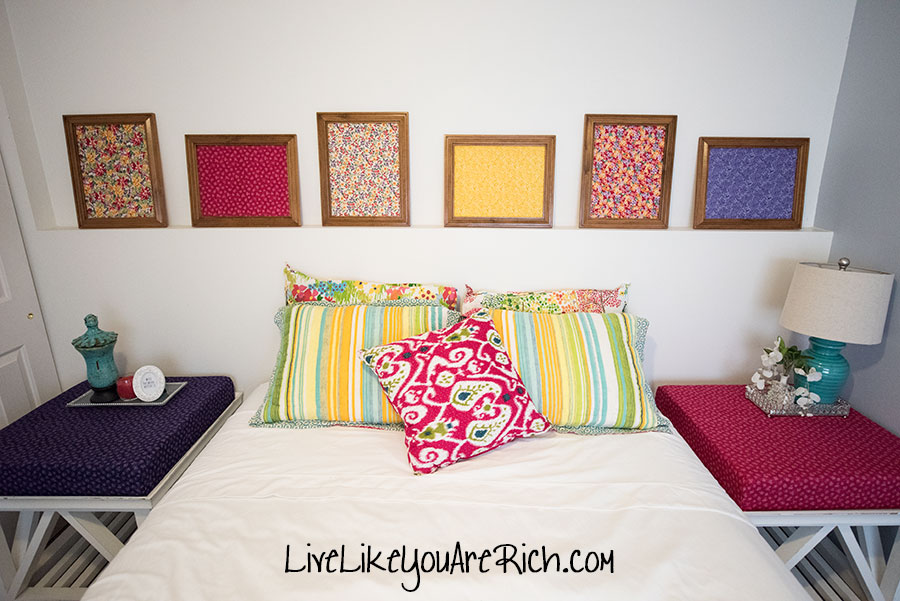
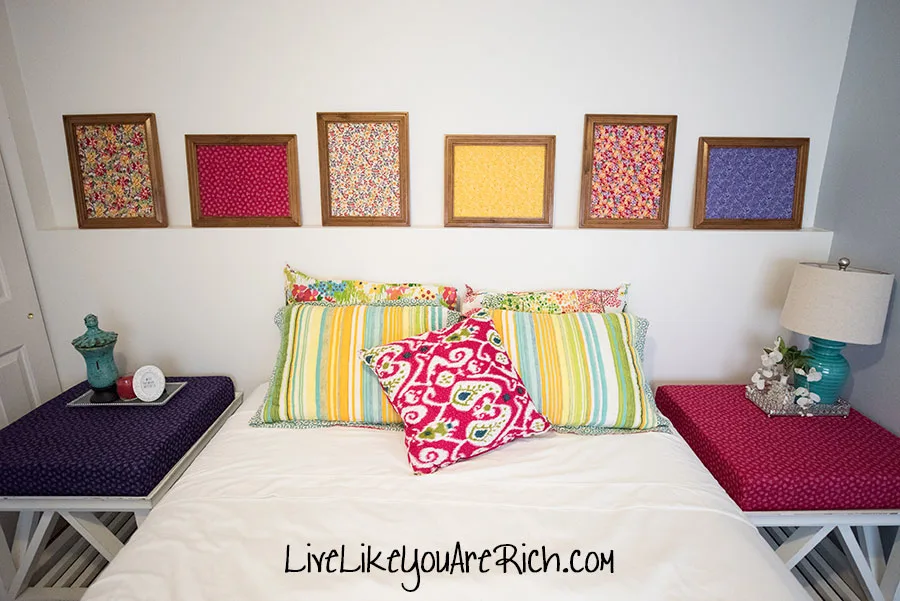
I made two of these side table toppers each in a different color.

Sidetables8

Then I added some decor.

sidetable9

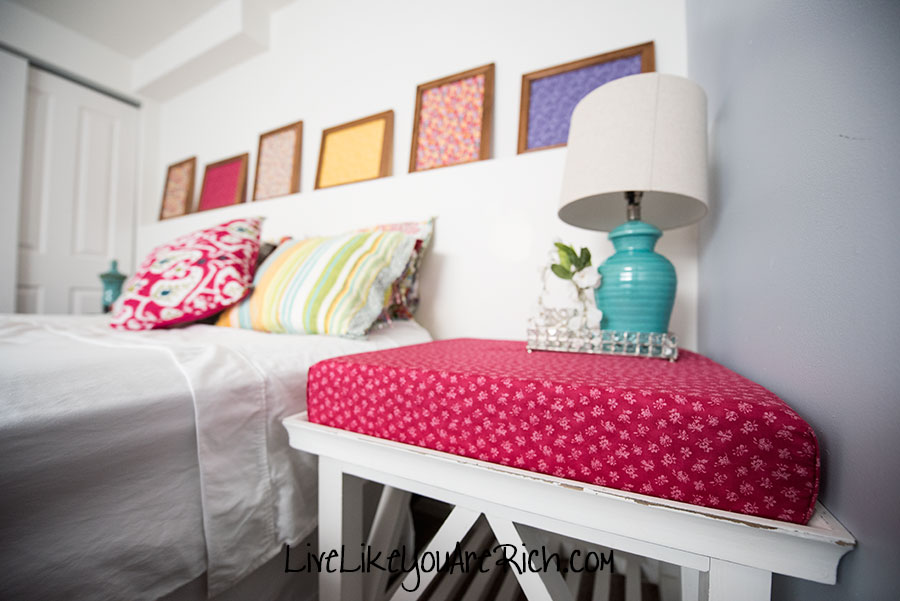
I love these memory foam side table toppers! They can hold a lamp, books and other items I want to set on them yet are cushiony for my kids. I moved them from my guest bedroom up to my master early this year. My kids are always crawling on them and then onto my bed and like them as much as I do.

I’m glad I made this project, it was inexpensive (about $30.00 total a table) and continues to be very functional and cute.

Supply List

Side Tables

staple gun (Stanley Sharpshooter)

staples (5/16″ light duty)

Memory foam (4″ or as desired)

Fiberboard

Fabric

Wood glue

knife, scissors, marker, and measuring tape.

Anitasignature

For other ‘rich living’ and DIY tips please subscribe, like me on Facebook, and follow me on Pinterest and Instagram.

Related posts:

DIY Christmas Headband for a Baby Girl Christmas Present Wood Craft 11 Inexpensive Quality Home Decor DIY Projects
Previous Post: « 5 Fun Playdates for Moms of Little Kids
Next Post: 9 Tried and True Makeup Techniques + My Own Makeup Routine »

Reader Interactions

Comments

  1. Chelsea @ Life With My Littles says

    May 24, 2016 at 7:25 pm

    Those tables are awesome! I can’t believe you found them for so cheap!

    Reply
    • Anita Fowler says

      May 25, 2016 at 7:51 pm

      Yeah I was so excited to find them too!

      Reply
  2. Suzie says

    May 26, 2016 at 1:24 am

    Just to stinking cute. I love those girl great job!

    Reply
    • Anita Fowler says

      May 31, 2016 at 3:14 pm

      Thank you!

      Reply
  3. Ashleigh says

    May 30, 2016 at 10:10 pm

    These came out awesome!!! They look super simple to make too:)

    I’d love it if you shared this at my weekly link party!
    http://www.twentysomethinginthe2010s.com/peace-love-linkup-009/

    Reply
    • Anita Fowler says

      May 31, 2016 at 3:23 pm

      Thank you that is so nice to say! Yes they are simple and super functional too 🙂

      Reply
  4. Sharry says

    March 28, 2021 at 6:53 pm

    Just a little hint for next time…an electric knife cuts the foam like butter.

    Reply
    • Anita says

      November 12, 2021 at 8:49 am

      Thanks for this tip! I’ll remember it as I have another memory foam topper project coming up!

      Reply
  5. Carol Jollymore says

    March 29, 2021 at 5:52 pm

    I am wondering why memory foam?

    Reply
    • Anita says

      November 12, 2021 at 8:48 am

      My little kids used to crawl over them and sit on them. I thought it would be fun to try, it turns out it was a nice resting spot for them.

      Reply

Trackbacks

  1. How to Easily Up-Cycle an Old Trunk | Live Like You Are Rich says:
    August 20, 2016 at 10:24 pm

    […] project. I was able to use the same fabric I used in my DIY fabric wall art (found here) and on my DIY memory foam side tables (found here) so that the trunk would tie together with the other items in my guest […]

    Reply

Leave a Reply Cancel reply

Your email address will not be published. Required fields are marked *

Primary Sidebar

Anita Fowler
Pinterest Facebook Twitter Youtube Gmail Gmail RSS

Most Popular


Footer

anita_livelikeyouarerich

How to live a rich life on any income. Stay-at-Home Mom to 4. 👦🏻👩🏻👧🏼👶🏻Wife 👩‍❤️‍👨Author 📖. Blogger 💻. Christian 🌟. #livelikeyouarerich #LivingRichTips

Family & Finances & Food-Anita
How to Clean a Mattress. People spend about 1/3 How to Clean a Mattress. 

People spend about 1/3 of their life sleeping. Mattresses are probably time-wise, the most used surface in the home. 

It is important to keep mattresses clean and fresh with the tips below especially when they get dirty. 

Check out the best cleaning hacks for a mattress' toughest stains. Link in bio.

https://livelikeyouarerich.com/how-to-clean-a-mattress/

#cleaningmattress #cleaningtips #cleaningtipsandtricks #cleaningtip #deepcleanmattress #deepclean
Land that I love. Fourth of July! 🎉🇺🇸 #h Land that I love. Fourth of July! 🎉🇺🇸

#happyfourthofjuly🇺🇸 #happyfourthofjuly #fourthofjuly #4thofjuly
This recipe is loved by almost everyone who tries This recipe is loved by almost everyone who tries it—especially my dad. 

The cinnamon flavor is very light and balances perfectly the zucchini flavor and sweetness from the sugar.

Recipe in the link in bio.

https://livelikeyouarerich.com/zucchini-cinnamon-sugar-bread-recipe/

#zucchinibread #zucchinibreadrecipe #zucchinirecipes #breadrecipes #breadrecipe #zucchini
Who doesn't love Peter Rabbit? This sweet vanilla Who doesn't love Peter Rabbit? This sweet vanilla bean cake is the perfect treat for any occasion. 🐰 🎂 🍰

Get the recipe in the link in bio.

https://livelikeyouarerich.com/fondant-peter-rabbit-vanilla-bean-cake/

#peterrabbitcake #peterrabbitparty #firstbirthday #birthdaycake🎂  #birthdaycakeideas #vanillabeancake
Give your garage a makeover with these simple step Give your garage a makeover with these simple steps.

Share this with someone who might need this! Link in bio.

https://livelikeyouarerich.com/how-to-paint-garage-doors-helpful-tips/

#garagedoormakeover #garagemakeover #exteriorrenovation #exteriormakeover #garagedoors #paintgarage
SWIPE for before. Want to know how to choose an Ex SWIPE for before. Want to know how to choose an Exterior Paint Color for a Garage Door?

Choosing to paint your garage doors is an inexpensive way to update your home and make it feel renewed and fresh. 

I had a nice garage door color but felt like it needed an overhaul —especially because we lime washed our brick white and the color of the off-white garage door color clashed with the lime wash. 

Save this post for later! Link in bio.

https://livelikeyouarerich.com/how-to-choose-an-exterior-garage-door-paint-color/

#paintgarage #paintcolor #paintcolors #exteriorpaint #exteriorpainting #exteriorpaintcolors #garagepaint #garagedoor
Load More... Follow on Instagram

Links

  • About Me
  • Contact Me
  • Privacy Policy
  • Advertising/Media/Marketing Opportunities on LiveLikeYouAreRich.com

Disclosure Policy

Affiliate links may be used in this post. Printing a coupon or ordering a product through this link may result in a commission, which helps pay for the cost of running this site and keeps the content free. Read my full disclosure policy here.

Copyright © 2022