Vintage Frame Rose Bouquet
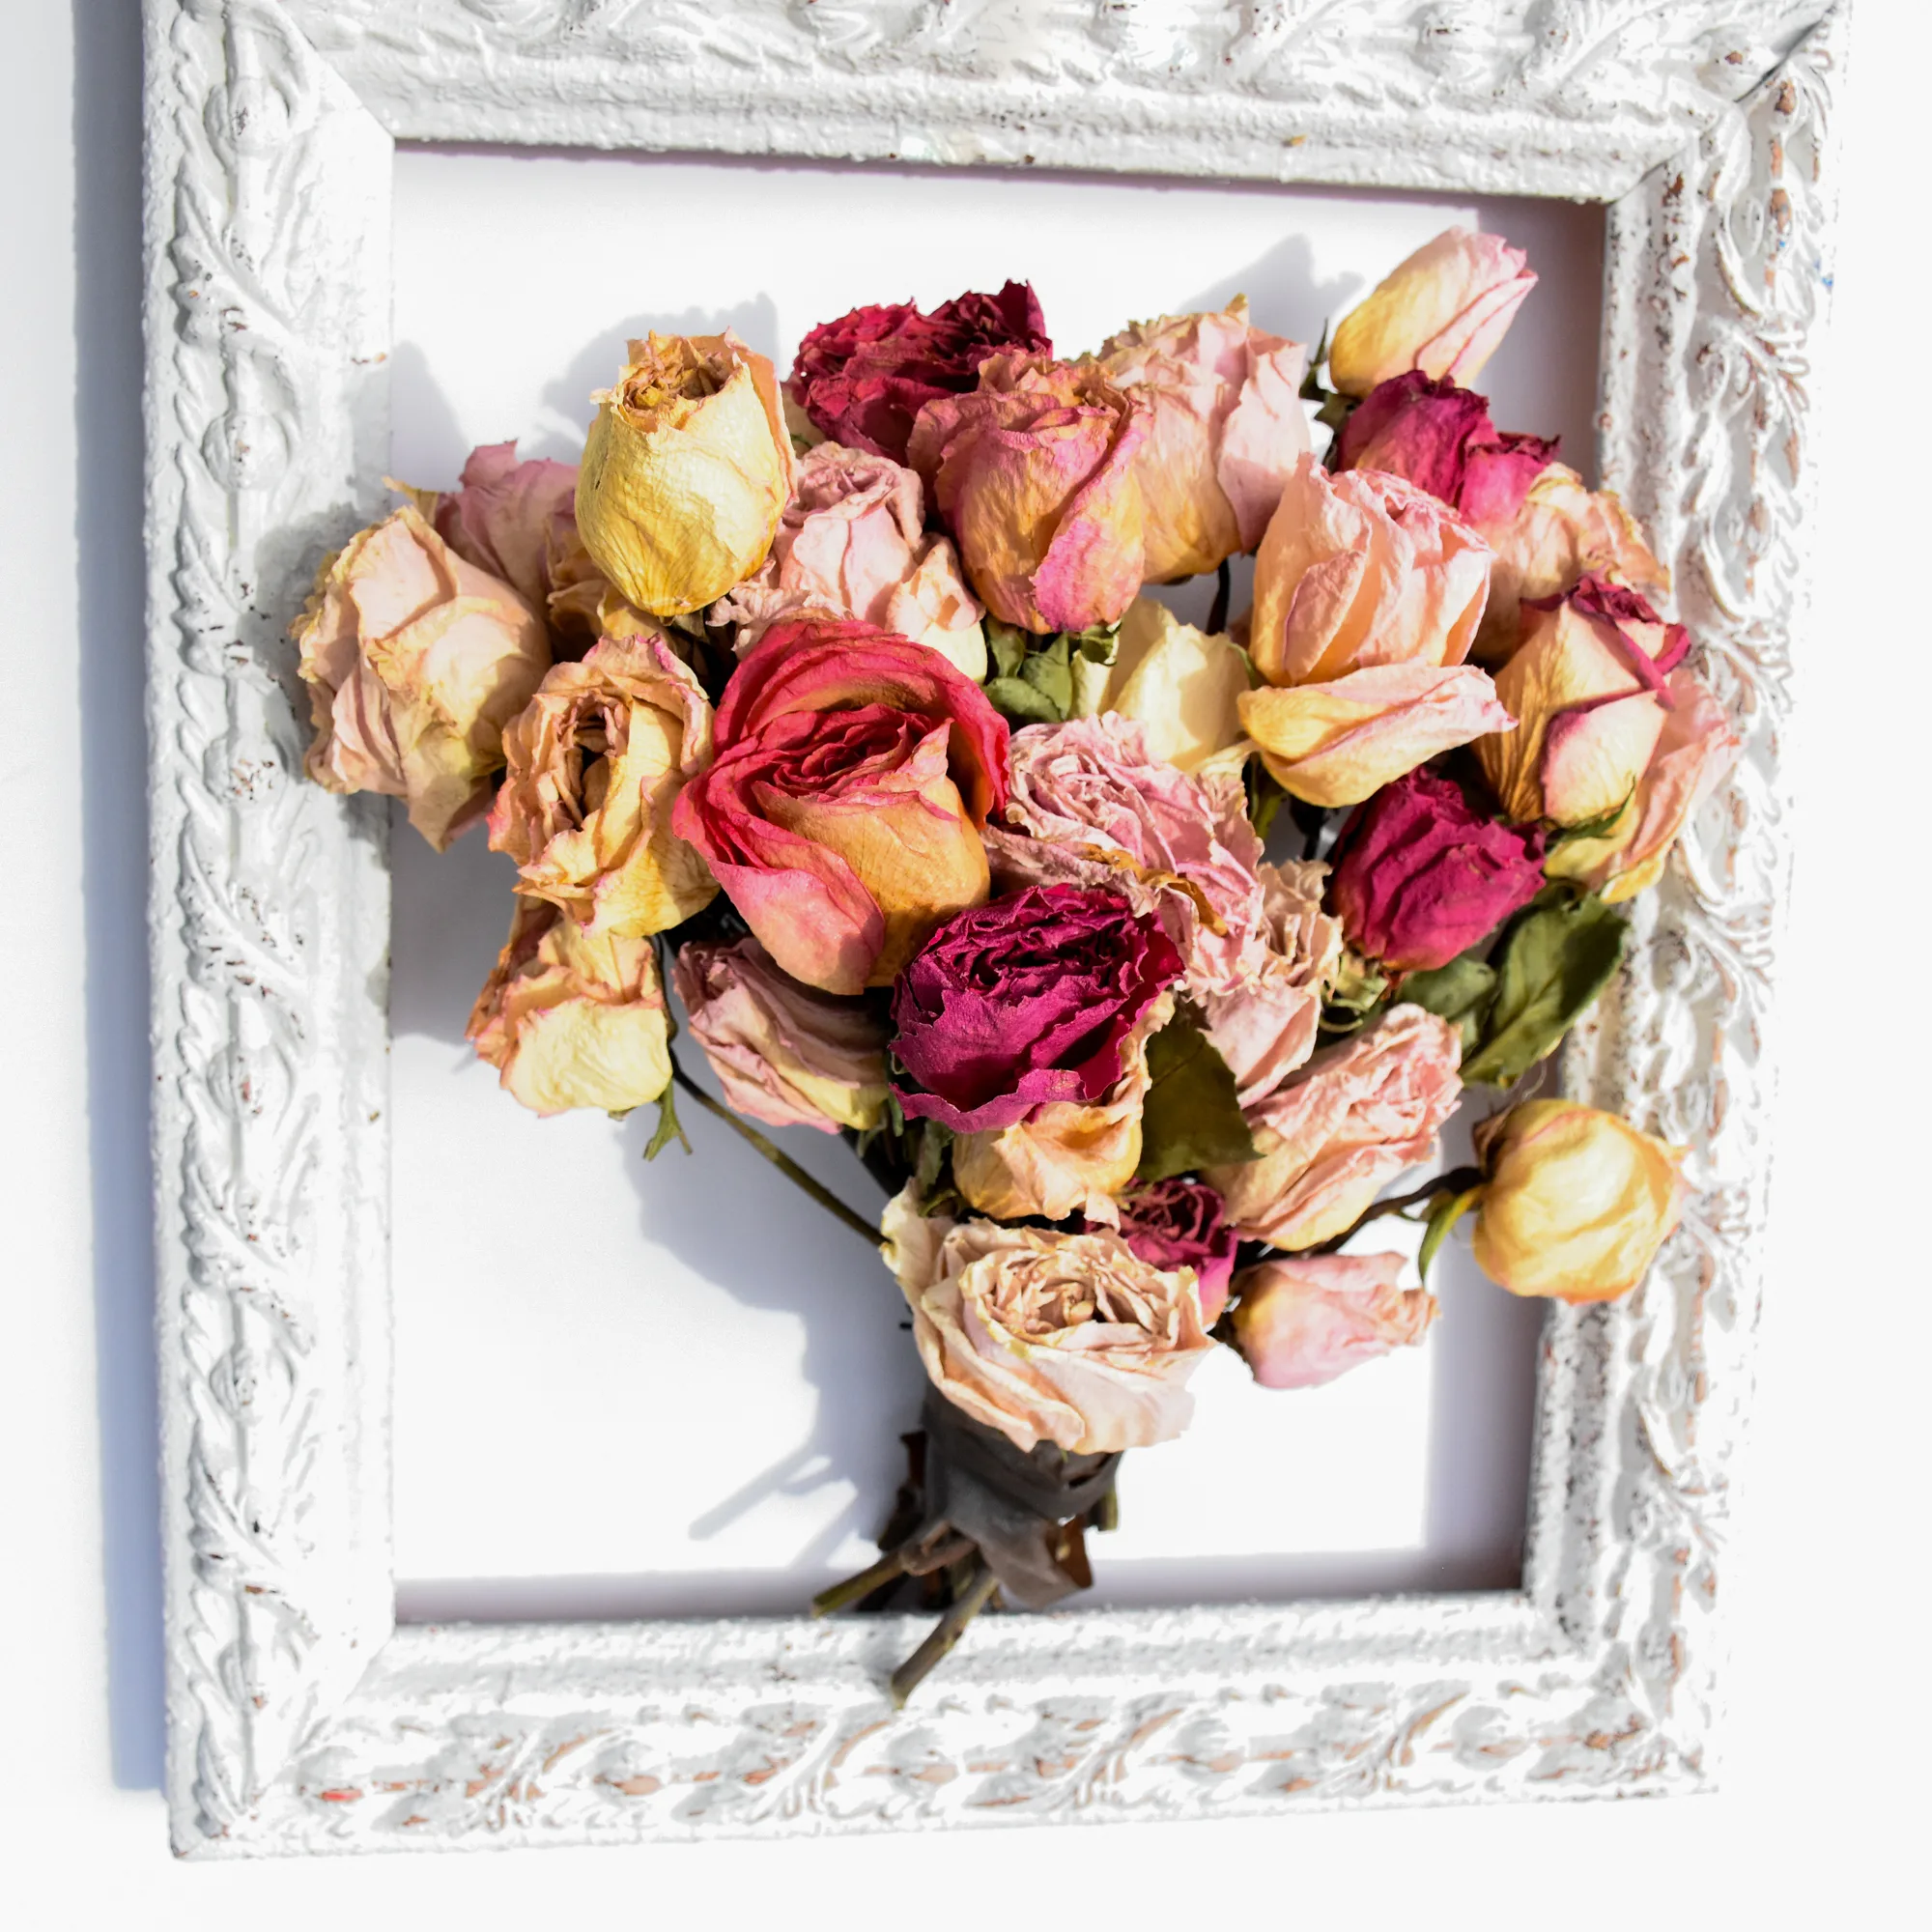
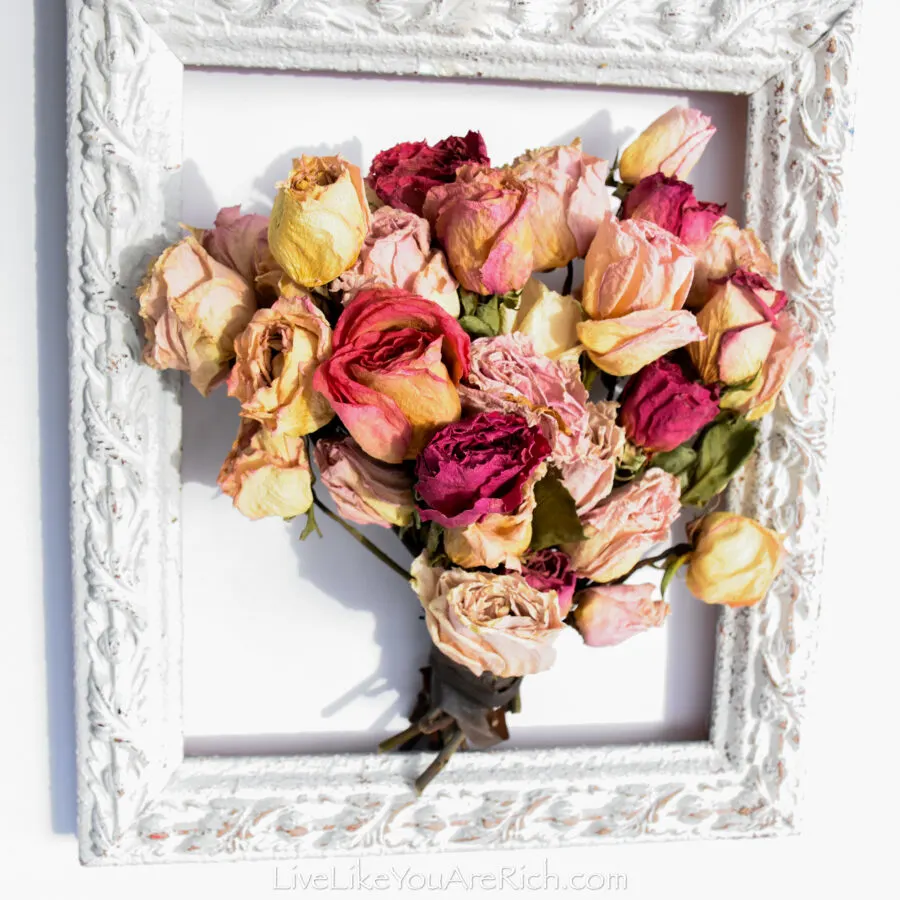
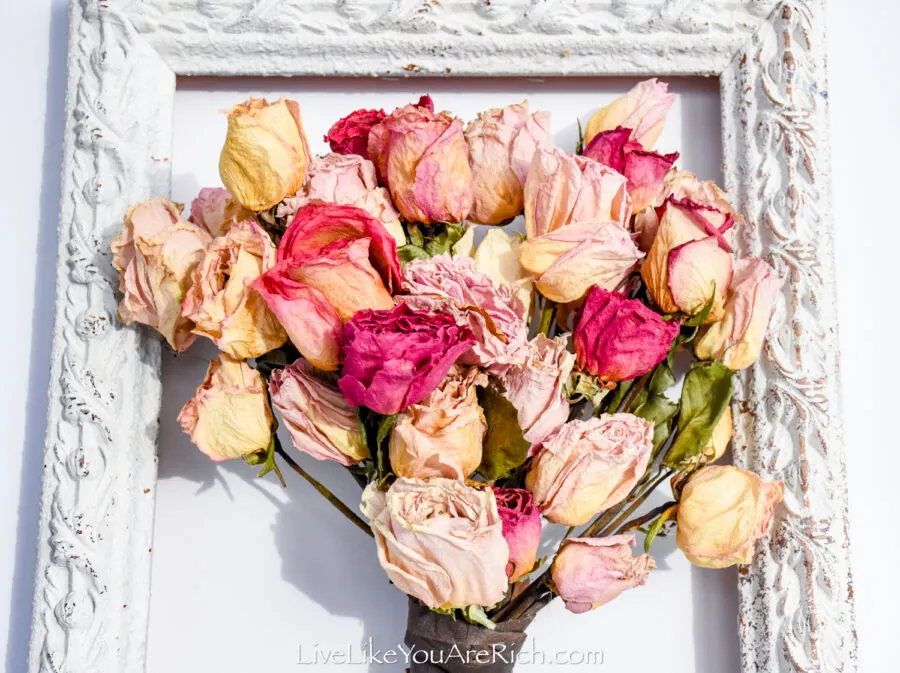
I made this vintage frame rose bouquet in a few minutes using items that I had on hand.
I love the way it turned out and how versatile a piece like this is.
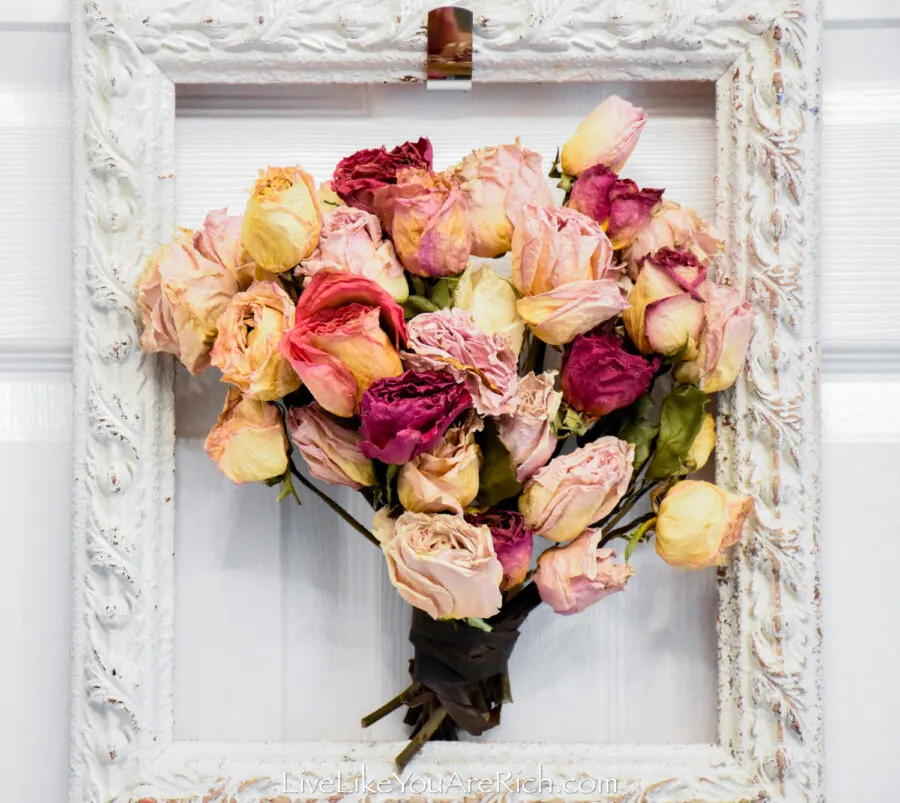
It can be used for wall art, mantel art, or hung as a wreath.
This artwork would work for Valentine’s Day, spring, summer, and/or anytime you’d need a wreath with a natural, vintage, pretty look.
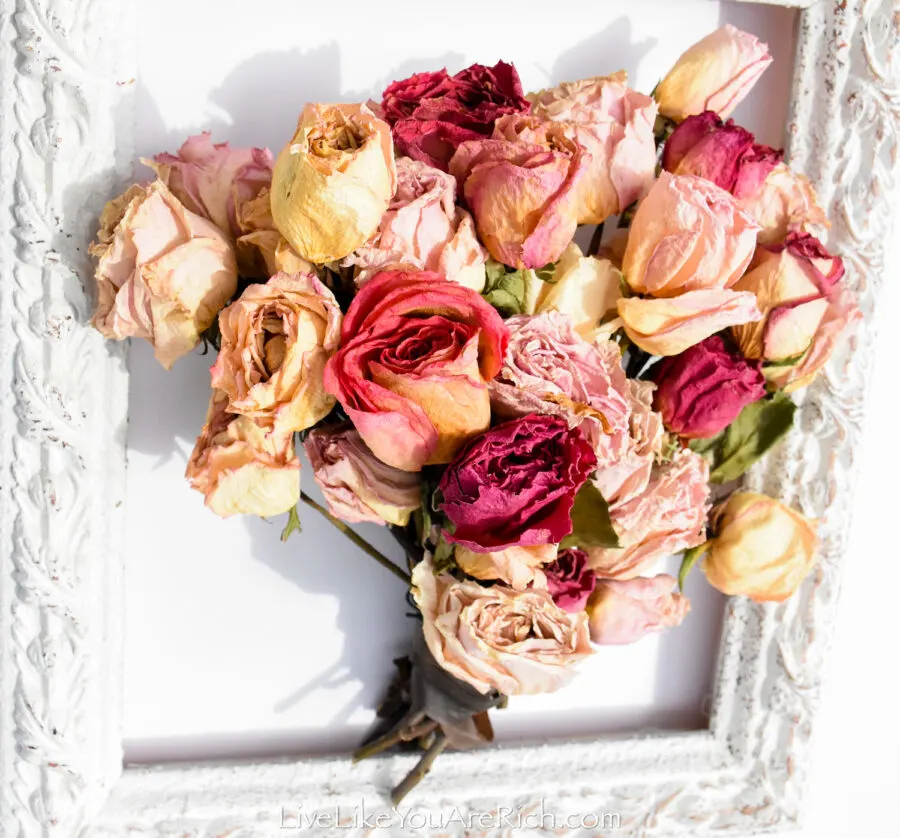
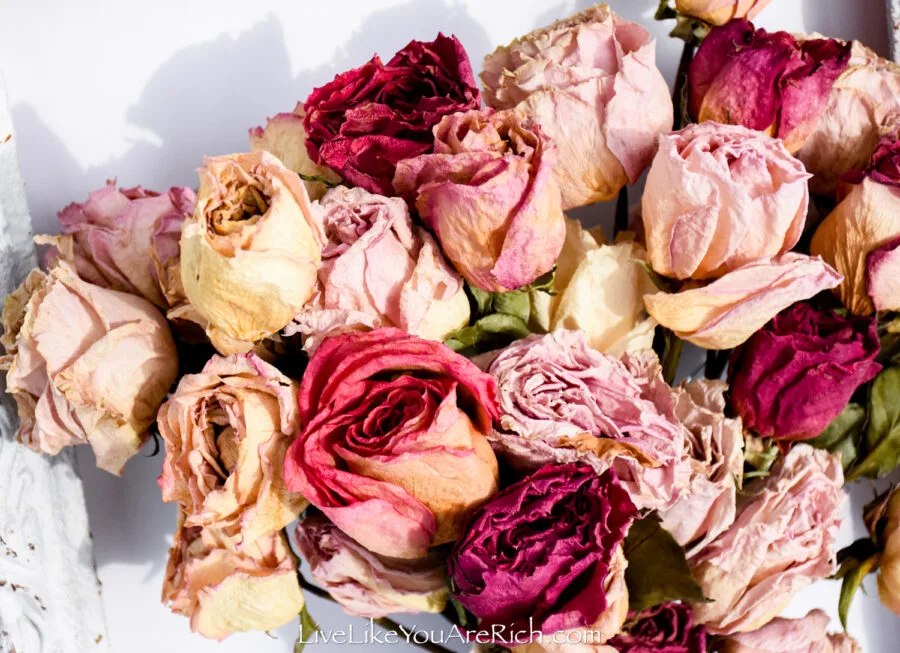
I love the variety of colors that the dried roses showcase and how the bouquest looks inside a white vintage wooden frame.
Below I share how easy it is to make a piece of wall art or wreath that looks like this.
It only took a few minutes and takes a few supplies…
Supply List and Cost for this Vintage Frame Rose Bouquet
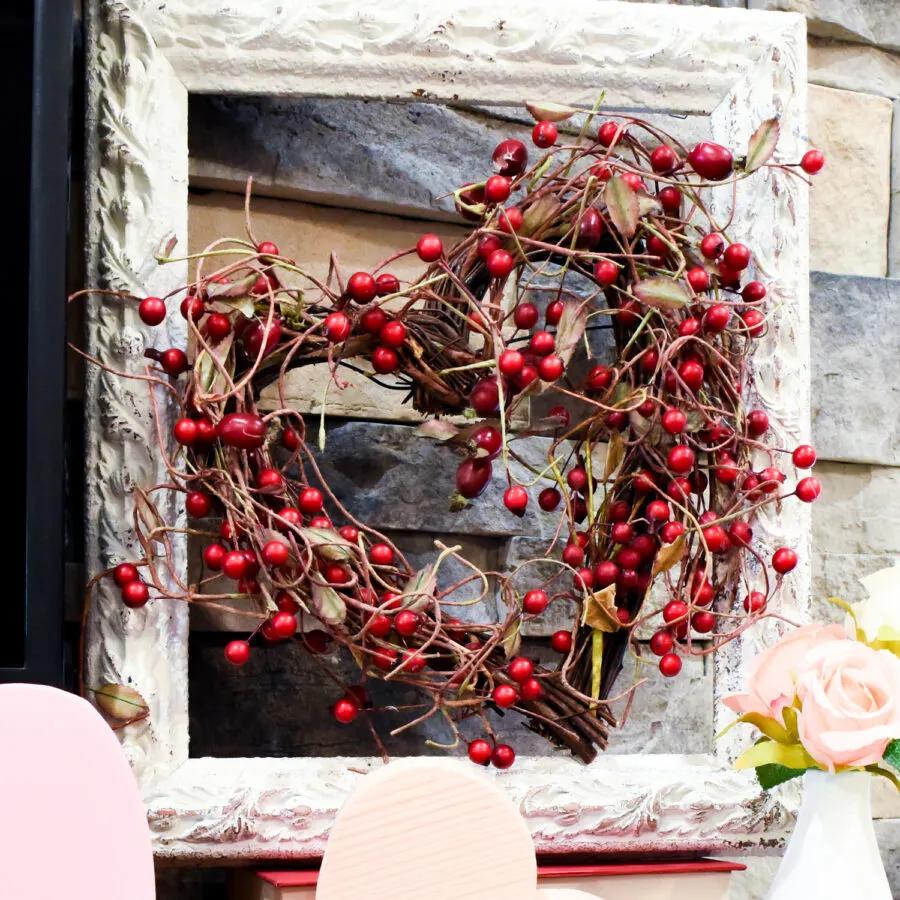
Vintage white rectangular frame with no glass or backing (had) Originally, I was lucky enough to find this frame at a thrift store for $2.00 about 12 years ago. I’ve used it in a variety of ways—including this heart berry wreath.
I linked to something sort of similar on Amazon, however you may find something on Etsy that is better. If those don’t pan out, try searching Mercari, eBay, and local classifieds.
Floral wire (had)
Wire cutters (had)
Floral tape dark green (had)
Door wreath hanger (had)
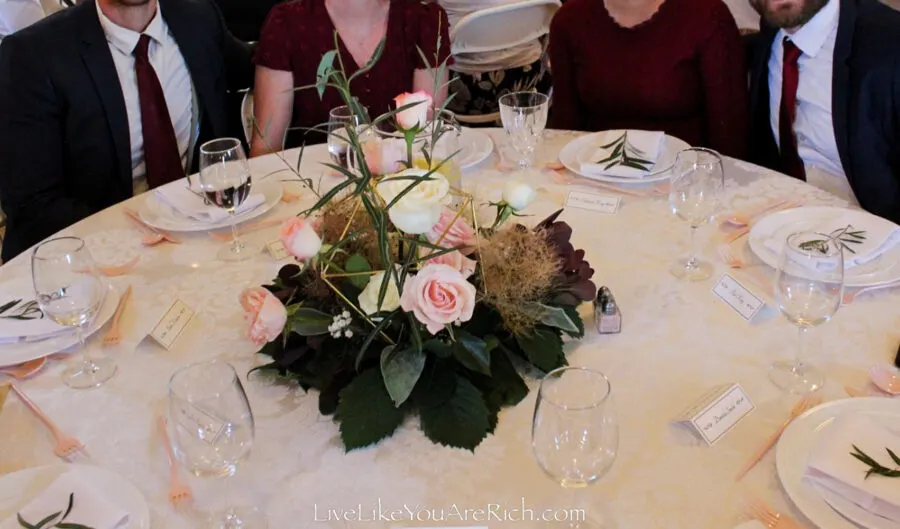
32 Dried roses- The roses came from the centerpieces that I made for my sister’s wedding dinner.
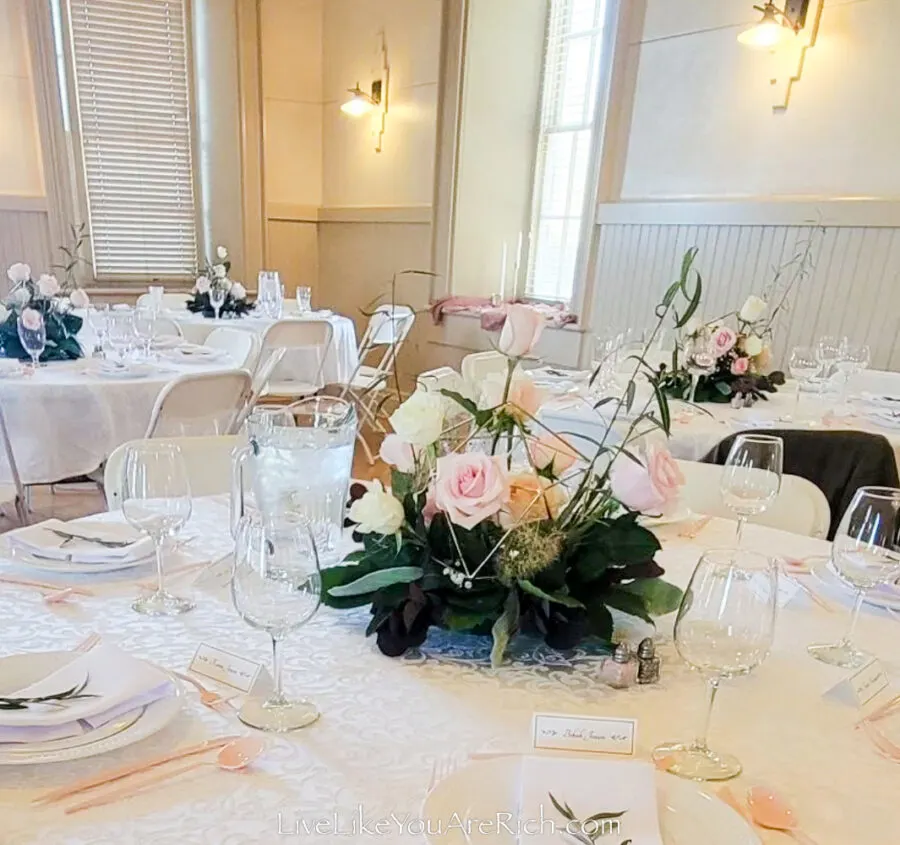
She said I could keep the roses and dry them, so I did. I bought the roses for her wedding centerpieces from Smith’s Food and Drug and Costco= Free.
Total Cost for this Vintage Frame Rose Bouquet = $1.00 in wire, tape, and hot glue.
How to Make this Vintage Frame Rose Bouquet
Continue reading and/or watch the video on this blog post to see how to make this.
1- Dry roses and collect supplies. I dried light pink, off white, peach, maroon, and a pink/maroon blend roses. If you want to make a similar piece, I would dry at least three dozen roses in a variety of colors just in case a few fall apart in the drying process.
2- Place roses into a small handheld bouquet. To do this you start with holding about 5 roses in one hand while placing more roses into the handheld bouquet with your other, alternating colors and height. Once you cannot hold the bouquet well (because there are too many roses) wrap the smaller bouquet with the wire. If needed, hot glue roses into place.
3- Turn the frame over and wrap the cut length of the wire onto one of the staples in the middle (lengthwise) of the frame (do this before cutting the wire). Next, wrap the wire around the bouquet a few times and attach the wire on the other side of the frame to a staple (once you know the length you need of wire you can cut it at this point). If there are no frame staples, attach the wire with a small nail or staples.
I added a dab of hot glue to both staples for a more secure hold.

4- Now, add more roses to your bouquet as desired so that the bouquet fills up the majority of the empty frame and spills out just a bit on the edges. Wrap the finished bouquet with more wire.
5- Cover the wire with dark green floral tape.

6- Spray the roses with hairspray to help keep the petals in attached.
7- Hang on a wall, a wreath hanger, or place on a mantel.
Enjoy this lovely timeless Vintage Frame Rose Bouquet.

For other ‘rich living tips’ please Subscribe Here for my weekly email or connect with me on these other platforms:

