Twinkle Twinkle Little Star Party for a One Year Old
Our daughter, Amelia, loves the song, ‘Twinkle Twinkle Little Star’. When ever it plays or I sing it, she ‘sings’ along with. It soothes her and helps her calm down when she is upset. It is pretty darling how much she loves it! I wanted to celebrate her one year old birthday by doing this Twinkle Twinkle Little Star Party for a One-Year-Old.
This party was fairly simple to put together and was not too expensive either. I kept the party cost under $100.
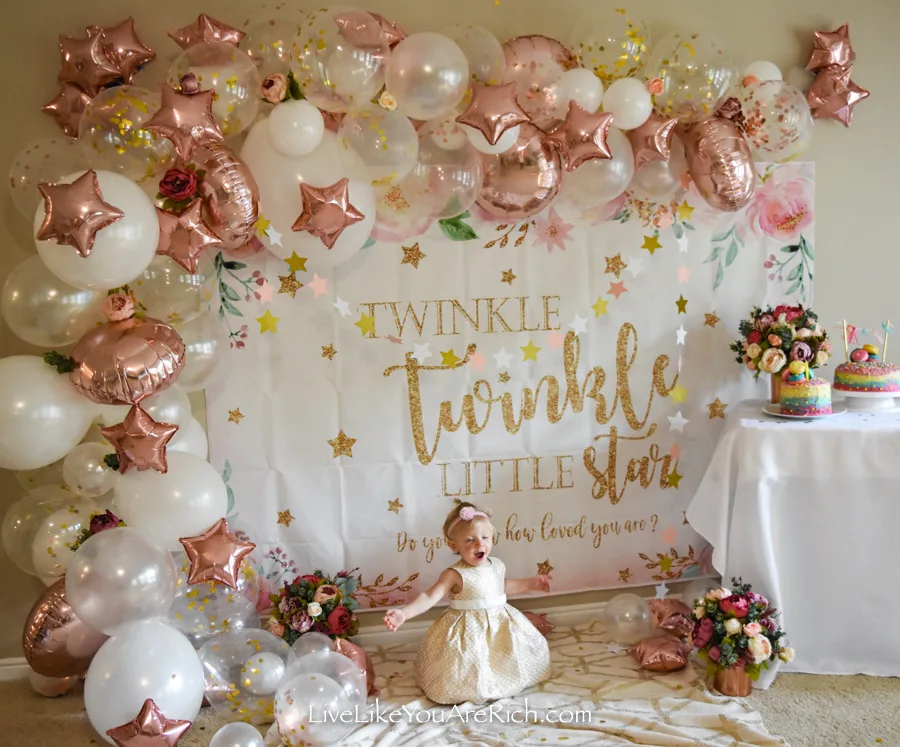
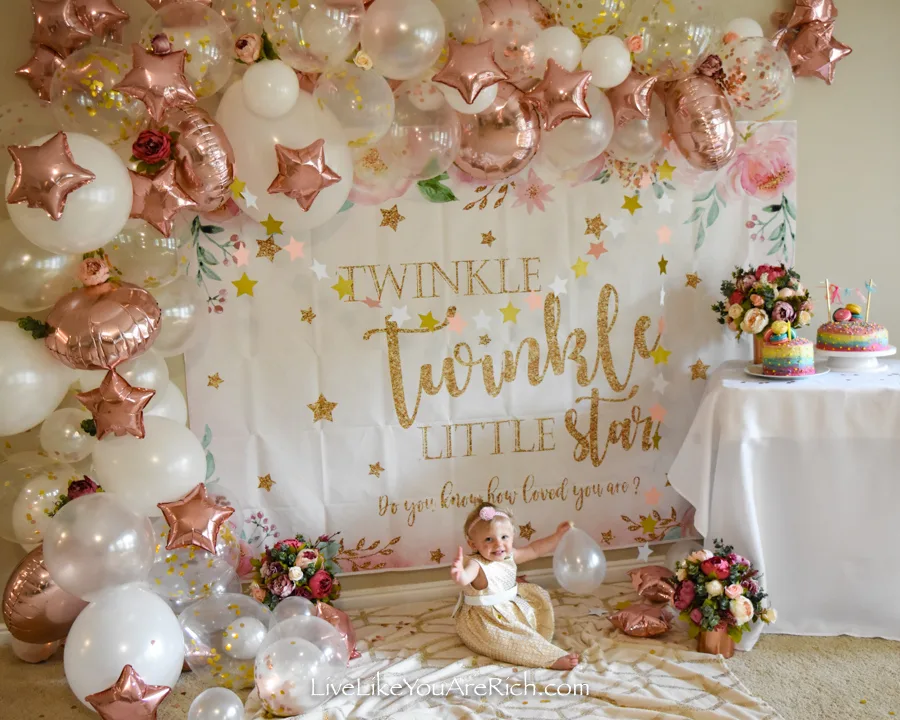
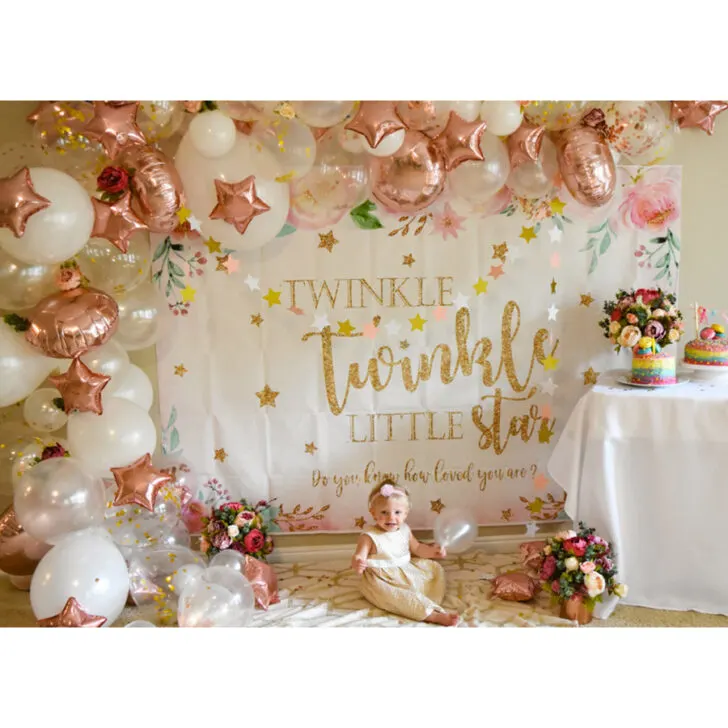
I bought this balloon garland off of Amazon. I also bought these gold balloons and these rose gold star balloons to supplement the ballon garland/arch. This made the garland bigger, fuller, tied in the gold from the banner, and also brought out the star theme a little more.
We used our air compressor to blow the balloons up and then attached the balloons on the provided plastic garland strip. It was not difficult. It took about an hour to make with the help of my husband and kids.
We hung it on the wall with the provided hooks and reinforced the hooks with painters tape (the hooks kept falling until we taped them up). We had to use some string to float it from the wall and tied the string to the hooks.
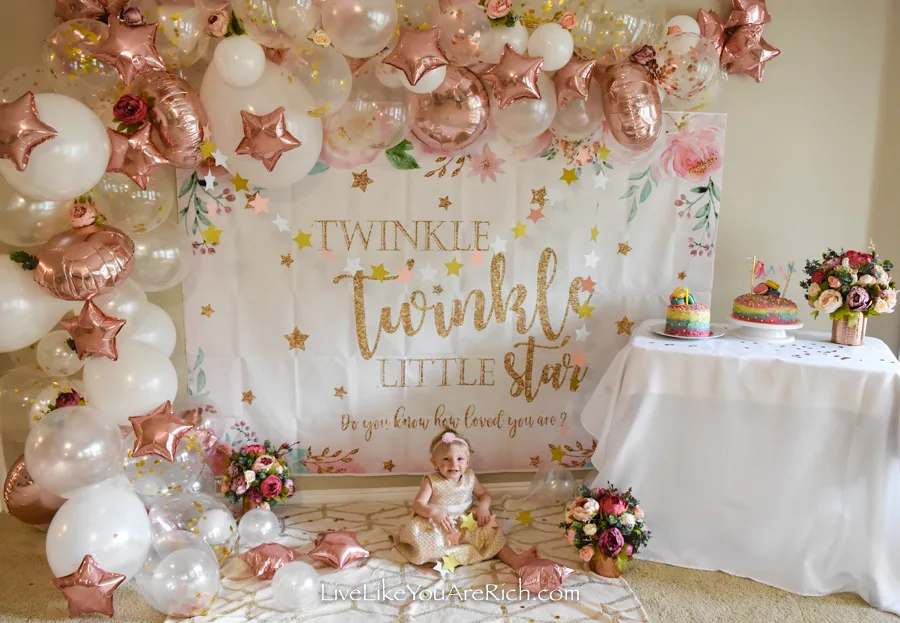 Note- I would not attempt to do this without a ballon machine, pump, or an air compressor that has a fitting that will work for balloons. It would take way too long blowing them all up yourself.
I also put a few fake peonies, eucalyptus, and roses into the balloon garland to add a little more contrast and to tie it into the banner (the banner has flowers and greenery on it).
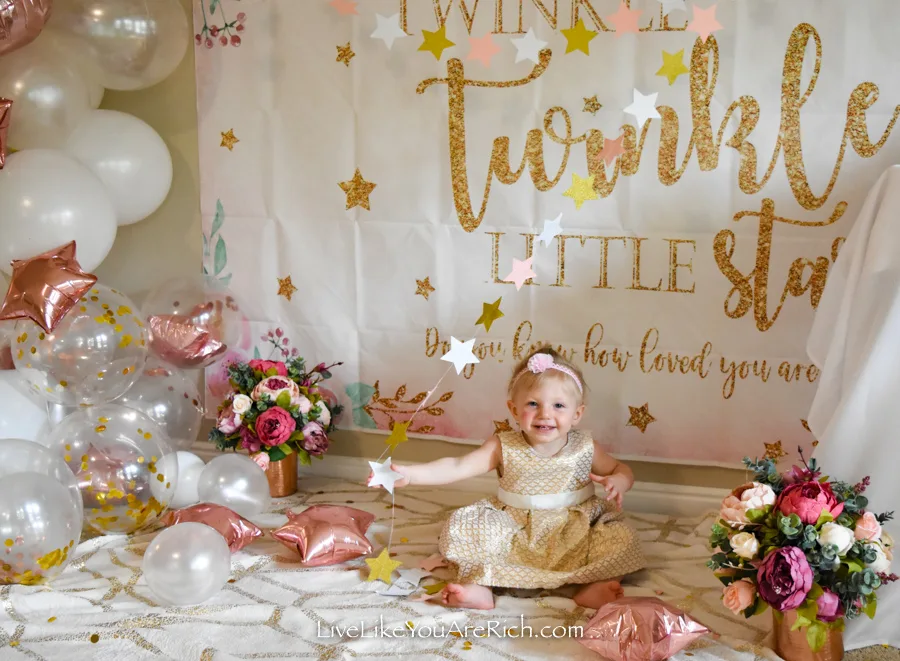 I bought this star garland off of Amazon and hung it off the balloon garland as well.
The star garland just added a little more to the Twinkle Twinkle Little Star Theme.
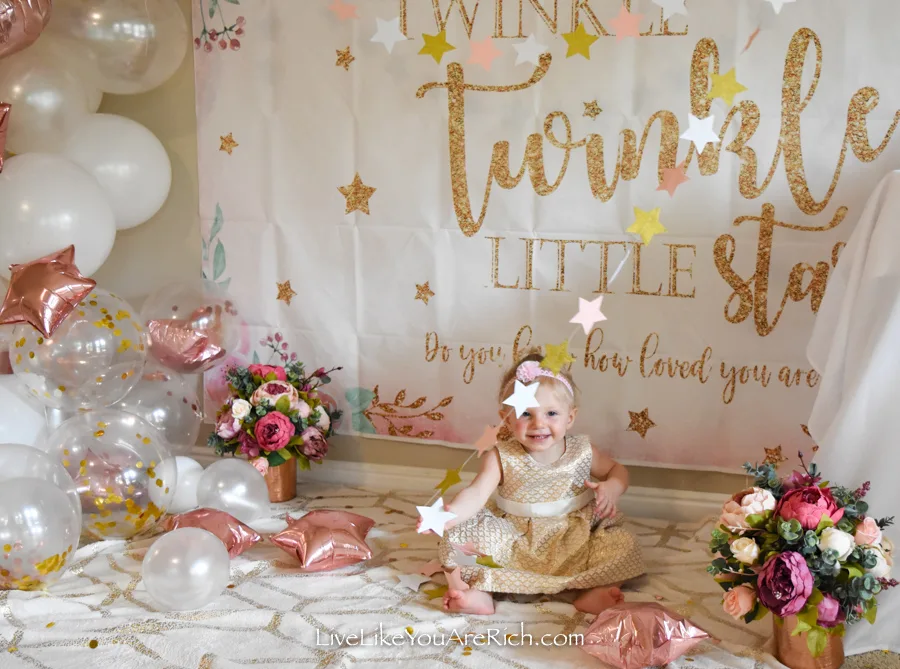
Amelia loved playing with the portion of garland that was hanging down.
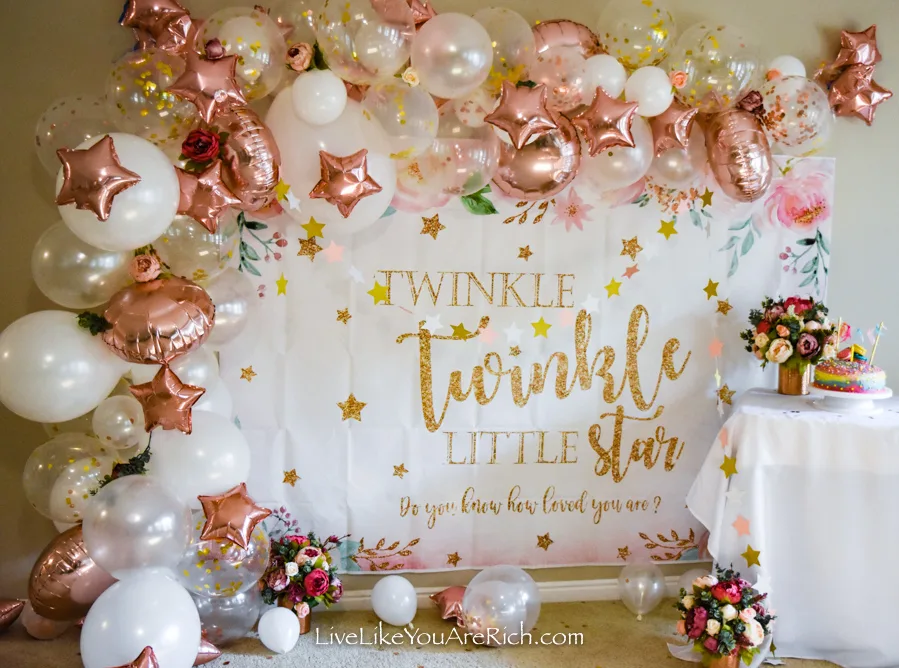
I bought this Twinkle Twinkle Little Star banner on Amazon. I tried multiple ways to get the creases out.
I hung it for days, that did not work. I laid it flat in the sun for hours, that didn’t work either. I tried drying it in the dryer with a wet rag, that did not work (and I don’t recommend that either because it started to ruin the banner graphics).
I used a hair dryer to try to heat the edges to lay flat and that didn’t work.
Then I got out a steam iron and ironed it between two towels. That did the best job of getting rid of the creases. But it was becoming too time consuming at this point, so I just gave up. As you can see, there were still wrinkles in the banner.
I think if I had just started with the steam iron and kept with it, I could have gotten most of the creases out.
So if the wrinkles bother you, either just iron the whole banner between two cotton towels and use a steam iron or don’t buy banners/back drops because they are hard to get smooth.
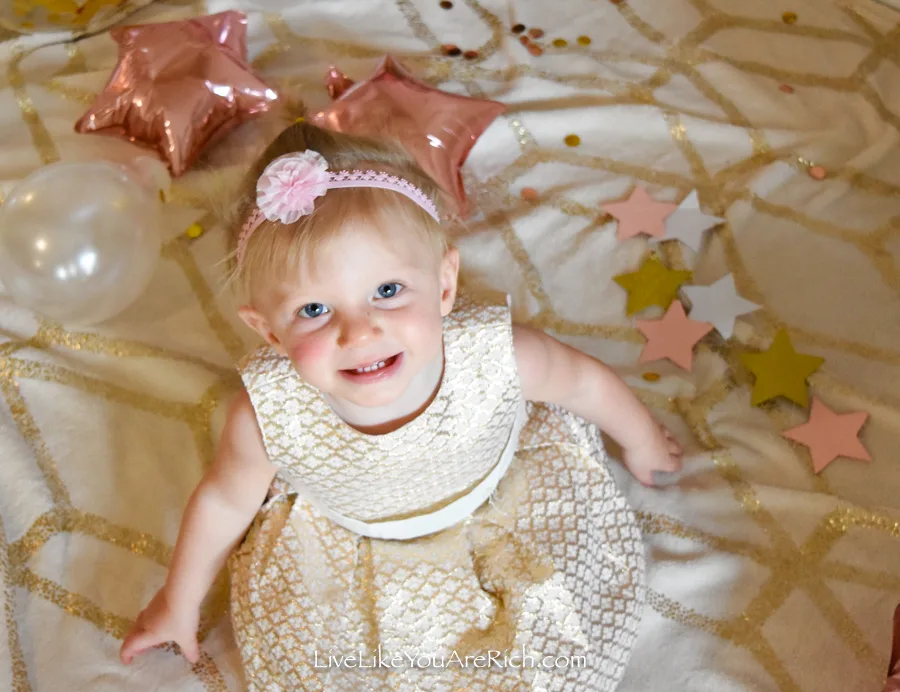
I placed this gold blanket I bought from Amazon a few years ago on the floor to tie everything in. When we did the smash cake it also helped to keep everything off of the carpet.
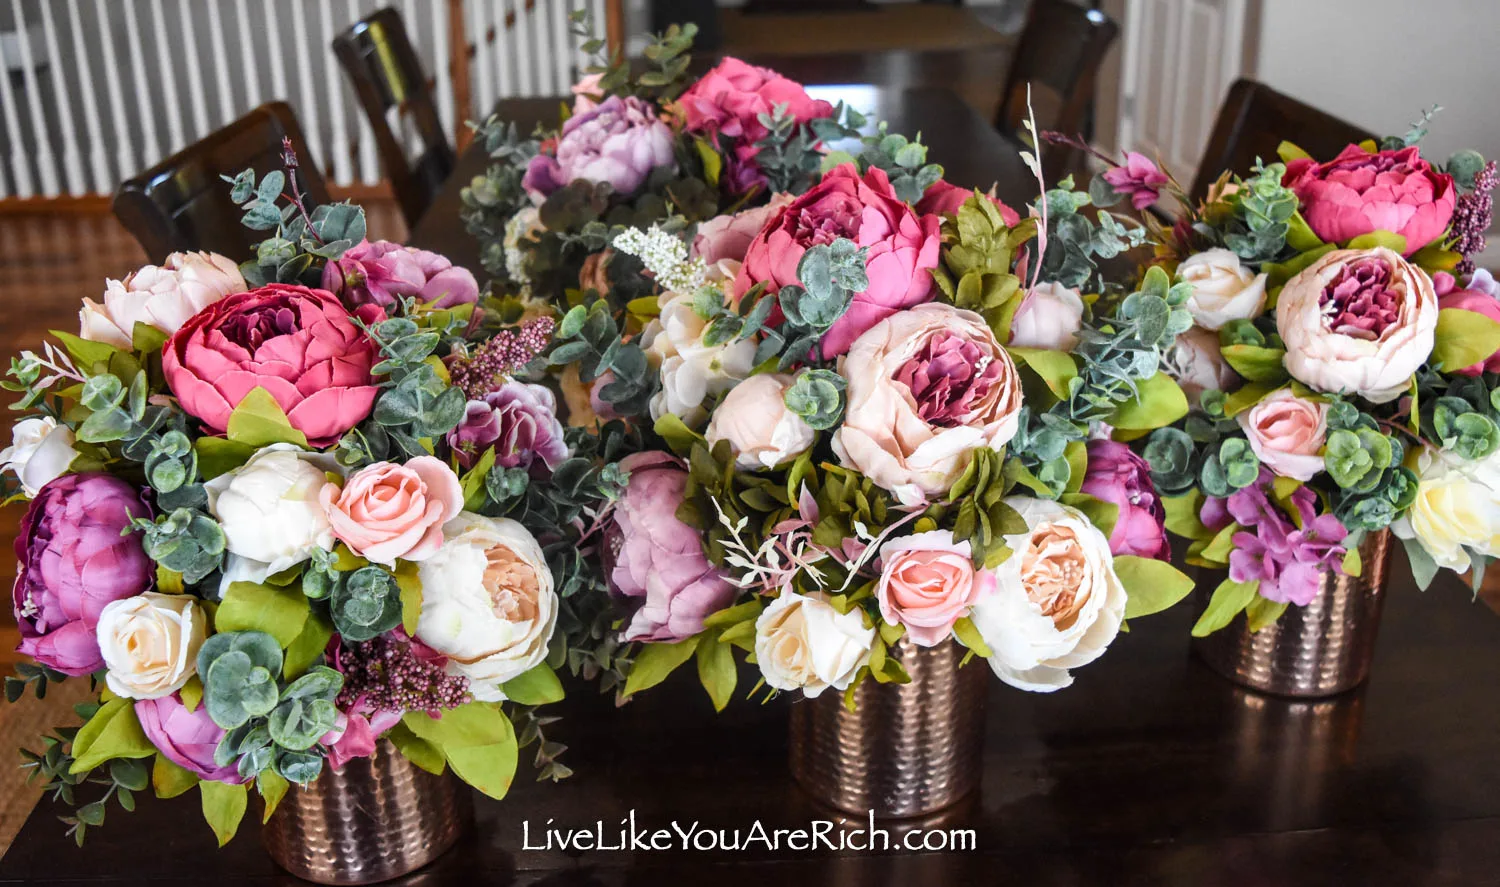
I made the vases of flowers for another party and they are now decorations in my home. These are some of the most realistic looking flowers I’ve ever seen. I bought them off Amazon and arranged them in copper vases.

A tutorial on how to make the flower arrangements including a supply list is here.
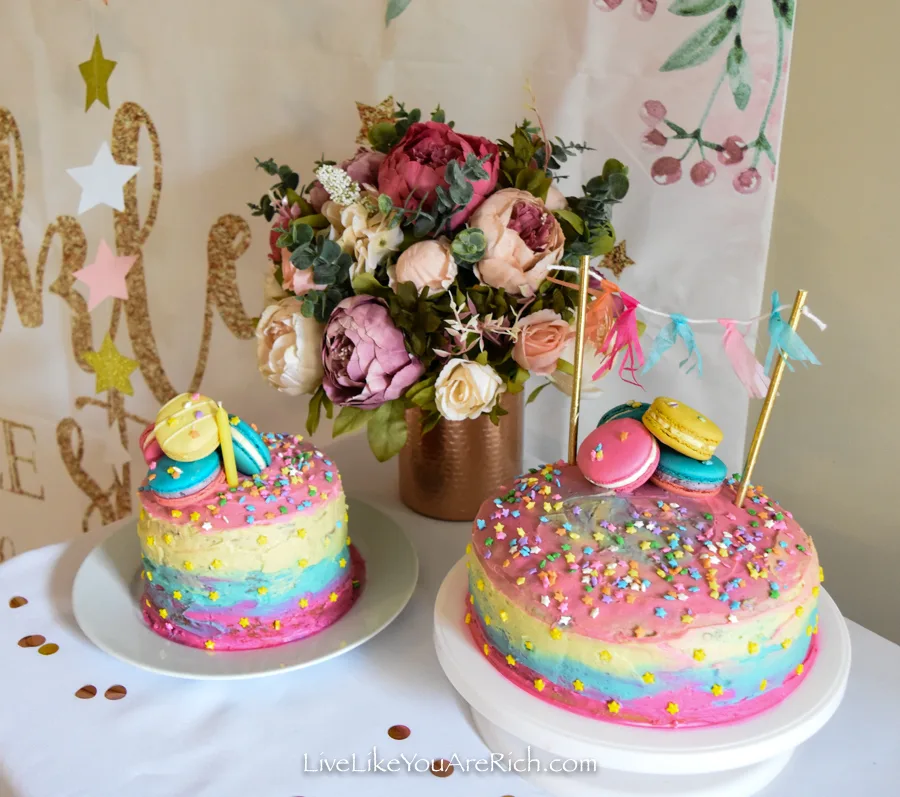
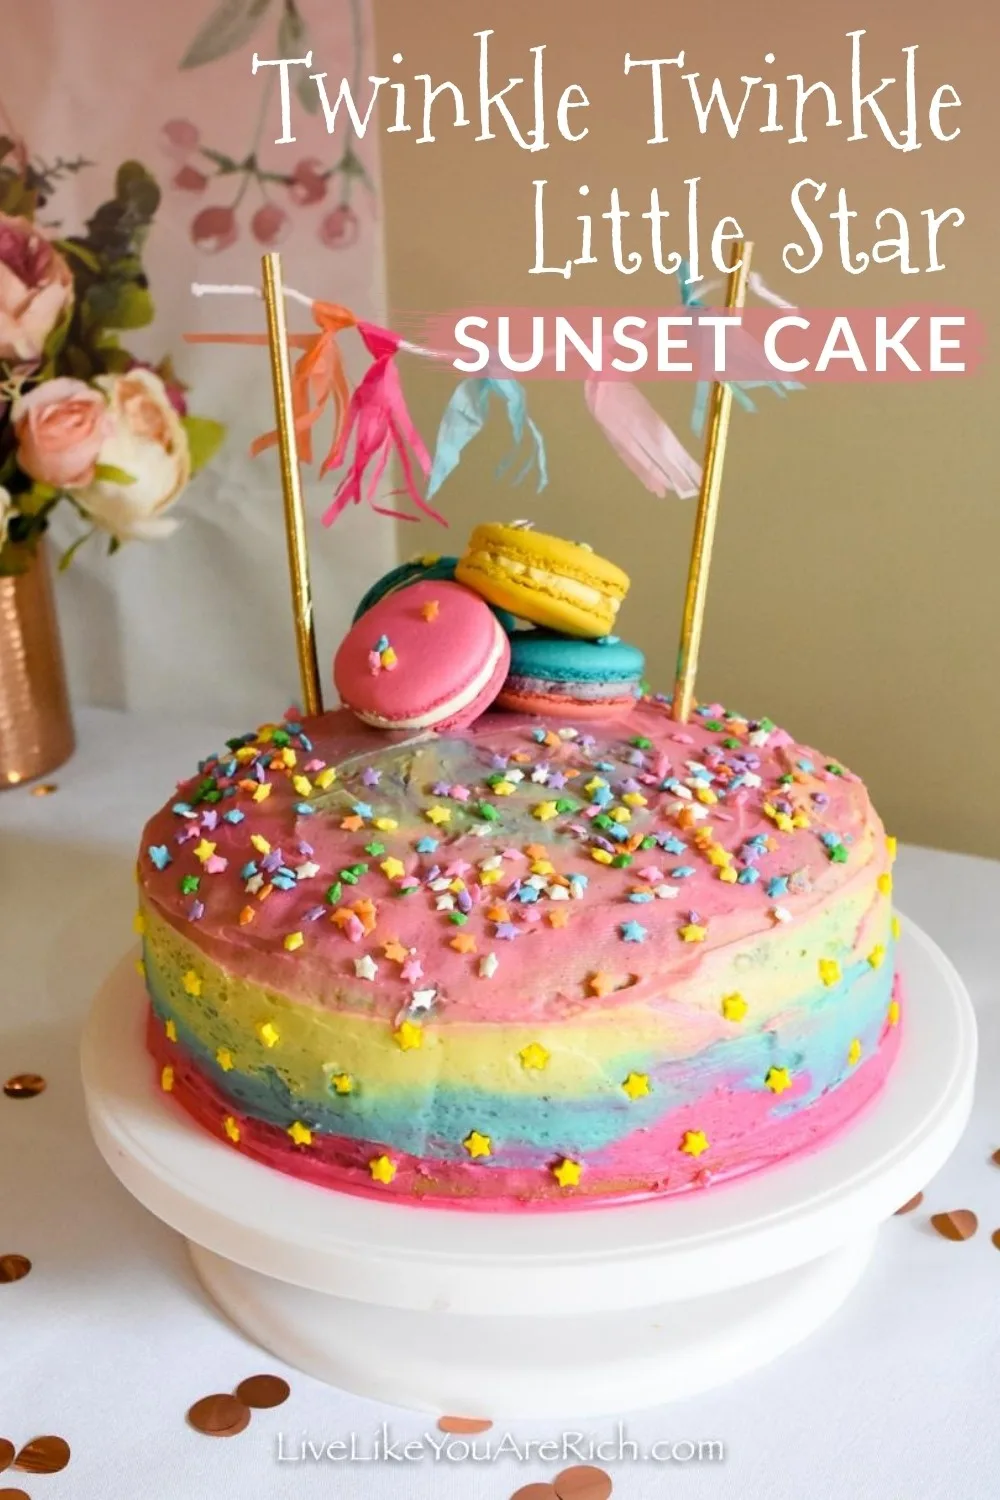
My older daughter (5 years old), and I made the two ‘Twinkle Twinkle Sunset Cakes’. A tutorial on these is here as well.
We all sung, ‘Twinkle Twinkle Little Star’, to her instead of singing Happy Birthday. She loved it.
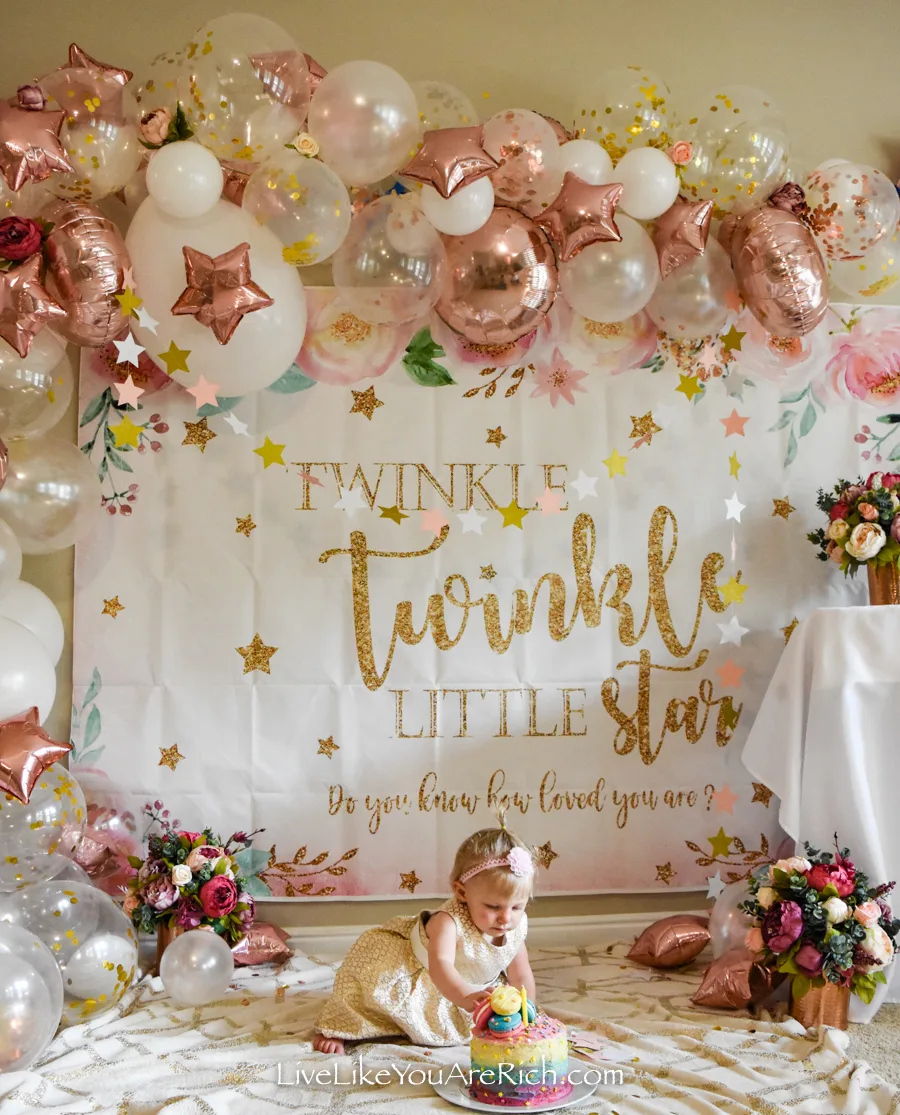
Amelia was fascinated by the star sprinkles on her own smash cake and was very carefully eating one at a time…
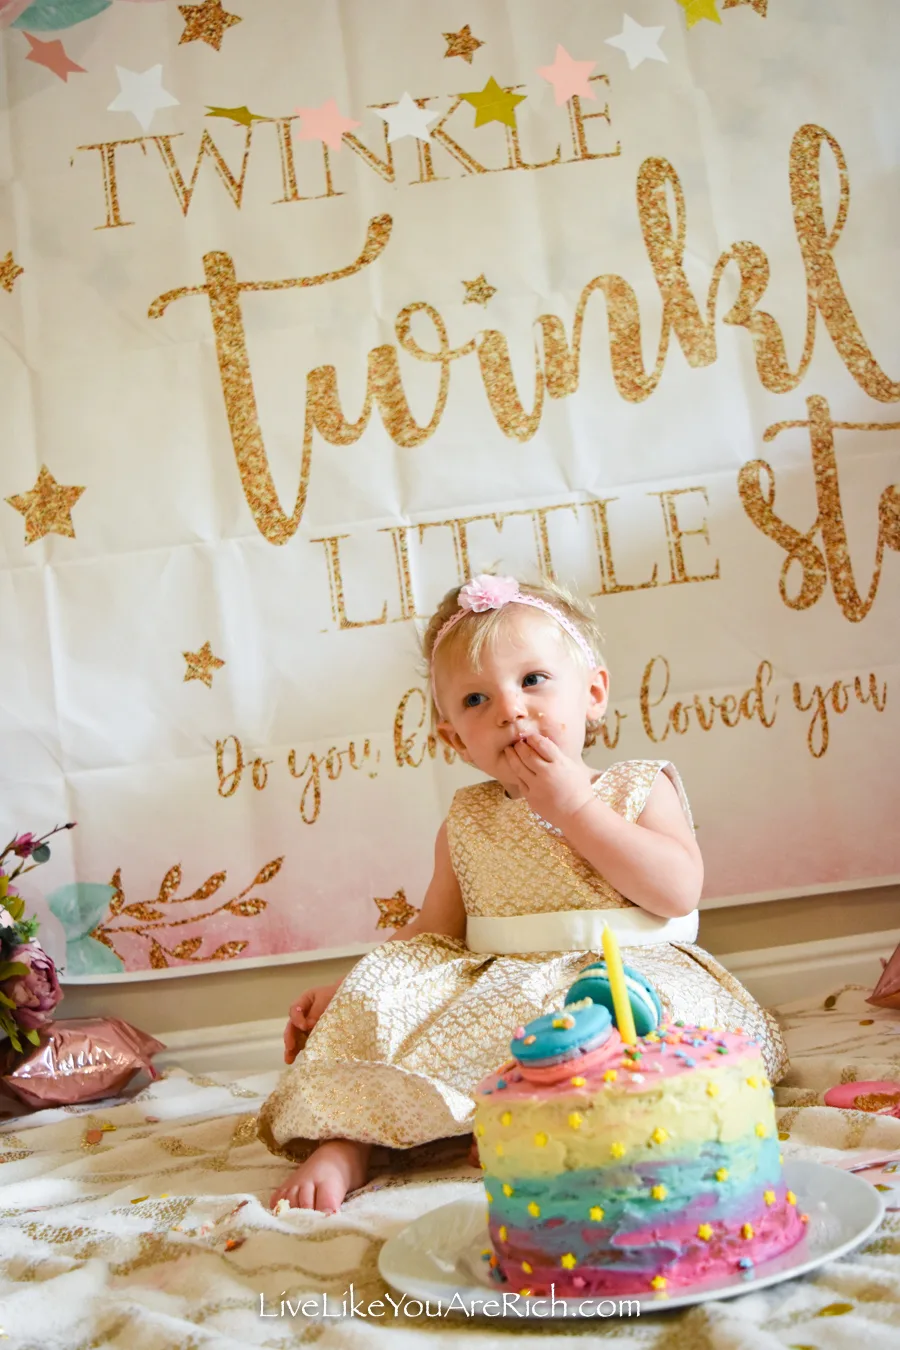
After a while, she got a little more aggressive with the cake by removing the macarons and chewing on them.
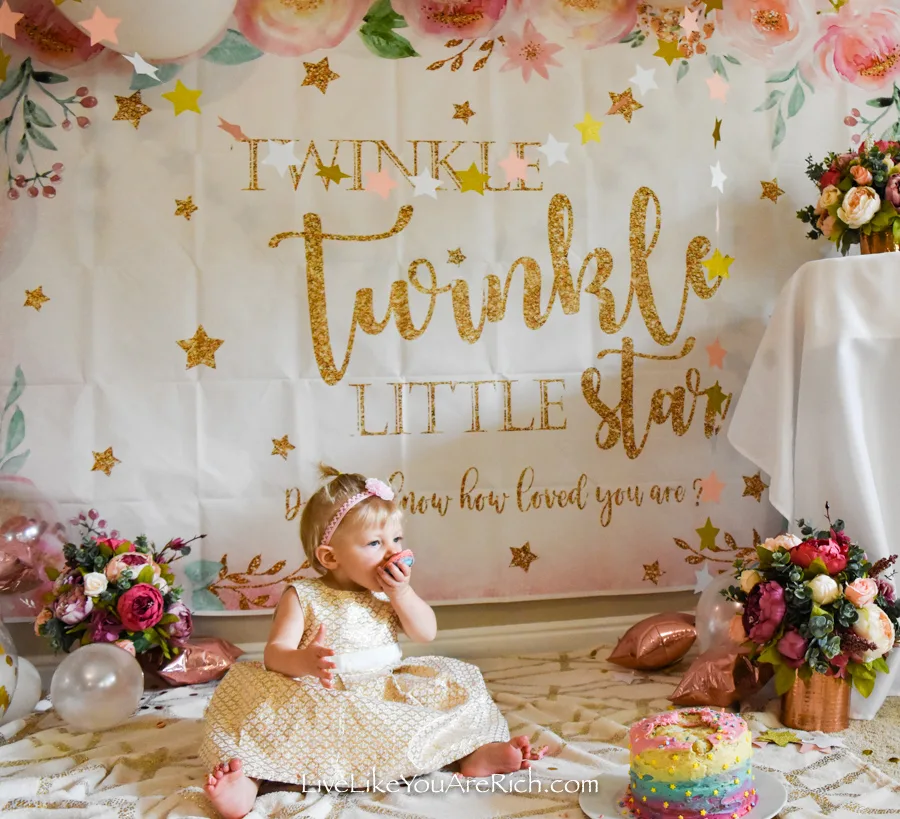
She never did go crazy and smash up the cake; which was cute because it highlights her unique personality. My older two demolished their smash cakes when they were one. Each child is so uniquely different.
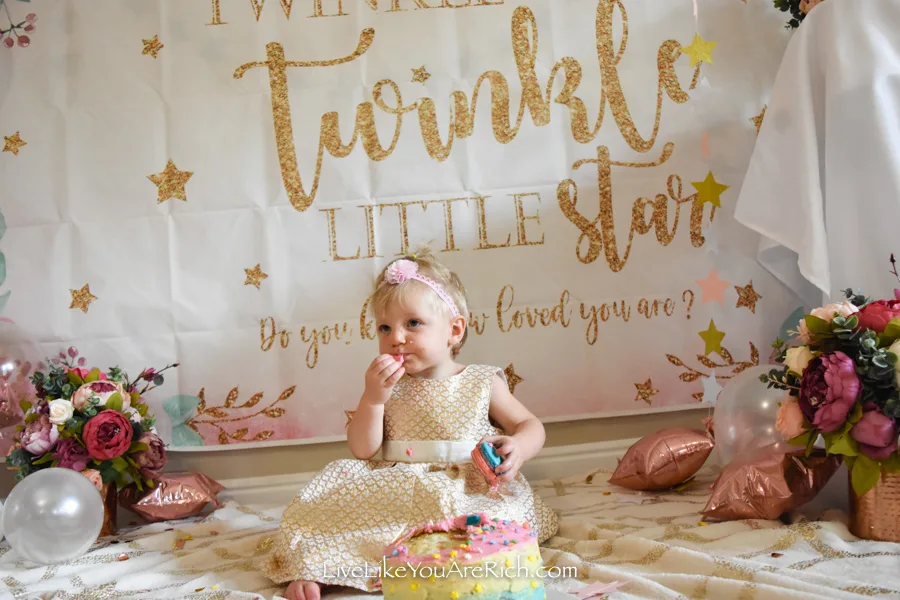
Despite her not ‘smashing’ her smash cake, it was fun to see her curiosity.
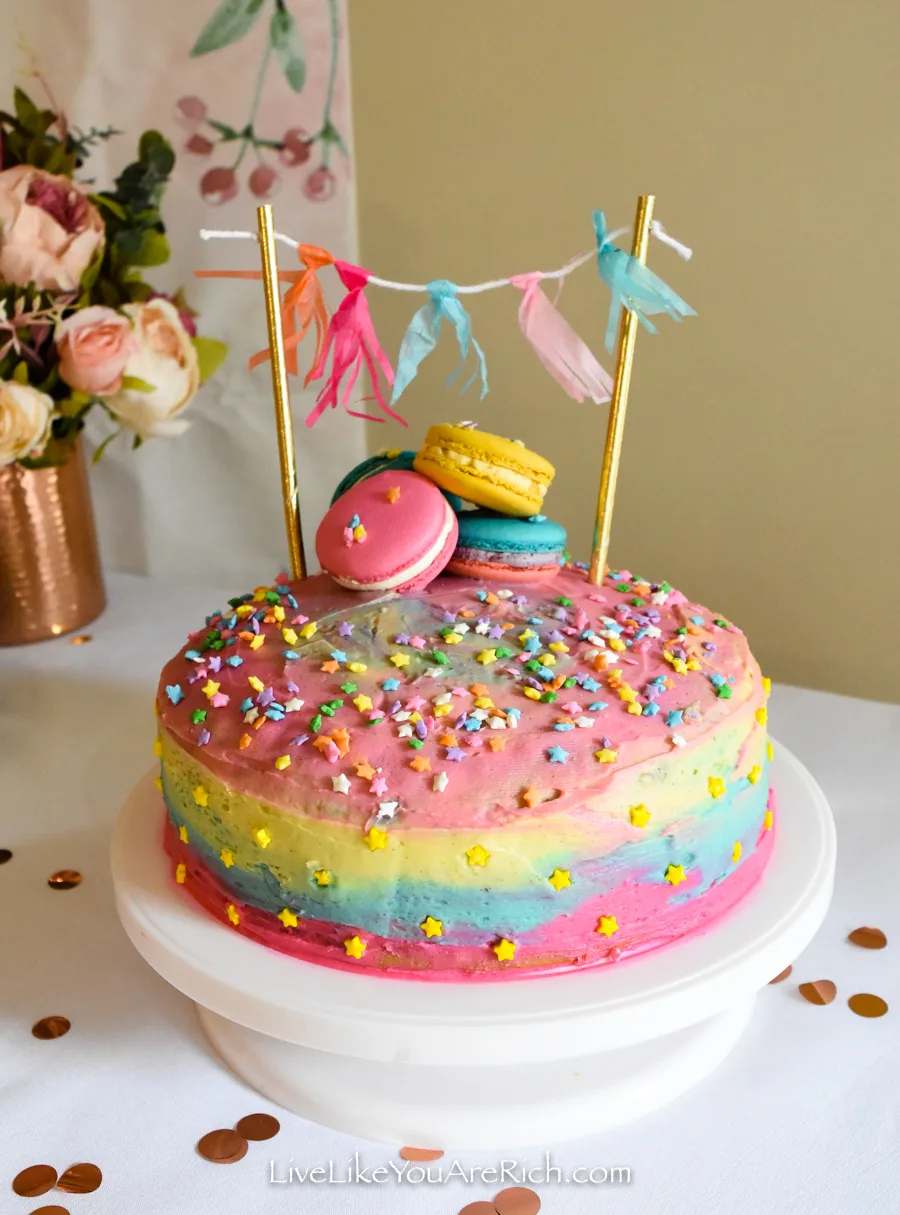
The rest of us cut and enjoyed the bigger cake. Both cakes were vanilla bean layered with raspberry filling and were delicious.
For activities, we did a slip-and-slide on our sledding hill with a roll of thick long visqueen that we already had and a garden hose. It came together in a few minutes and kept the family entertained for hours.
We did a potluck style dinner with a few family members and it turned out to be a very fun party.
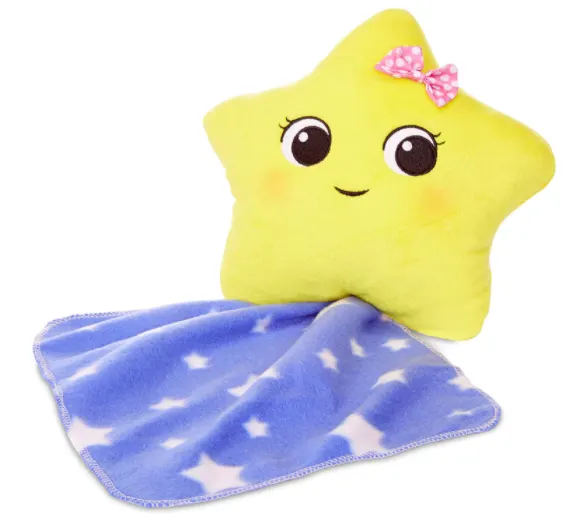
Oh, and as a present, Amelia got this Twinkle Twinkle Little Star “Little Baby Bum” plush toy. She adores it.
I hope this helps you throw your own Twinkle Twinkle Little Star Party for a One-Year-Old if you are thinking of doing so.
Check out how to make the Twinkle Twinkle Little Star ‘Sunset Cake’.

For other ‘rich living tips’ please subscribe, like me on Facebook, and follow me on Pinterest and Instagram.

13 Baby Girl Birthday Ideas for a Memorable Party - Imaginary Junior
Friday 17th of February 2023
[…] Courtesy of Live Like You Are Rich […]
Rachel-Rose
Monday 7th of March 2022
Doing this for my daughters first birthday next week! Just ironed the backdrop 😮💨 it sure is a lot of work hahah! But this looks beautiful I'm excited to put it all together! Thanks for posting ❤️
Anita
Wednesday 9th of March 2022
You're welcome. I hope it goes well!!
Nicole Yule
Tuesday 4th of January 2022
I ordered everything for my daughters 1st birthday. It turned out beautiful! Thank you!
Anita
Wednesday 5th of January 2022
Nicole, That's awesome! Thanks for stopping by.