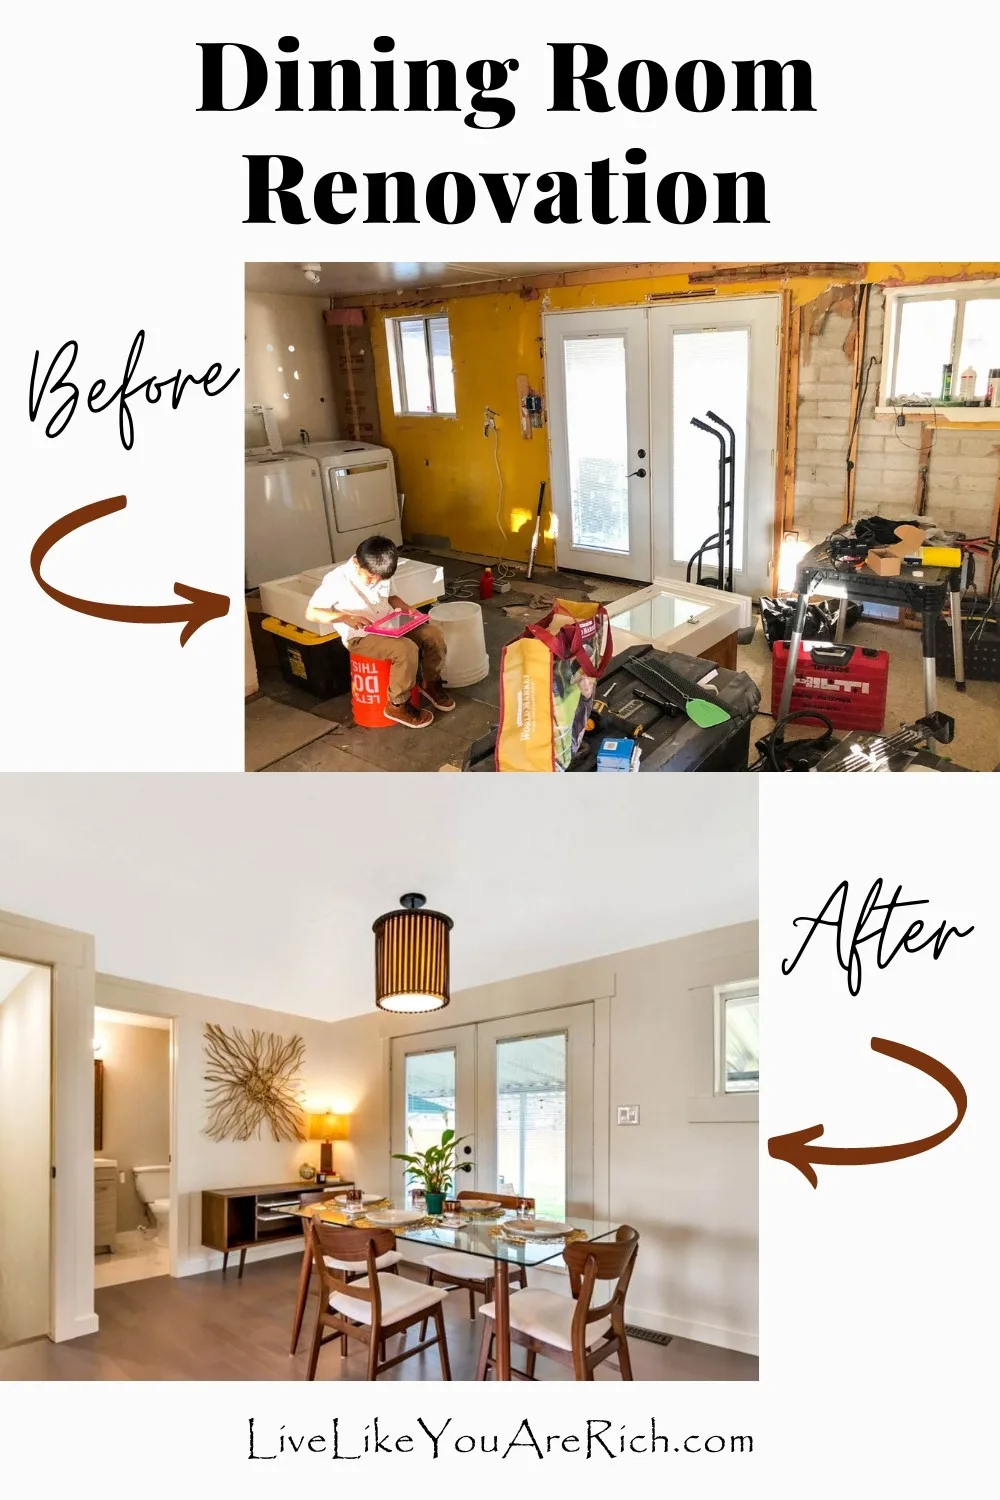
Below you will see the Before and After Dining Room Renovation of Home 2 and how we remodeled it for around $2,000.
When we were renovating my husband’s house, it was clear that the layout needed to be changed.
I wanted it to be a 3 bathroom house instead of a 1 bathroom home. I also knew it would sell for more if we added more bedrooms; so we added 2 more bedrooms to the layout.


We turned his 2Bd 1B home into a 4Bd 2.5B which added a ton of value on to it when we sold it 8 months after our renovation began.
I felt that the dinning area should be open to the living room and kitchen but that a bedroom could be added on to one side of it and the ‘nook’ turned into a full bath… so we got planning and organizing.
This is what we did.
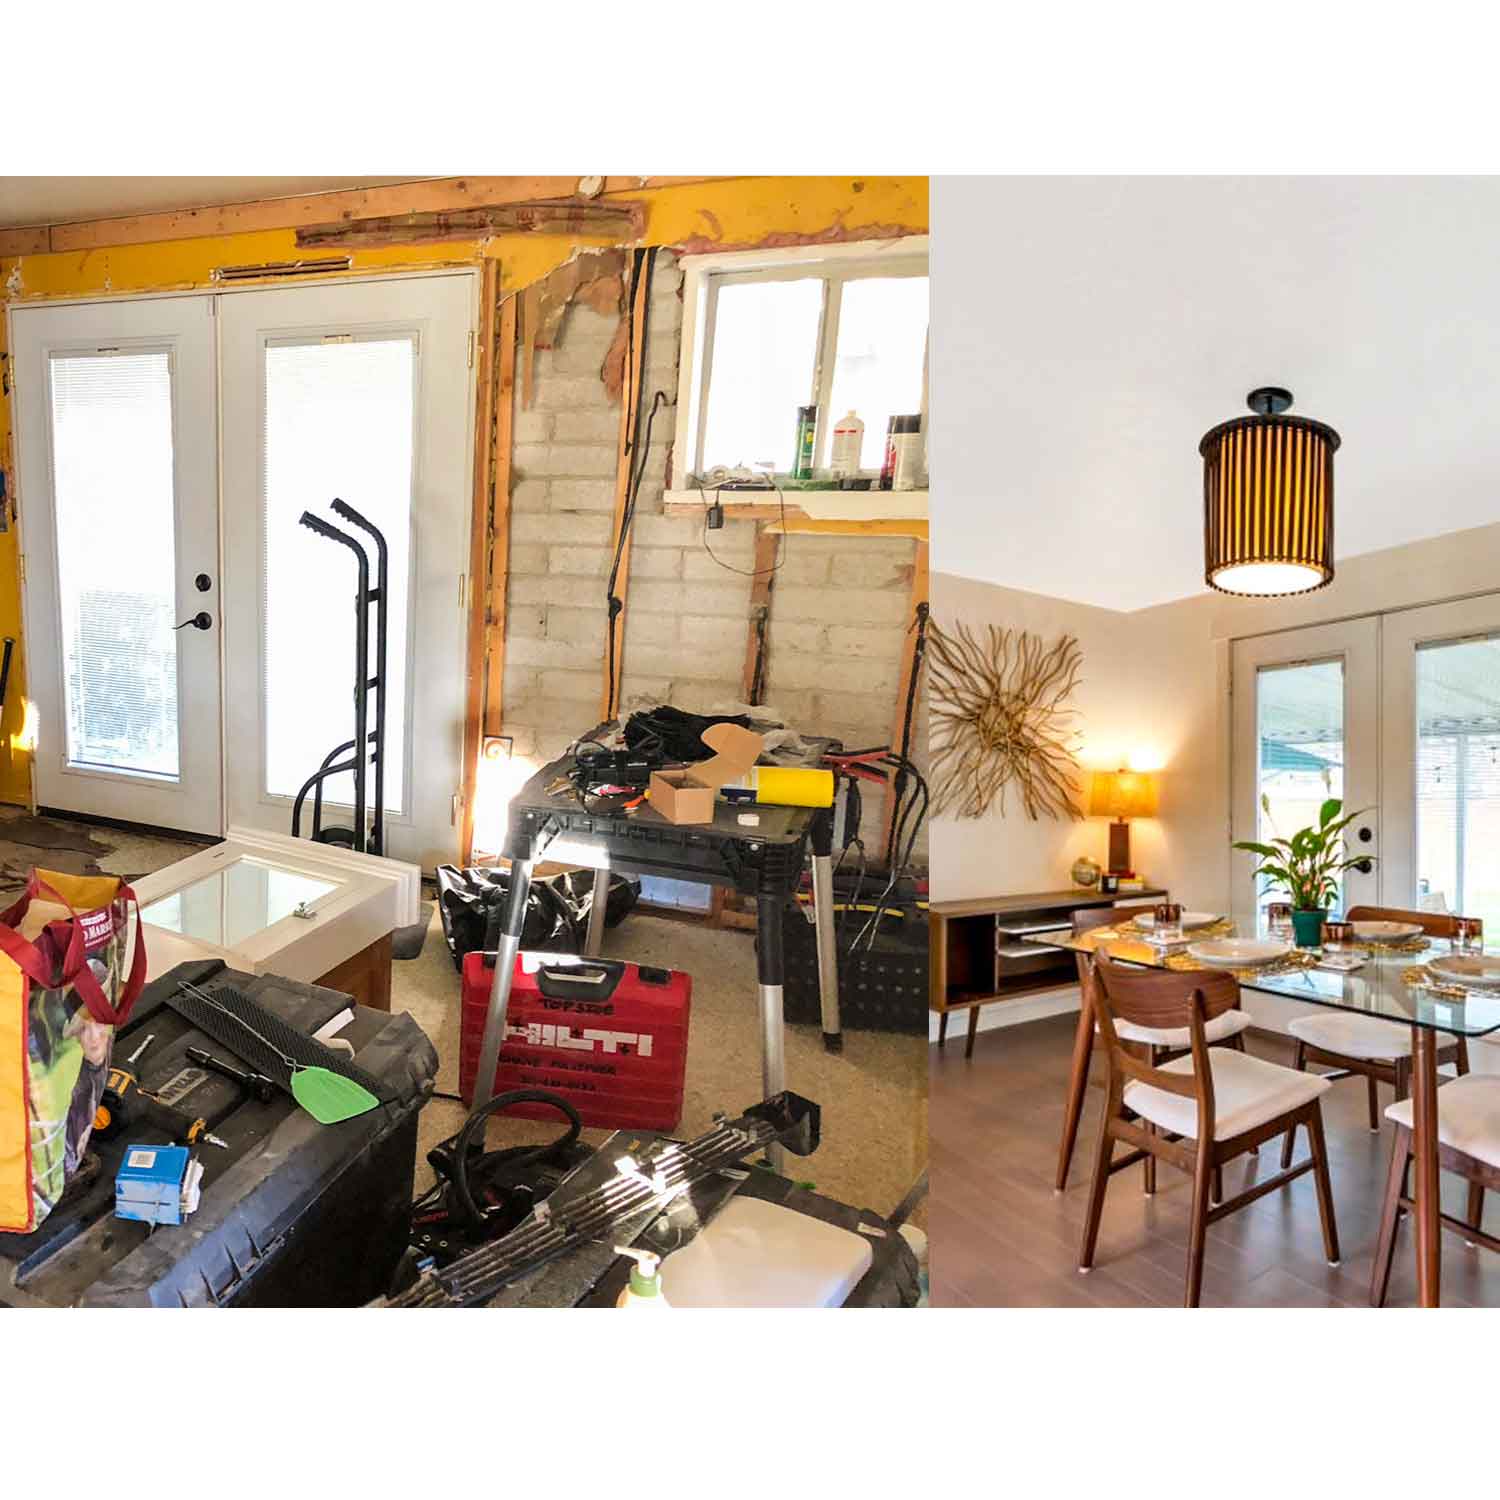
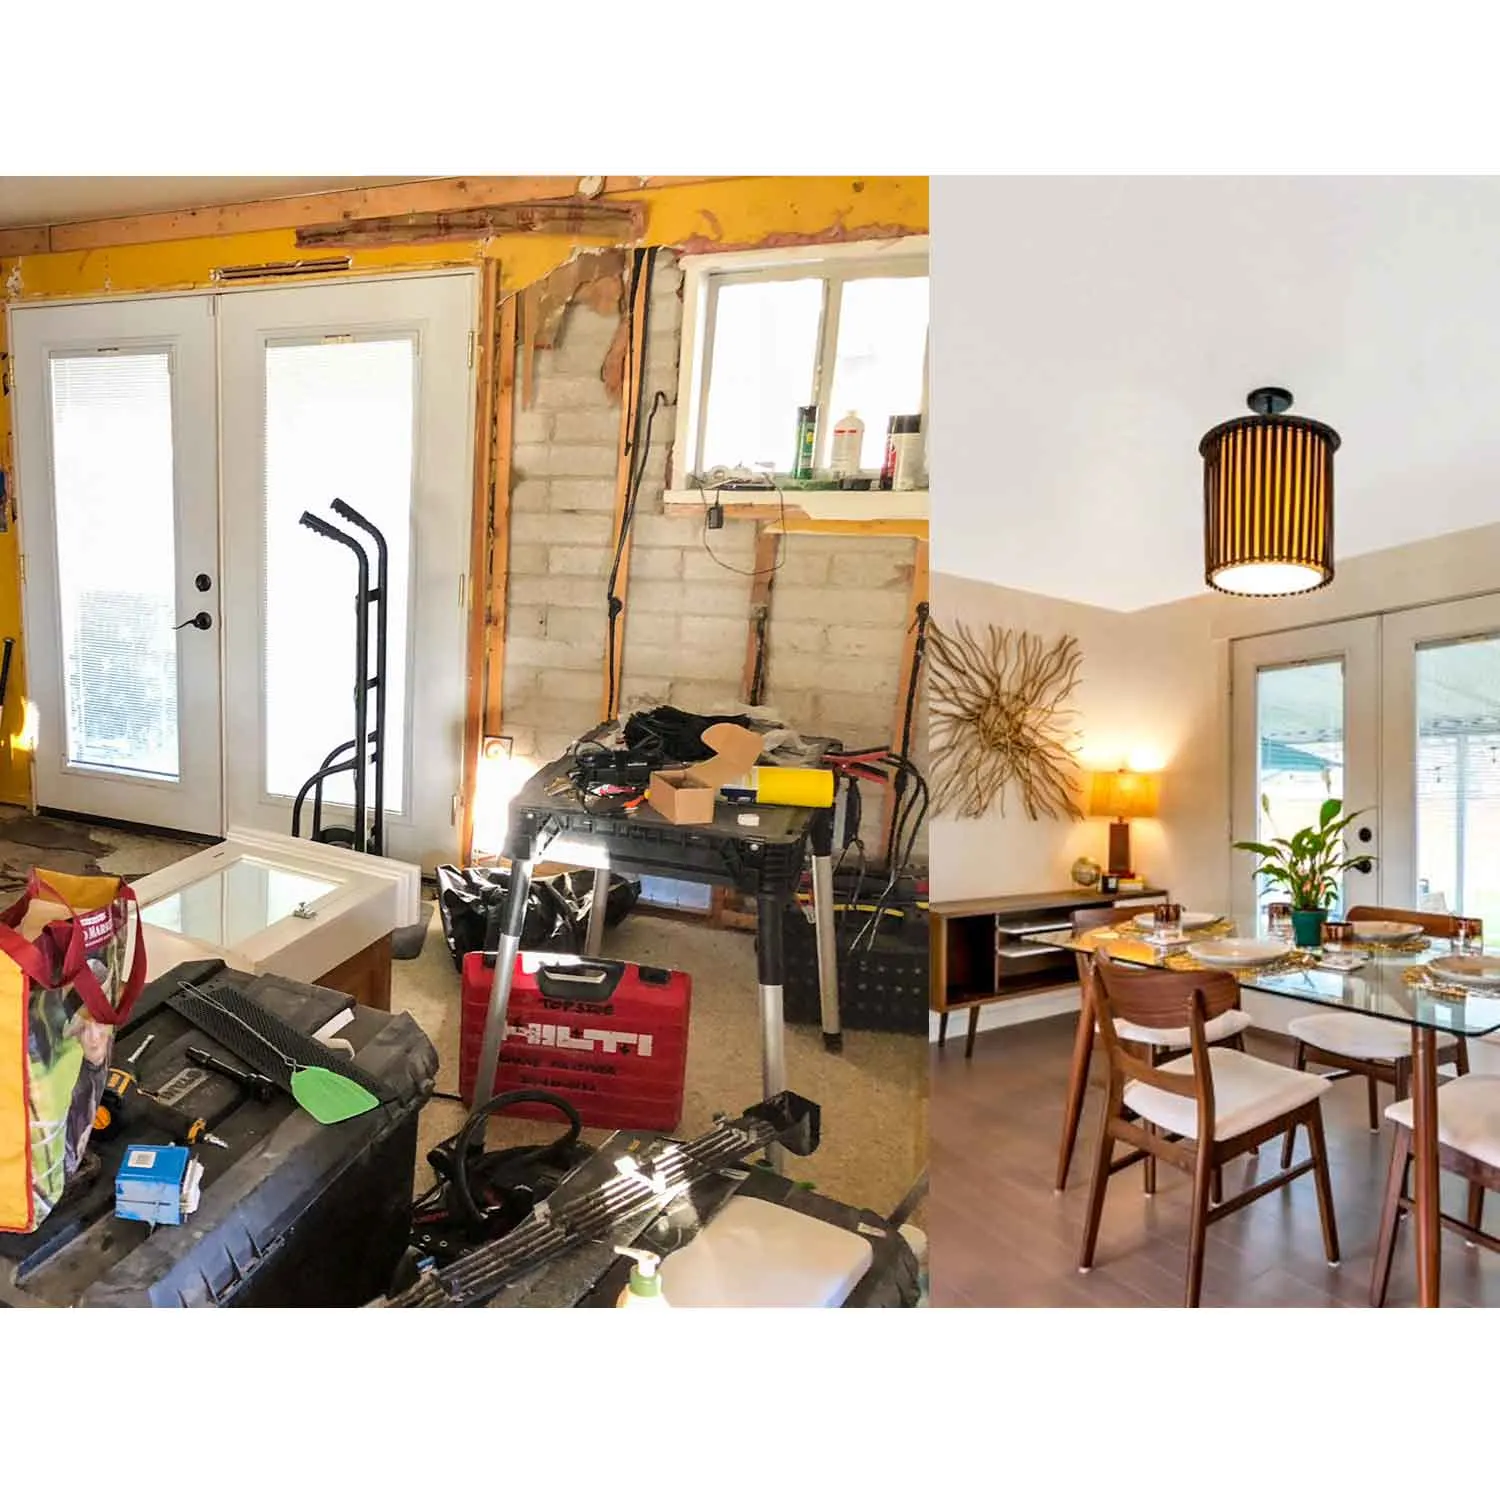
In order to do accomplish this, we needed to clear out what was there. So first, we tore up walls and flooring.
Before/Mid Renovation
My son is playing etch-a-sketch here…while we worked.


My husband ran the electrical. I hired a plumber to come install hook ups for full bathroom (which I’ll post about later).
I tore up the floor and we had a handyman frame/install a wall for the bathroom and bedroom, install a bathroom and bedroom door, hang sheetrock and do the mud work and sanding (I divvy up how much we paid between all three rooms in the list of expenses).
Ultimately, this was probably one of the least expensive rooms we did in the home. While we did pay a handyman to frame and sheetrock, we also did a lot of the work ourselves and some family helped too.
My father-in-law sanded down the doors for the bedroom, bathroom, and basement door and I painted them.
One of my brother-in-laws helped me prime and paint the ceiling and walls in the room.
We did pay my brother-in-law to install the flooring but he gave us a discount.
There is a rough breakdown of how much the dinning room cost us below.
I helped to install the base and caulked, sanded and painted the trim.
I also bought and put together the furniture that I bought for staging and hung the artwork.
We did end up using all of the furniture in Home 3 remodel which saved money on Home 3. I don’t really know how to calculate that in to this, for now I’ve just added all of it to the total cost of this room and then I won’t add it to the Home 3 rooms we used it in when I post about those.
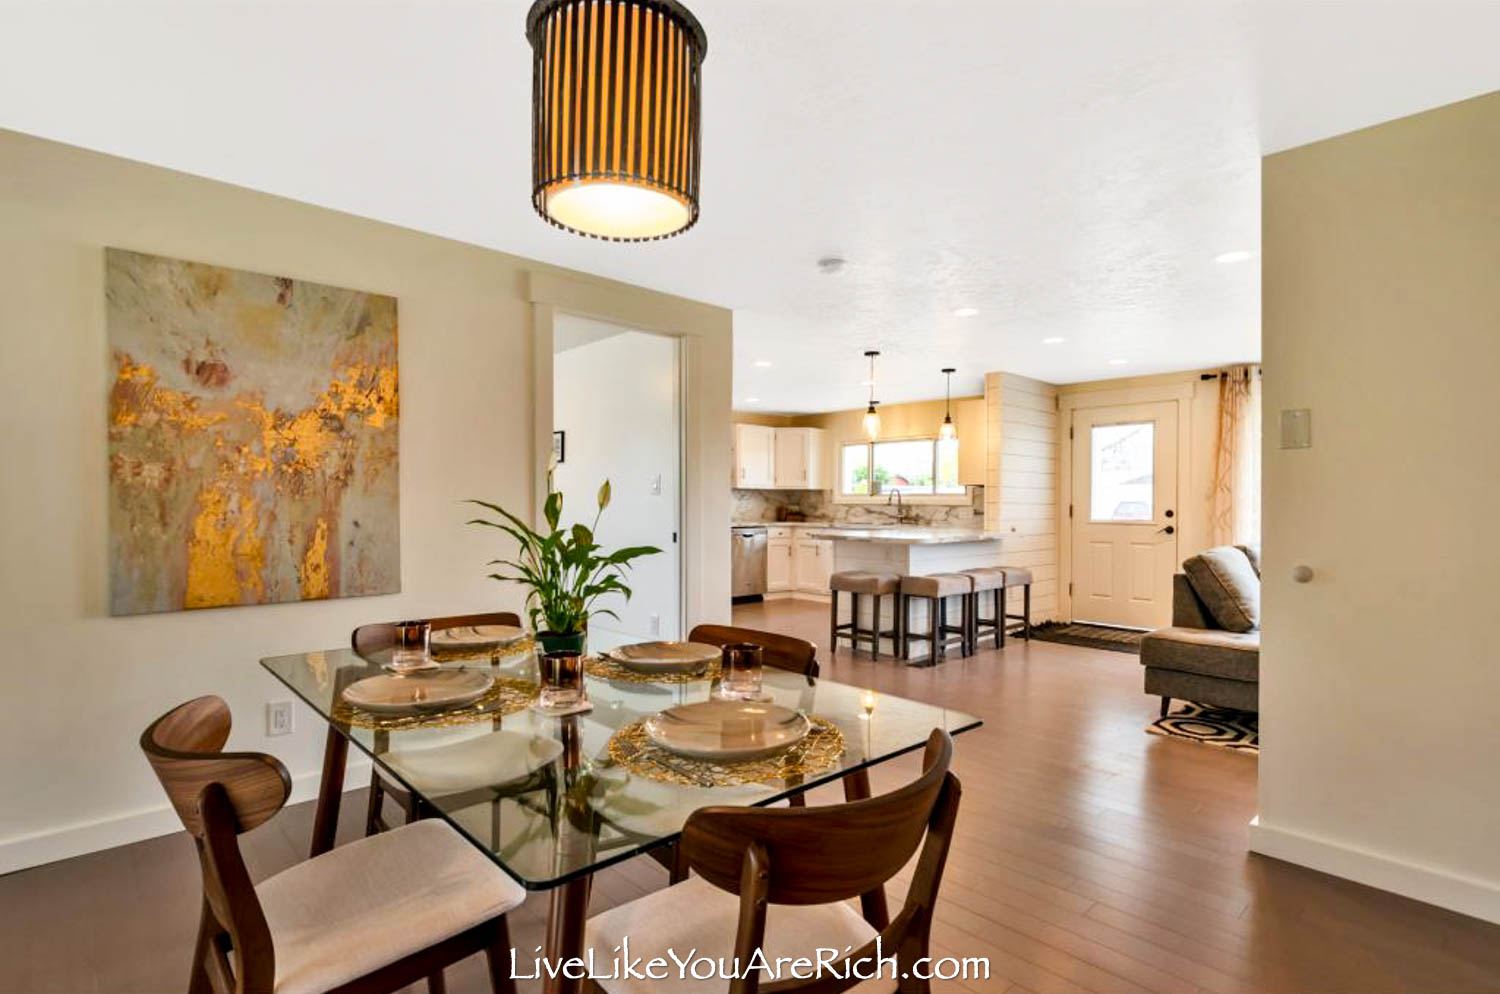
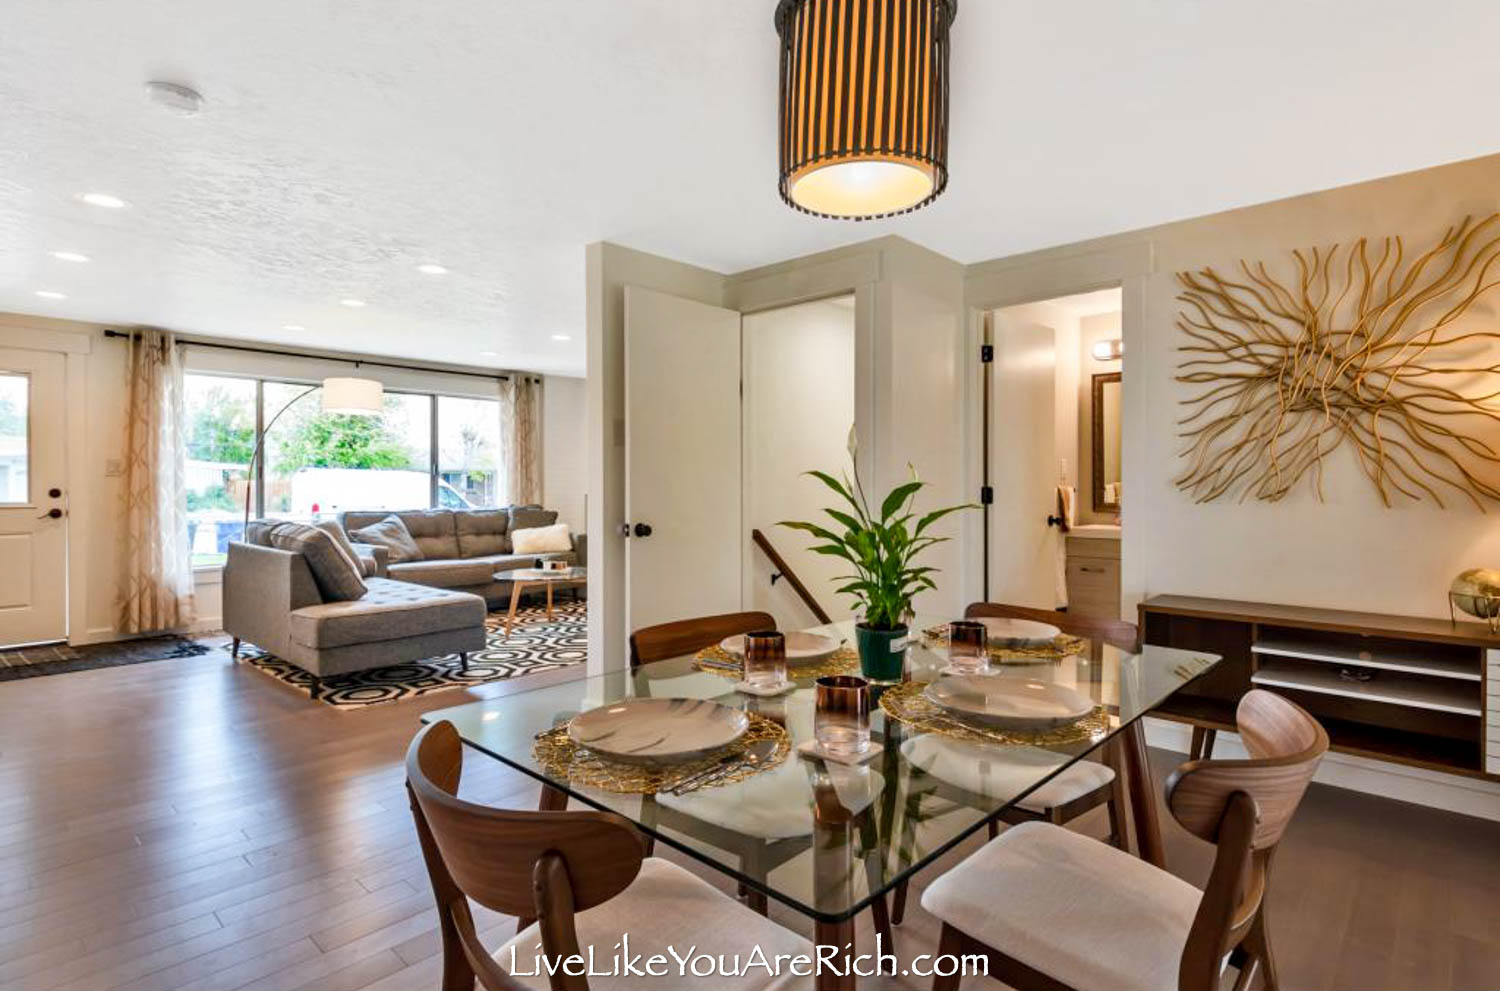
The After….

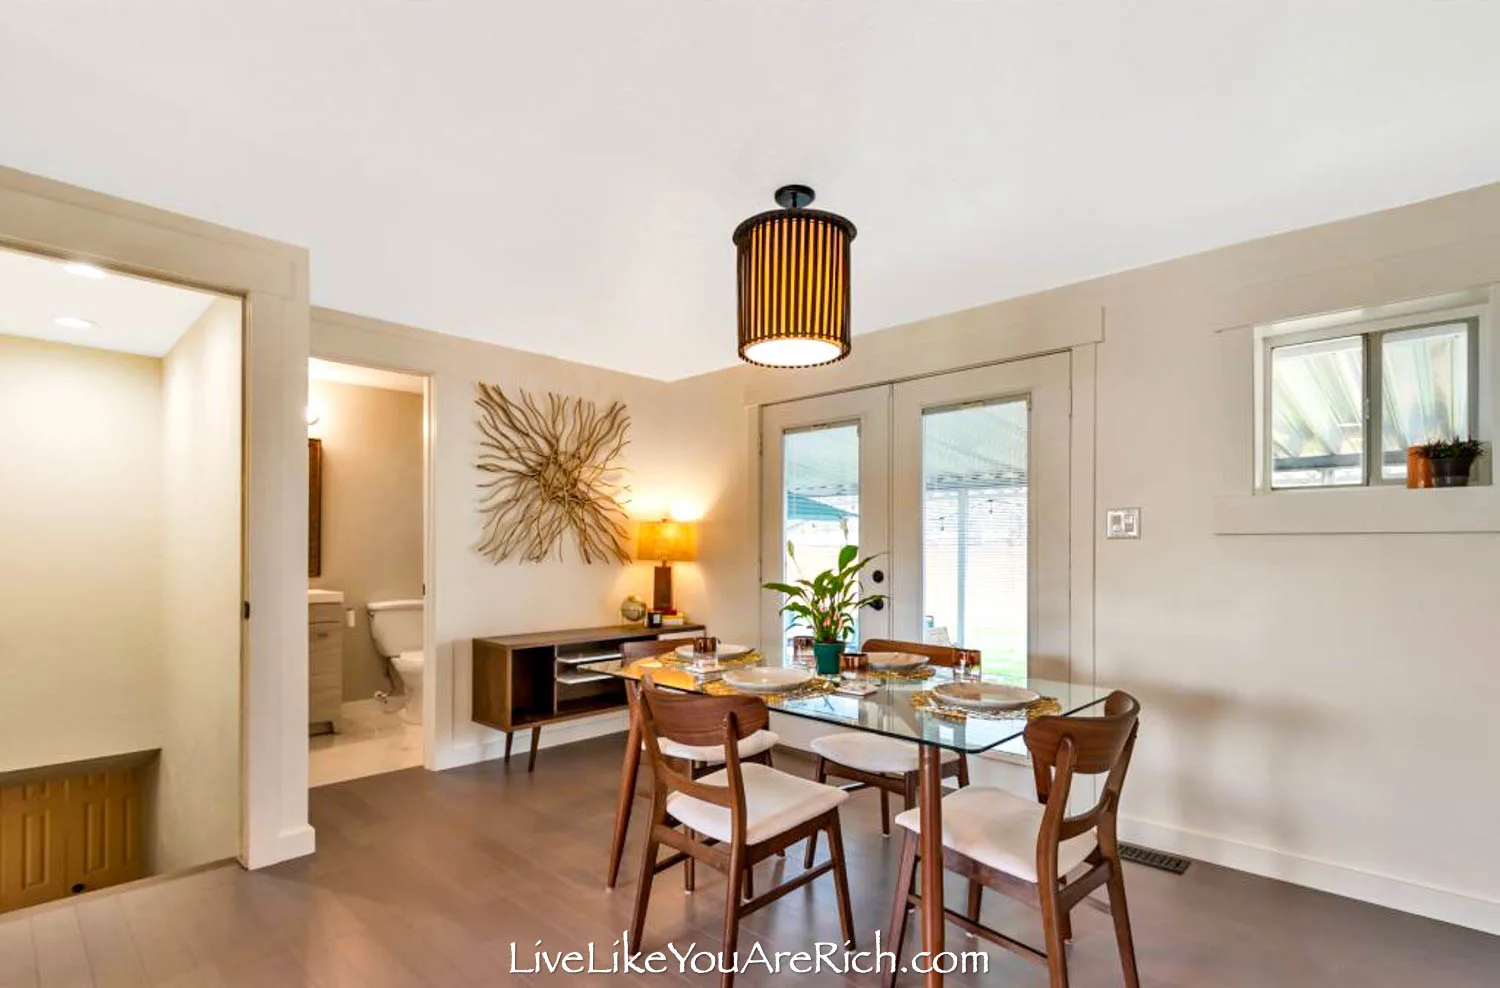
This home was built in the 70’s and the mid century modern decor style fit nicely. So that is the style that I did a lot of the decorating in.

Supply List for this Dining room makeover
Sheetrock $300
Electrical $50
2×4’s and nails $200
mud $20
sanding supplies $20
trim $200
caulk $20
primer $50
paint $100
bamboo flooring and staples $400
labor $600.00
light $40.00
Total: $2,000
Decor for staging (which we are now using most of it in our basement):
| Canisteo Dining Table | Wayfair | George Oliver | $325.00 | |
| Barroso Solid Wood Dining Chair | Wayfair | George Oliver | $225.00 | (125 for 2) |
| Table Scape | World Market | World market | $45.00 |
silverware, plates, cups, coasters,
|
| plants | Lowes | $20.00 | ||
| gold place mats | Target | $20.00 | ||
| Gold Art (metal) | Lamps Plus | Albright | $70.00 | |
| Table lamp | Lamps Plus | Darryl Wood | $30.00 | |
| Globe | World Market | Neutral and Gold Globe on Hairpin Legs | $10.00 | |
| Candle | Smiths Marketplace | $5.00 | ||
| Books | varies | $10.00 | ||
| Gold art (canvas) | At Home | $75.00 | ||
Total: $835.00 for decor.

We did this dining area (including staging it) for $2,300. Which considering the before and after, is really inexpensive.
I sold the existing washer and dryer for $700 which is why the net was $2,300 for this particular room.
Ways we saved money renovating this dining room:
1- We sold the washer and dryer for $700.
2-We tried to buy the items on sale and/or with coupons.
3- We did the electrical ourselves.
4- We hired out the framing and sheetrock to the lowest but best bids.
5- We primed, painted ceilings and walls.
6- I found a great deal on the bamboo wood flooring and got a discount on the install.
7- We installed trim and baseboards. We caulked, sanded, and painted it ourselves.
8- I put together the furniture and staged it myself.
9- We reused the furniture bought for staging for our home #3. Conversely, you can re-sell the staging furniture when finished if you do not need it.
It is possible to renovate in a cost-effective manner.
I hope this Before and After Dining Room Renovation of Home 2 has given you an idea of how renovating (using a lot of your own ‘sweat equity’) can be affordable.


For other ‘rich living tips’ please subscribe, like me on Facebook, and follow me on Pinterest and Instagram.