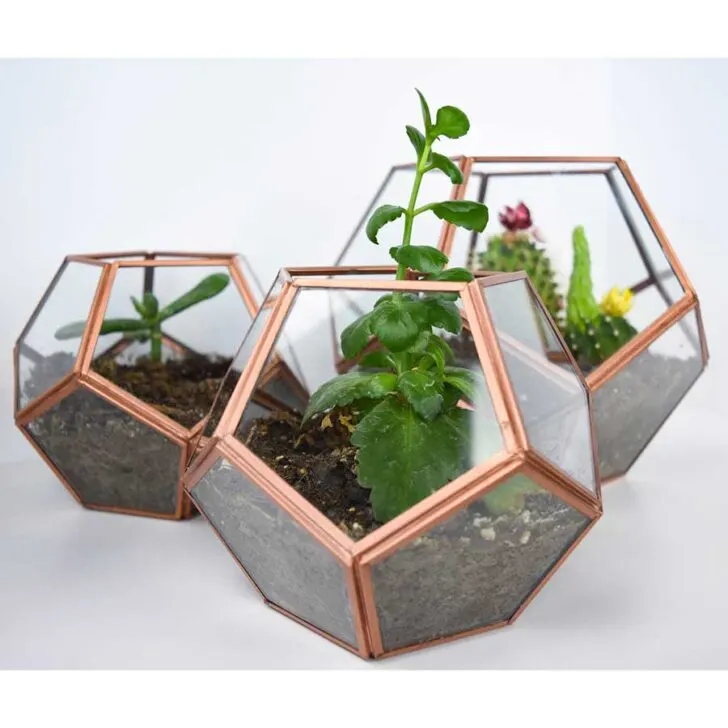
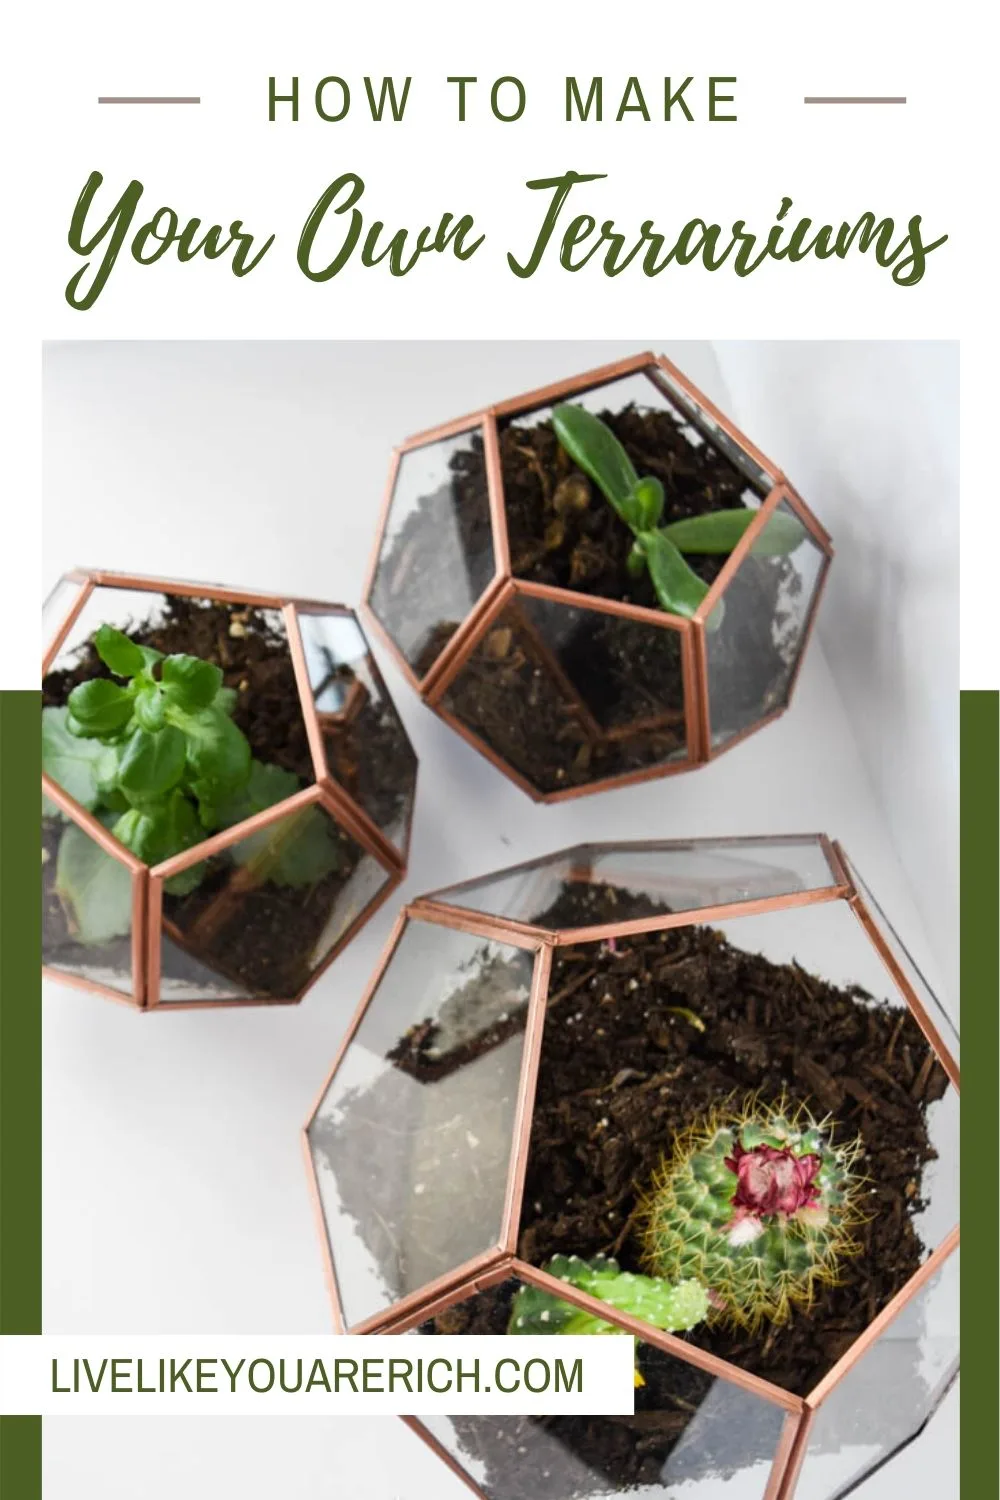
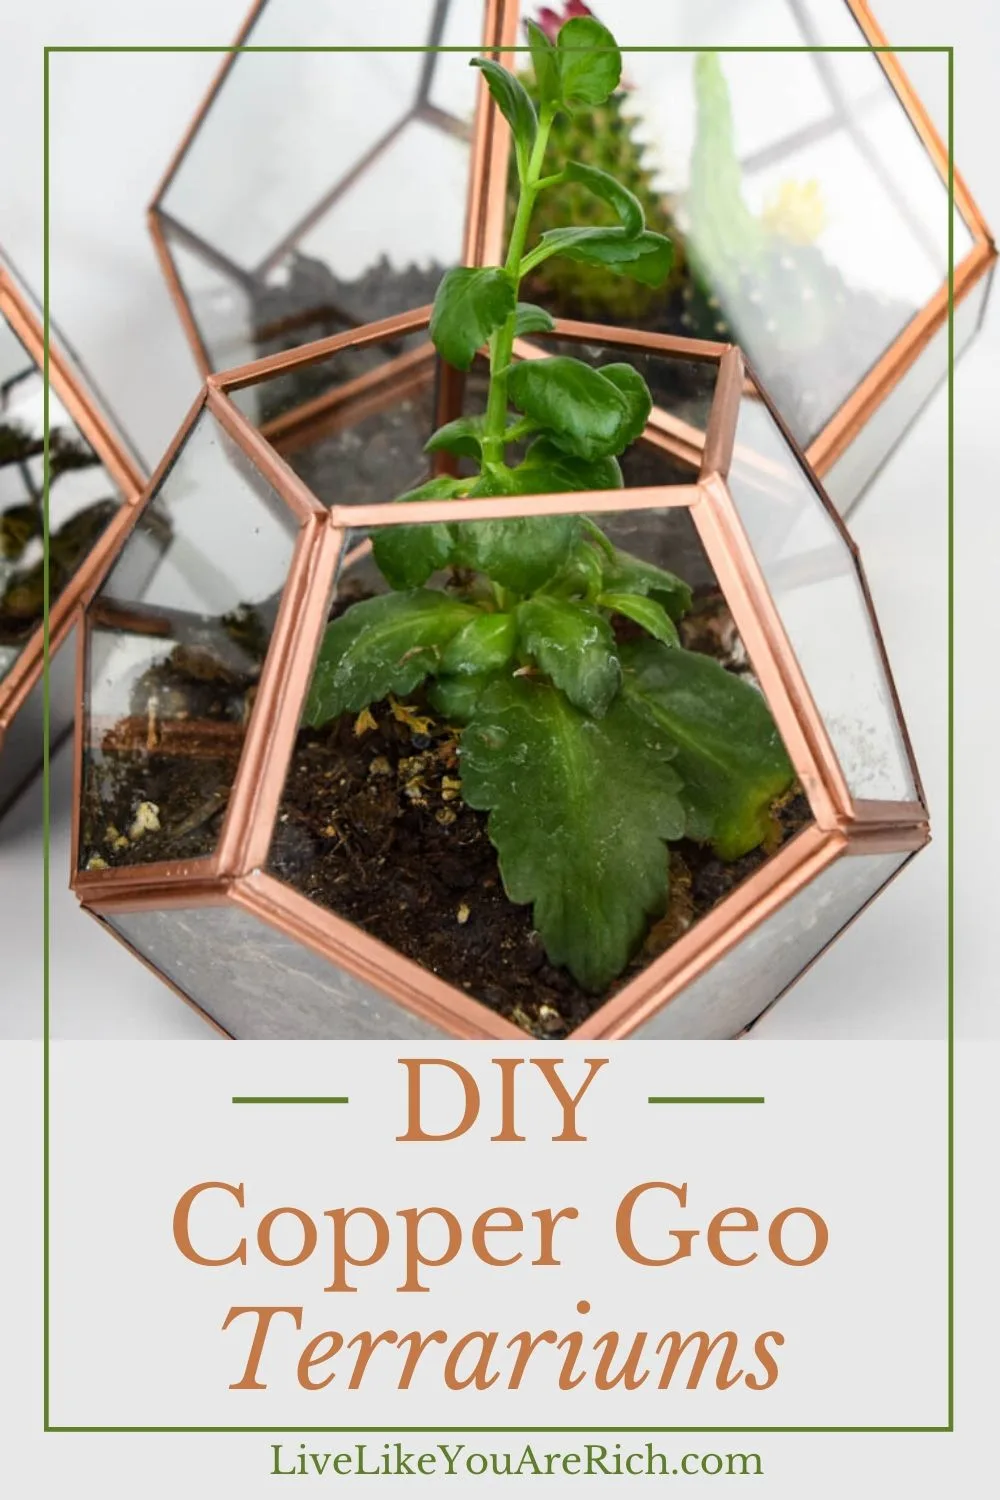
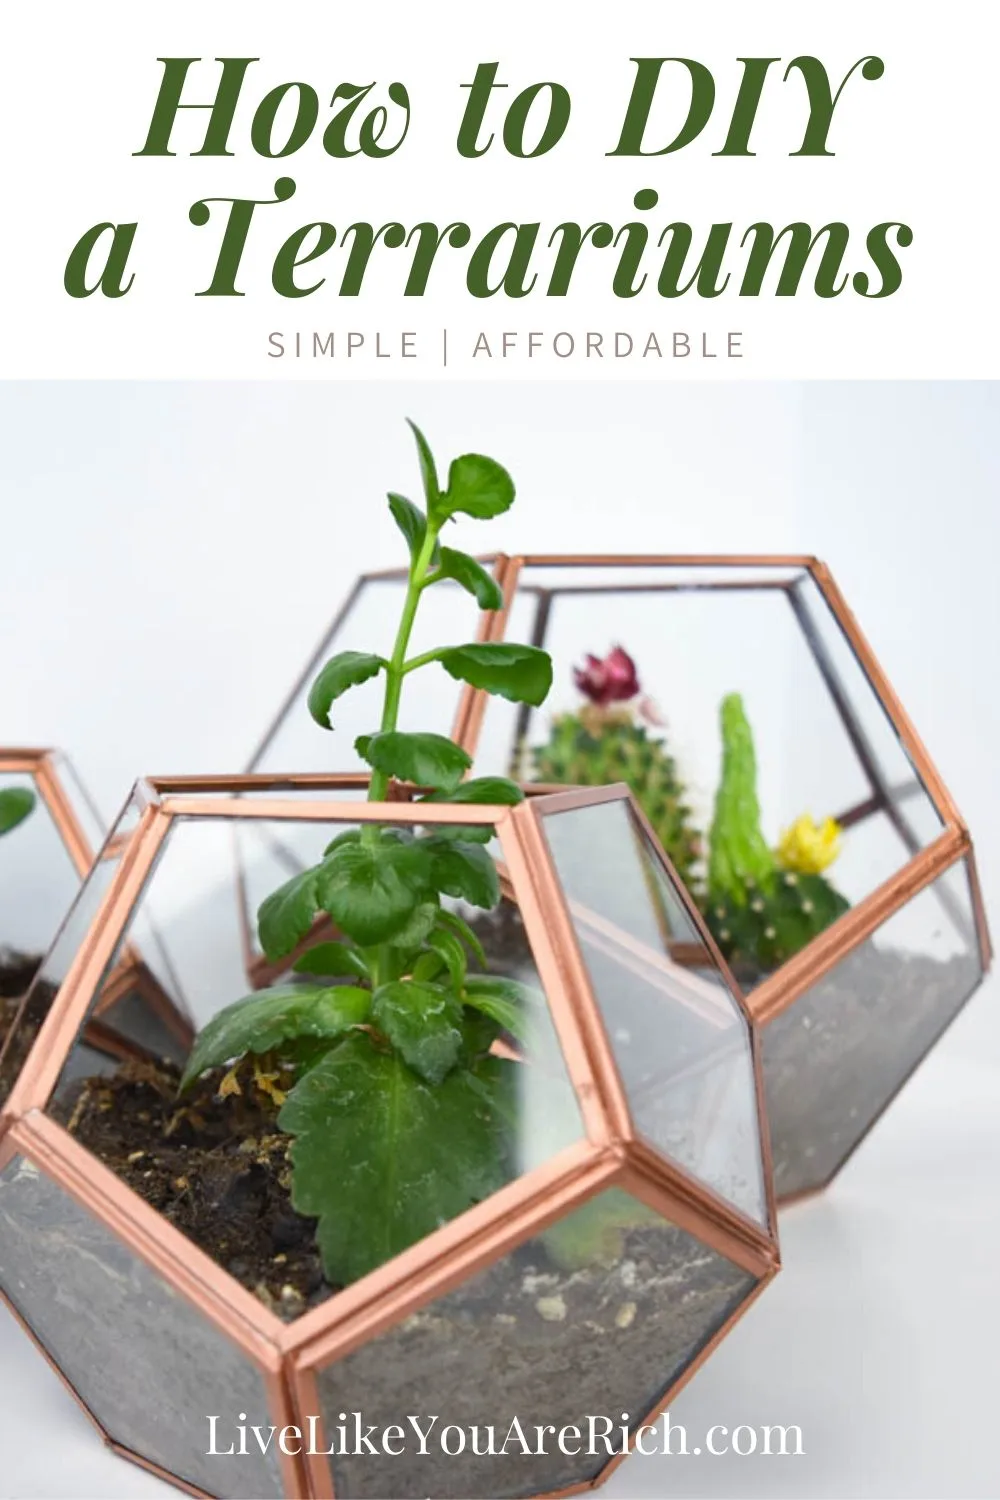
I bought these beautiful DIY Copper Geo Terrariums from World Market similar can also be found on Amazon. They go well with our copper hood, backsplash, and other copper accents we have throughout our house.
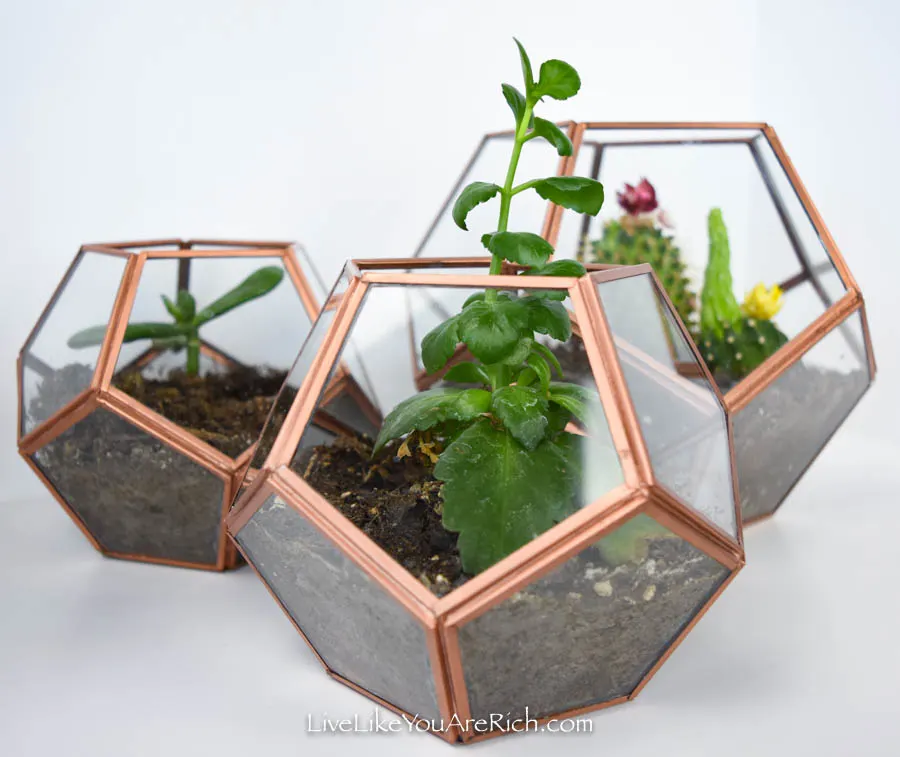
I’ve had these copper geo terrariums for almost a year now. I still love their look. I get many compliments on them from visitors. My kids love watching them grow and helping me to water them as well.
They were easy to make and only took about 20 minutes each—spread out over a day (for drying time).
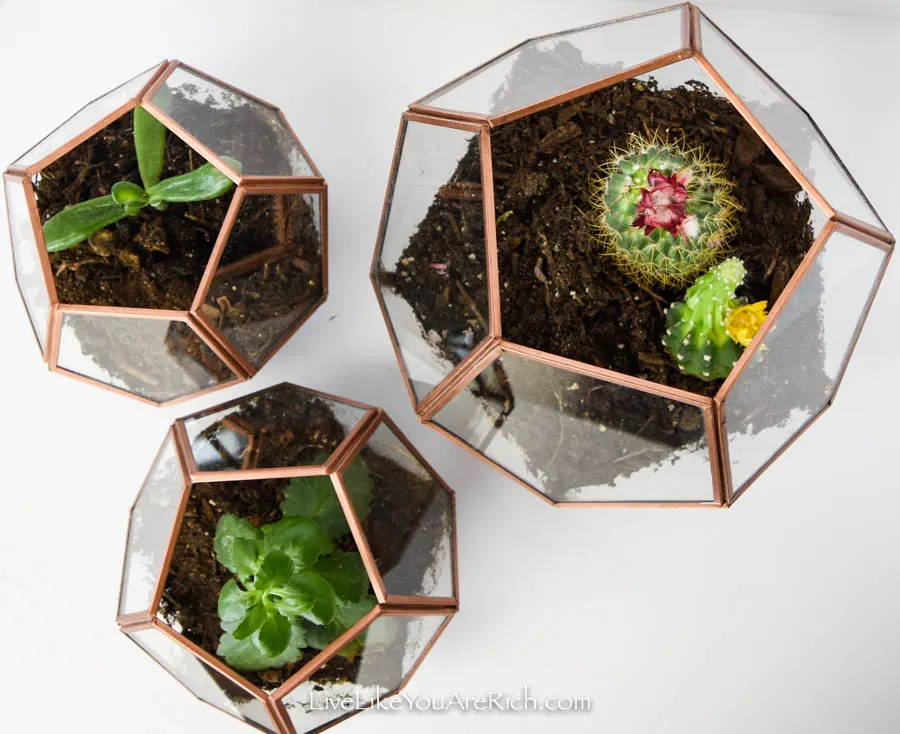
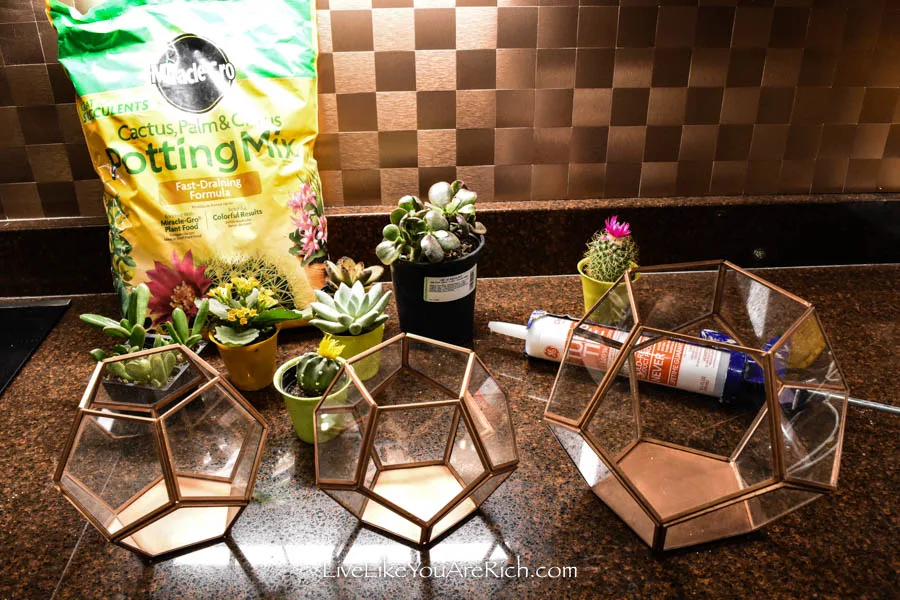
Supplies
Copper Geo Terrariums World Market. Similar can be found on Amazon
Tub and Tile Water Proof 100% Silicone-Clear and caulk gun or just get this squeeze tube if you don’t have a caulking gun
Rocks/small stones—I found these outside
Instructions
1. Waterproof the terrariums (optional).
Although this is a fairly simple DIY project, it is important to do it correctly. The most technical part is waterproofing the terrariums.
I bought my terrariums from World Market. You can also find similar items on Amazon. They did not come sealed/waterproof. This needs to be done unless you plan to allow yours to drain into a dish/plate.
Terrariums typically are not left to drain. But if you choose to allow yours to drain, the succulents and cacti will like the environment better. They don’t like growing in moist soil. I talk about ways to combat this moist soil below.
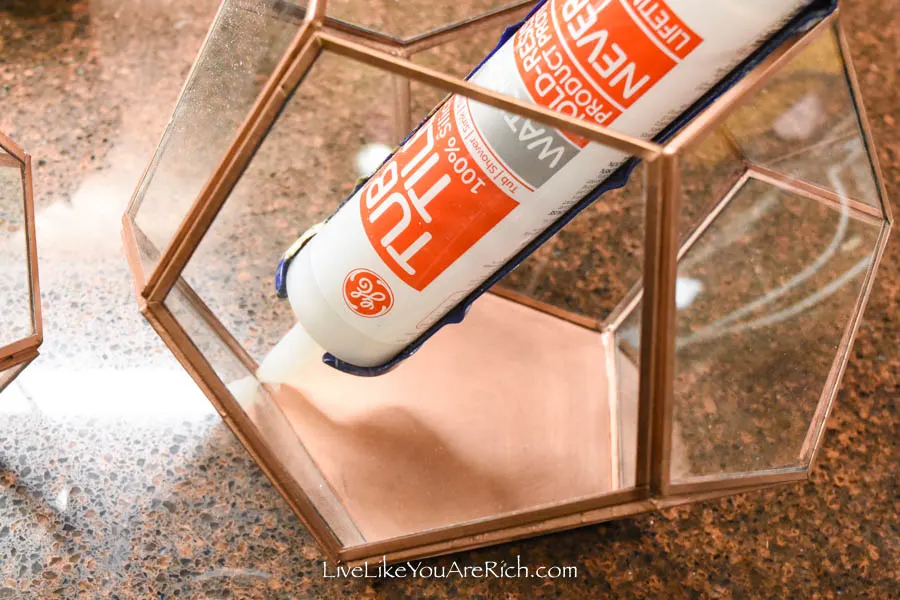
It is important to put three layers of 100% waterproof silicone (in the clear variety) on the edges where the water may run. If they are not sealed well, they will leak.
To do this, use a caulking gun (or the squeeze tube) and run a bead of silicone around the edges.
I went all along the edges on the bottom and waterproofed the sides as high as I planned the dirt would be.
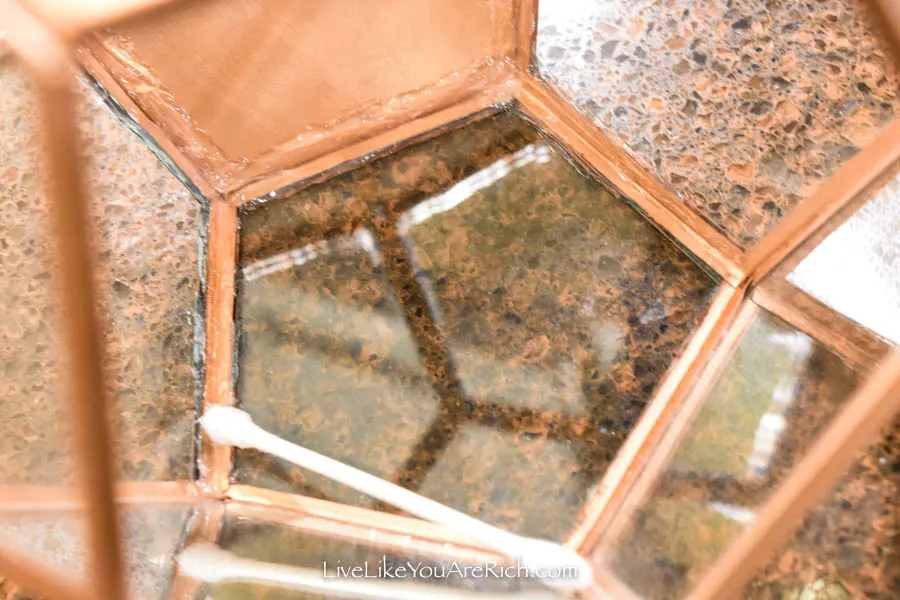
I used a Q-tip to ensure that everything was covered well.
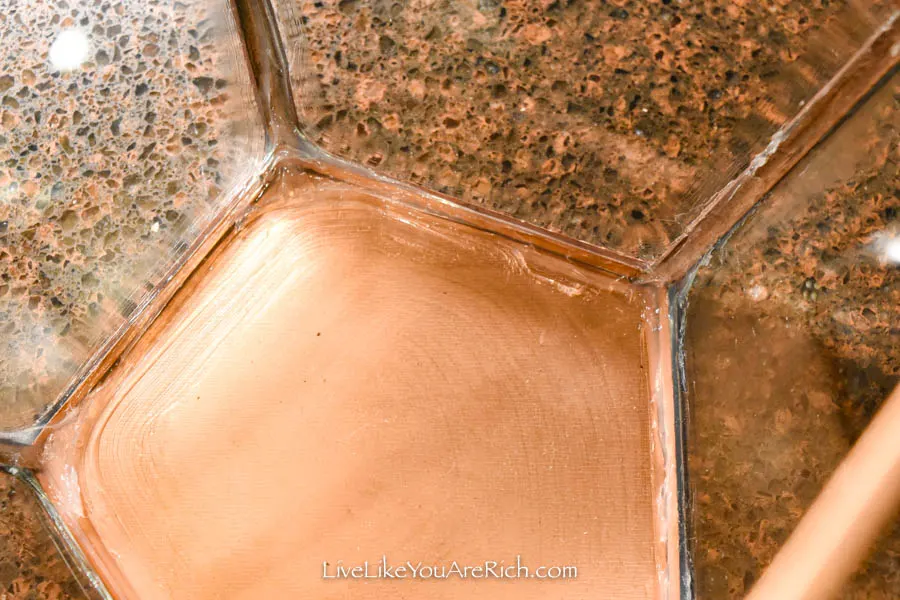
Also, run the clear silicone onto the glass around the edges and bottom to ensure water will not leak out. See photo above to see how I smeared the silicone so it was covering more than just the edge.
Allow to dry.
Repeat this step three times. It is very important to have multiple layers to fill any gaps and ensure a good seal.
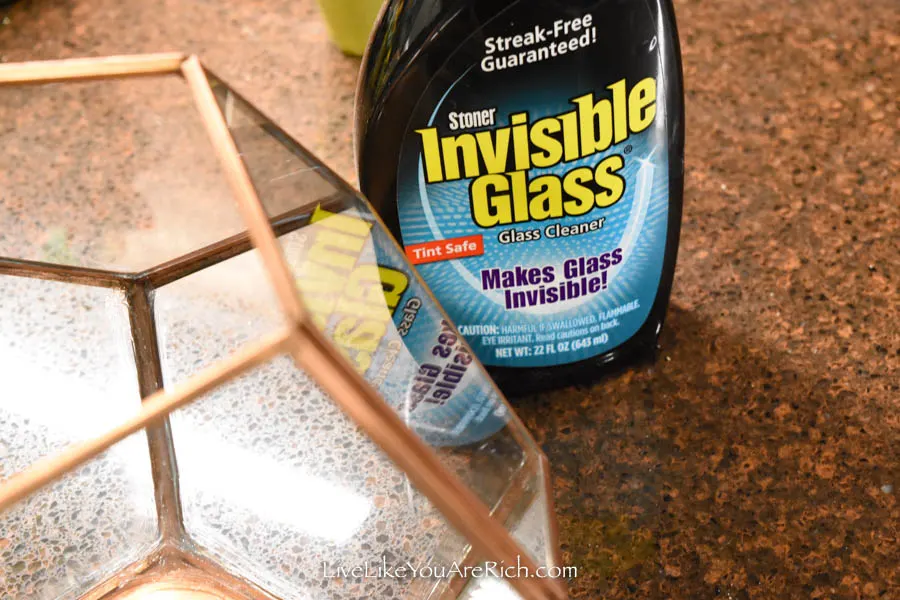
2. Clean up the terrarium glass.
After the silicone has dried, use glass cleaner to clean the glass. Although you can use any kind, this is by far my favorite glass cleaner. It is called invisible glass. It’s amazing. Obviously, don’t clean off the silicone that ensures a tight seal.
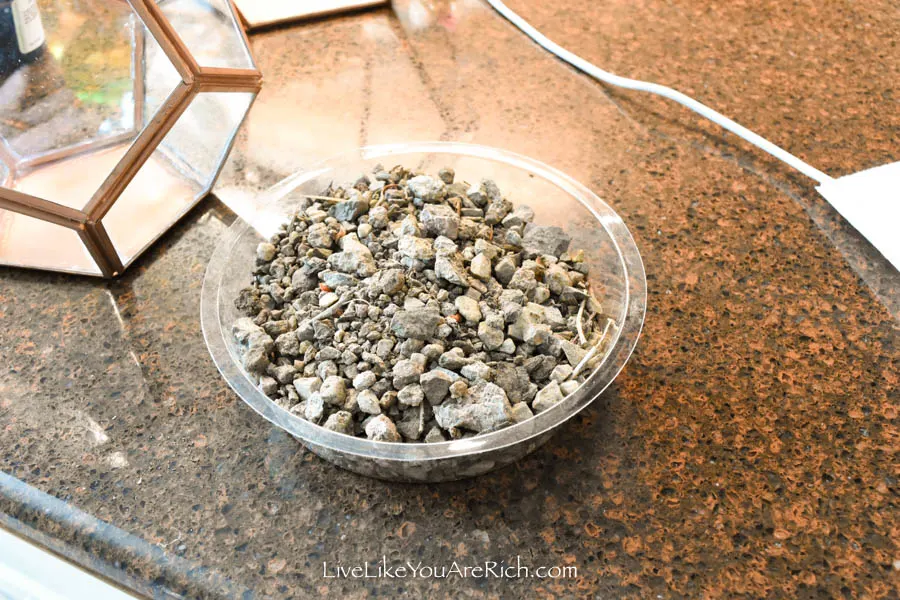
3. Next, put at least a 1 inch layer of small rock/gravel on the bottoms of the terrariums for drainage.
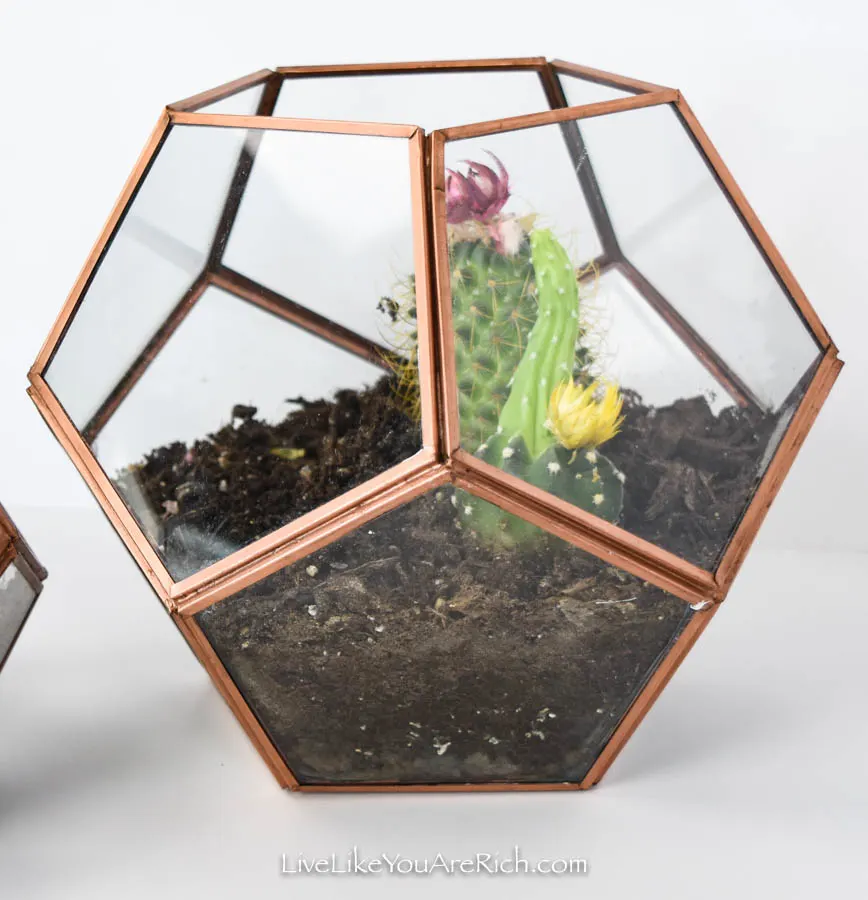
4. Then add the potting soil
5. Plant the succulents and cacti according to the way you like.
6. Clean the glass again. Place them around home! Position near windows for light.
7. Water them correctly.
At first, I over-watered these terrariums and the plants struggled to survive. I’d recommend only watering once a week or less. Water when the top 1-2 inches of soil is dry.
You can get the succulents that do best in terrariums here.
I’ve found the hardier catci to be strawberry cactus, jade plant, golden barrel and then these succulents are picked for terrariums as well.
8. Repot when they outgrow the terrarium (most succulents will take a few years or more to outgrow their terrarium).
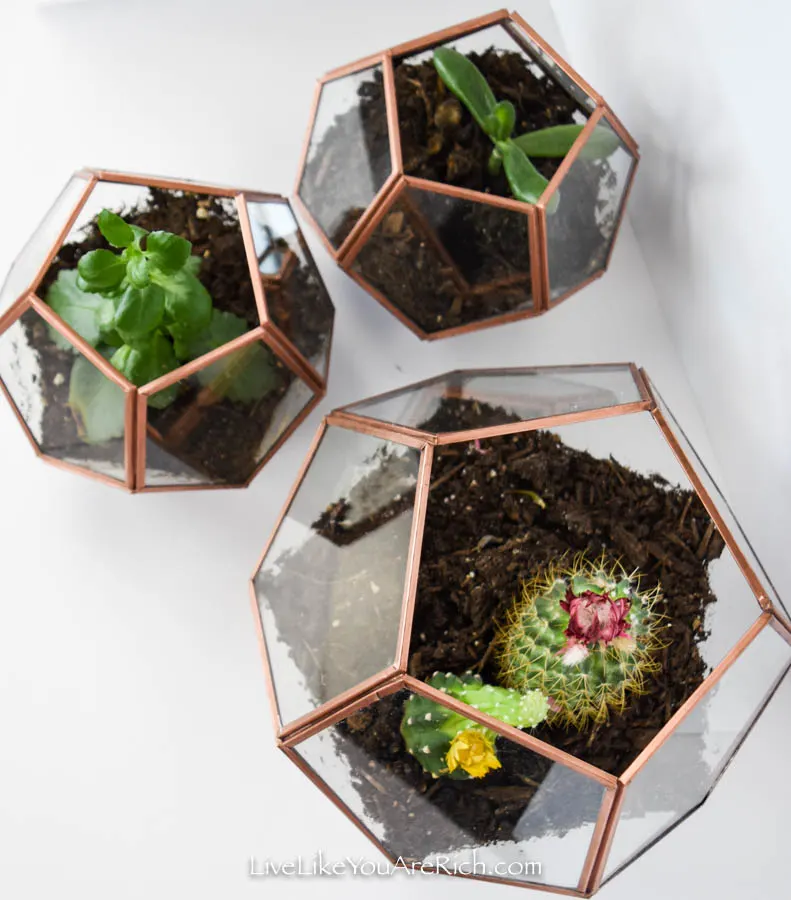
As mentioned, it has been a year. My plants have been growing well.
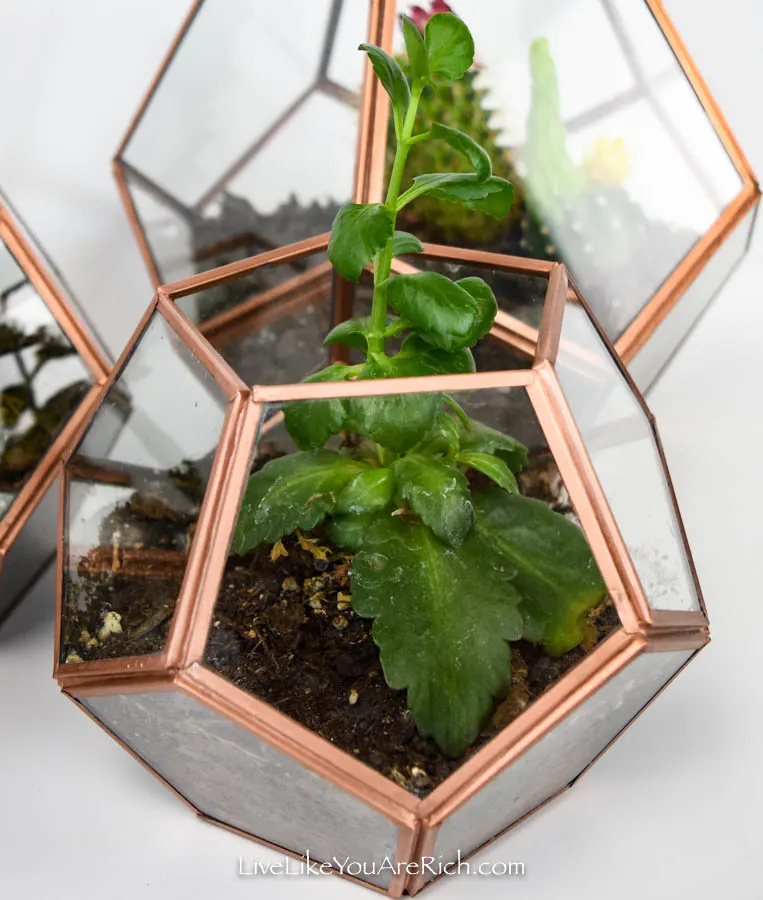
I am planning to move the tallest plant (that I didn’t realize was such a fast growing plant) to a larger container. I am planning to plant a smaller strawberry cactus (this is the same variety of the cacti that are in the largest terrarium—they grow much slower) in its copper geo terrarium instead.
This has been a great DIY project and decor for my home. I hope you enjoy these DIY Copper Geo Terrariums as well.
For other ‘rich living tips’ please Subscribe Here or connect with me on these other platforms:
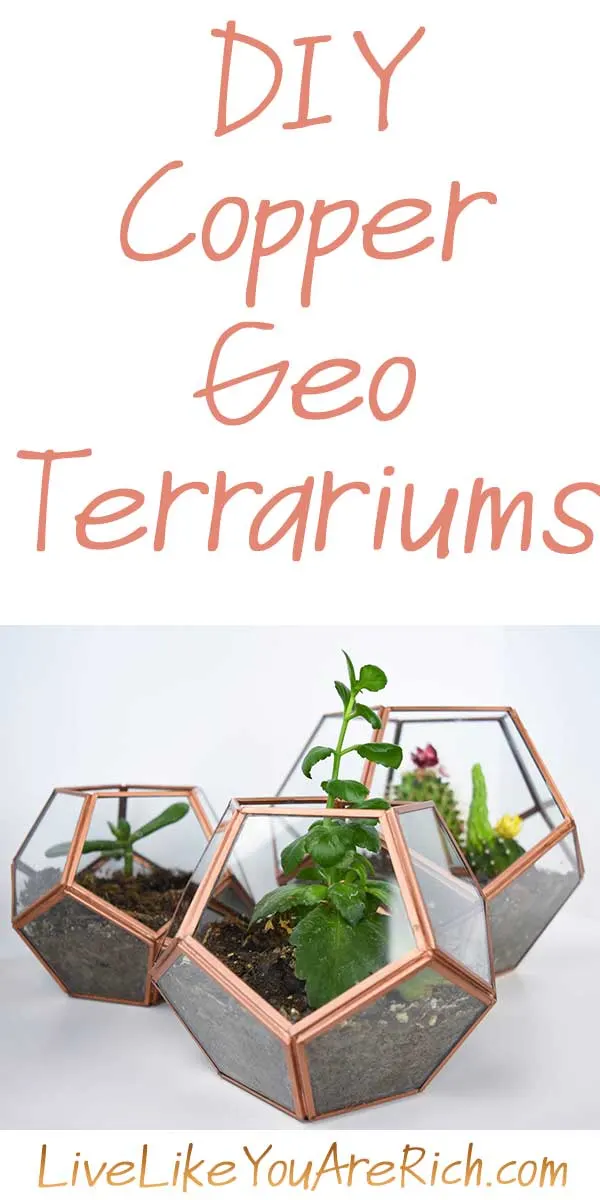


54 Creative DIY Terrarium Ideas To Try ASAP 2022
Tuesday 8th of March 2022
[…] in DIY projects. You can get these terrariums in most home improvement and decoration stores! Fill them in with cactus soil and plant a succulent in each terrarium. Pick several differently shaped containers to make the […]