My mom has been an avid concord Grape grower for 30 or so years. She has many beautiful vines that produce a lot of grapes each fall. I guess playing classical music to them on occasion does work! And yes she really has tried that.
Each October we pick the grapes and juice them. Then, throughout the year on special occasions and for nice dinners, she will pull a bottle out of storage for everyone to enjoy. My family, our friends, and her guests love the grape juice—especially mixed with Sprite or pink lemonade and chilled with ice.
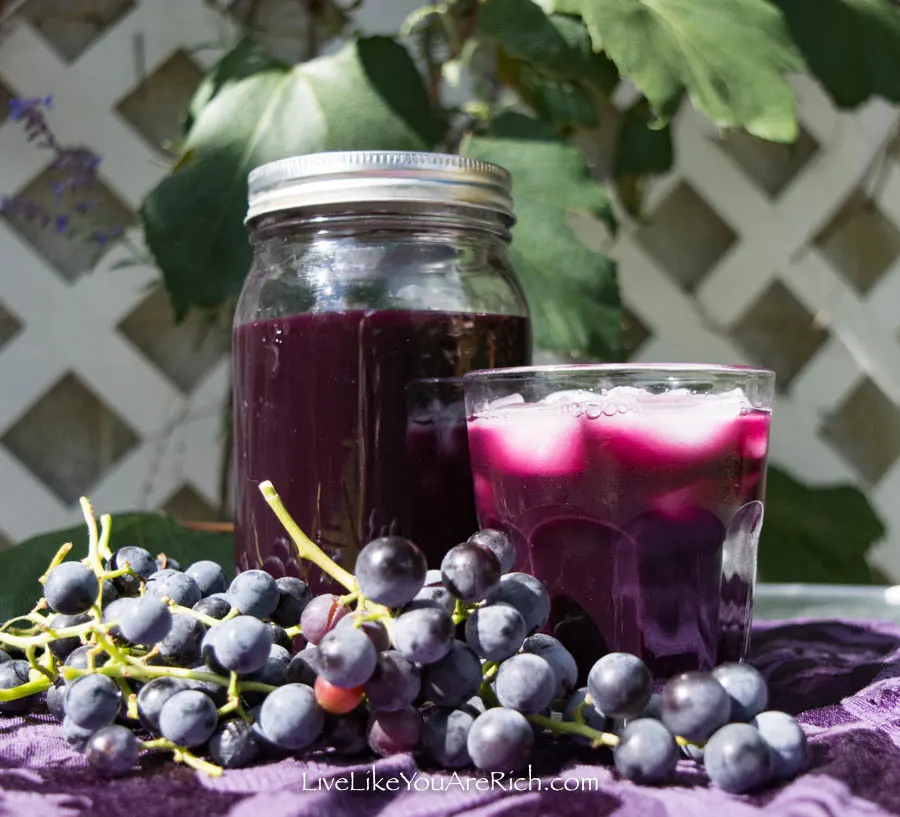
Here’s how she makes her Homemade Concord Grape Juice…
Instructions
Step one, pick the grapes and put them into a basket or brown paper bags. We use two brown paper bags layered for strength (the kind that you can get from a grocery store). The reason we use brown paper bags is so that the grapes can still breath if we can’t get to juicing them that same day. They will last another day if left cool in a brown paper bag. We use scissors to pick/cut the grapes. We leave the stems on.
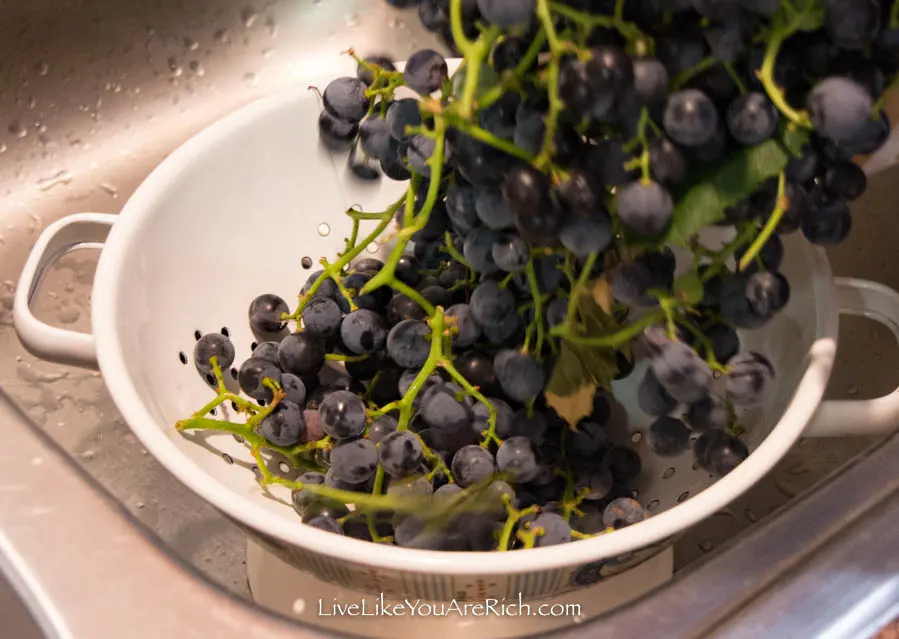
Next, wash the grapes in a colander. Pick off the green and severely underripe grapes. Pick off all leaves. We do not de-stem the grapes and it still produces a wonderful juice.
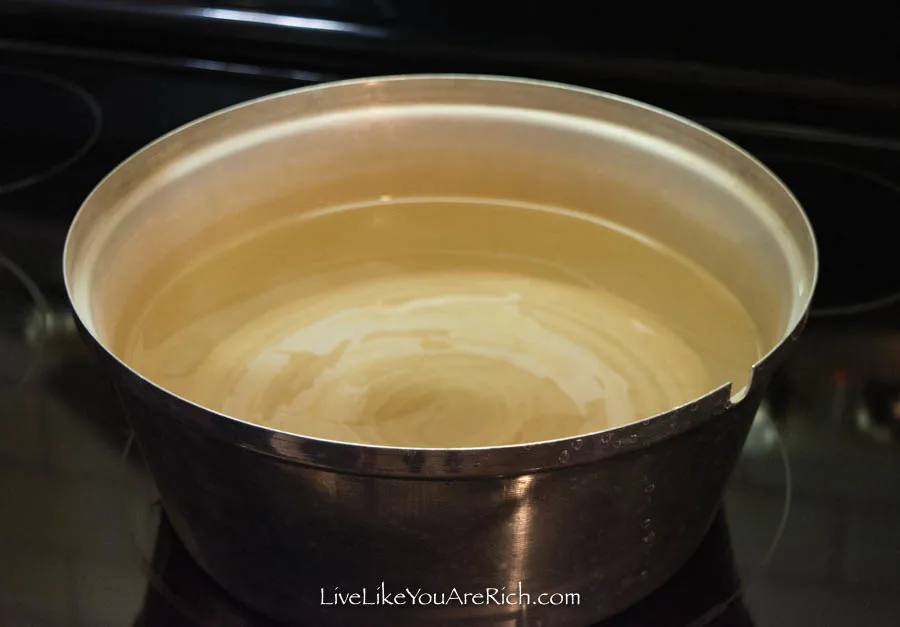
Fill the base of a steam juicer 3/4th full of water.
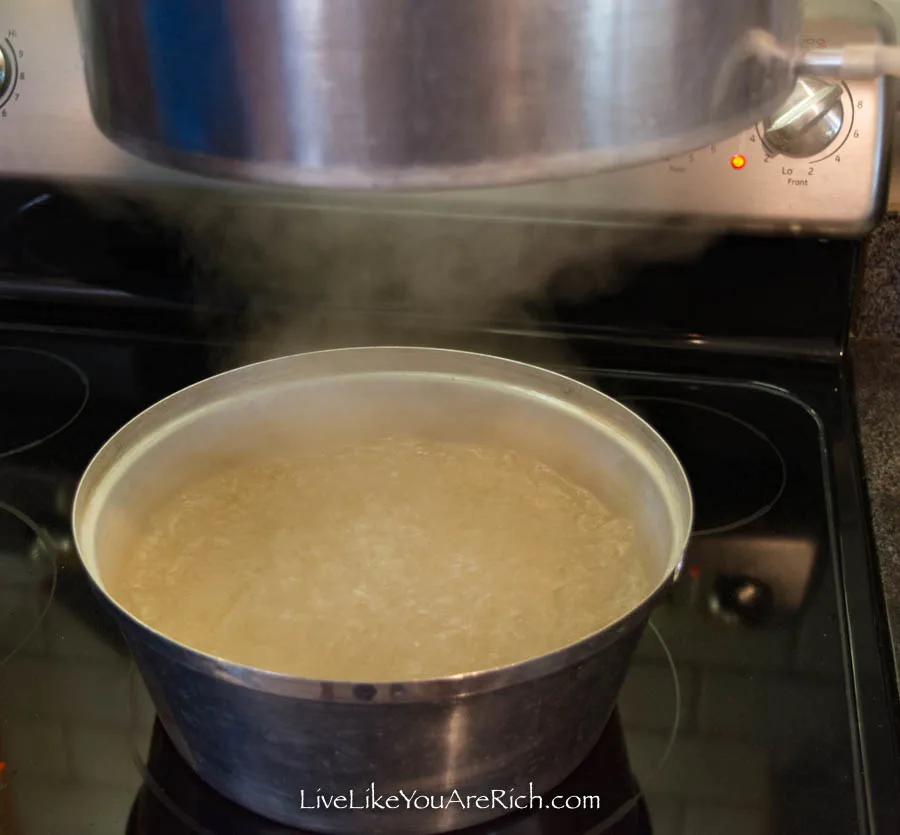
Bring the water to a boil.
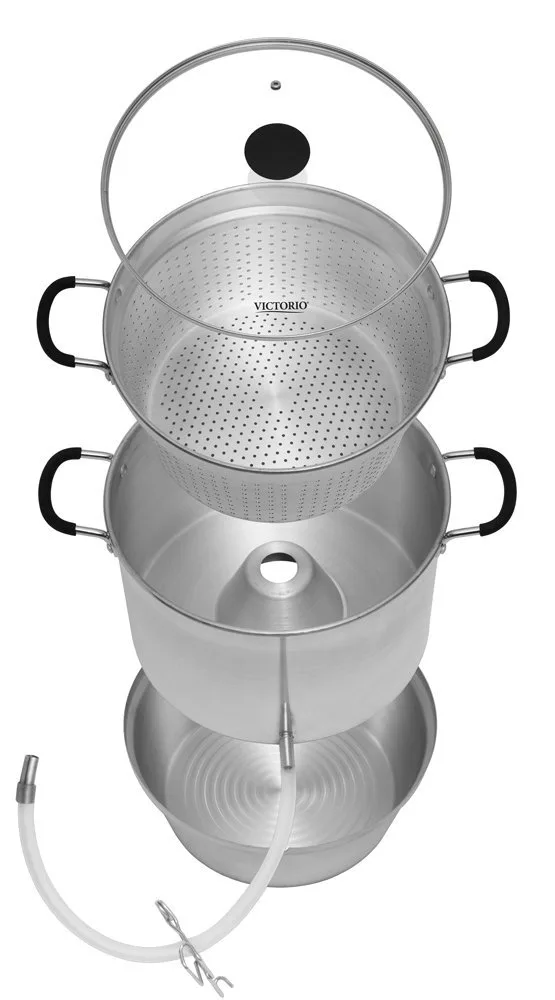
A standard steam juicer comes in four pieces.
The bottom contains the boiling water, the next part holds the juice, and the top holds the grapes and has a lid.
Put the middle on top of the boiling pot making sure the hose is clamped shut.
Place the top pot on and fill it to the brim with grapes that have been through the previous steps.
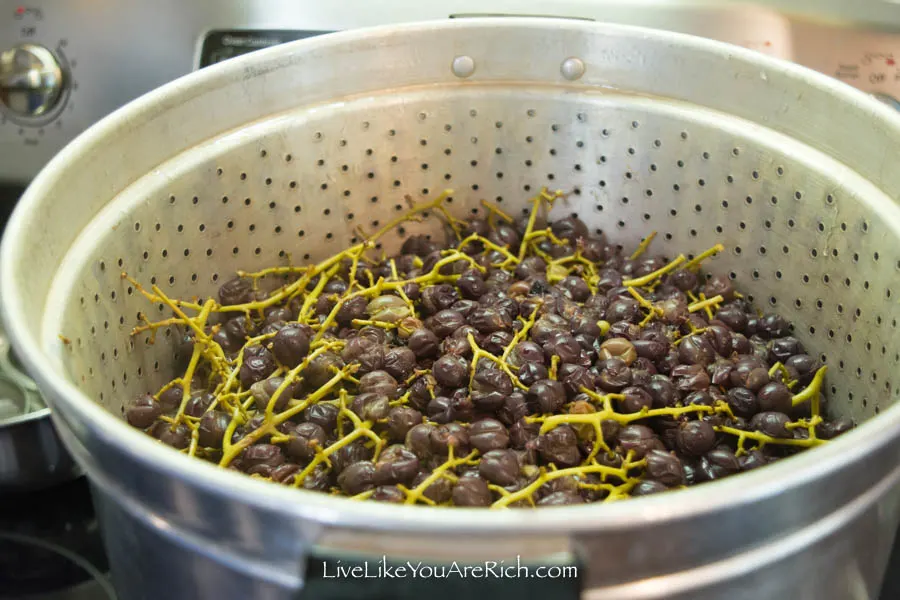
Put the lid on and wait until the plump juicy grapes have been juiced (brown, shriveled up and flat)—about 45 minutes to an hour.
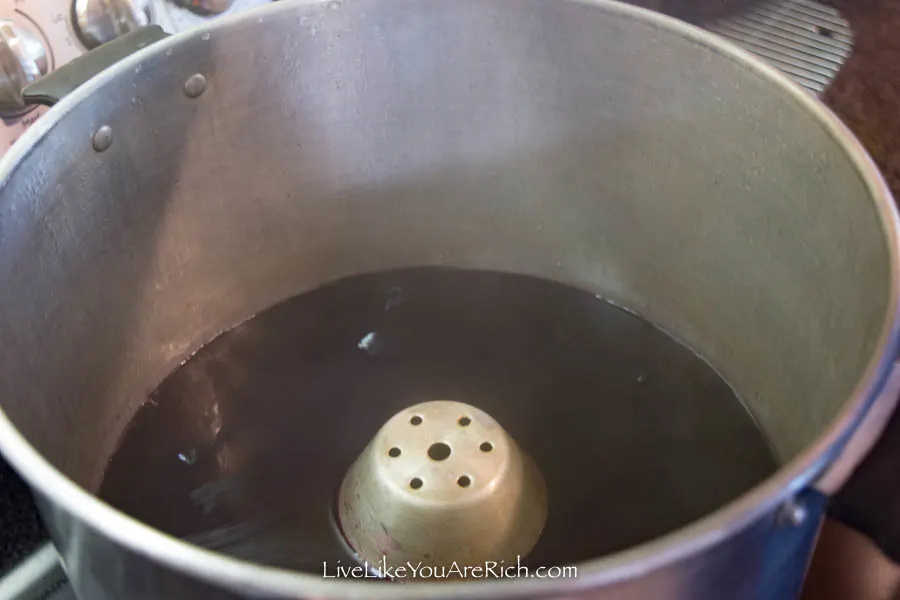
Note- You may want to check the juice after about 30 minutes to ensure that the juice hasn’t come above the center spout inside the juicer to run into the boiling water below. My mom has done this for years and hasn’t seen the juice come up to the spout ever. But it is a possibility depending on the ripeness of the grapes and how packed they are in the top pot.
Also, at about 30 minutes, you will likely want to add more hot water to the base pan of boiling water. Make sure not to let the base pan run out of boiling water!
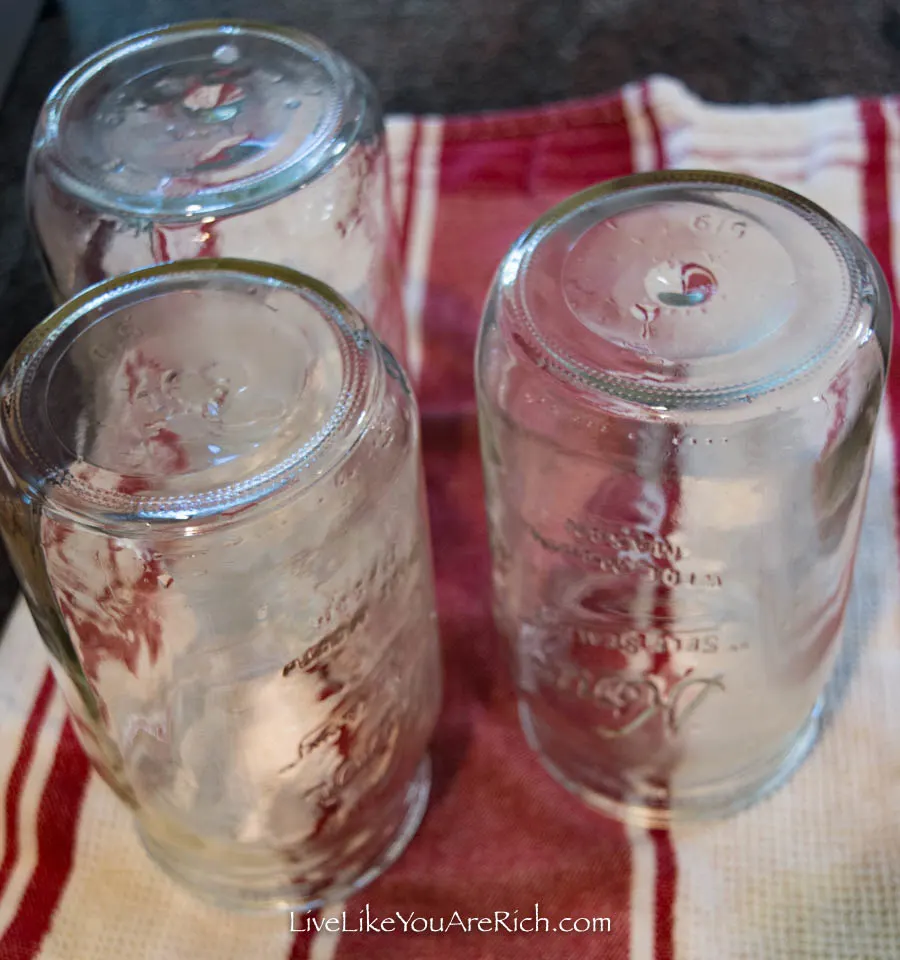
While the grapes are juicing. Take 4 quart mason jars and wash them with hot soapy and water. Rinse throughly. Set to dry.
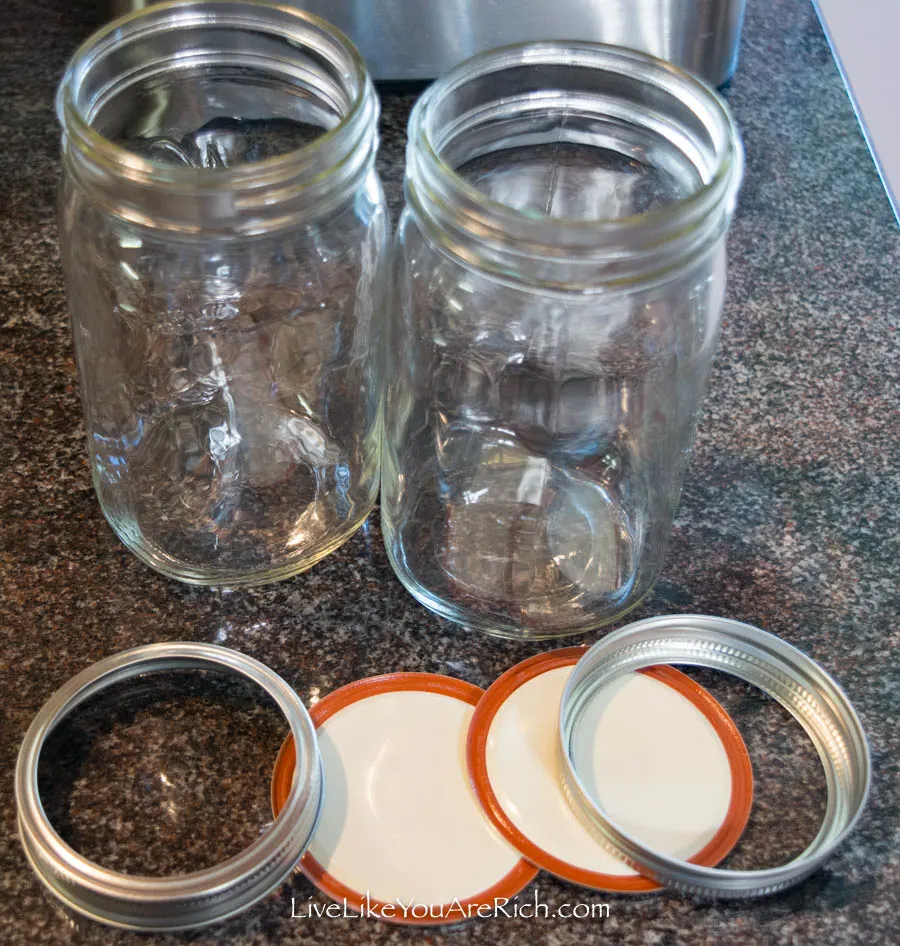
Get the jar lids and rings and put them in a sauce pan 1/3 full of water and boil the lids and rings of the mason jars to sanitize them and prepare them to seal. Turn heat to low and keep them in hot water.
When the juice is ready (45 minutes- 1 hour of steaming) turn off the stove/heat. Then place the middle section of the juicer (the pan with the juice) near the sink on a hot pad. Place the mason jars into the sink. Unclamp the hose and quickly put it in a mason jar. Fill the mason jar until 1/2 inch from the top and move the hose to the next jar.
One steam juicer full of grapes yields about 4 quarts of grape juice.
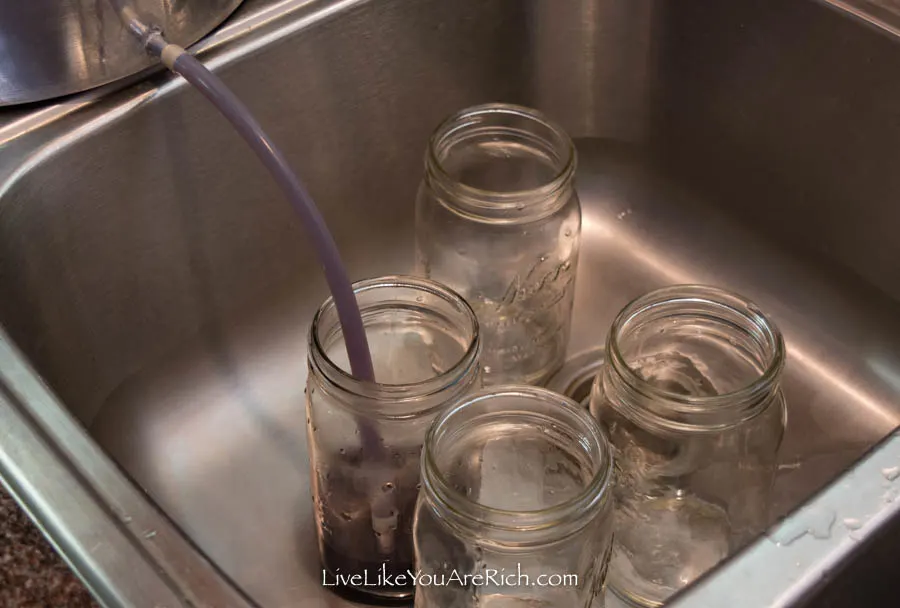
Use tongs to put hot lids and rings onto the mason jars and tighten them with gloves on. Neoprene kitchen gloves work well.
Set the filled jars on a cooling rack as the bottoms will be very hot.
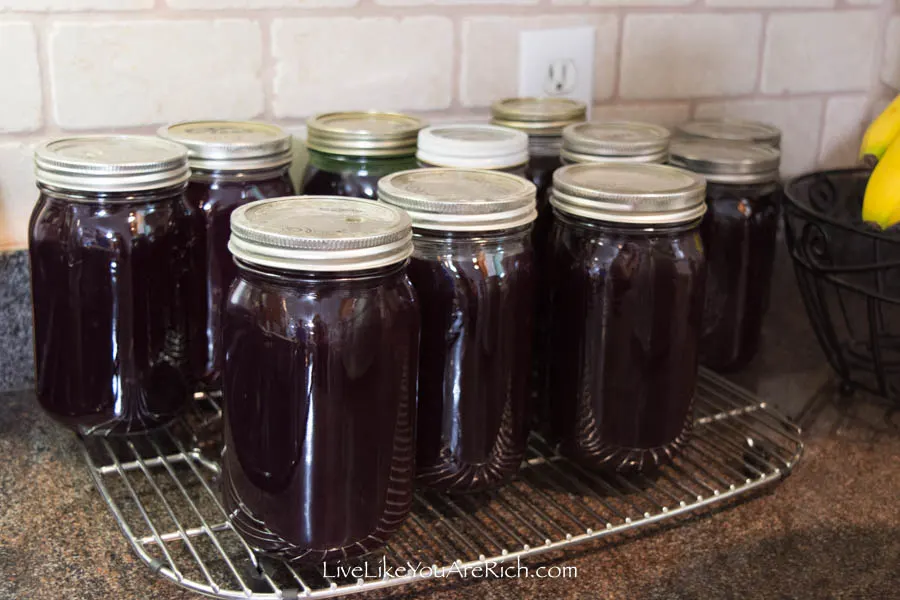
Finally, you need to seal the jars by putting them into a waterbath canner. This will seal the lids tight to avoid fermentation.
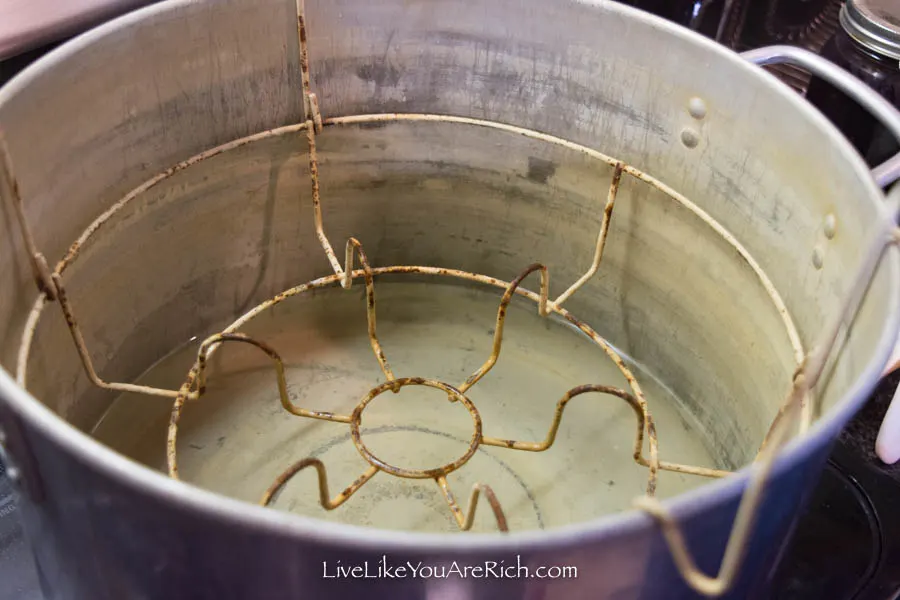
Fill the waterbath canner with hot water (1/3 full). Note- We poured the hot boiling water from the steam juicer base into the canner.
Place the bottles into the hot water canner.
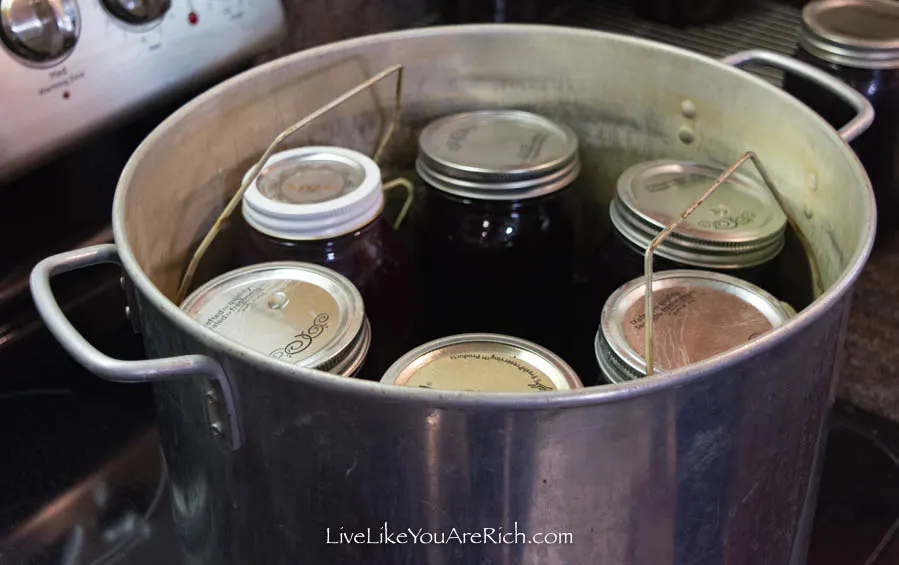
Submerge the bottles by at least one inch of hot water.
Note- Do not put cold jars filled with cold juice into a canner. You will want to make sure the juice/bottles are at least room temperature or warmer before submerging them in hot water or the bottles could burst.
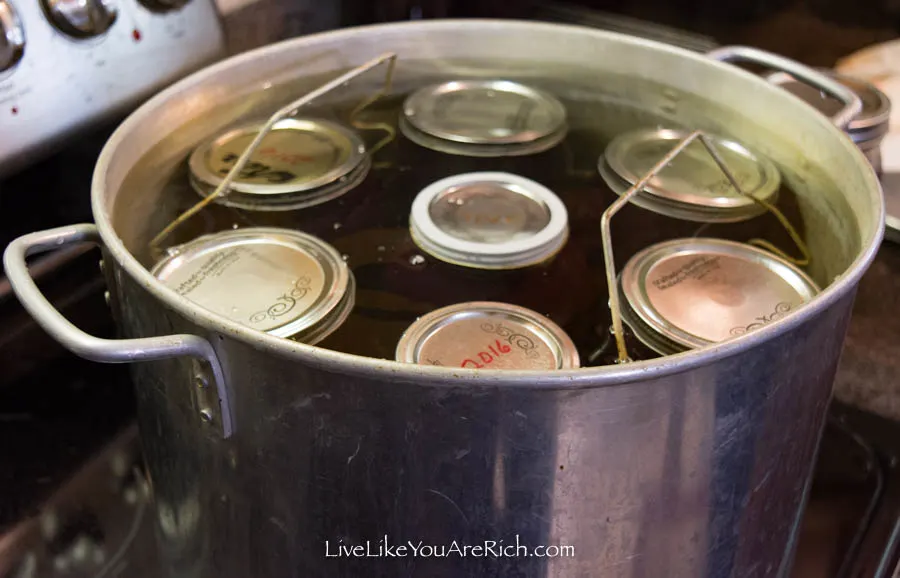
Place the lid on the hot water canner and turn the stove to high heat.
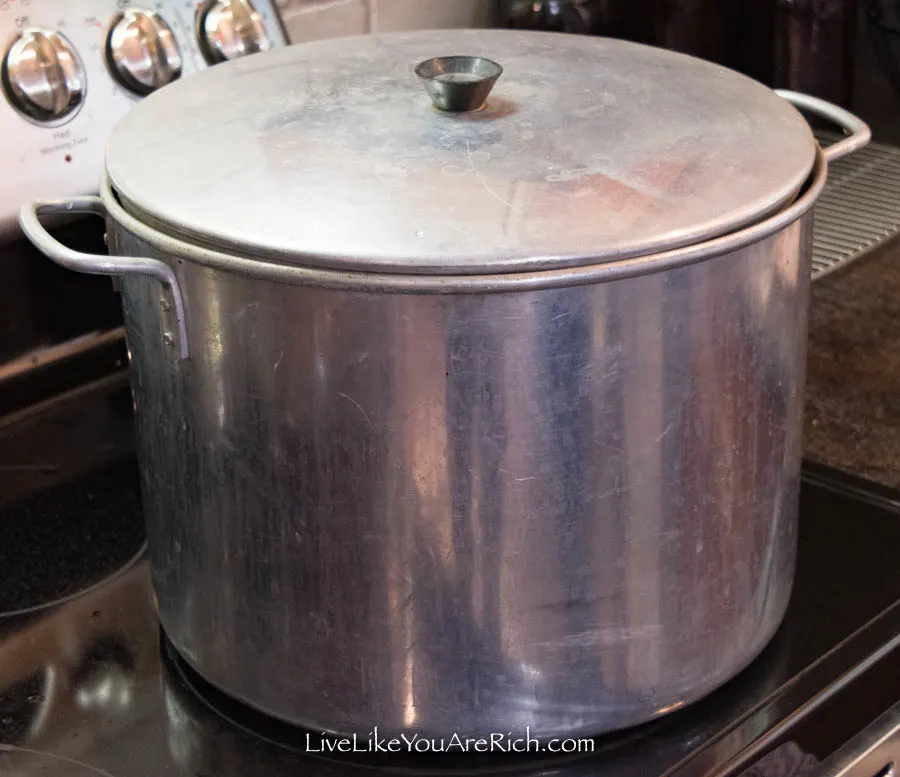
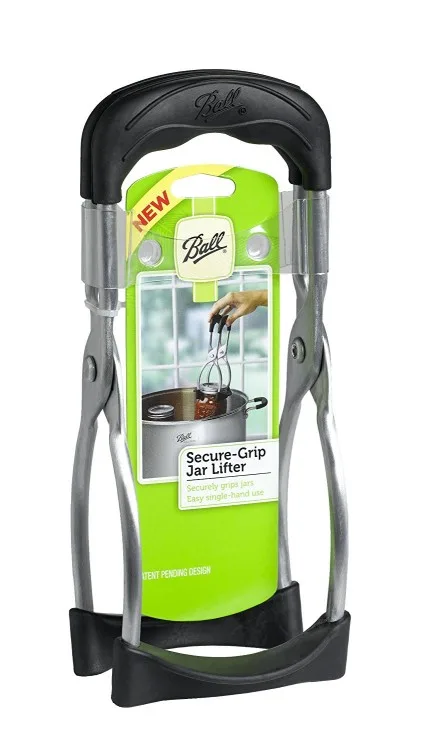
Bring the water to a boil with the lid on for 10 minutes. Turn the heat off. Pull the rack up and place it on the sides of the pan to access the bottles. Carefully use a neoprene glove or a canning jar lifter like this:
and place the bottles of juice onto a cooling rack. Make sure that the lids are pushed in and don’t pop up. If they pop up, they are not sealed, and the juice will need to be refrigerated until consumed.

Store in cool basement or cupboard for up to a year.
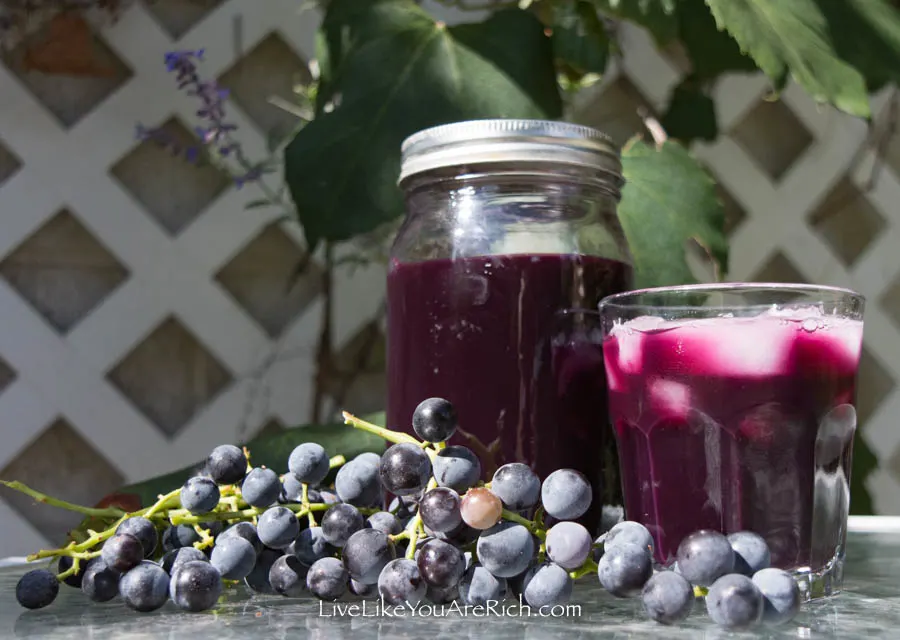
When ready to open, carefully (so you are gripping the lid only and not the lip of the glass jar) use a church key to pop the sealed lid off.
Enjoy with ice and mixed with Sprite or pink lemonade.
Supplies
tongs– for fishing rings and lids out of hot water
scissors– for picking grapes
church key aka bottle opener – to remove the sealed lids

For other ‘rich living tips’ please subscribe, like me on Facebook, and follow me on Pinterest and Instagram.




Jason
Wednesday 4th of November 2020
My Grandmother used to make batches of homemade grape juice and can them in glass quart jars so that we had the juice year round. She always left some grapes in the bottom of the jar so you knew it was homemade. It was delicious.
allie
Friday 21st of October 2016
I'm so curious exactly how that steam juicer works! Fascinating. That's got to be the best grape juice ever.... so fresh!
Chelsea @ Life With My Littles
Thursday 20th of October 2016
This is awesome! We actually planted grapes in our backyard when we moved in, and while we for sure won't have as many as your mom by the time we move, it would be fun to make juice with them!