This is How to Fix Wooden Shutters When the Tilt Rods Come Loose.
If you have plantation shutters and some of the shutters are loose and/or the staples have fallen out of them or the louver tilt rod, this is an easy, quick, and inexpensive way to fix them.
We have wooden plantation shutters on each window in our home.
When I tried to tally up how many shutters we have, I got to 50 for our upstairs and stopped counting, we have many downstairs too.
This isn’t to brag, but rather to illustrate that we often face the problem of broken plantation shutters.
We have four kids and they and their friends are often sliding them open and closed.
My toddlers are especially hard on them. They often pull so hard on the wooden tilt rods that they break the rods off the wooden slats.
In fact, we usually have a few louver tilt rods that are unattached to a few shutter slats on any given day in our home.
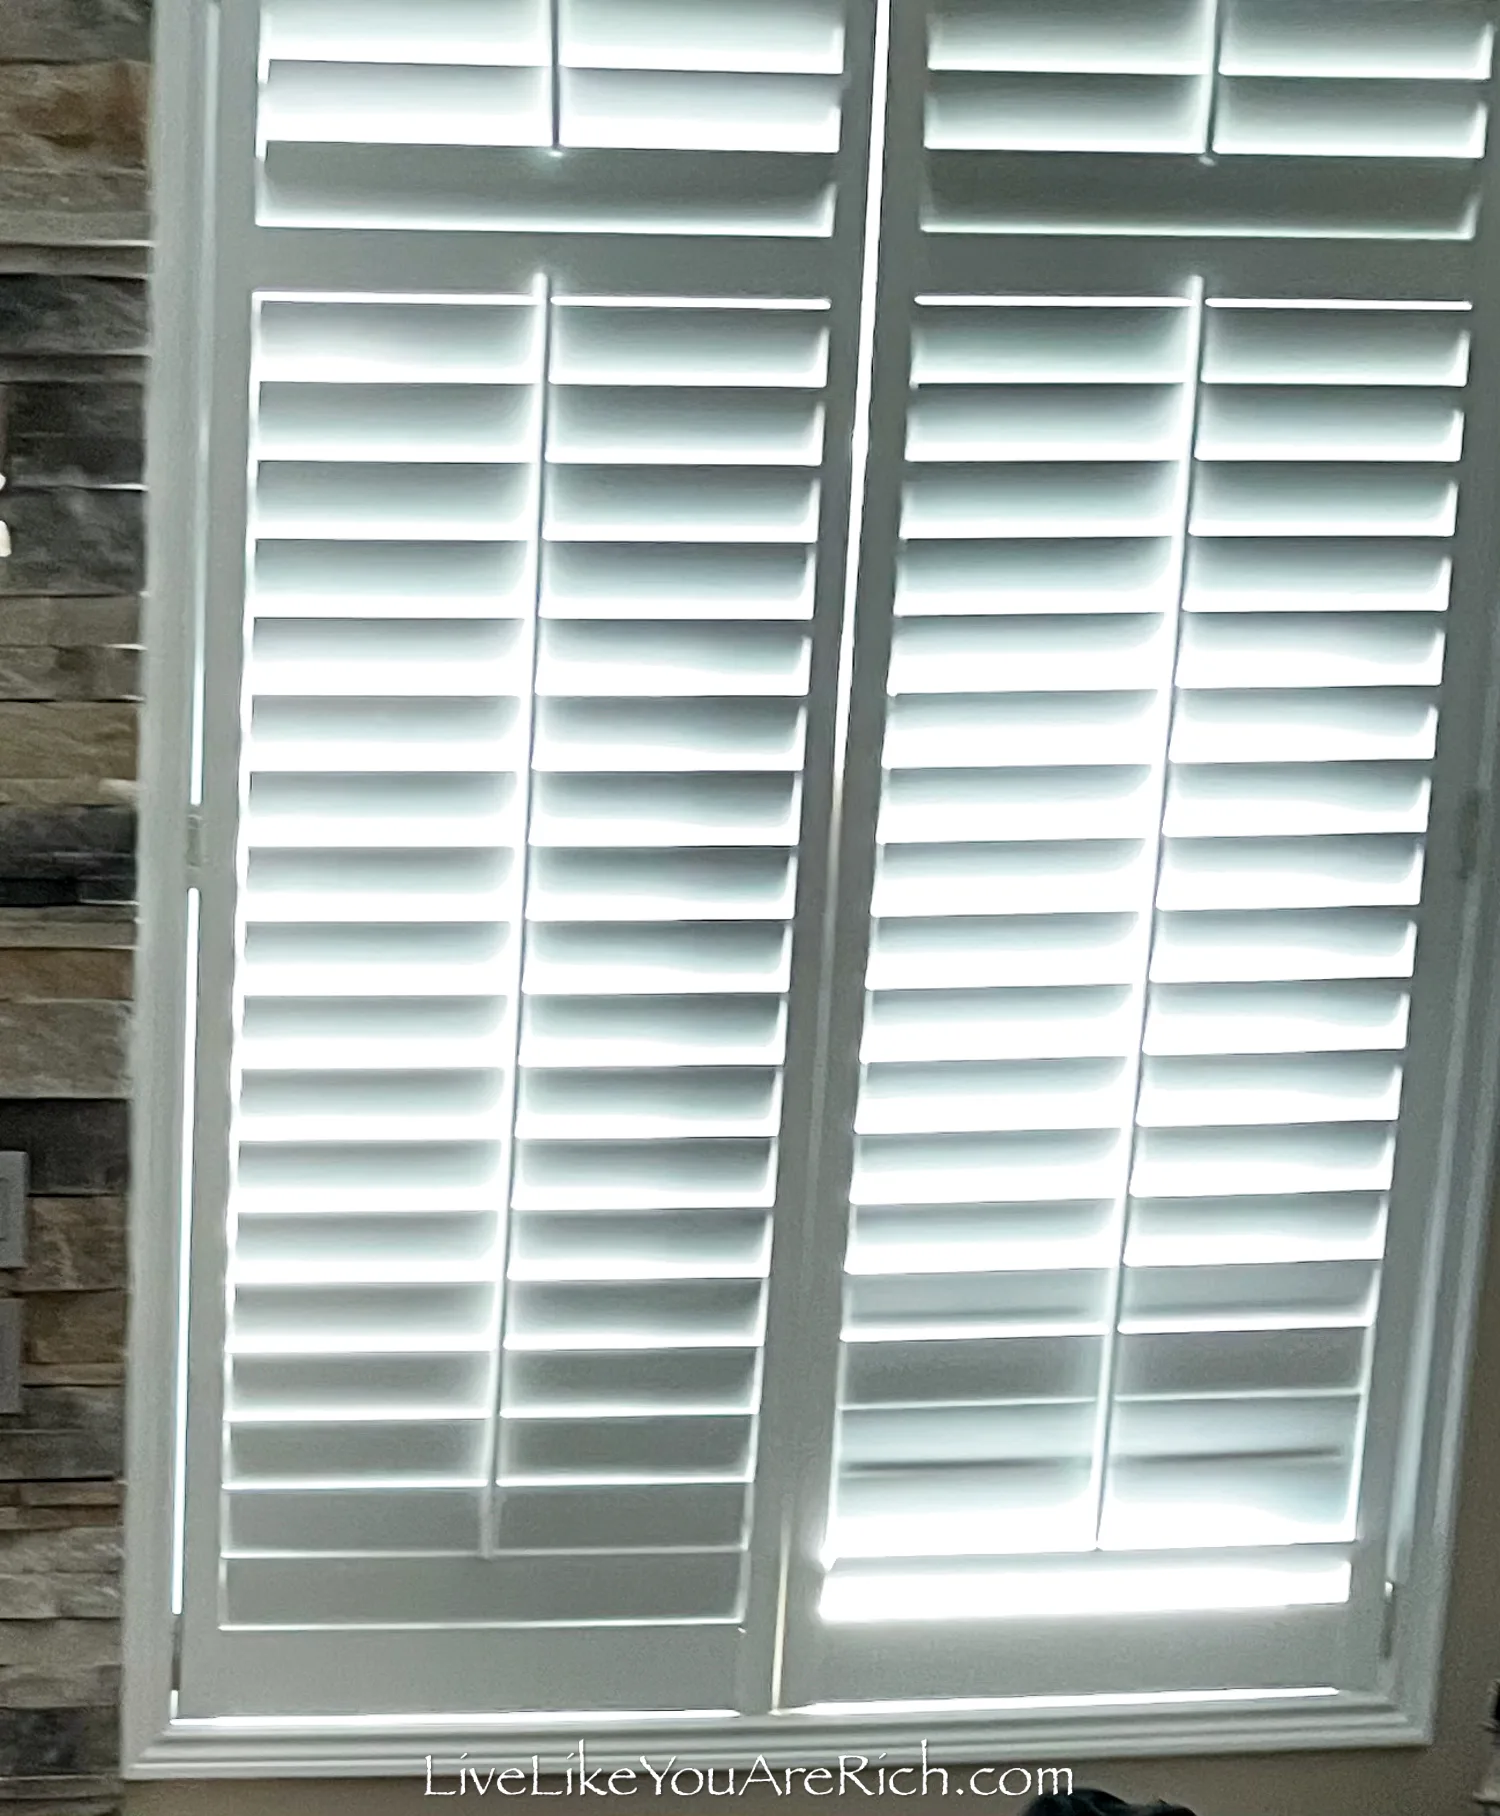
See the photo below. The right shutter has 4 slats that are not connected to the louver tilt rod.
My husband and I have fixed so many shutters that we now have a system of fixing disconnected tilt rods down pat.
Watching this short 2 minute video may be the best way to see how we fix them, if not, continue reading.
Supply list for Fixing Wooden Shutters When the Tilt Rods Come Loose
Staples for tilt rod louvers and wood shutters
Glue (in the video we were using gel super glue in a syringe). You can use super glue, gel super glue or epoxy for metal and wood.
A syringe with an 18 gauge 1 1/2″ needle (optional)
Pliers that adjust wide enough to clamp horizontally the staple + tilt rod (see video). You will want pliers with teeth on the one side so they will hold the staple in place. We used large ones because that is what we had on hand, you don’t need ones as large as what we were using in the video.
Duct tape or electrical tape to put on the pliers so that you don’t scratch and dent your shutters. My husband loves using electrical tape (see his DIY bandaid in the video). He likes that you can wrap it on and take it off with minimal residue. So we just used electrical tape to secure the small piece of cardboard onto the pliers.
1 small piece of cardboard cut to size (one side of the pliers). You add a piece of cardboard to one side of the pliers so you don’t dent or scratch your shutter or tilt rod when you press the staple in/secure it (see video).
Here’s how to Fix Wooden Shutters When the Tilt Rods Come Loose
1. Gather the supplies and get them ready. Cut and tape cardboard onto the bottom side of the adjustable pliers.
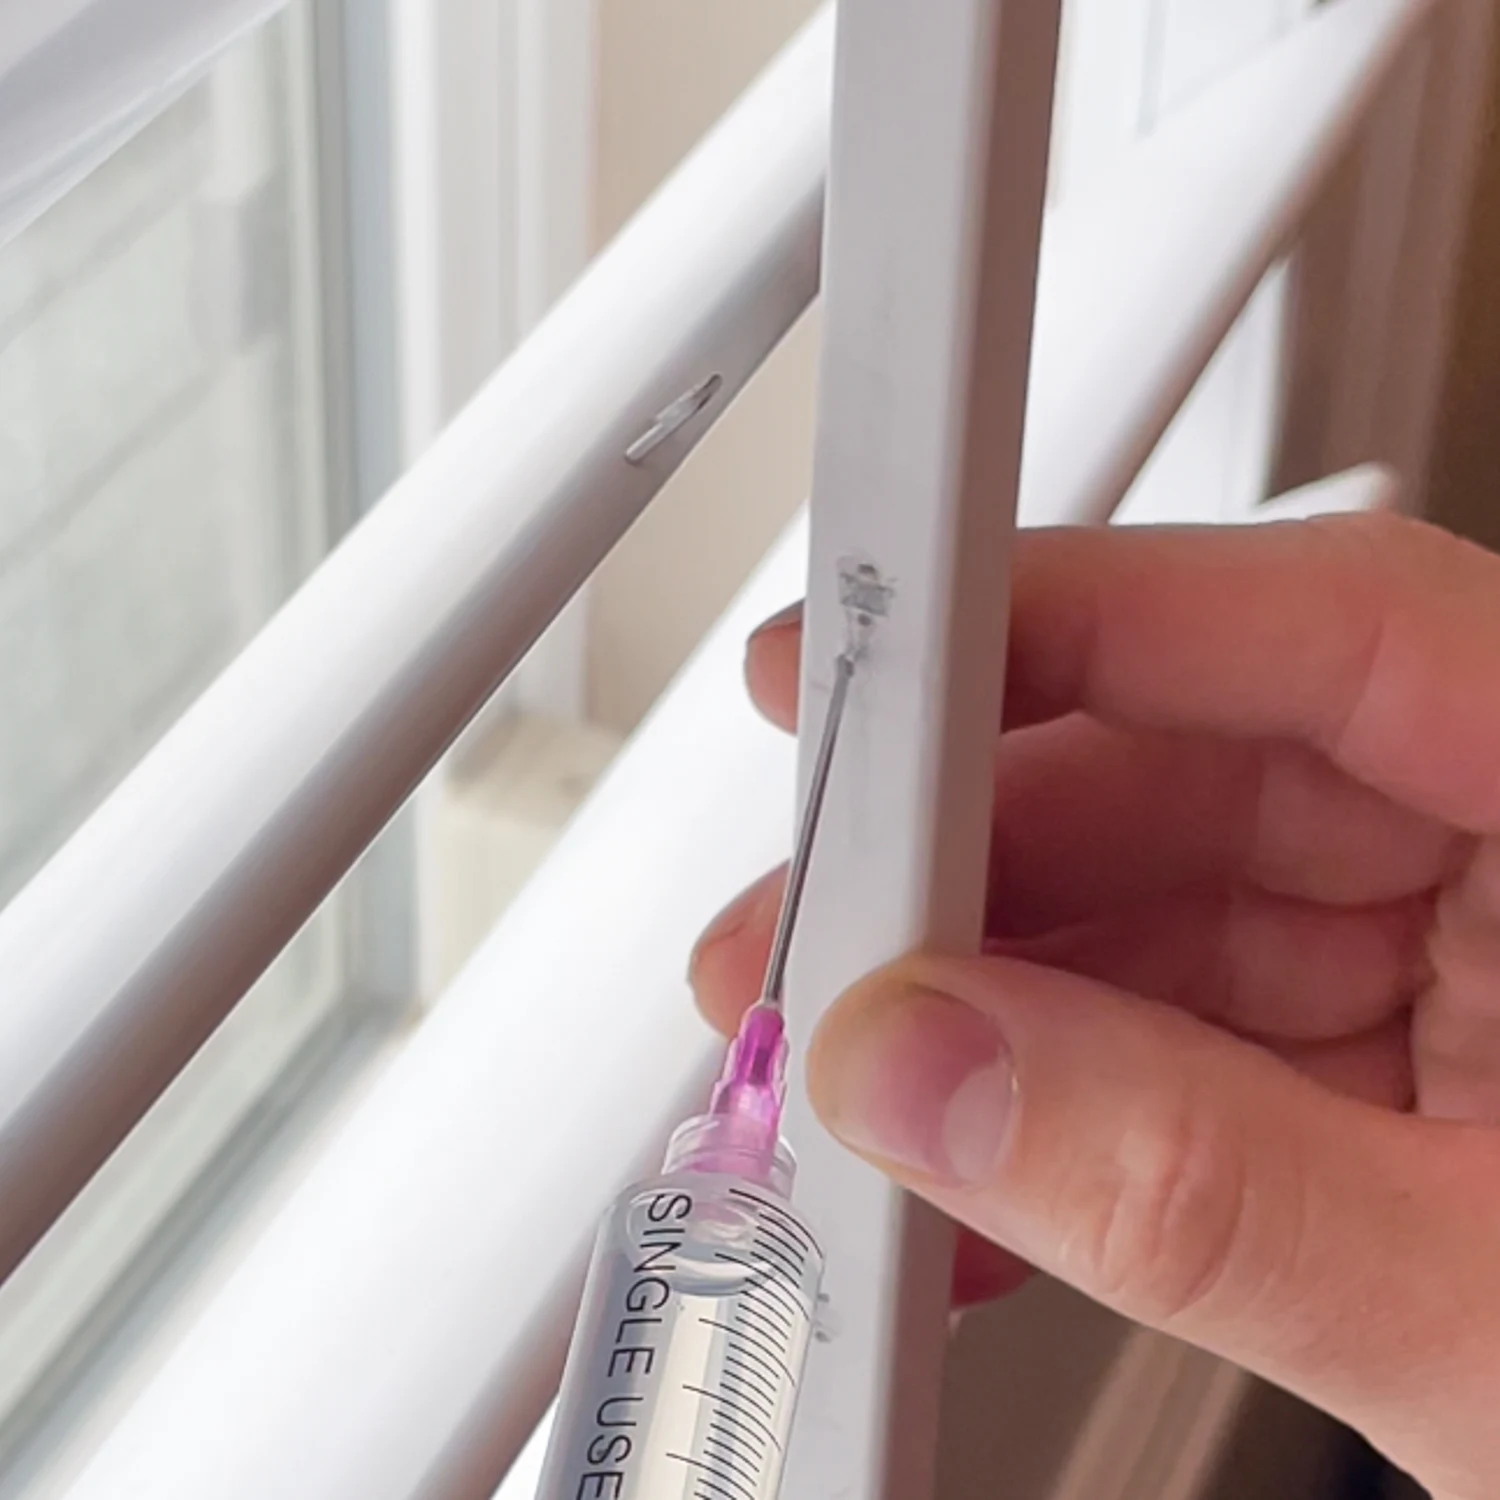
2. Using a syringe or super glue with a small nozzle, put glue inside the staple holes.
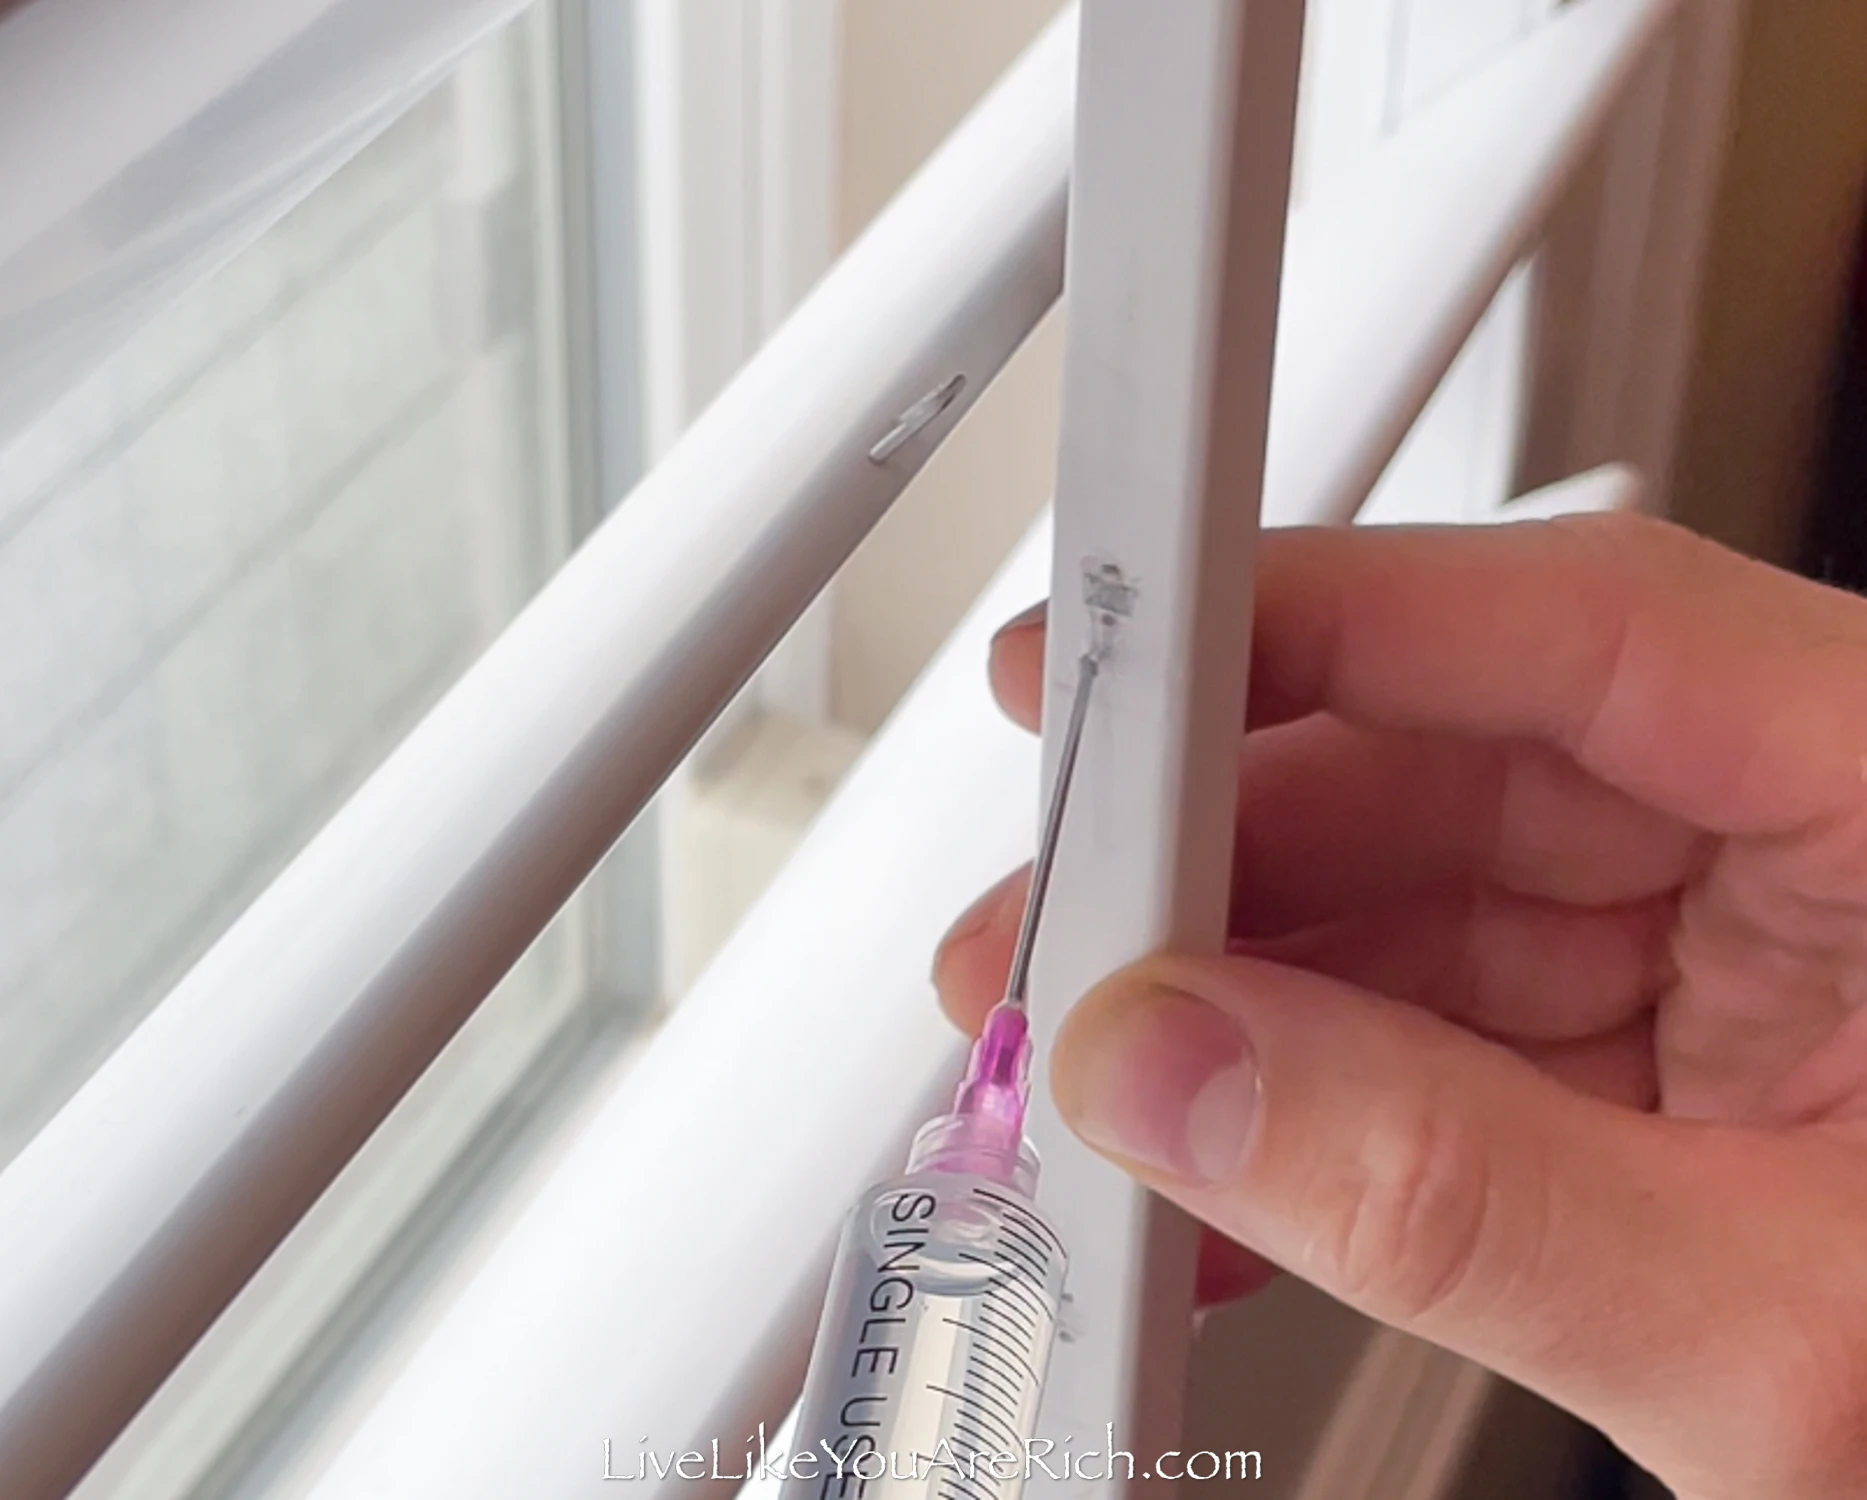
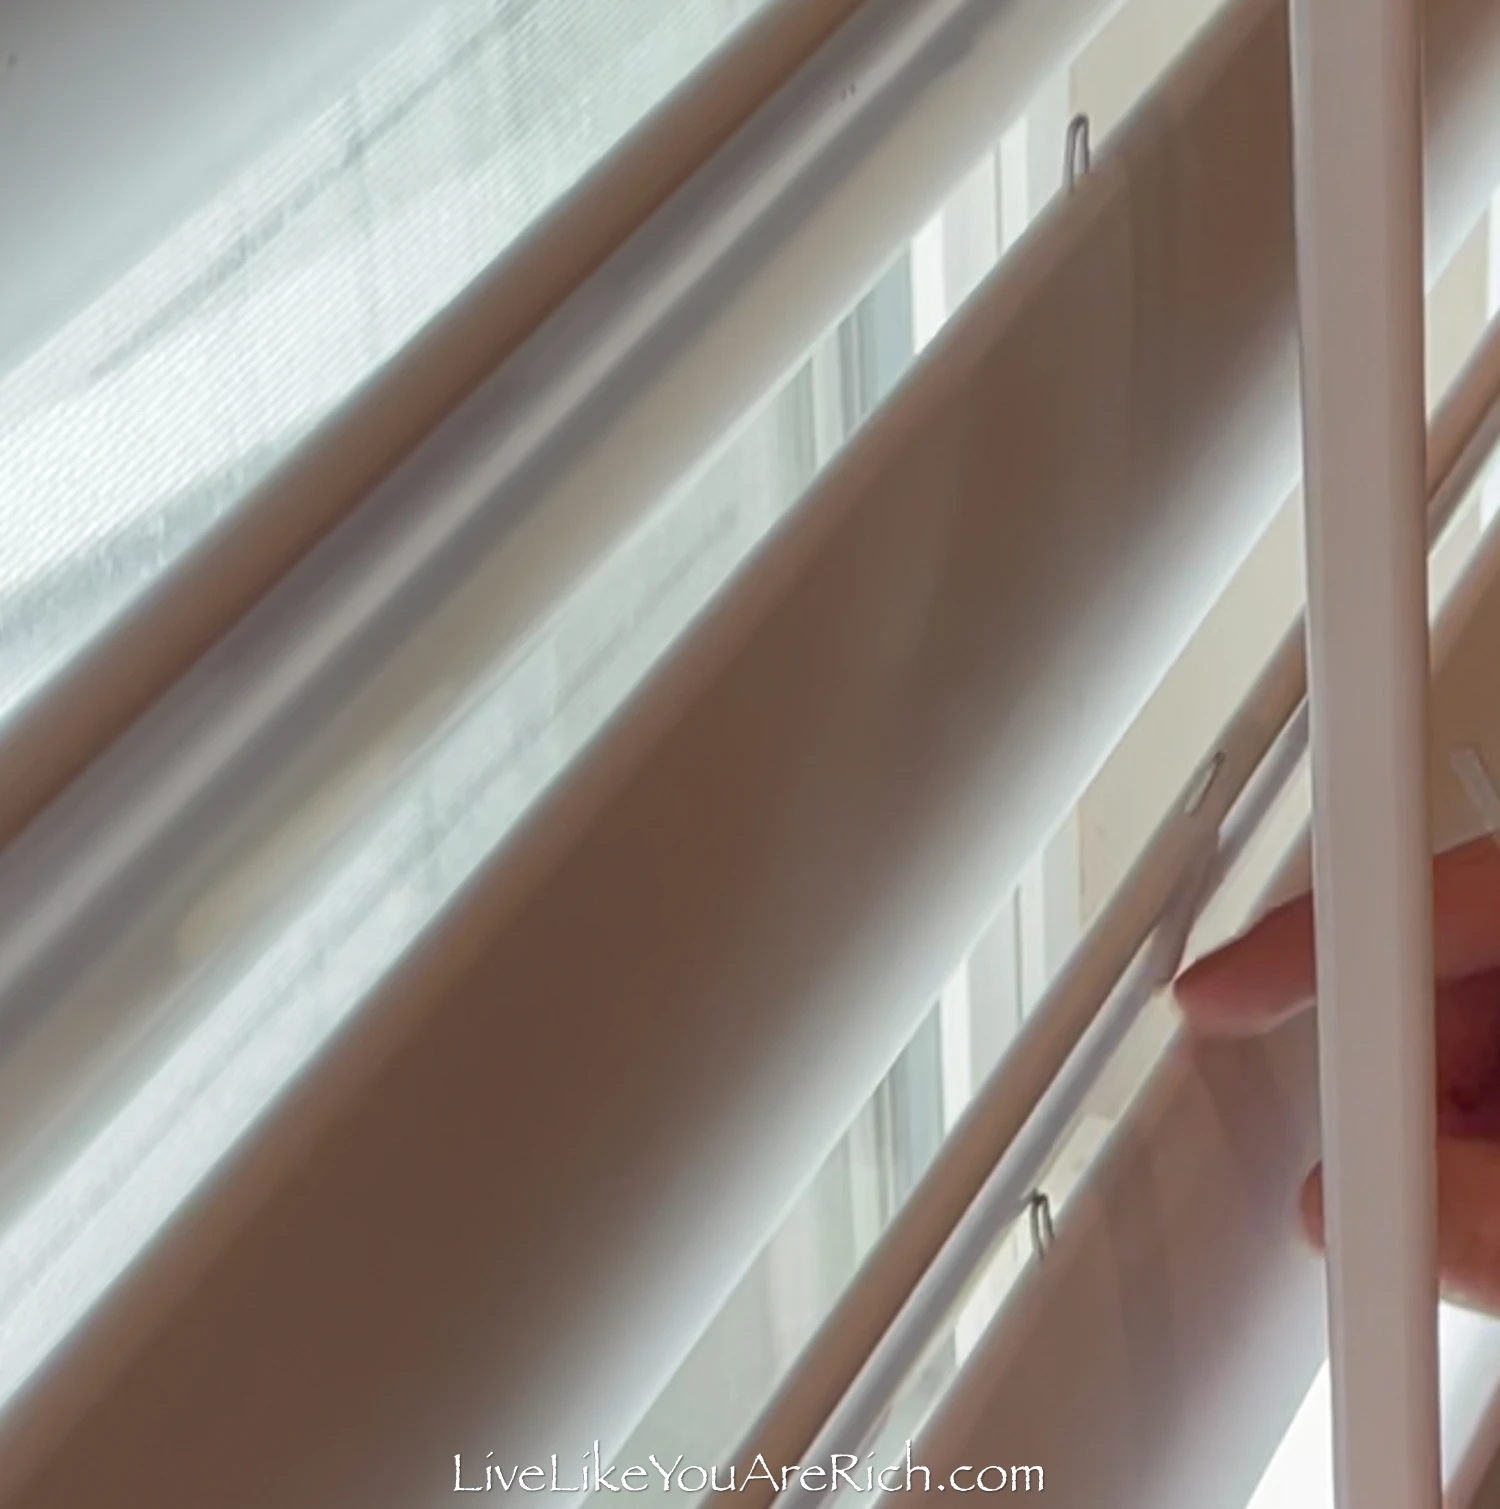
3. Place the shutter staple into the hole.
4. Use pliers to press it in securely and sink it into the wood.
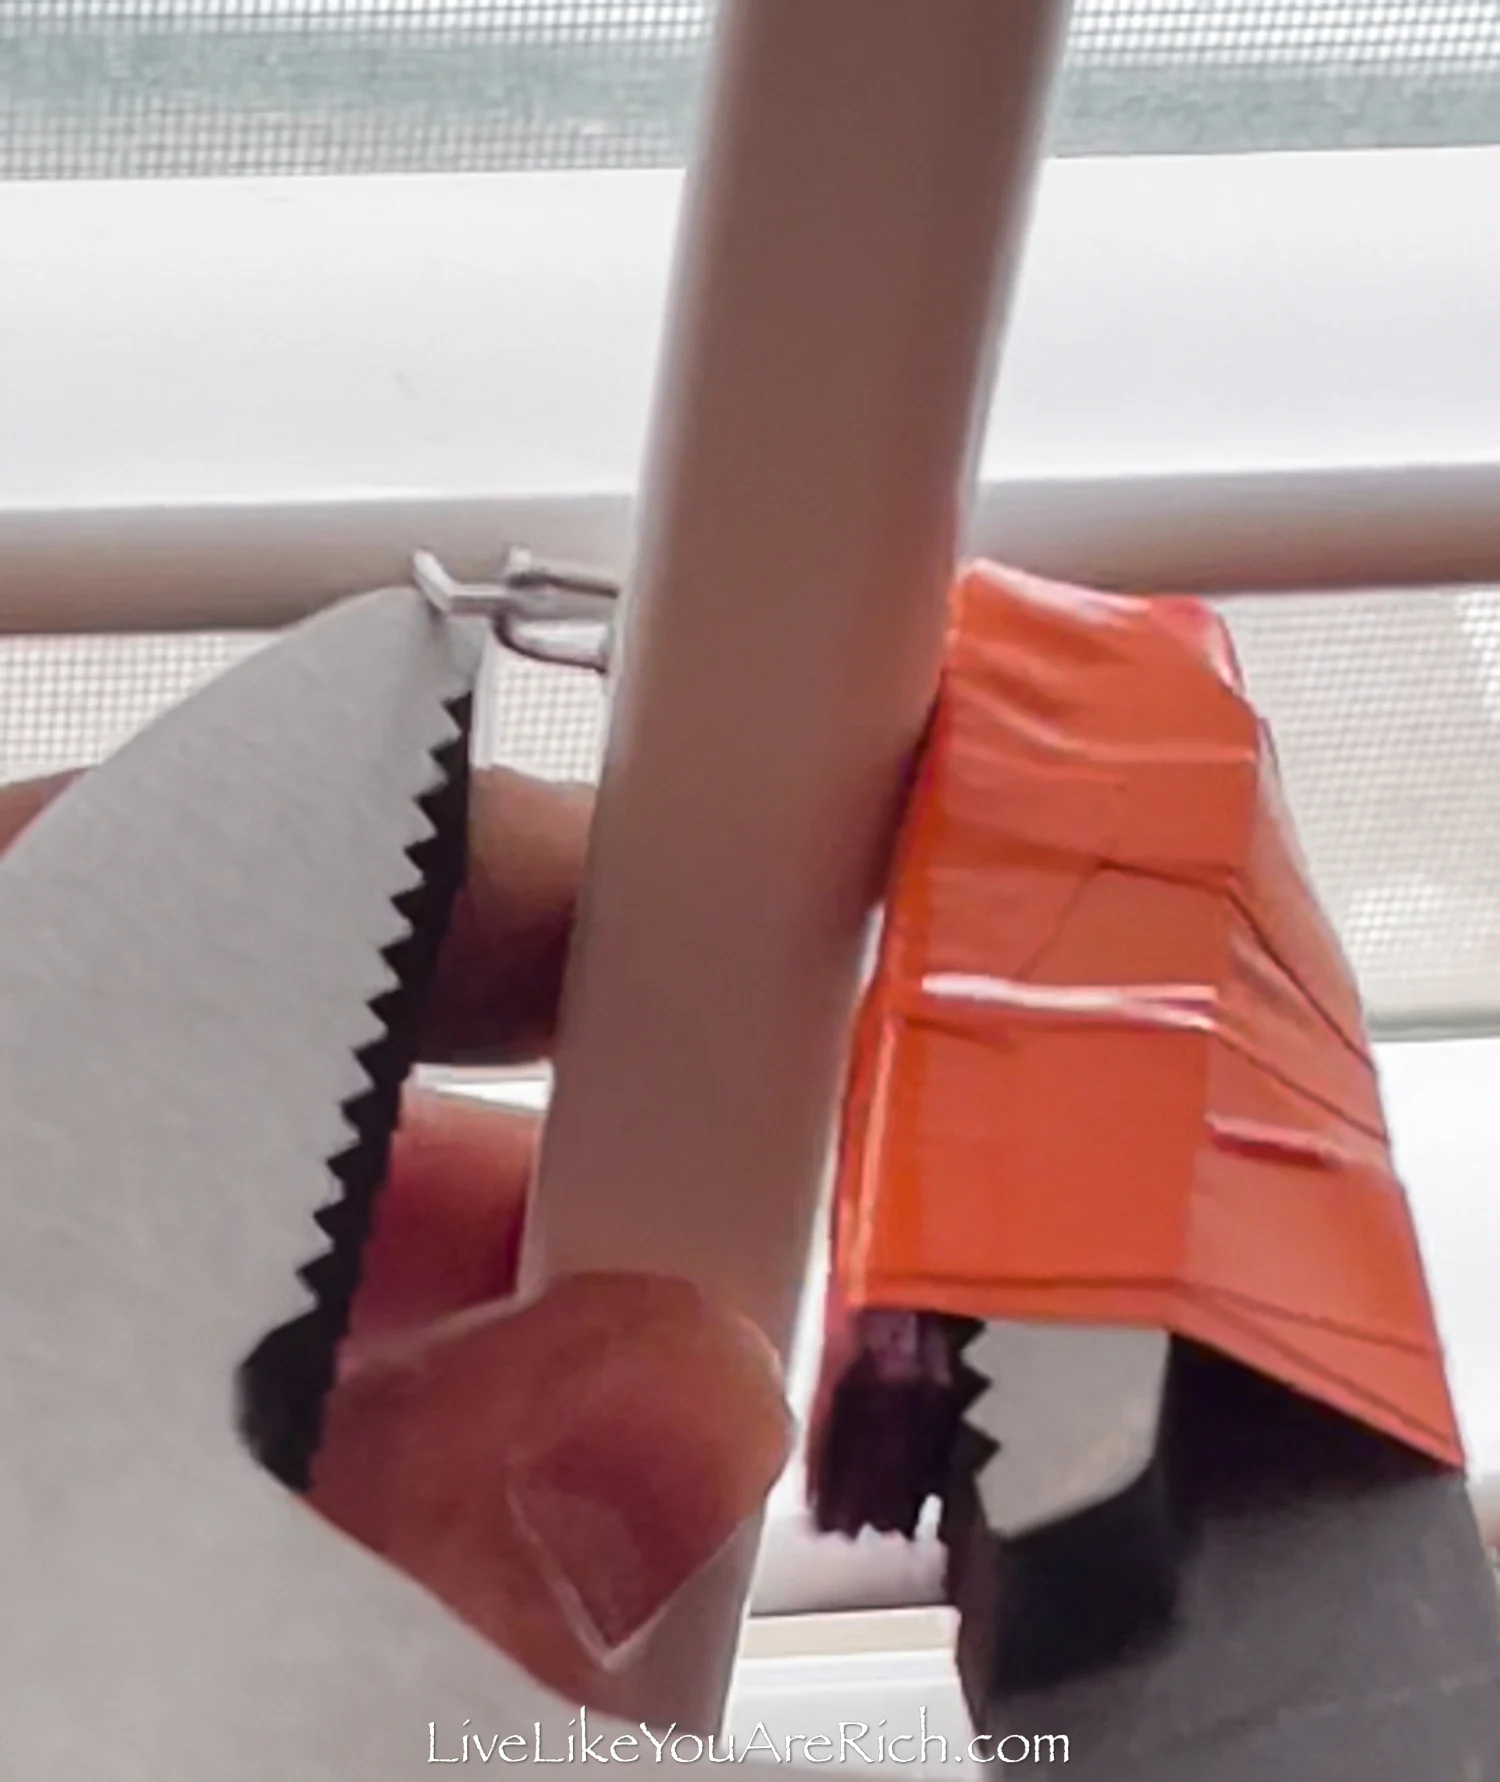
5. Allow the shutter and tilt rod to rest in place for at least 4 hours so the glue has time to dry.
That’s it. Easy and inexpensive.
I love that we have found this way of fixing our many broken plantation shutters.
Using glue and pliers to secure the staple into the tilt rod or shutter slat really helps it to remain secure and can often withstand a toddler’s pull— if given proper time to dry and set.
I hope this tutorial and video on How to Fix Wooden Shutters When the Tilt Rods Come Loose was helpful for you.
If you have any questions or comments, please leave them below.
For other ‘rich living tips’, please Subscribe Here or connect with me on these other platforms:

