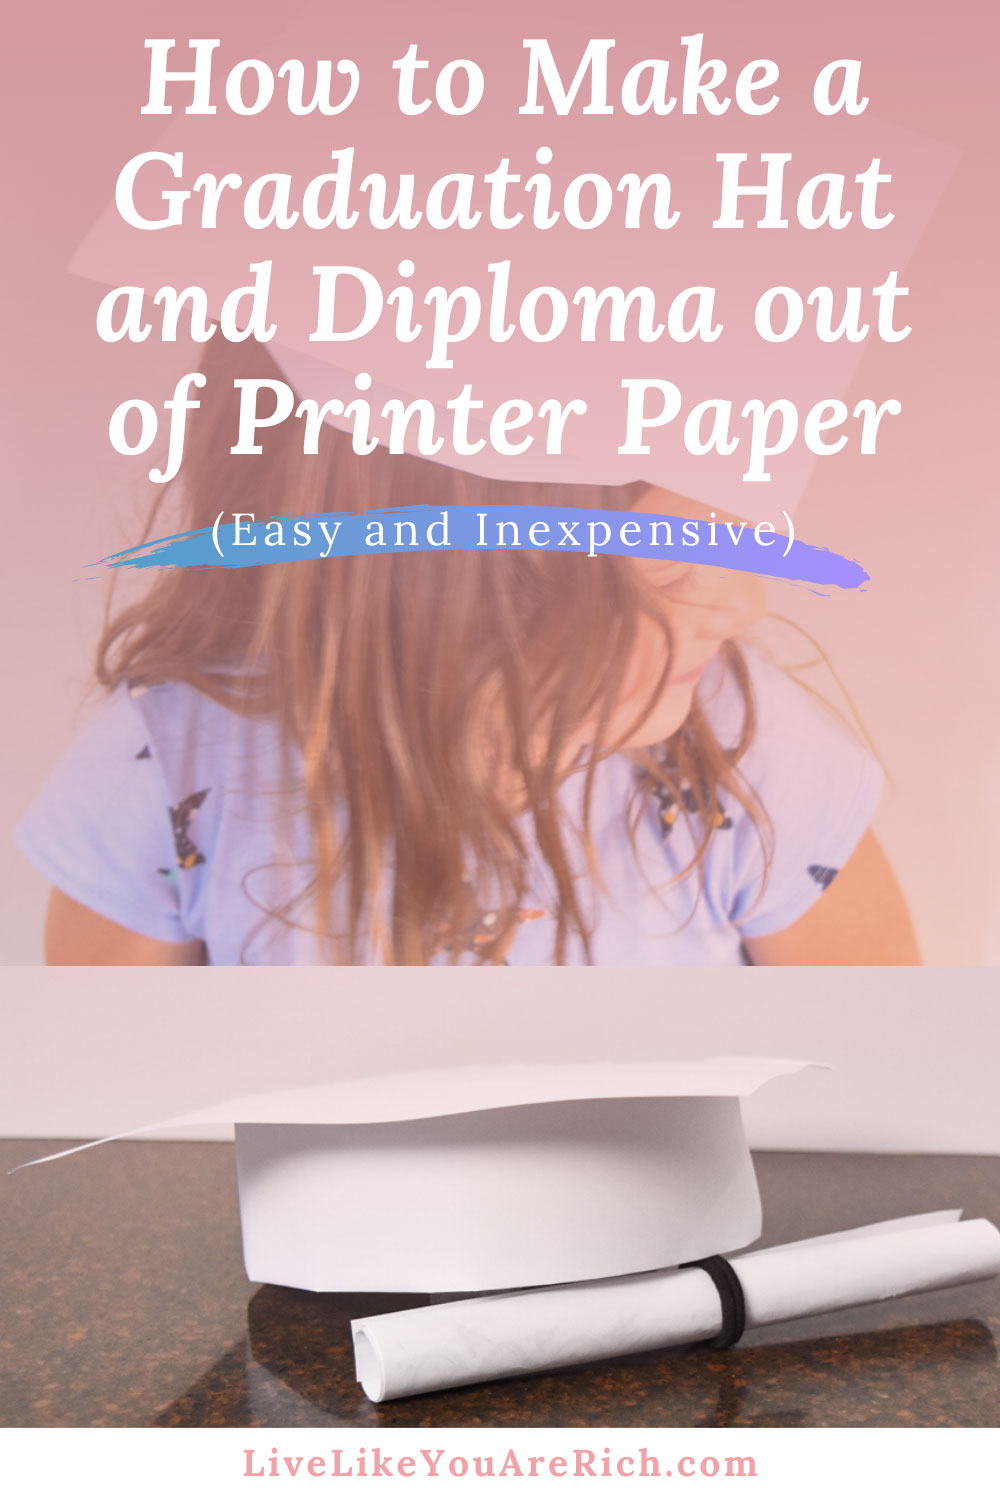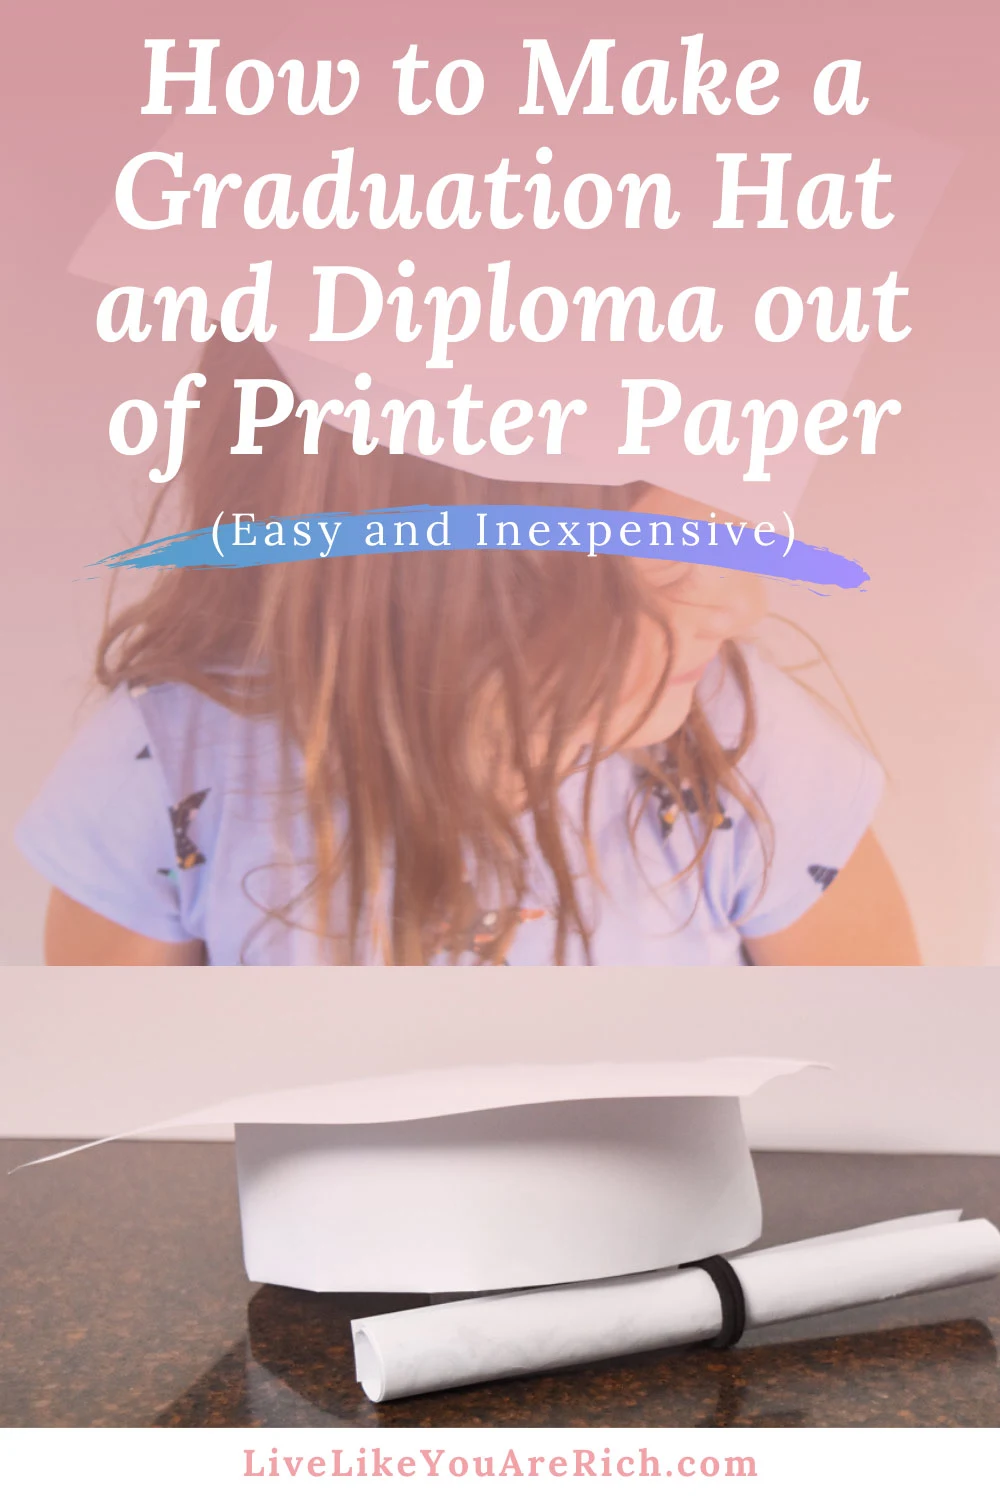
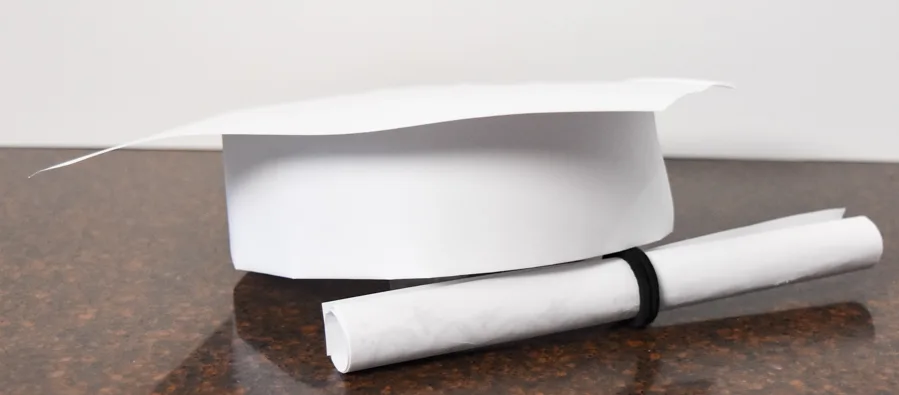
This tutorial will show you how to make a graduation hat and diploma out of printer paper and tape. It is very easy and inexpensive. It’s a great craft for kids.

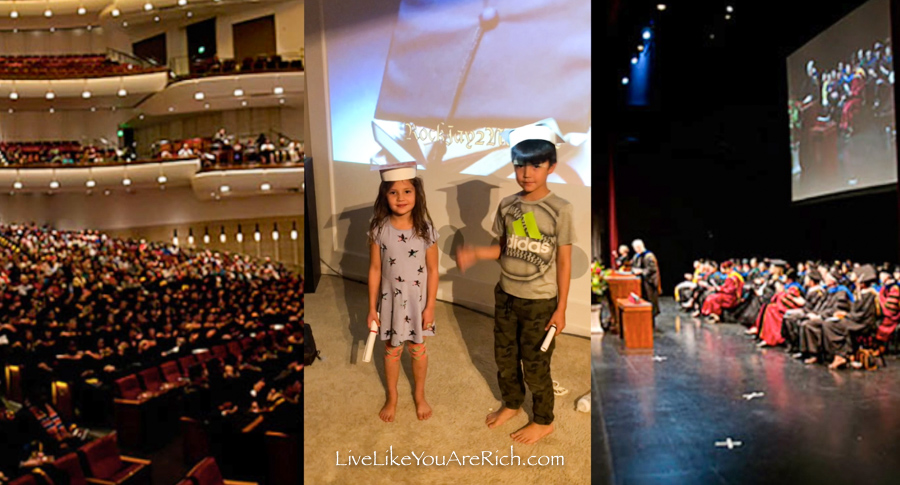
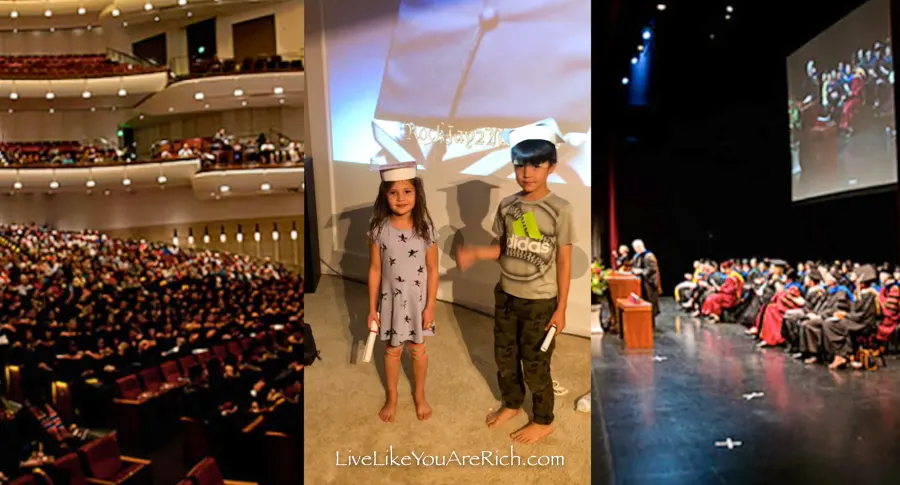
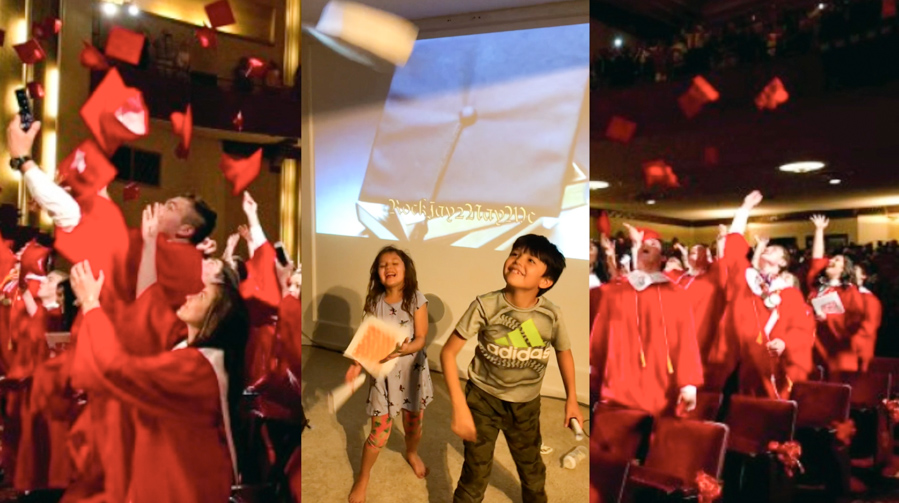
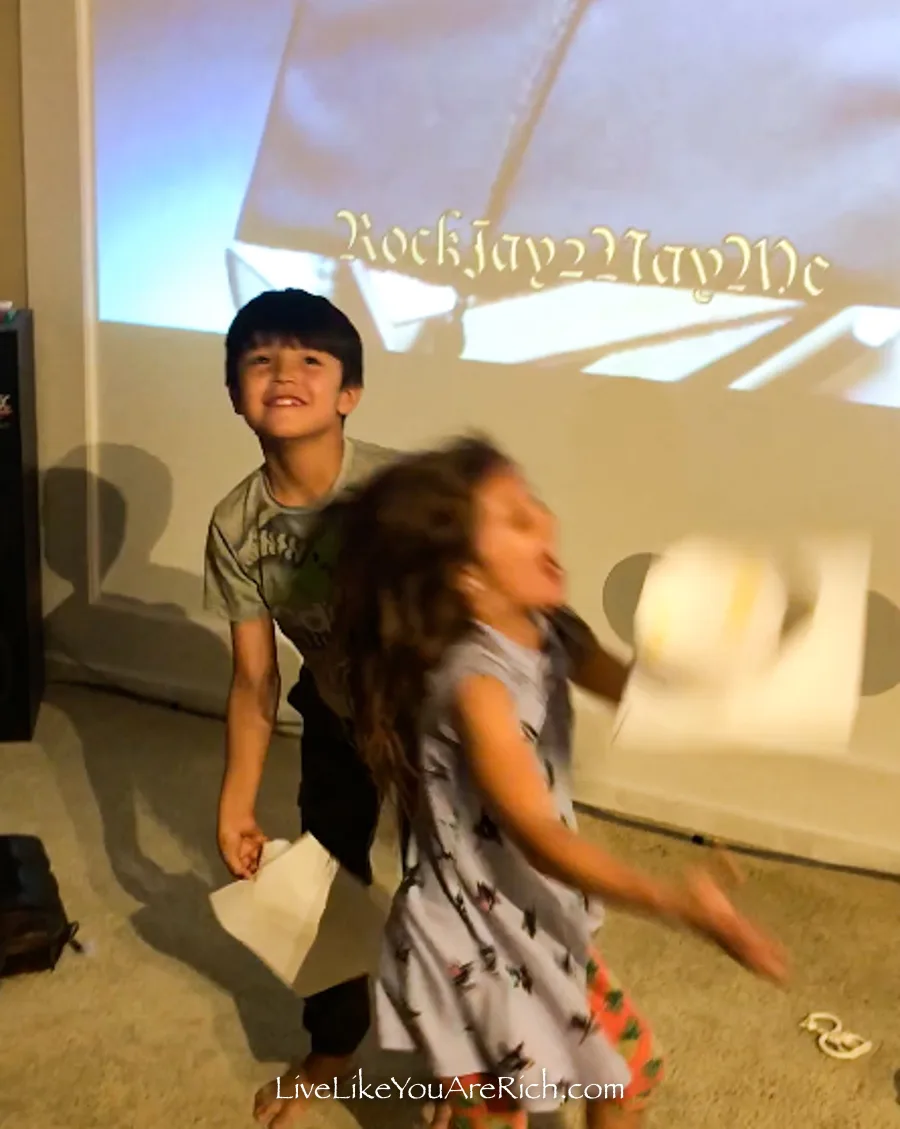
These caps are customizable. My daughter had a lot of fun decorating her graduation cap. You can see how we used them in our At-Home Graduation ceremony video below.
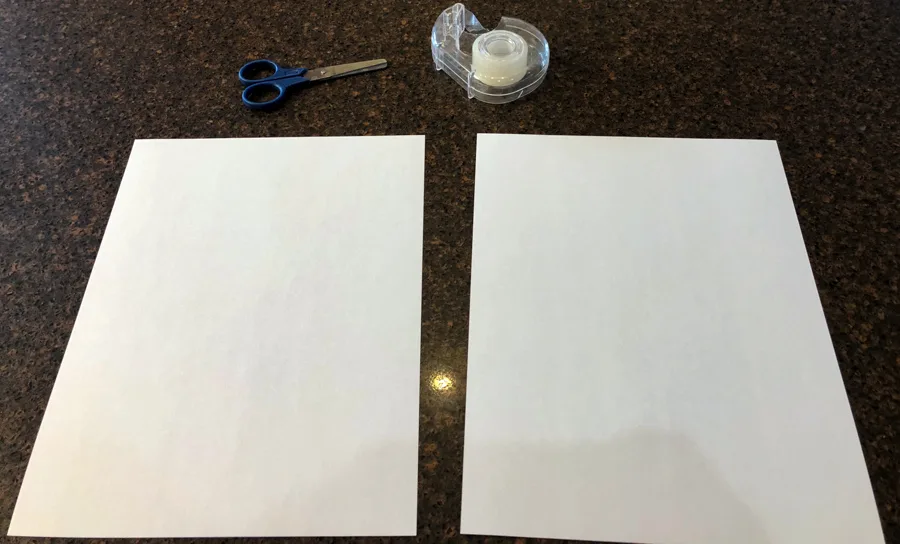
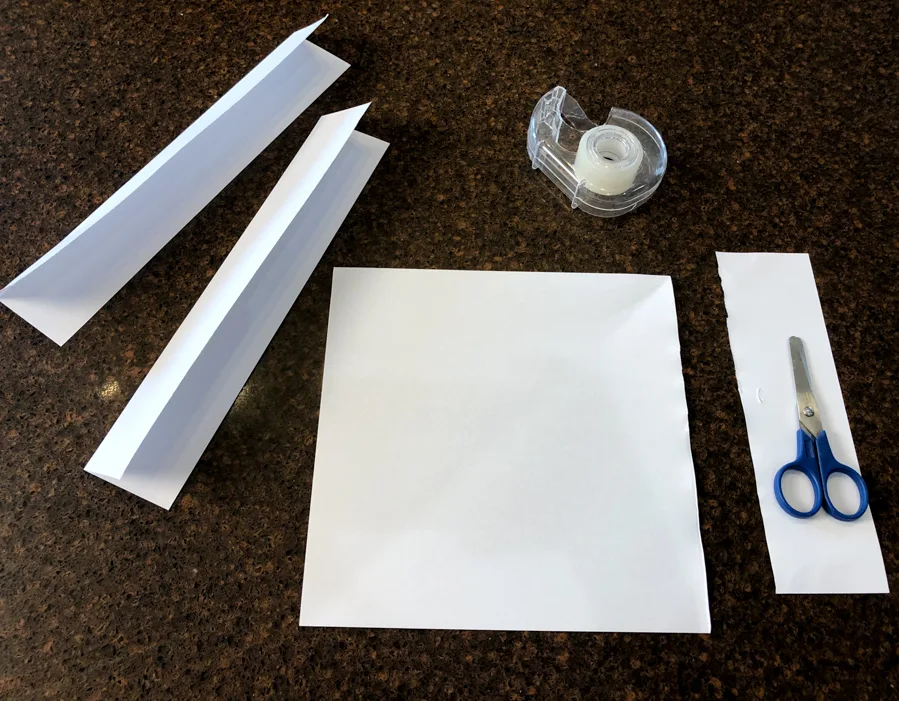
Supplies:
2 sheets of regular printer paper
tape
scissors

Instructions: How to Make a Graduation Hat and Diploma out of Standard Paper
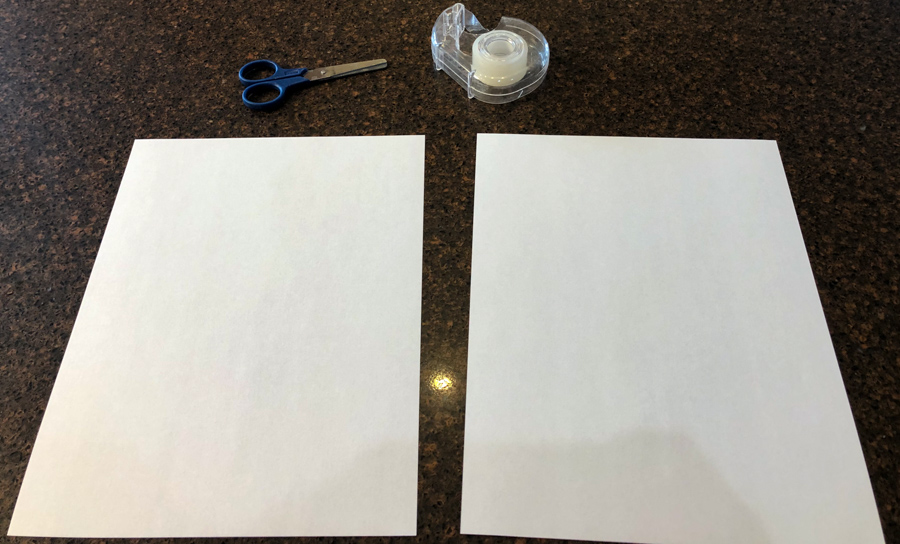
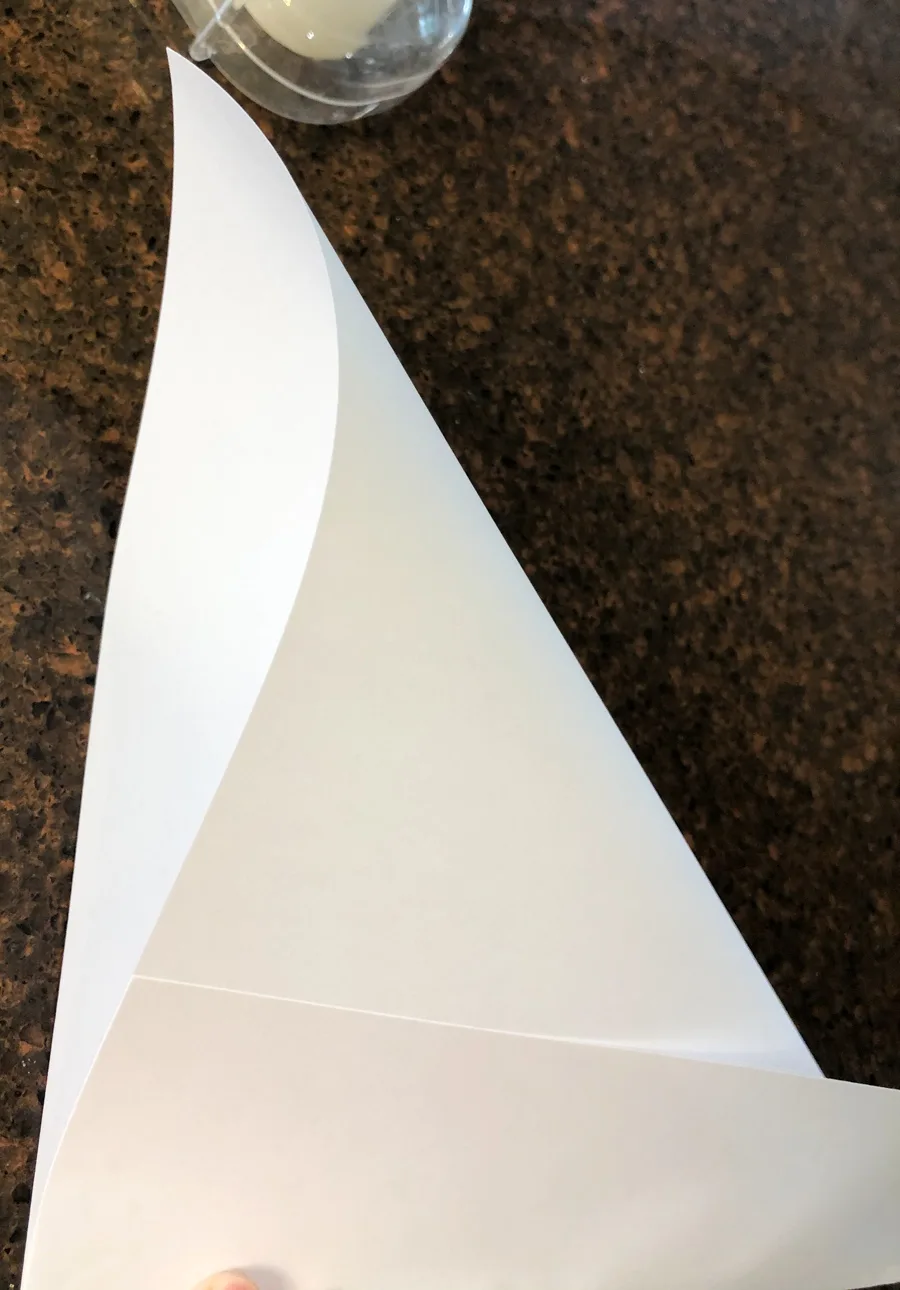
1-Fold first paper into a square. The way I did this was match one corner to the side to form a square——without creasing it!


Then bring the bottom up and fold it in place to form a perfect square.

Next, fold the second sheet of paper into fourths hot dog/length-wise.
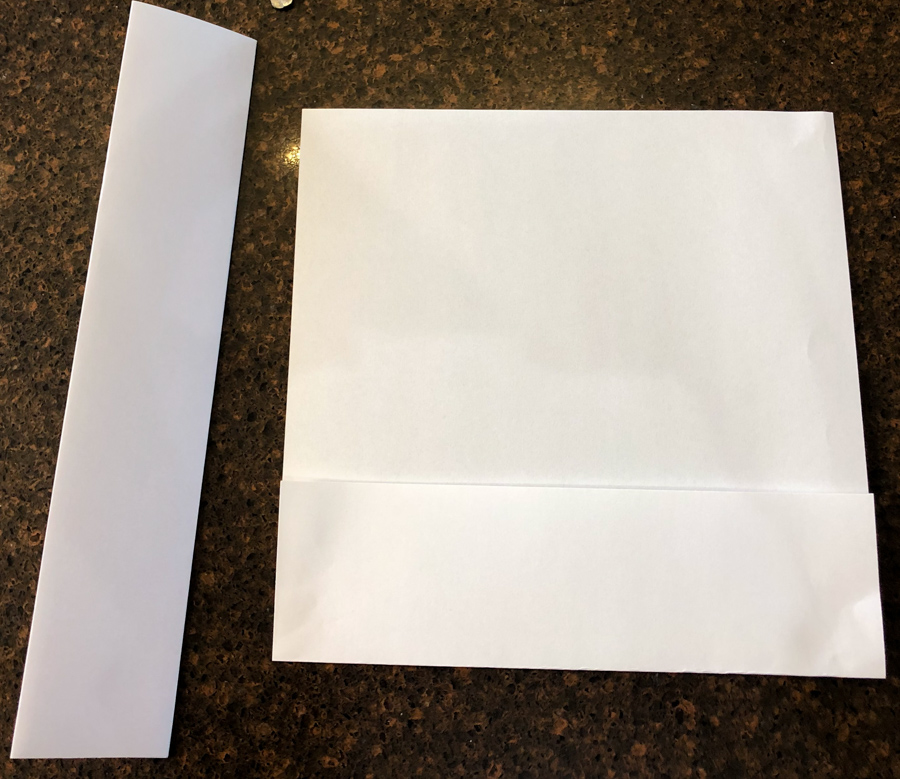
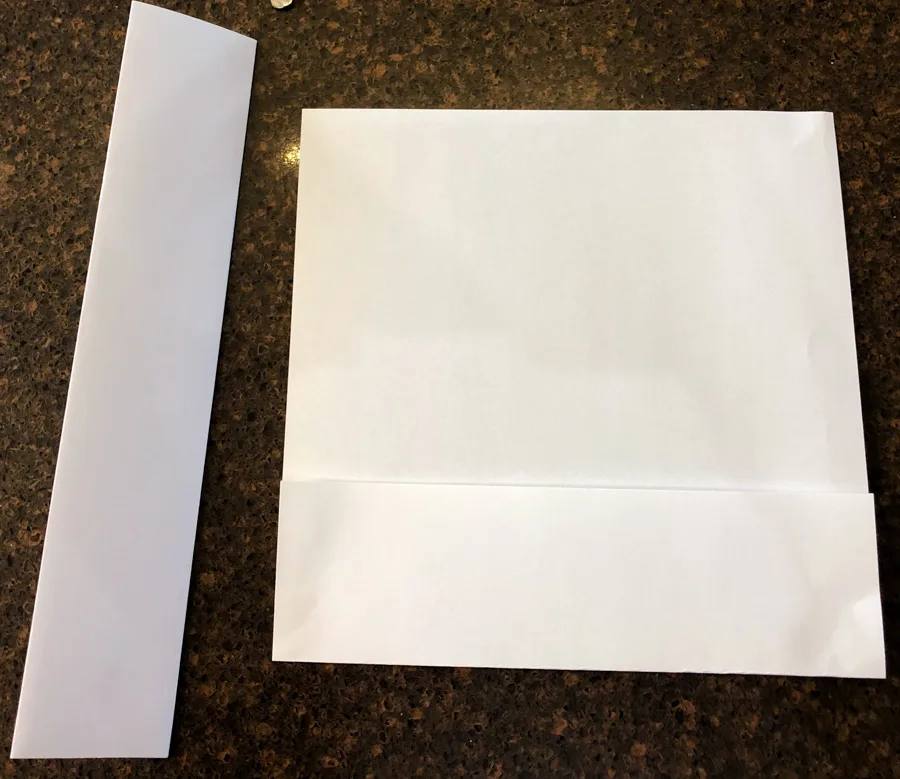
Cut the square out. Then cut down the middle crease of the paper folded into fourths to create two identical folds.

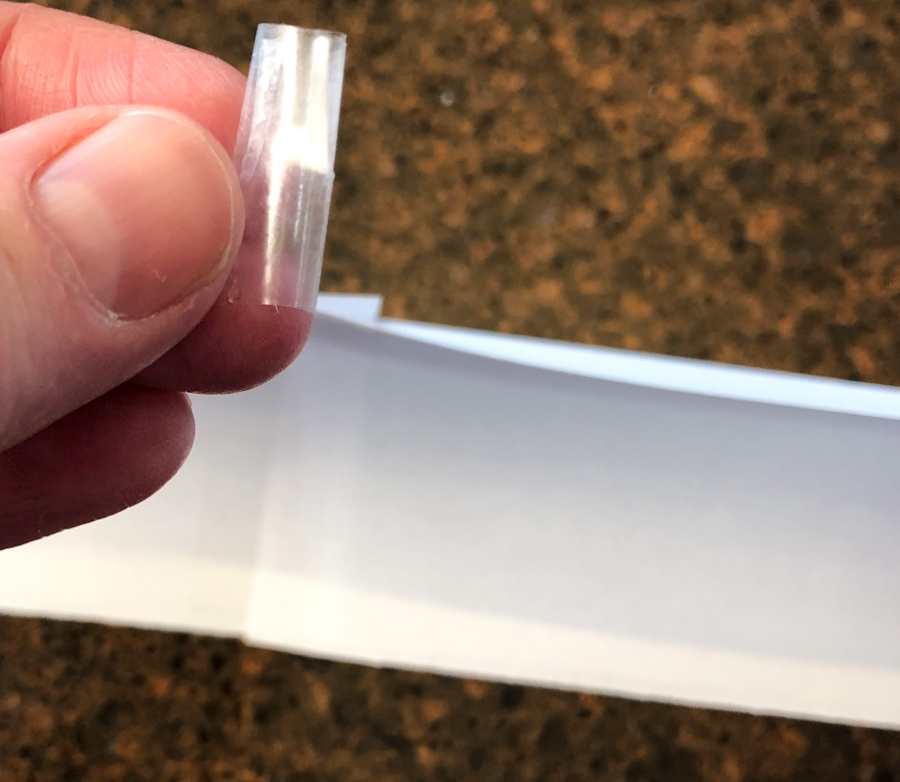
Tape the two identical pieces together. I taped them together on the inside and put a roll of tape on the outside so it remained concealed.


Using small rolls of tape on the outside edges allows you to tape the pieces together without it being seen.

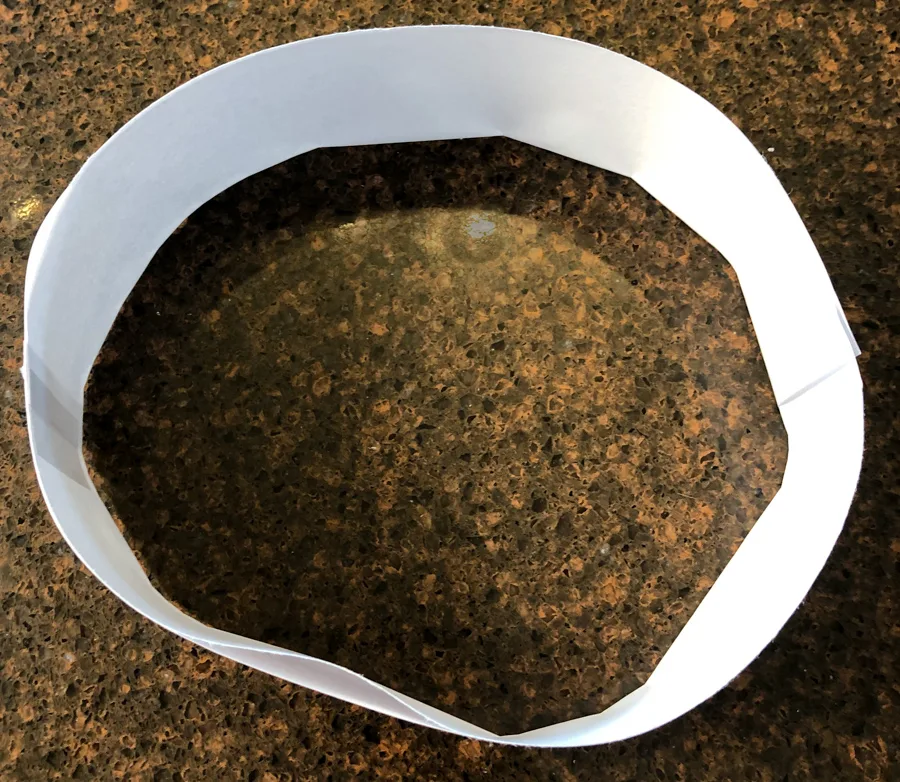
Measure your child’s head and connect the two ends together. If you child has a bigger head, you will want to take that extra piece of paper left over from the square piece and use it as an extender. You will make another similar width folded piece of paper and tape it all together to fit your child’s head.

Set the rim on the paper about an inch on all four sides. I positioned the cut-rough edge of the square in the back and the taped seems of the rim towards the sides.


Optional- use yarn or string to form a tassel and tape it to the middle of the cap.
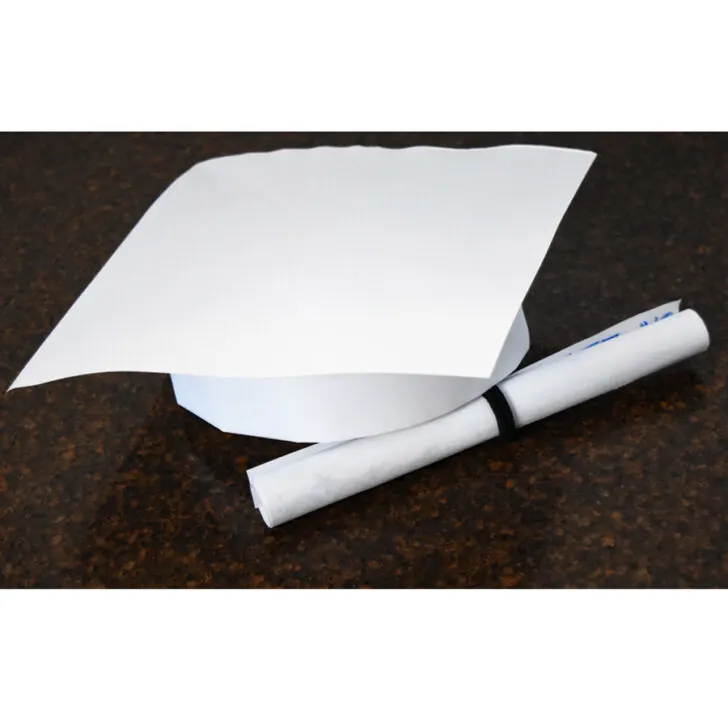
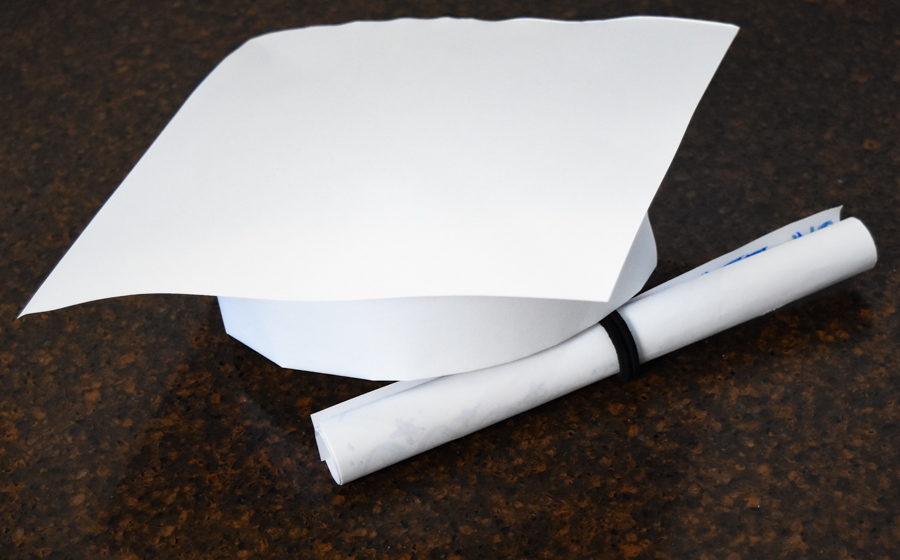
That’s is it. So super easy isn’t it?


How to make a diploma out of printer paper:
Supplies:
1 sheet of printer paper
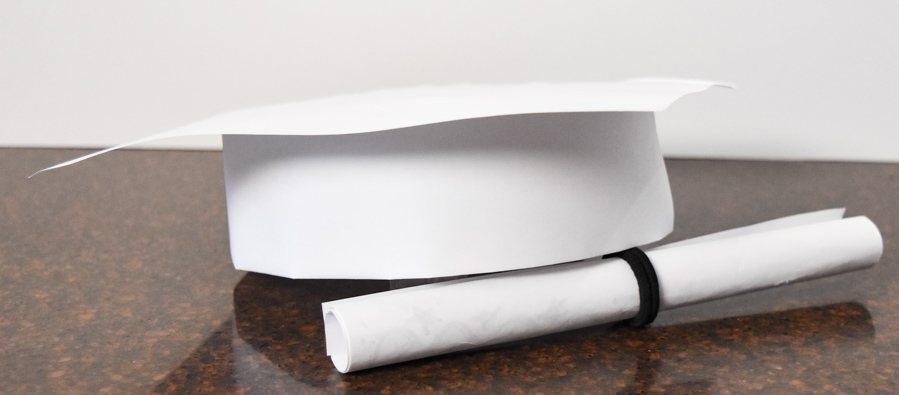
a ribbon, rubber band, small piece of tape or hair tie to keep it rolled up
Marker
Instructions:
On a piece of paper write something like: Congratulations! You have successfully graduated from ___ grade! Presented to_____ year ______.
Roll it up like a scroll and use a ribbon, rubber band, small piece of tape or hair tie to keep it rolled up.
I think easy is an understatement for this craft.
Making both the cap and diploma is simple and inexpensive! Yet it is very versatile craft. You can decorate it, use different colors of papers, put stickers on it etc.
It would be a fun craft to do with the kids!
Check out our At-Home Graduation party video:
I hope you enjoyed this tutorial How to Make a Graduation Hat and Diploma out of Printer Paper!

Easy, simple craft that is fun for kids to receive, make, and decorate. For the Cap: If your child has a bigger head than two paper lengths, use a piece of paper folded and cut to the same width to extend the rim to how you need it. As an Amazon Associate and member of other affiliate programs, I earn from qualifying purchases.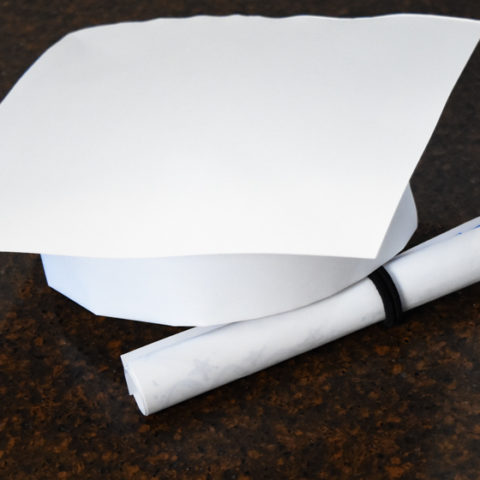
How to Make a Graduation Hat and Diploma out of Standard Paper
Materials
Tools
Instructions
For the Diploma:
Notes
Recommended Products


For other ‘rich living’ tips and holiday recipes, please subscribe, like me on Facebook, and follow me on Pinterest and Instagram.