

The steps below will demonstrate How to Make a Victorian Tea Stand Out of Porcelain Plates.
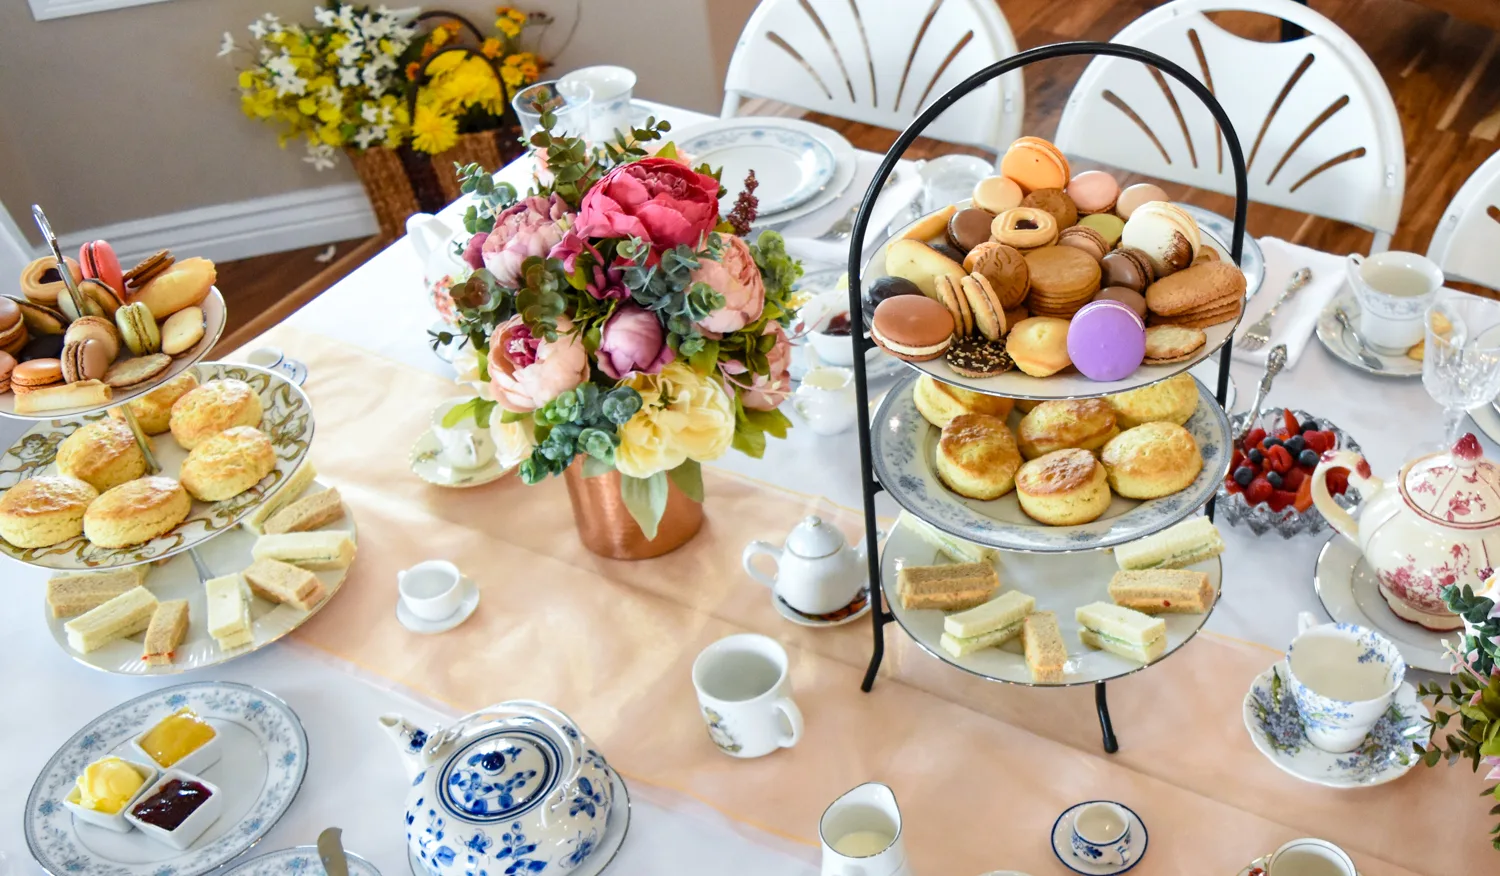
I threw an Authentic Victorian Tea Party baby shower for my awesome sister-in-law.
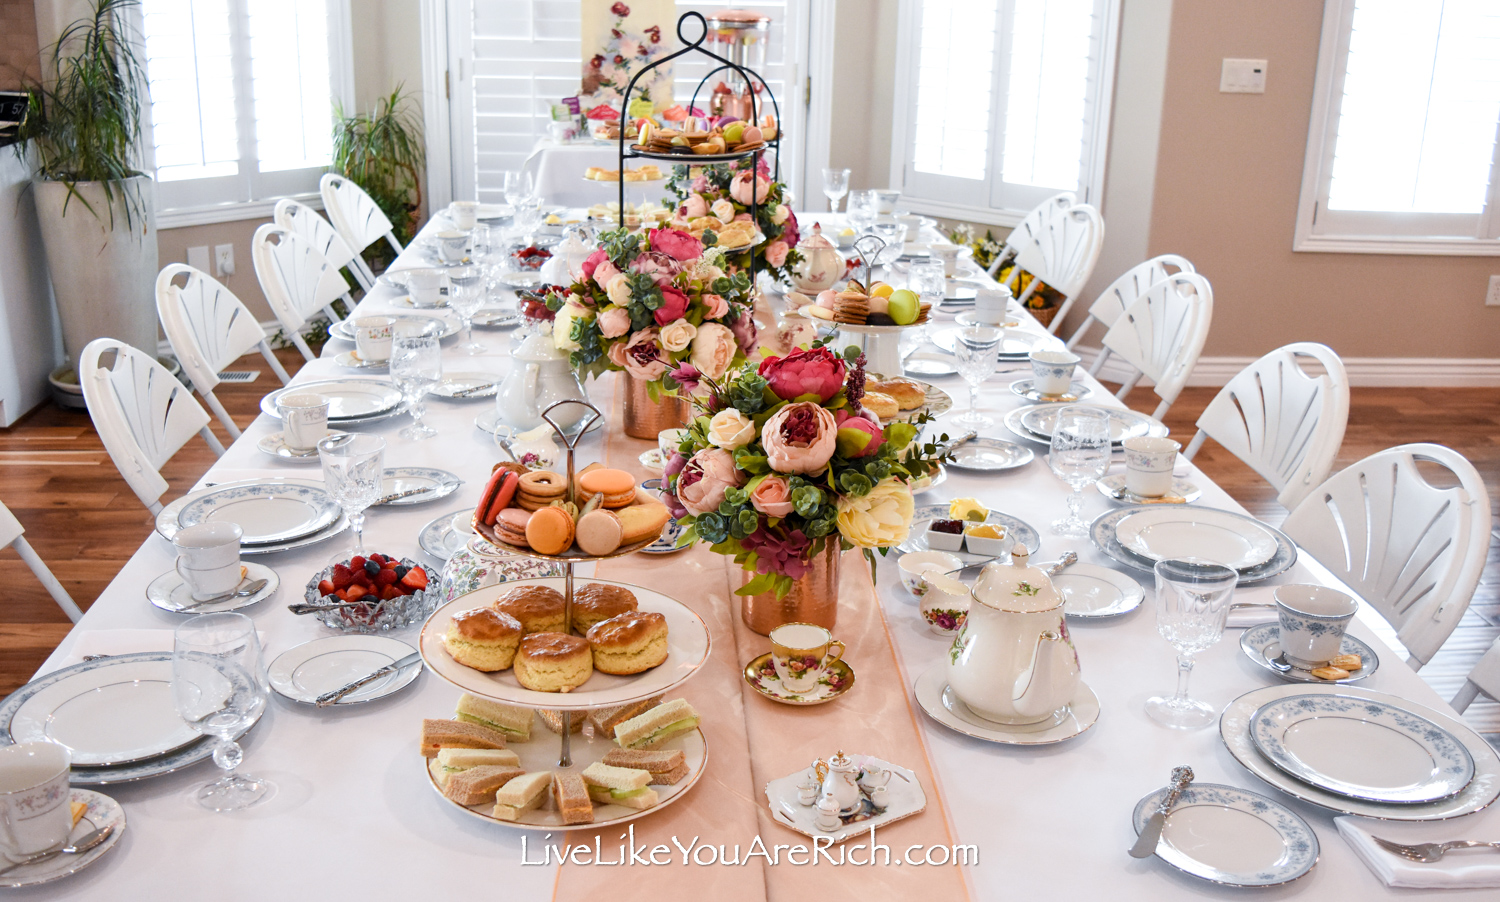

I love the Victorian Era and watching TV shows and movies during this time period. So when planning the baby shower, I knew I wanted to make the afternoon tea as authentic to this era as I could.
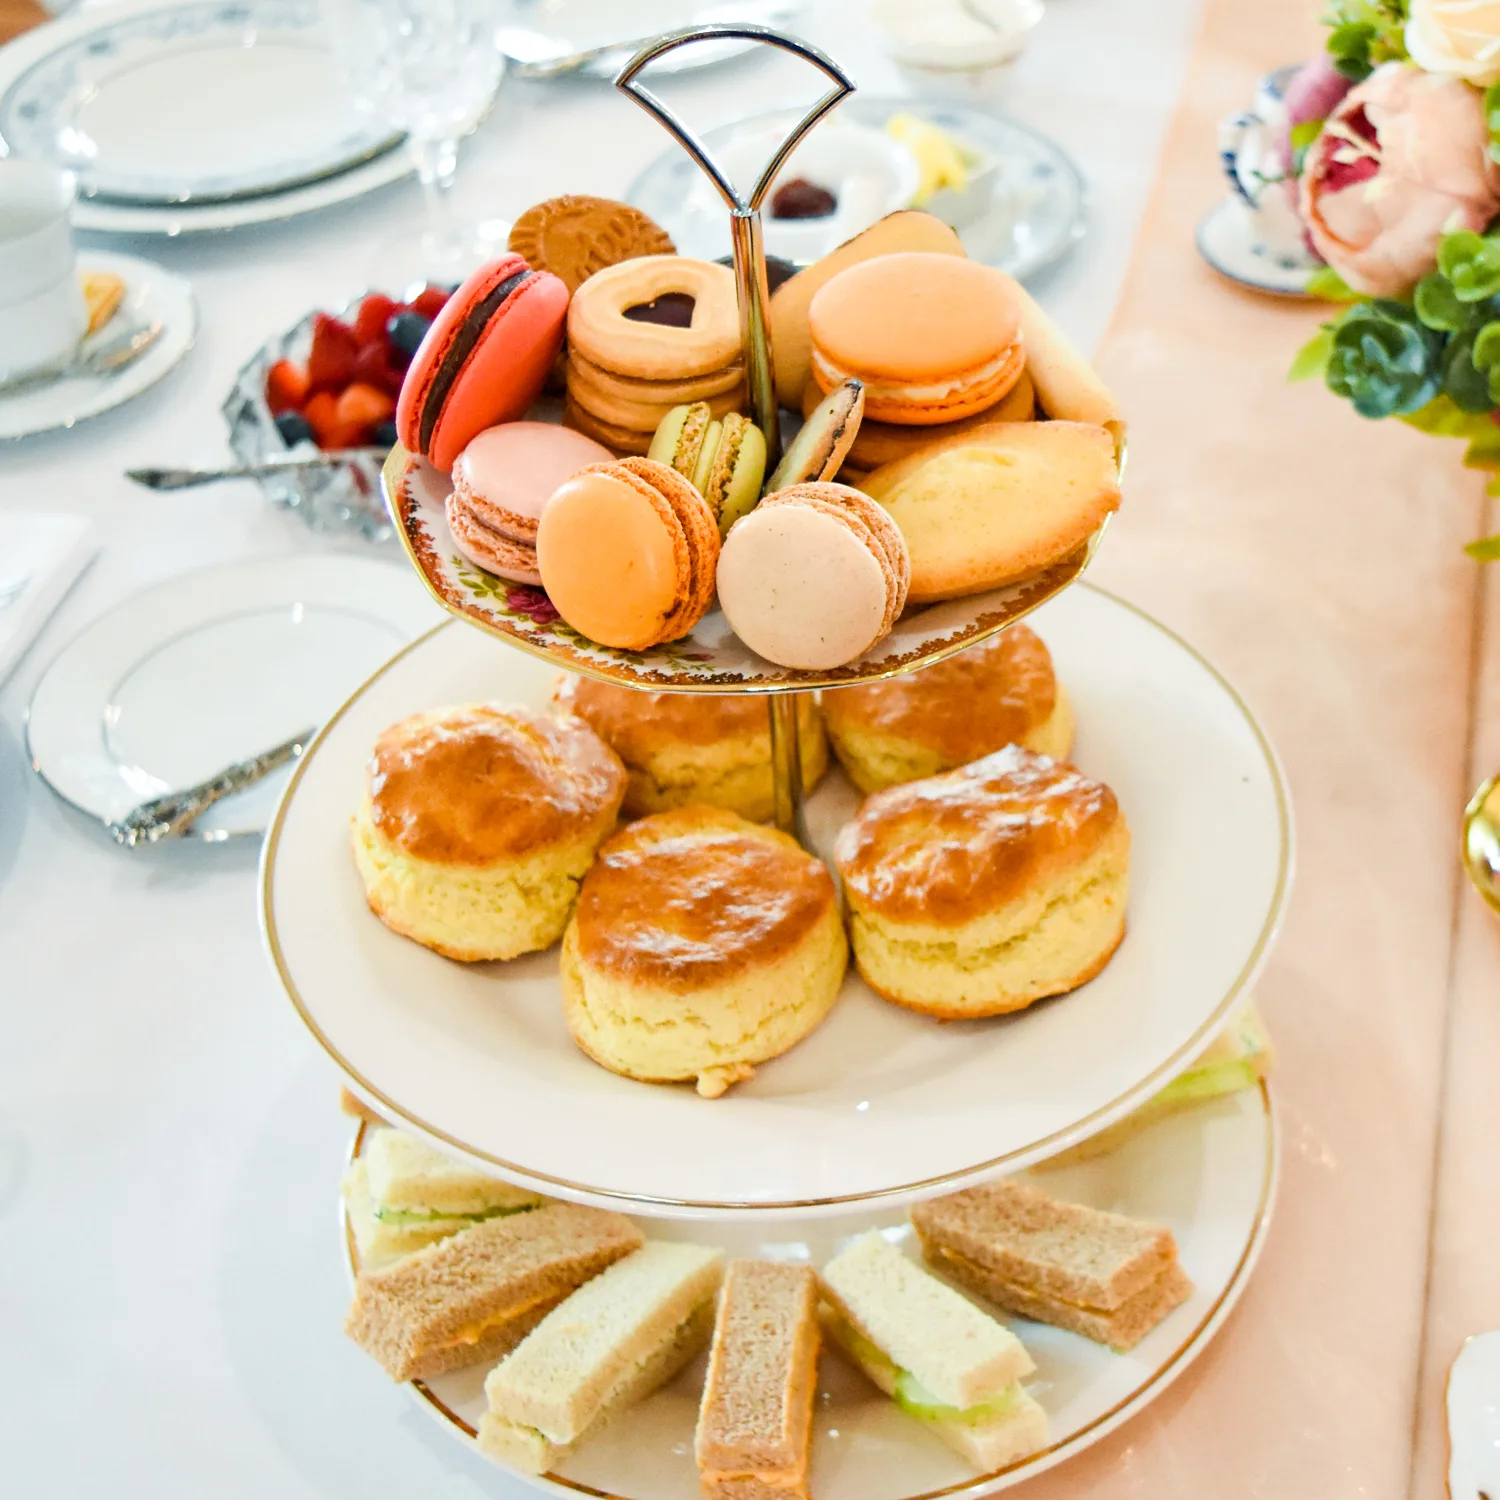
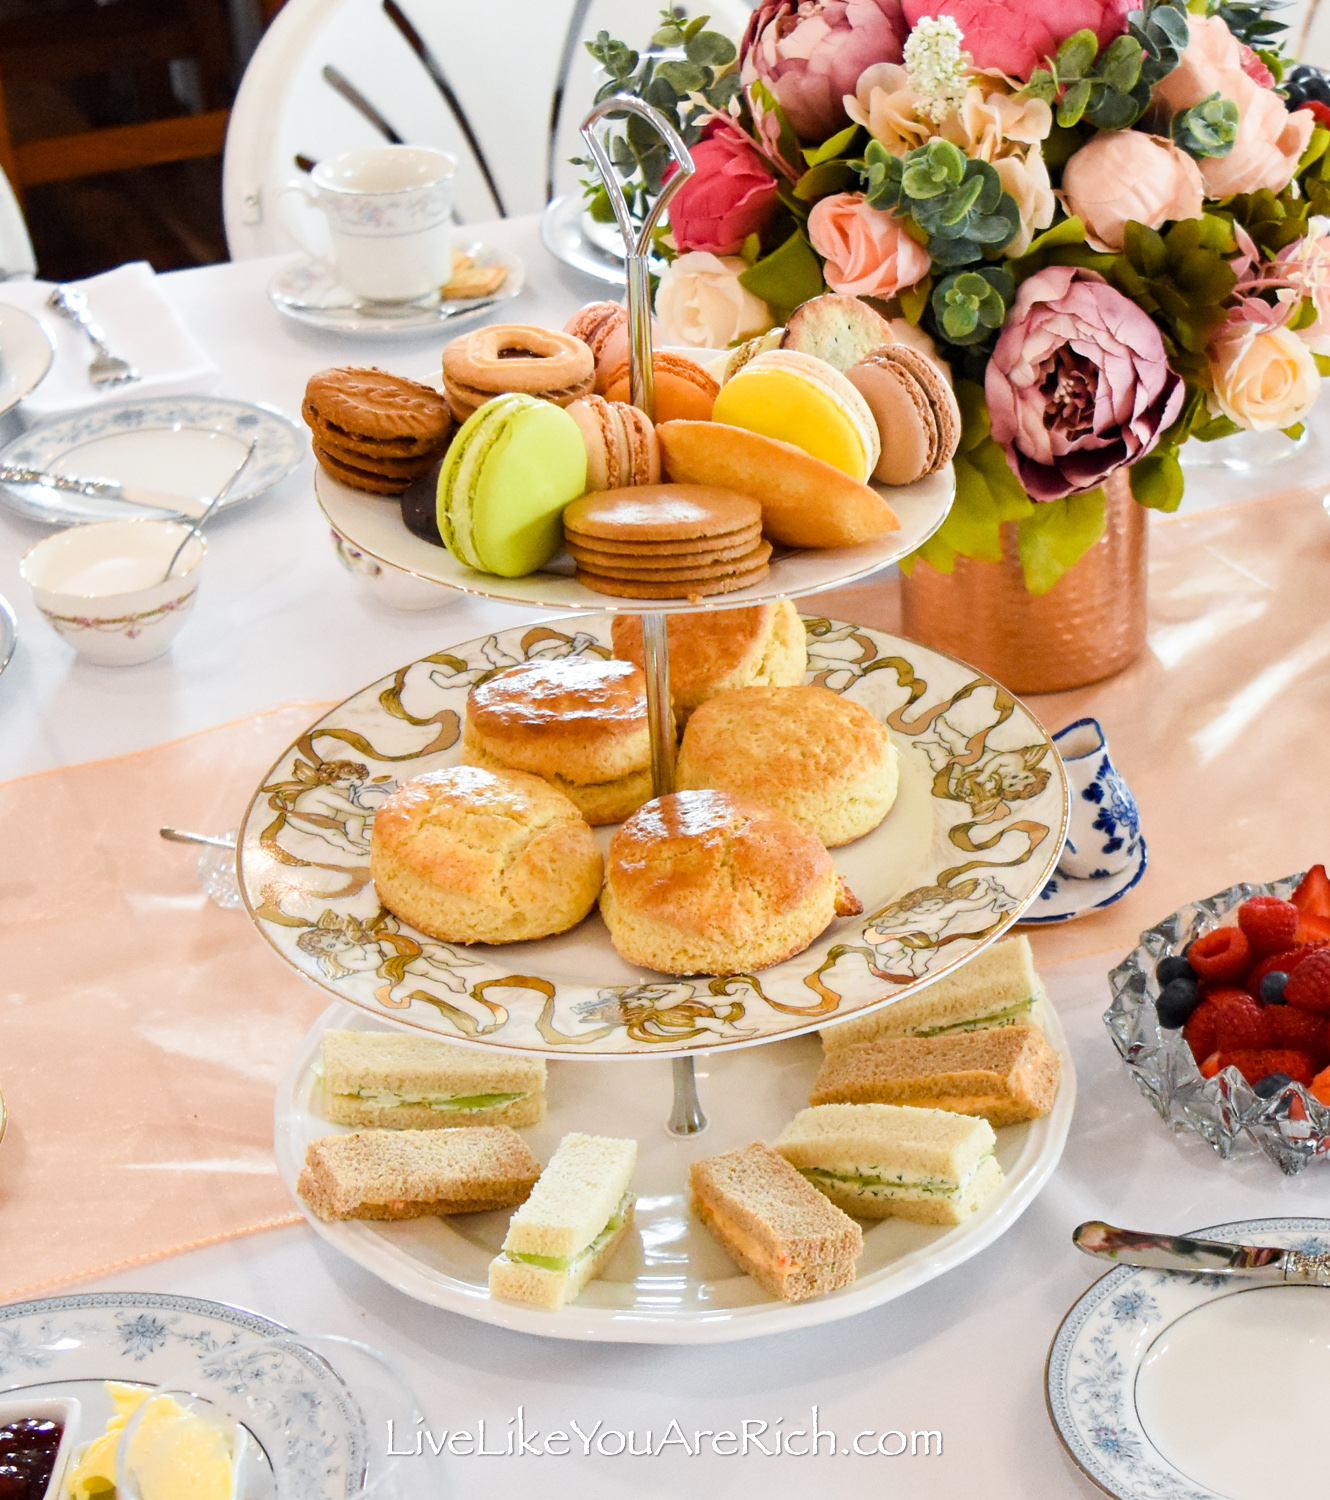
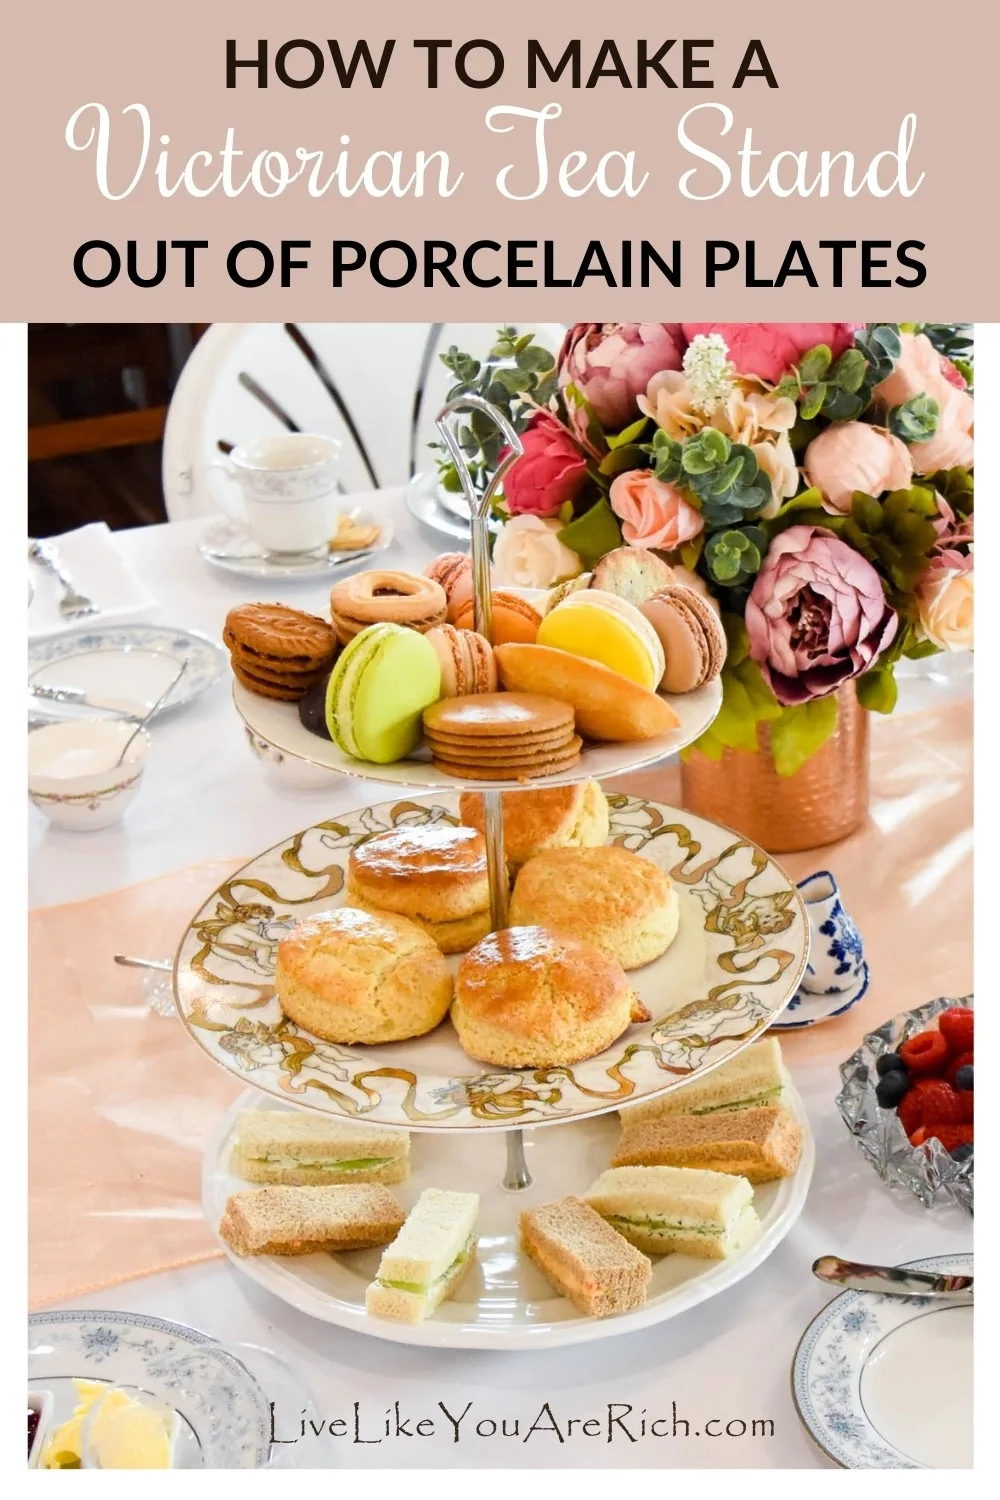
There were typically 3 courses or types of food served at an afternoon tea during the Victorian era. They are finger sandwiches (without crust), English Scones, and various desserts.
In order to serve food in this traditional manner, I made three of these 3-tiered Victorian Tea Stands.

They turned out beautiful and were very sturdy.

I also used 2 modern-looking 3-tiered stands I had as well.
Although these modern stands are not as authentic, with the real porcelain china they were close enough to use.

What I absolutely love about the 3 tiered Victorian Tea Stands is that when finished, they store in a very compact-way. They are easily assembled and disassembled.
When disassembled and stacked together, they only take up a portion of a shelf/cupboard for all three. In contrast, these modern 3-tiered stands I have take up a lot of space to store!
So if you are tight on space but need 3 tiered stands for serving items, I’d highly recommend making these Victorian Tea stands.
Another bonus is that they are inexpensive to make. I searched for some pre-made Victorian tea stands and found they were about $30.00-$50.00 each and they were not as customized to the color scheme I would be needing.
If you buy the plates at thrift stores or estate sales as I did (for about .50-.75 cents each), the stands are very affordable.
With the drill bit, stands, and hardware they cost $12.00 each. Plus, I got to customize them. I can continue to customize them if I want a different top plate or bottom plate for another event as well.
All in all, after some research, I realized that making them myself was the best route to go.

Supply List for How to Make a Victorian Tea Stand Out of Porcelain Plates
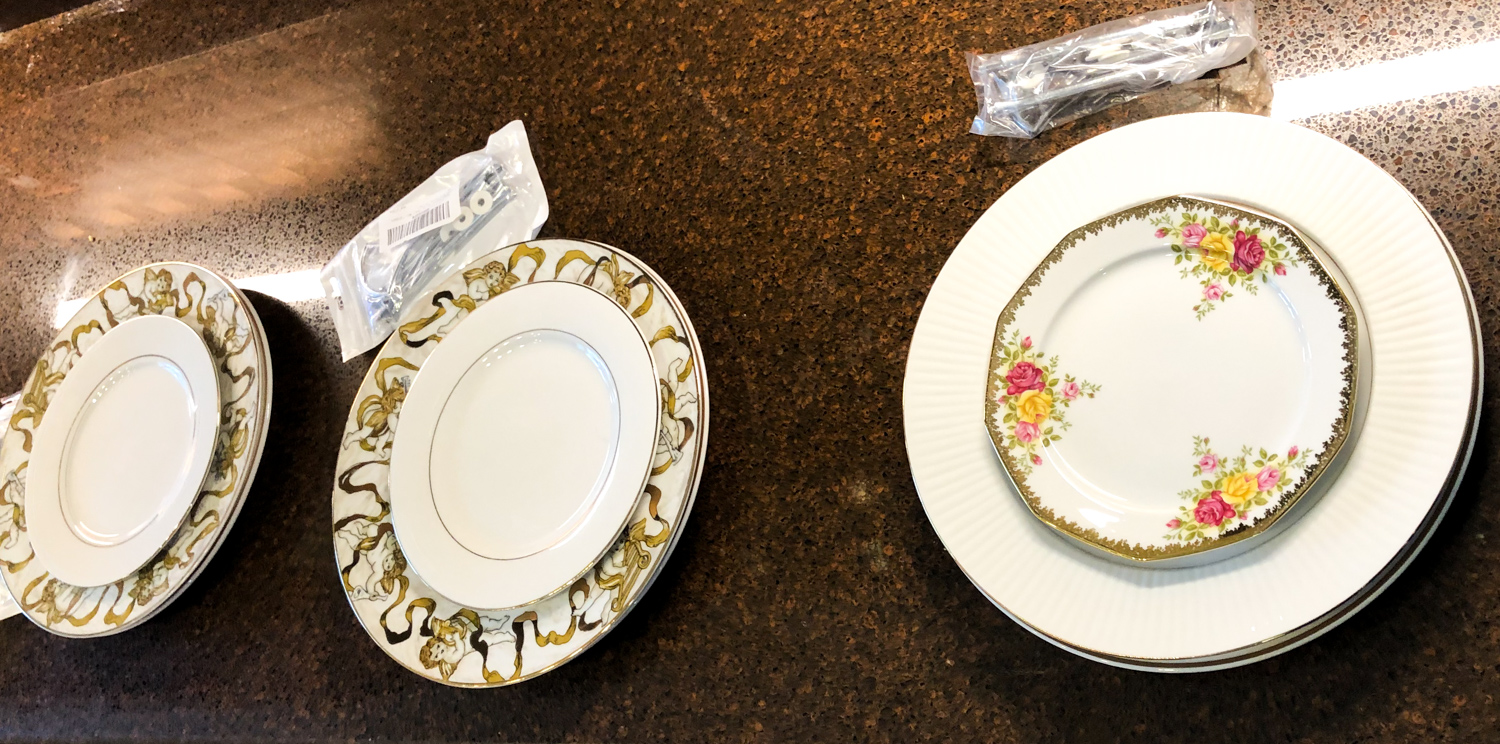
3 porcelain china plates per stand (buy a few extra as practice plates if you can). I used 2 dinner sized plates and 1 salad sized plate for each stand.
Pen
Cup of water
Drill bit (diamond plated—extremely important you purchase the correct bit!) click or search for 1/4 in. Diamond Hole Saw bit
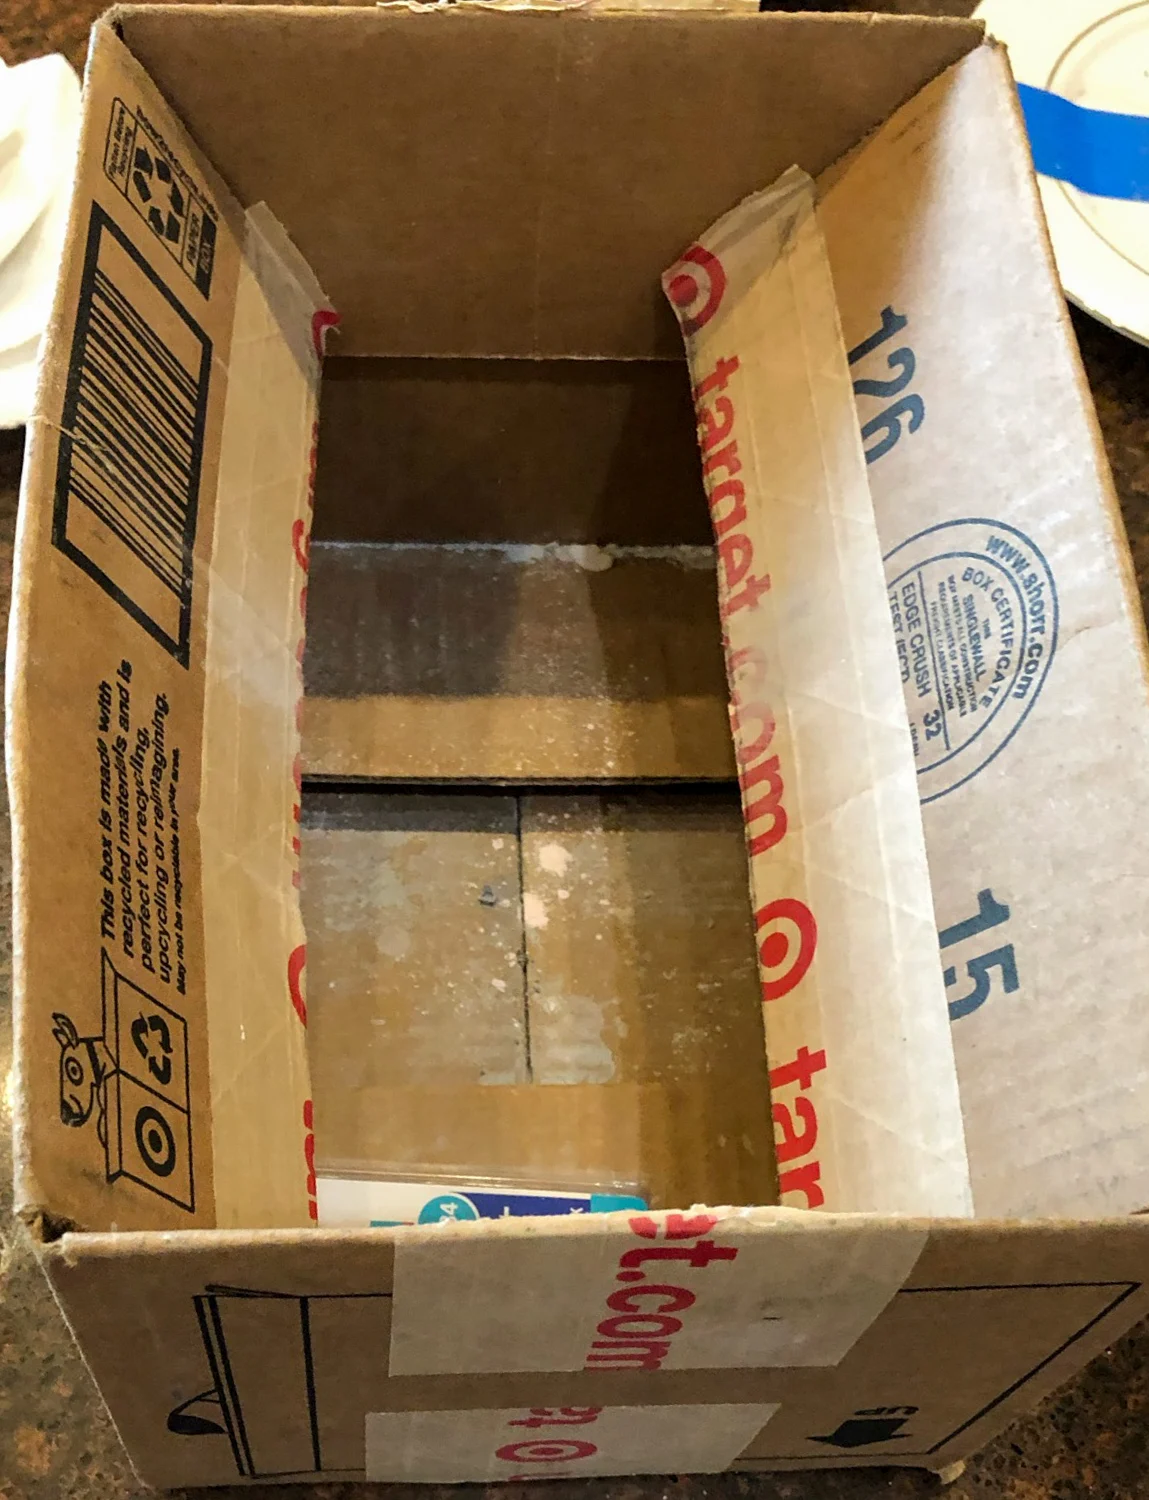
A box or thick towel that you can place the plate on to absorb the vibration while drilling.
Stand hardware (1 set for each stand you make)
How to Make a Victorian Tea Stand Out of Porcelain Plates
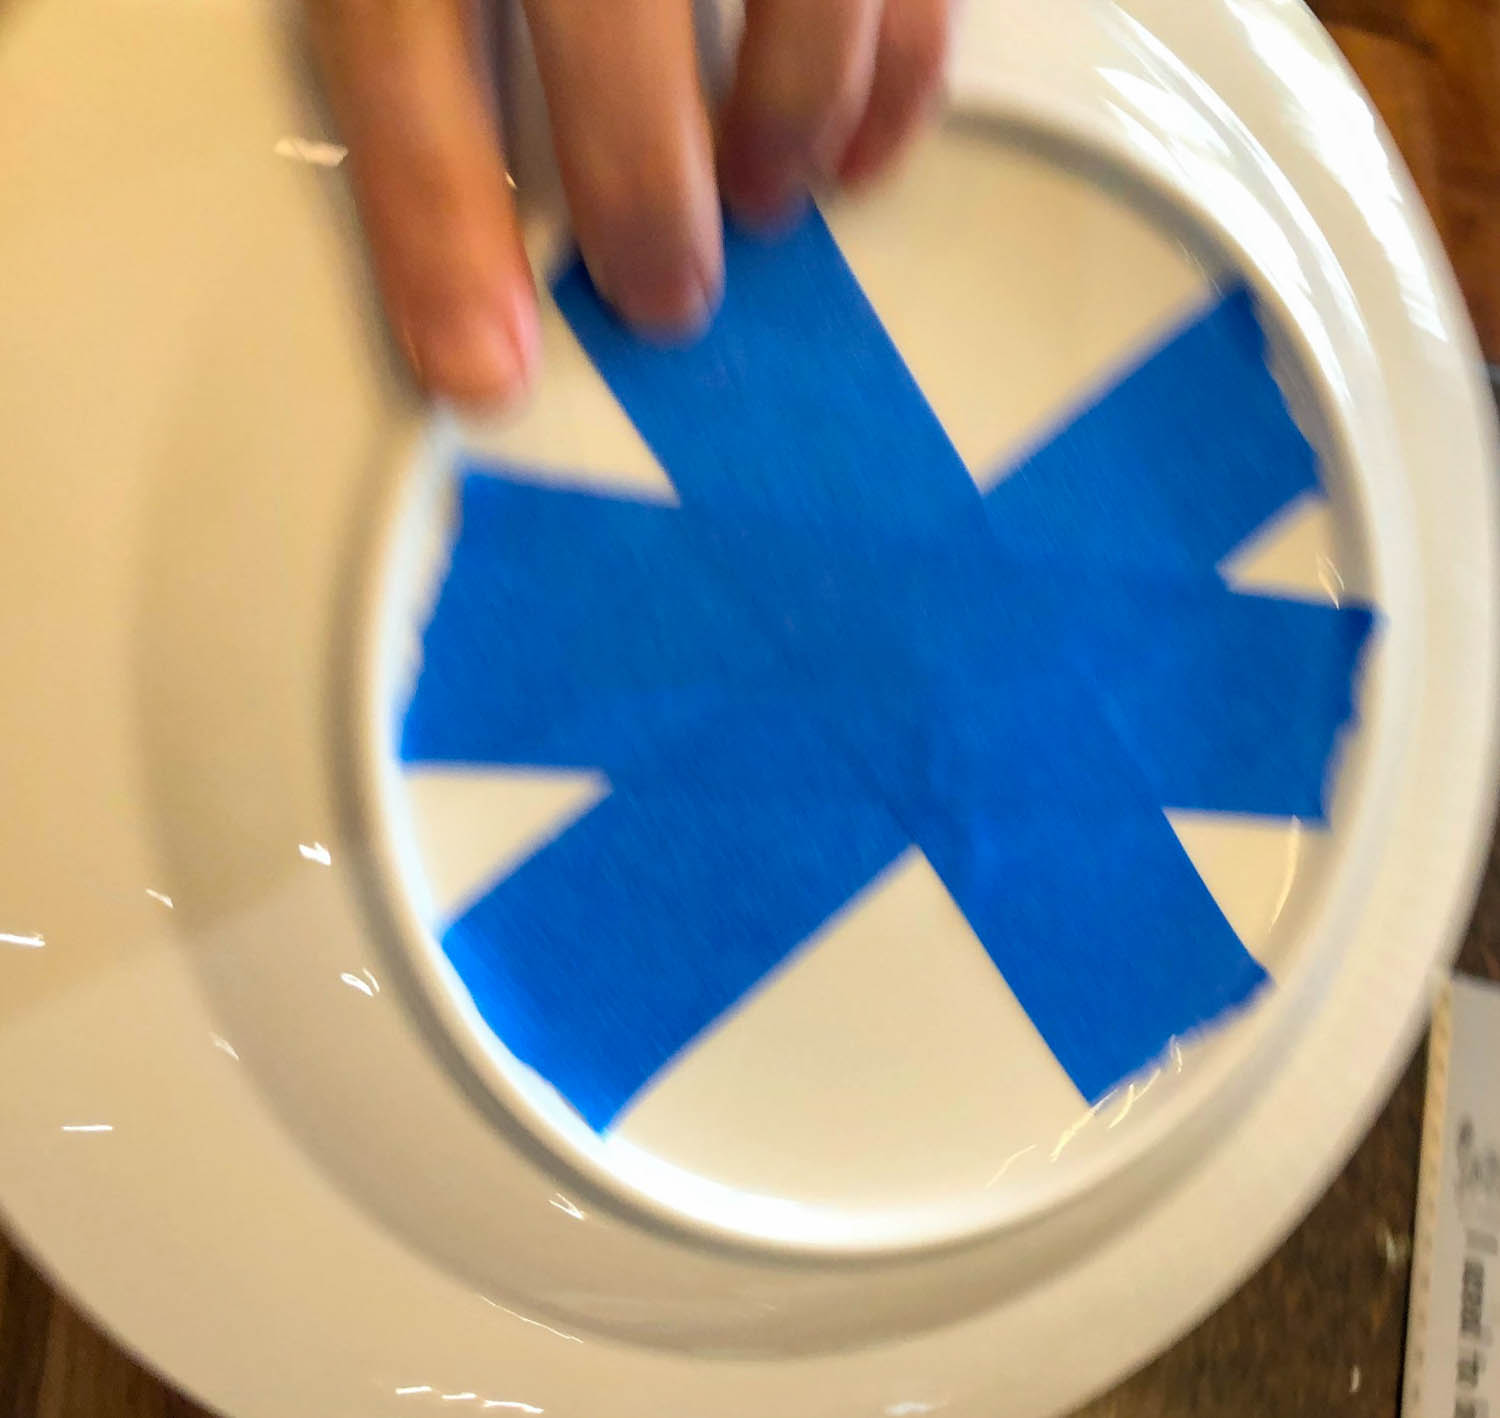
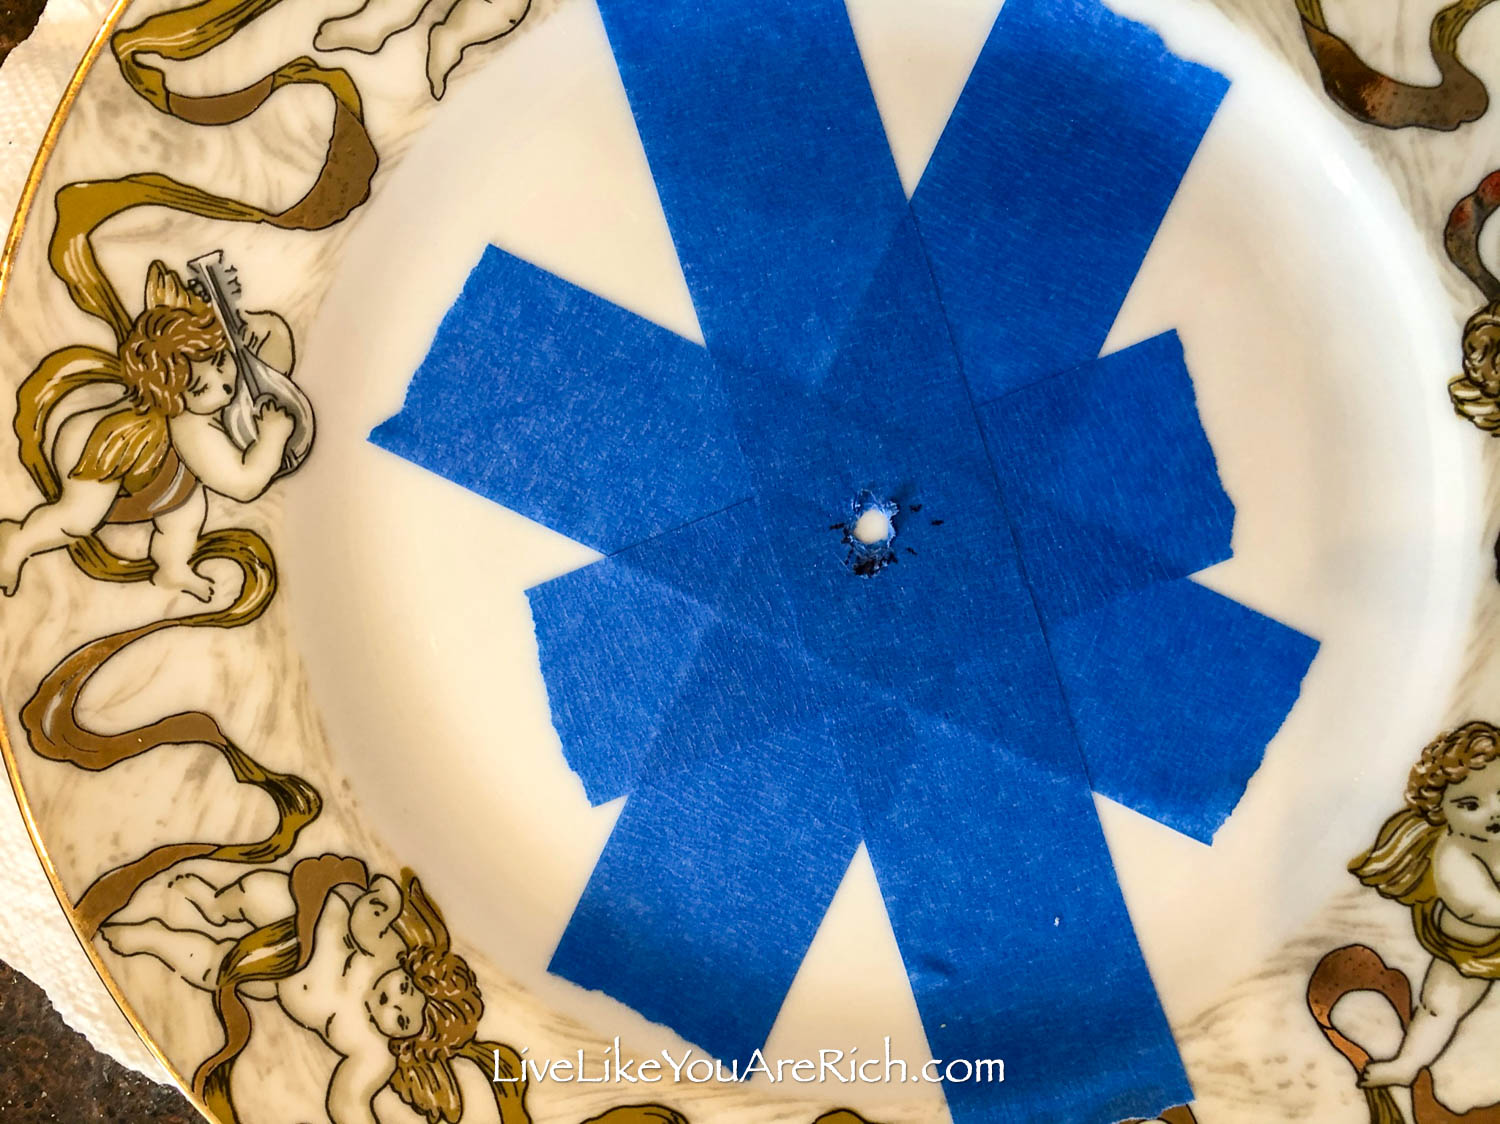
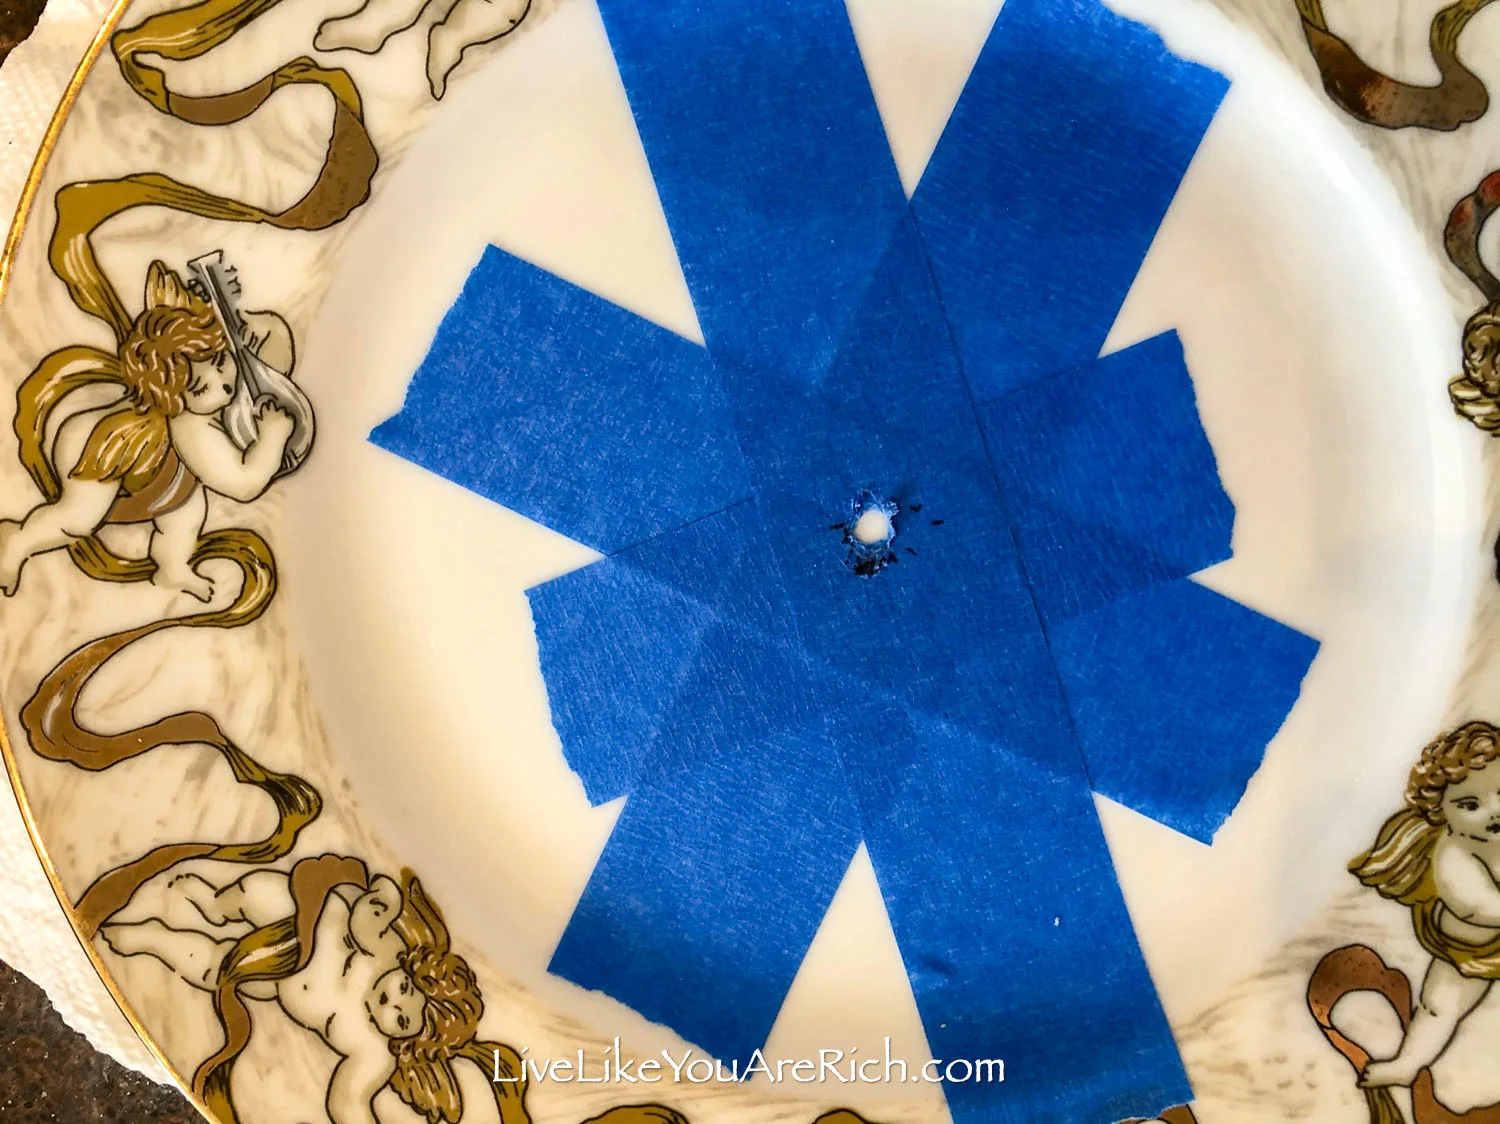
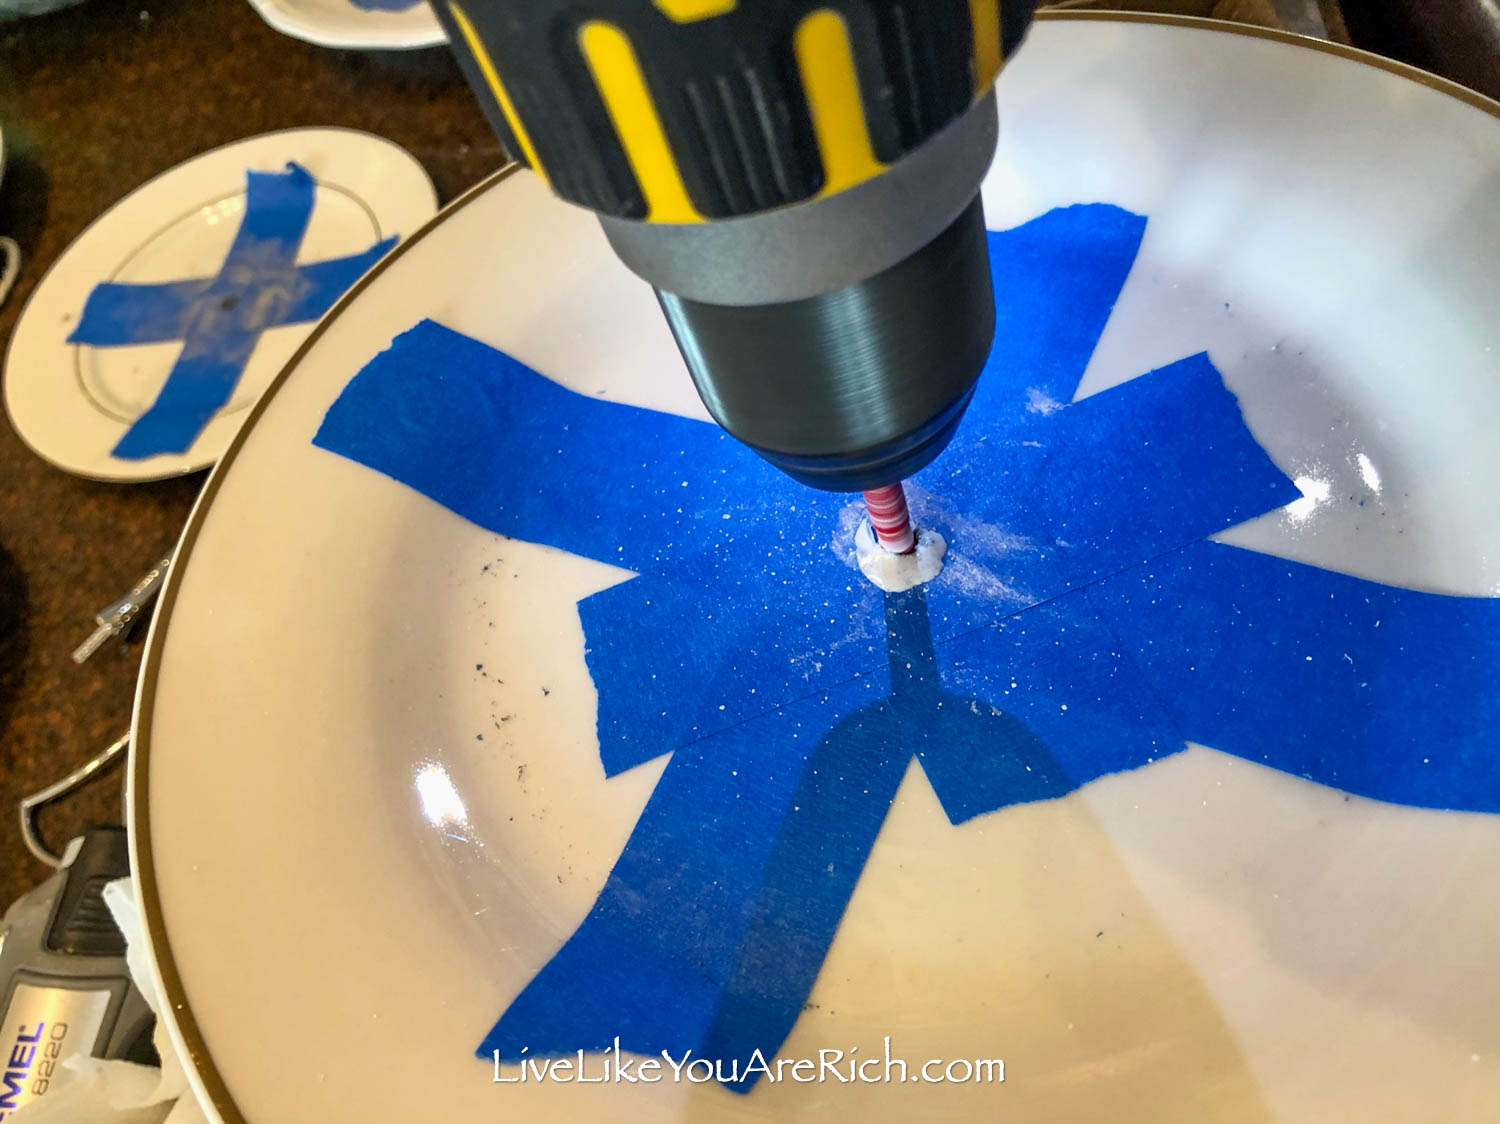
1-Place painters tape on the front and back of the porcelain plates in a cross or star shaped pattern to prevent cracking.
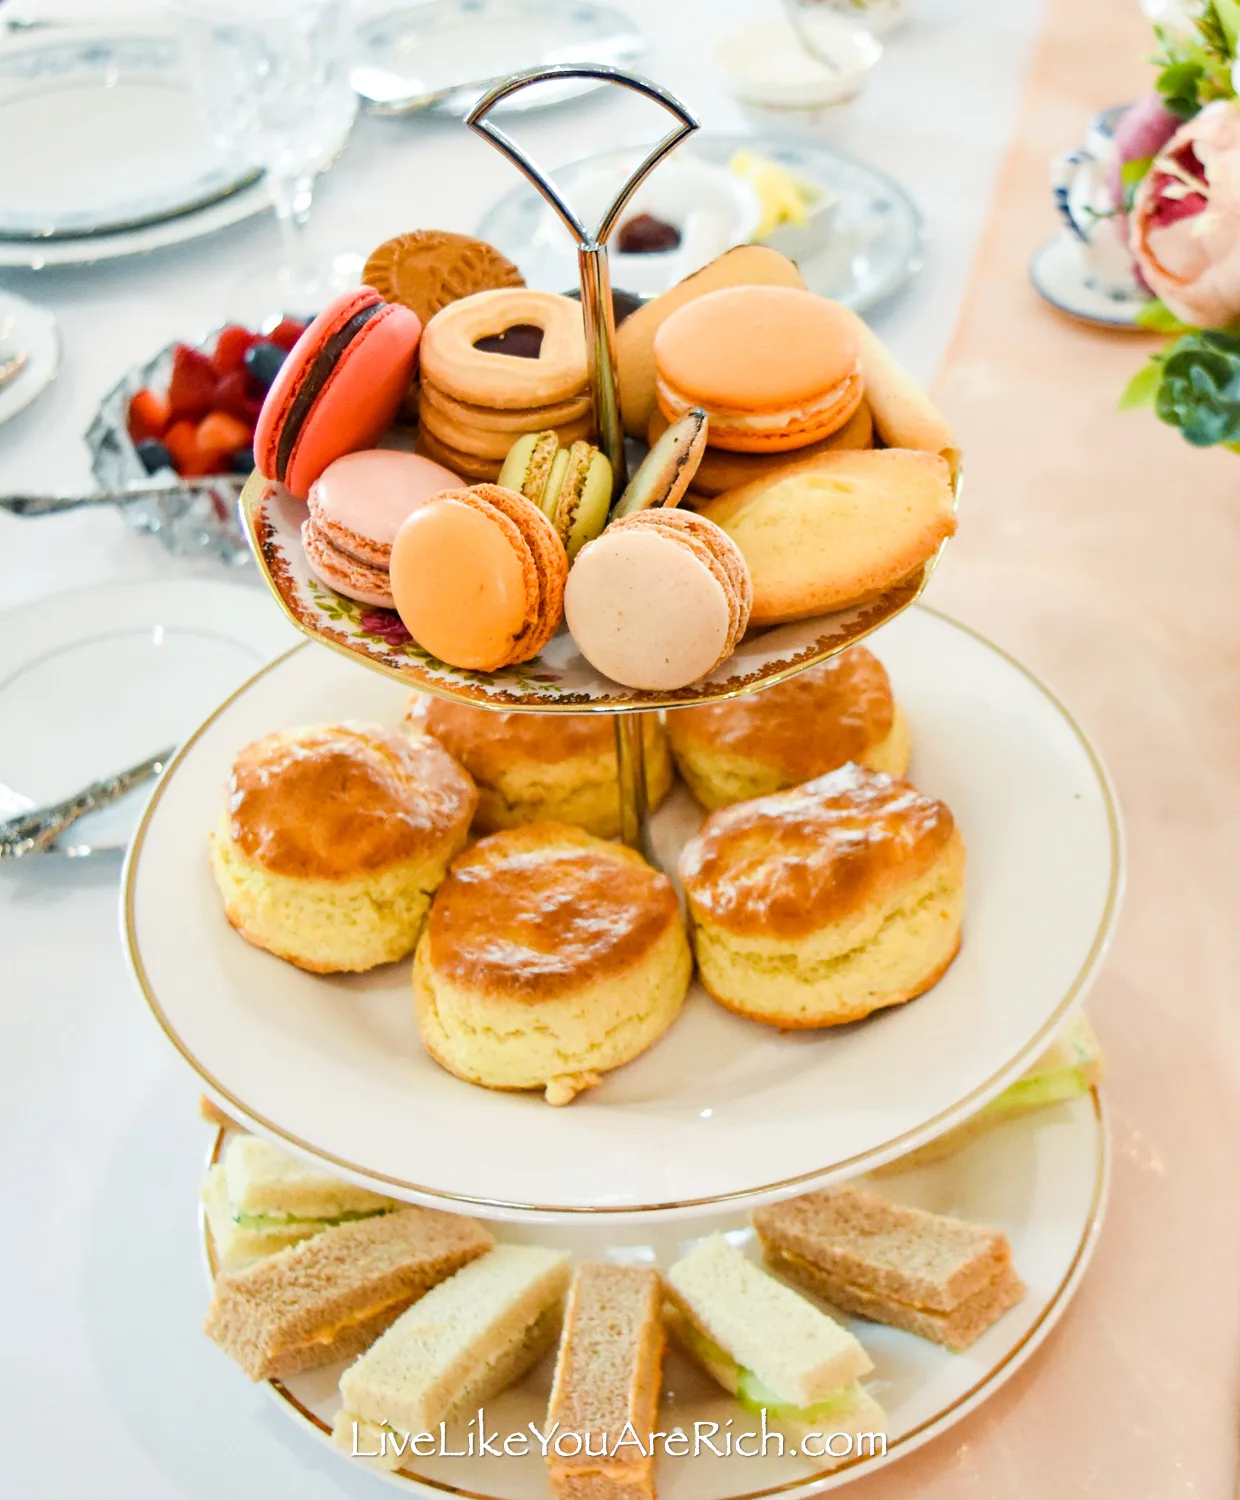
Tip- Buy an extra plate to practice on first. Shop at thrift stores for these. I found 8 of the 9 plates at a thrift store for .50-.75 cents each. The beautiful gold and pink plate on top of one of the stands was $1.00 at an estate sale.

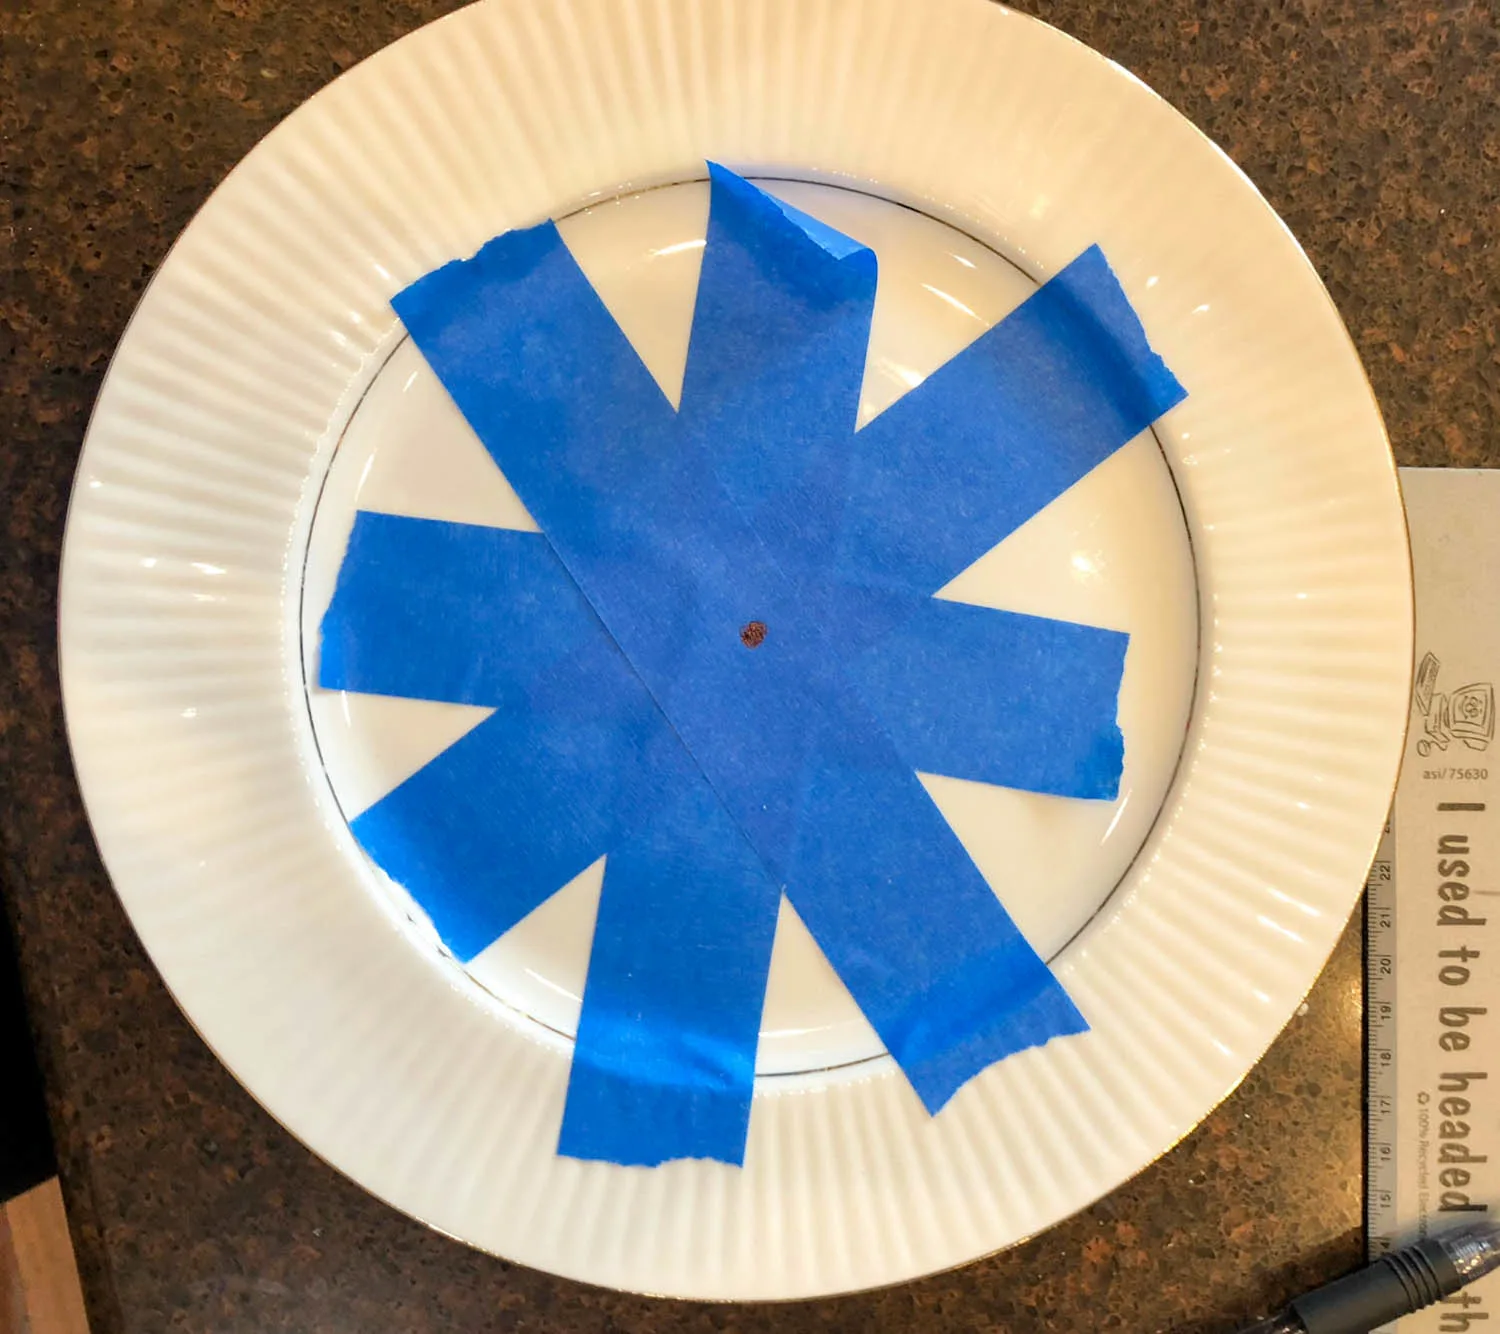
2. Using a measuring tape or ruler, measure and mark the center of the plate.

3. Place the plate on a stack of thick towels or on top of a box that will support the plate.
This will absorb the vibration as you drill. The absorption helps prevent the plate from vibrating against the table and chipping or cracking.
A box or towel also will allow the drill bit to drill through the plate without damaging whatever is behind it.

4. Using a knife or exacto blade, remove tape in the center where you will drill.
I found that removing the tape where the drill bit will be placed helped to get it started into the porcelain. This also prevents the drill bit from getting gummed up in the tape.
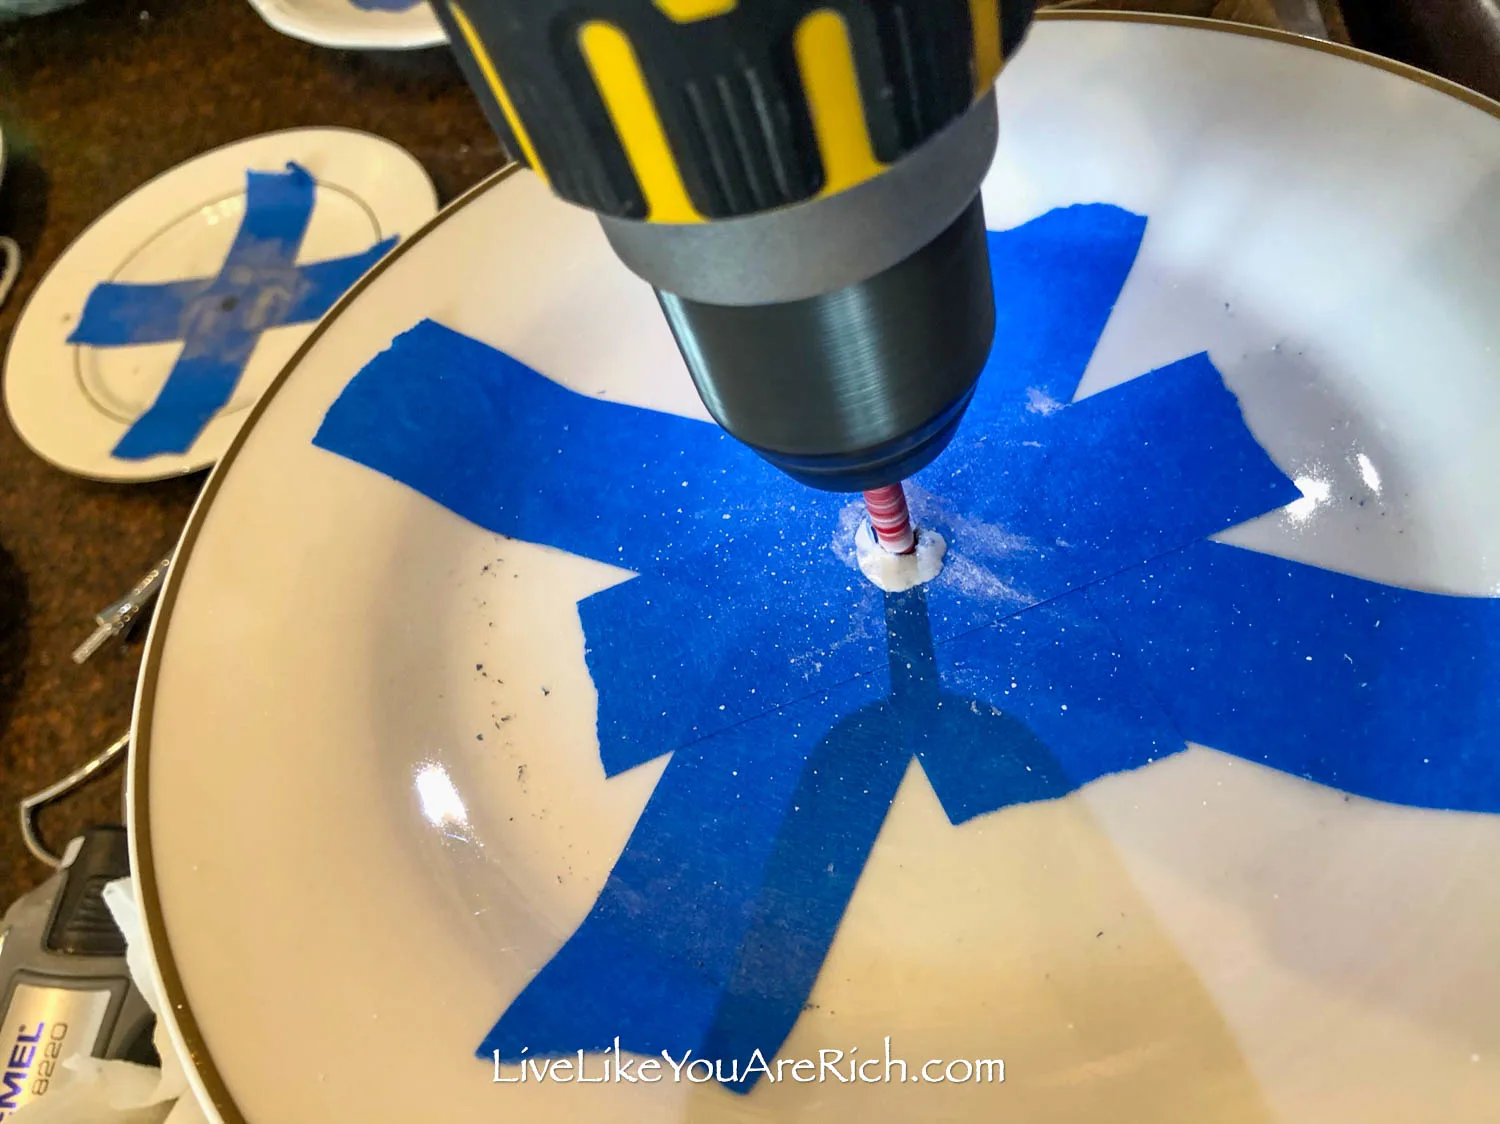
5. Dip the drill bit in water and start drilling. Sporadically stop and dip the drill bit in the water. Water really helps the drill bit cut through the porcelain.
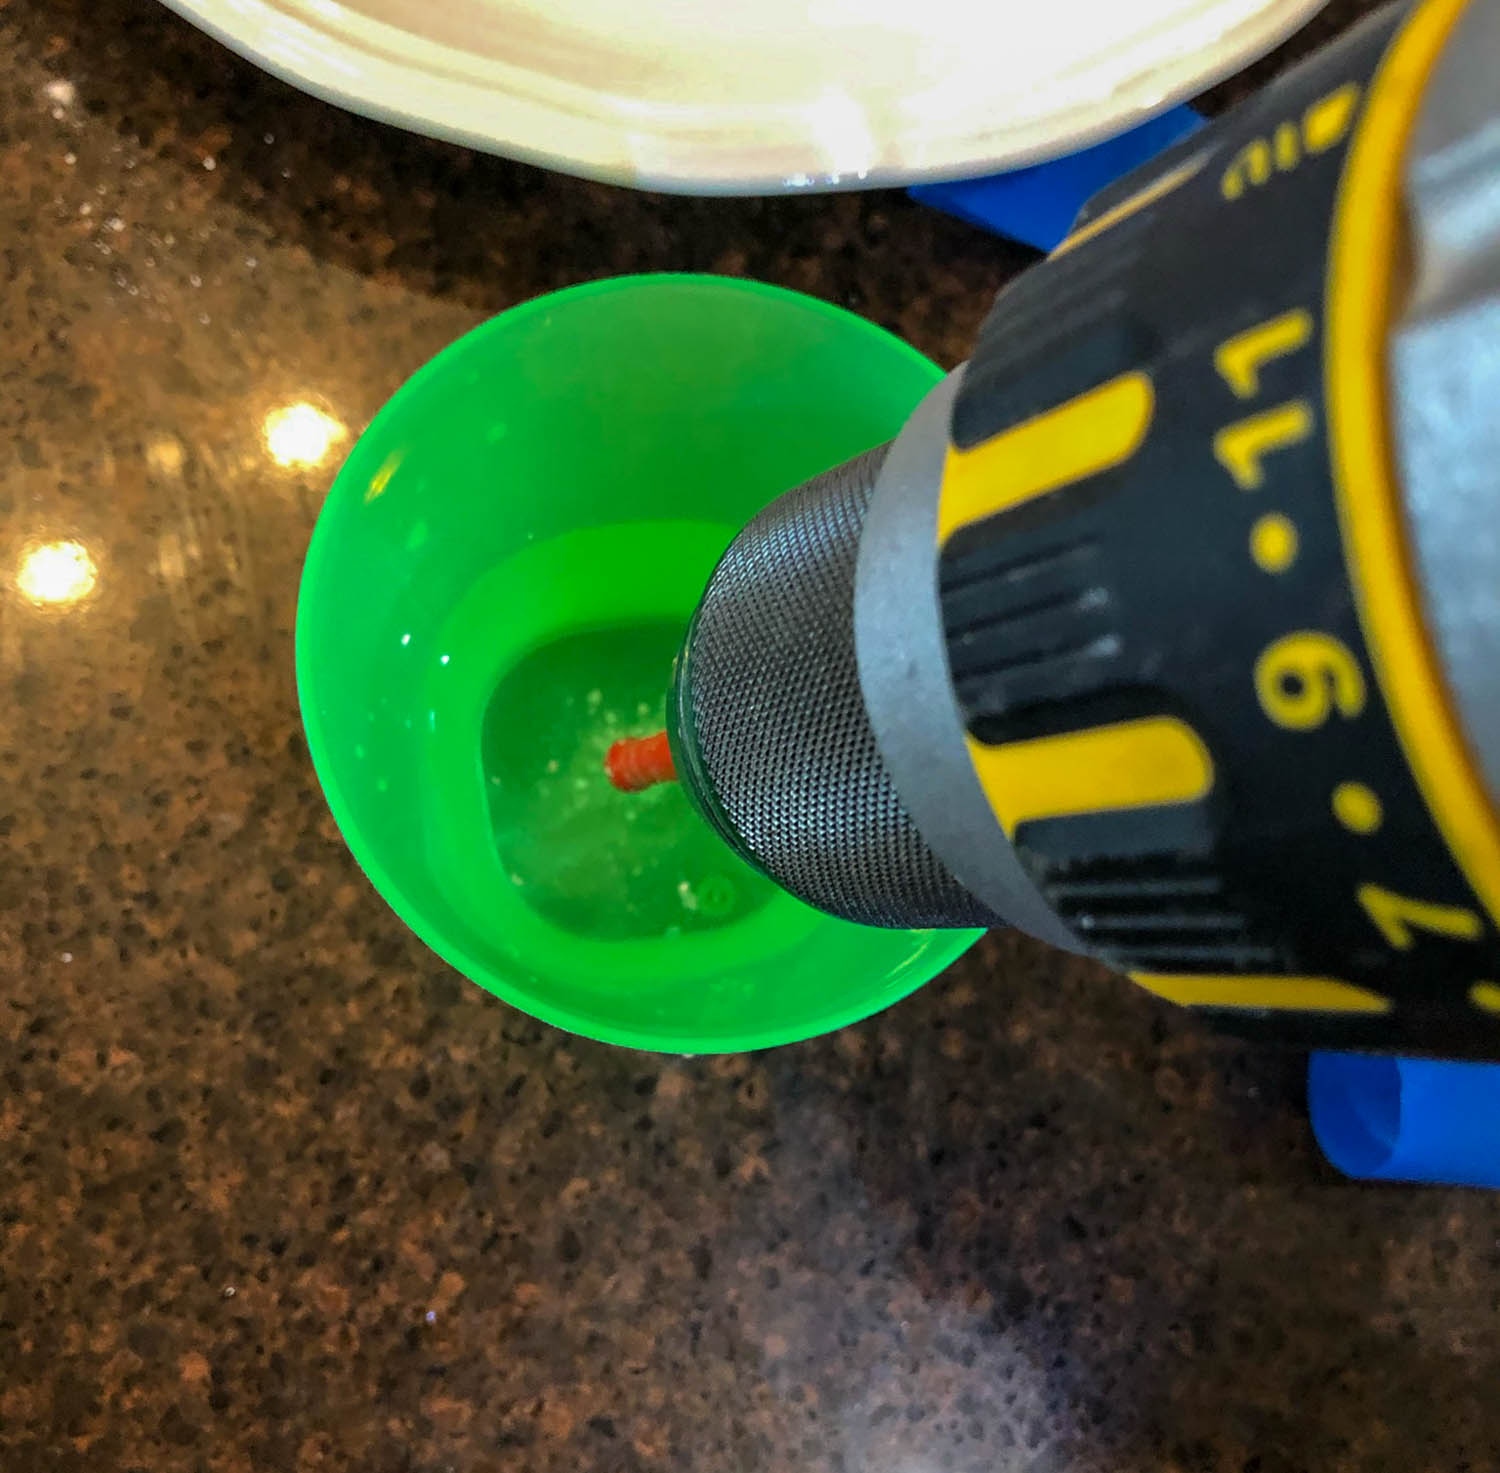

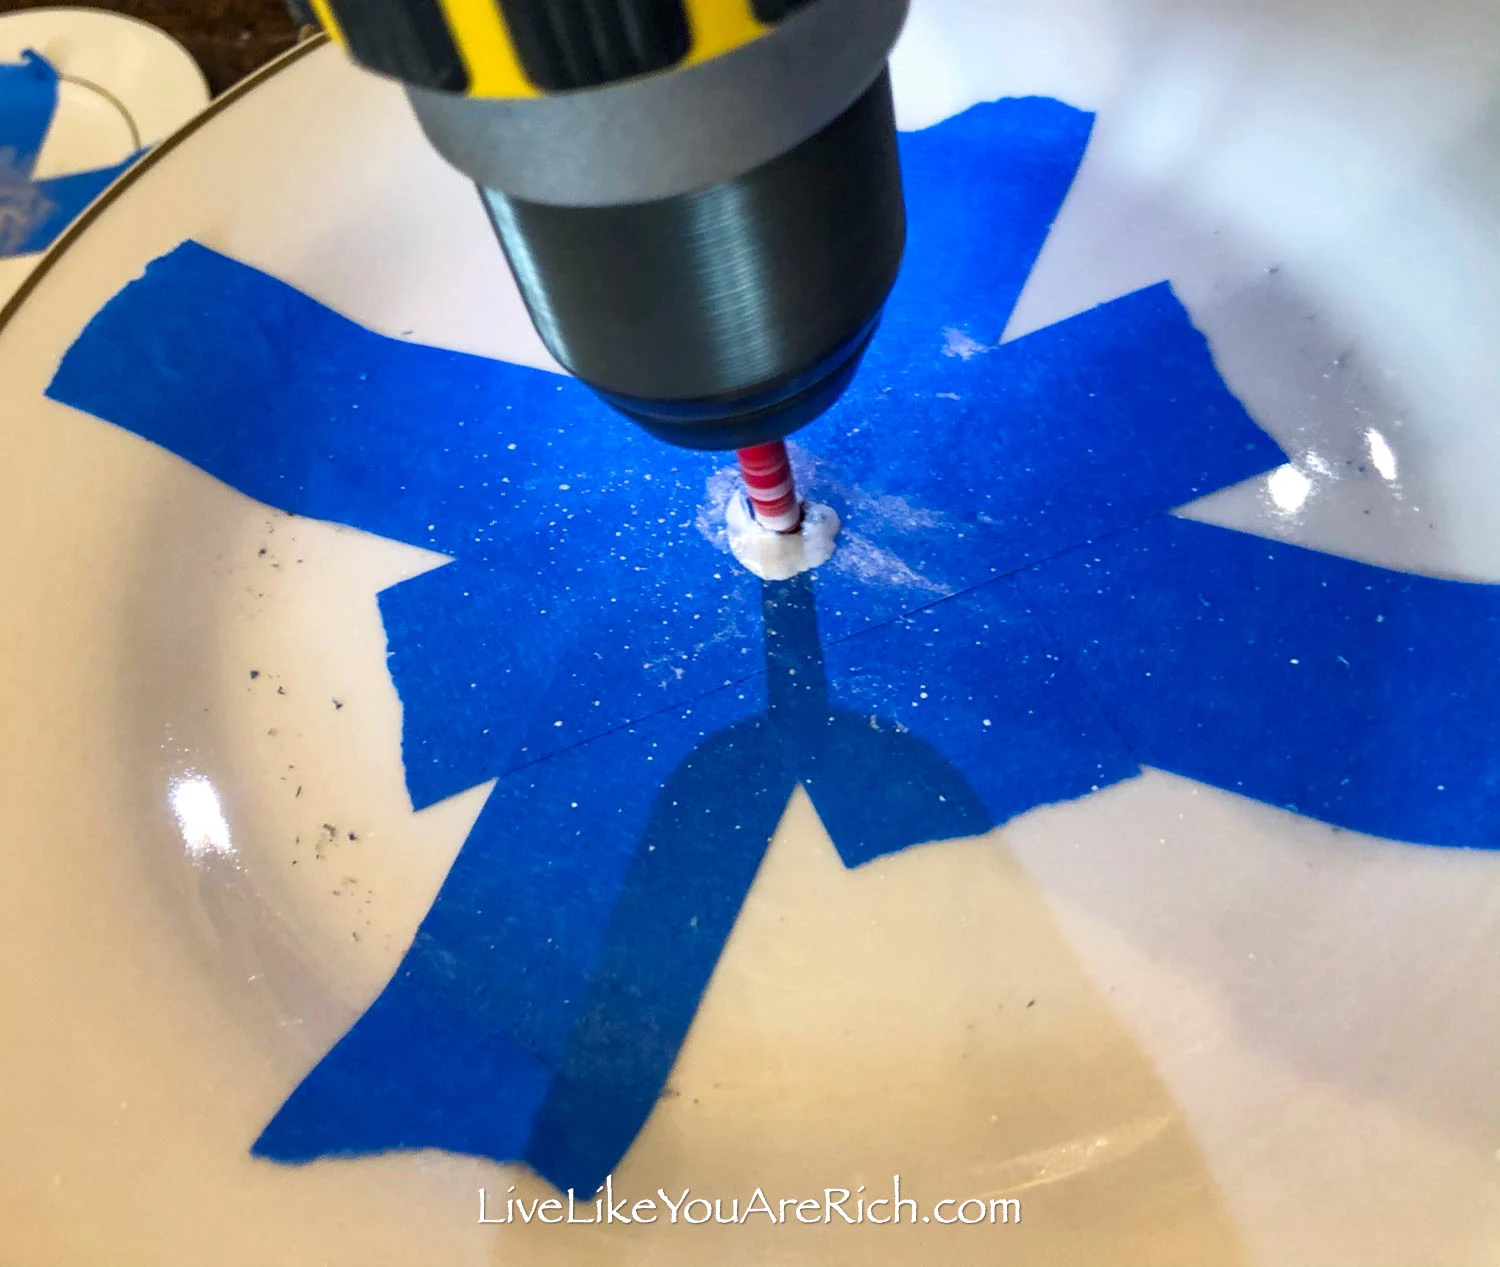
6. Drill slowly using medium pressure. Be patient as the drill bit works its way through the tough porcelain.
Keep the drill moving as you push through the bottom of the plate and keep it drilling as you pull it out; this way you get a clean drilled hole.
Important Note- Use the correct bit (I’ve linked to it here). If you are not using a diamond coated bit/hole saw bit you will likely break the porcelain plate.
I used the wrong bit (I started with a glass and tile 1/4″ bit) and it broke a few practice plates. Luckily, I had bought extra plates at the thrift store and started with the ones I liked the least—which I recommend doing.
I did get one plate to drill through using the glass/tile bit without breaking the plate but it literally took 25 minutes to drill through the plate. Porcelain is tough material!
So, I did further research and found that porcelain is so tough that requires a diamond coated bit/hole saw bit in order to cut through it. Once I got the correct bit, it went very quickly (a few minutes each plate) and I did not break another plate.

7. Remove tape, clean plates, and assemble them using the hardware.

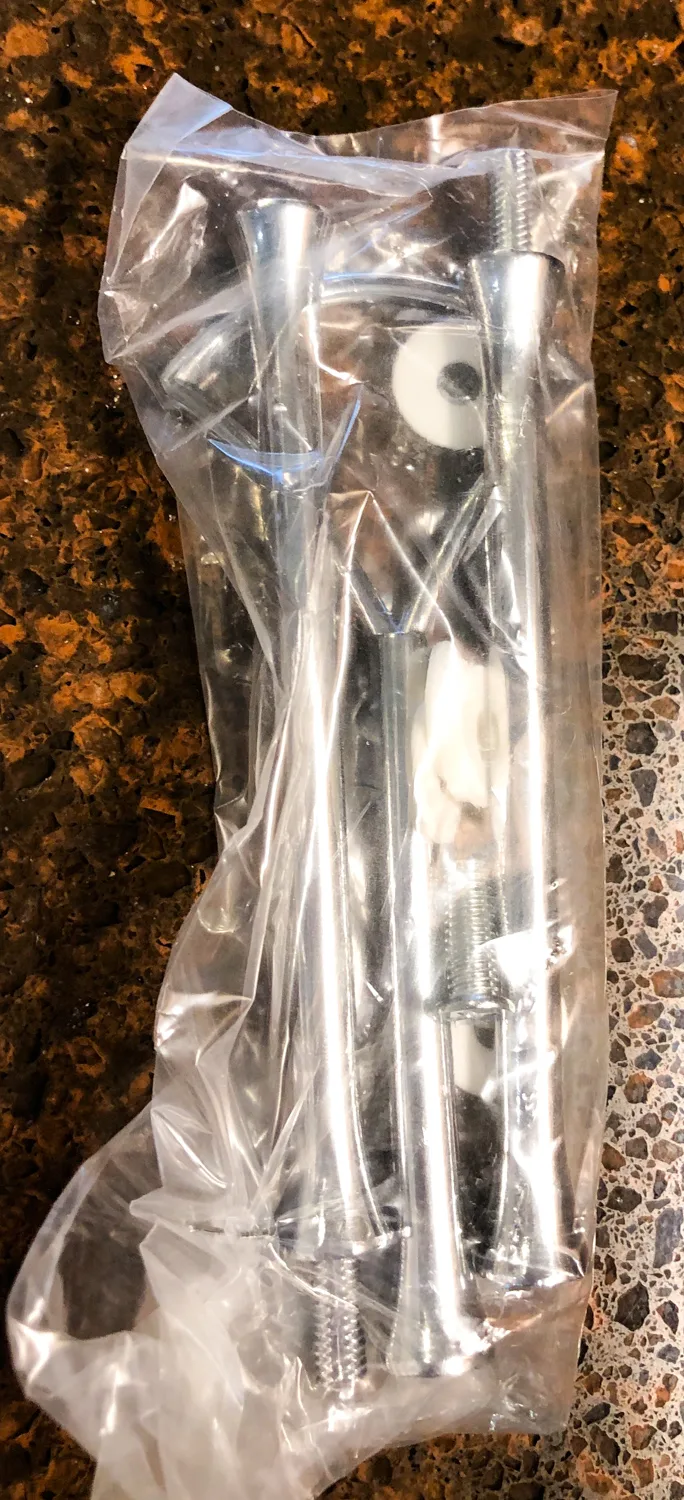
I just followed the directions on the hardware and the stands came together super quickly. Tip– Tighten these firmly but not too tight.
When you are done, just unscrew the hardware, place them in Ziploc bags and stack the plates.
That’s it! Now you can enjoy your next event with a fun custom 3 tiered Victorian Tea Stand.


For other ‘rich living’ and D.I.Y. decor tips please subscribe, like me on Facebook, and follow me on Pinterest and Instagram.

Supply List for How to Make a Victorian Tea Stand Out of Porcelain Plates
3 porcelain china plates per stand (buy a few extra as practice plates if you can). I used 2 dinner sized plates and 1 salad sized plate for each stand.
Pen
Cup of water
Drill bit (diamond plated—extremely important you purchase the correct bit!) click or search for 1/4 in. Diamond Hole Saw bit
A box or thick towel that you can place the plate on to absorb the vibration while drilling.
Stand hardware (1 set for each stand you make)