

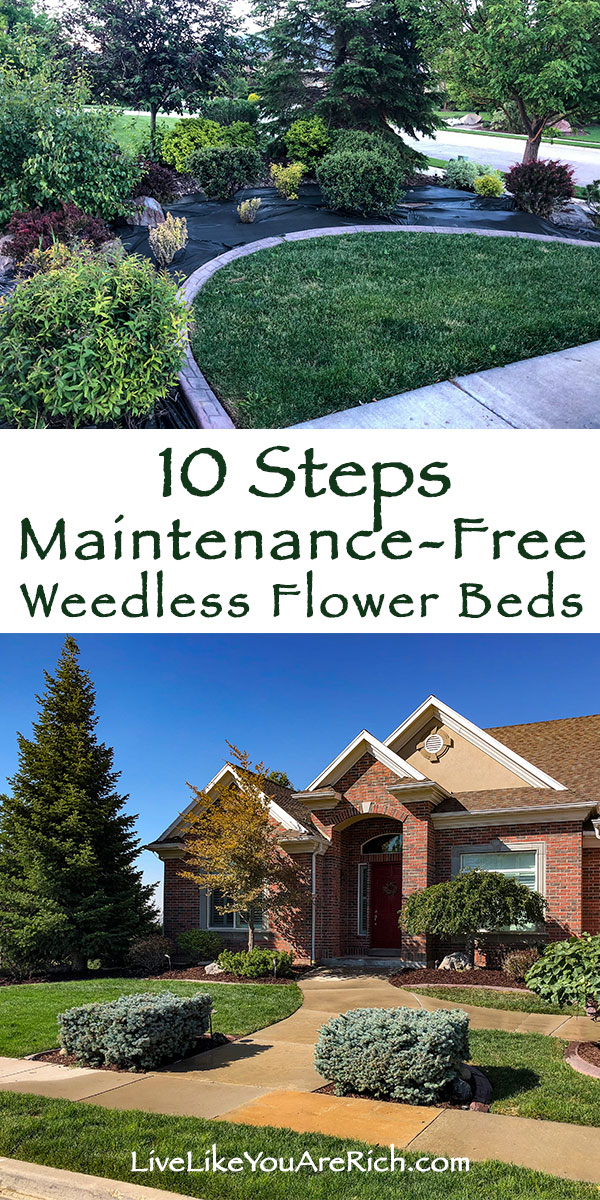
I love nice looking gardens! However, I do not like weeding for hours each week. That is what I was having to do from spring until fall…and I still couldn’t keep the weeds in my flowerbeds at bay. Once I used this Maintenance-Free Weedless Flower Beds in 10 Steps System, I no longer have to weed my flower beds!
I have over an acre of flower beds running along the perimeter of my yard and they are wide/deep beds (most exceed over 5′ deep). Gardening in this yard was just way more than I could handle. I also didn’t want to pay for a full-time gardener.
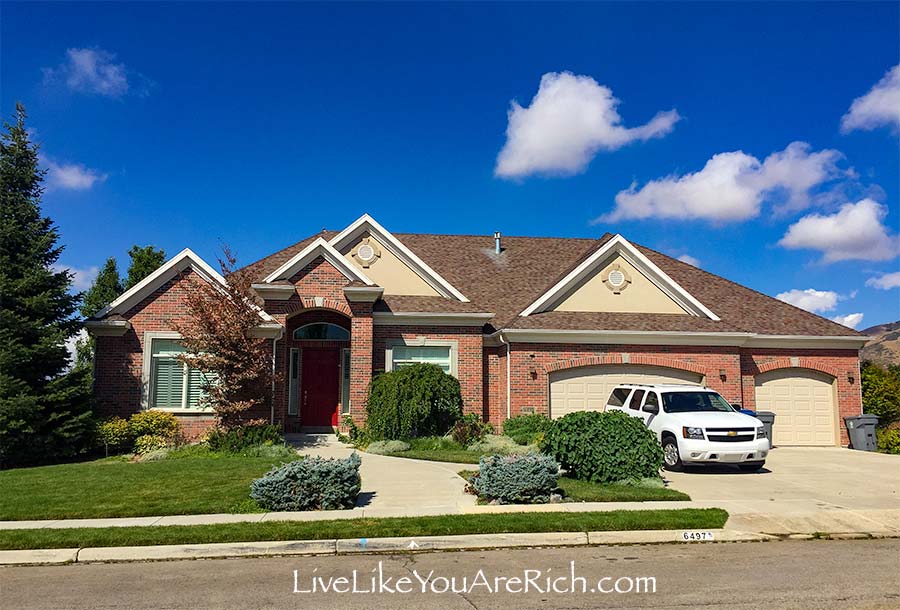

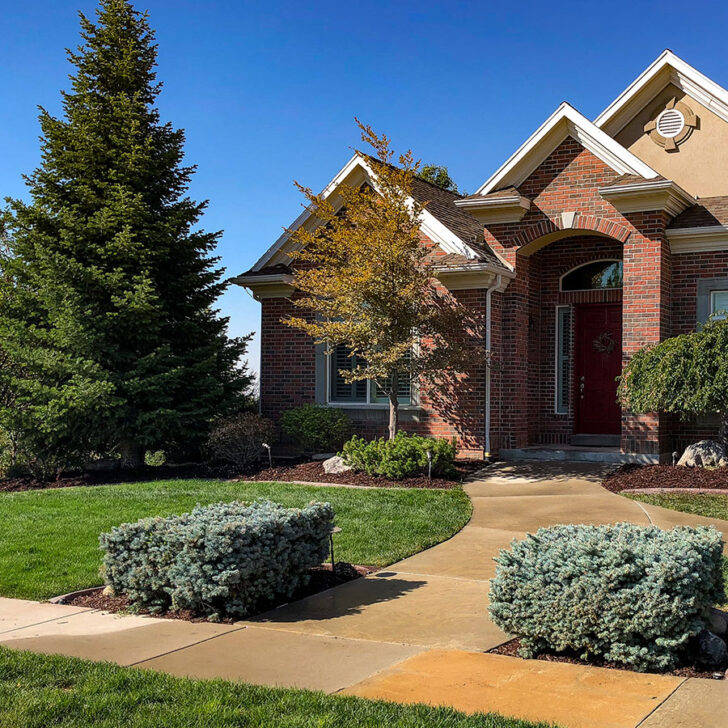
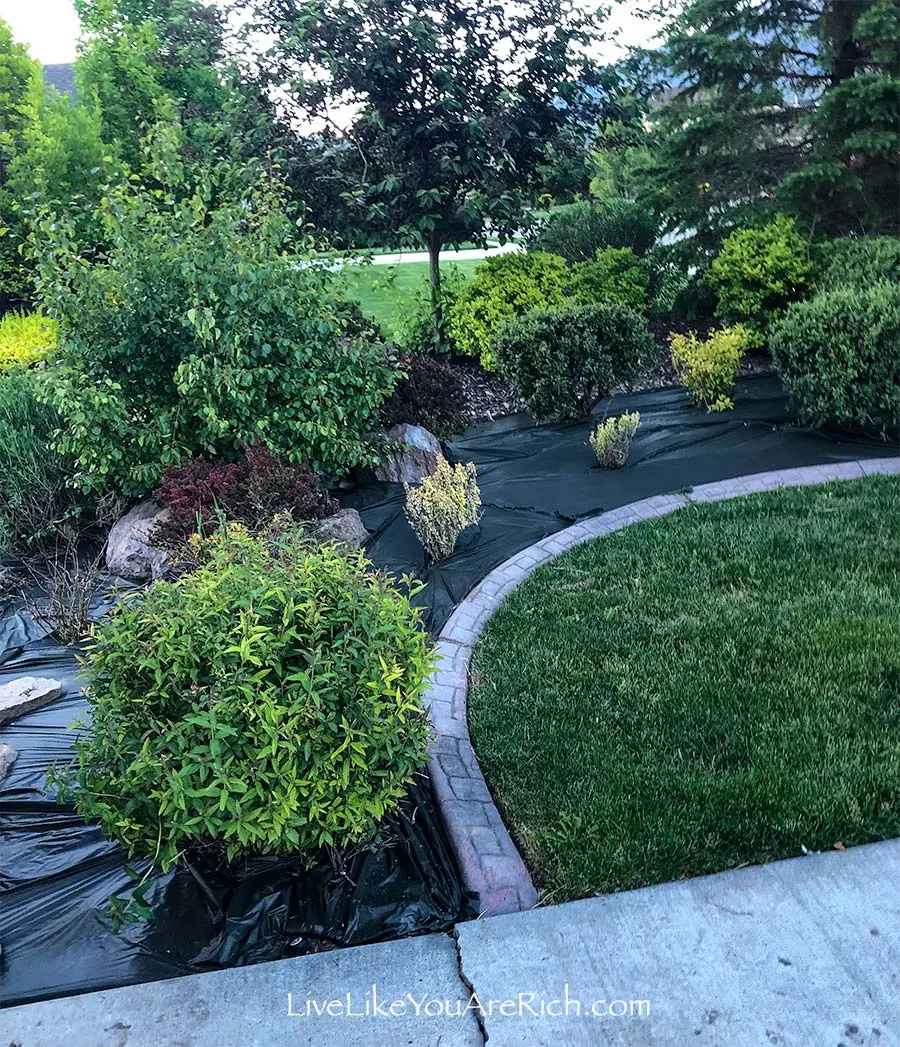
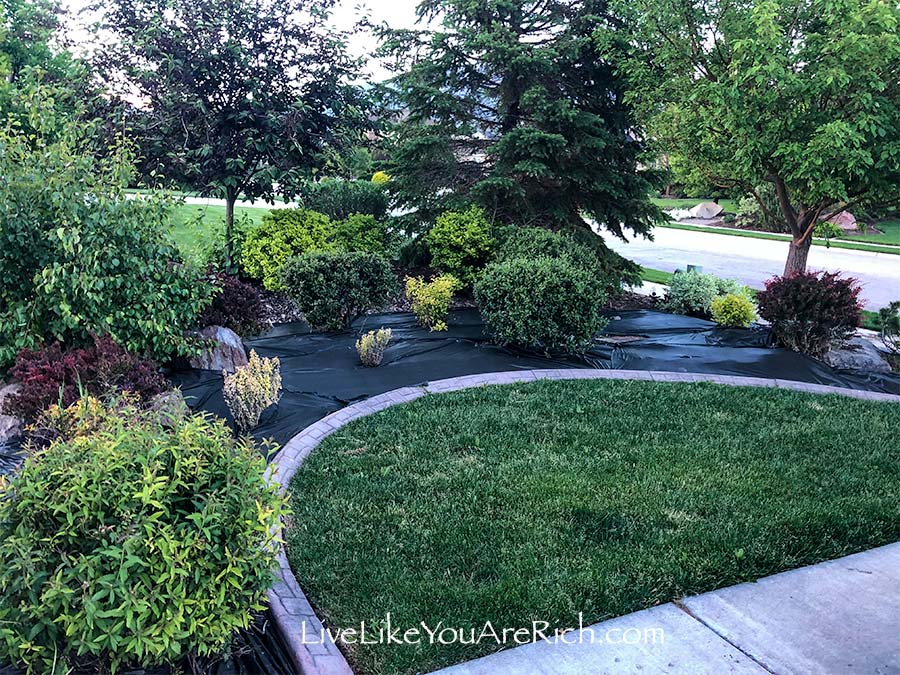
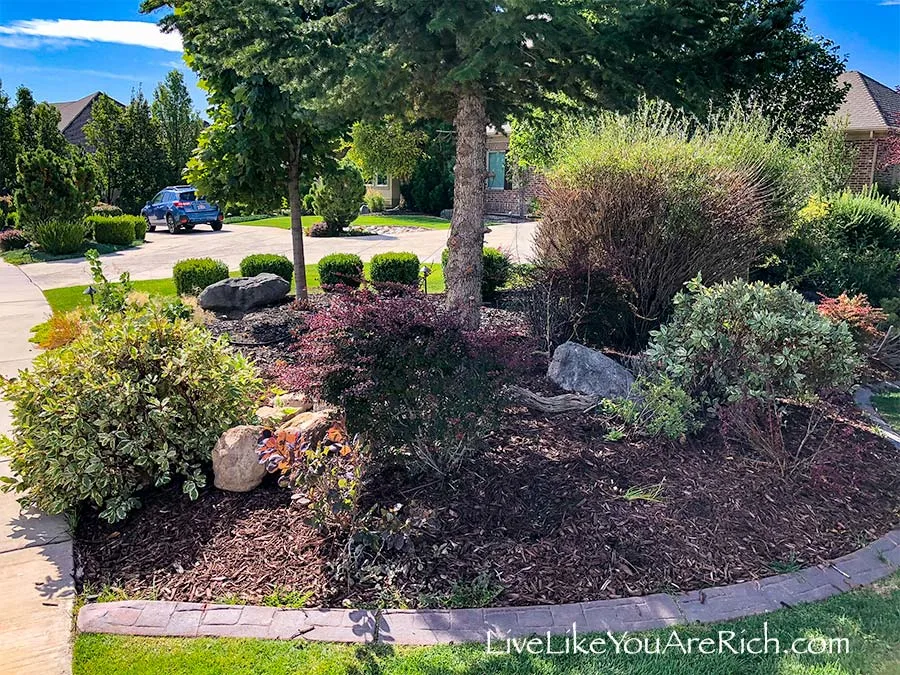
Before
My neighbors are so wonderful and love gardening. They have offered on multiple occasions to help me. One neighbor taught me that in order to make gardening manageable, I could use this maintenance-free weedless garden bed system to make my garden beds weedless for years.

Before
He did this system to many of his flower beds and they have been more or less weed-free for 12 years!
I decided to give it a try. I did the following 10 steps to four of the beds in my front yard last year.
It has been a year and a half now and has proven to be extremely effective!I have only had maybe 1 or 2 weeds in each bed every month!
I couldn’t believe that weeding for a few hours a week in my front yard and still not keeping up with it dropped to weeding only 5 minutes a month and resulted in much more beautiful flower beds in my front yard!
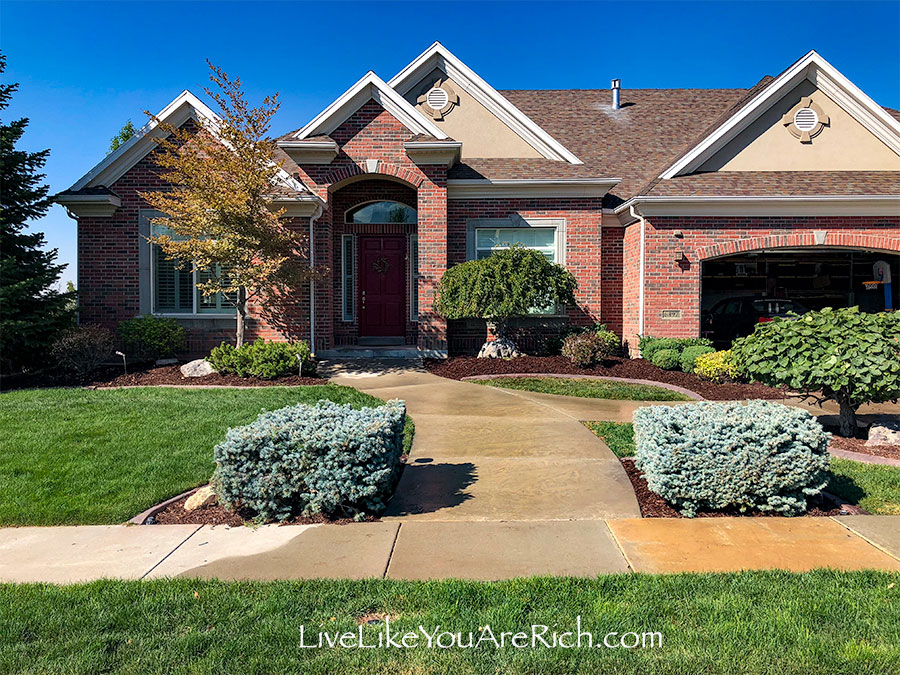

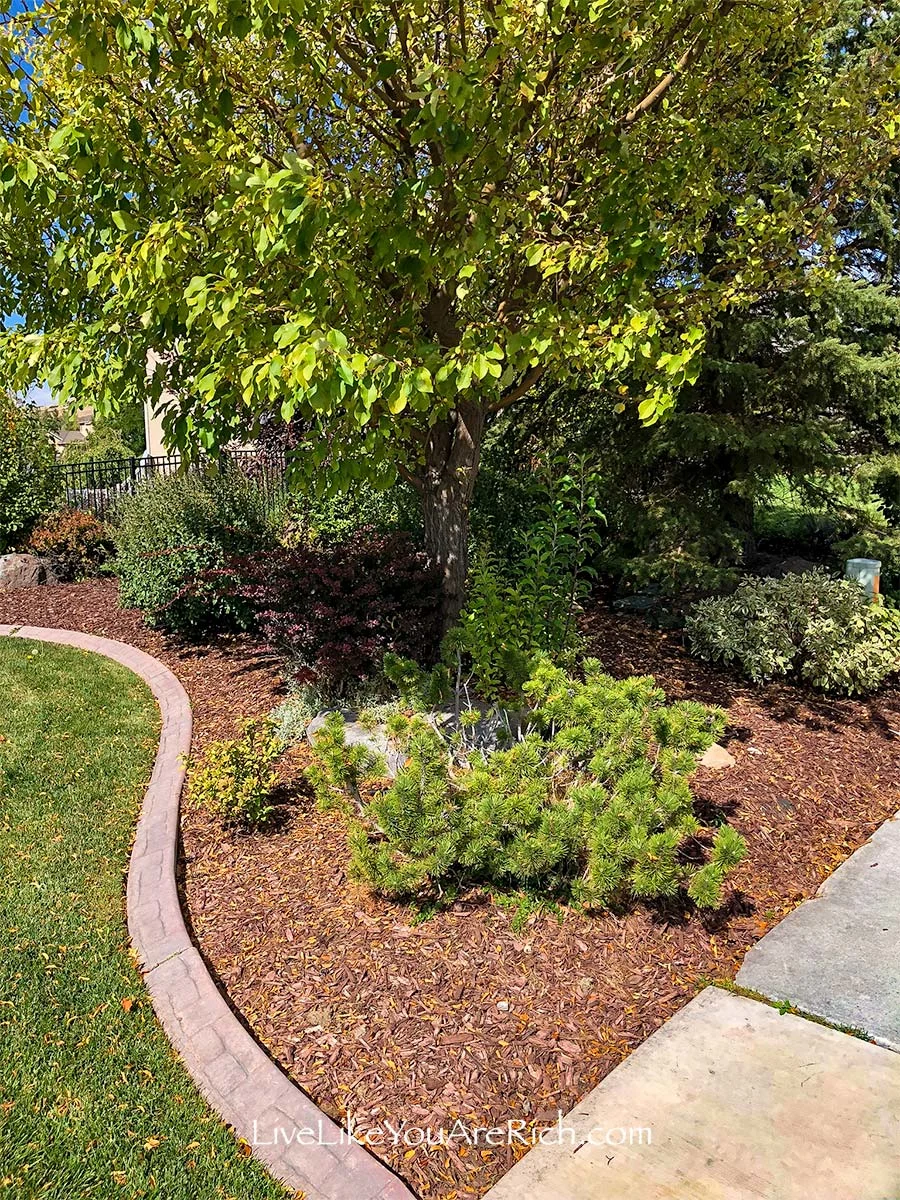
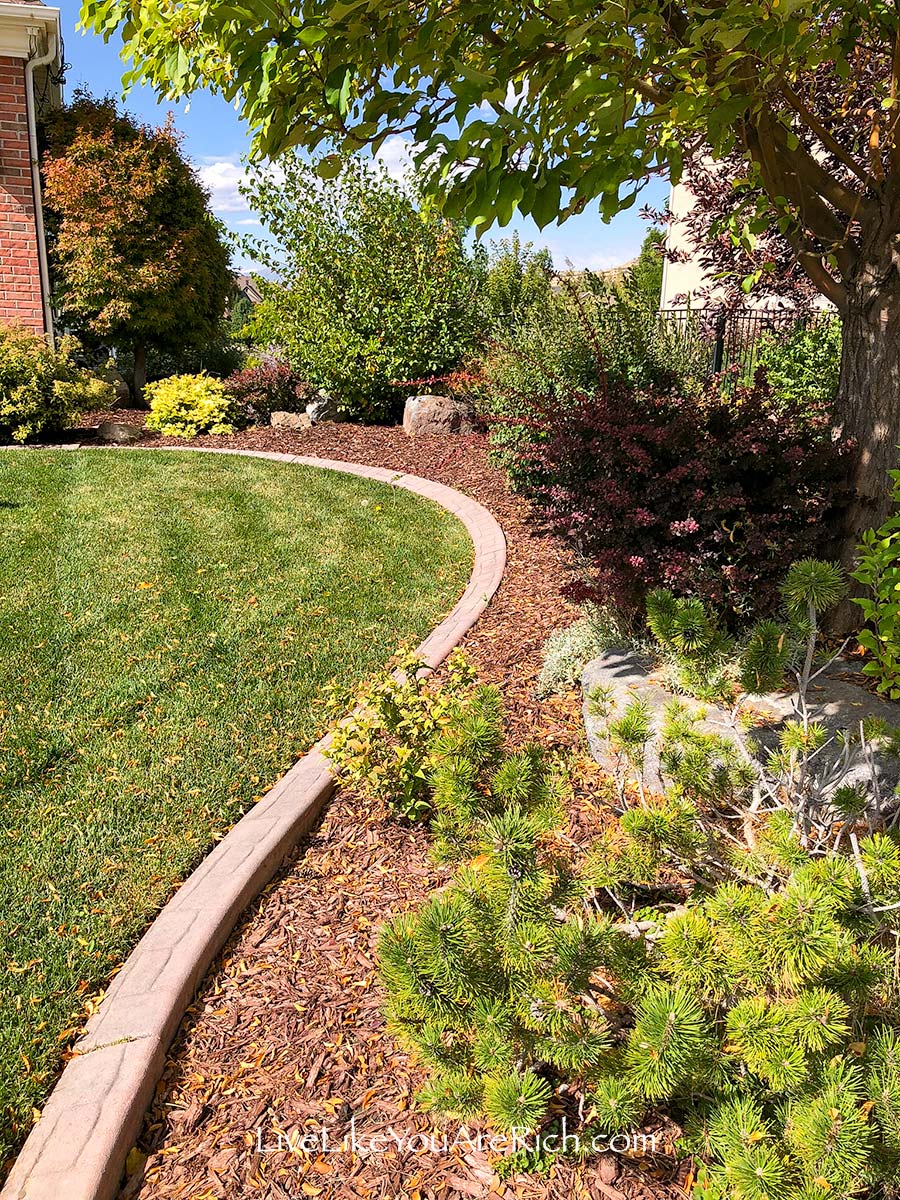
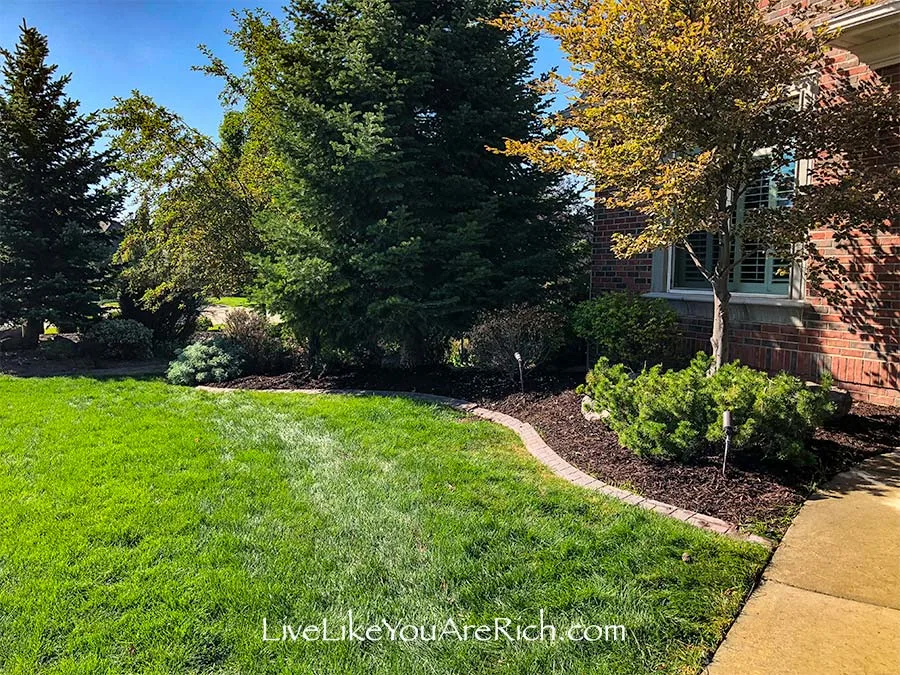
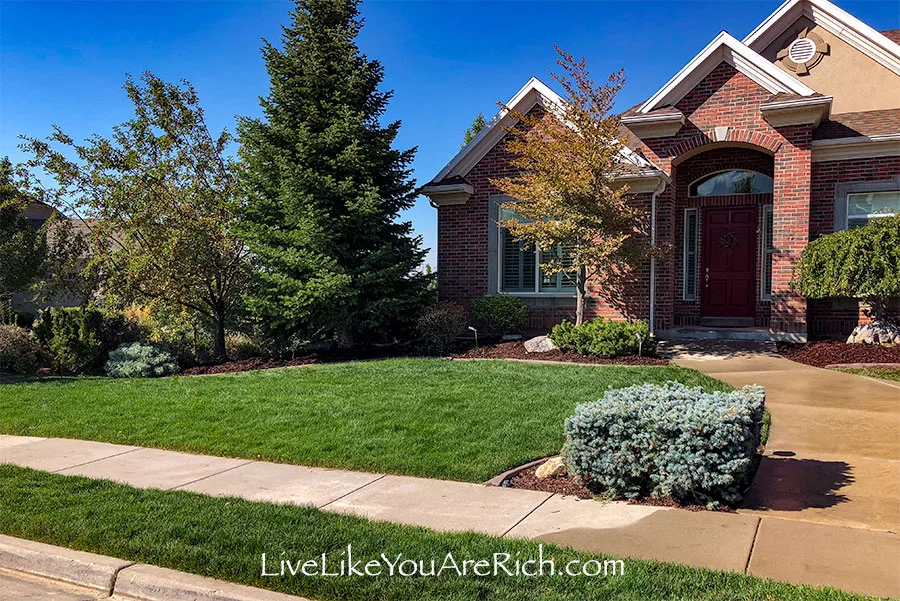
After
Maintenance-free Weedless Flower Beds in these 10 Steps…
1. Trim bushes, trees, etc. with electric trimmer and sheers.

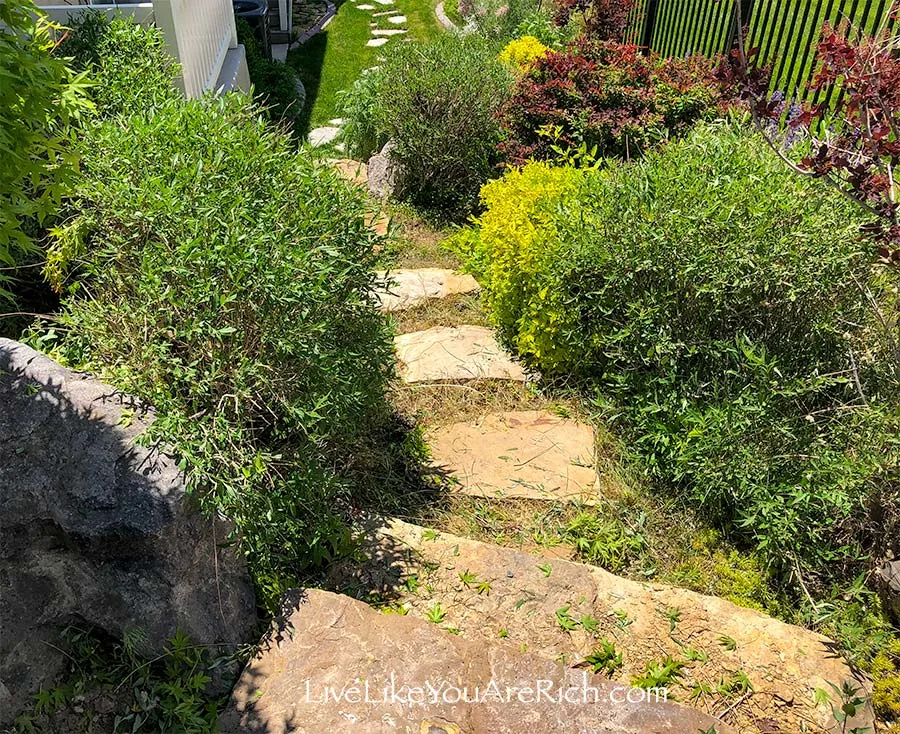
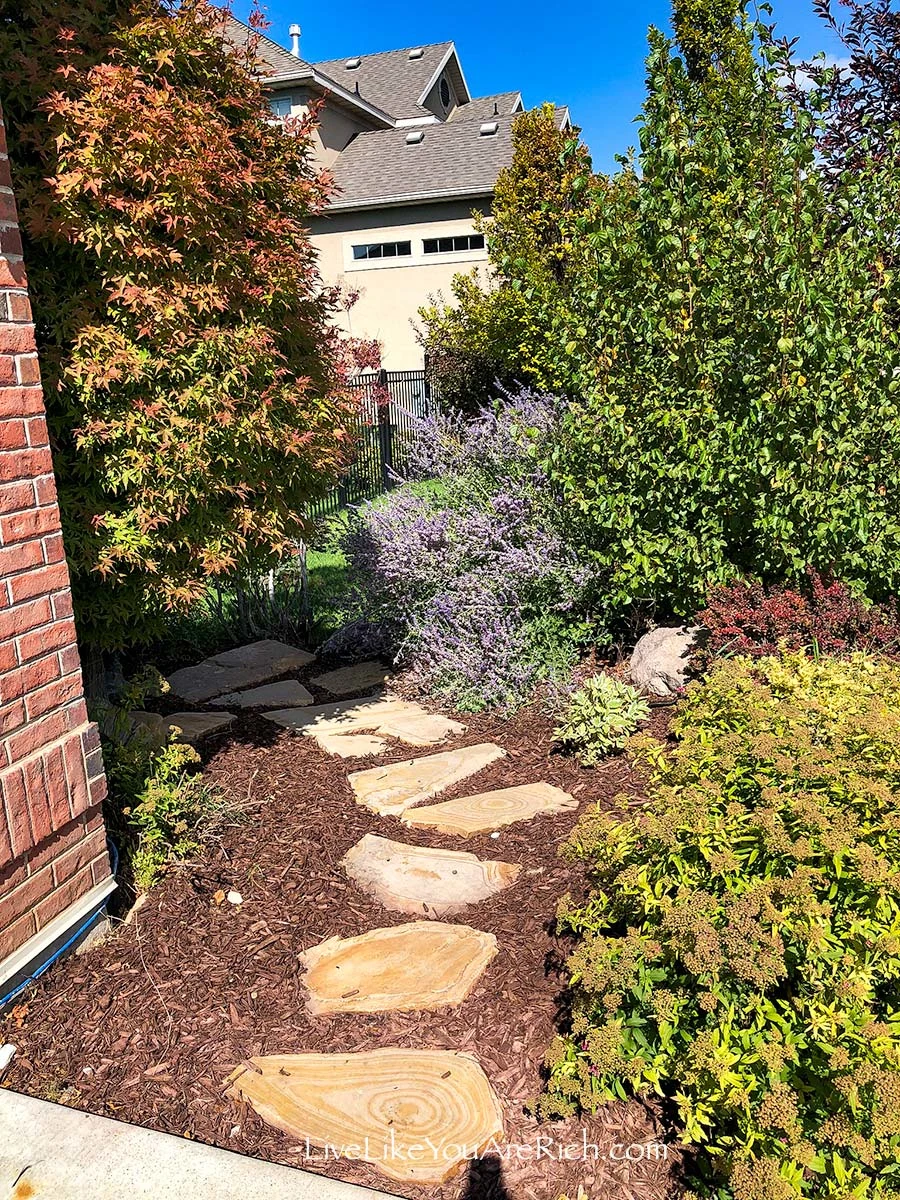
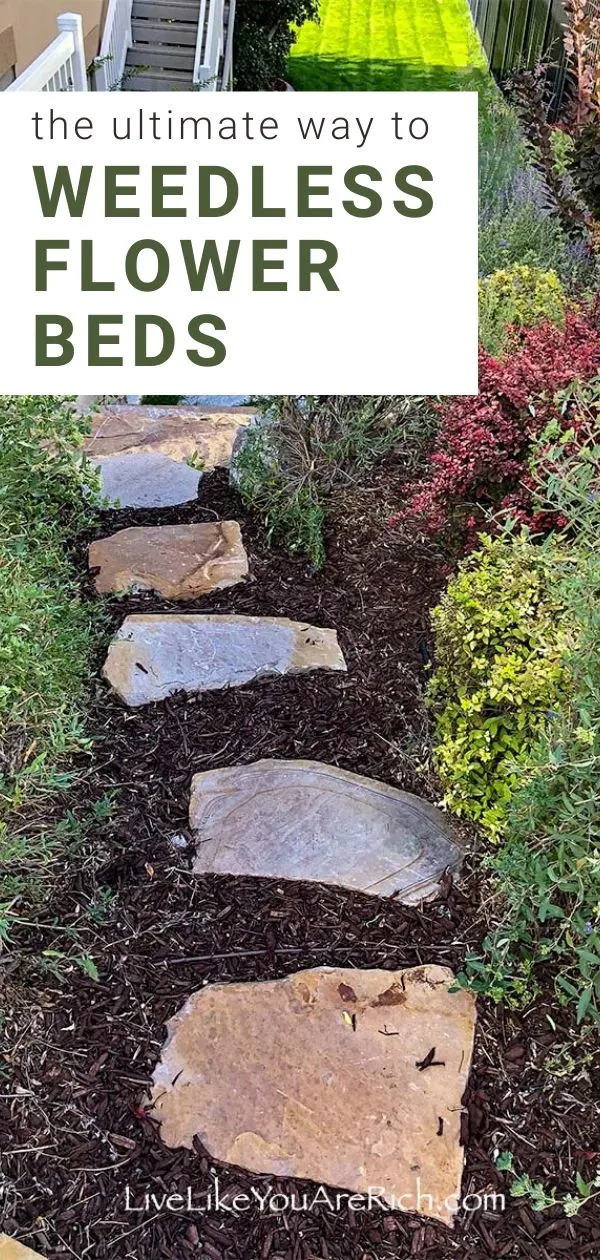
Before Sideyard
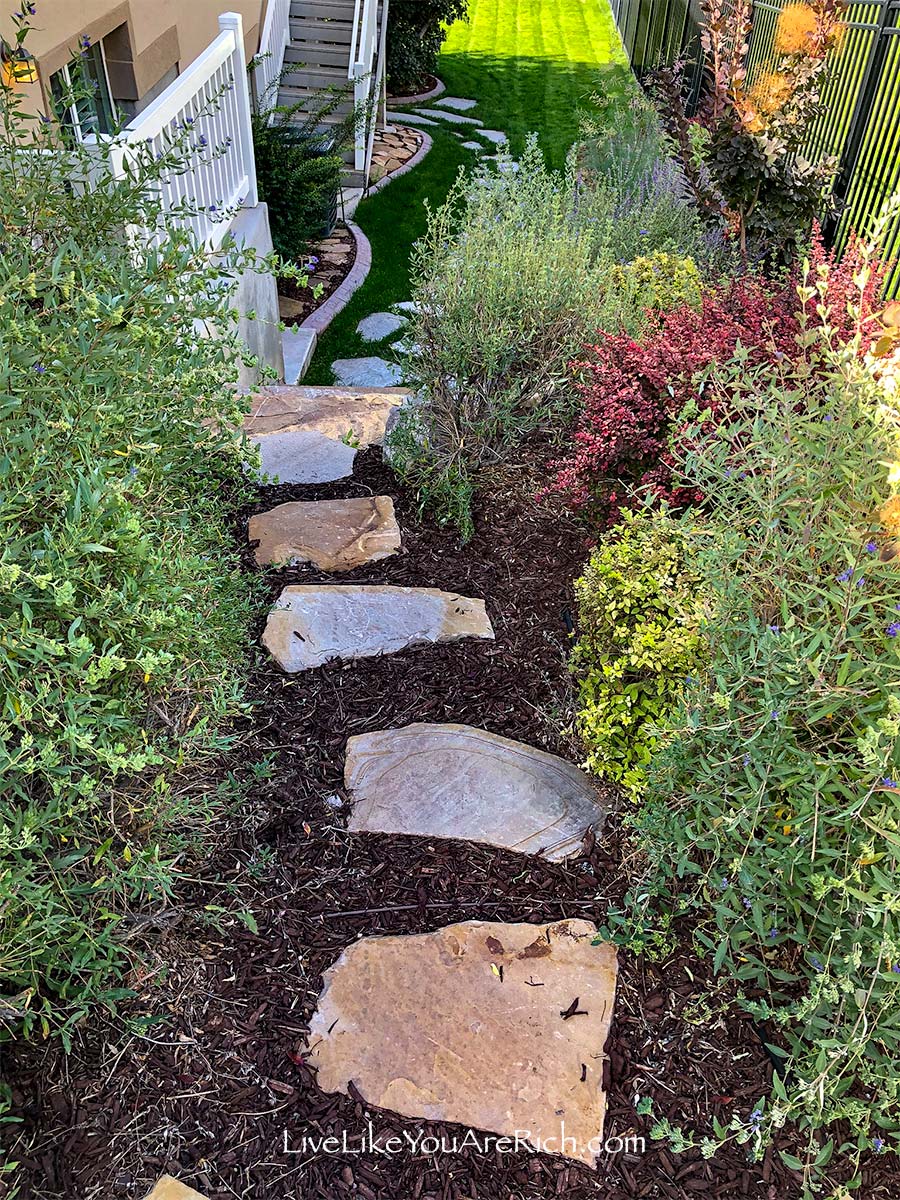

After Sideyard
2. Dig out what plants you do not want, plant the ones you want. If you have annuals (tulips, etc.) you will want to make note of where those are and be sure to make holes for them in the paper and barrier or dig them up if you would rather not worry about them.

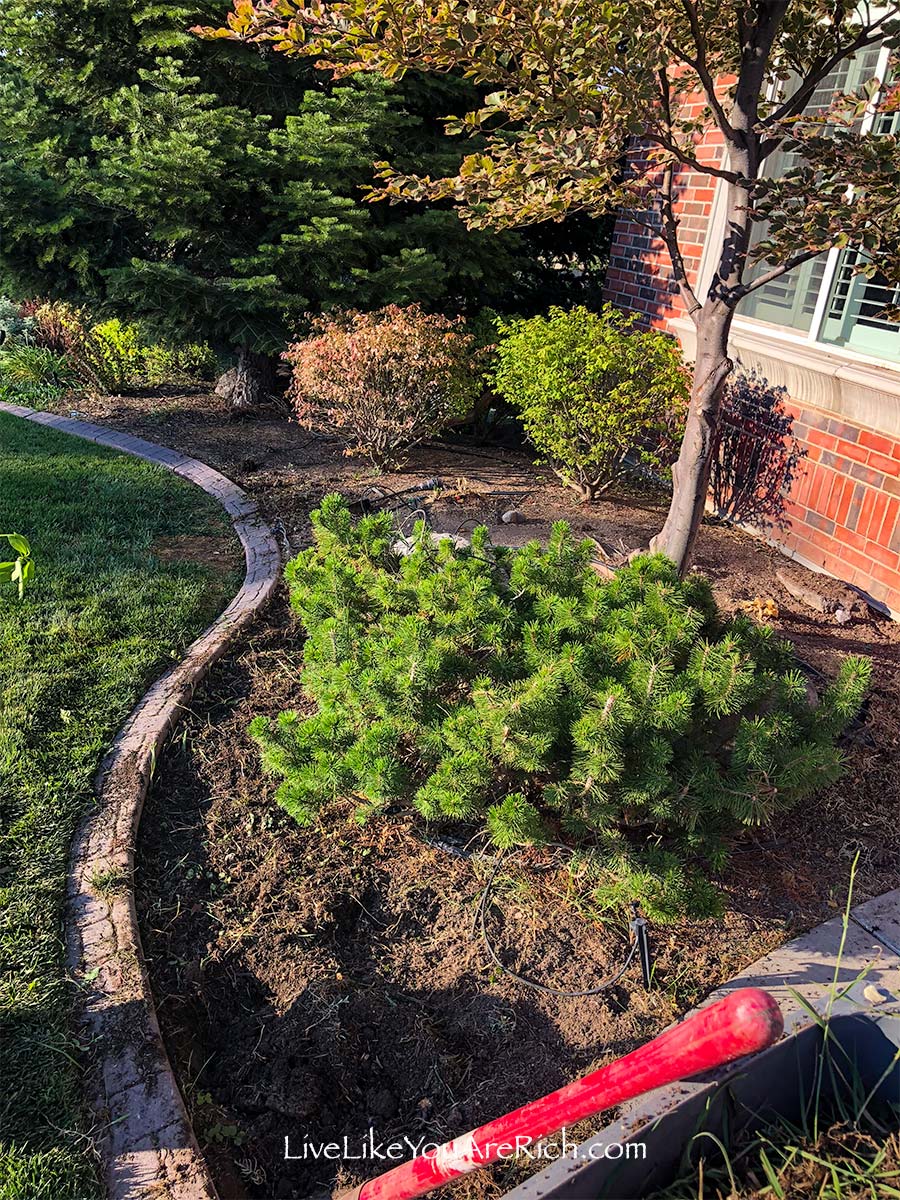
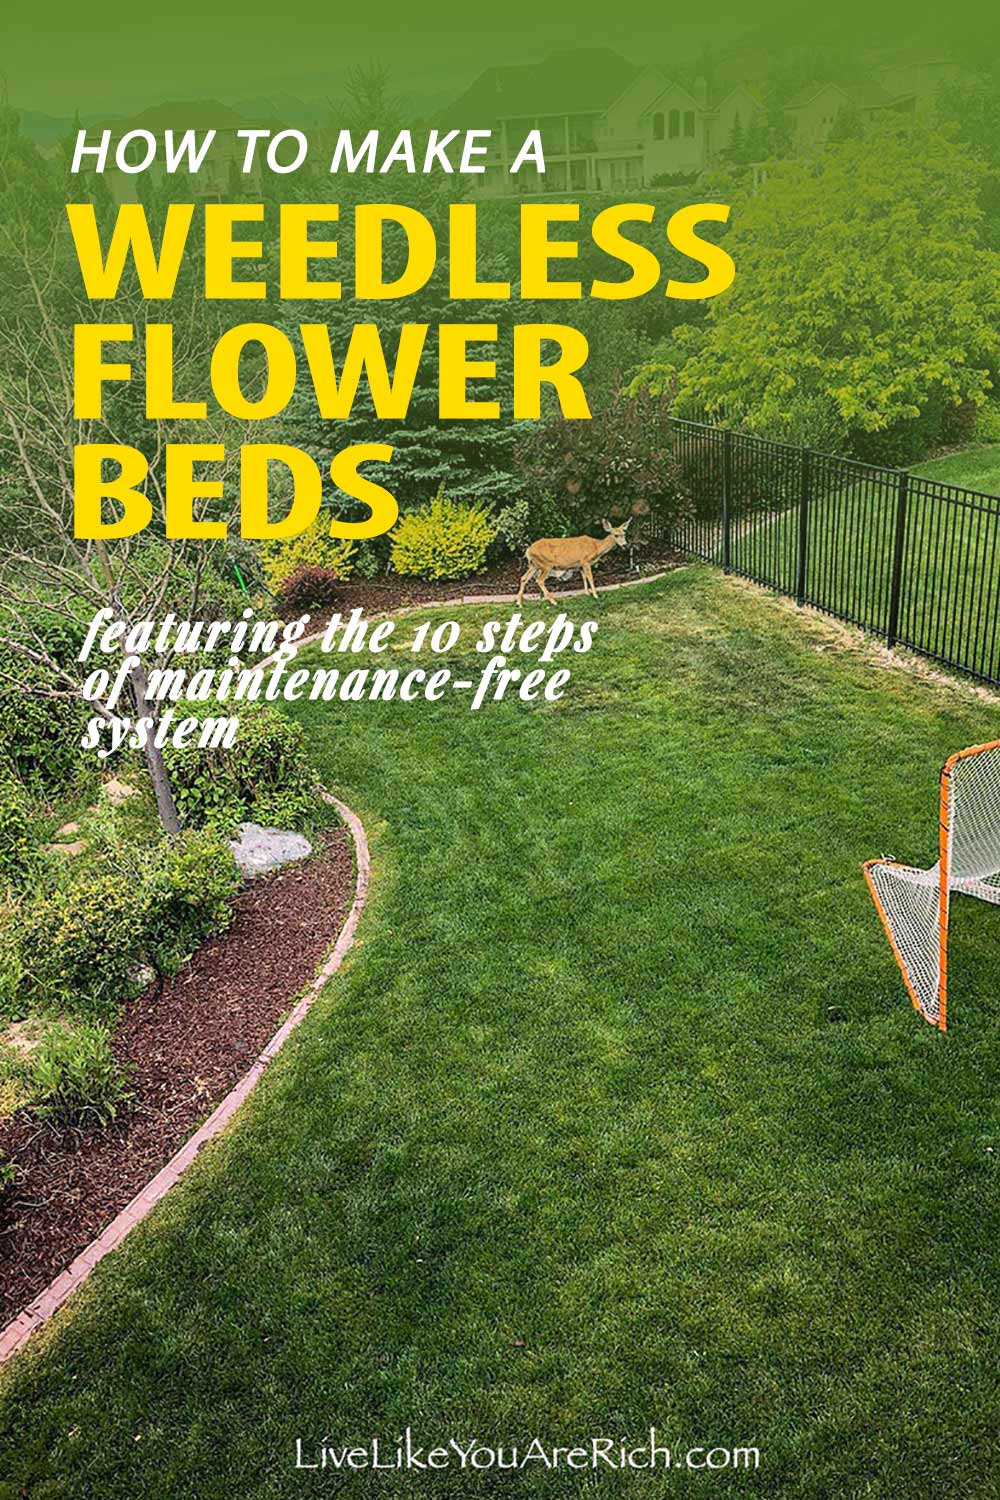
Before backyard

Before Backyard
Note-Planting and digging up plants and flowers become much harder after this system is in place unless you have reserved or marked out places where you want annuals and perennials planted. For more information on this, see the Important note I wrote below.

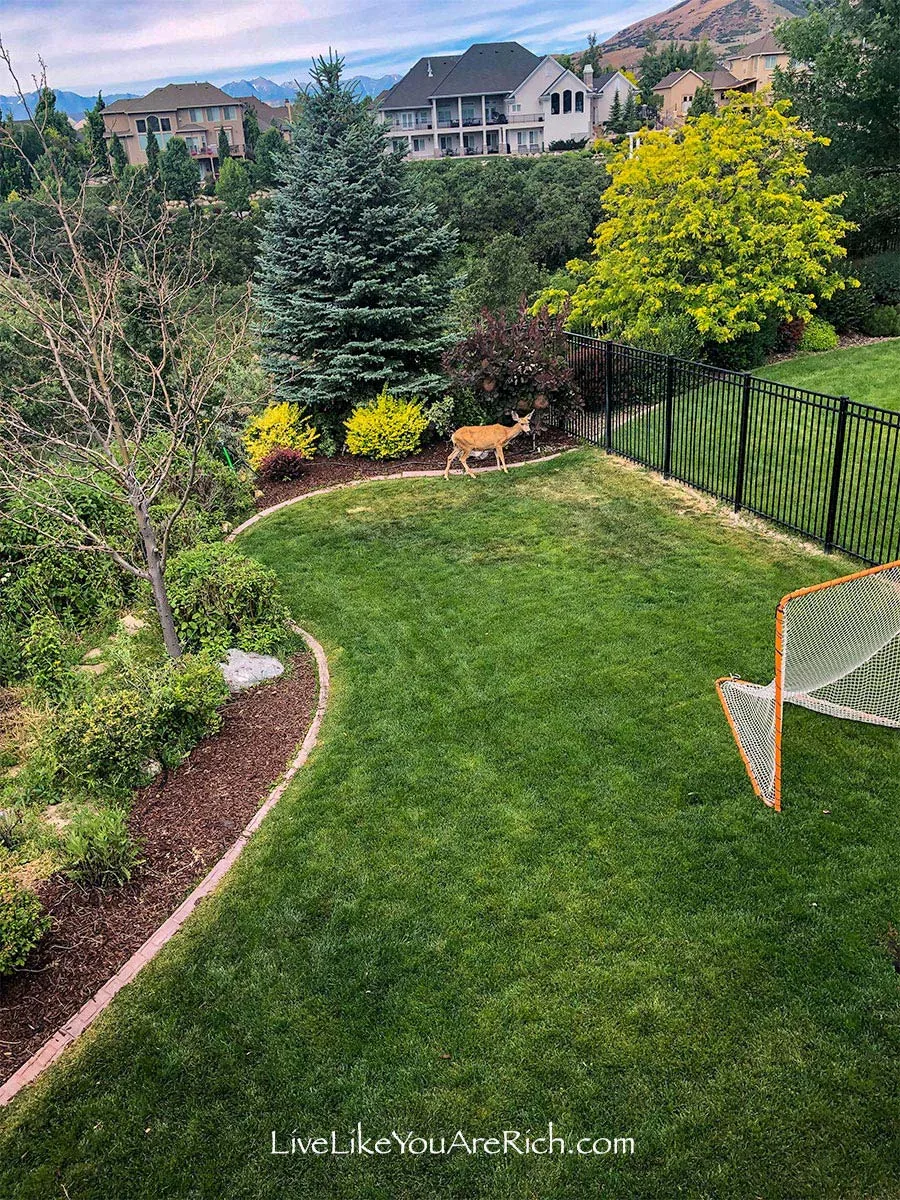
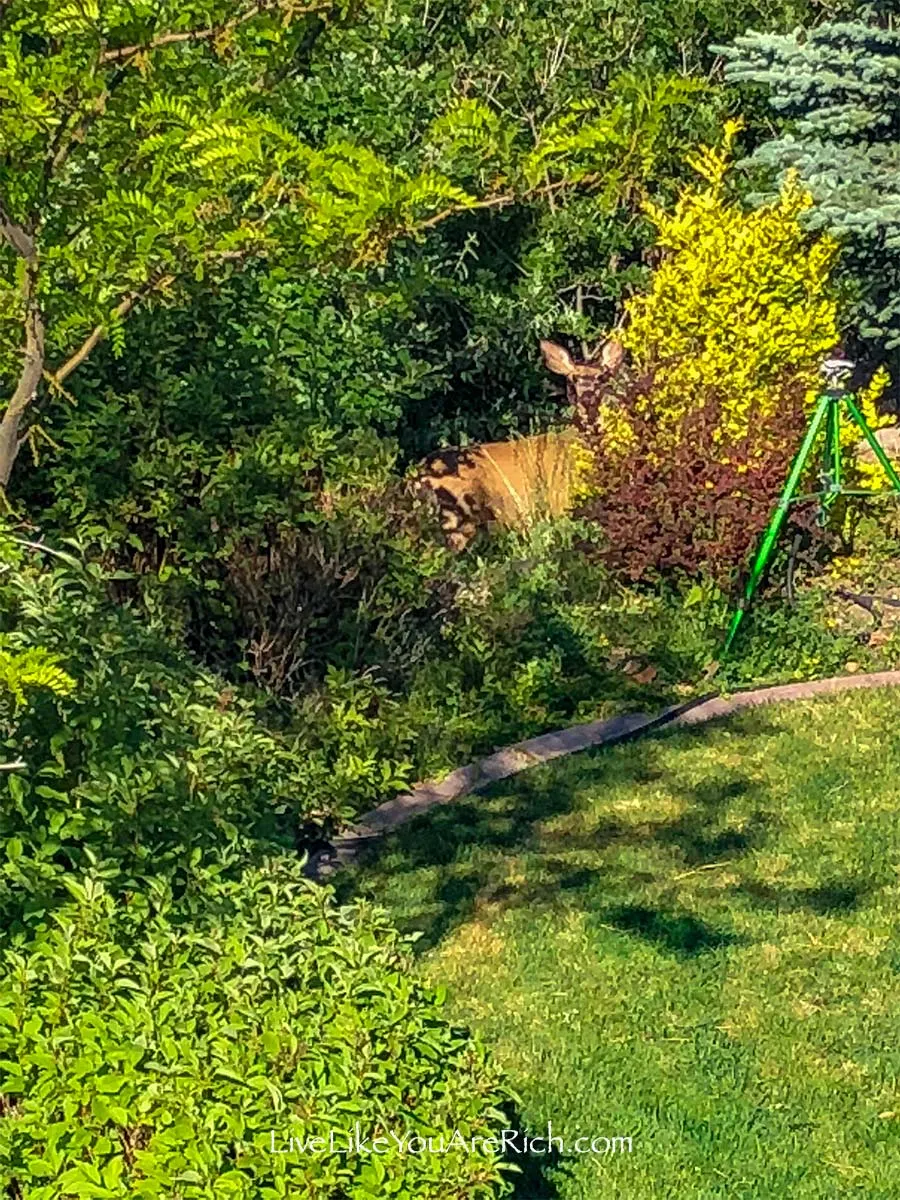
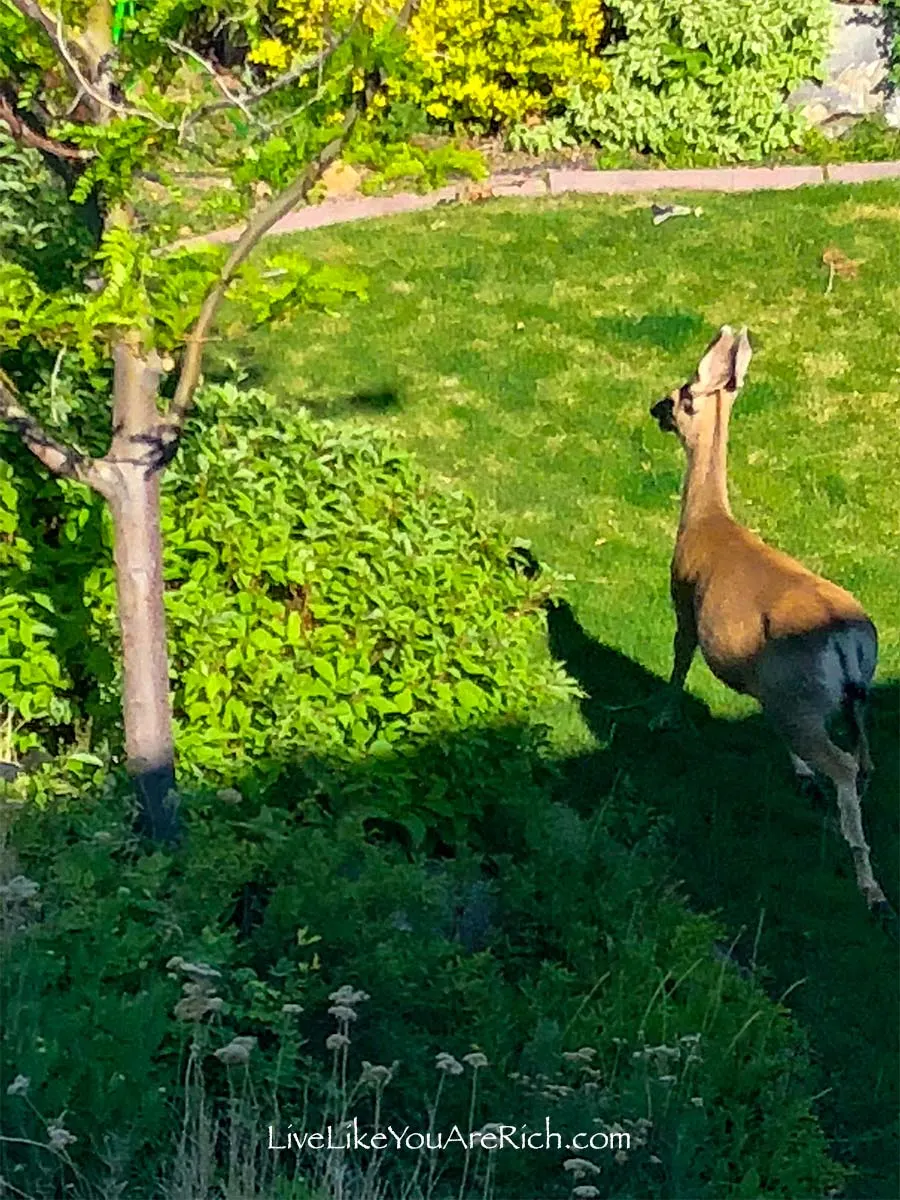
After Backyard. And yes, deer live in our yard.
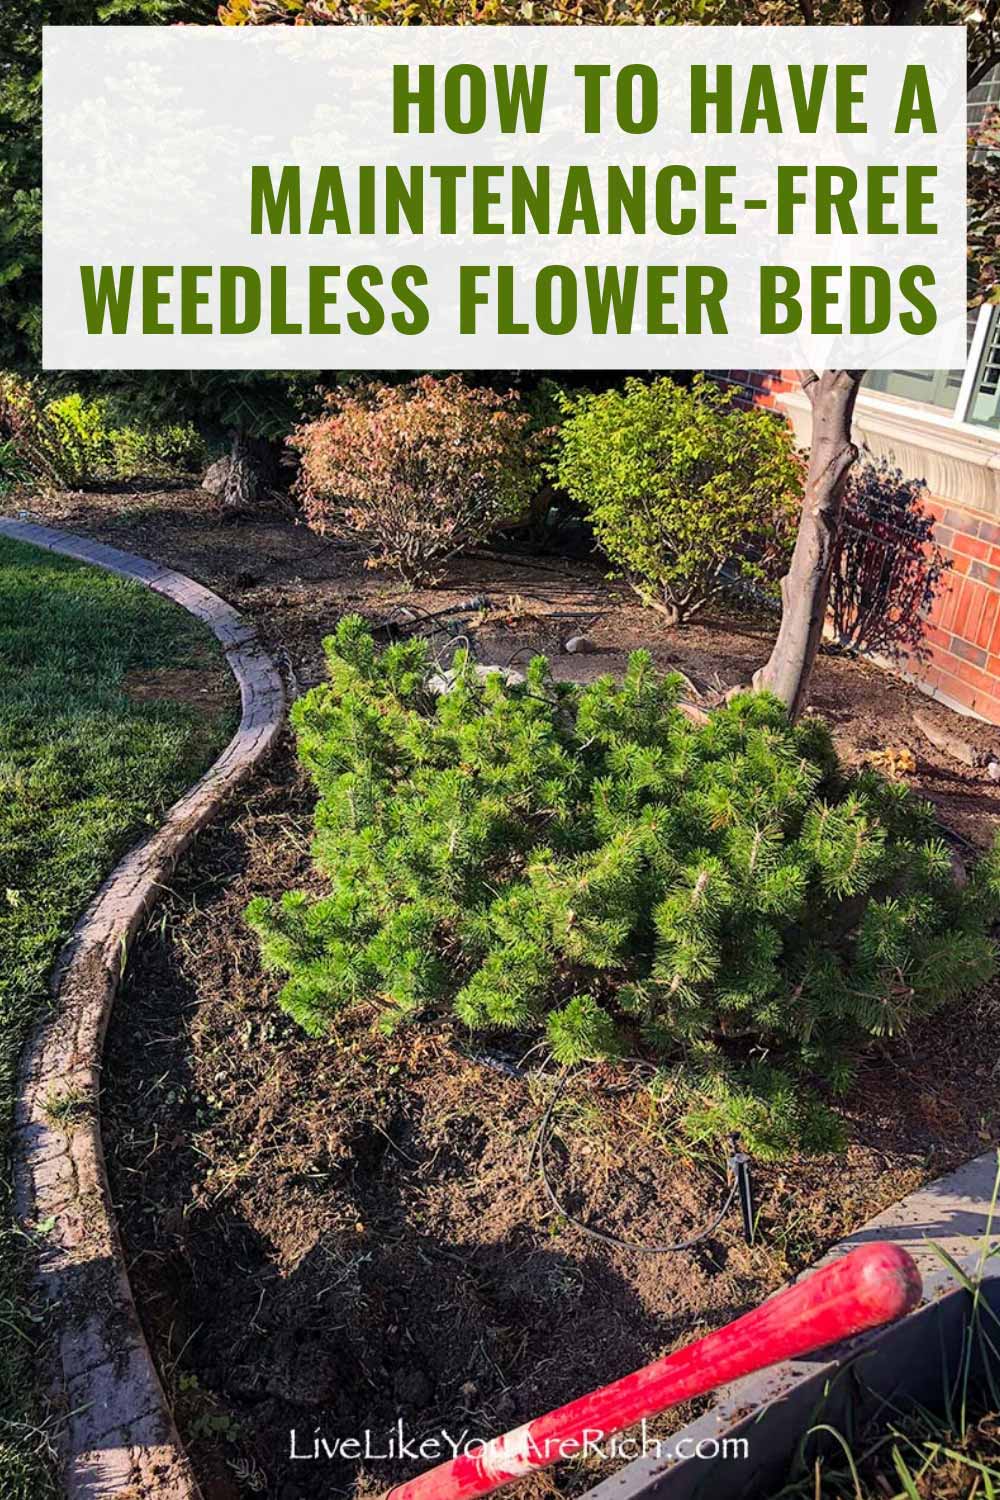
3. Weed ground so there are very few weeds. Clear large decorative rocks to use later. Clear away irrigation system (its best to just install all new with this project).

Weeding
4. Sprinkle a little bit of weed killer (Preen) and rake it into the ground. (Optional)
Note, I did ruin a lot of my grass but sprinkling Preen in flower beds that were on hills. When the water ran, the Preen ran into my lawn. So Preen or similar may be helpful, but only if the water run-off doesn’t drain on to the grass.
5. Dig a small trench (a foot shovel works best but a hand shovel will do as well) around the dividing line from the grass/garden edge.
This if so that the mulch has a place to pile up into without spilling over on to the grass.
6. Lay down tar paper. Yes, tar paper aka felt roof underlayment. This is the paper you put on a roof under shingles and many put under hardwood flooring. I bought the #30 (because it is thicker than the #15—however, both will work). I bought the rolls from Home Depot and Lowe’s.
Lay the paper as close to the edge of the garden bed into the small trench you dug and then roll it as close under the plants as possible leaving at least an inch space from the root to the paper for the water line/drip line to drip water to the plant roots.
Use a razor blade to trim it to size. When you run out of tar paper or need to cut it to size, overlap all edges when a new sheet is laid.
In just a few areas, use a hammer and weed barrier staples to staple the tar paper down. The staples will go through the tar paper (unlike the weed barrier that comes next), so don’t hammer the staple down too aggressively. Just use a few lightly placed staples or small rocks to hold the tar paper in place.
The tar paper is used as a moisture barrier and sun blocker. It is extremely effective and is about the equivalent of 10-15 layers of weed barrier.
7. Lay weed barrier over the tar paper getting close to edges and under bushes and trees. Again, leave an inch at the root of each plant for the water to drip down to the roots.
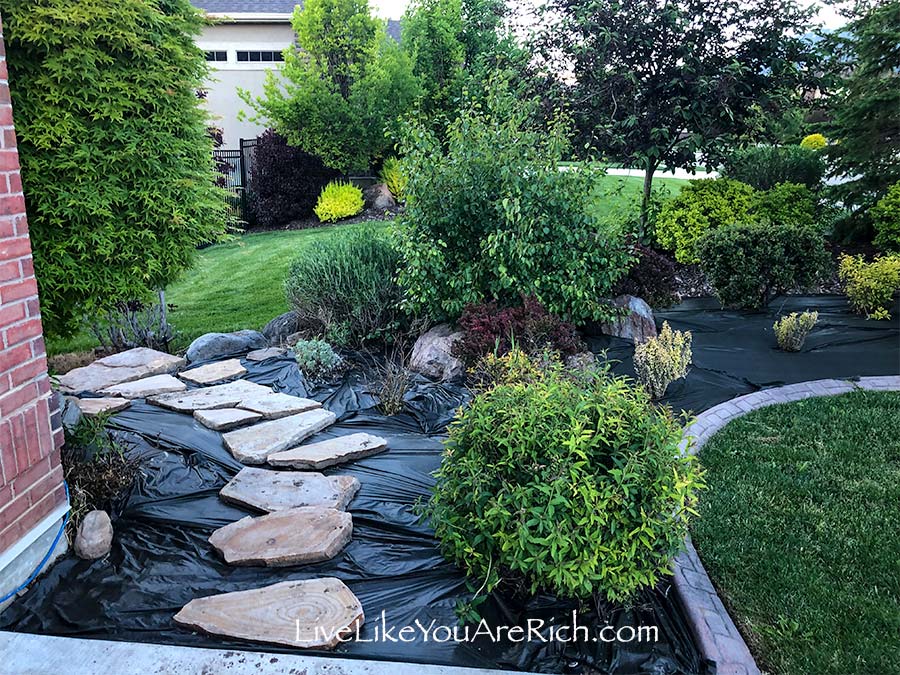

Staple the weed barrier and of course the tar paper which is underneath it down in multiple areas. Weed barrier will not rip when stapled down so the staples will secure it and the tar paper well.
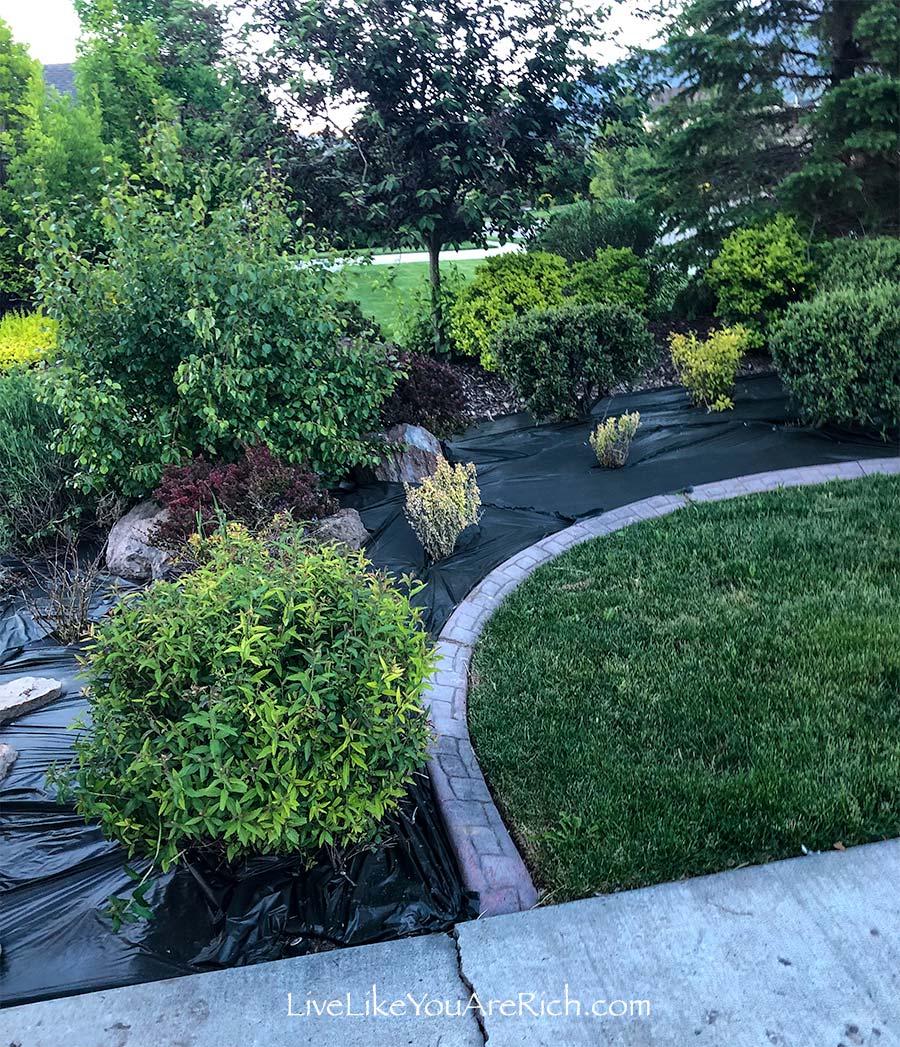
The weed barrier serves as a rip free-tear free layer that also helps deter moisture and sunlight but holds the tar paper firmly in place. Don’t skip this step. You do need this layer, it is important.

8. Run the sprinkler drip system/irrigation line to each plant and tree. Secure the drip head so that it is very close to the plant and so that the water will drip down past the weed barrier and tar paper to water the root of each plant and tree. Make sure that the system is working properly.

2 months after and no weeding

2 months after the project with no weeding.
9. Put mulch or garden rock everywhere covering the weed barrier and irrigation lines. When using mulch lay it about 3″-4” thick everywhere. Rock, lay enough to cover the weed barrier well.

2 months no weeding
Put the large rocks you removed in step 3 down decoratively making sure not to crush any irrigation lines.
After mulch and/or rock are laid, if some weed barrier or tar paper is sticking out on the edges, use high-quality scissors to trim it back, tuck it under the mulch, staple it/secure it, and cover it to be out of sight.
Mulch vs. Rock
Rock is more expensive, heavier, and in my opinion, not as aesthetically pleasing to look out. However, it will last a lot longer than mulch and won’t need as much upkeep over the years. Further, you can use a blower to blow off trimmings and a hose to keep it clean.
Mulch is less expensive, lighter, much prettier to look at (especially if you get colored mulch), and easier to transport.
However, mulch does need to be supplemented as it decomposes, blows away, etc.
I think I’ll have to either renew just a shallow top layer each year or wait 3-4 years and redo the vast majority of mulch. That said, it is easy to update/supplement.
Ultimately, we decided that in our front and side yards and some of the back we would use colored mulch and it looks beautiful!
In our very back yard which does have a steep slope and is hidden from sight, we will use rock when we complete that project in that area next year.
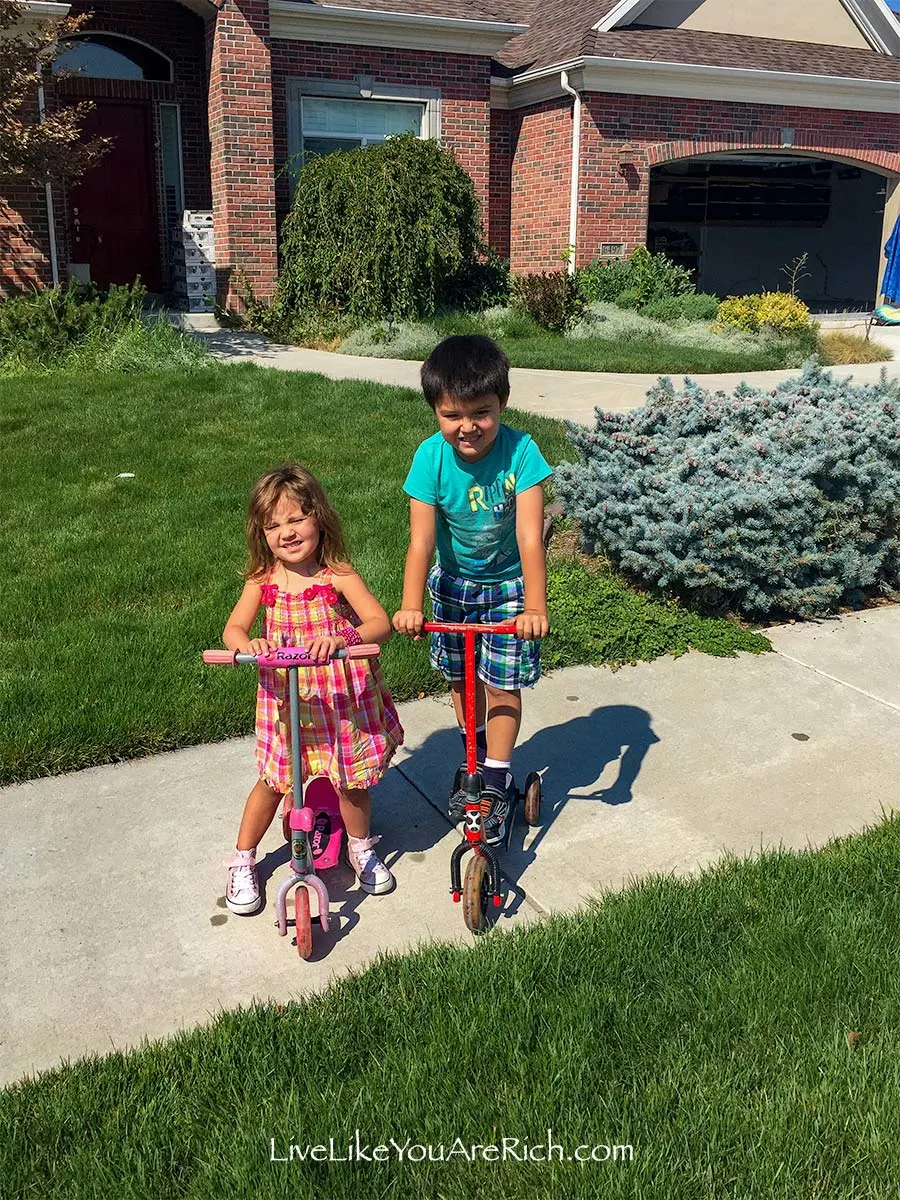
Tip- If you have young kids, they can help lay the mulch by loading it into snow sleds and pulling the sled over to where it needs to be dumped. My kids (4 & 6) and my cousins ranging from (3-13) as well as a few neighbor boys, helped me distribute 22 yards of mulch into my beds this spring using mainly snow sleds which worked great.
10. Spray edges with weed killer.
As you can see on the photo below, which was taken about 2 years after this area was complete, the weeds are popping up along the edge and note that I haven’t ever weeded them or sprayed them yet.

A few perimeter weeds pop up after 2 years no weeding
Over time, a few weeds and blades of grass will pop up along the weed barrier edge (because they can get a little light and moisture on the edges)… when this happens, use a weed killer and very carefully spray along the edges making sure not to get it on the grass.

A few perimeter weeds/grass blades that one can spray.
Now you are finished.
Sit back, relax, and enjoy your maintenance-free weedless flower beds!

Important Note for flower lovers- If you love flowers, especially perennials, save yourself a few spots to plant them without this tar paper and weed barrier—just know without the weed barrier and tar paper those areas will be subject to weeds.
Costs and Supplies:
I knew that we needed to do this to all of our other beds. However, this system of weed proofing flower beds is not inexpensive. This spring we did the following 10 steps (with help) to about 2/3 acres worth of running flower beds
Next year, we will do the final 1/3 acre in our back yard.
Supplies-
- Tar Paper #30 (~$30 a roll and I needed about 15= $450)
- Weed barrier (I found a huge roll on local classifieds that did everything for =$50)
- Weed barrier staples (I needed multiple large boxes of these =$150)
- Preen weed preventer (Optional) ($50)
- irrigation system (we ran all new lines) = ($300)
- 22 yards of colored-high quality mulch= ($900)
- Help to prep & lay everything= ($800)
Total $2,700 for ~ 2/3 acres of 5’+ wide flower beds. Of course, it should be much much cheaper for those with smaller yards and garden beds.
We know the investment will pay off because it will save us hours and hours on our end (it already has) and will save money by not having to pay for a gardener.
I am so happy when I go outside. Now, I can neglect gardening for months and still have my flower beds looking pristine and weed-free!
When I do weed it takes me a few minutes for each bed to get a stray weed or two here and there.
Next spring we’ll do the very back yard (last 1/3 acre) but with rock instead of mulch as the back yard is on a steep slope and rock will hold better and last longer than mulch.
Gardening/weeding—especially with this much yard was completely overwhelming and unattainable. Now gardening is something I can keep up with ease.
I hope this helps you feel confident that you can stay up on gardening and weeding as much as it has helped me.


For other ‘rich living tips’ please subscribe, like me on Facebook, and follow me on Pinterest and Instagram.


Mary Lee
Tuesday 16th of July 2024
easily understood, good idea and makes sense. The tar paper plus weed barrier are key to this working. thank you, a Master Gardener in KY
Anita
Friday 18th of October 2024
Yep its been 6 years and it still works. The places that didn't have both are growing back with weeds.
Shirley Bridges
Sunday 24th of January 2021
Thank you for your how-tos, costs, etc.! I've been battling our yard beds for over 10 years and this year they need major help. We will also need to replace our edging. Can you give suggestions? Many thanks
Anita
Monday 15th of March 2021
I don't know much about replacing the edging. I have stone pavers and I don't have issues with weeds coming up underneath them, just on the borders. I just pull or spray or both on the edges and it keeps it at bay...you just don't want to hit the grass unless it is grass friendly weed killer. Good luck.
Beks
Wednesday 13th of November 2019
Ooooh! Good idea! I think I shall employ this directly! Thanks!
Lori
Wednesday 13th of November 2019
This was a great article on Weedless Gardening. I can't wait to give it a try.