
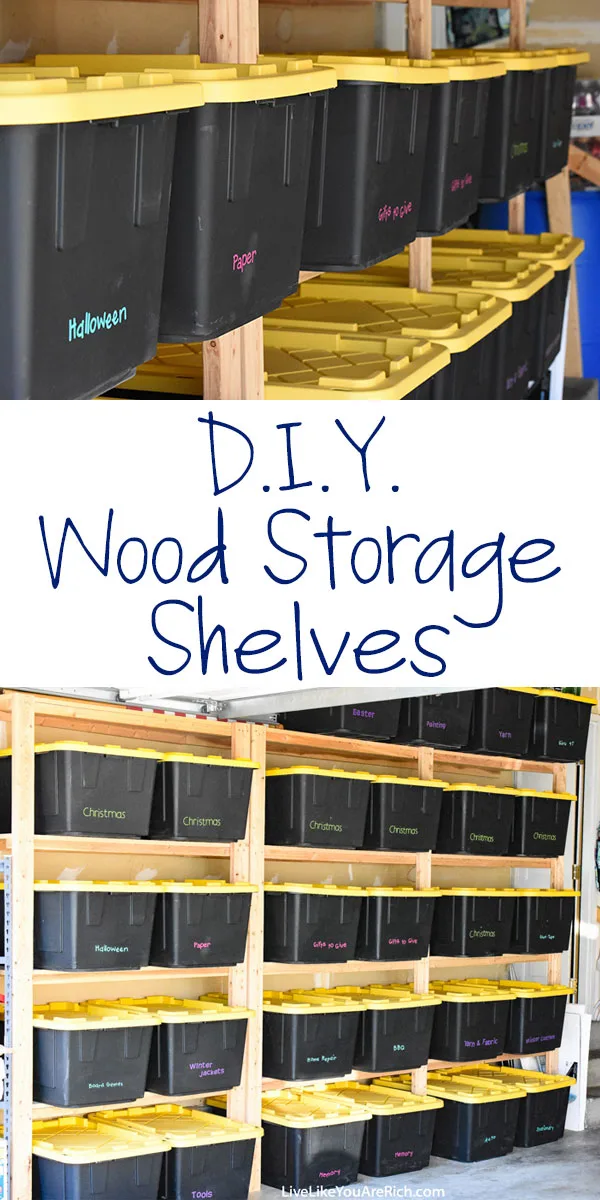
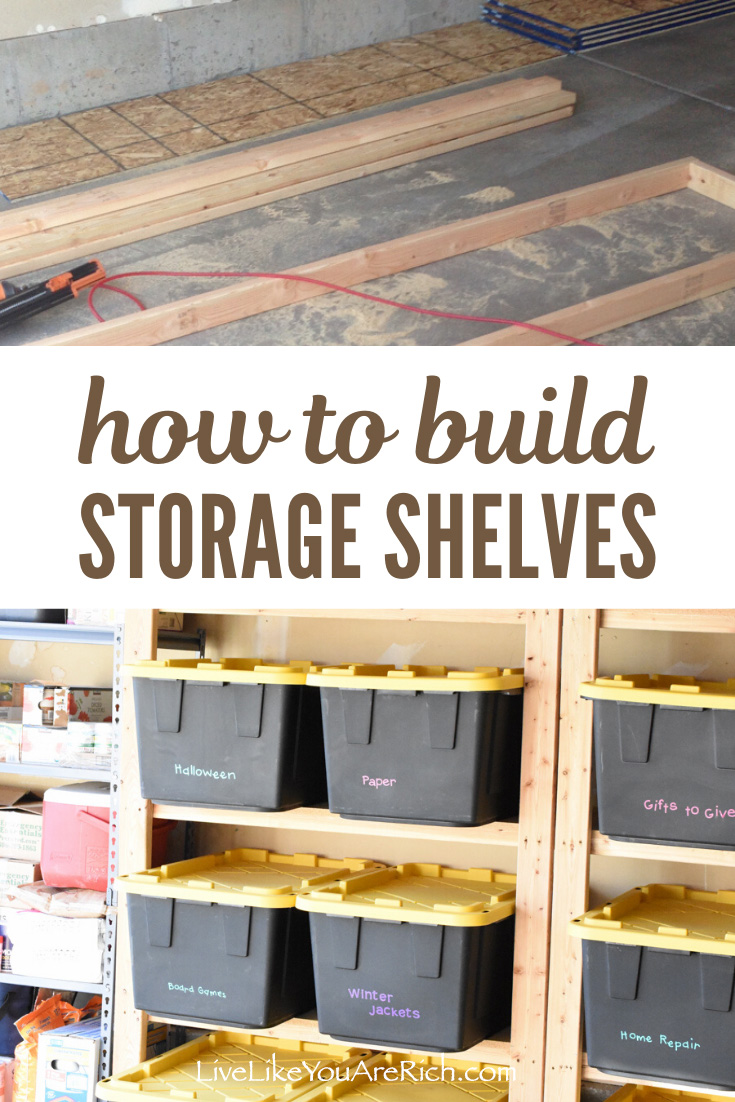
My garage had very little storage, and as a result, organizing it was very difficult. I researched how to maximize the storage space in a garage and decided to put in wood storage shelves that custom fit storage bins I had.
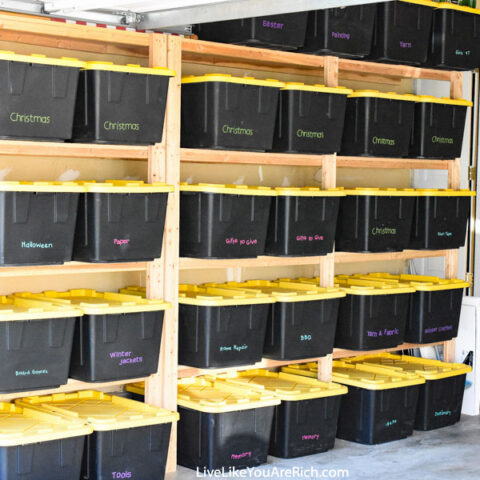
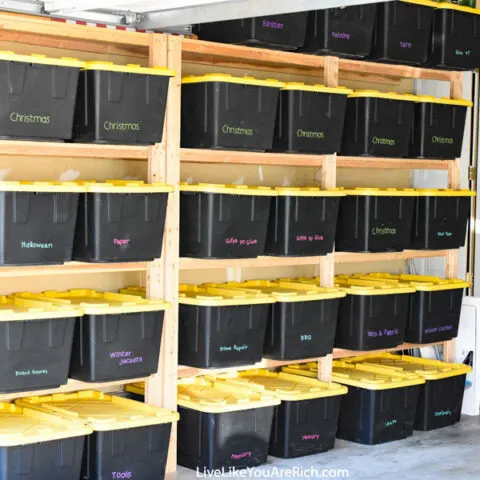
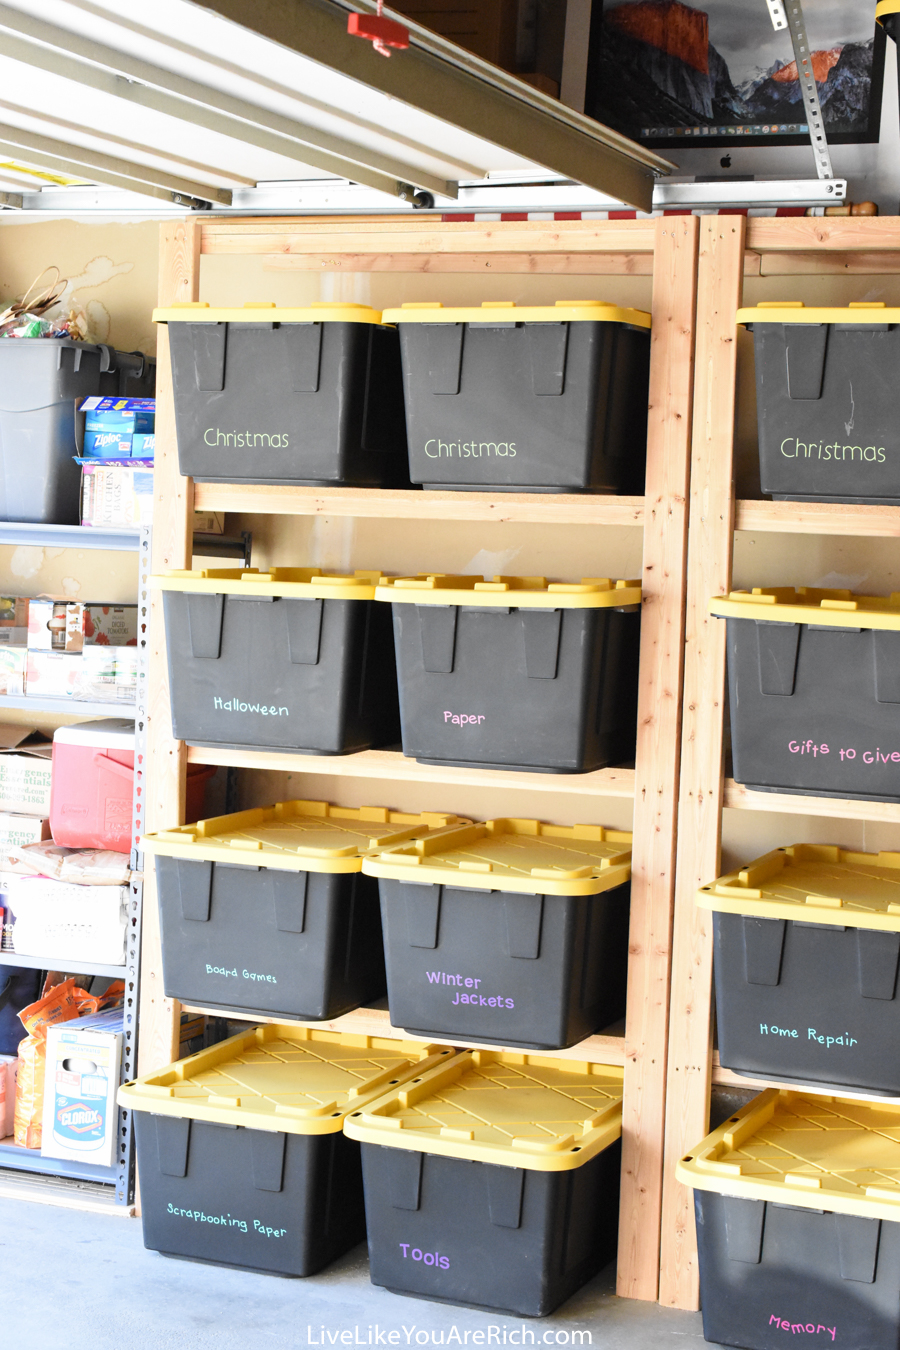
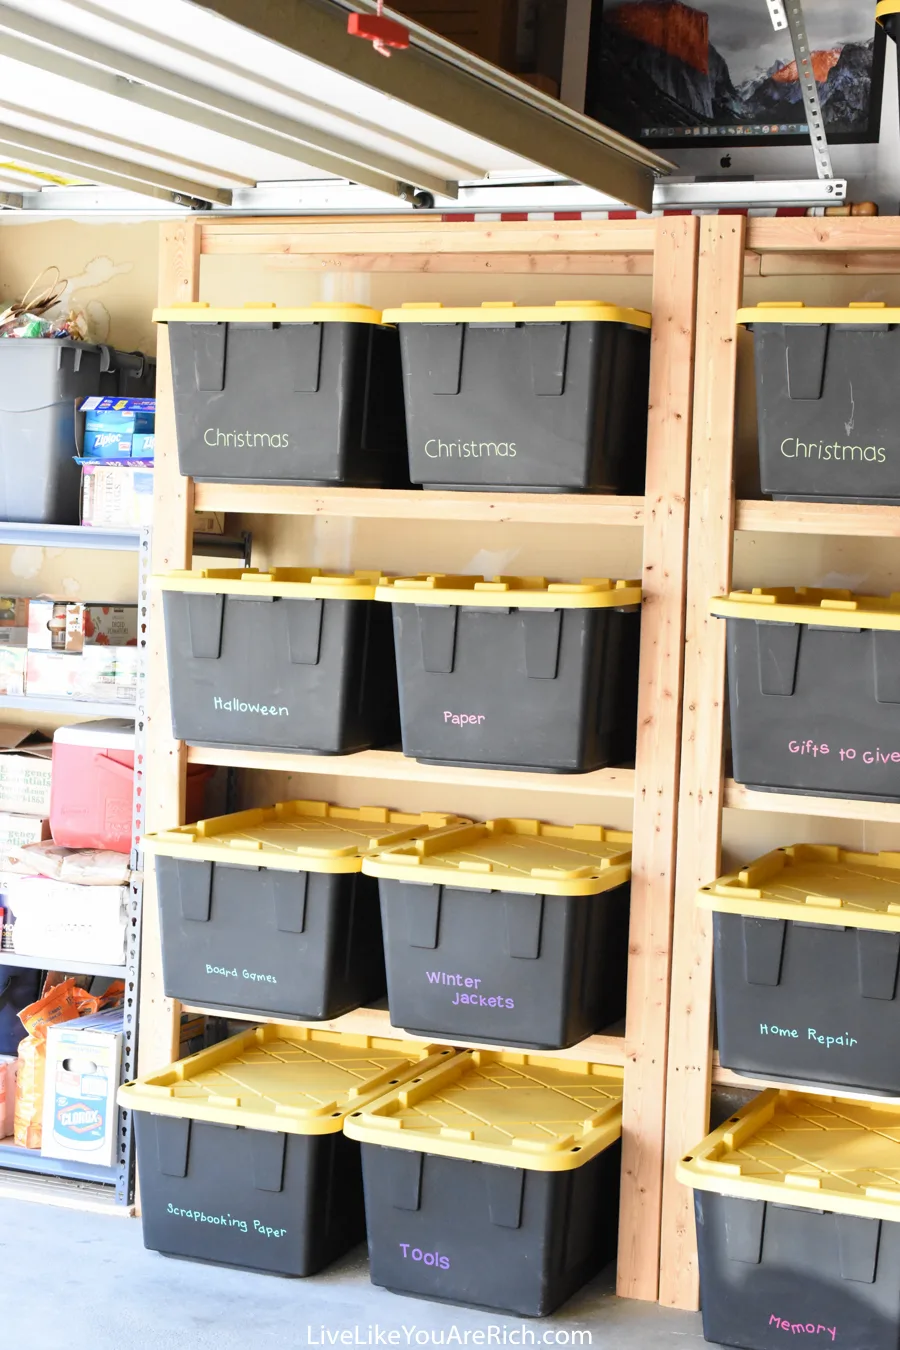
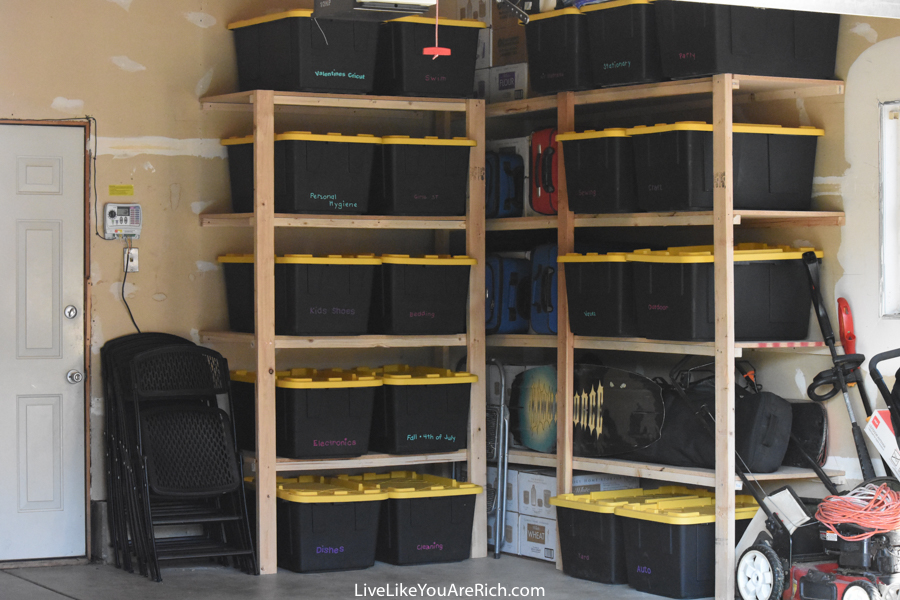
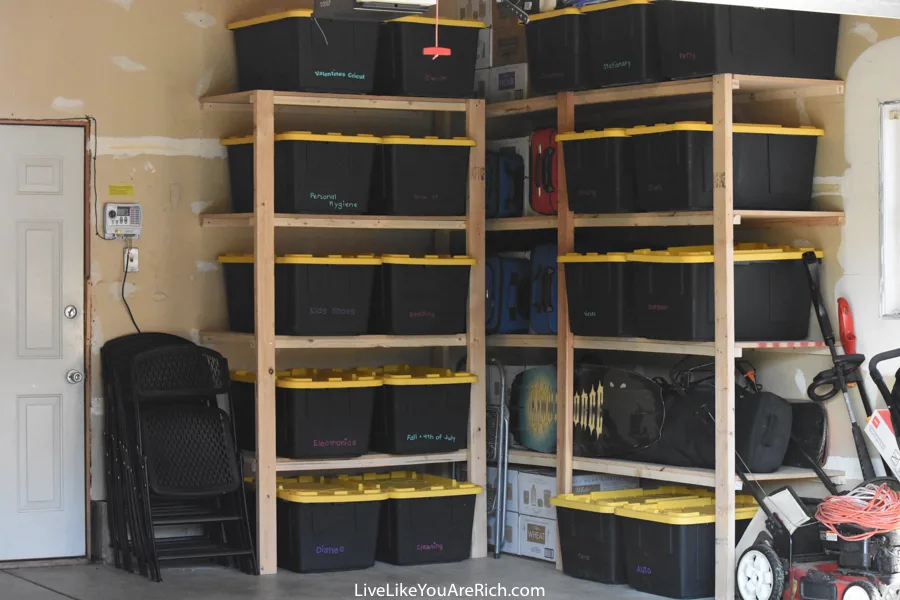
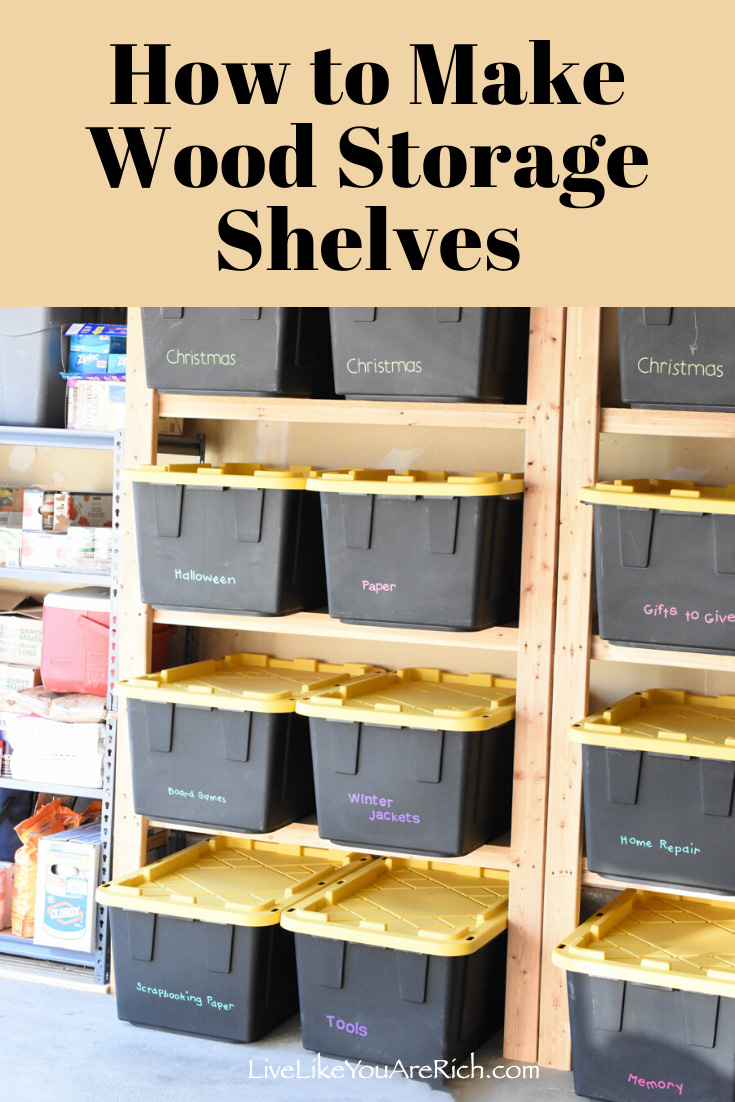
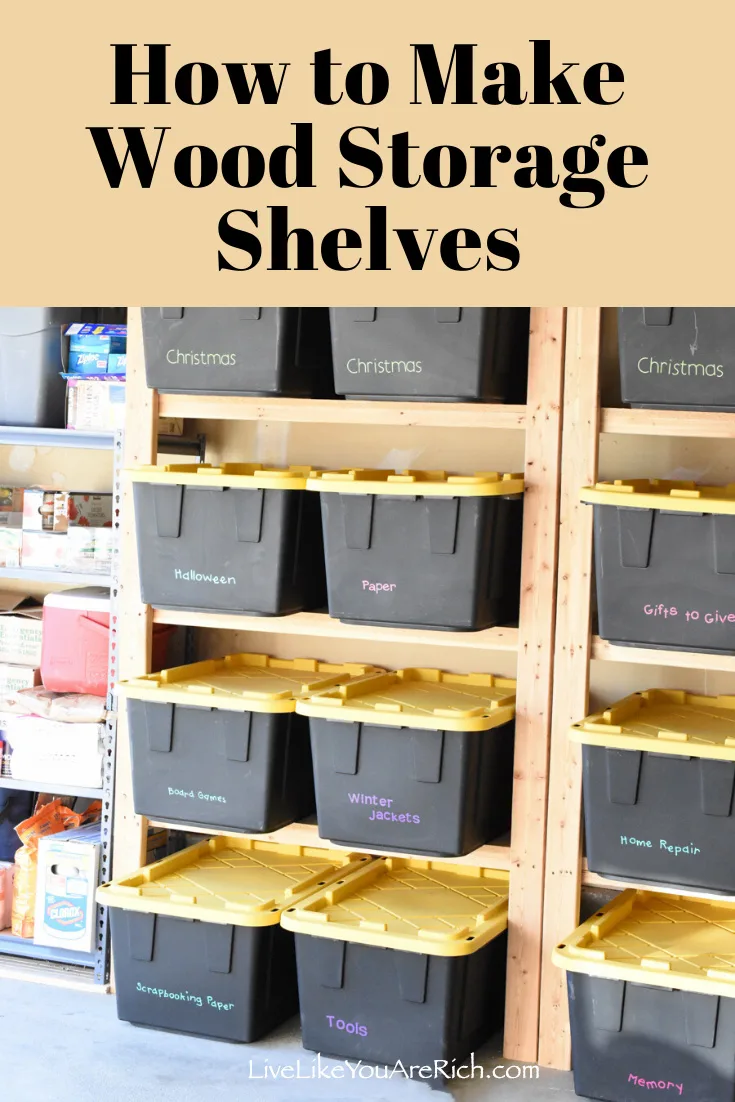
In my research, I found many uses of ceiling storage. I was not wanting to do a garage storage system along with the ceiling because I was afraid that putting up and getting down heavy items would be too difficult. So, with help, we built shelves in my garage to fit 50 of these 27 gallon storage bins/totes. They have been so useful! The storage shelves only take up the perimeter of the garage and the bins fit great on them.
To help with ease of getting items I need out of storage, I put the lighter totes on the top shelves (yarn, light decorations, etc.), the heavier ones lower to the ground (stationery supplies, tools, extra dishes, etc.) and the middle weight ones (Seasonal decor and clothing, extra bedding, etc.) in the middle. This storage system with these spacious bins has made my life so much easier. My house is much less cluttered, finding things is very easy as I labeled everything using vinyl and my Cricut, and I’m able to park easily in my garage. It’s a great solution for much needed easy-access storage space.
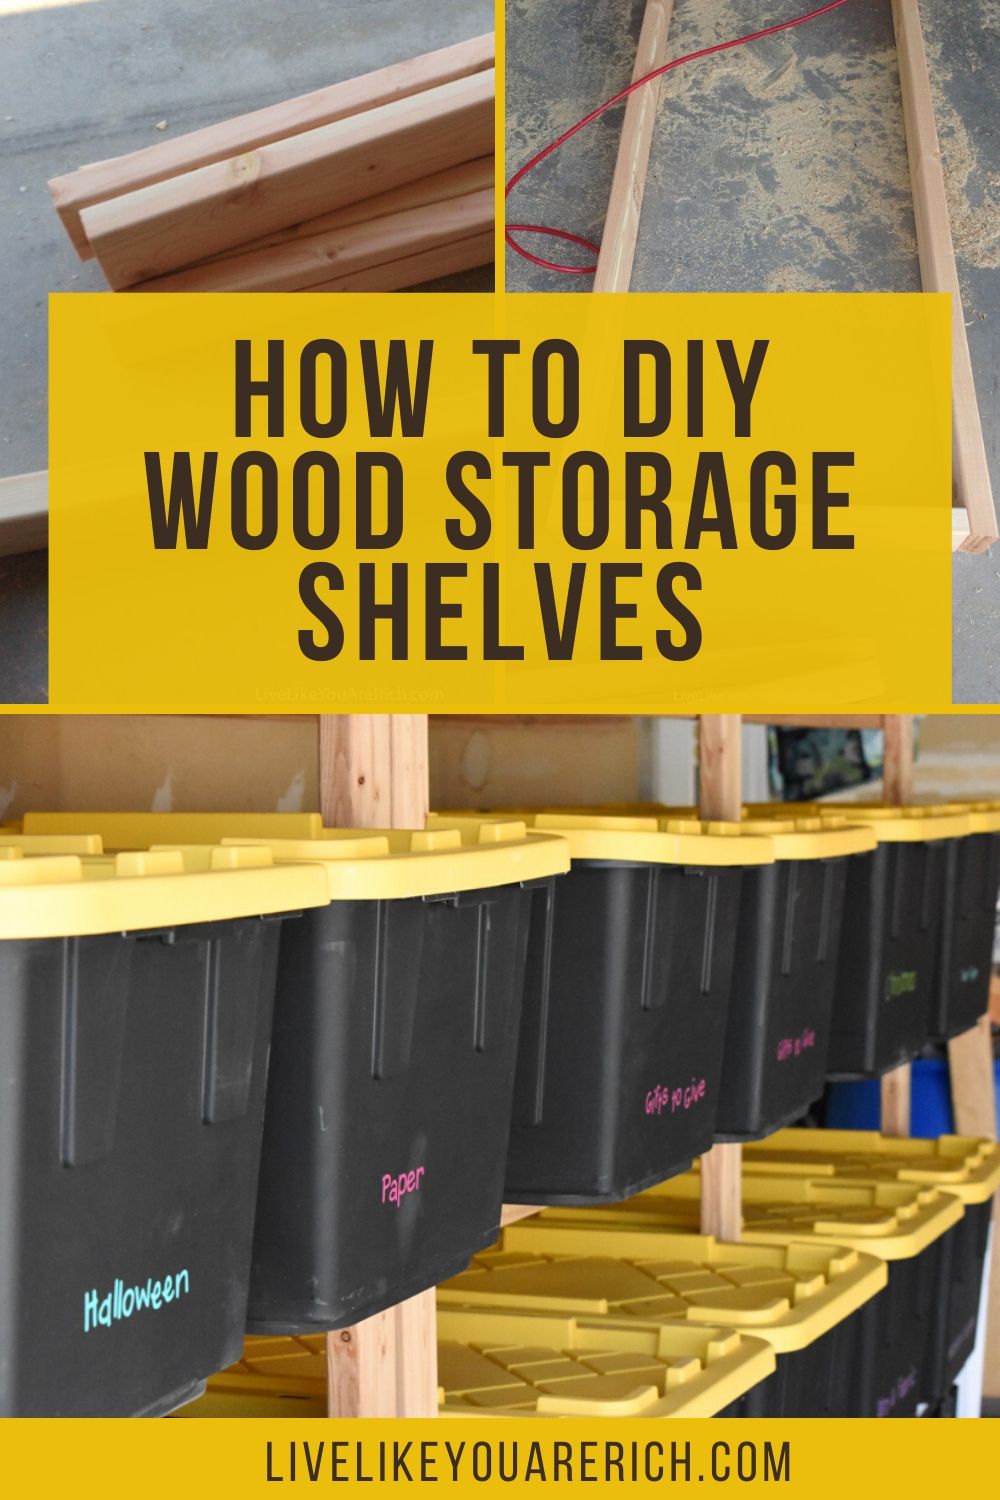
When I bid this out, a local guy was charging $350 for an 8 foot unit installed. My friend did his entire garage (3- 8 foot units) for a few hundred ($800 savings). My friend wrote the following instructions for his wood storage shelving unit. I made mine taller (8″ ft tall and built in four shelves). The instructions are able to be tweaked a bit. So you can take these instructions and work with them a little to fit the size of your garage (height and width) and storage needs.
Important Note- I made 6 sets of shelves in 3 months. They varied in length, height, and number of shelves. We made 3 sets for my friend’s garage, 3 for mine. Pictured are shelves from both his garage and mine. I recommend using the cut list as a starting point. You will want to measure your space (height of garage and length as well as storage bins that work best for you). Then you will want to find what will be optimal for your space. You then can use the cut list and supply list as a good framework/starting point for customizing shelves specific to your space.
Cut List
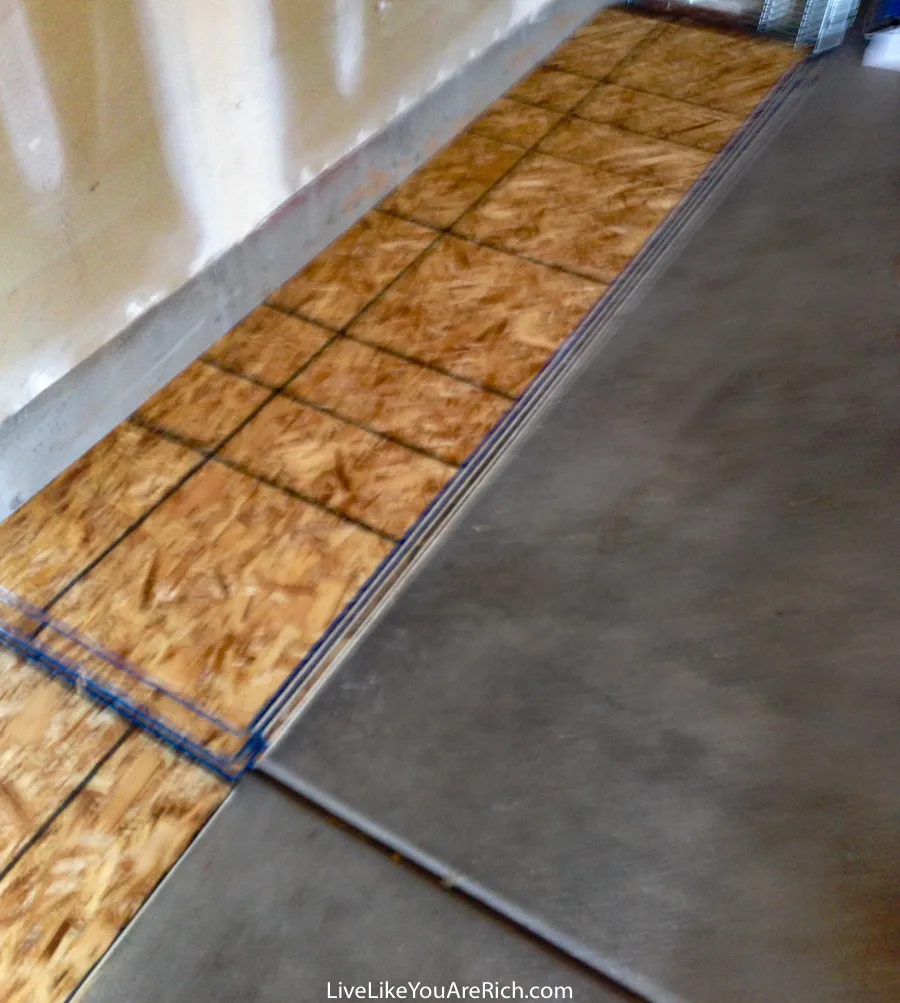
- Cut both sheets of plywood in half, length wise, giving you four sheets that are 2’ x 8’. One sheet will be scrap or can be used for the second set of shelves. Home depot can cut these with their panel saw for free or you can do it yourself with a table or skil saw.

- Cut six of the 2 x 4 down to 8′ long.
- Cut six lengths of 2×4 to (24”) from the previous step down to 21”.

Assembly
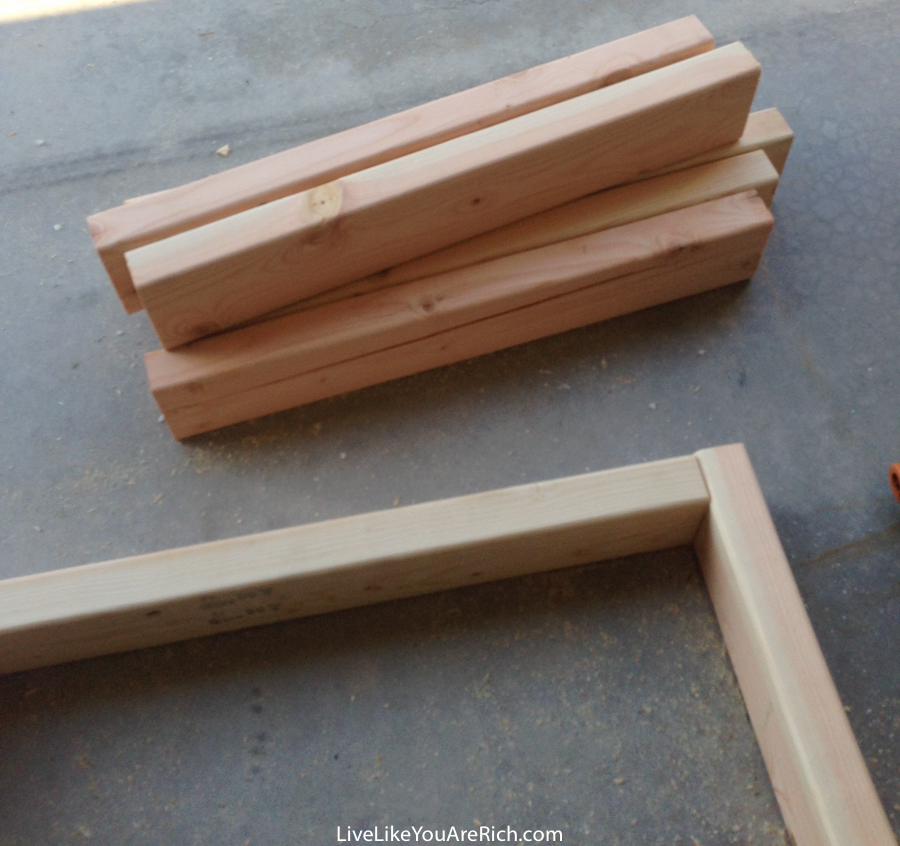
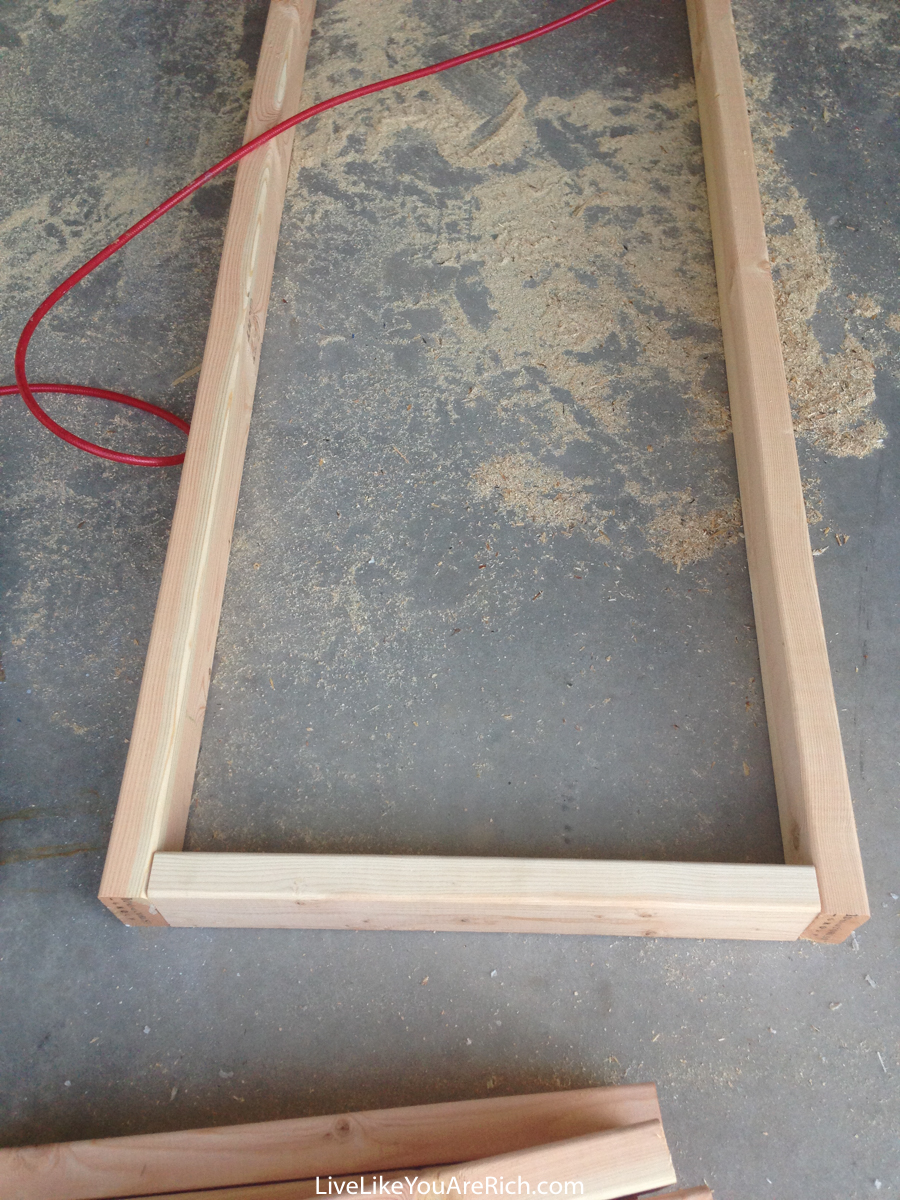
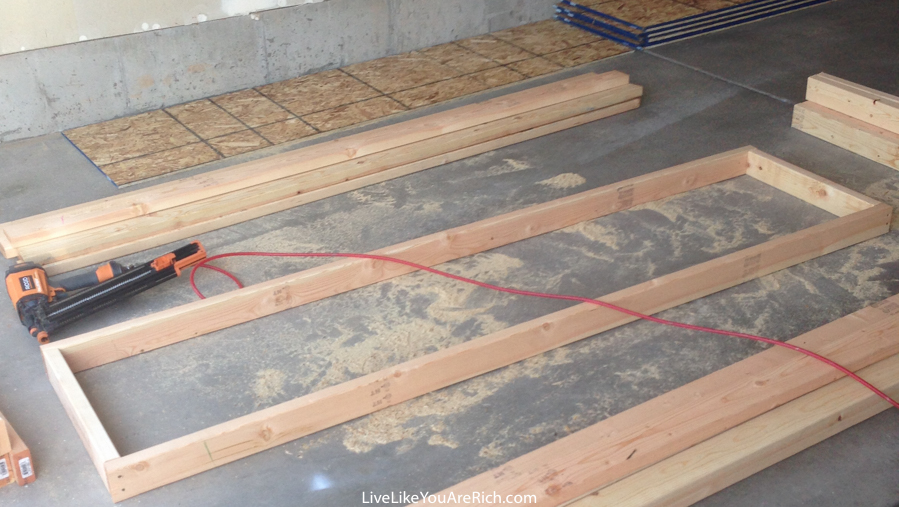
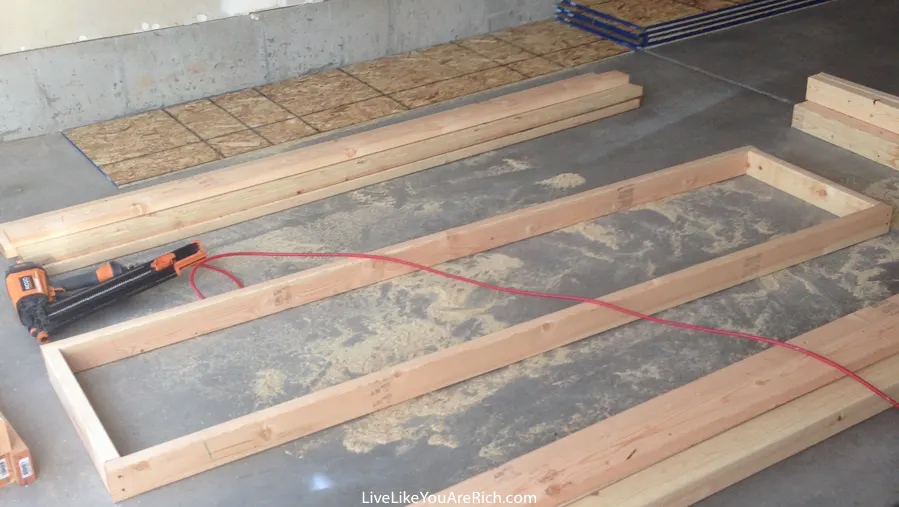
- Using a hammer create three rectangular frames for the shelf layers. The frames consist of two 8’ 2x4s and two 21” 2x4s. They will be attached in a vertical orientation with the short boards inside. Nail through the side of the 8’ boards into the end of the 21” boards.

- Attach the three sheets of plywood to the top face of the frame using the drywall screws. Line up one short end of the frame with one short end of the plywood first. Use leverage to line up the remaining edges so that the frame is square. Screws should be placed a minimum of 12” apart.
- Lay the shelves on their side as you plan to have them. Make a mark on the face of the long board in the shelving frame 46.25” from the end (this locates where the middle leg will go).
- Mark all 6 legs where the shelf frames will be located. Starting from the top of the leg, put a mark at increments that match the distance from level to level. This distance should be the height of the objects being placed on the shelf plus at least 4.5” (3.5” for 2×4, 0.5” for plywood and 0.5” for extra space). Each shelf can be at different levels based on your needs.
- Attach the front three legs to the shelf frames using the 3” wood screws. Each connection point should have 2 screws through the leg into the frame. Attach the legs starting at the top, working down and ensuring that the legs are square with the shelves.
- Flip the assembly over and attach the three remaining legs to the back side.
- Stand up the whole assembly, put it in place and attach it to the wall with wood screws, making sure to screw into the garage studs.
- Note my friend used 2×4’s in his garage. I tried using 1×1’s for the shelves in mine (seen in photo below). They are not as sturdy as the shelves made with 2×4’s. If I were to do it again, I would use 2×4’s and follow the instructions outlined in this post.
Supply List
2 – ½” Oriented Strand Board 7/16 in. x 48 in. x 8 ft.
12 – 2 x 4 x 8’ Premium Kiln-dried Whitewood Studs
1 – 1lb box 1-1/4” drywall screws #6 bugle head
1 – 1lb box 3” zinc coated wood screws
1 – 1lb box 16 penny framing nails
Tools
I hope you can enjoy the convenience of wood storage shelves as well.


For other ‘rich living tips’ please Subscribe Here or connect with me on these other platforms:


SUBSCRIBE FOR OUR EMAILS
Dee
Thursday 25th of January 2024
I live in Southern California and have earthquakes. What could be used to keep bins from falling out in an earthquake? Thanks Dee
Anita
Tuesday 30th of January 2024
That is a great idea to secure these if you live in California. You could try bungee cords or better yet towing straps that ratchet should do the trick.
22 DIY Storage Shelves Plans - DIYsCraftsy
Thursday 6th of April 2023
[…] Click Here […]
22 DIY Storage Shelves ( Free Plans ) - Craftsy
Thursday 5th of January 2023
[…] Click here […]
22 DIY Storage Shelves Ideas For Your Home - DIY & Crafts
Sunday 17th of July 2022
[…] Click for more details […]
Leslie
Wednesday 9th of June 2021
Hi Anita, your first few pictures do not match the outcome and the directions confusing. The concept shown in the following pictures of resting the shelving on a cleat is great. I do wish your instructions were less scattered. The tool, supply and cut list are separated and should all be at the beginning. I wish there was a spec sheet that showed how the parts fit together and where with the sizes of the parts. Above the reply area there is a link that doesn't work for what I am assuming is a download plan..I thuoght at first you made a French Cleat to rest the shelving on but it isn't. That part has no description and I had to look closely at the pictures to see how it all worked. I am trying to be positive with your instructions and I have to keep going back over and over to "get it". If it wasn't for the later pictures I would be totally bewildered. I do like the idea of using the garage wall for a buttress and not making the shelves free standing. A video well done would have been nice.
Anita
Friday 12th of November 2021
I'm sorry, I am considering just taking this post down entirely. I built a few different shelves in my home and a friend's and we did them differently each time. I'll see if I can add further clarity. Sorry.