
There are few things I enjoy eating more than bread, specifically, fresh, homemade rolls still hot from the oven. I have been making bread since I was 9 years old, when my Dad bribed me to take over the bread-making job by paying me a dollar for each loaf I made (might as well pay me for it instead of buying it from the store, he said).
Of course, it was much easier to earn that money since my parents owned a massive commercial mixer, which I now have the privilege of storing at my home. It can easily handle enough dough to make 20 dozen rolls, and I have made that much on several occasions.
You see, I like to make things easier for myself. Dinner time has always been a struggle for me, and anything I can do to make dinner prep much shorter and easier, I do it!
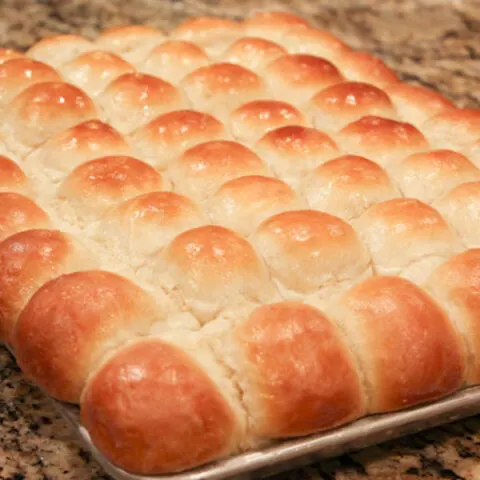
This Homemade Roll recipe is my absolute favorite, not only because it is wonderful to eat straight out of the oven, but because it also freezes amazingly well. This allows me to have homemade rolls any evening I want, without the time or mess involved. And these are now the only rolls my kids will eat.
You will want to have some sort of mixing device to make the process much easier, whether it is a Kitchenaid, a Bosch or a hand mixer with a dough hook attachment.
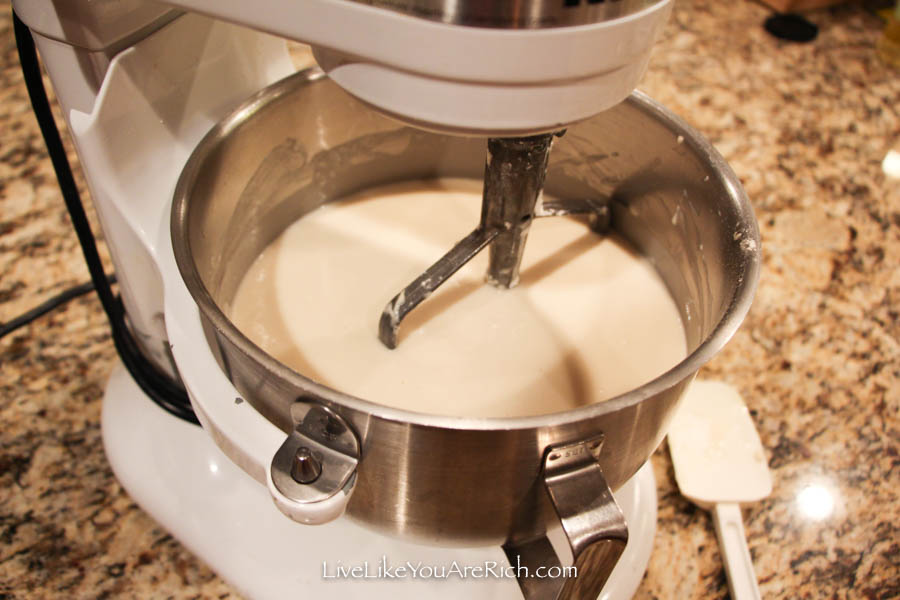
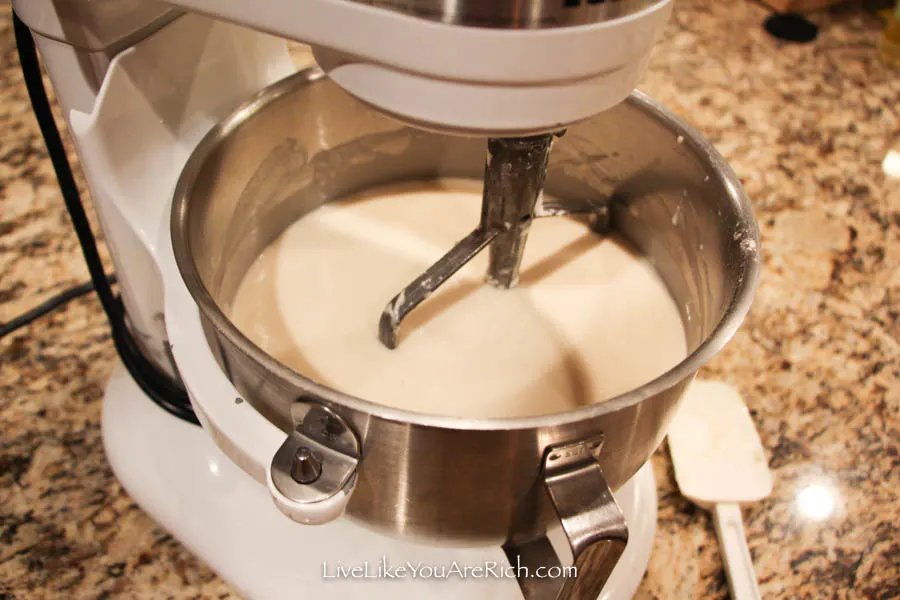
Start off by mixing together 3 ¾ cups of water, 5 teaspoons of instant dry yeast, and ¾ cups of sugar.
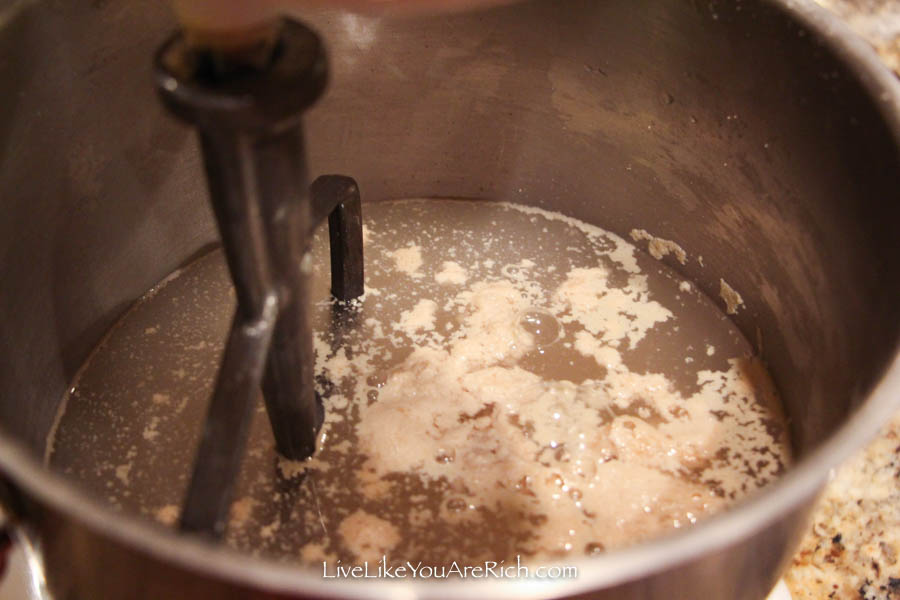
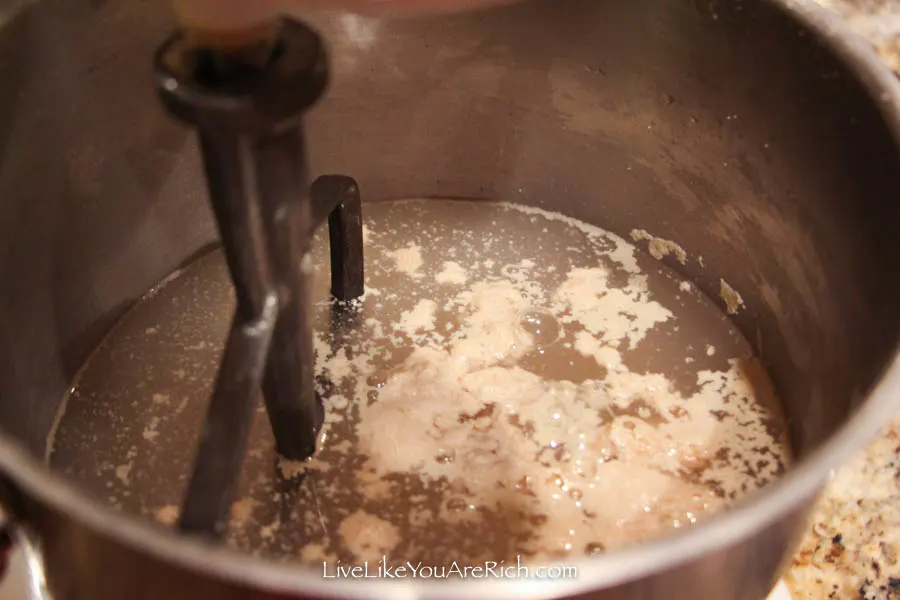
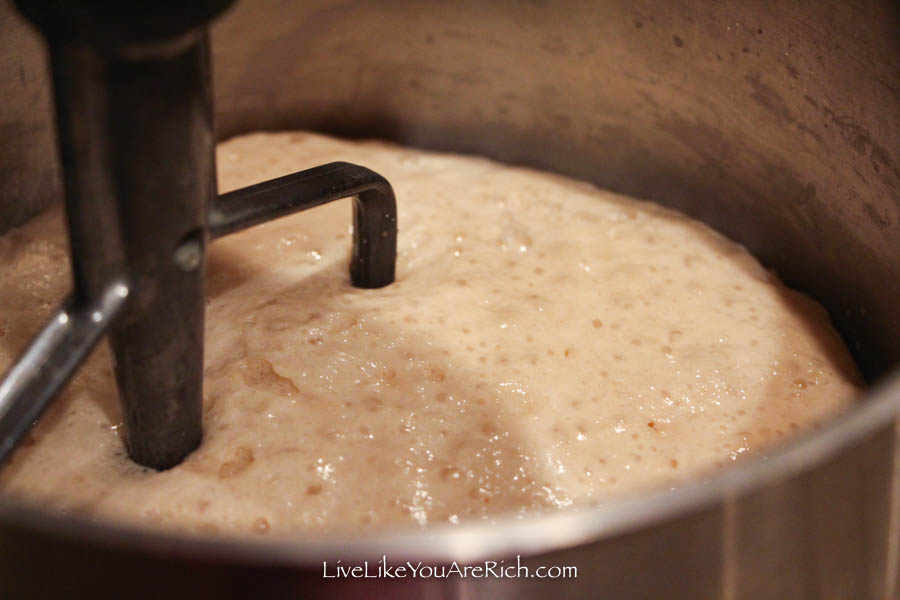
Set it aside and let the yeast proof.

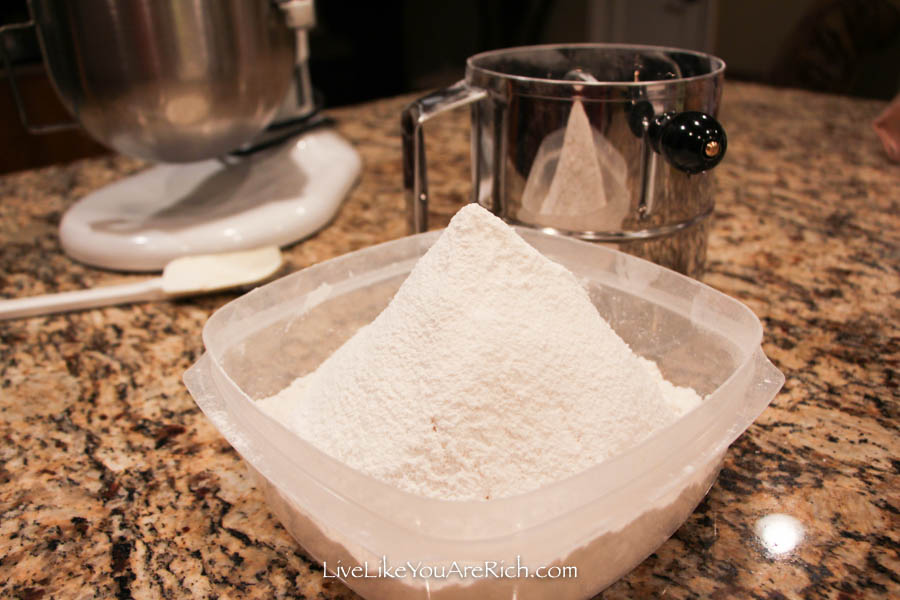
Meanwhile, measure out 4 cups of flour in a separate bowl and sift it, or mix it with a wire whisk to break up any lumps.

Once the yeast has proofed, add 1/3 cup of oil, turn on your mixer then gradually add in the flour. Be sure to not add the flour in too quickly, otherwise it will be shot up into a cloud of flour all over you and your kitchen! Mix it until it is thoroughly blended and creamy.
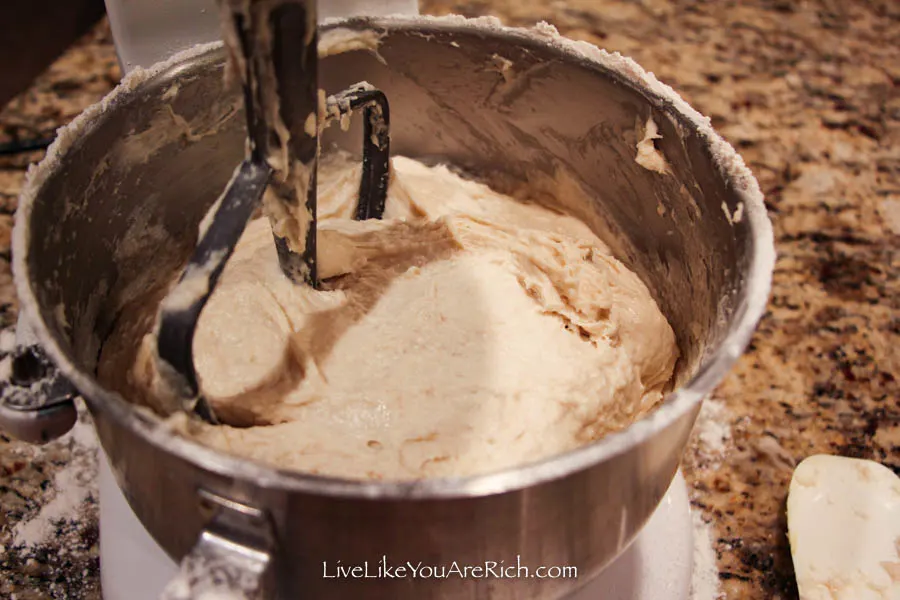
Measure and sift 6 cups more of flour. Add in 3 teaspoons of salt to the flour. Then slowly add in the flour/salt. While adding in the flour, only add about 1/3 cup at a time and let it mix in for 10-15 seconds before adding in more. This helps not only with preventing flour from getting thrown from the mixer, but it also help with getting just the right consistency.
As you are adding the last bit of flour, watch to see when the dough starts to pull away from the side of the mixing bowl. When the dough has mostly pulled from the sides you know you have added in enough flour and you can turn off your mixer. The dough will still be very sticky, which helps the rolls stay moist.

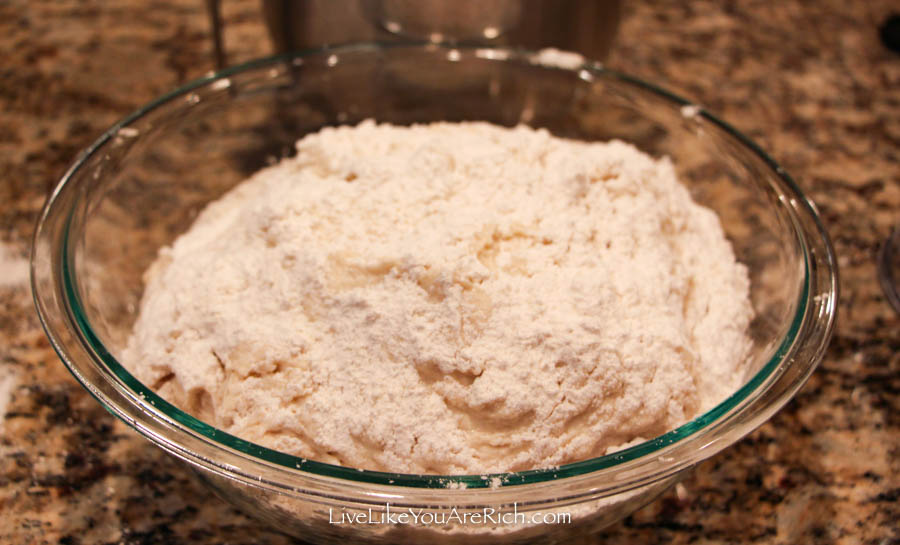
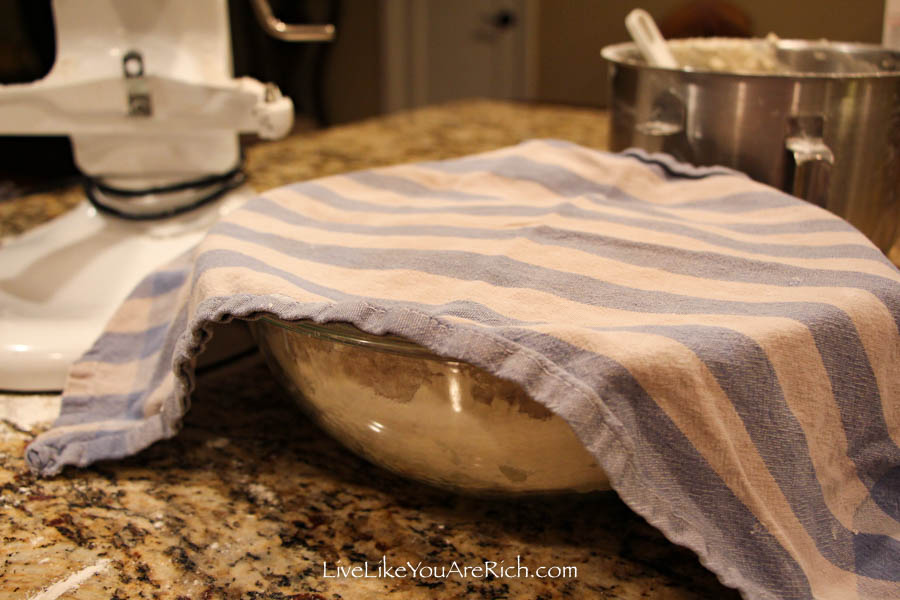
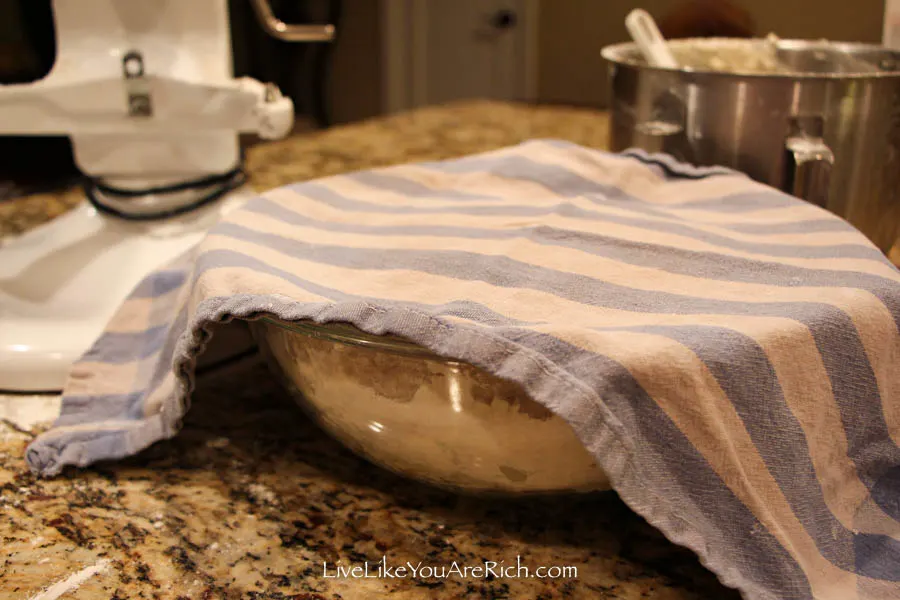
Next, you need to let your dough rise. You can either do this in your mixer if it is large enough, in a large bowl, or on a clean surface. You will want to make sure the entire surface of the dough is covered in flour to prevent any sticking. I put mine in a bowl to keep things cleaner. Cover the bottom of the bowl in flour, scrape in the dough, and cover with a dusting of flour.

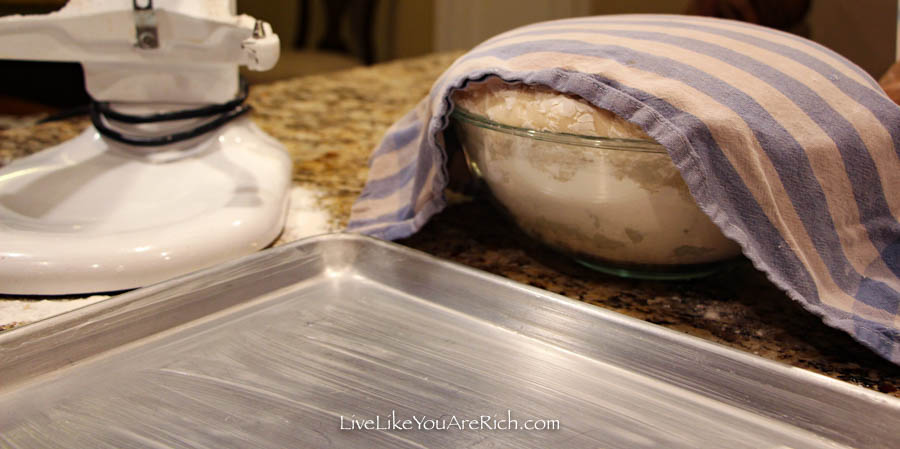
Cover it with a clean cloth and let the dough rise.
While you are waiting for the dough to rise, grease your baking sheet. I highly recommend using heavier metal baking sheets; I have found them to work better than the thinner, less expensive ones for two reasons: First, the sides are slightly higher which helps minimize the rolls drooping over the edge; and second, the thicker sheet helps prevent the rolls from burning, or turning too crispy on the bottom.
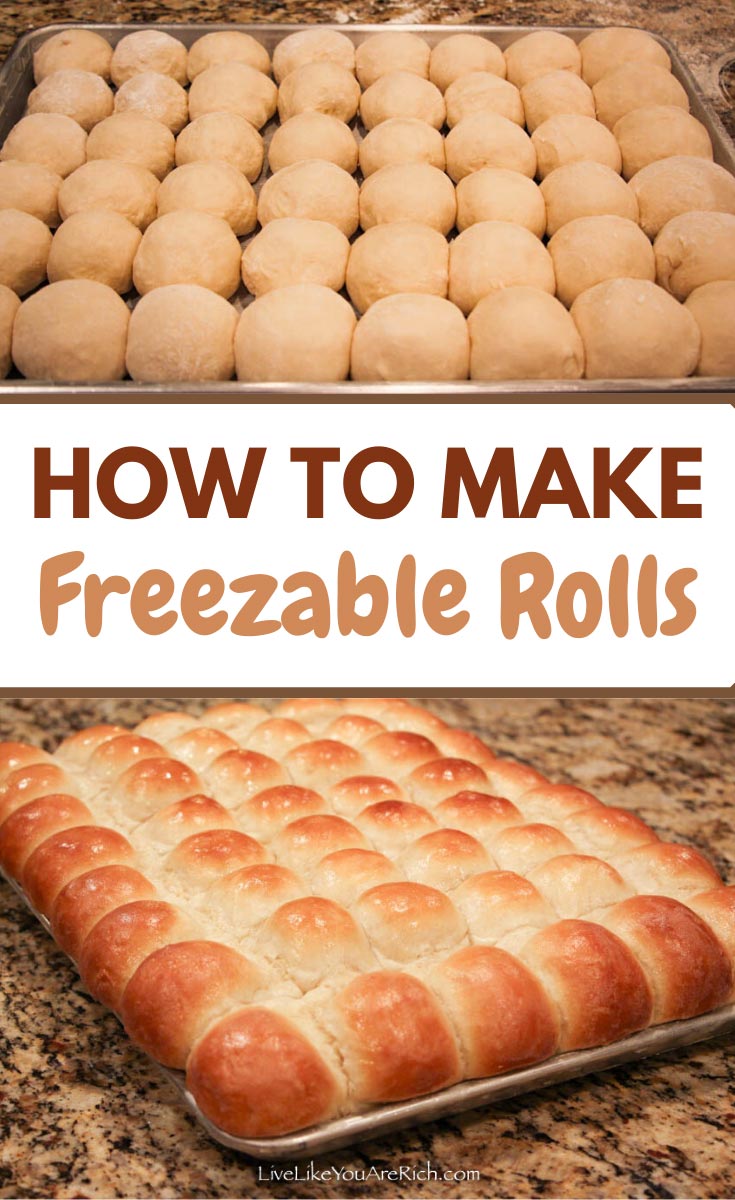
Once the dough has risen sufficiently and your pan is ready, you are ready to start forming the rolls!!!

Remove the cloth and punch the dough down to remove most of the air bubbles that have formed, folding it as you go.

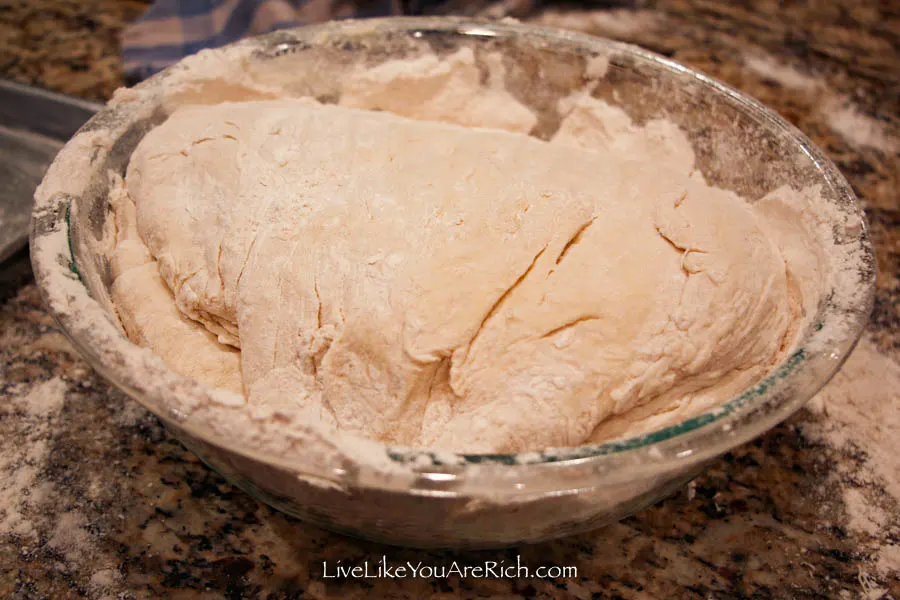
With folding the dough, you should have a nearly smooth surface dusted with flour. This is the perfect area to pull dough from to form nicely shaped rolls.
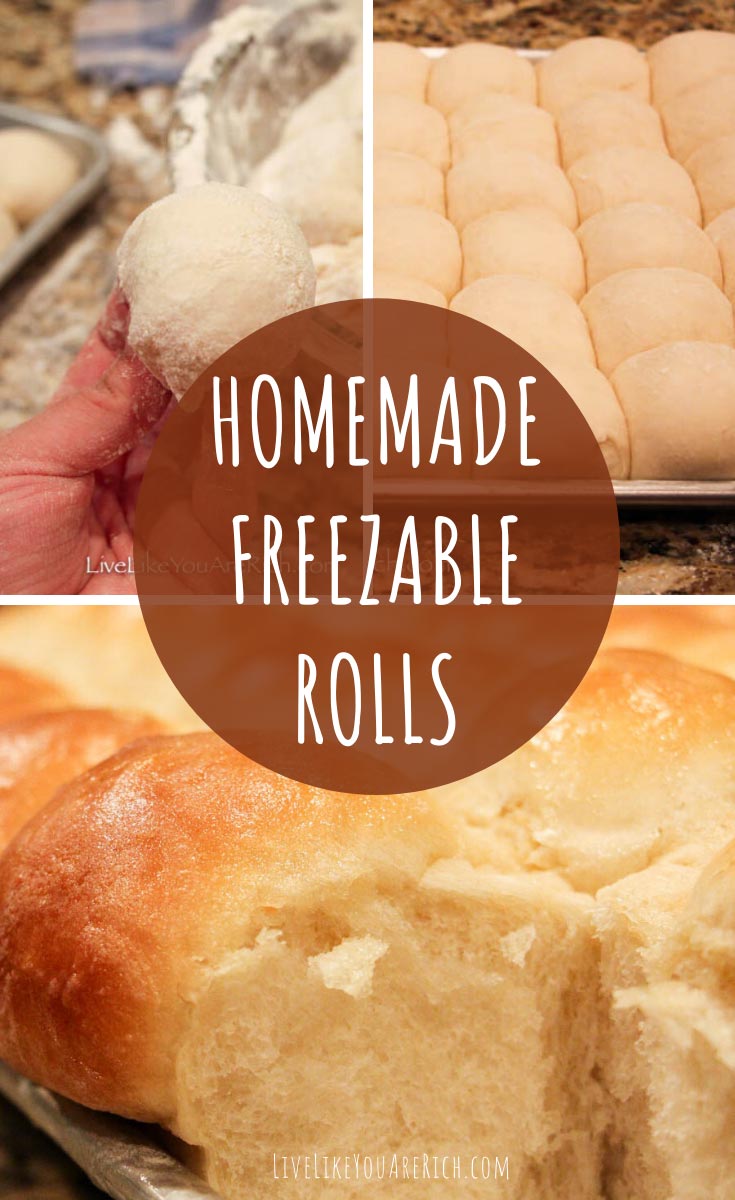
Find any smooth spot, pull up the dough with one hand and pinch it off with your other to give you about a golf ball size piece of dough. If the top of the roll is sticky at all, or seems to have very little flour, dip it in some flour to help prevent it from sticking to your hands.
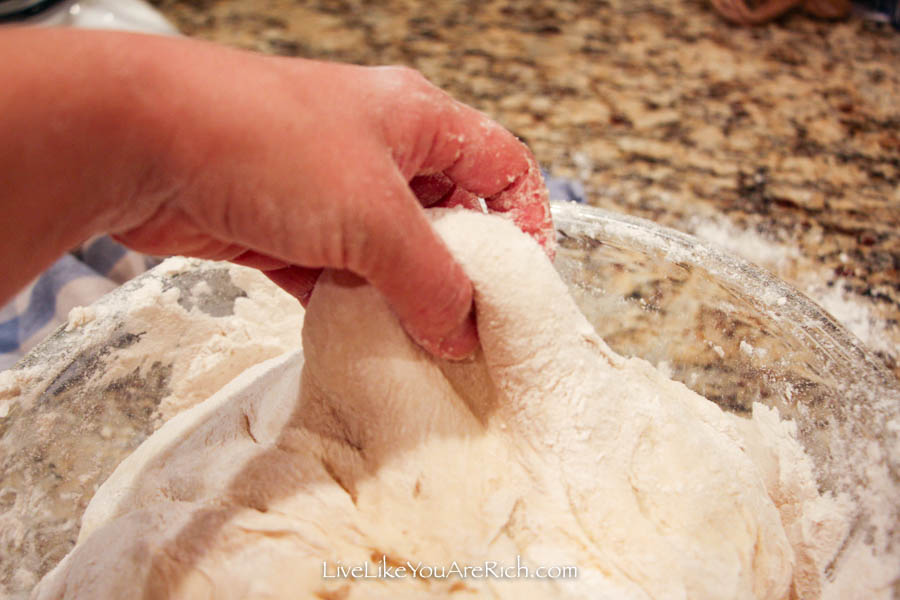

Stretch out the smooth portion and fold the outside edges in underneath, almost as if you are trying to turn the dough inside out. Pinch it together at the bottom and place on the baking sheet.
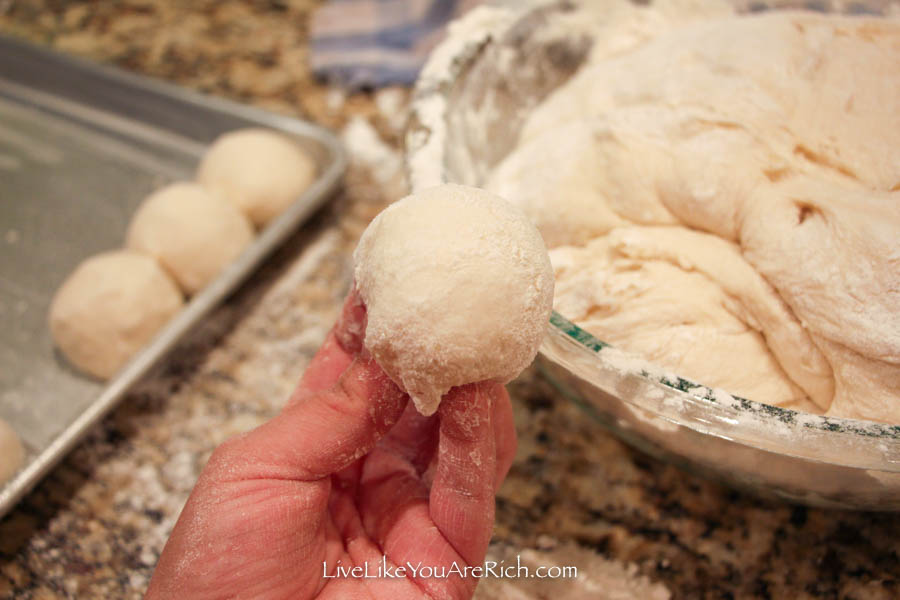

Continue forming the rolls and placing them on the baking sheet with sides barely touching or with a slight gap between them until you have covered the entire baking sheet. As you continue pulling rolls off your dough, turn and fold it every so often so you always have a smooth surface from which to pull the rolls.

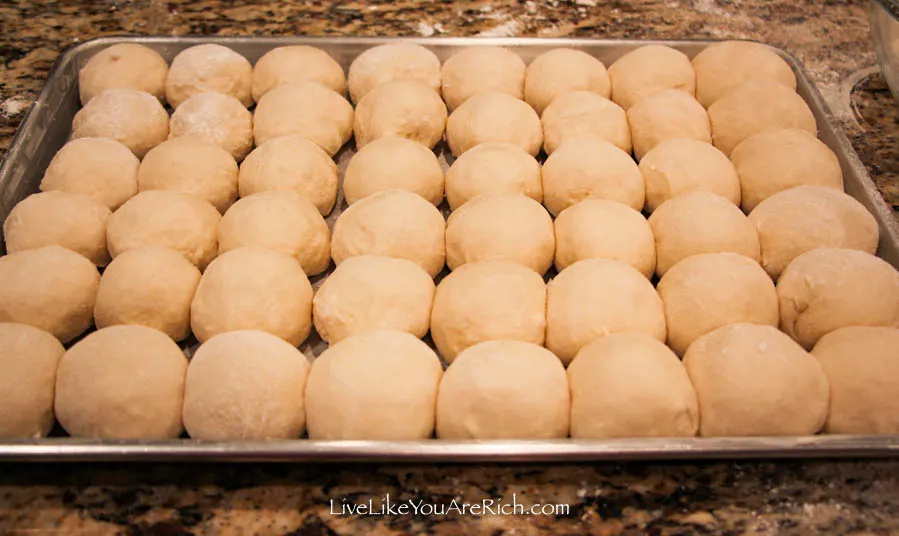
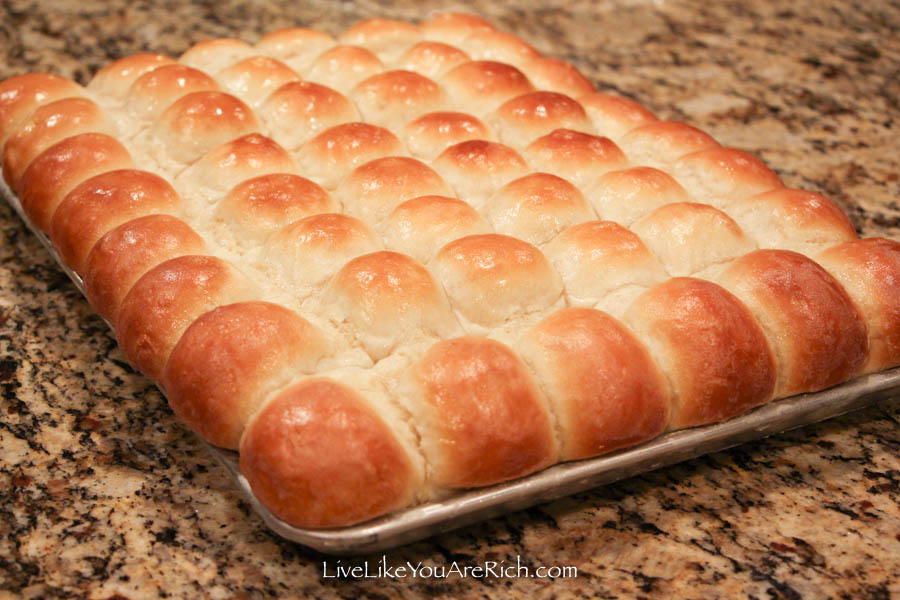
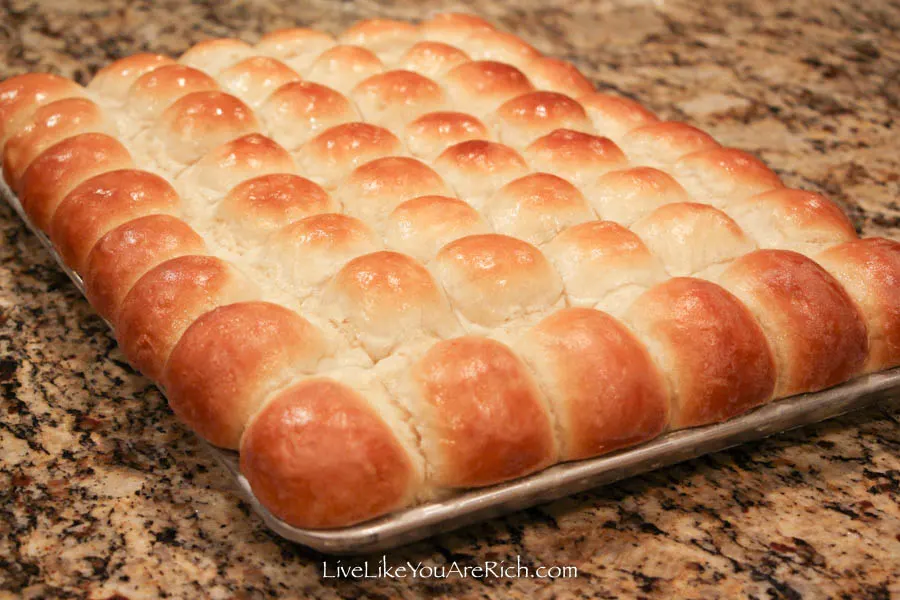
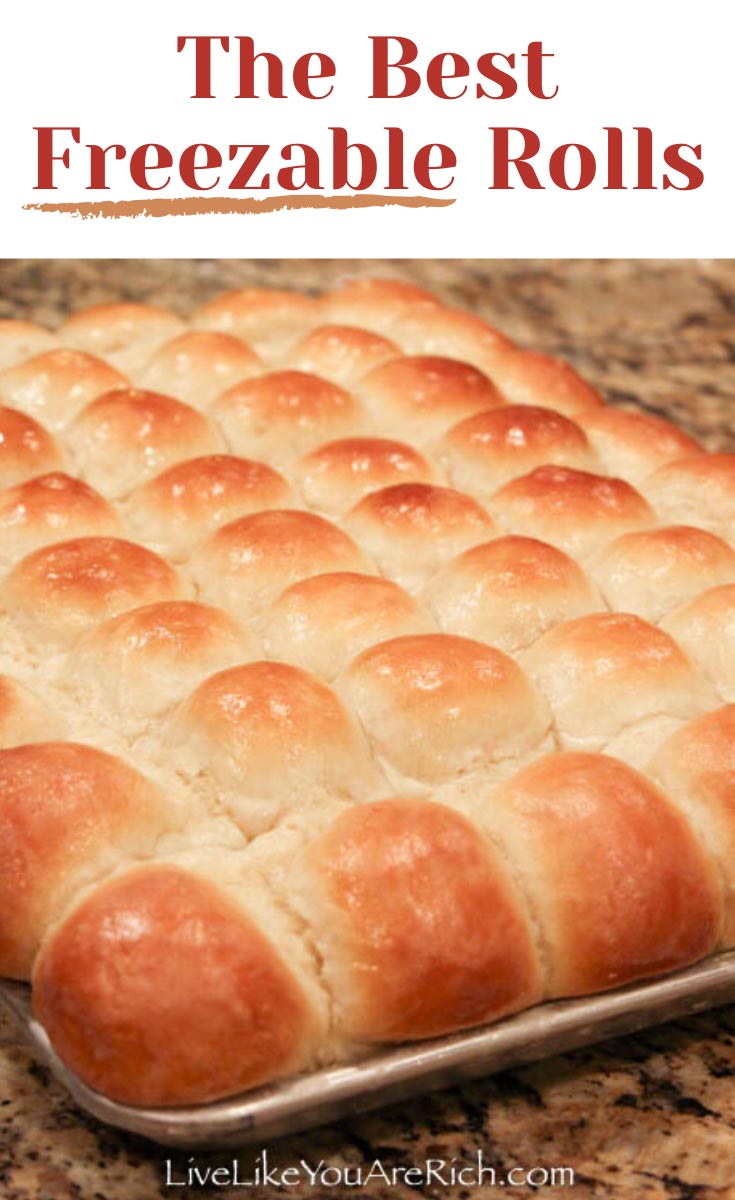
My baking sheet fits exactly 4 dozen rolls: 6 rolls high, 8 rolls across.
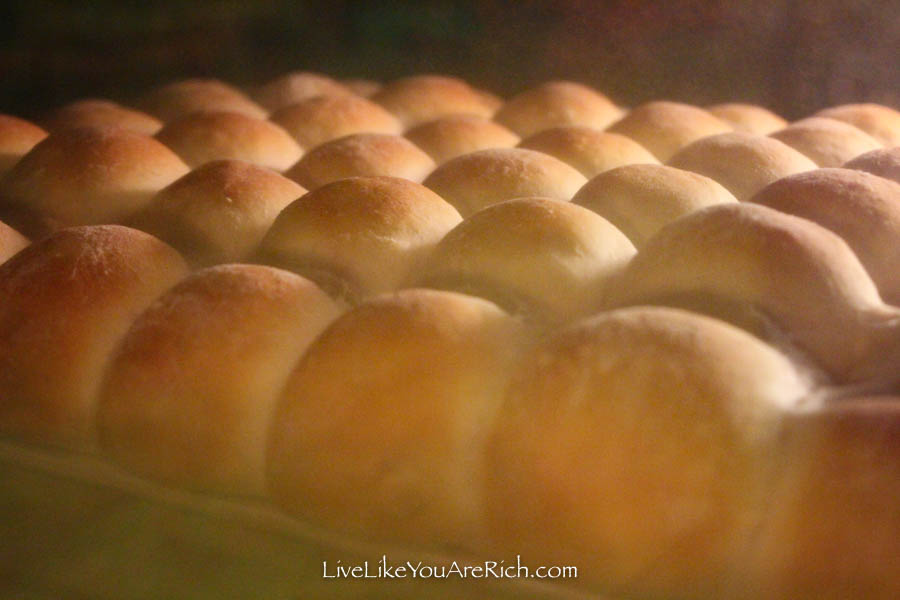
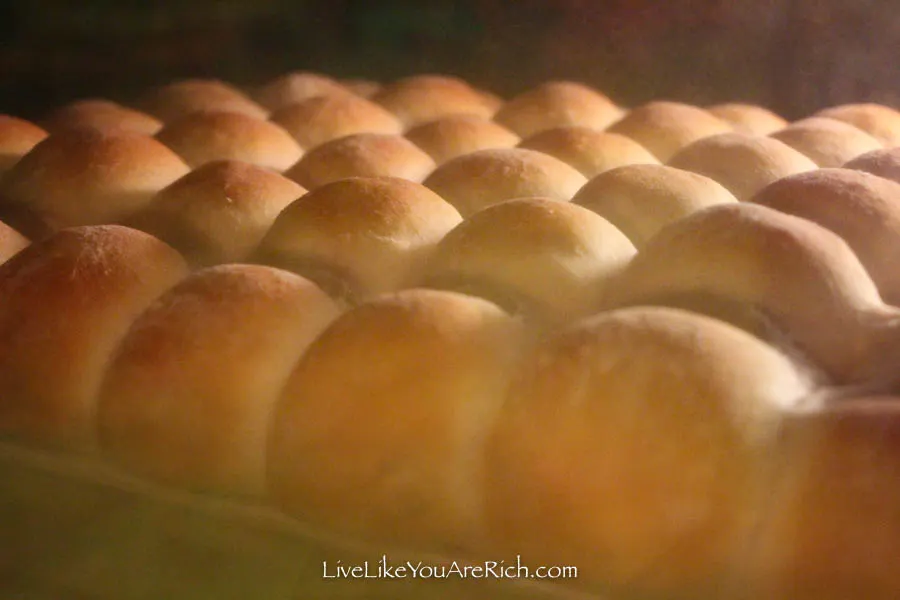
Cover the baking sheet with your cloth again, and let it rise once more while preheating your oven to 375°F. When risen, the rolls should be nearly doubled in size, all touching each other.

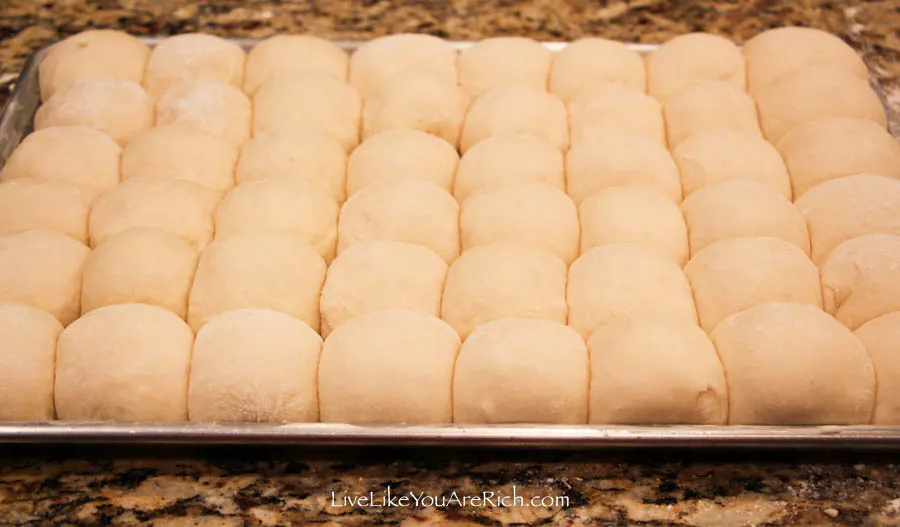
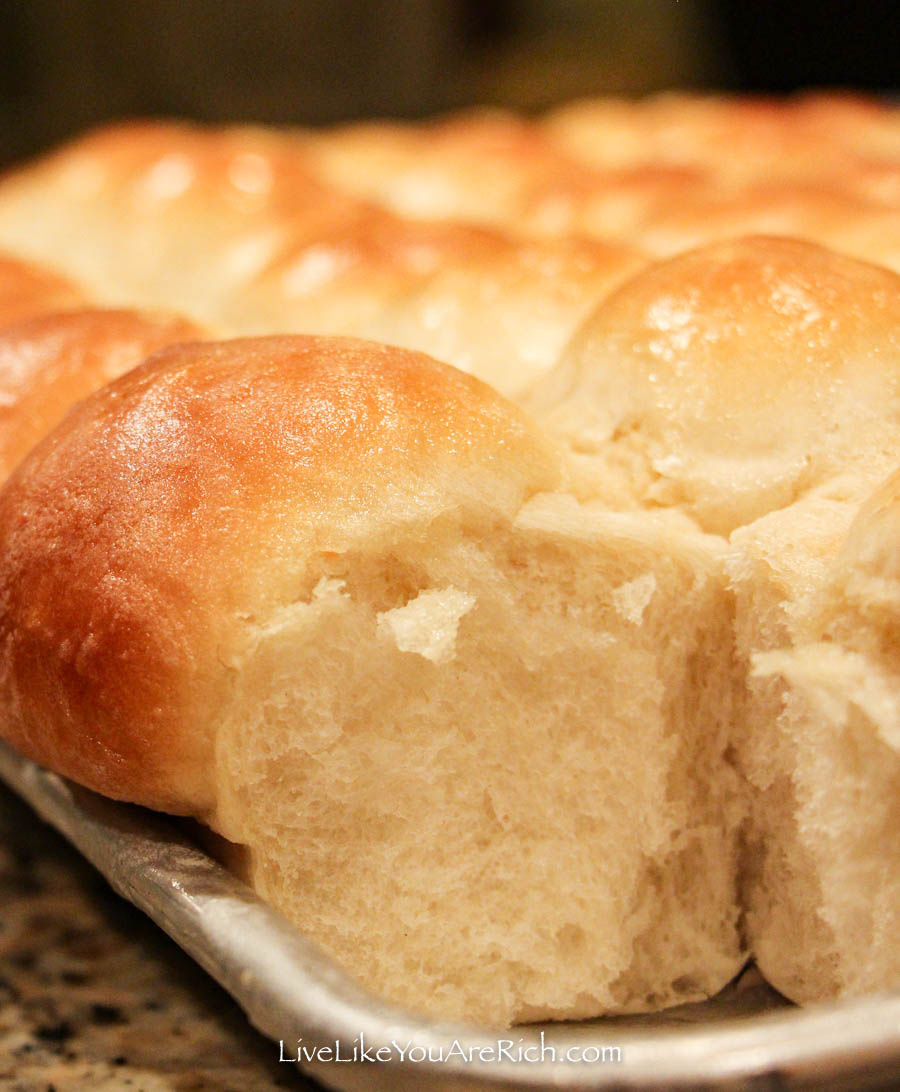
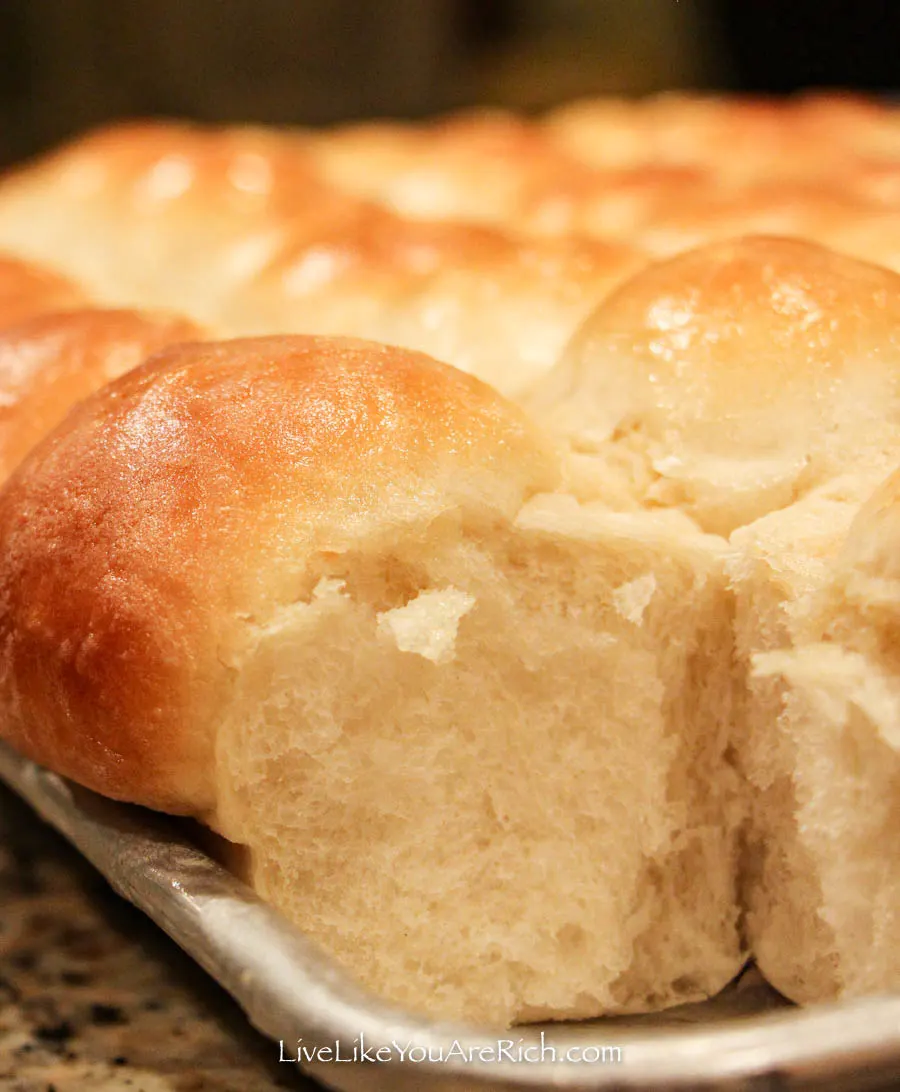
Place in the oven and bake for 18-20 minutes, until the tops of the rolls are solid golden brown. If they are not cooked long enough, the center rolls will end up slightly doughy, and who wants to waste any of those delicious rolls?!
Immediately after removing the rolls, tear off half of the wrapper from the stick of salted butter (unsalted is not nearly as good!) and butter the top of each roll.
Let the rolls cool just long enough so you don’t burn yourself then pat yourself on the back as you enjoy eating one, or two or three, of *YOUR* delicious homemade rolls.
If any of the rolls happen to survive the first 20 minutes out of the oven, you will want to save some for later on when you are too busy to cook. Let them cool completely, place in Ziploc bags and throw them in the freezer.
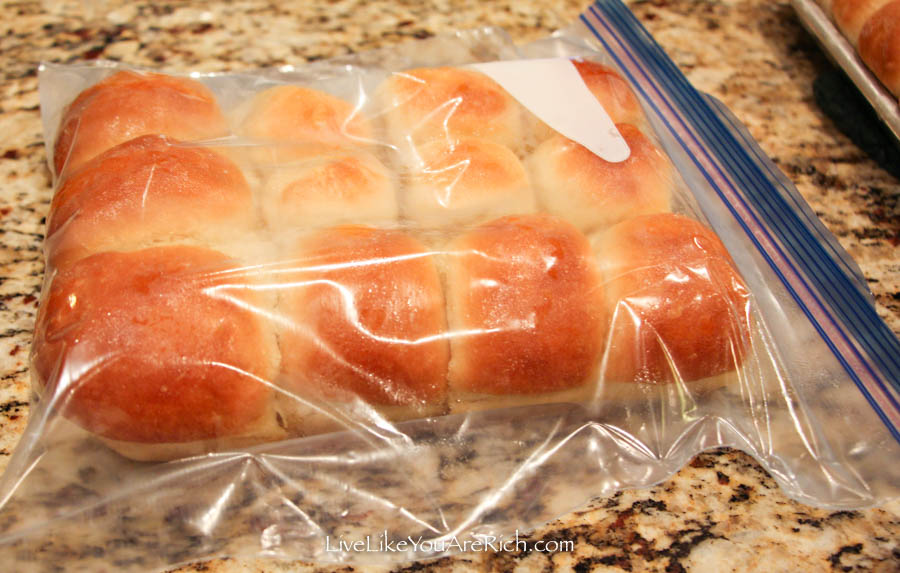

When you are ready to eat the rolls just set them out on the counter for a couple hours to thaw, or break them apart and throw them in the microwave and enjoy!
Supply List
Mixing bowls—my favorite found here
Heavy Duty Sheet Pan- excellent one here
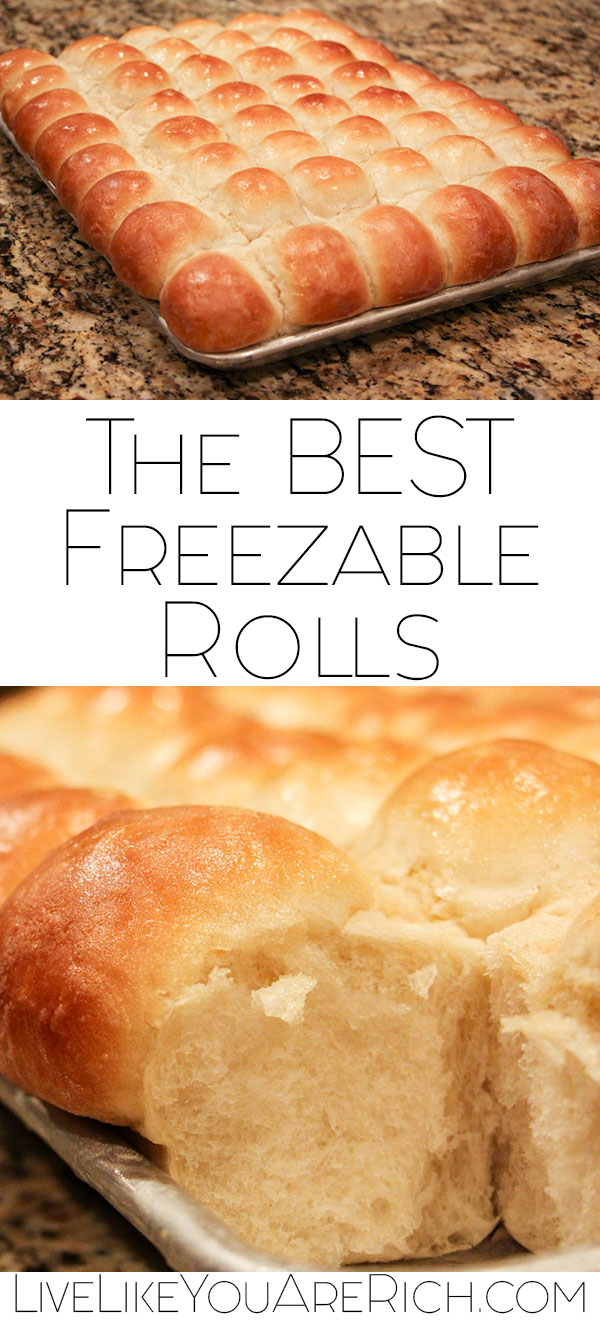
This Homemade Roll recipe is my absolute favorite, not only because it is wonderful to eat straight out of the oven, but because it also freezes amazingly well.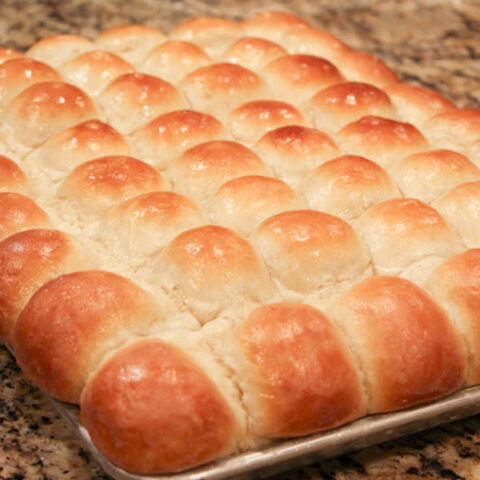
The BEST Freezable Rolls Recipe
Ingredients
Instructions


For other ‘rich living tips’ please Subscribe Here or connect with me on these other platforms:


Make-Ahead Thanksgiving Dishes to Make Your Holiday a Breeze
Monday 7th of November 2022
[…] Pre-bake your dinner rolls and freeze them, then simply reheat them in the oven! I like this recipe over at Live Like You Are Rich! […]
Sarah
Sunday 20th of February 2022
What type of oil did you use and does it matter the type of oil? Thanks!
Anita
Wednesday 9th of March 2022
You can use vegetable or canola oil. Don't use olive oil or avocado oil as it will change the taste and texture.
Holiday Hustle and Bustle -
Saturday 7th of November 2020
[…] Prepare in advance what you can. If you know that you are in charge of the dinner rolls make them and freeze them. When it comes time to cook, you just pull them out and let them rise. It takes you 5 minutes to get them ready and a few minutes to bake. The less you have to do in the kitchen on the big day the better. Placing dinner rolls on a cookie sheet is a great task for those little helpers you may have running around. Never underestimate the power of bread! Here is a great link to some freezer friendly dinner rolls:https://livelikeyouarerich.com/best-freezable-rolls-recipe/ […]
Denise Rucker
Monday 20th of January 2020
This is the only recipe I use for rolls!!! First off let me say how amazing they are & second off they do not usually last long enough to freeze. However I have frozen them & used them for special events. They are perfect just as the day they were baked. No complaints here thank you for sharing such a great recipe!!!!!
karen
Wednesday 28th of November 2018
I've not been successful making rolls and it's a goal I've been trying to accomplish so needing specific directions. What does 'let proof' mean? And there is a huge difference between 4 and 6 cups of flour. Anything more specific? The rolls look pretty & delicious but this recipe seems to be directed toward those who already have experience and success making rolls.