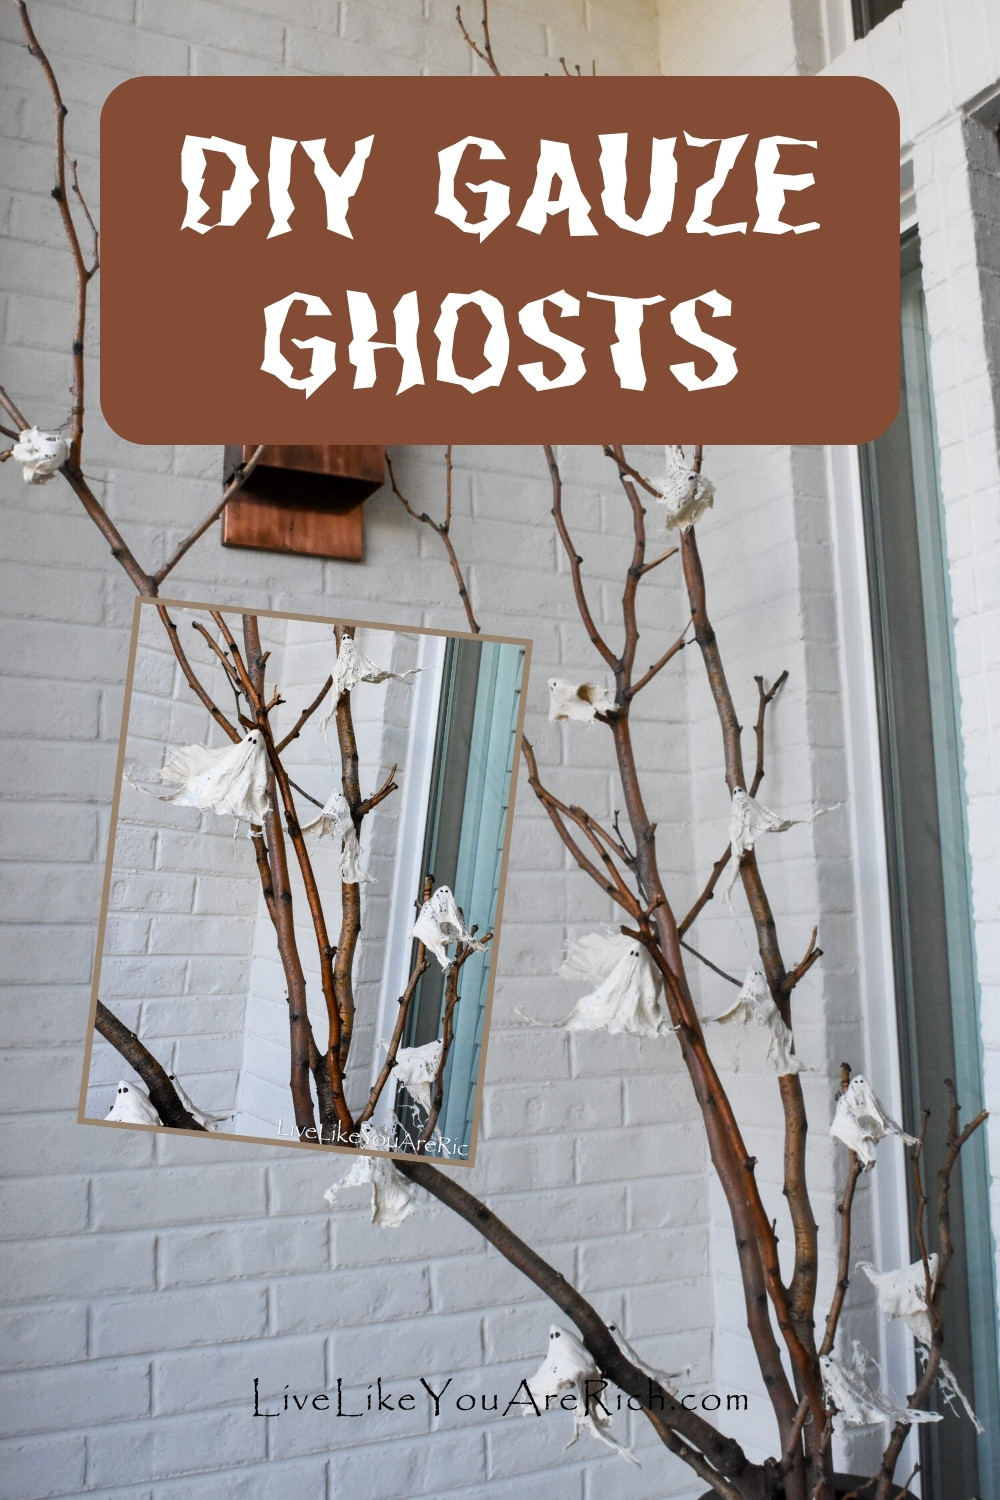

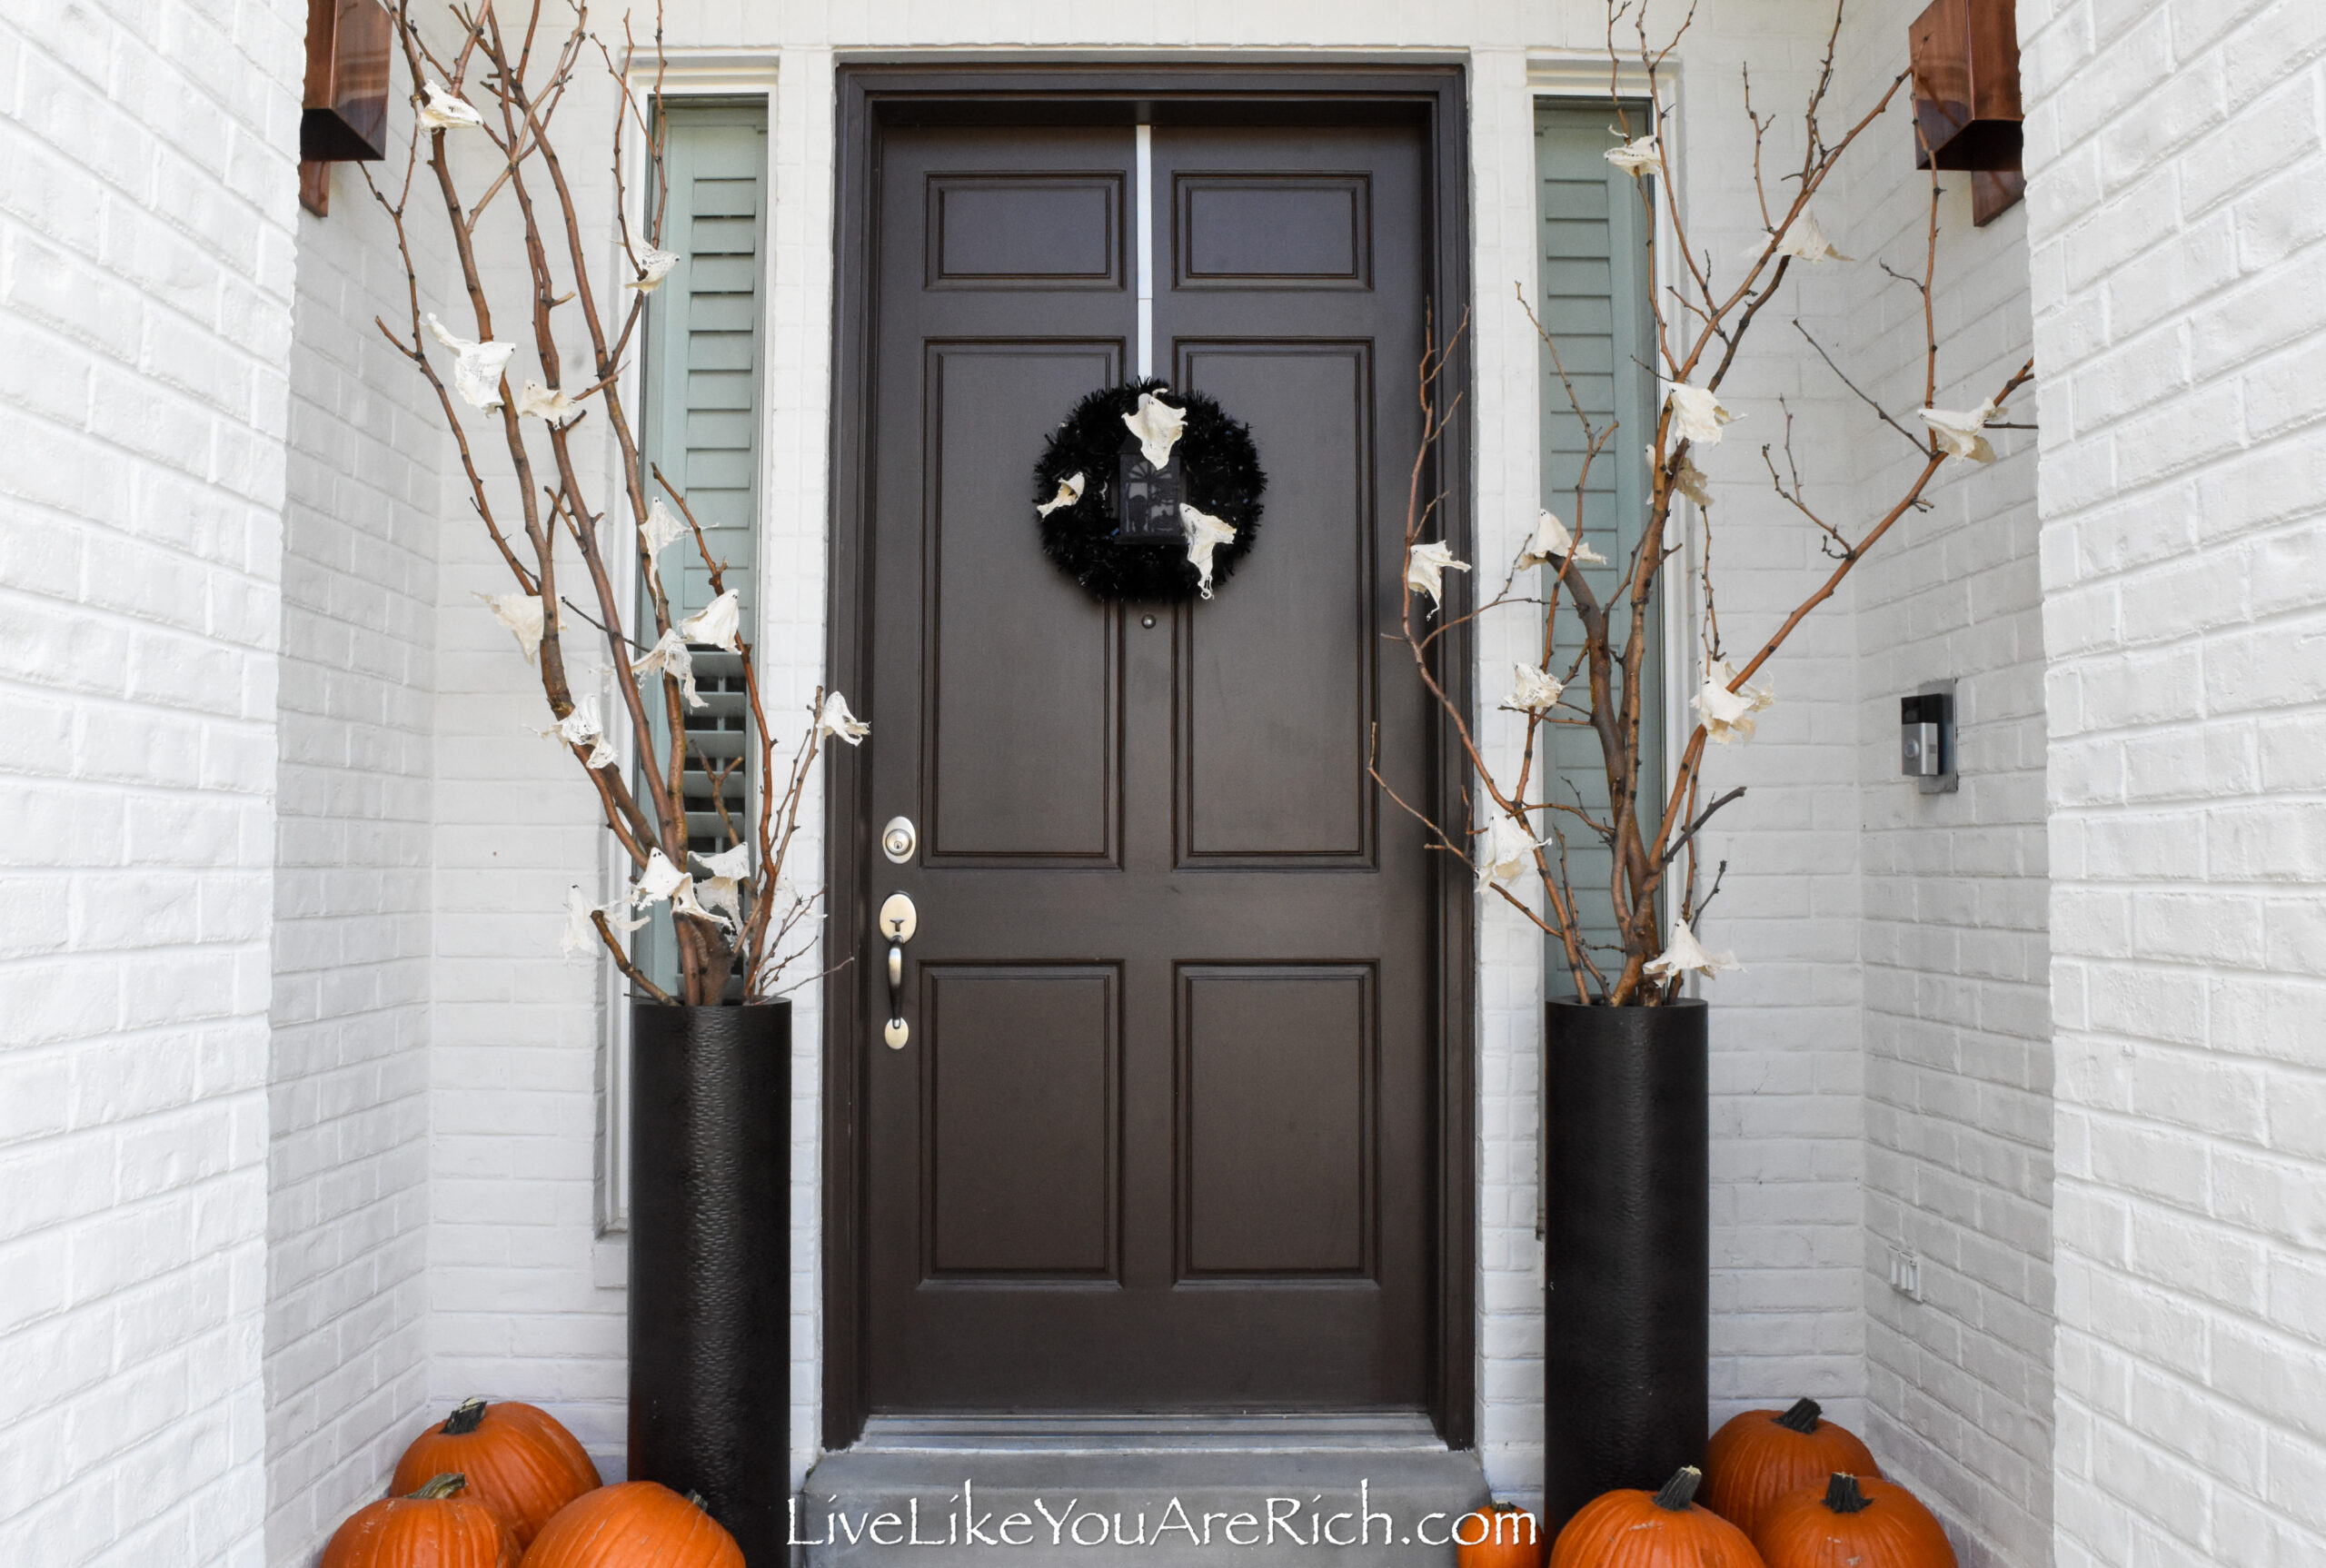
DIY Gauze Ghosts
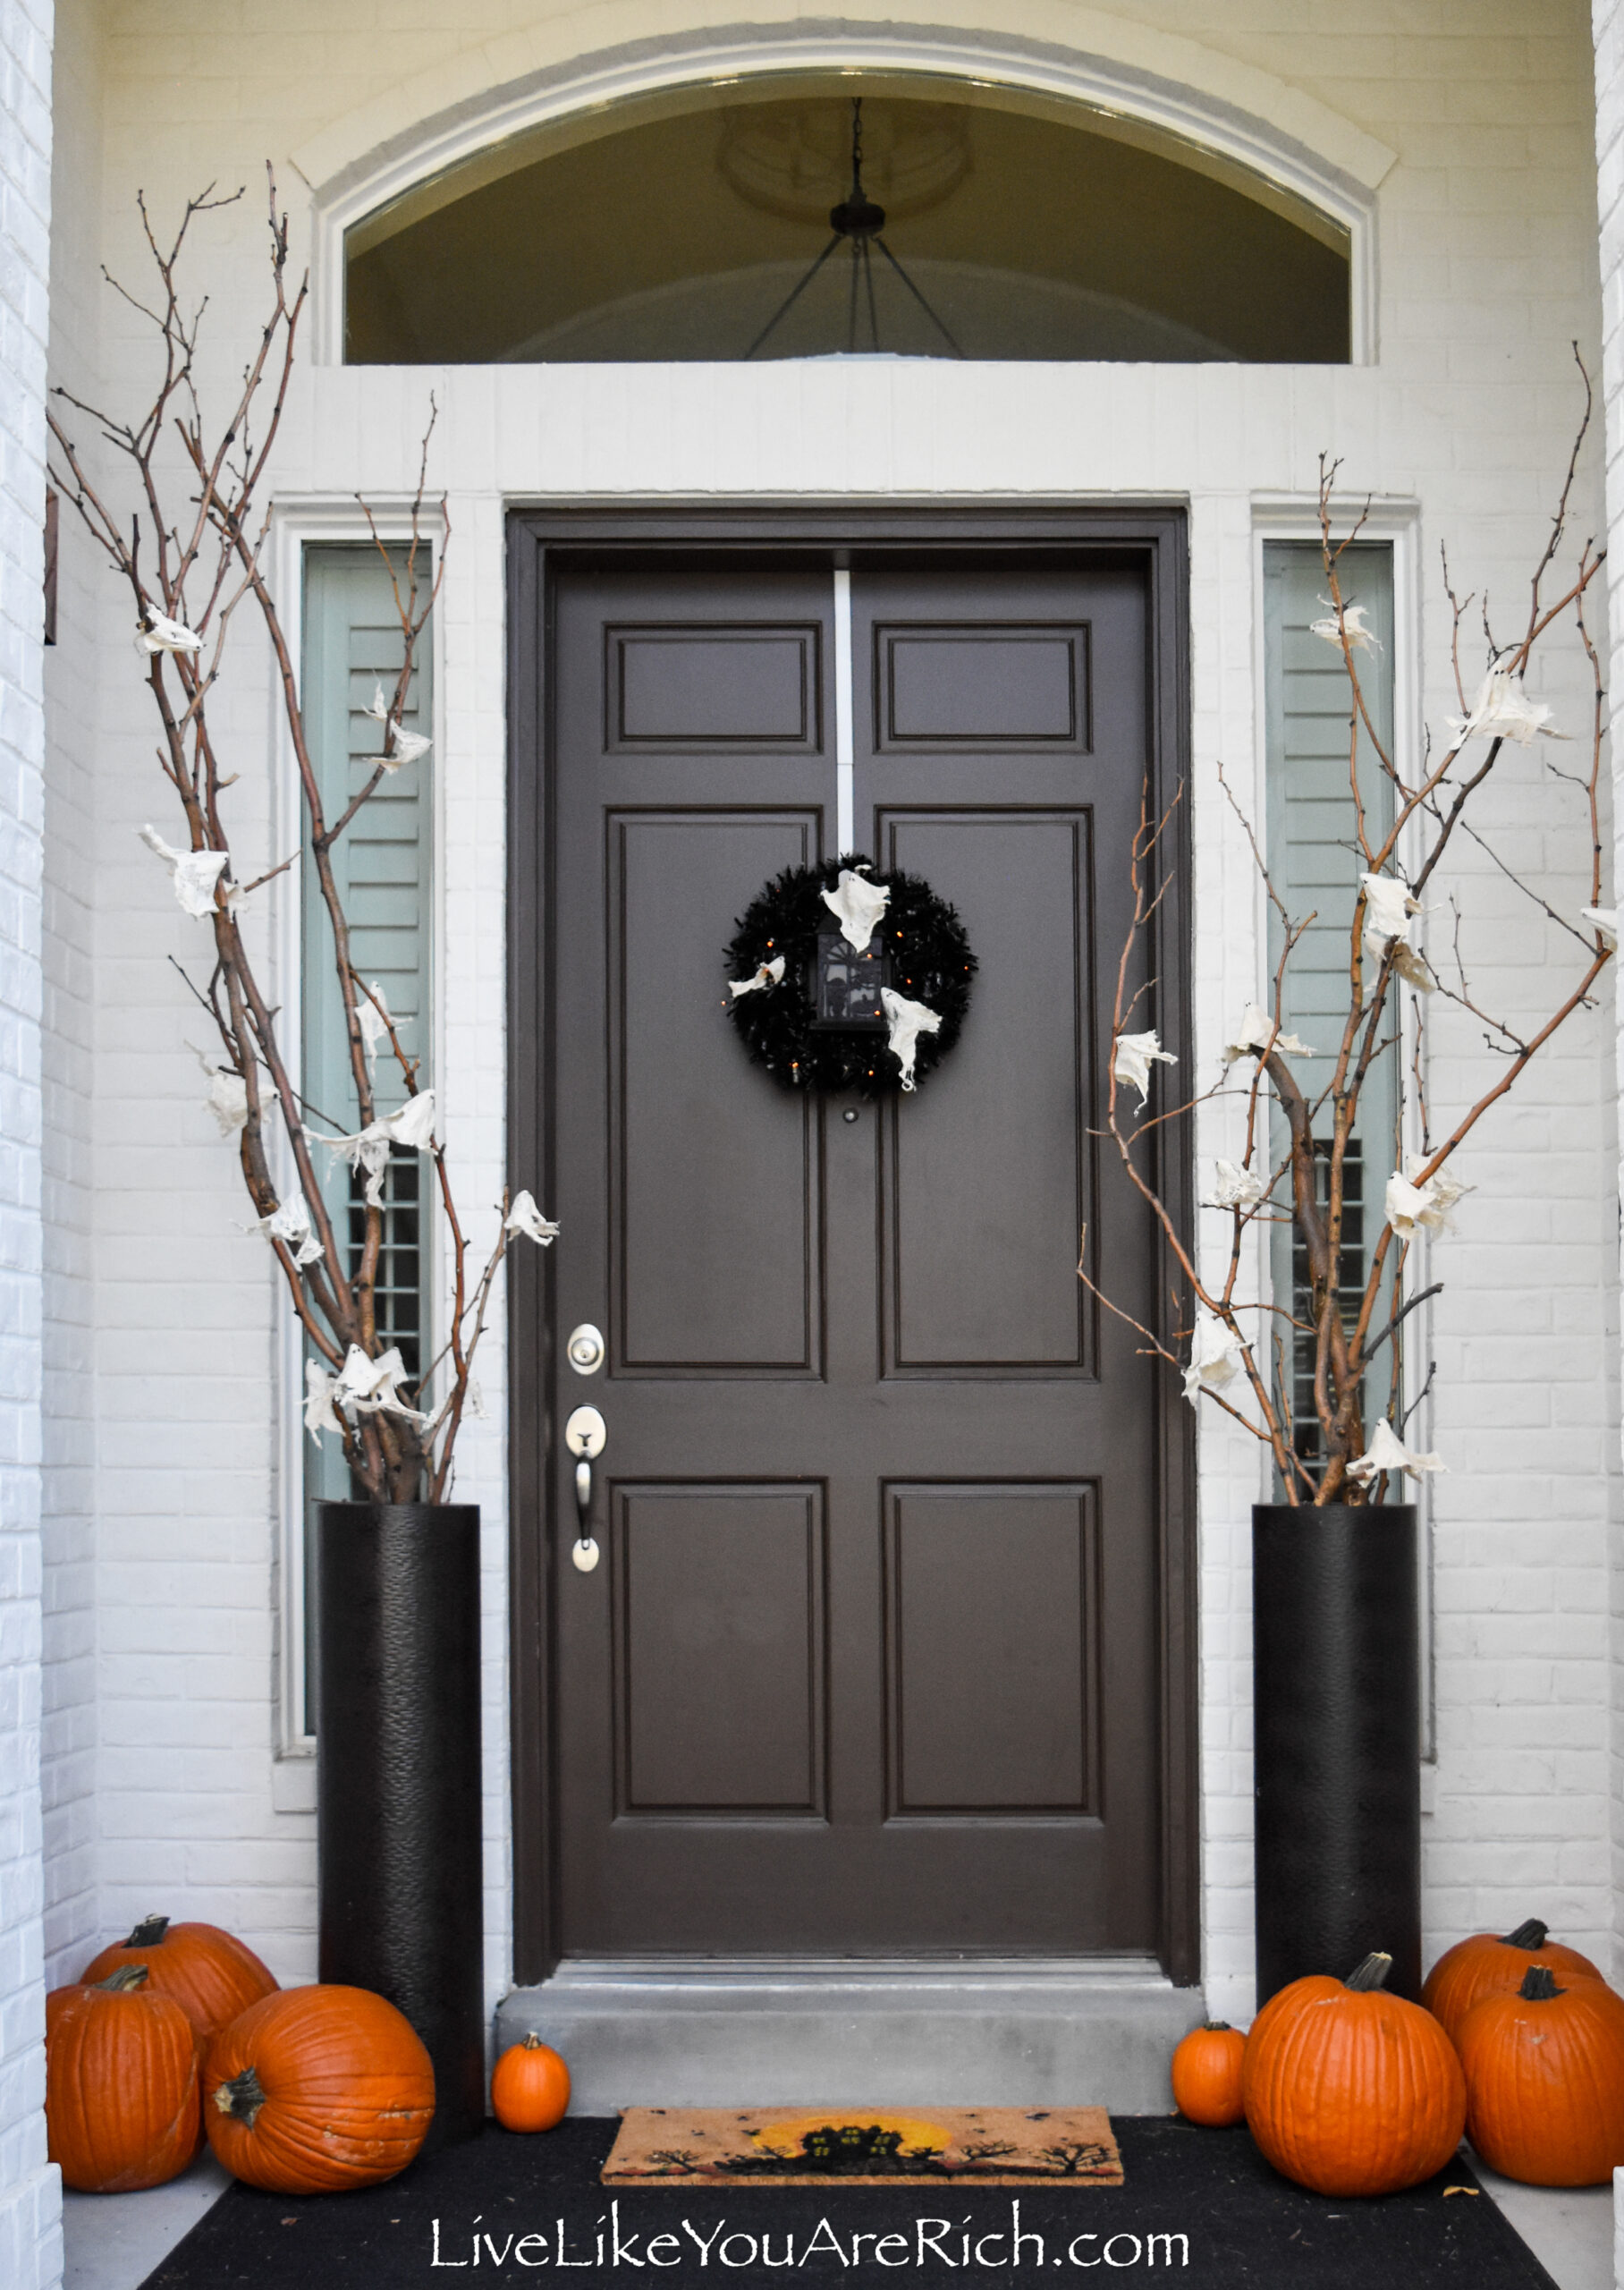
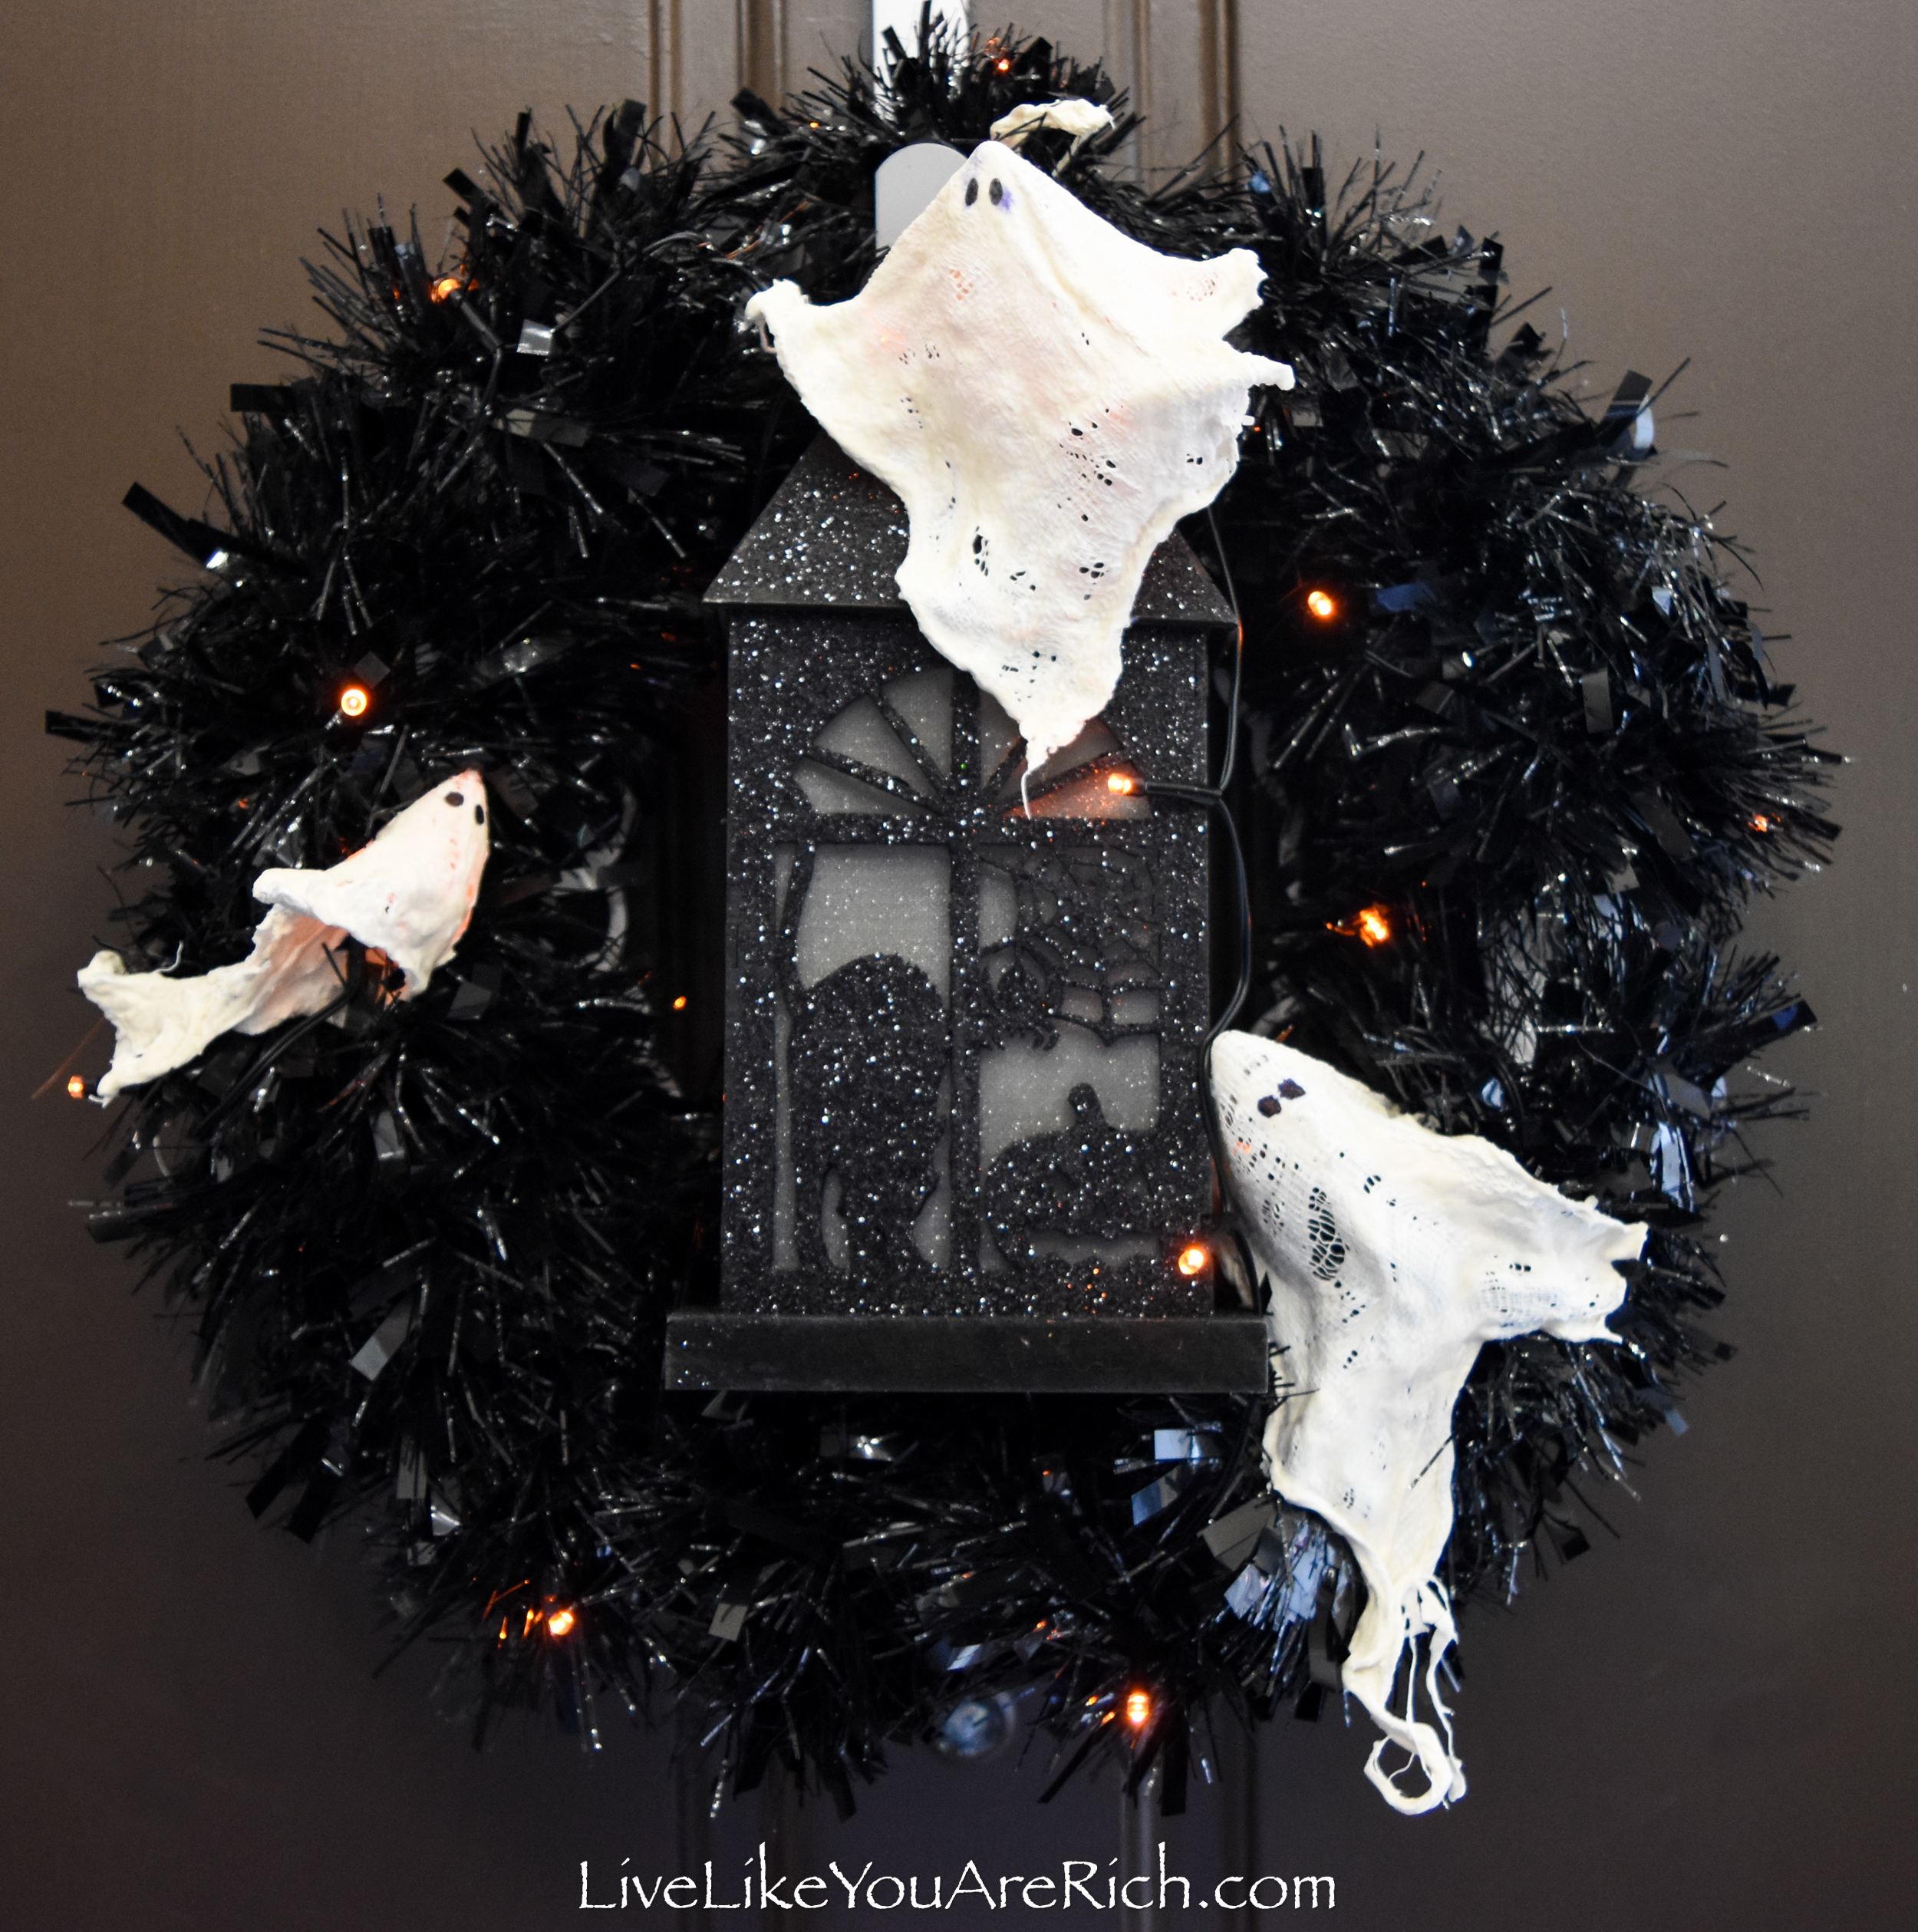
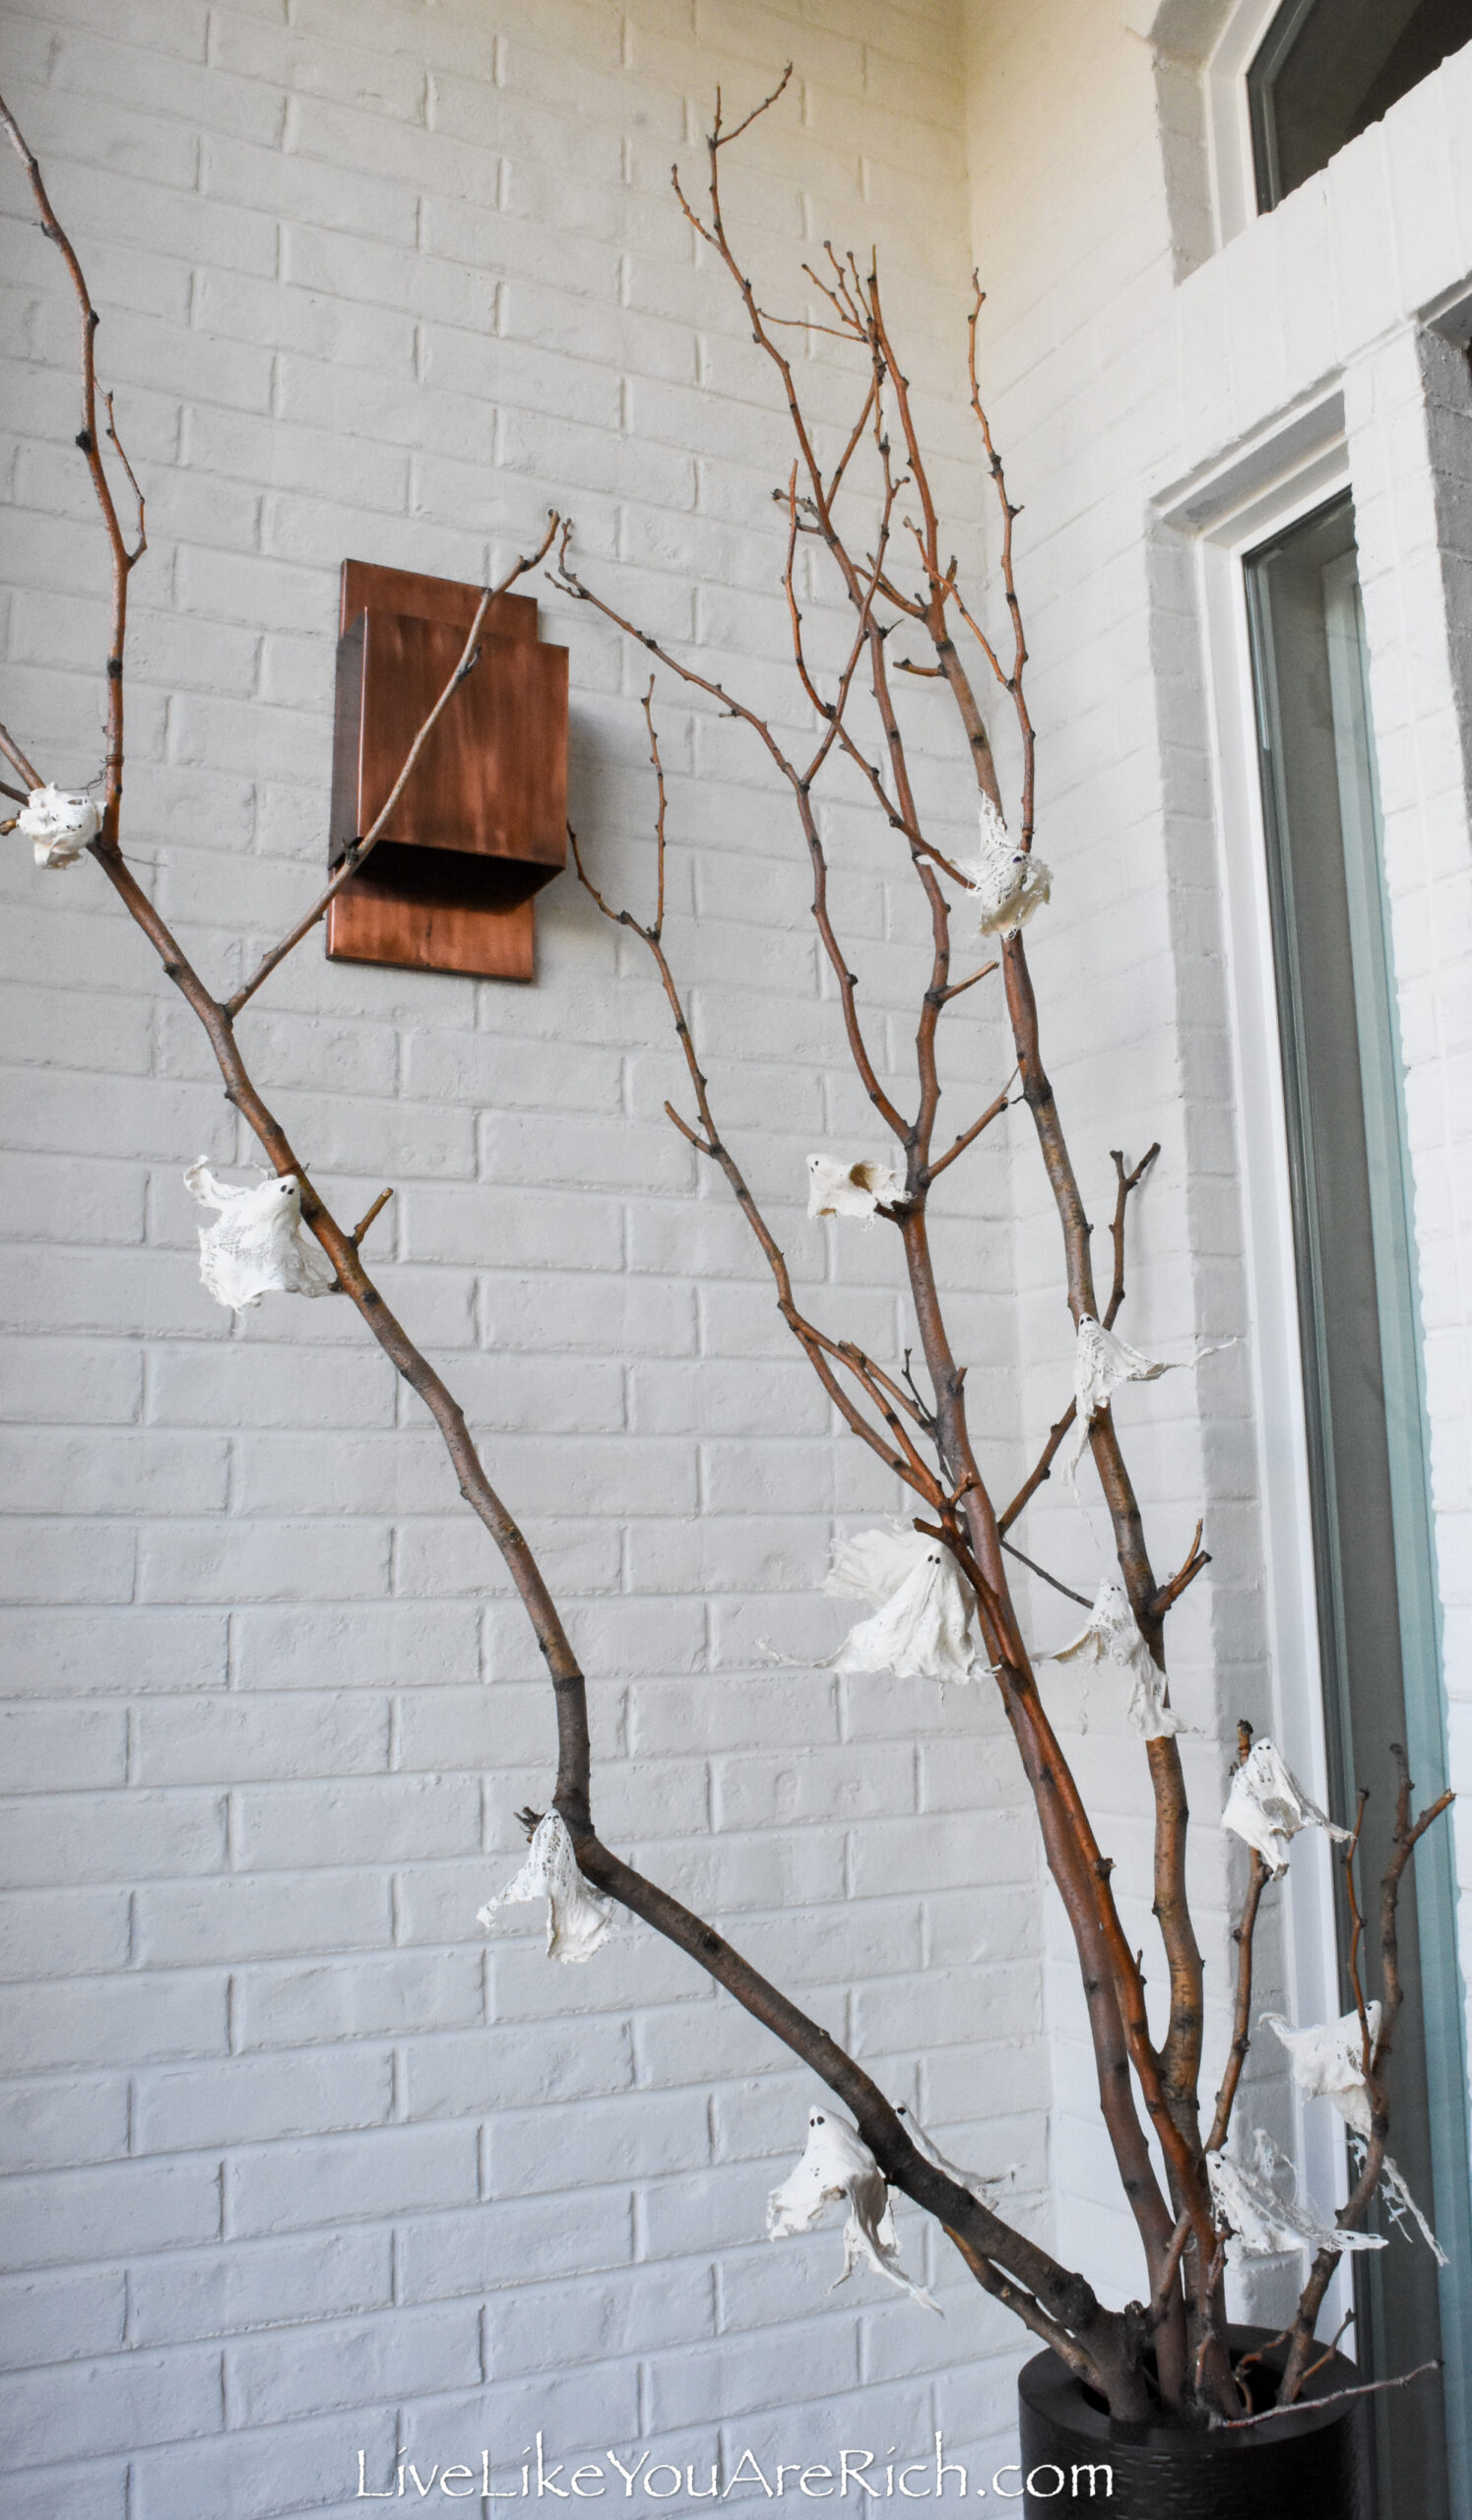
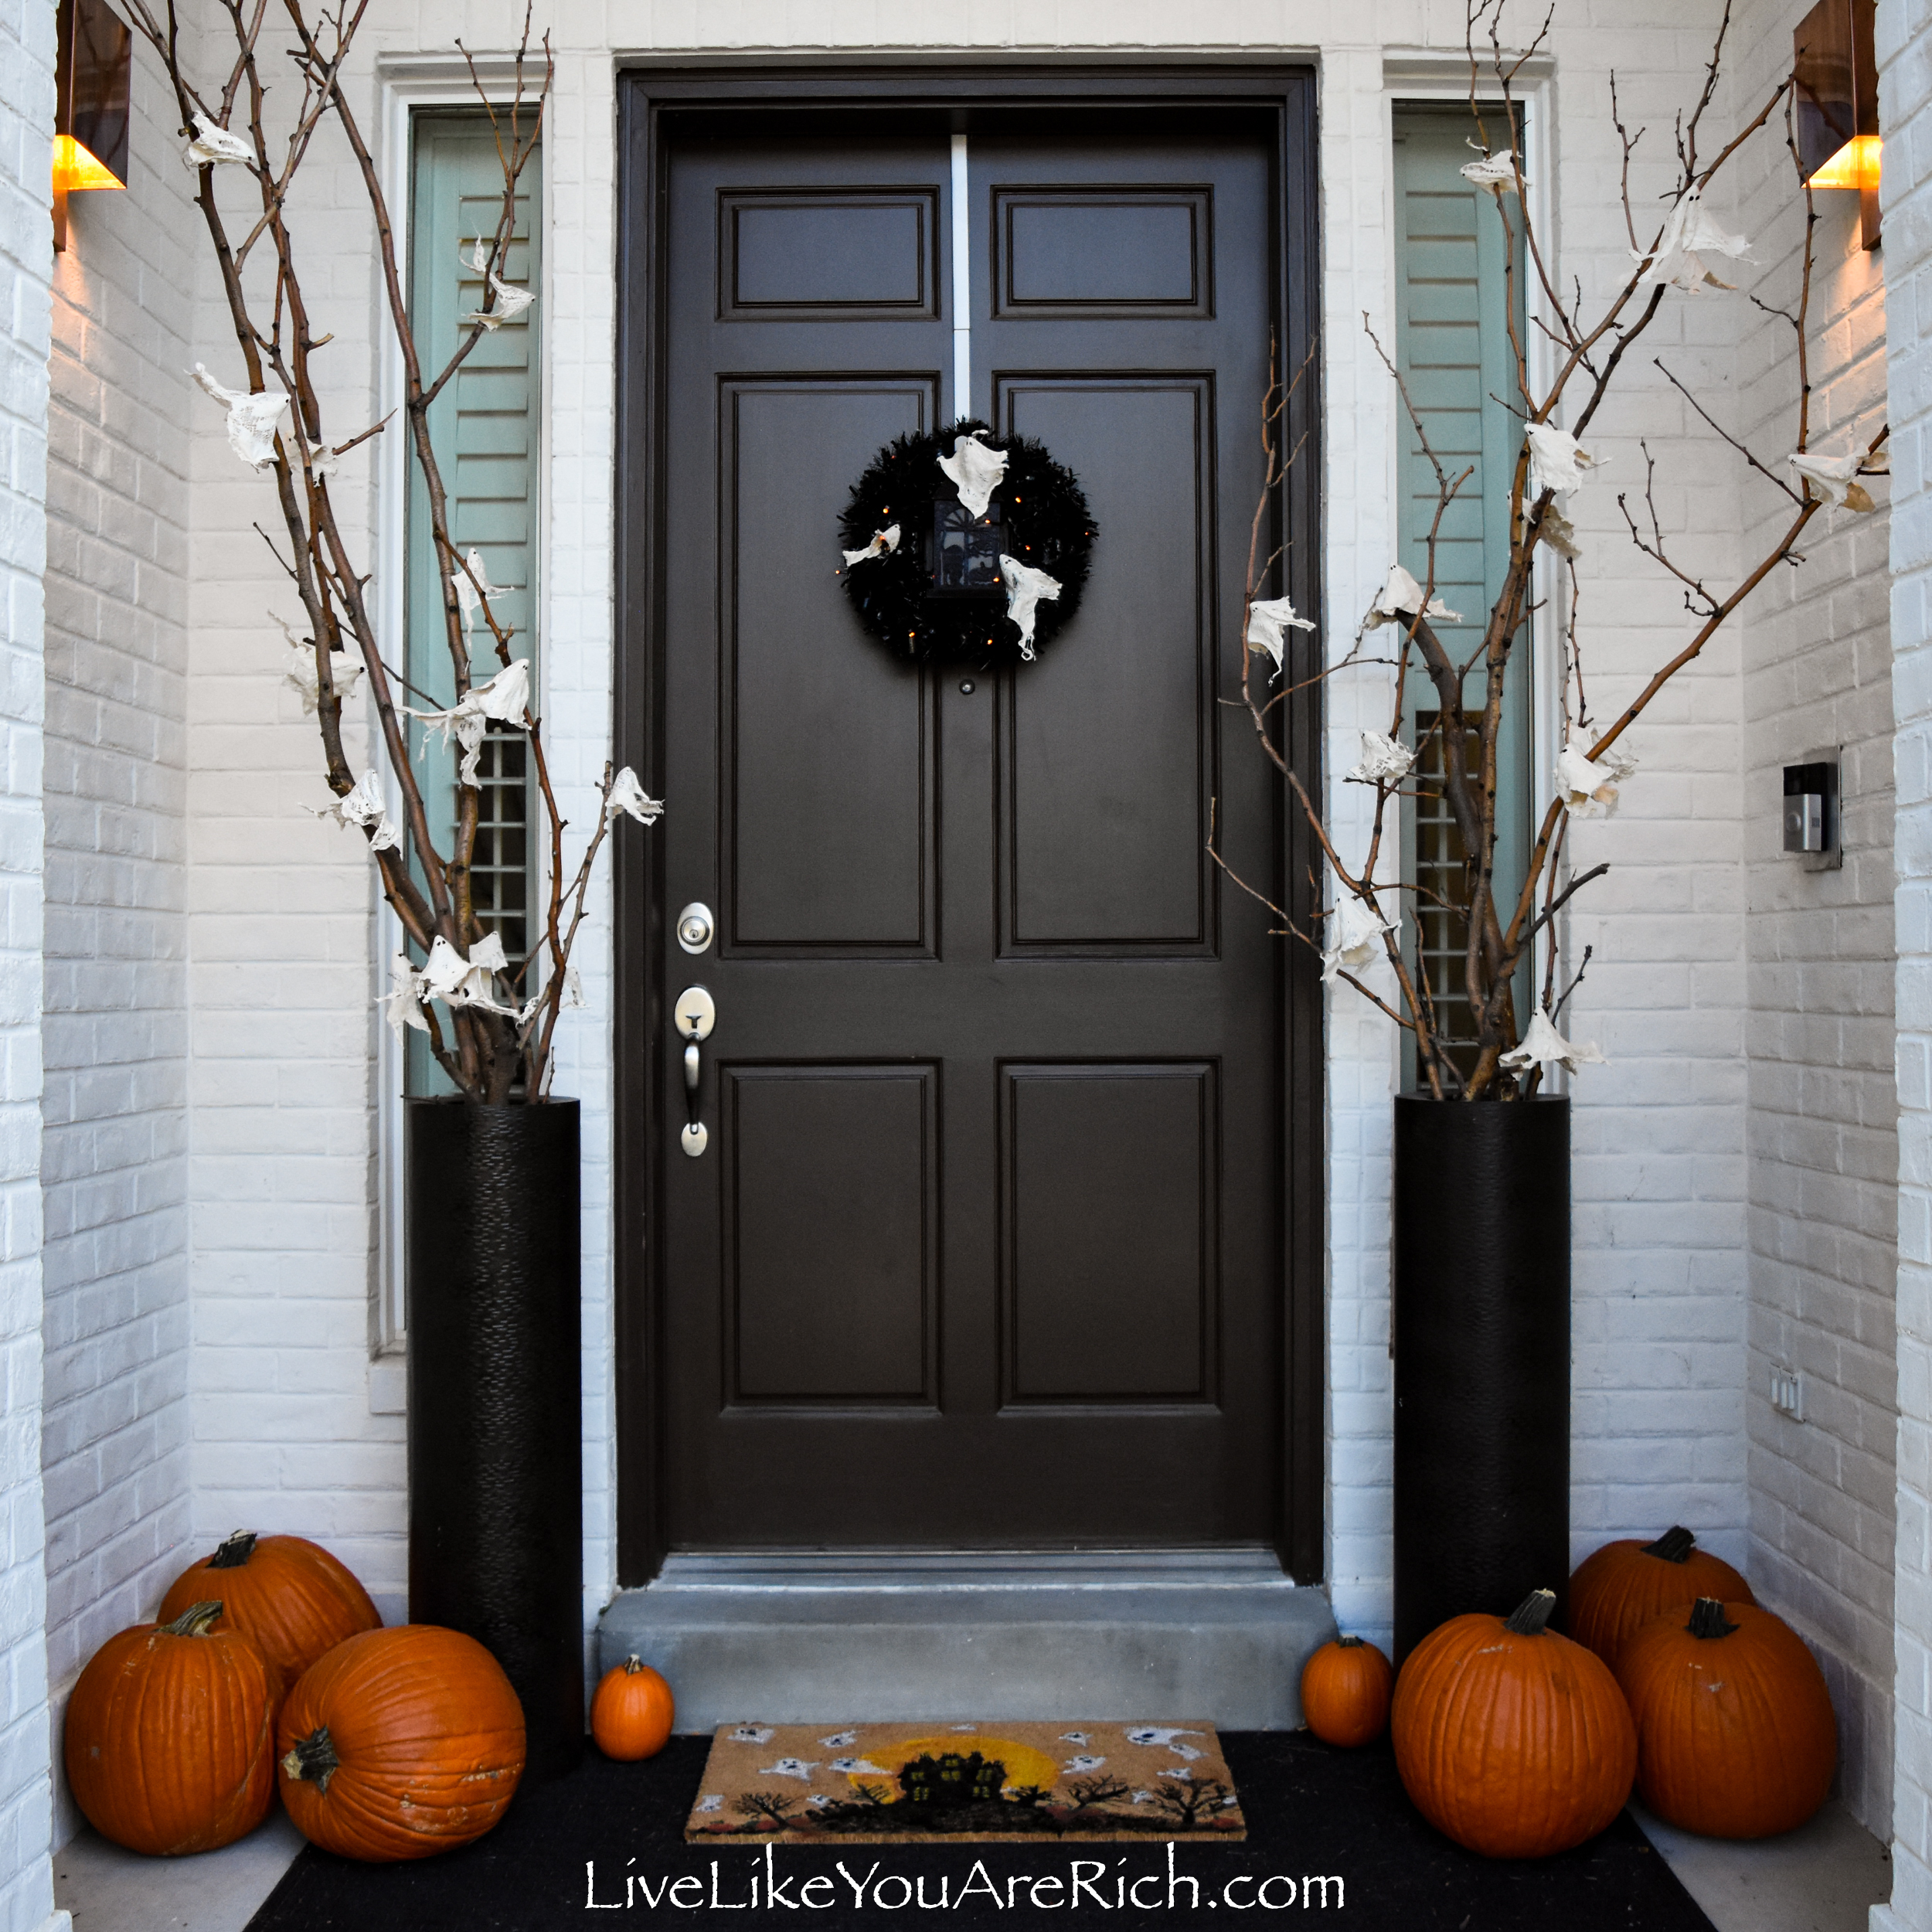
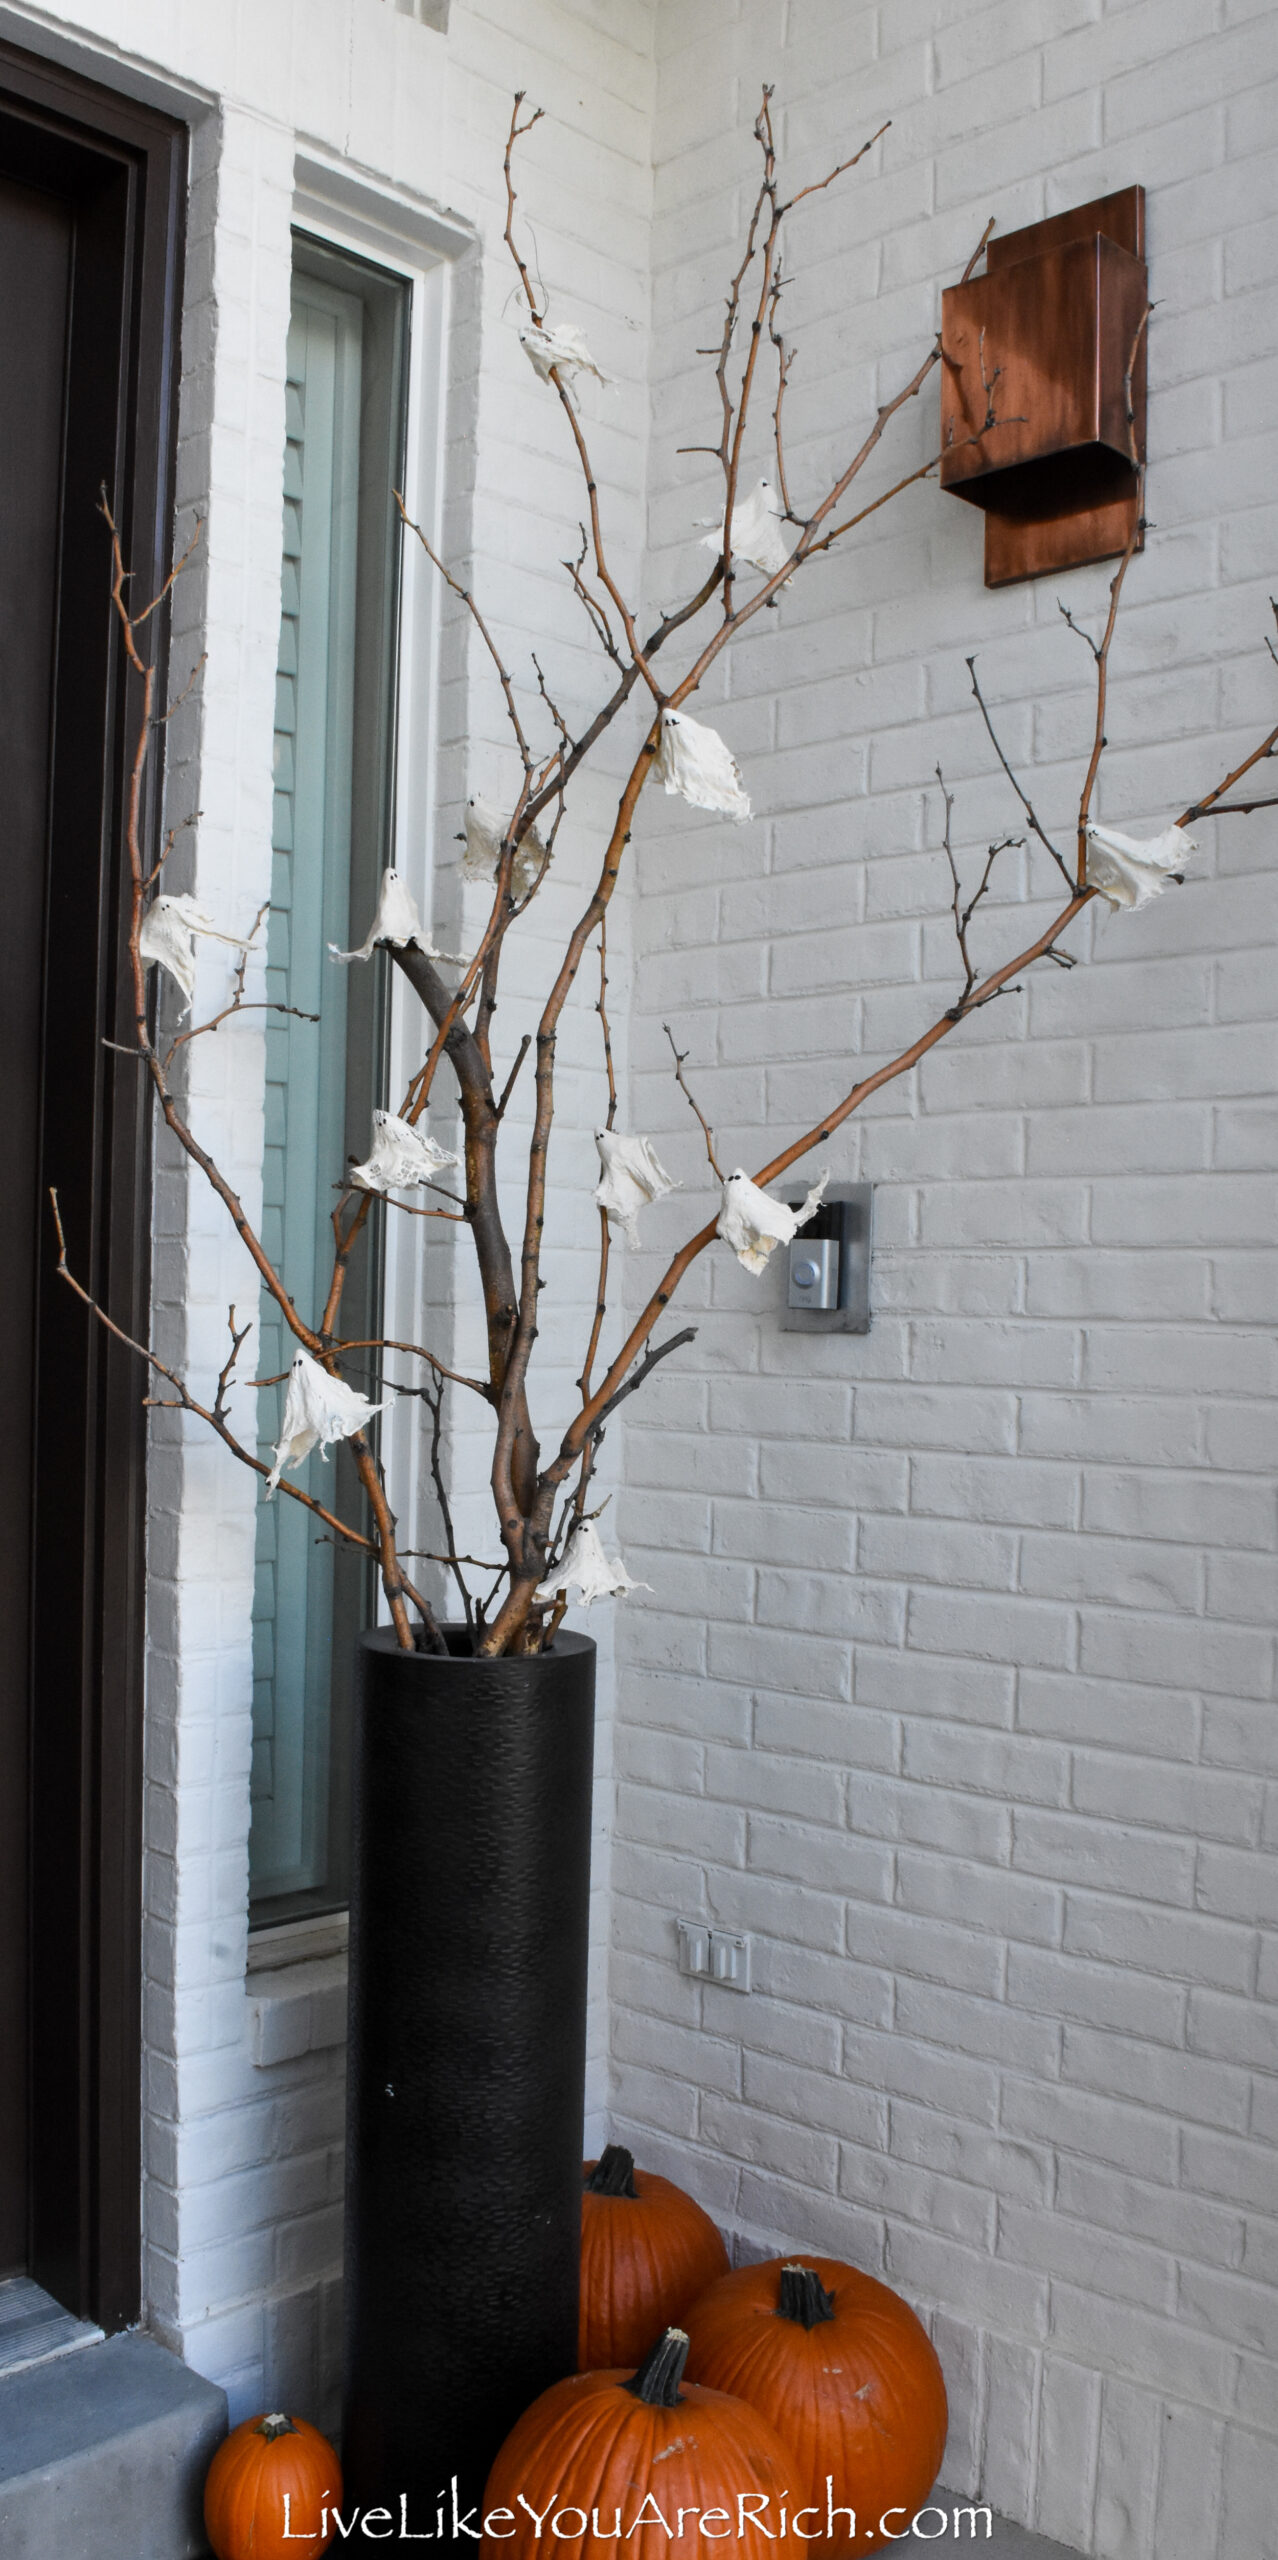
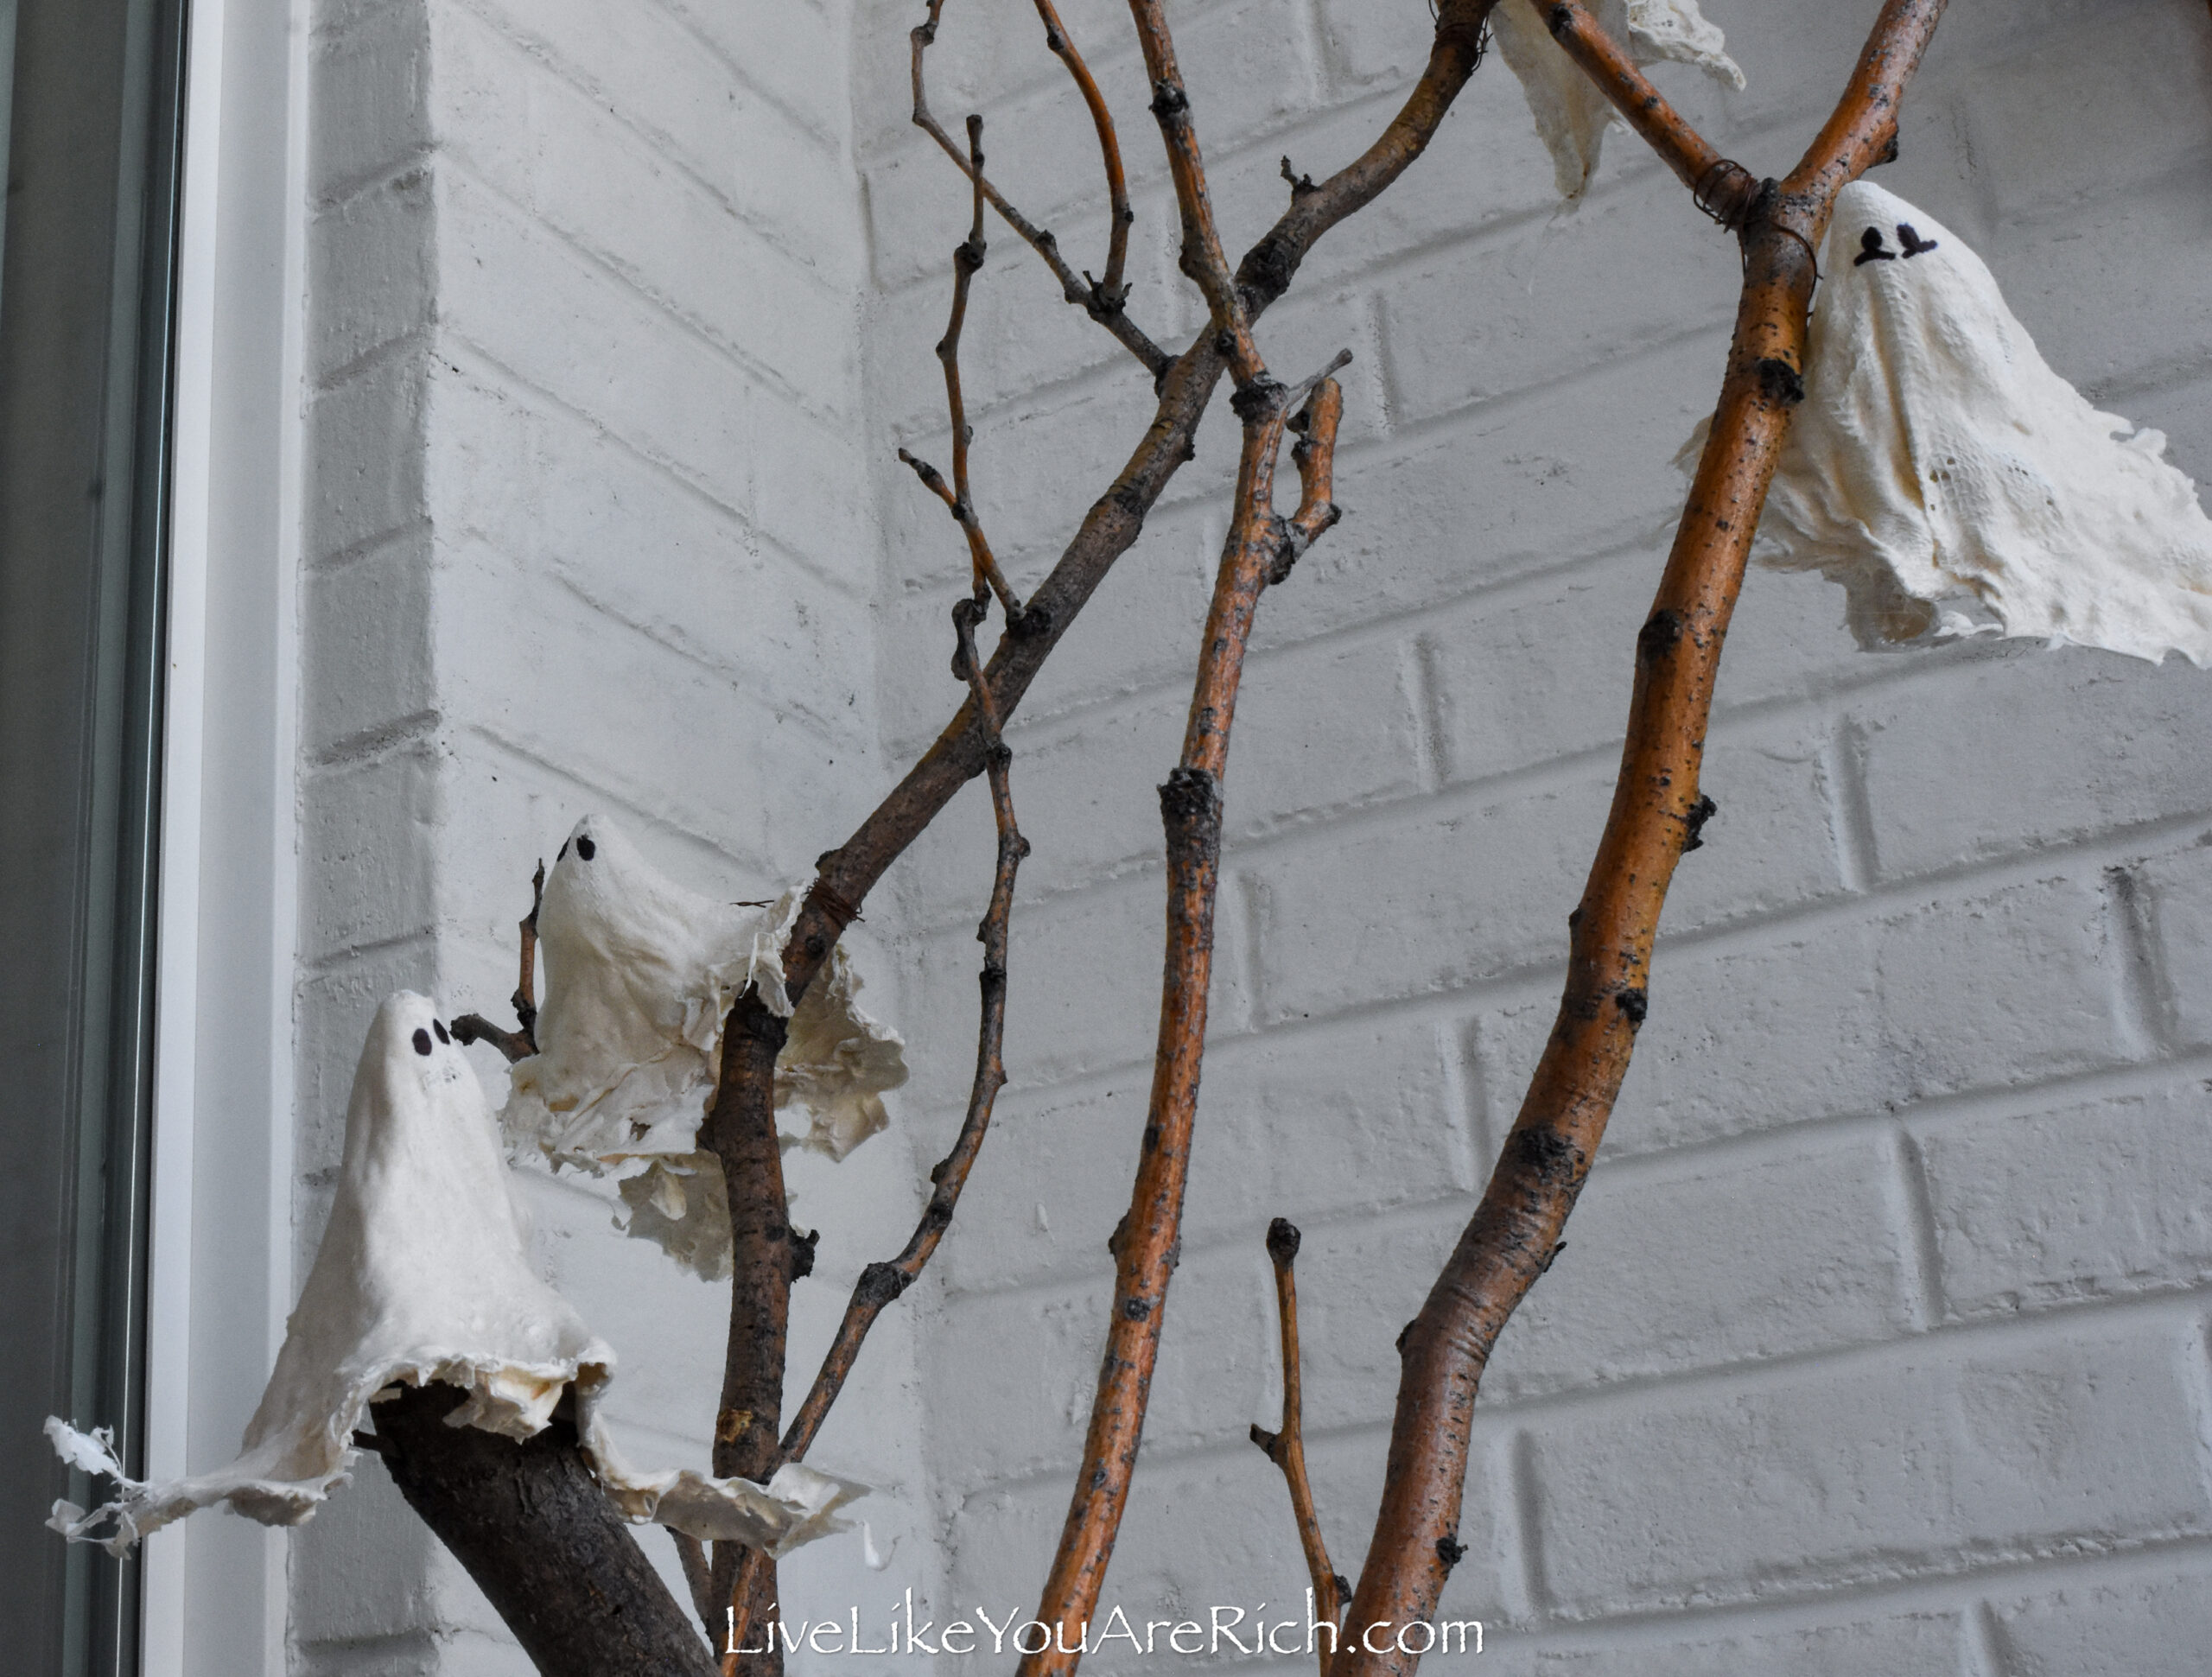
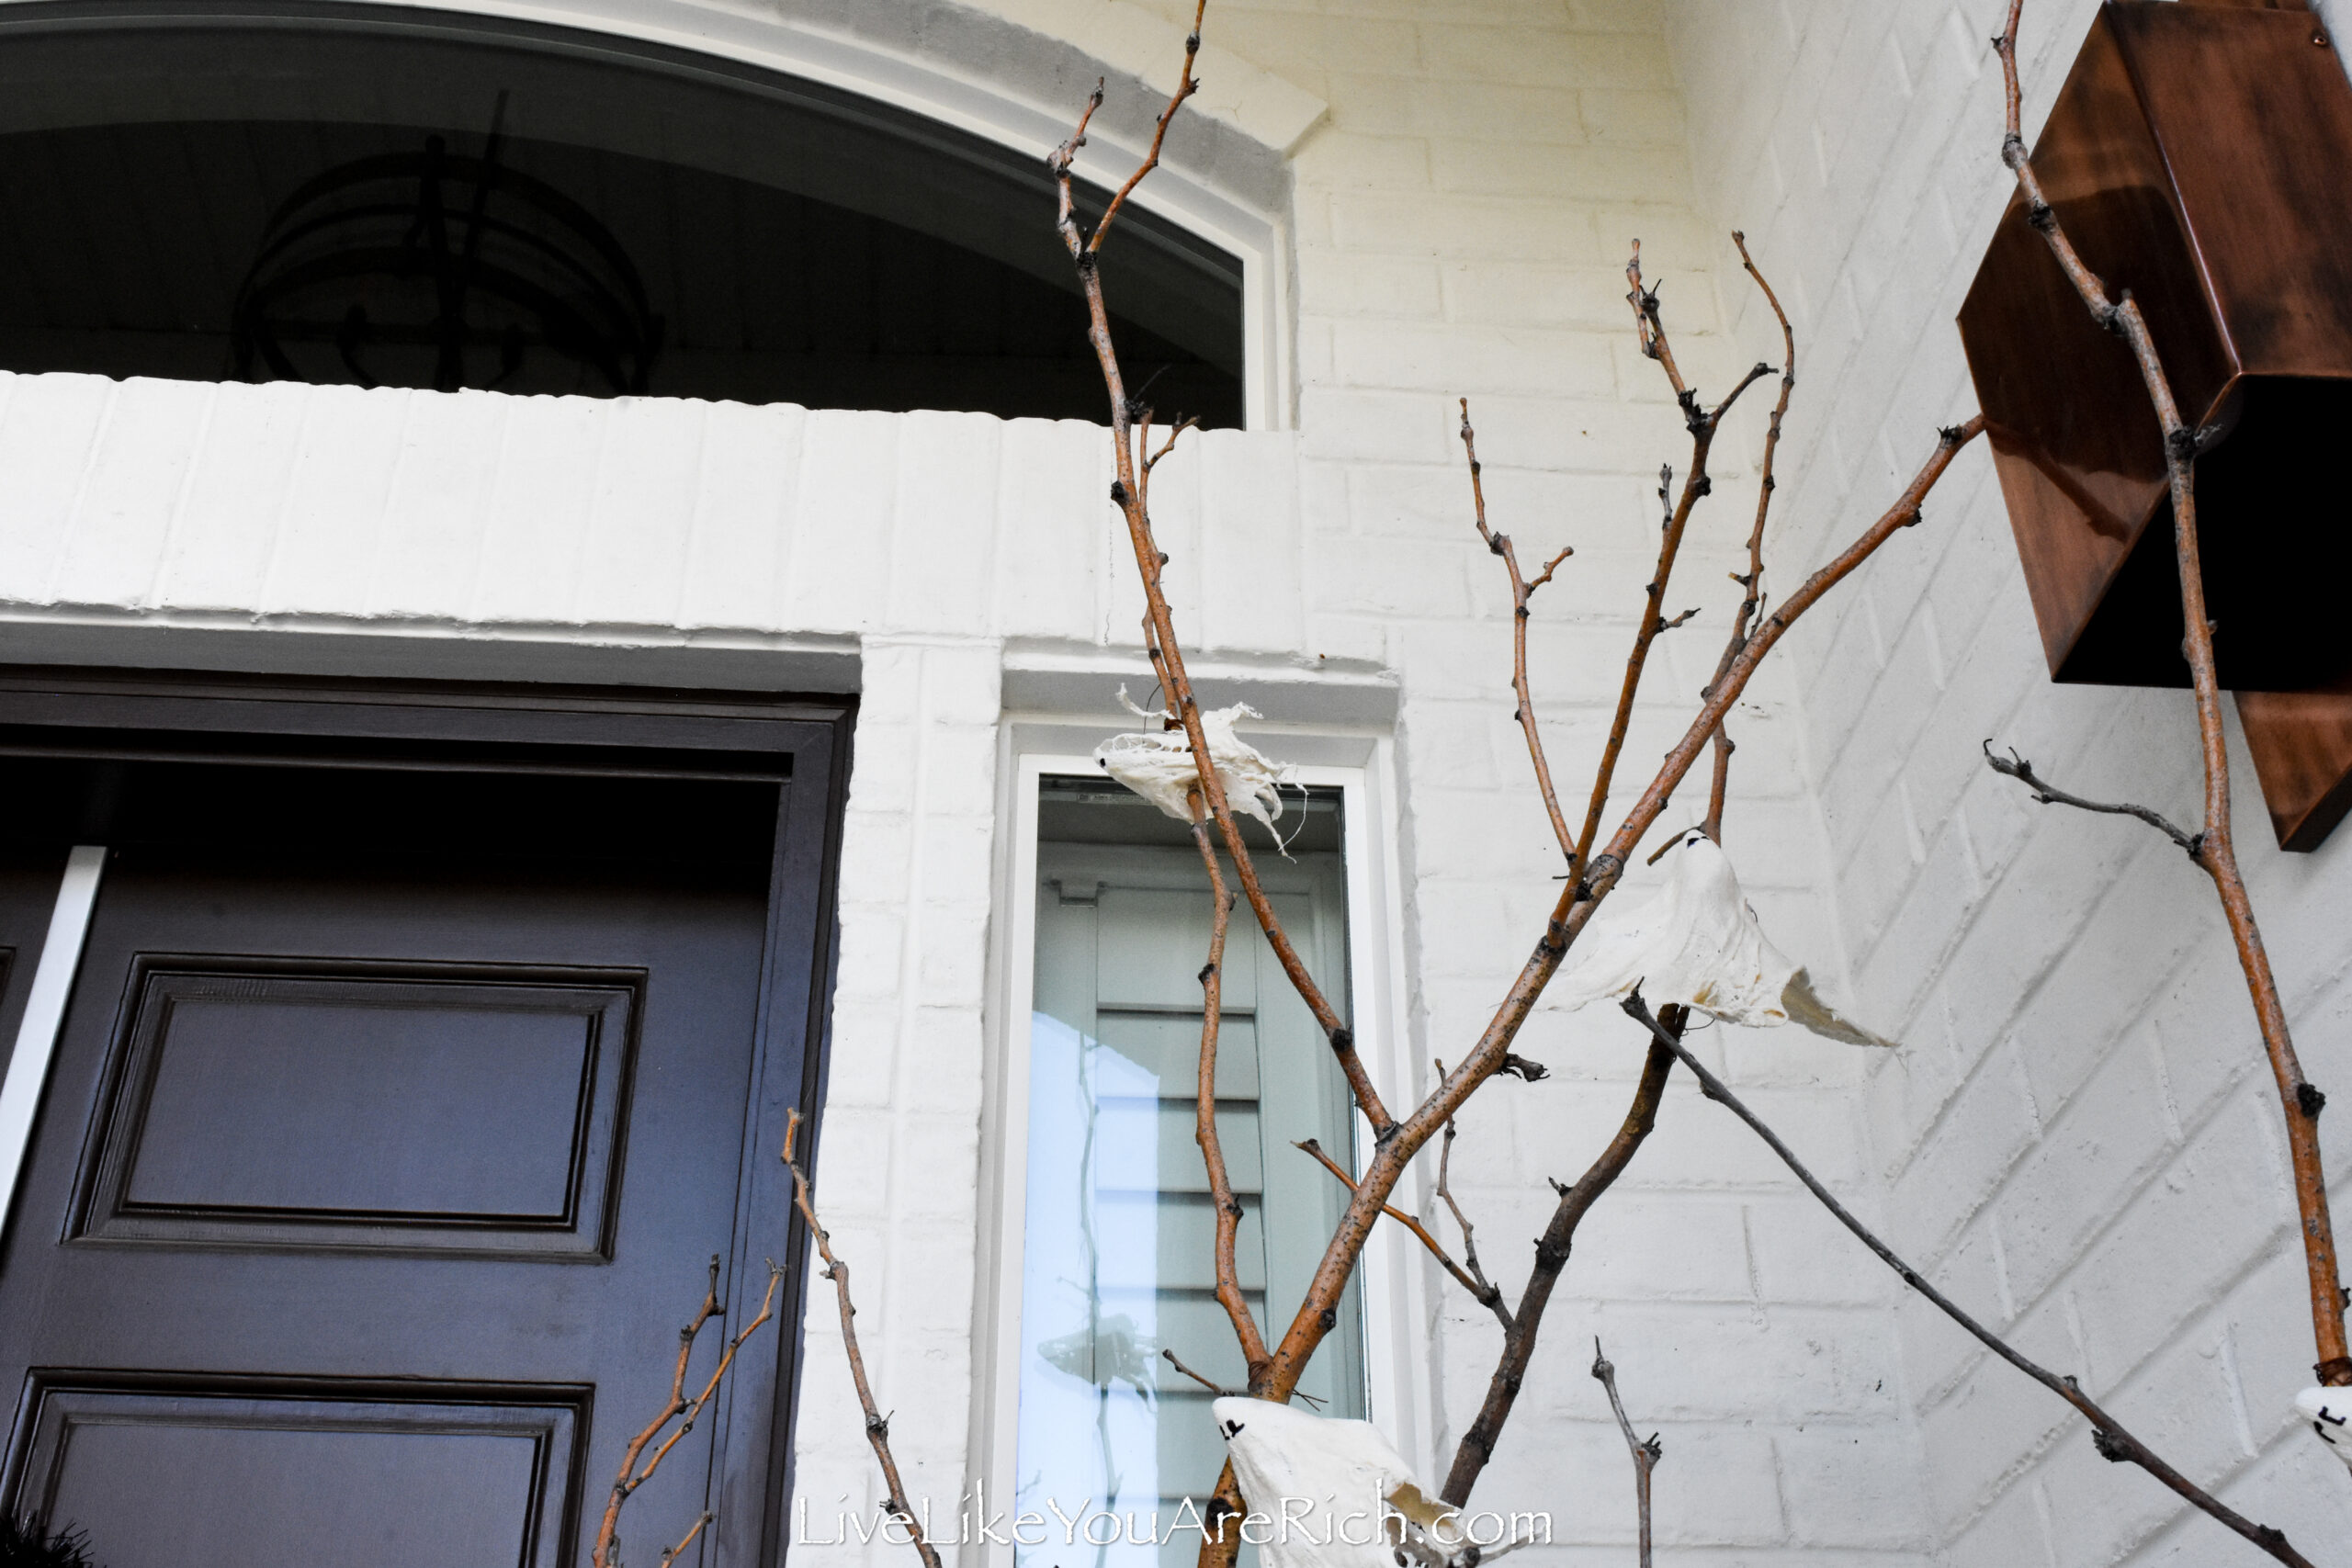
I made these gauze ghosts for our Halloween front door decorations this year.
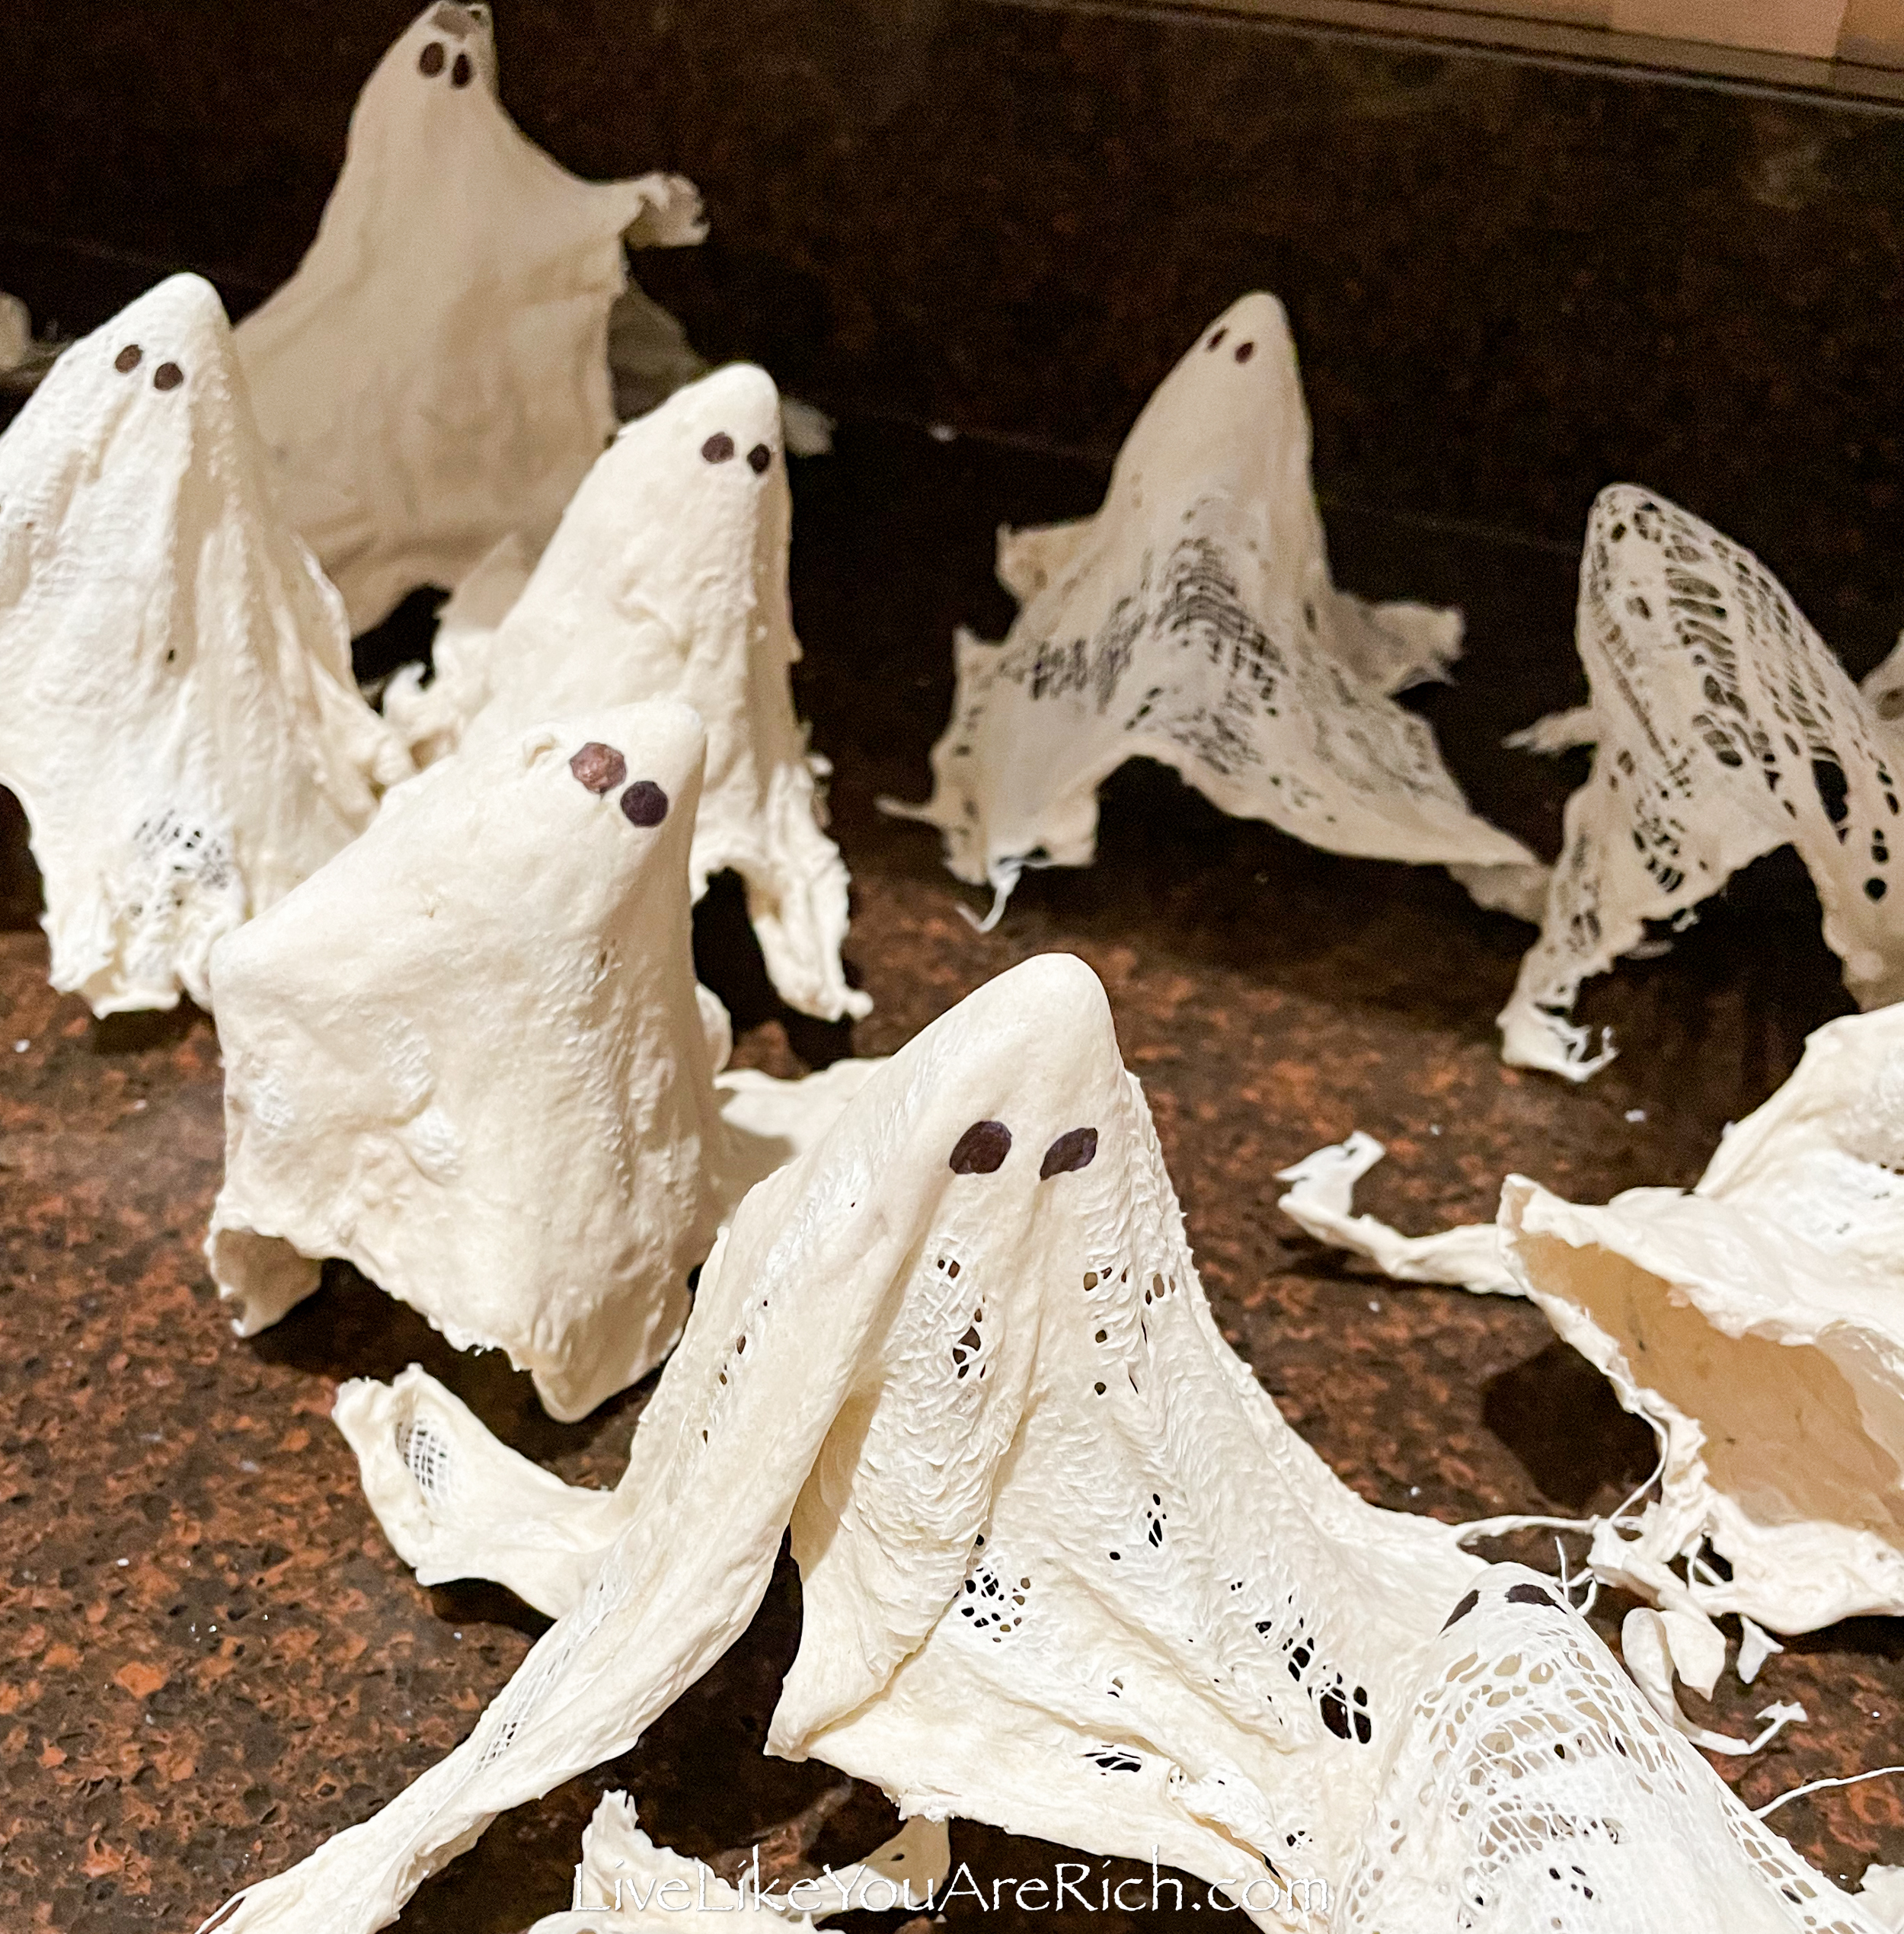
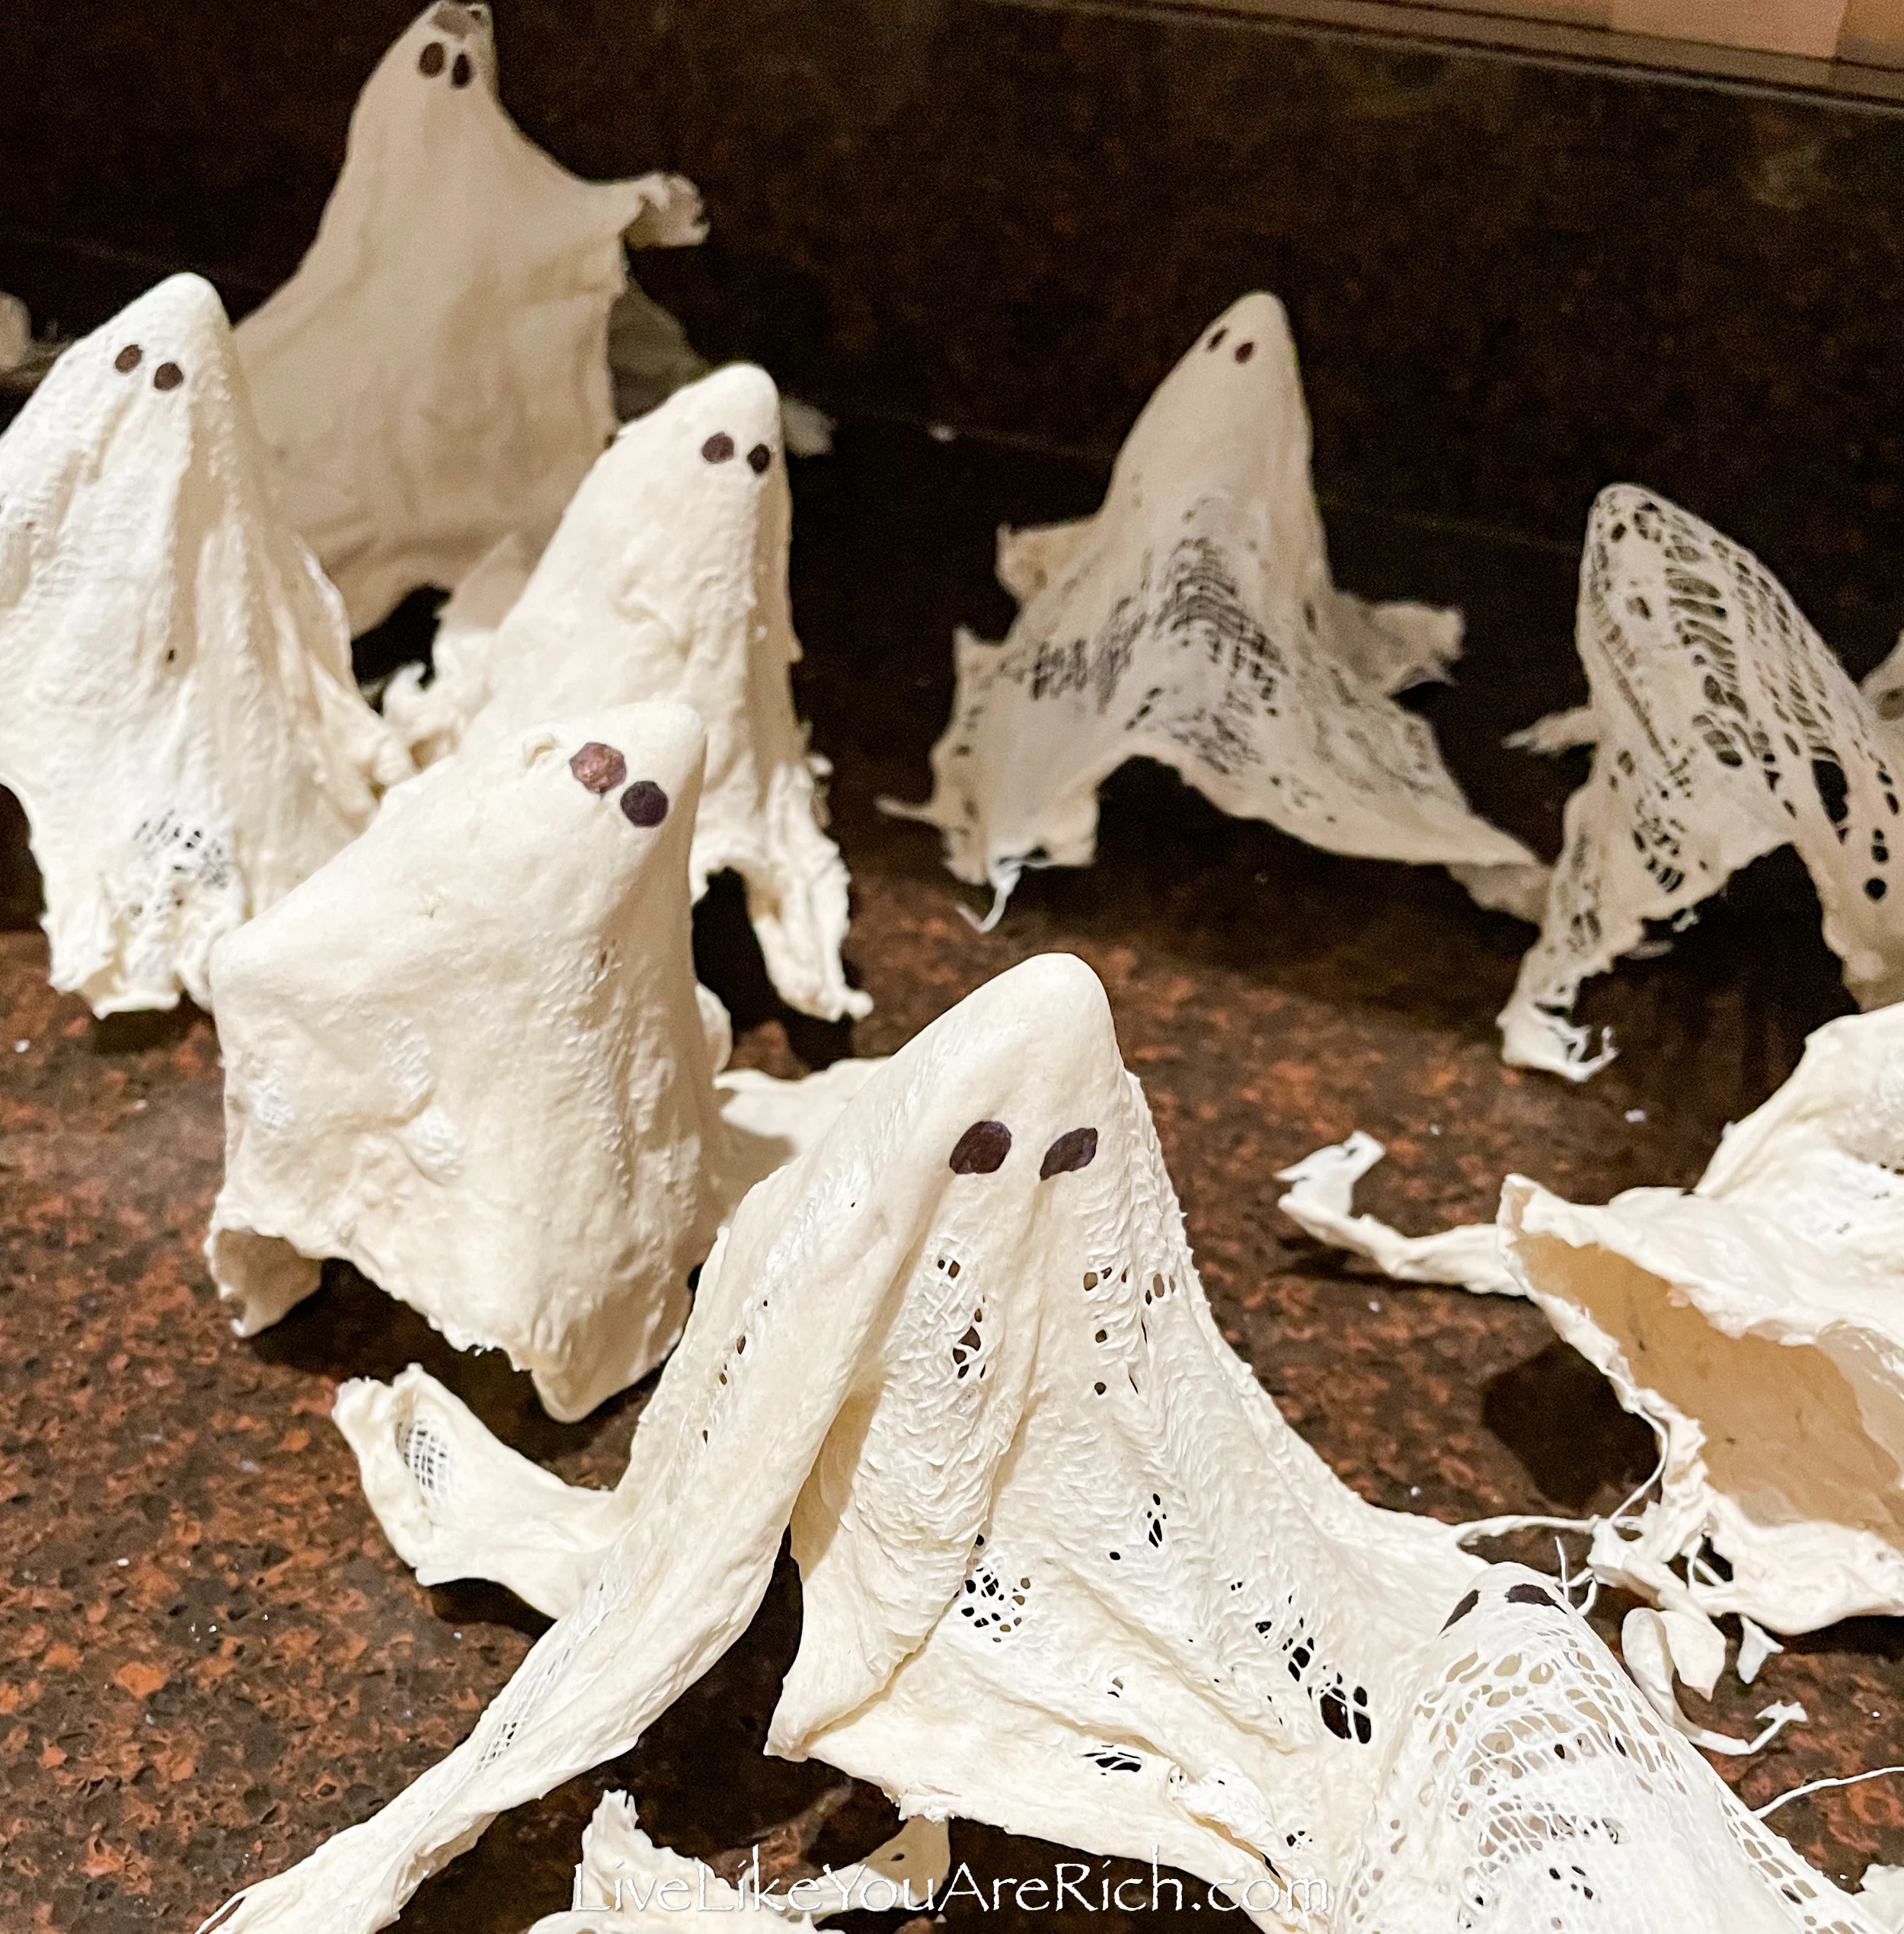
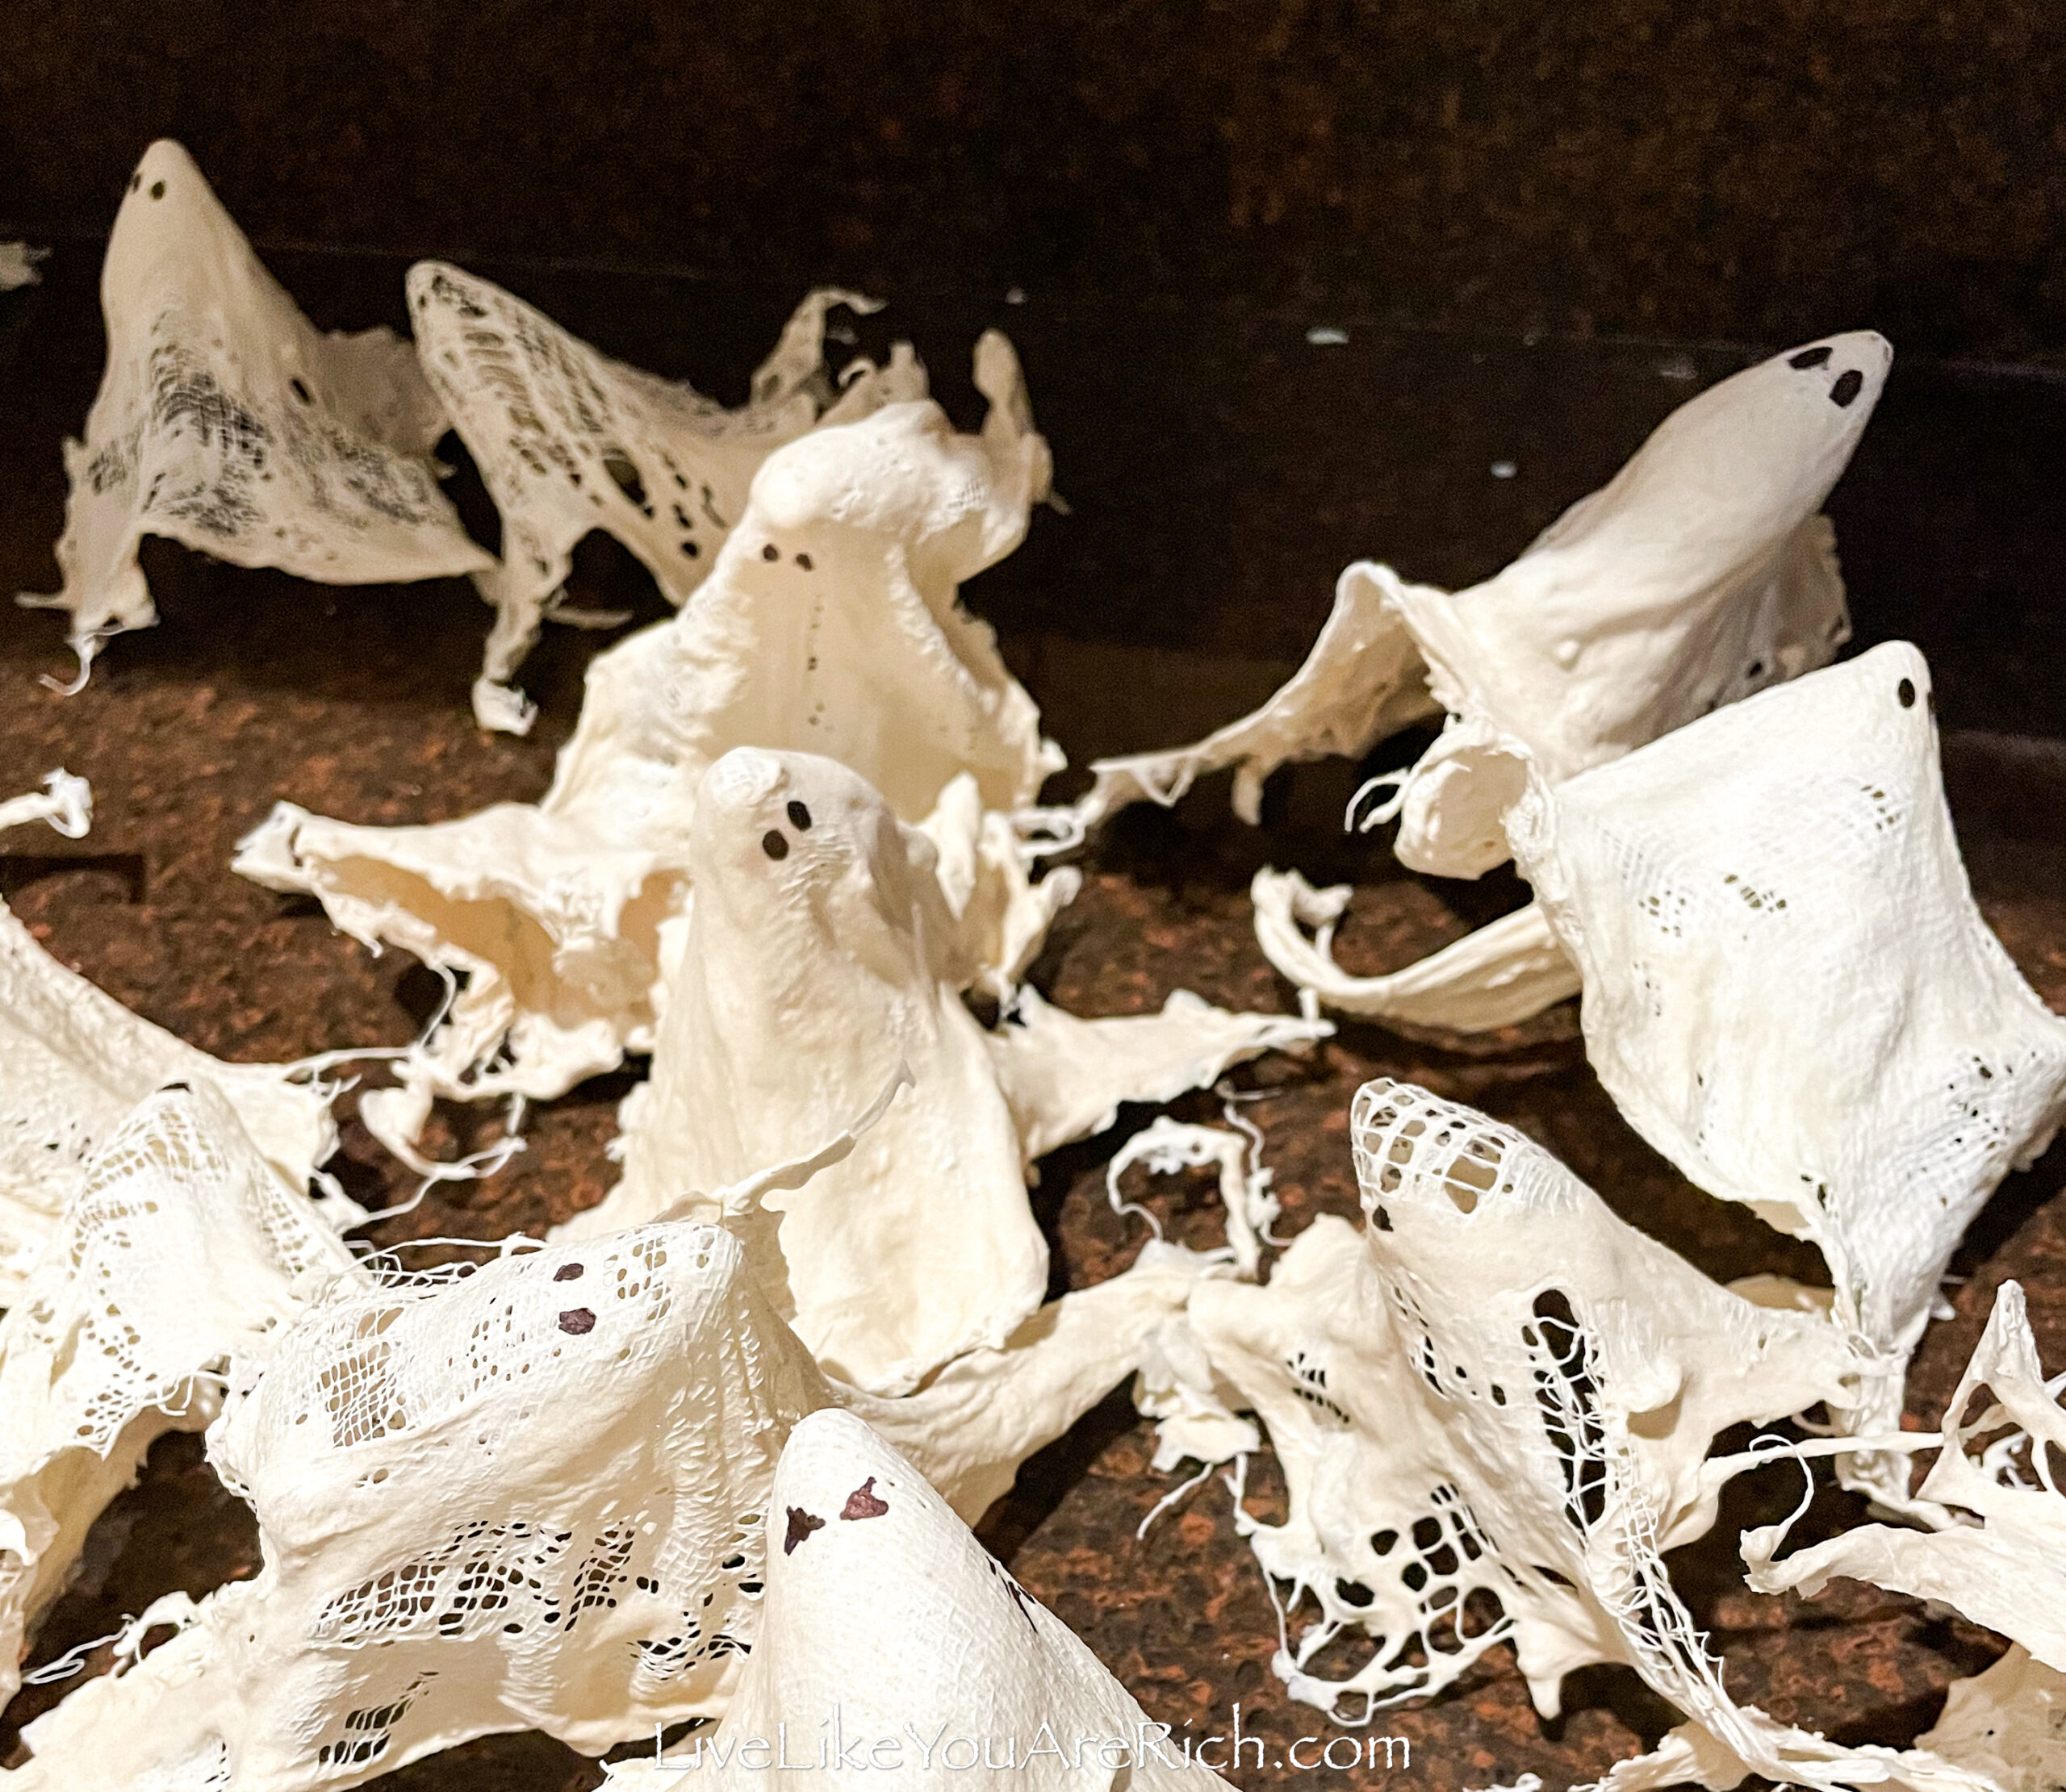
I love the way they turned out.
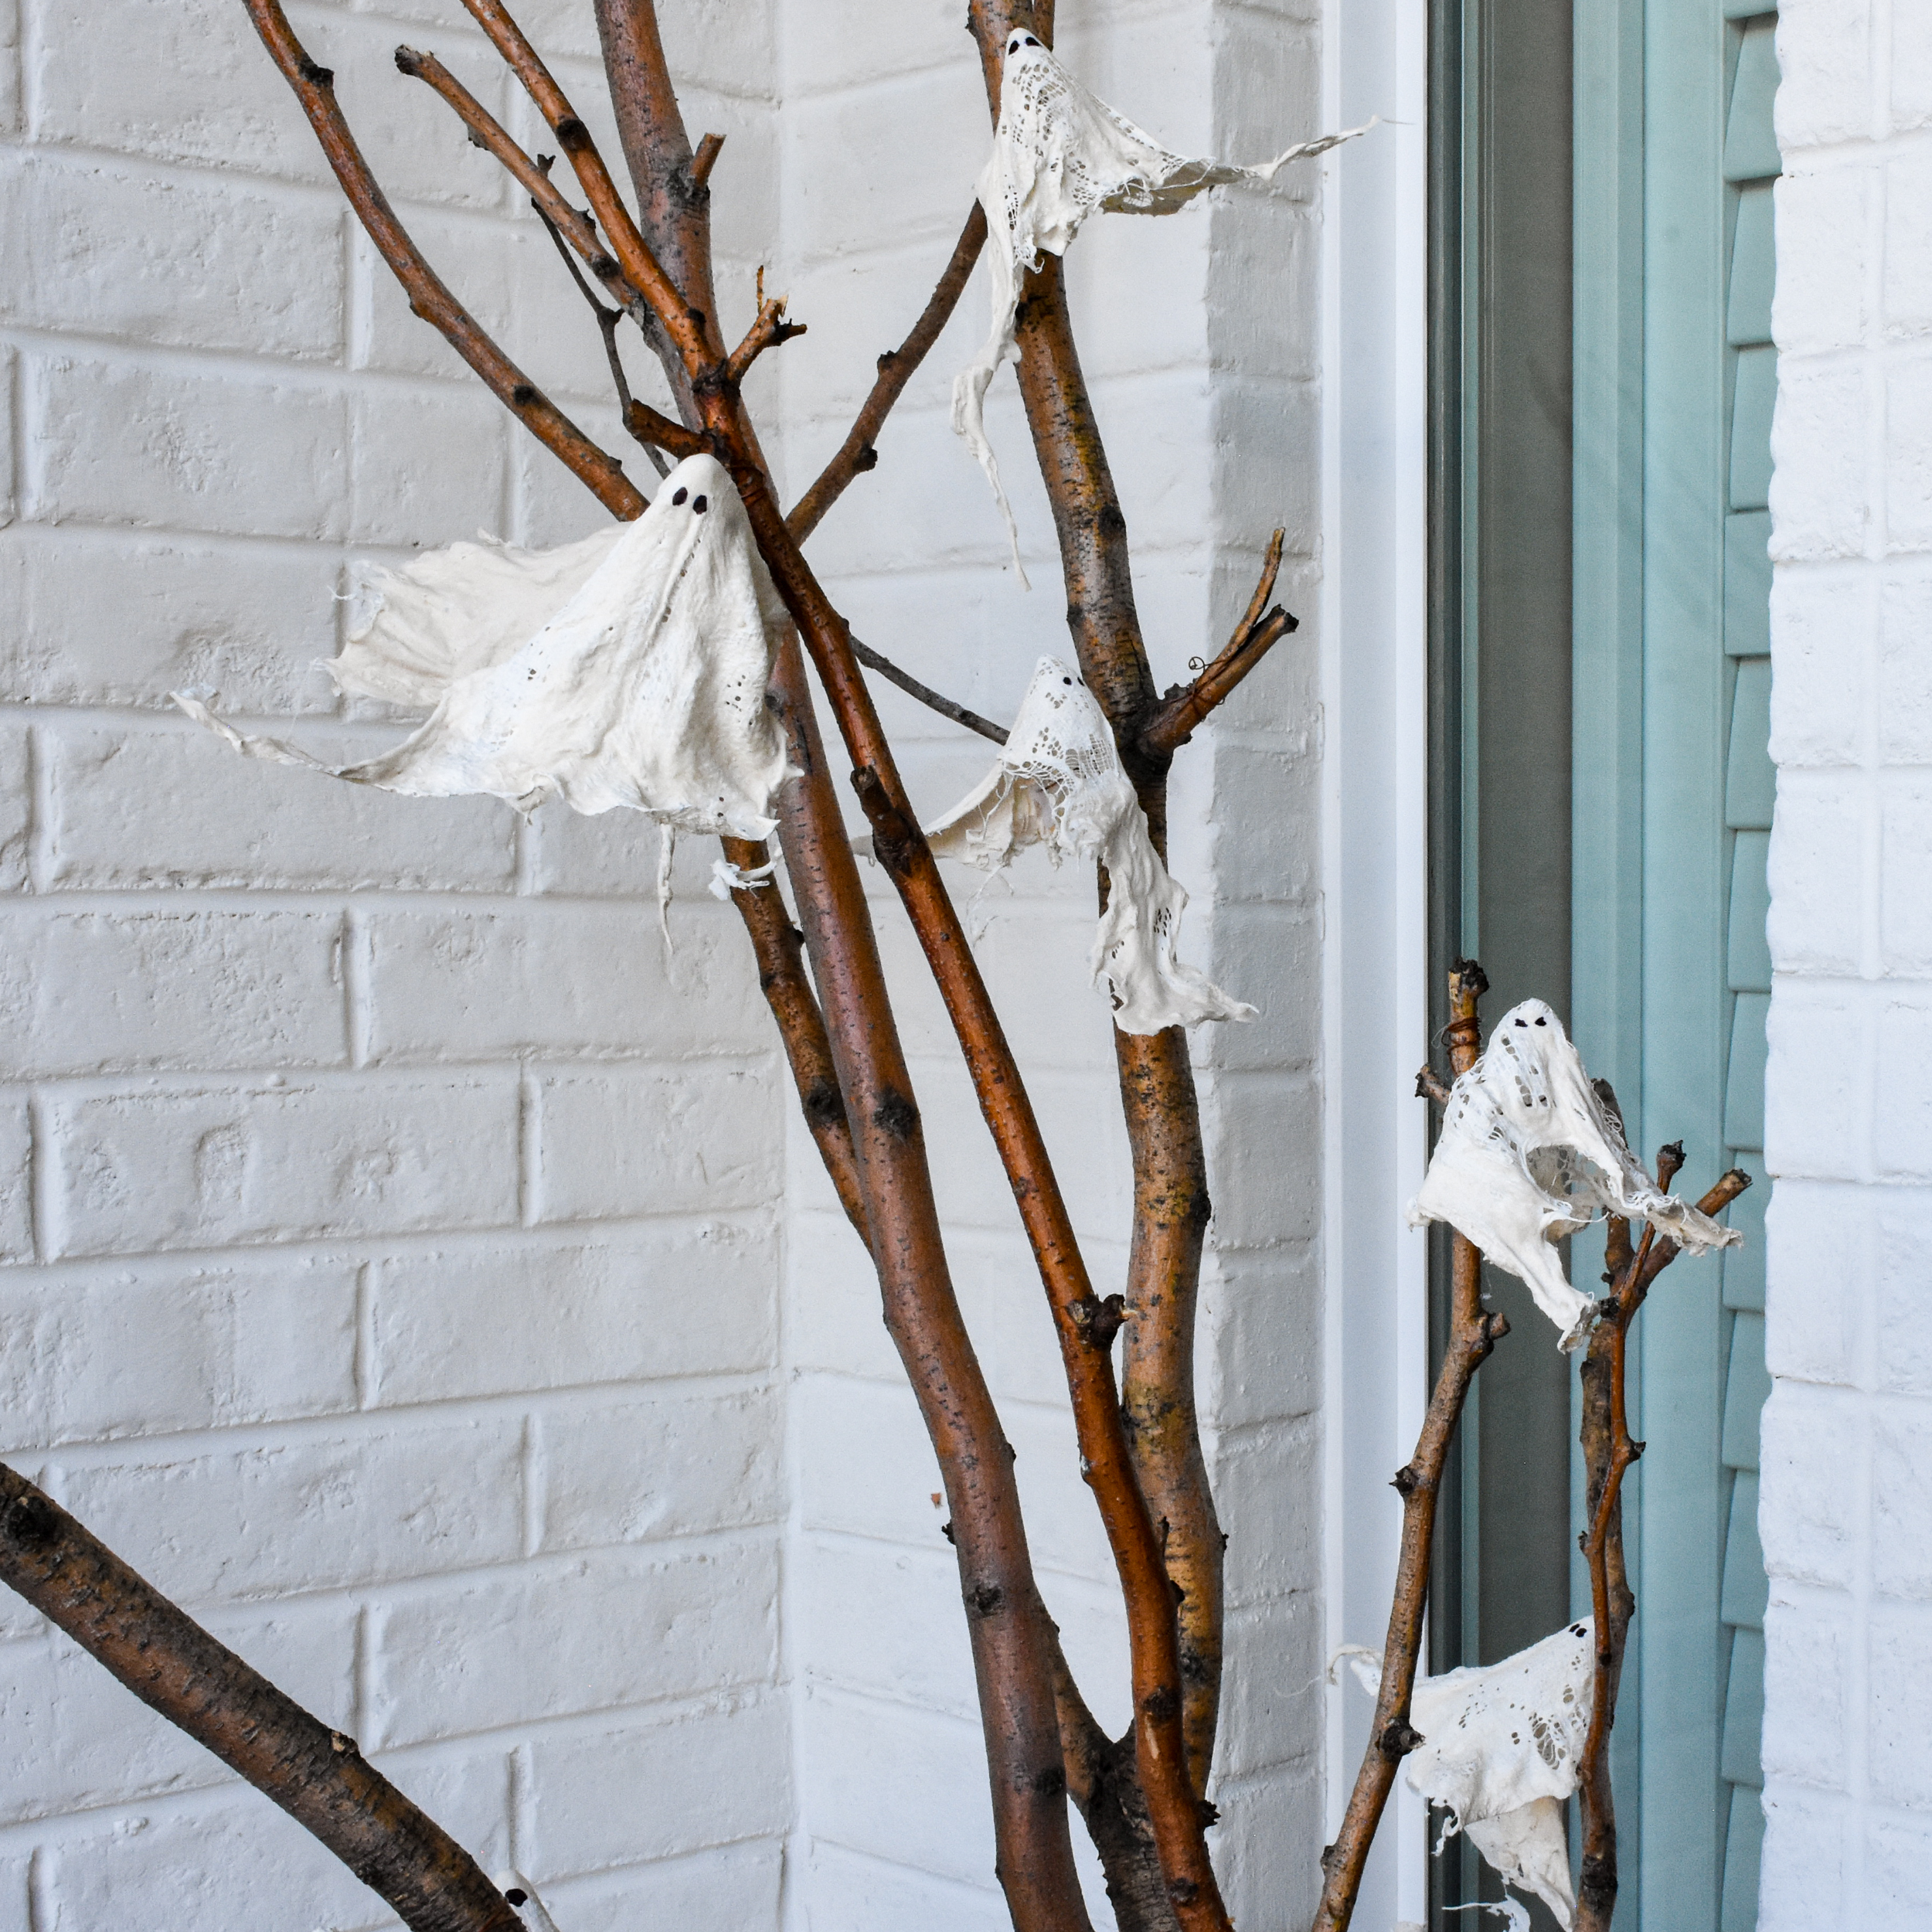
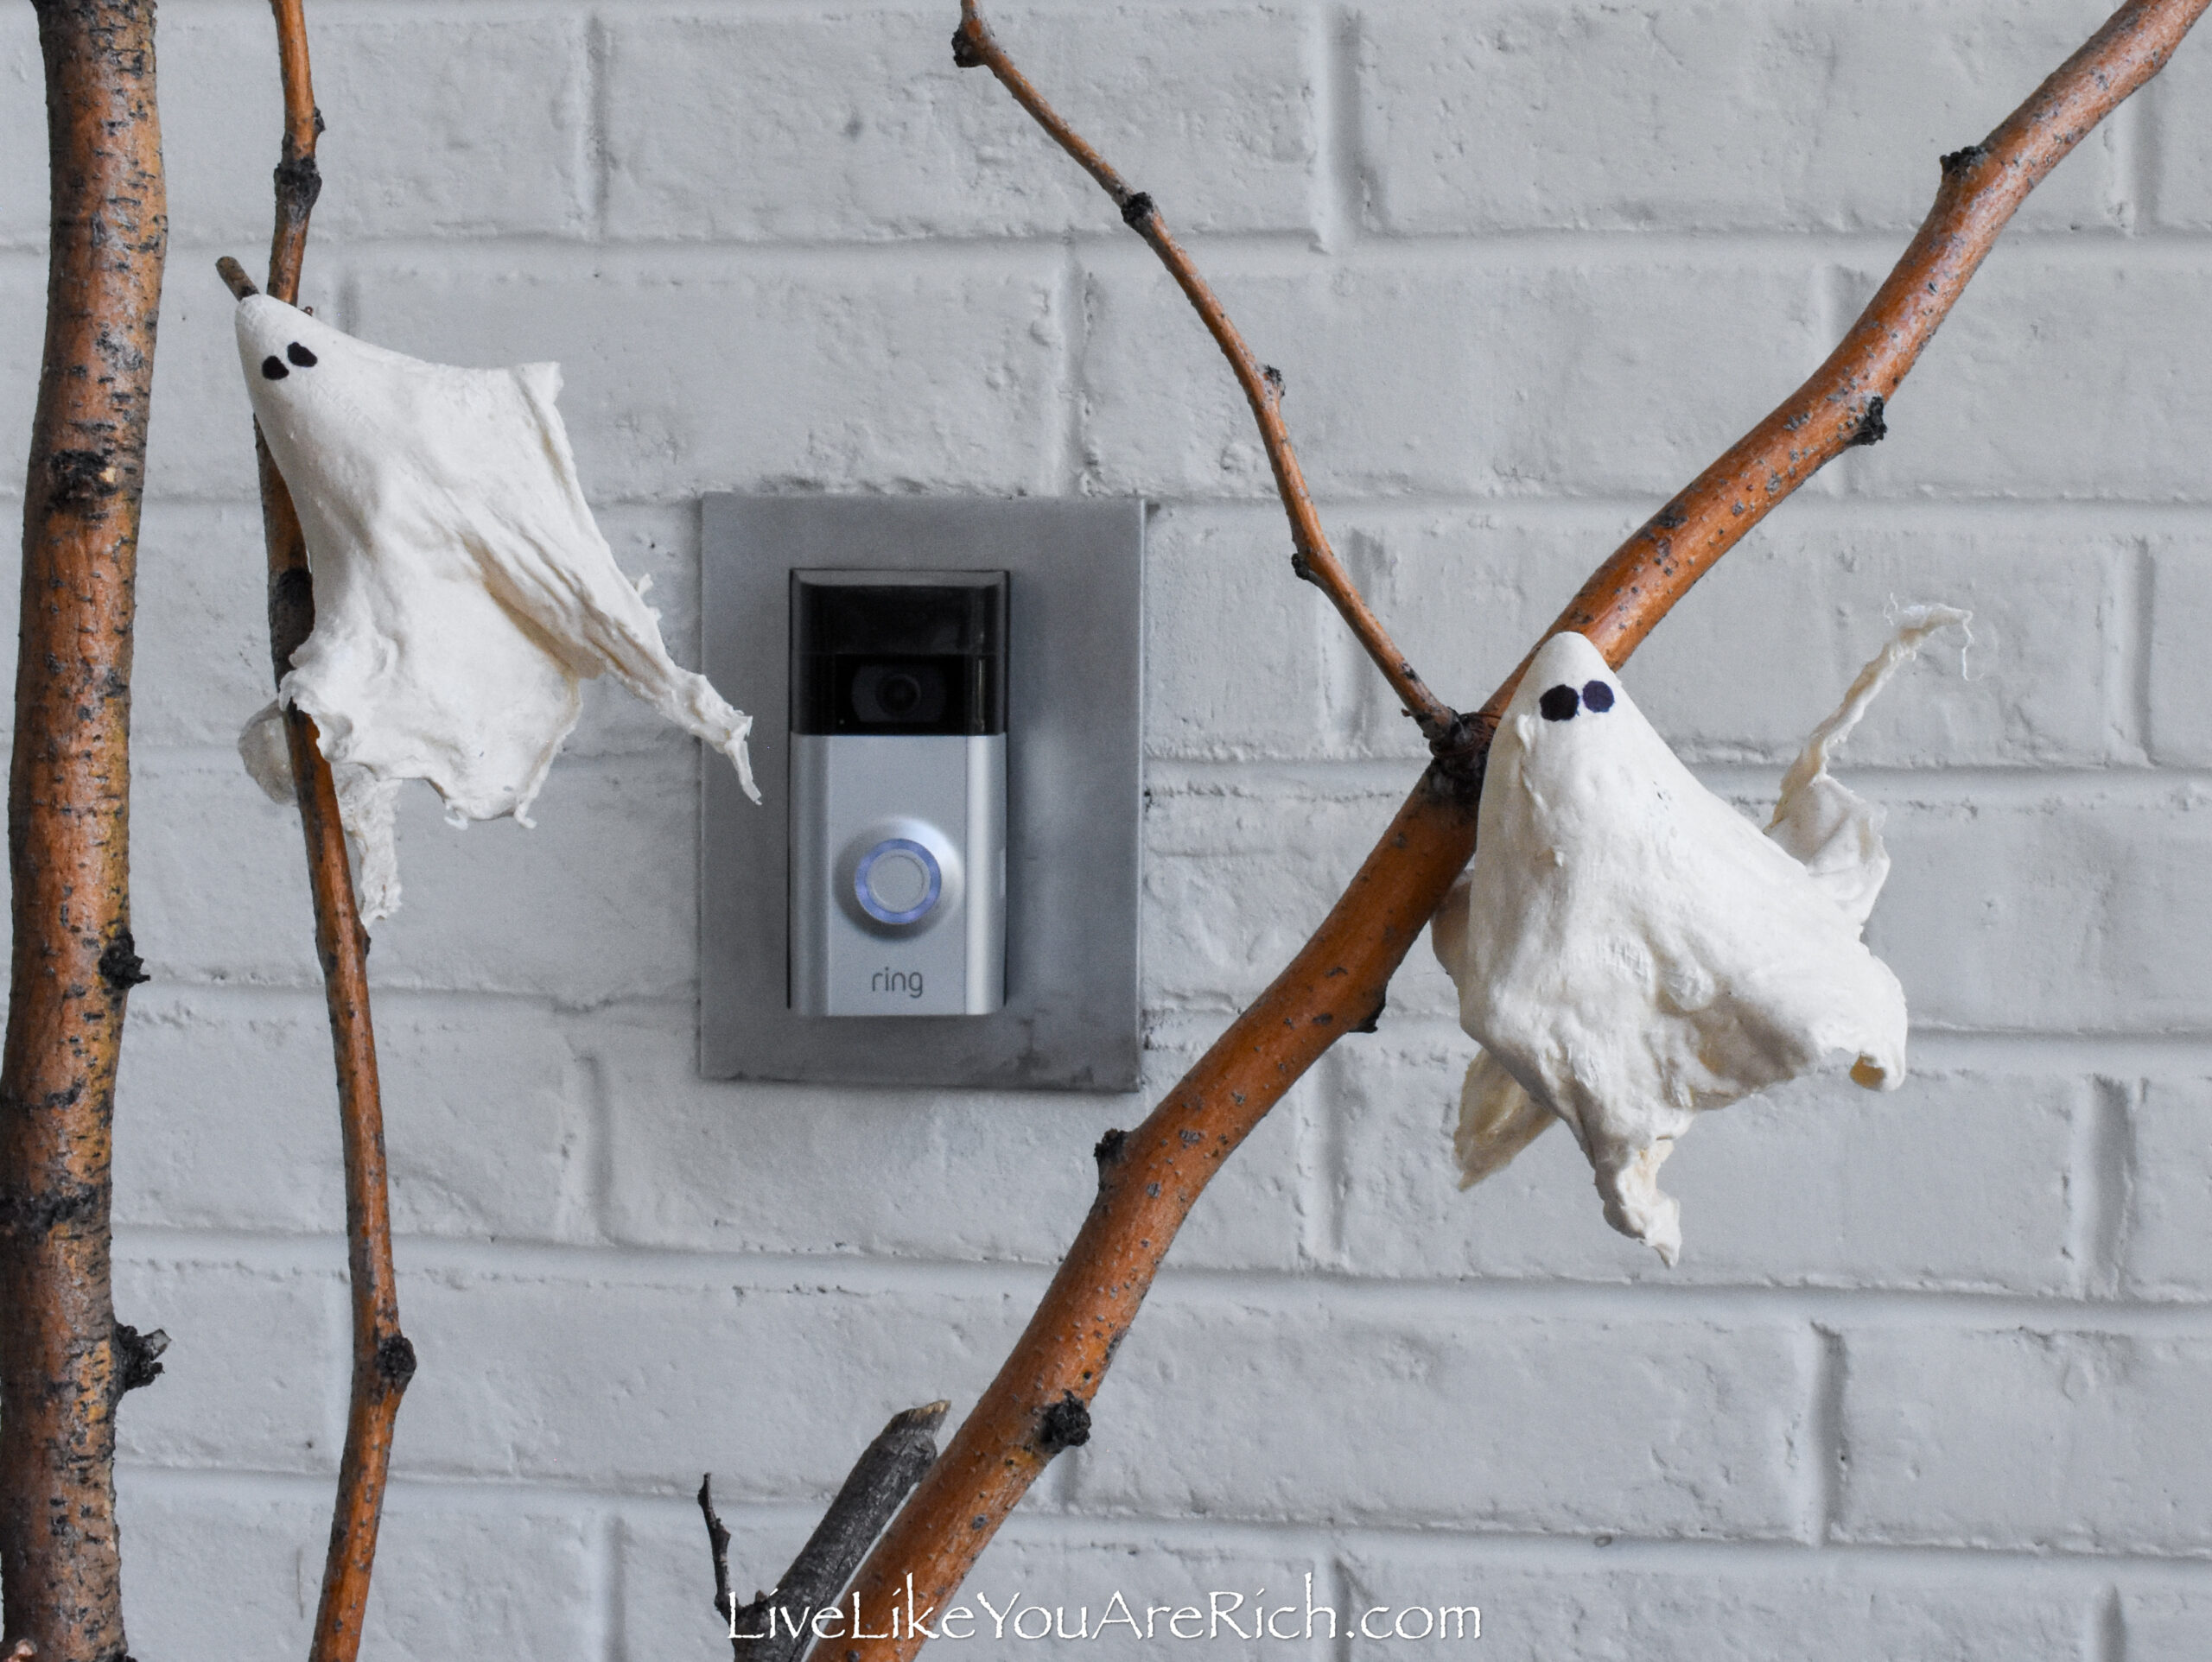
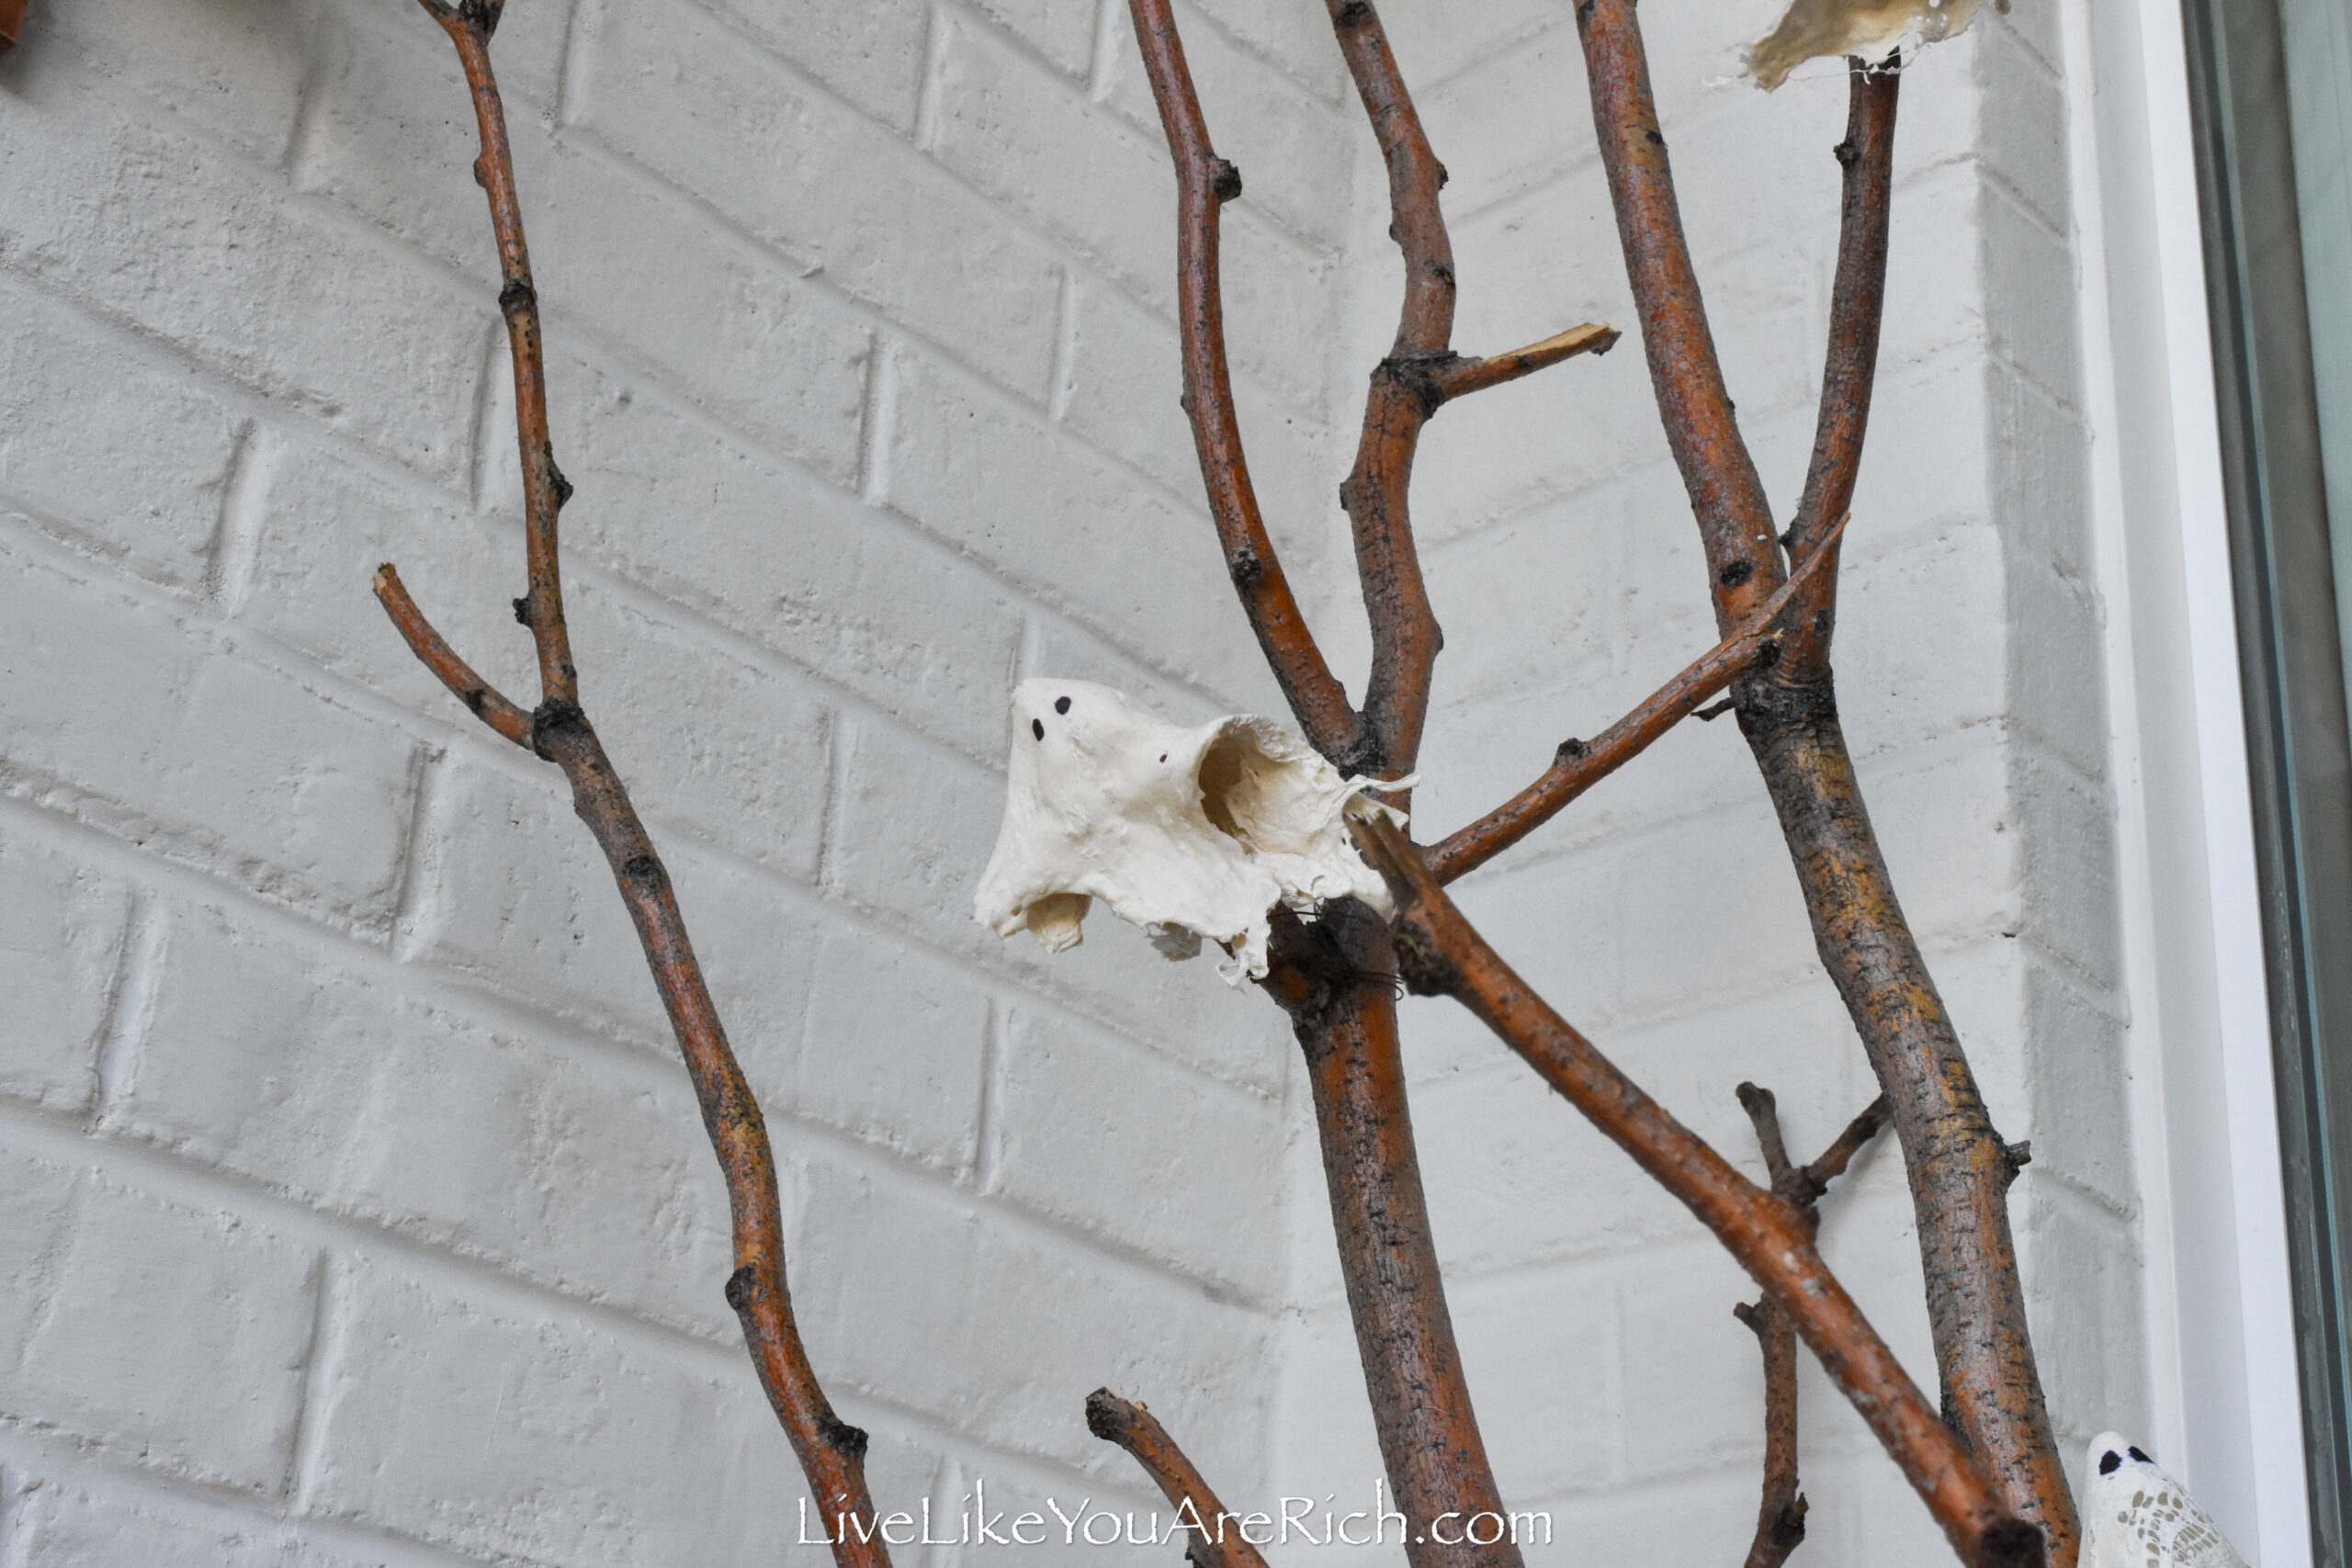
When looked at up close, they seem to be flying even though they are still.
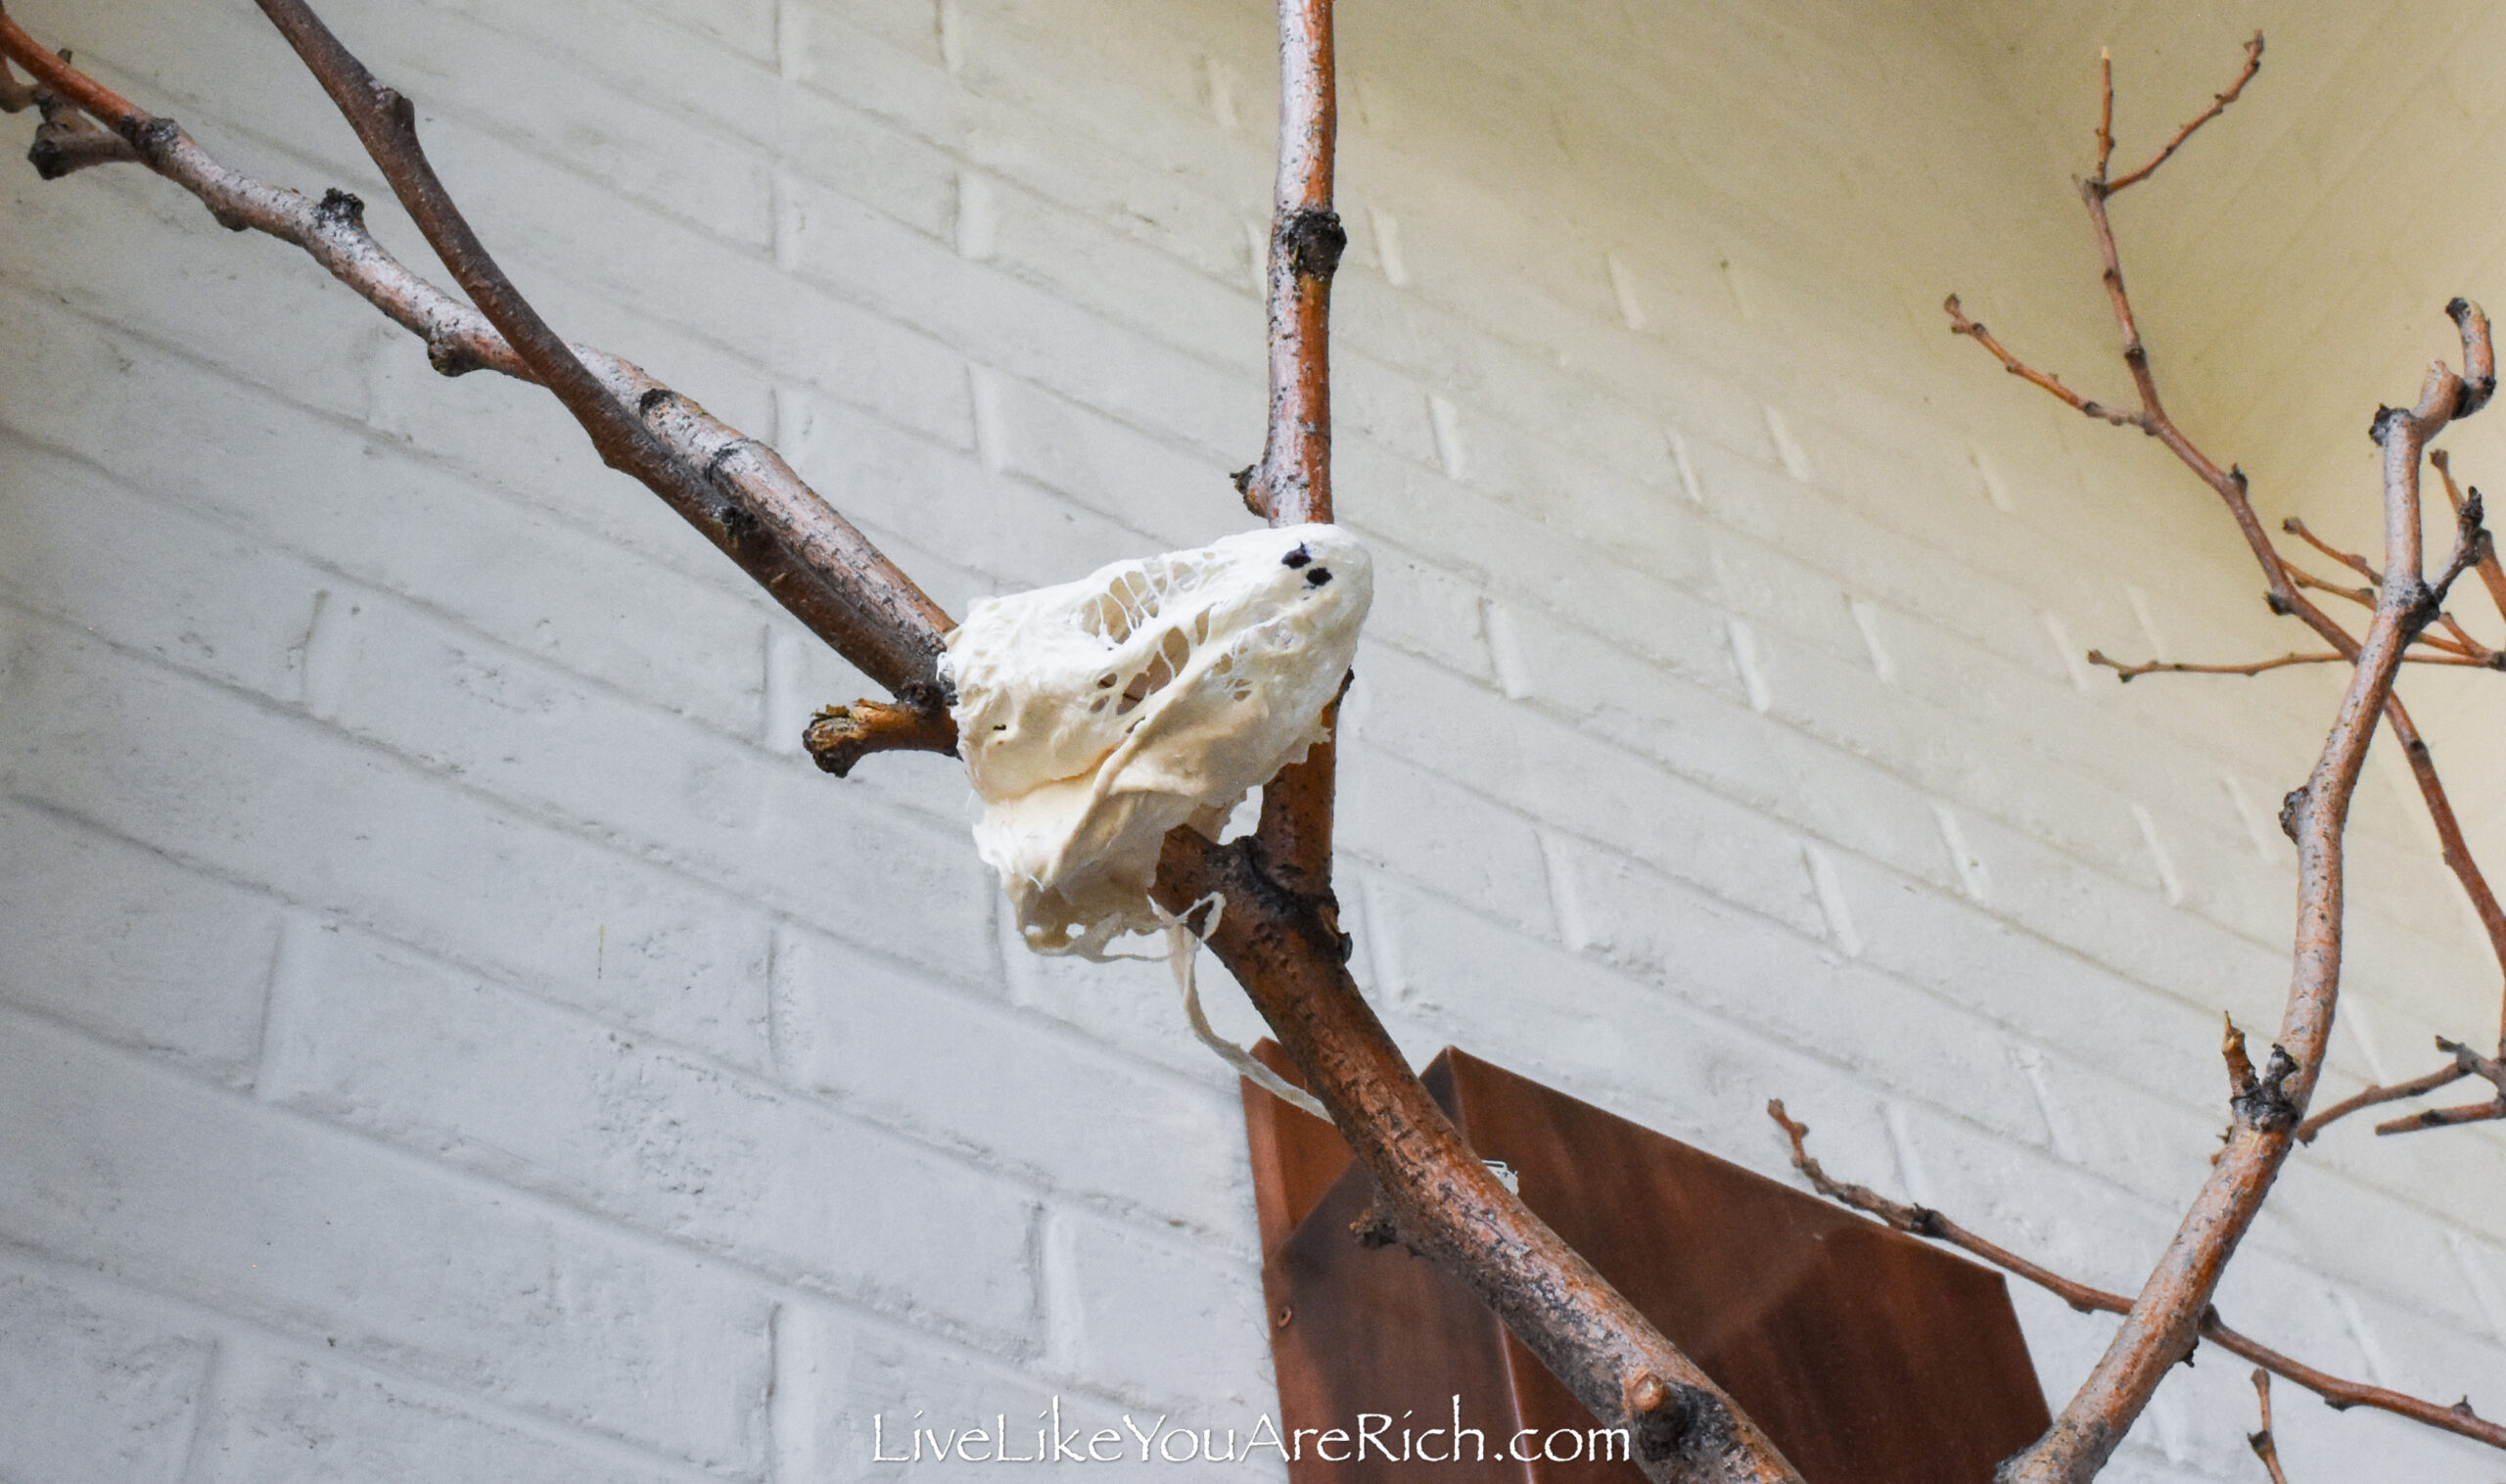
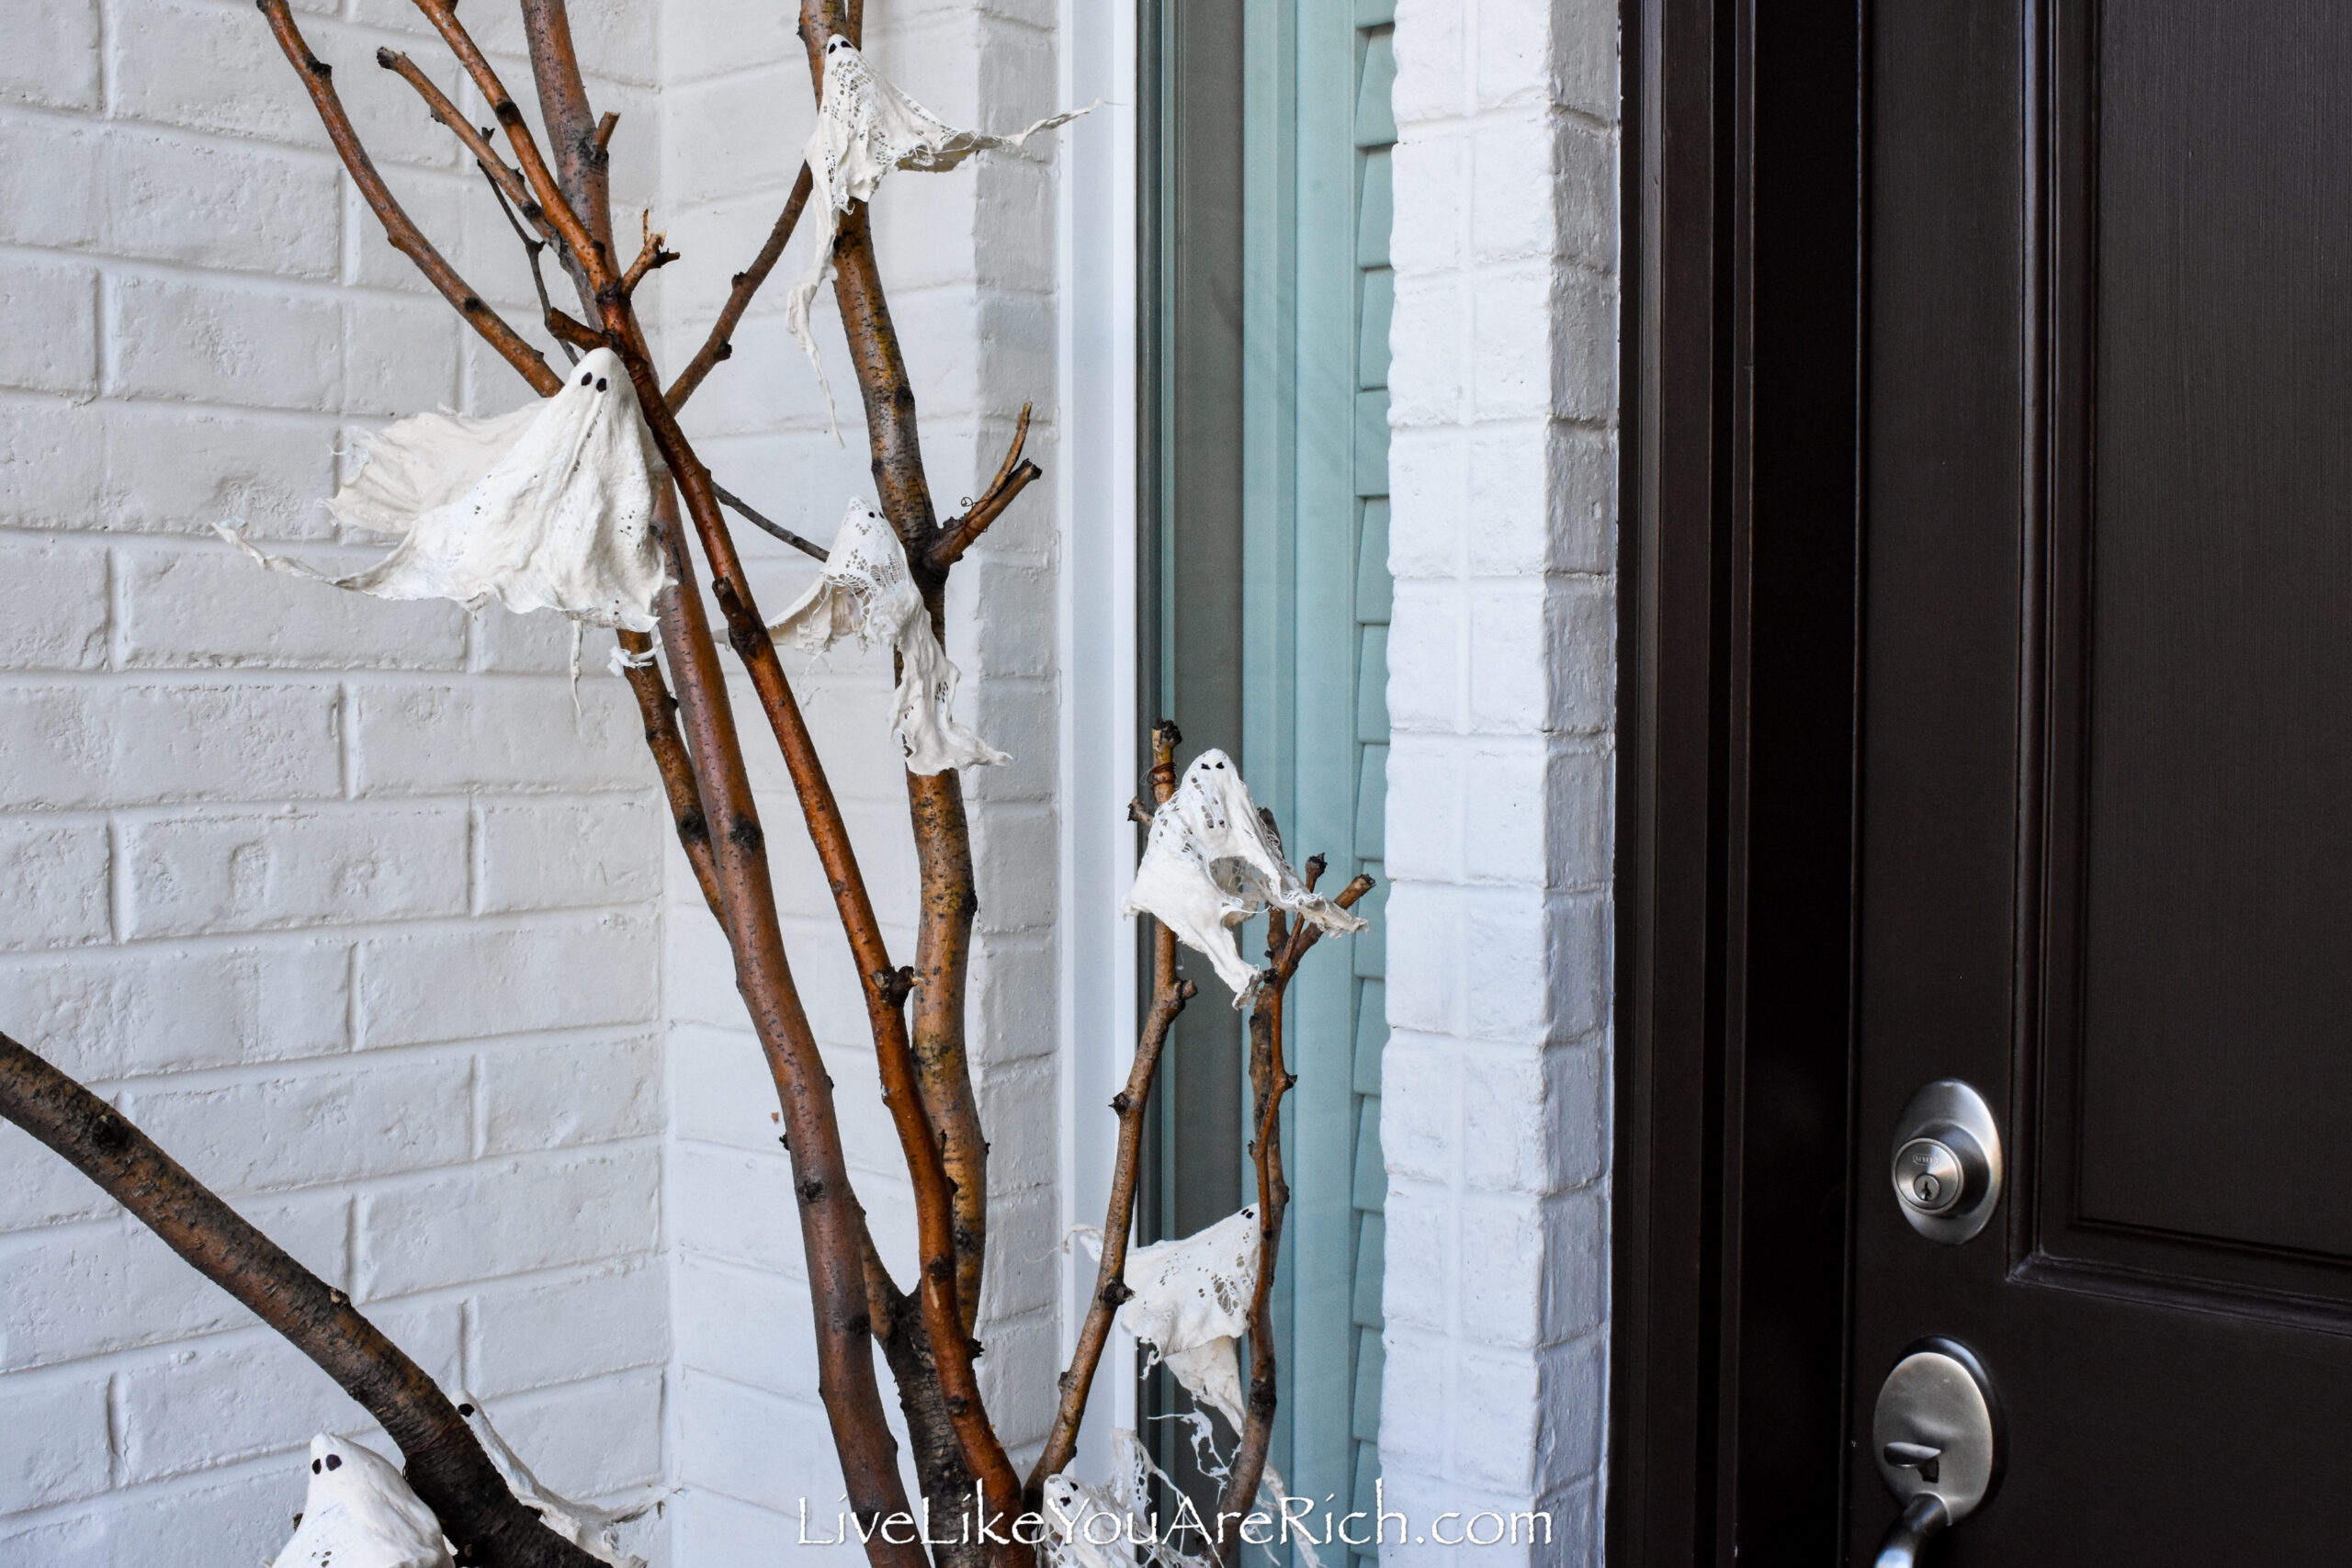
I love the character that each ghost has and how they vary in size, shape, eyes, and texture.
Made with Plaster of Paris and gauze, these little ghosts didn’t cost me anything out-of-pocket.
I just used items that I had on hand to make them.
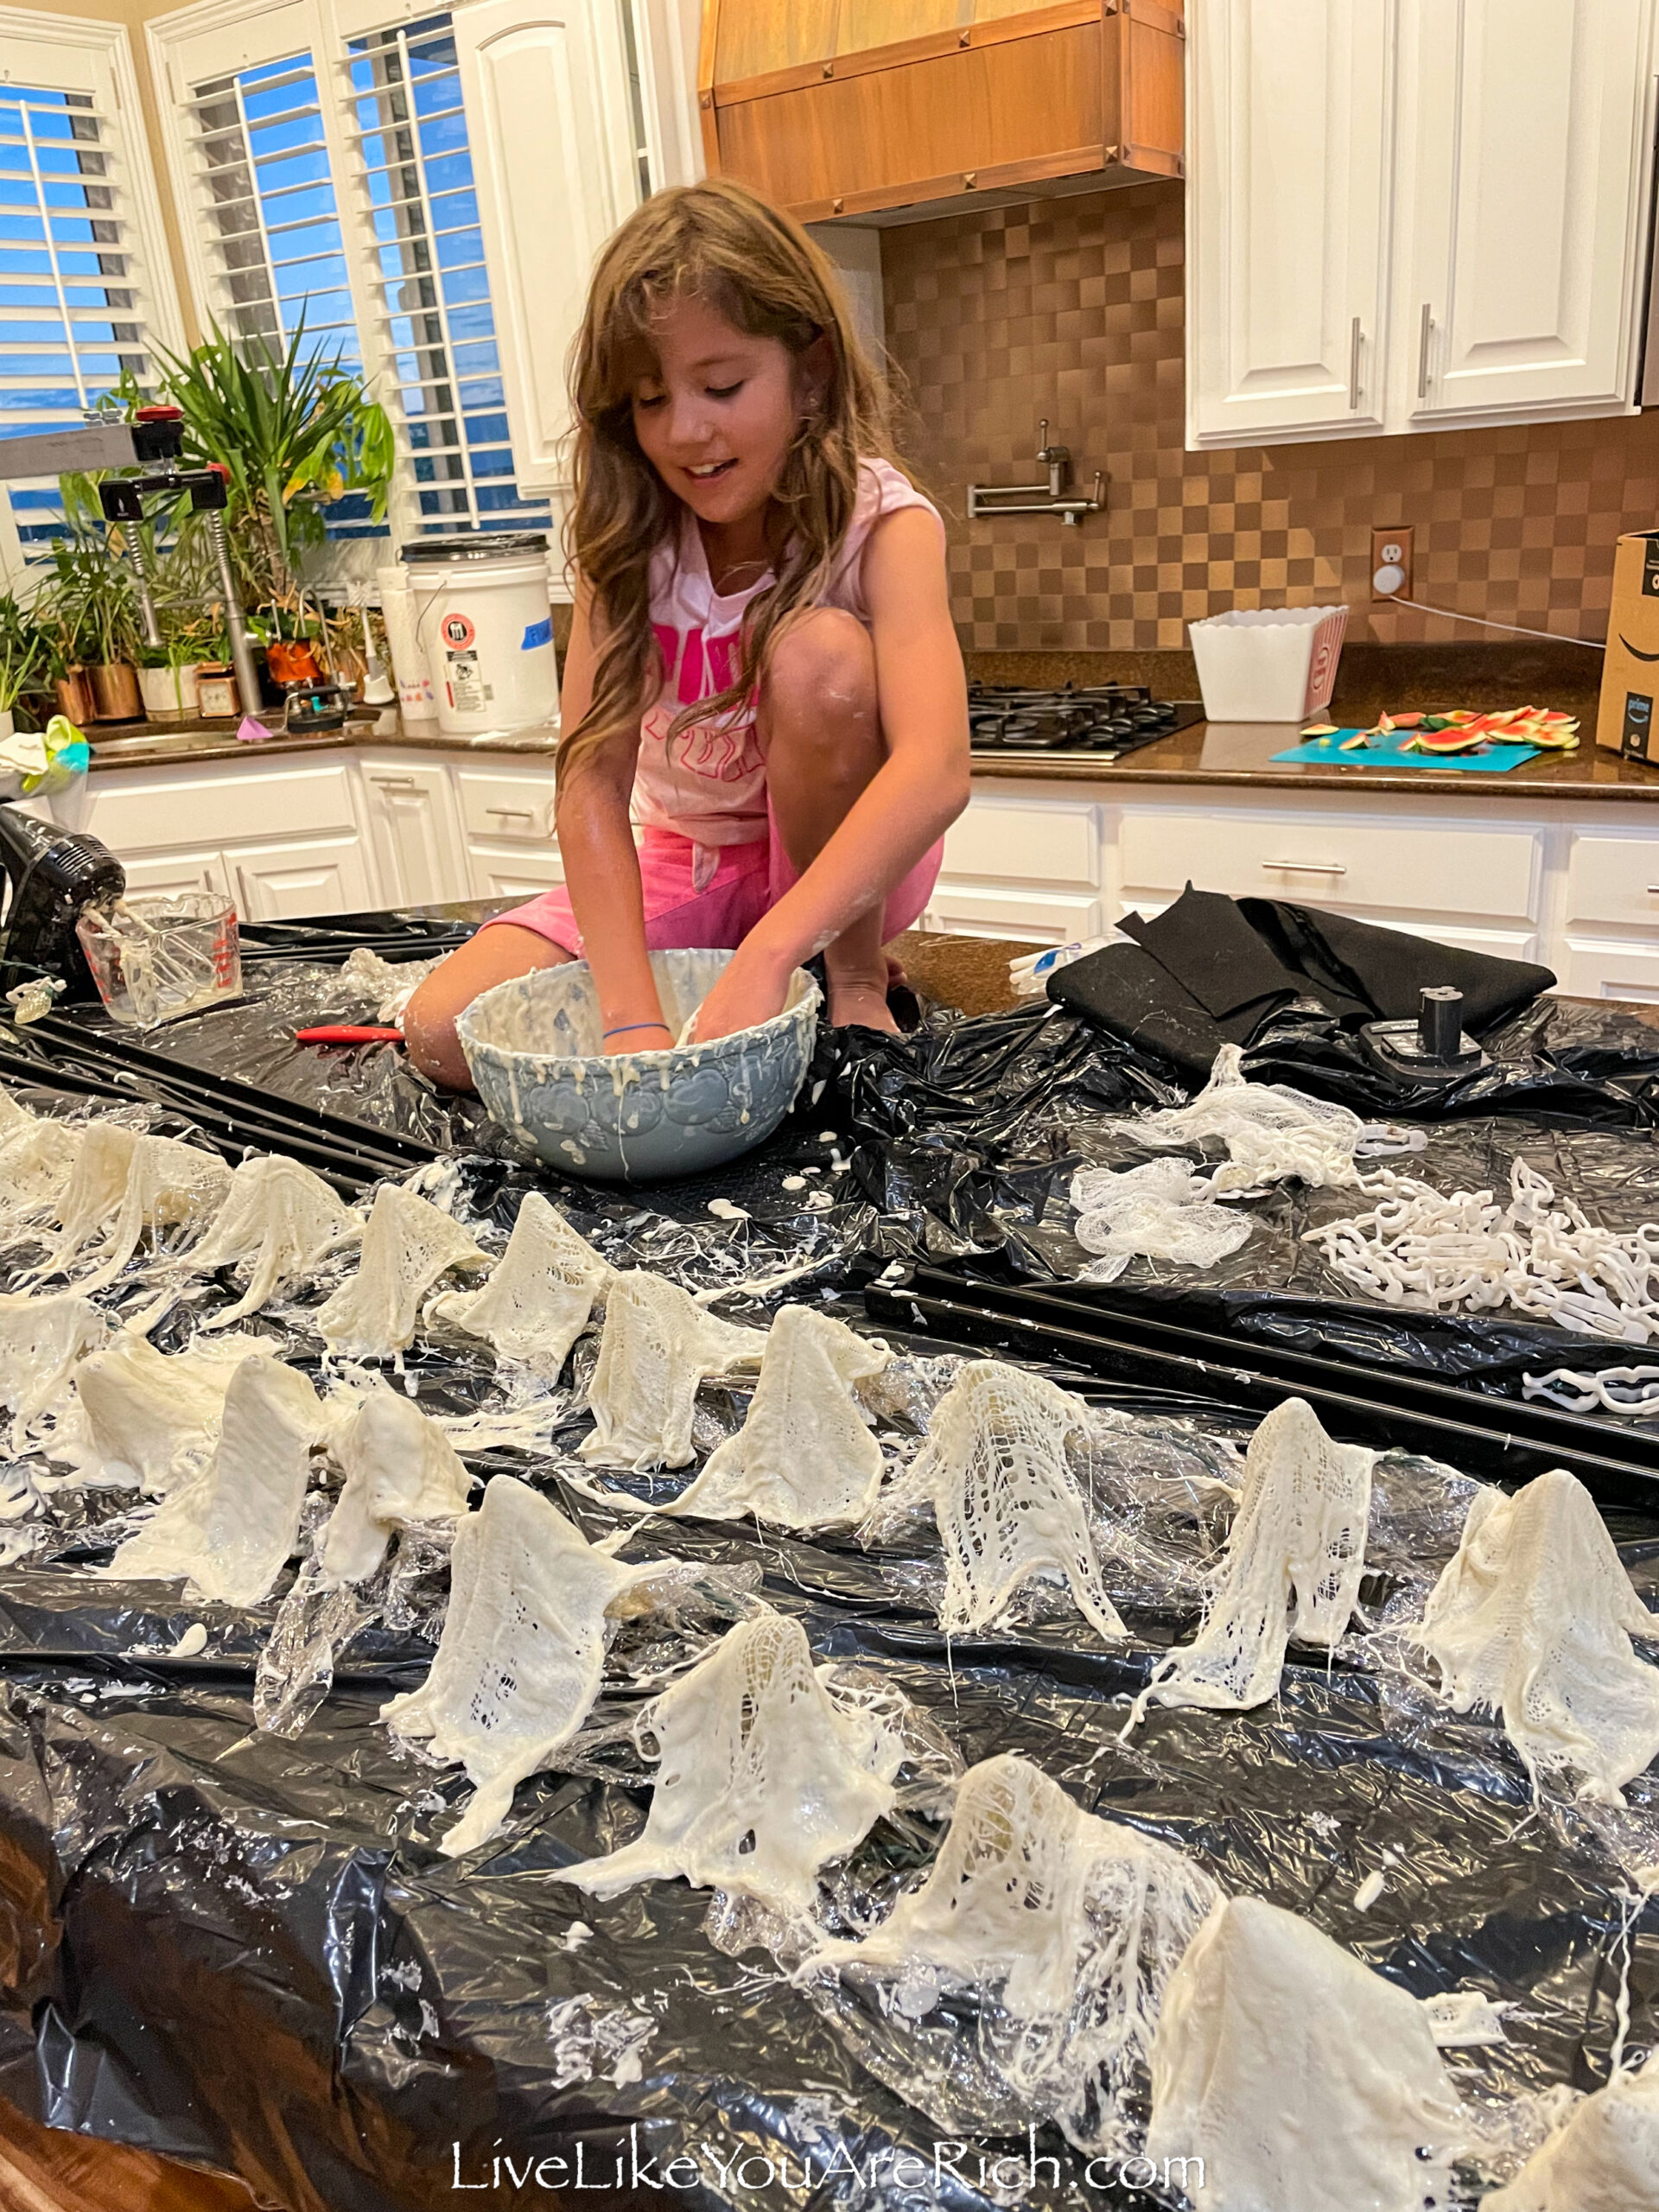
My daughter and I made 30 of them and while there is drying time, it only took us a few hours to make them all.
DIY Gauze Ghosts Supply List
30 Gauze strips that are cut to varying sizes between about 3″-6″ on the shorter side by (x) 4″-9″ on the longer side. We used two different types of gauze: gauze pad— thicker more tightly woven, and type VII gauze— loosely woven gauze.
We cut 30 strips (varying in size, shapes, and material) so that we would get different types and sizes of ghosts.
We have a robust first aid kit and 72-hour kit, so I used gauze out of those.
If using gauze that is multi-ply, you can separate the layers or keep them together, depending on how thick you want the ghost to be.
black trash bags (to place under the project to help with clean up)
A large batch of Plaster of Paris
Fan (optional) makes for a faster drying time
hair spray
Unistrut – My husband had Unistrut metal rods that I borrowed from his shop for this project. You can purchase 10-12 ft lengths for about $30.00 at Home Depot or Lowe’s locally as well. I used 4- 4ft lengths for the 30 ghosts.
Alternatively, you could use a piece of plywood and drill holes large enough to fit the bottom of the lights and then screw the light bulbs on after you have pushed the sockets of all of the light bulbs through the plywood.
If the aforementioned options aren’t realistic, perhaps tool clamps may work to try to position the Christmas lights upright although you’d need a lot of clamps for this, it could work.
DIY Gauze Ghosts Instructions
To see how to make these, you can watch the video tutorial on this blog post or you can continue reading…
1. Collect supplies.
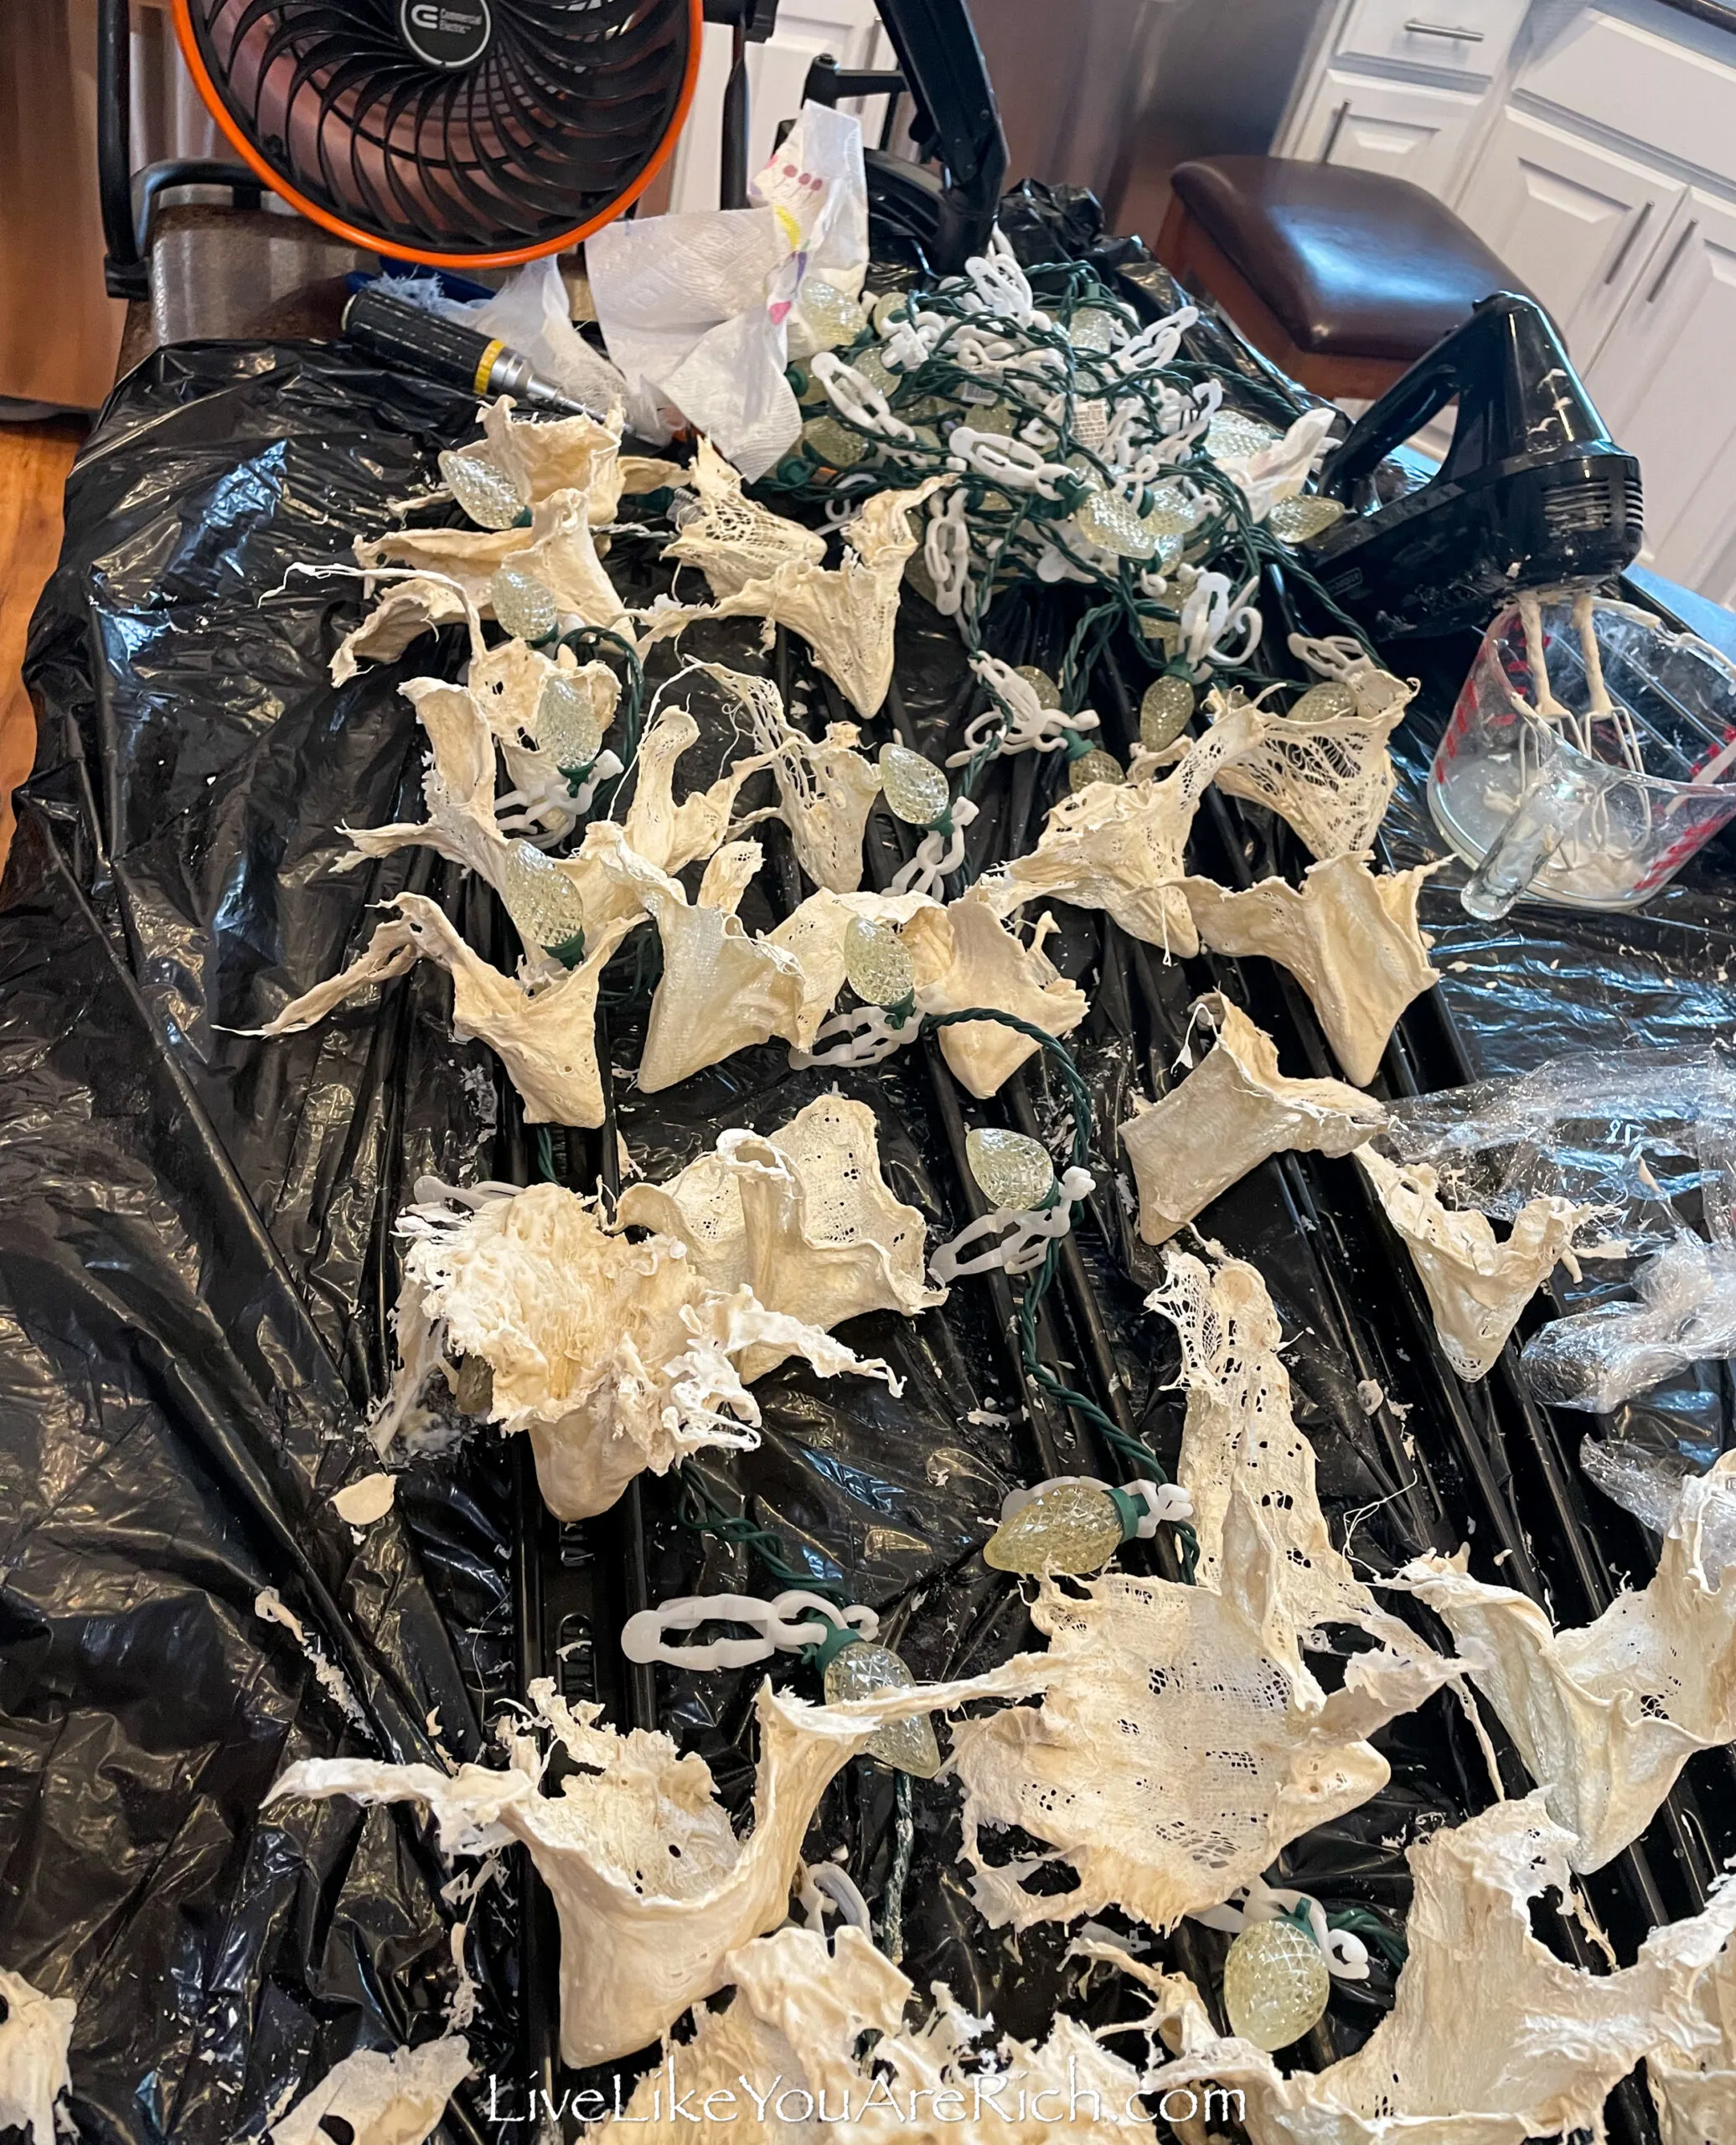
2. Place black trash bags down flat on the countertop or floor work surface to help with clean up.
3. Using unistrut, Christmas lights, and Christmas light clips, clip Christmas lights upright onto the unistrut about 4″-6″ apart.
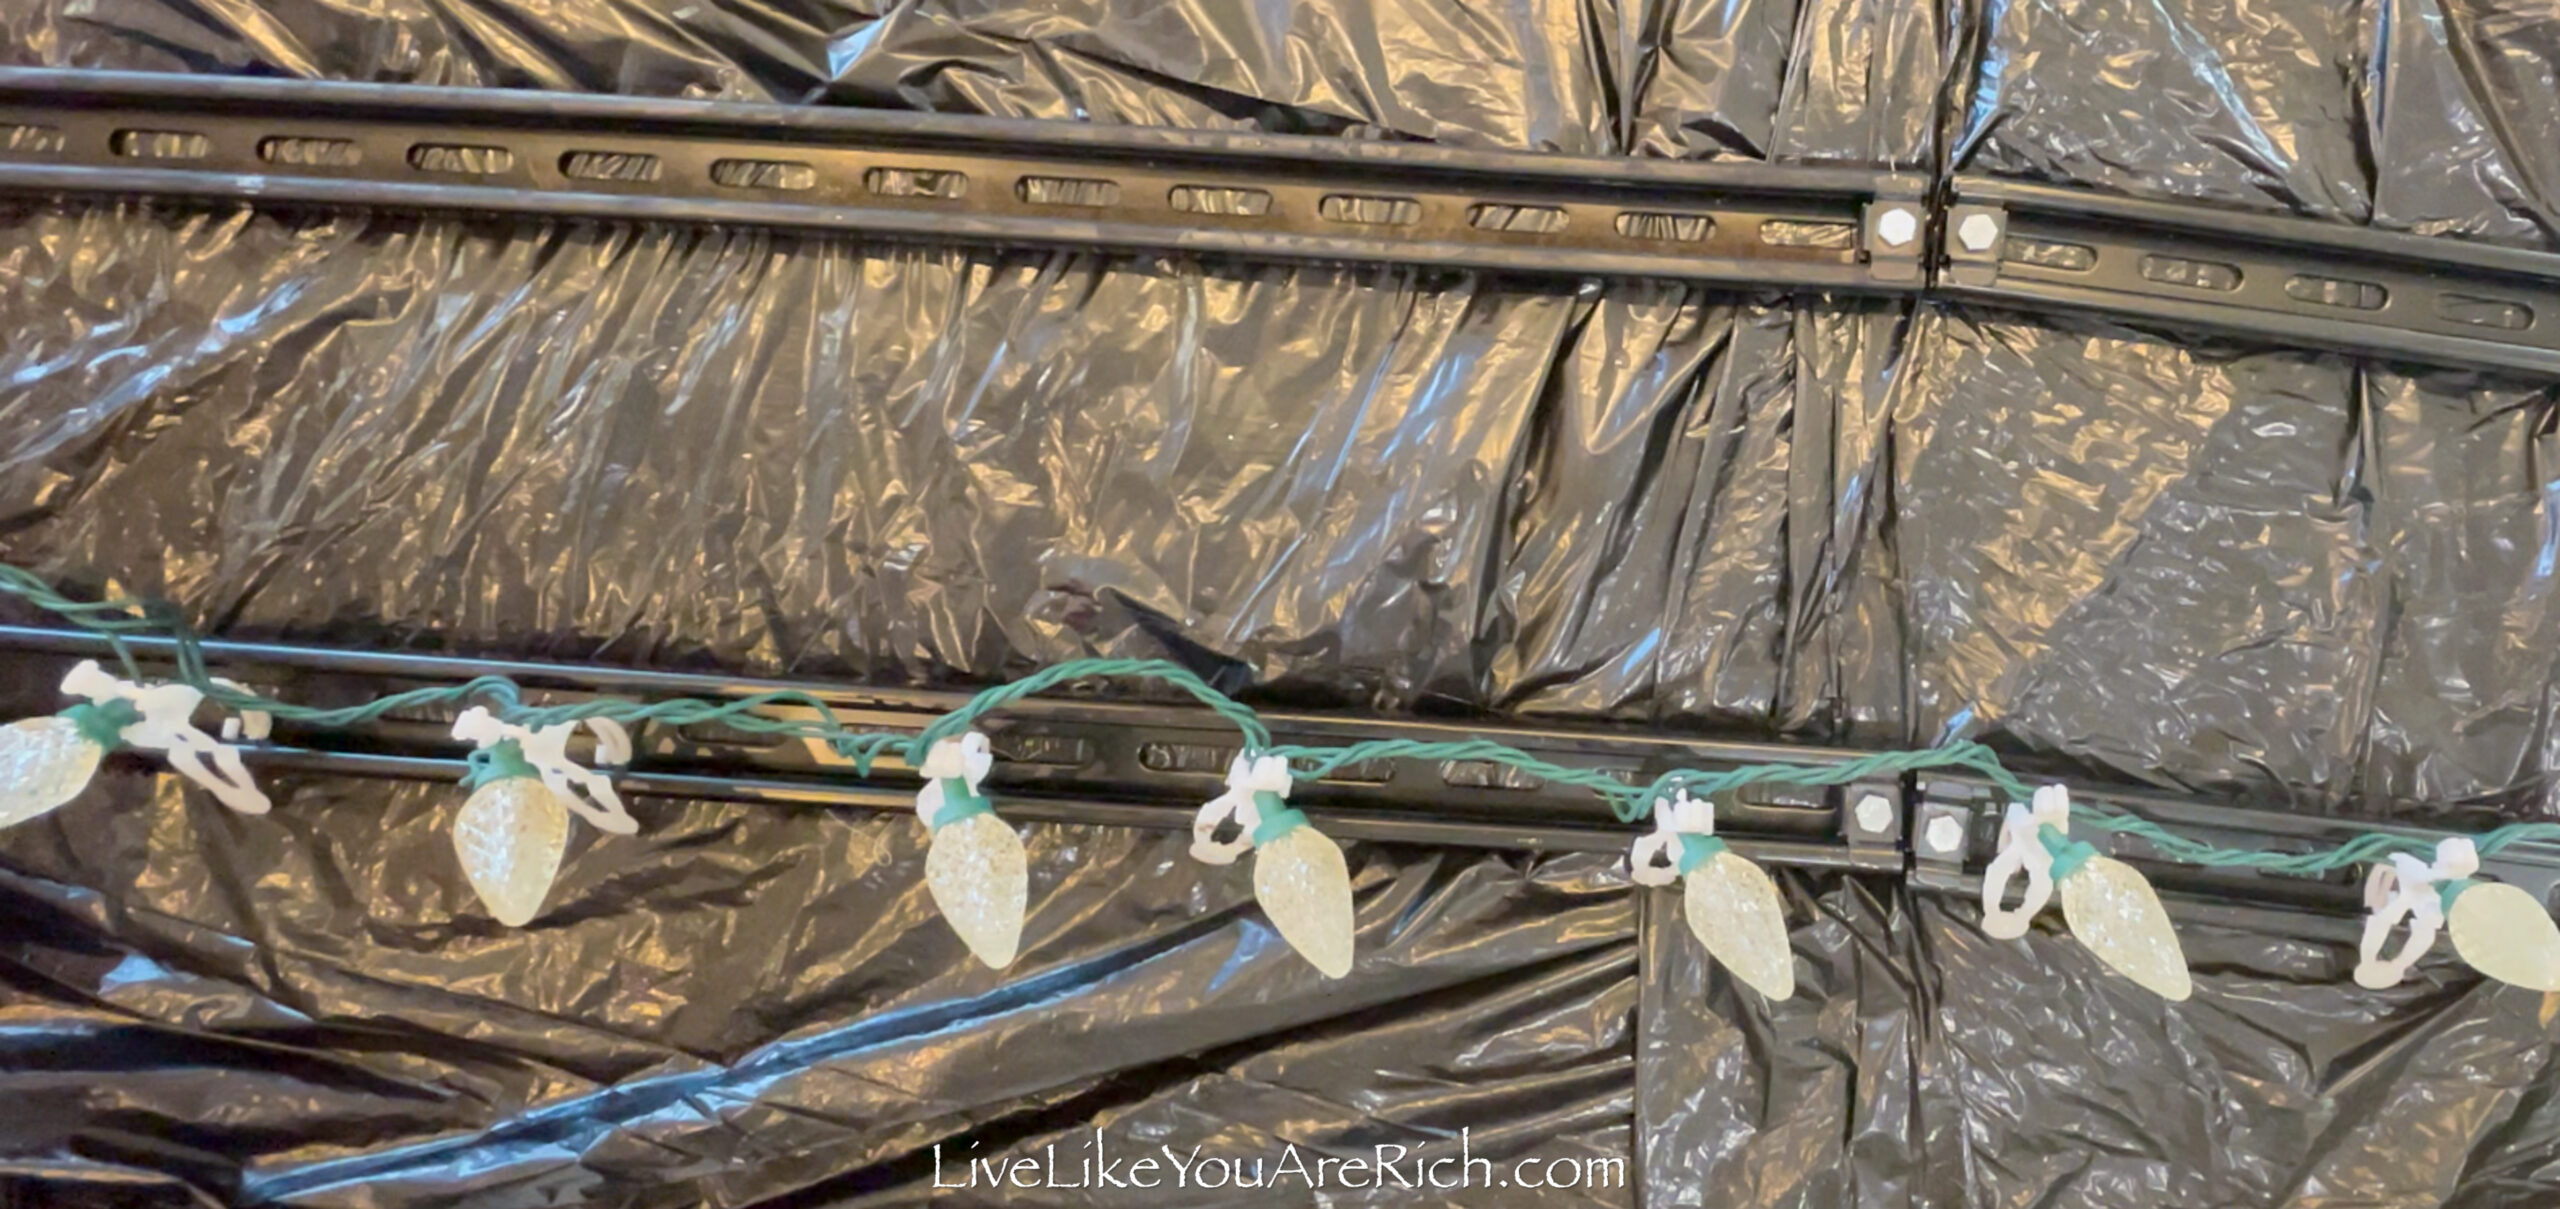
You can use plywood, tool clamps, or some other creative idea. IMPORTANT: whatever you use to get the Christmas lights upright, you need to make sure the lights will remain fairly upright with the weight of the gauze being draped on them.
One of our lights fell sideways and we ended up with a gauze ghost that looked like a ghost dog or a cat due to the sideways shape of the horizontal light. While cute, that wasn’t quite the design we were looking for it was unusable on the branches so my daughter kept it. LOL.
4. Place the saran wrap loosely over the lights and tuck it down in between the lights to the unistrut or plywood so you have enough saran wrap for the entire gauze ghost to hang on.

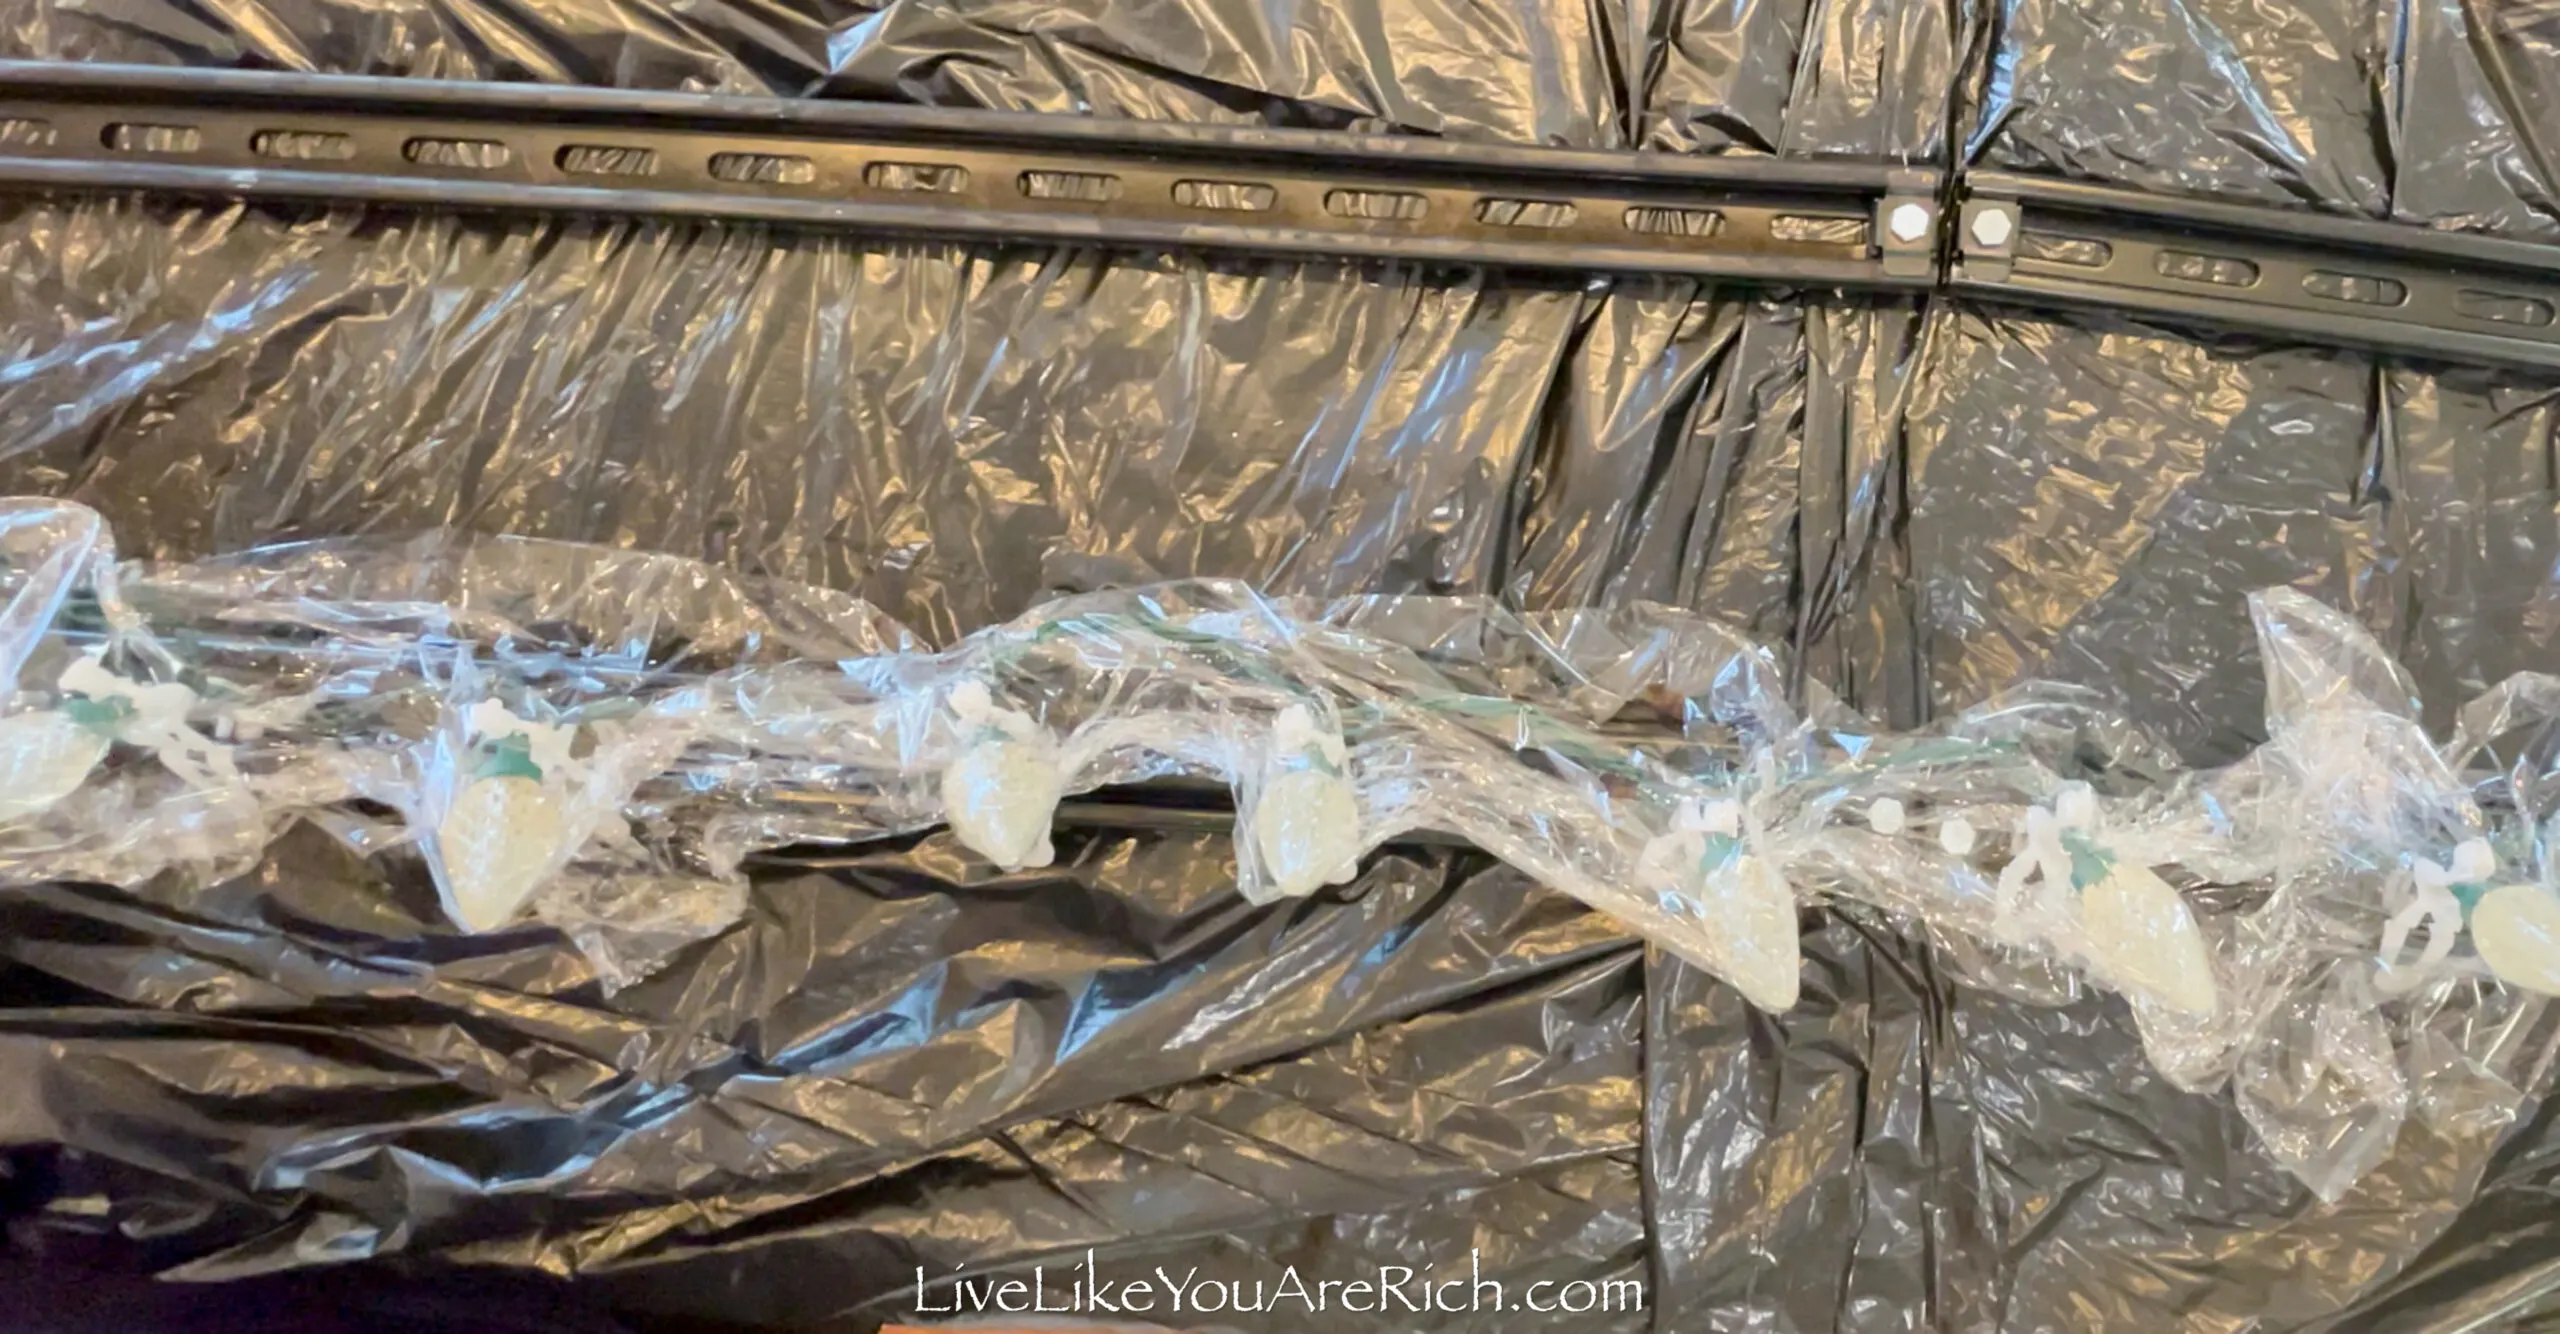
You want the gauze to dry onto a surface that it can easily peel off of. Therefore, you want the Saran wrap to cover everything the gauze is touching for easy removal.
If some of the gauze rests on the garbage sack that is put down to help out with cleanup, that is also okay. Many of our ghosts ended up resting on the trash bag and they peeled off just fine.
I just worry if a reader tries this craft with plywood that the gauze might stick and the ghost’s tails’ will break when trying to remove them from the wood.

5. Cut gauze strips to varying sizes between about 3″-6″ on the shorter side by (x) 4″-9″ on the longer side. We used two different types of gauze.
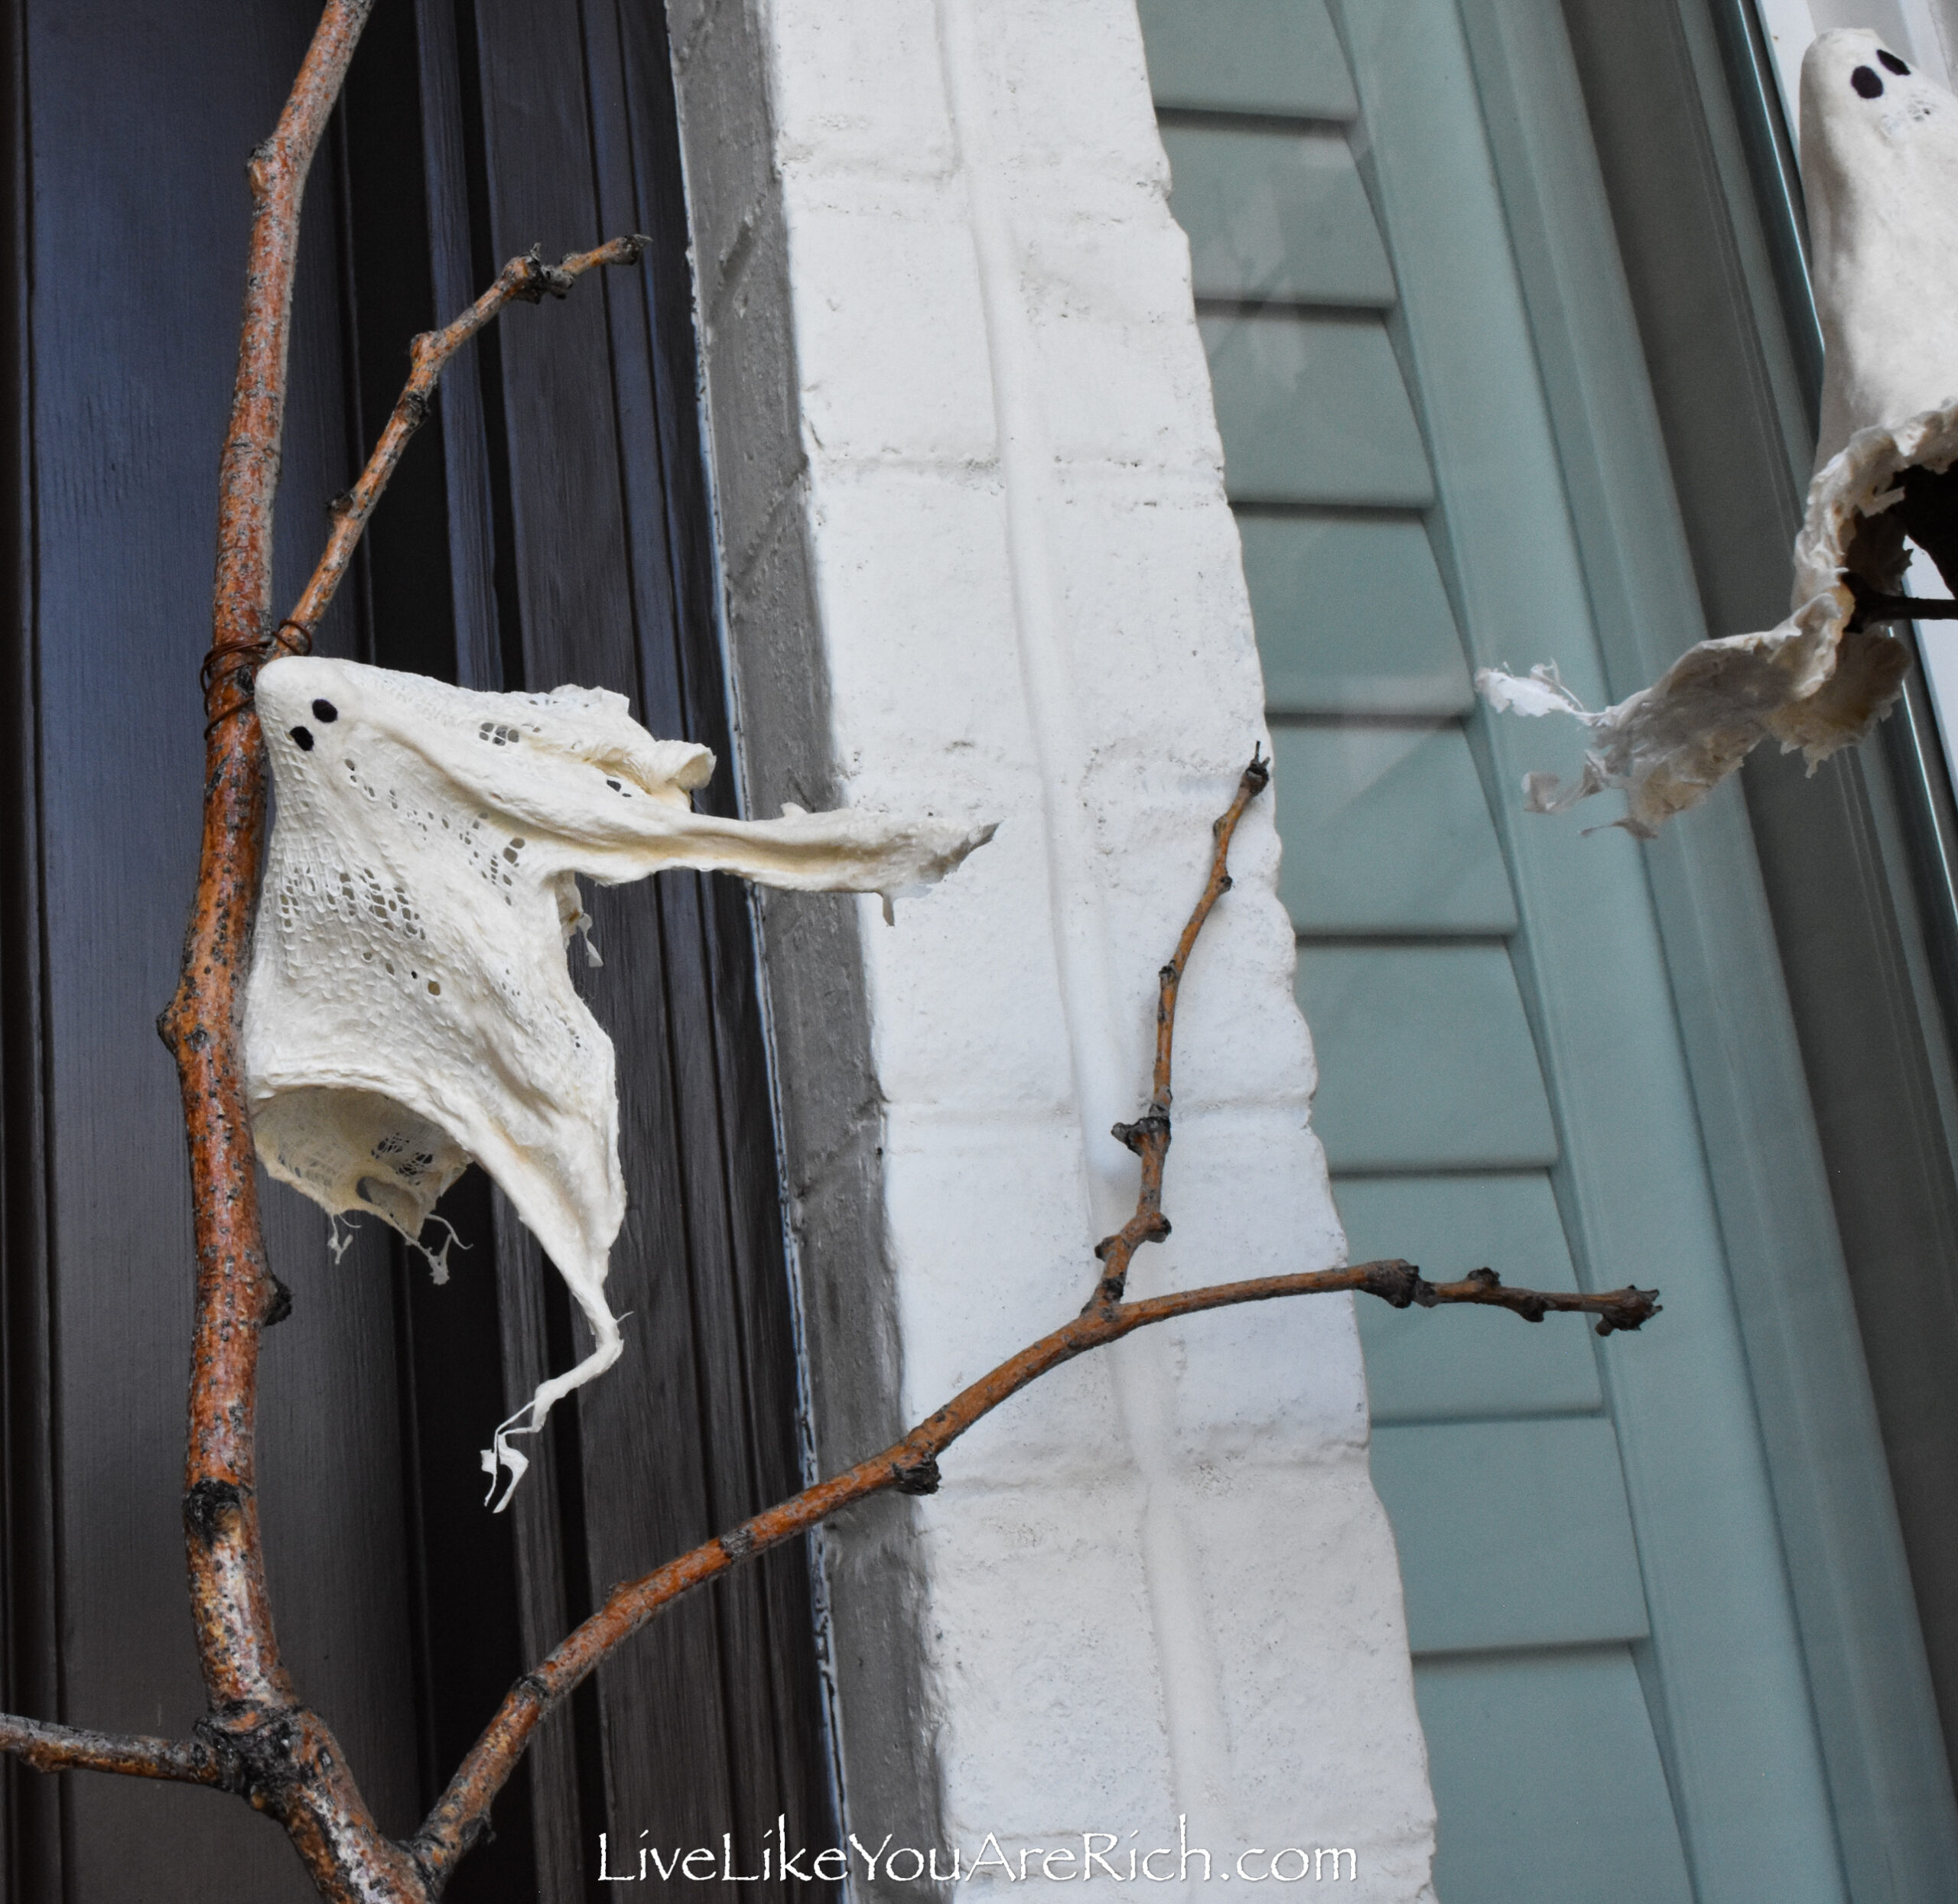
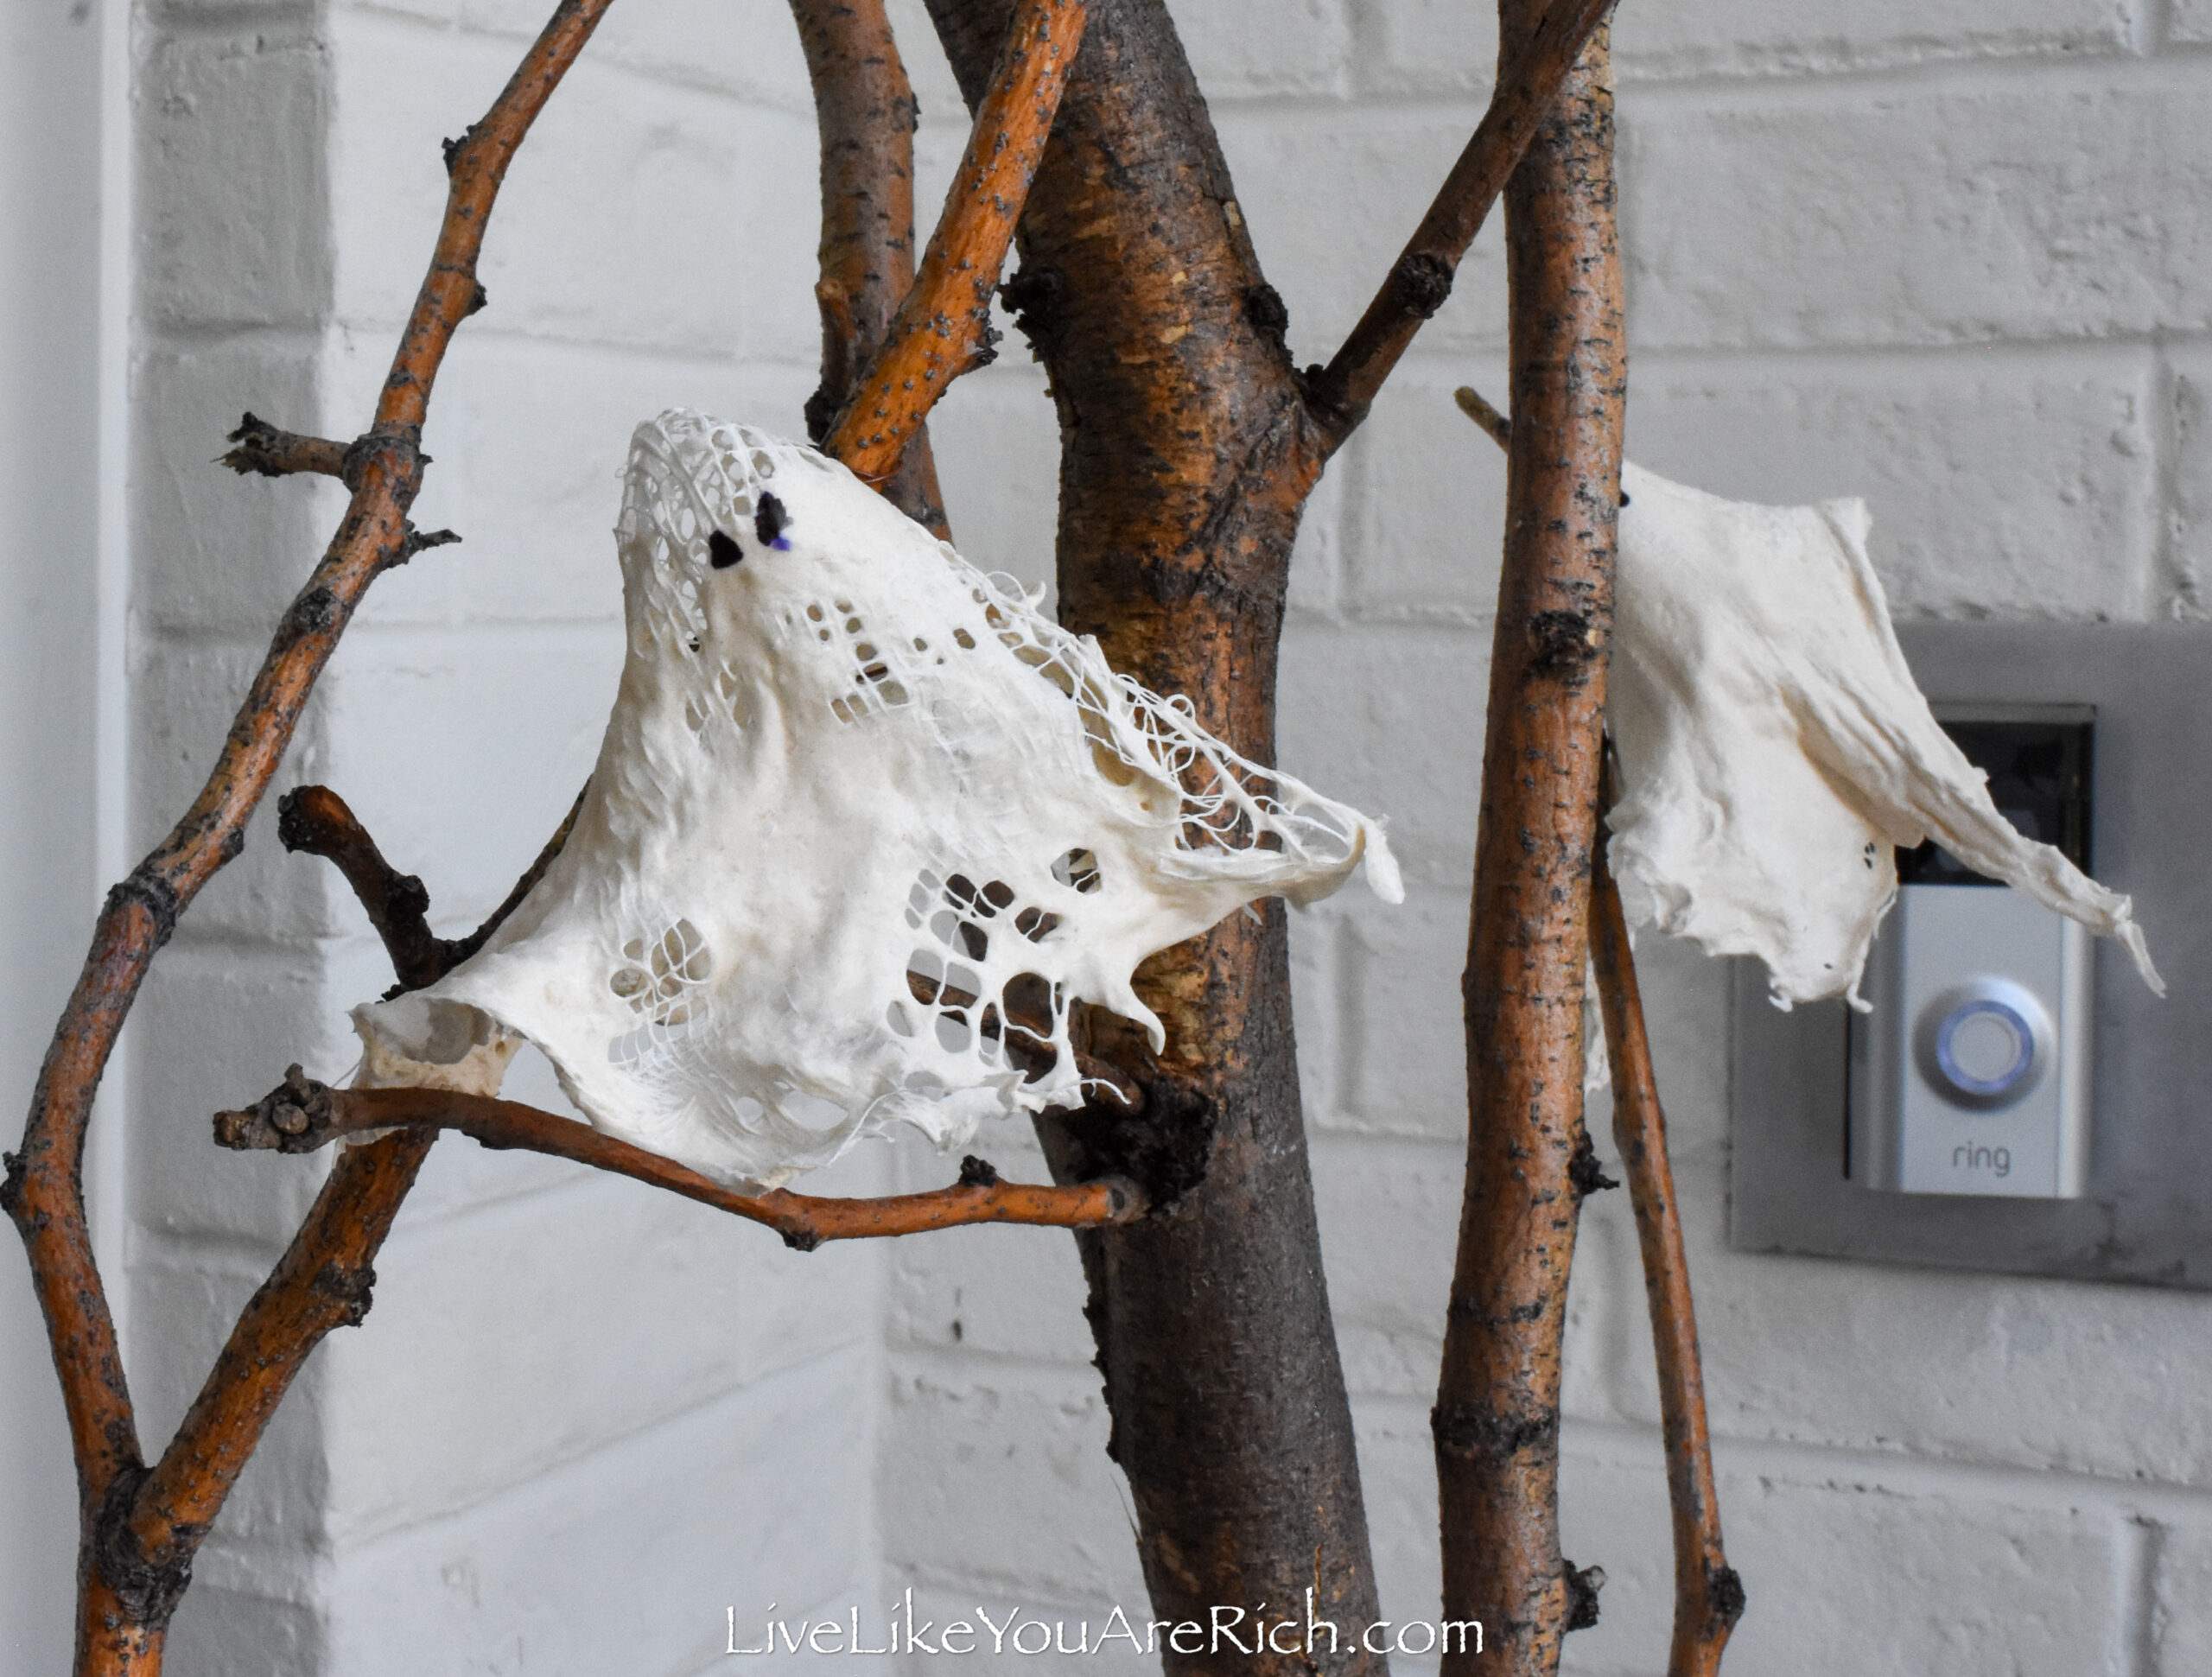
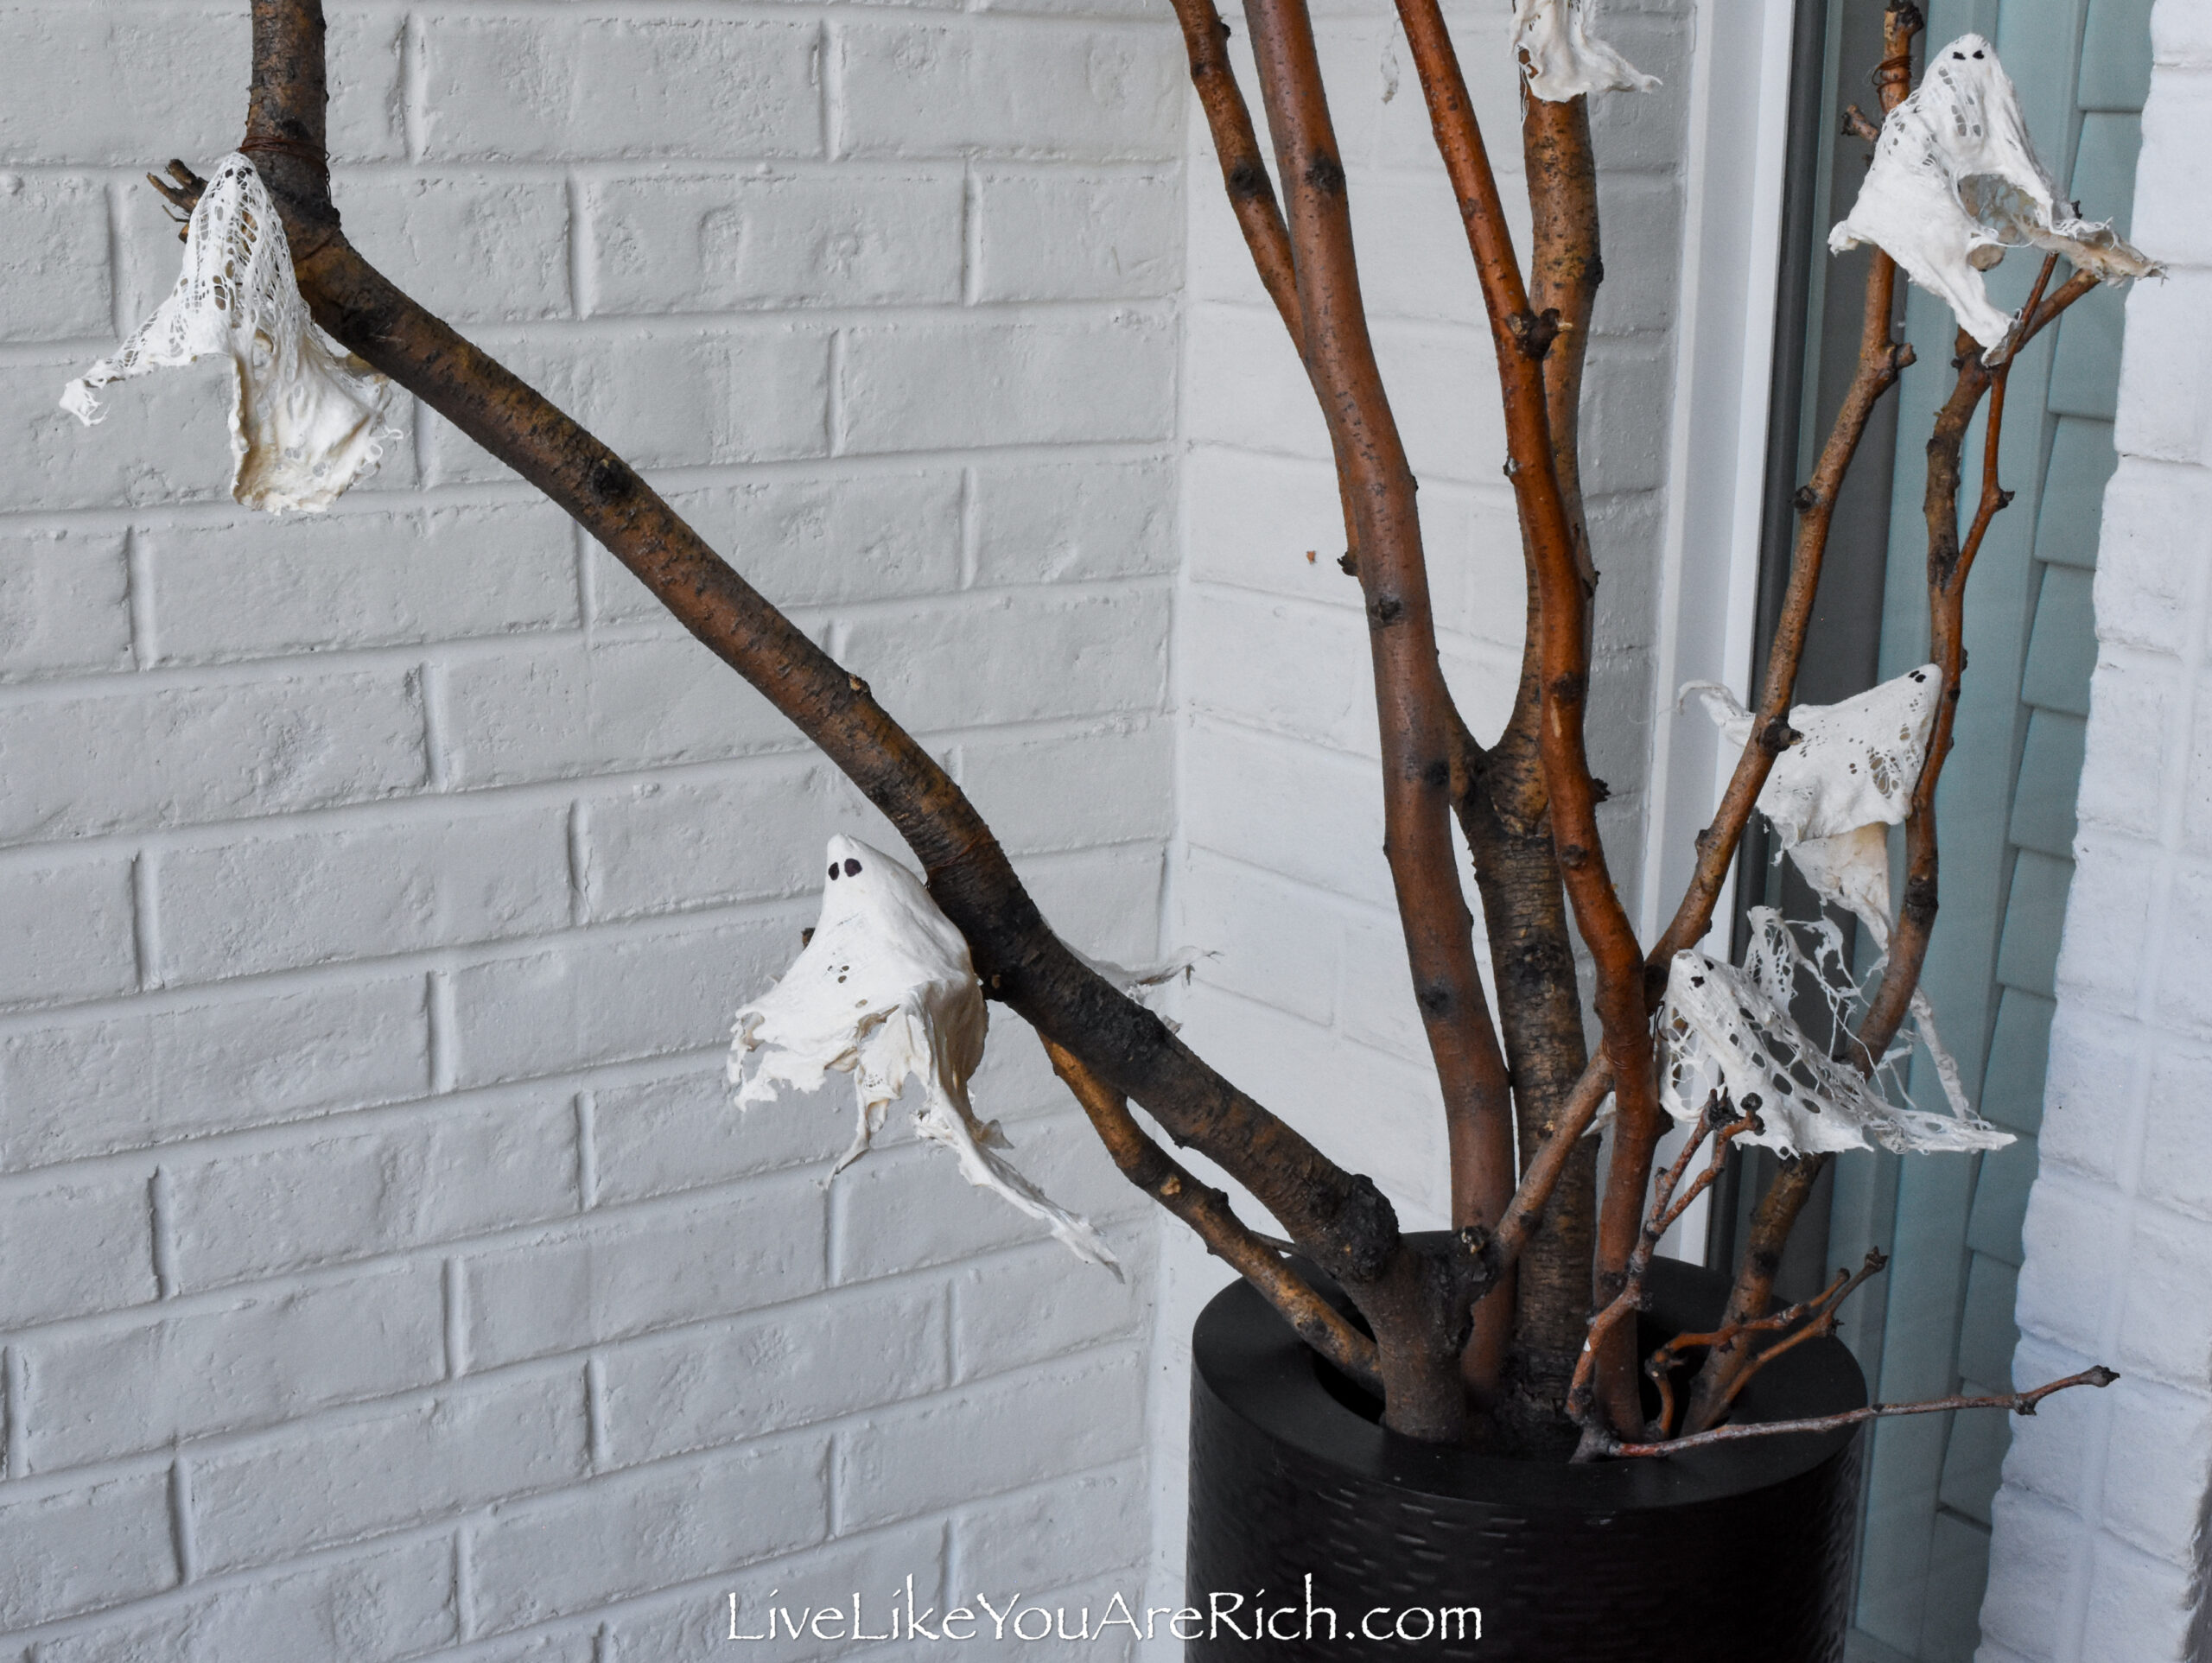
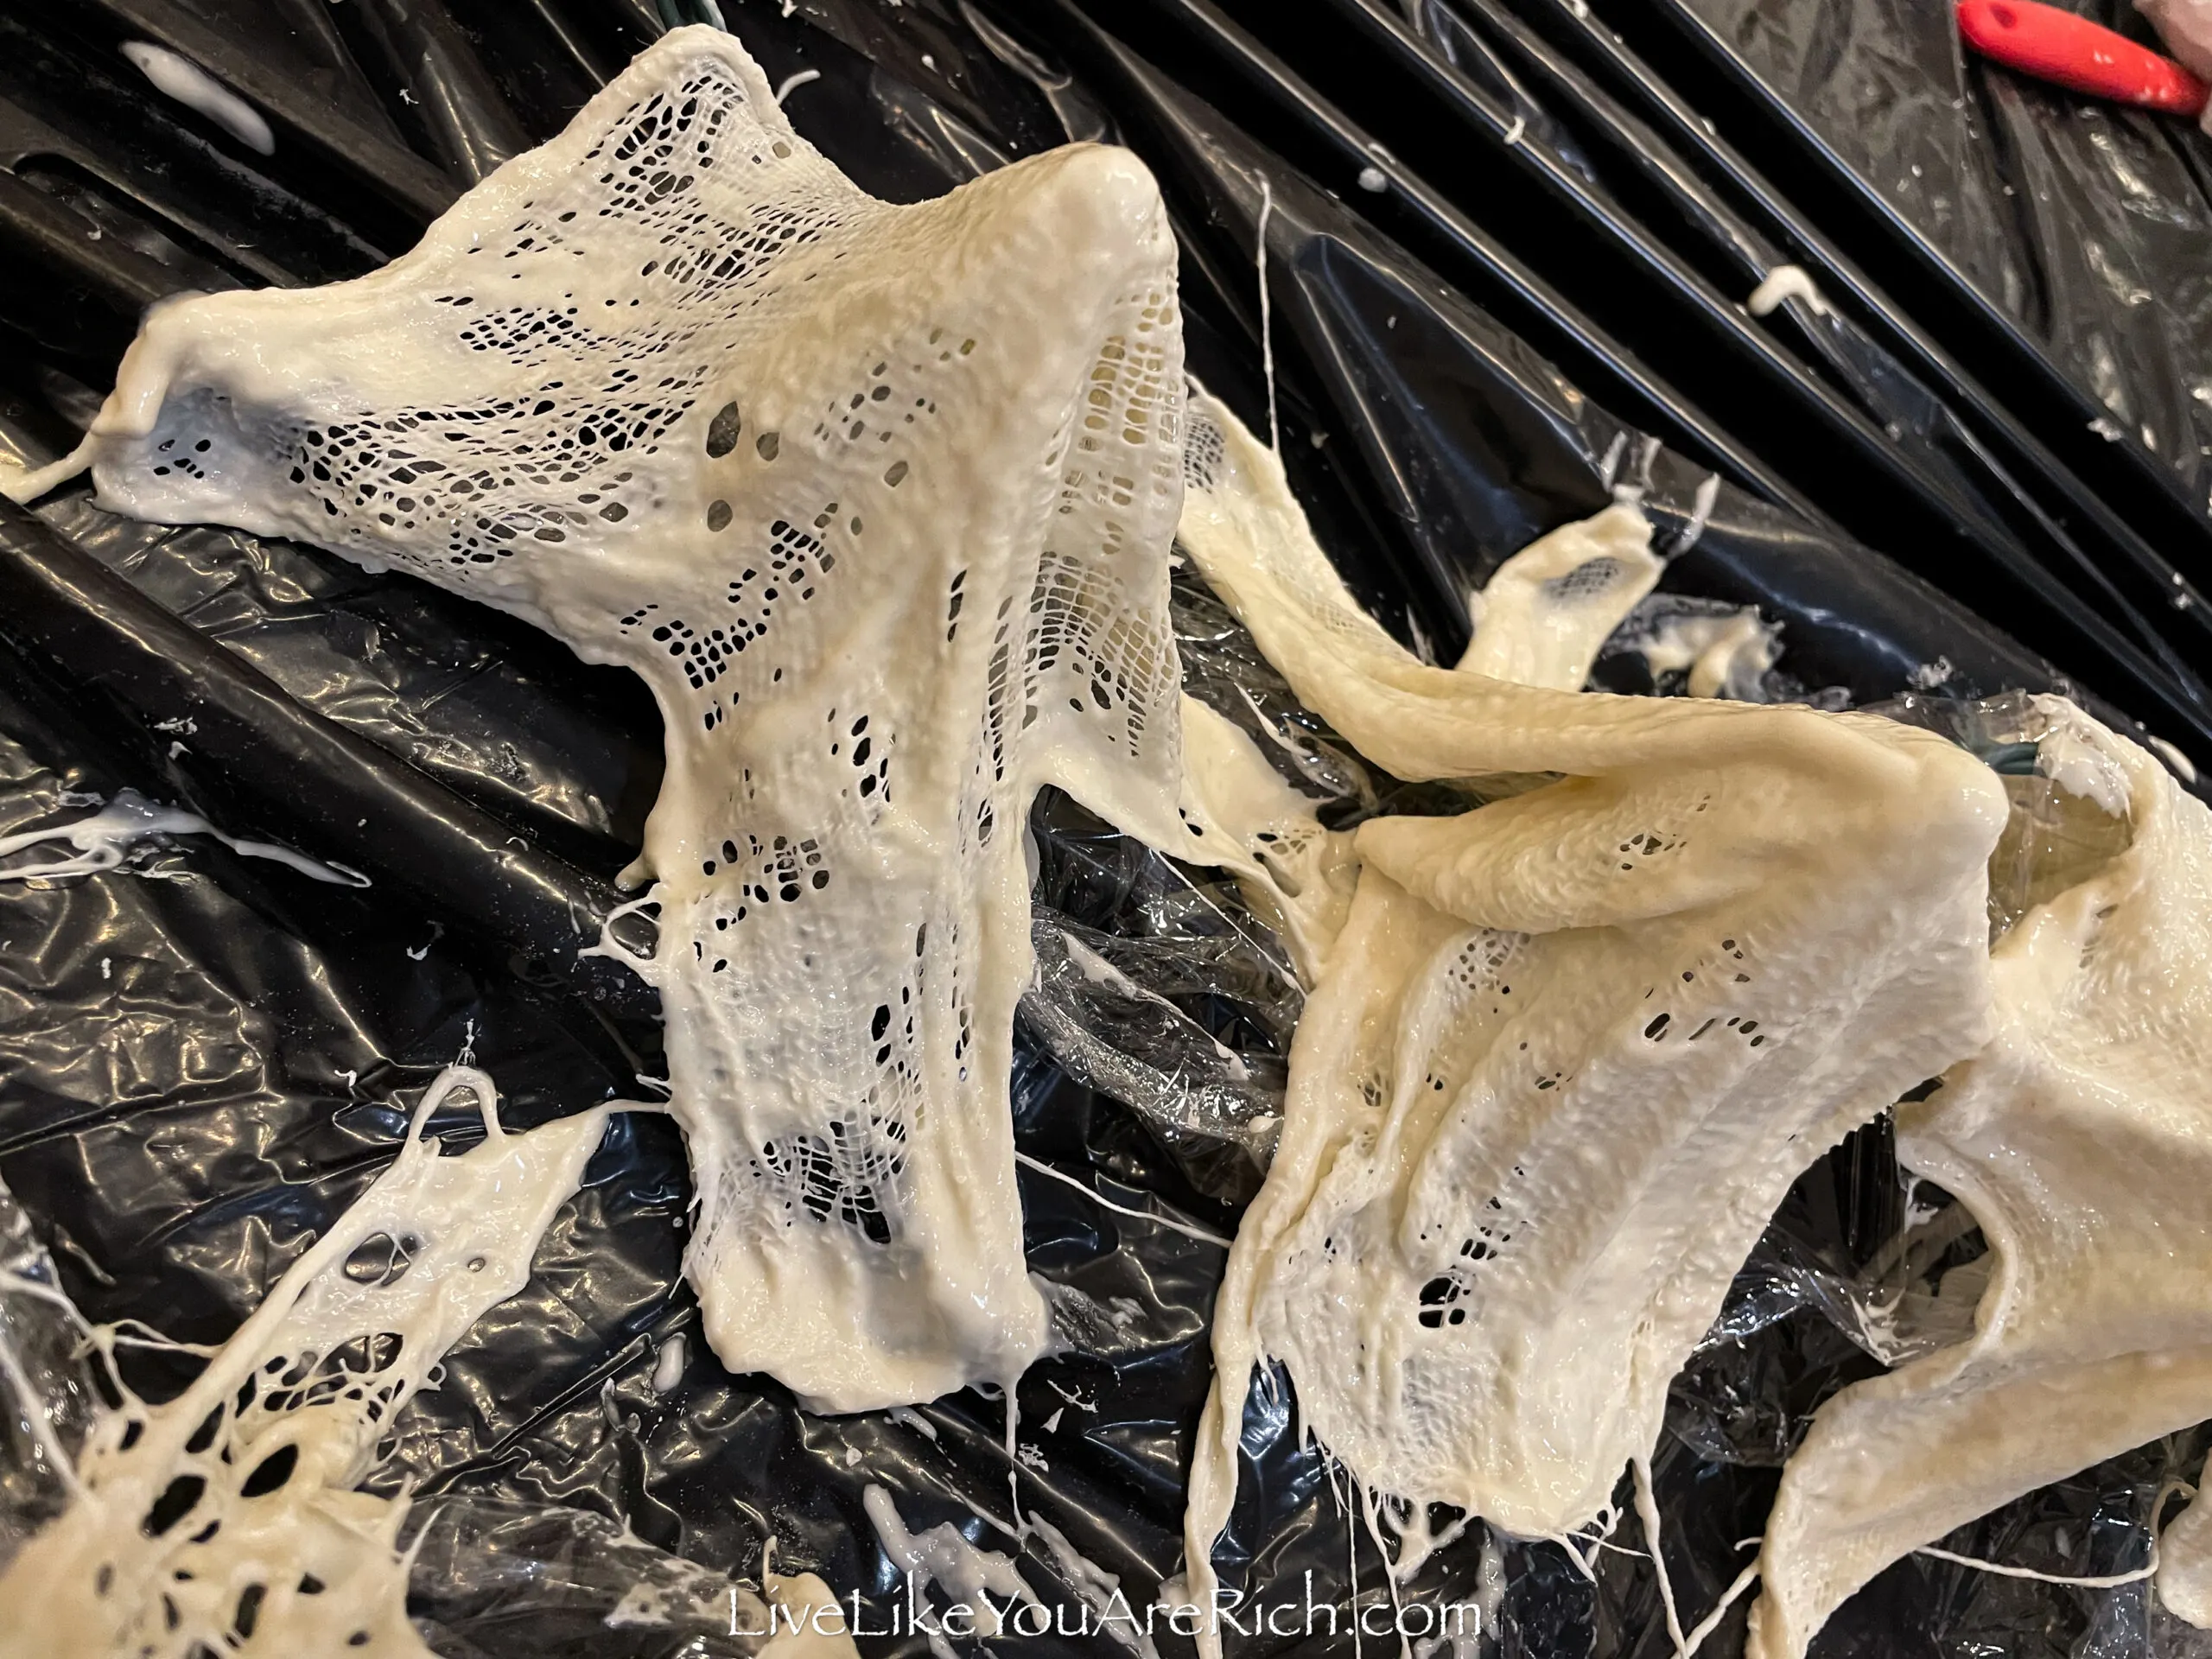
We used a tightly woven gauze for a ghost that ends up looking like this:
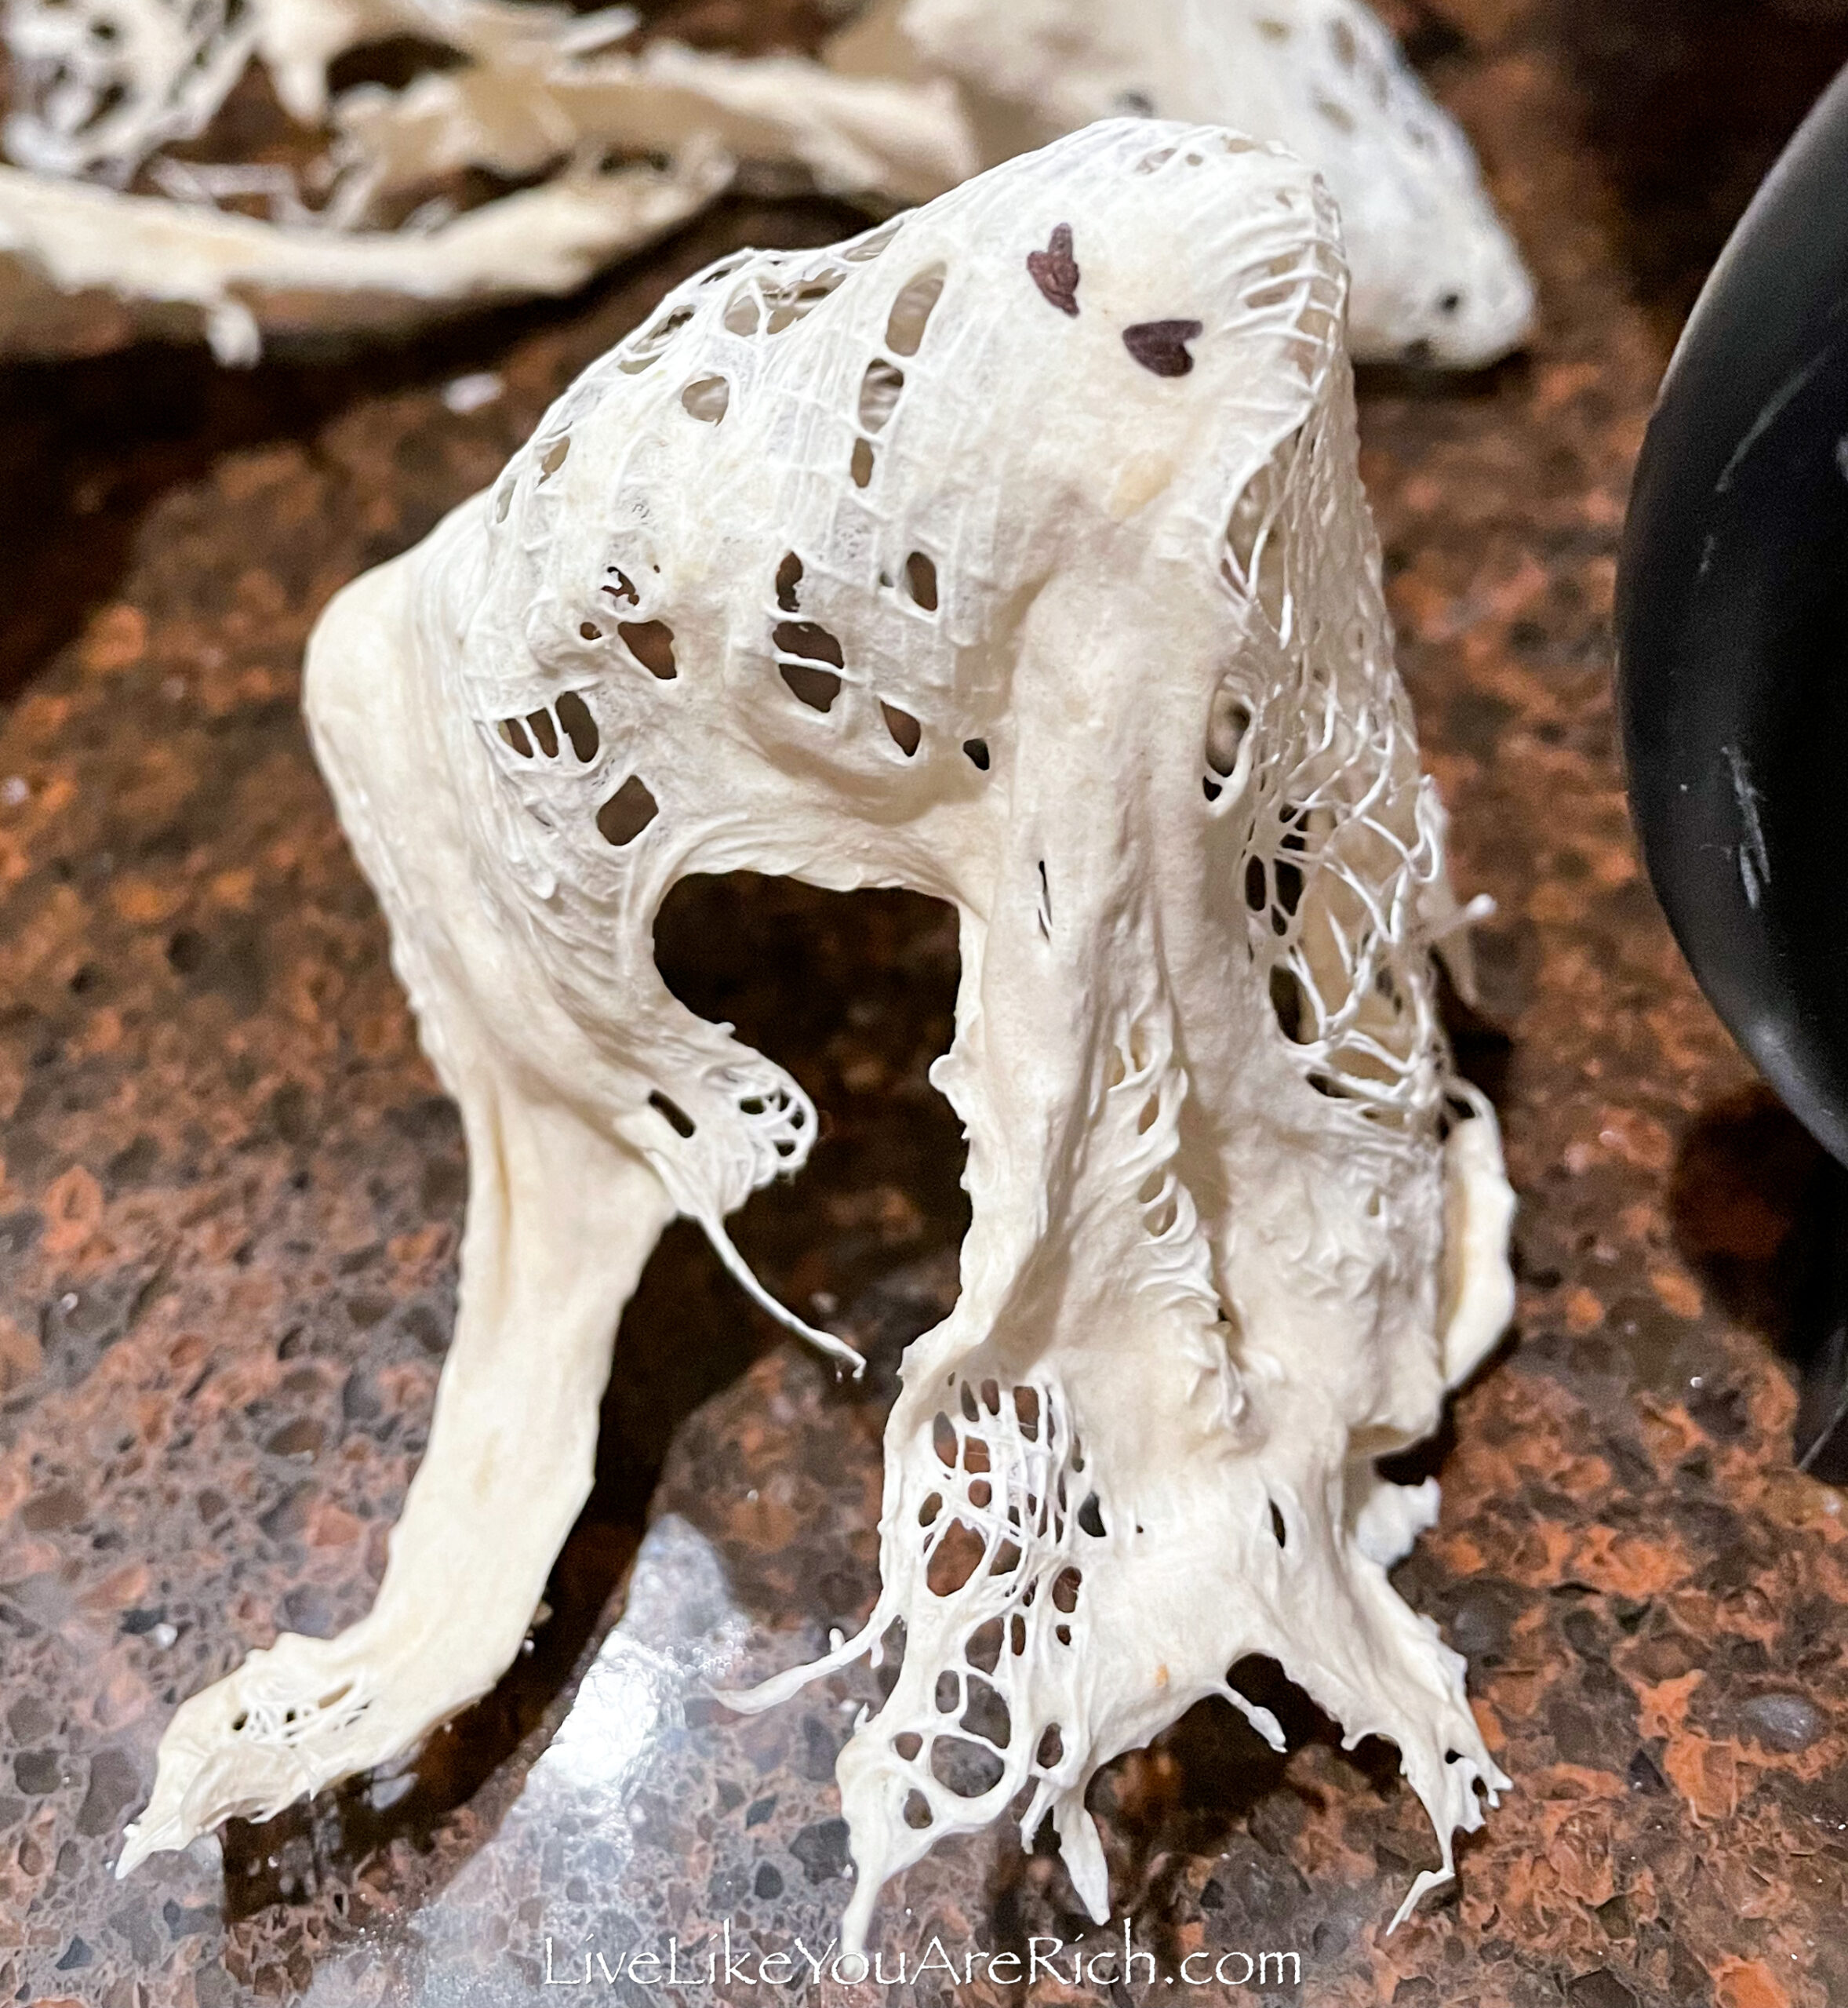
We used a loosely woven gauze (VII type) for a ghost that ends up looking like this.
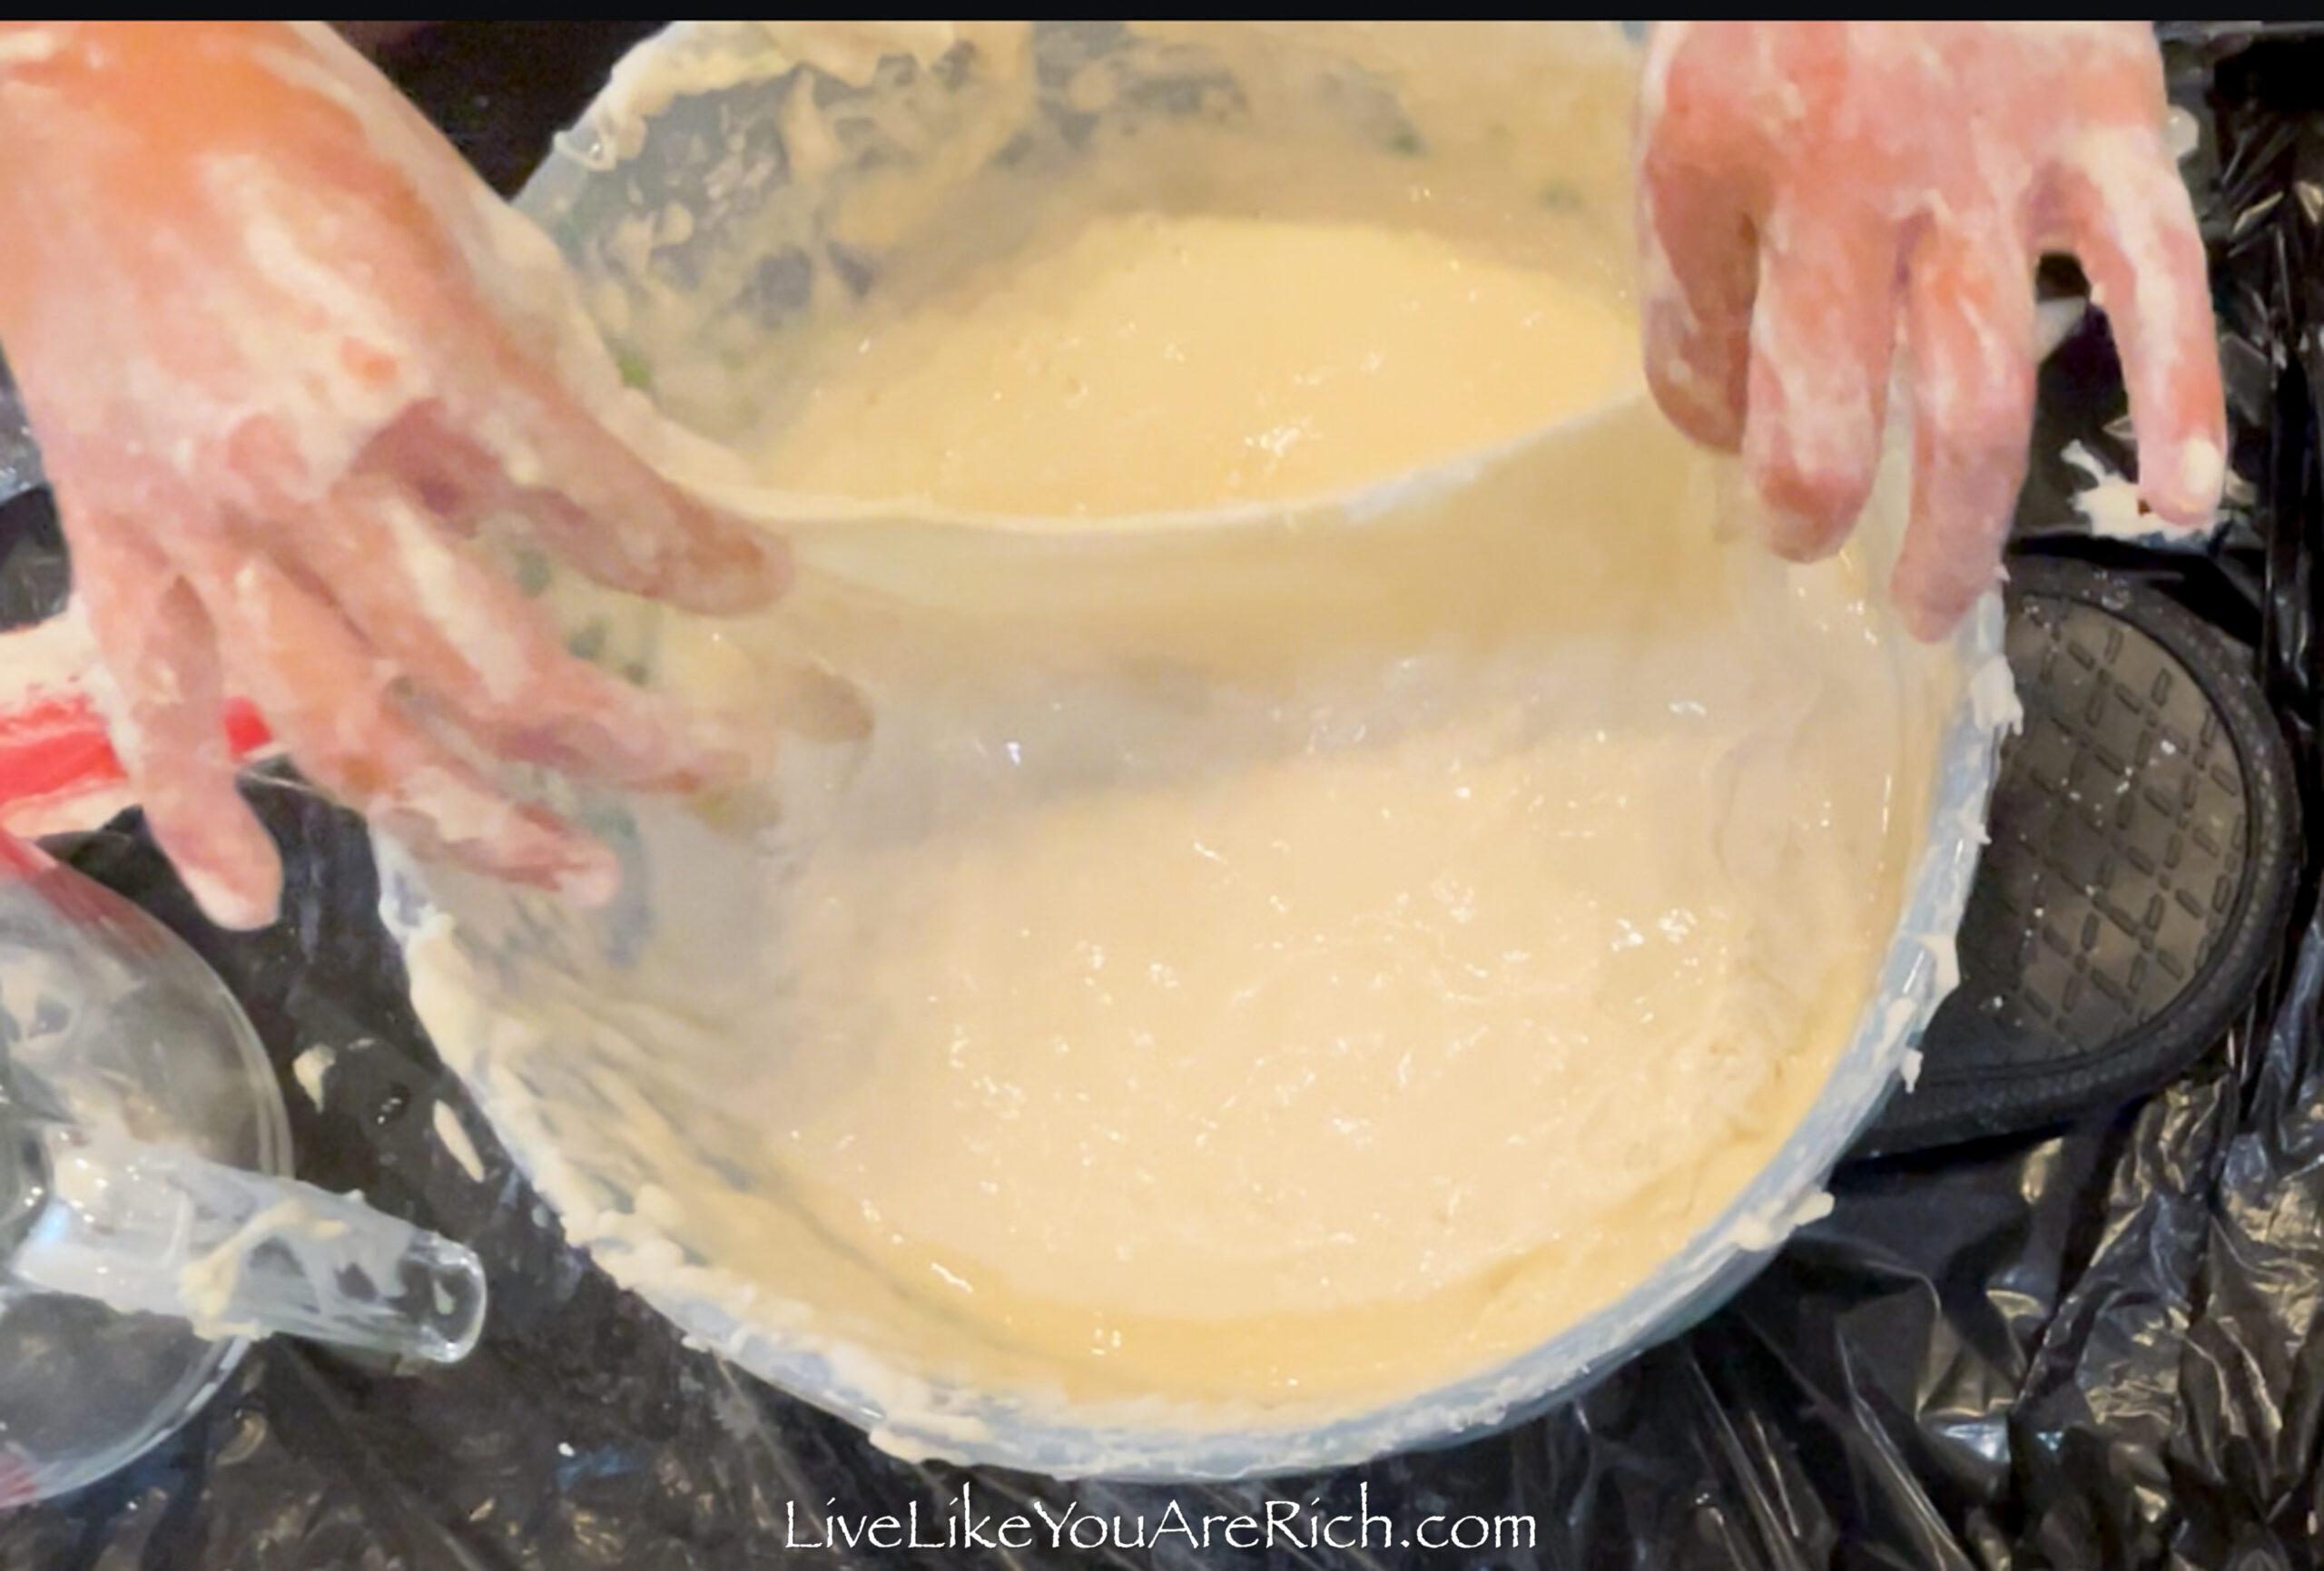
6. Make a large batch of Plaster of Paris instructions and the supply list are found at that link.
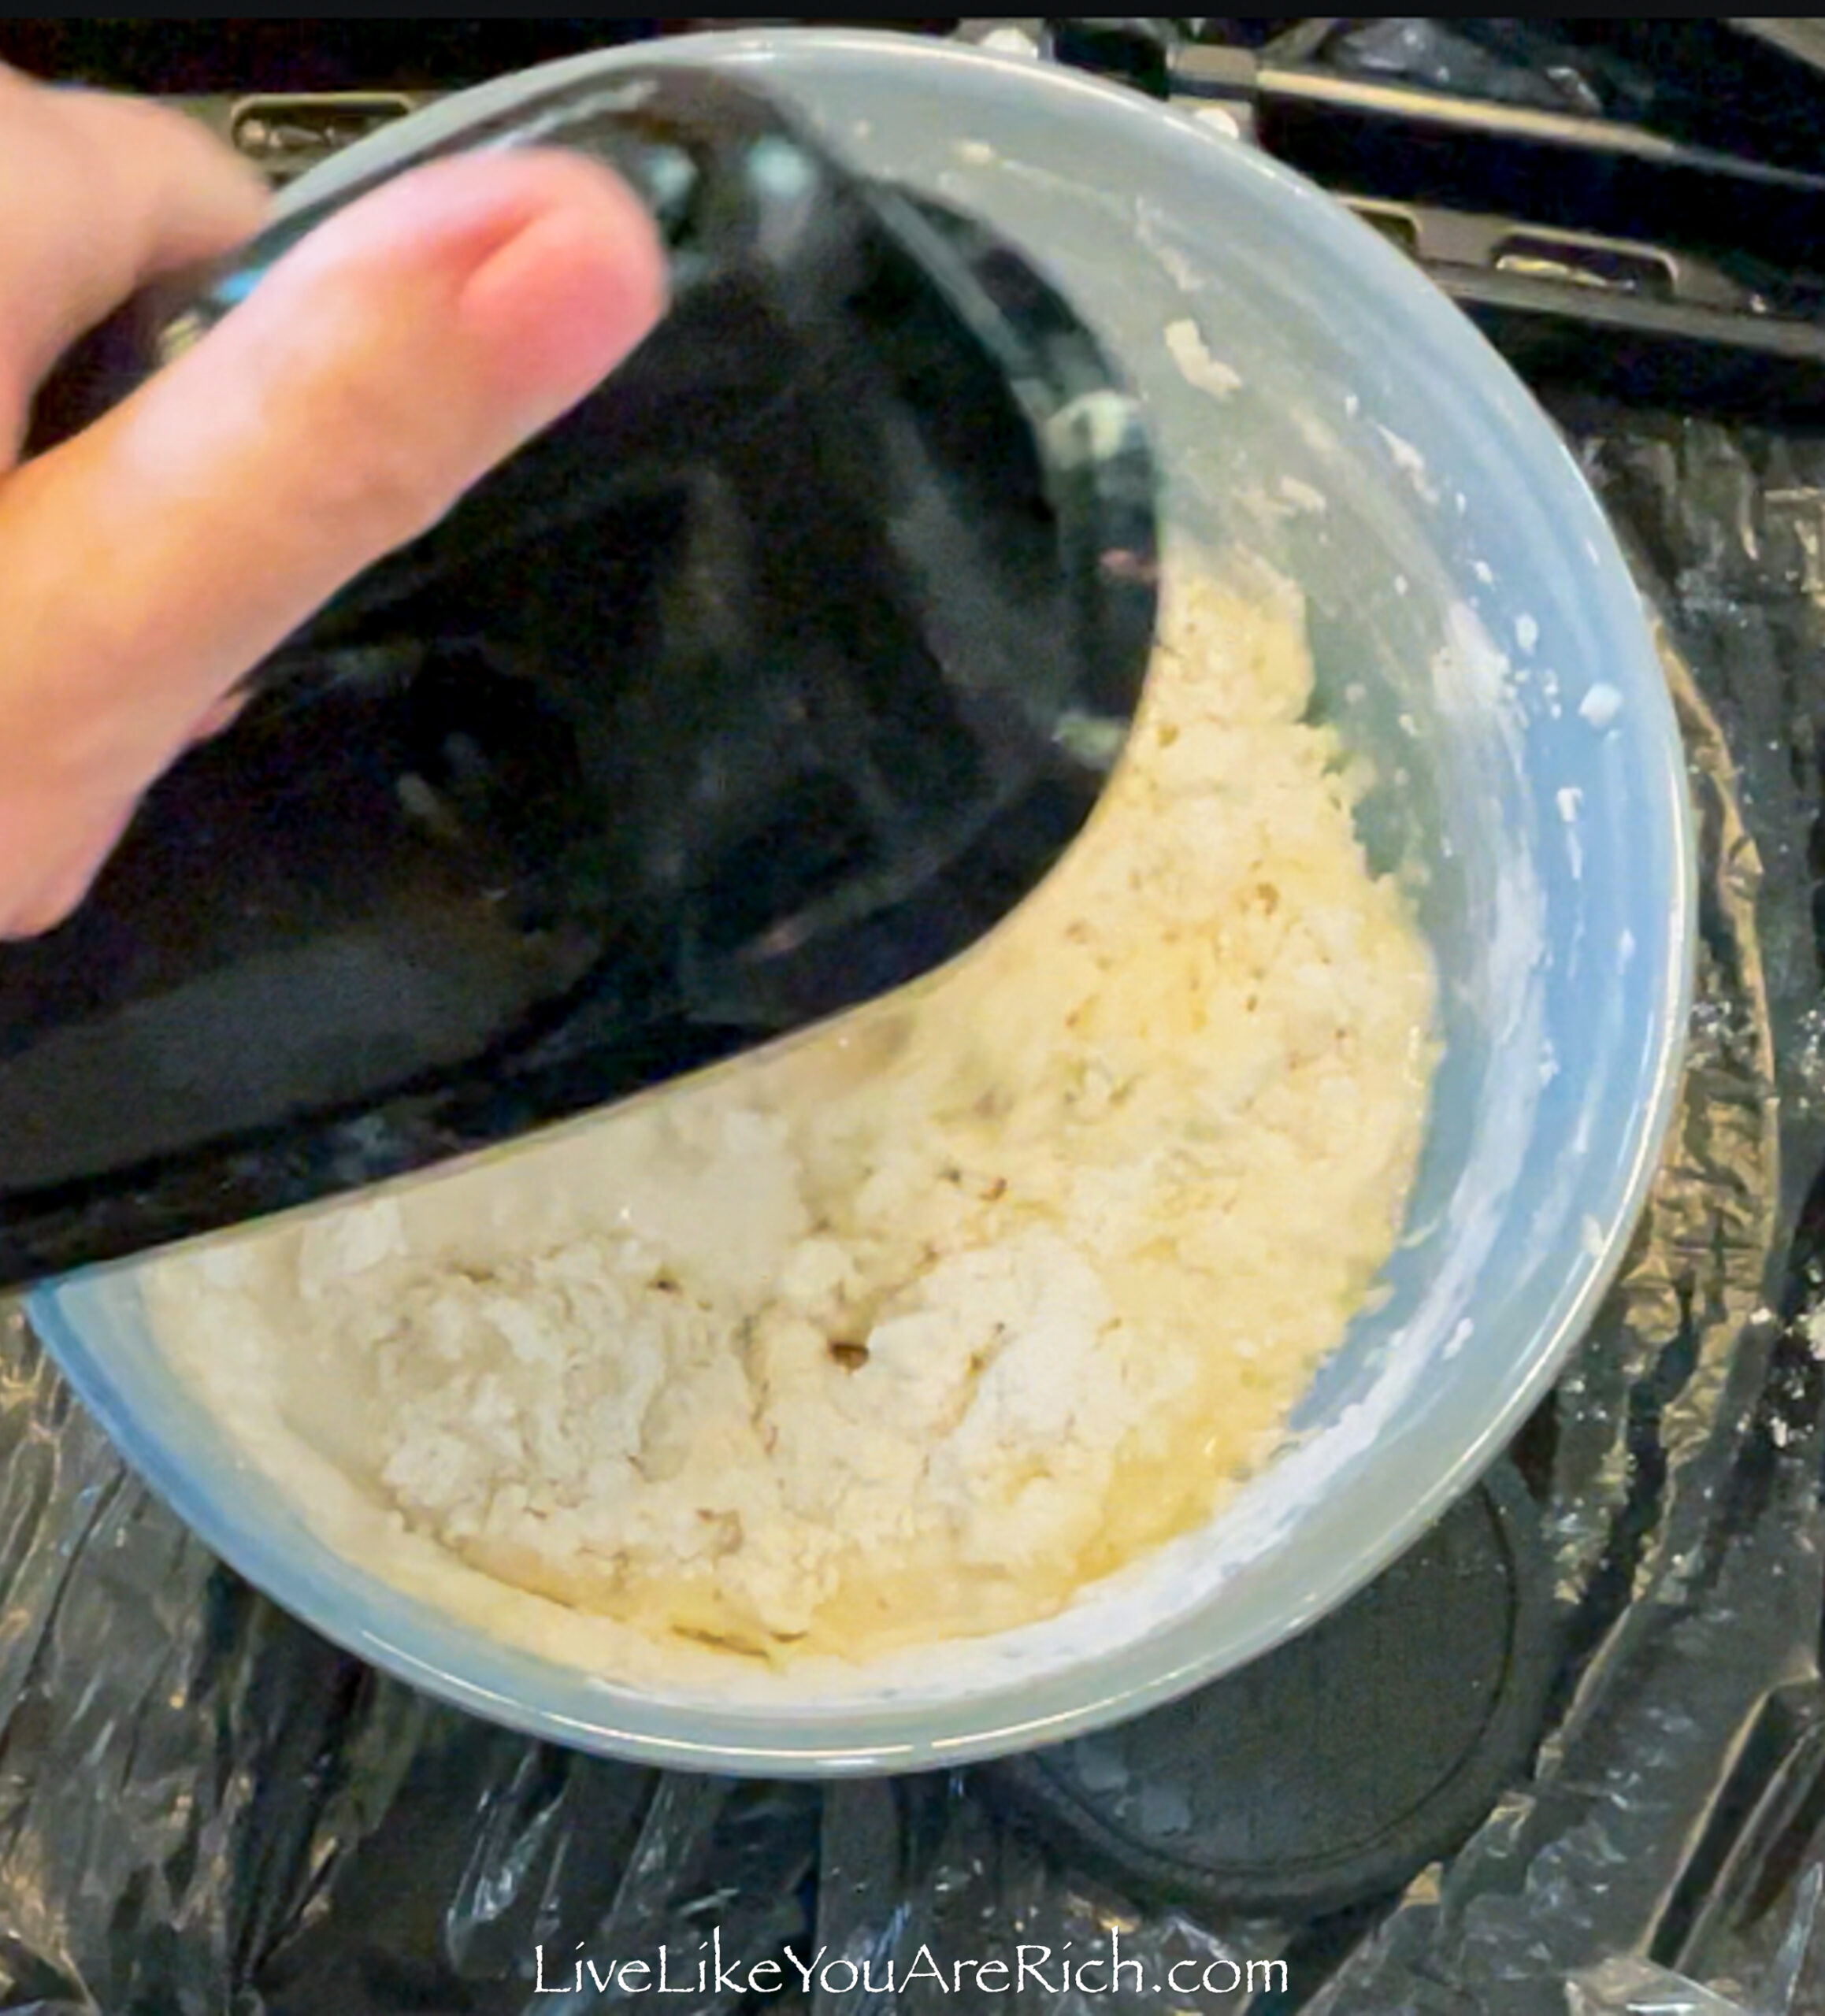
7. Dip the gauze strips into the Plaster of Paris and wipe the excess Plaster of Paris off.
8. Drape the gauze strips over the Christmas light bulbs in various ghost-looking arrangements.

9. Let the ghosts dry for a few hours to firm up.

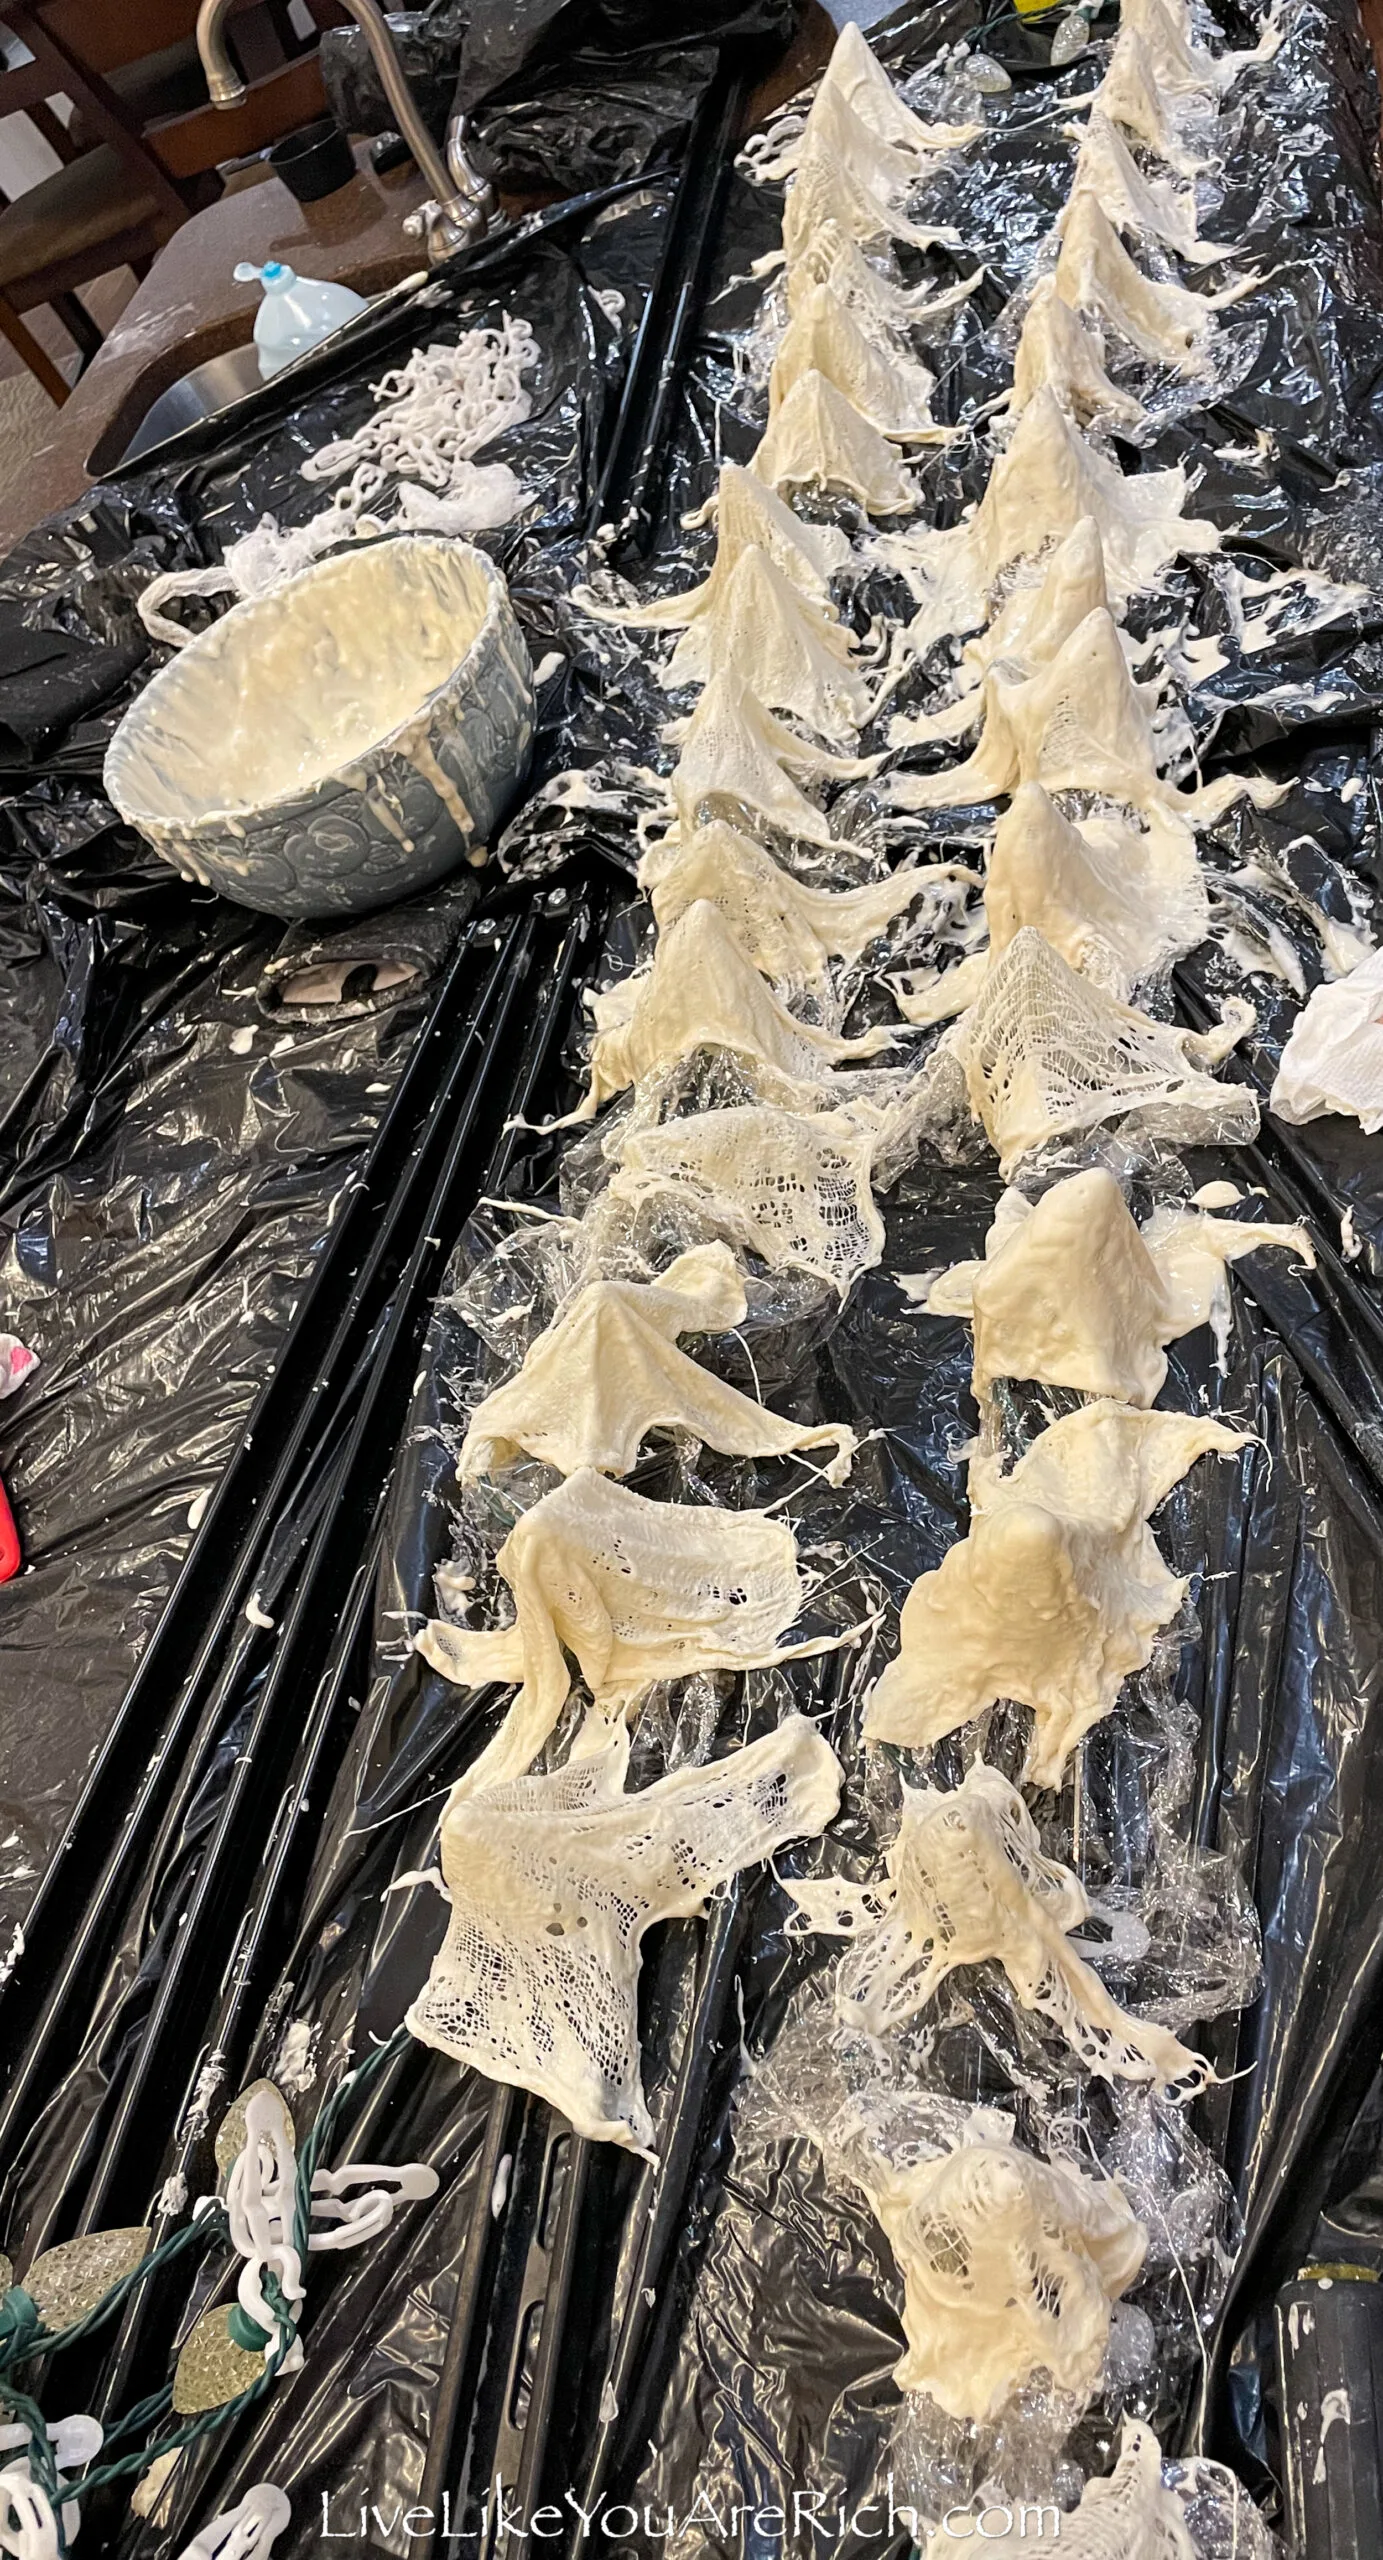
Then set up a fan to blow onto the ghosts to dry them for another 6-8 hours.
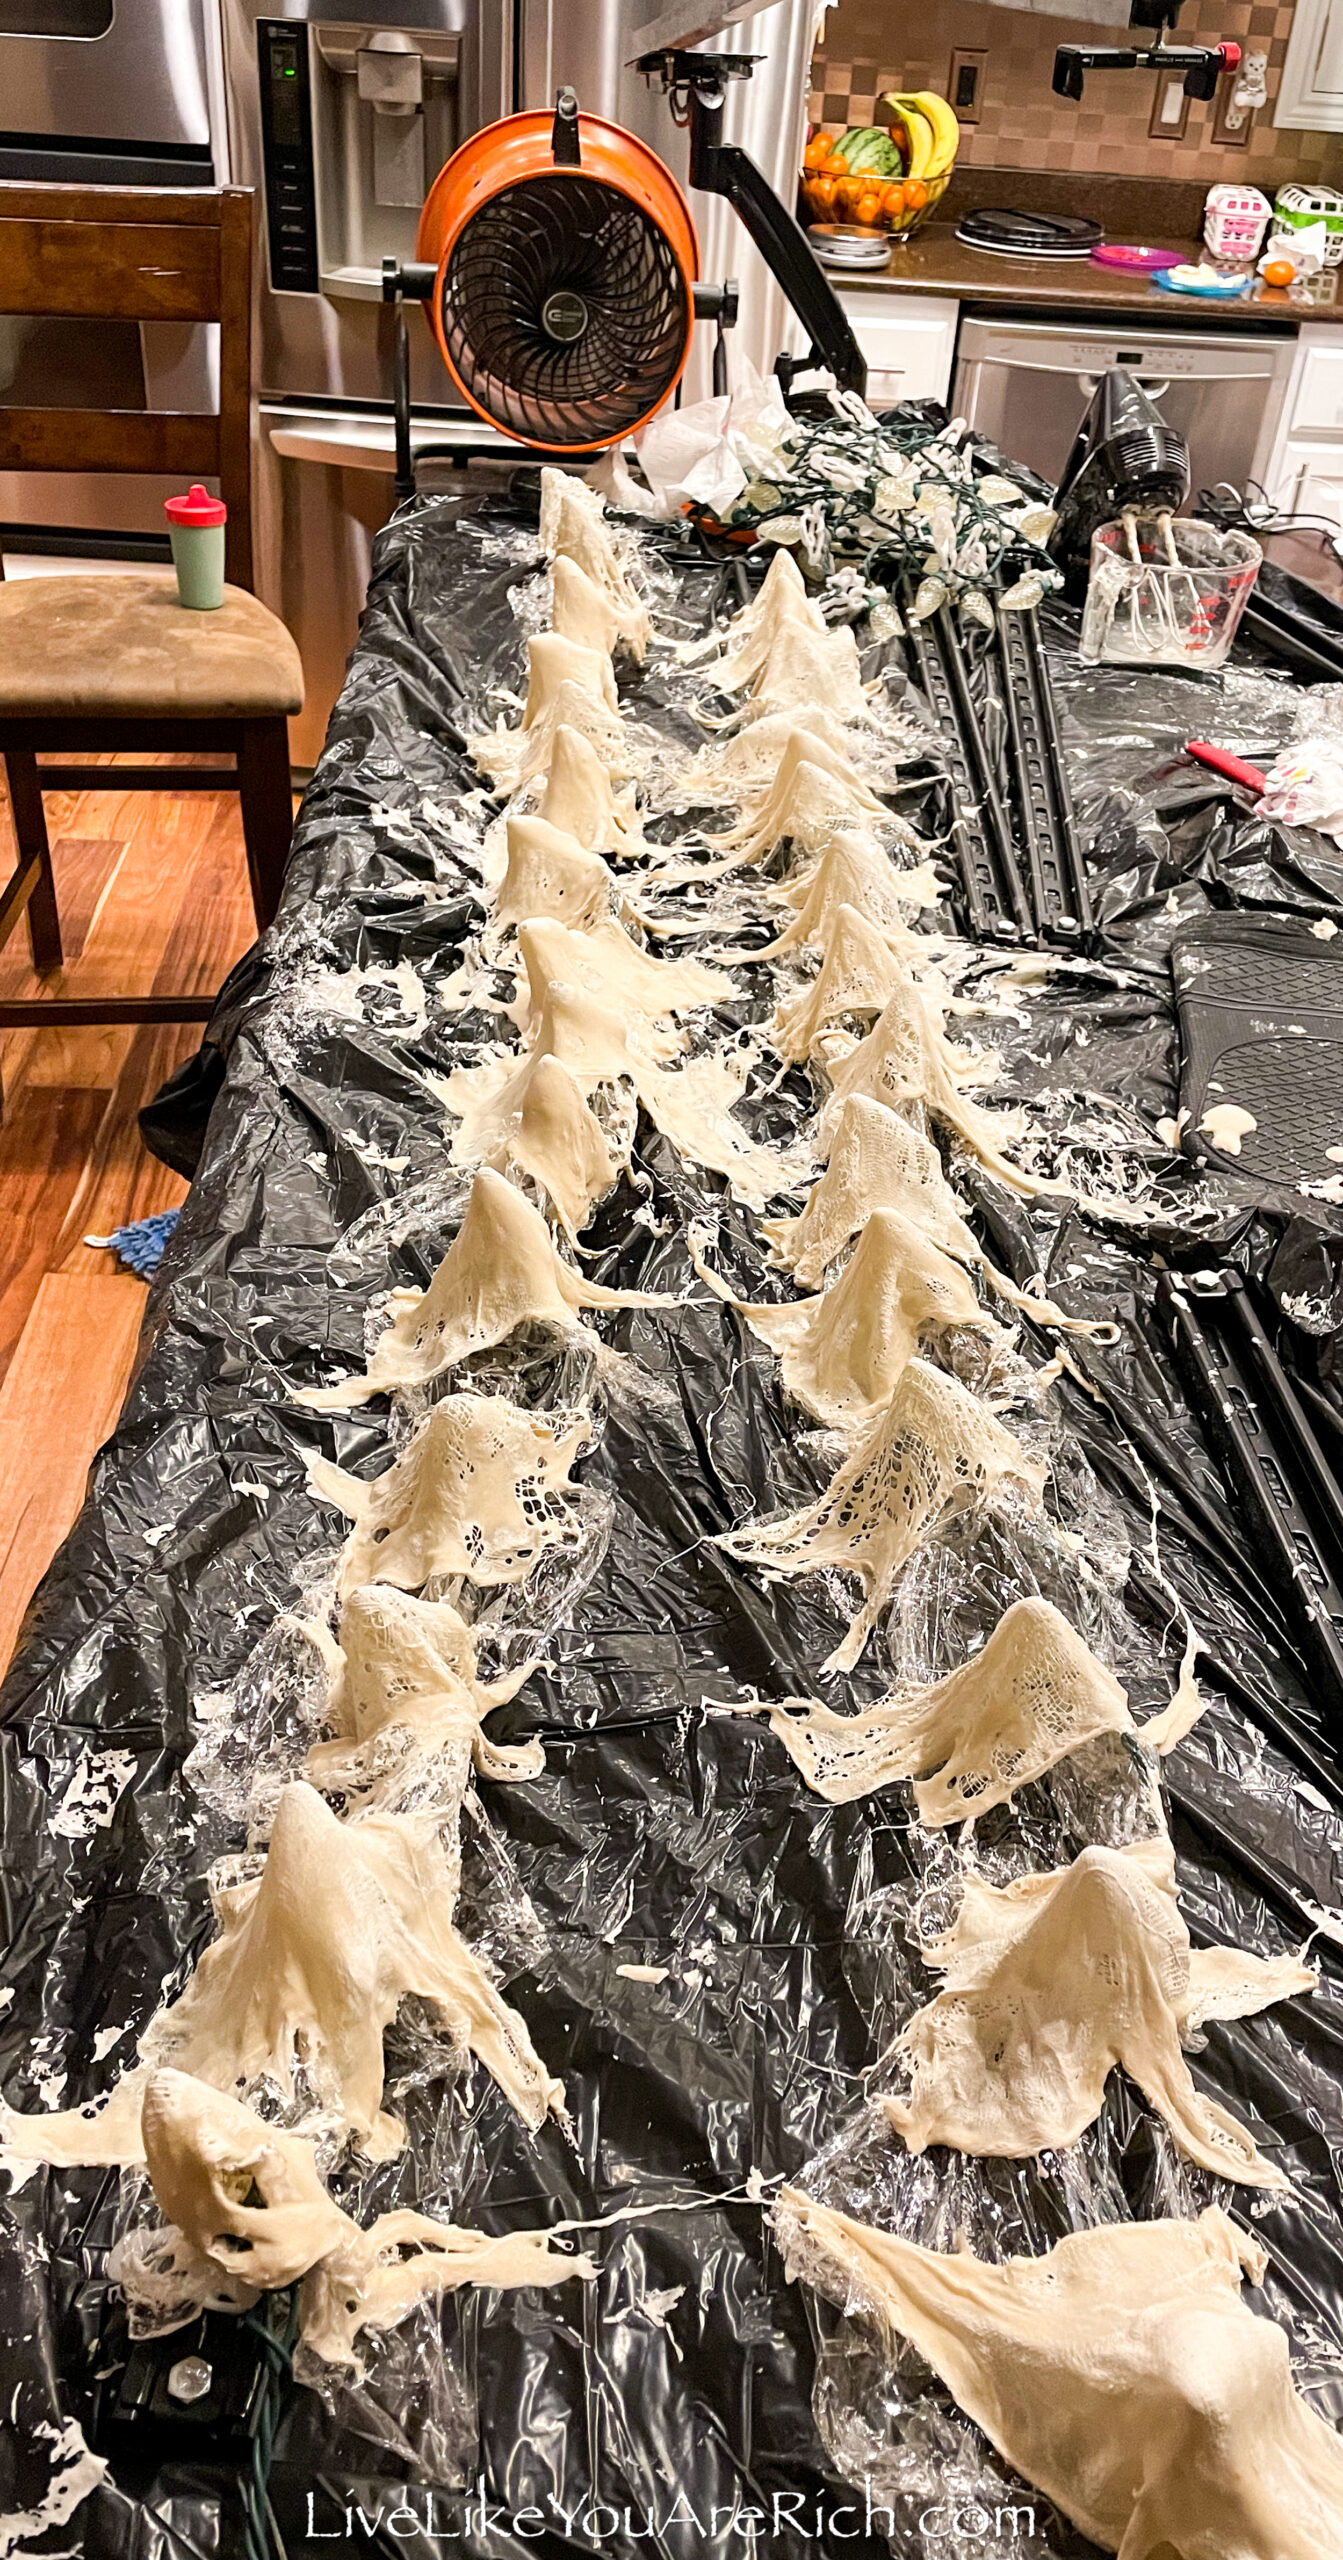
10. After about 10 hours of drying time, the outside shell should be very firm, if it is dry lift the shell off of the Christmas light and pull the saran wrap out of the ghost.
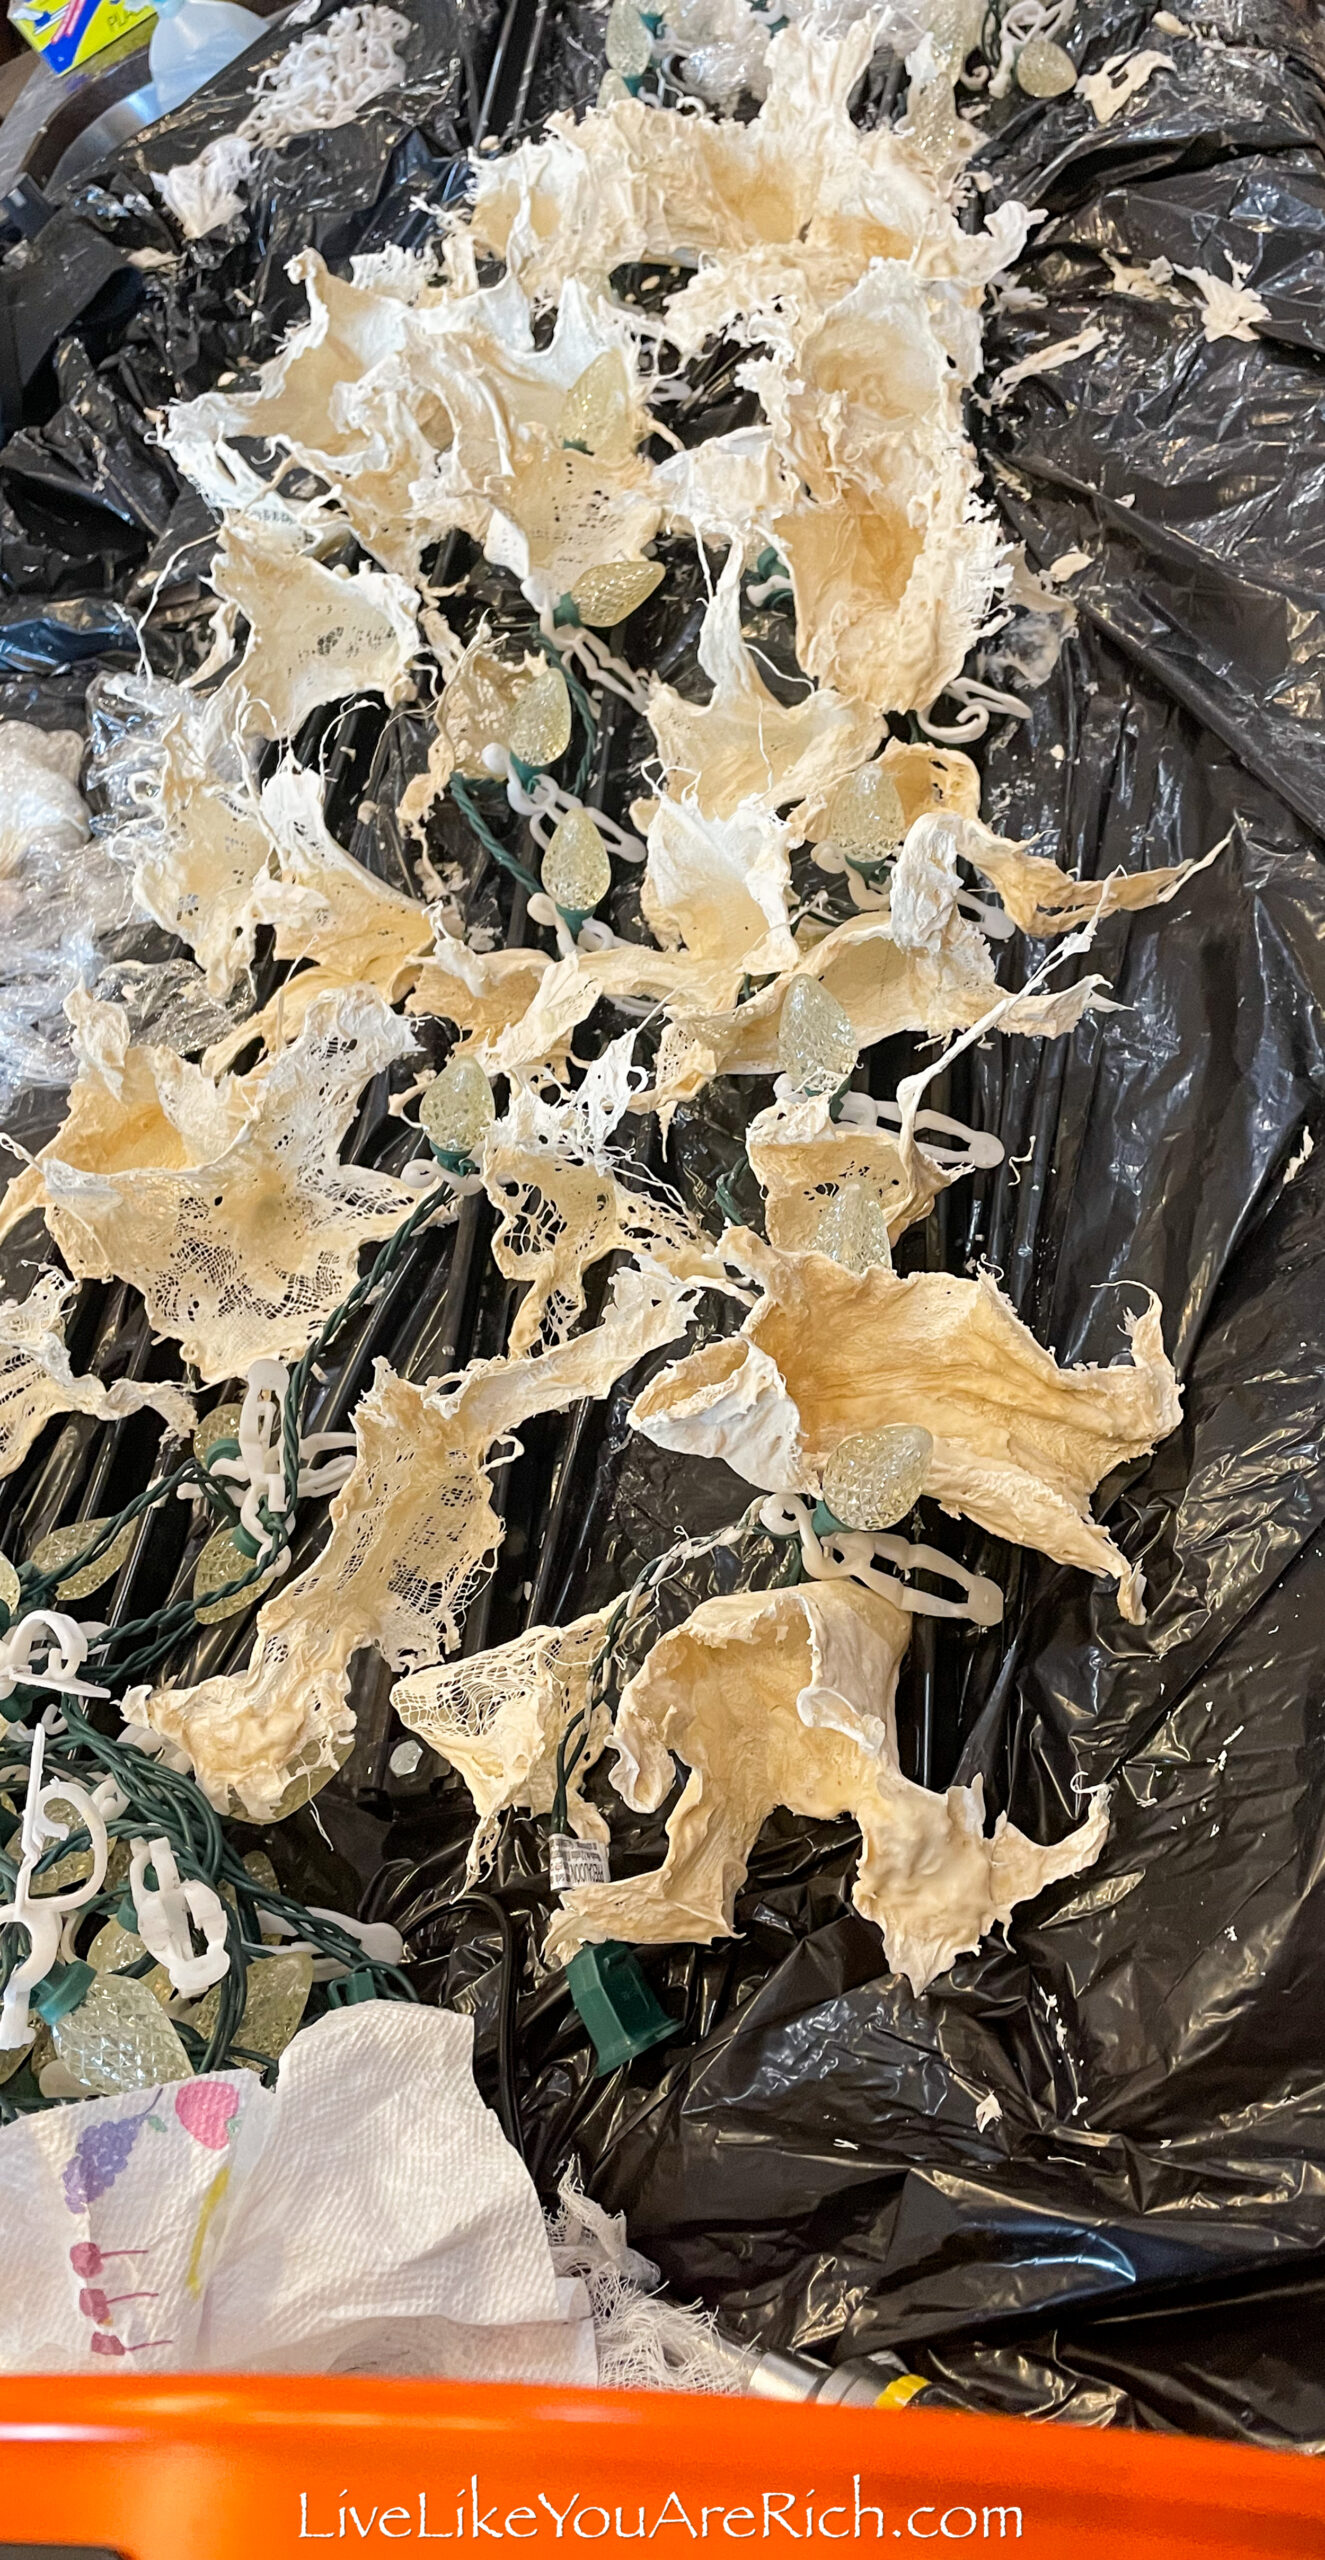

If it holds its shape, turn it over and keep the fan on so the inside of the ghost dries up firmly. I set the ghosts in between the Christmas bulbs to prevent the lighter ones from being blown away by the fan.

I had them dry for 10 hours on each side.
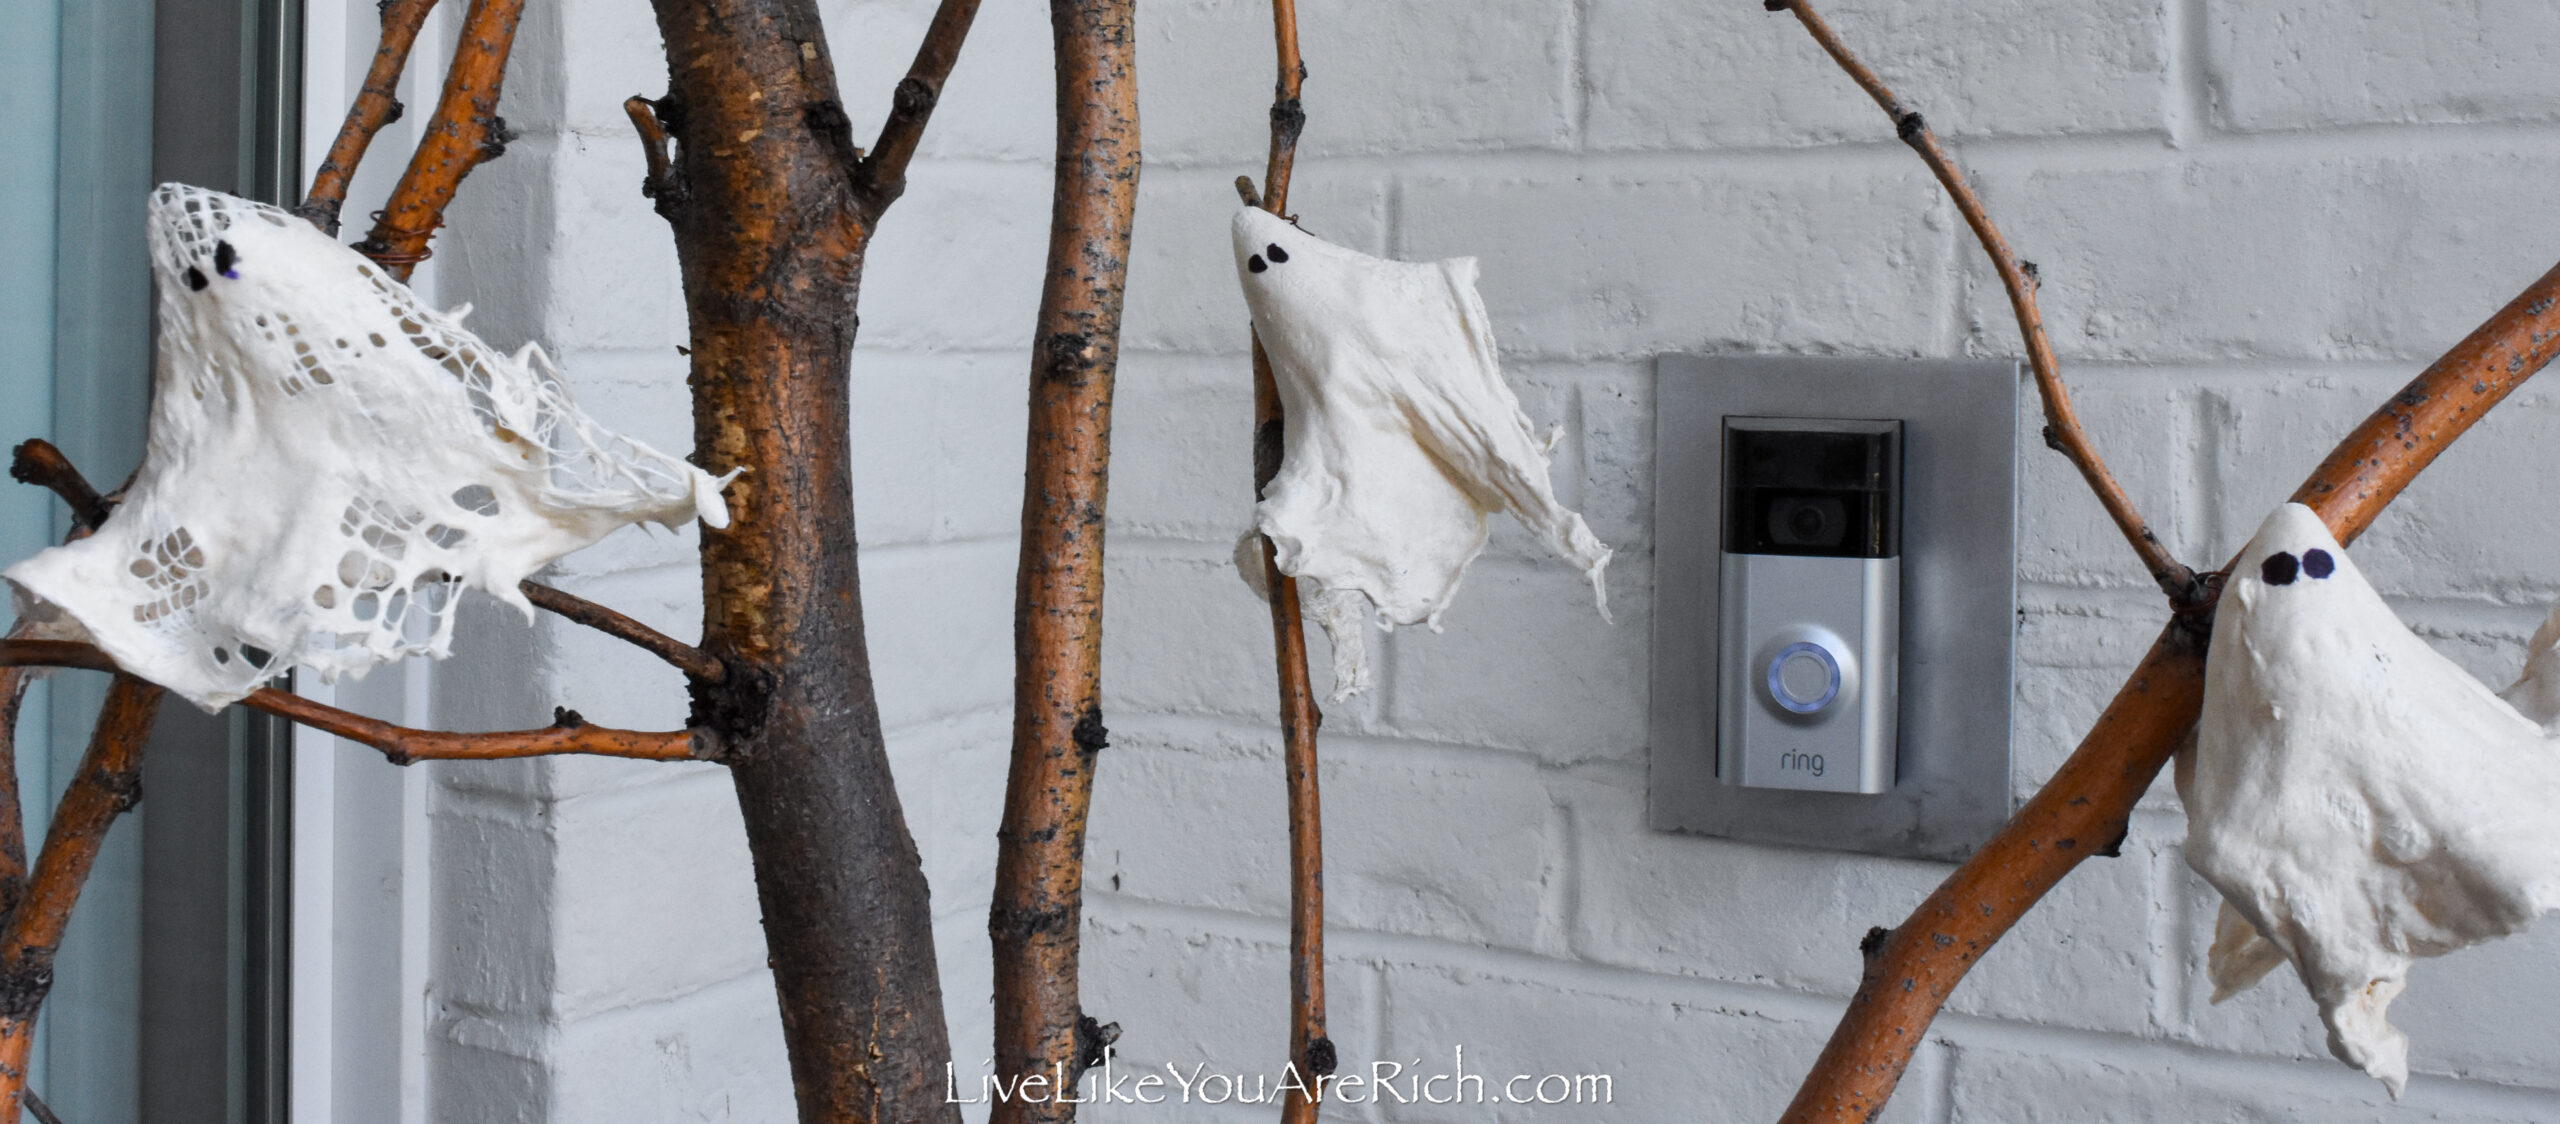
12. Using a permanent marker, draw on the eyes of each ghost.
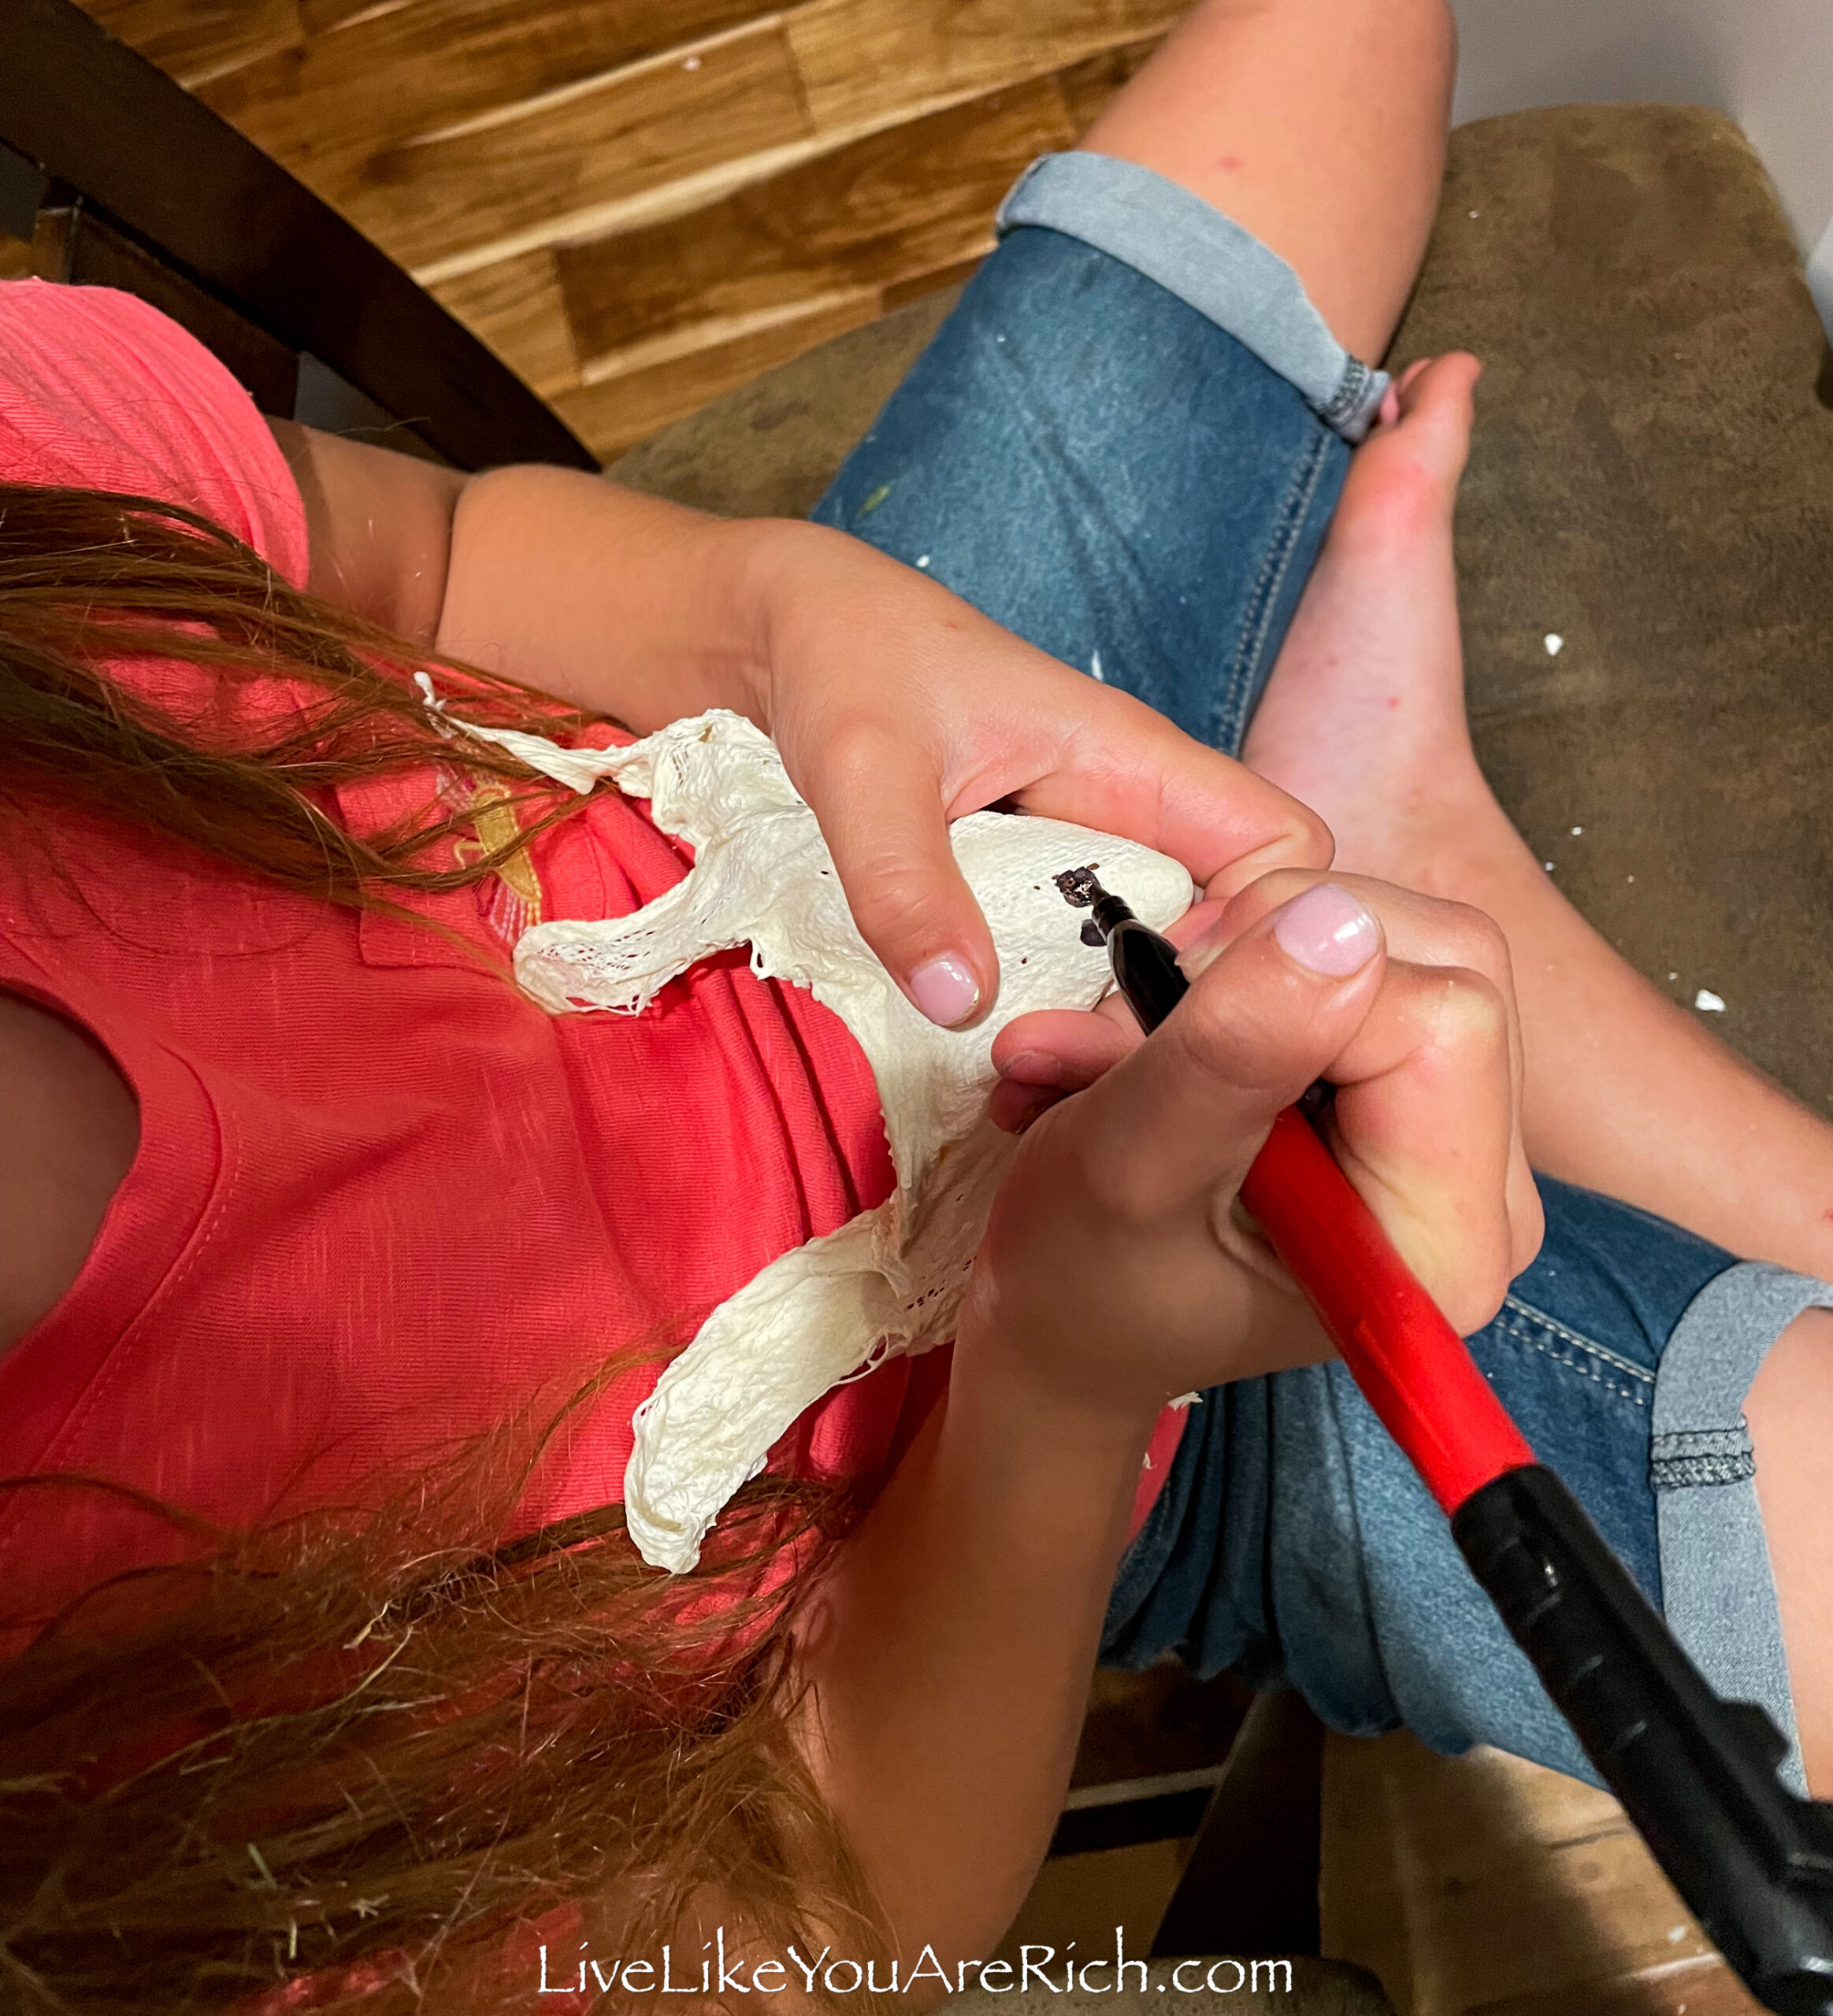
I just looked to see where the face would naturally fall, and then drew the eyes there.
My daughter and I tried to use varying eyes as well.
13. Using a floral wire, push the wire through the back of the ghost in such a way that you cannot see it from the front.
You may need to use a sharp point to make a hole for the tightly woven gauze ghosts.
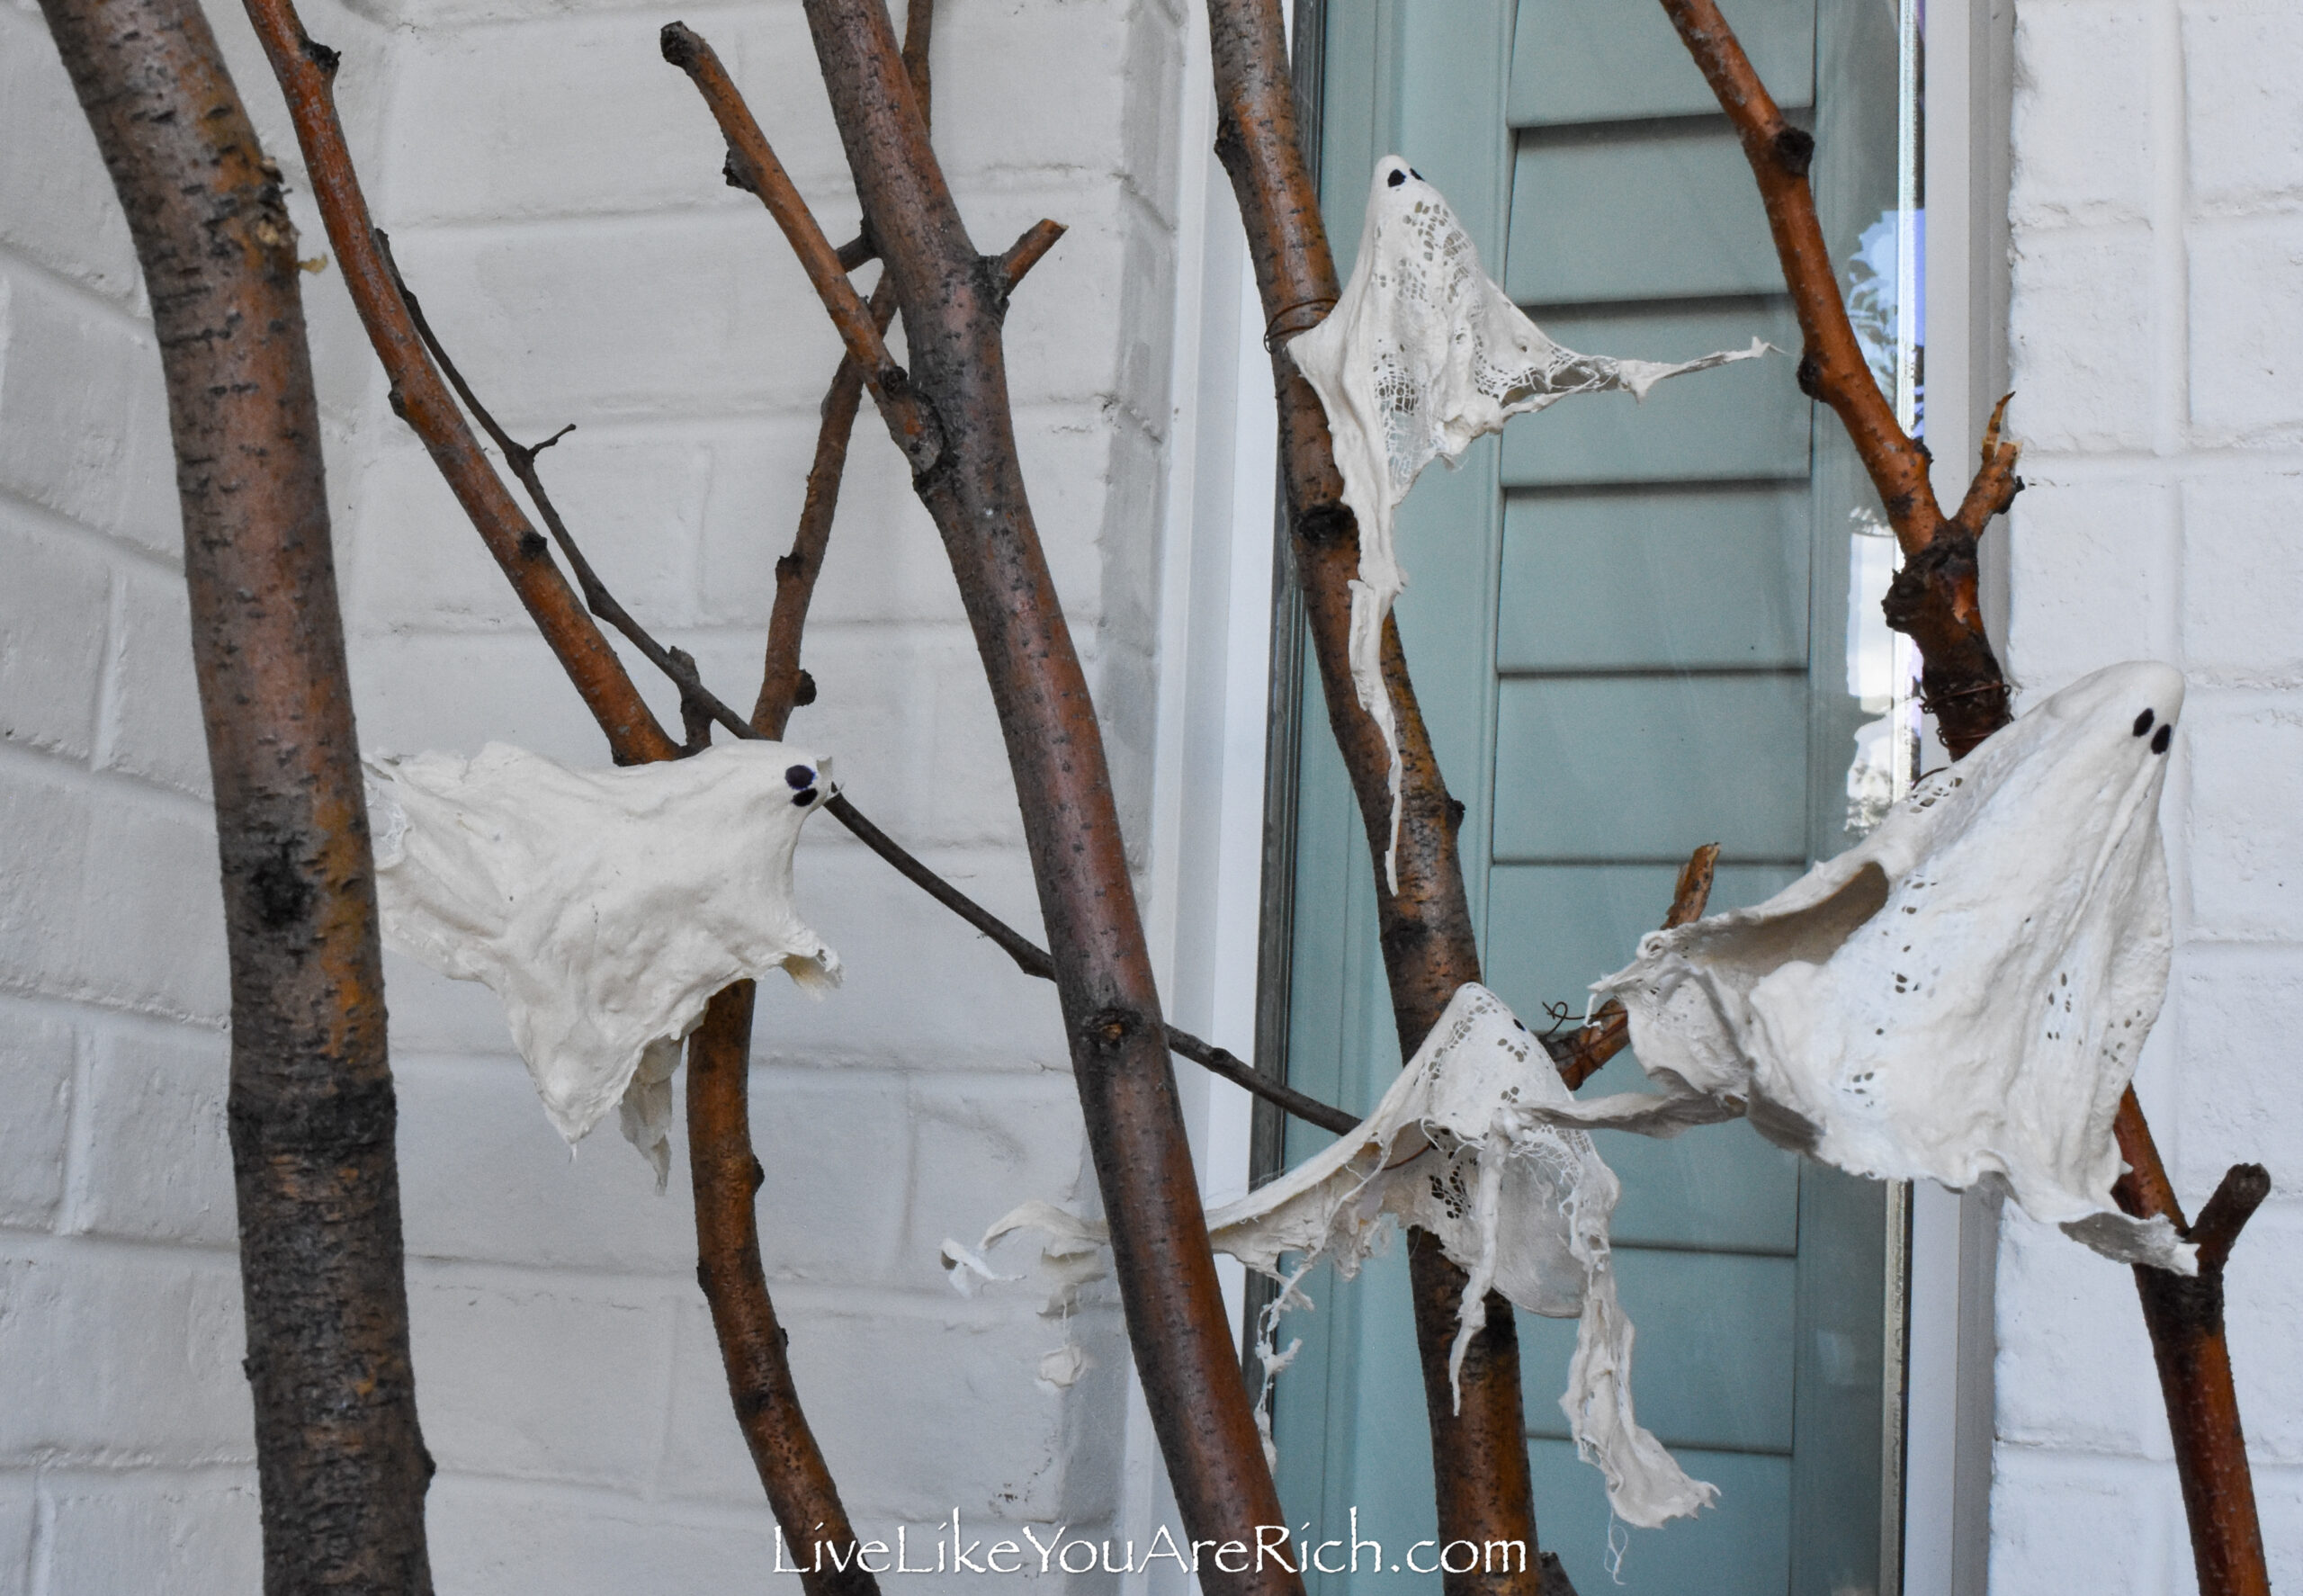
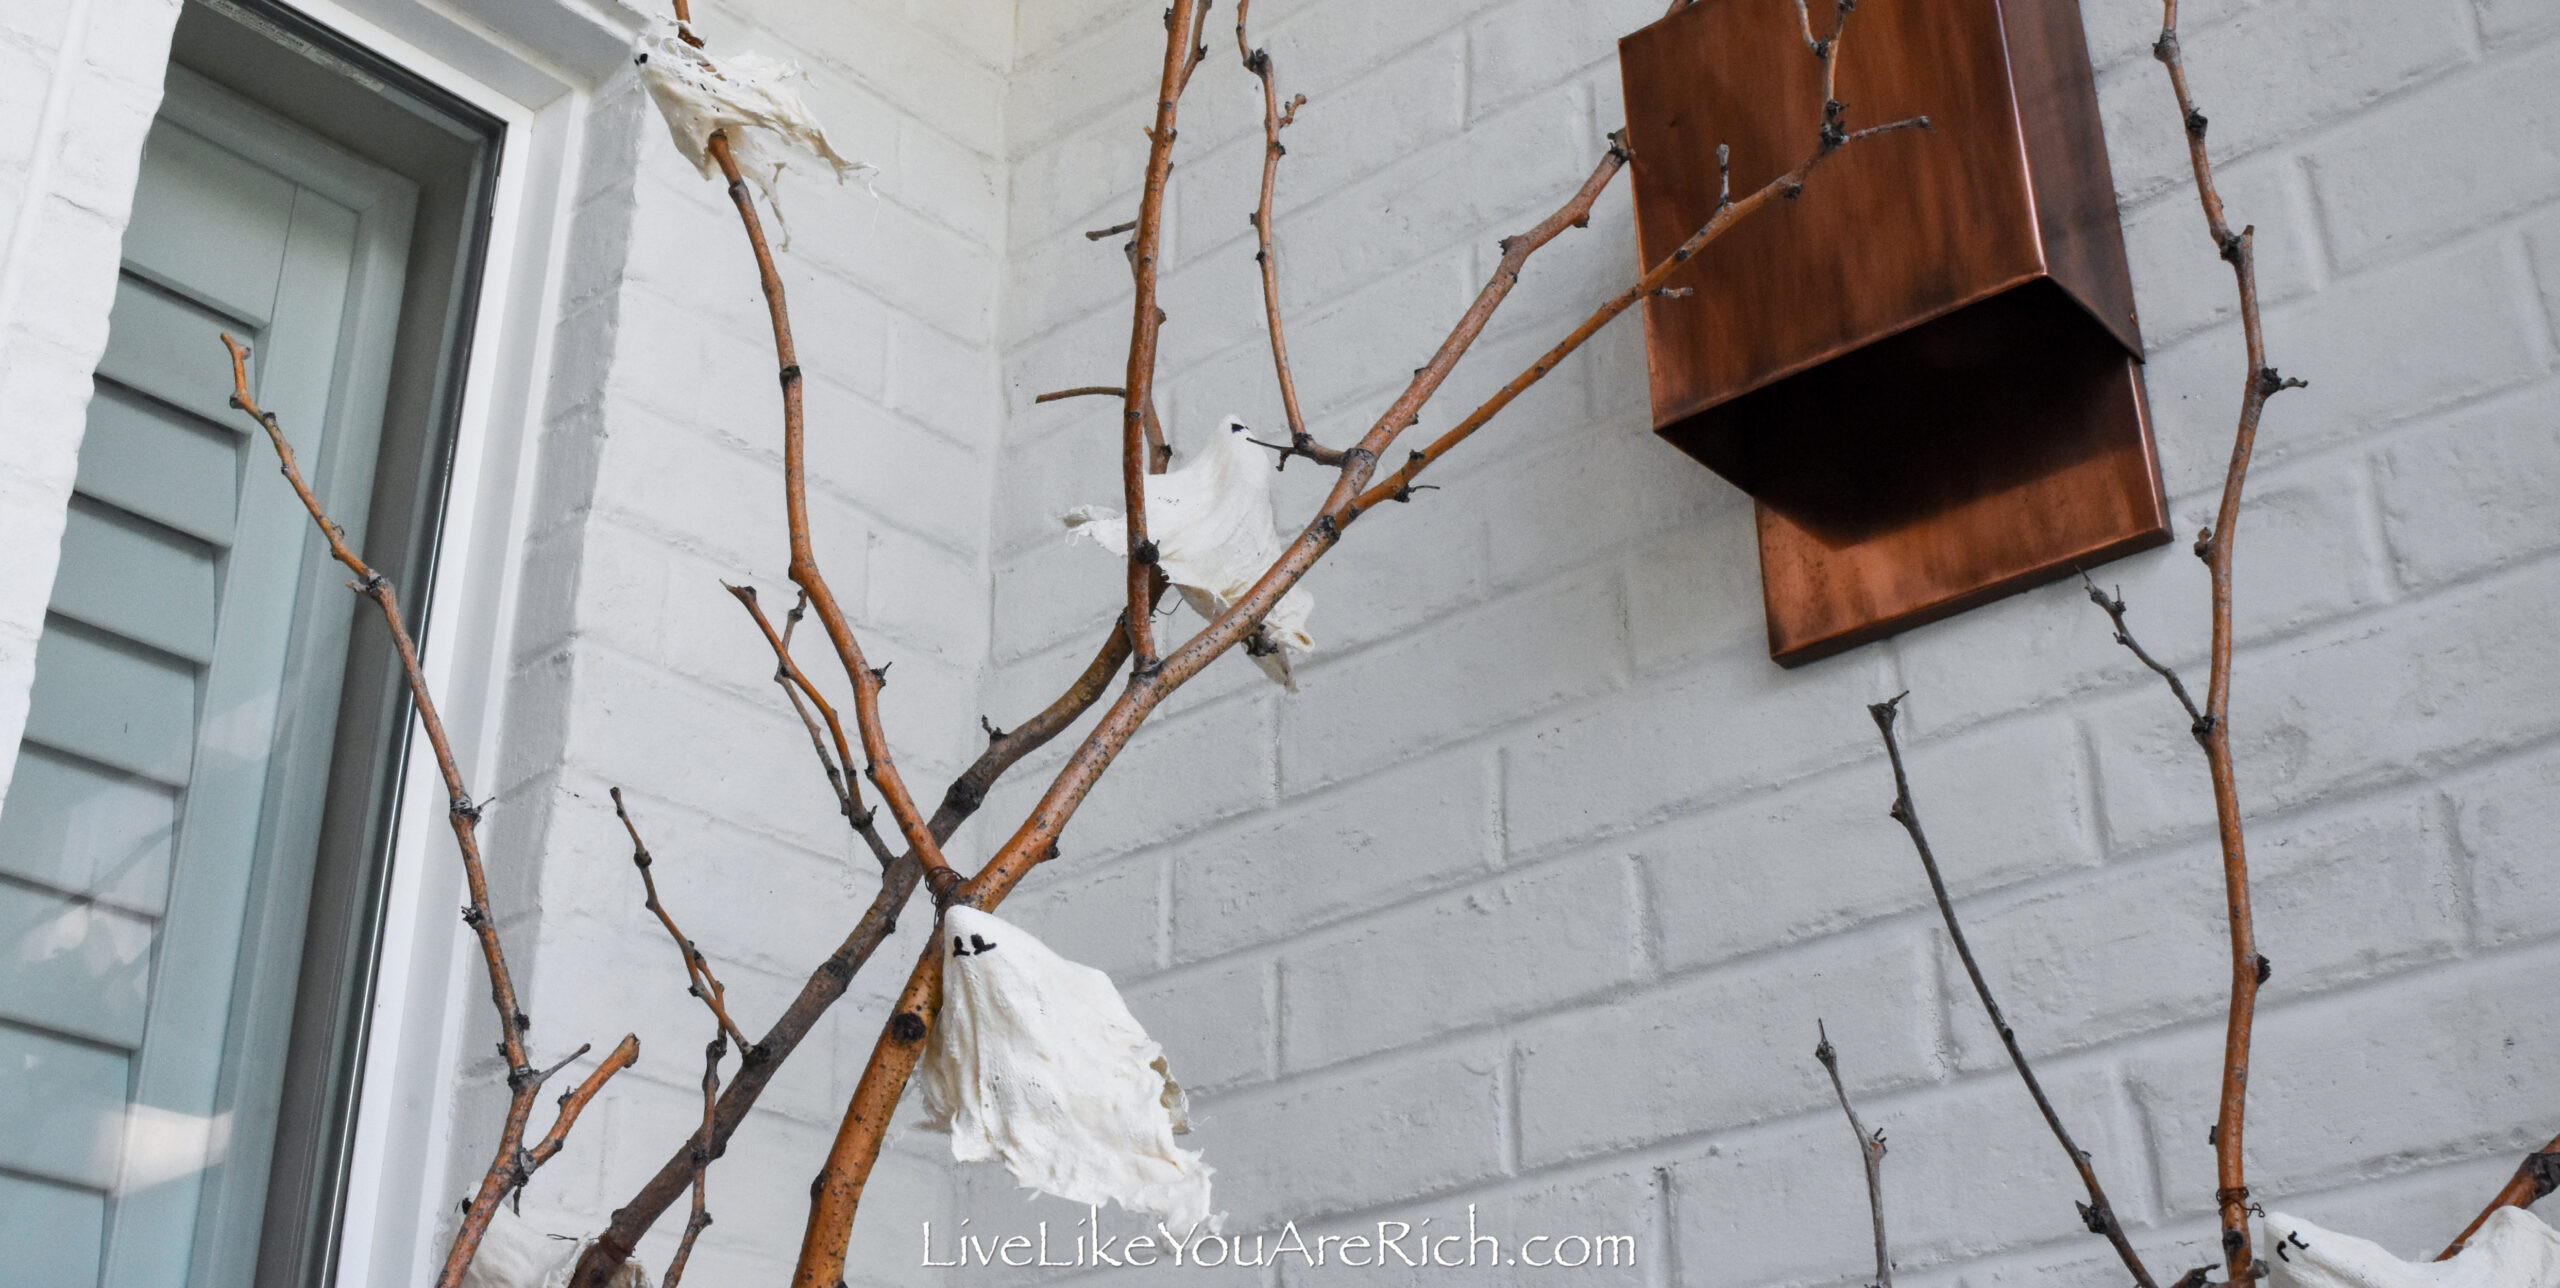
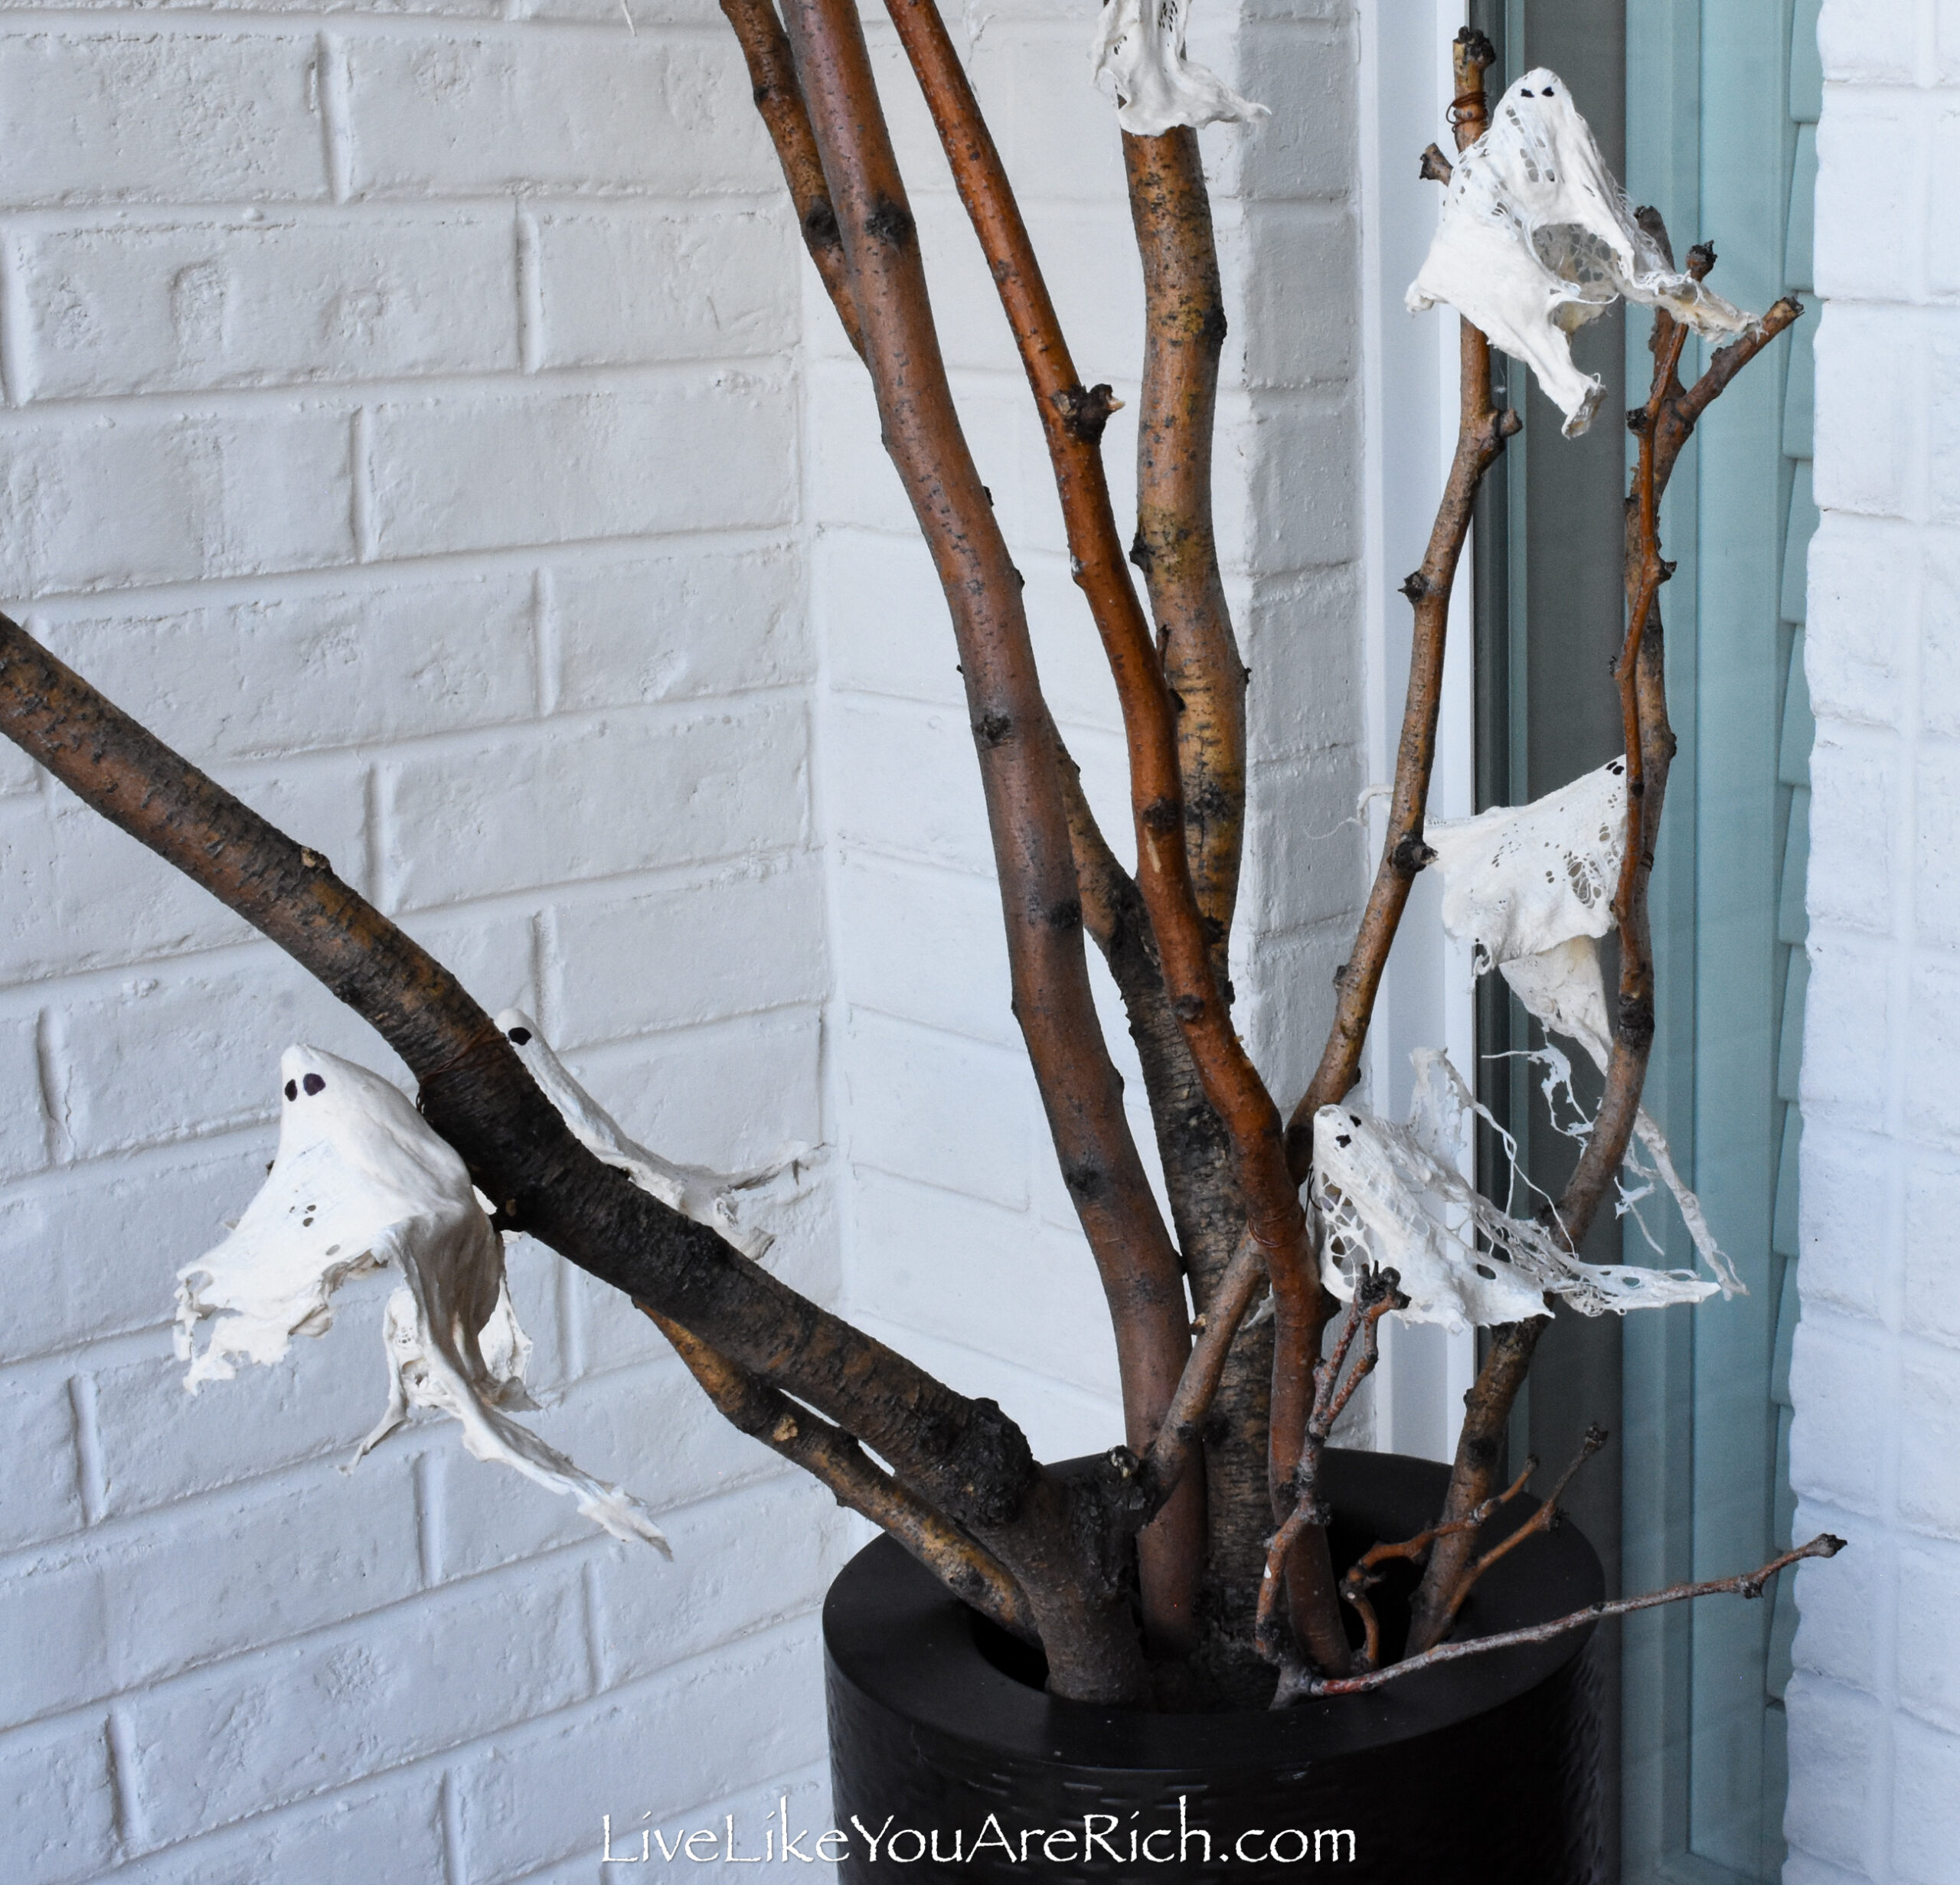
14. Hang the gauze ghosts on tree branches with floral wire.
15. Spray the ghosts with hairspray to help combat any moisture from changing their shapes.
They have been outside in wind, sunshine, and rain (although they are protected from rain it has been humid) and they have held their shape and color wonderfully!
Time involved: It took about 1.5 hours to set up and get them all draped, then it took about 20 hours to allow them to completely dry inside and out, and then it took another hour to draw on the eyes, wire them, hang them, and hairspray them.
So although I didn’t spend any money on the ghosts, they did take about 2.5 hours of active time to make. However, it was worth it!
I seriously love these ghosts and have gotten many compliments on them, so I think others do too.
I hope this DIY Gauze Ghosts tutorial helps if any reader would like to make them as well.
Happy Halloween!


For other ‘rich living tips’, please Subscribe Here or connect with me on these other platforms: