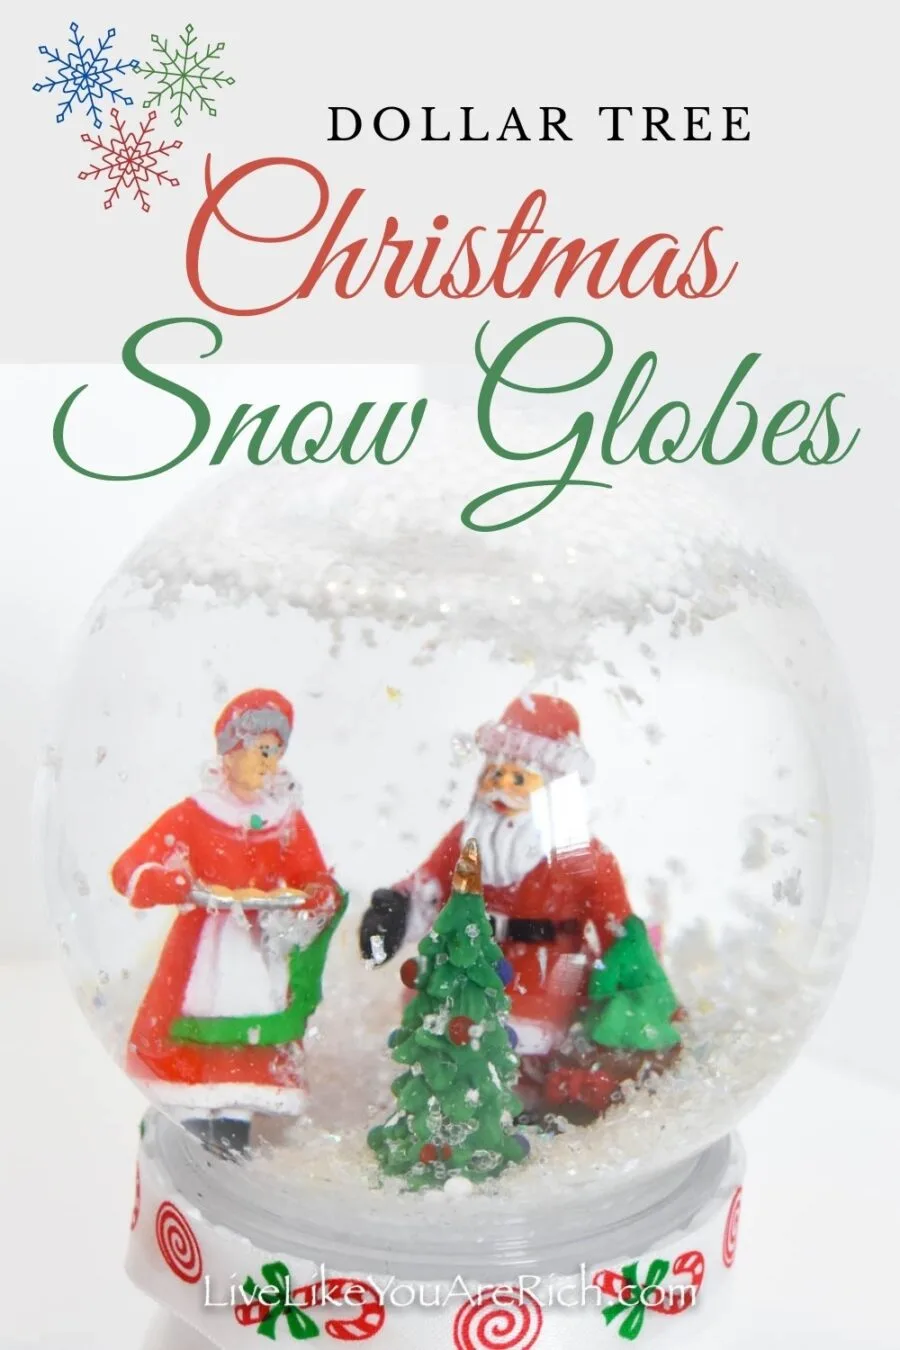
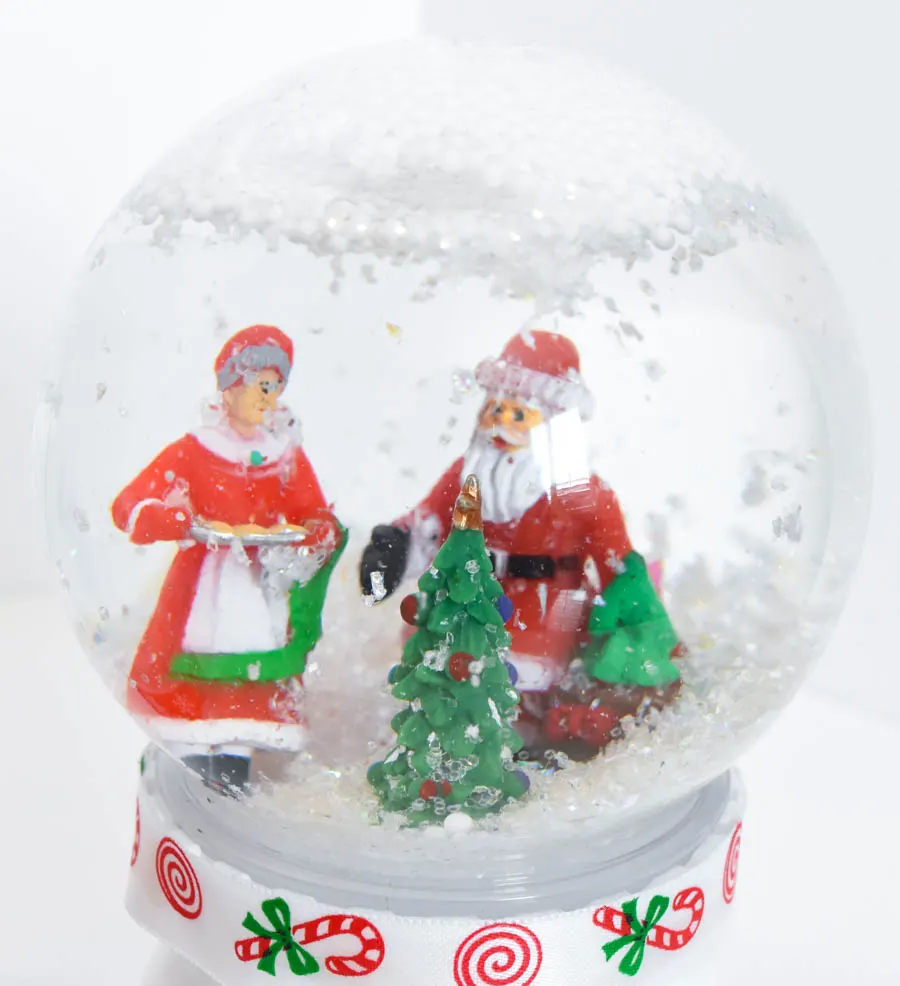
My children LOVE snow globes. Three years ago, Santa brought them each a mini snow globe. It was easily one of their favorite gifts that Christmas.
 Unfortunately, we left one of the snow globes in the car on a cold night. It froze and broke. There were many tears when my son was told that his broken snow globe had to be thrown away.
The next Christmas, Santa brought them each another snow globe. They have made sure to never let these ones freeze.
When I was in Dollar Tree a few weeks ago and I saw these darling do it yourself snow globe rounds; I knew it would be a super fun family craft to make with my older kids.
I thought I would pull a preemptive maneuver on Santa and get the kids snow globes before he could.
Turns out, I was right to do this. My kids said they absolutely love them and they really enjoyed helping make them.
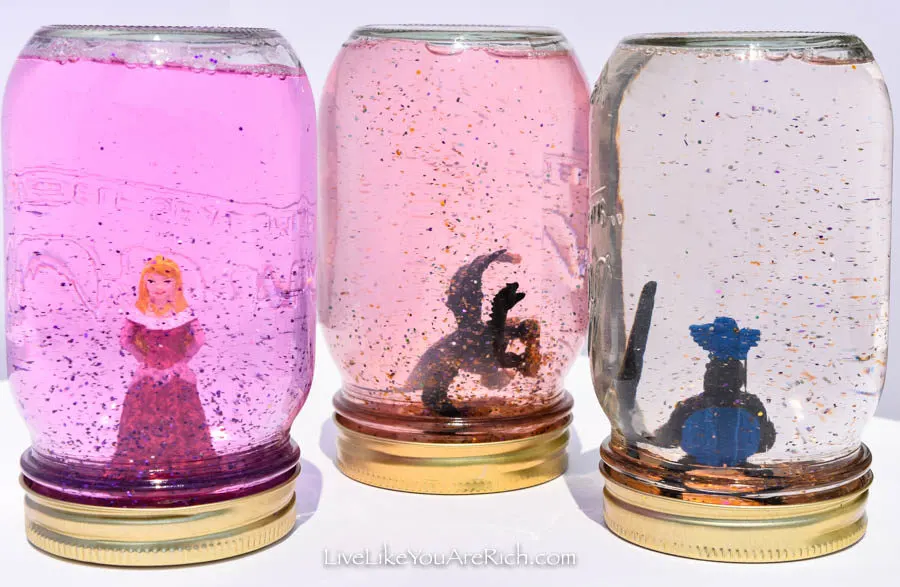
For my daughter’s 3rd birthday, we had a Medieval Party (princesses, knights, and dragons). We made these medieval snow globes with all the kids.
Unbelievably, we still have them and they work great! The pieces are still glued where we glued them and the glitter and water are in great condition. For 3 years they have never leaked and my kids still love them. Not bad for a few dollar craft!
 Here is what you need to make Christmas snow globes yourself…
Supply List for Dollar Tree Christmas Snow Globes
Dollar Tree empty globes or mason jars that are large enough to put items into. The same ones I found at Dollar Tree are found here but for unfortunately, for much more.
Mini sisal Christmas trees. I found these in packs of 4 for $1.00 in the $1.00 seasonal bins at Target. Similar here.
Mini plastic figurines. I bought multiple of the Village collection at Dollar Tree which came in packs of 2 or 3 for $1.00… or you can get the whole village with all of these figurines here. You can also find plastic inexpensive Christmas figurines on Amazon here.
Epoxy glue (5 minute instant set). You will need one 0.47 ounce glue for every 6 snow globes you make. If you buy more than one, open them one at a time because they dry out quickly.
Ribbon 5/8″ found at the Dollar Tree. Similar here.
Distilled water (1 gallon will be plenty)
Rubbing alcohol (optional see why below)
Fake snow mix for water snow globes:
Fake snow (mini balls of snow) Dollar Tree— 2 teaspoons (these float on the top)
Spectra sparkling crystals/white glitter,— 4 teaspoons (this sinks fast)
faux snow flakes Dollar Tree 3 teaspoons— these stay floating for awhile and slowly sink
Fake snow mix for dry snow globes:
Epsom salt, 2 teaspoons
Spectra sparkling crystals/ white glitter, 3 teaspoons
faux snow flakes 2 teaspoons
Instructions on how to make
Dollar Tree Christmas Snow Globes
First, if you plan to use water in your snow globes (I made some with and without), you need to get a good glue. I used an Epoxy because that is what I used on the medieval snow globes and here 3 years later, the glue is still holding strong.
If you are not planning on using water in your snow globes, a hot glue gun or super glue would likely work.
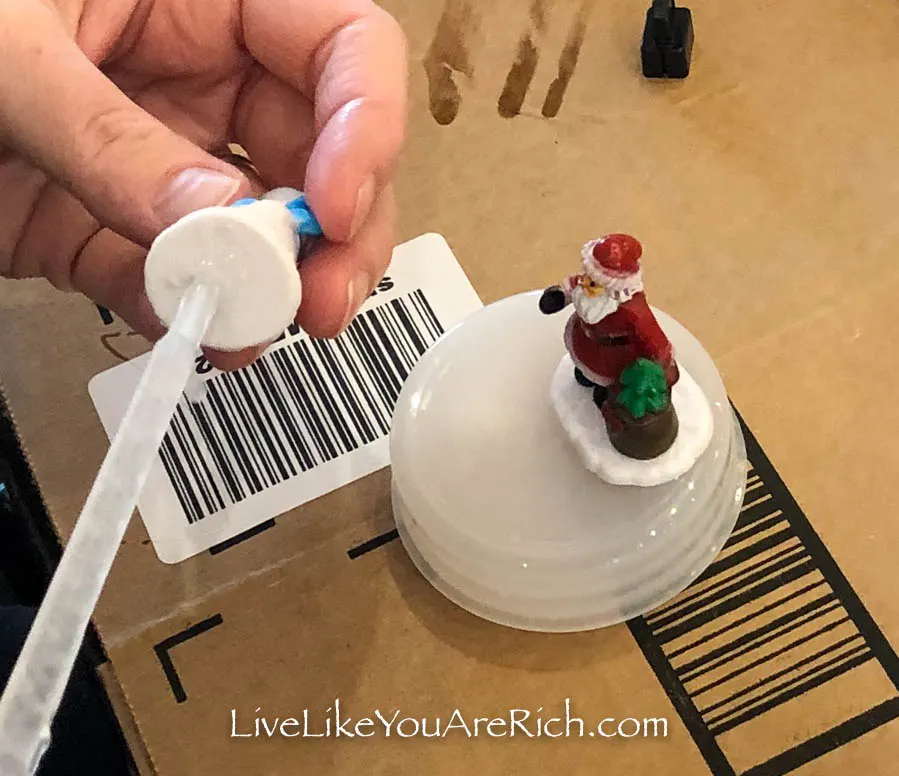 Glue epoxy to the bottom of the figurines and set them on the lid/lid insert.
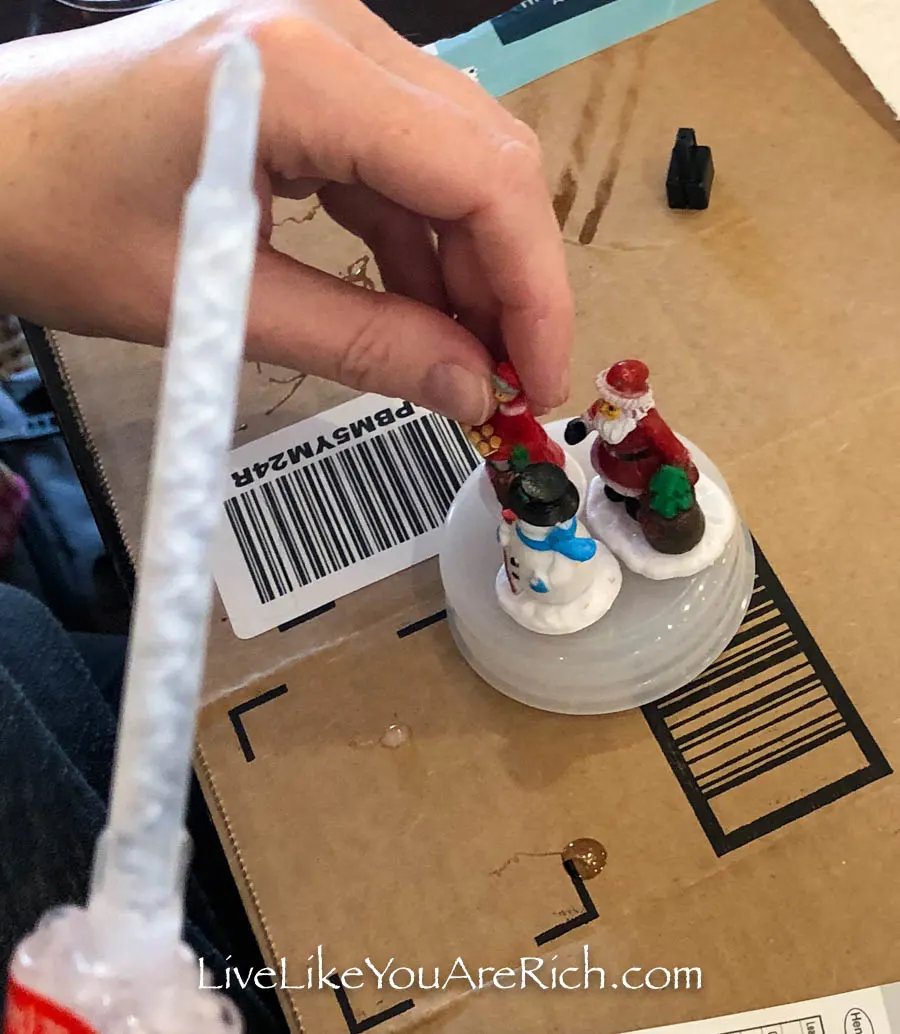 Be sure you put the top of the globe on momentarily to make sure the glued figurines set in the correct spot. You must be able to fit the top on correctly (ensure that the figurines are not blocking it) before the glue sets or you will not get a proper seal.
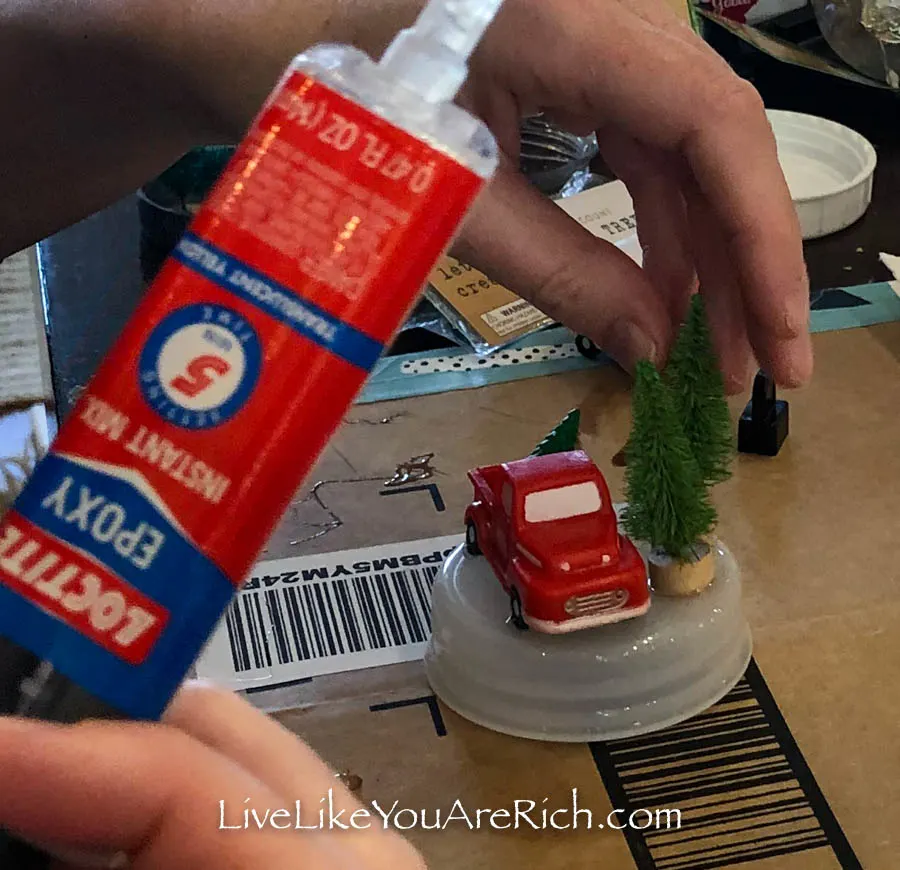 If you plan to make a snow globe with water, use plastic figurines and glue them to the globe lid. Allow for proper setting time (glue instructions should specify).
If you don’t plan to use water in all of them, you could use the sisal trees and other items—not just plastic.
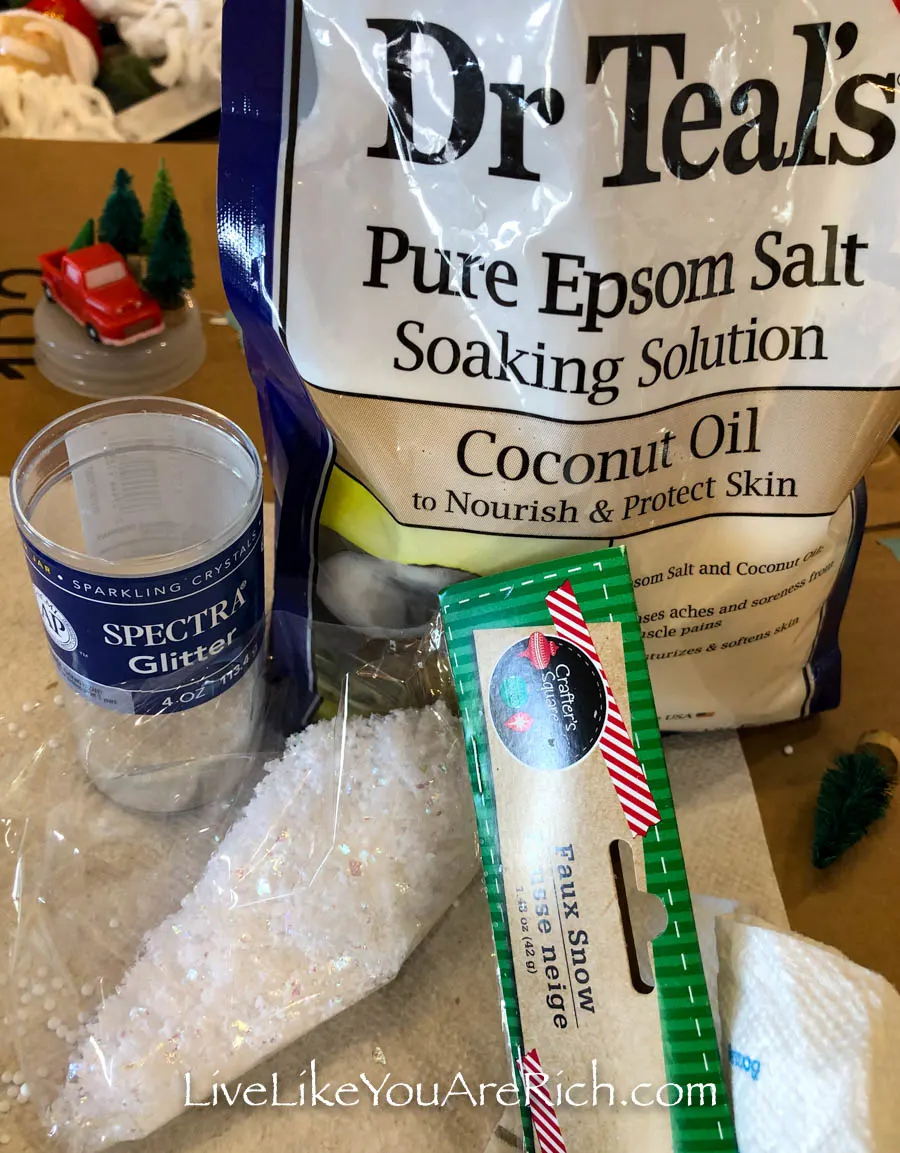 Fill the lid with the faux snow mixture (see supply list for recipe) for both wet or dry faux snow mixtures. In case you are wondering, yes, the mixture for faux snow is different for the two.
I did this because Epsom salt (used in the dry globe) would dissolve in the water and because the faux snow mini balls that float would look a little weird without water.
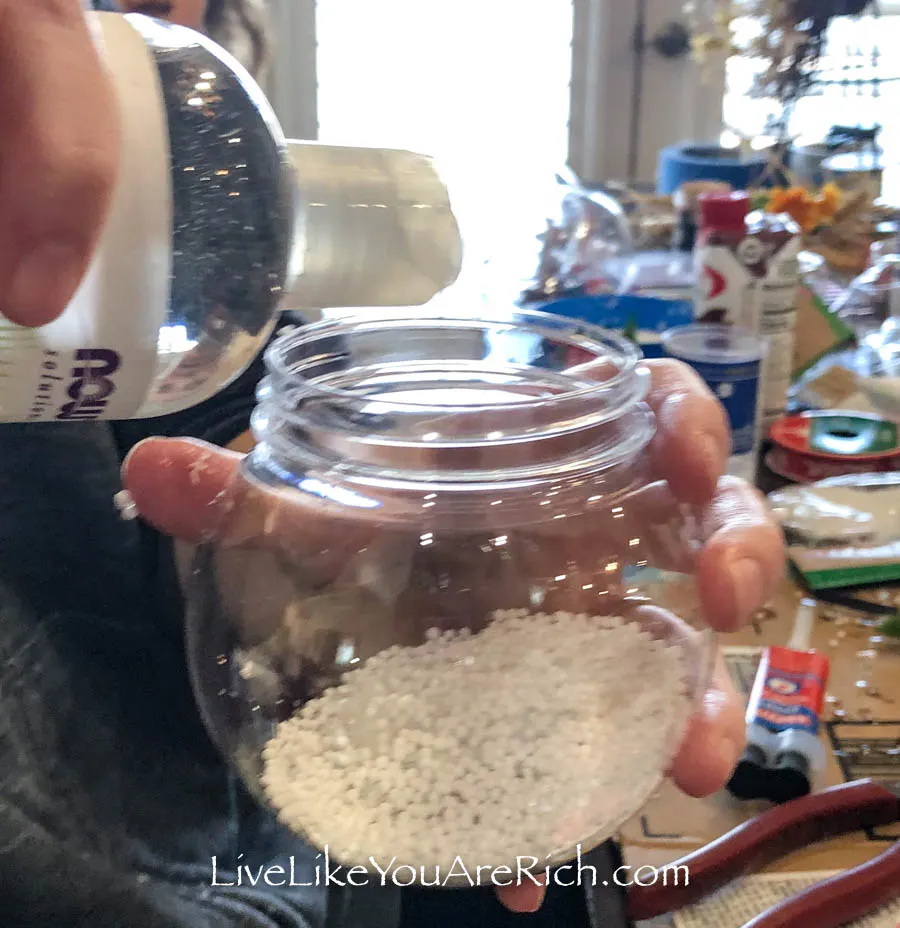
Next, drip 5 drops of glycerin into the snow globes you’ll be putting water into. The glycerin helps the faux snow to stay afloat longer when one moves/shakes the snow globe.
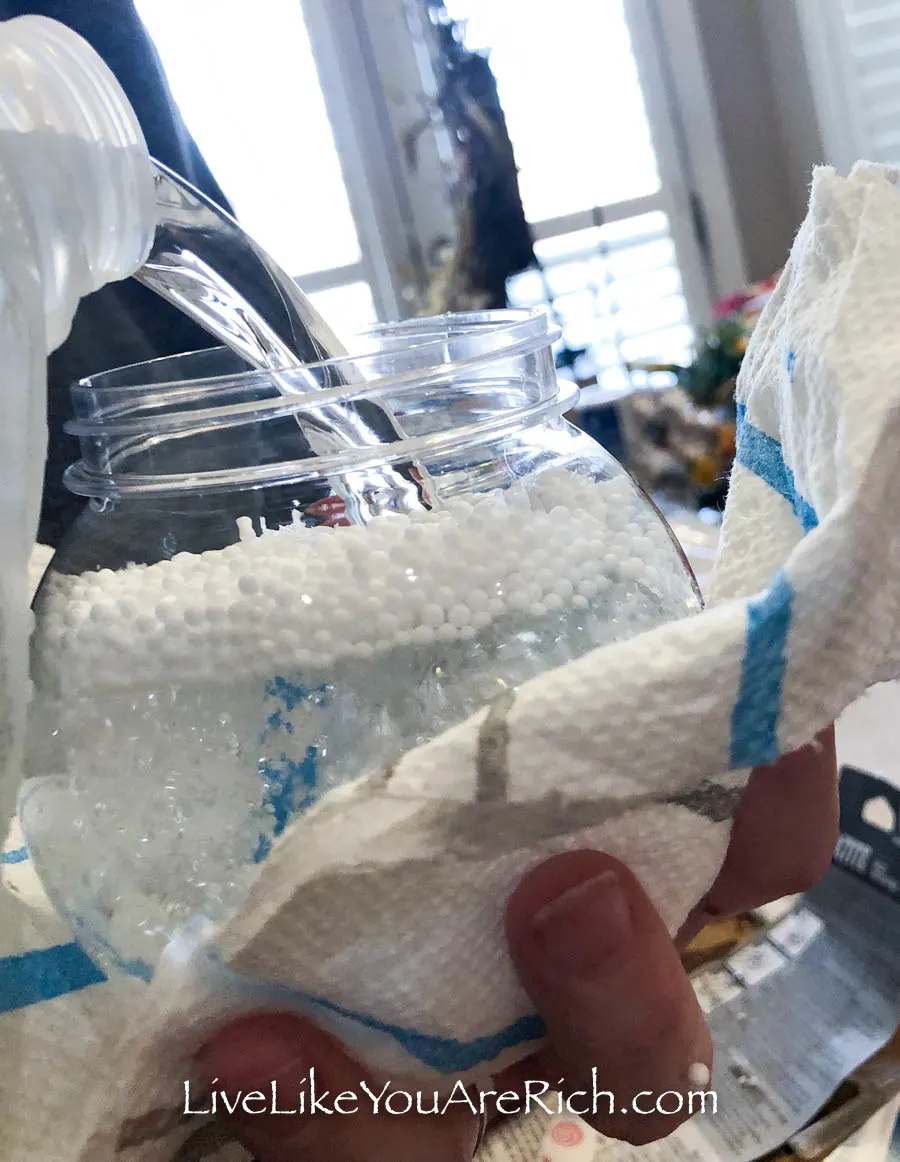
Now, pour distilled water into the lid. Make sure to leave a bit of room for the figurine, but not too much room.
What I did was fill it about where I thought I needed the water level to be. Then I carefully tested the water level by putting the figurines in it. If I needed to pour water out I removed the lid and poured it out, others, I needed to pour more water in.
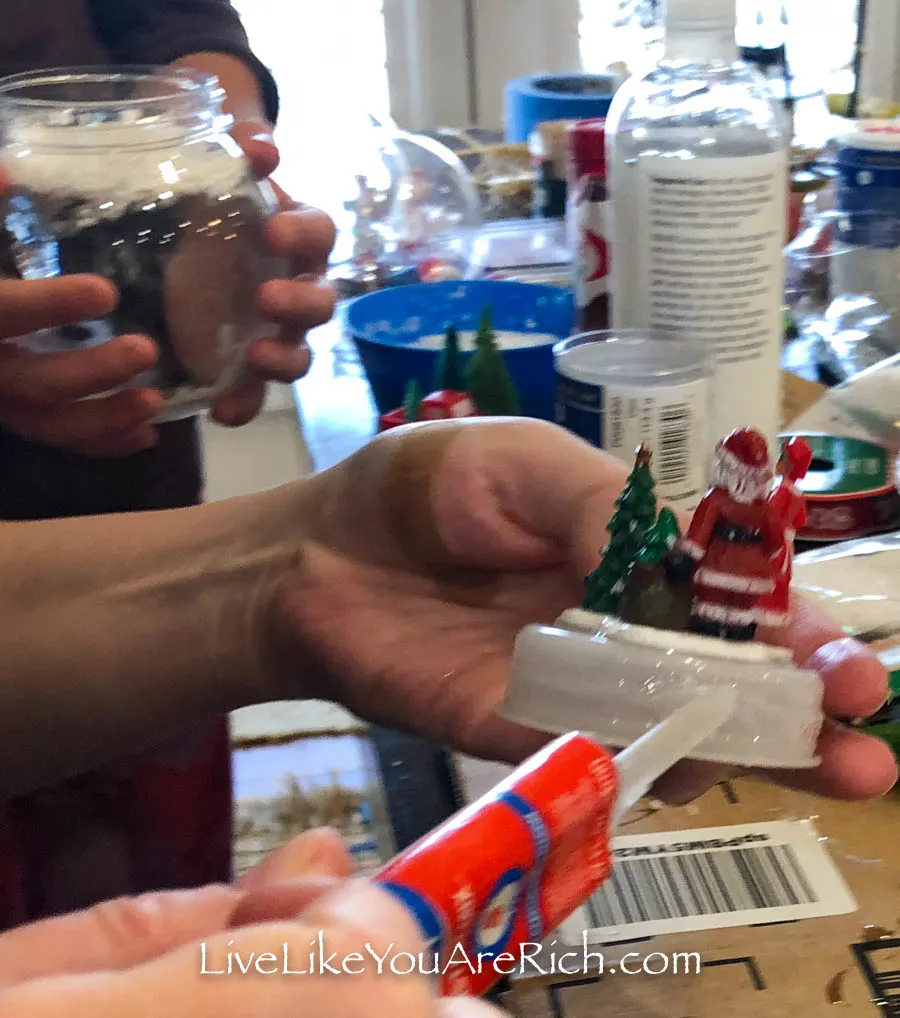
When the water is ready, dry the rim of the lid off if it got wet and run a bead of epoxy around the edge of the lid.
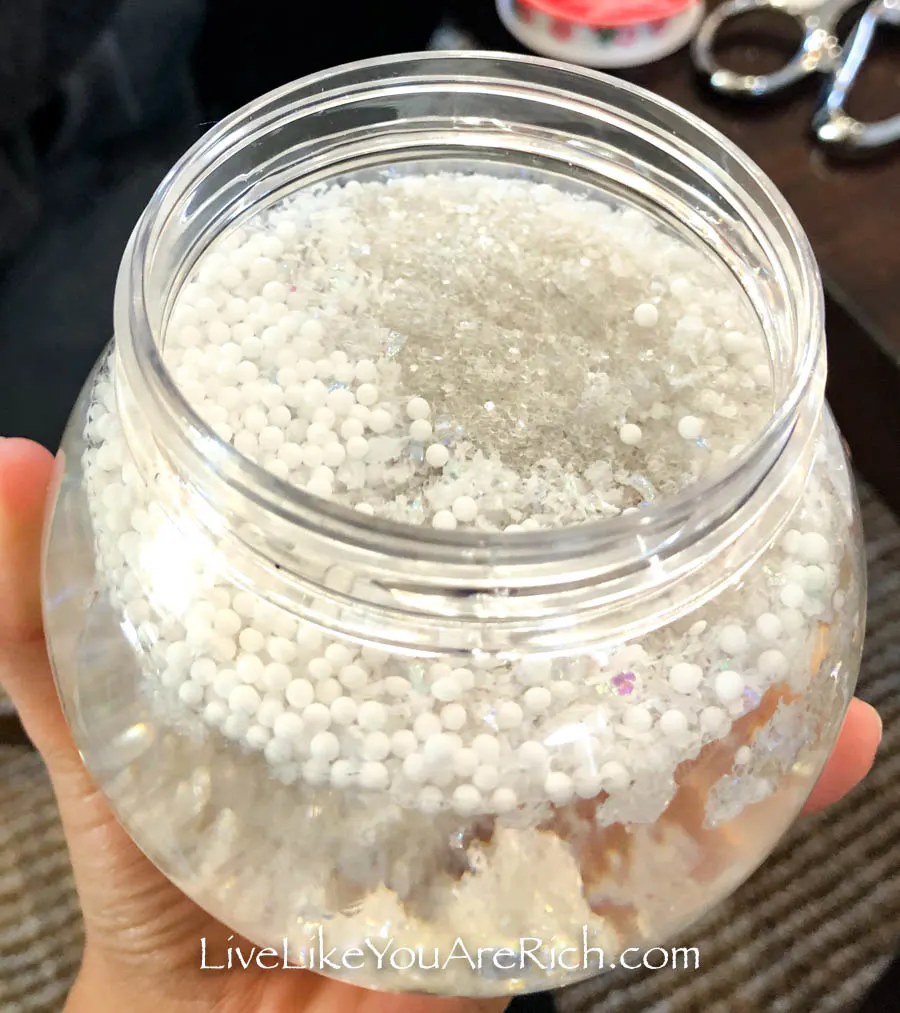 Place the lid on to the snow globe and tighten it tight.
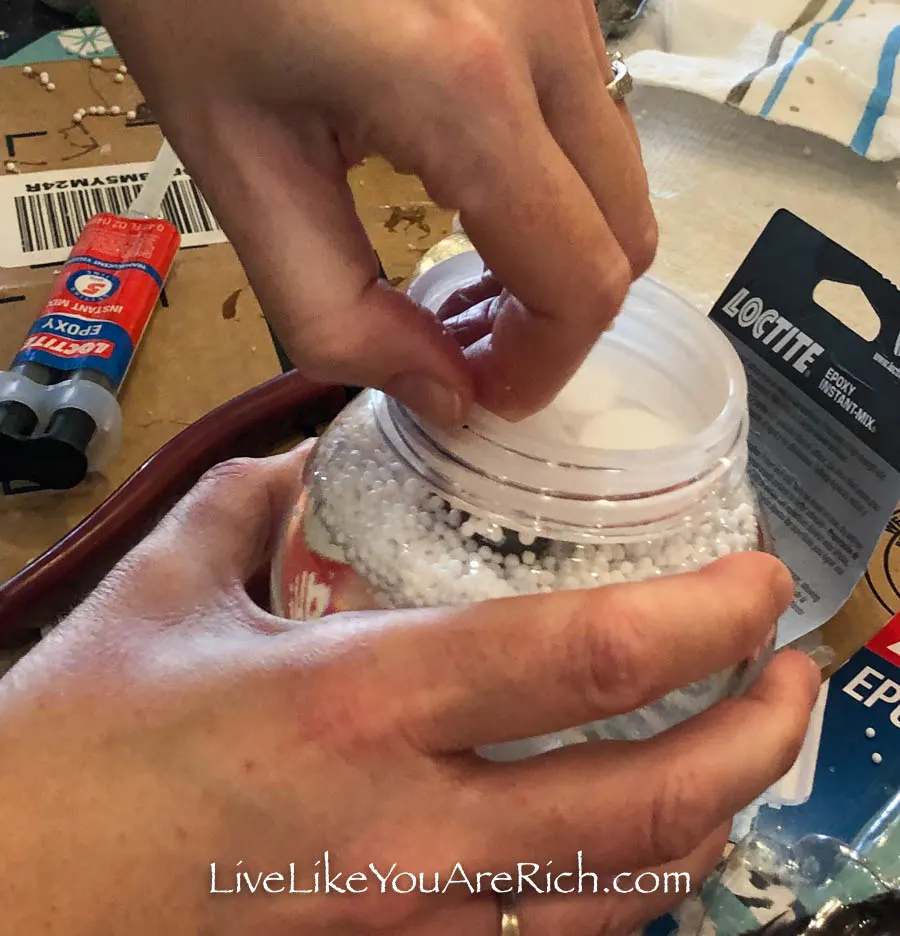 Once they are tight, leave them upside down to dry/set for the length of time the glue instructions say the set time is.
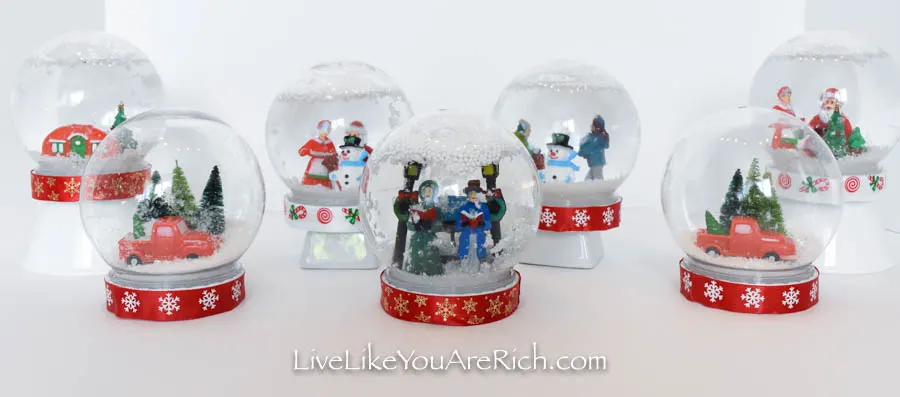
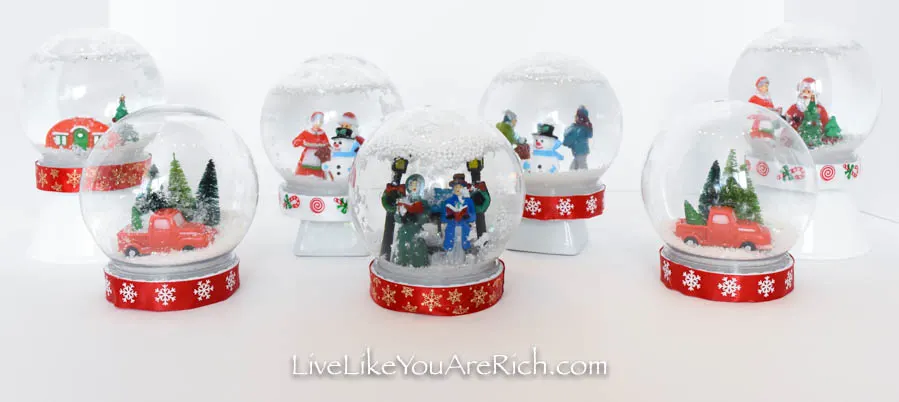 Now, you have your finished Dollar Tree Christmas Snow Globe!
Optional- Take a paper towel and put a little rubbing alcohol on it, clean the glass or plastic with the paper towel and it will clean off any epoxy or other mess that may have gotten onto the snow globe.
Optional- You may want to add a nice touch by hot glueing ribbon around the lid. I found this just finished off the look very well.
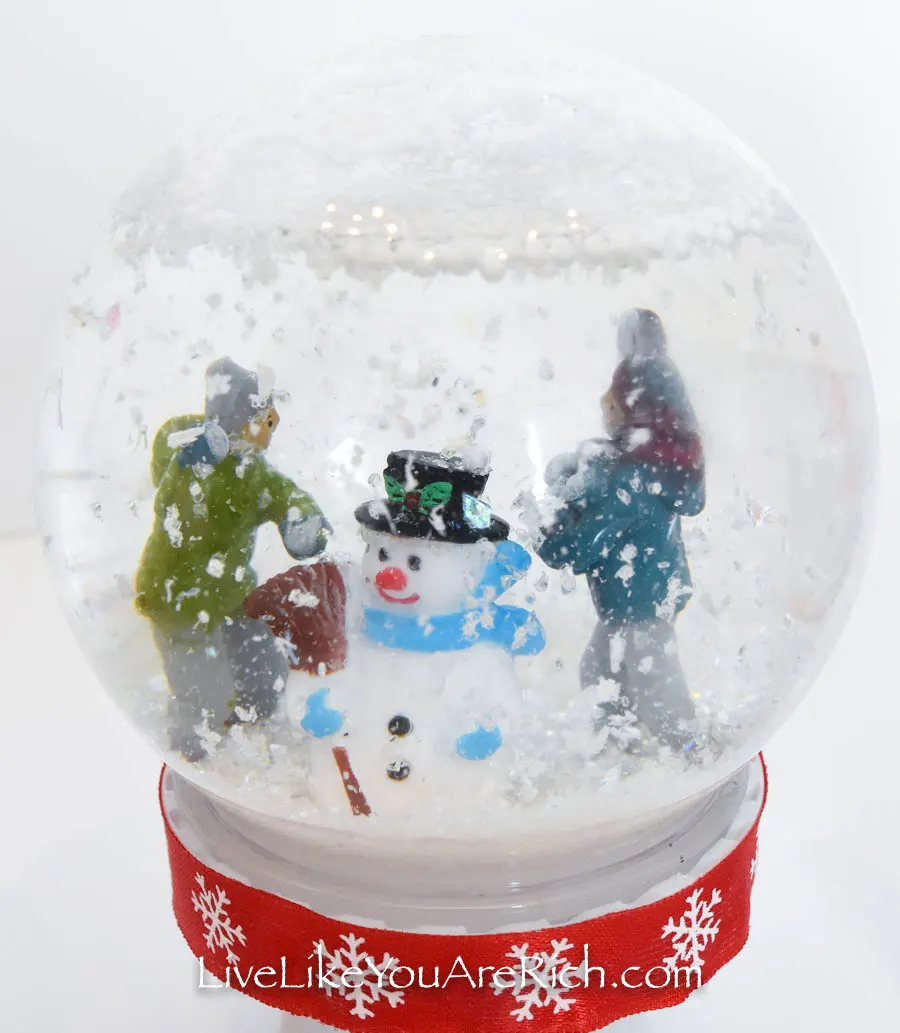 I found a few cute rolls of Dollar Tree ribbon that I like.
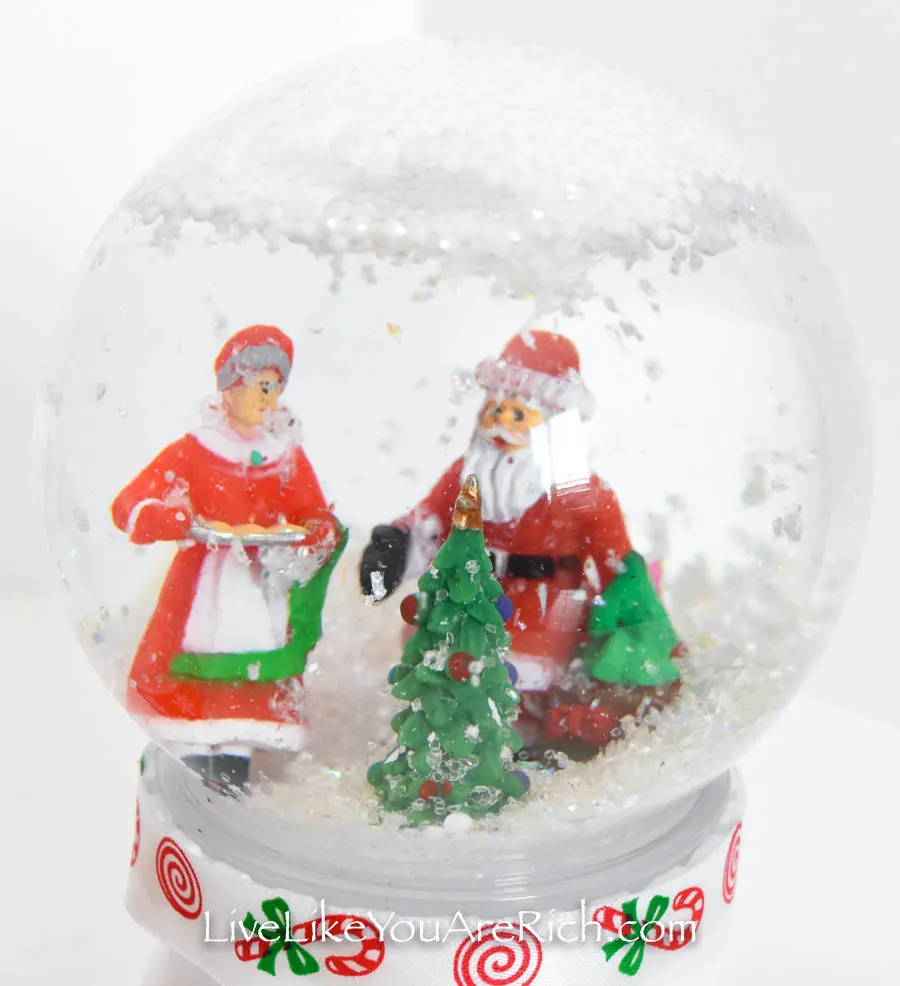 I wrapped them around the base/lid of the ornament to get a measurement of how long to cut it and then hot glued them to the lids.
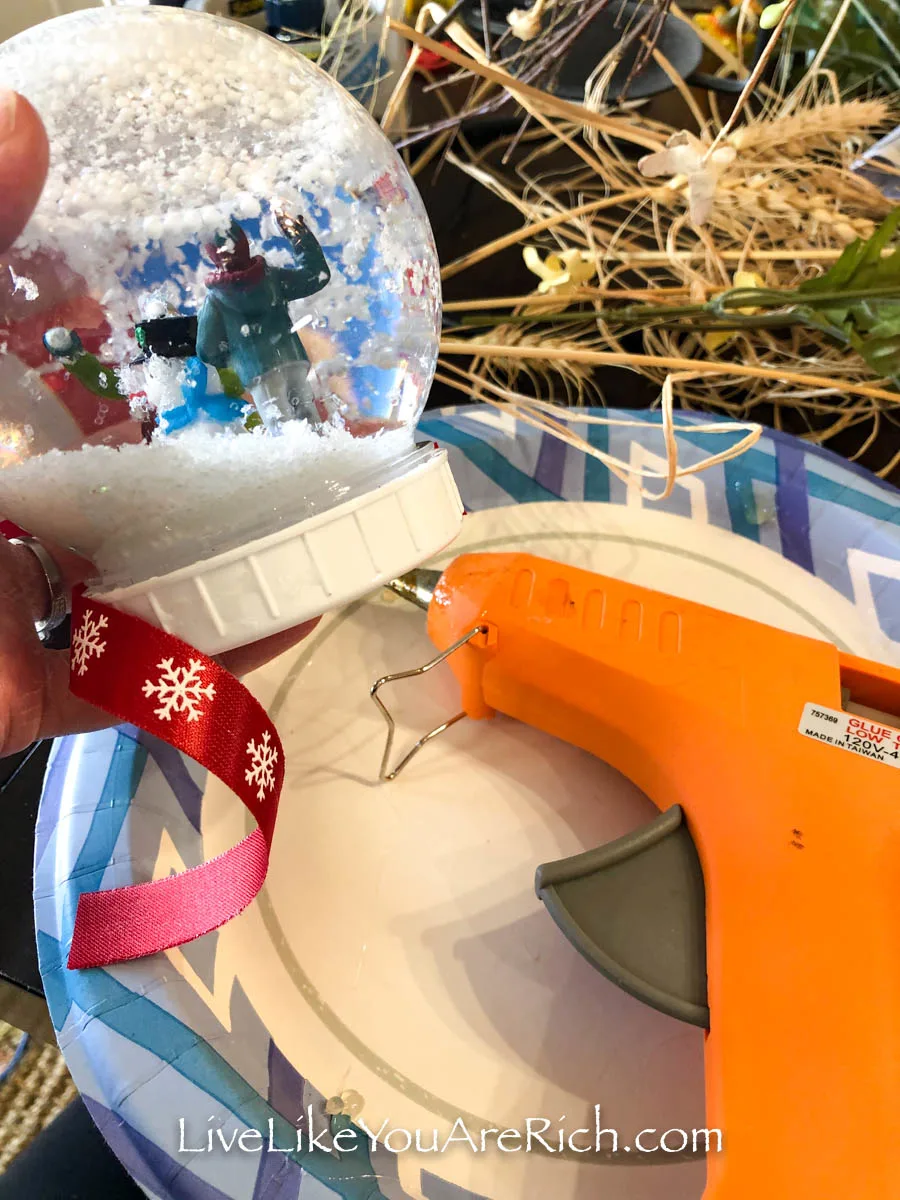 You simply run a bead of hot glue all the way around the rim of the lid and carefully place the ribbon.
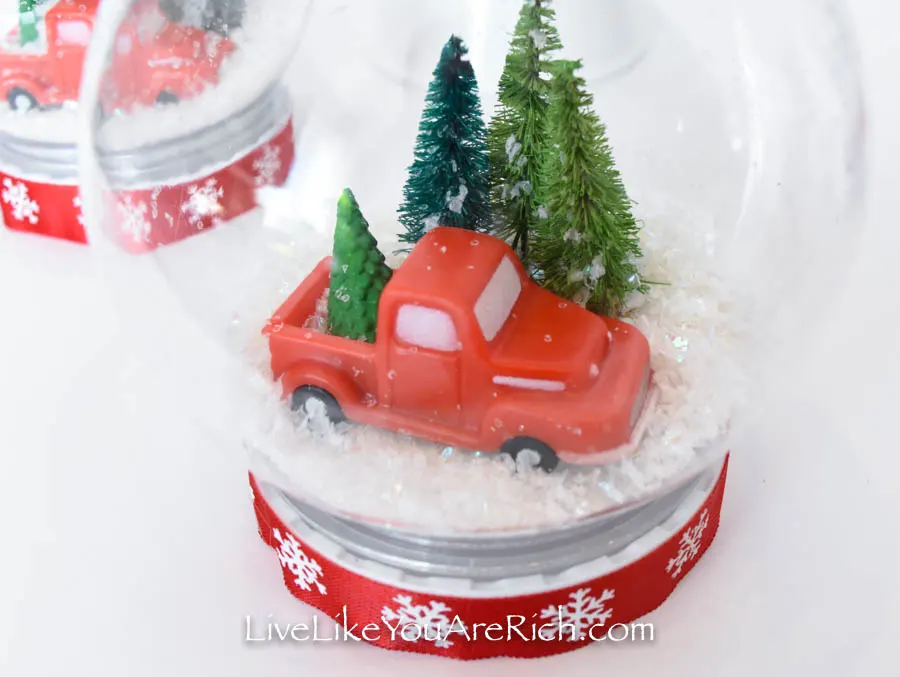 Allow the hot glue to dry for a few minutes.
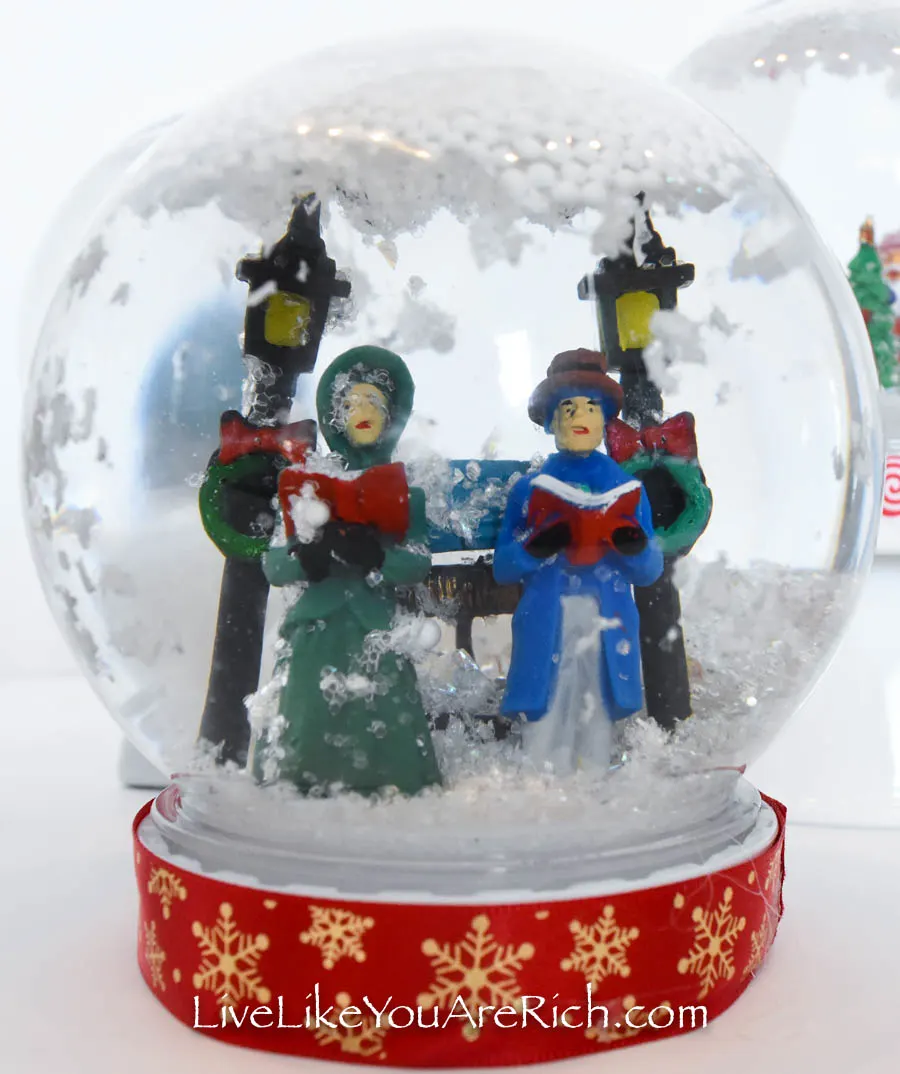 And… that’s it!
It really is a simple craft that kids can even do (with some adult help).
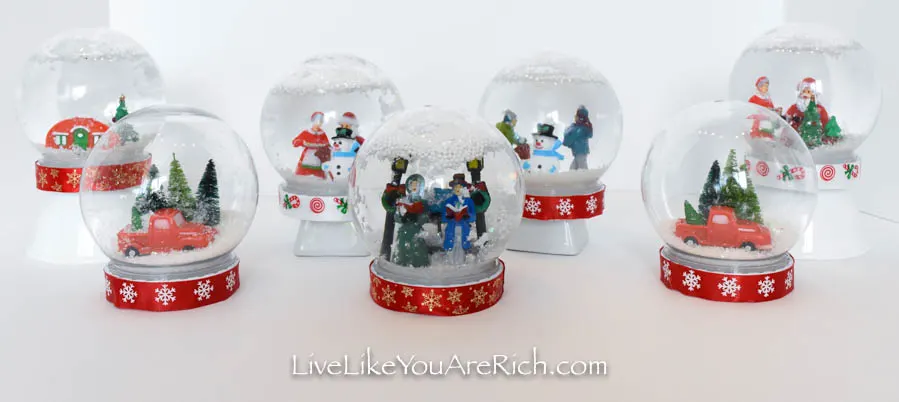 I love both the water filled globes and the ones that have no water!
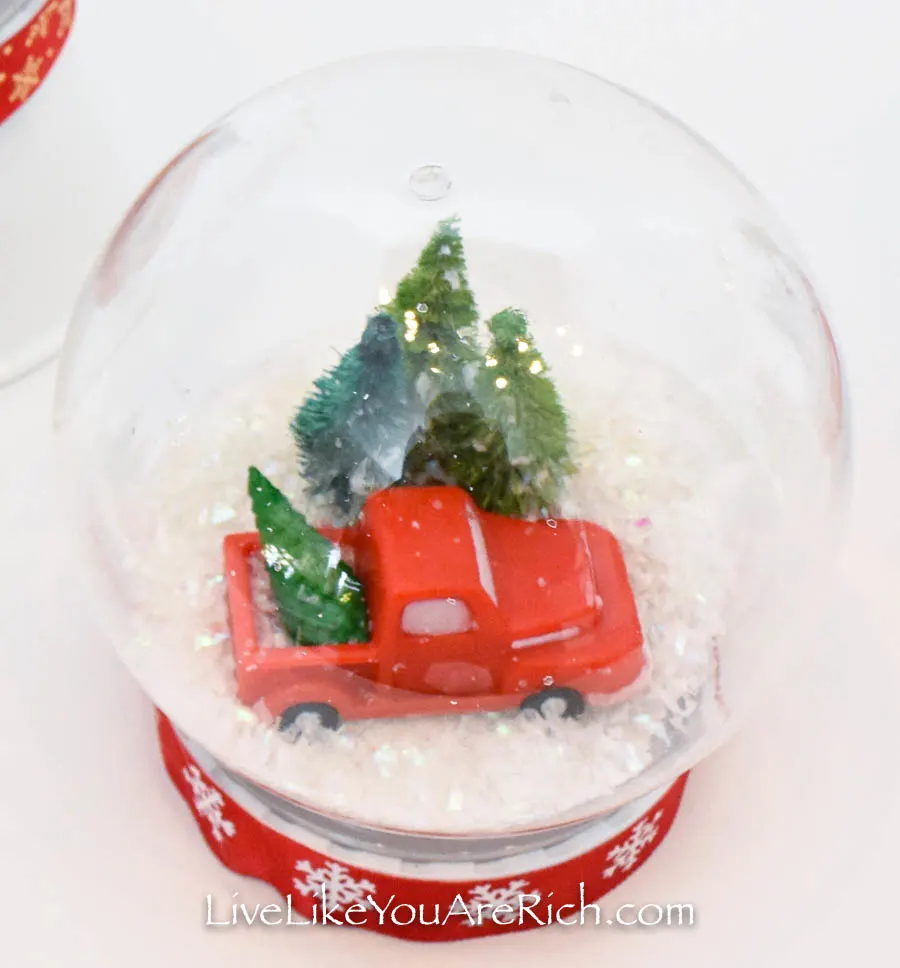 My children were so happy with how they turned out.
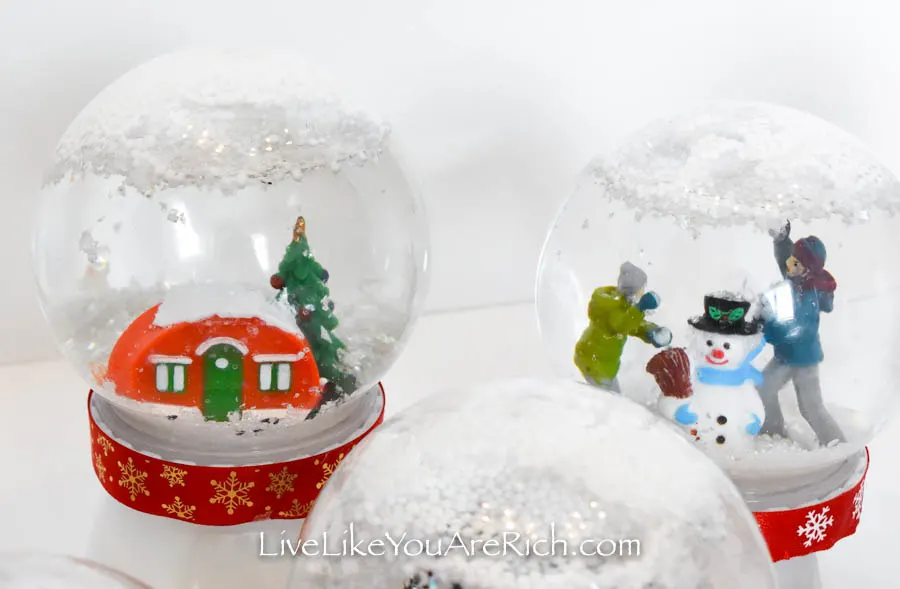 We made 6 snow globes in about 30 minutes. It was a fun, inexpensive, and easy.
This really is a great craft to do as a family.
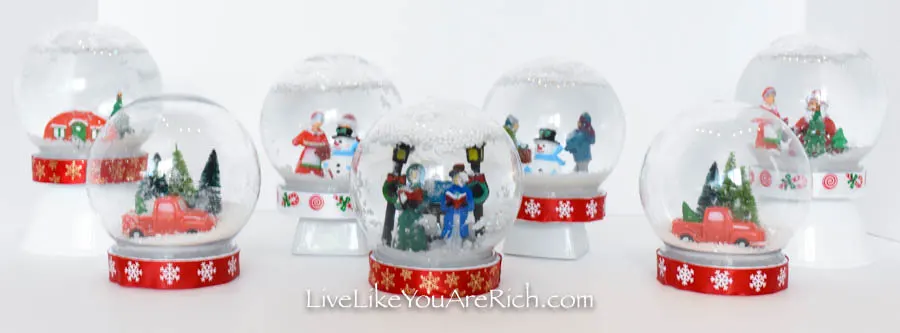
The cost of all six ended up being about $4.00 each snow globe (including the glycerin).
This would be such a great craft to do with a large group of kids as it is inexpensive, interactive, and fun.
I hope this has helped you to make Dollar Tree Christmas Snow Globes a reality in your home.
Supply List for Dollar Tree Christmas Snow Globes
Dollar Tree empty globes or mason jars that are large enough to put items into. The same ones I found at Dollar Tree are found here but for unfortunately, for much more.
Mini sisal Christmas trees. I found these in packs of 4 for $1.00 in the $1.00 seasonal bins at Target. Similar here.
Mini plastic figurines. I bought multiple of the Village collection at Dollar Tree which came in packs of 2 or 3 for $1.00… or you can get the whole village with all of these figurines here. You can also find plastic inexpensive Christmas figurines on Amazon here.
Epoxy glue (5 minute instant set). You will need one 0.47 ounce glue for every 6 of these snow globes you make. If you buy more than one, open them one at a time because they dry out quickly.
Ribbon 5/8″ found at the Dollar Tree. Similar here.
Distilled water (1 gallon will be plenty)
Rubbing alcohol (optional see why below)
Fake snow mix for water snow globes:
Fake snow (mini balls of snow) Dollar Tree— 2 teaspoons (these float on the top)
Spectra sparkling crystals/white glitter,— 4 teaspoons (this sinks fast)
faux snow flakes Dollar Tree 3 teaspoons— these stay floating for awhile and slowly sink
Fake snow mix for dry snow globes:
Epsom salt, 2 teaspoons
Spectra sparkling crystals/ white glitter, 3 teaspoons
faux snow flakes 2 teaspoons

For other ‘rich living’ and D.I.Y. decor tips please subscribe, like me on Facebook, and follow me on Pinterest and Instagram.
