
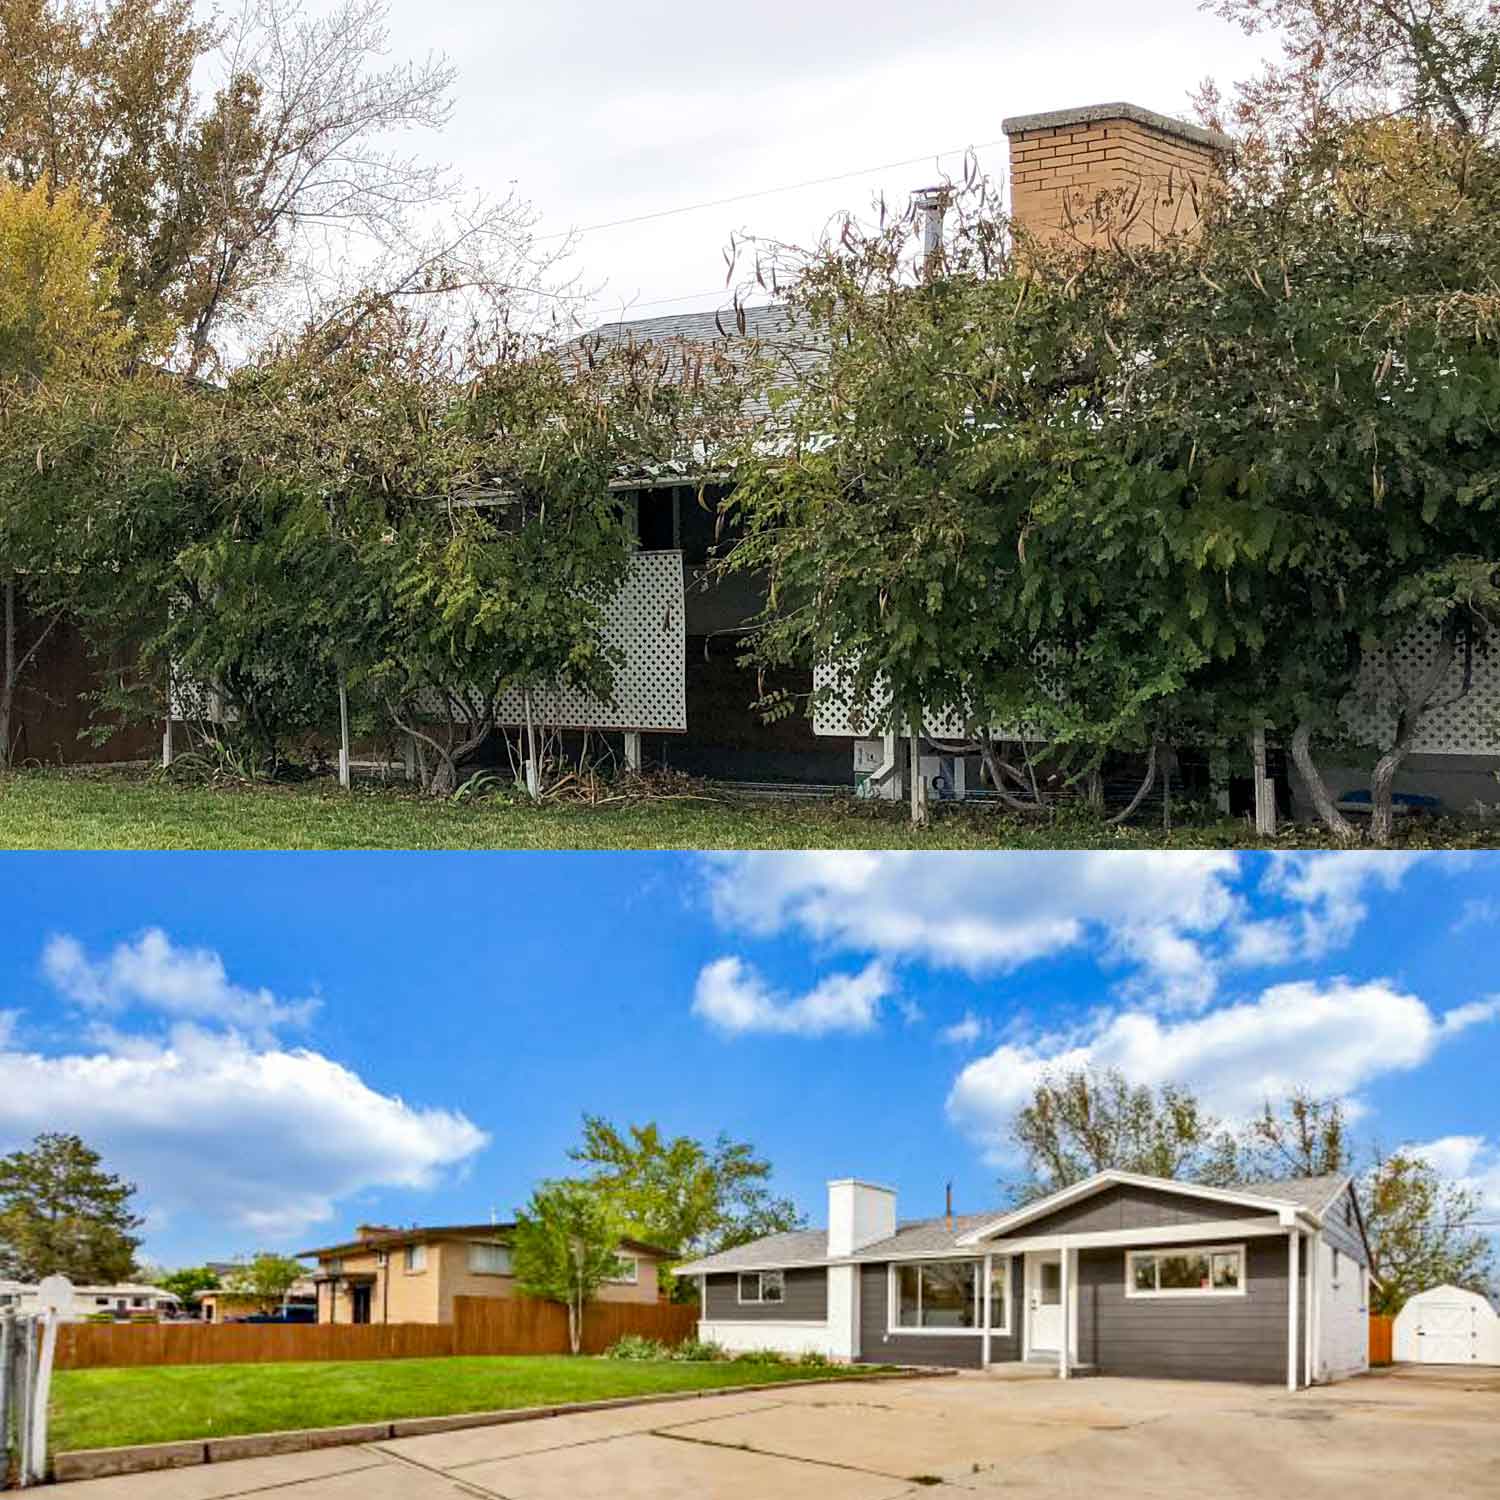
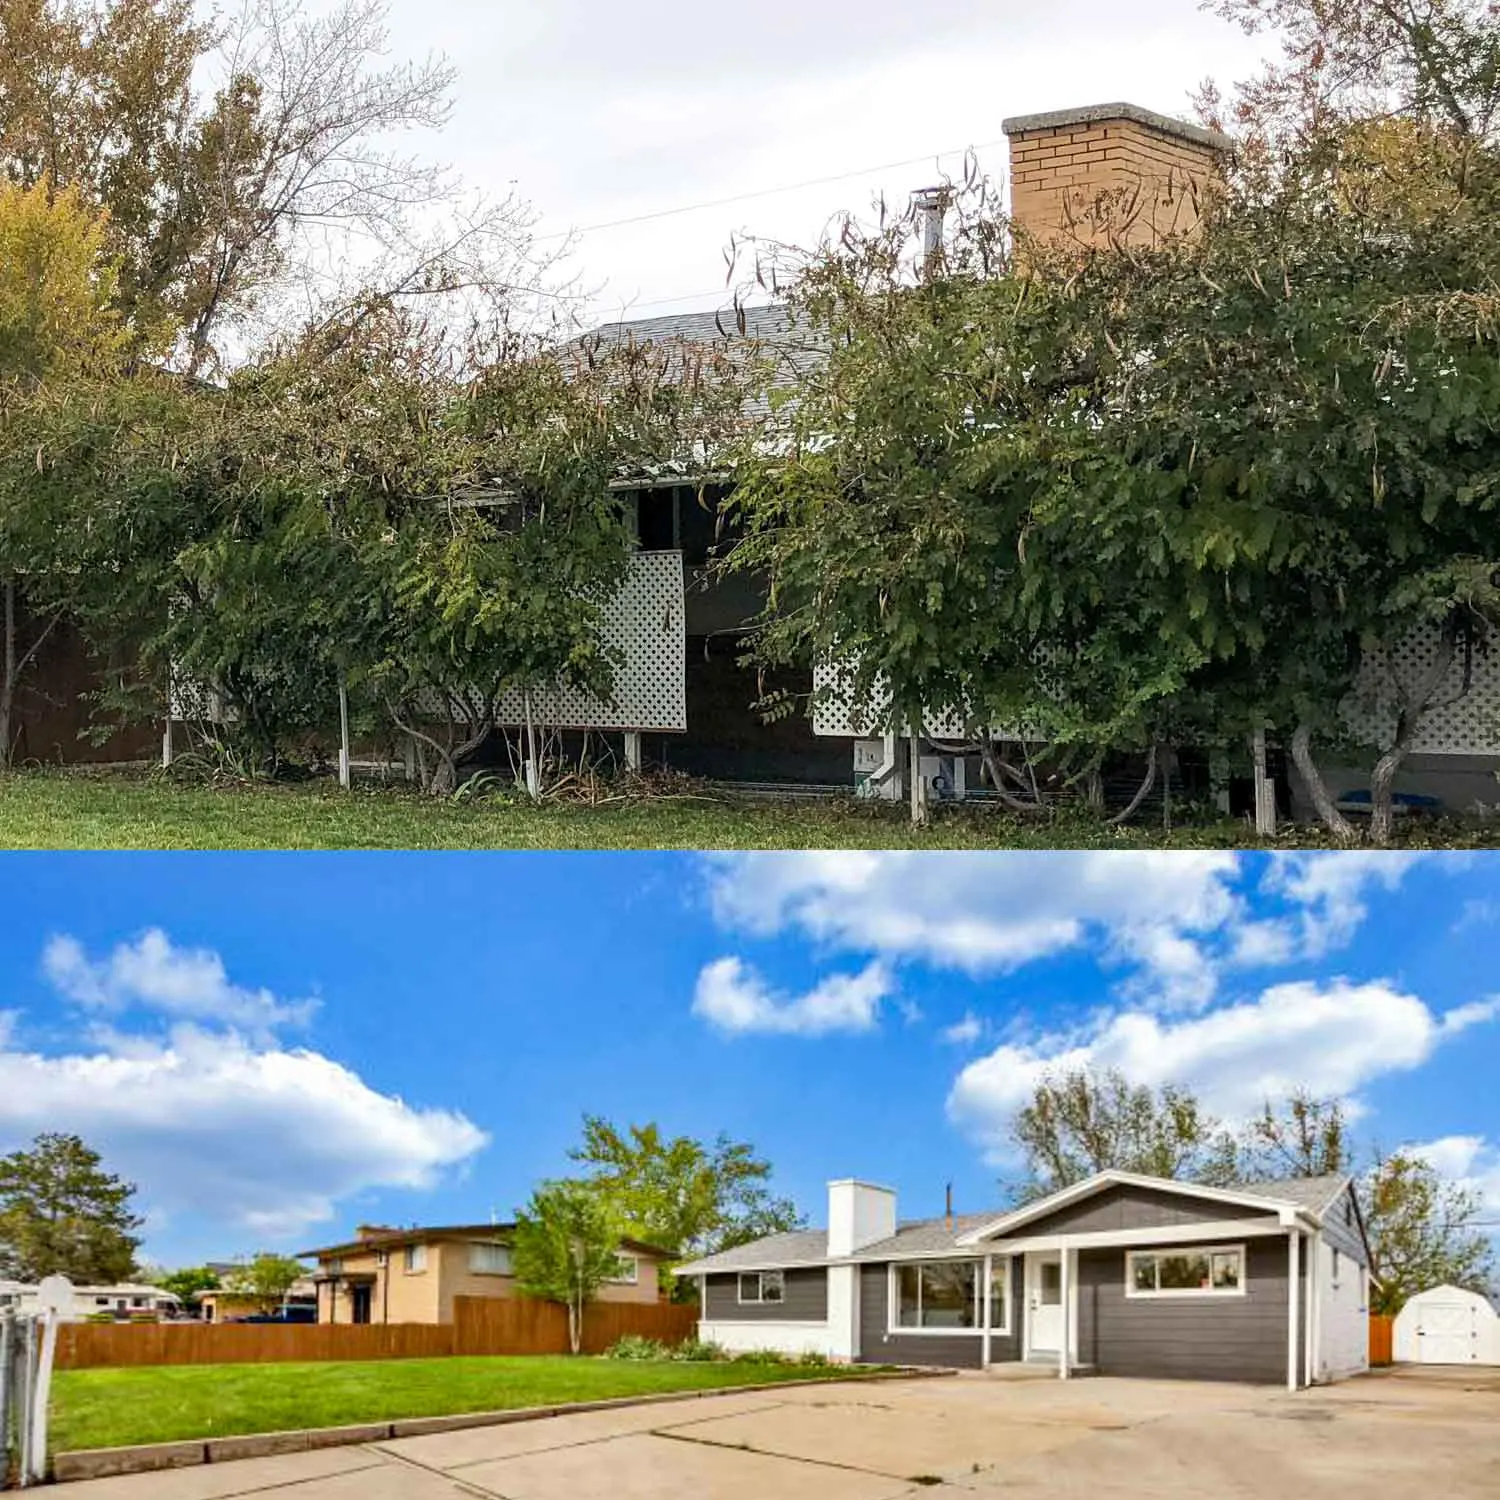
Below you will see how we renovated the Front Exterior of Home 2 Before and After.
My husband bought a fixer-upper home a few years before he met me. His daily job was very demanding and he was working a lot over those few years so he never got around to fixing it up.
After we got married, I took the remodel on and “managed it”. Together with some help from some hired labor, we remodeled his home (what I refer to as Home 2) and sold it 8 months later.
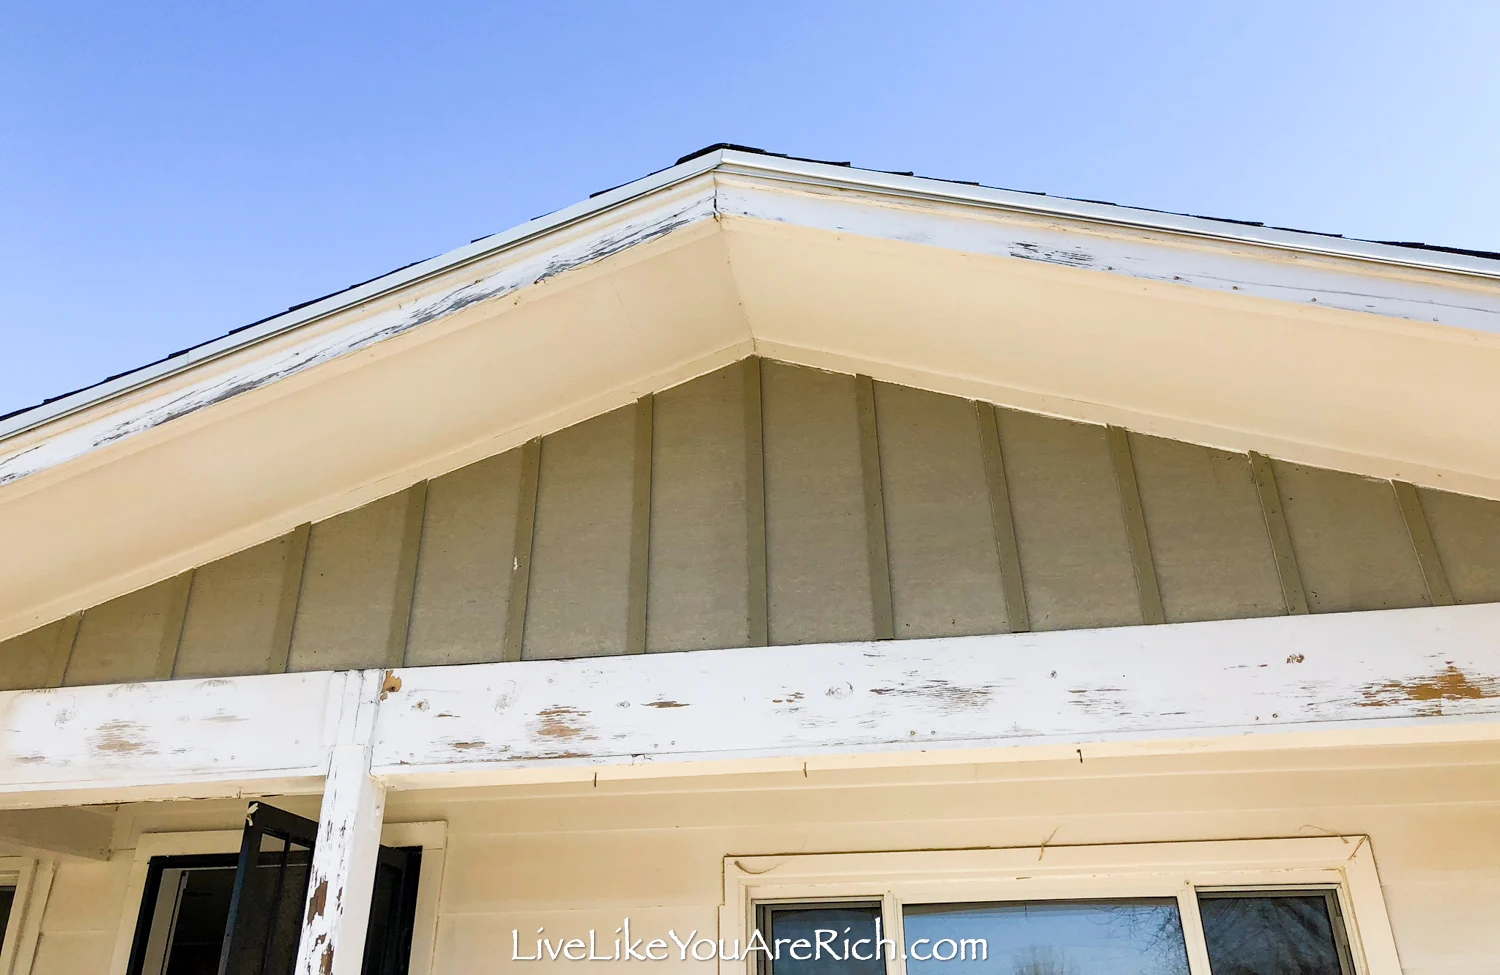
The front of the home needed some major updating to have curb appeal. Although he did not buy in the nicest of neighborhoods, I knew his home would sell for a lot more if we could make the exterior welcoming and more up to date.
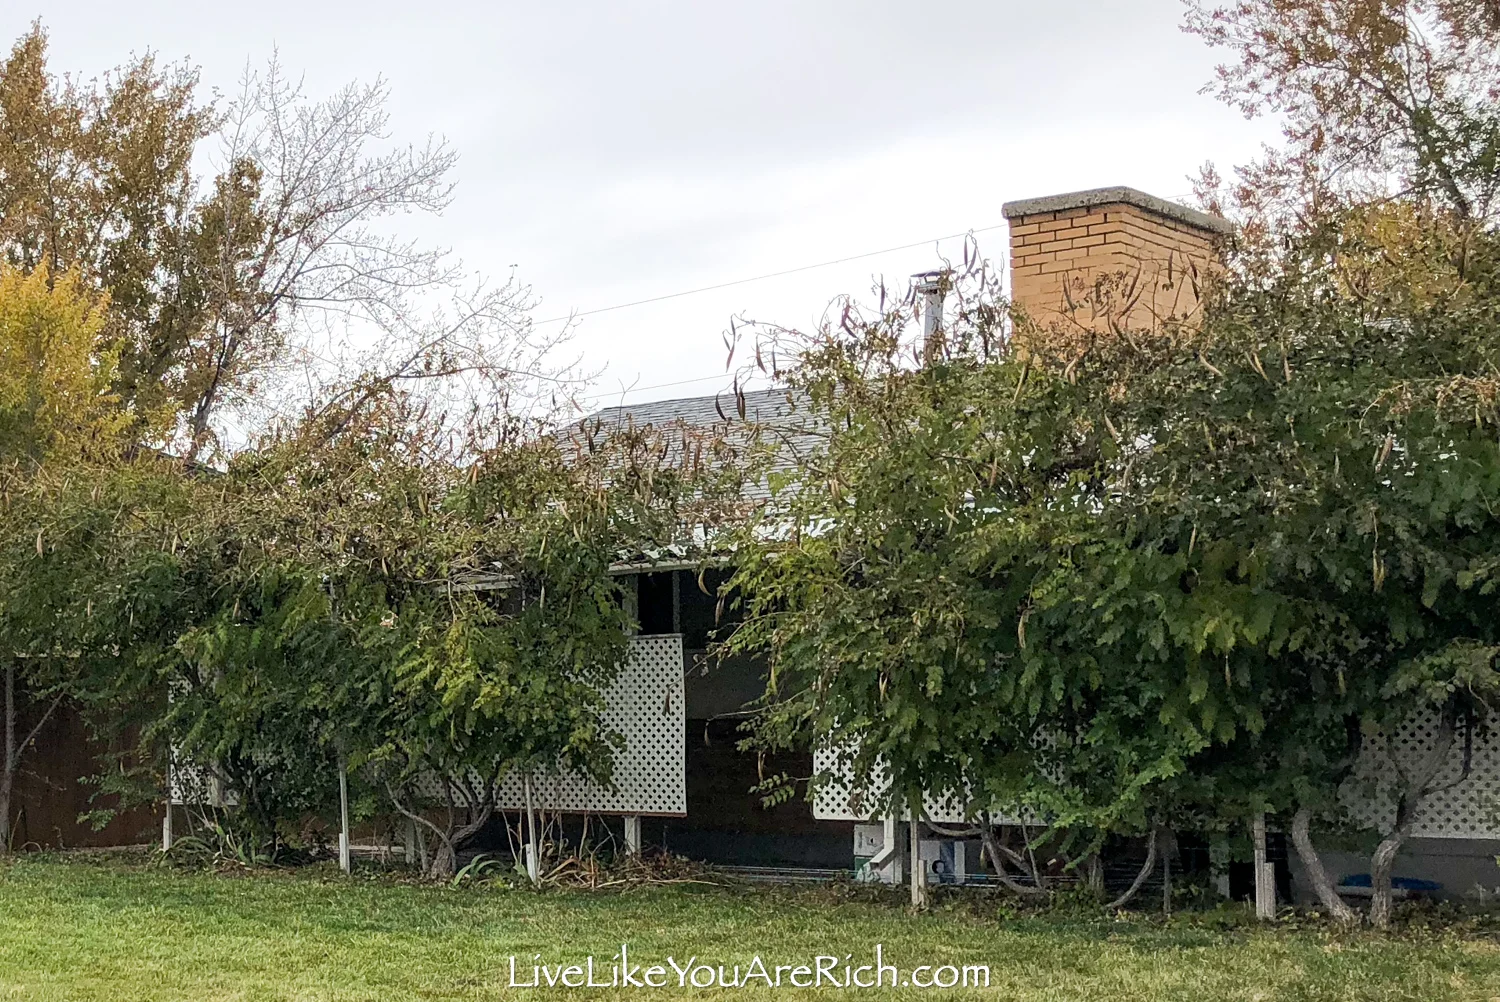
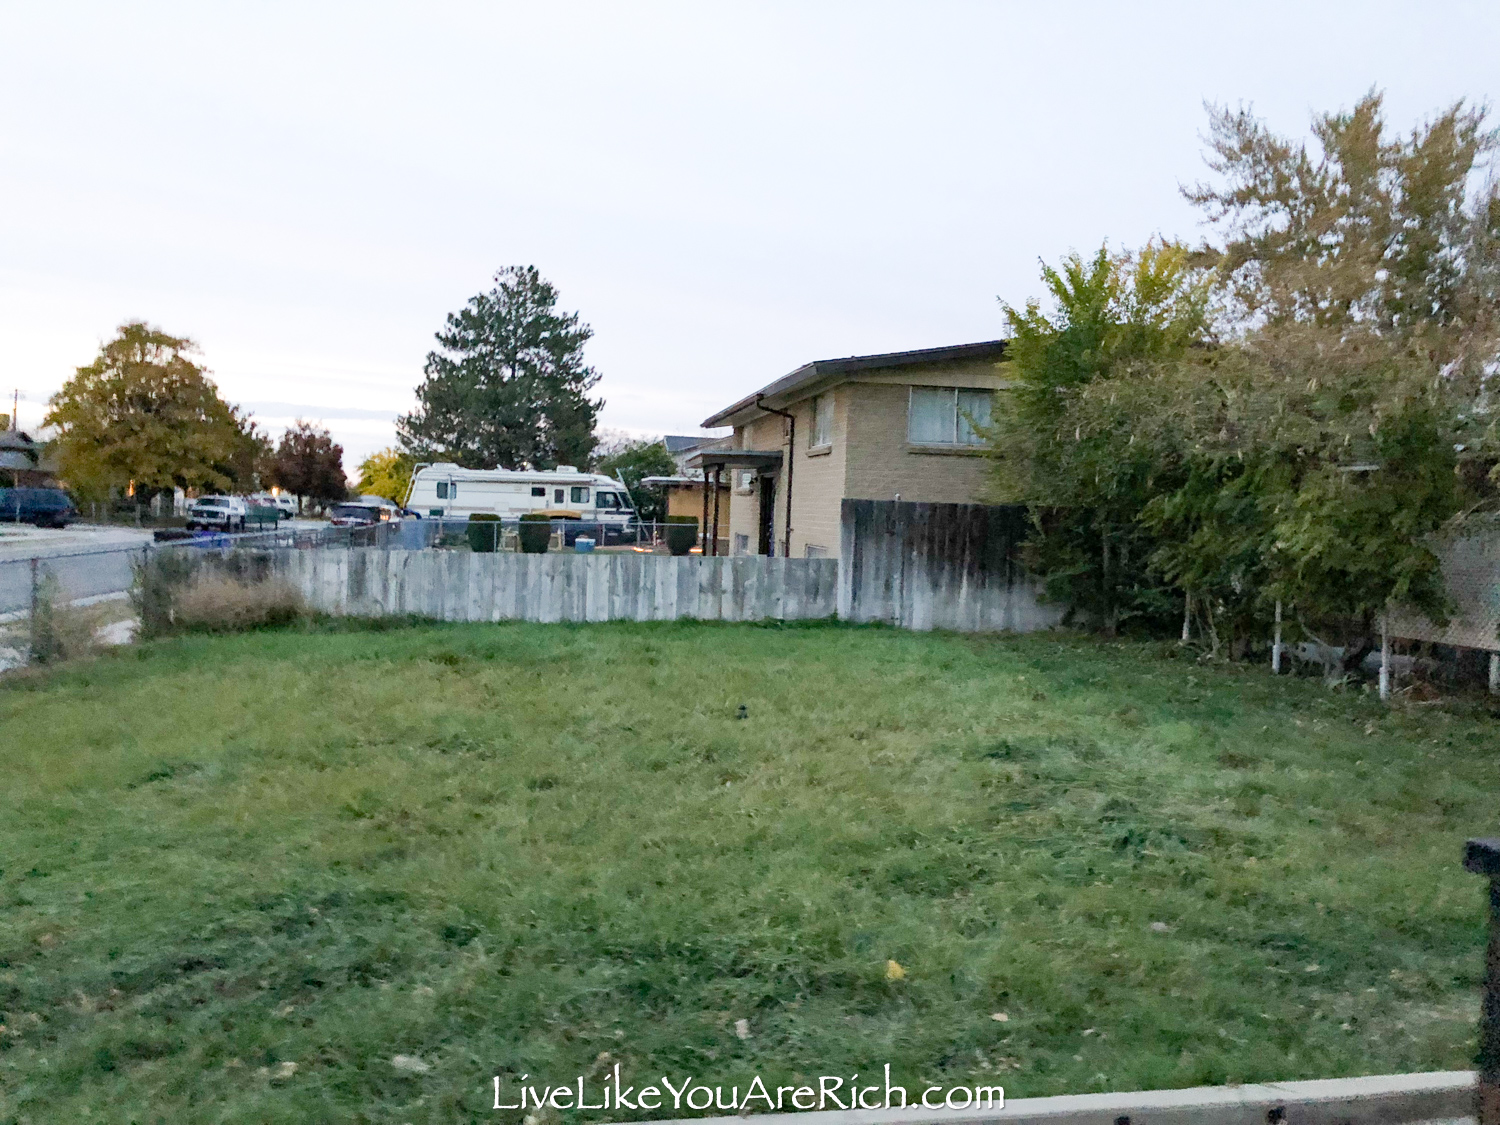
Front exterior renovation home 2 before

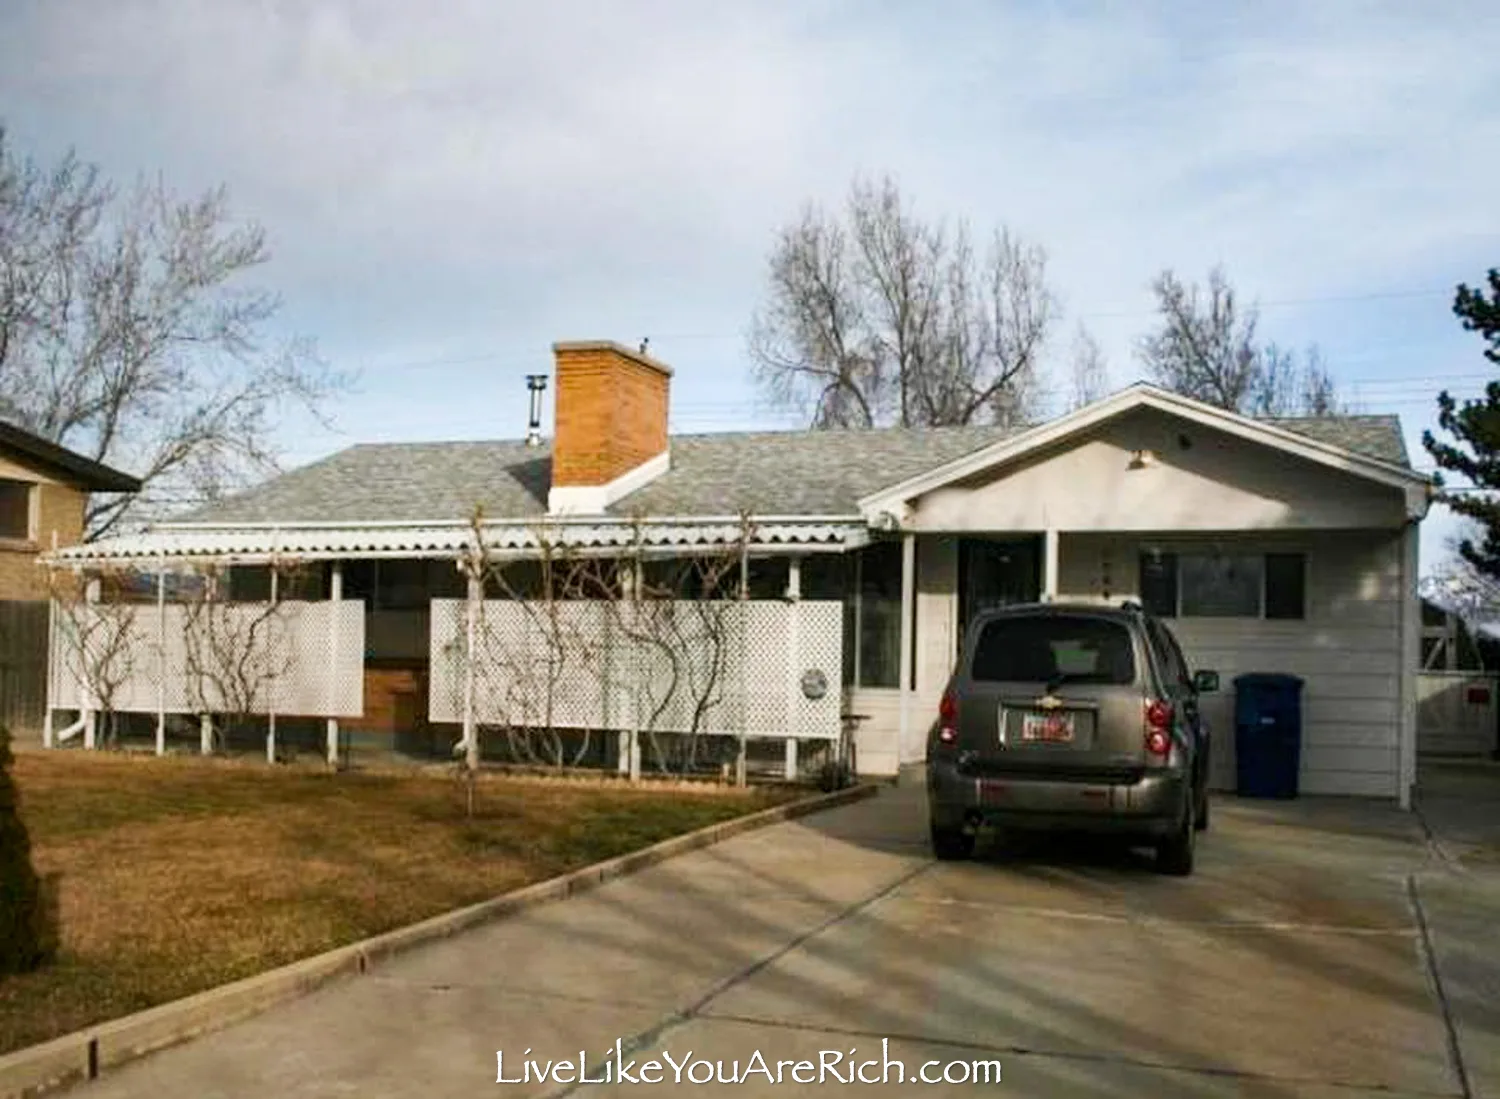
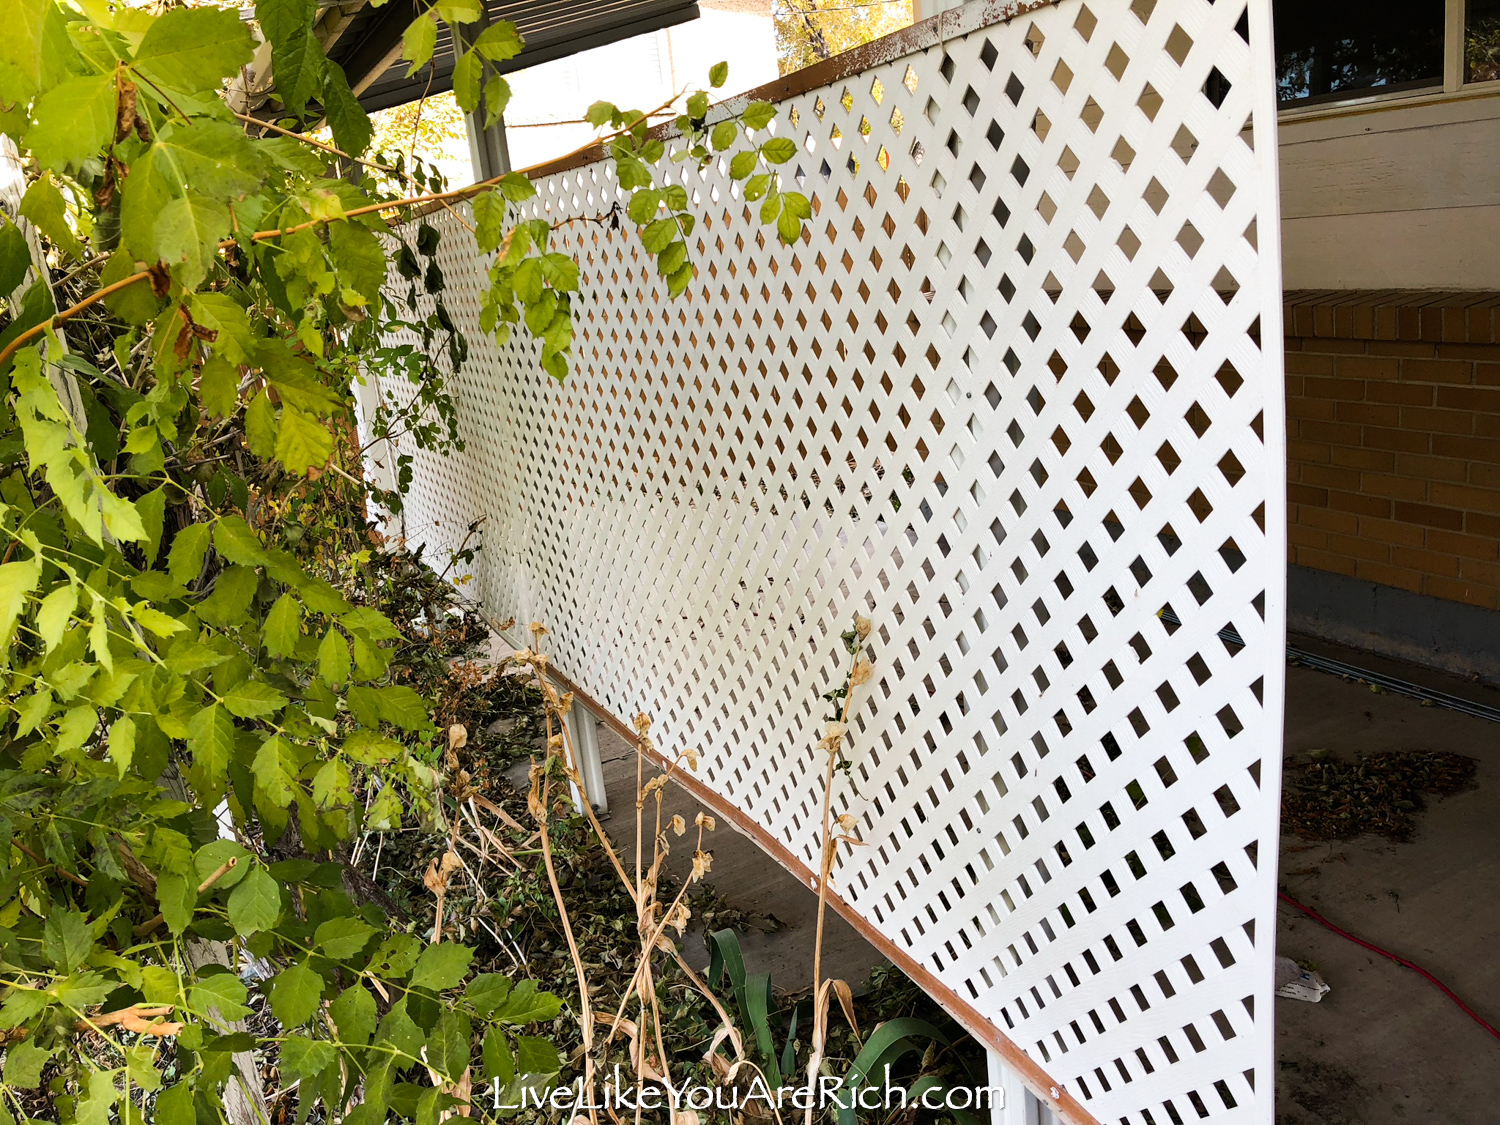
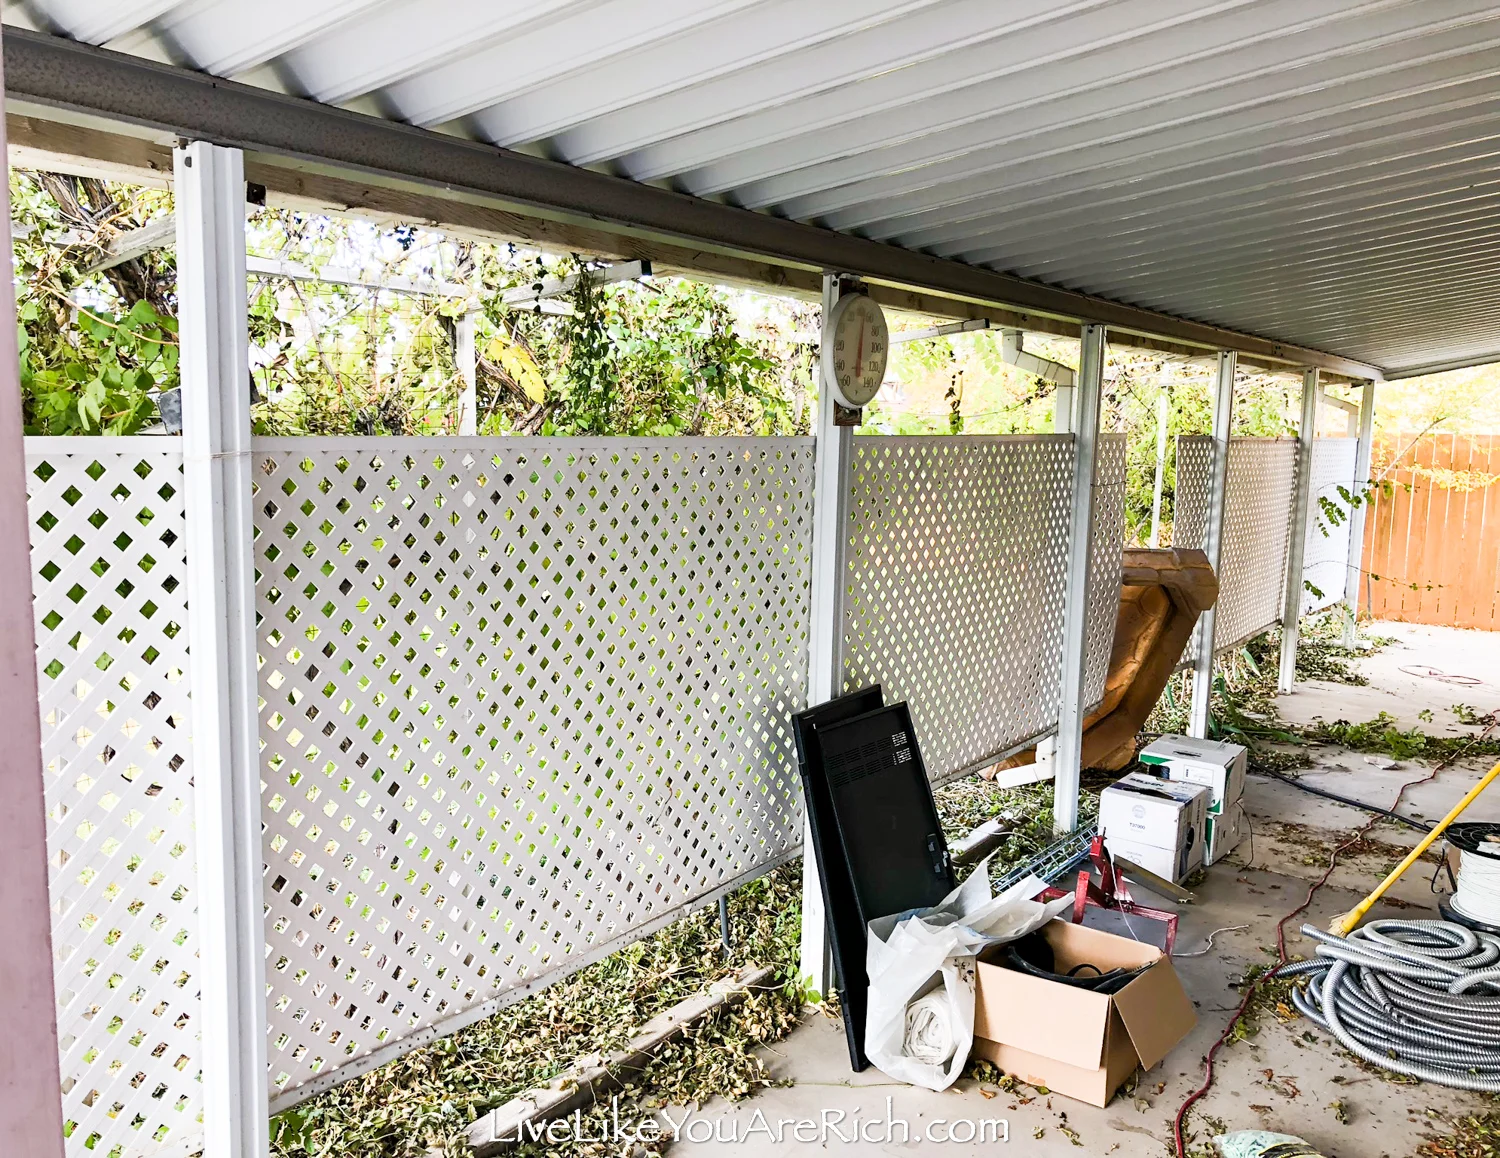
The lattices and metal roof prevented one from seeing the front of the home. The above photo was taken a year or two before we began the remodel. Here is what it looked like when we began.

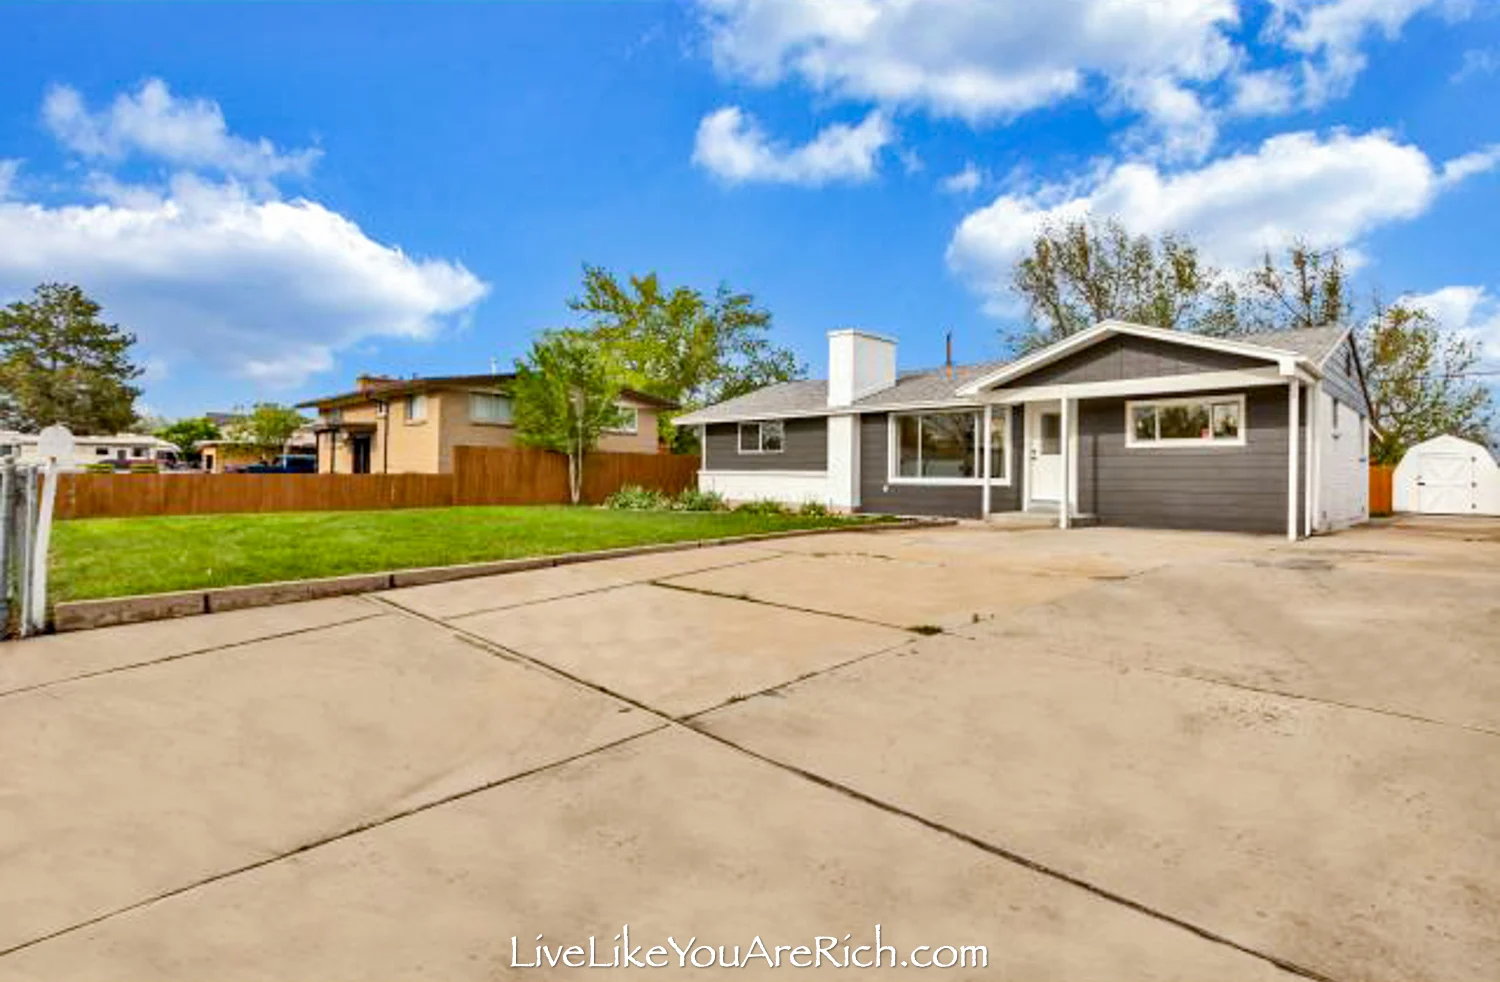
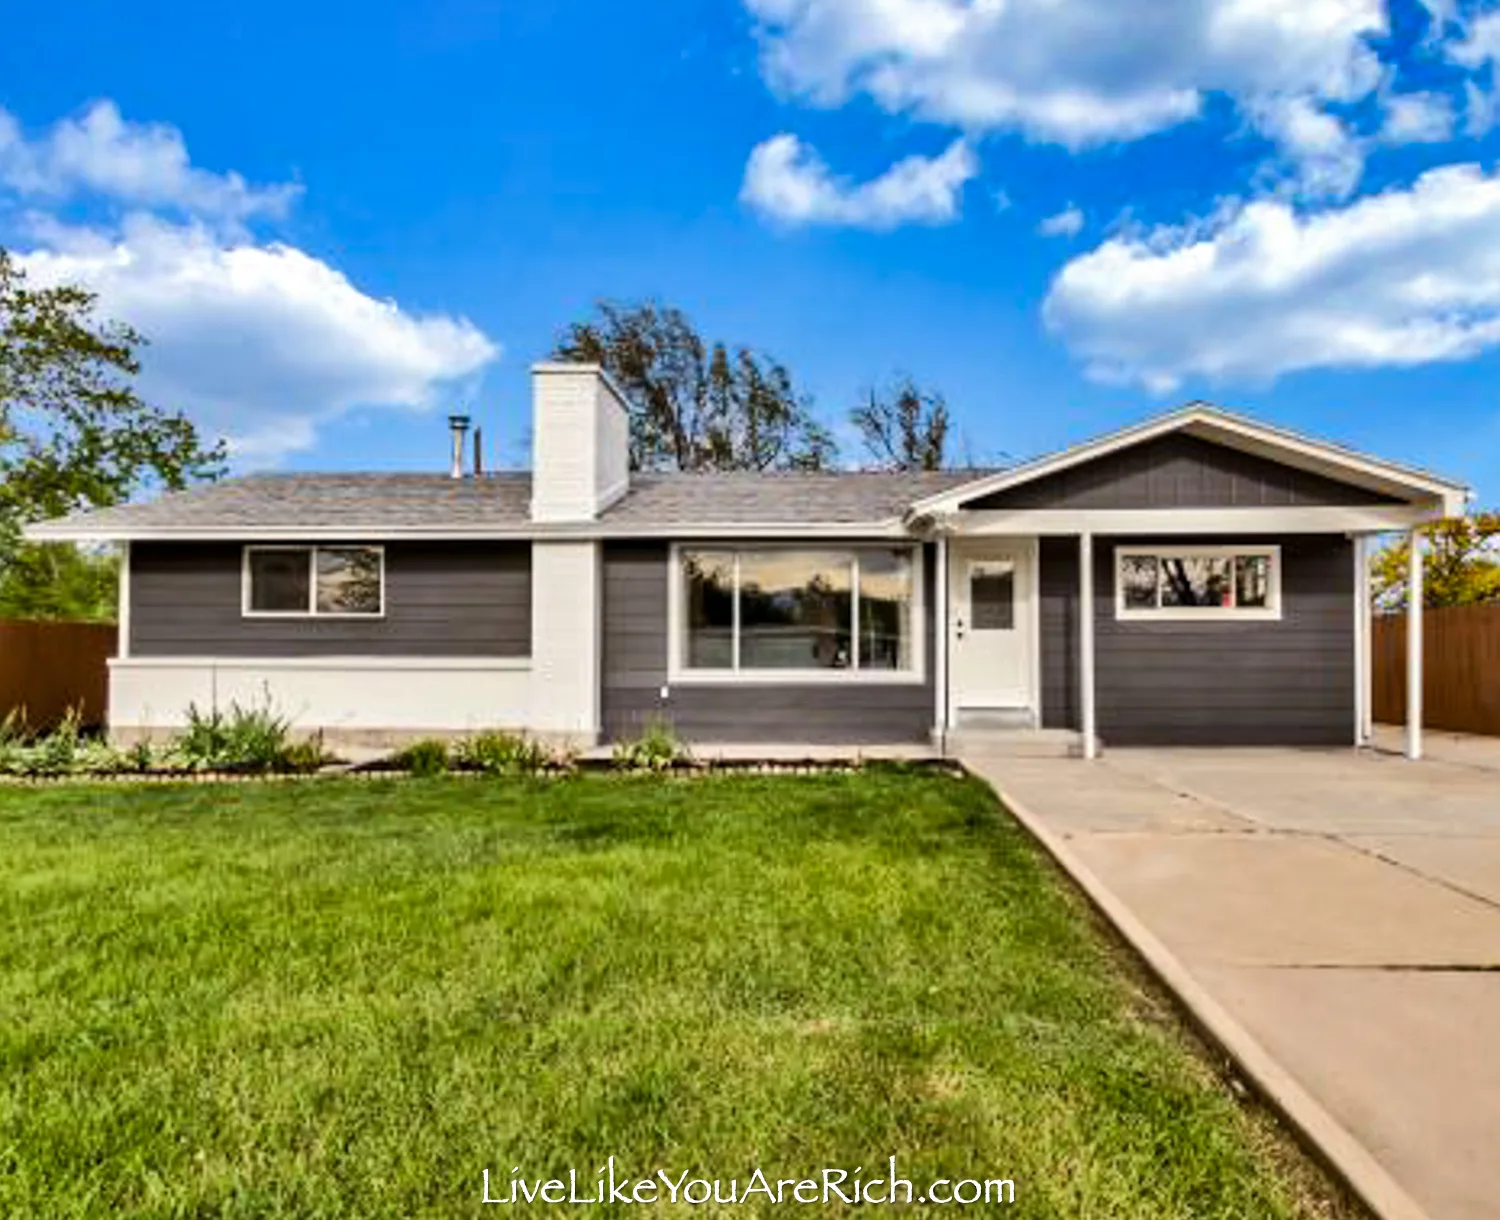
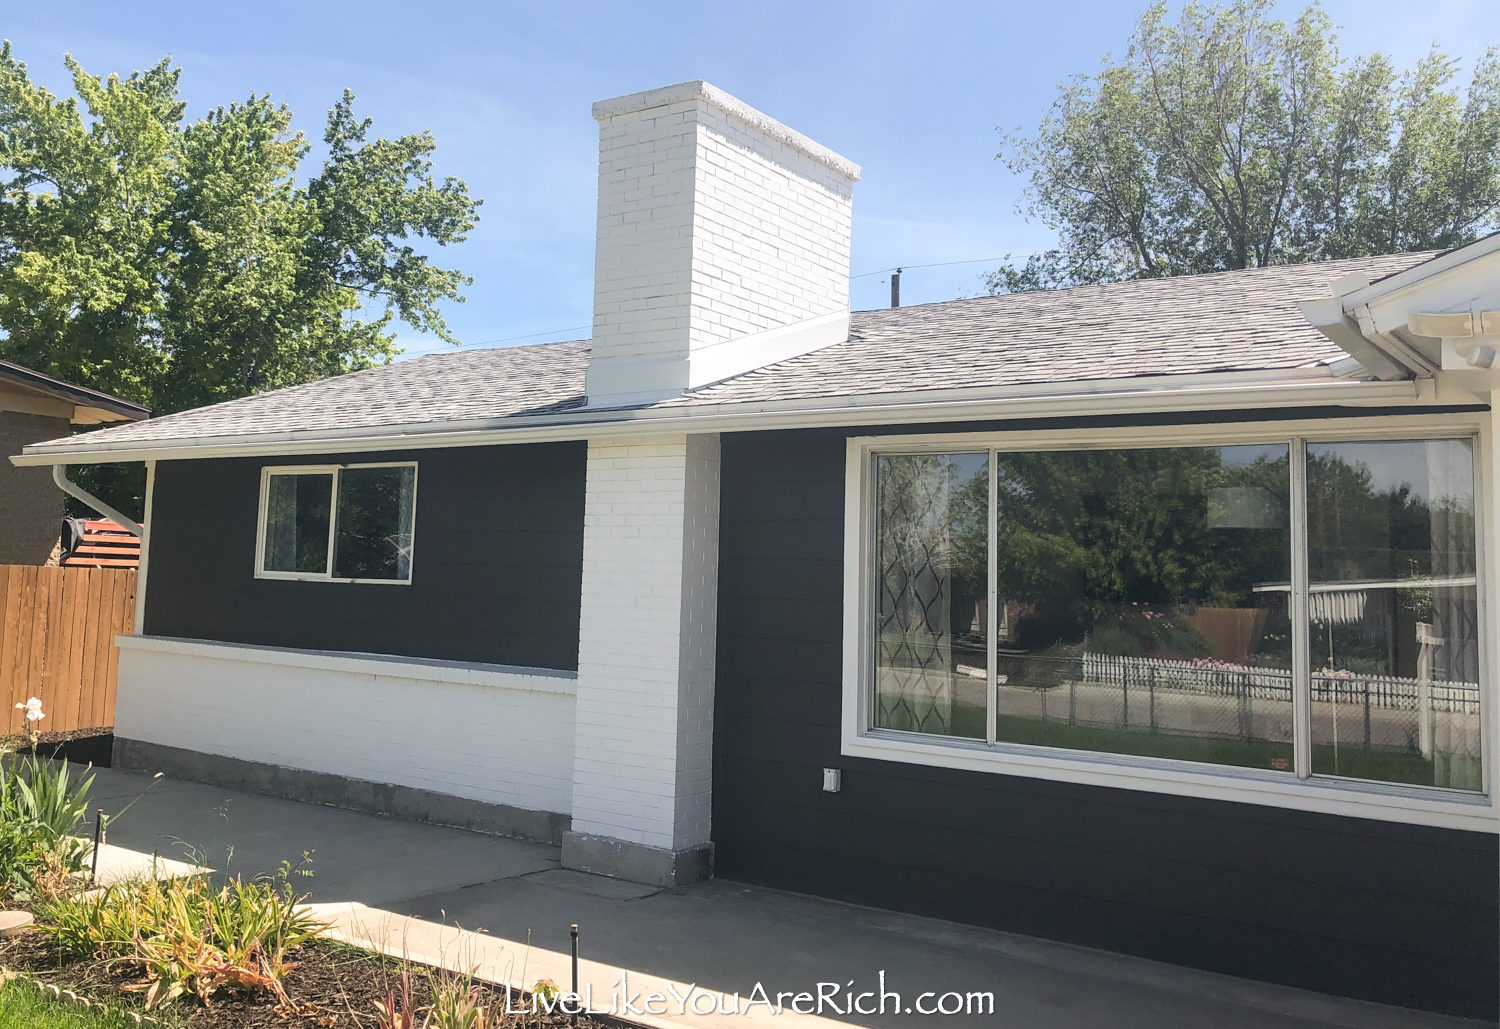
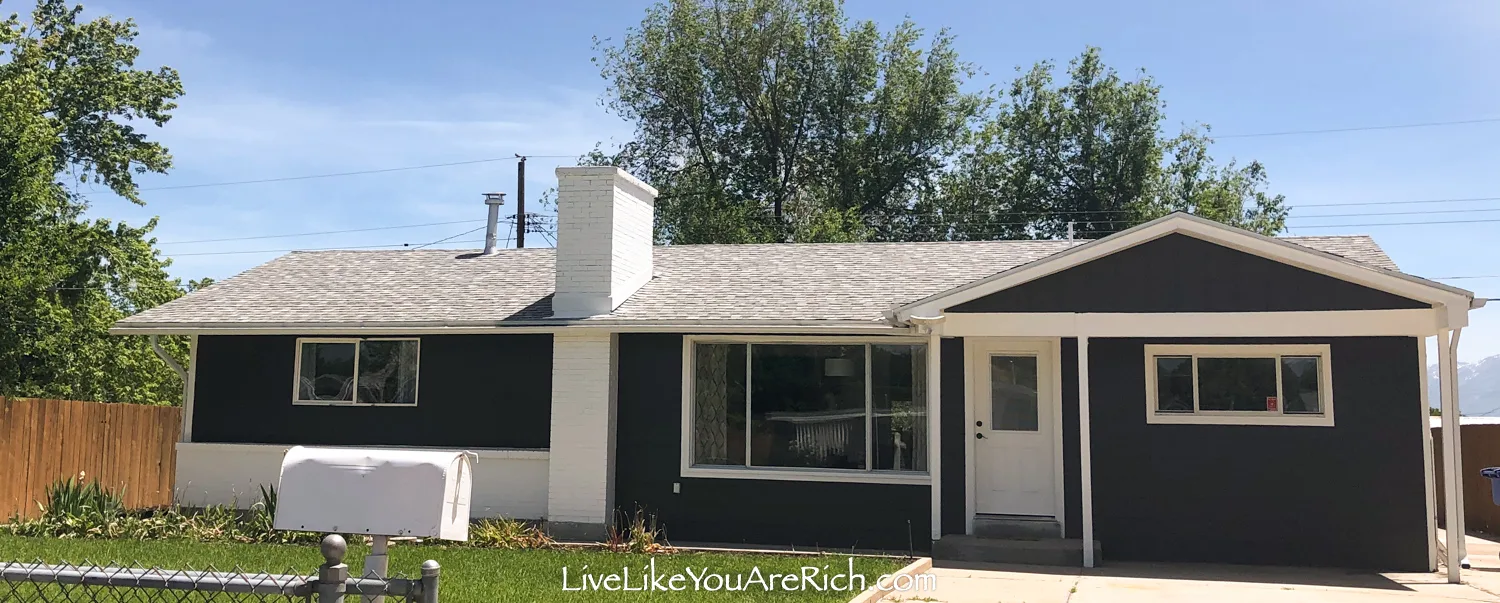
This is the after.

Read on to see more before and after photos, how we renovated the exterior of this home, and how much it cost us.
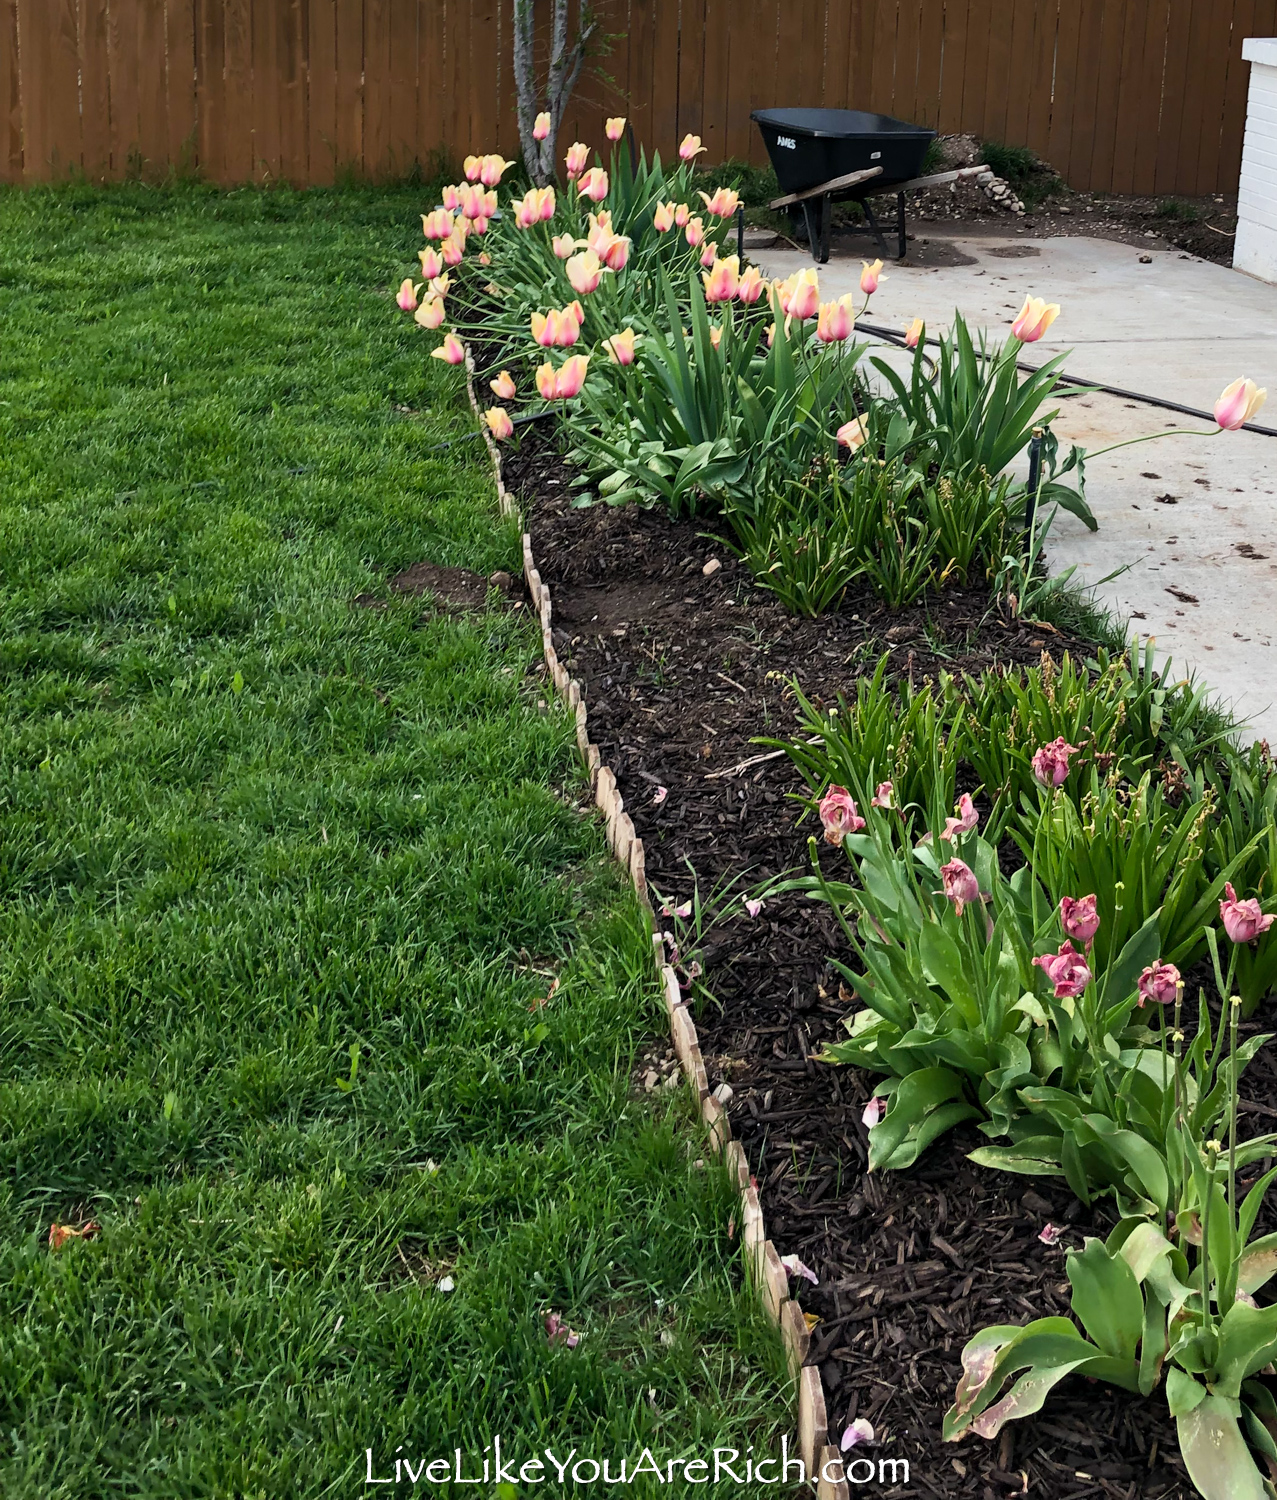
First, I repaired the fence and hired a handyman to paint it with a spray gun.

I found a 5 gal exterior fence paint in the mis-tint area of Home Depot for $50.00 with his labor, repainting the entire fence (front and back) cost about $200.

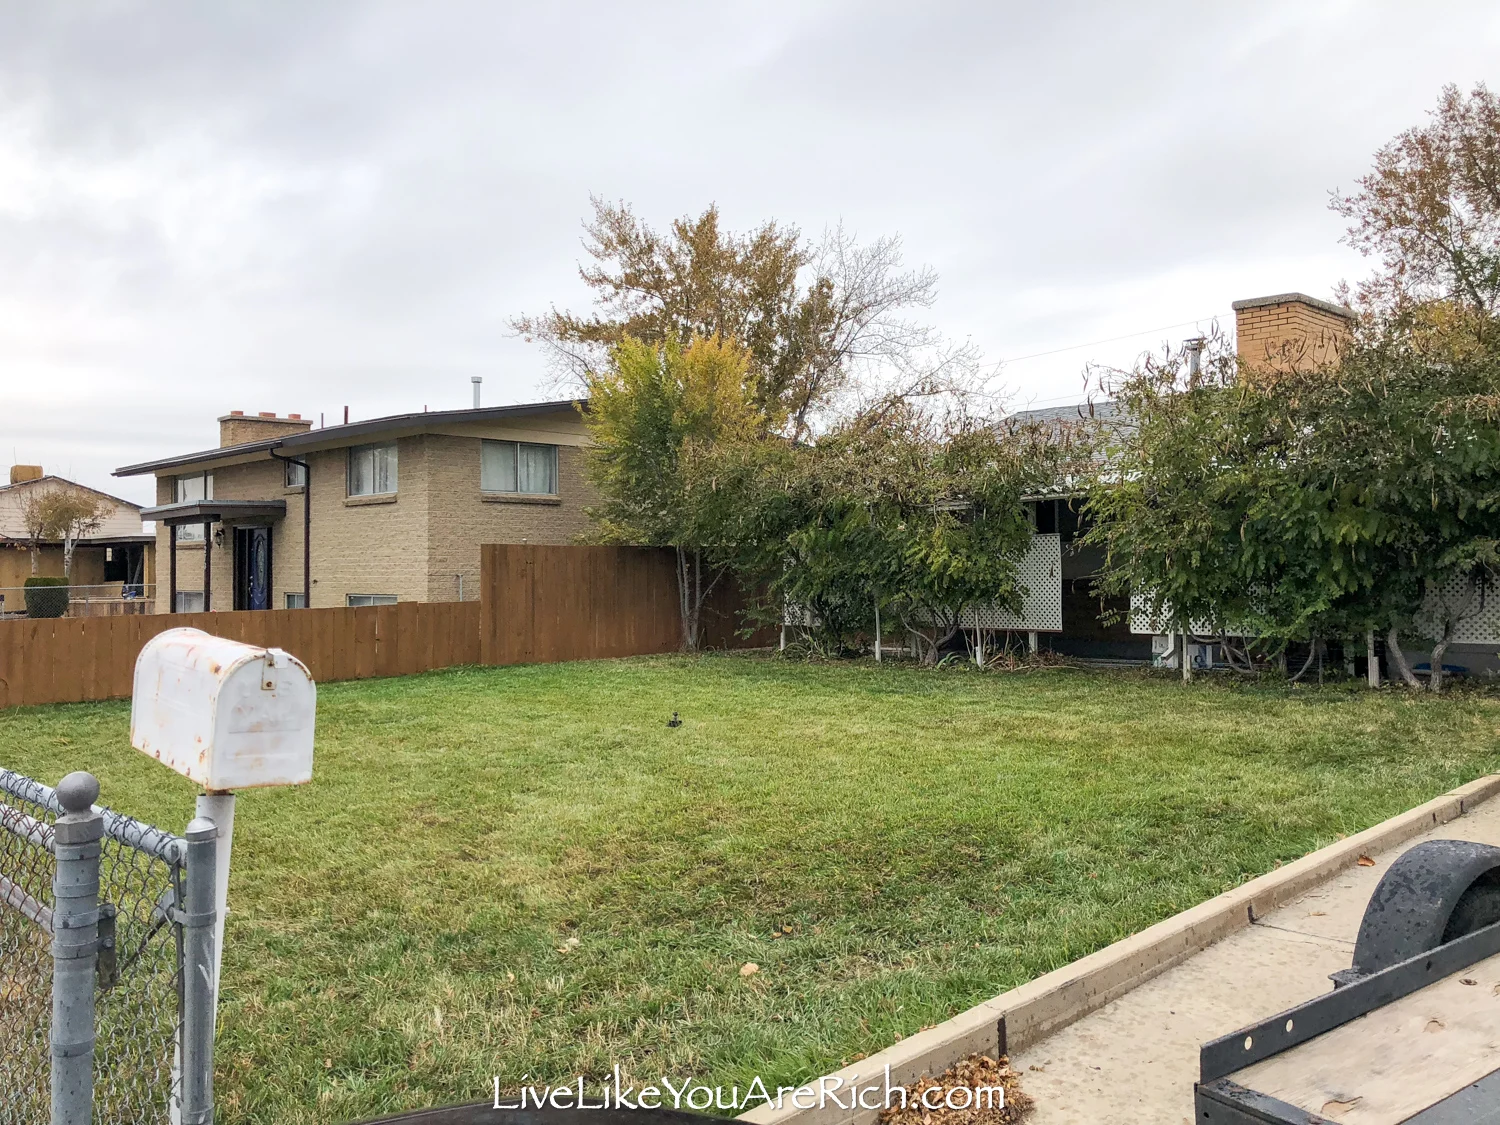
The difference between just painting the fence was huge.
I also started to fertilize the lawn with IPA 4 step system fertilizer which helped the grass a lot.
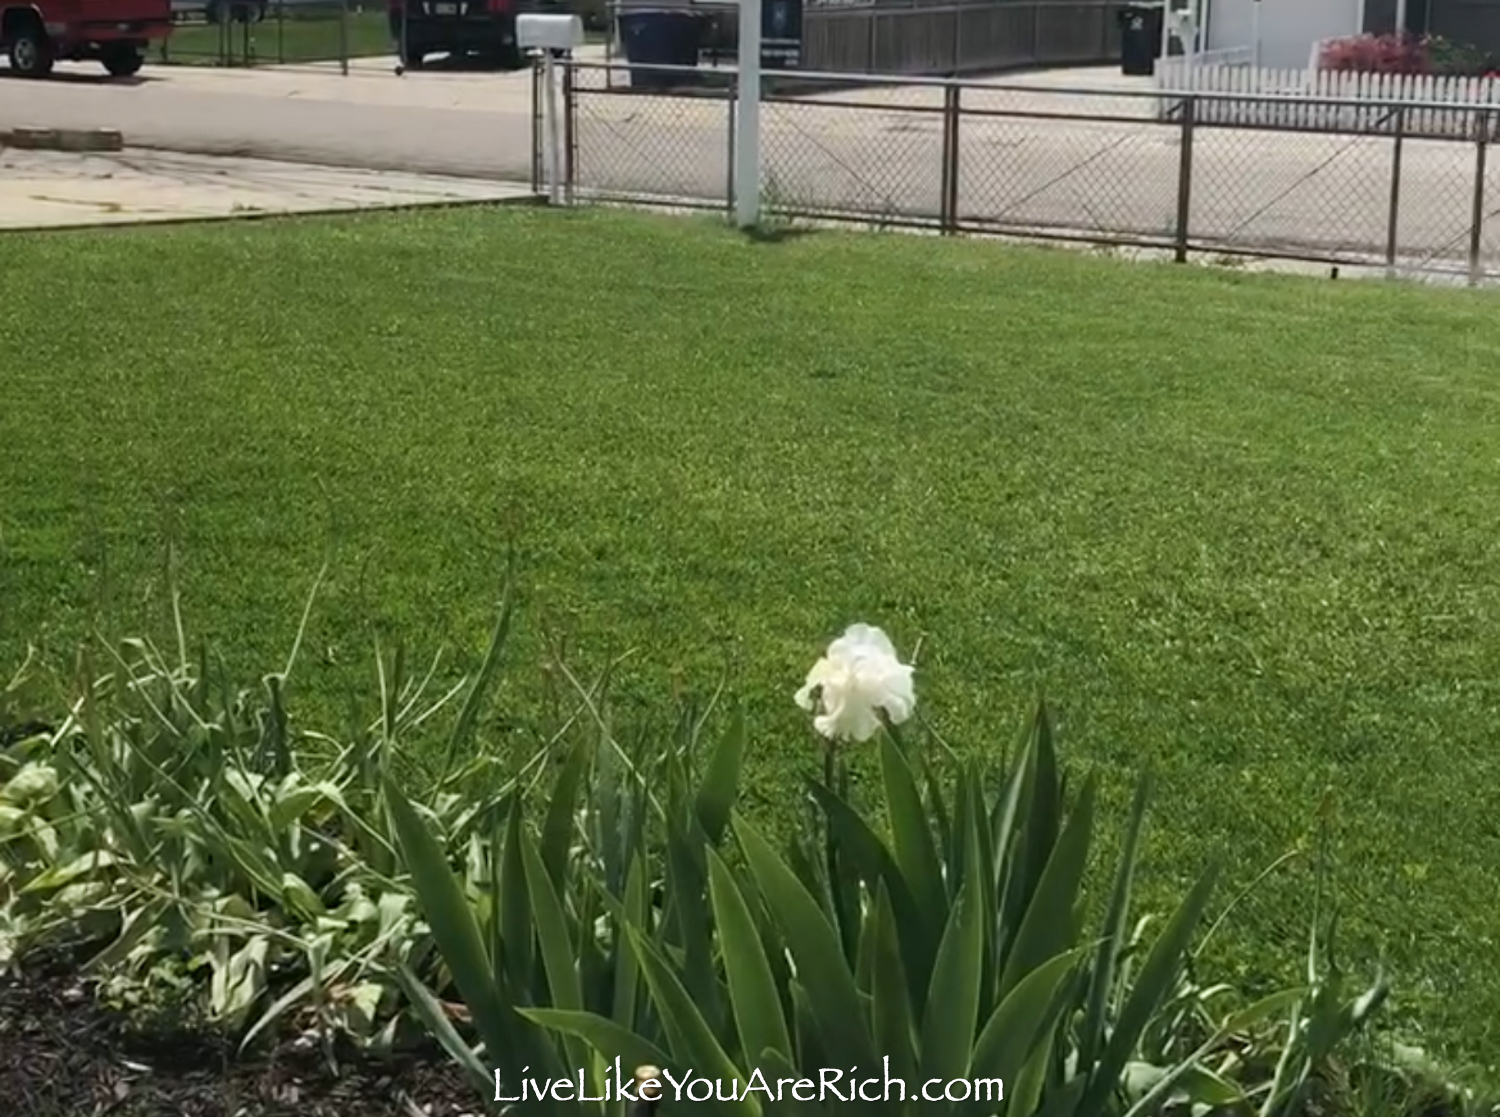
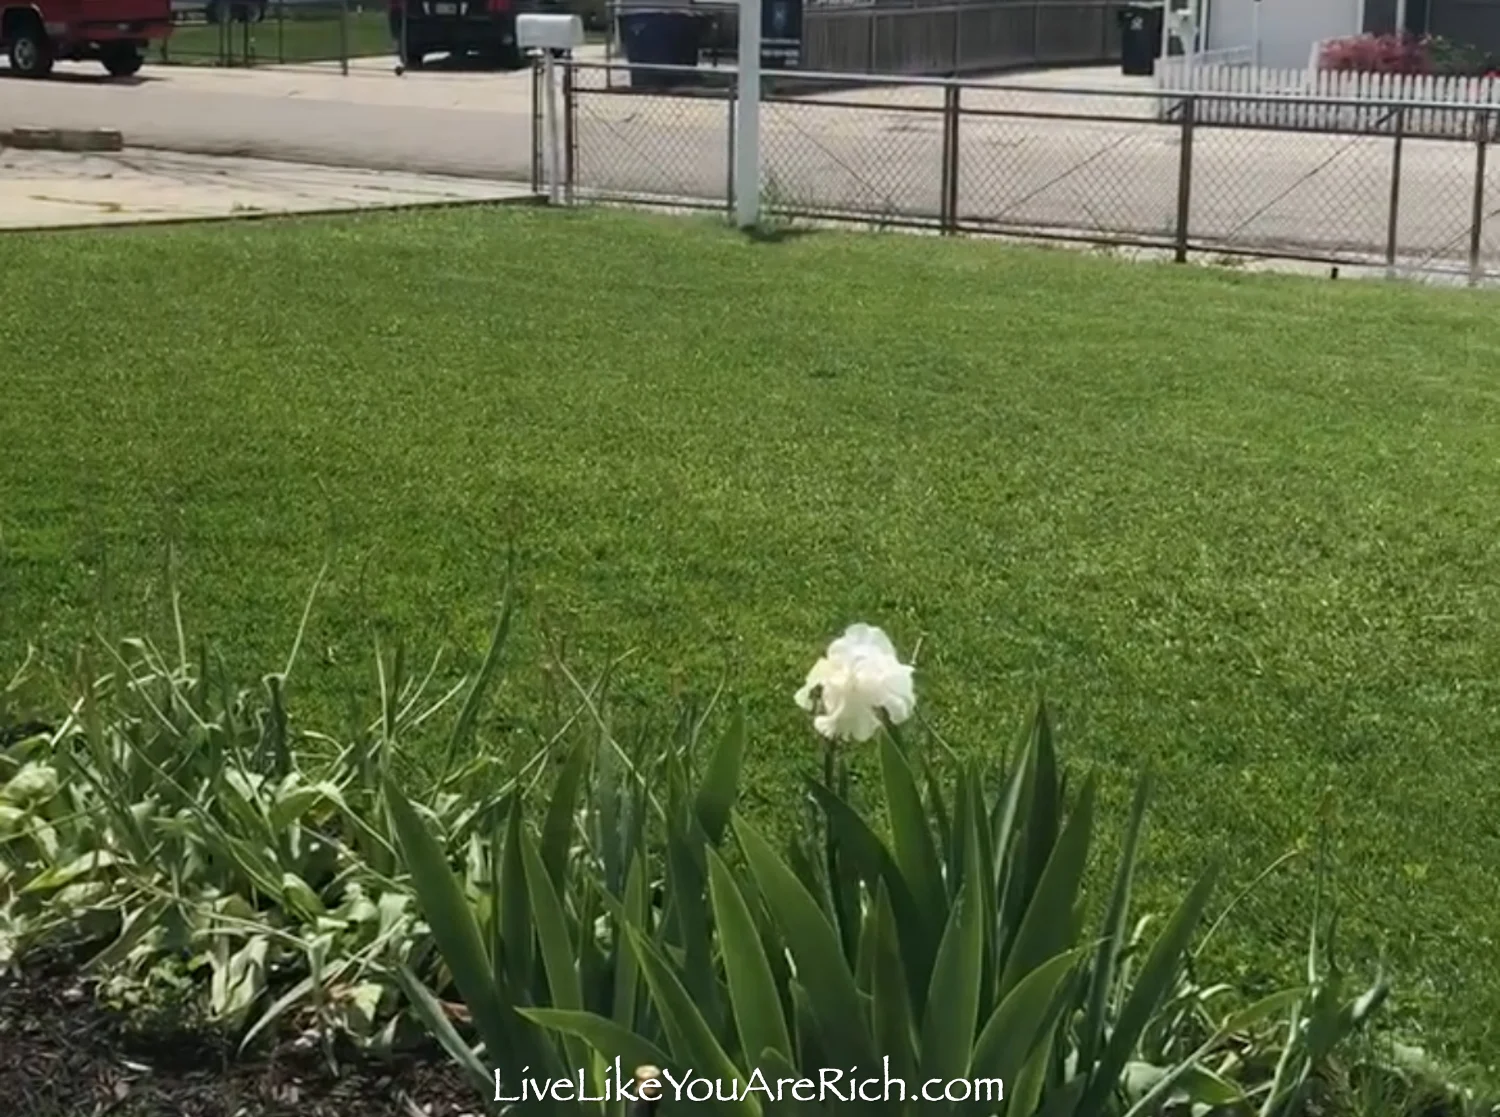
It was noticeably greener and had less weeds.
Next, I disassembled the lattices and sold them for $40.00 on a local classified.

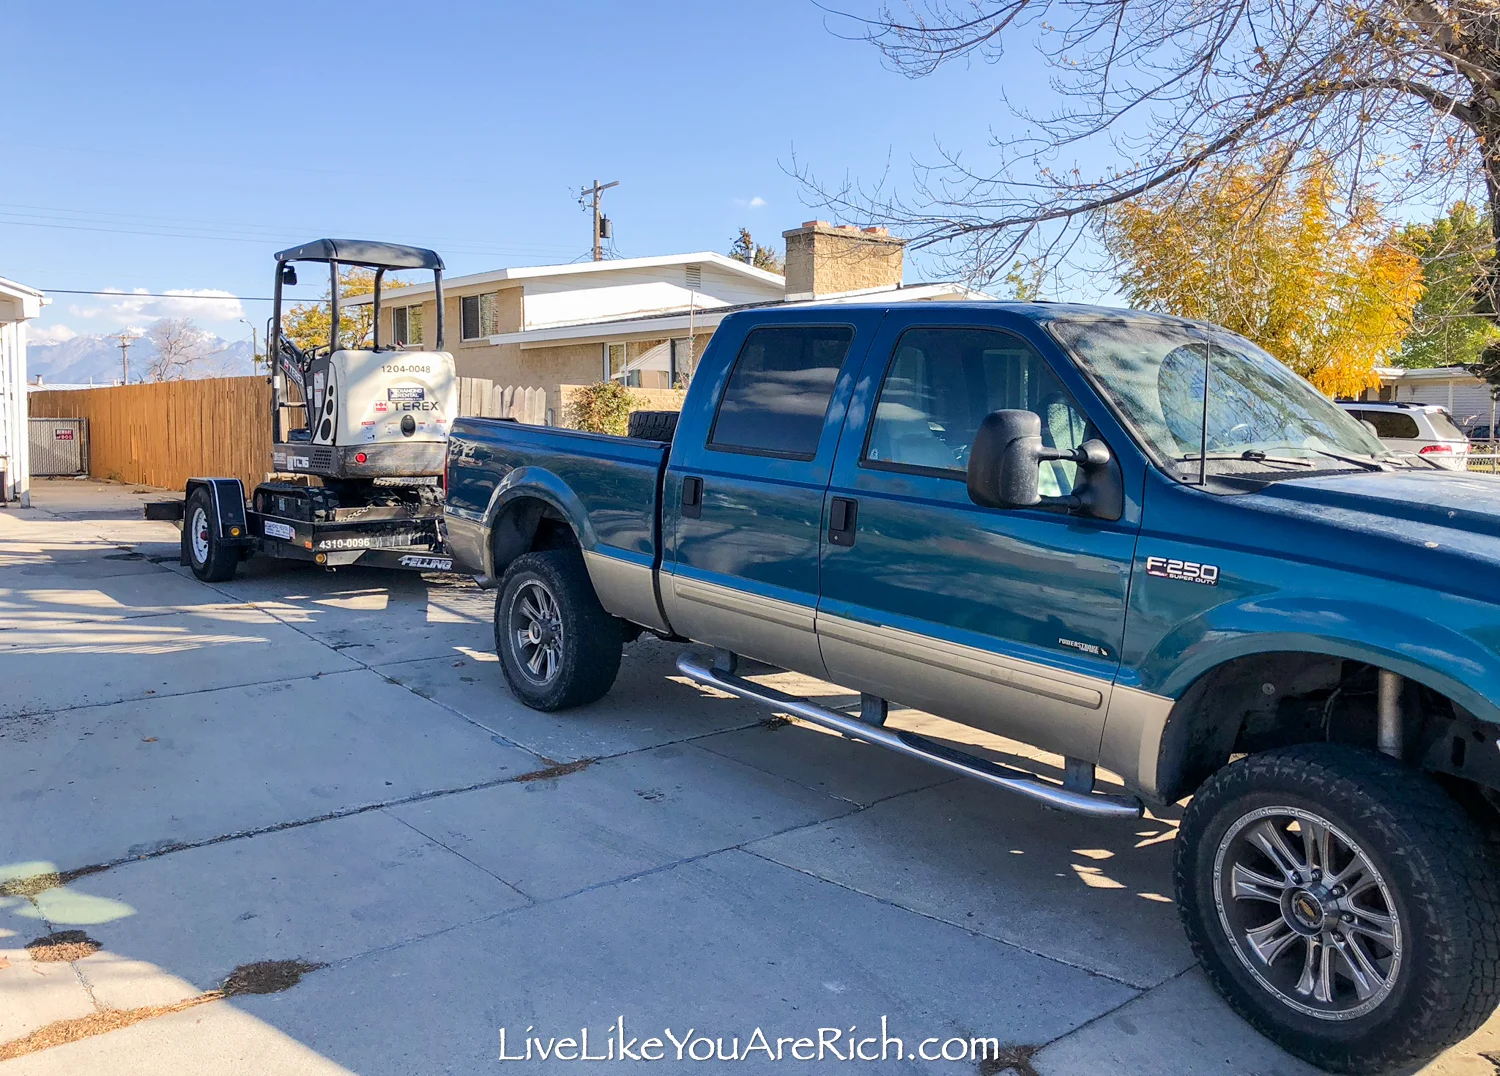
I rented this mini excavator.
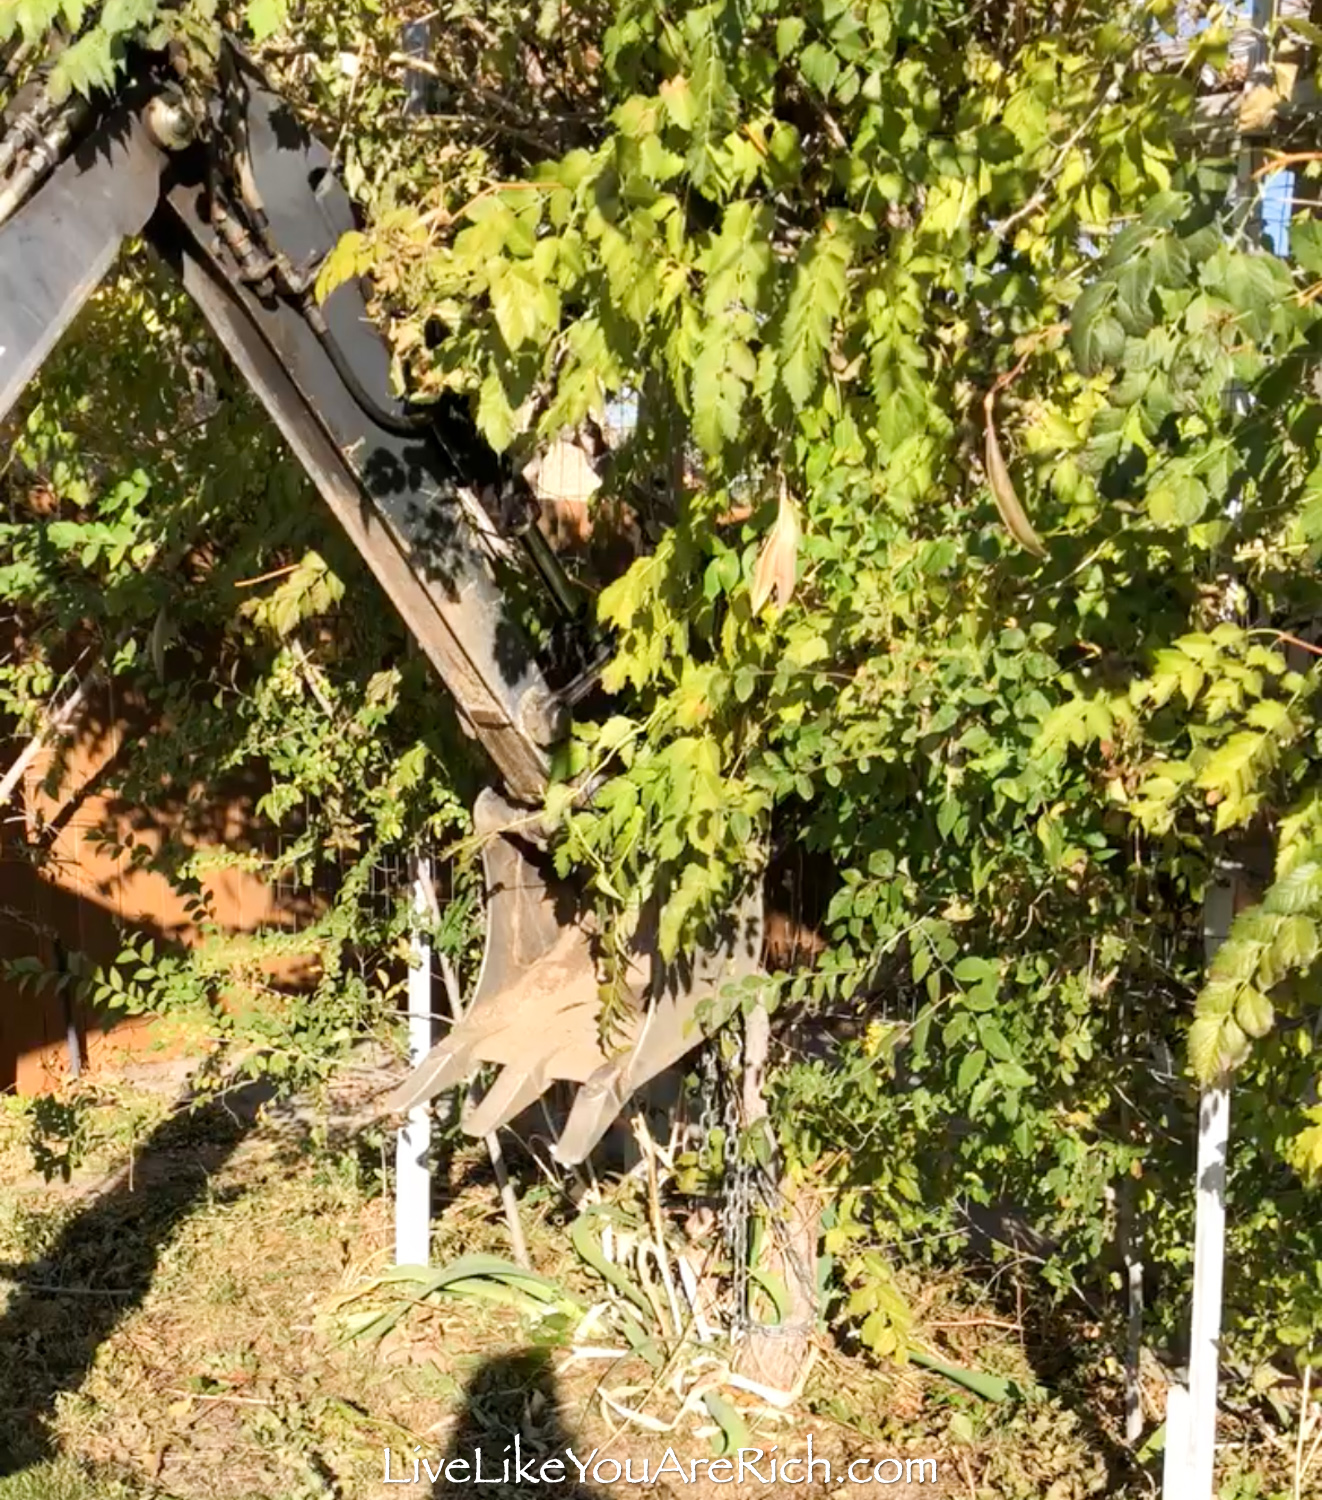
Our handyman and I tore the lattice frame down and pulled the trees out.

Steve (handyman), used the mini excavator to yank out the stumps of the trees as I went along with a skill saw and sawed off the bottom of the metal posts.

Timber

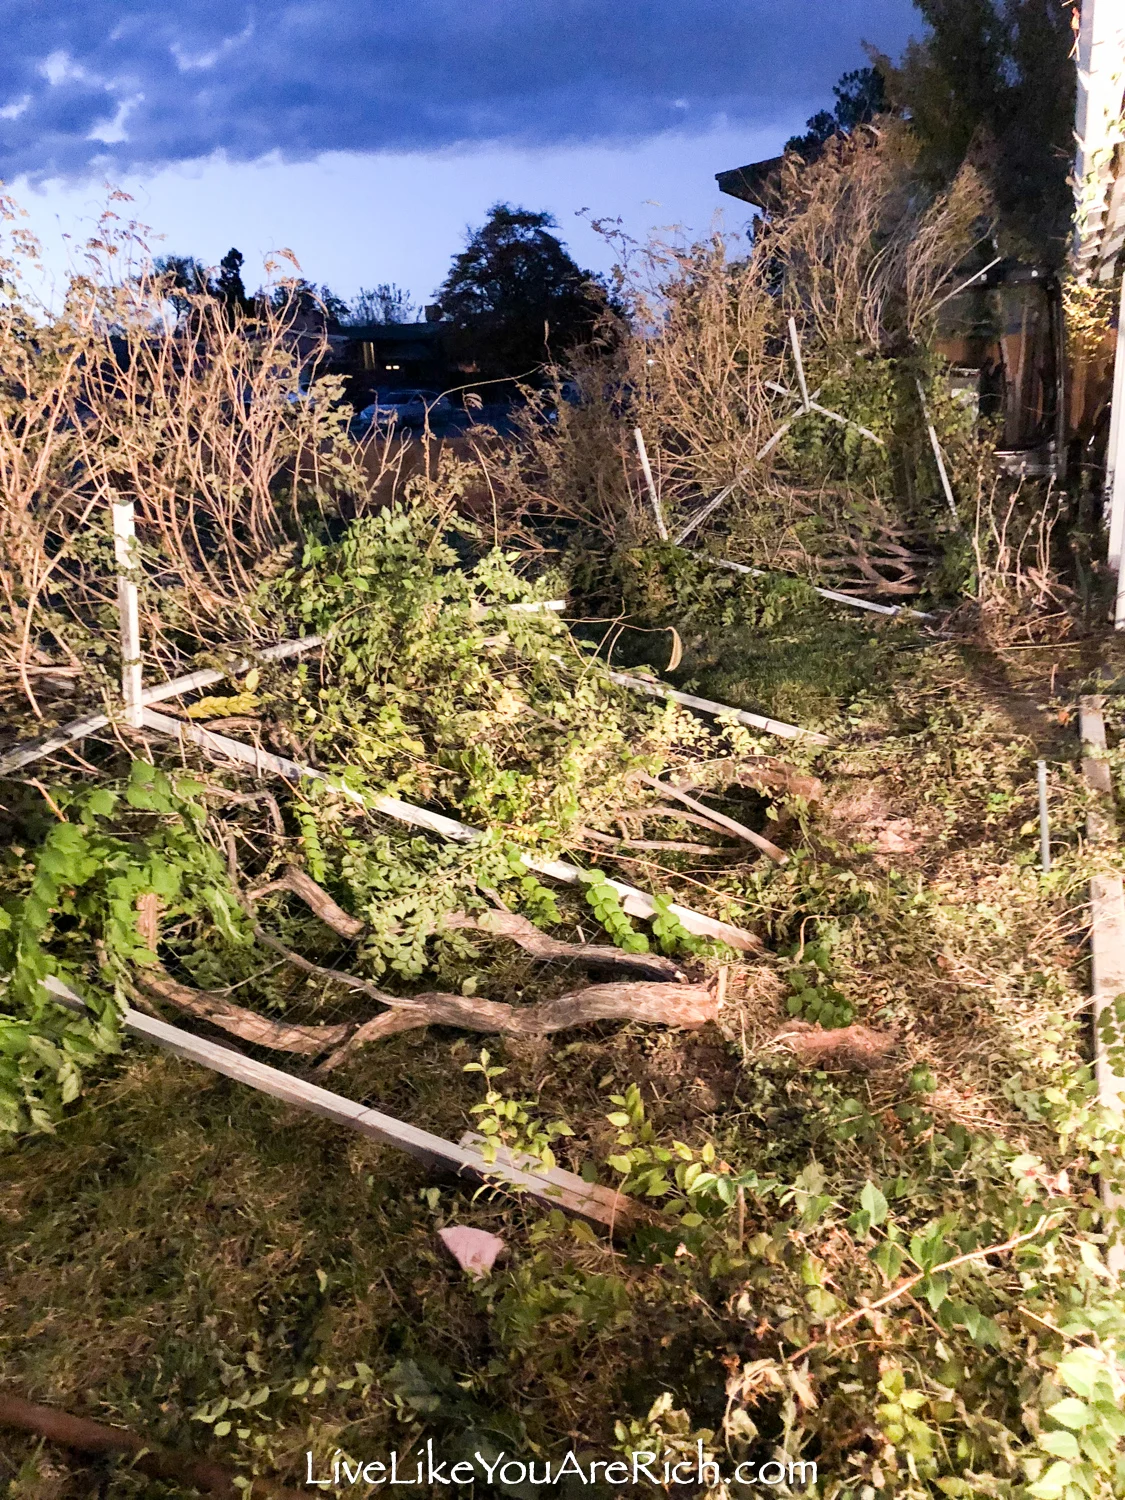
My husband cleaned it all up and hauled it to the dump—poor guy. That was a bigger job than we thought it would be.
Then he burned the stumps down so no trees would grow back.
Shane (husband) and our Steve took down the metal roof and I scraped them. We got about $100 for the scrap metal.
Tip- If you want premium price scrapping metal, make sure you take off any hardware attached to it or they will consider it ‘dirty’ and you’ll get paid a lot less for it.

I framed the garden using a pick axe and installing this little wooden garden fence. then I added mulch.

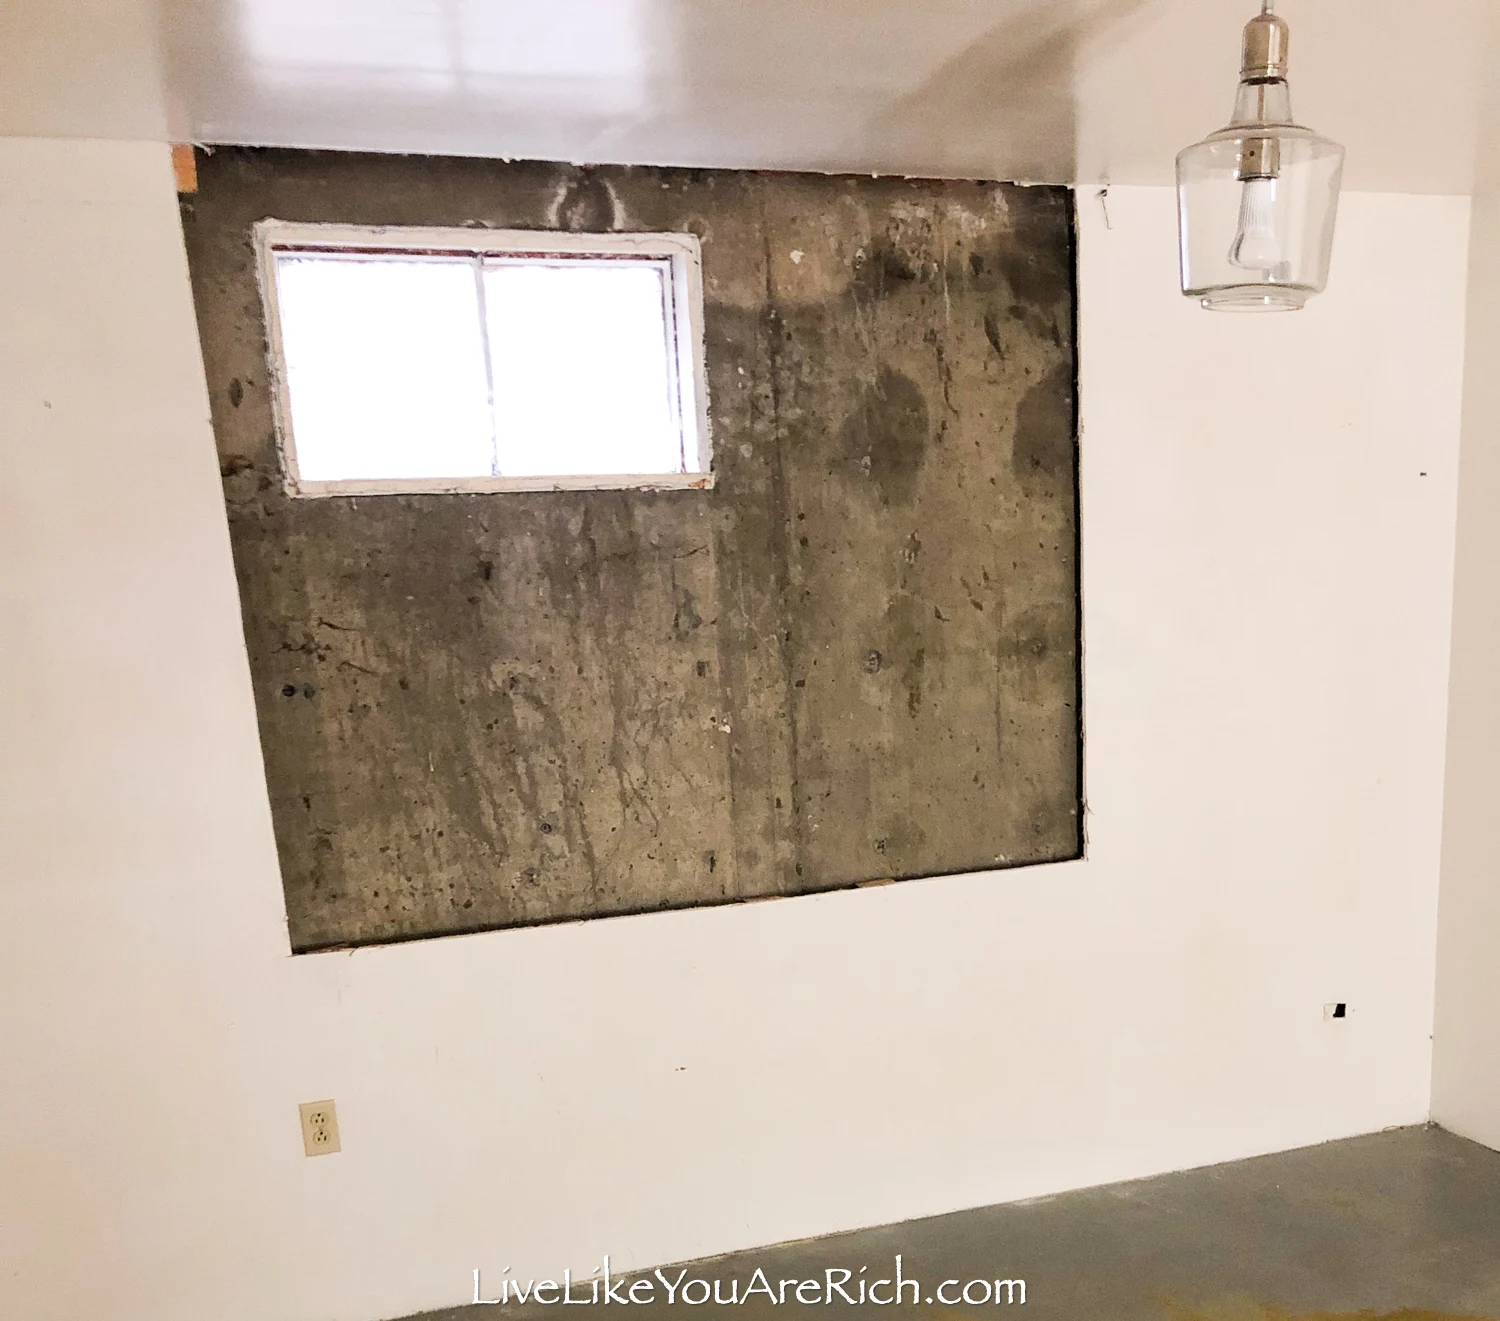
We were framing a basement room into an official bedroom. We needed a bigger window to meet the building code for it to qualify as a bedroom.
While we still had the excavator, I had Steve dig out a spot for the window well and for the concrete to fall when the concrete cutters came to cut the window out.

Tip- If you are going to cut concrete out for a window well, dig the hole many feet deeper and wider than you think you’ll need. This way you can just put the concrete in the hole and not have to haul it away.
Another Tip- Call before you dig and have your county/city service come out and spray where you have pipes under ground, etc. Luckily, where we wanted to place the window was free and clear of pipes.
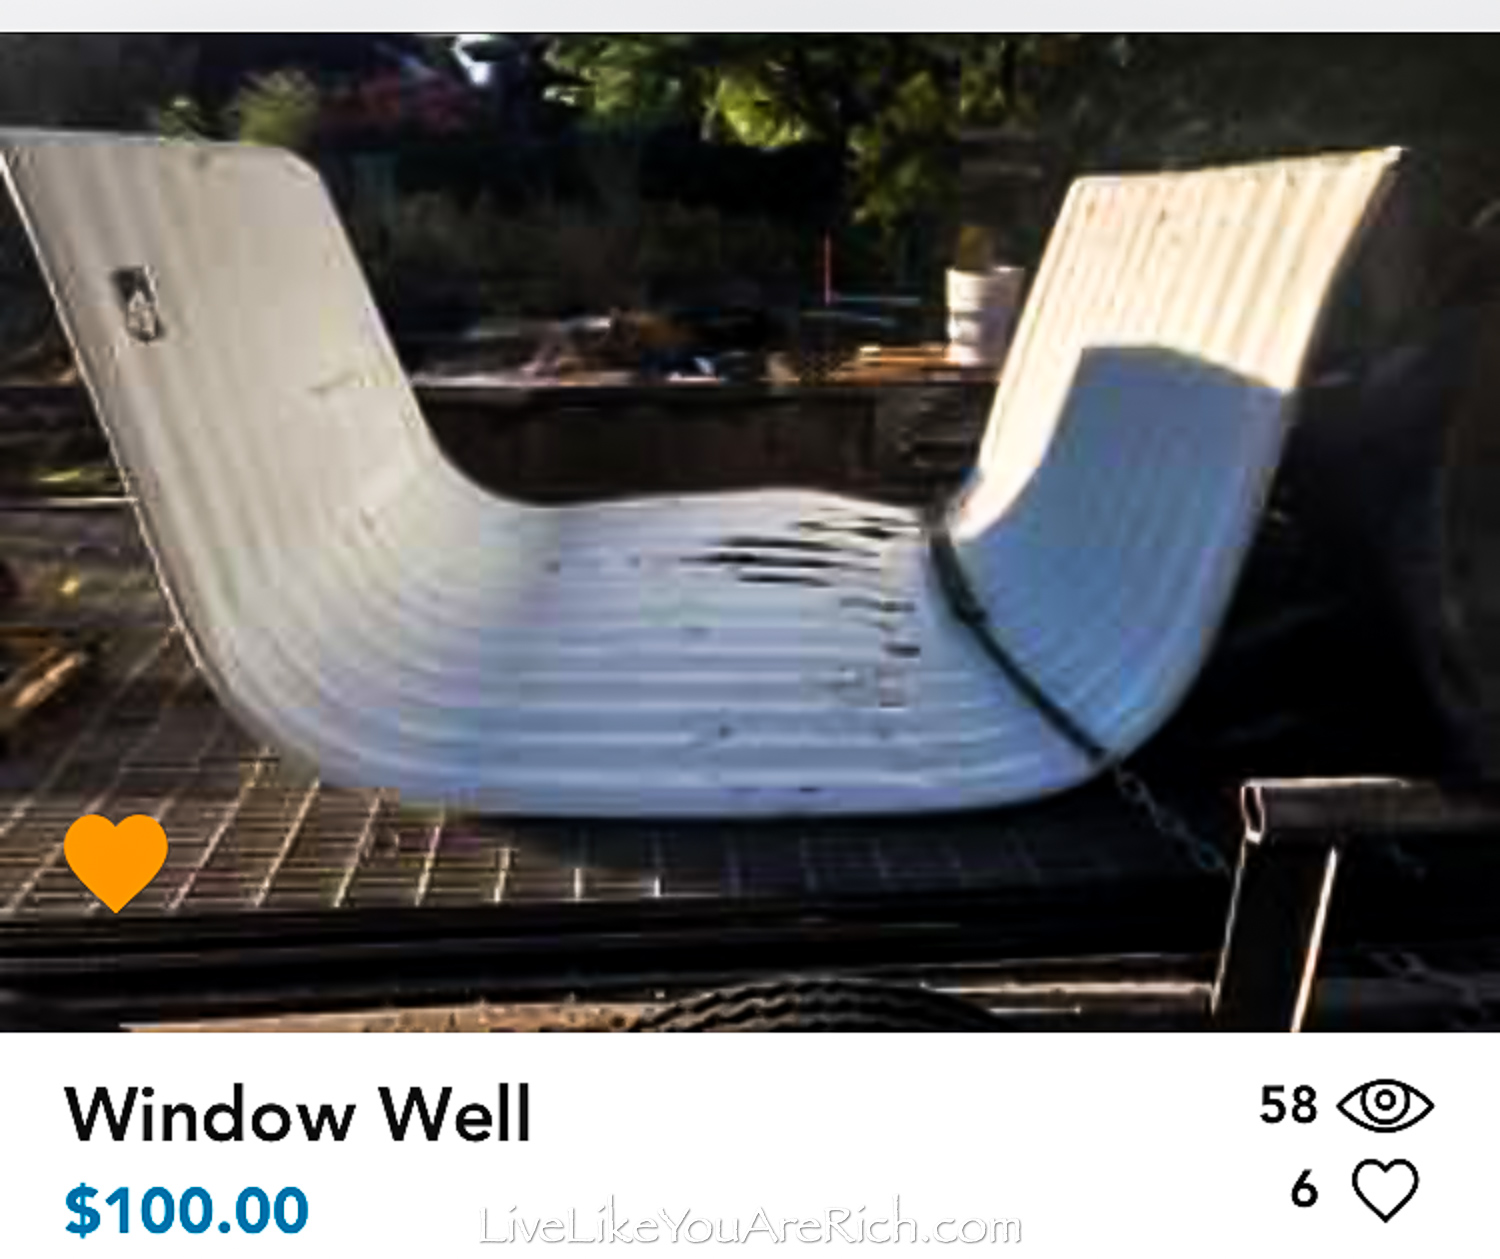
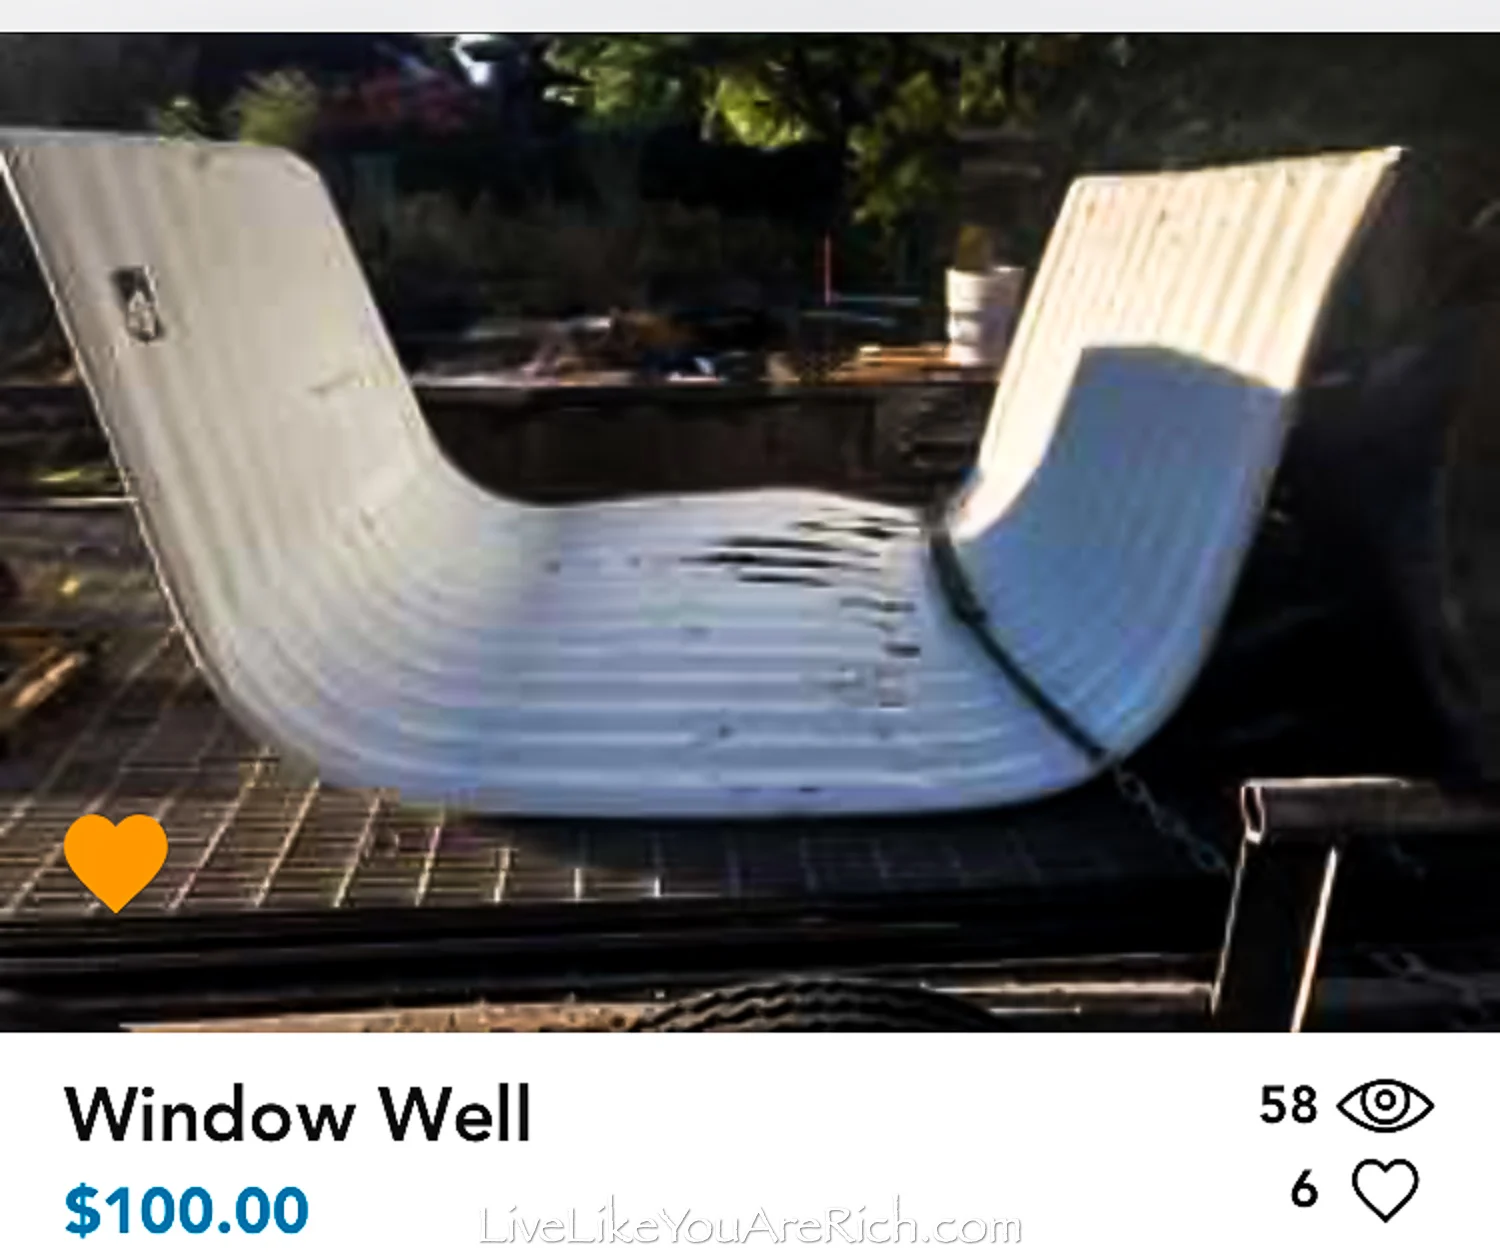
I found a new yet previously bought window well for $100 on the local classified.
And after the concrete cutters cut out this wall, we used the cement that came from the wall to fill in the hole.
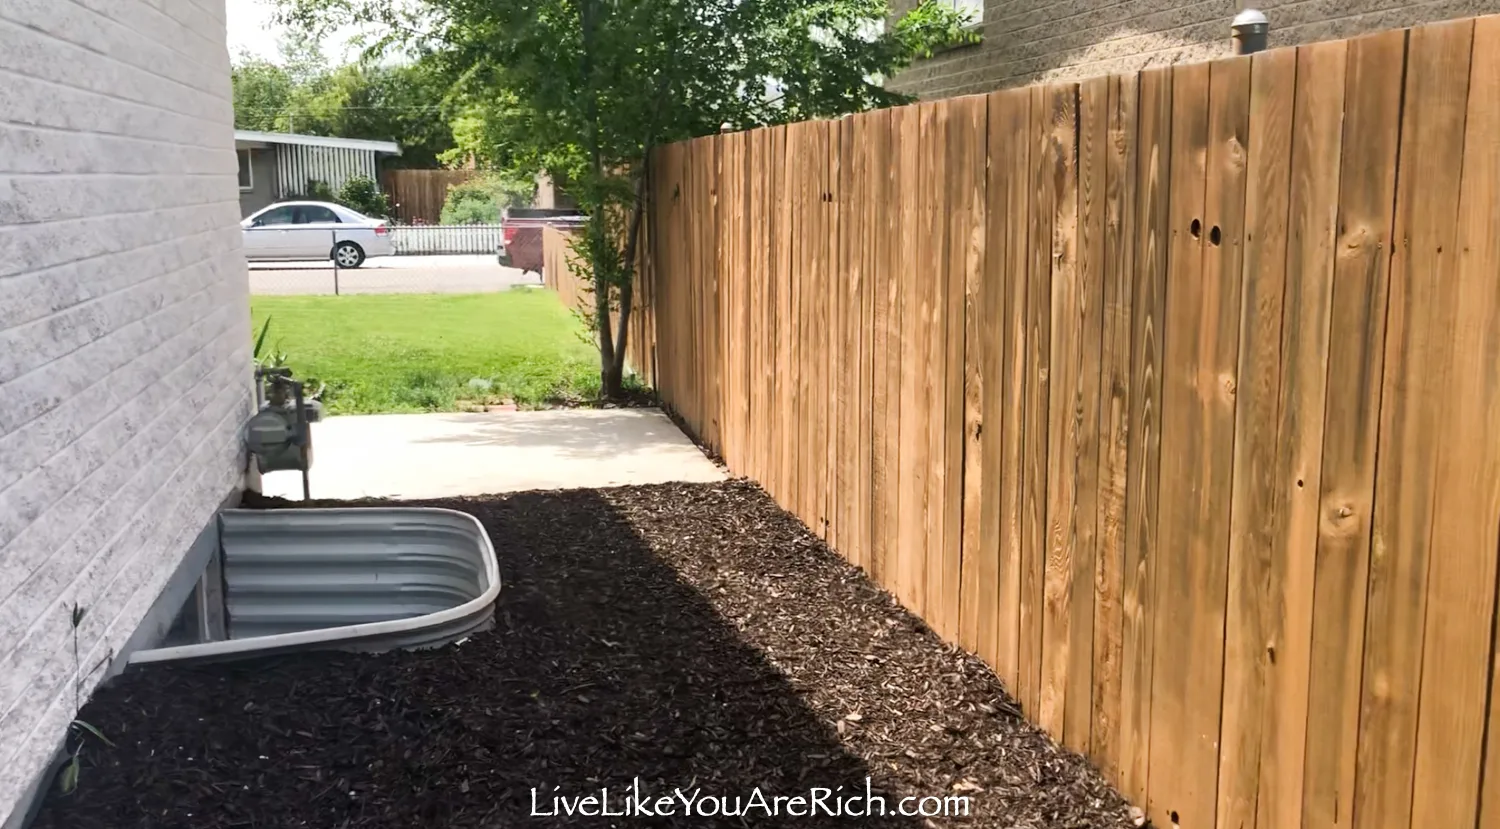
Then my brother in law and I installed the window well by filling it in with the remain soil. I insulated and caulked the window.
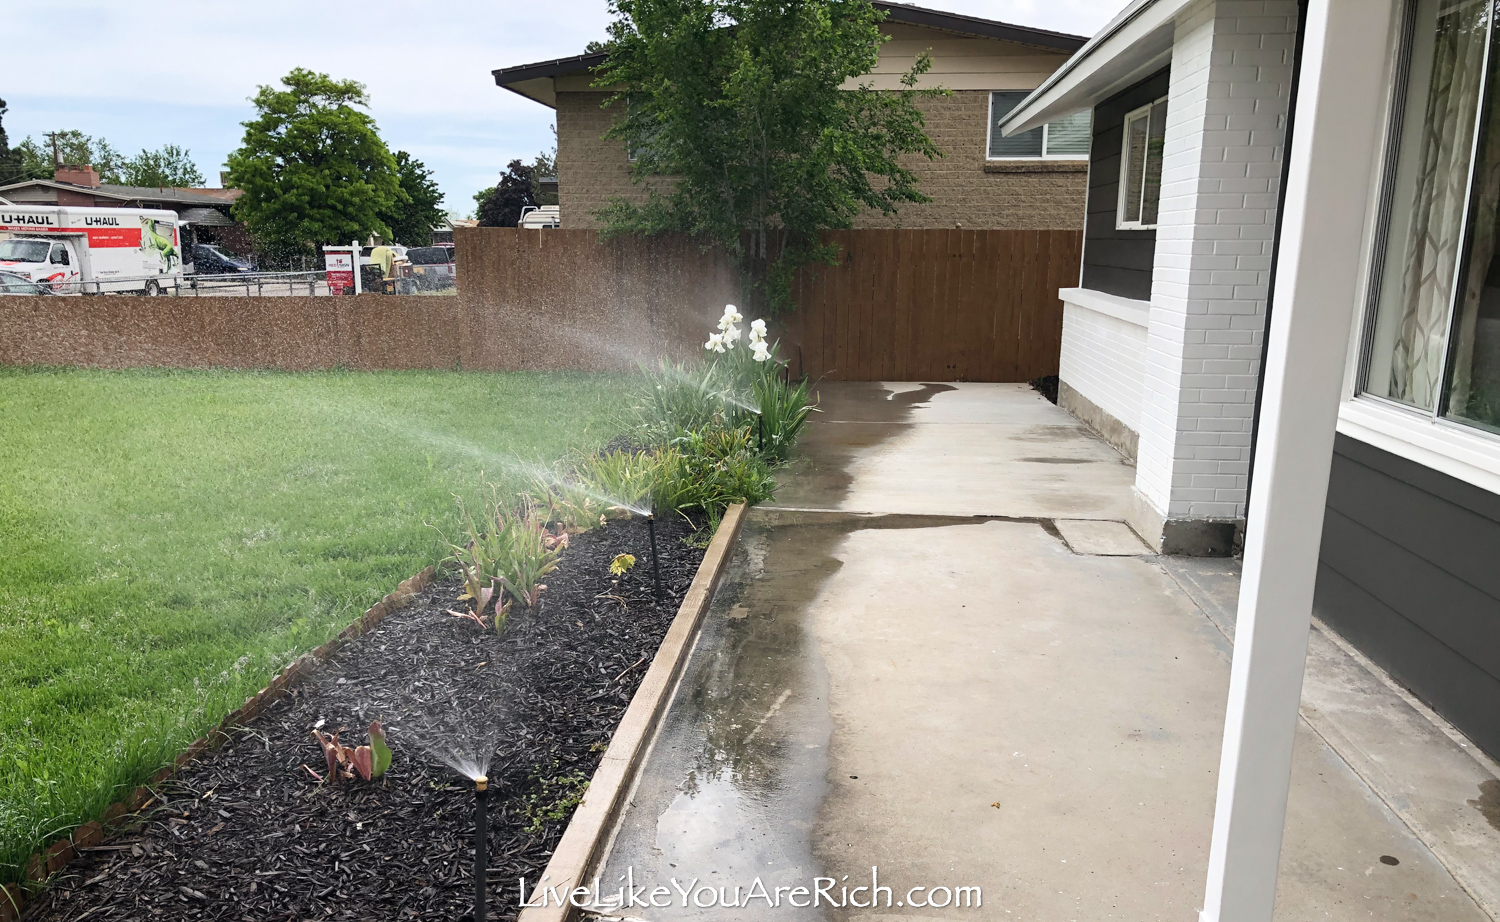
We raked this side yard out, put down weed blocker and mulch on top.

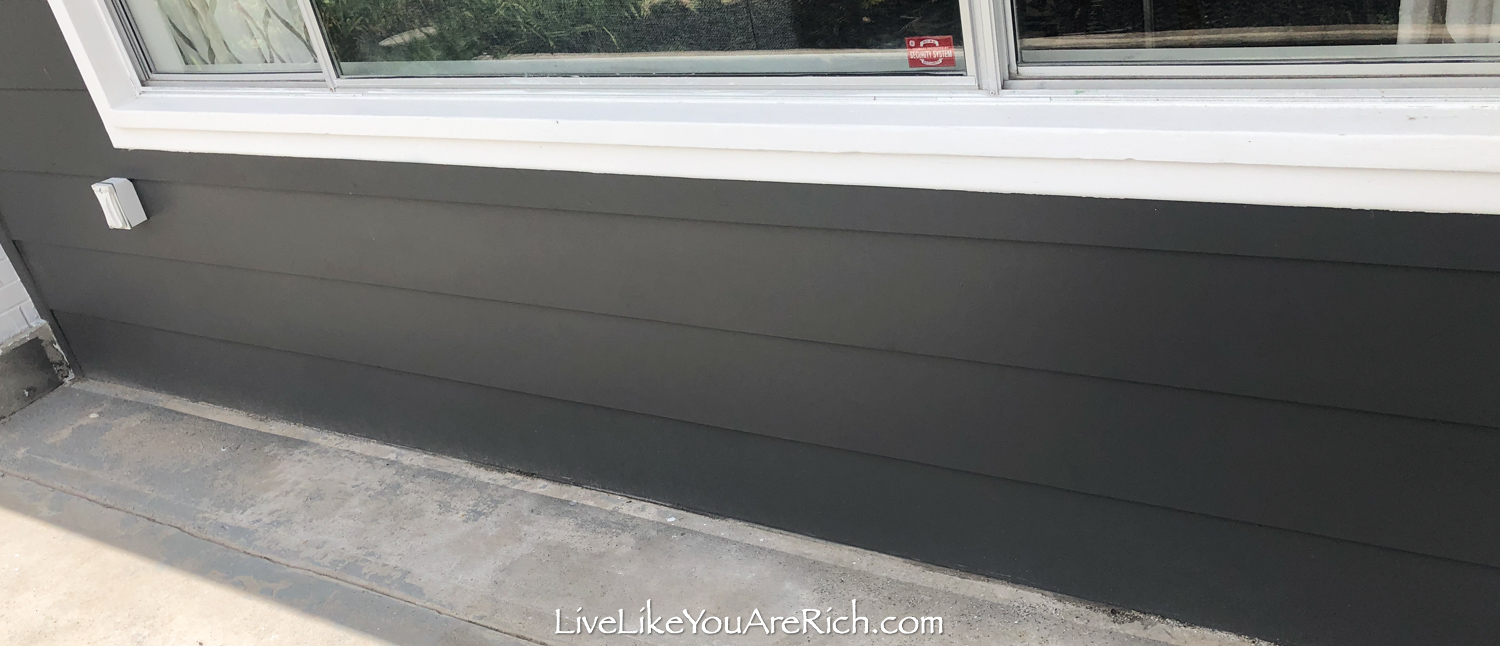
As we were doing this remodel, I was constantly searching on the local classifieds for items. In the “free” section someone was getting rid of hardy board they used on a remodel.
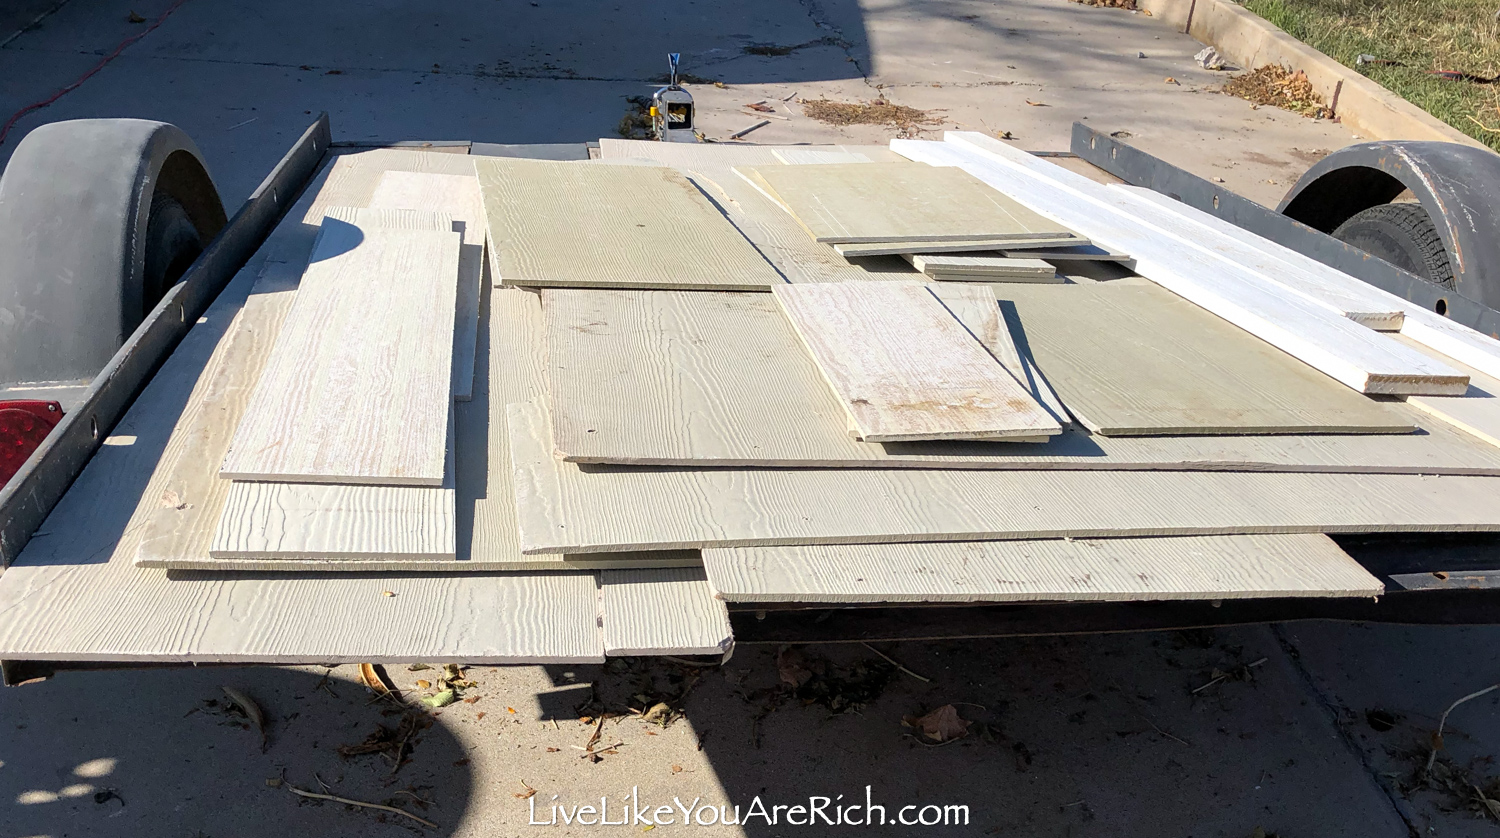

I went and picked it up and showed my handyman what I wanted done with it.
It was more than enough to add some nice detail to the exterior.

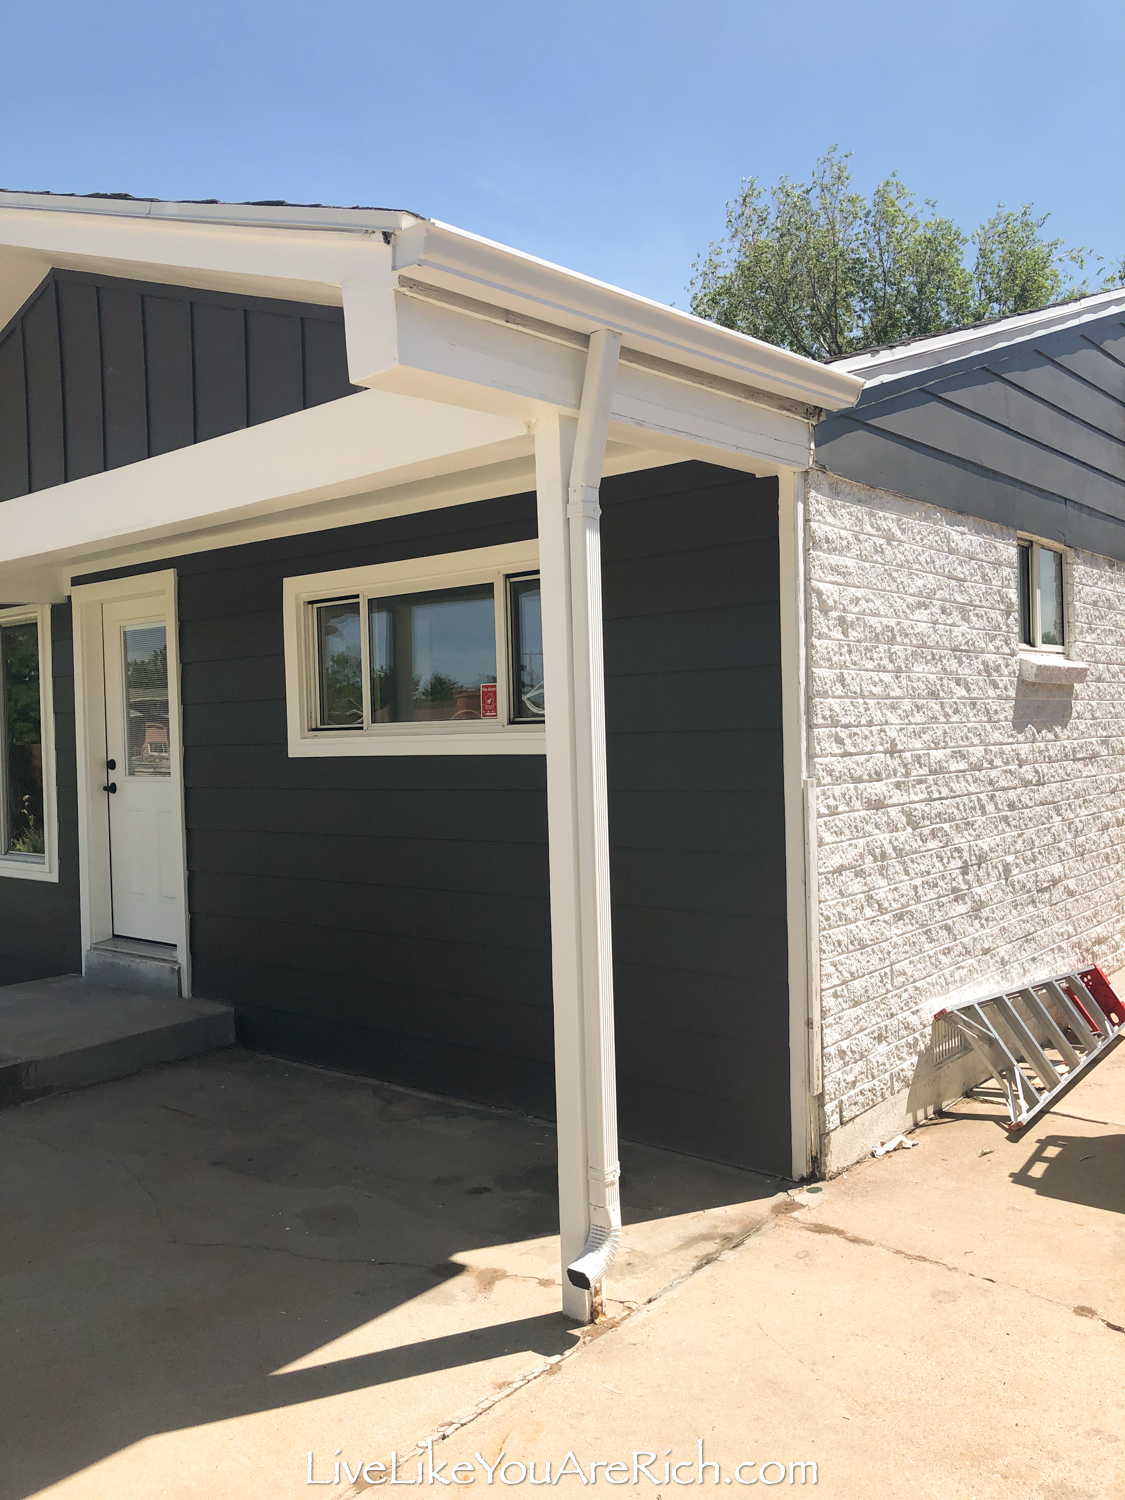
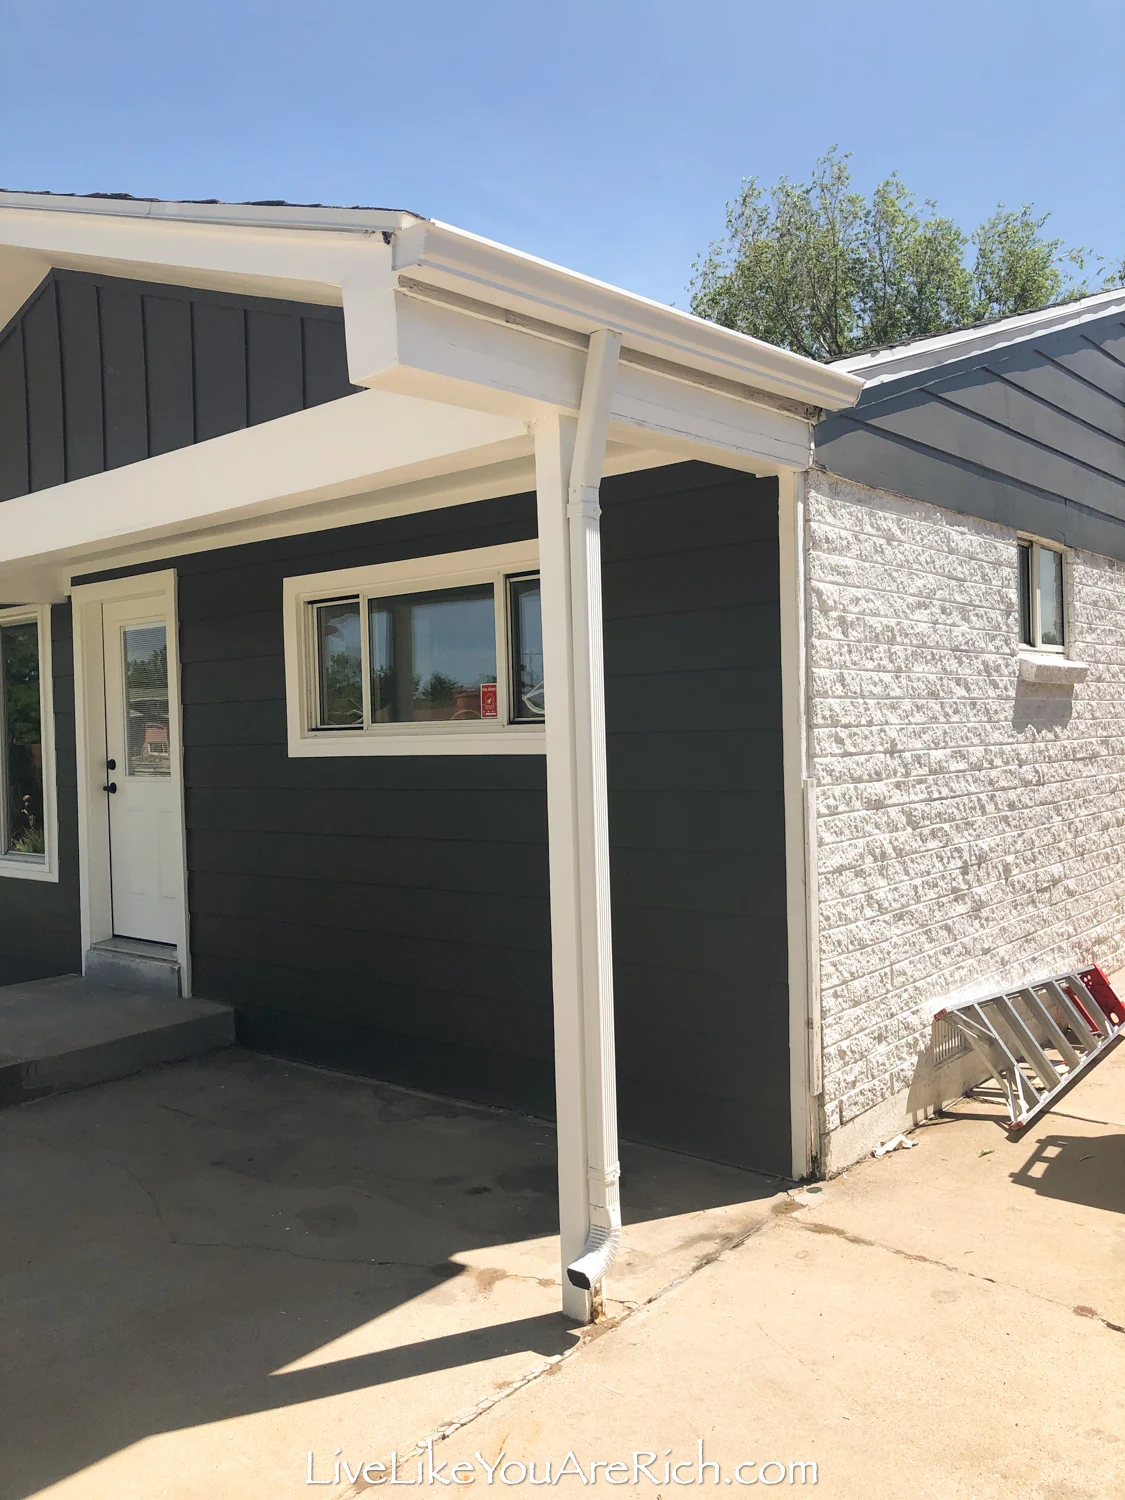
We paid our handyman to paint the exterior. It cost us a $2,500 for him to paint the whole entire home including sanding, scraping, caulking, painting, filling in the brick fireplace with mortar and adding the hardy board. It cost another $300 in paint.
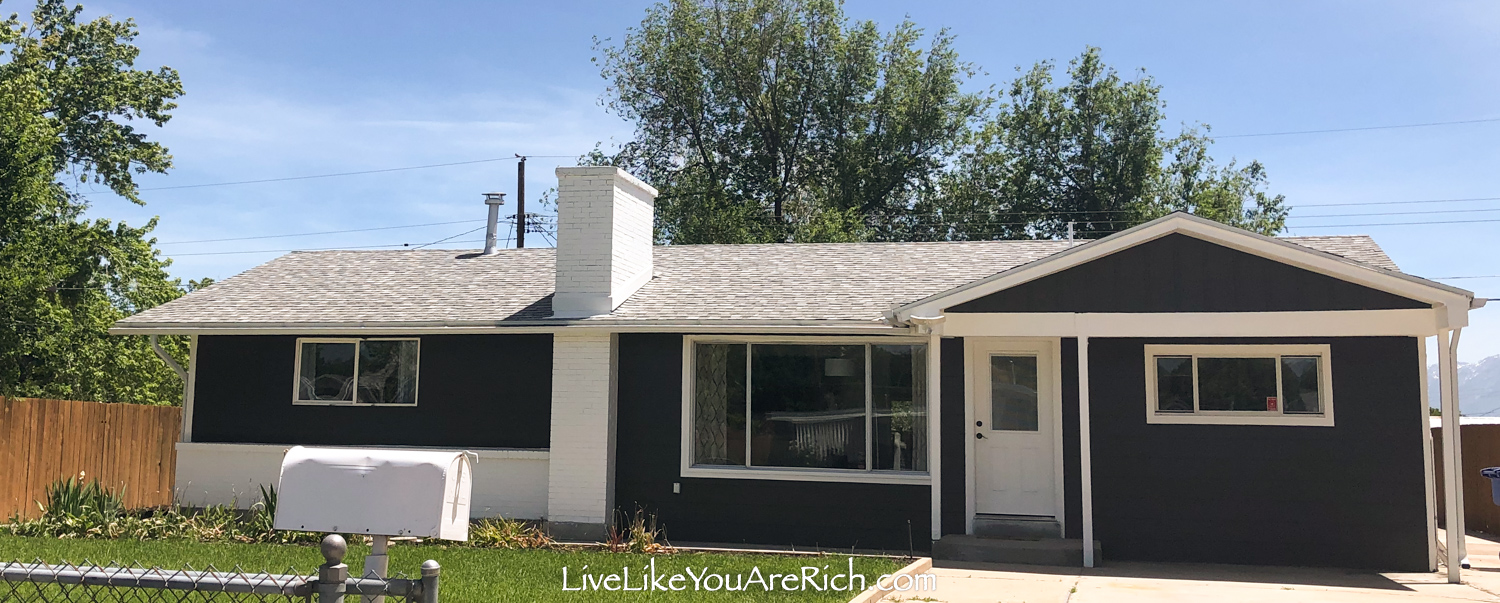
This is the after. Sorry for the blurry photo this was from the real estate agent site.

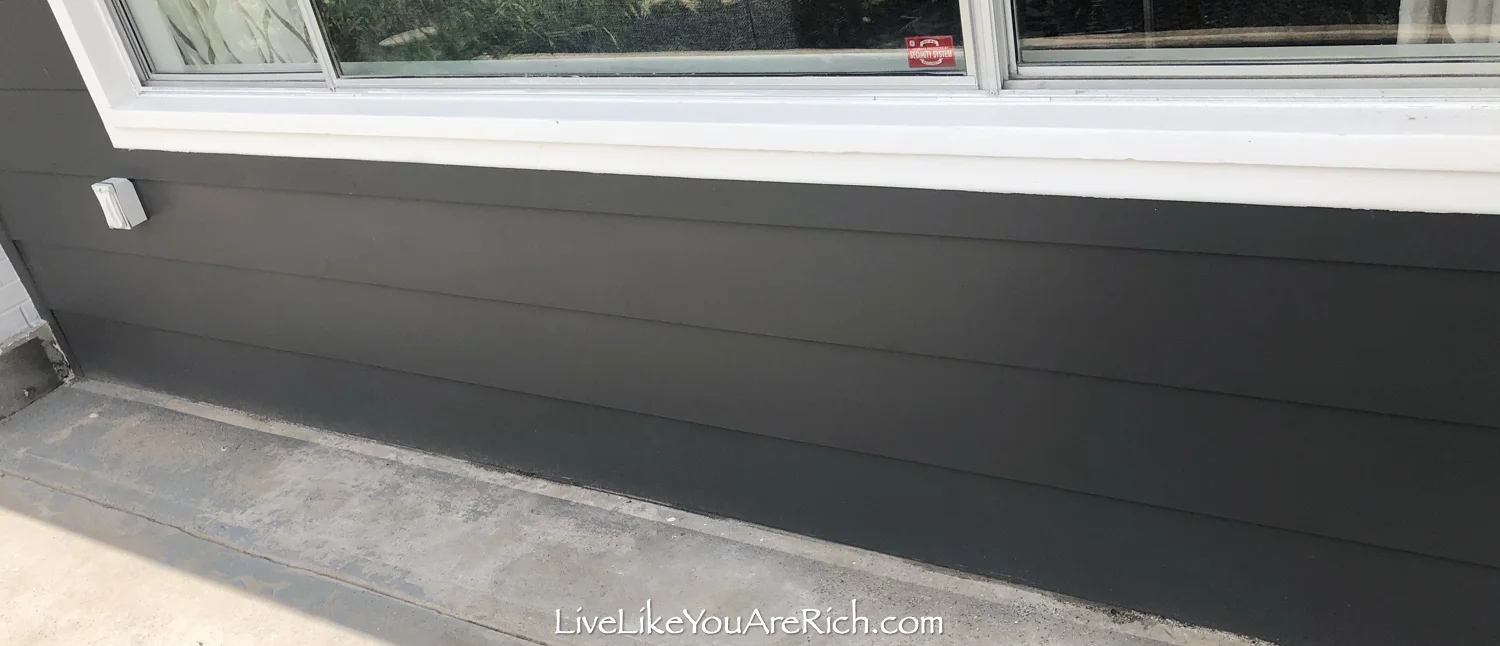
I choose Benjamin Moore Iron Mountain exterior paint in egg shell. I love this color!

In some lighting it looks charcoal grey, sometimes more of a green dark-grey and in other lighting more of a blue/green/grey.
It is a beautiful color. My handyman said he wanted to use it on other homes he paints because it is such a nice color. I would agree; BM Iron Mountain (2134-30) is a great color!
We used just a standard white paint for the other, although now that I know about Romabio masonry paints, we would have used that for the brick for sure as it allows the brick to breath better and adheres in a more natural way.
I spray painted this mailbox.
Tutorial on how to spray paint a mailbox here.
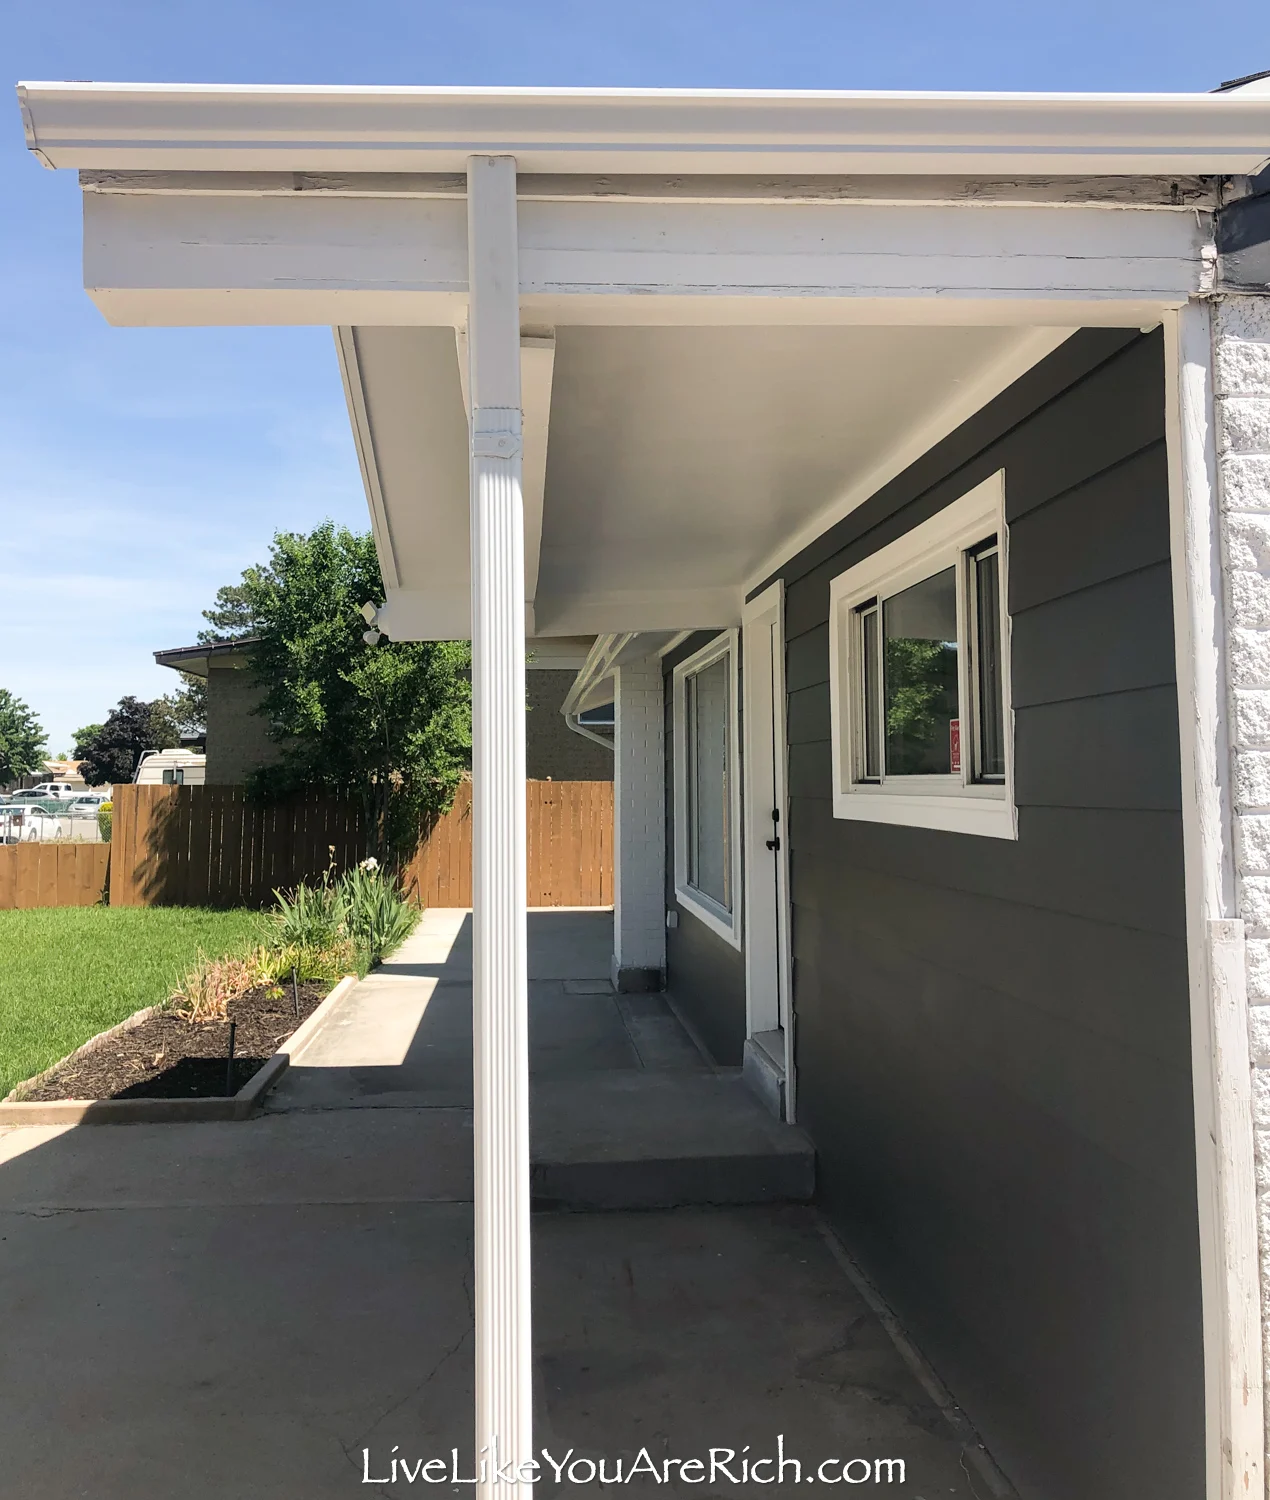
A few other fixes we did on this exterior were…
My husband ran a Christmas light outlet on the overhang and made sure all the electrical outlets were working.
He also fixed the sprinklers so they were all working.

We added gutters.
I used some flex seal to seal the window sills.
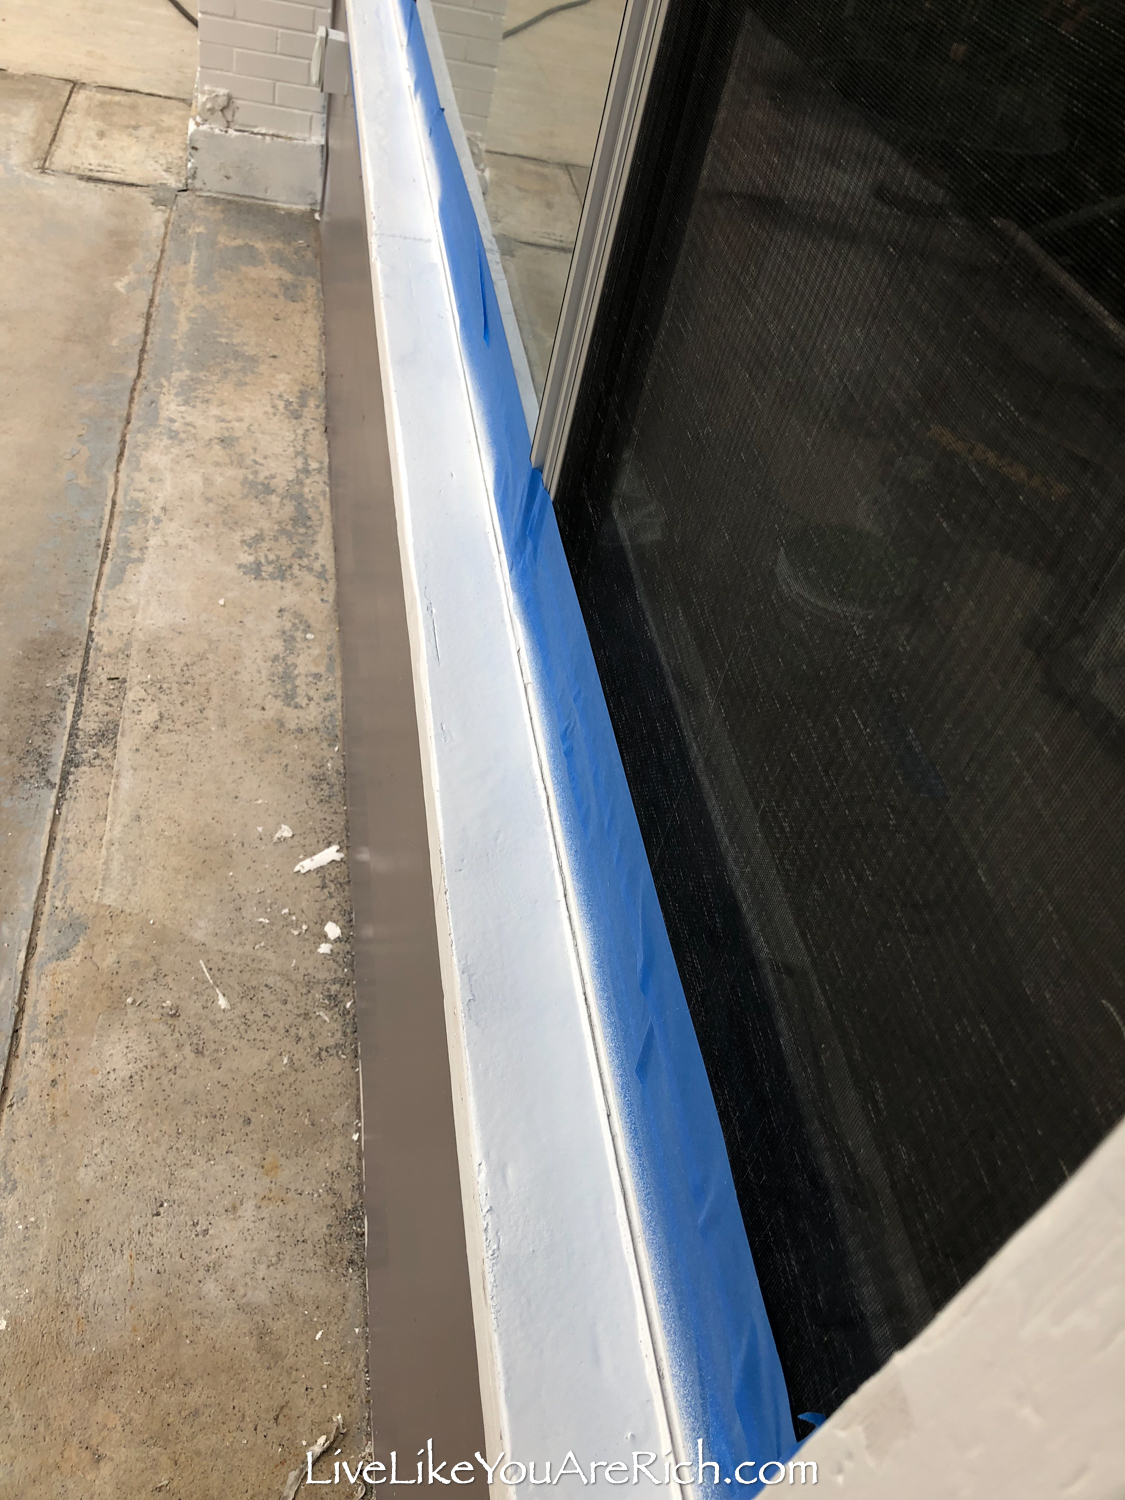

Flex seal is a pretty amazing product, I highly recommend it.
I also washed all the windows with my favorite glass cleaner (Invisible Glass) and a flat razor blade and microfiber cloths to get any and all dirt and overspray off.
It made the windows look brand new.
And that is it.
Tip- Work on the exterior of the home while the weather is good and interior during wintery days. We did a vast majority of the exterior in Fall and finished it completely in the Spring. This really utilized the weather patterns and made efficient use of time.
Front Exterior of Home 2 Before
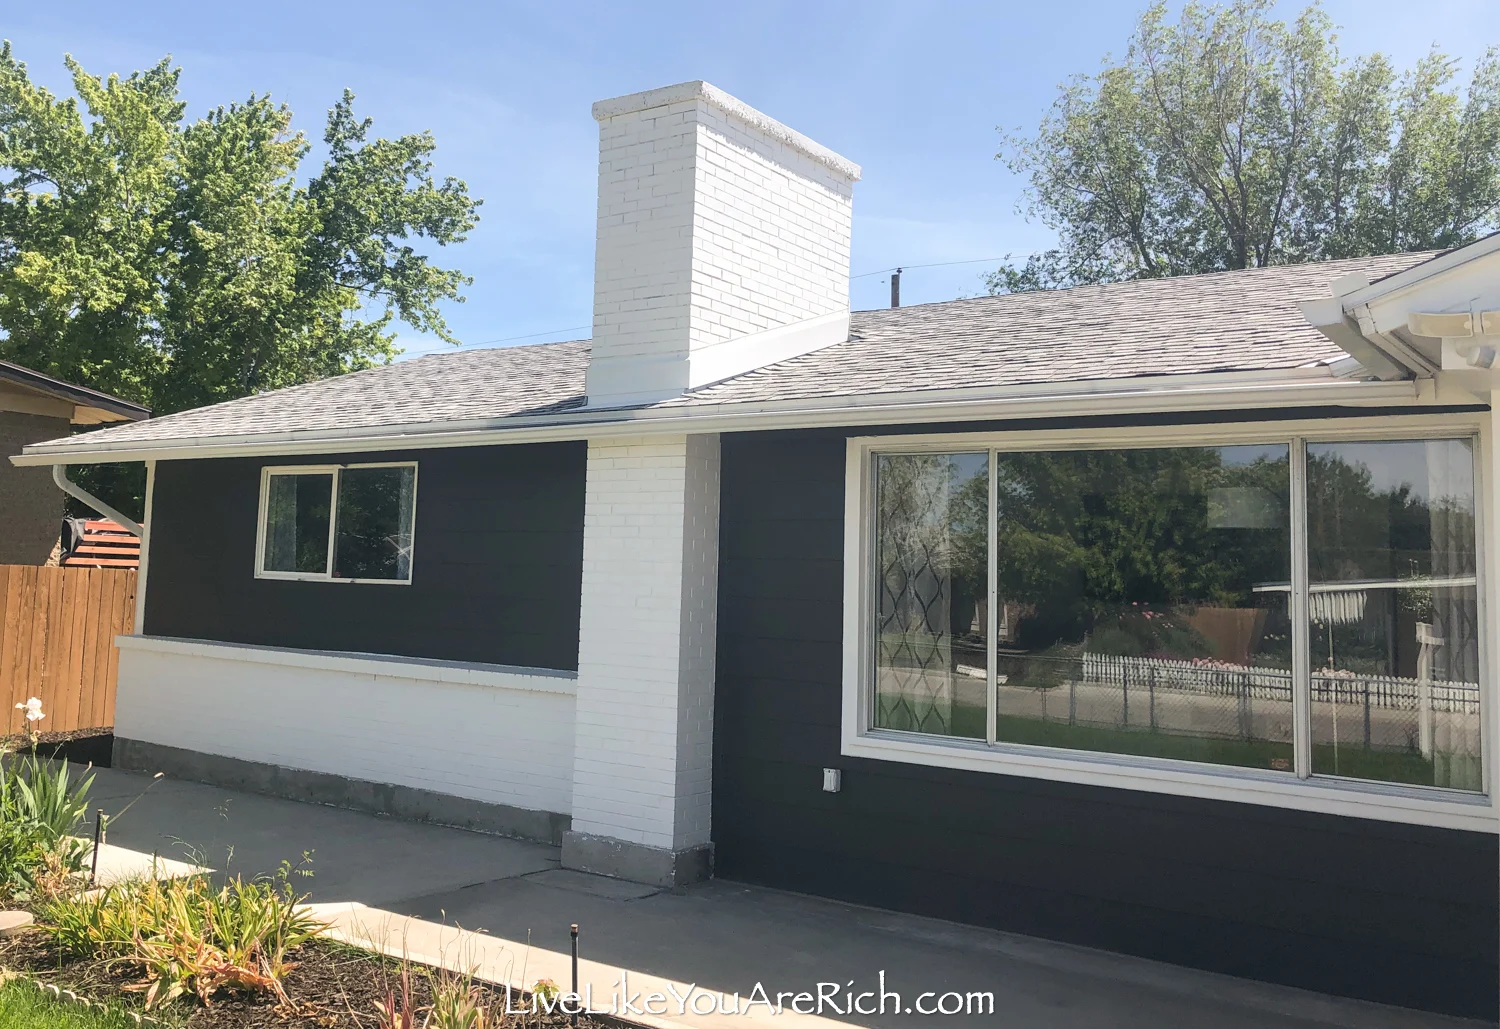
Front Exterior of Home 2 After
Here is a rough estimate of how much this Front Exterior of Home 2 Before and After cost:
Paint including labor $2,800 but really $1900 for the front and sides (I’m considering 2/3rd the expense for the front and I’ll add the 1/3 or $900 for the exterior back renovation price breakdown).
Gutters $400
Renting mini excavator $200 Tip– Rent your heavy equipment for the last half of the day and then you can keep it overnight and return it as the store opens and double your time with it for the same price (most places do this).
Window well $100
Painting fence $100 (I’ll add $100 to the back fence renovation)
Sealed windows $7.00
Painted mailbox—free ( I already had the spray paint)
Cleaned windows $15.00
Mulch (I had the weed barrier) $40
Fertilizer $50 3 seasons front yard
Chimney sweep and caps $300
Sprinkler parts $30
Electrical $40
hardy board—free
Sold Lattice and scrapped metal -150 from items sold
Total Cost $3,067.00
My husband and I and at times my kids pitched in as well. This saved us thousands. I would highly recommend doing everything you can when renovating your house to save money.


For other ‘rich living tips’ please subscribe, like me on Facebook, and follow me on Pinterest and Instagram.

