
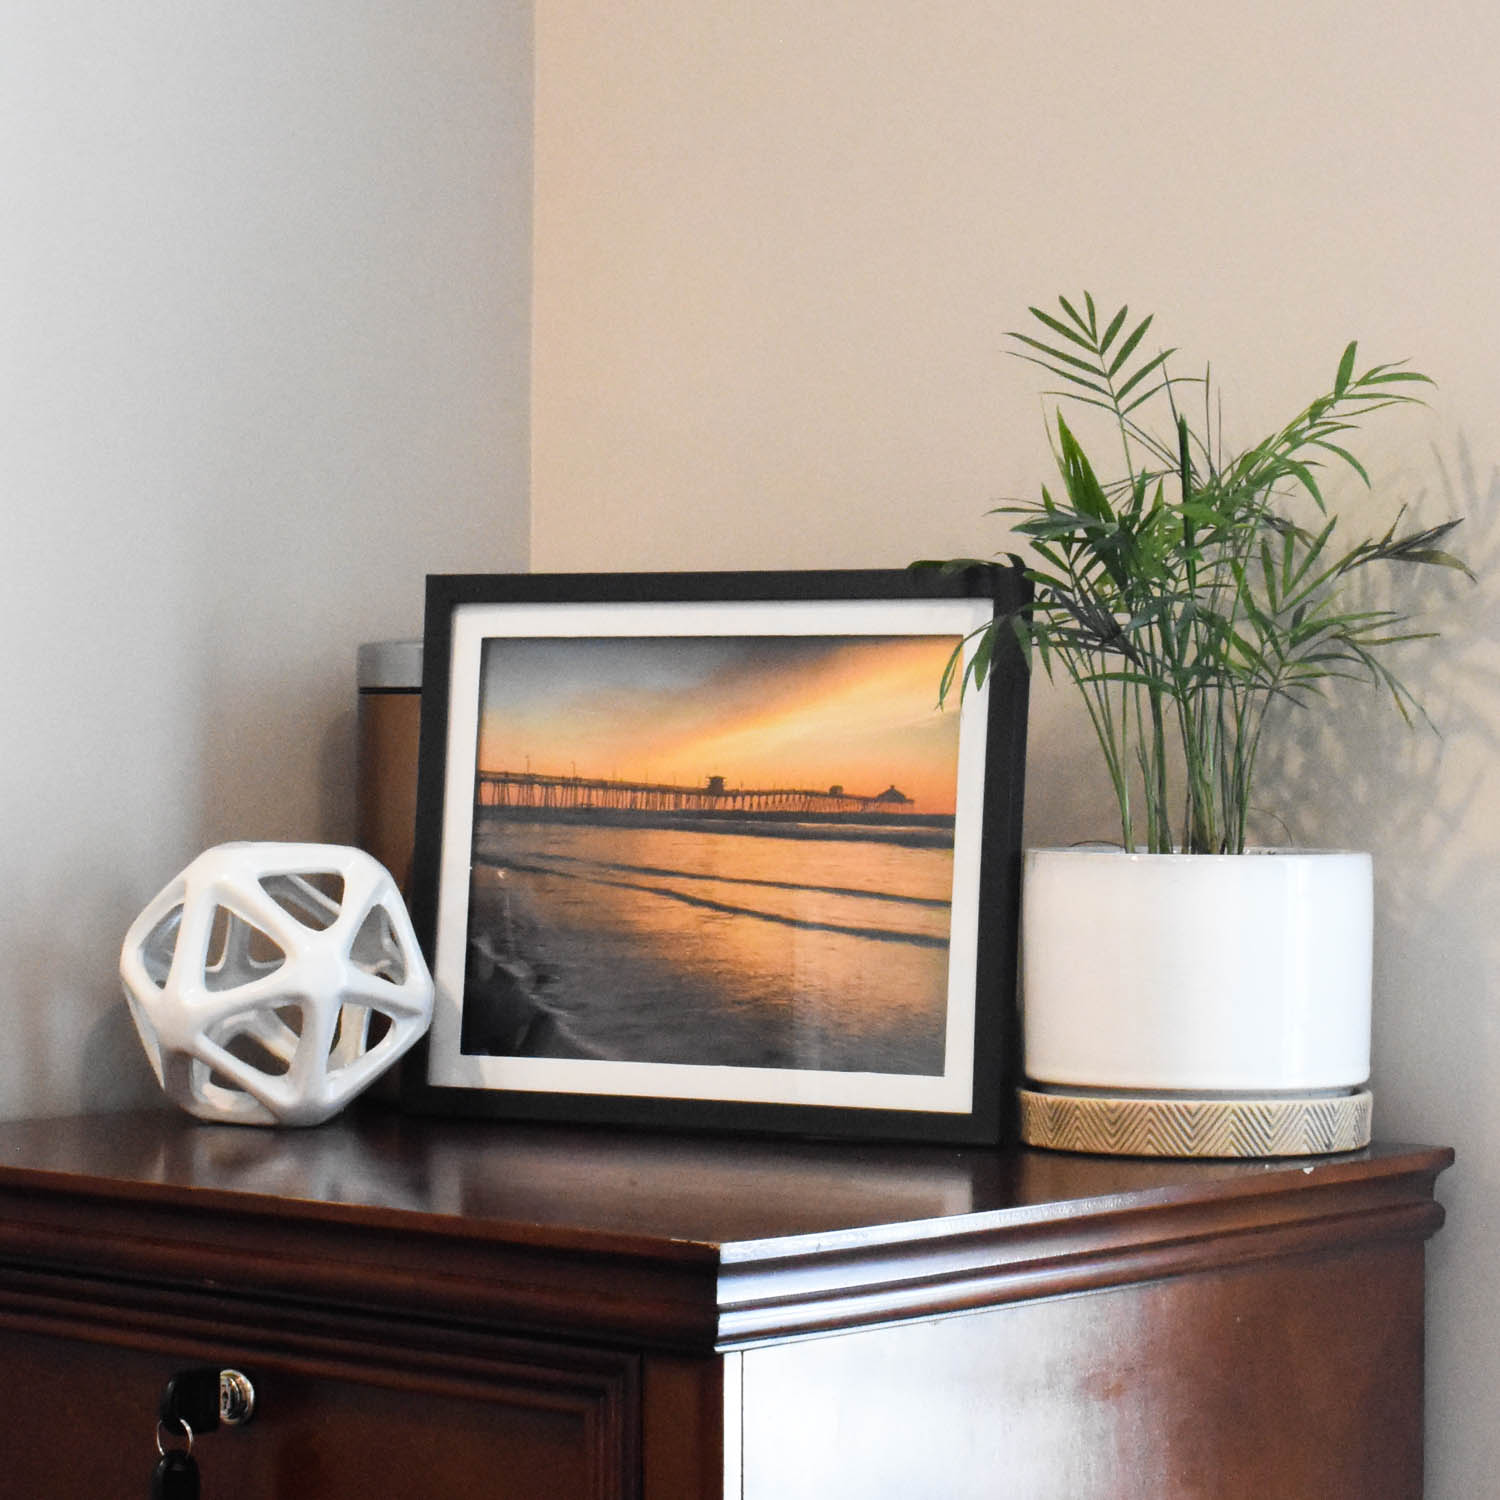
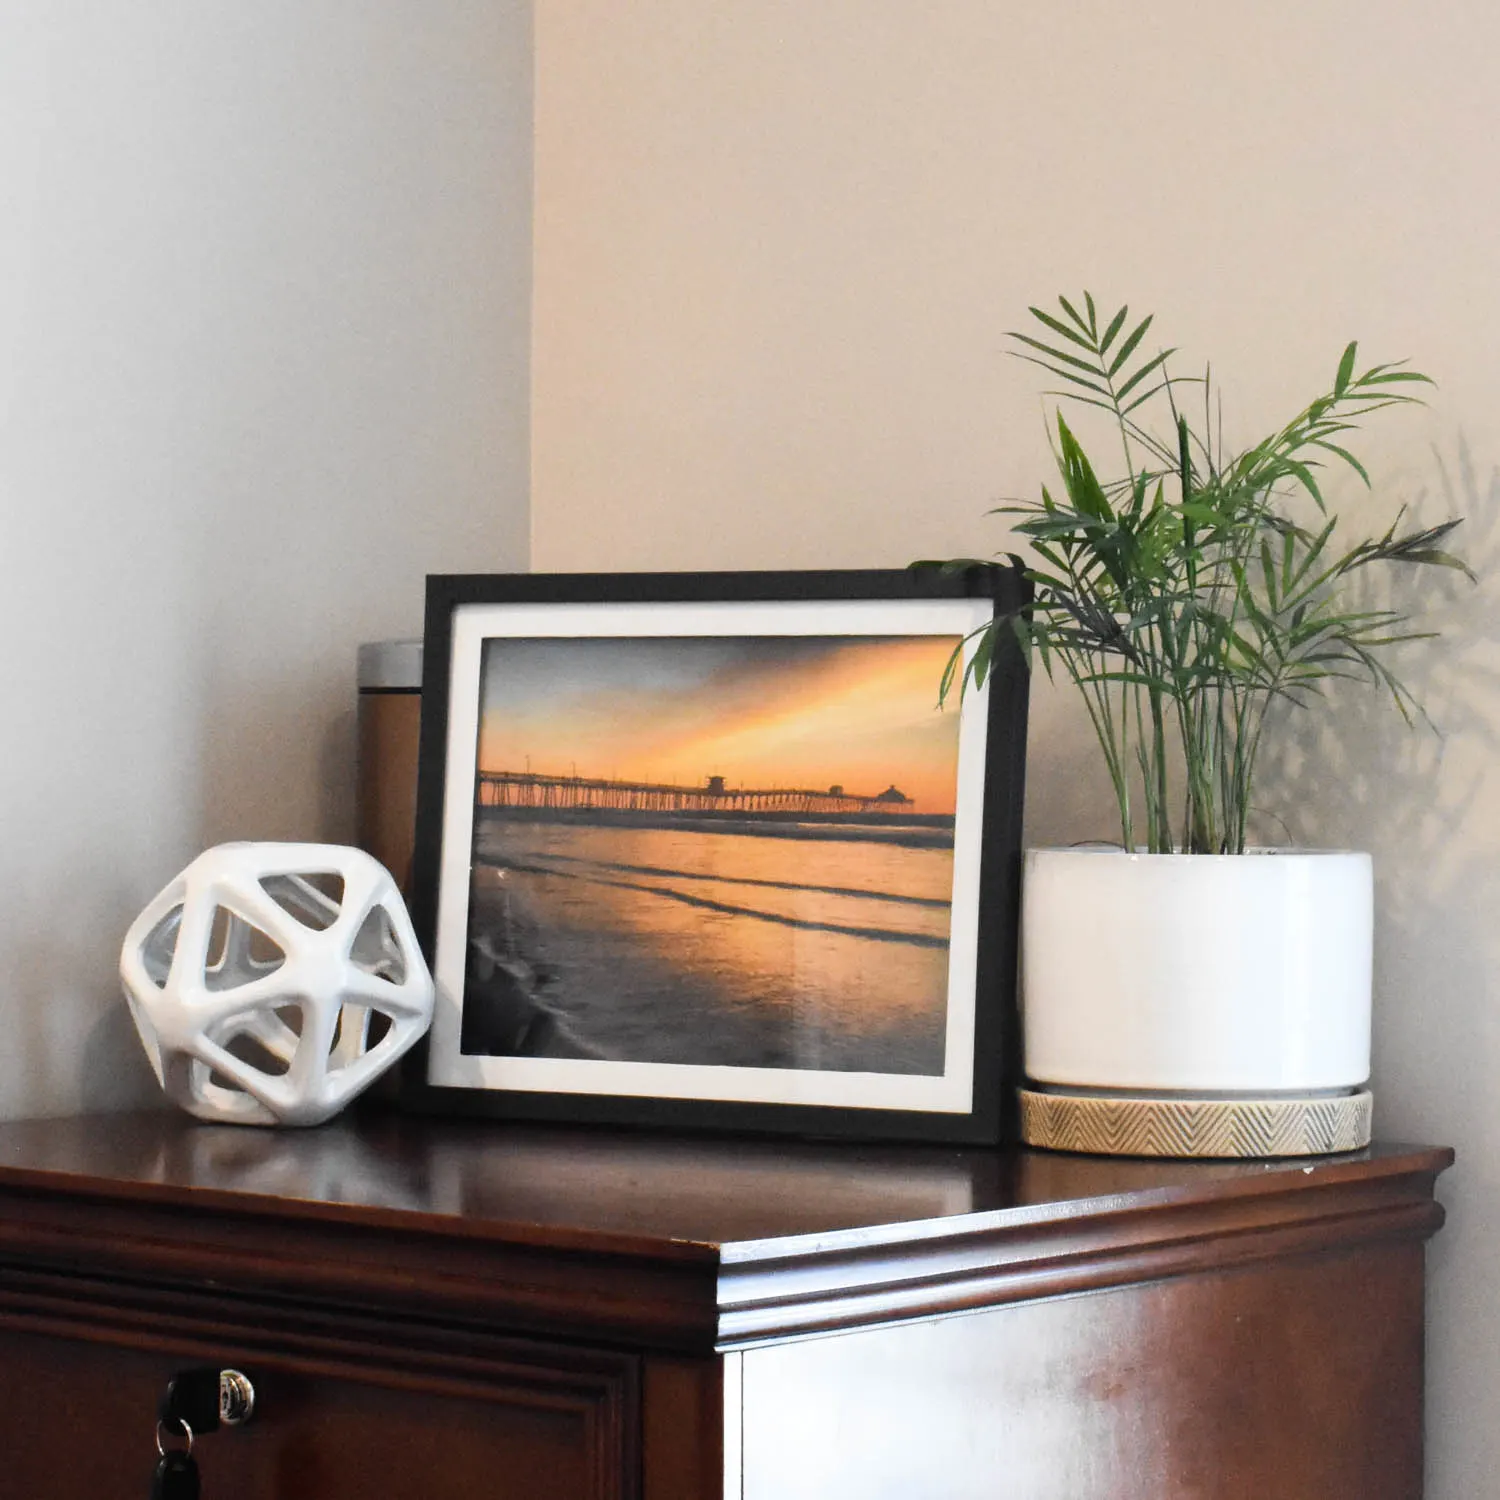
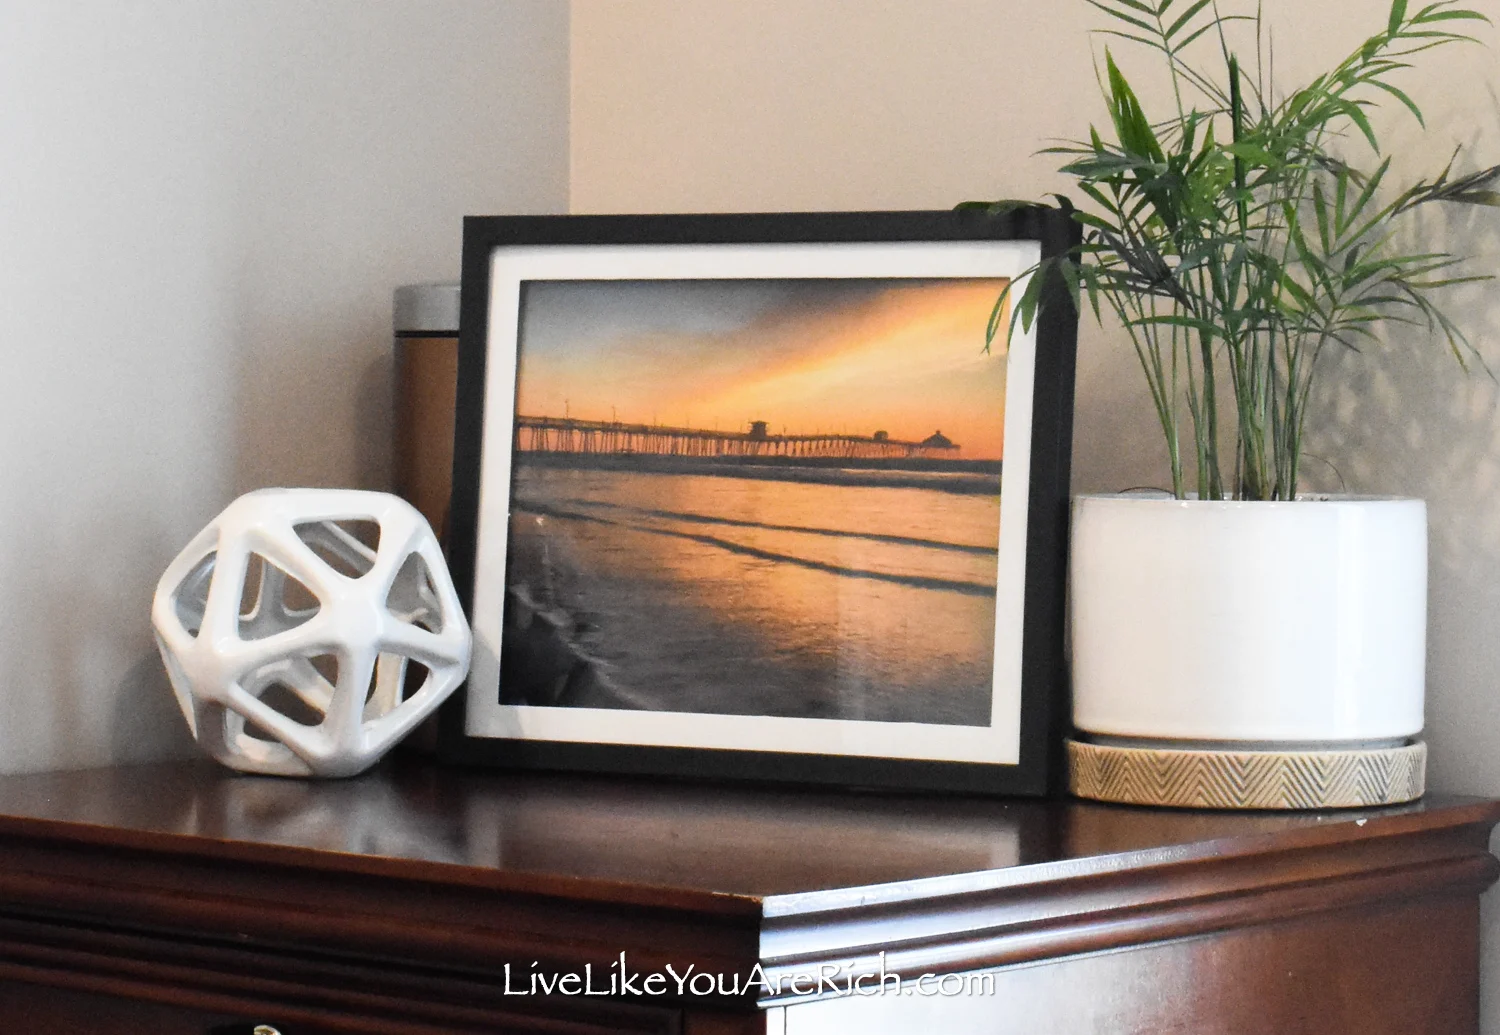
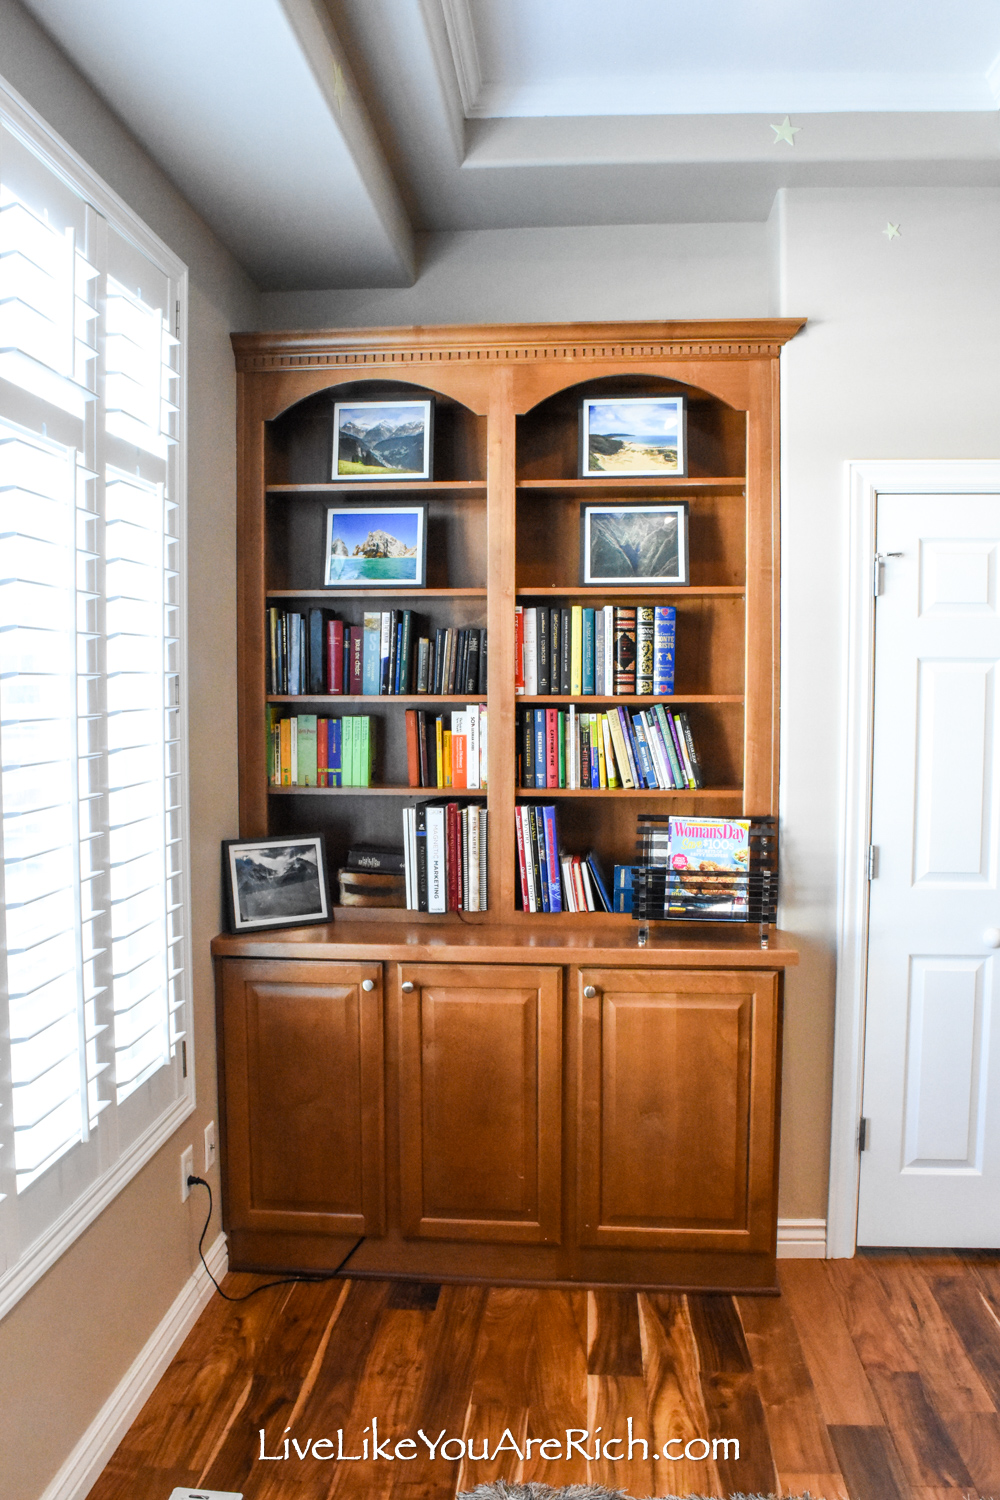
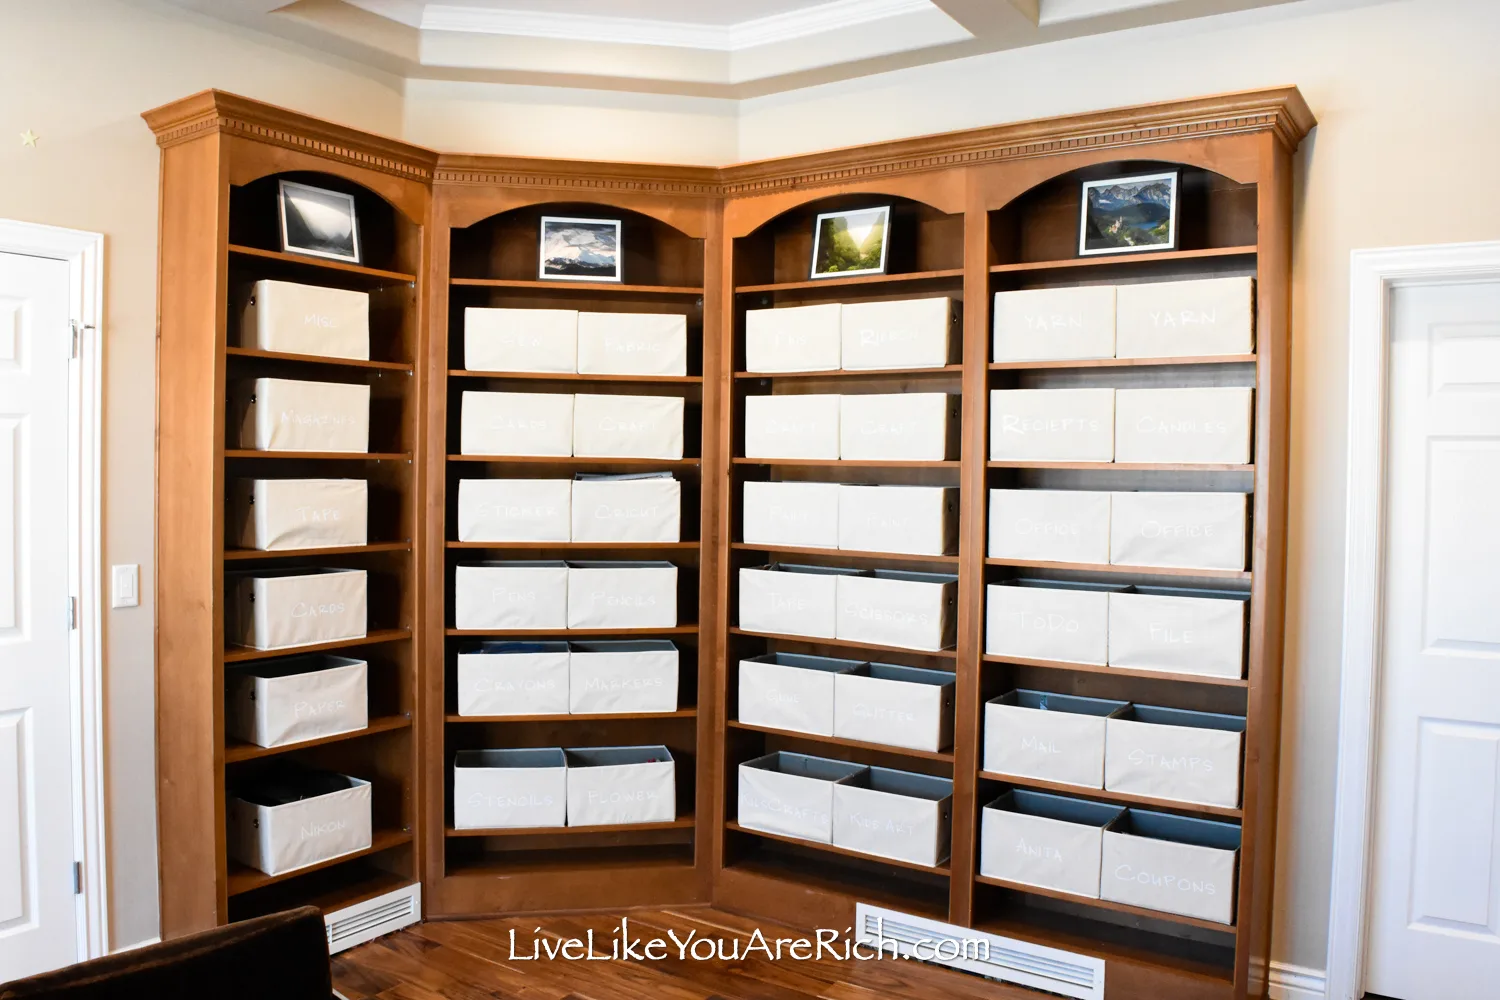
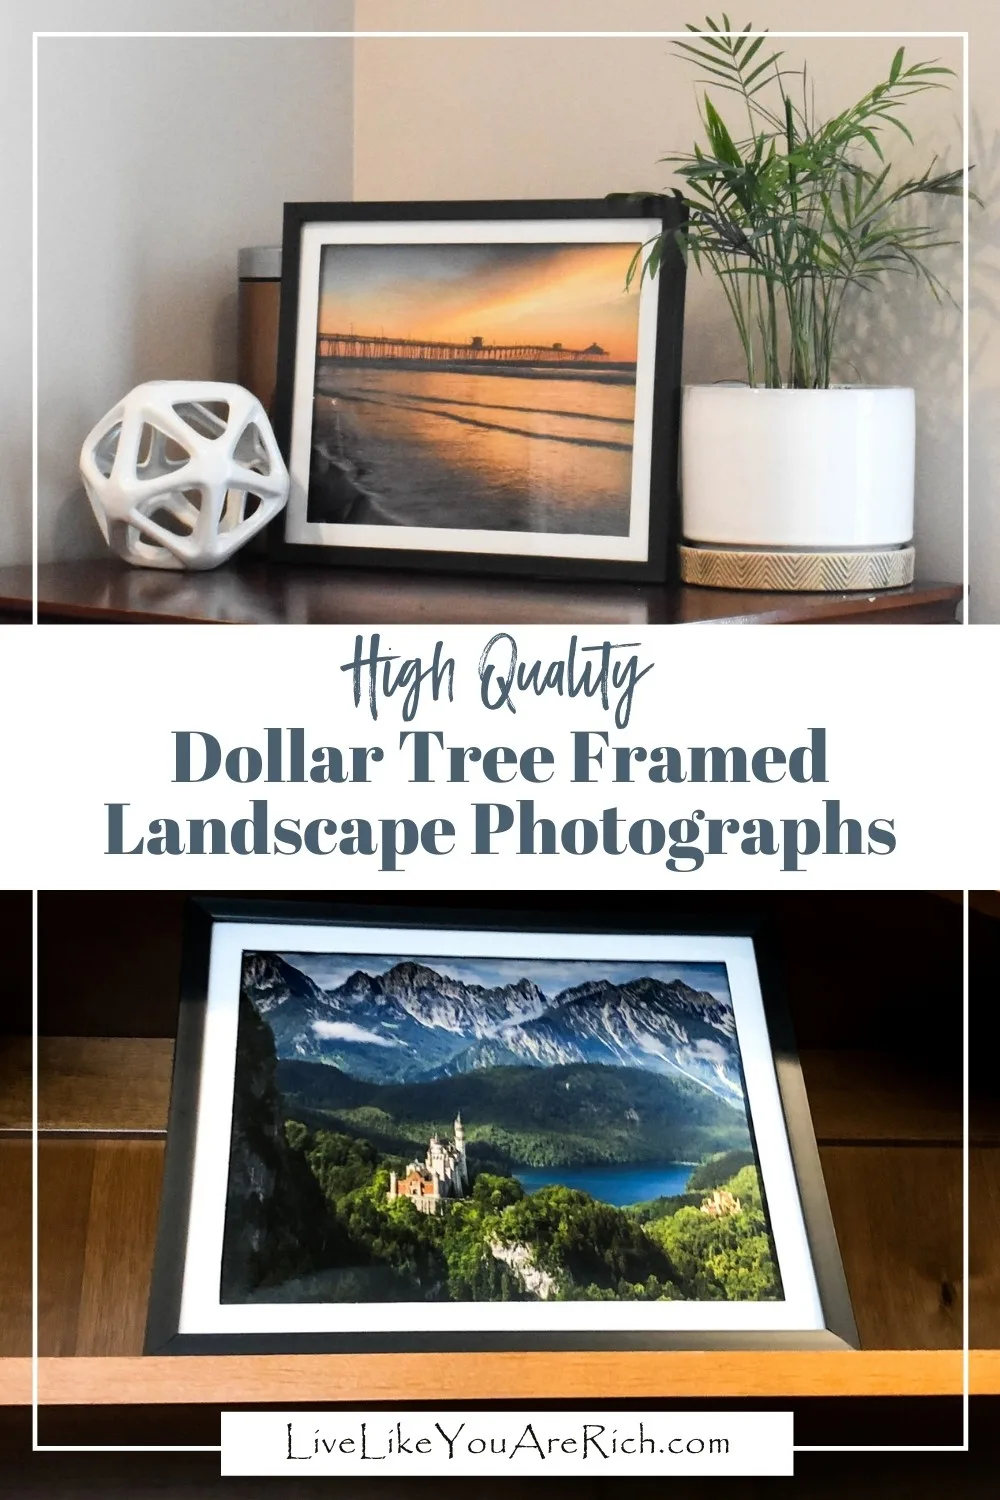
I made these High Quality Dollar Tree Framed Landscape Photographs for $2.50 each. They turned out great and have added beauty and color to my office.
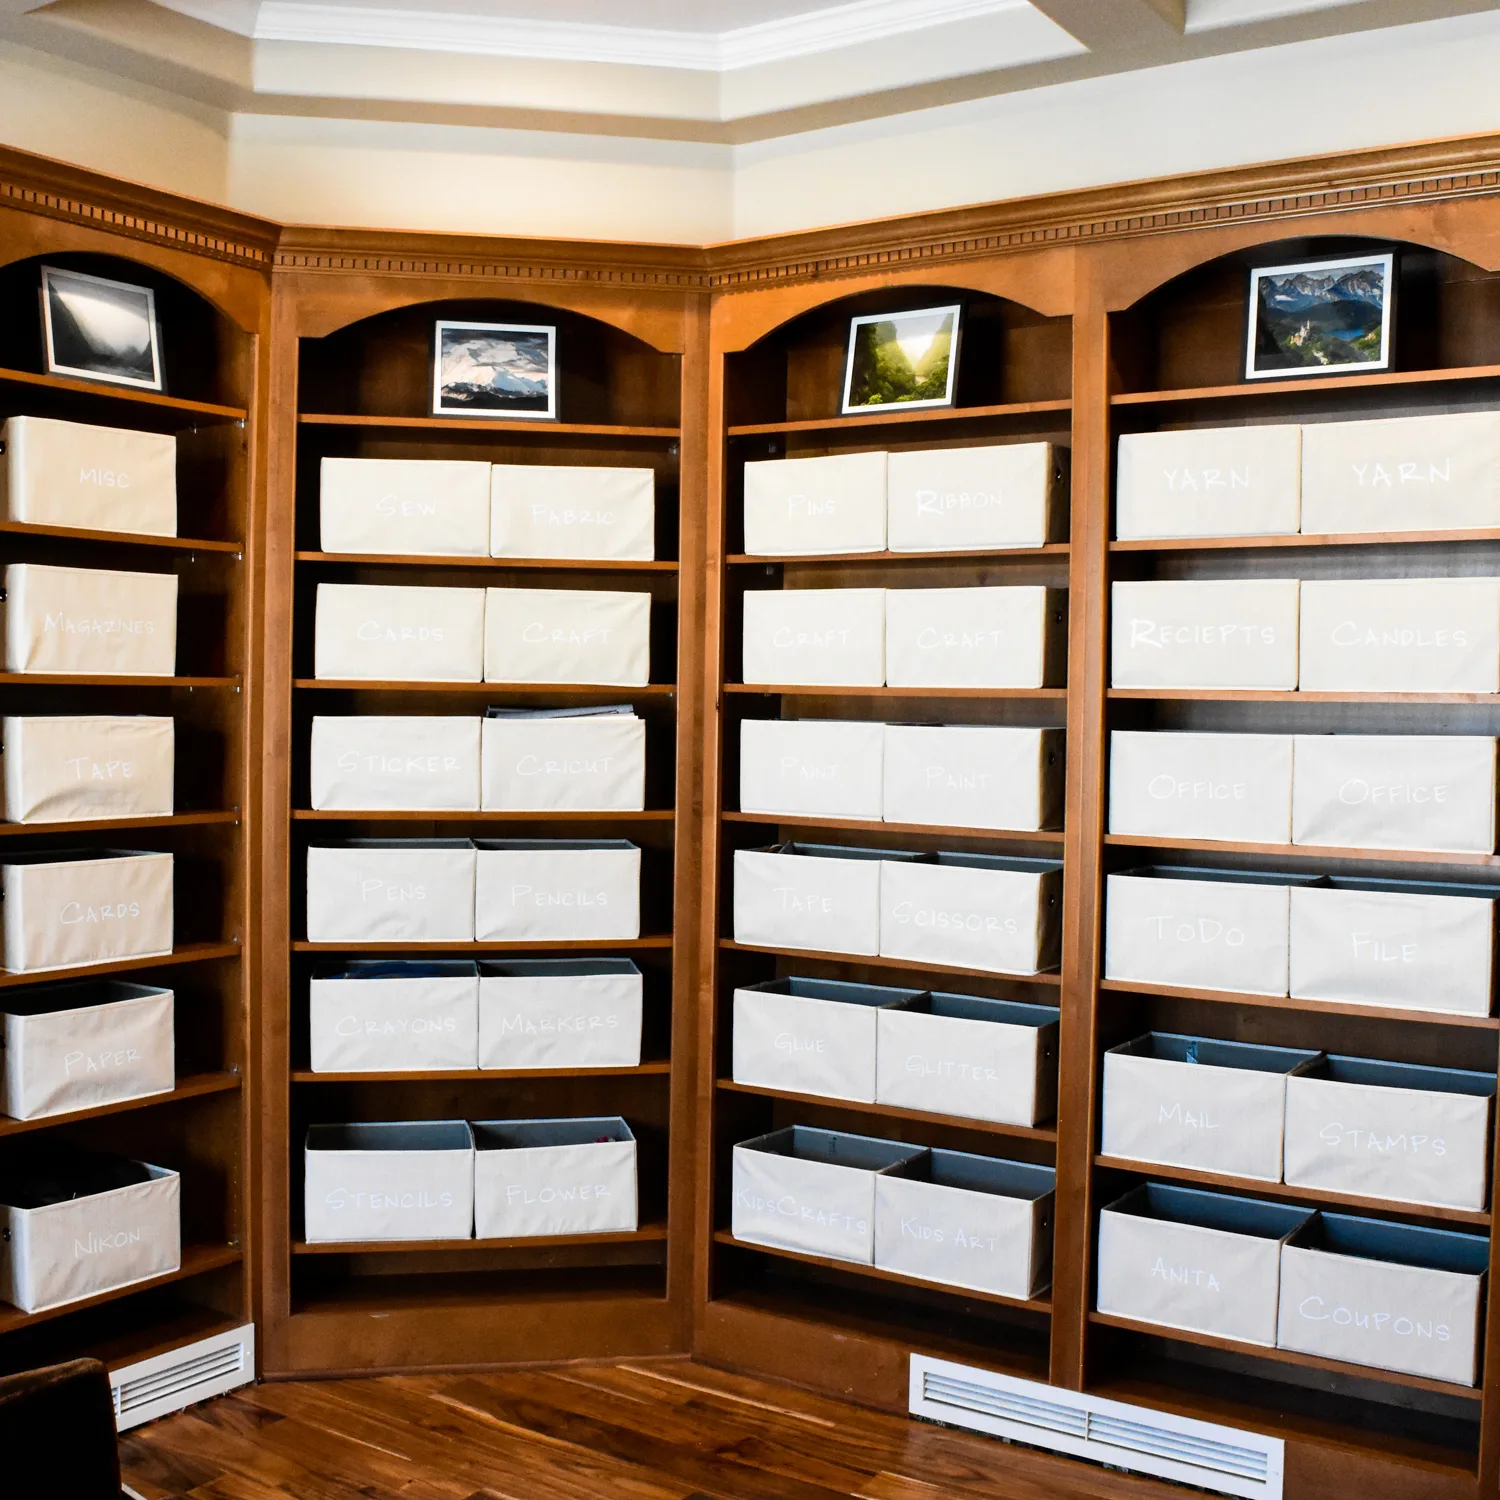
After completing my DIY open-shelving office bins in my office, the top shelves were all empty and really needed something on them.
Placing a bin on the top shelf was not practical as it is too high for me to reach.
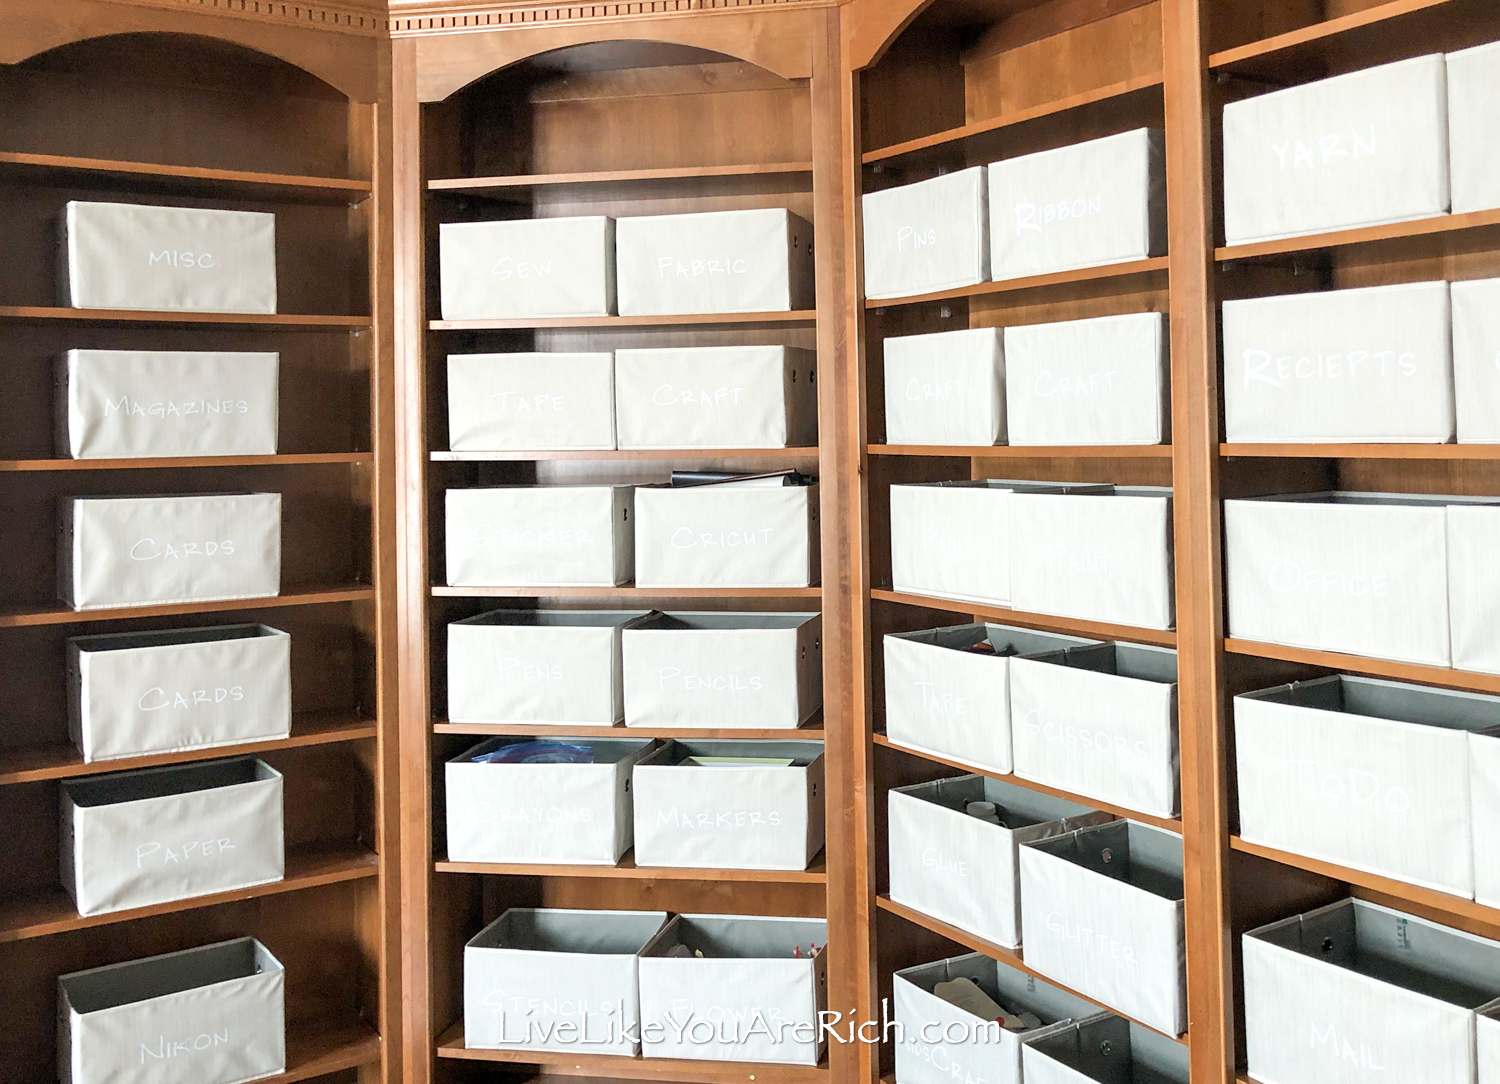
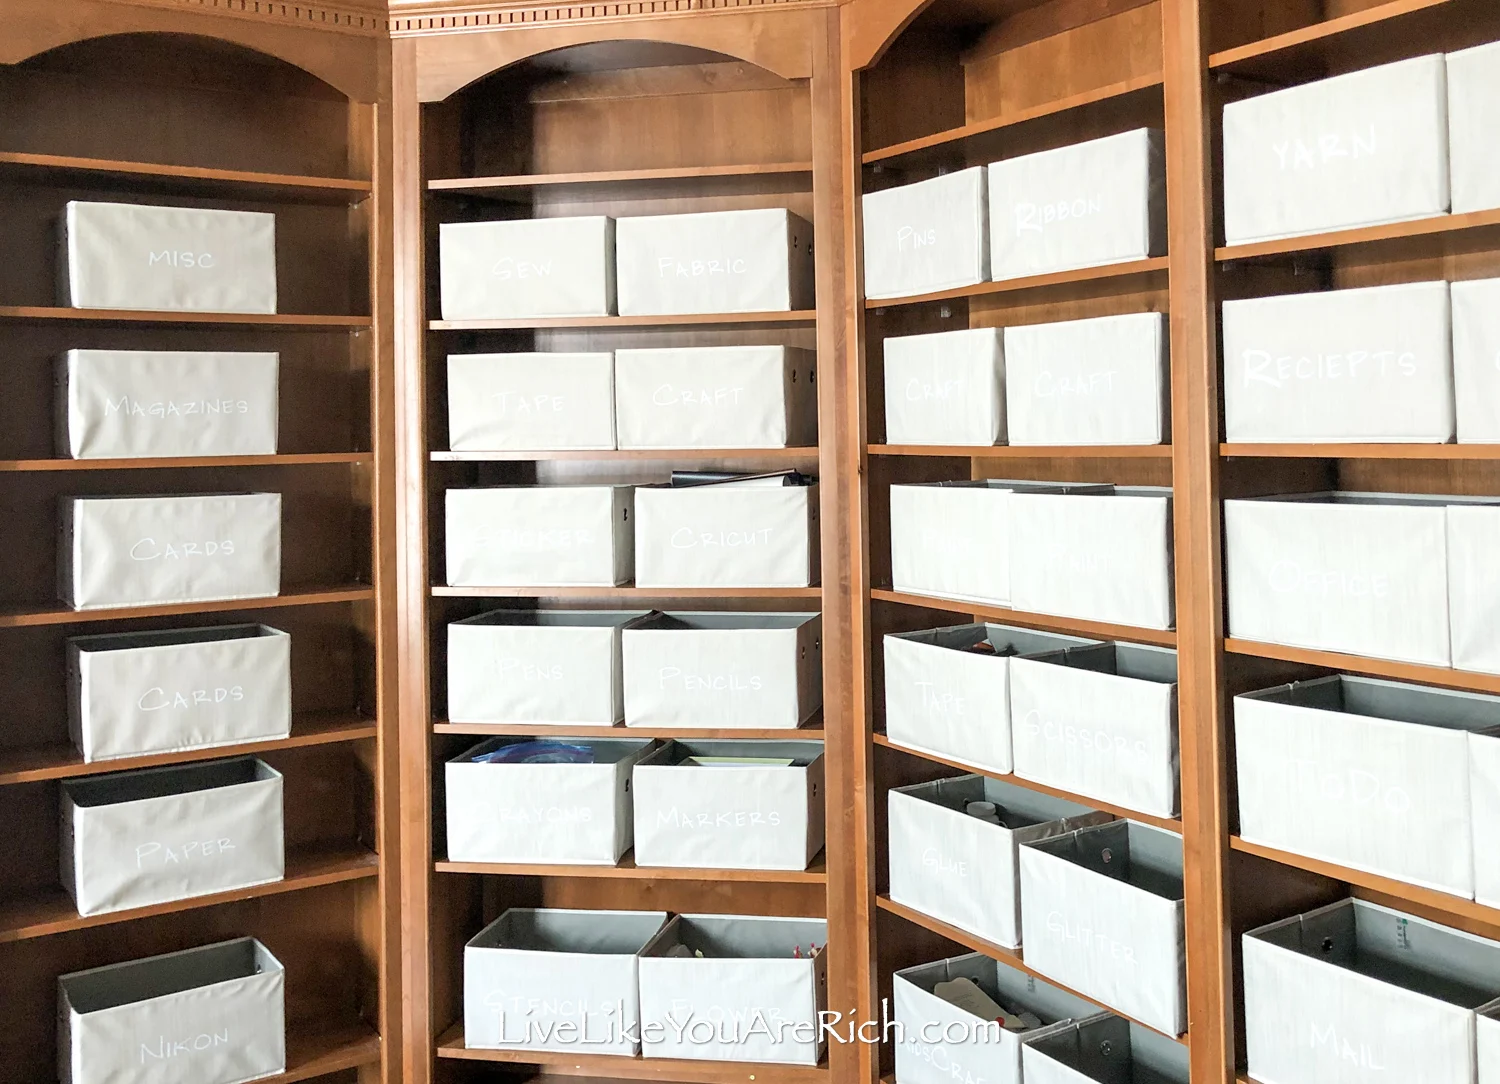
So I thought I would decorate the top shelves.
I don’t love clutter. So I knew that I did not want to fill the shelves with a bunch of knick knacks.
I tried decorating with books but due to the arch, those didn’t fit well either.
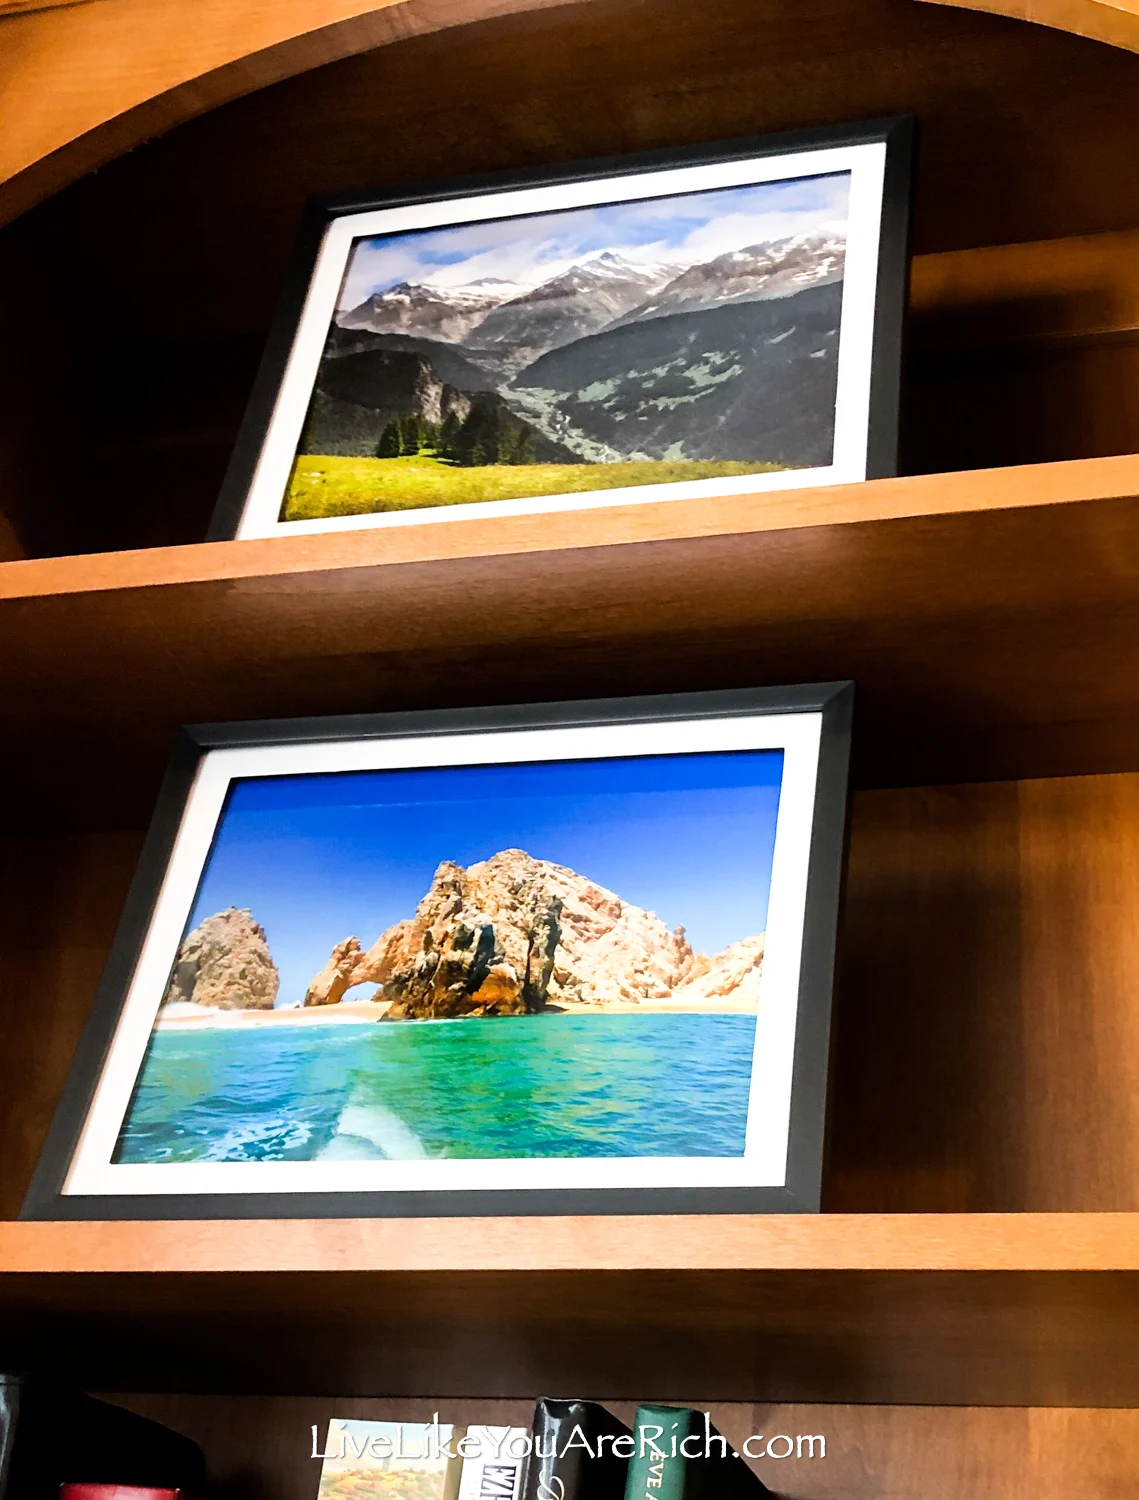
So, I thought to decorate with 8×10 framed landscape photographs on each open shelf. I measured the opening of the arches and found that an 8×10 framed image would fit well.
I was excited for this idea as it would add color and a personal touch to my space.

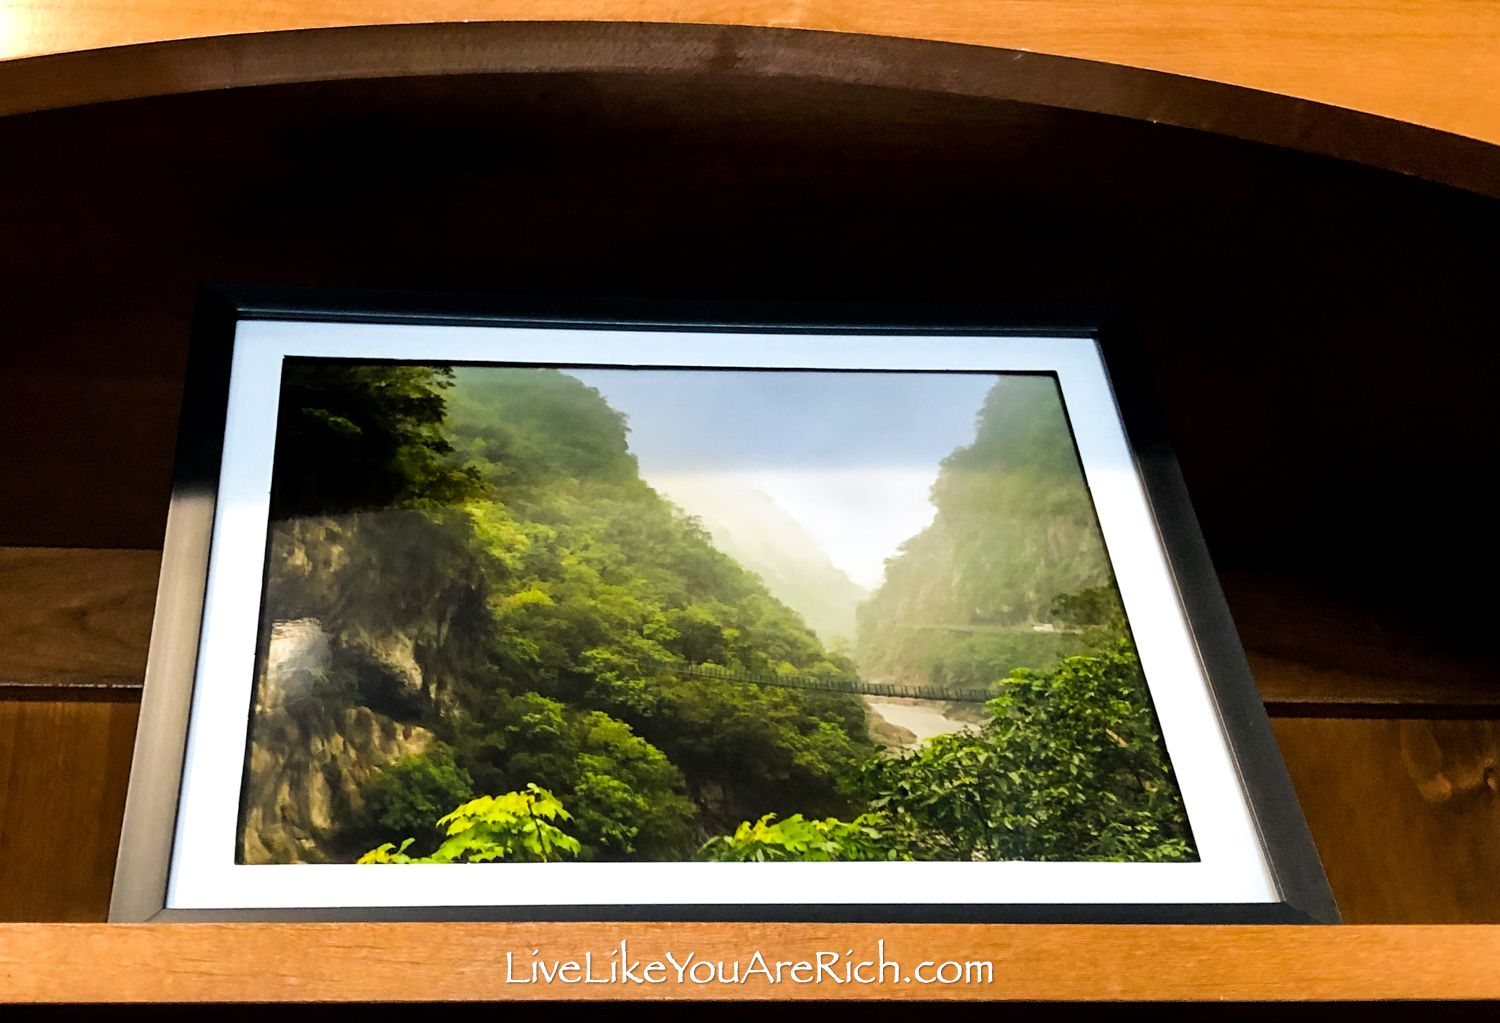
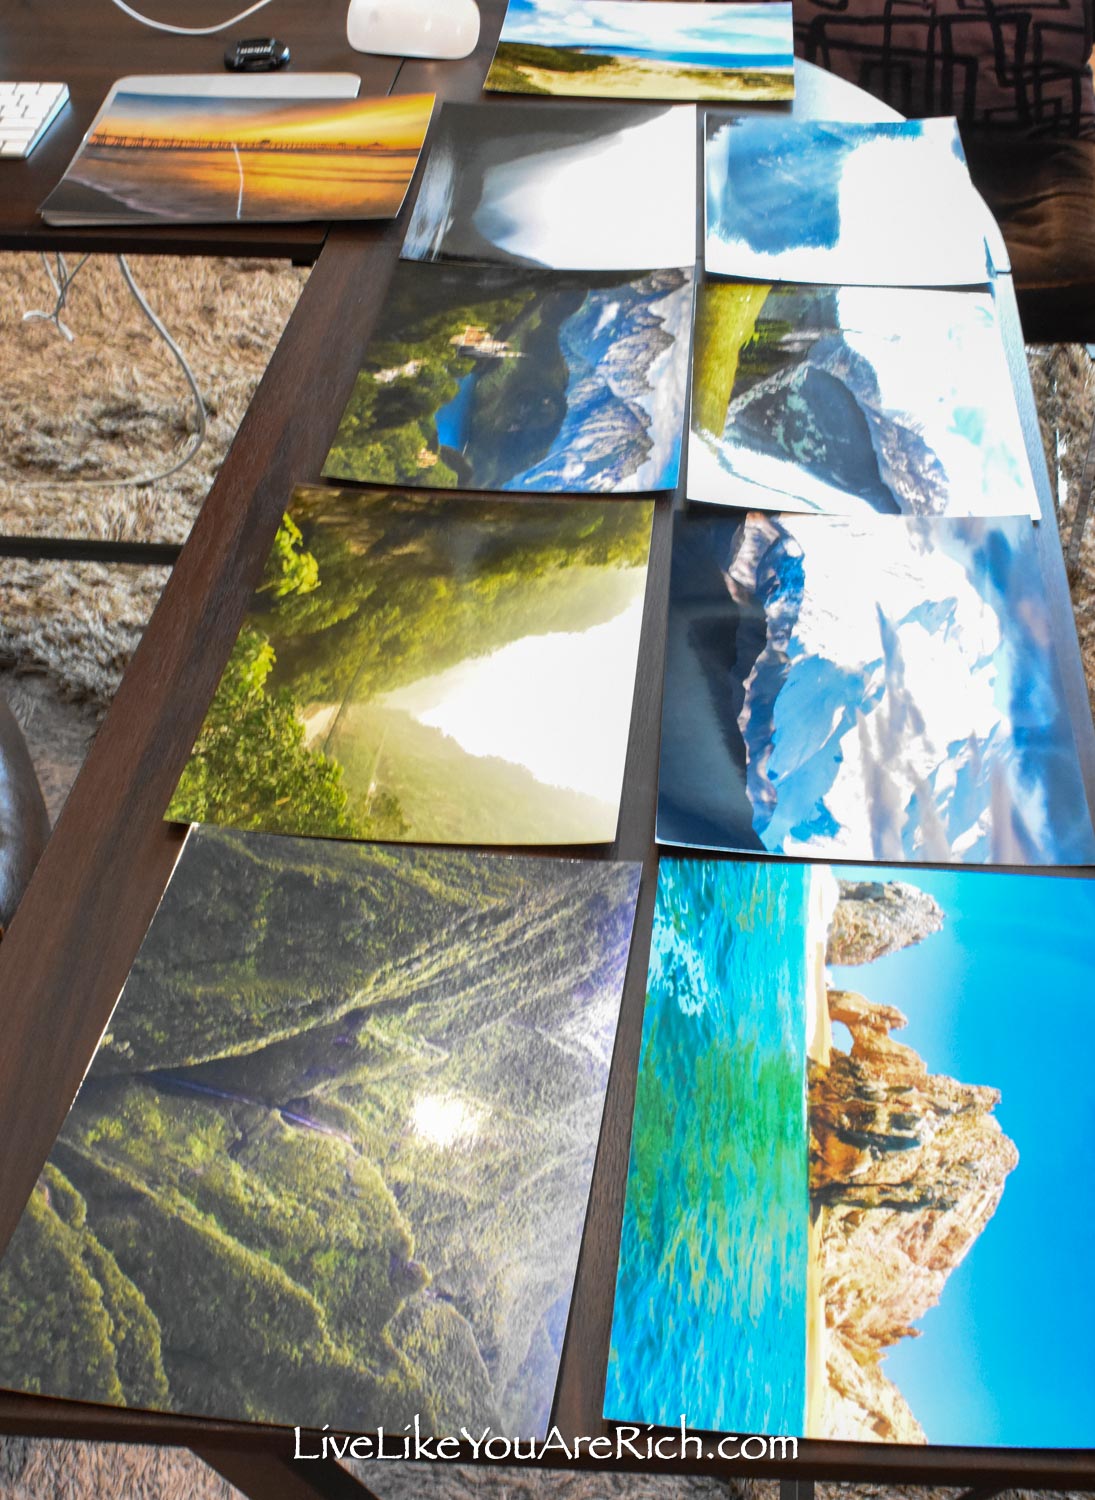
I decided to print and frame photographs of places that mean a lot to me.
These are the places I framed:
Taiwan— I lived in Taiwan and taught English to children.


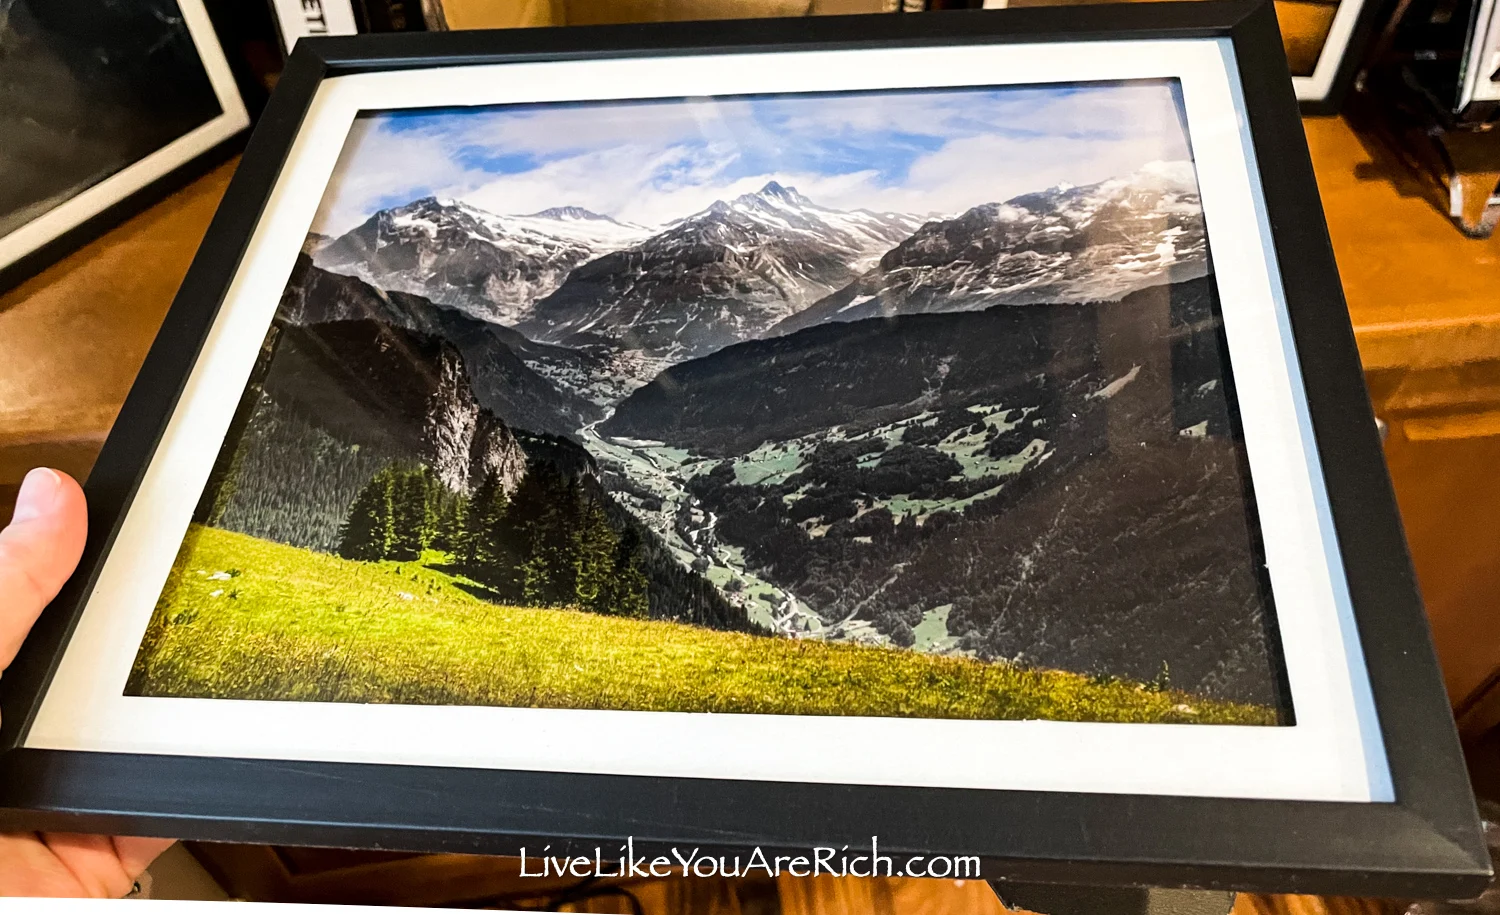
Switzerland— I vacationed there and was able to visit the graves of a few of my ancestors.


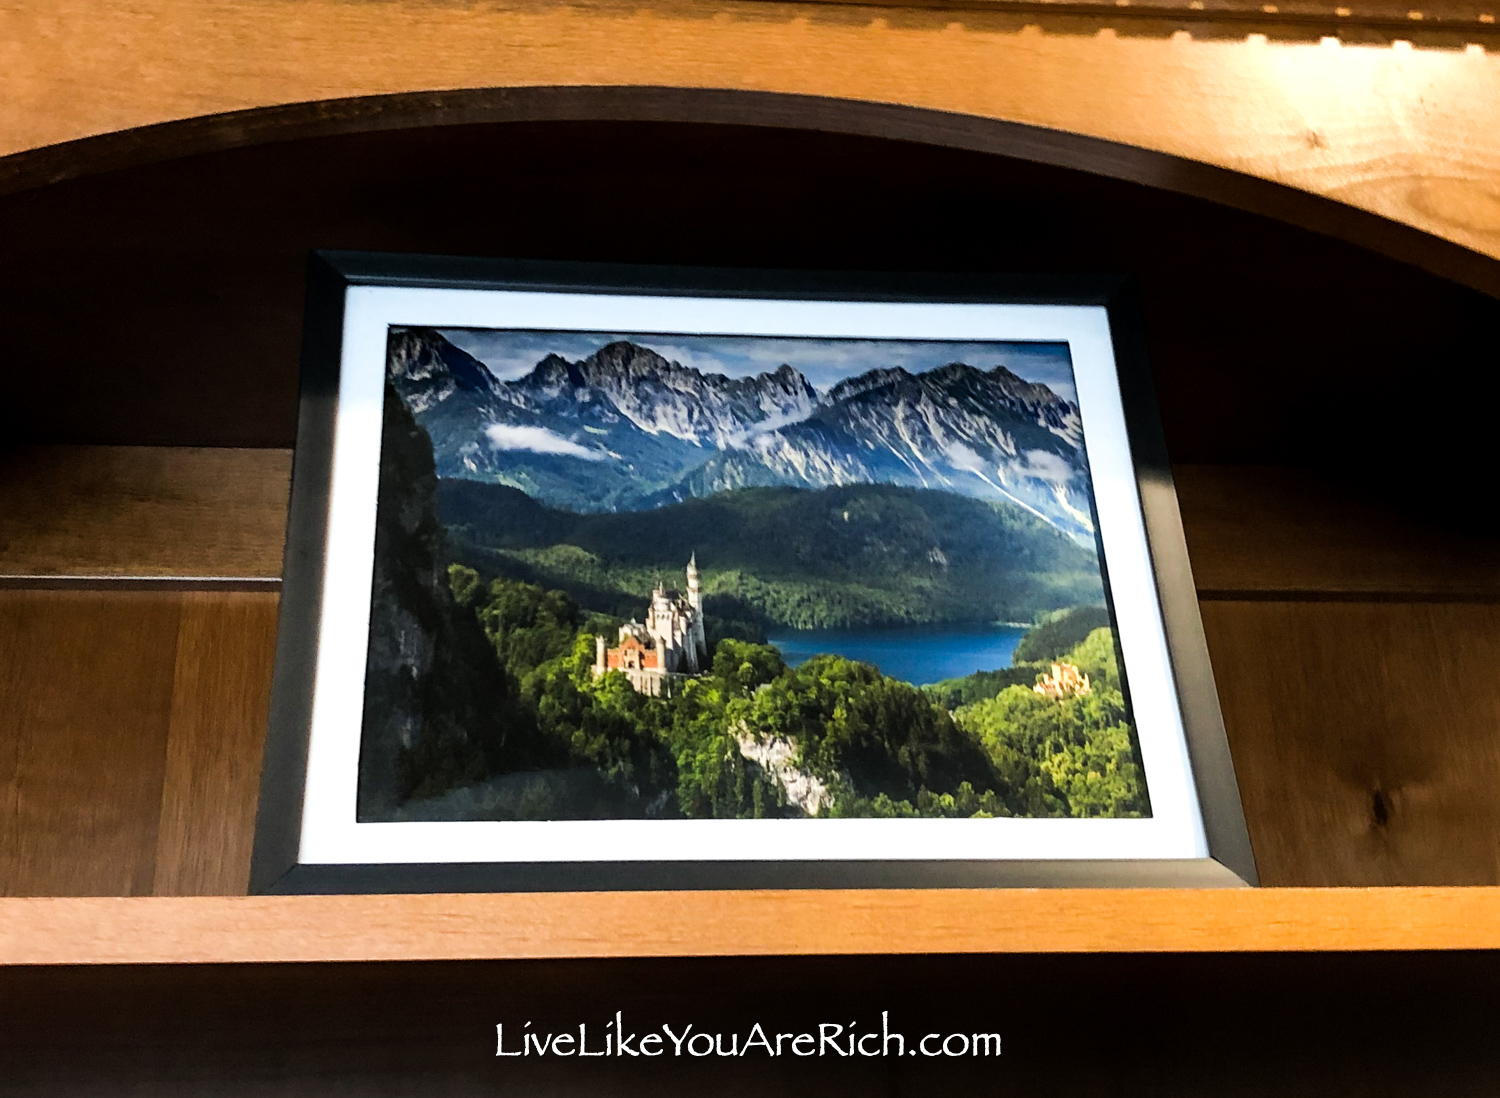
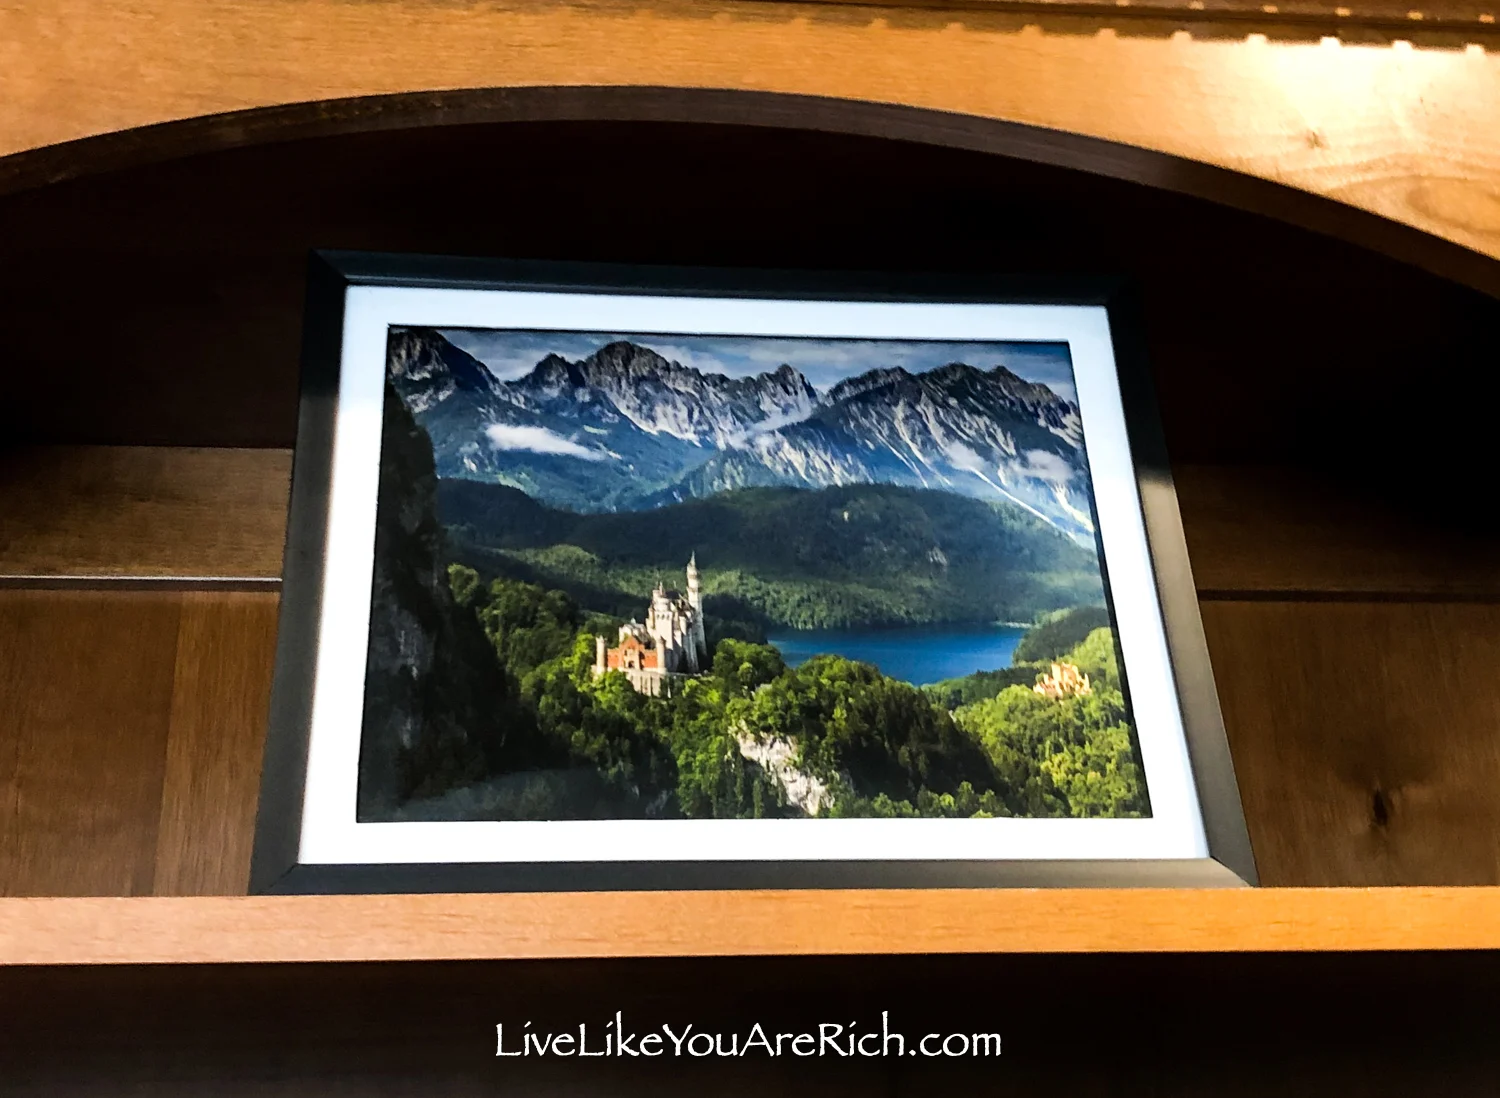
Neuschwanstein (Bavaria, Germany)— I toured this amazing castle while living in Germany.
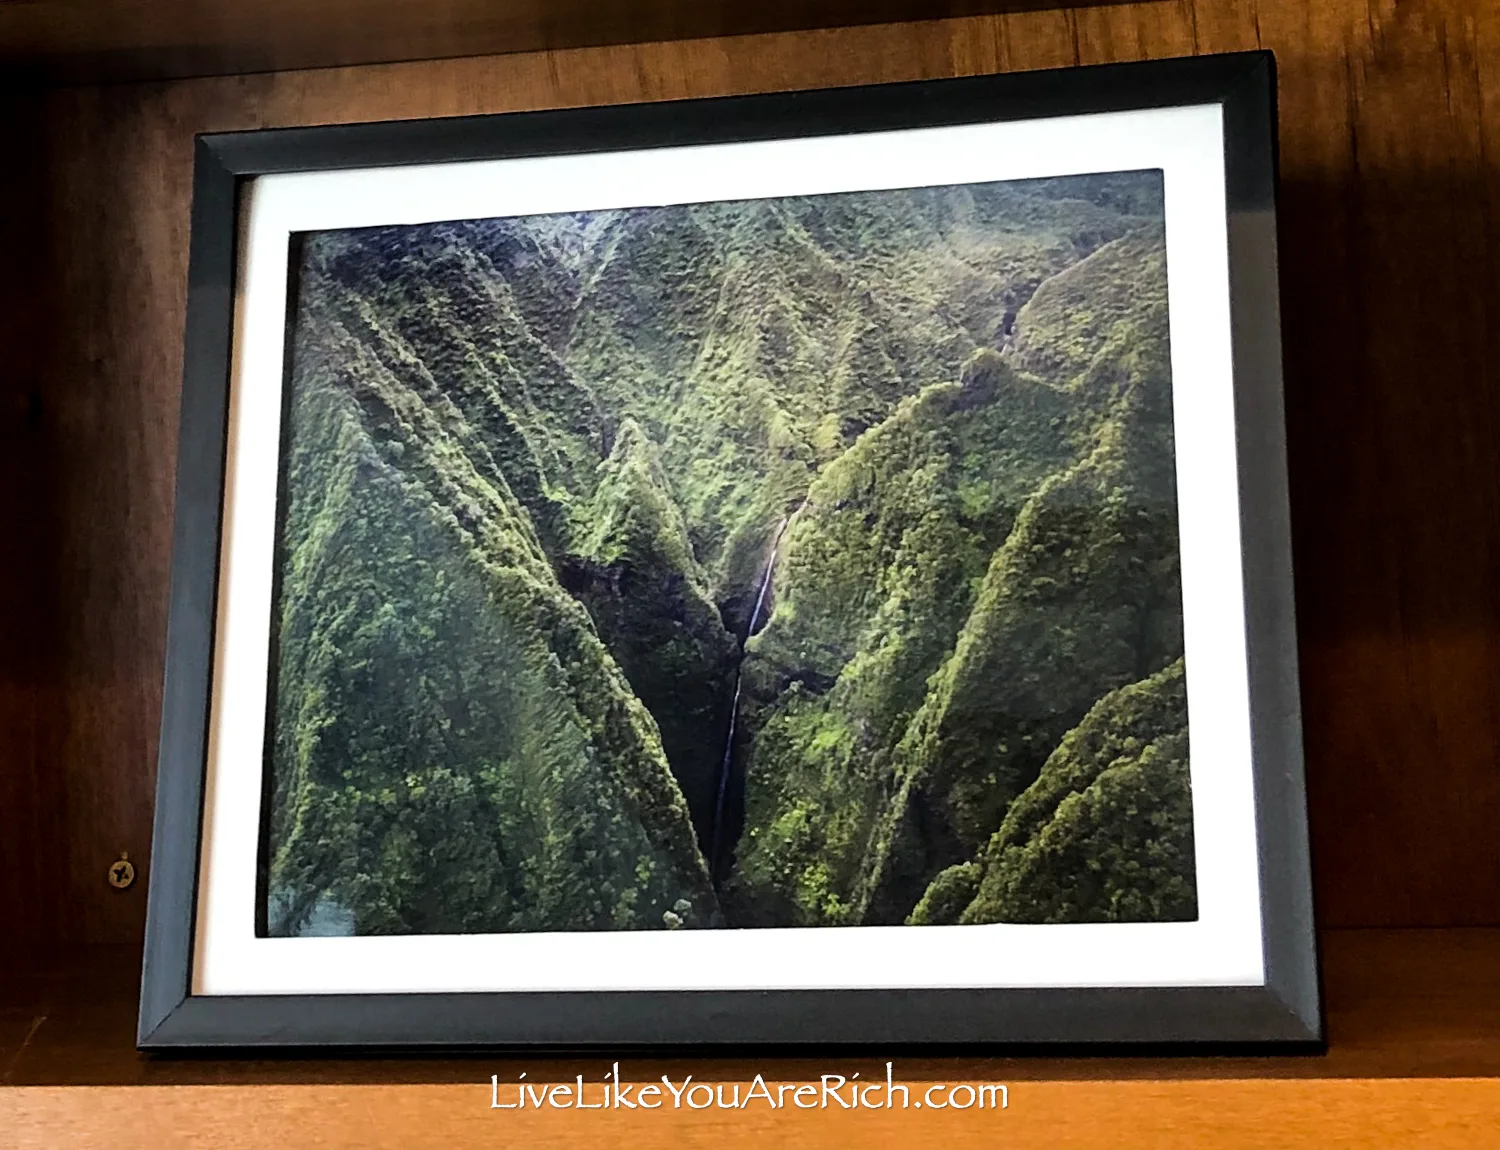
Hawaii-I have vacationed there various times.

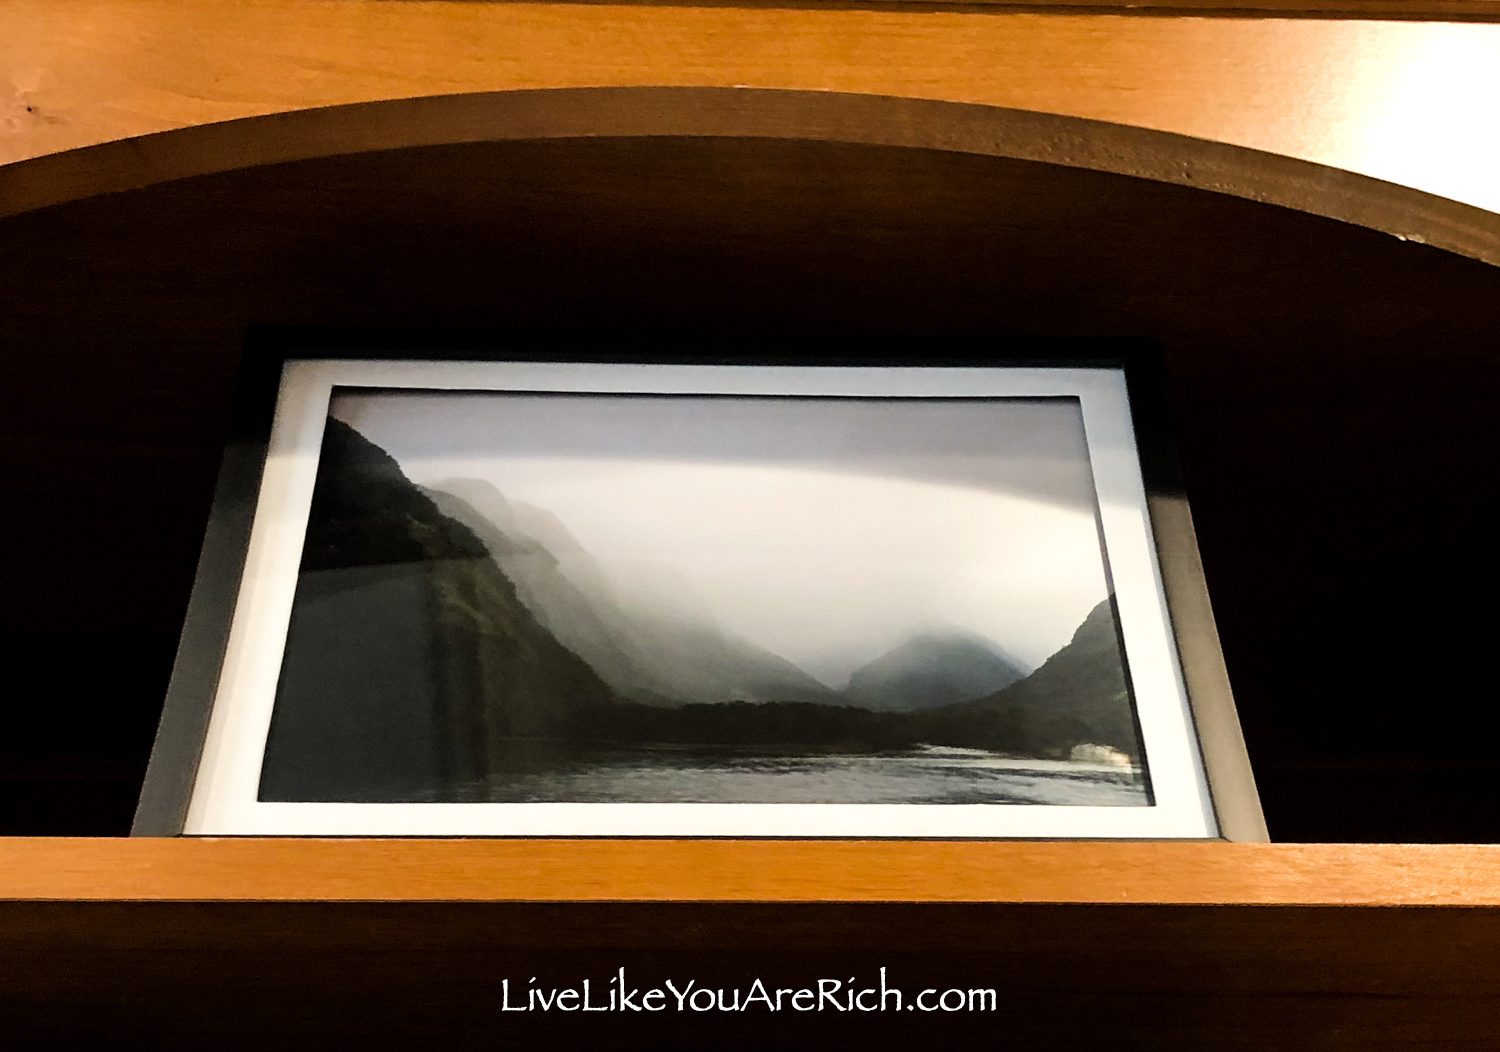
Milford Sound, New Zealand— I visited the sound when I lived in New Zealand.

California coast— I framed a photo of a beach we visit a lot and love to travel to as a family.

Mexico— I have vacationed there various times.

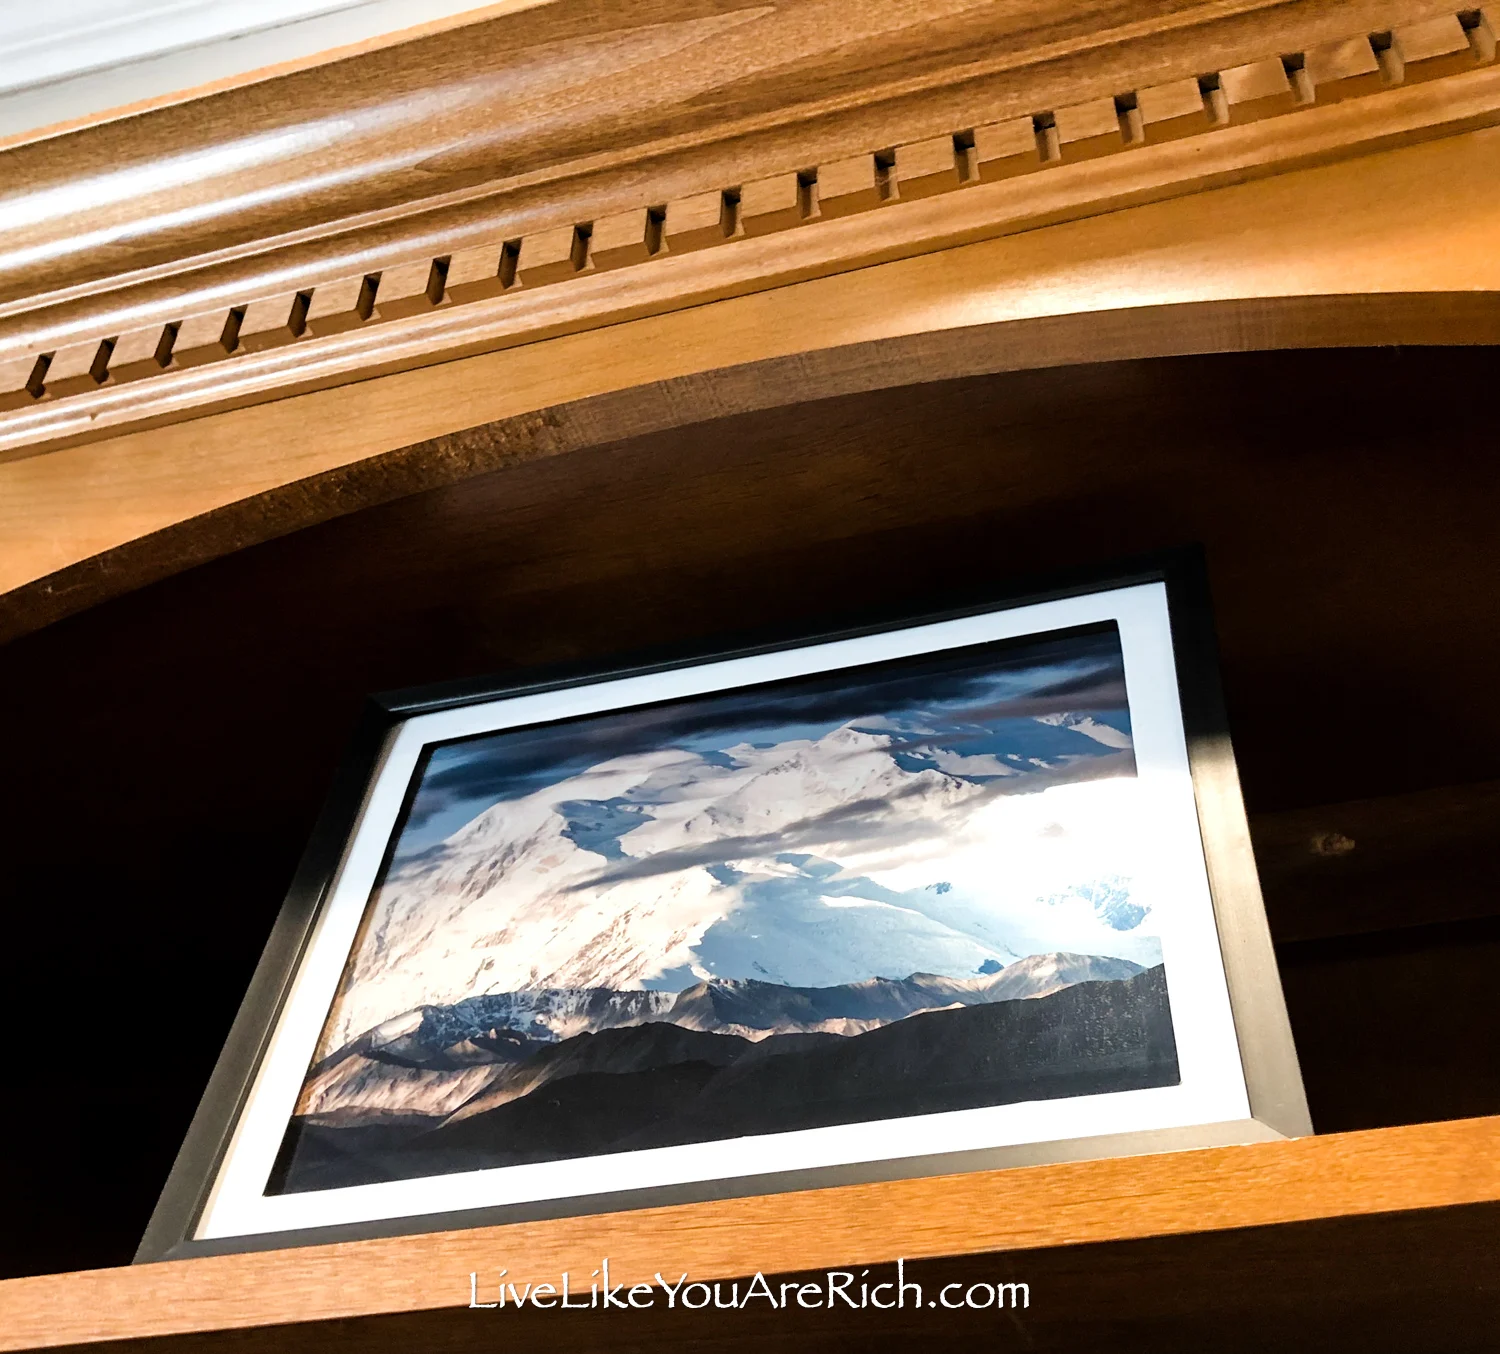
Denali National Park— I have vacationed there a few times and named my oldest son after it.

These photos invoke feelings and thoughts of beautiful places and good experiences.
When decorating a space that is important to you, or that you will spend a lot of time in, it is nice to have decor that uplifts and brings good feelings or nostalgia.
I have been very happy with my decision to decorate my newly renovated office with these landscape photographs.
Supply List for High Quality Dollar Tree Framed Landscape Photographs
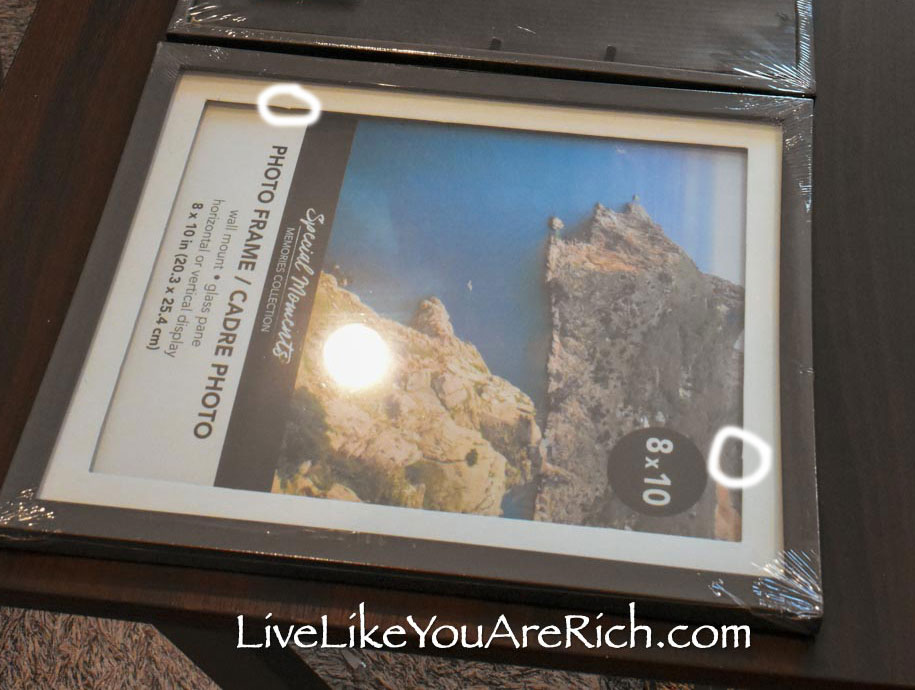
Frames 8×10– If purchasing from the Dollar Tree pick out ones that have nice corners and are not scratched. Or order them online at Dollar Tree.
glass cleaner (Invisible Glass is my favorite)
screwdriver-regular
Photographs in high resolution (2,000 pixels or larger for the widest side of the print) printed by a good company (Sam’s Club professional printing or Nations Photo Lab)
Tape (acid free when working with photographs)
How to Make Dollar Tree Framed Landscape Photographs
1. Find high-resolution photographs (there are actually many free ones available online).
I did not take these photos. However, I have seen all of these locations in-person so I know how they should look.
I wanted an accurate portrayal of the landscape and a high quality/high resolution photograph to print.
So, I went on to the Pixabay website and gathered them all for free. I made sure they were all over 2,000 pixels wide or more.
To be sure they are large enough you can check before downloading in a few different ways. One, you can often see this information on Pixabay, or two, you can right click on the photograph for pixel information.
If you cannot see it before downloading, then click download. After downloading open the image and right click for its dimensions or go to properties and see the pixel ratios used.
Do not use a small image (under 1500 pixels wide or 1500 high—whichever is your longest dimension/how you will frame the photo) for an 8×10 if you want a high quality print.
I was originally planning to buy photos on Etsy (there are many amazing ones there for purchase). However, when I saw that I could legitimately download high resolution photos for free on Pixabay, I decided to save about $50 and do it that way.
2. Use a good printing company.
As much as I love Costco, I do not like their printed photographs. I will sometimes use their printing services when I need something printed very quickly but overall, I find their prints pretty poor quality.
Nations Photo Lab is much better; I’ve been very happy with their quality.
Sam’s Club has professional printing services but you must select professional printing online for their higher quality services—it is very good printing too but it does take a little longer than their normal services.
These two companies are very reasonably priced and I got my 10-8×10’s printed and shipped (with coupon code) for $15.00 or $1.50 each.

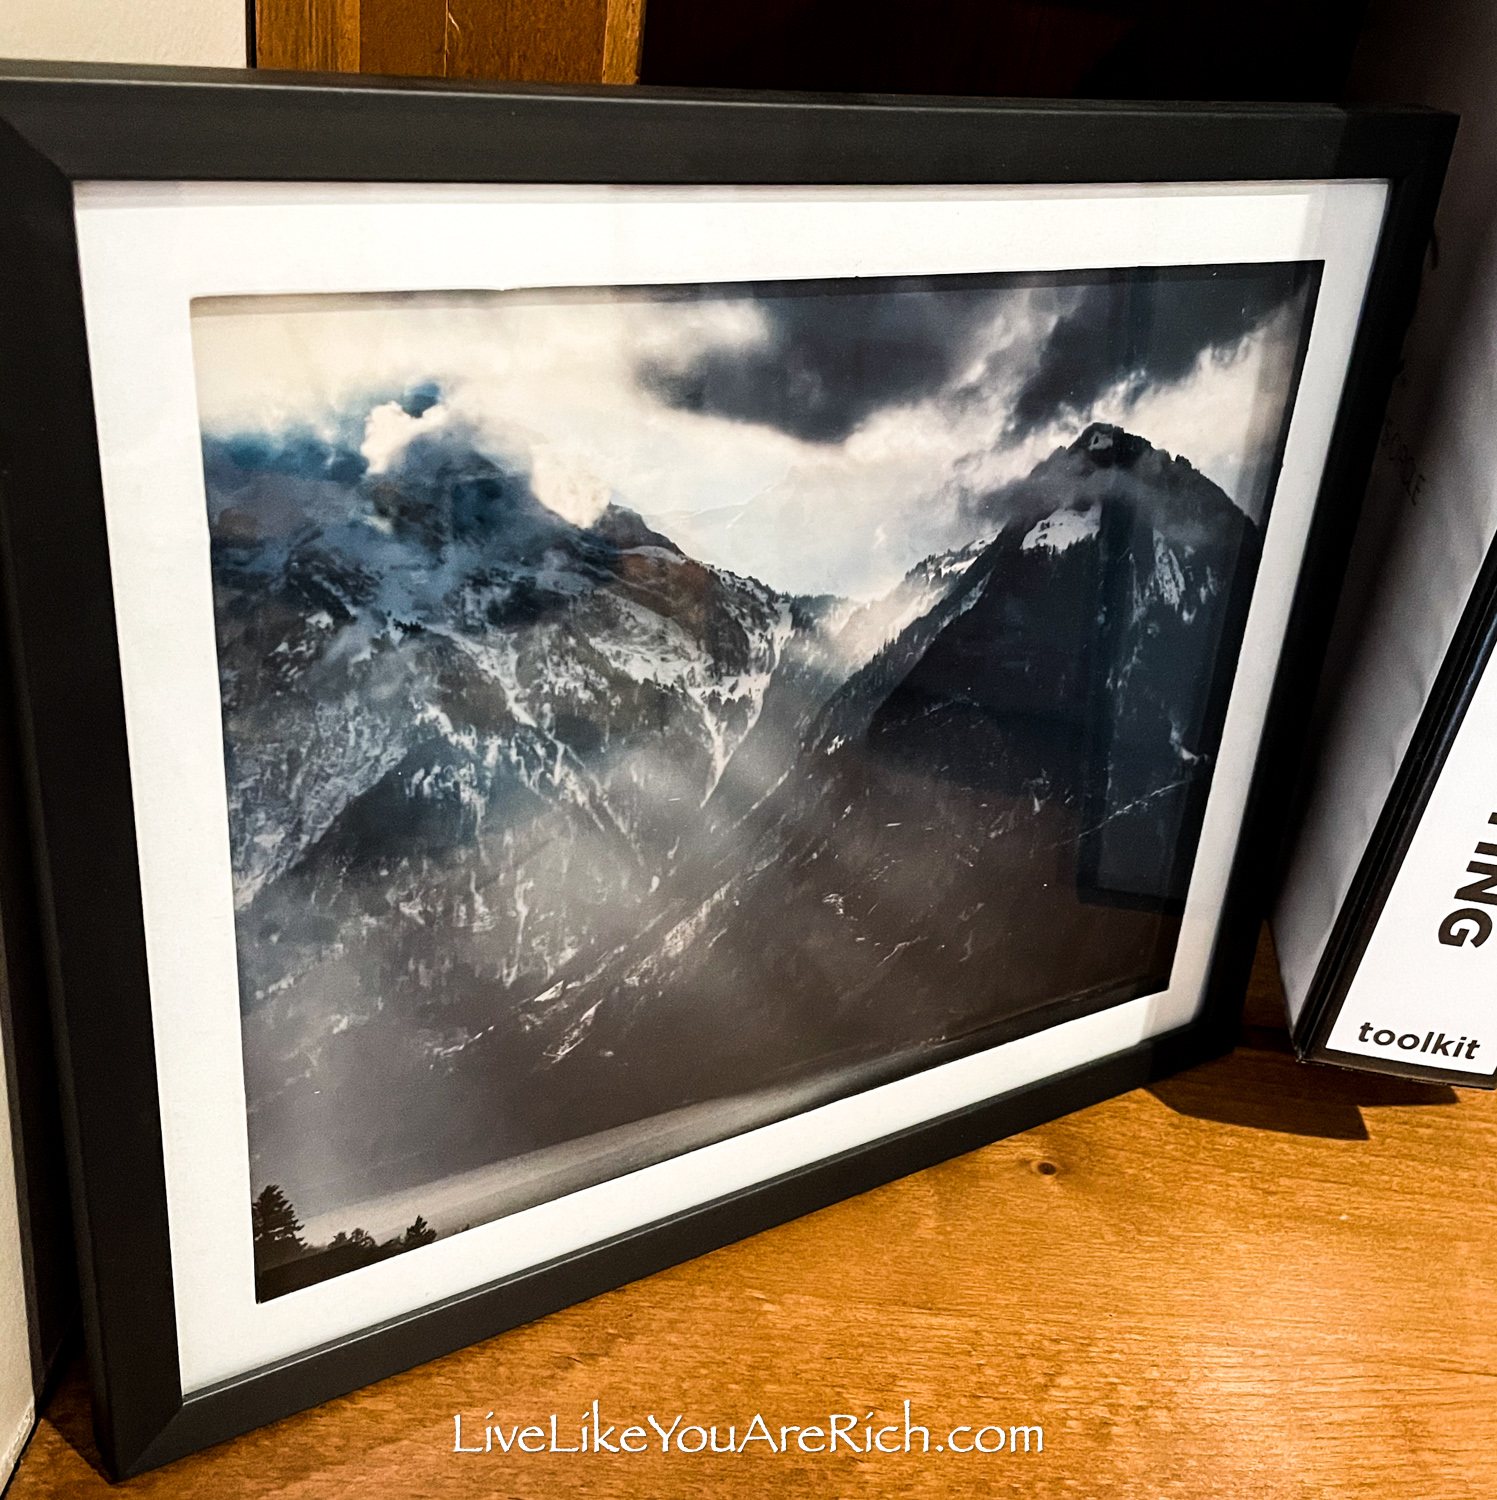
3. Buy frames for a dollar that have the back mounting you need.
I found Dollar Tree frames that had the stand up style frame and some that had wall mounted frames. I needed mostly standup frames but I utilized a few wall mounted frames that I leaned up next to the bookshelf. These were obviously $1.00 each.

Some frames have wall mounts and some have stand up mounts so just be mindful of this when purchasing.
You’ll also want to look through the frames you are purchasing and buy the best ones; look for frames with corners that are not damaged and that are not scratched.


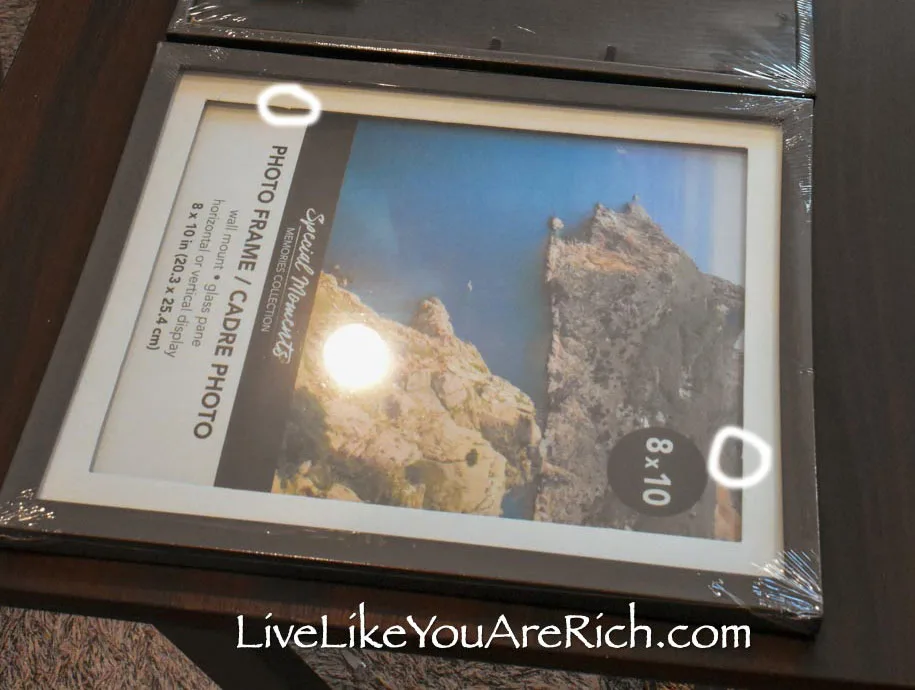
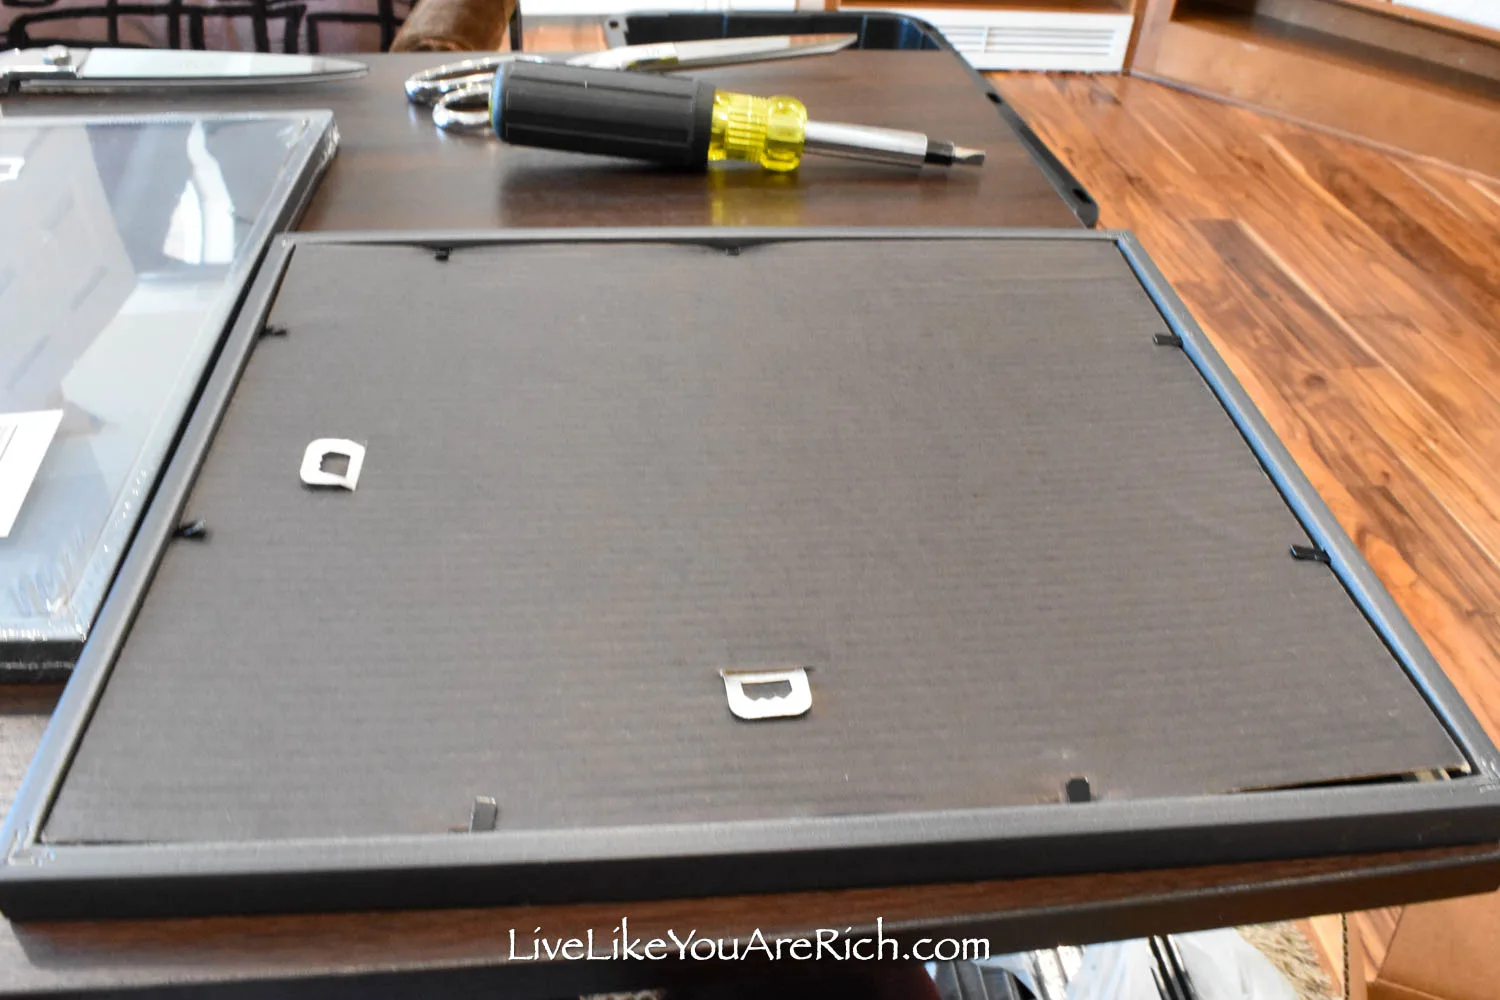
Since Dollar Tree frames are well, a dollar, I found that there were a few inconsistencies with the mat.
I did have to trim the mat just slightly where there were tiny little tabs sticking out. If you look closely at the frame below, you can see that there are a few inconsistencies in the mat. I was able to very easily trim them with scissors to look flush and even-edged.
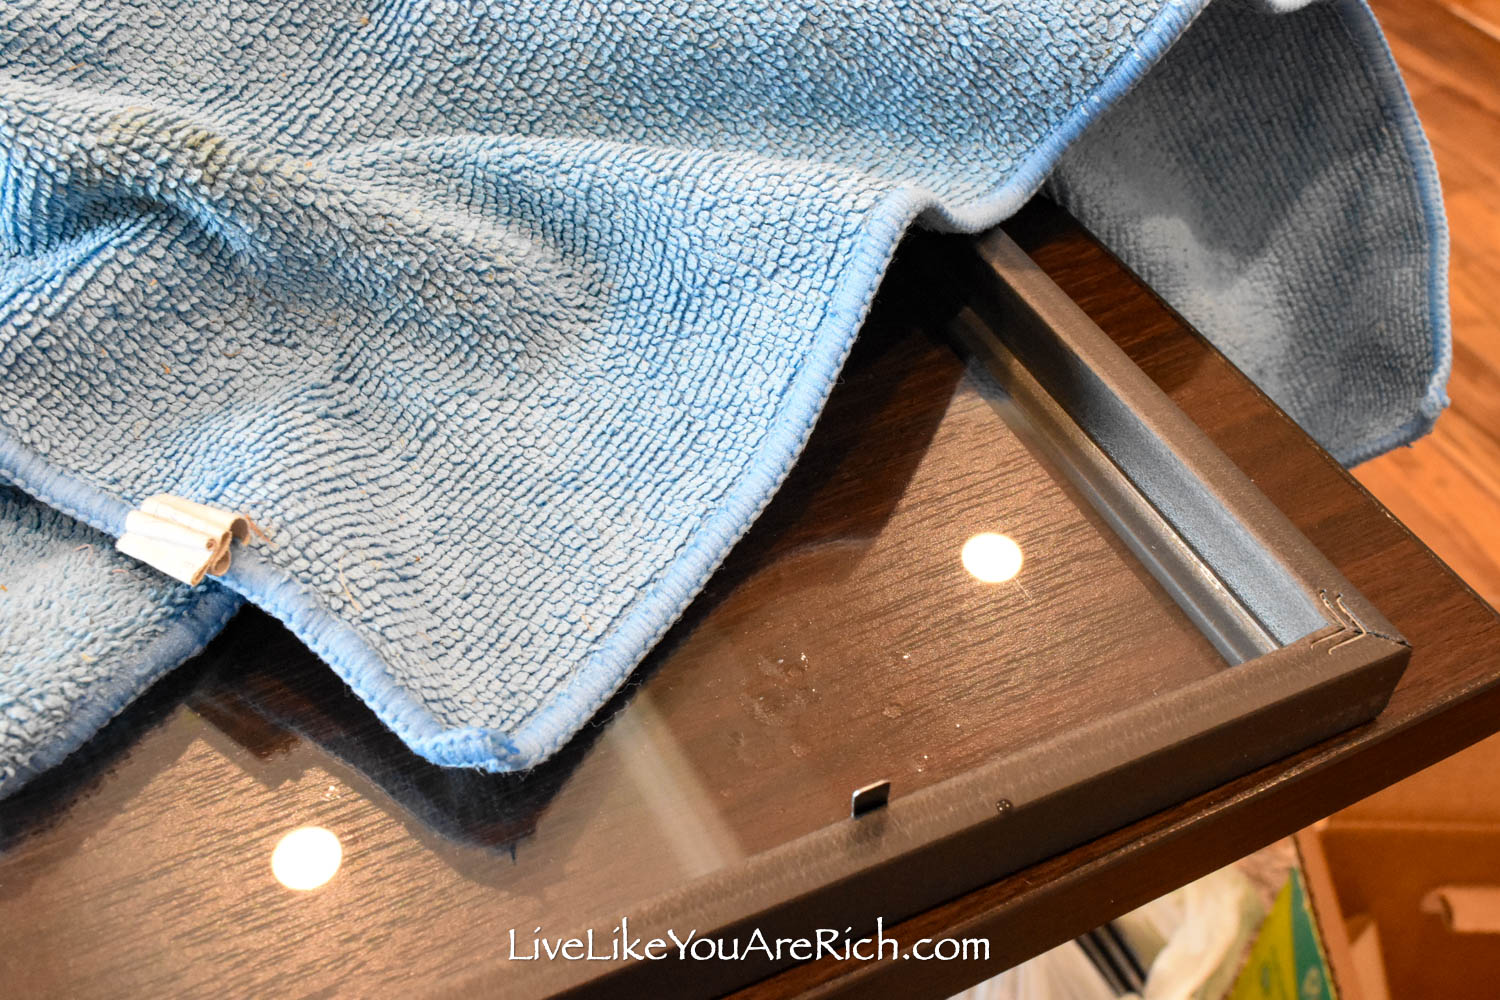
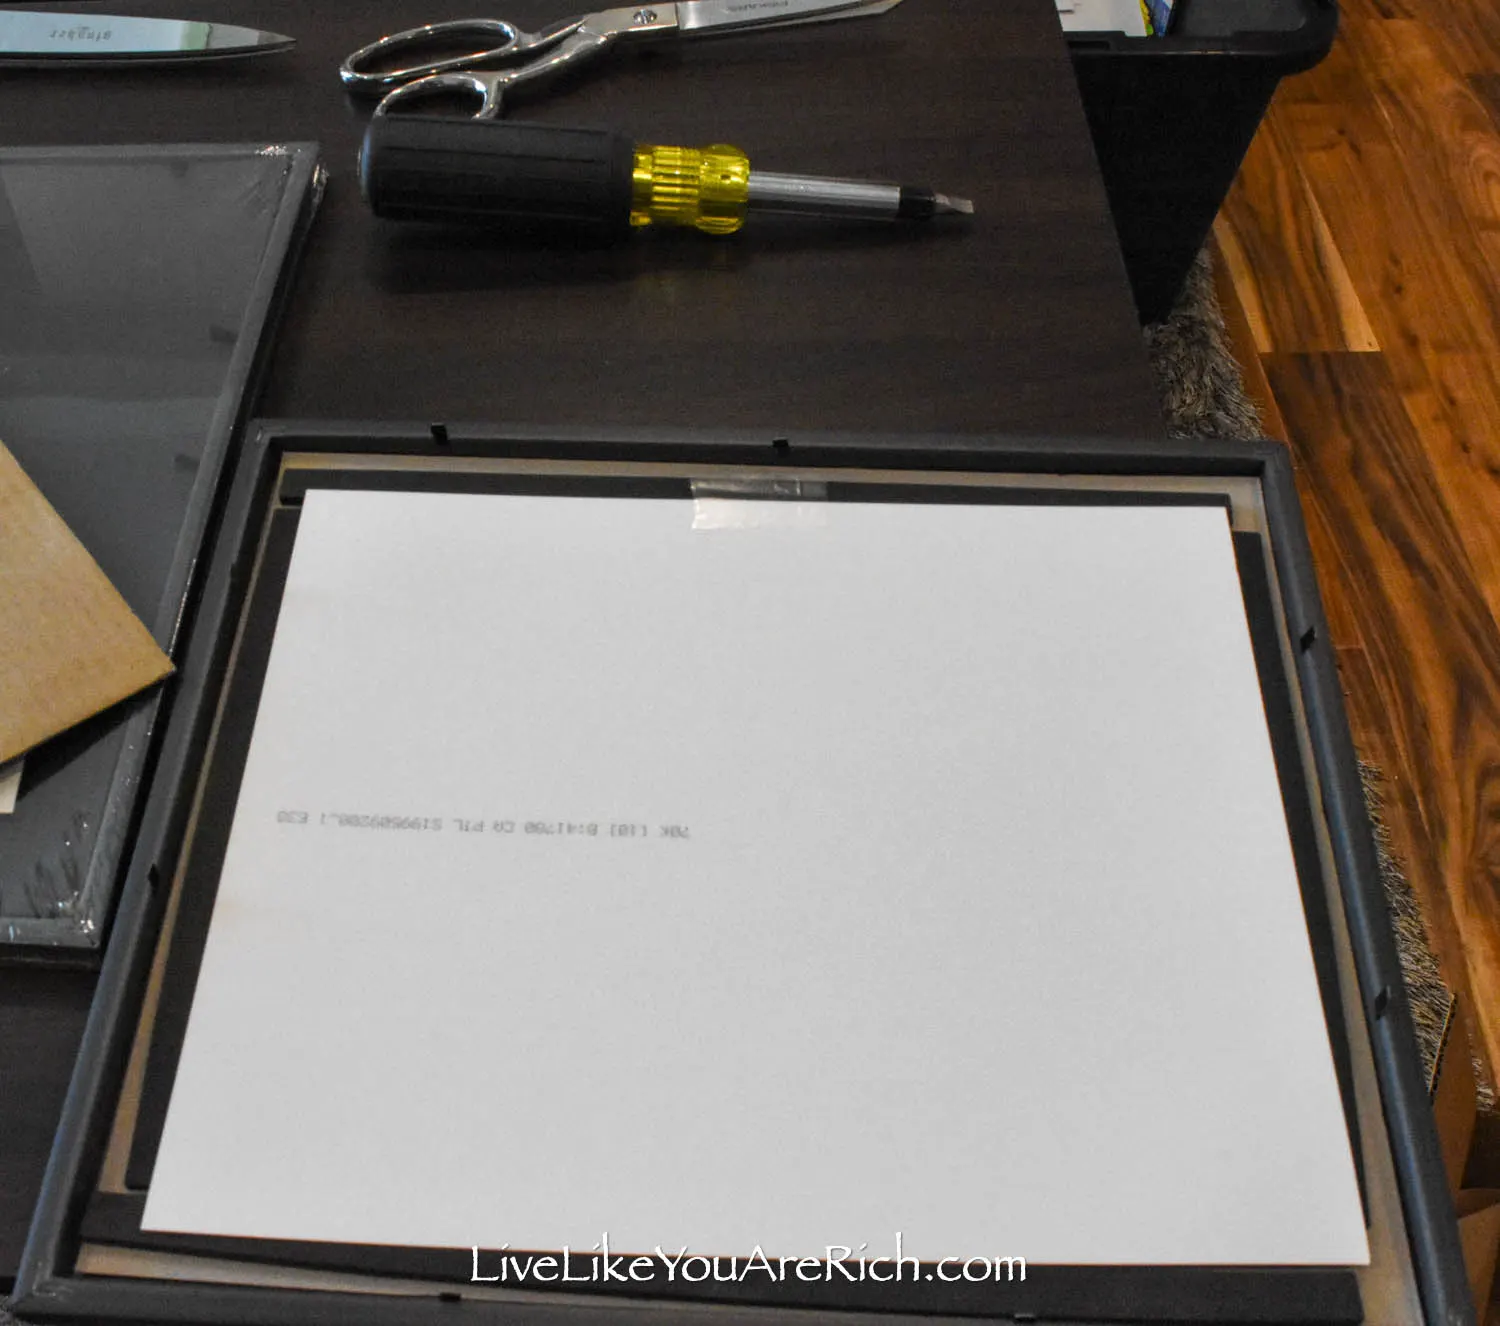
4. Disassemble the frame and clean the glass really well.
Using a screwdriver, pull up the tabs and disassemble the frame. Use a glass cleaner (invisible glass is my favorite glass cleaner) and a microfiber rag, clean it well. Let the glass dry completely.

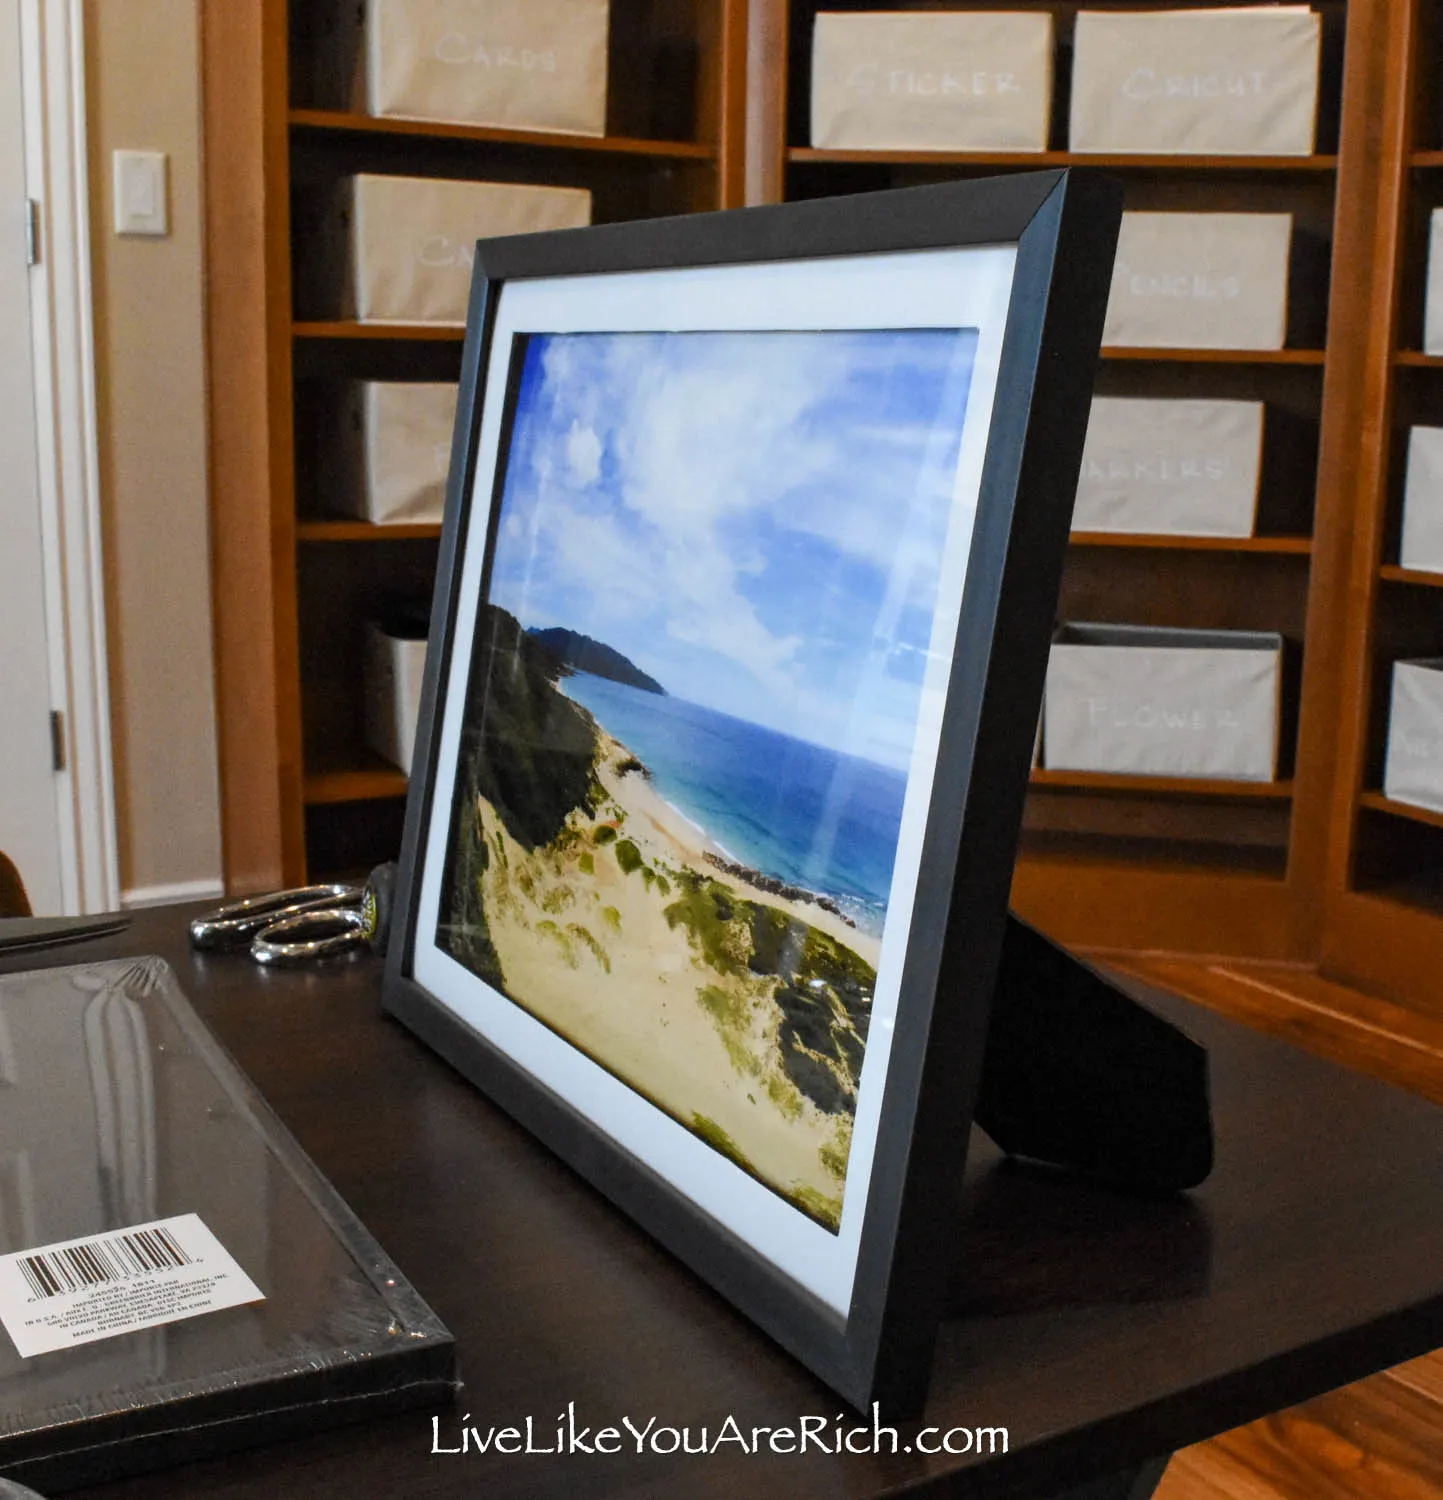
5. Reassemble frames with photographs.
Avoid getting any fingerprints on your photographs. When fingerprints dry on photographs they are hard to remove.
Make sure the photograph is centered and level. I used a small piece of tape to do this. Use acid-free tape when working with photographs.

Then put the back on and using the screwdriver or your fingers if the tabs are pliant enough, push down the tabs.

That’s it.

That is how to get high-quality Dollar Tree Framed landscape photographs for $2.50.


For other ‘rich living’ and money-saving tips, please subscribe, like me on Facebook, and follow me on Pinterest and Instagram.

Supply List for High Quality Dollar Tree Framed Landscape Photographs
Frames 8×10– If purchasing from the Dollar Tree pick out ones that have nice corners and are not scratched. Or order them online at Dollar Tree.
glass cleaner (Invisible Glass is my favorite)
screwdriver-regular
Photographs in high resolution (2,000 pixels or larger for the widest side of the print) printed by a good company (Sam’s Club professional printing or Nations Photo Lab)