

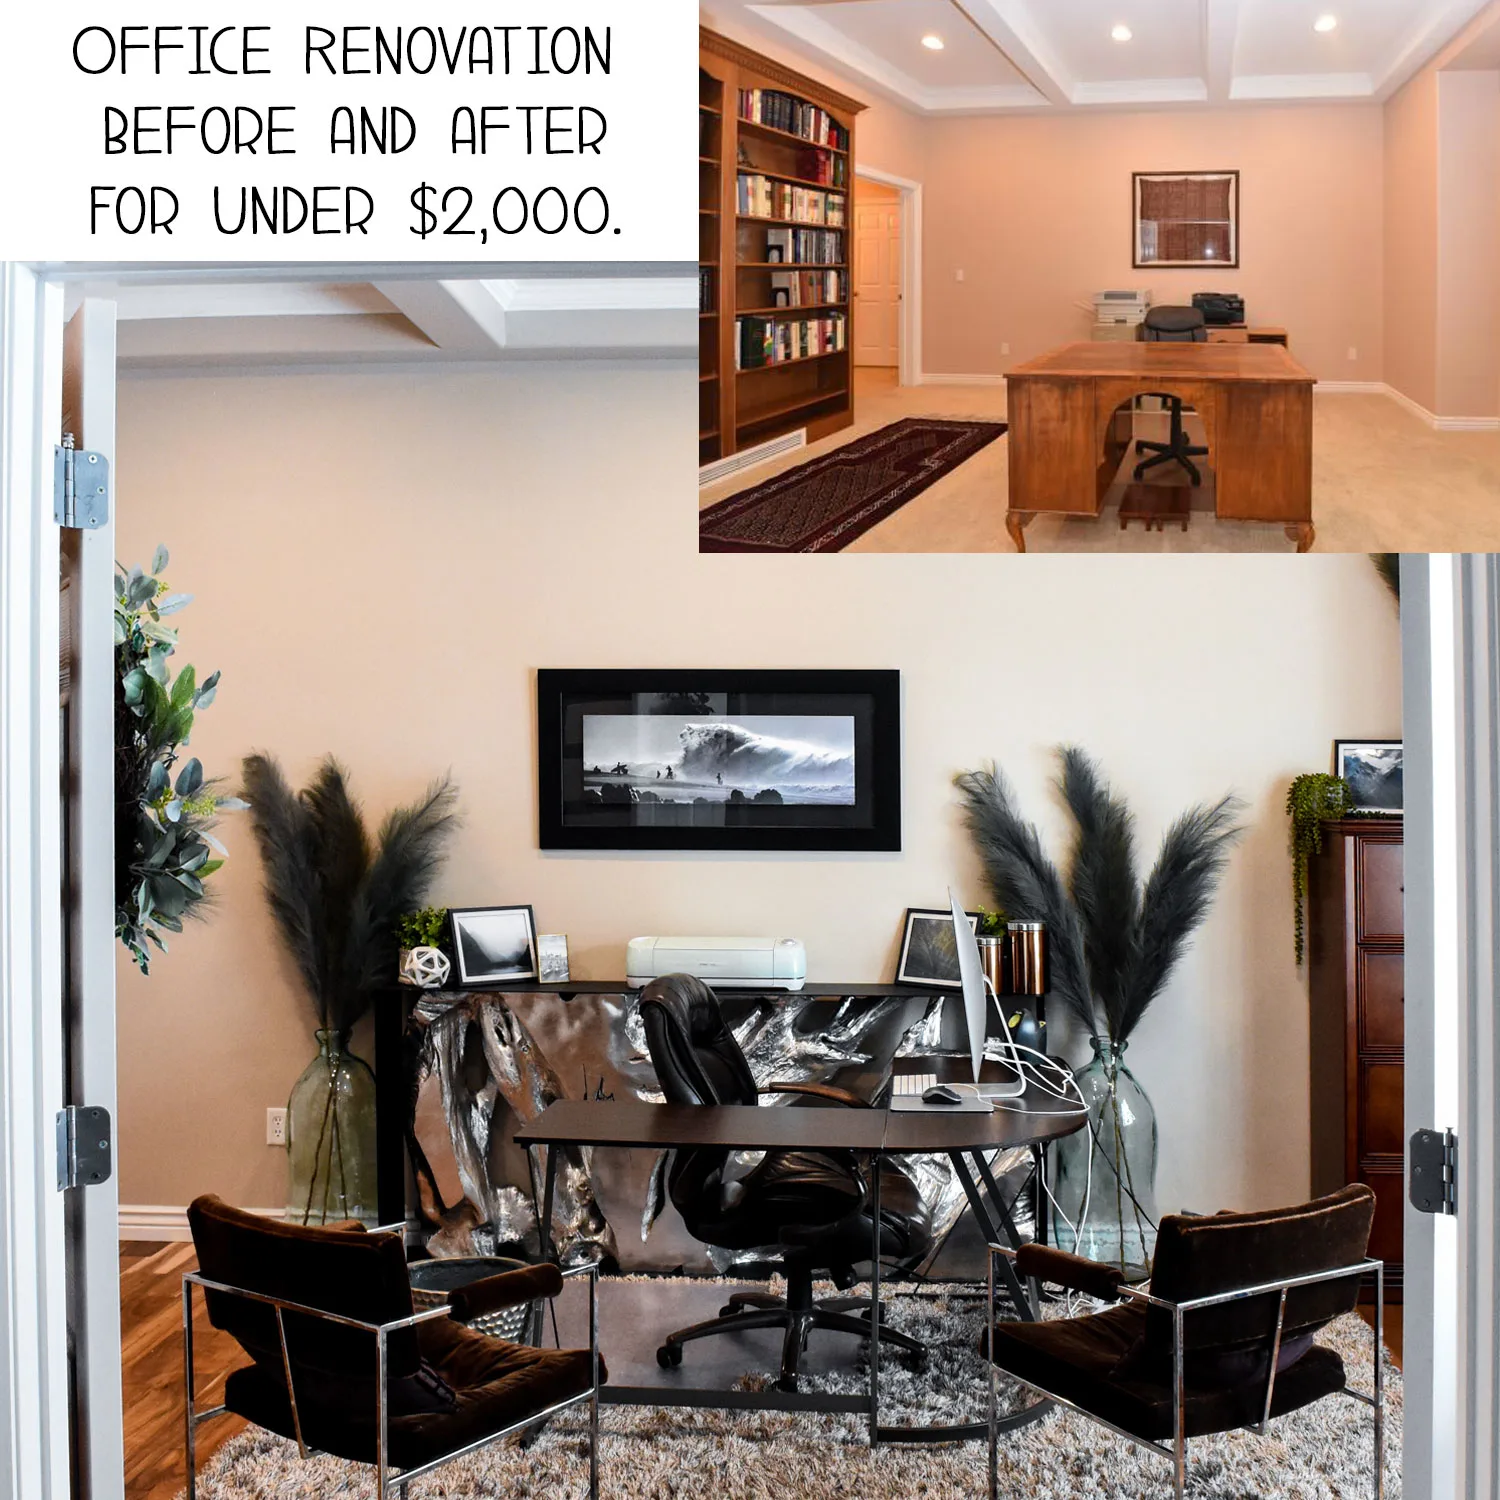
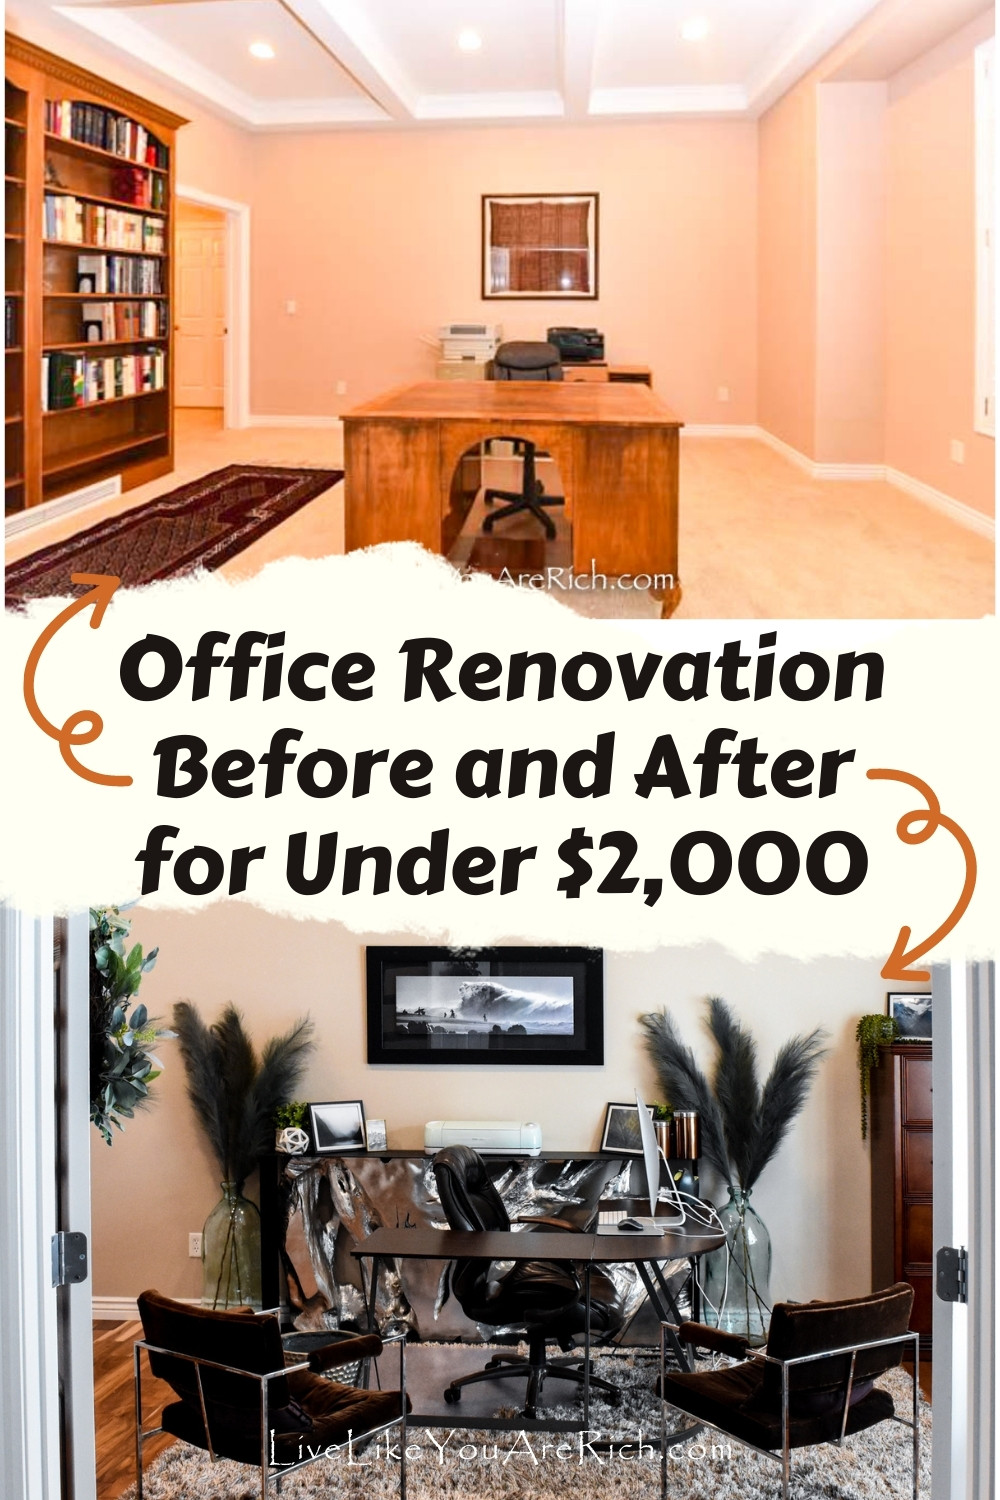
The DIY office renovation before and after photos for our house 3 are below.
As mentioned in a few previous posts, I have renovated a few homes in the past. This is the home I call home 3. It is our current home.
Various online sources say that an office renovation will cost about $150-$300 a square foot depending on what you are doing.
I would consider ours a middle-of-the-road renovation as far as expense went. It required new flooring, paint, and lighting and it needed decor. It did not require built-ins to be made or the windows replaced. So I am using $175 a square foot to calculate my savings.
The office is 120 sq. feet so that means I should have budgeted for about $21,000 to renovate my home office. Since this came renovation came in at $1,800 I feel like $21,000 is a bit ridiculous, but that is actually a conservative number for what some websites say renovations for a home office cost.
Read on to see how we saved over $19,000 on this DIY Office Renovation!
I realize that a lot of people are decorating with everything white these days. It is a very nice look! However, I like contrast and color so I decided to stay true to what I love when decorating my own home.
As long as you have no desire to sell soon, whether things go in and out of style isn’t really all that important; what matters is that you and those who live there love it.
When I designed and decorated my husband’s home (home 2), I stuck with more modern designs. I used mainly whites, grays, golds, and current trends. It paid off. The home sold on its first day on the market and we had 4 backup offers.
So, if you are planning to sell your home anytime in the next few years, I recommend renovating on-trend.
If you feel like you have a life-long home (home 3 for us), decorate and design in a way that feels most comfortable for you. For us, some of what we loved was on trend and some were not. Our home is located near a mountainous area and I like the feel of natural colors, wood, and stone. I love contrasting colors and warm tones my husband loves it too. So, that is what we went with for the majority of our home’s style and feel.
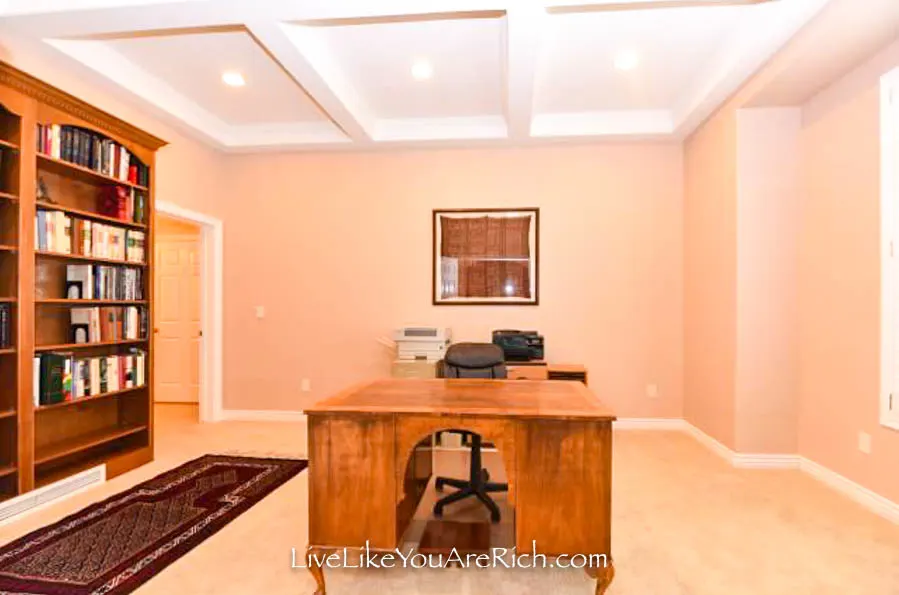
Office Renovation Before Photos
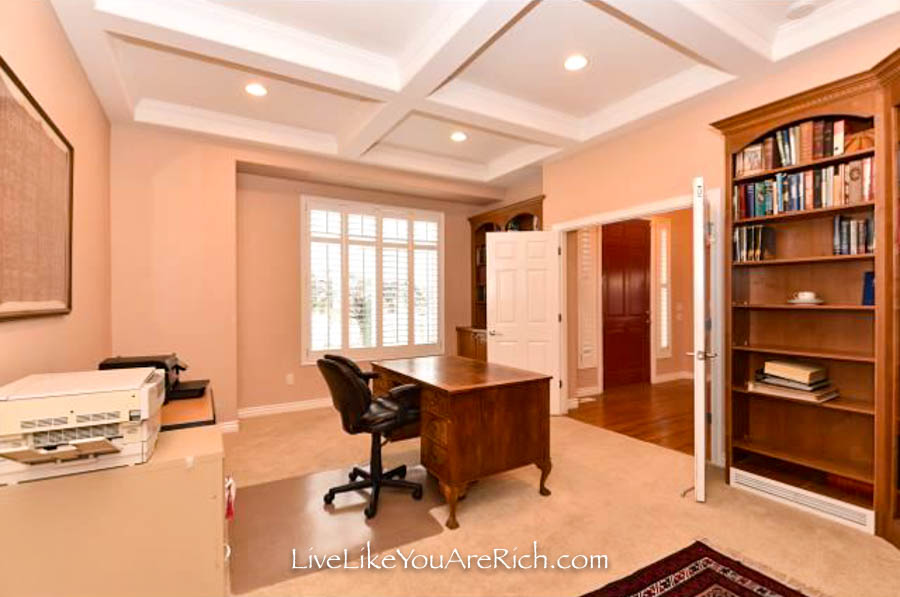

The before photos show the office as it was when we walked through to buy it.
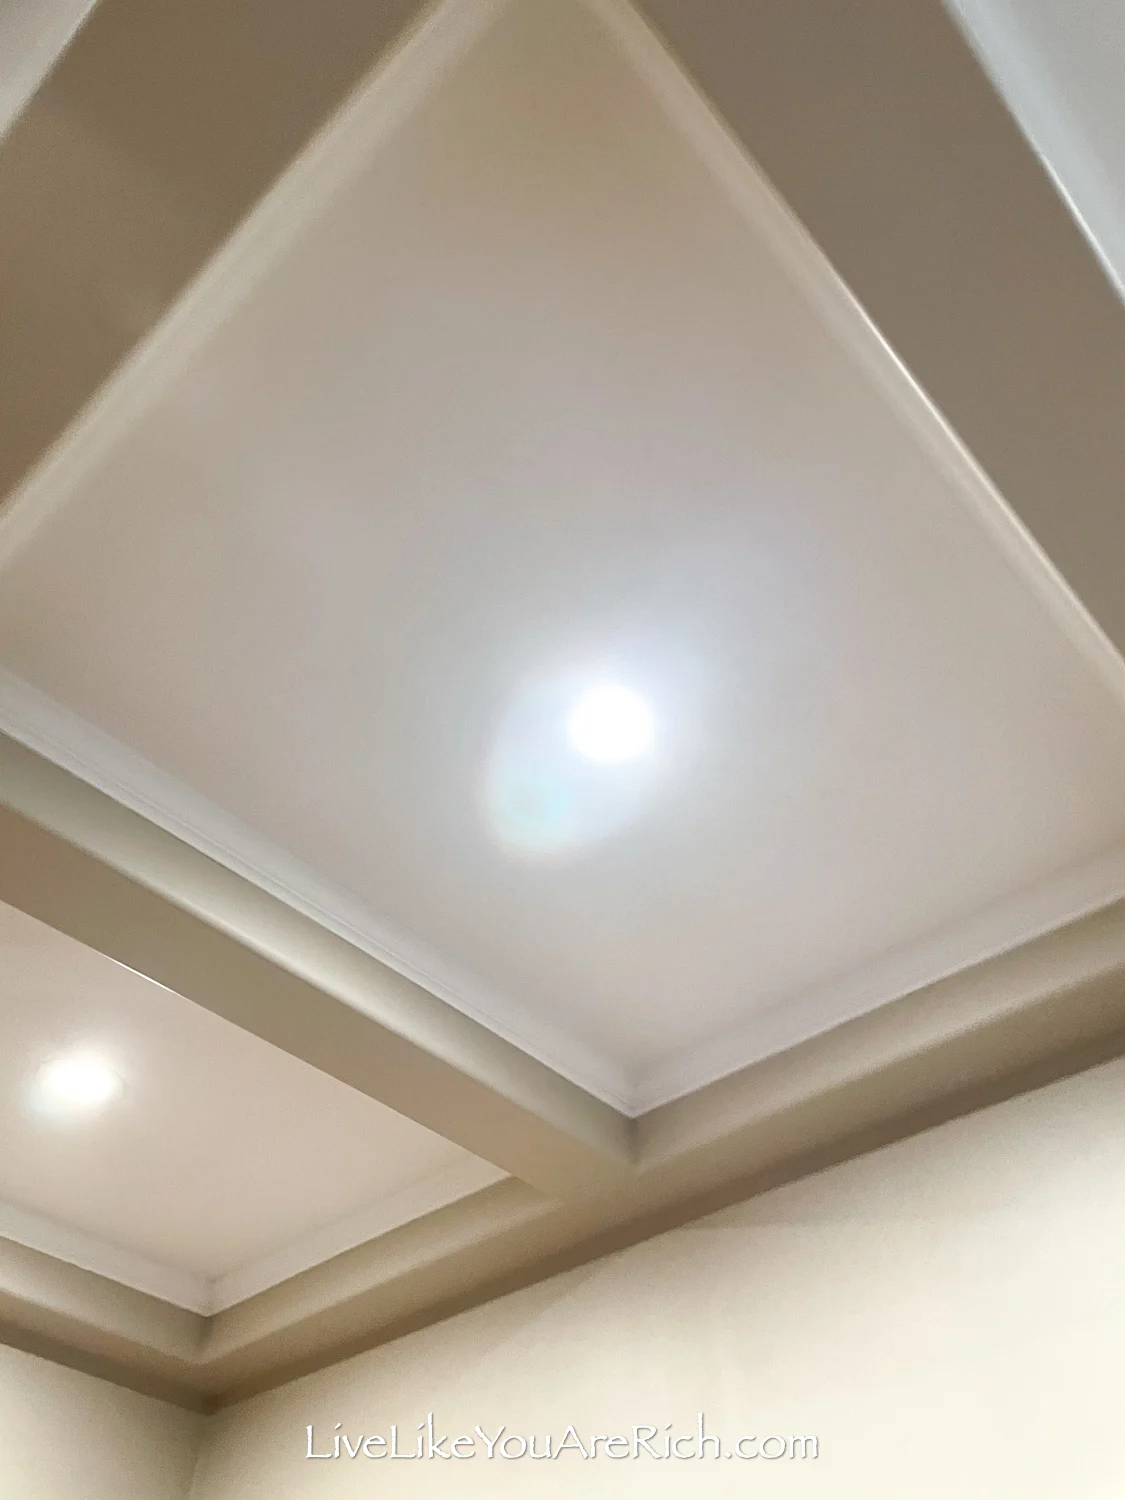
The carpet was pretty hammered in a lot of areas, it had pink walls, and a pure white coffered ceiling that I wanted to add a little more dimension to.
Further, this office had older can lights and needed a few more updates.

Supply List for this Office Renovation
Acacia hardwood flooring (real wood but pre-finished)- Lumber Liquidators
SW7511 Bungalow Beige paint- Sherwin Williams
Paint supplies (roller, brush, spackling, sanding pad, scrapper, stir stick, plastic drop cloths, etc.)
Cricut Explore Air 2 and cutting mat
LED recessed trim/flat can lights
Safavieh (my favorite brand of rugs) Sable Paris Shag Rug 9×9 Square
mid century modern chairs (similar here)
Sharpie for marking baseboards
misc. decor
white painters caulk
tools to reinstall molding: finish nail gun, compressor, air compressor hose, nails (or borrow or rent).
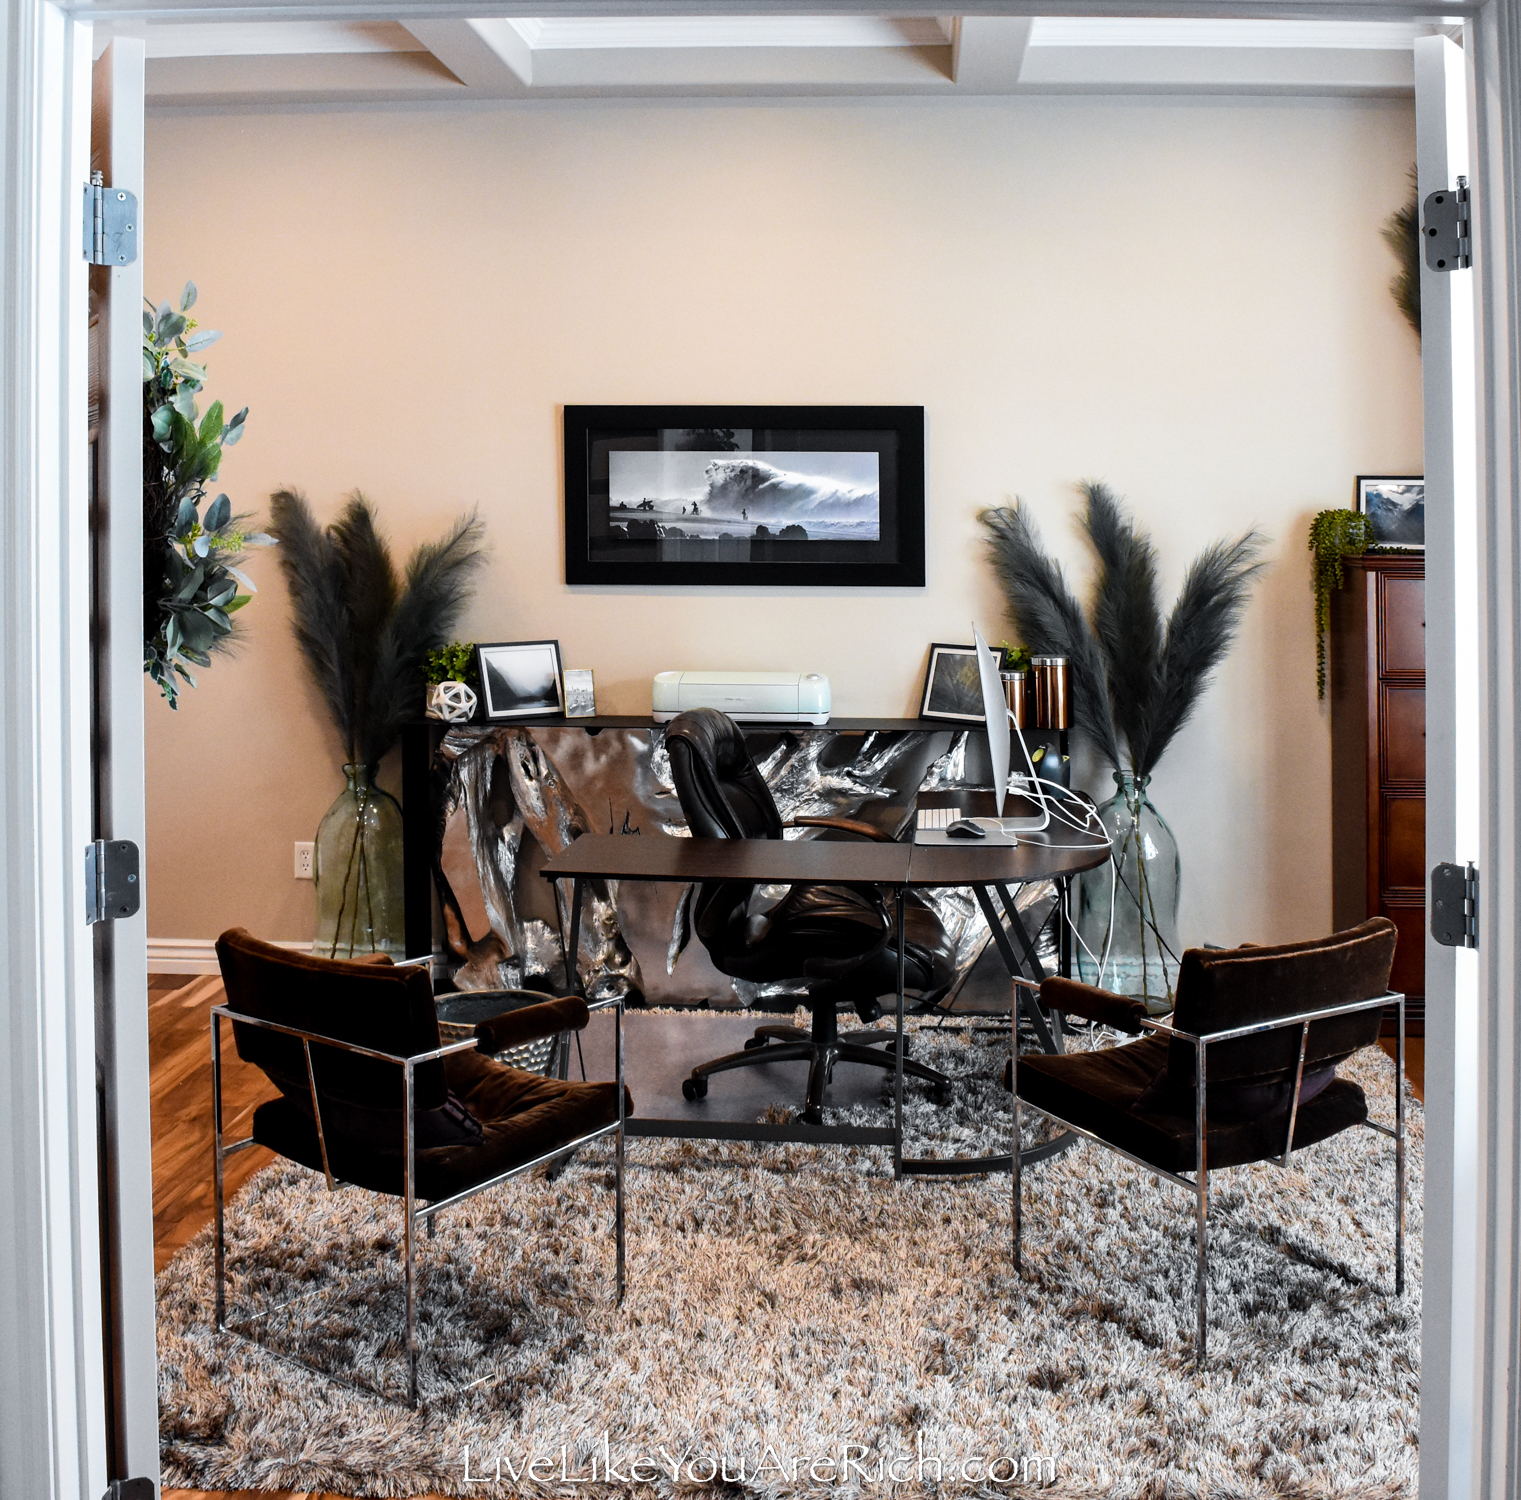
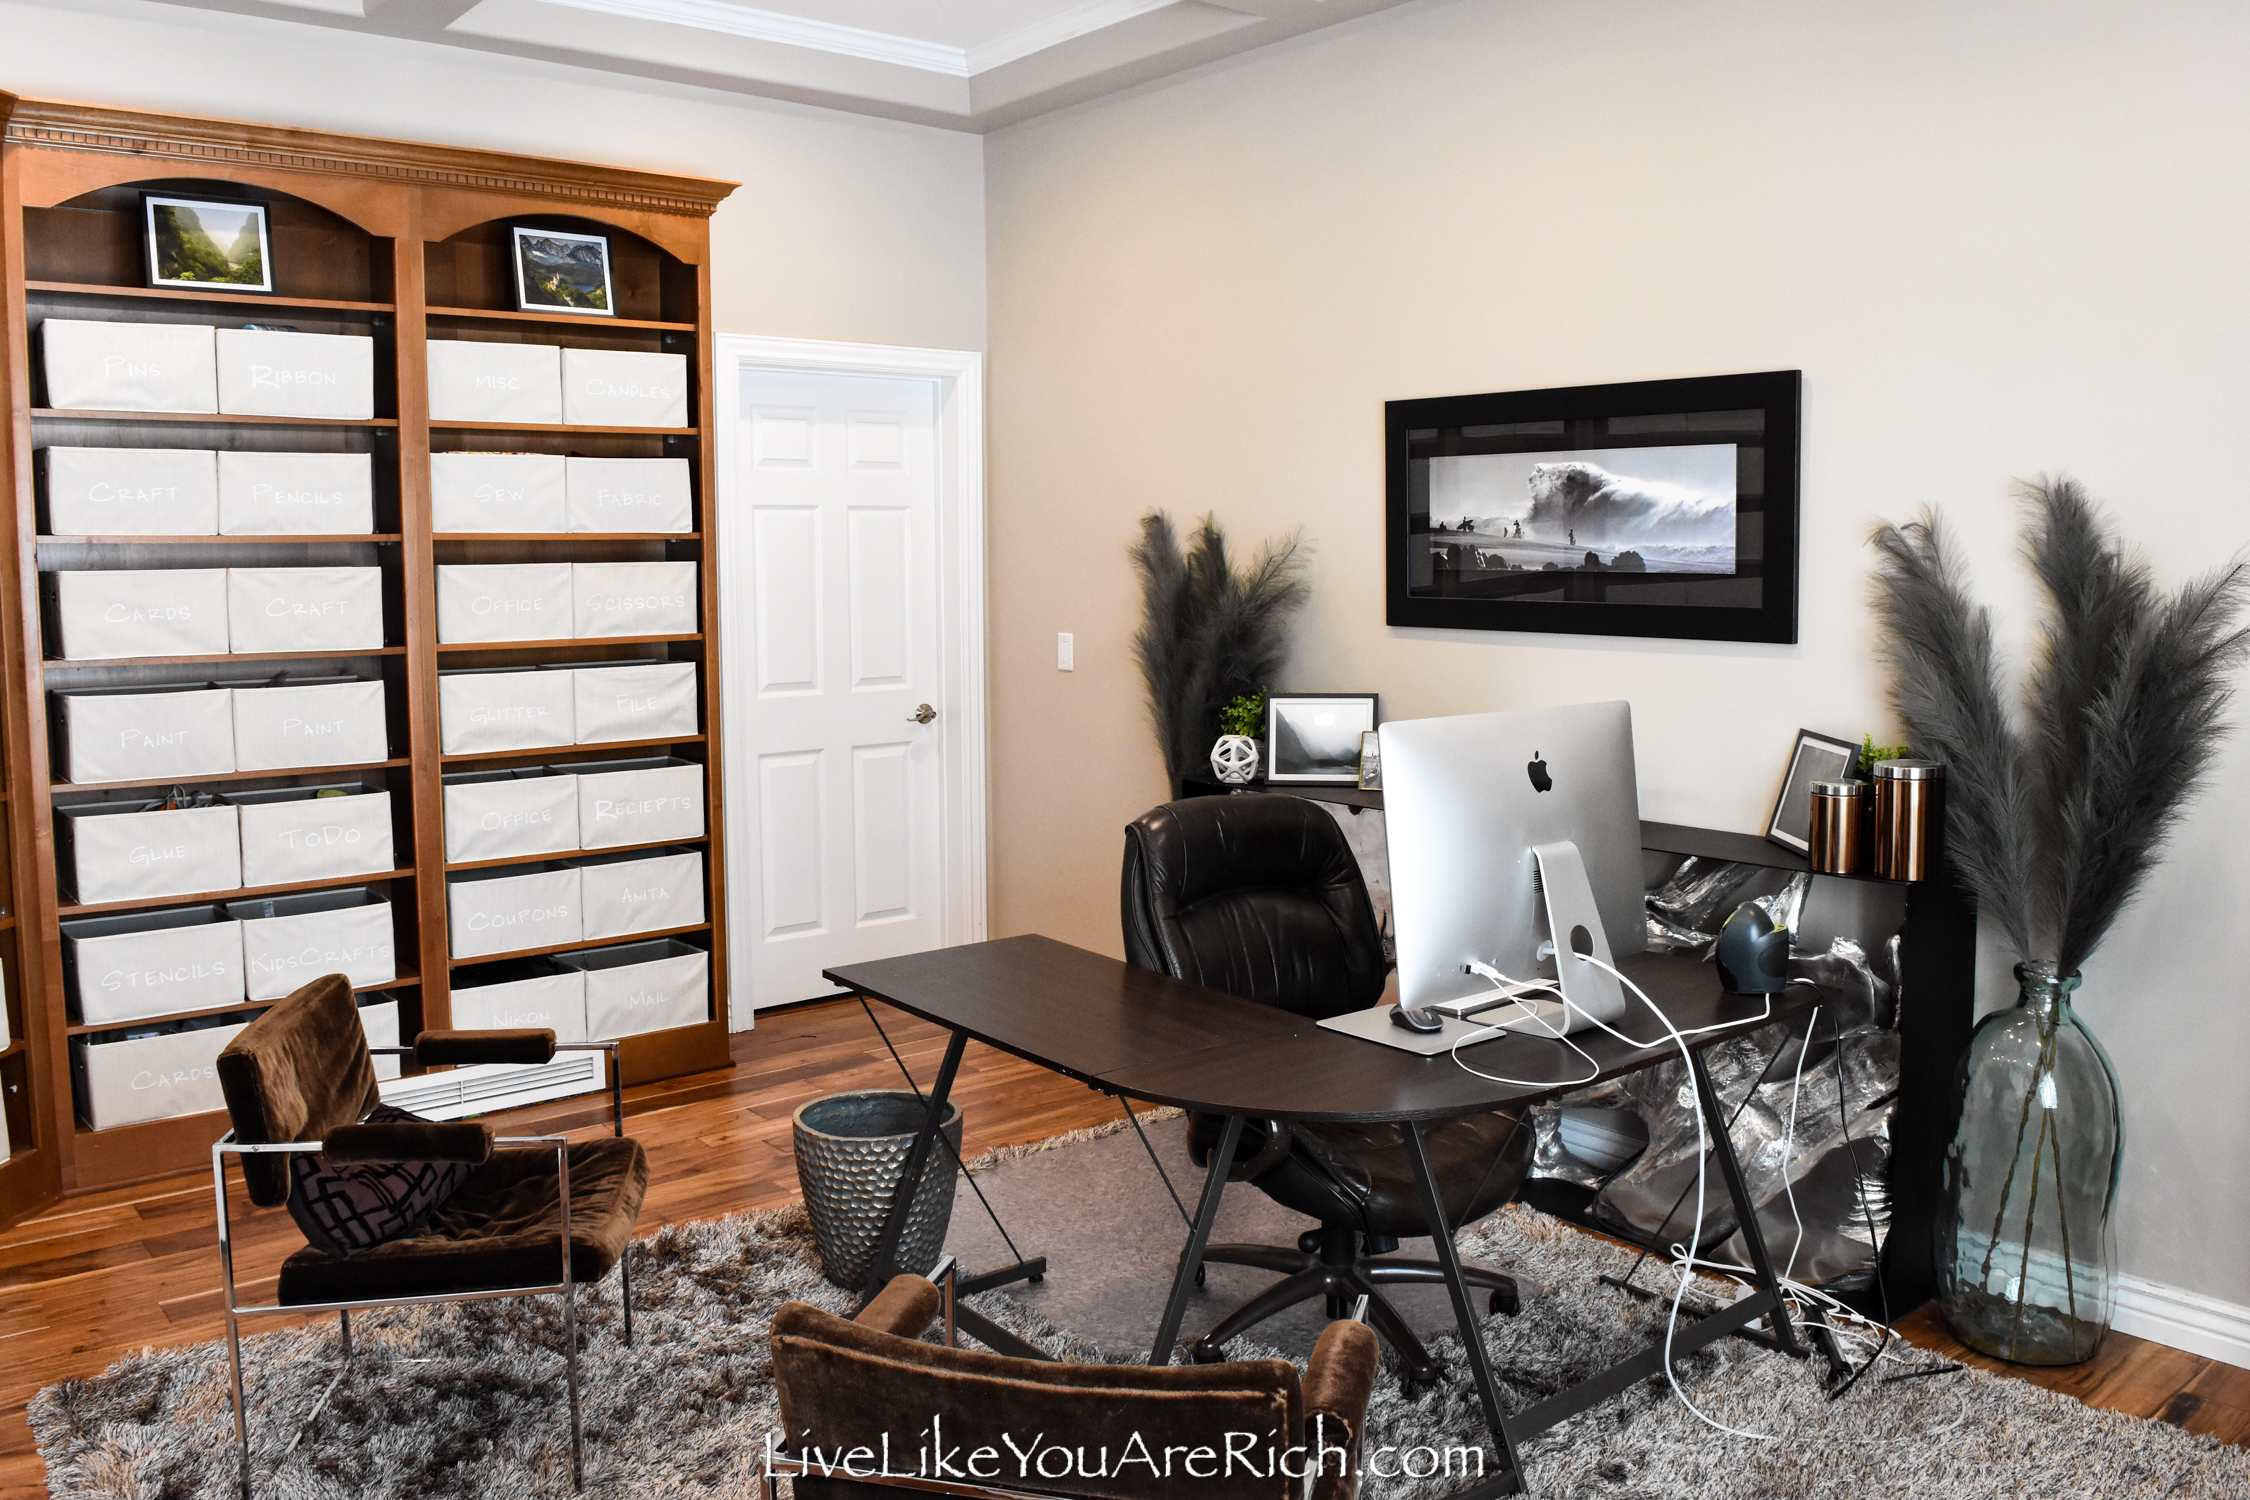
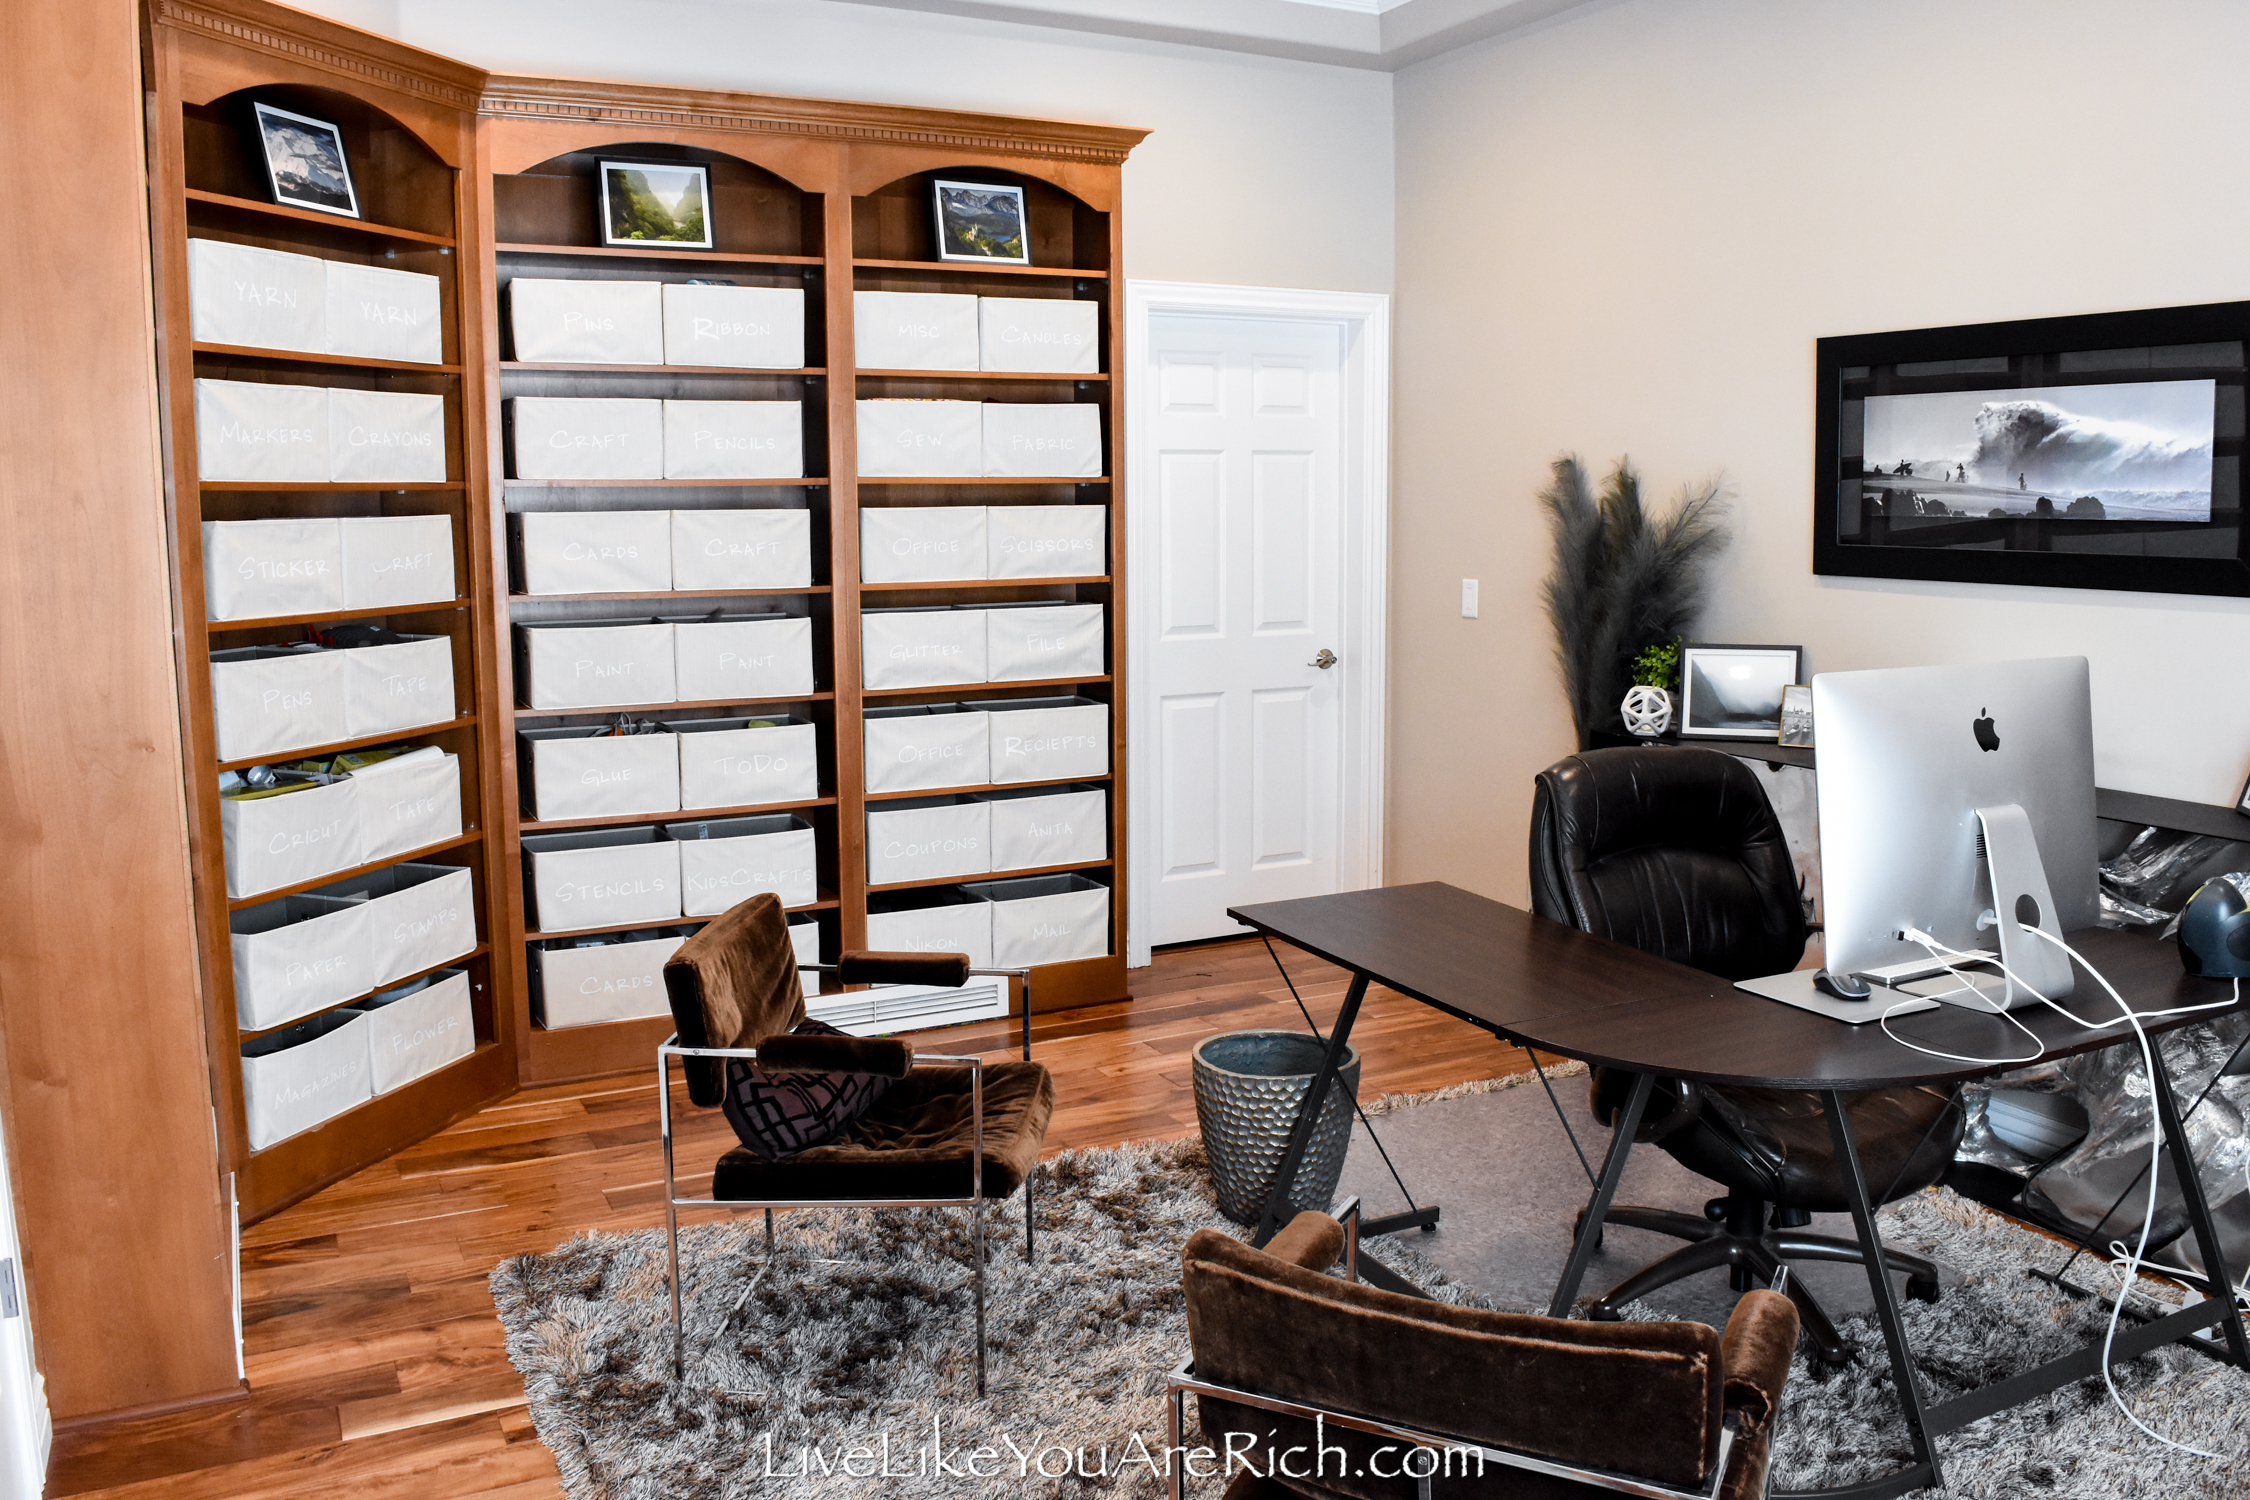
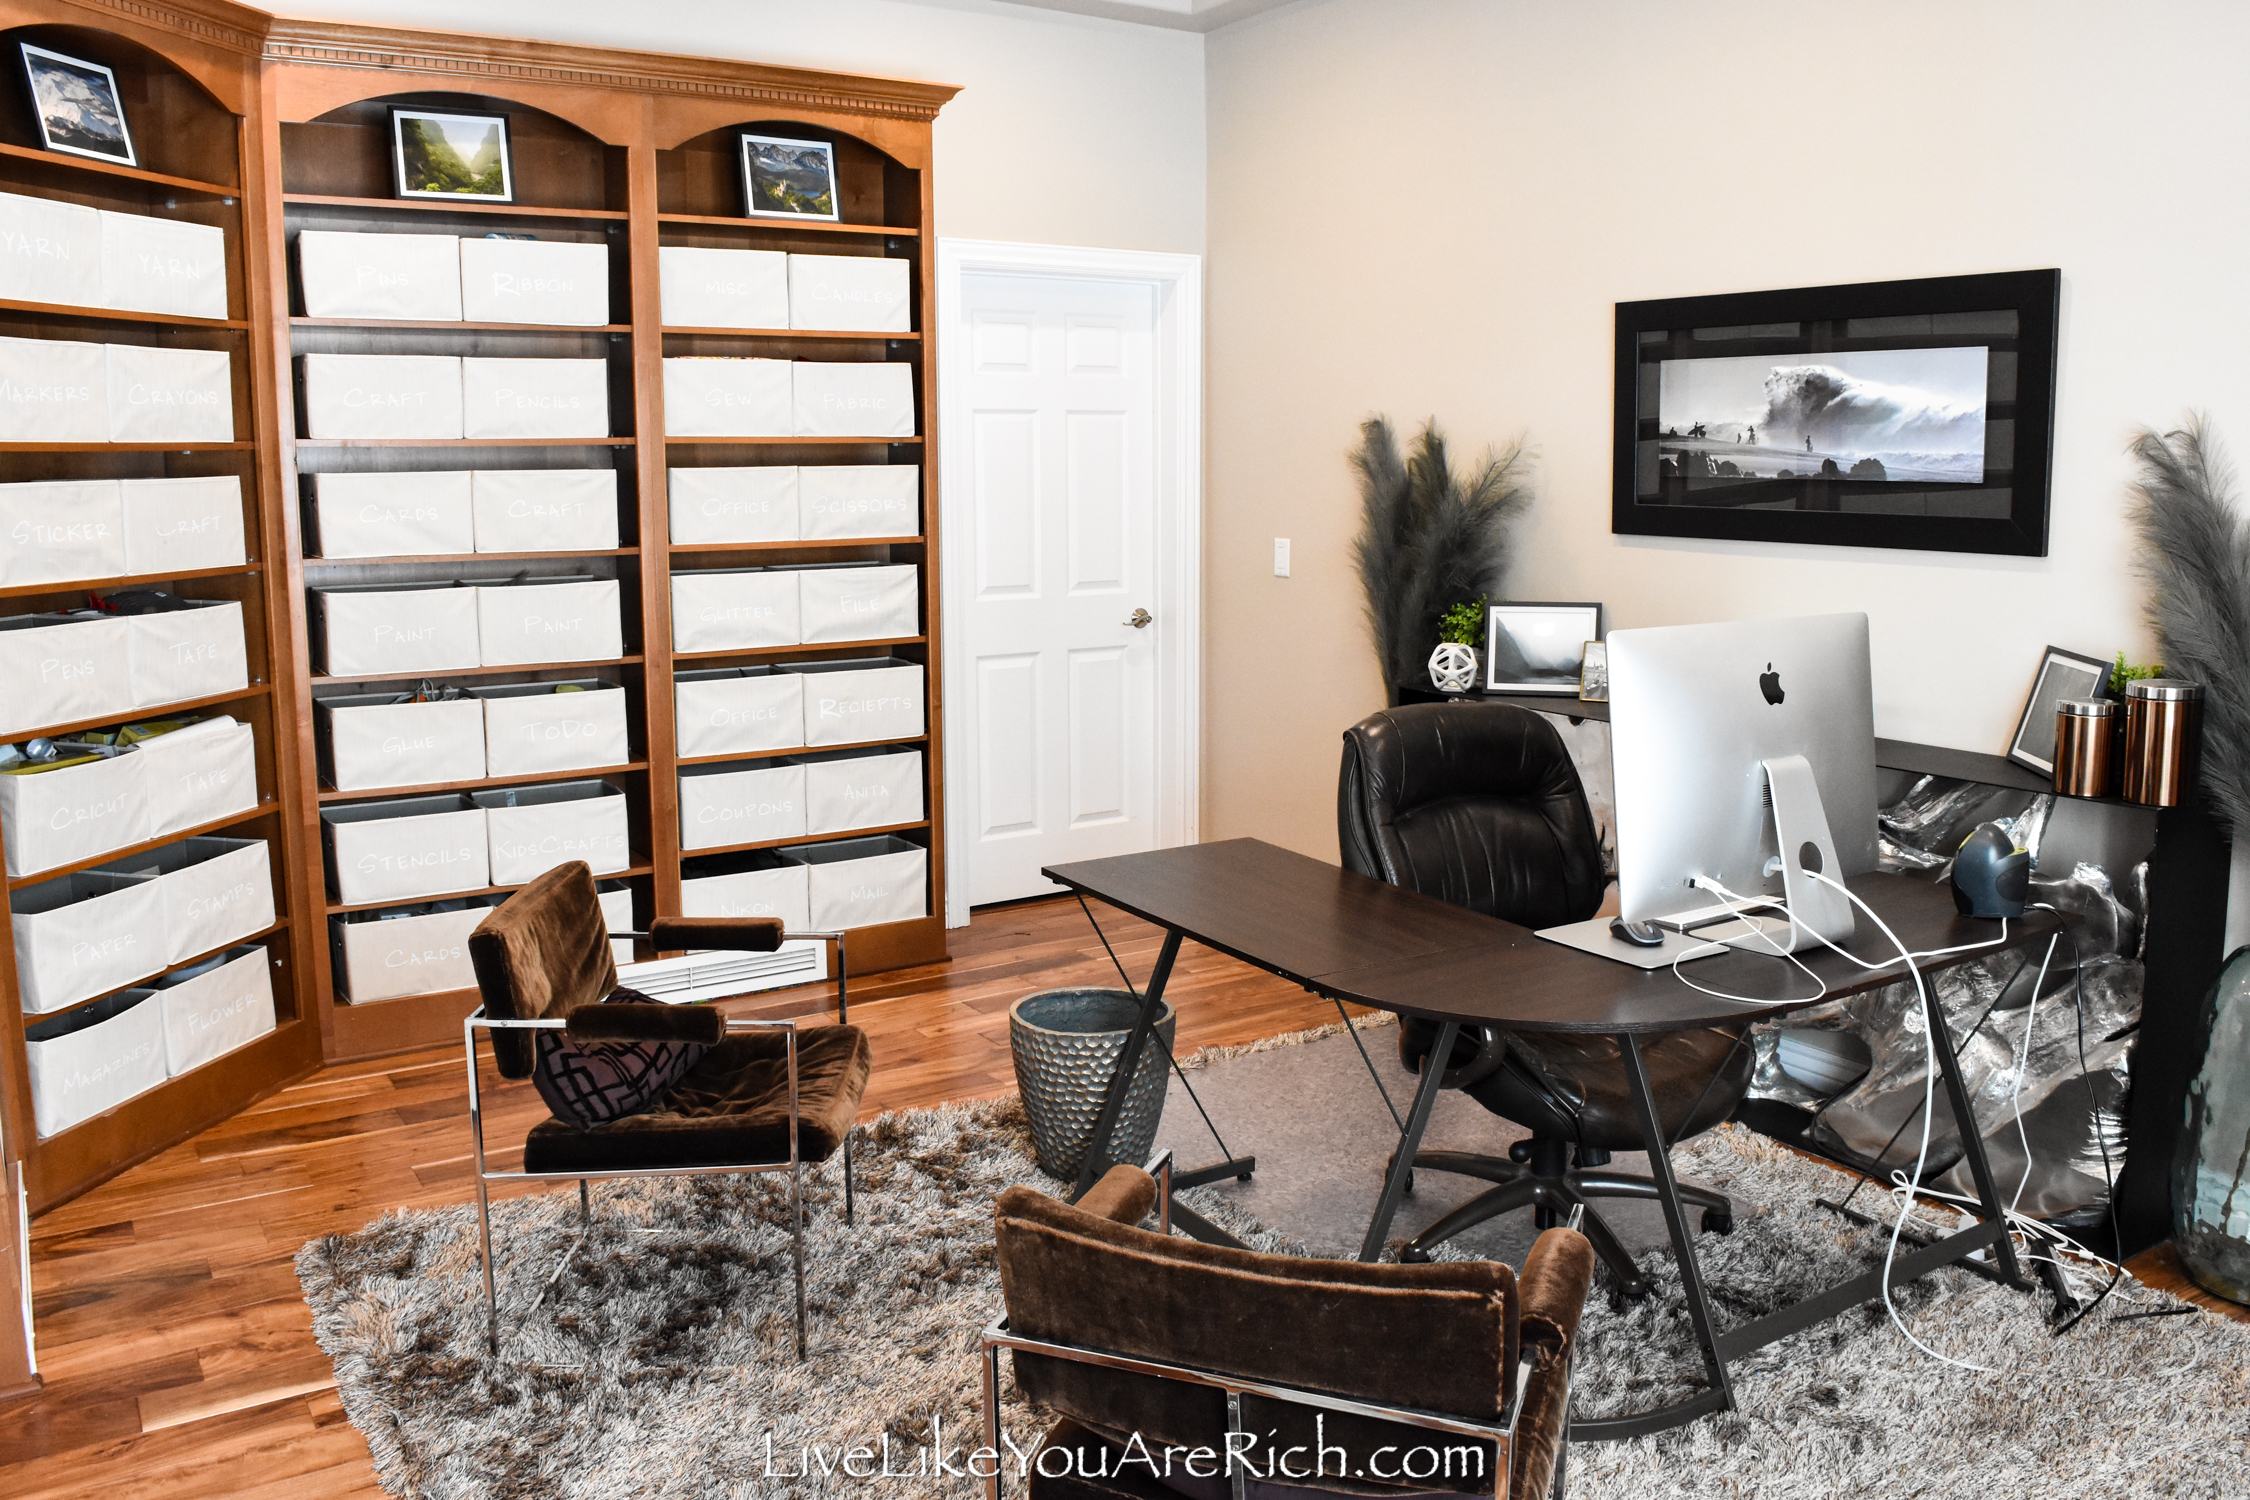
Office Renovation After Photos
Steps for this DIY Office Renovation
1- First, it was clear that this office needed new flooring.
So, I took off the molding. I got really good at removing molding because I did so in almost every room upstairs.
There was a debate about updating the molding to a more modern molding or not. Our home is large (7,000 square feet) and it would have cost thousands to replace all the molding including the door and window casings (as they all match). So reusing it won out and saved us thousands; plus it saved me a ton of work in removing and reinstalling all the window and door casings.
Tip: Reusing the molding was only a possibility because I could find the exact match for it at Lowes and Home Depot—in case I broke a piece when removing it (which I did a few times).
How to carefully remove molding you want to reuse
To remove molding you’ll want to run a razor blade across the top (between the molding and the wall). This cuts the stick of the caulk away from the wall. Then use the following tools to pry it from the wall.
Use a mini bar or molding pry bar and a hammer. Hammer the pry bar in between the molding and the wall, then slowly and gently pry the molding ever so slightly away from the wall. You may need to use the razor blade/utility knife to cut more of the caulk if some is still sticking to the molding and wall.
Work your way down the full piece of molding prying it out about a quarter of an inch or less so it doesn’t snap in half.
Once the full piece has been pried about a quarter of an inch from the wall, pry the whole piece off working your way across the entire piece (prying each end and the middle out in an even manner)—so it doesn’t break.
If you are carefully doing this, you will have great success in saving almost all of your molding as we did.
Make sure to mark each piece on the back with a sharpie as to where they go. This will help with reinstalling them.
When you pull it off or when you put it back on you’ll want to clean as much of the old caulk off as you can before you run new caulk on top. In my experience, it came off quite easily.
After the molding was taken out, we pulled up the carpet and carpet pad. I ended up selling the carpet remnant for about $75.00 on the local classified. Then we pulled up the staples using pliers.
2- Paint.
When the floors are bare it is the perfect time to paint. This way there is minimal prep work and protection needed.
I still had to use plastic drop cloths to protect the built-ins and tape around the window, doors, and coffered ceilings, but after that, it went pretty quickly.
See this tutorial on how to prep and paint a room if you are unfamiliar with how.
I had some awesome friends ask if they could come to help me with some of the renovation (since I was doing a lot of it myself); so a few friends and I painted the walls and ceiling of the office Bungalow Beige SW 7511.
It’s a warmer-toned beige that can also go grey in certain lighting. It blends in really well with the wood and other aspects of the home.


I painted the beams in our coffered ceilings bungalow beige as well.
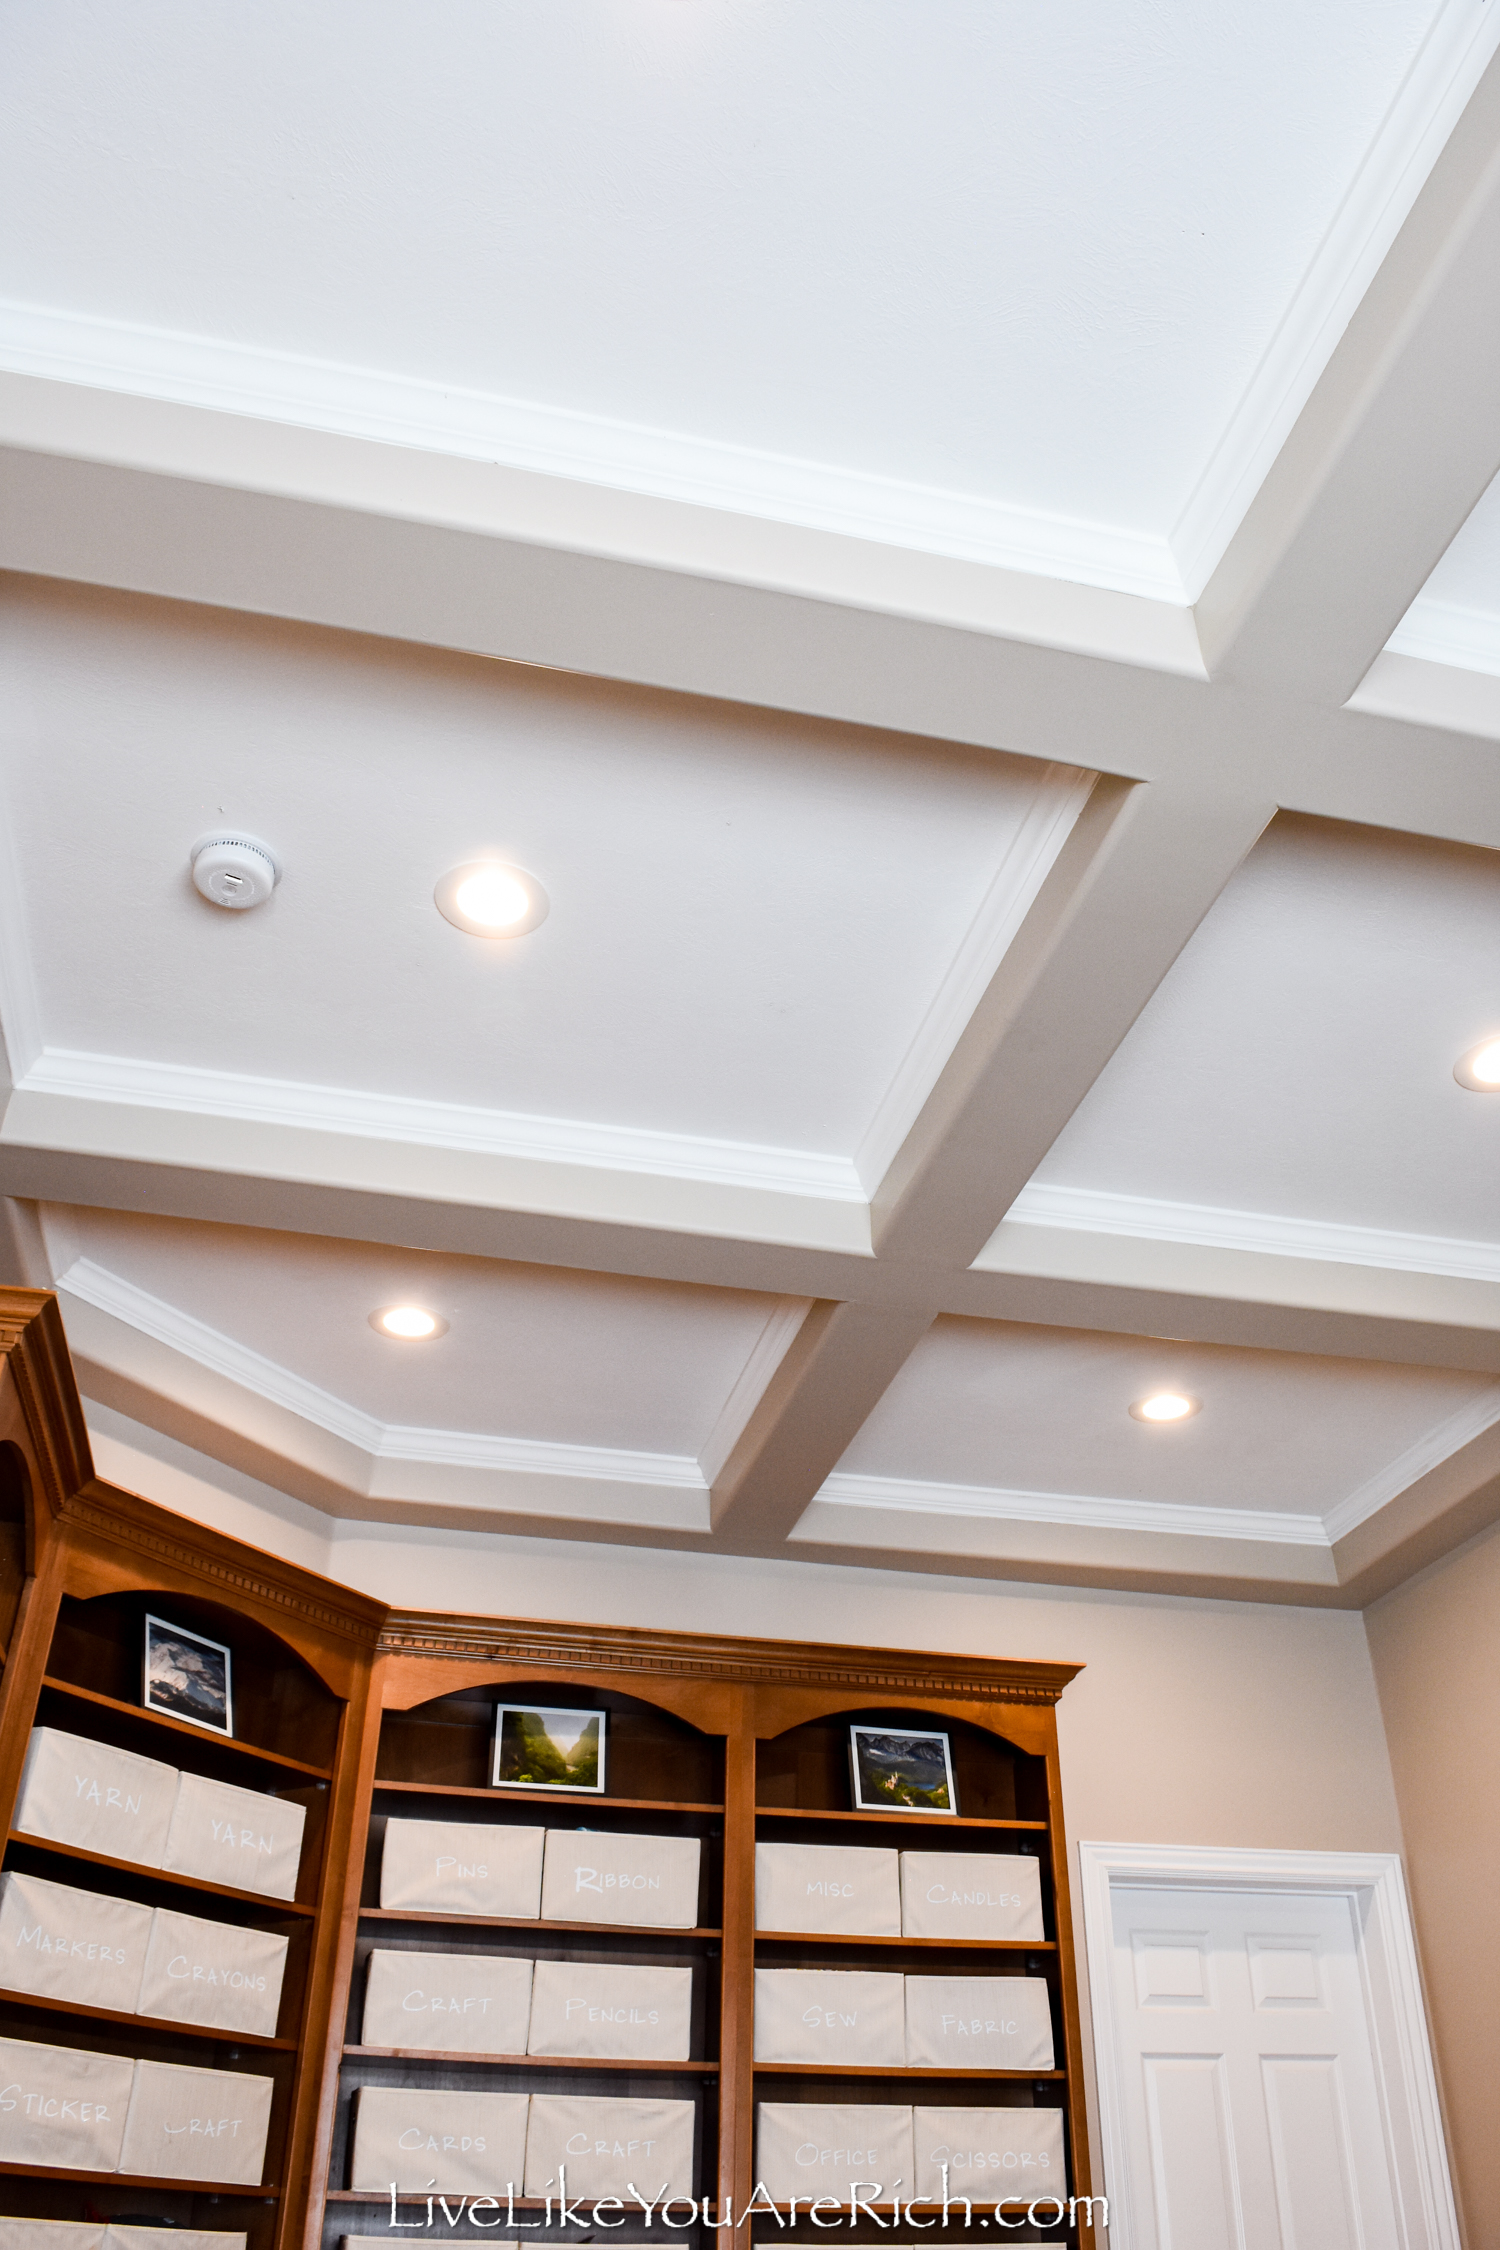
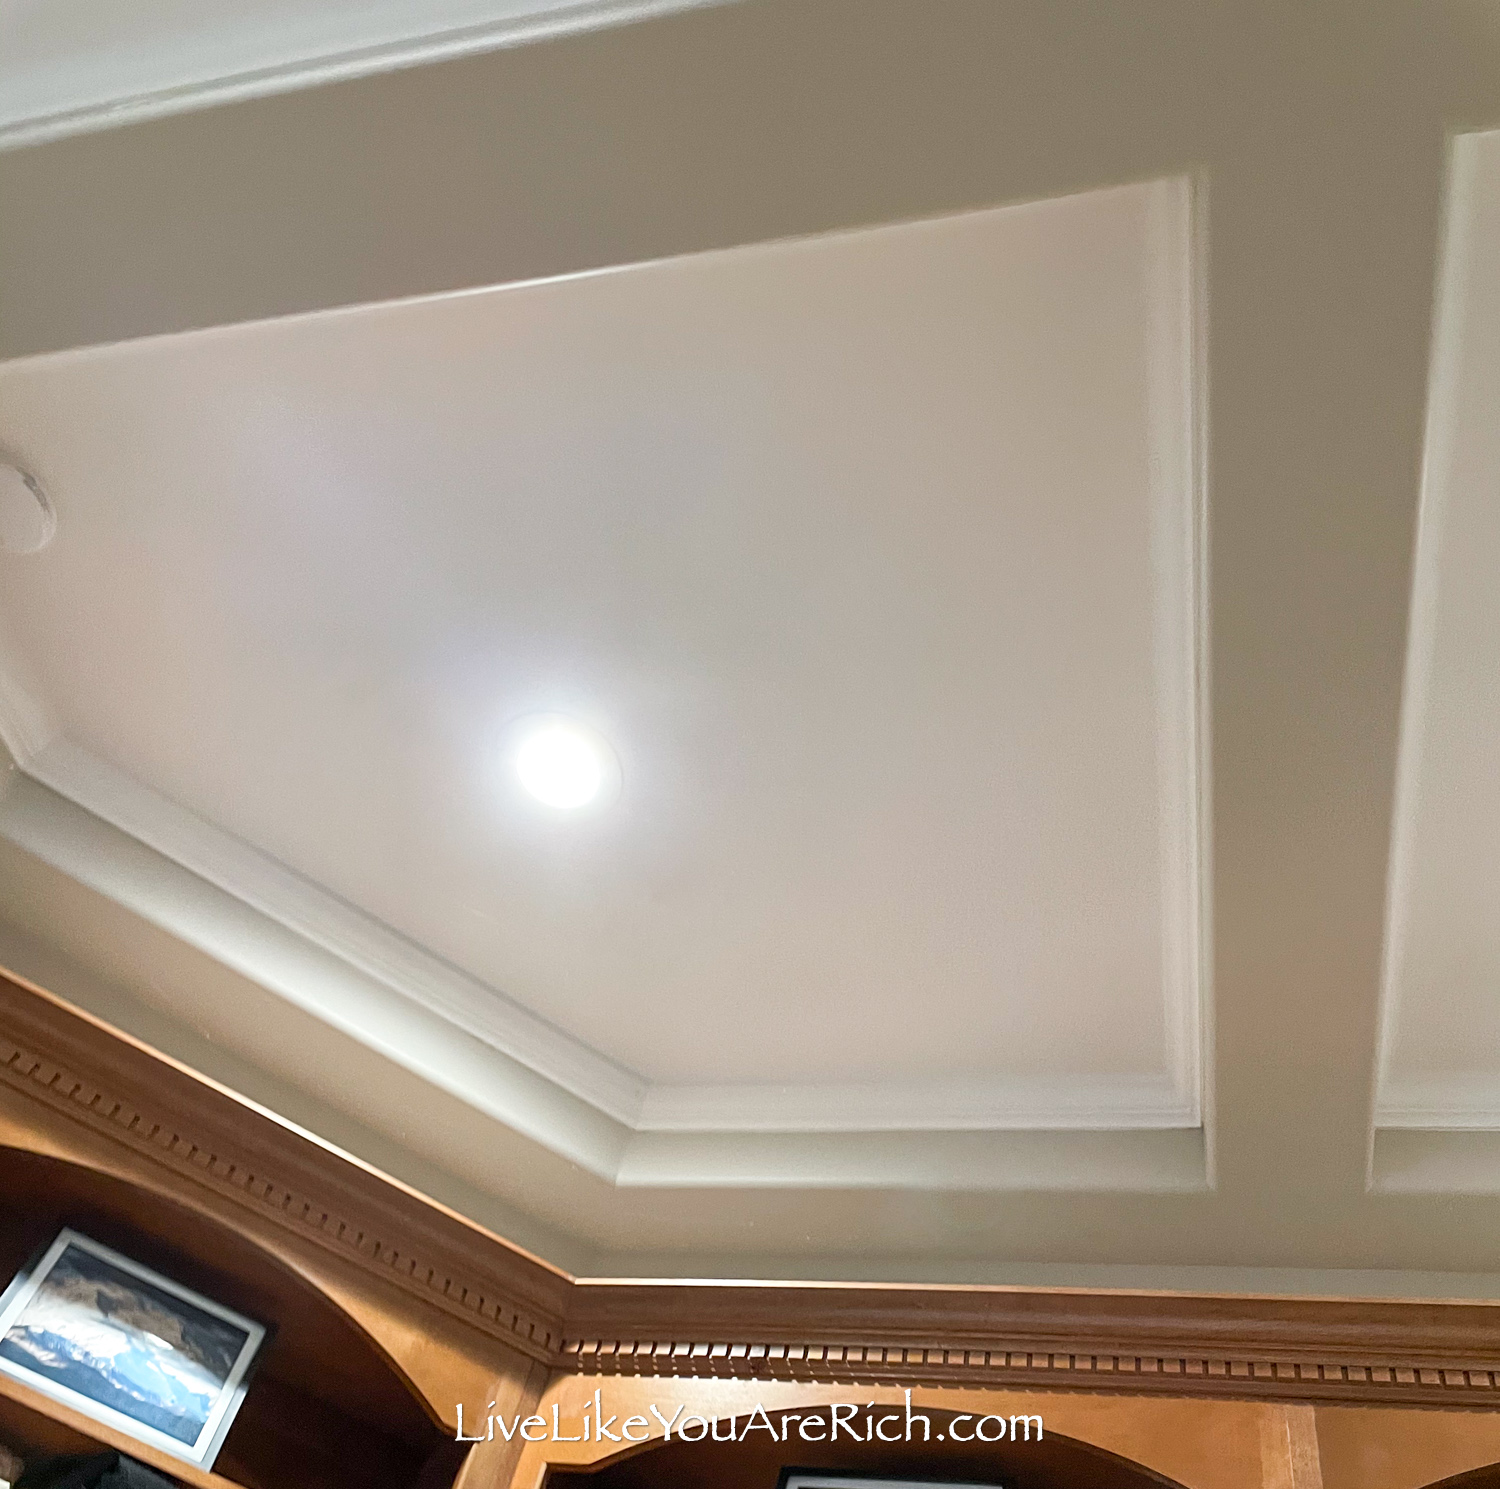

I love the dimension it adds to the coffered ceiling and overall look of the office!
3- Install Hardwood
The carpet was replaced with a hardwood floor.
This hardwood flooring is real acacia wood that is pre-finished. Acacia has a variety of warm browns and tans in it. I love it! The acacia ties into so many items throughout our home.
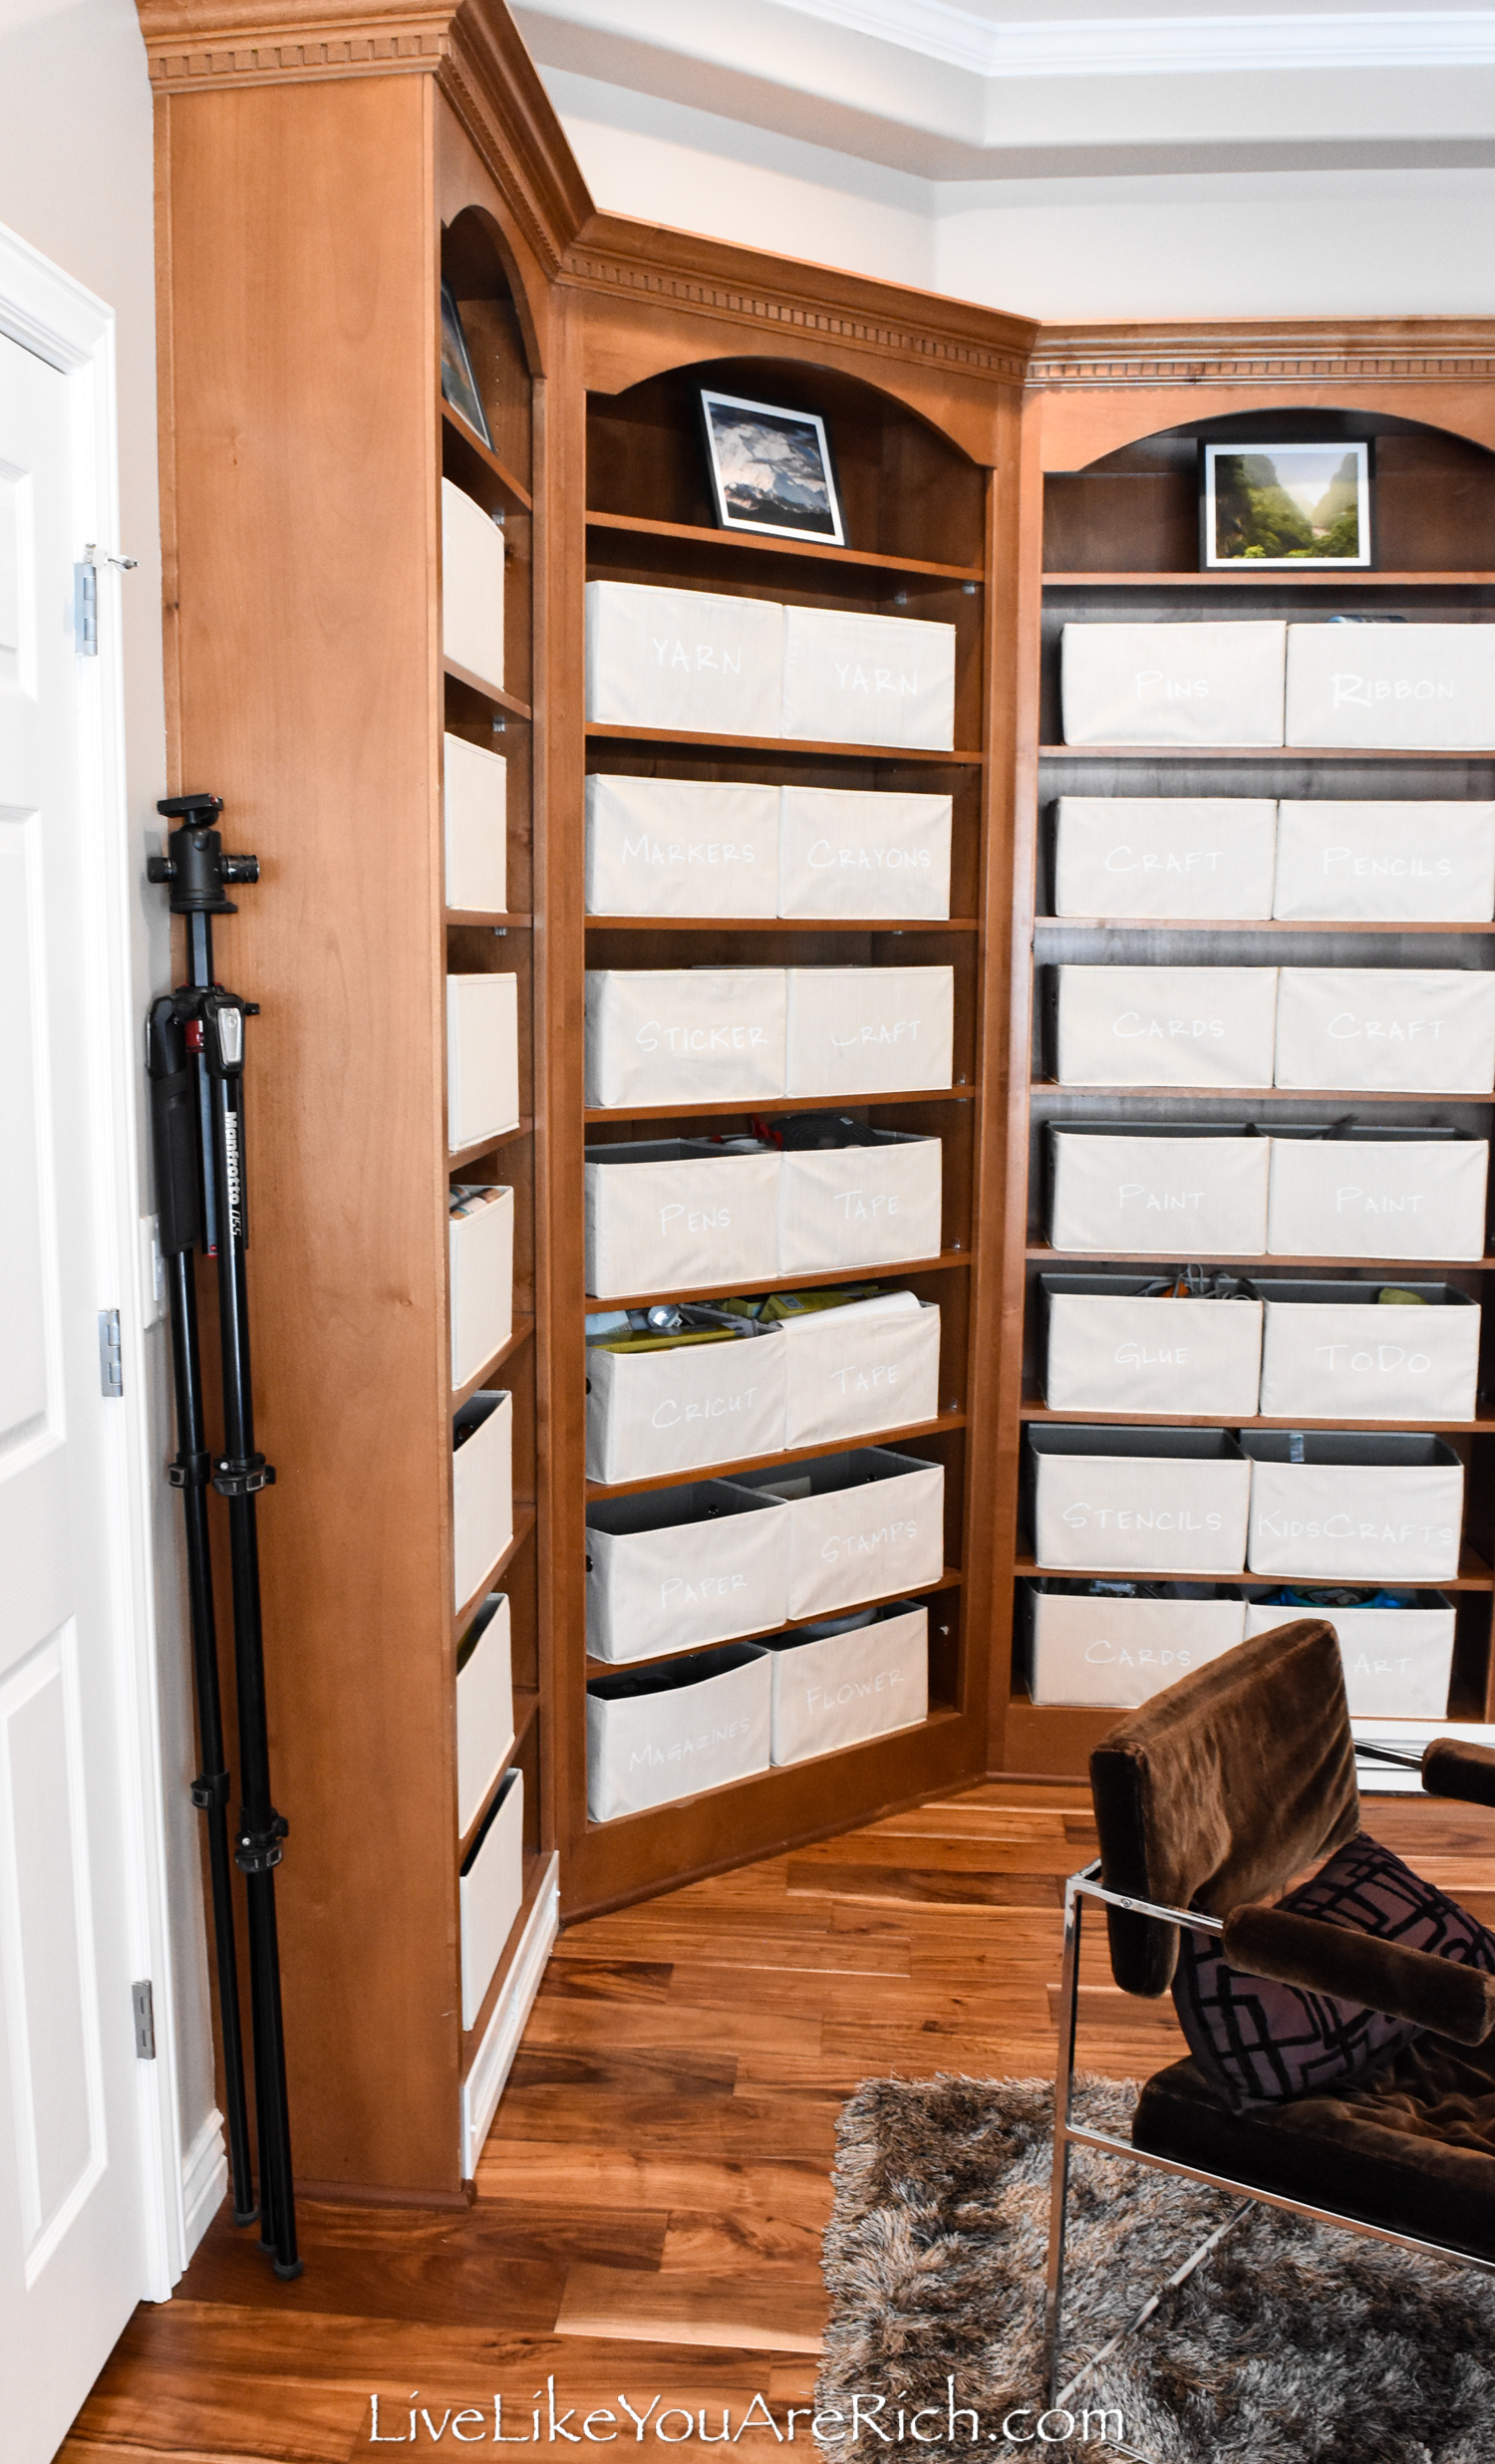
The hardwood matched the built-in shelving so well that I decided to leave the built-ins as-is instead of painting them white.
The decision to not paint the built-ins (as we did the kitchen cabinets) was not only about convenience and aesthetics but also about durability.
Painting open shelving is fine if it is all wood; the shelves themselves on these built-ins have a veneer on them. Painting over veneer is tricky and likely would not hold up long-term.
I bought the hardwood from Lumber Liquidators using a coupon and bought it on sale. It cost about $800 to put hardwood in our office.
I helped install the hardwood throughout the home. After installing about 1500 sq feet the install was just going too slowly doing it DIY style. So, I hired a team to come and finish the last 1,000 sq foot.
They ended up installing the wood in this office. It would have only been $350 if we had done it ourselves.
4- Reinstall, prep, and paint molding.
We replaced the molding with the same pieces that I removed. We installed it using a finish nail gun, I caulked it, sanded, and painted it with white gloss trim paint.
5- Decorate (my favorite step!)
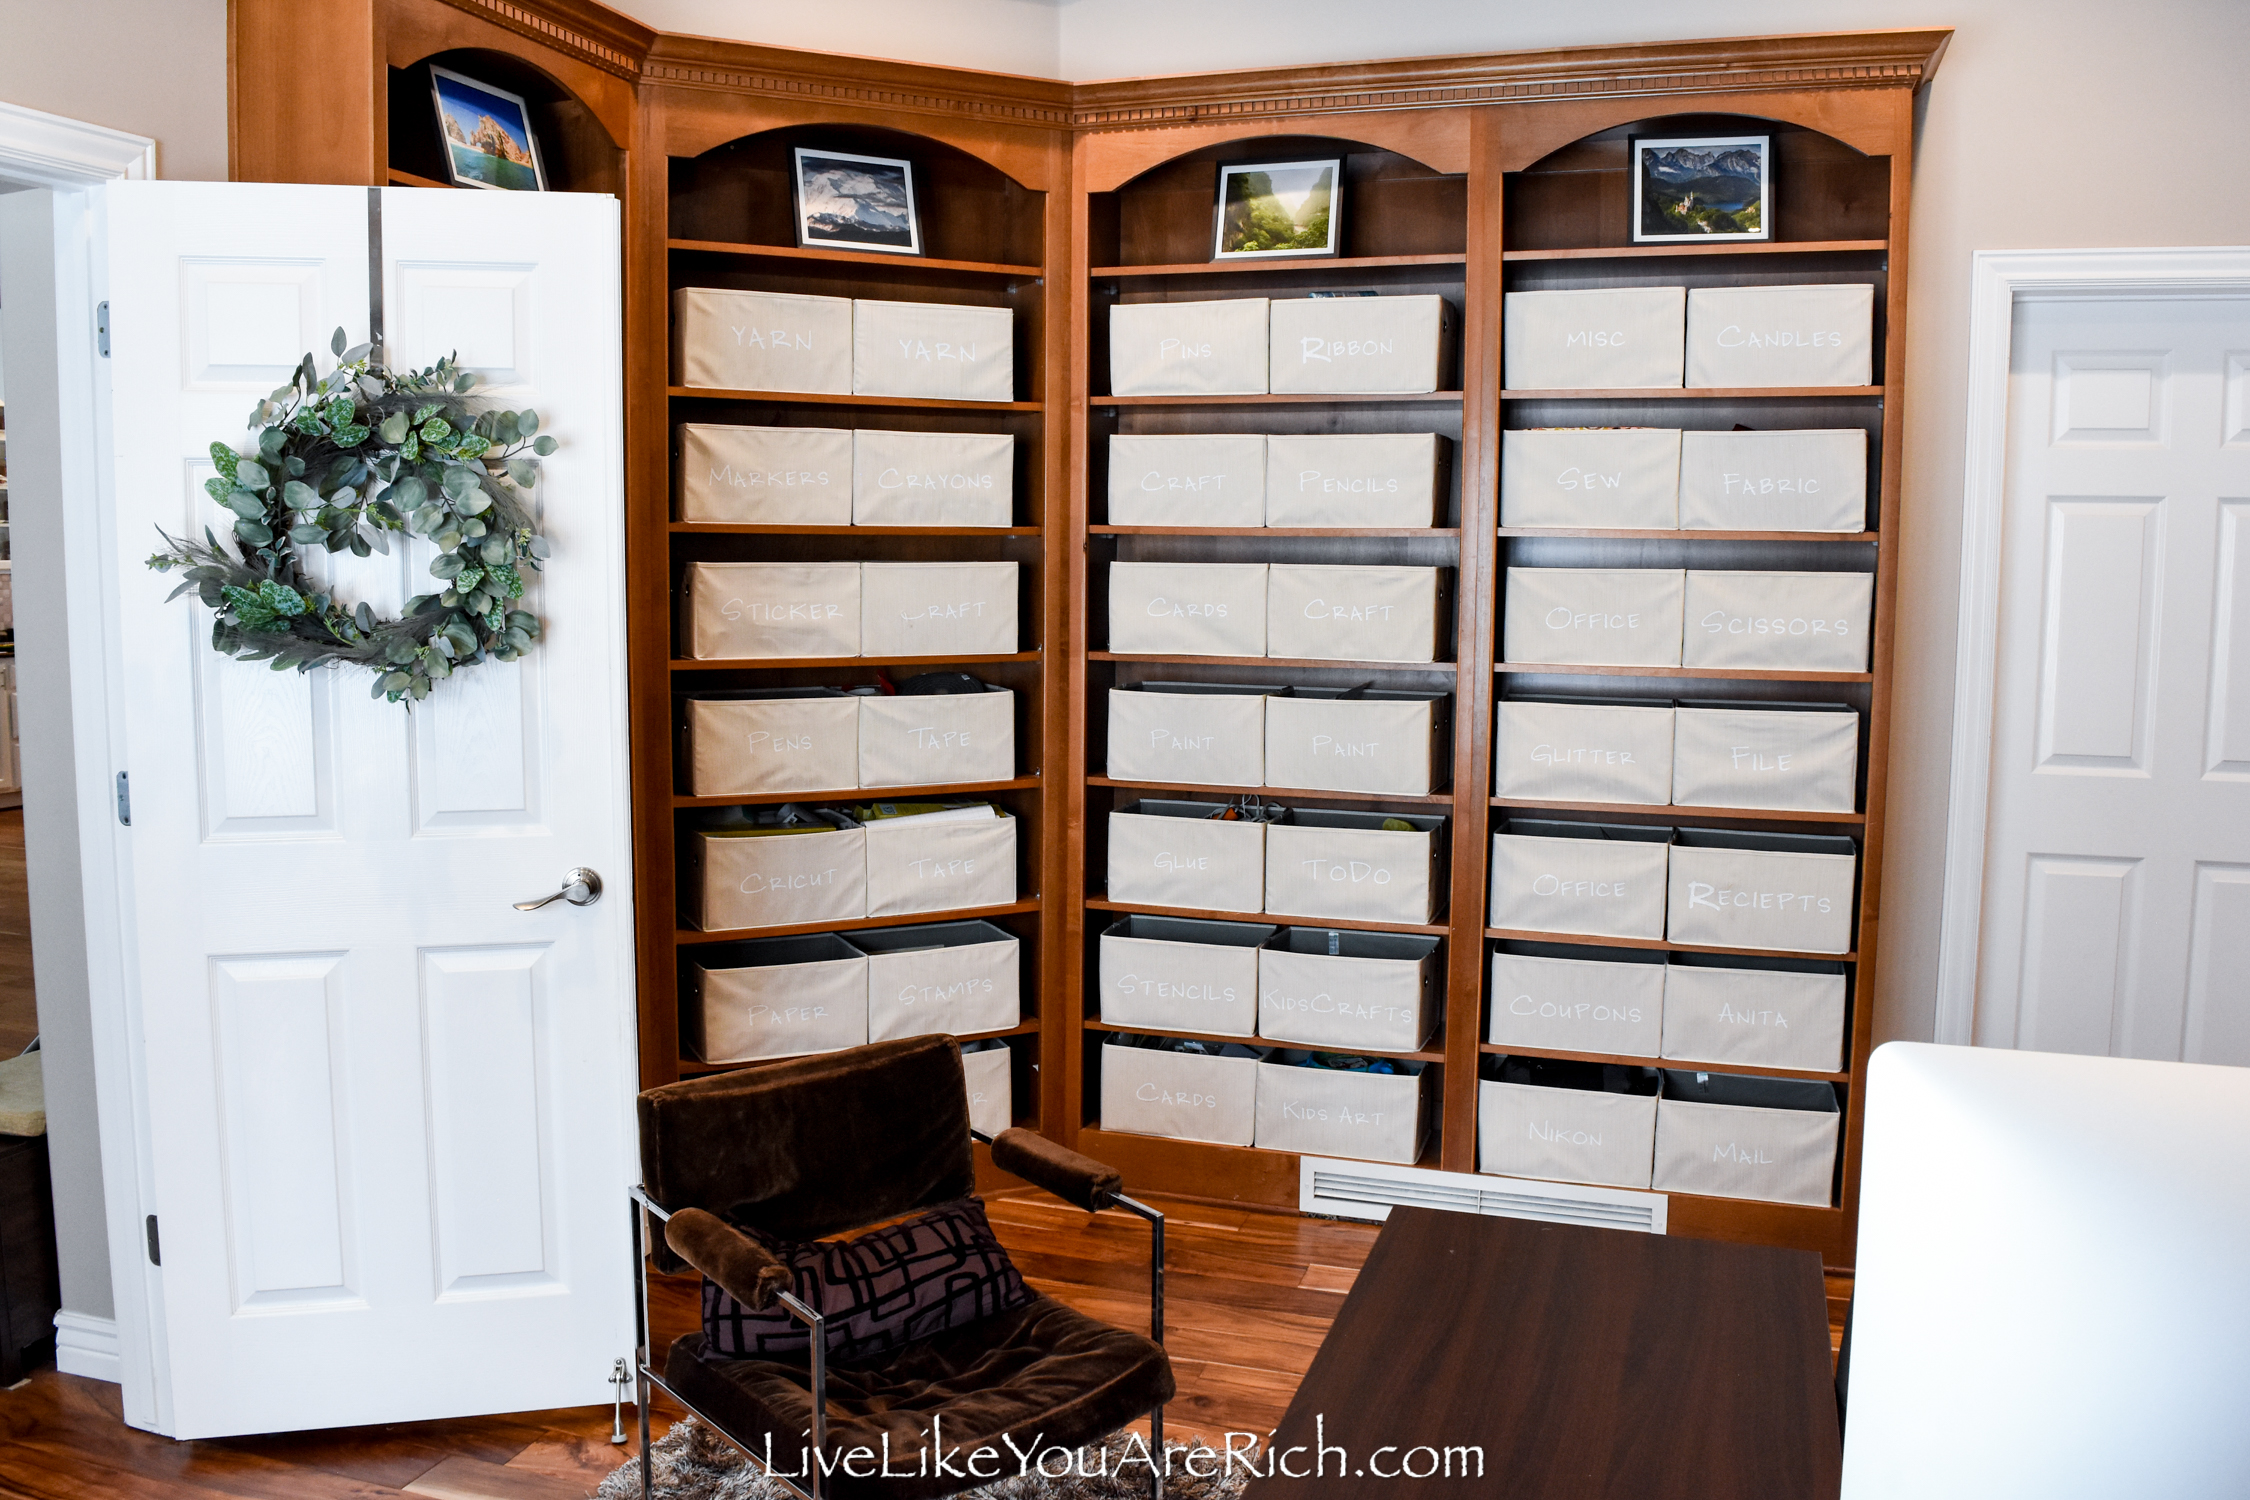
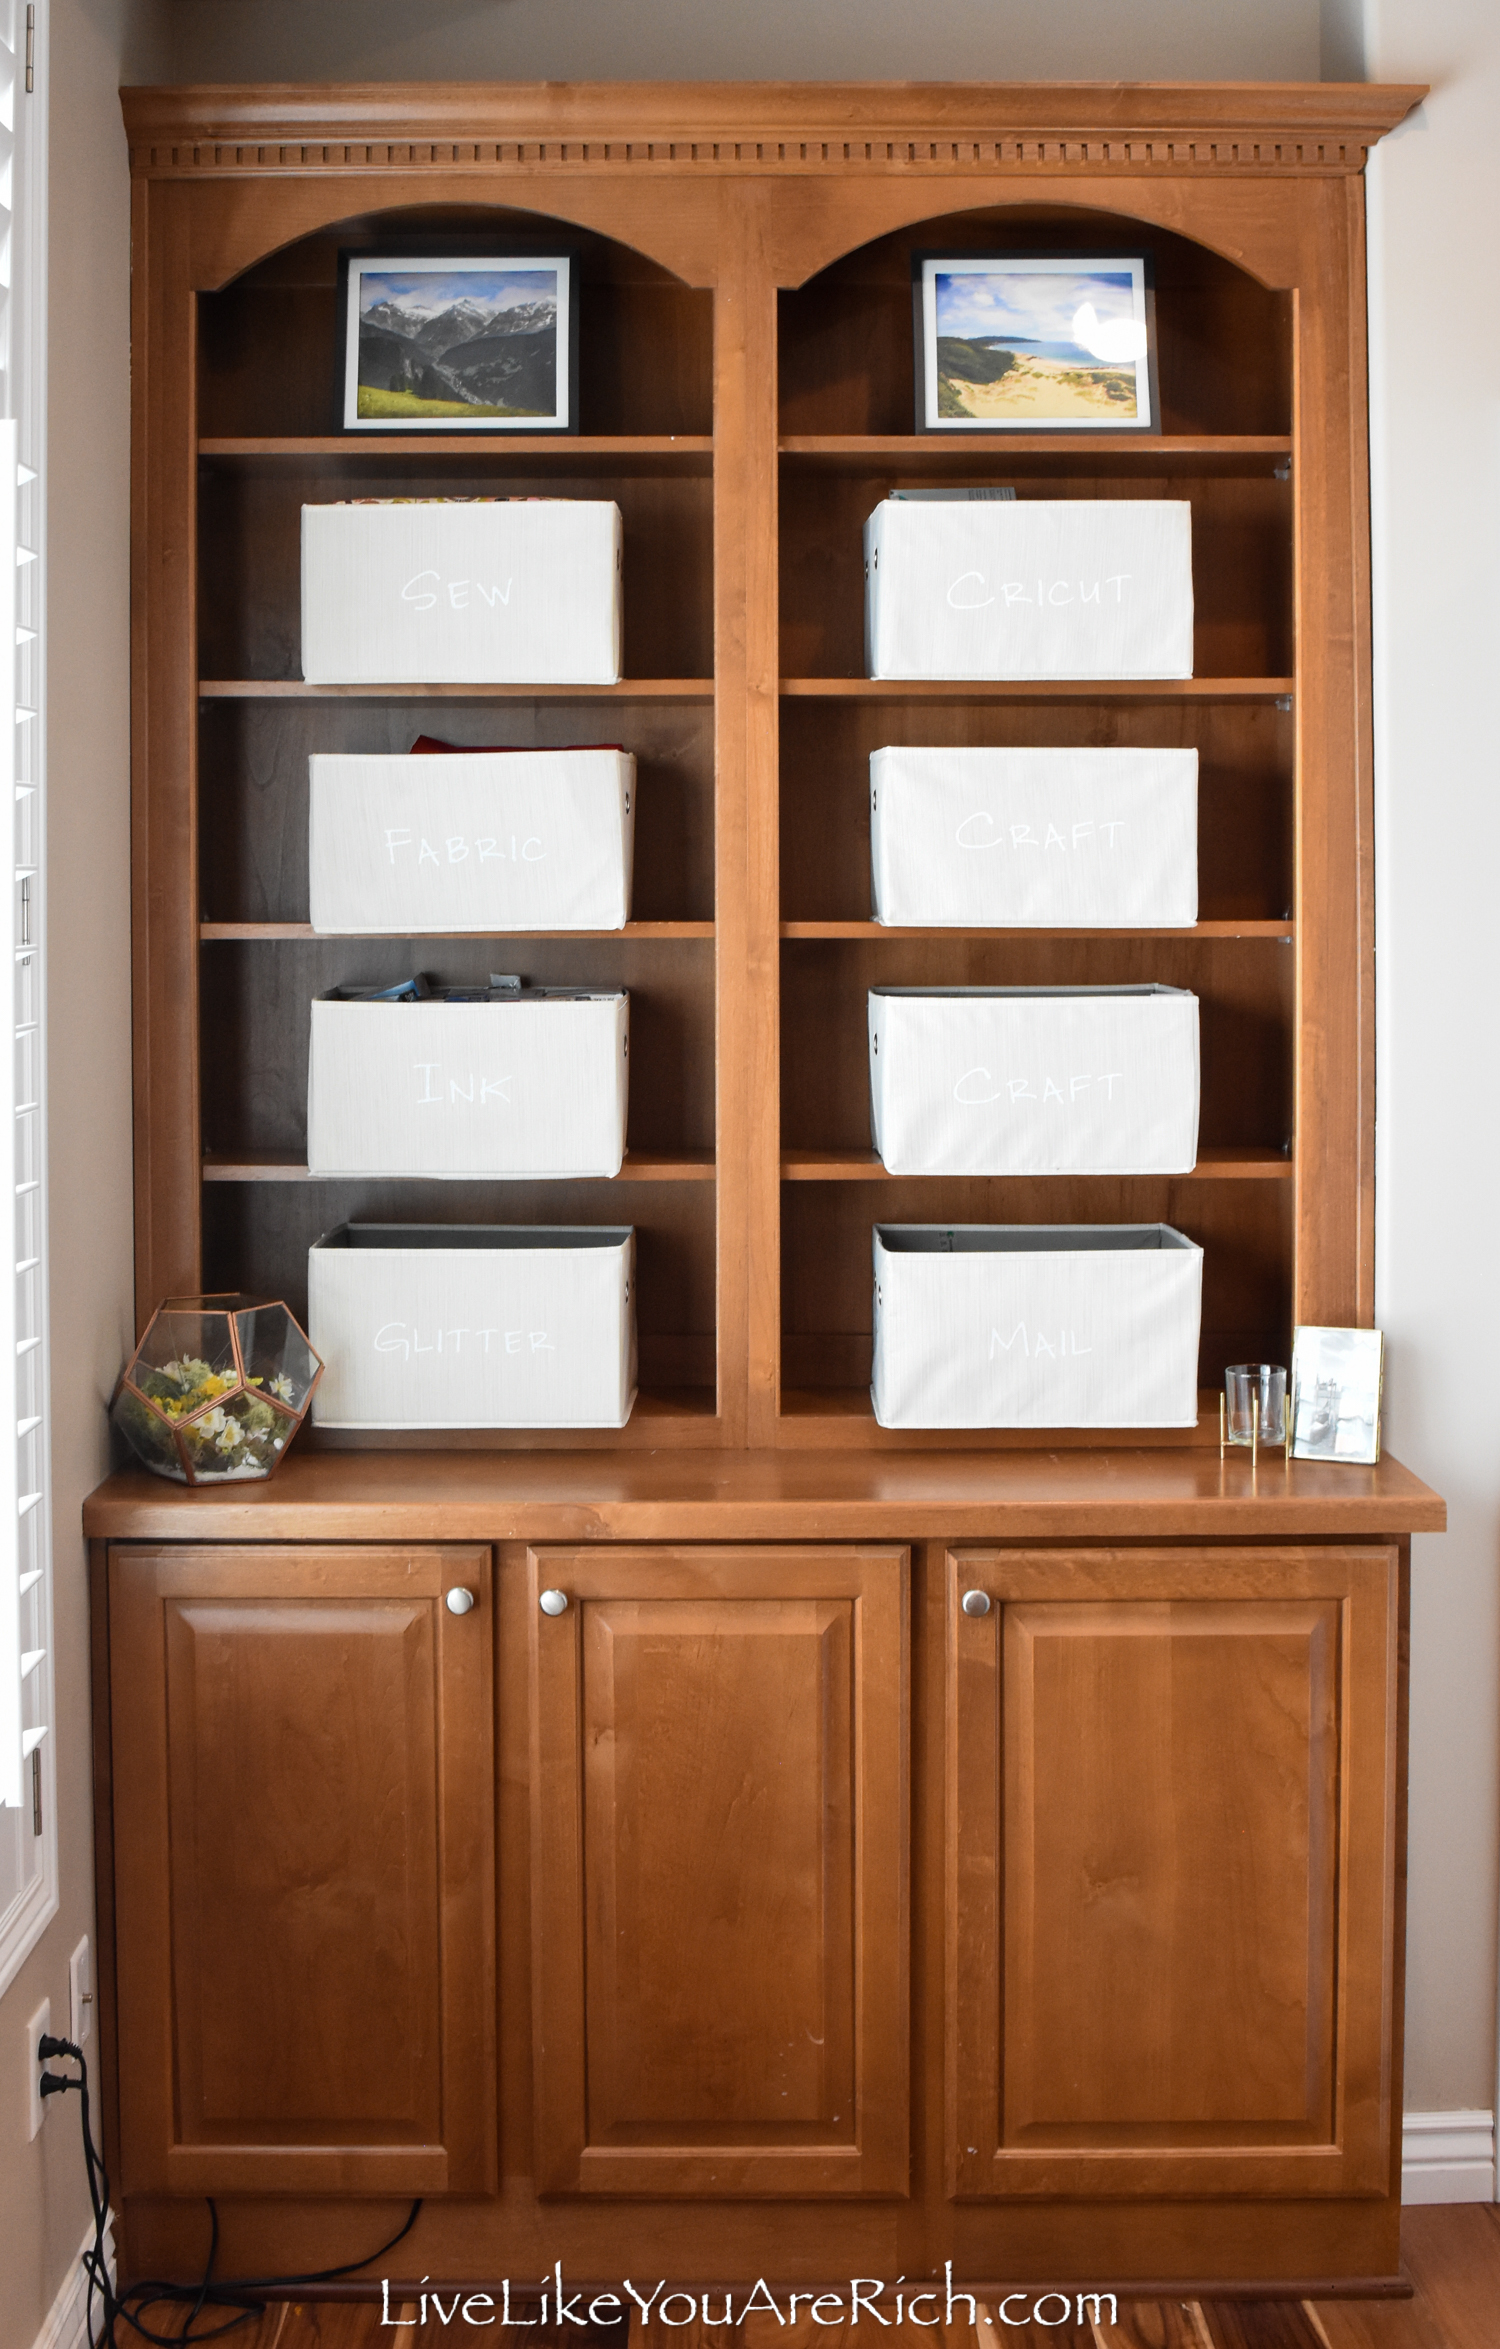
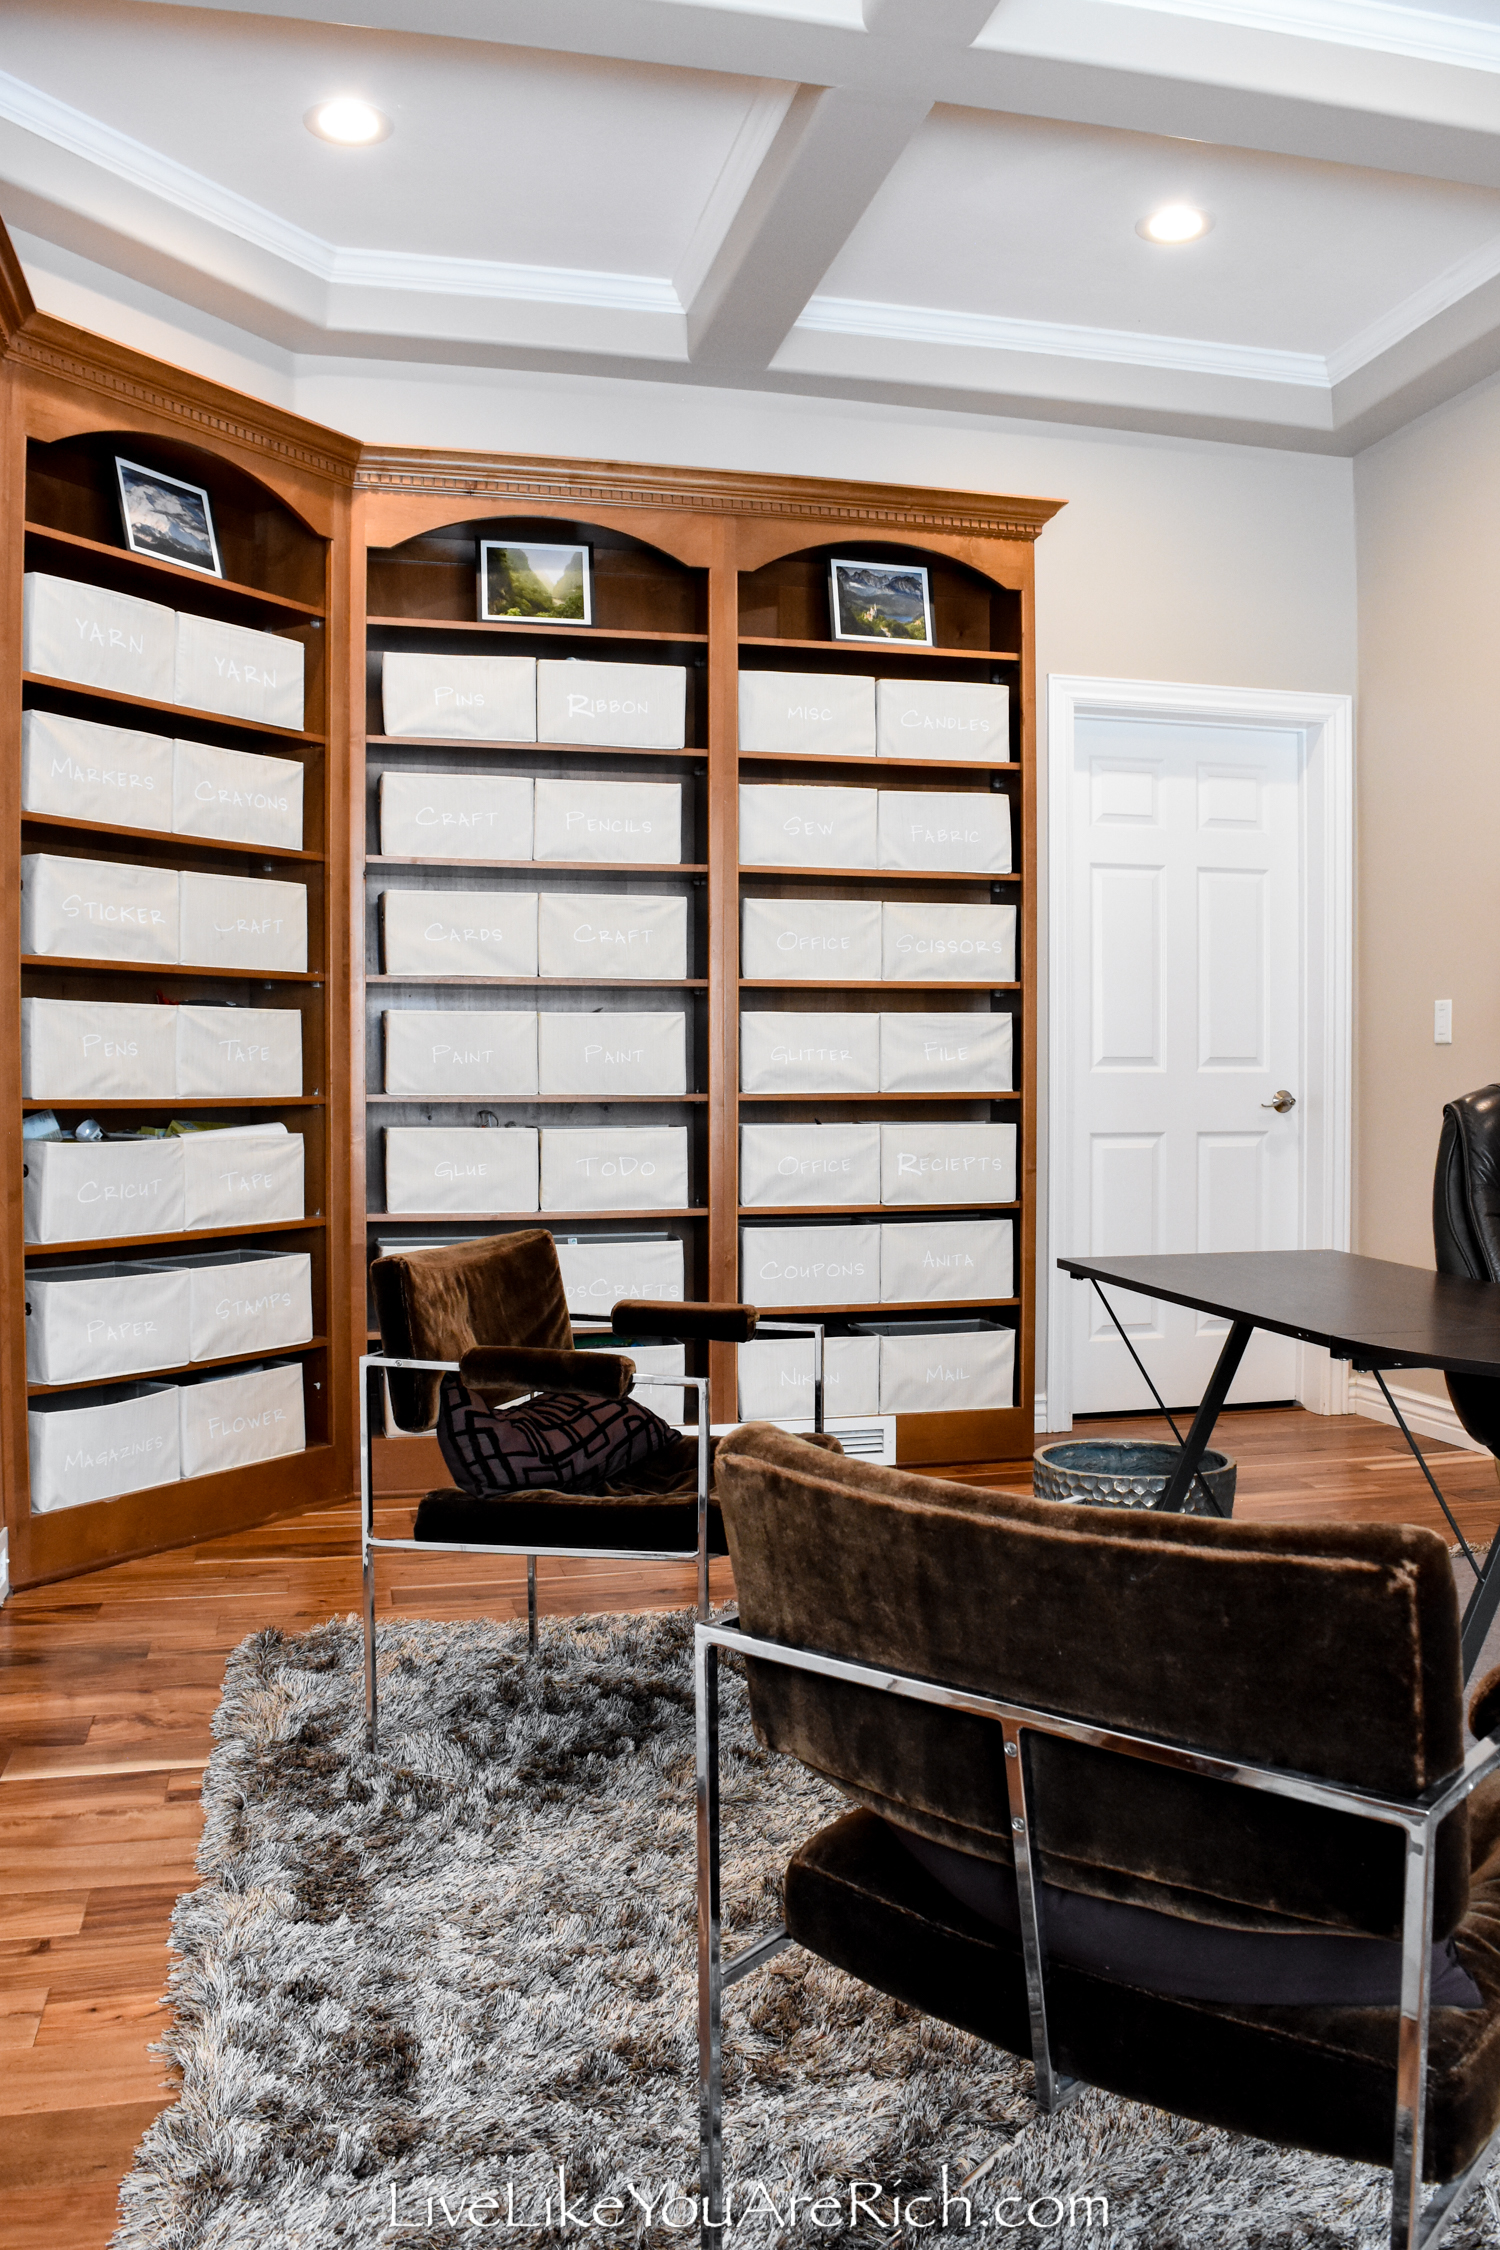
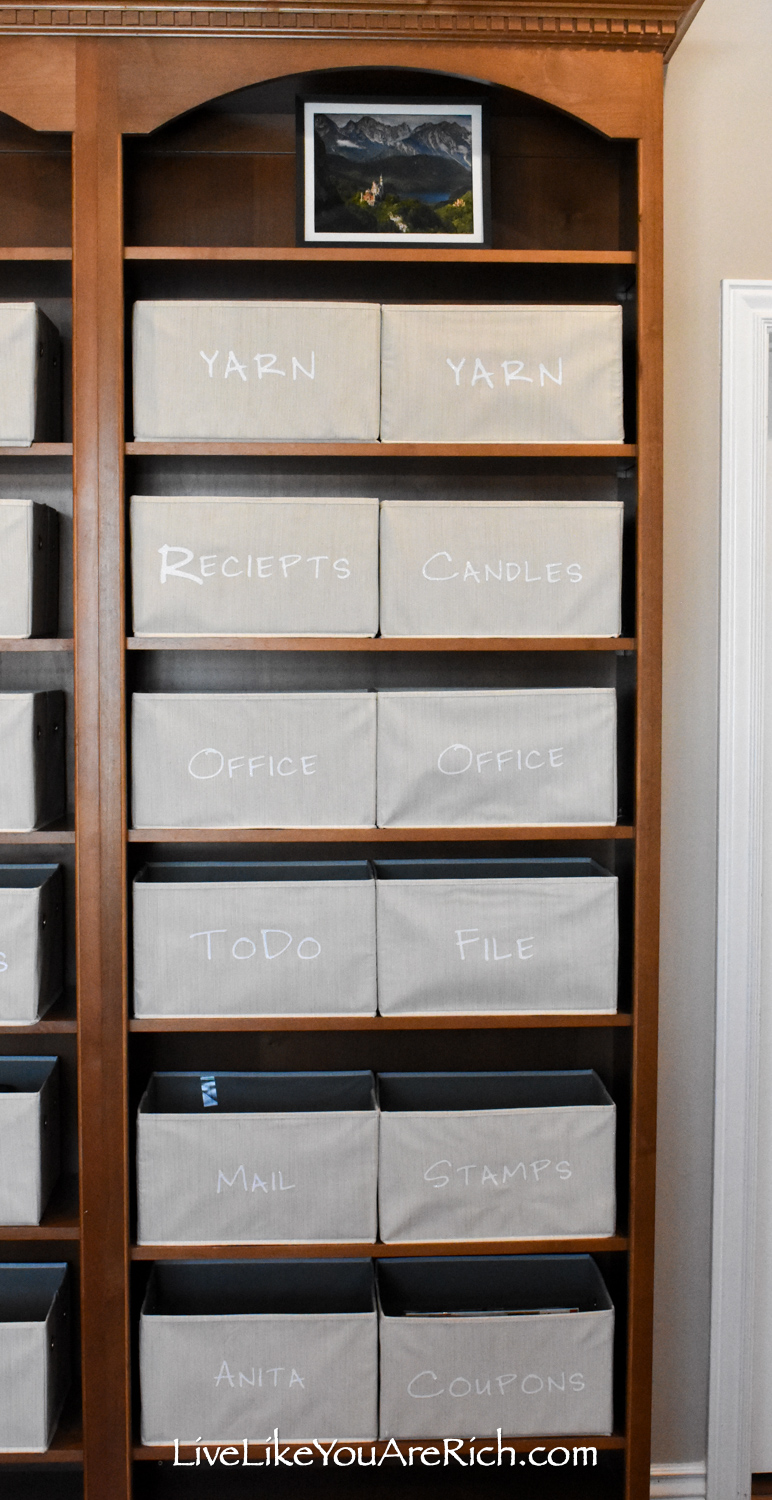
First, I needed a storage solution that would work for me and the decor.
I use my office for my business and I have a lot of supplies that I need organized.
I also don’t like clutter. I like things to look clean and simple… So, I created these labeled bins. I wrote a blog/tutorial on how to label fabric storage bins or totes with vinyl here.
The bins and vinyl were both bought on Amazon.
These bins have been very functional!
I am constantly taking items out and putting items back in multiple times a week and they have held up really well over the years!
I liked that I used white iron on glitter vinyl for the labeling because from far away the white almost blends in with the bin fabric. This gives the bins a nice clean and crisp look.
Up close you can easily read the labels.

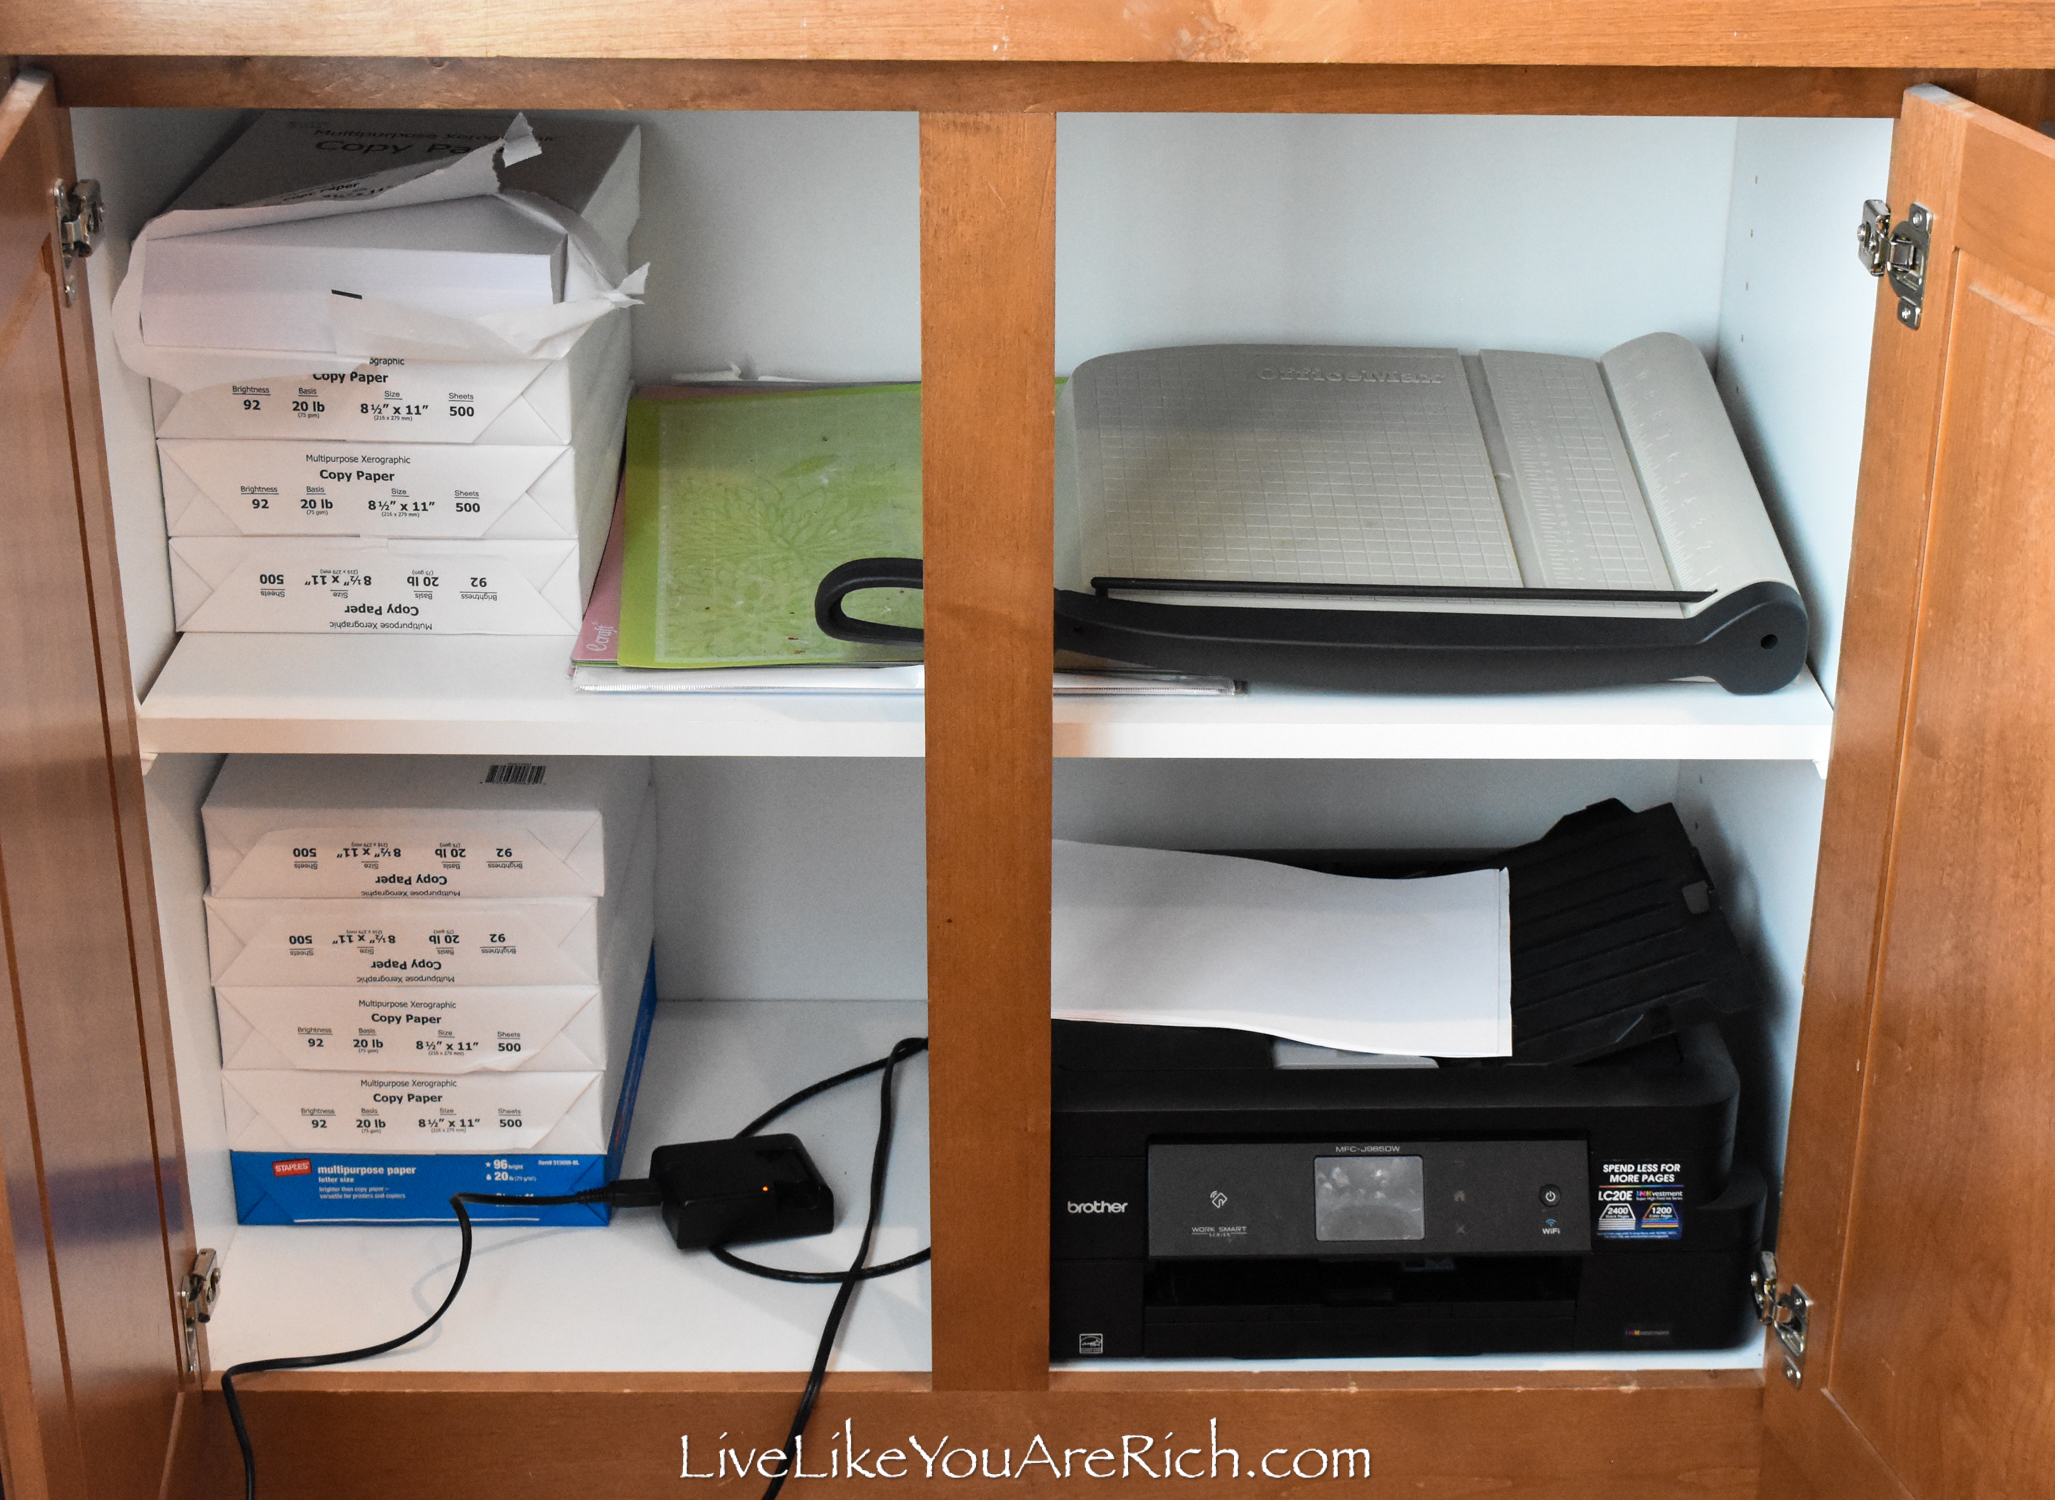
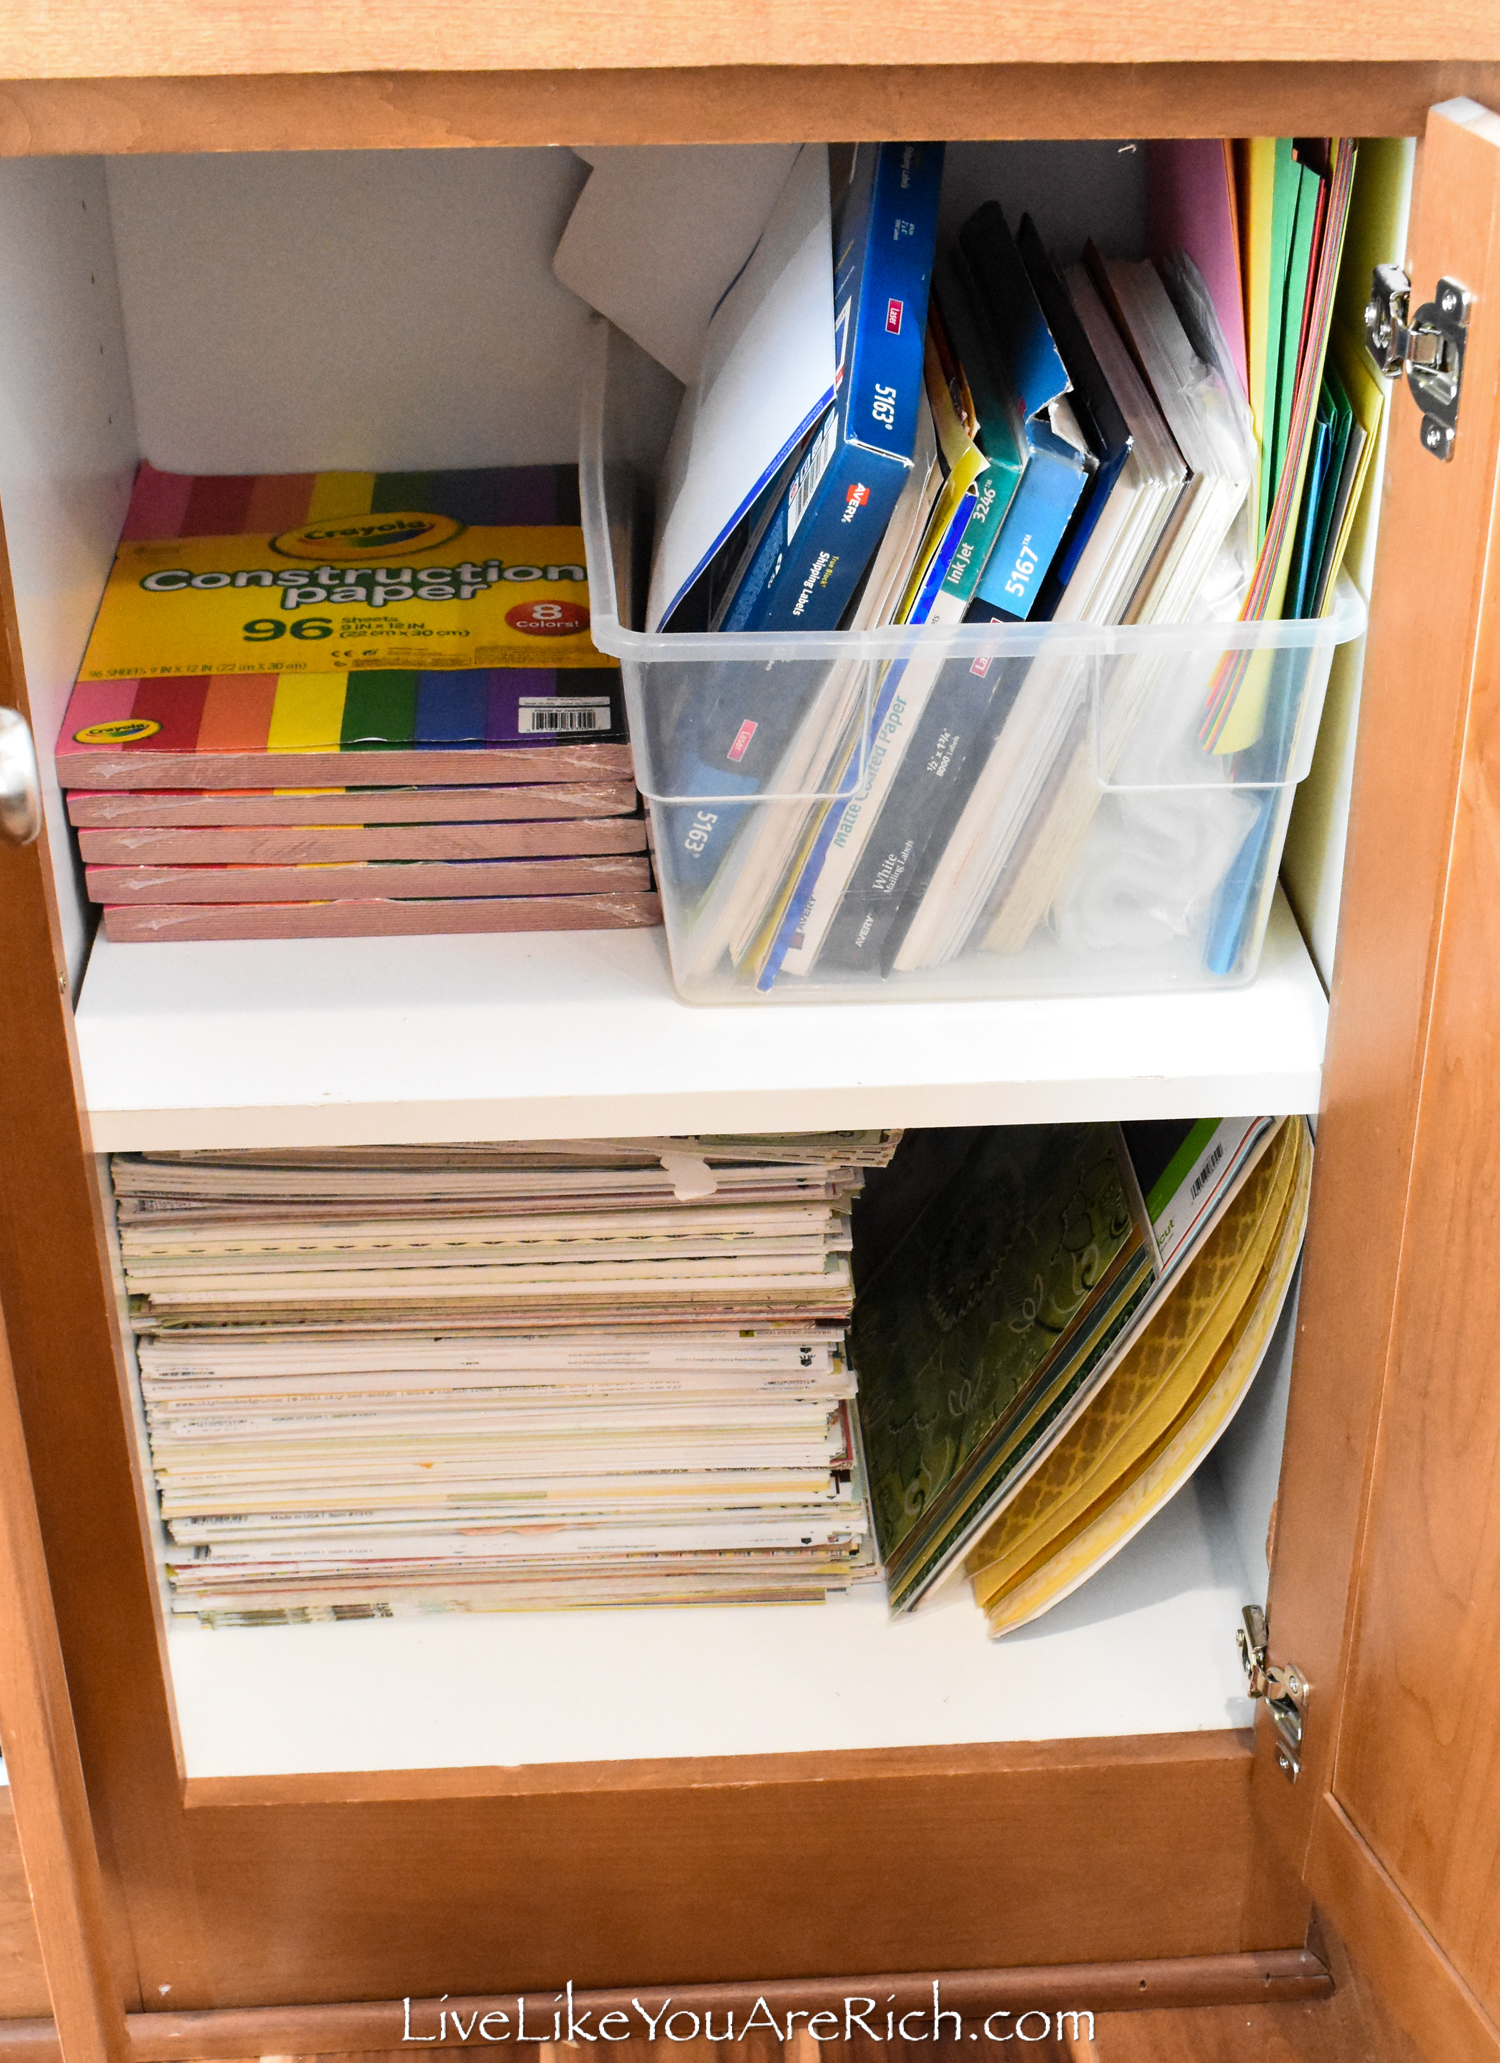
I was able to fit my printer and other items in these built-in shelving cabinets for a clutter-free look as well.
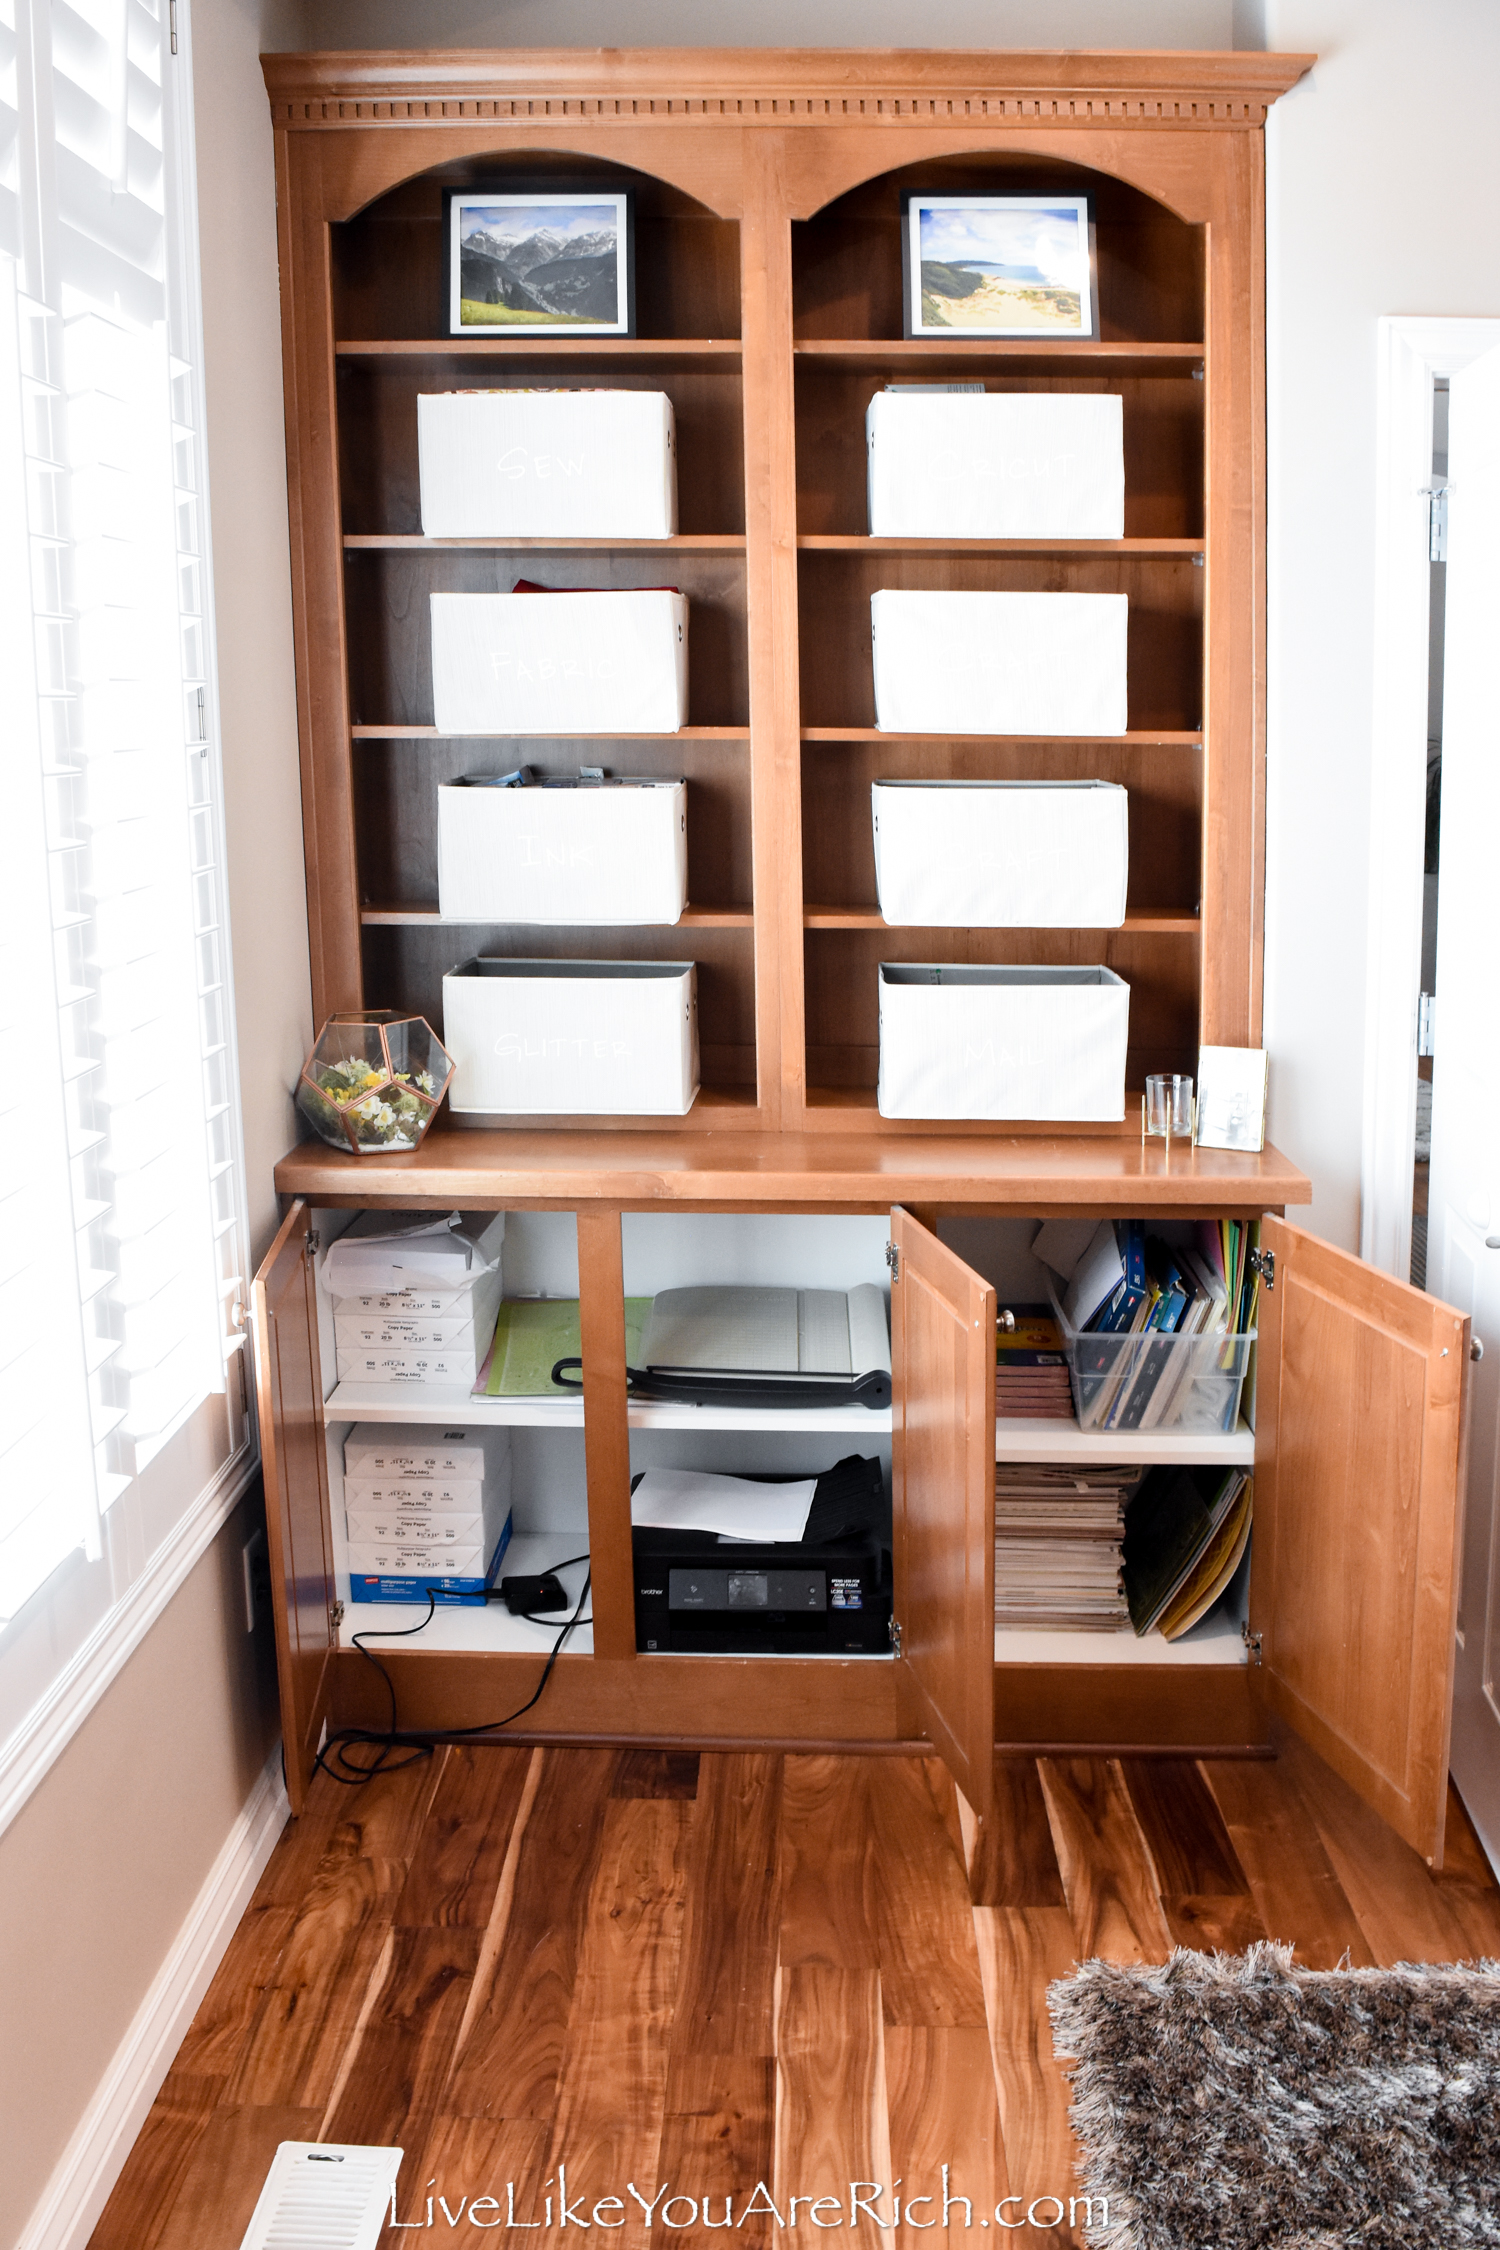
For the artwork for the room, I ordered 8×10 photographs from Sams Club’s professional printing service.
I recommend using Sams Club professional printing or Nations Photo Lab for inexpensive yet good-quality prints.
These photographs mean a lot to me. They are some of my favorite places on earth. I have either lived there (Germany, New Zealand, Taiwan, Utah) or visited the places (Alaska, Mexico, Hawaii, Switzerland, Austria, etc.).
I framed them as well.
Each cost $2.50… Total $25.00. I wrote a tutorial on how to create high-quality Dollar Tree framed landscape photographs here.
I love decorating with rugs! They add dimension, color, warmth, and comfort.
I bought a beautiful Safavieh Paris shag rug in the color sable. I love it.
Safavieh brand makes great rugs (I have multiple throughout my home).
This one was new but I bought it from someone who sells rugs locally out of their home for $50.00. It is a 9×9.
Tip- Always use a rug pad under rugs on a hardwood floor. When we bought this home the previous owners appeared to have not used rug pads. The hardwood finish was worn off in all the areas their rugs were.
I already had a rug pad that was an 8×10 and I just reused it by cutting it down to size.
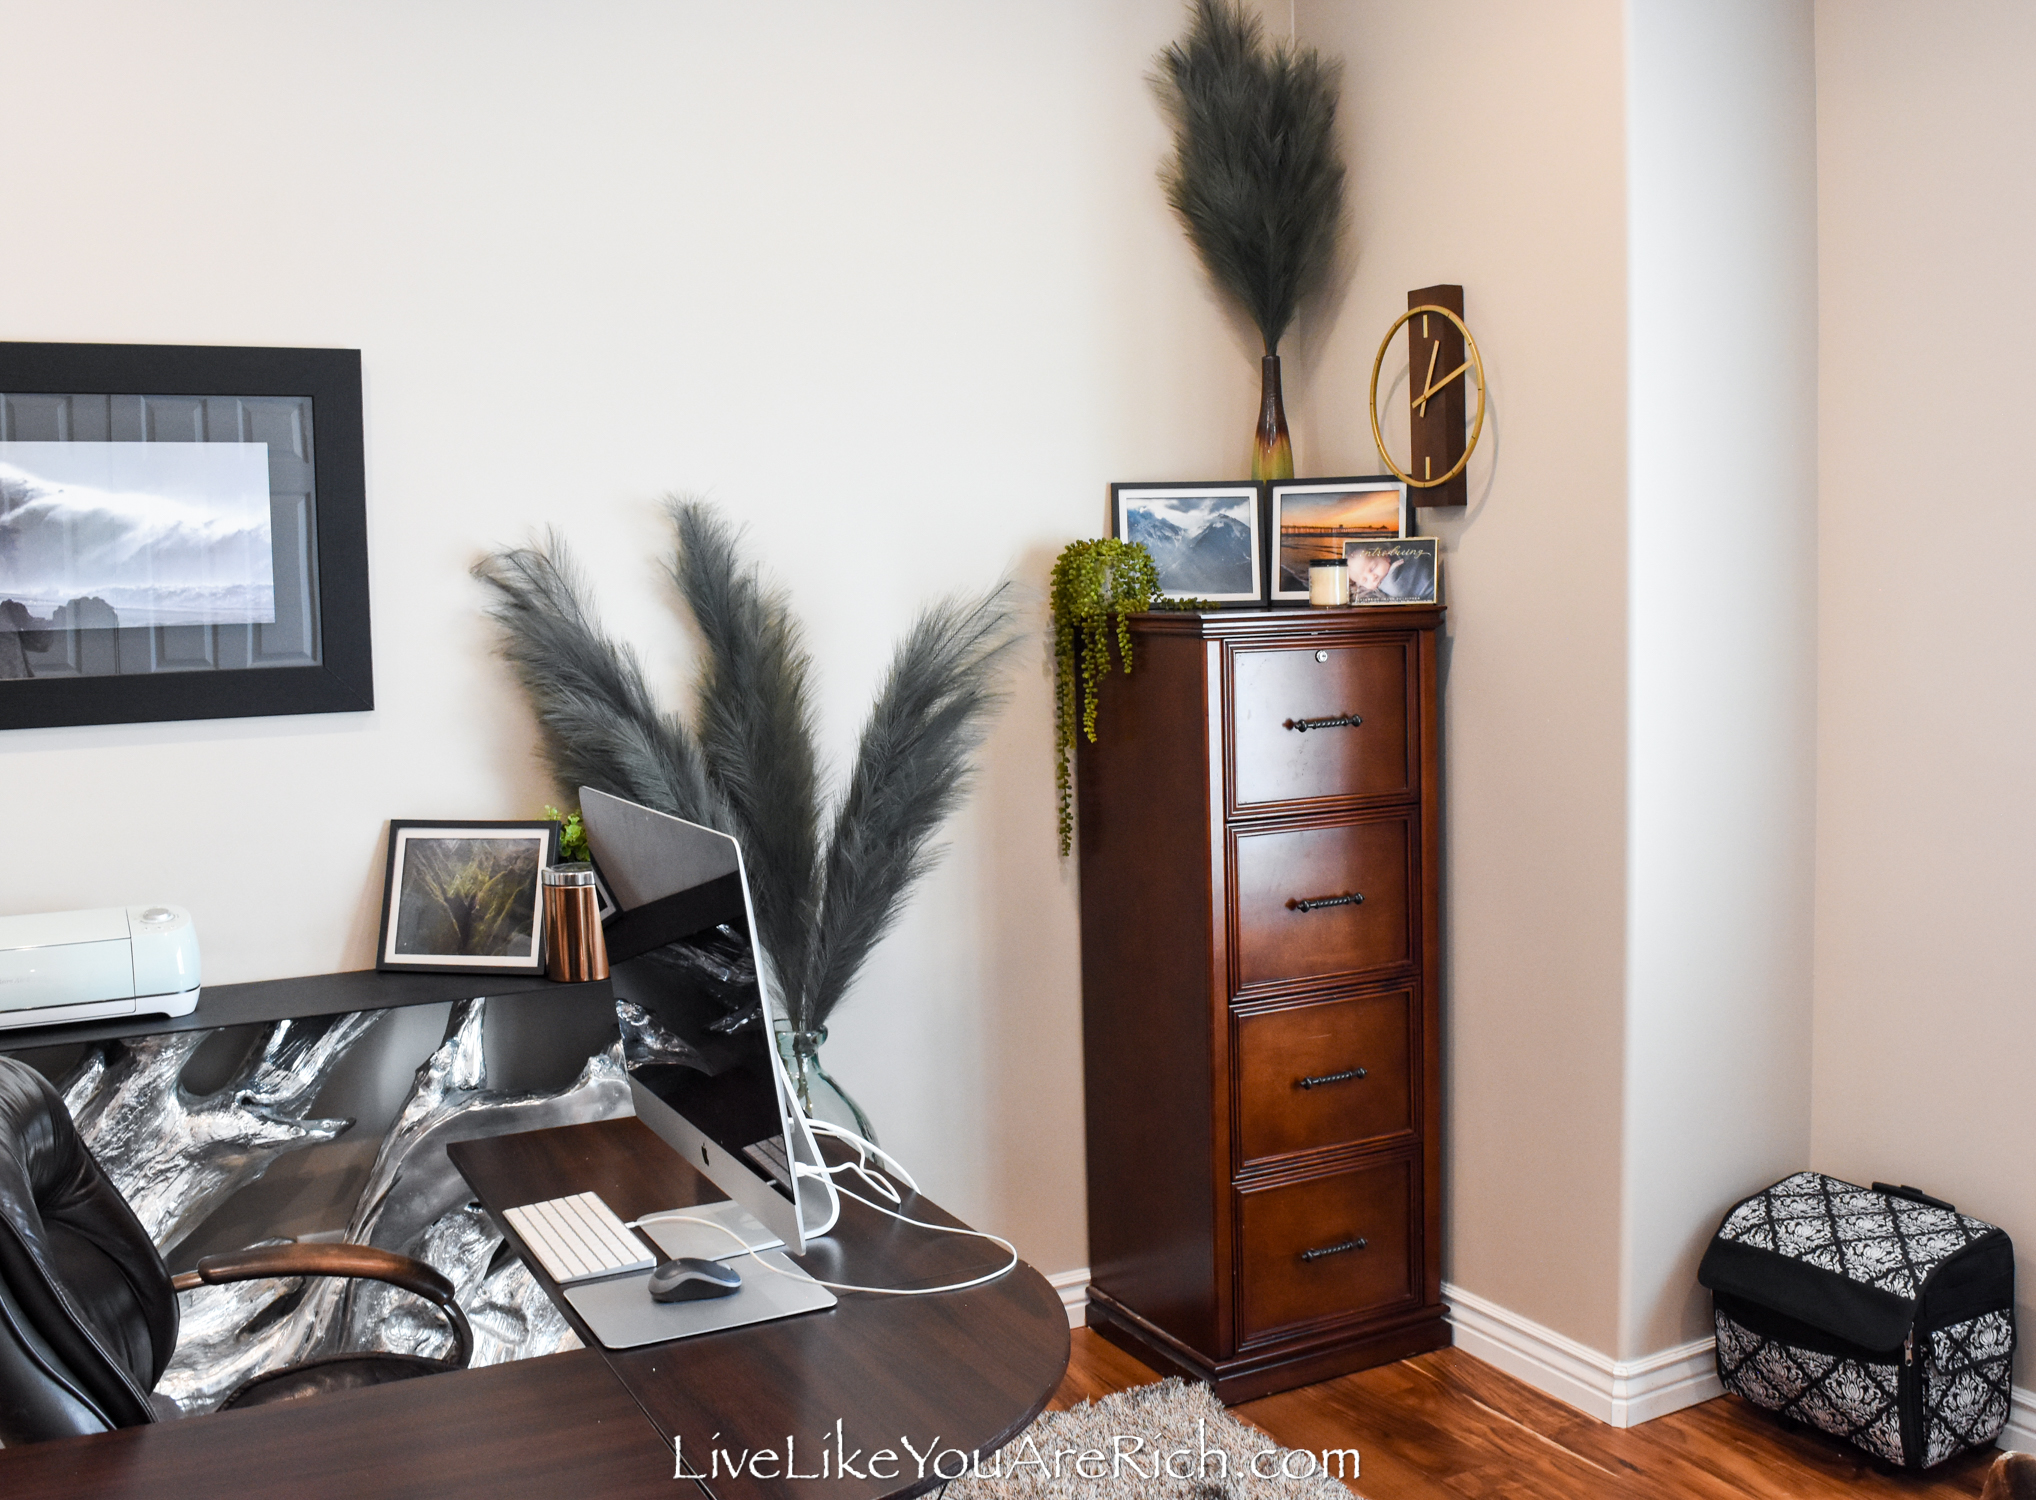
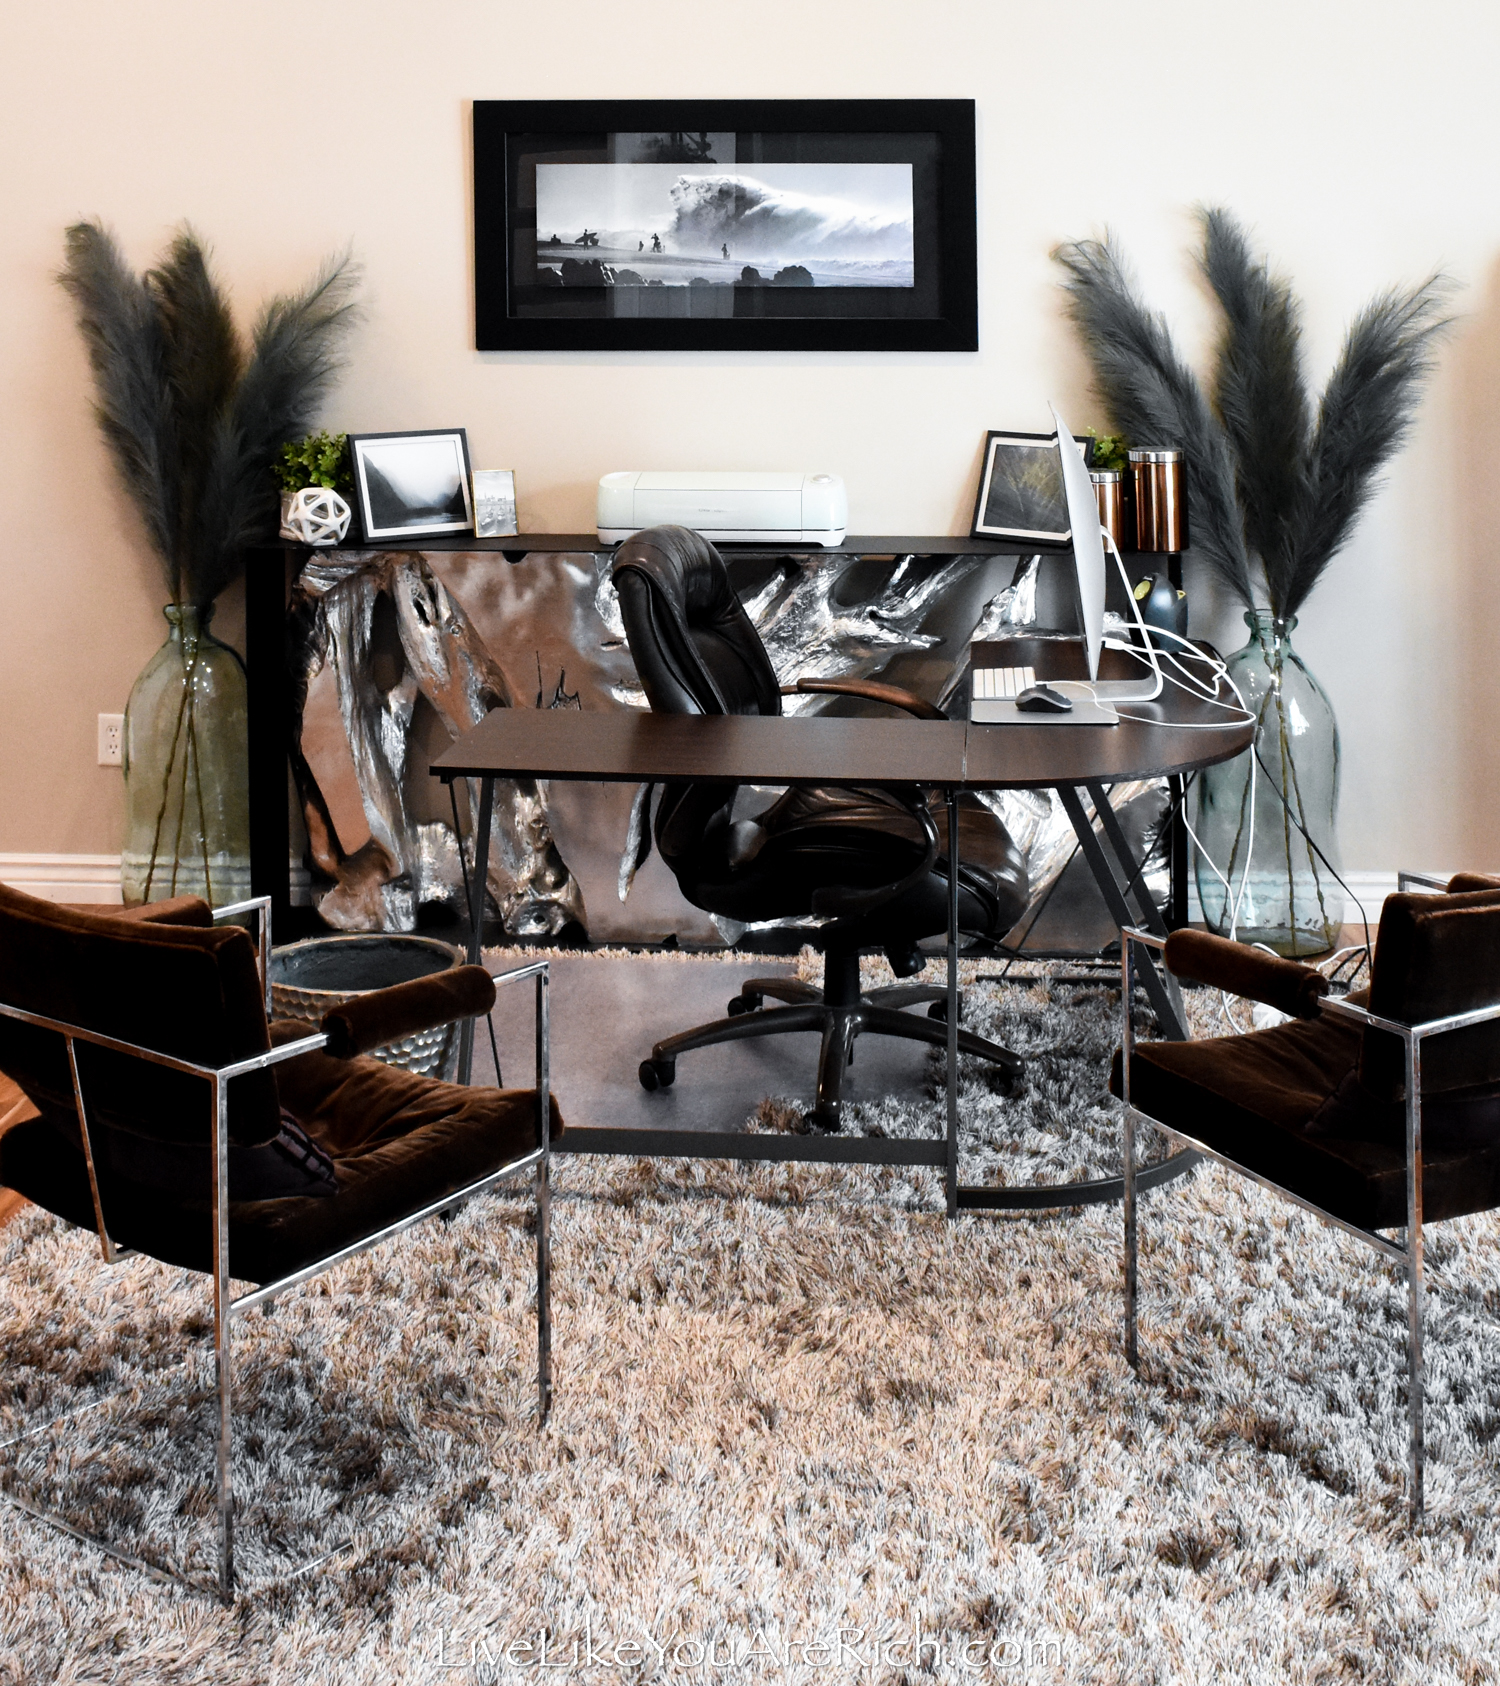
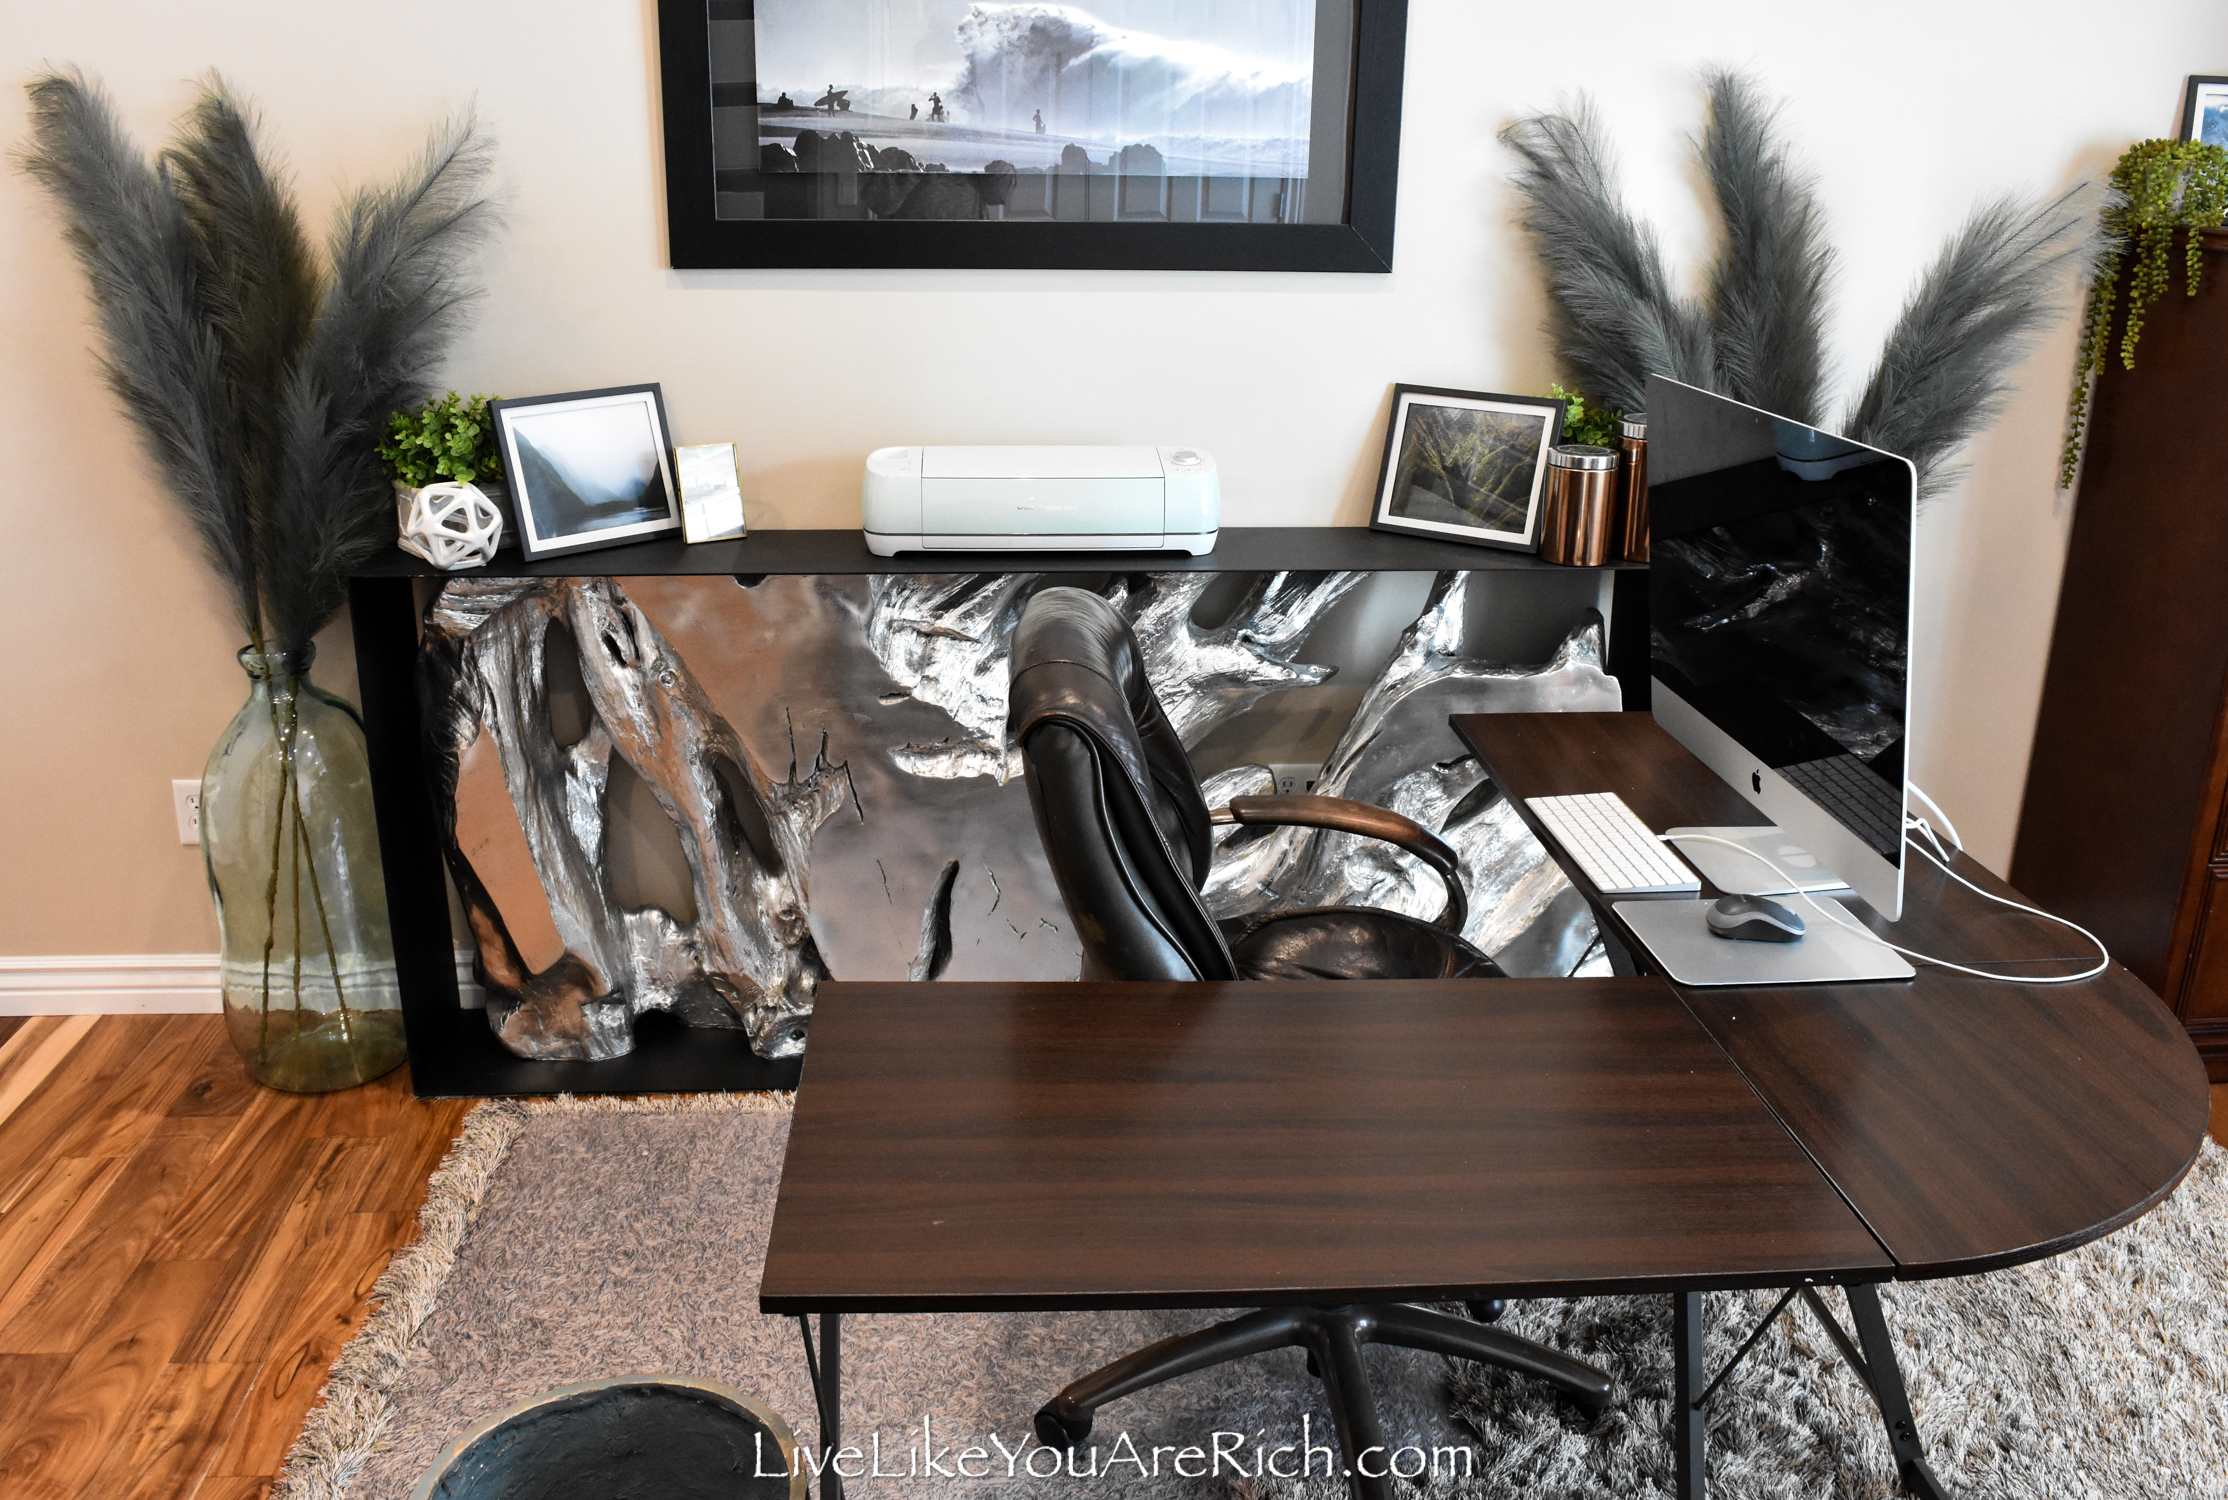
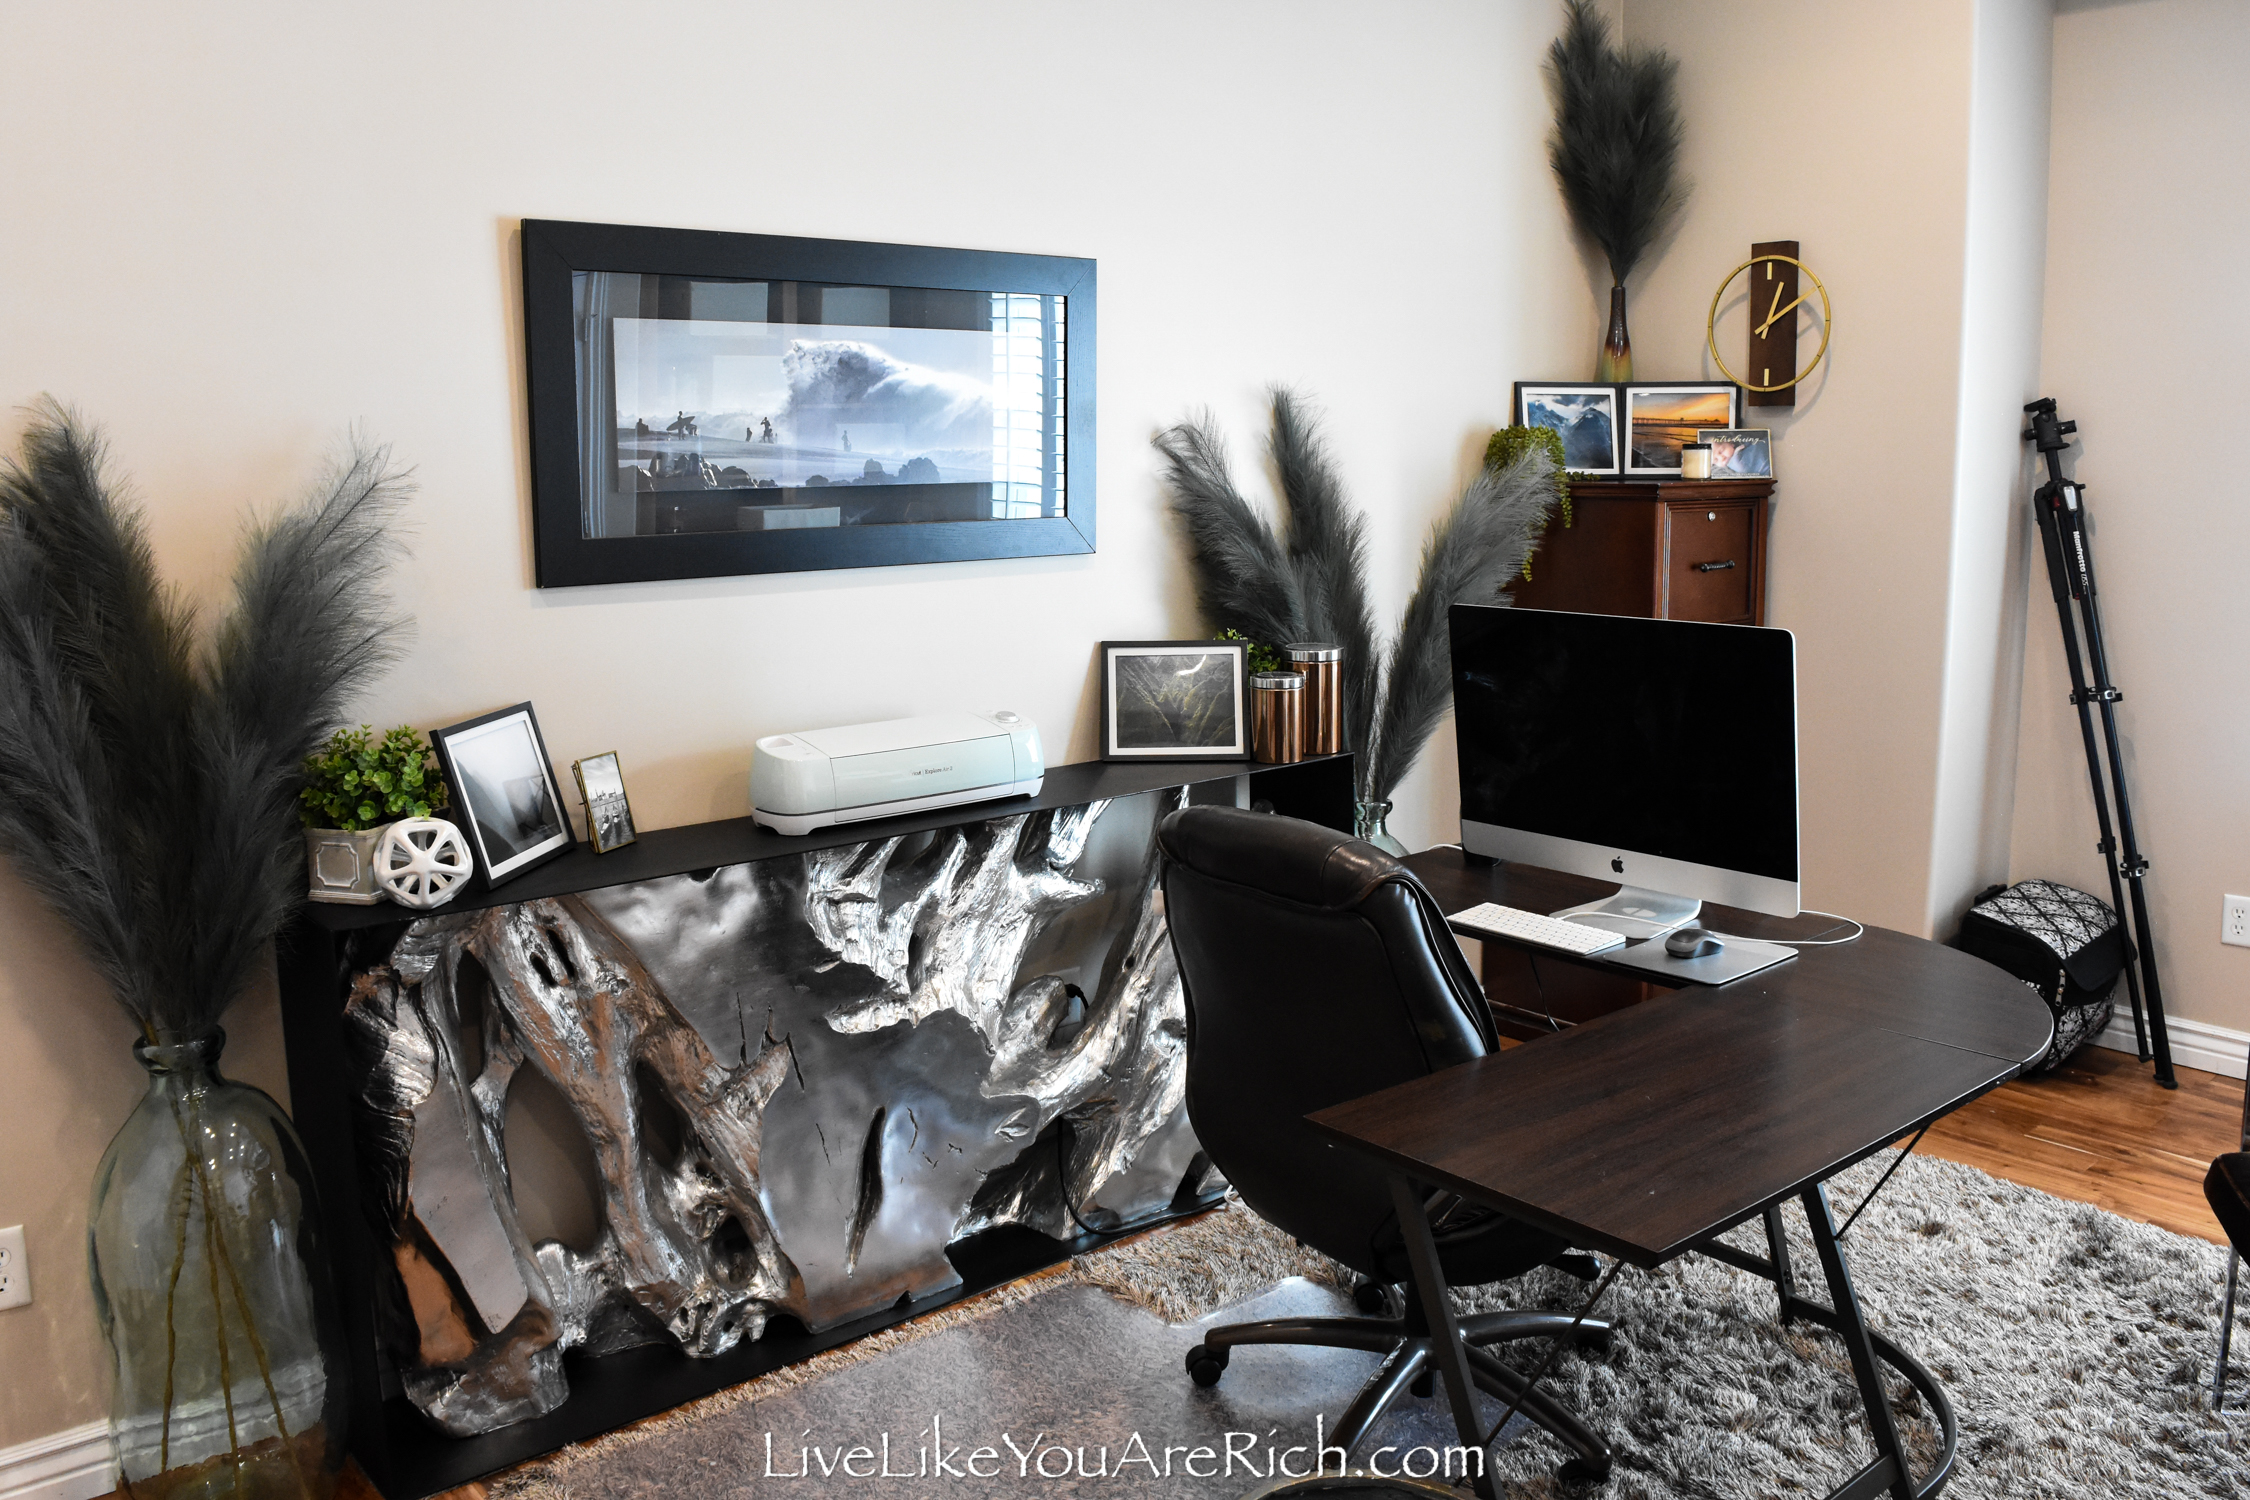
I got the desk from Amazon ($80.00) and really like it.
I already had the leather office chair and computers previous to owning this home.
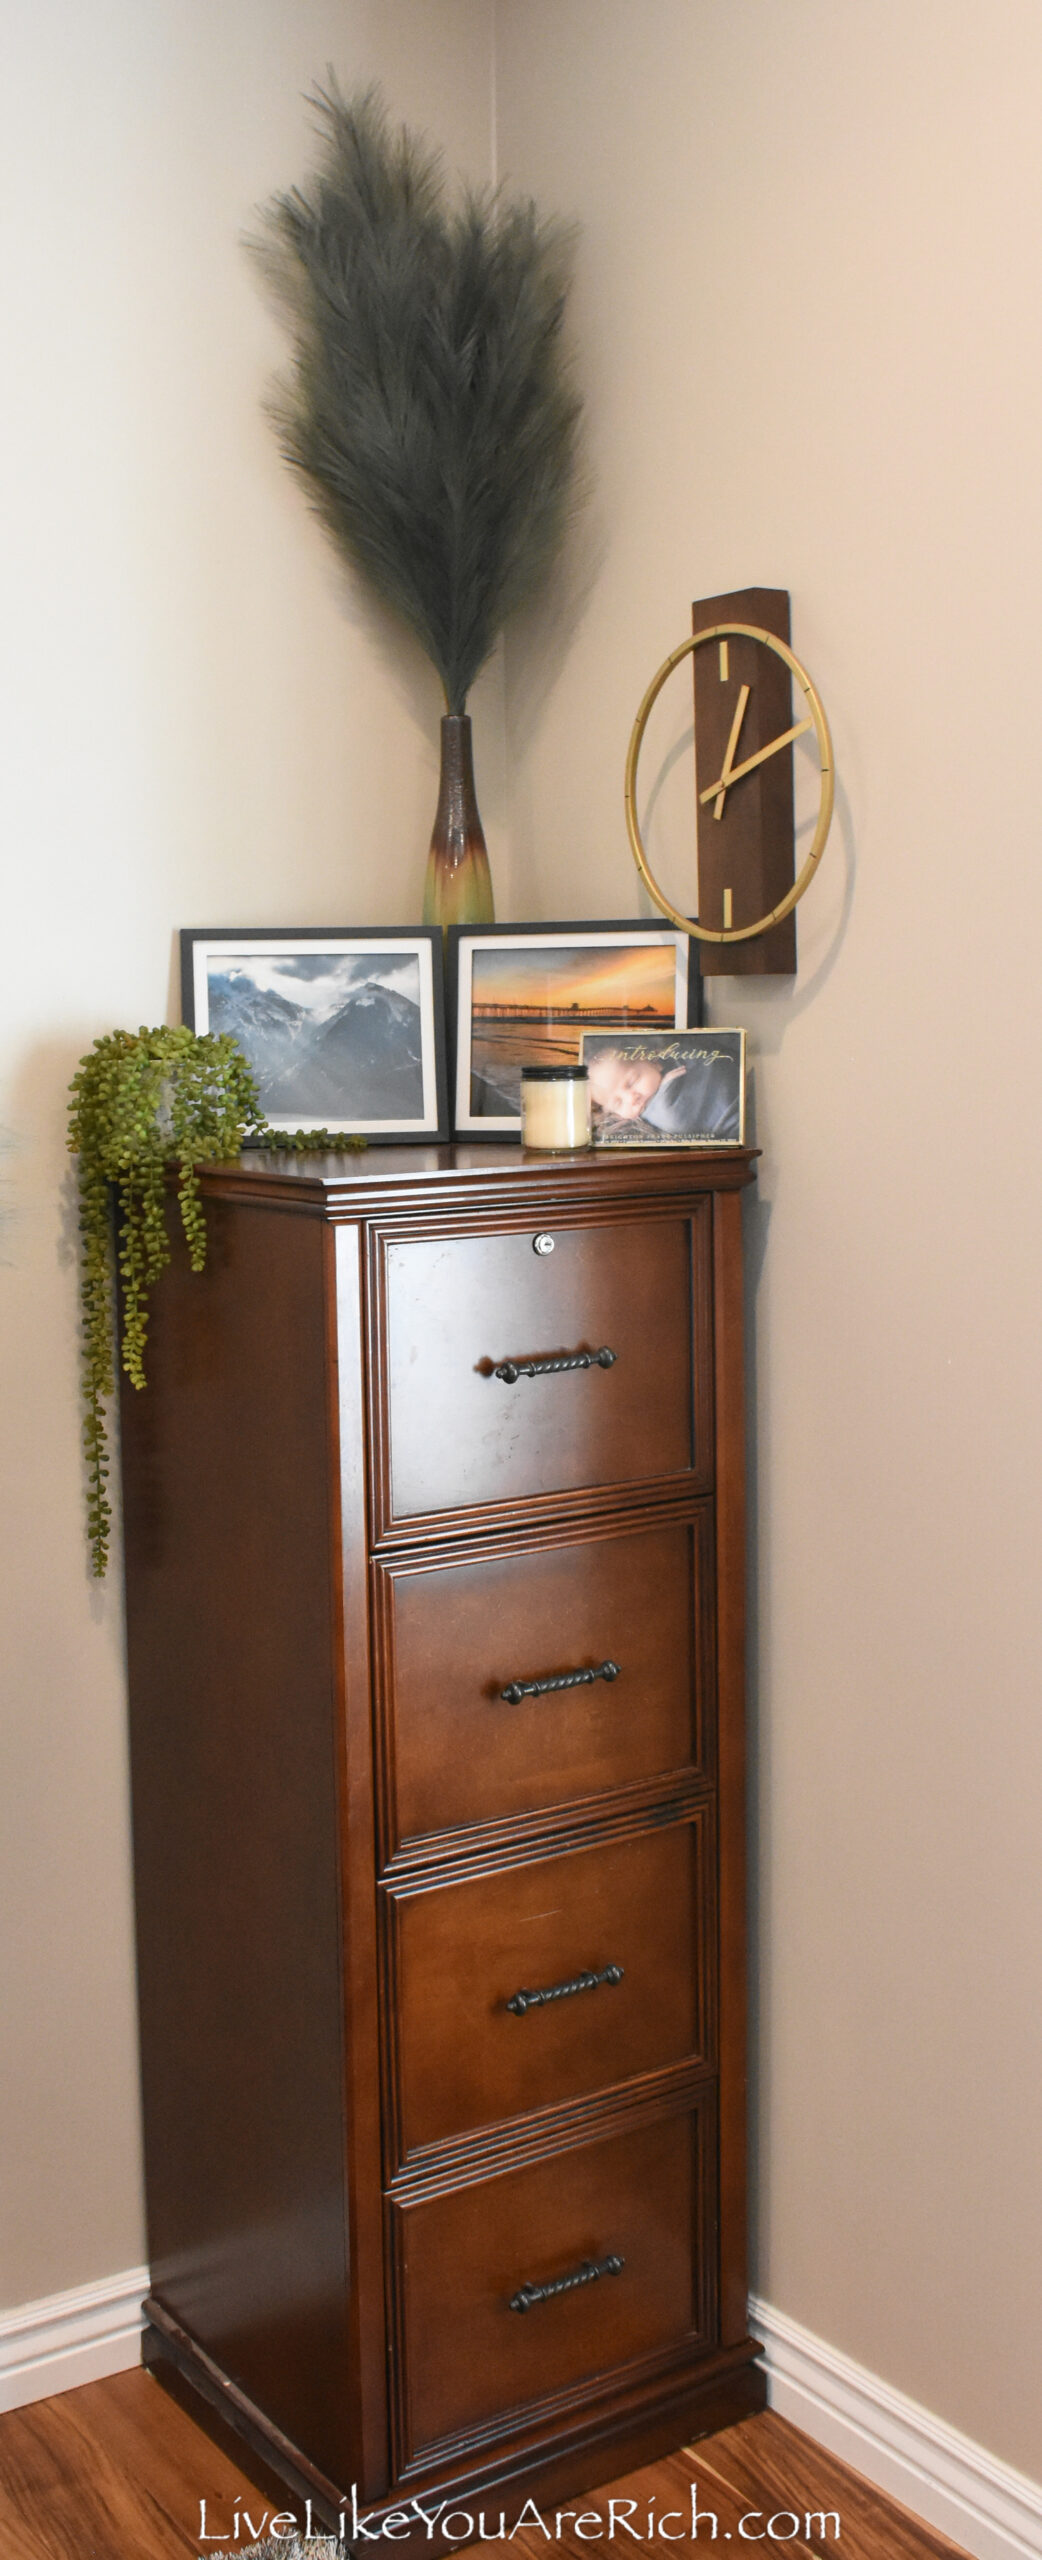
The clock was purchased at At-Home for $7.00, the plant came from Lowes for $9.00, and other odds and ends were purchased at a garage sale for about $1.00-$2.00 each.

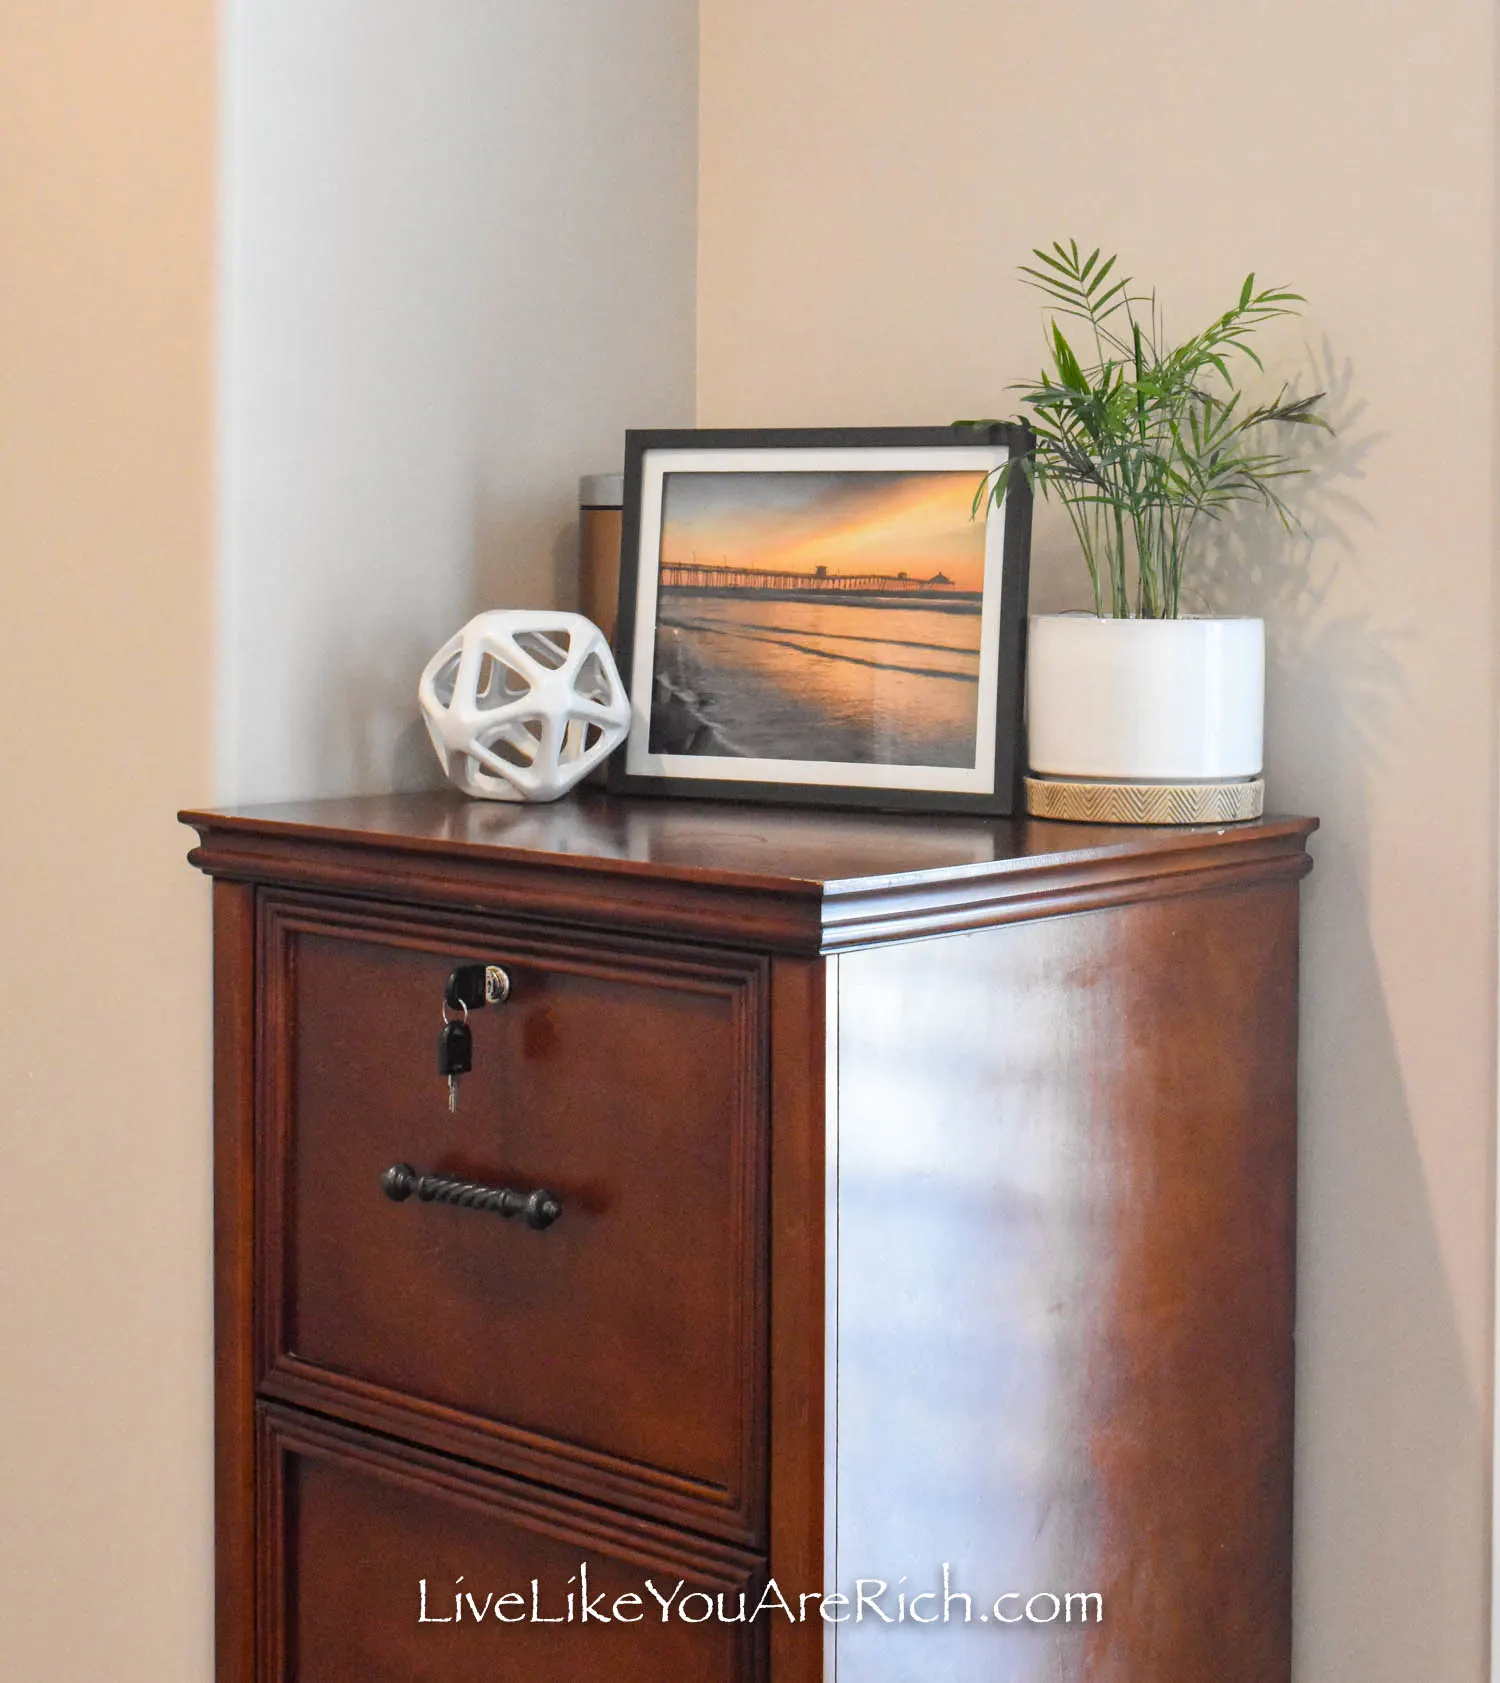
We had the filing cabinet.
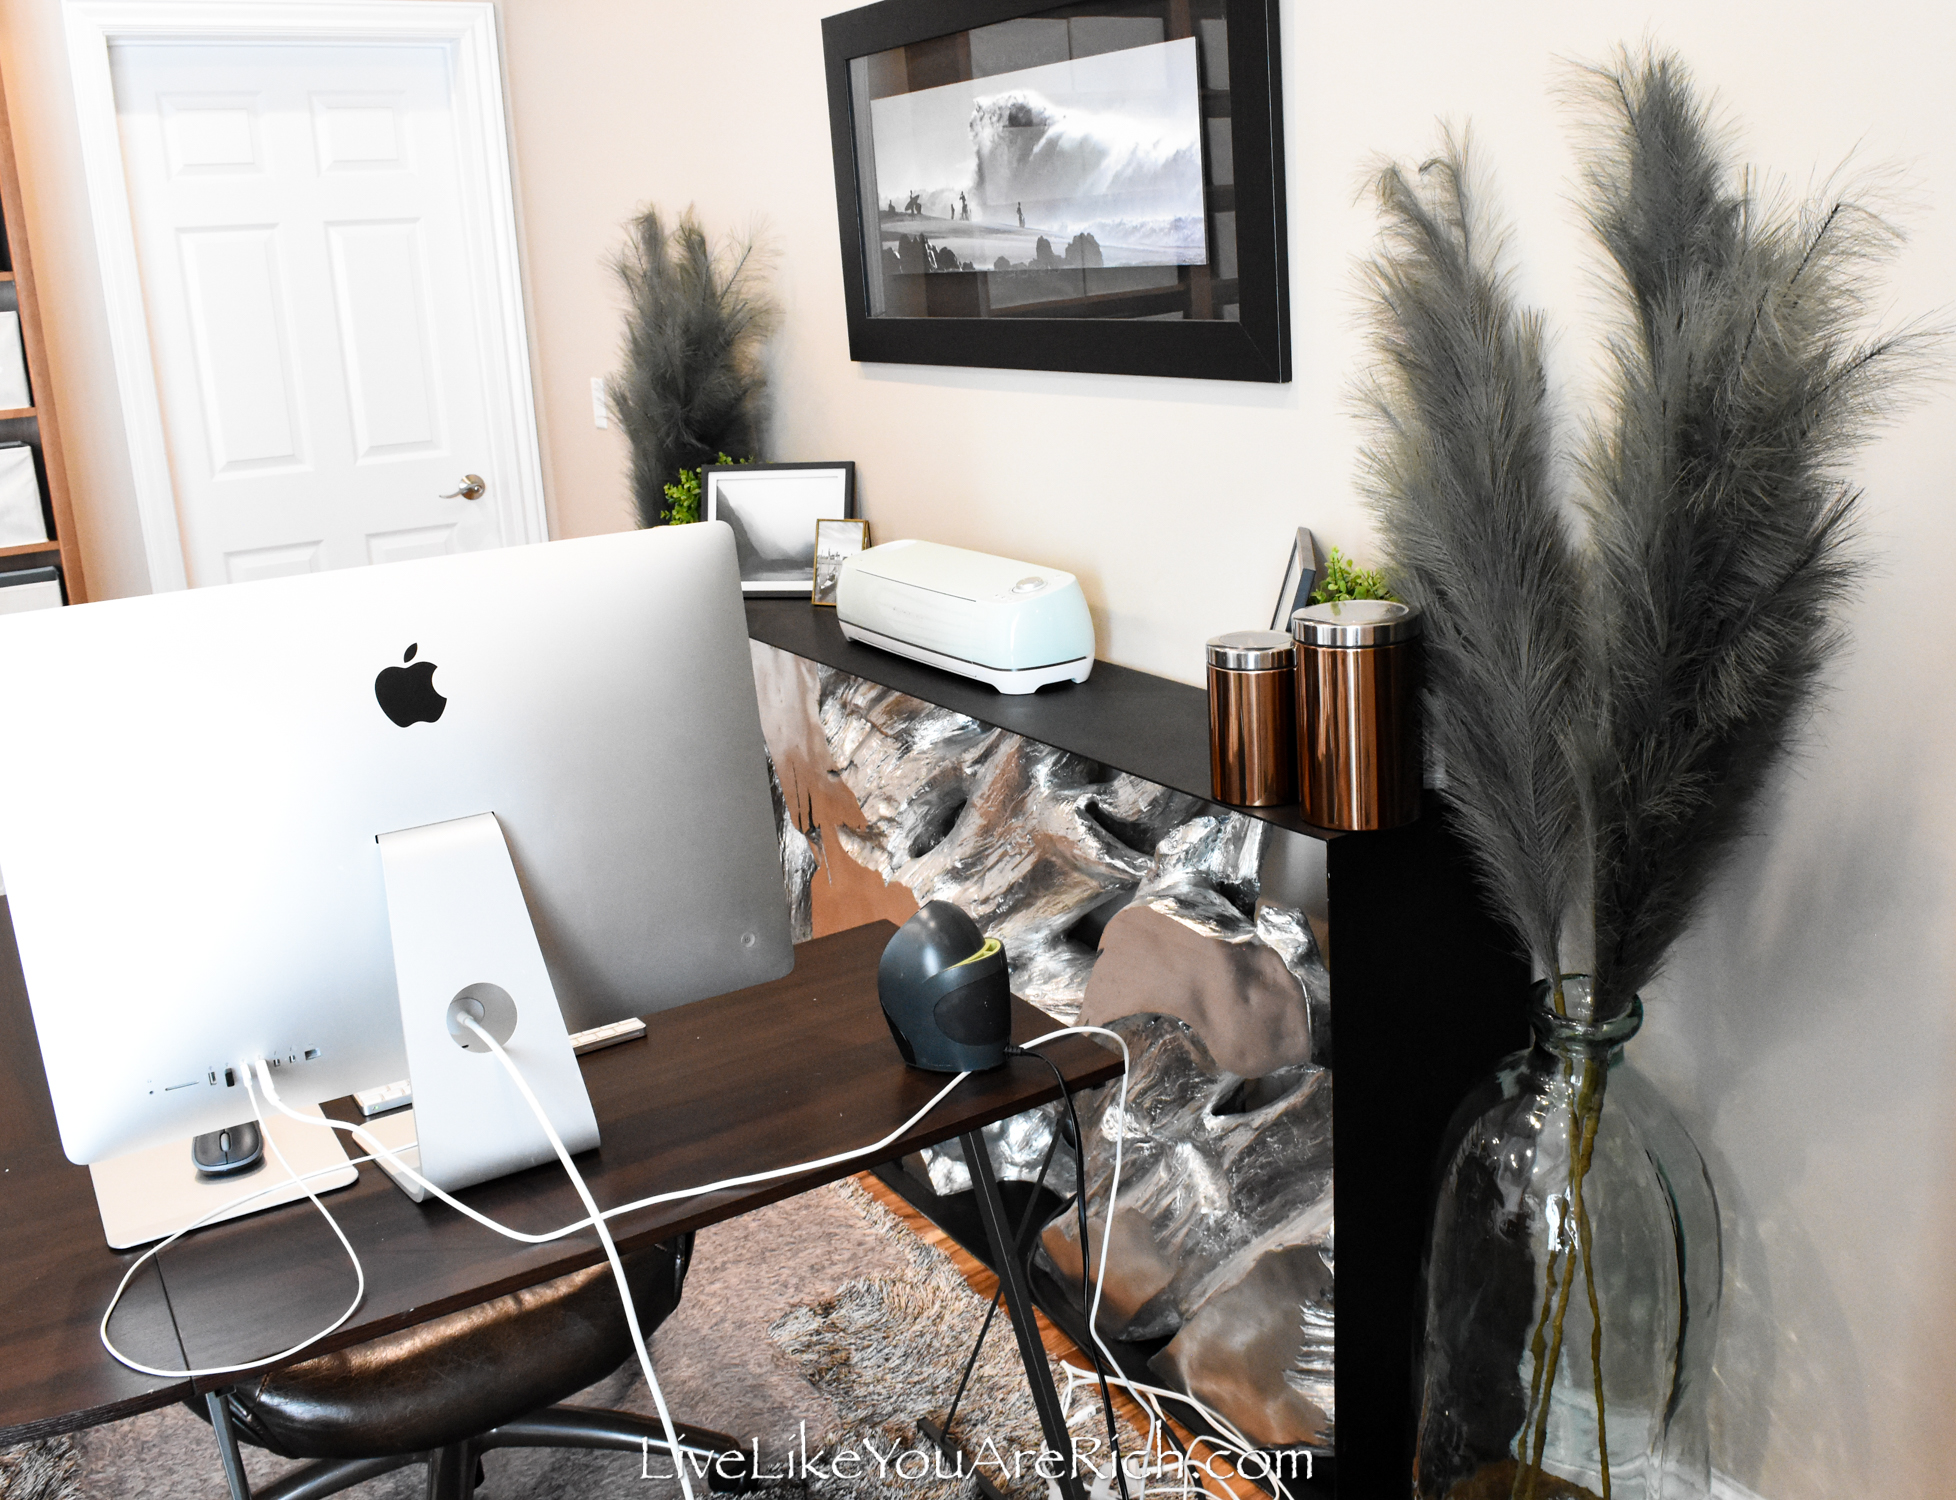
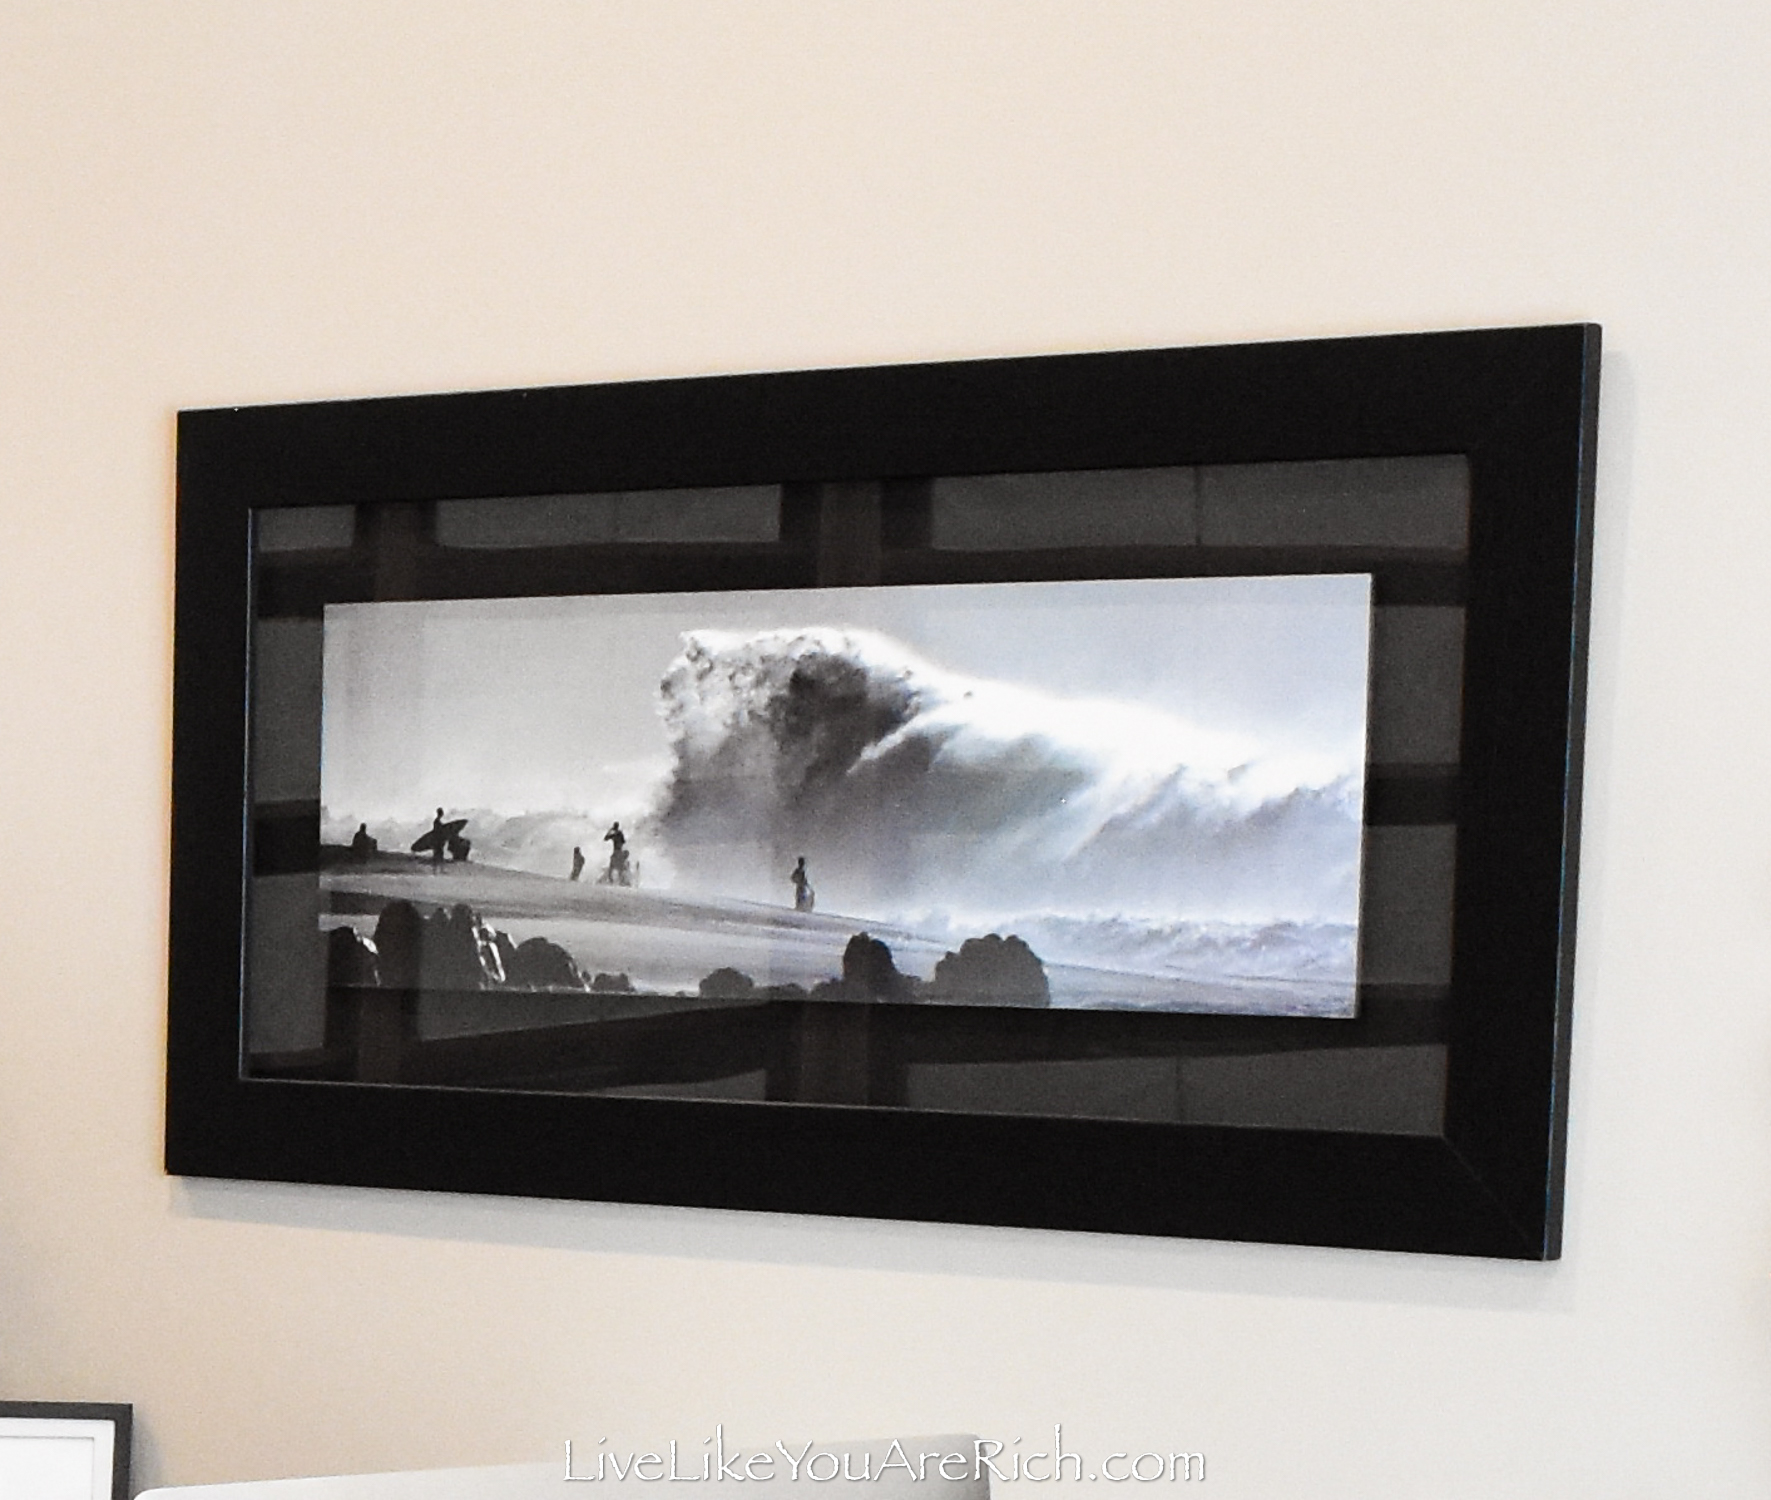
I also had this framed image of a large wave breaking on the north shore that I love.
Originally, I put it in our master bedroom when we renovated that.
However, I felt that it fit better in the office so I put it here and this is where it has stayed.
I purchased these awesome mid-century vintage chairs (authentic from the ’60s) from a local classified for $140 for the set. They are actually super comfy! I love the velvet fabric and chrome accents!
The brown pillows on them were ones that I already had. I just liked the feel of them on my back while sitting in these chairs. They added comfort to the mid-century modern chairs so I left them there.
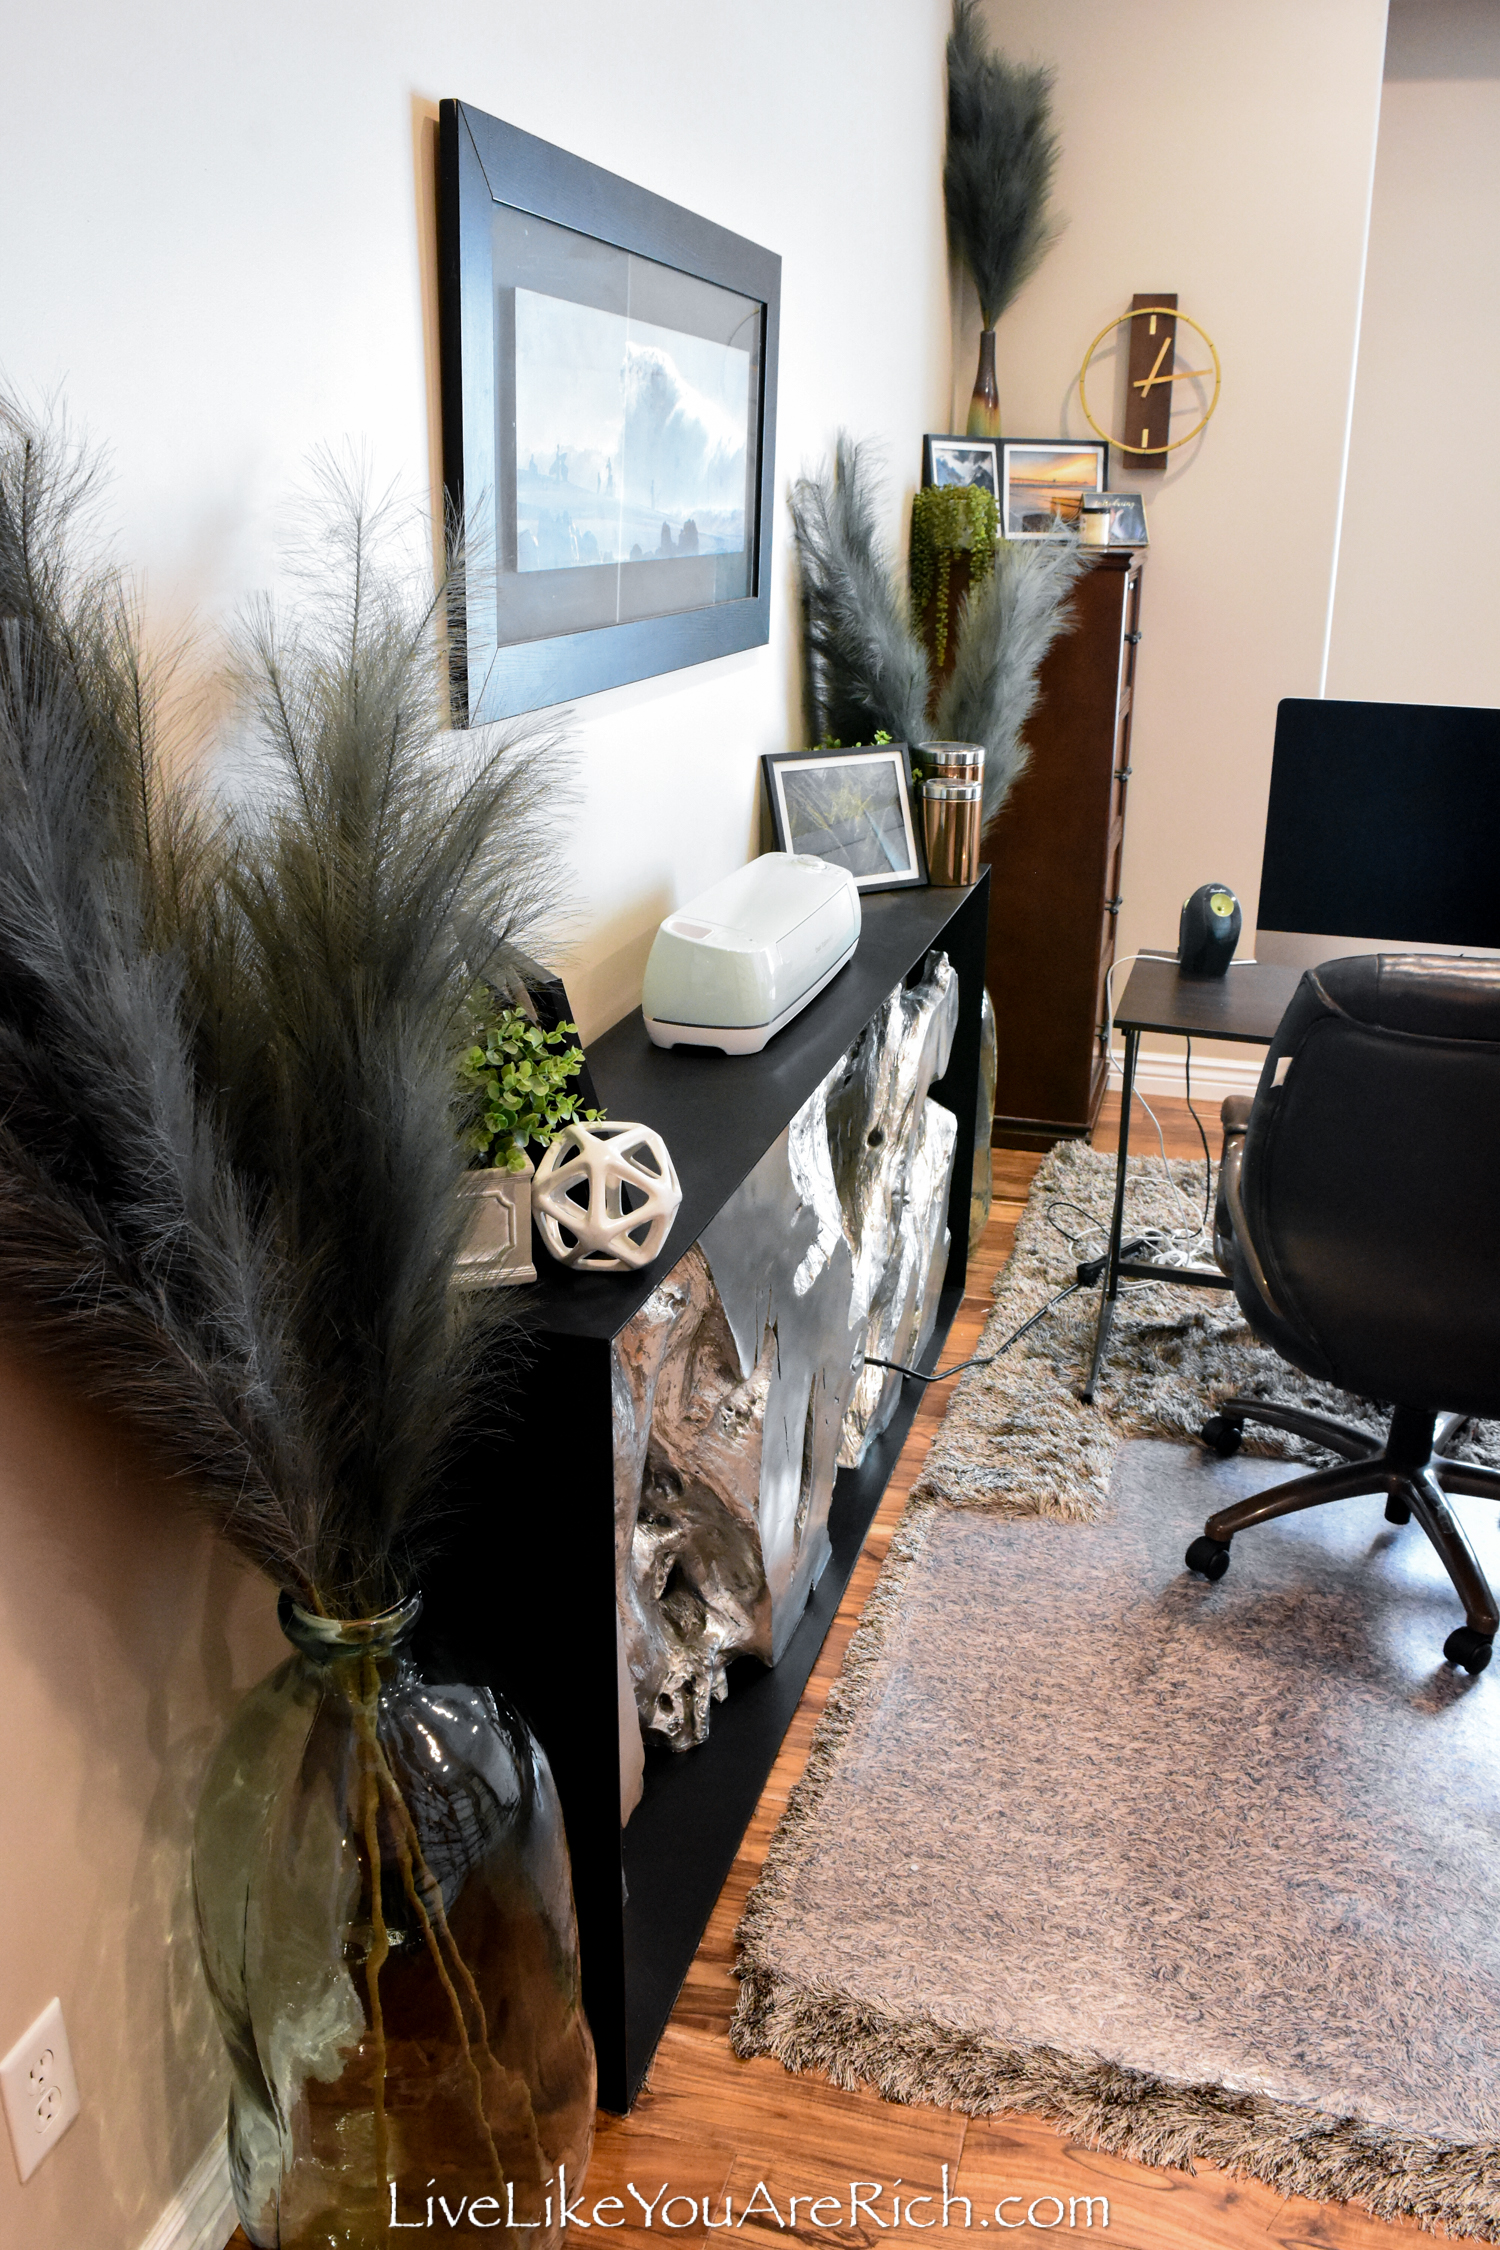
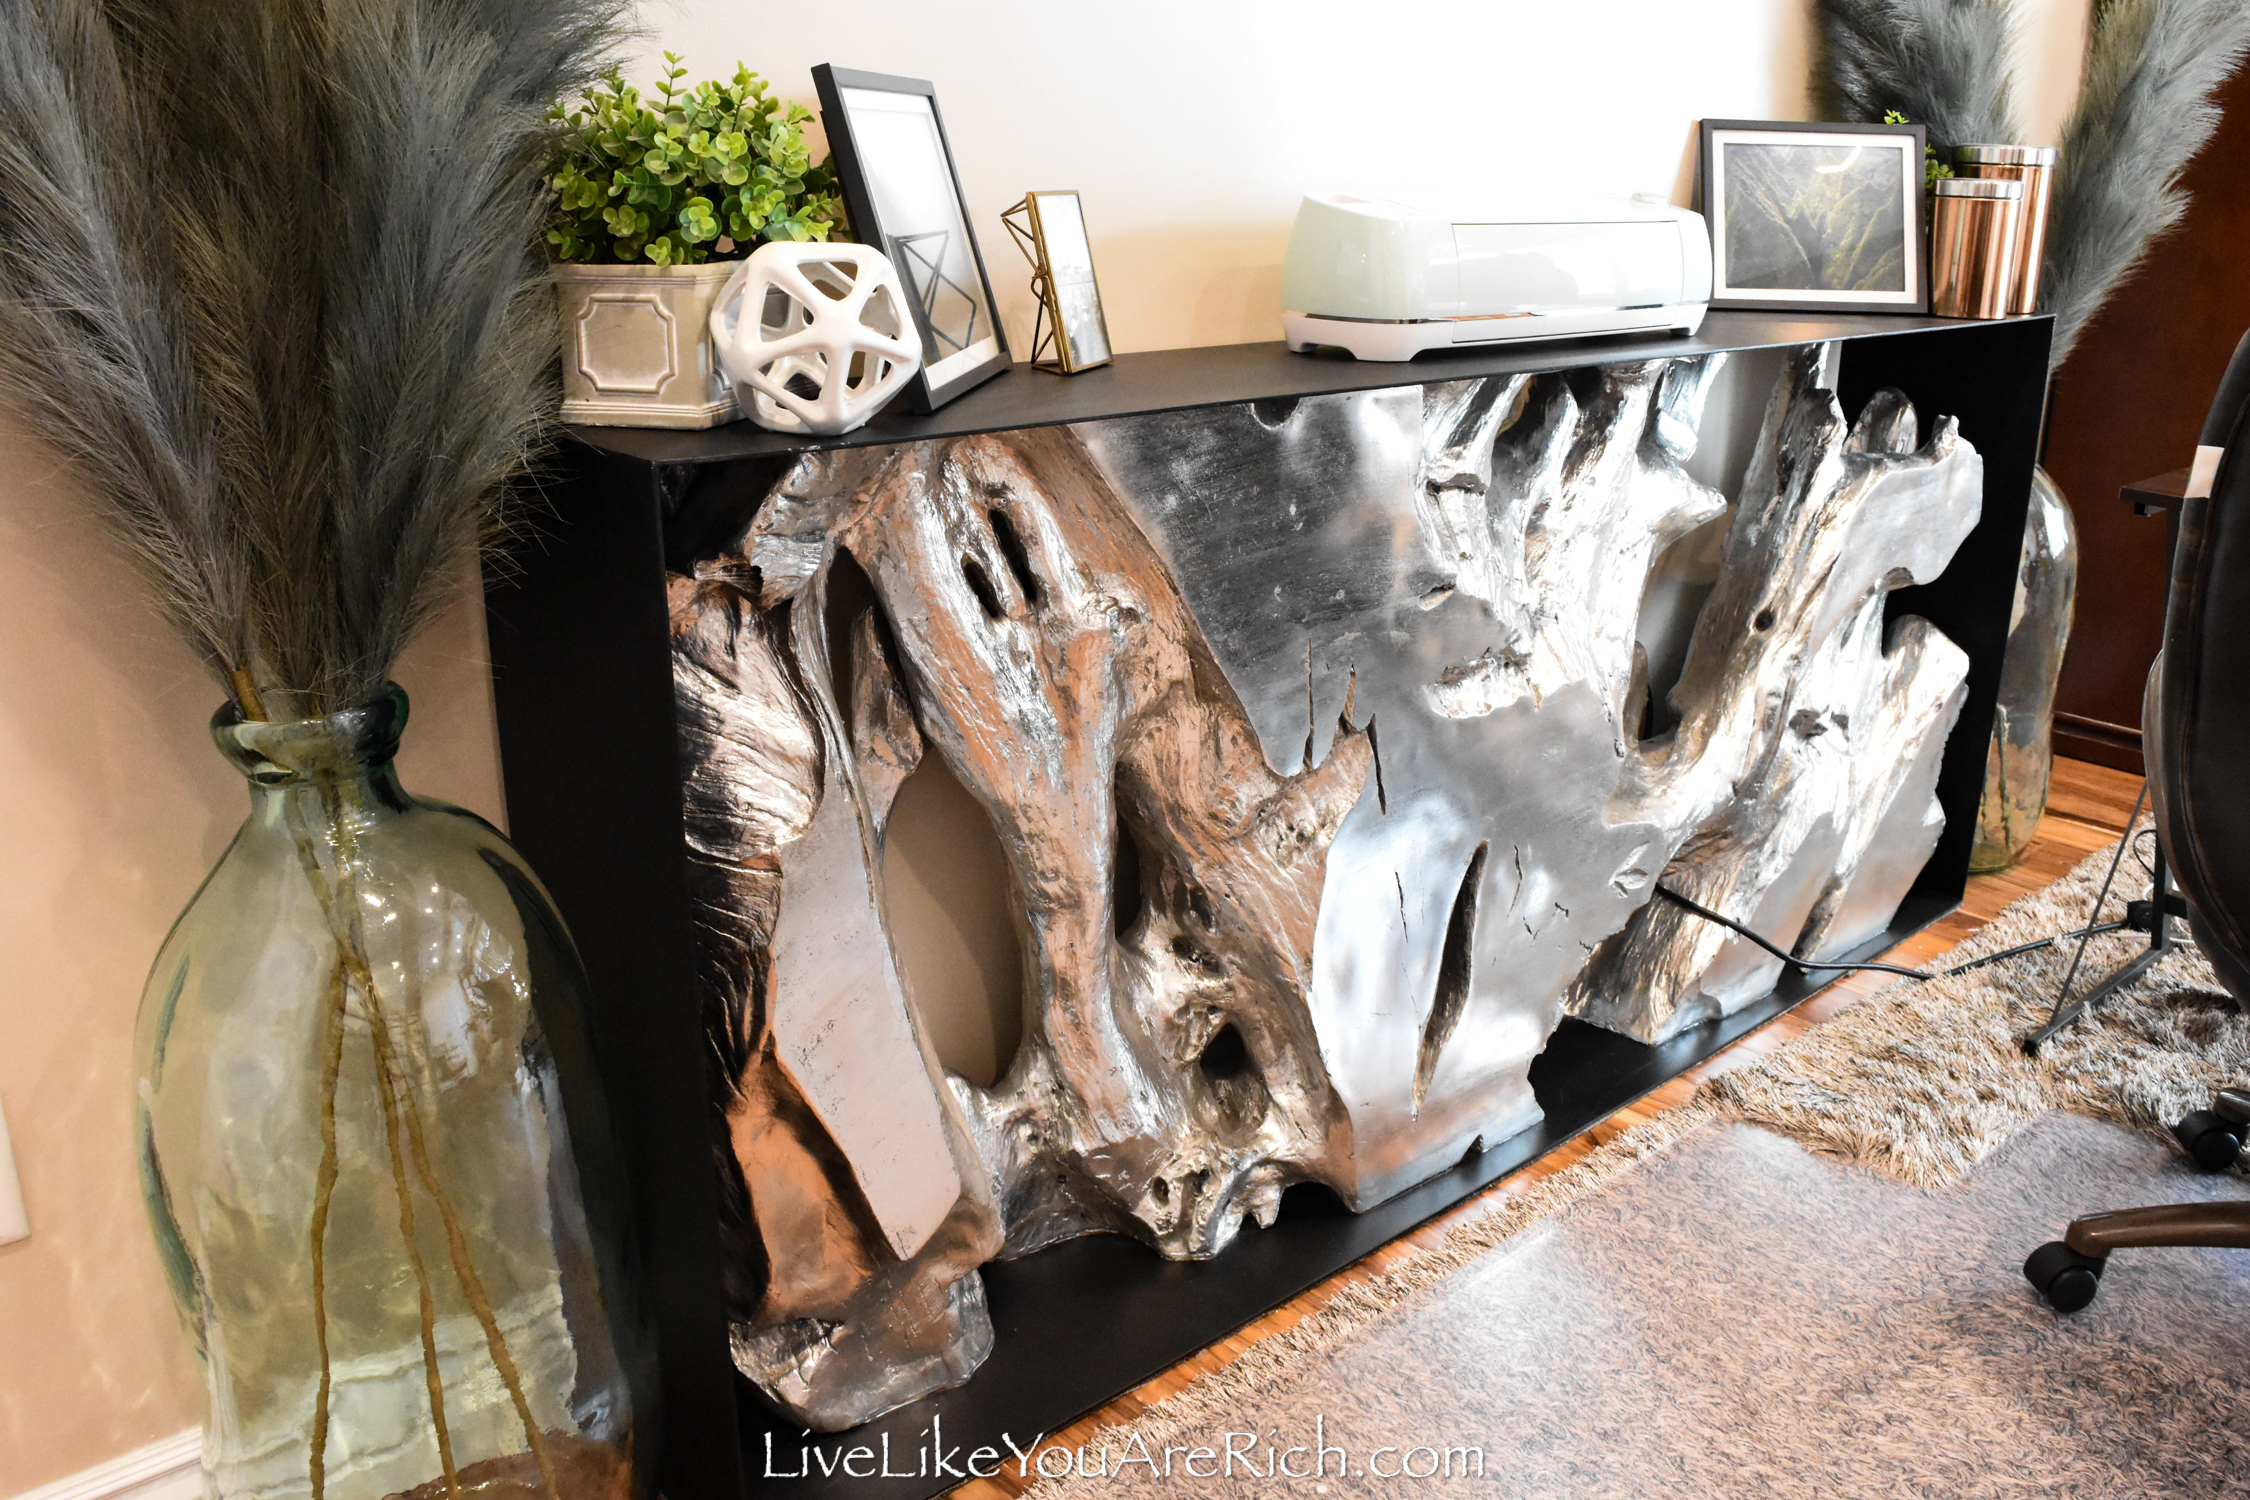
The modern silver-plated wooden art piece/shelf was an item my husband came by for free.
He was working at a commercial building and they wanted to get rid of it. He brought it home for me.
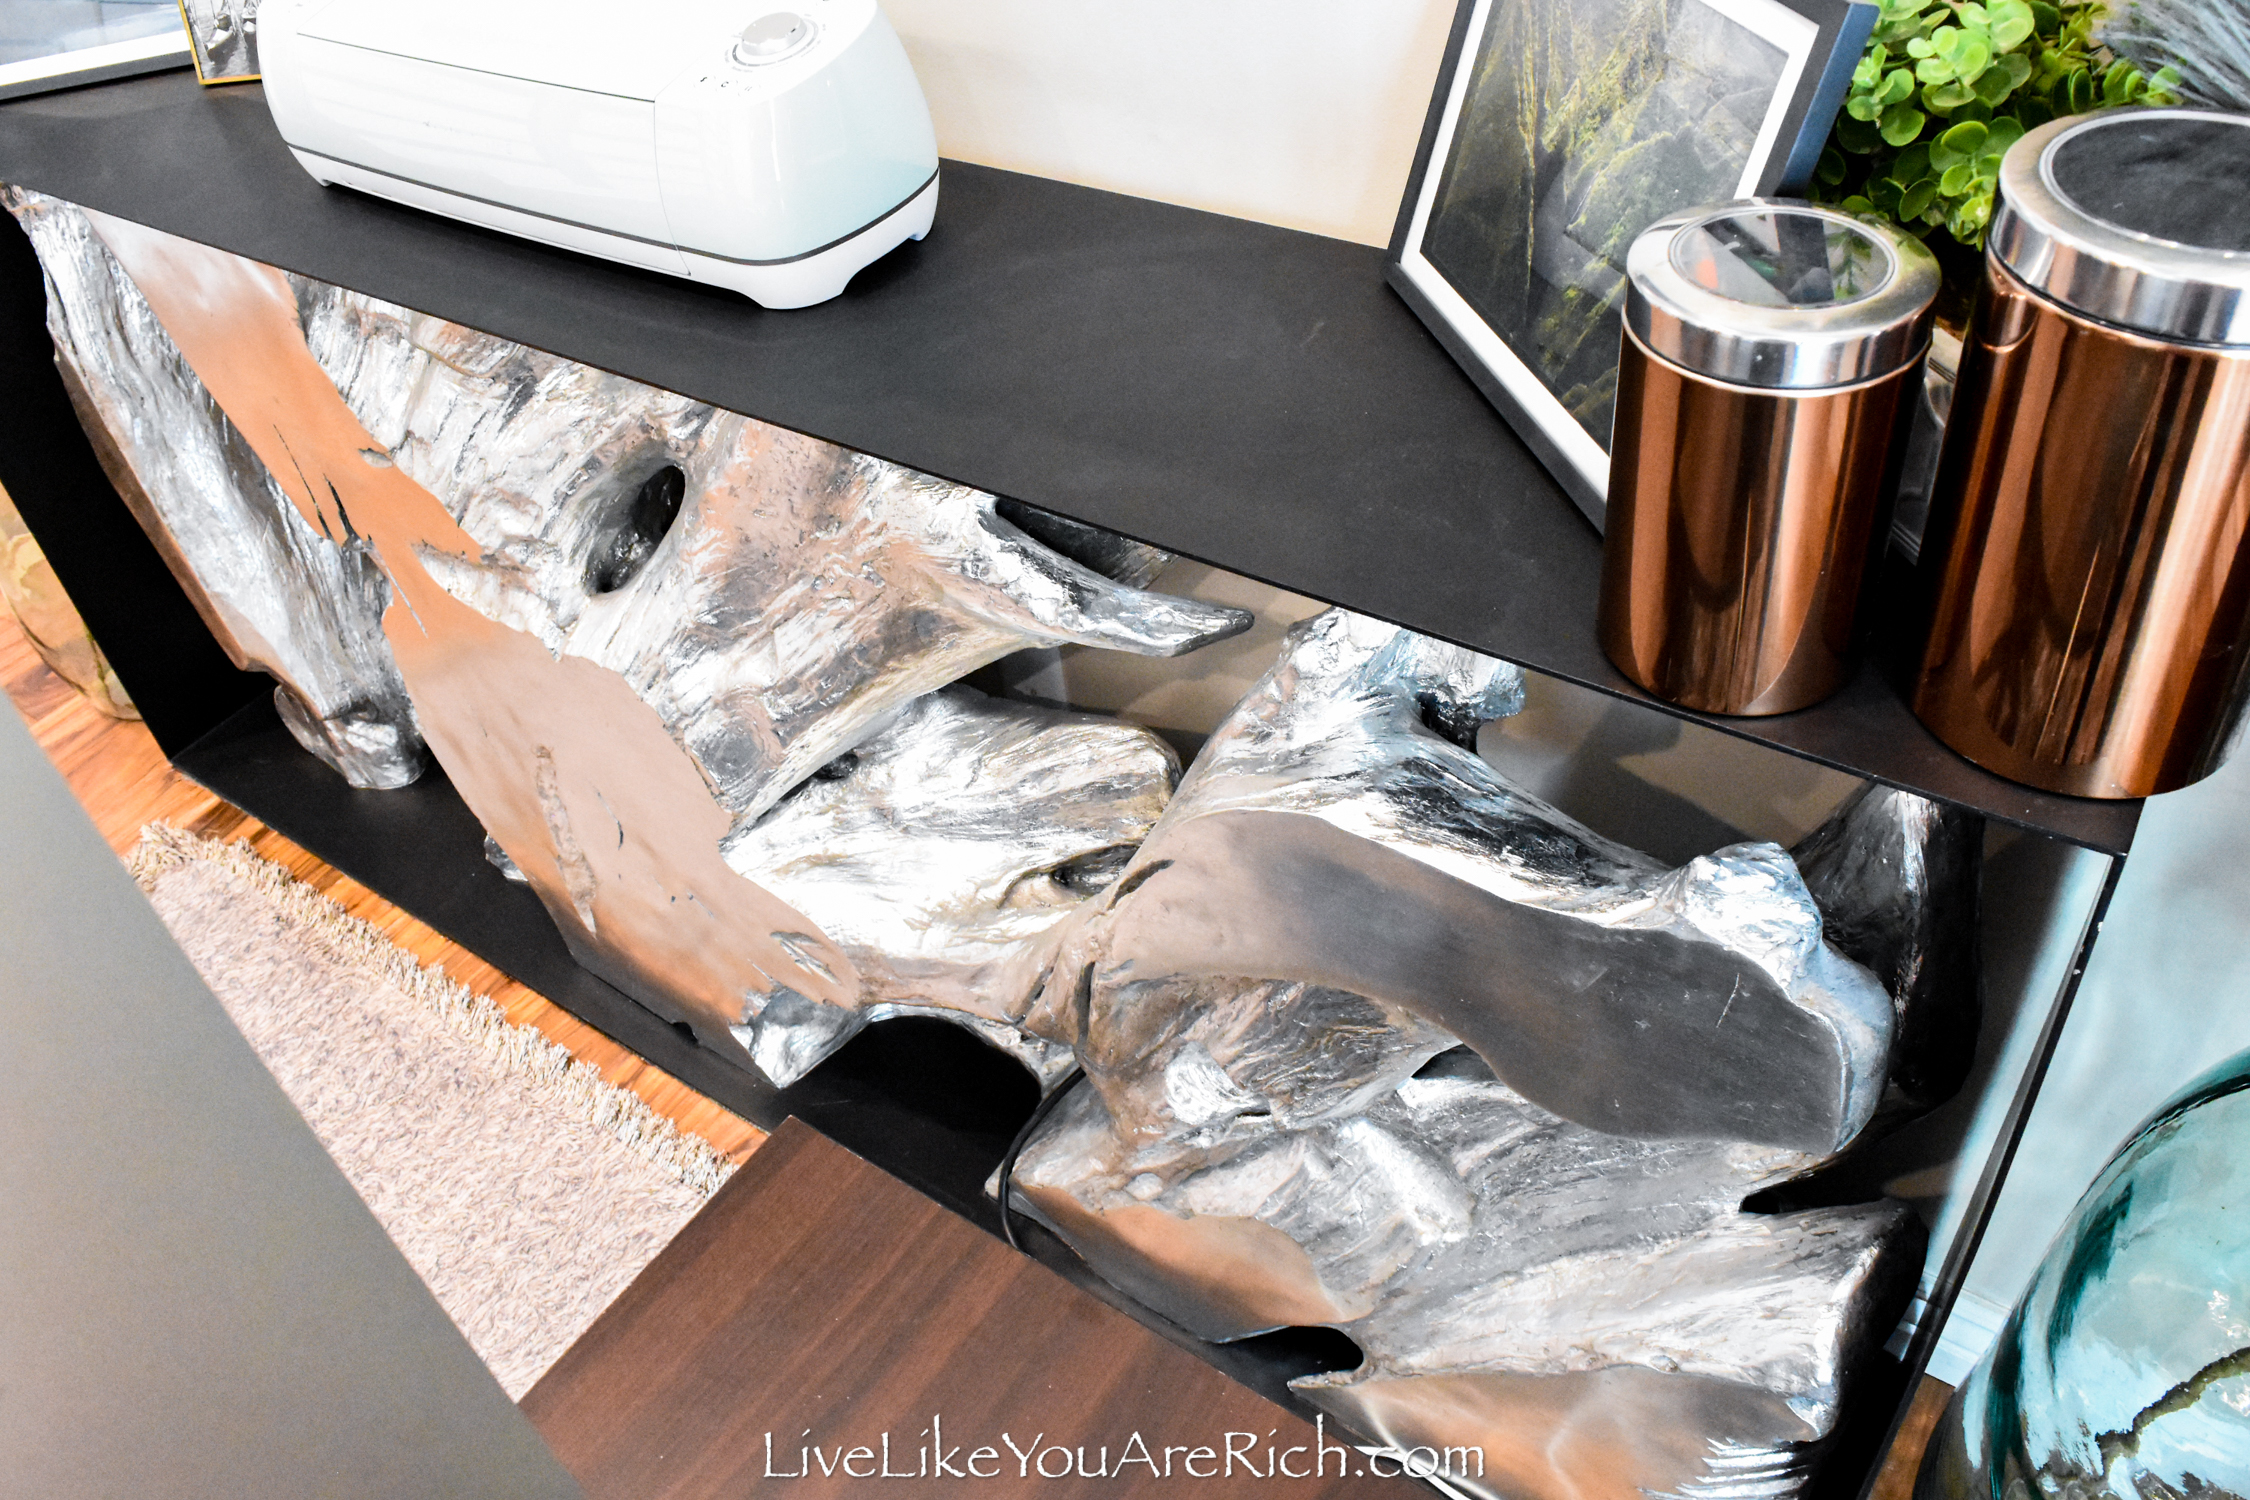
It is perfect for the space and I love it!
I feel really lucky that he was able to get it because they told him that this shelf was a couple of thousand dollars originally.
I put my Cricut and other various decorations on it.
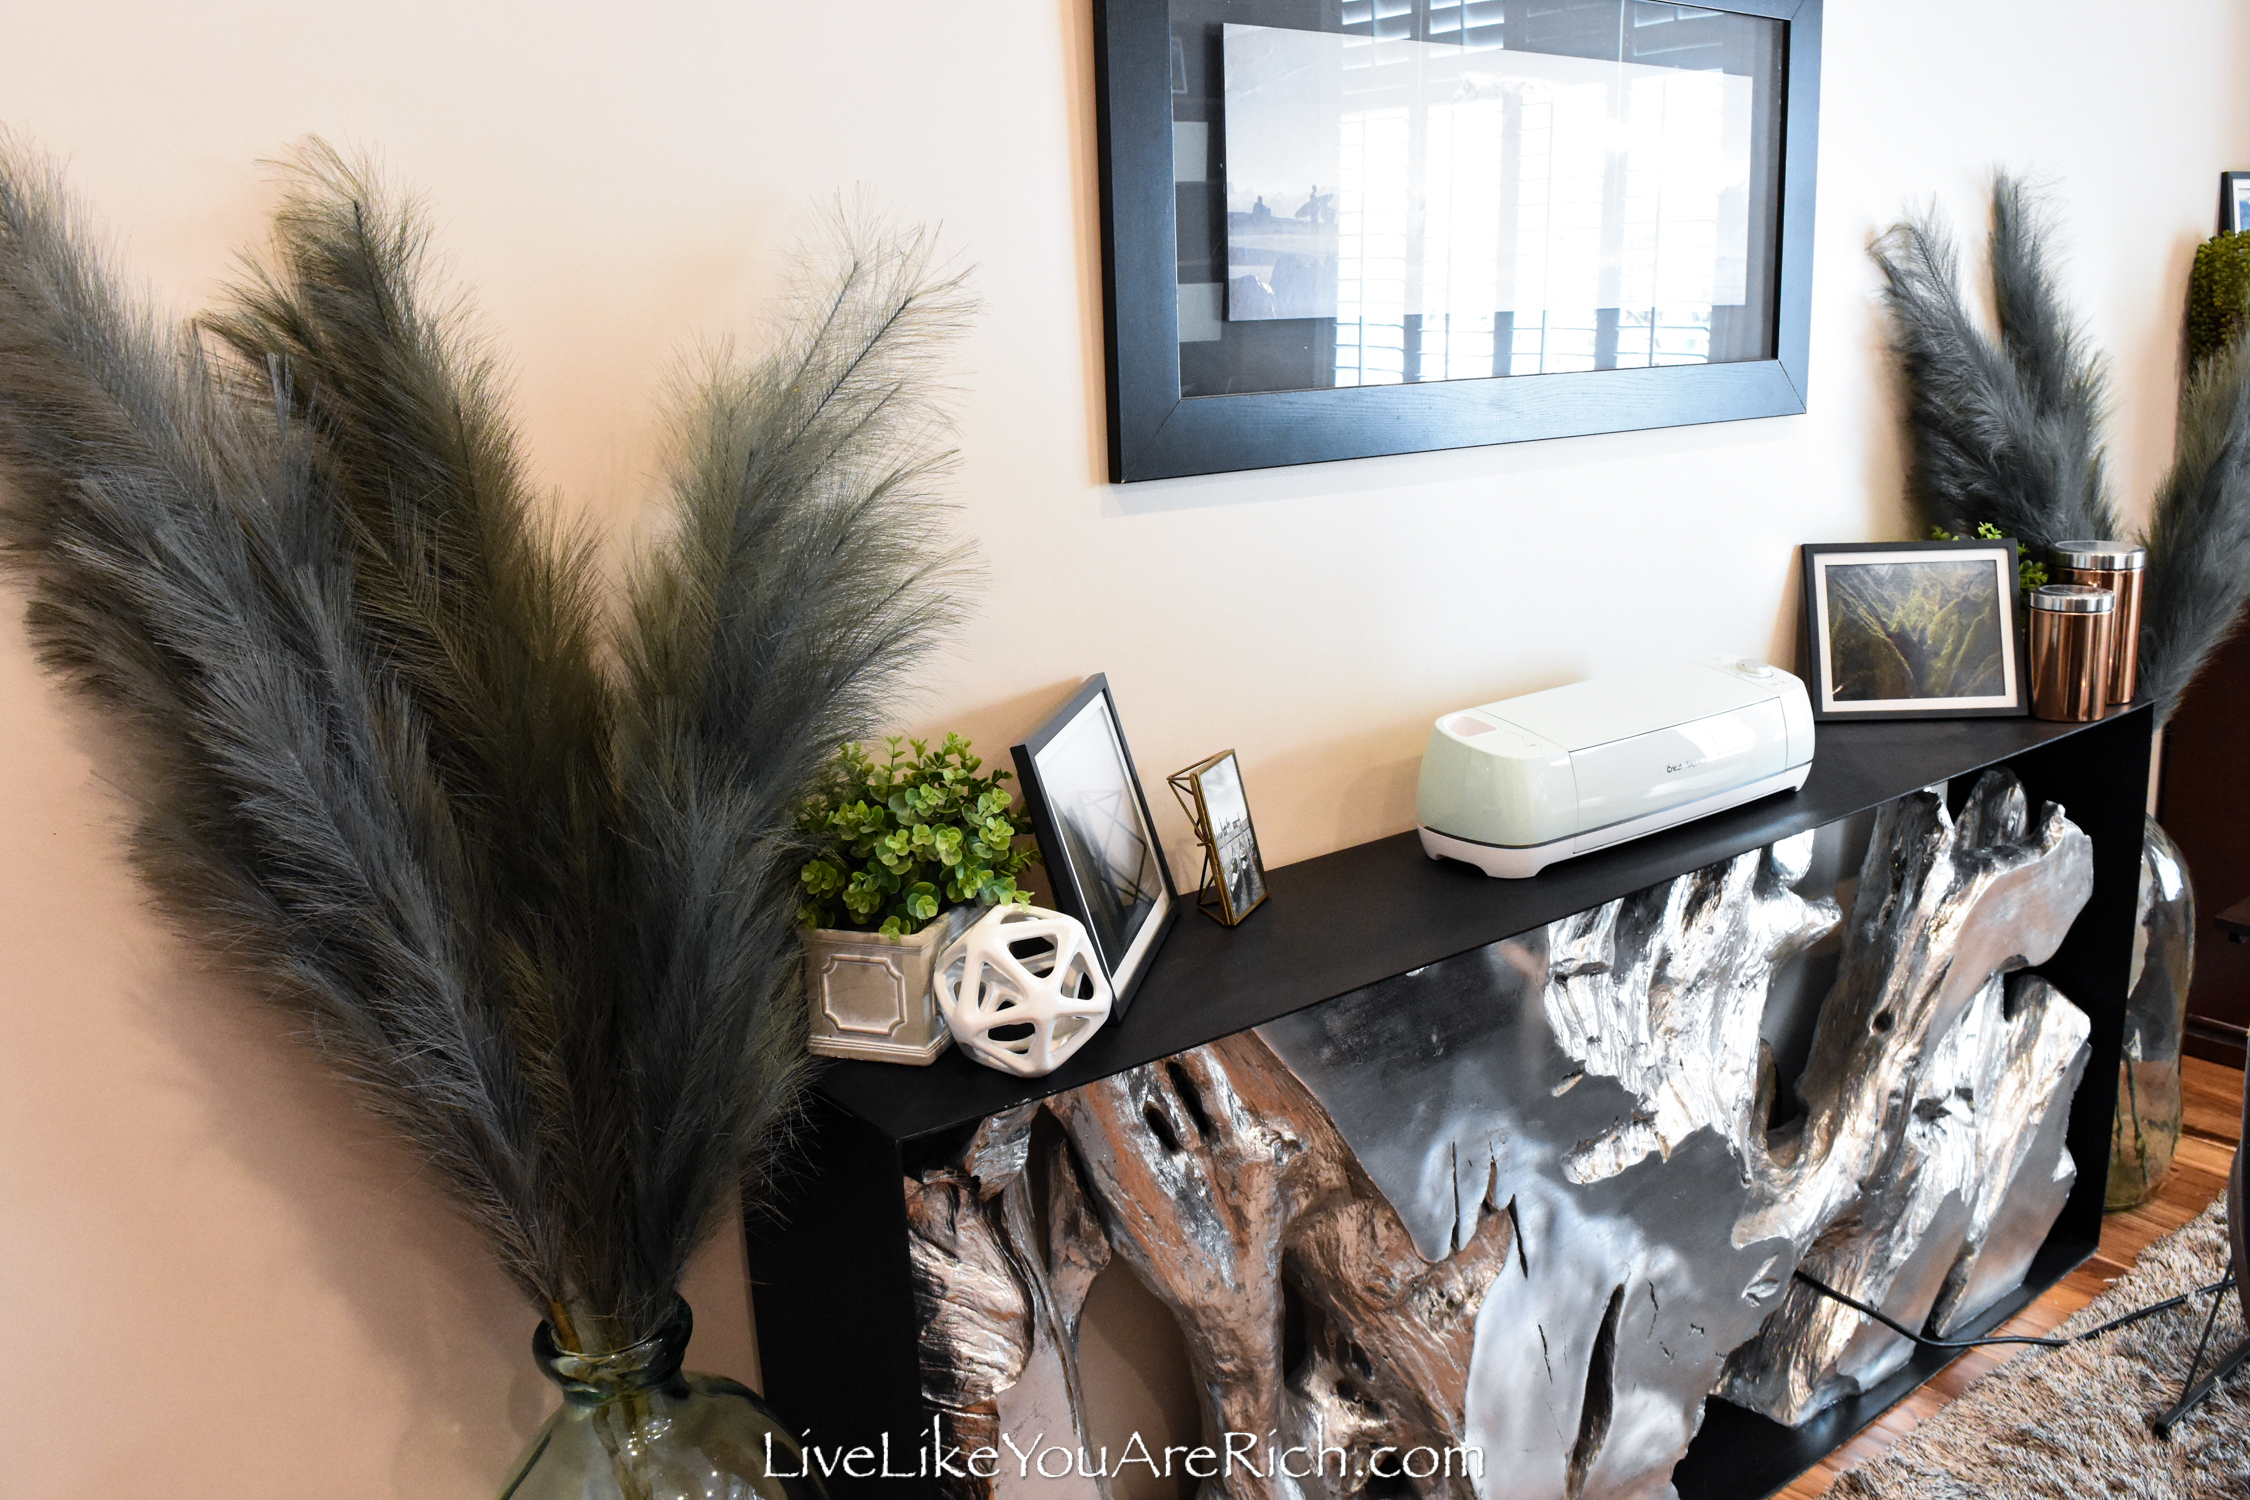
On either side of the shelving unit, I placed large vases with pampas grass. I purchased these at World Market.
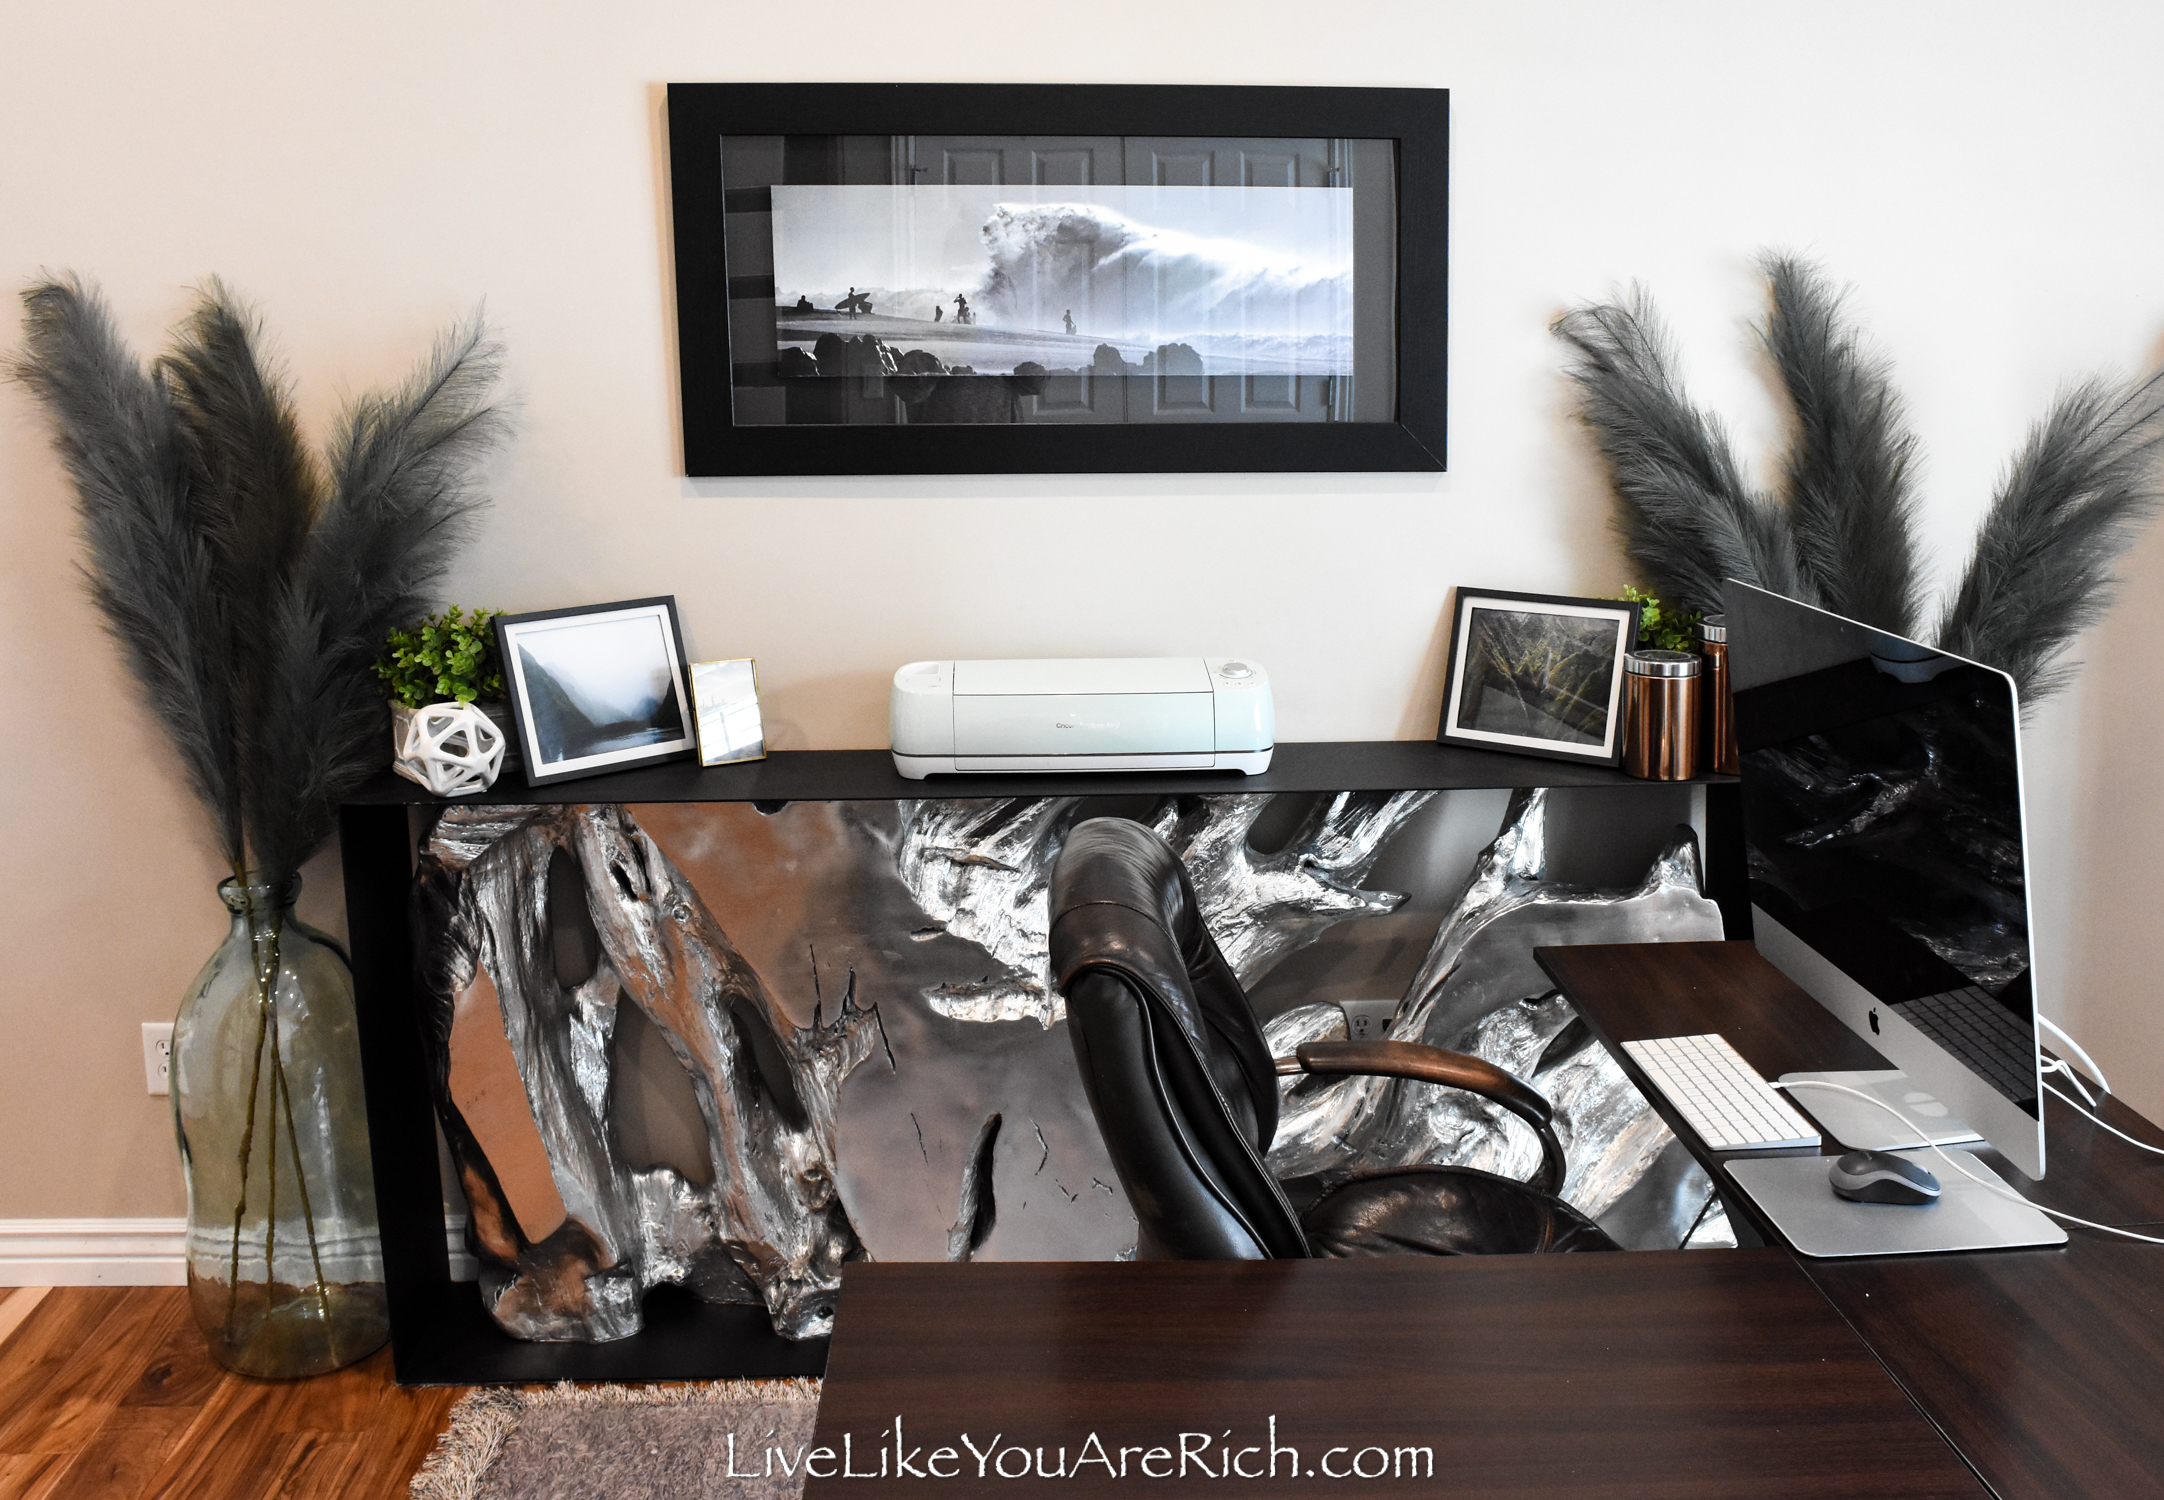
They cost about $100 each (vase and pampas grass stems—on sale with a coupon).
Lighting
My husband is very good with electrical and audio-visual equipment. He has been upgrading our home to be “Smart”.
So he installed Lutron light switches in the office and new LED flat modern can lights.

… and that pretty much sums up our DIY office renovation!
It is quite the transformation!
I love the space for doing my work/blogging.
I don’t have a super wide angle lens as the real estate photographer used for the before photos, but you can get the idea of the transformation by looking at multiple photos.
Total Cost breakdown…
$290 for the bins (check out DIY Open-Shelving Bin Organization System)
$25 for the artwork (check out High Quality Dollar Tree Framed Landscape Photographs)
$800 hardwood floor
$65 paint and supplies (bought on sale with a coupon)
$140 chairs
$80 desk
$50 Rug
-$75 for sold carpet remnant
$200 Lutron switches and lighting
$25 misc decor
plastic roll mat-free
modern wood shelf-free
vases with pampas grass $100 each=$200
I had many of the tools/supplies needed for this renovation. If you do not, you’ll want to calculate those into your estimate of an office renovation
Total: $1,800. for DIY office renovation. As you can see, it is possible to renovate a home office for much less than the estimated $150-$300 a square foot! We did ours for ~$14 a square foot!!
I hope this post gives you some ideas on how to complete a DIY Office Renovation for less.
Check out my other renovation posts.

For other ‘rich living’ and money-saving tips, please subscribe, like me on Facebook, and follow me on Pinterest and Instagram.
3 Budget-Friendly Tips For Your Office Renovation - Start Your Business Magazine
Thursday 9th of February 2023
[…] You could reduce this cost more than you’d think. Find parts of the office renovation process you can do yourself, and you wouldn’t need to worry about many of the […]