

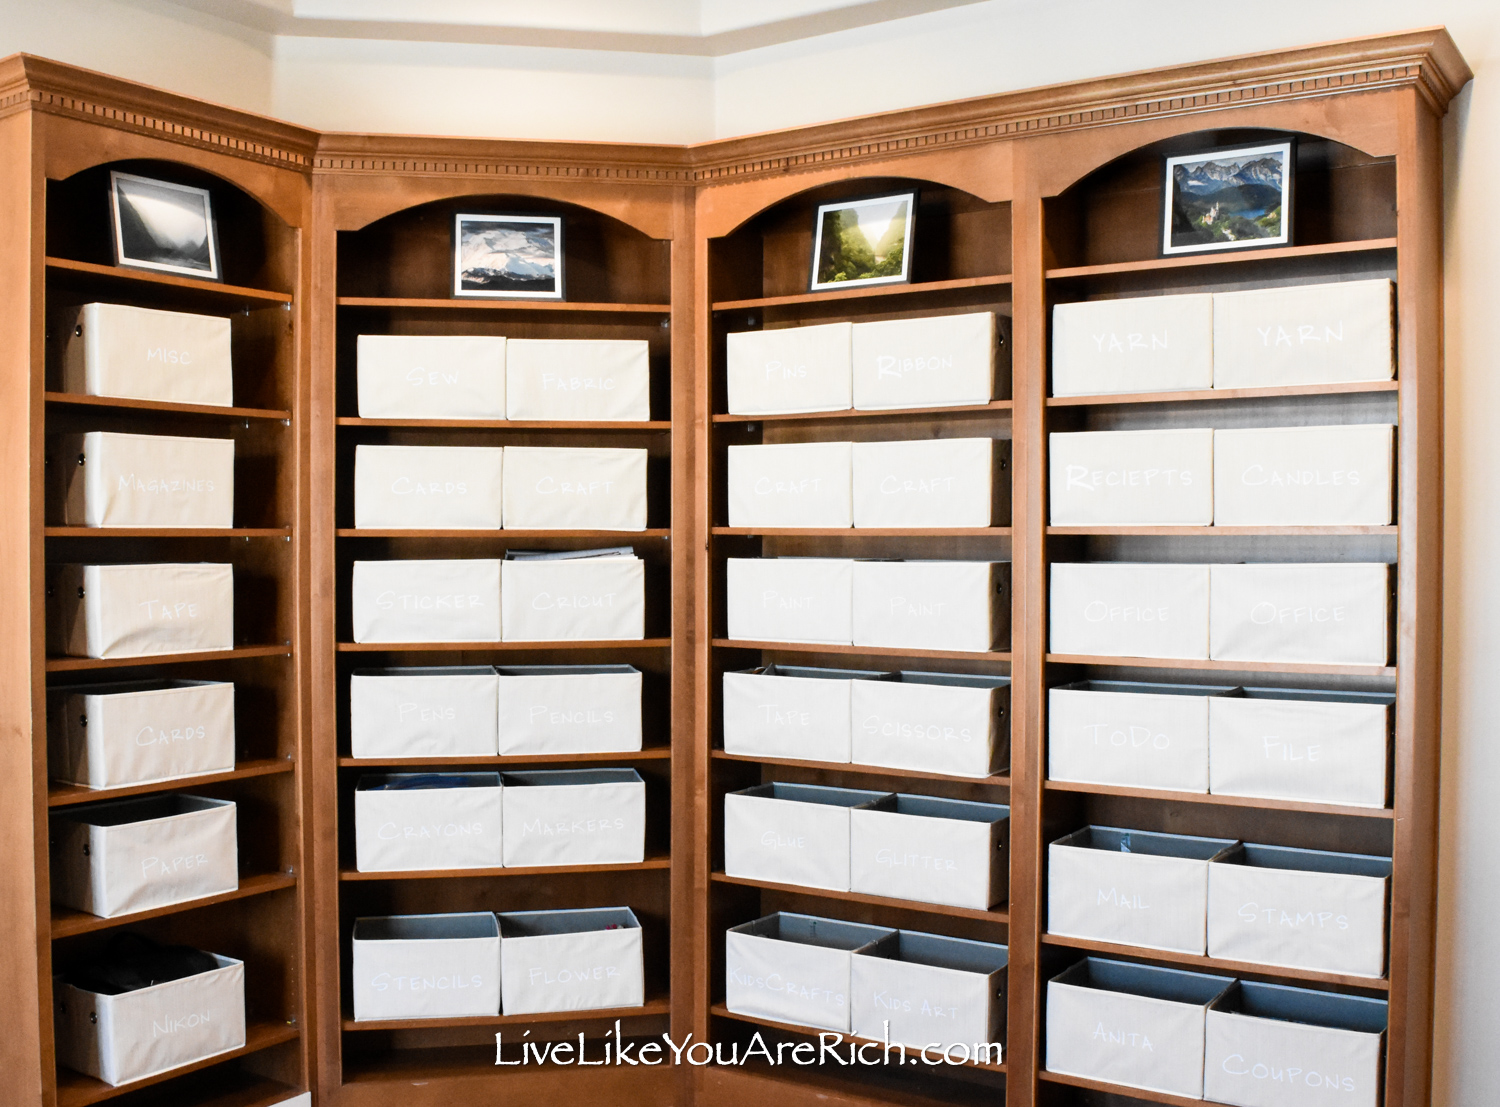
While renovating my office, I thought of multiple ways to organize our open shelves/built-in shelving. Ultimately, I decided on this DIY open shelving bin organization system. I have LOVED it.
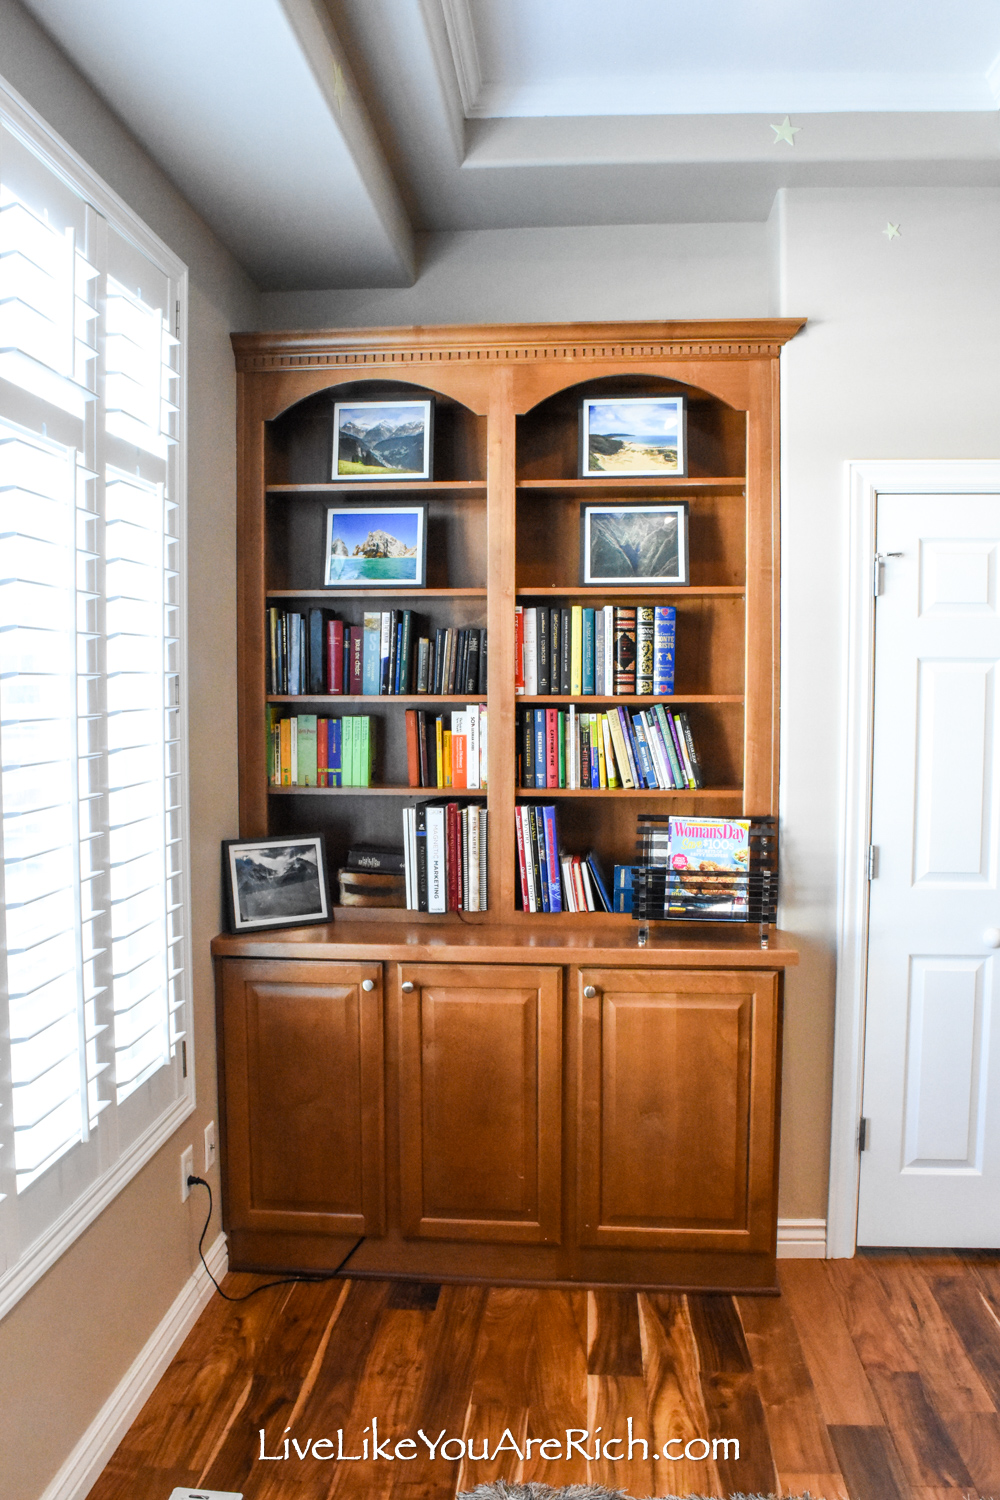
When my DIY Office Renovation was underway, I knew what color I wanted to paint it, what flooring to add, and I had a color scheme and floor plan in mind. What I did not know was how I would organize the many totes I had that were full of blogging/work supplies.
The photo below shows my garage in home 1. When I moved to home 3 I was still trying to use this system but it was not working because the garage shelves were taller and harder to reach in home 3. While this worked in home 1 (you can read more about this garage storage system in home 1 here), it wasn’t working for home 3.
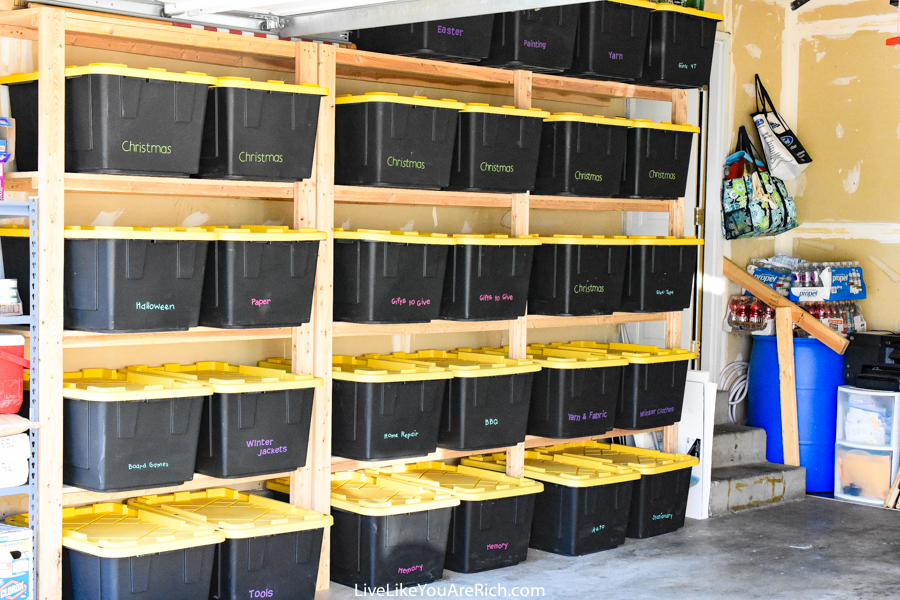
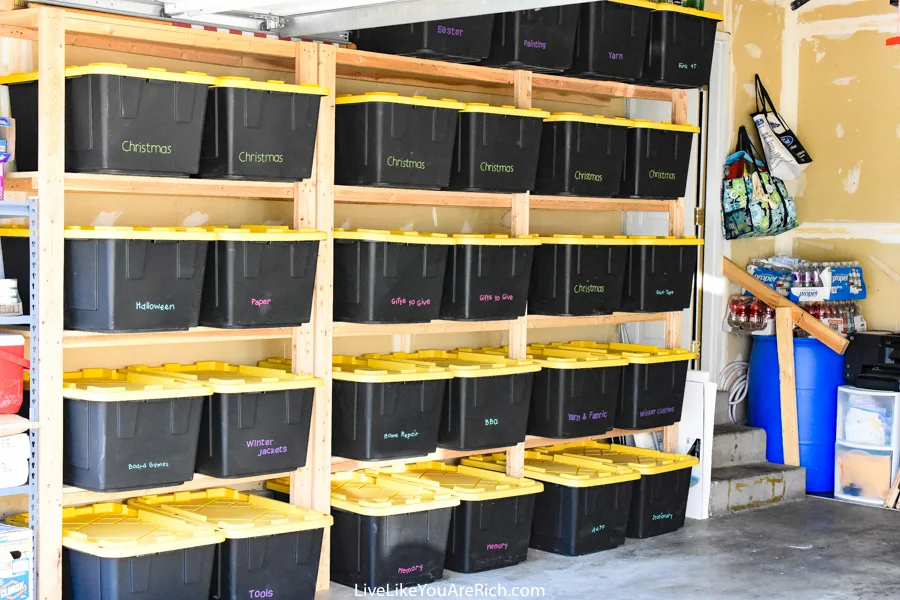
I needed an easier system. It was too inconvenient and slowed me down too much to set up the ladder to get into or pull down the paint bin for my acrylic paints or pull down the scrapbooking paper bin when I needed paper, etc.
I needed a storage solution that would work for me. I also don’t like clutter. I like things to look clean and simple…so figuring out how to make it all work took some brainstorming.
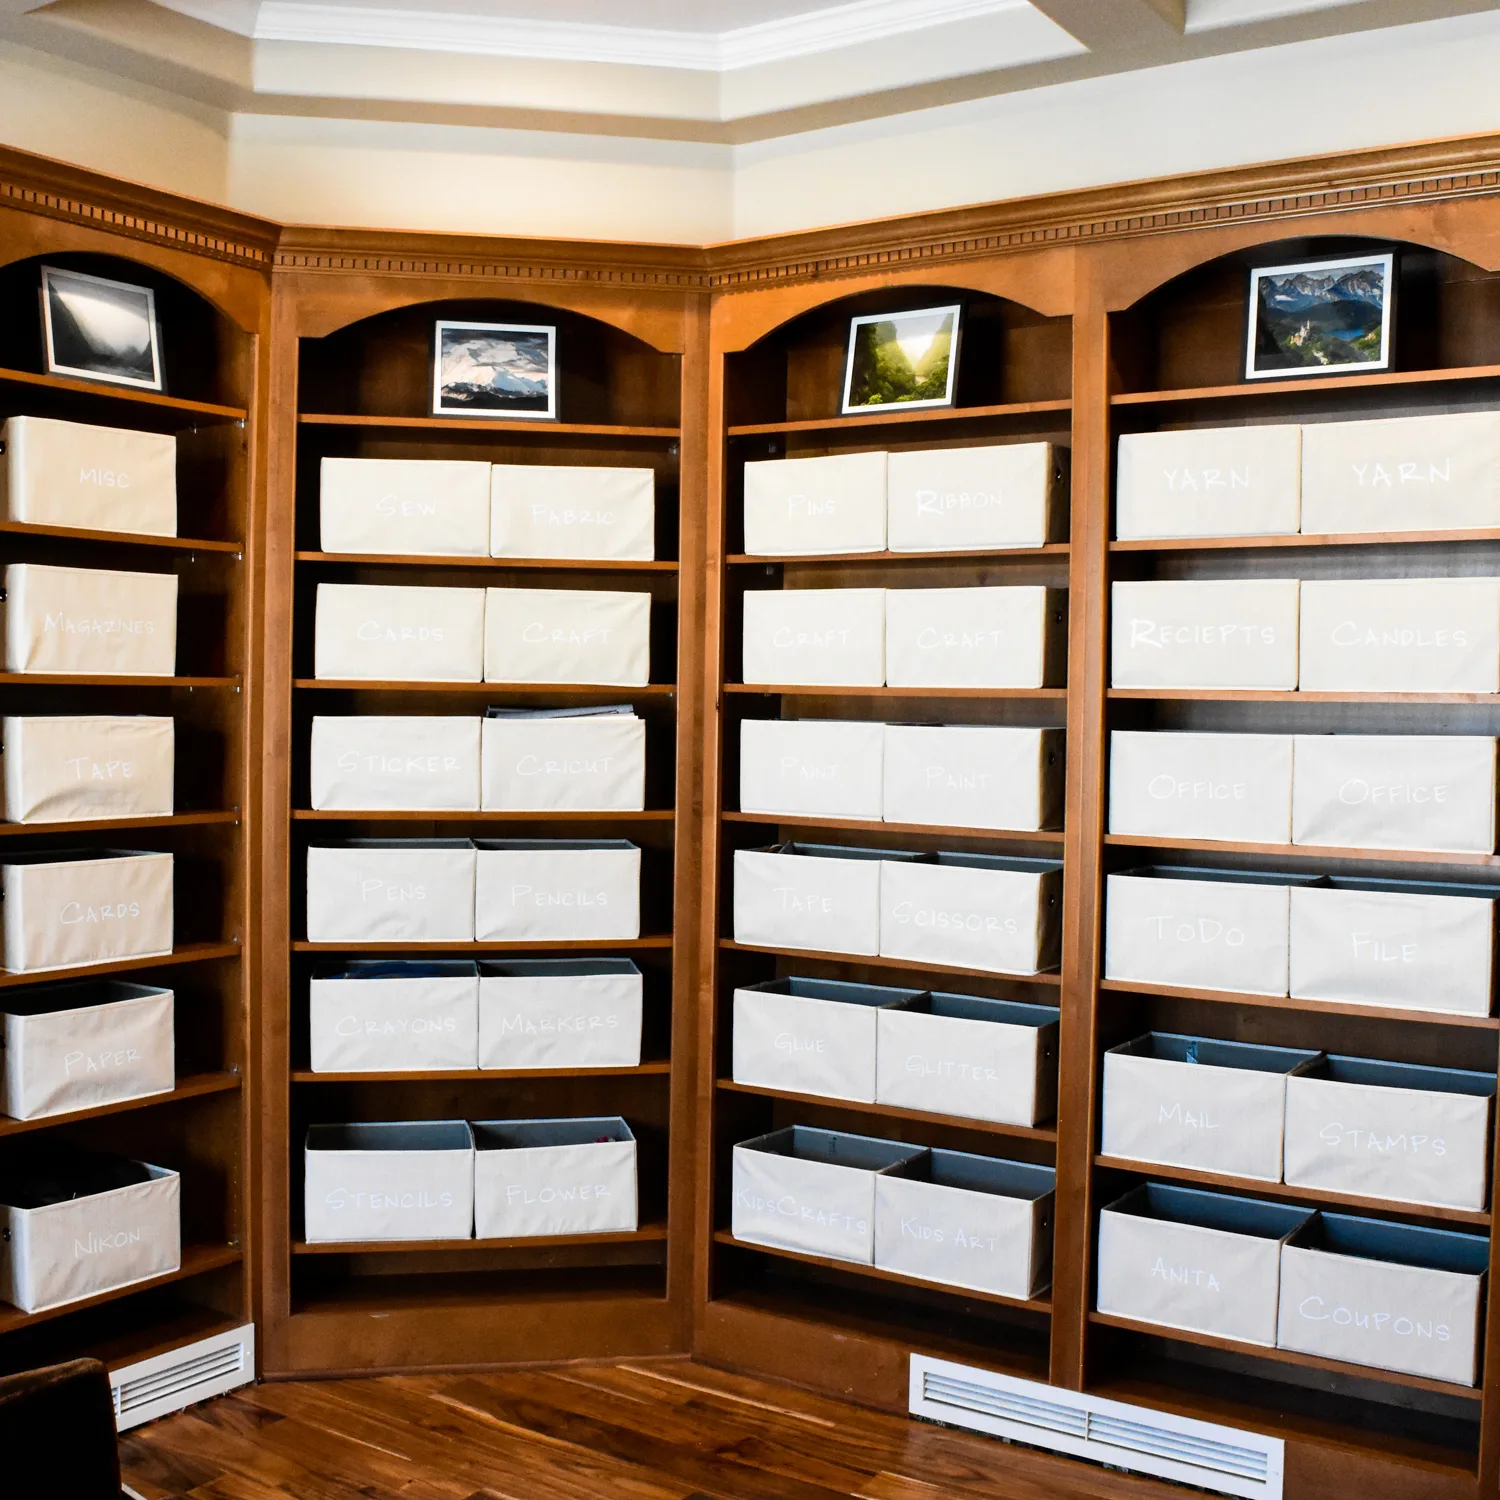
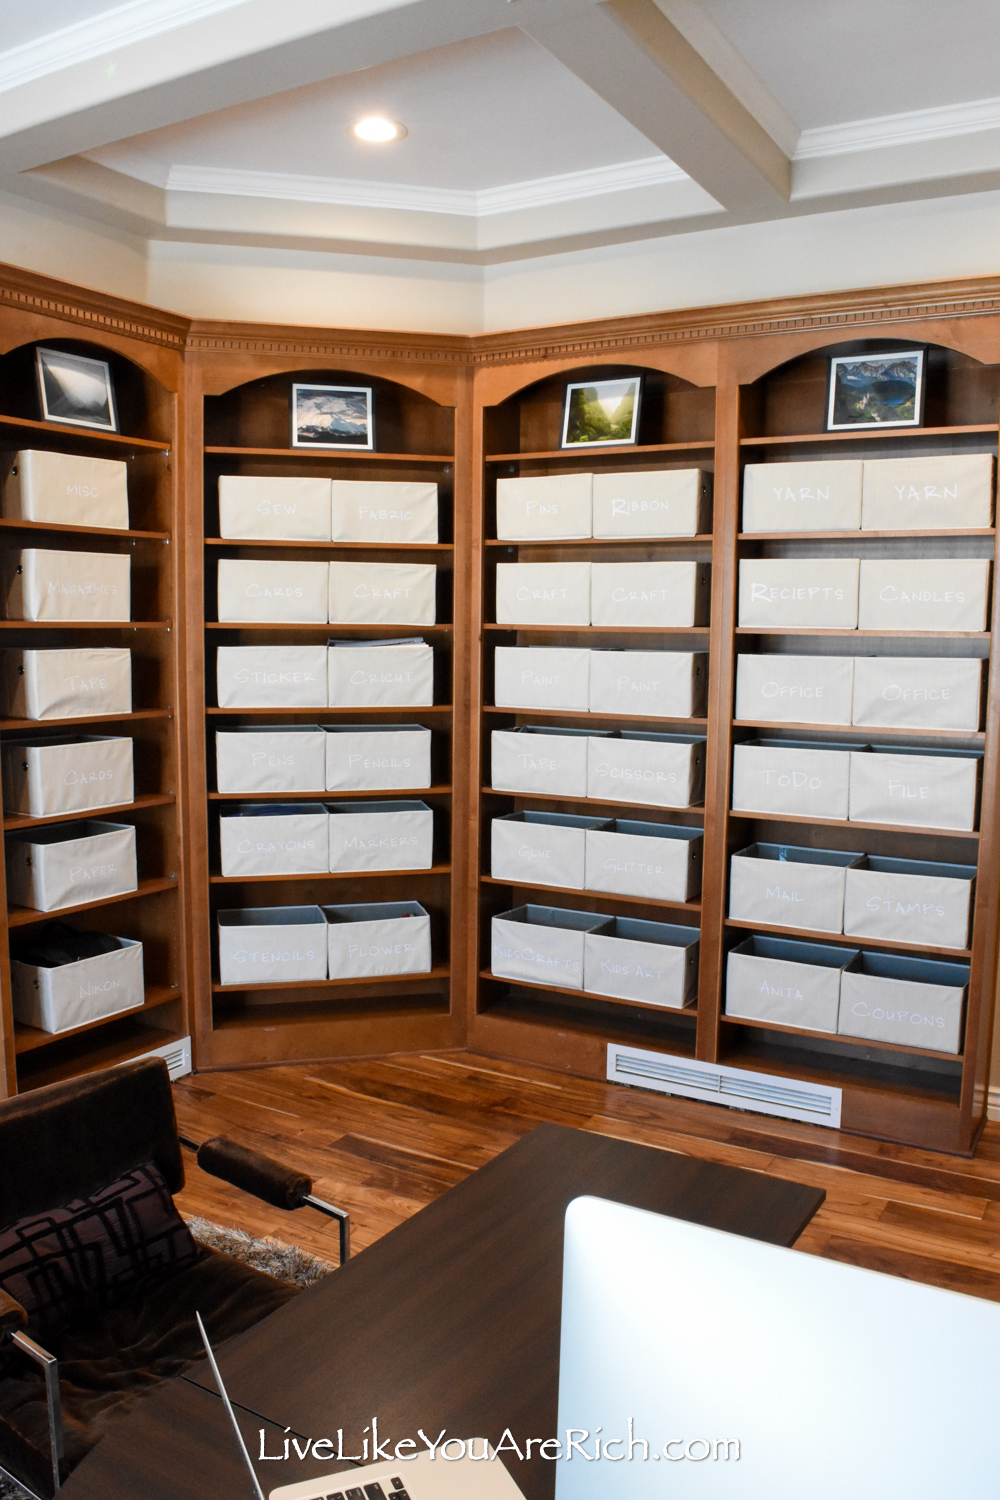
I realized that I needed my supplies to be reachable and easily accessible. So I thought of this DIY open shelving bin labeling system and was able to make it a reality.

I have loved it! It has worked so well! These bins have been extremely functional. I am constantly taking items out and putting items back in multiple times a day.
Not only have they held up really well, they have encouraged more creativity because I can find things quickly and easily.
For example, I recently made these DIY Winter Napkin Rings and I was able to find all of the supplies in a few minutes. I would not have been able to even think of the design of these napkin rings previously to this organization design because the items would have been spread too far apart and hard to get to in our home 3 garage.
With my DIY open shelving bin labeling system, I can see what I have in each tote very easily. This system has been convenient, aesthetically pleasing and efficient.
Supply List for this DIY Open Shelving Bin Organization System
Cricut Explore Air 2 and blade
towels or ironing board
How to make this DIY Open Shelving Bin Organization System
1- Find a quality tote with fabric on the front that will fit your shelves. I measured my shelves (height, width and depth). Then I looked all over Amazon for well-reviewed totes that would fit my shelves and would maximize the space. I found these ones (size large) and decided that for aesthetic purposes and to keep them looking more streamlined and modern looking I would not add the rope handles to them.
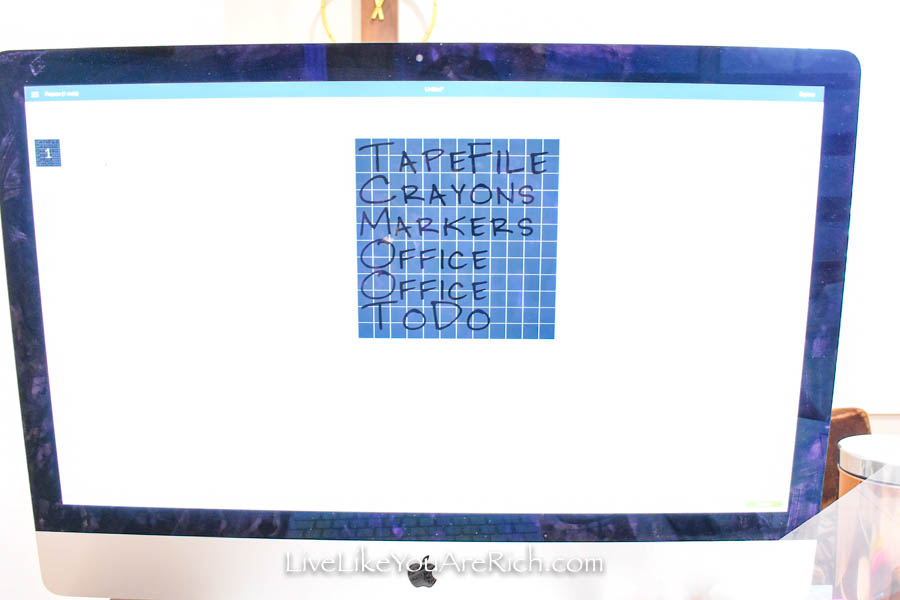
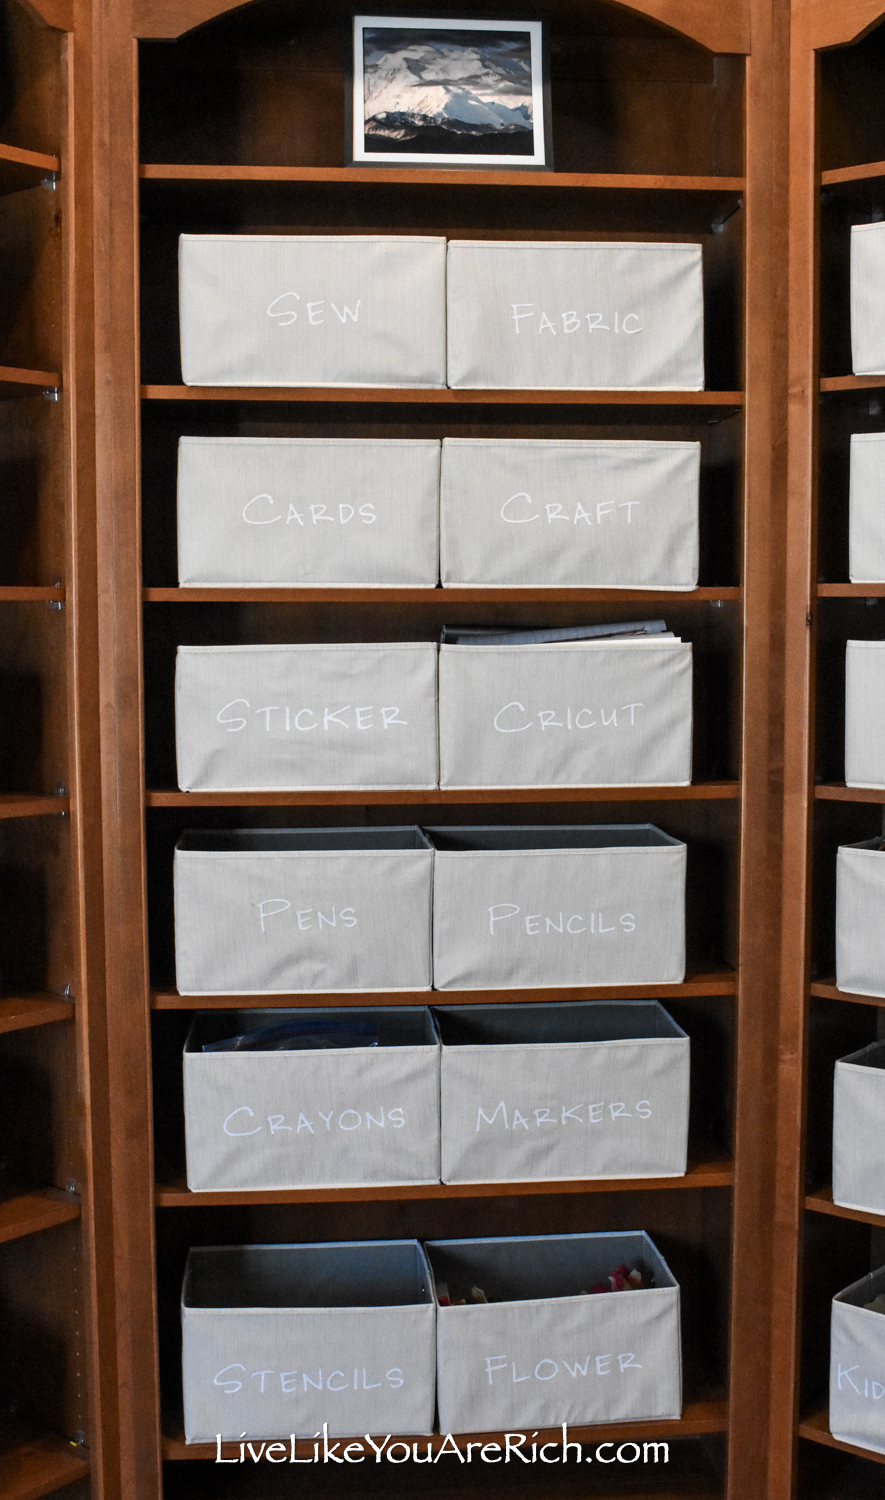
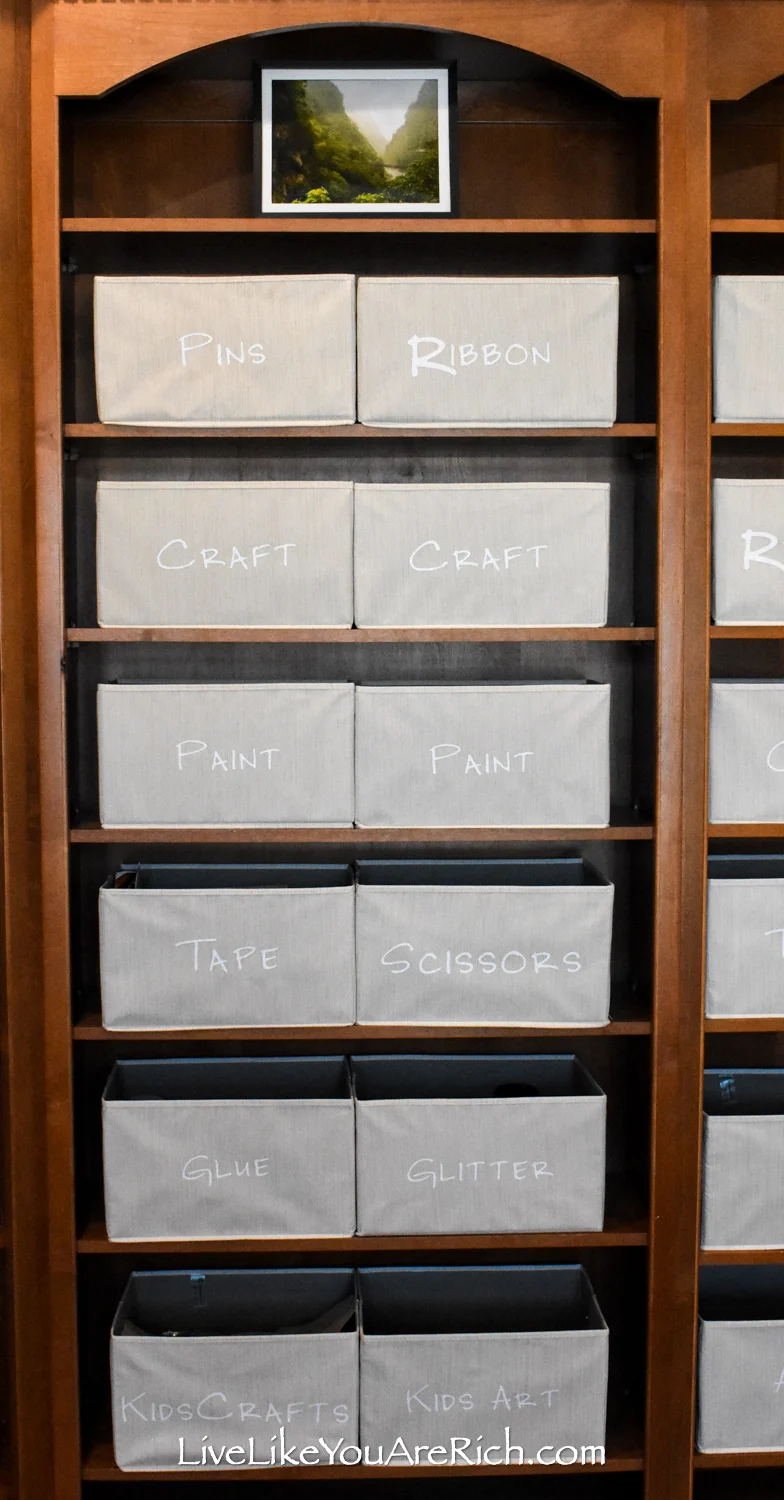
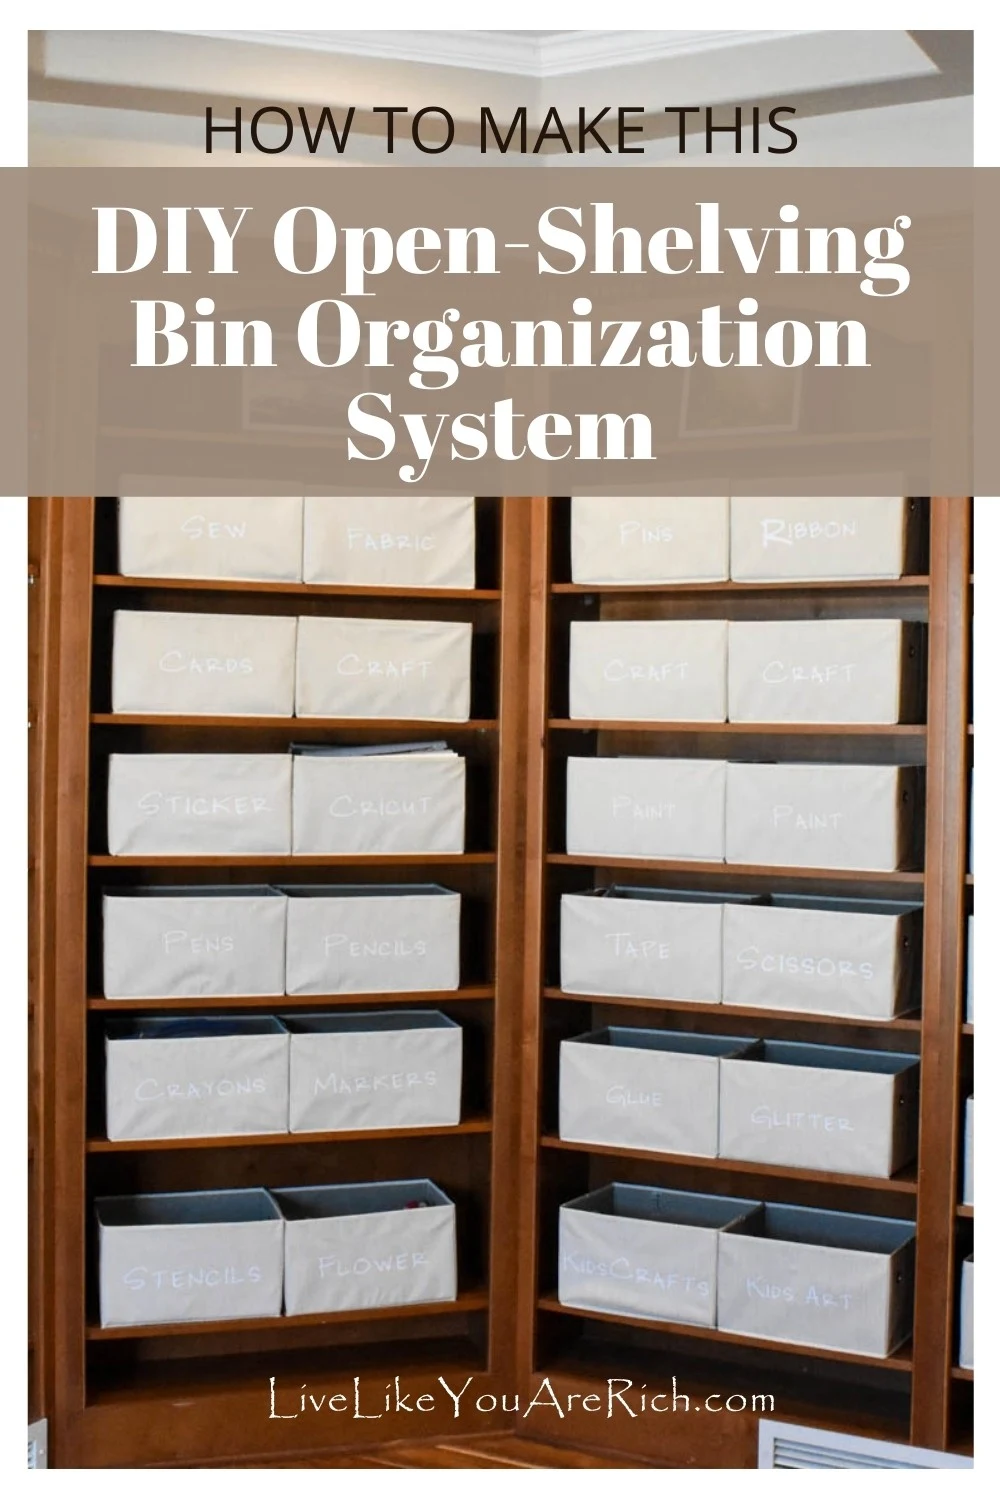
2. I organized my supplies. I went through my many blogging bins and categorized items in the way that seemed to make most sense for me. I thought about this awhile and made sure I had enough room for things I needed two bins for ie. the Yarn bins and I could consolidate random items that I had less of: ie. the Craft bins. Everything else seemed to fit nicely. In the photos below you can see what I labeled each bin.
3. Next, using the Cricut software and making sure I am using iron on vinyl and choosing the iron on Cricut cut out option, I cut out the labels for each bin.

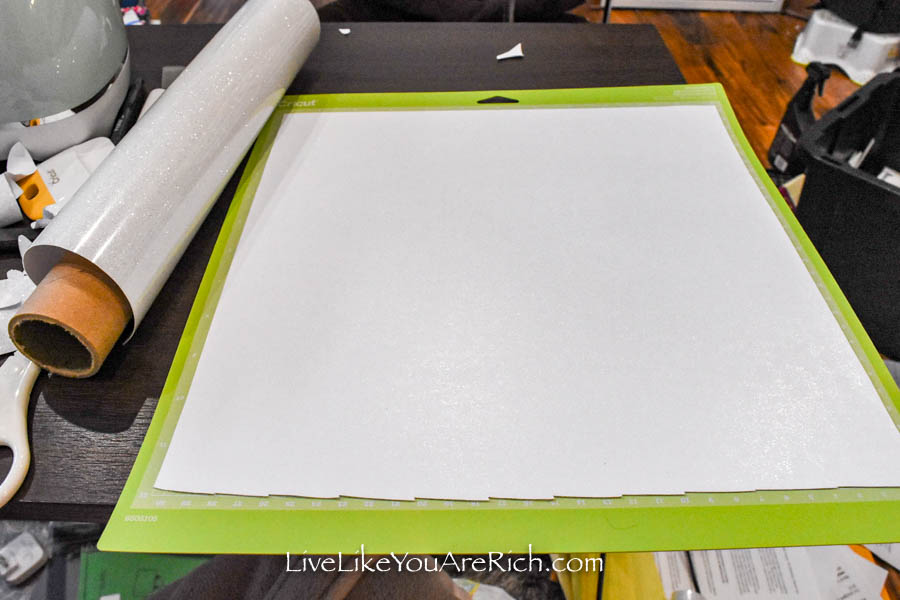
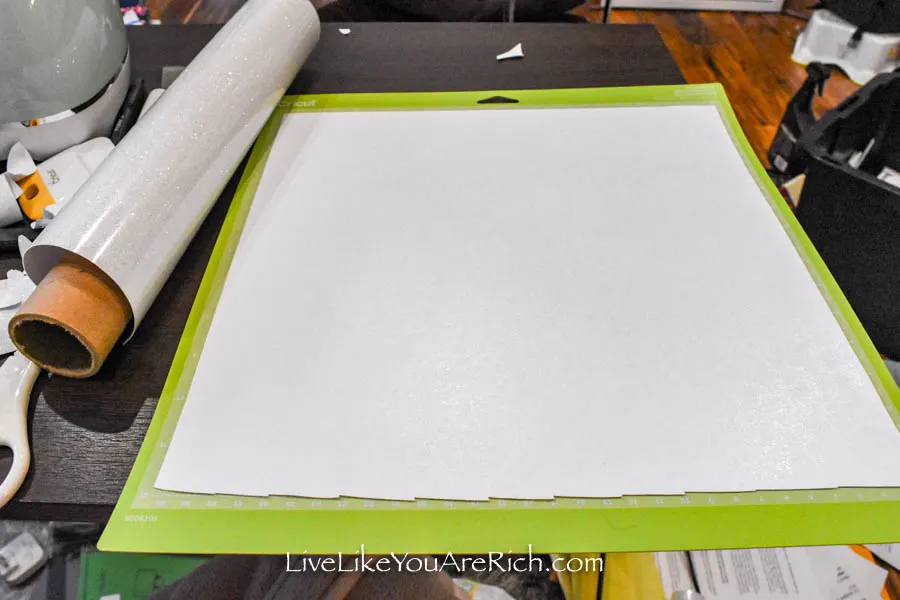
4. Next, I cut out each label so it was its own label (not on a sheet of labels) and using a vinyl weeder, I peeled around each one so it could be put on the transfer tape.
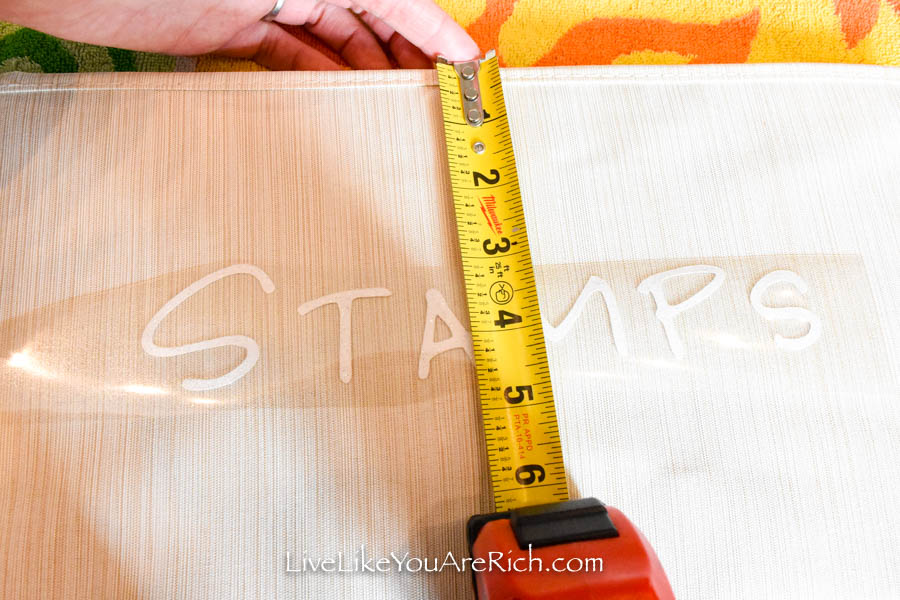
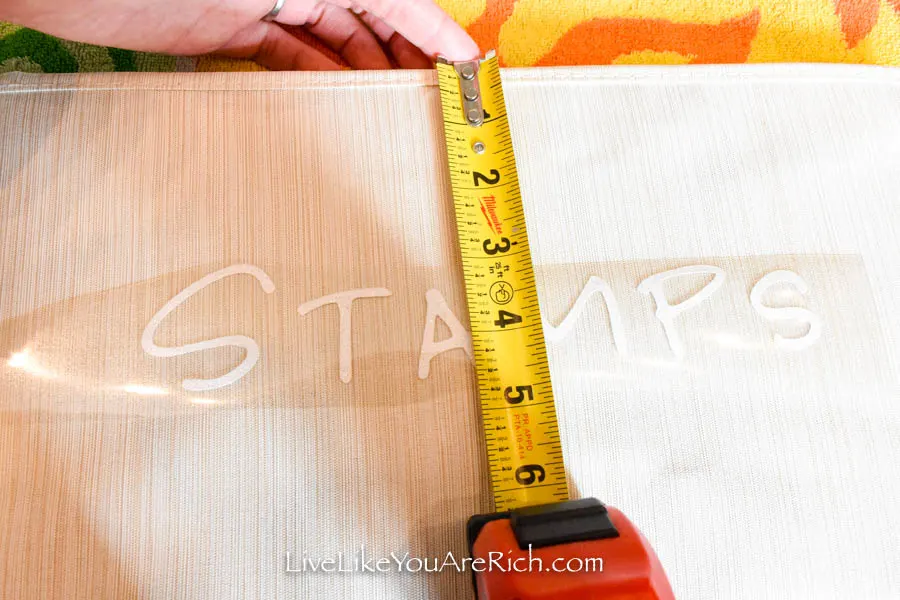
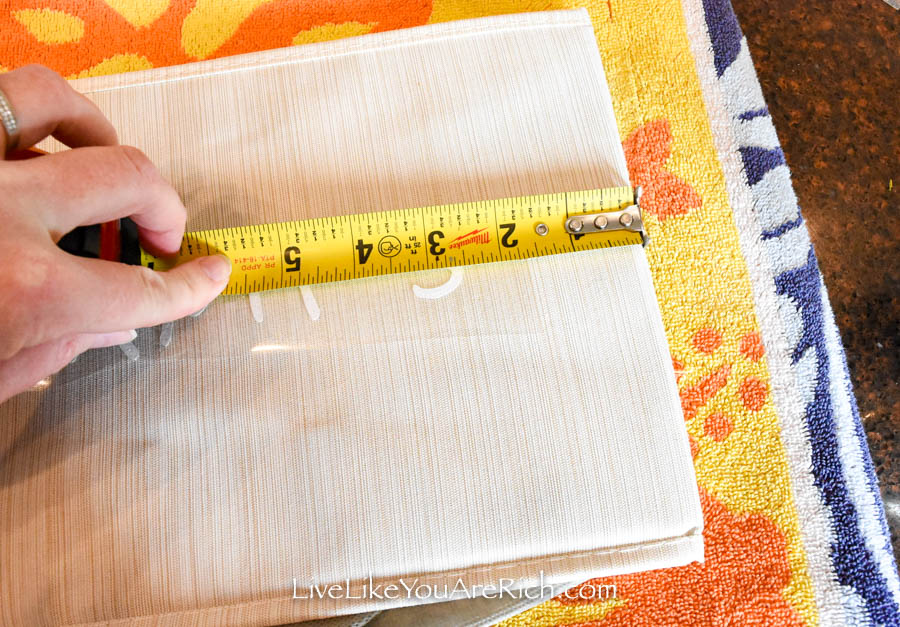
5. I set the label on a bin on folded towels (as I was ironing on my kitchen counter). Using a measuring tape I centered it (height and length) on the bin.
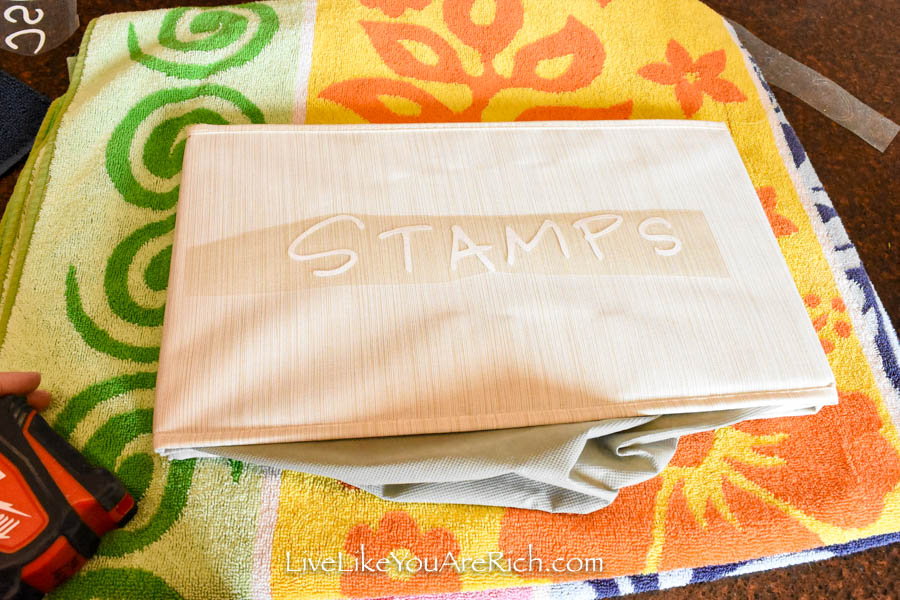

Since each label varied in size, I made sure there was equal space on all sides.
For this label pictured below I made sure that there were 3 inches of border between the top and bottom of the label.
And for the sides I made sure there were 2.5 inches of border on each side of the bin.
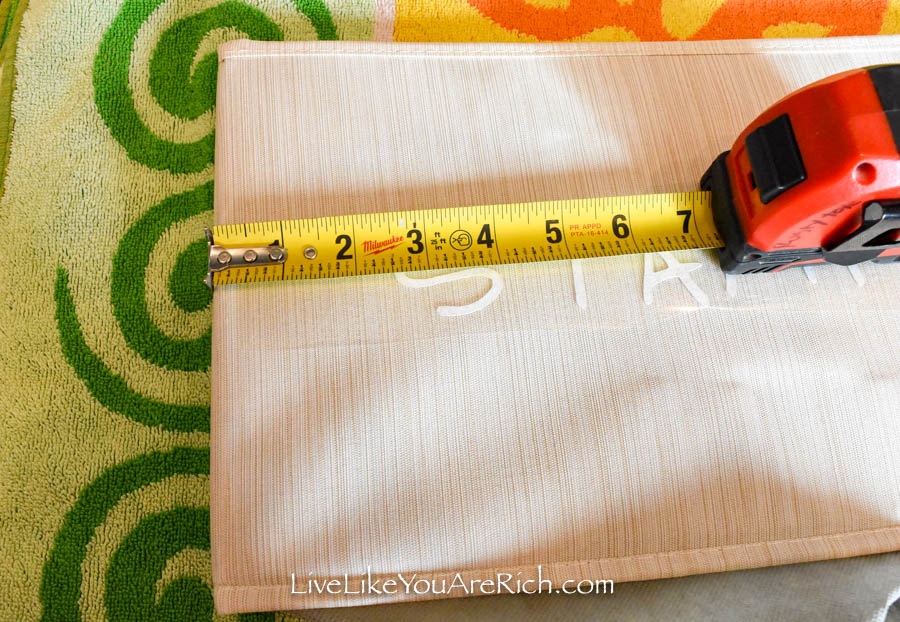
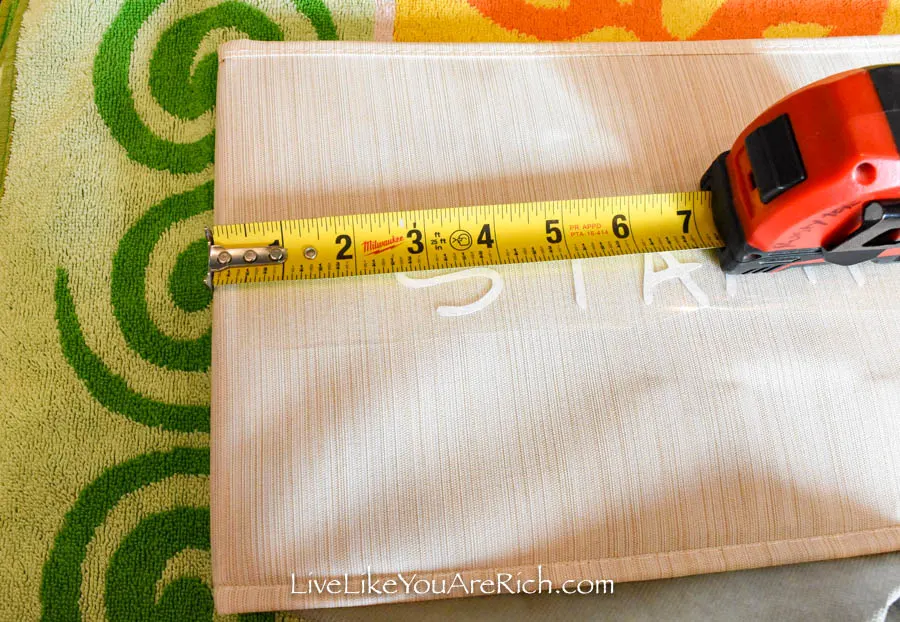
Oh and I always double checked that the label was not upside down on the bin!

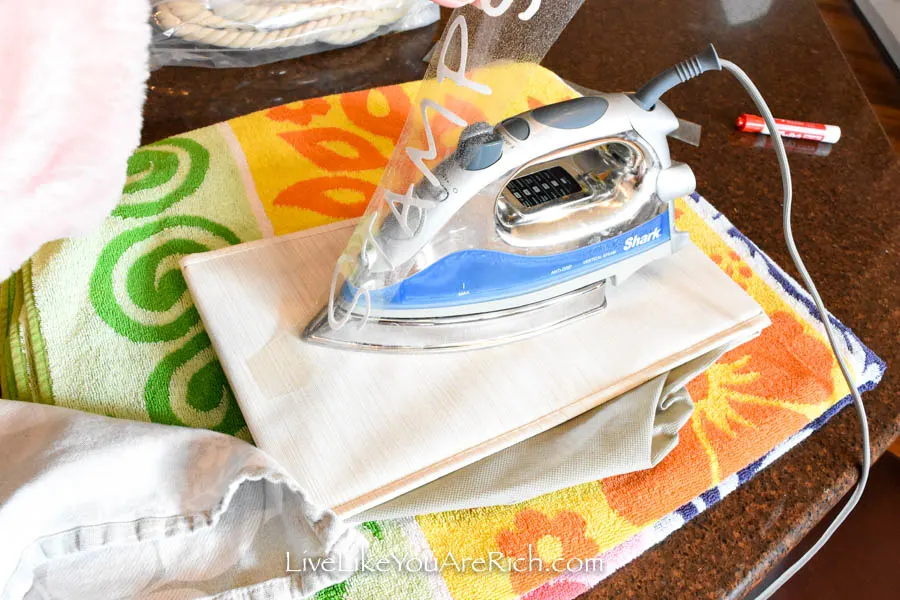
6. Iron it on.
Since I did 41 of these bins, I found a system that really worked in transferring these/ironing them on.
I found the label transferred better if, after centering it, I held the label down with stickiness on one side and gently lifted up the others side and ironed underneath. It transferred better if I got the bin material hot. I used a hot iron on the bin for about 10 seconds.
Another tip is that most likely there is board of some kind behind the material so I tried to not get it too hot. Just a warm-hot works to help the label adhere fine and the material may melt or shrink if you get it too hot on the board.

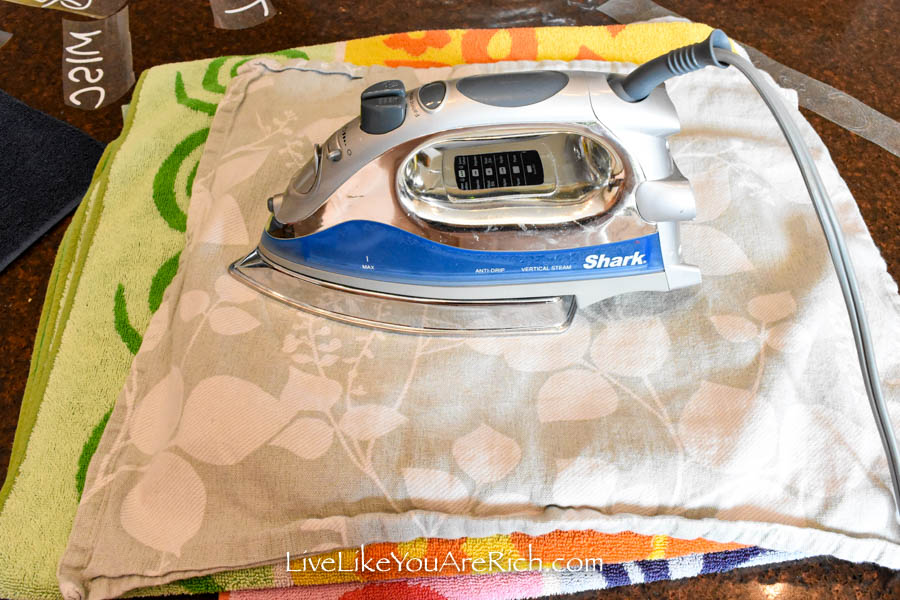
Then I put the label down and put a thin tea towel on top and ironed it for another good 30 seconds each side of the label.


Using a Cricut press would work too but I don’t have one so I just used our iron.

7. Press the letters down well.
Then, I went over the letters with a scrapper.

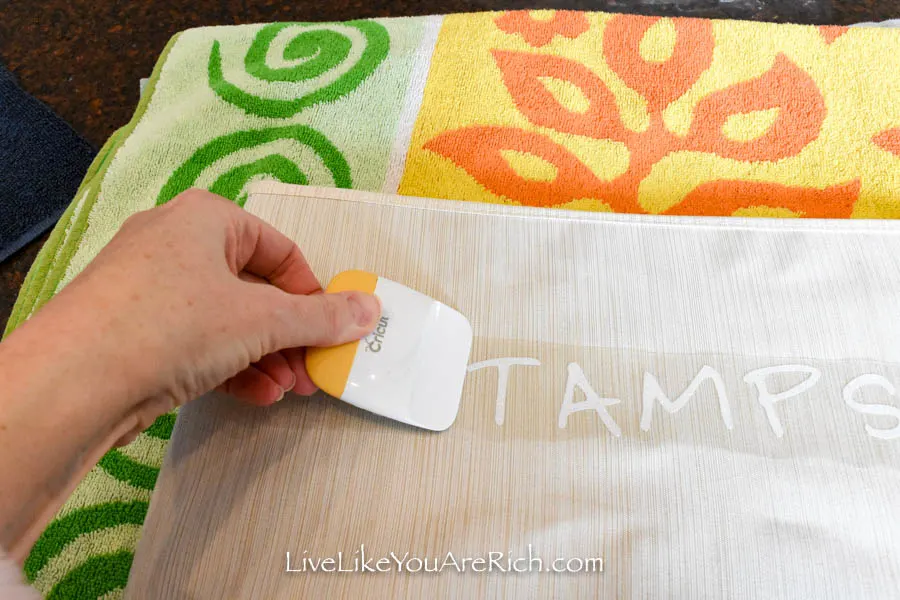
To be extra sure the letters would stick (this is a different type of fabric/material than cotton), I used my fingers and traced the letters.

I found that this was actually very helpful in helping the label adhere.
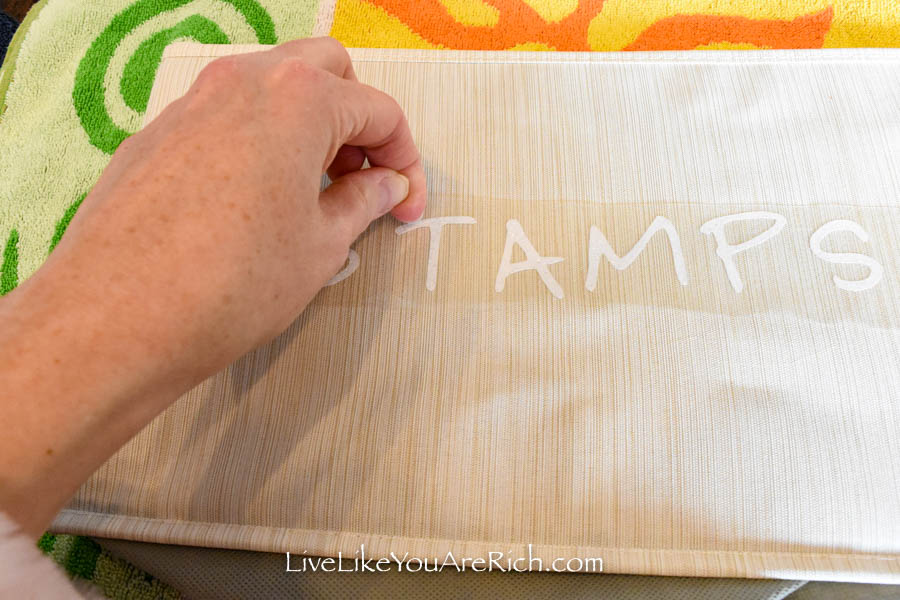

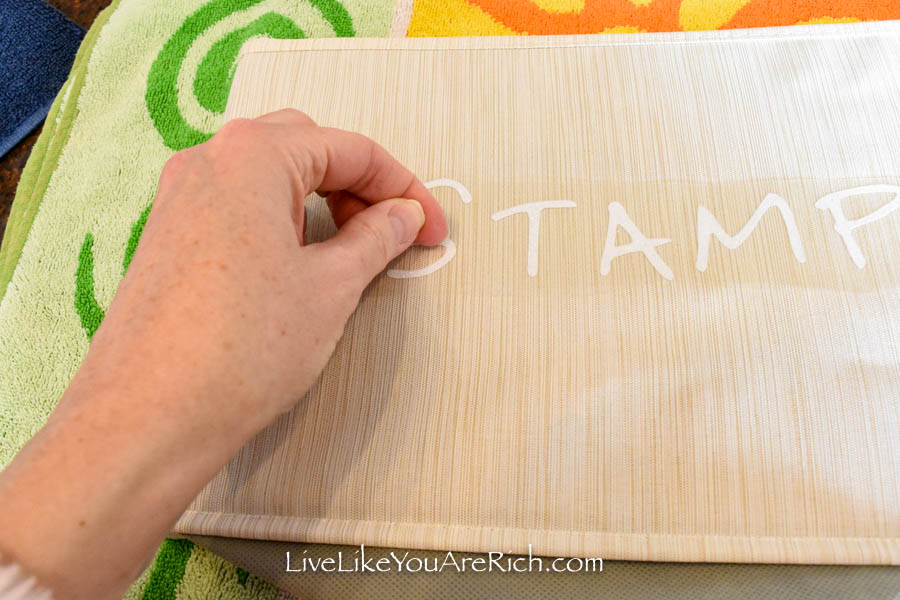
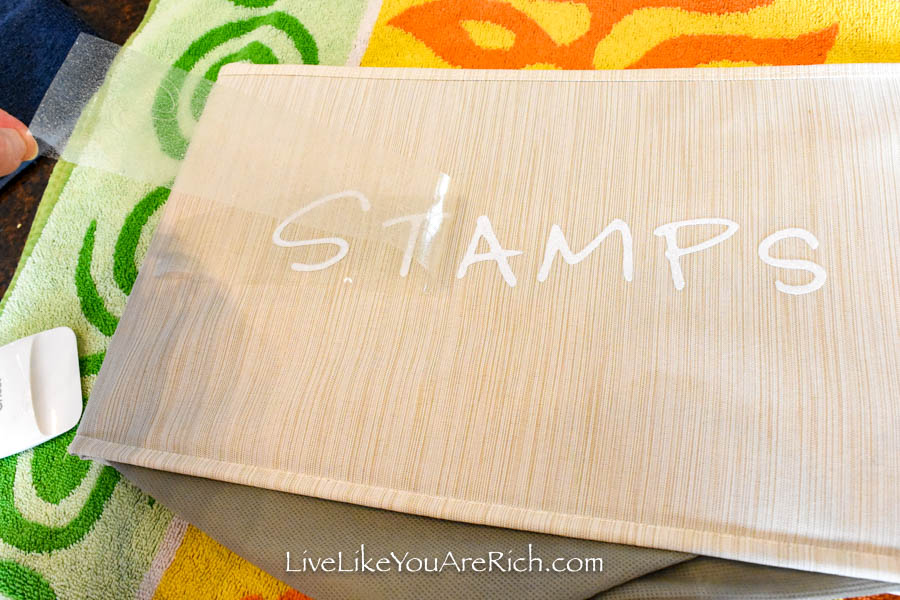
8. Allow it to cool and peel off transfer tape.
I allowed it to cool for a few minutes and then slowly, at an angle pulled the transfer tape off.

As long as I did all of these steps, the letters all stayed on great. If I skipped any step, I’d have to put the towel on and re-iron them on.
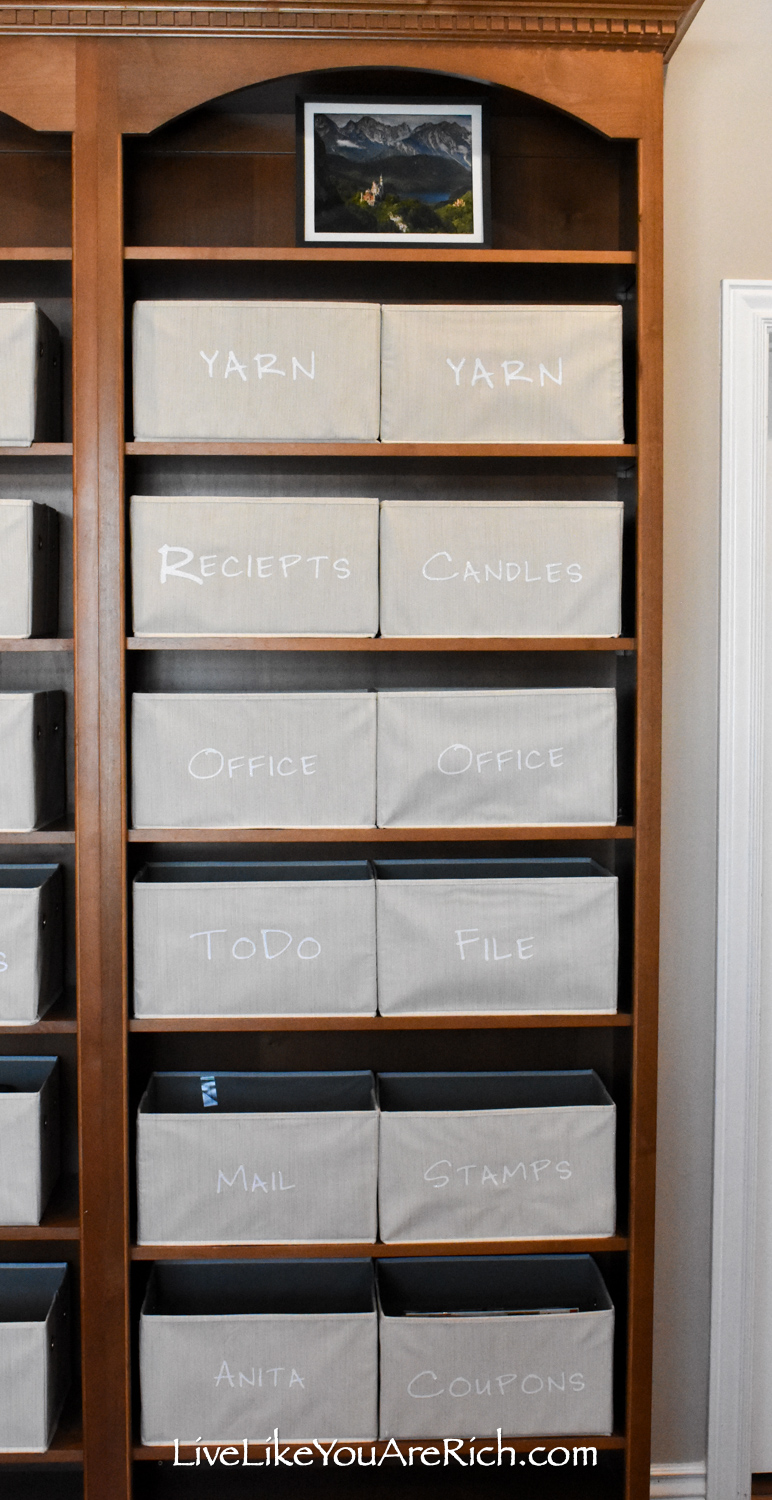
9. Set them up. Cut off visible tags.
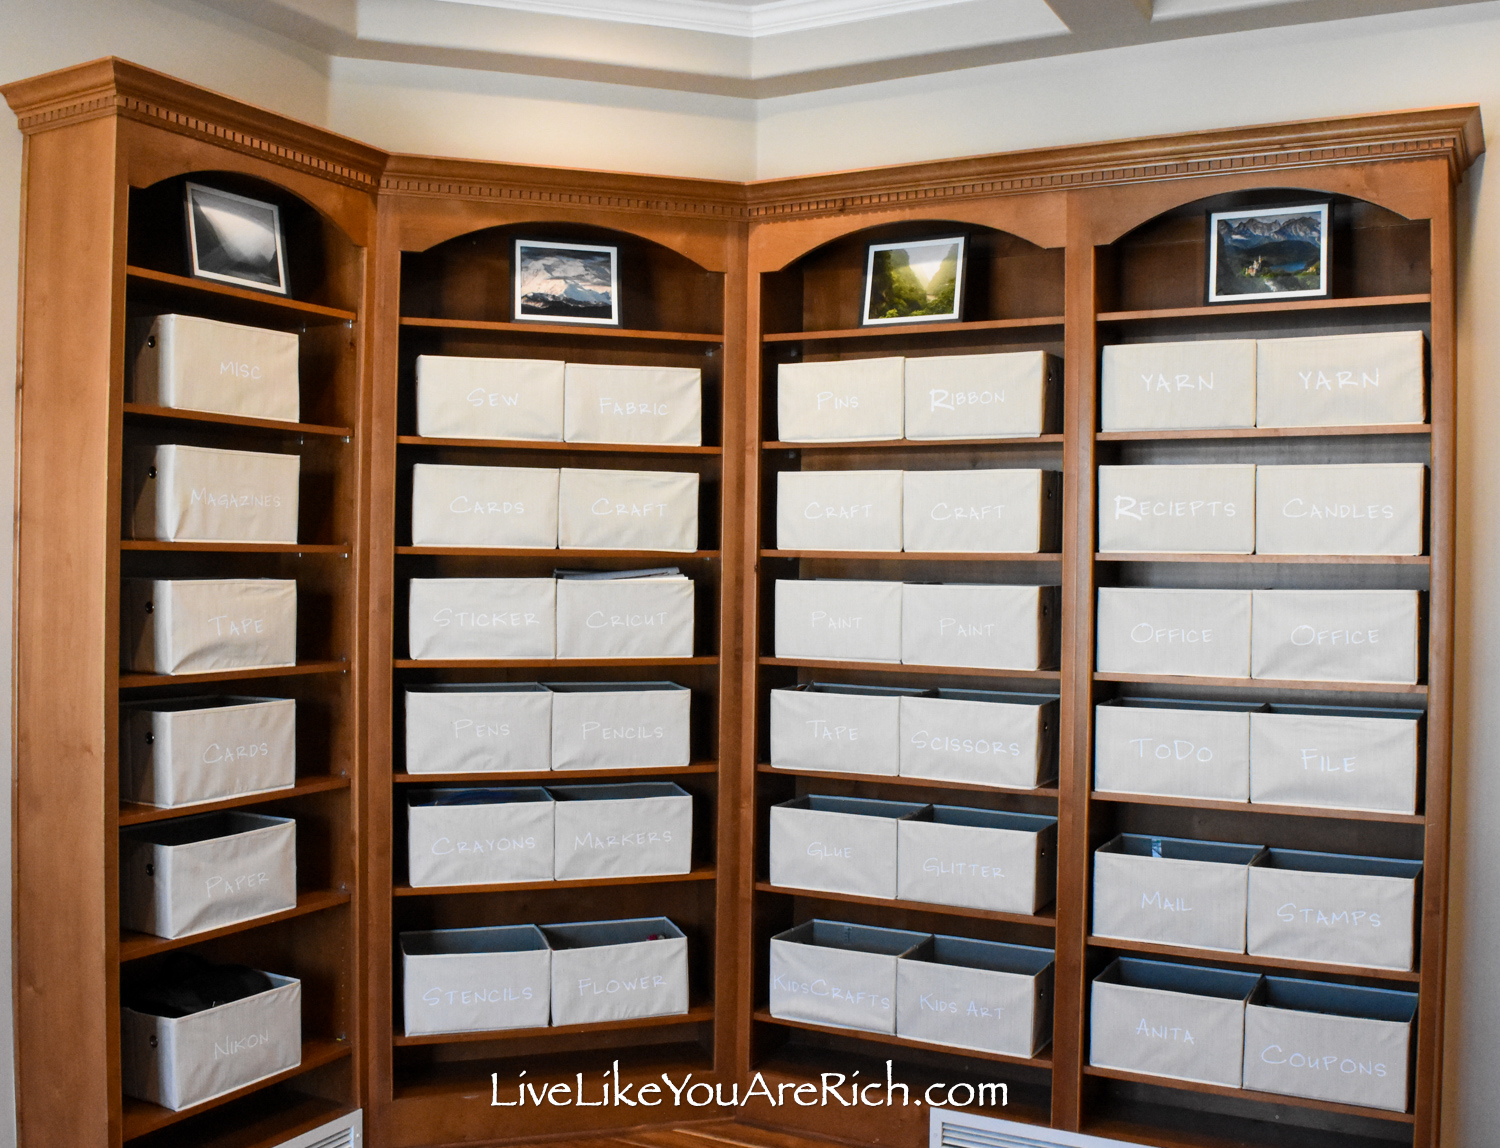
Then I set them all up and noticed a few tags I didn’t like. See the “mail” bin in the photo below (I apparently missed one). You can see a little tag that is reflecting the light. I cut all of those (but one) off to make a more streamlined look.

That’s it! Anyone with access to a vinyl cutter and iron should be able to do this too.
Tip- I liked that I used white iron on glitter vinyl for the labeling because from far away the white almost blends in with the bin fabric. This gives the bins a nice clean and crisp look.

Up close you can easily read the labels.

Instead of having bins on the top shelves, I added some artwork around my office. It makes it look nicer but the main reason was that placing a bin on the top shelf didn’t fit and they were hard to get to.

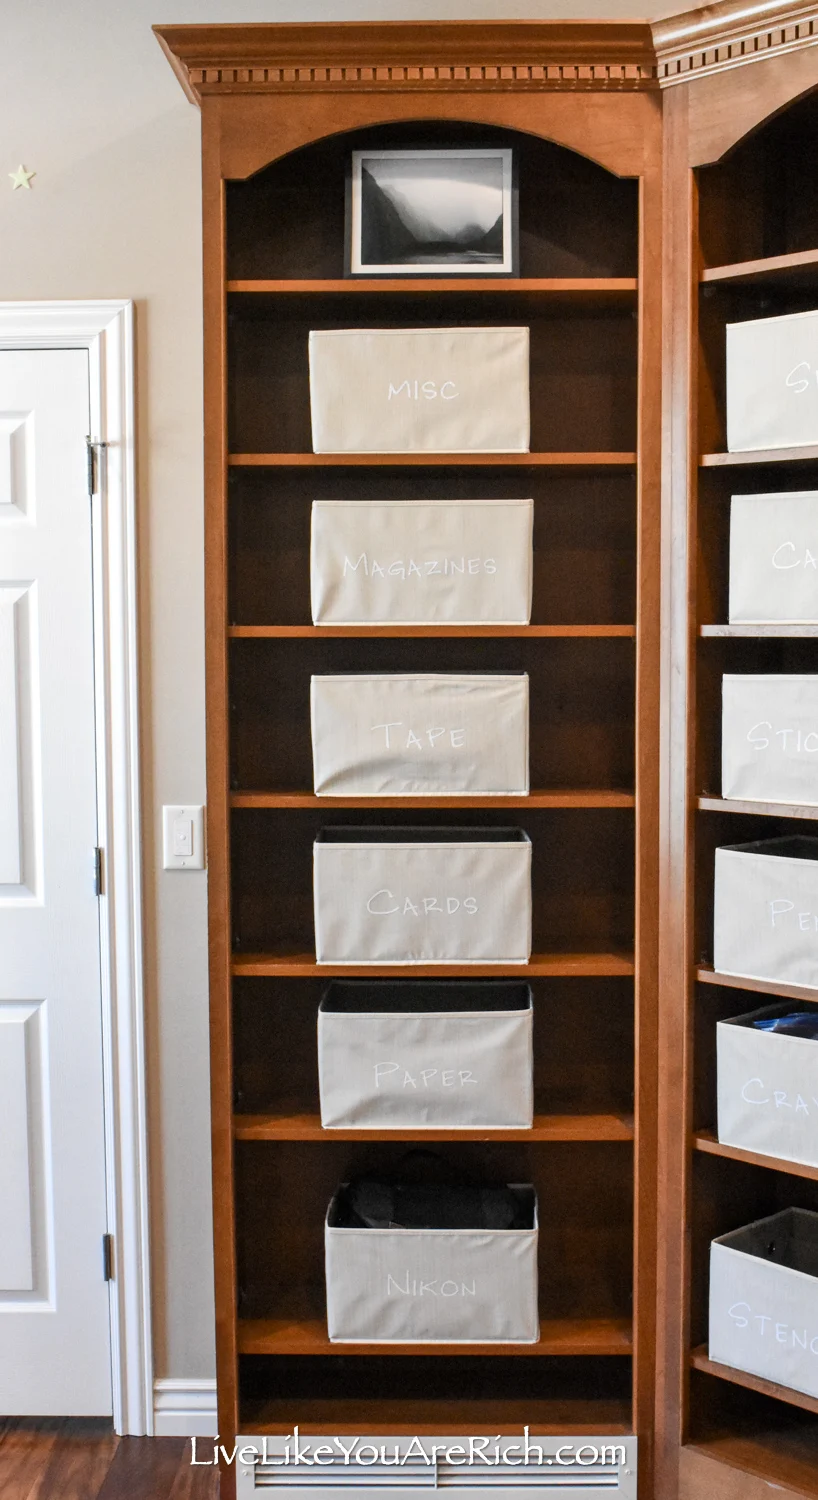
As it turns out, these bins hold a lot! They also slide in and out easily. Plus, there is height left between the bin and top of the shelf that we don’t have to slide them out to put items in them—which is very convenient.

I love this system so much so that I am likely moving these books to the book shelves downstairs and making 8 more bins. Yay for more storage!

If you try out this DIY Open Shelving Bin Organization System please stop back and let me know how it goes.

If you have questions, you too can ask them in the comment section below. Happy organizing!

For other ‘rich living tips’ please Subscribe Here or connect with me on these other platforms:

Supply List for this DIY Open Shelving Bin Organization System
Cricut Explore Air 2 and blade
towels or ironing board