

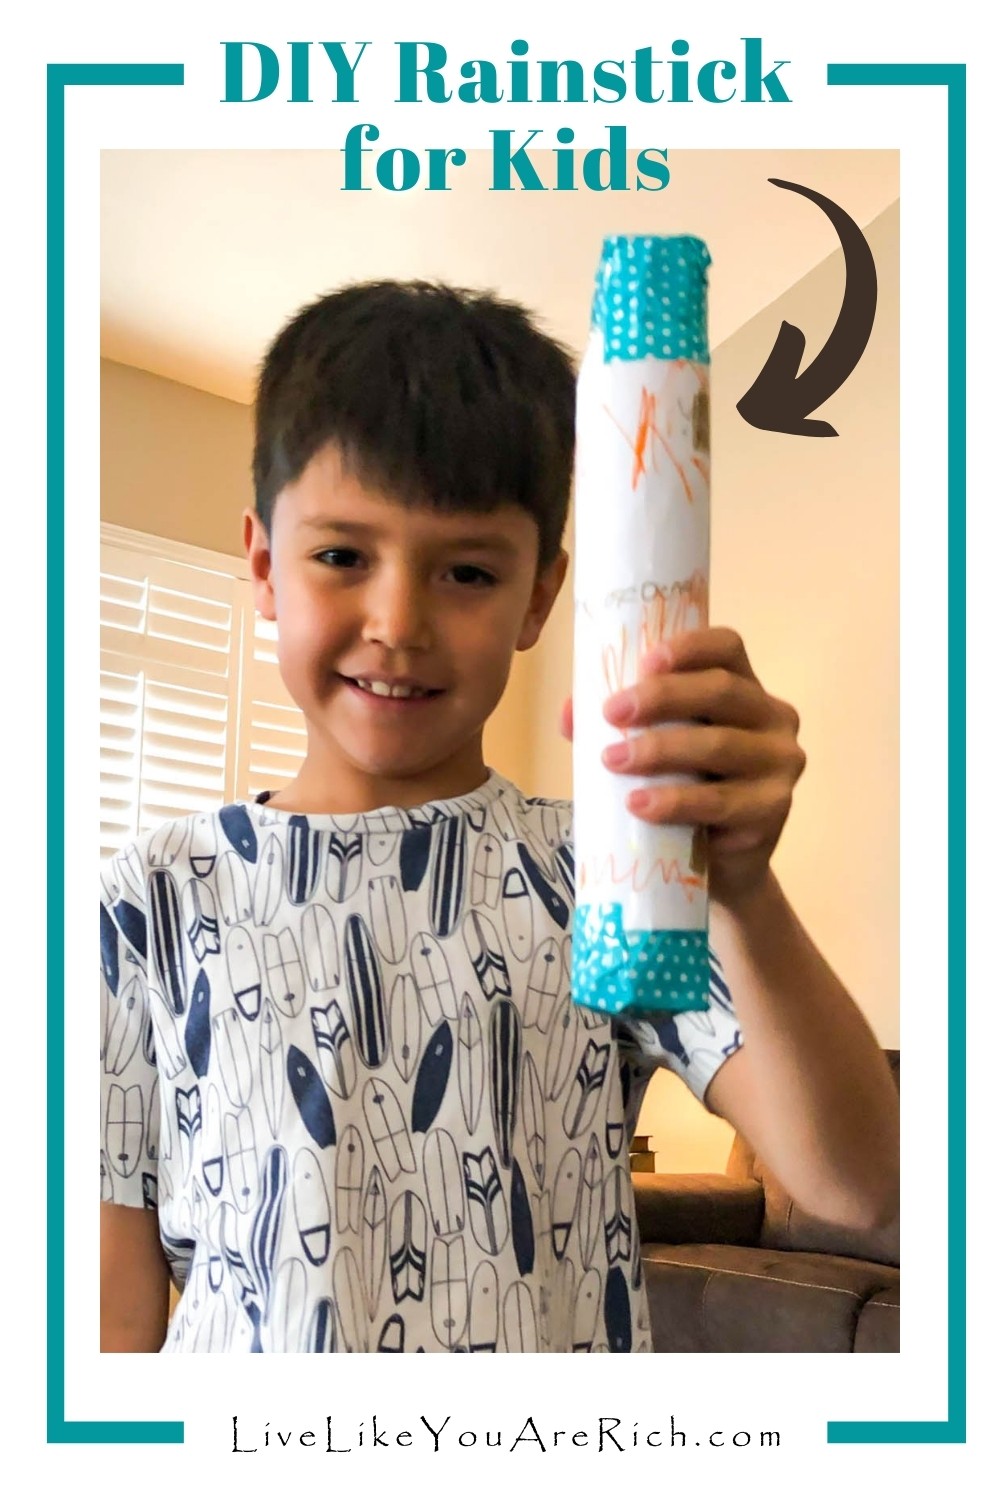
This DIY Rainstick for Kids craft was fun, inexpensive, and quick to make.
My two older kids each made a rainstick and then together we made one that we modified for the baby using a puff container.
This was a very fun craft to make together. As mentioned it was inexpensive and easy—but better yet, we turned the project into a lesson about sound.
This DIY Rainsticks for kids craft provided a great teaching opportunity.
The kids learned that sound travels in waves. I taught them that sound has to have a medium to travel through (like air), or it cannot make its way from one object to the next. I explained that in a vacuum chamber sound cannot travel.
My husband taught them how sound waves can be deadened by inverse sound waves. These inverse sounds waves are what many noise-cancelling headphones use to cut/reduce the audible sound waves they are trying to block from the listener’s ears.
Most high quality noise-cancelling headphones have tiny microphones on the outside that analyze the sound coming in and produce an inverse sound wave which deadens or cancels out the sound wave coming towards it.
Our kids caught on really quickly and they better understood how these rainsticks made noise.
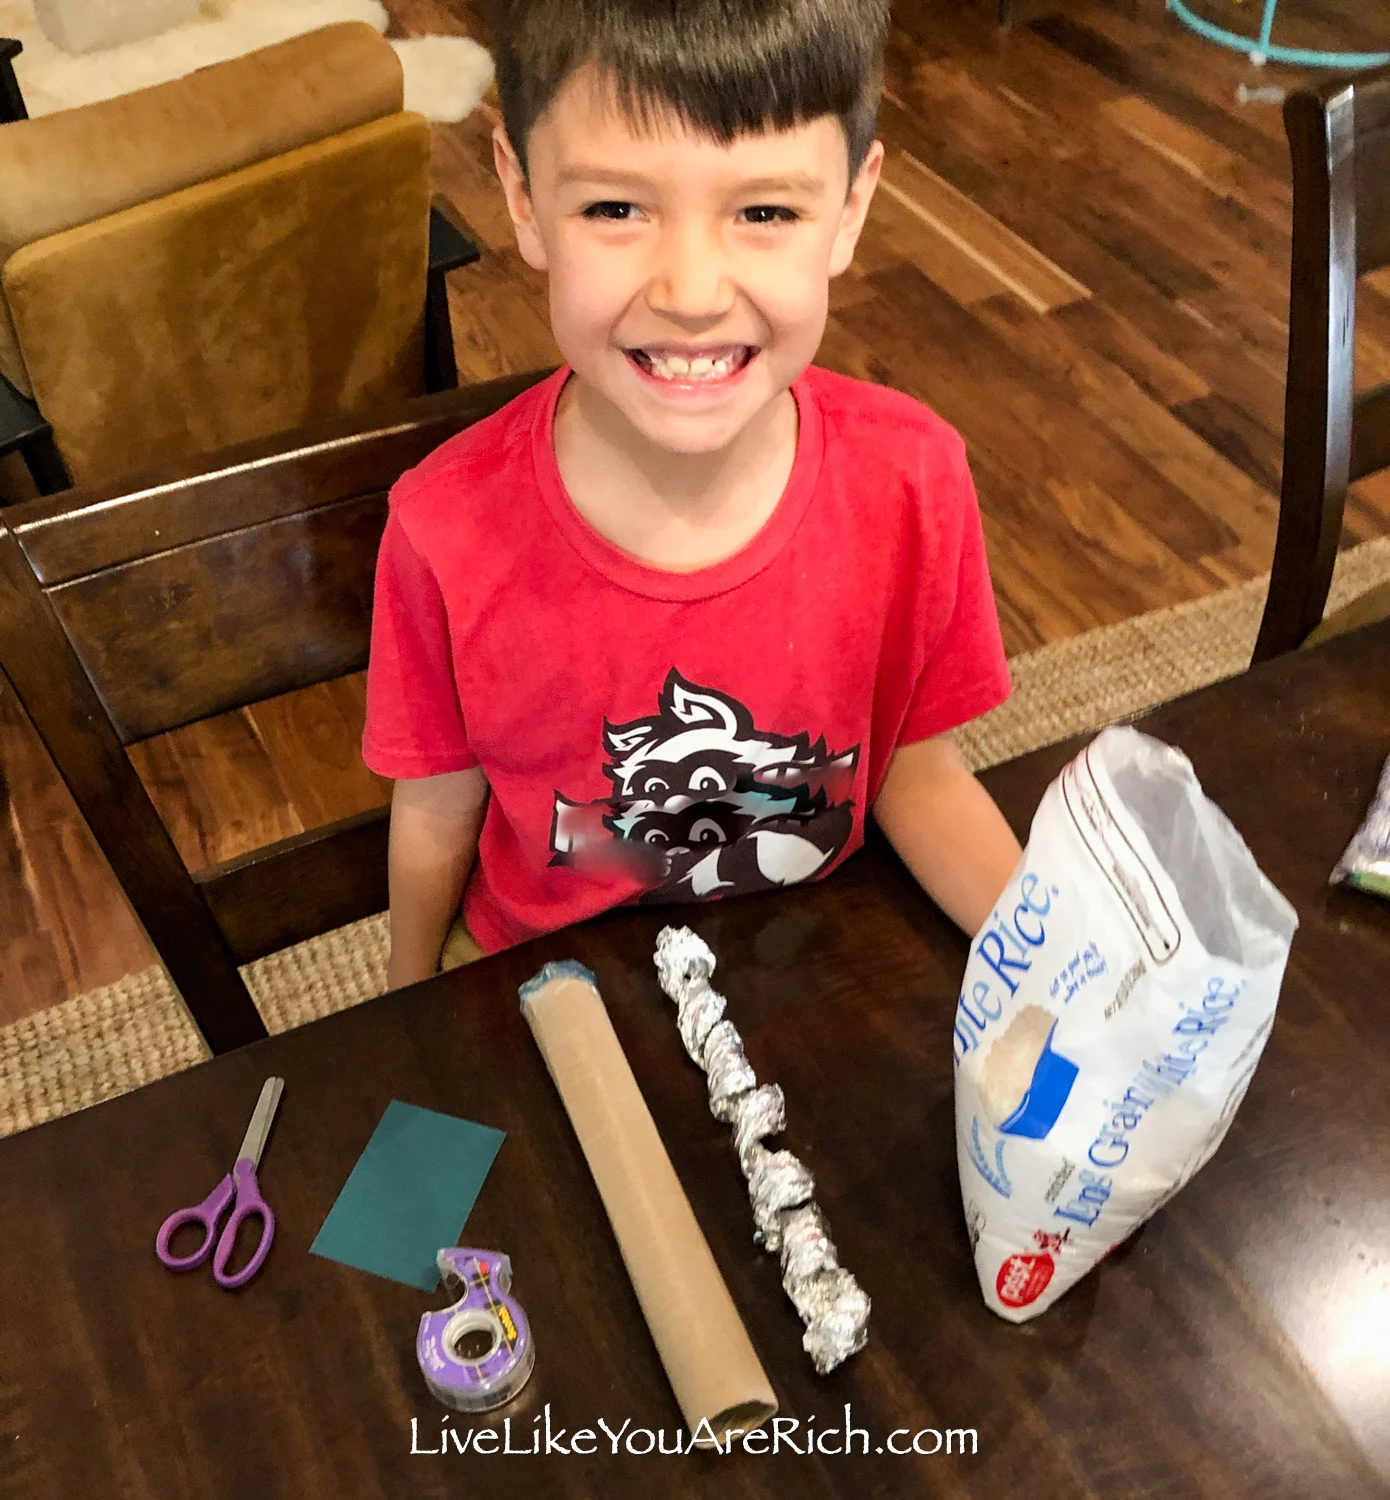
Supply List for DIY Rainstick for Kids
paper towel roll
paper (I used thick/card stock for the top and bottom and regular paper for the sides)
Optional- a funnel
Optional–Gerber Puff bottle emptied and cleaned
How to make a DIY Rainstick for Kids
First, cut a piece of aluminum foil twice as long as the paper towel roll. Fold it into 4th’s hot-dog or long ways. Crunch it into a long tube and then twist the aluminum foil into a spiral shape—making sure that will fit in the paper towel roll.

Place it inside the paper towel roll.
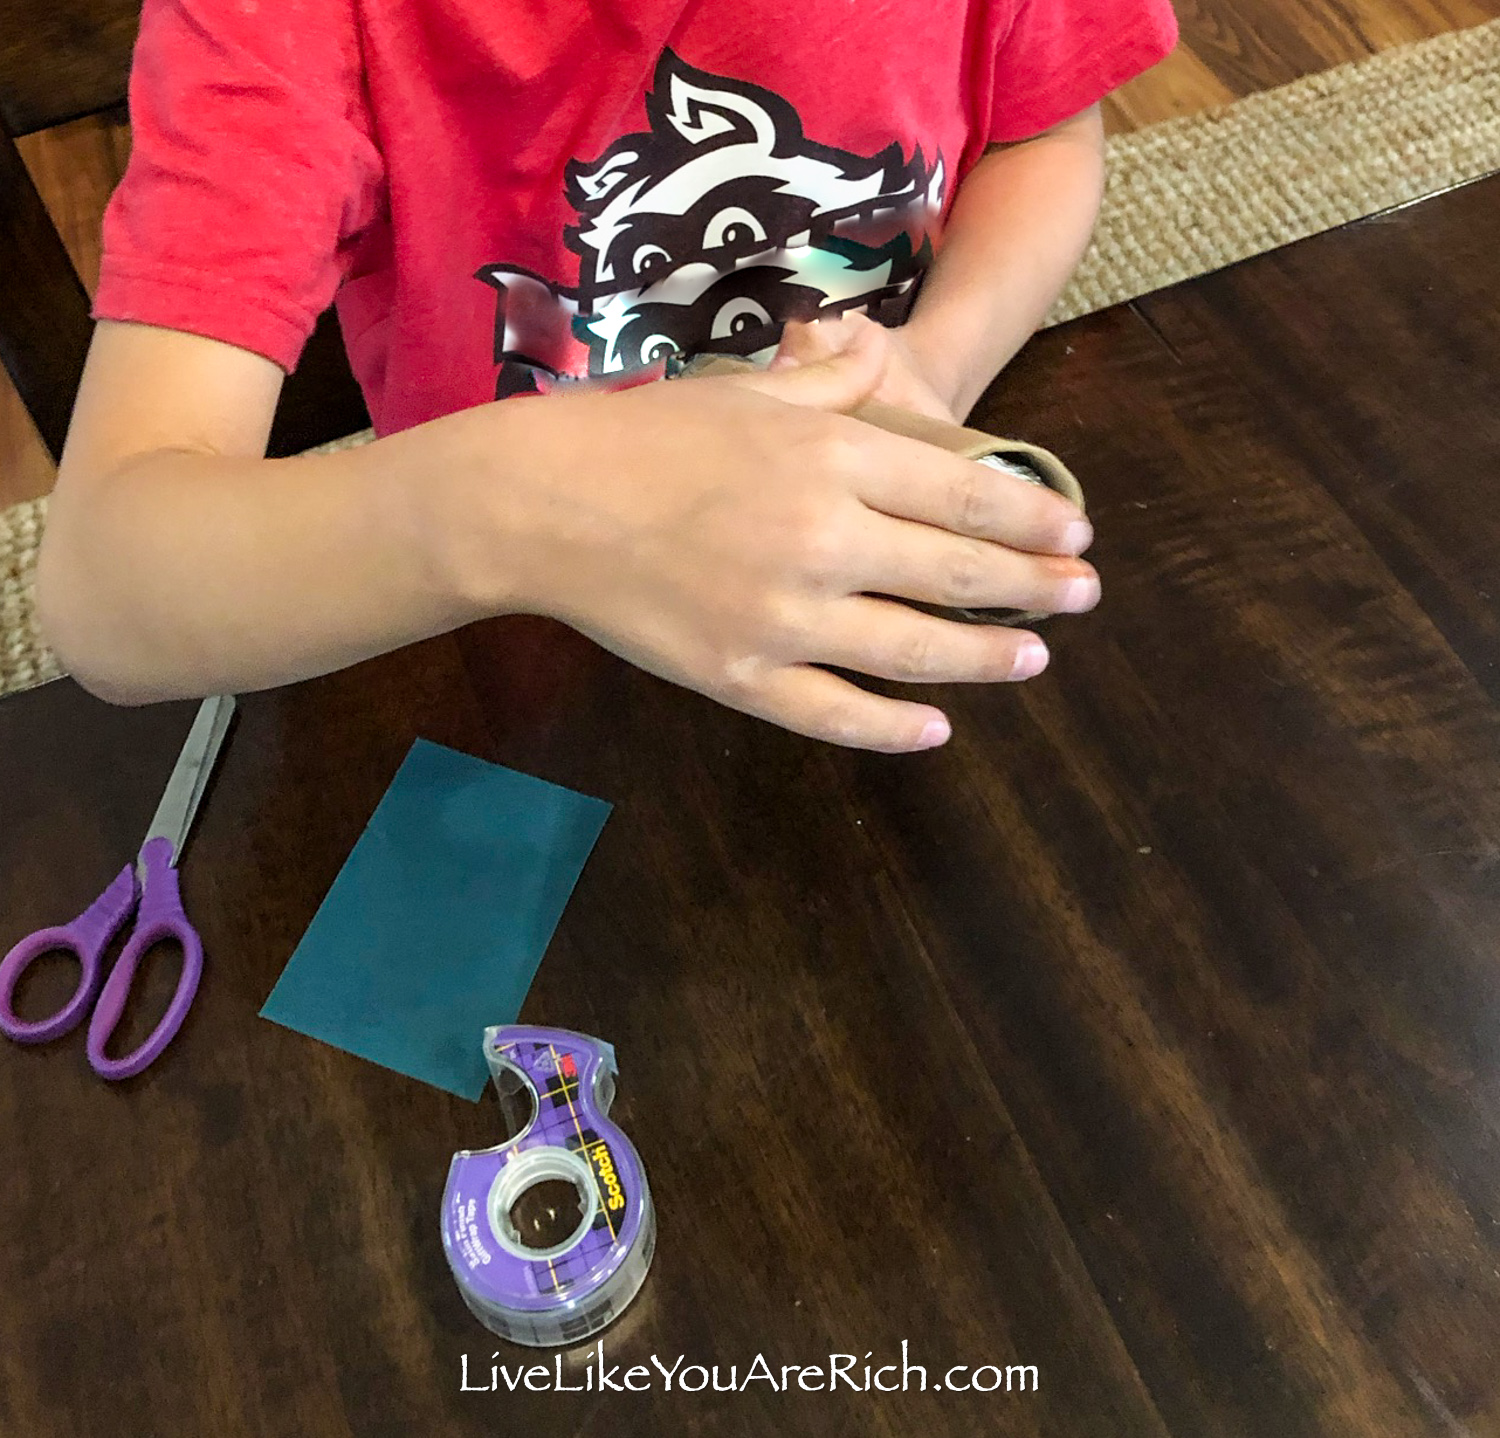

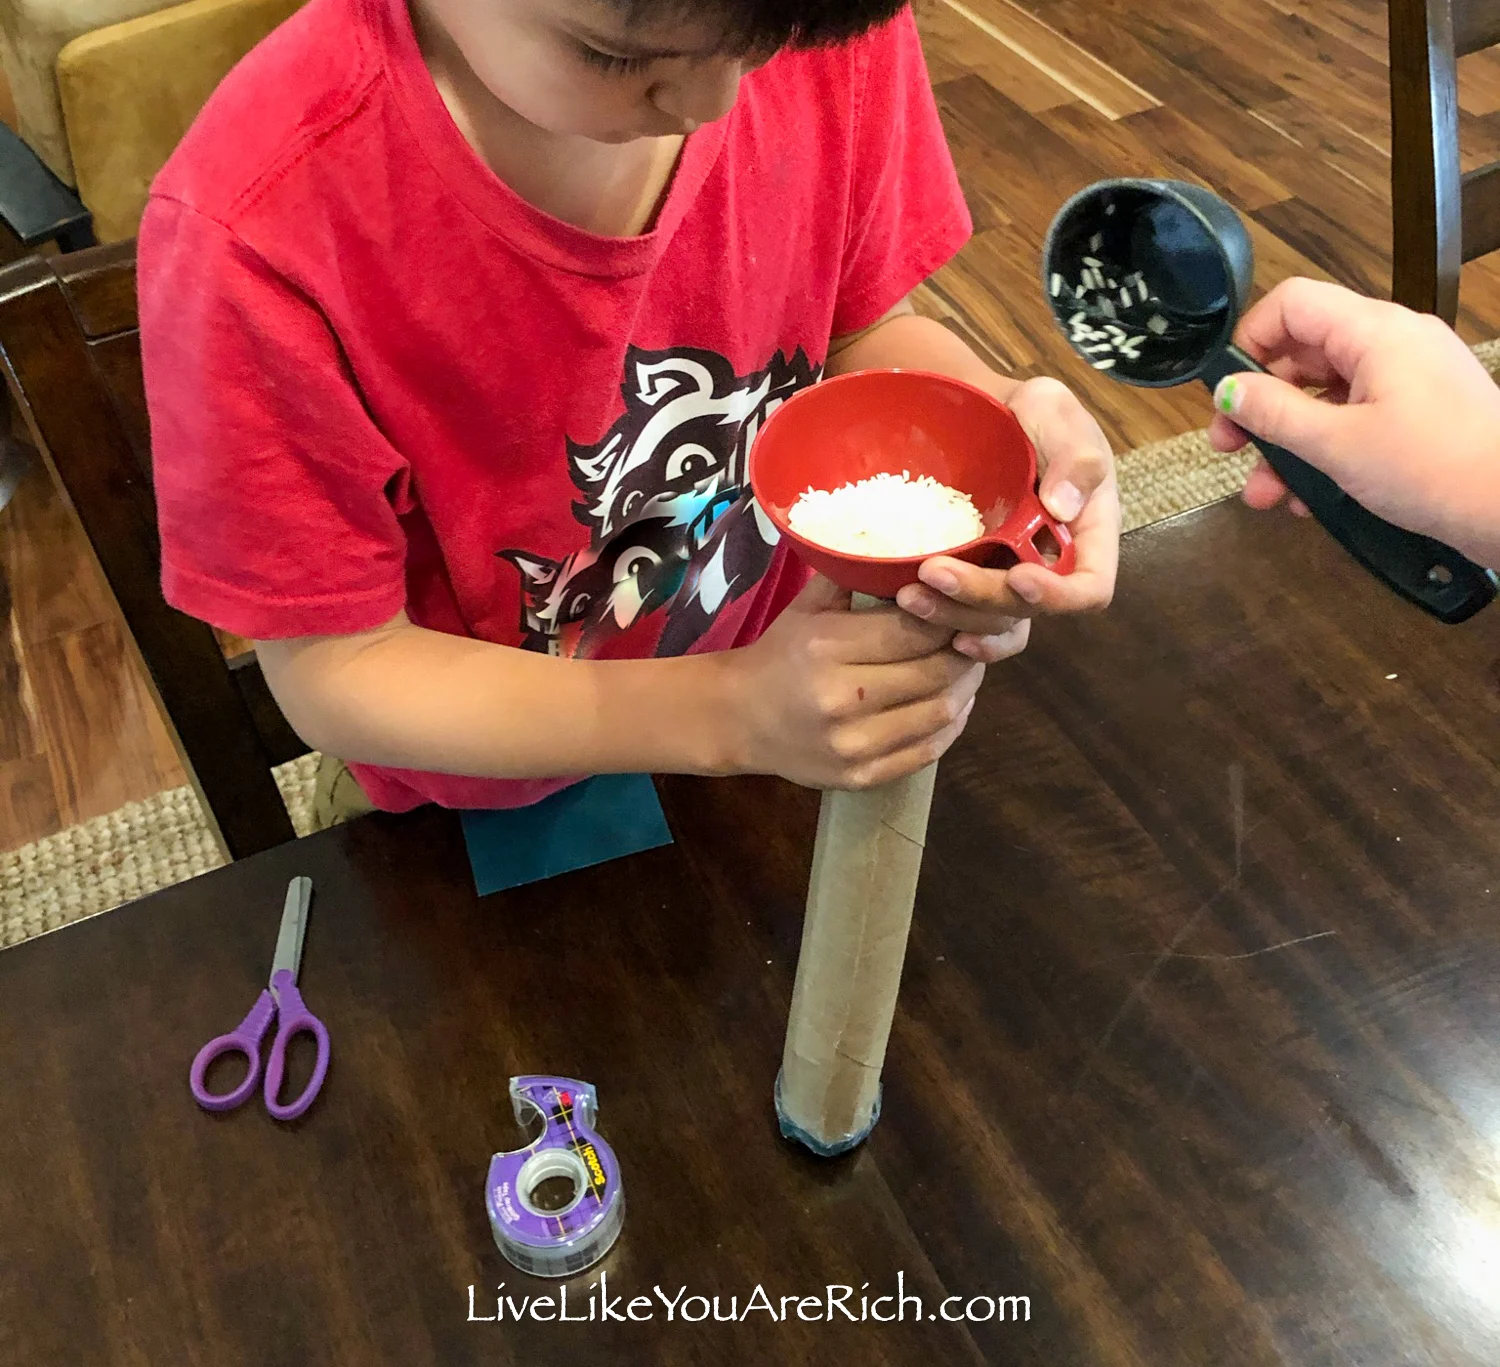
Place thick paper on the bottom and tape it around the bottom of the paper towel roll to close it.
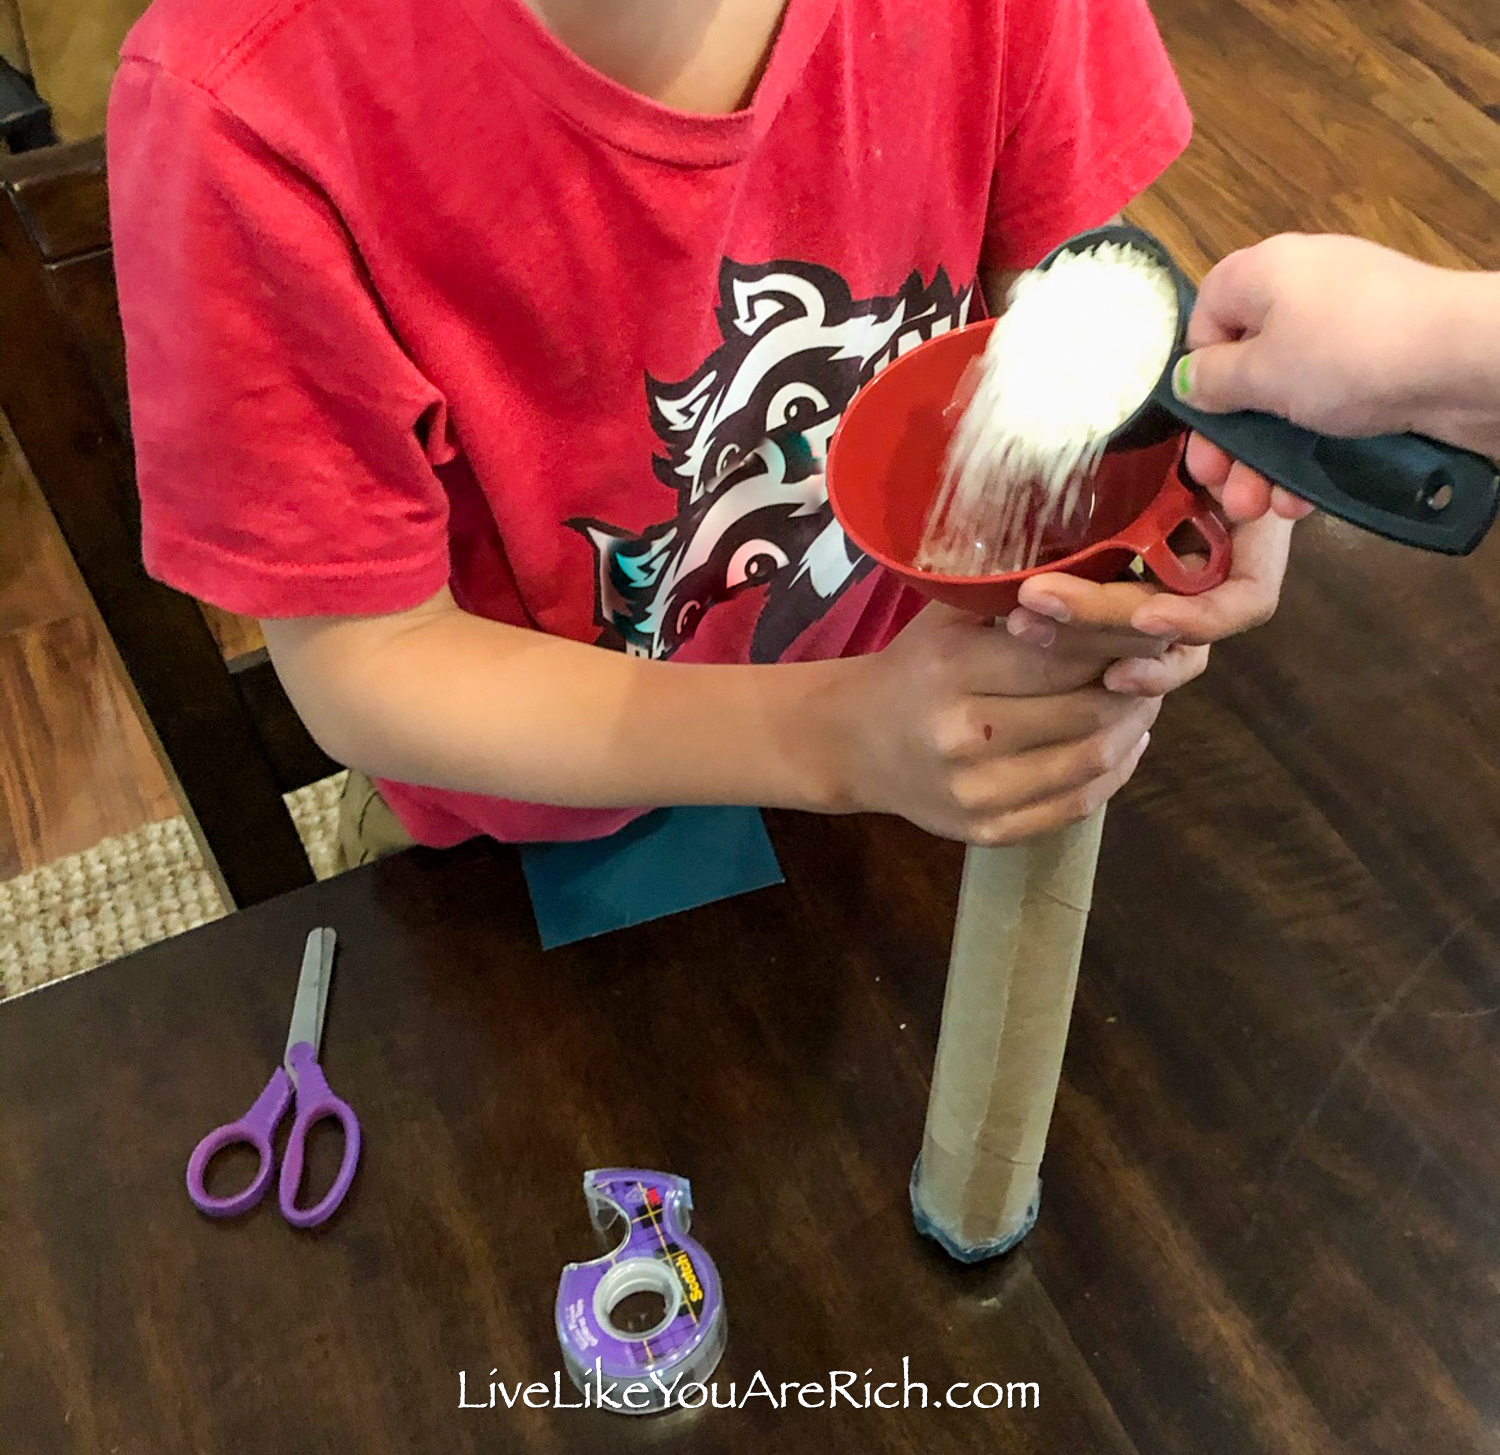
Pour about 1/4-1/3 C of rice into the paper towel roll. Contrary to what one may expect, you do not want too much rice or it will not have enough room to hit the tin foil and make sound… So I’d start with 1/4 Cup, experiment with sound and add a little more if you desire.

Using thick paper, tape the top of the paper towel roll closed.

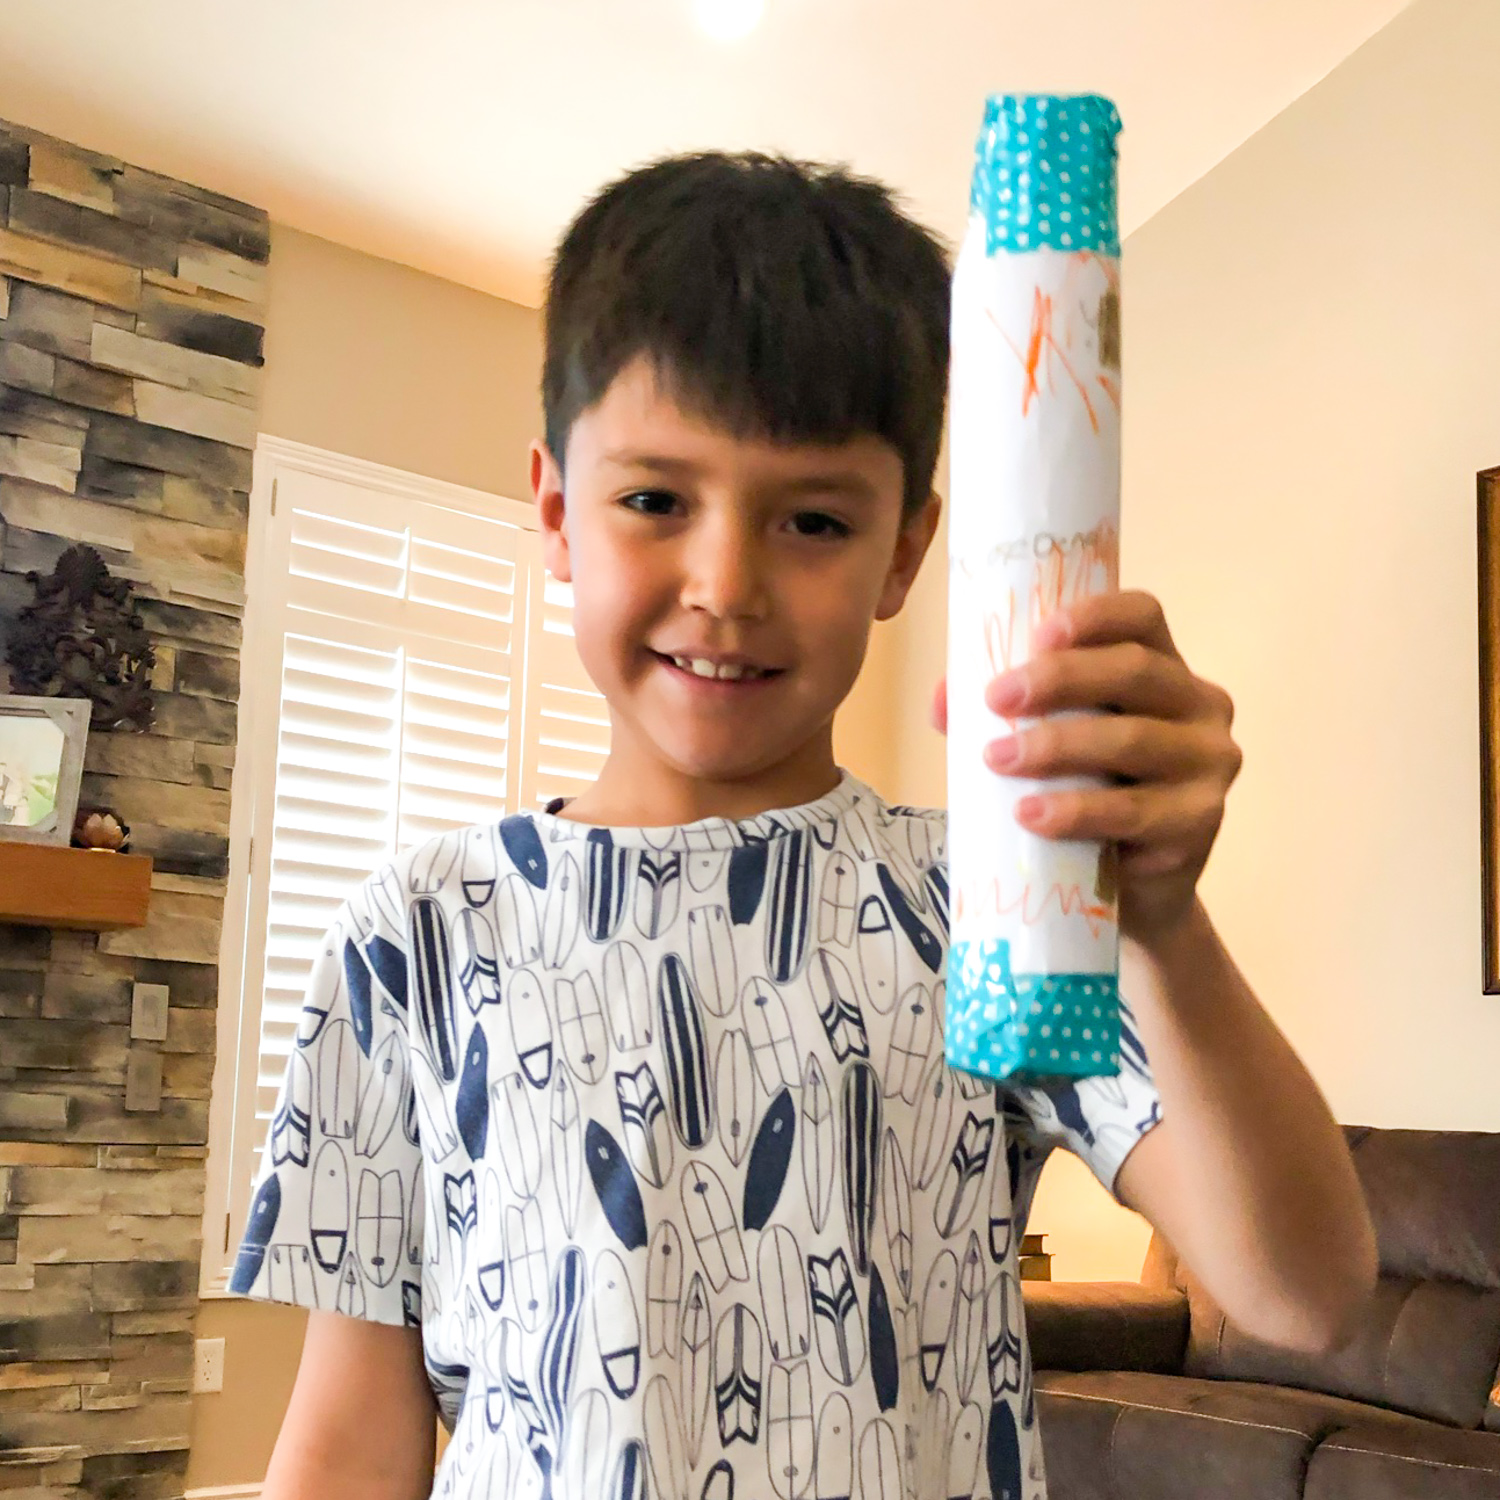
Wrap the sides of the paper towel roll with regular paper and tape it on. Decorate your rainstick.

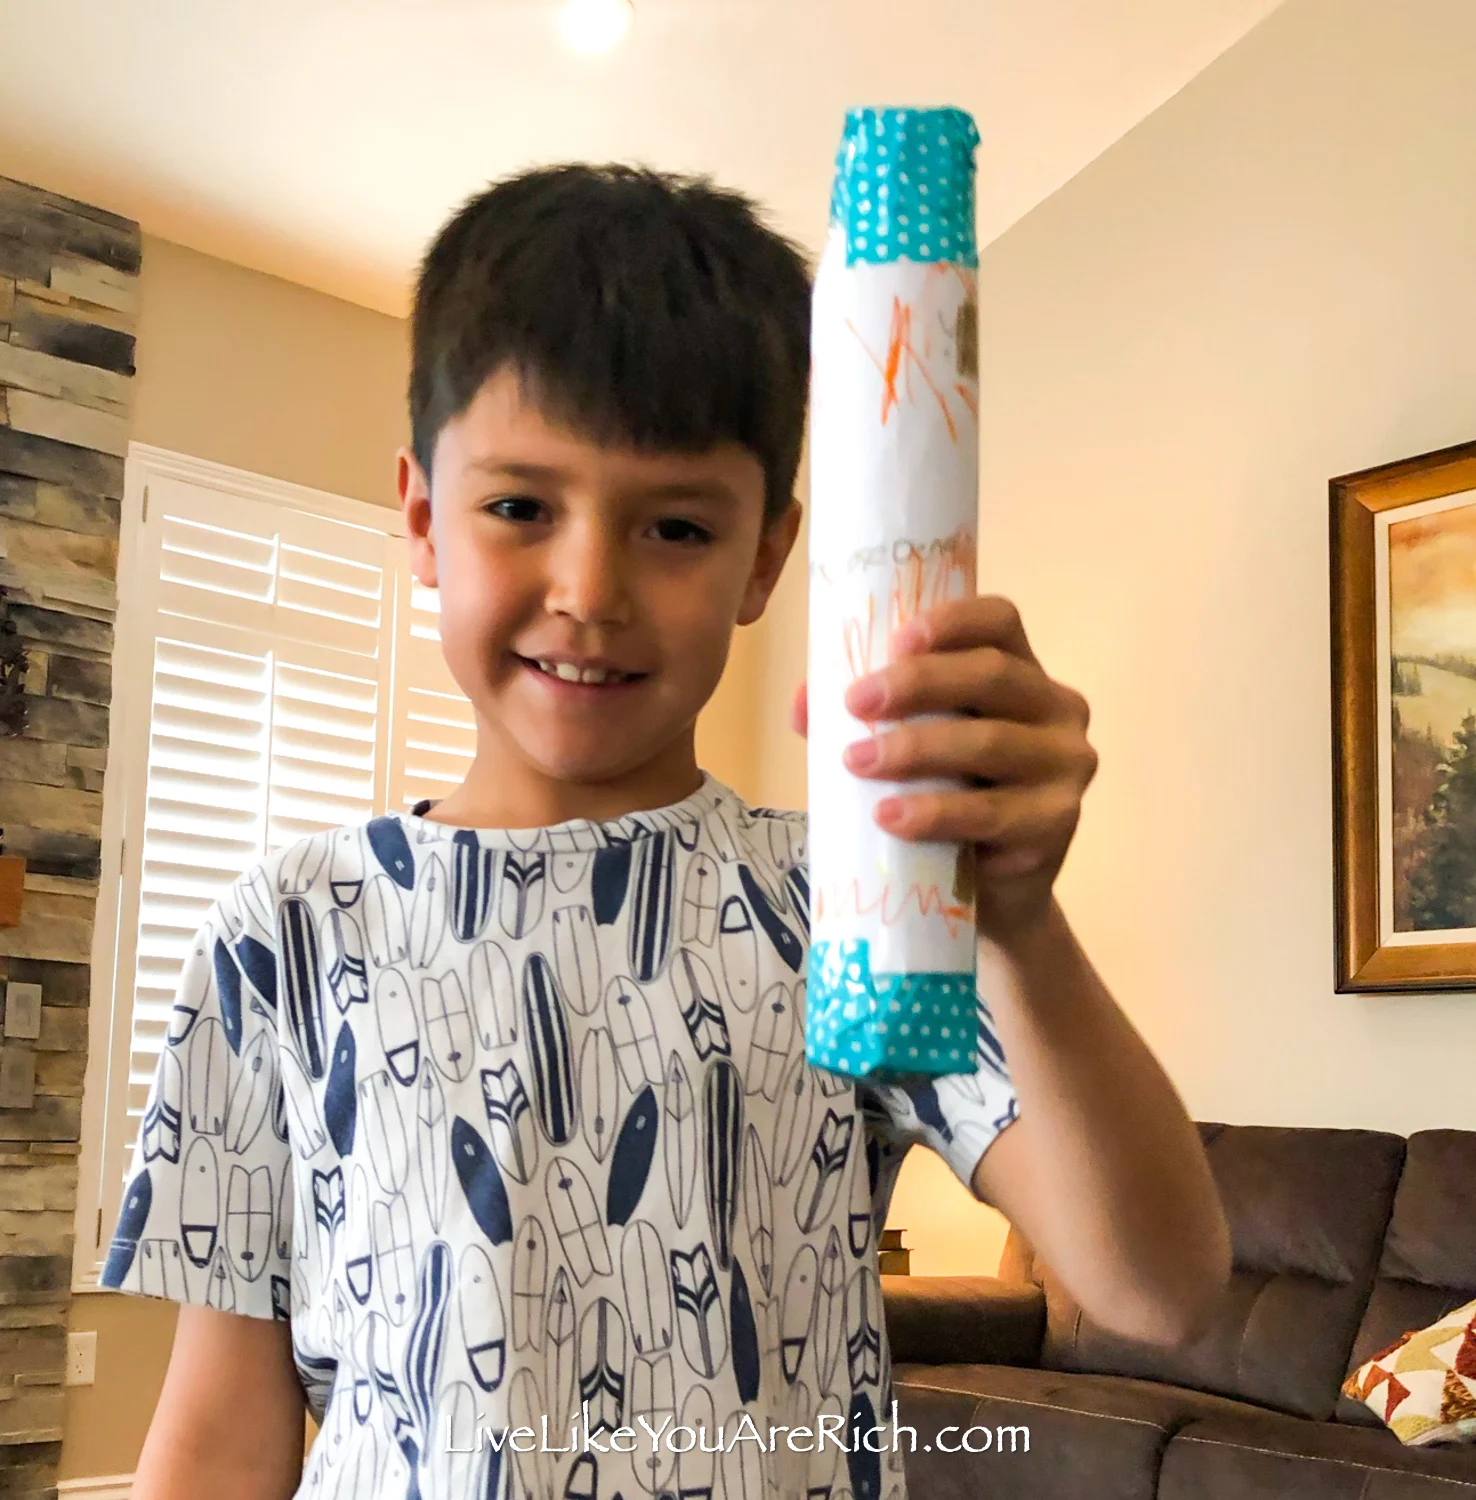
We used decorative tape, crayons, pens and markers to decorate this DIY rainstick for kids.

Optional: Use a Gerber baby puffs bottle and make that into a rainstick too. The only difference in how we made the baby rainstick from the paper towel rolls is that we twisted the aluminum foil in a larger spiral to better fit the bottle.
Our 8 month old really liked her rainstick made out of the puffs bottle; she could hold and shake it better. Plus, it is plastic, so she was trying to chew on it didn’t ruin it.
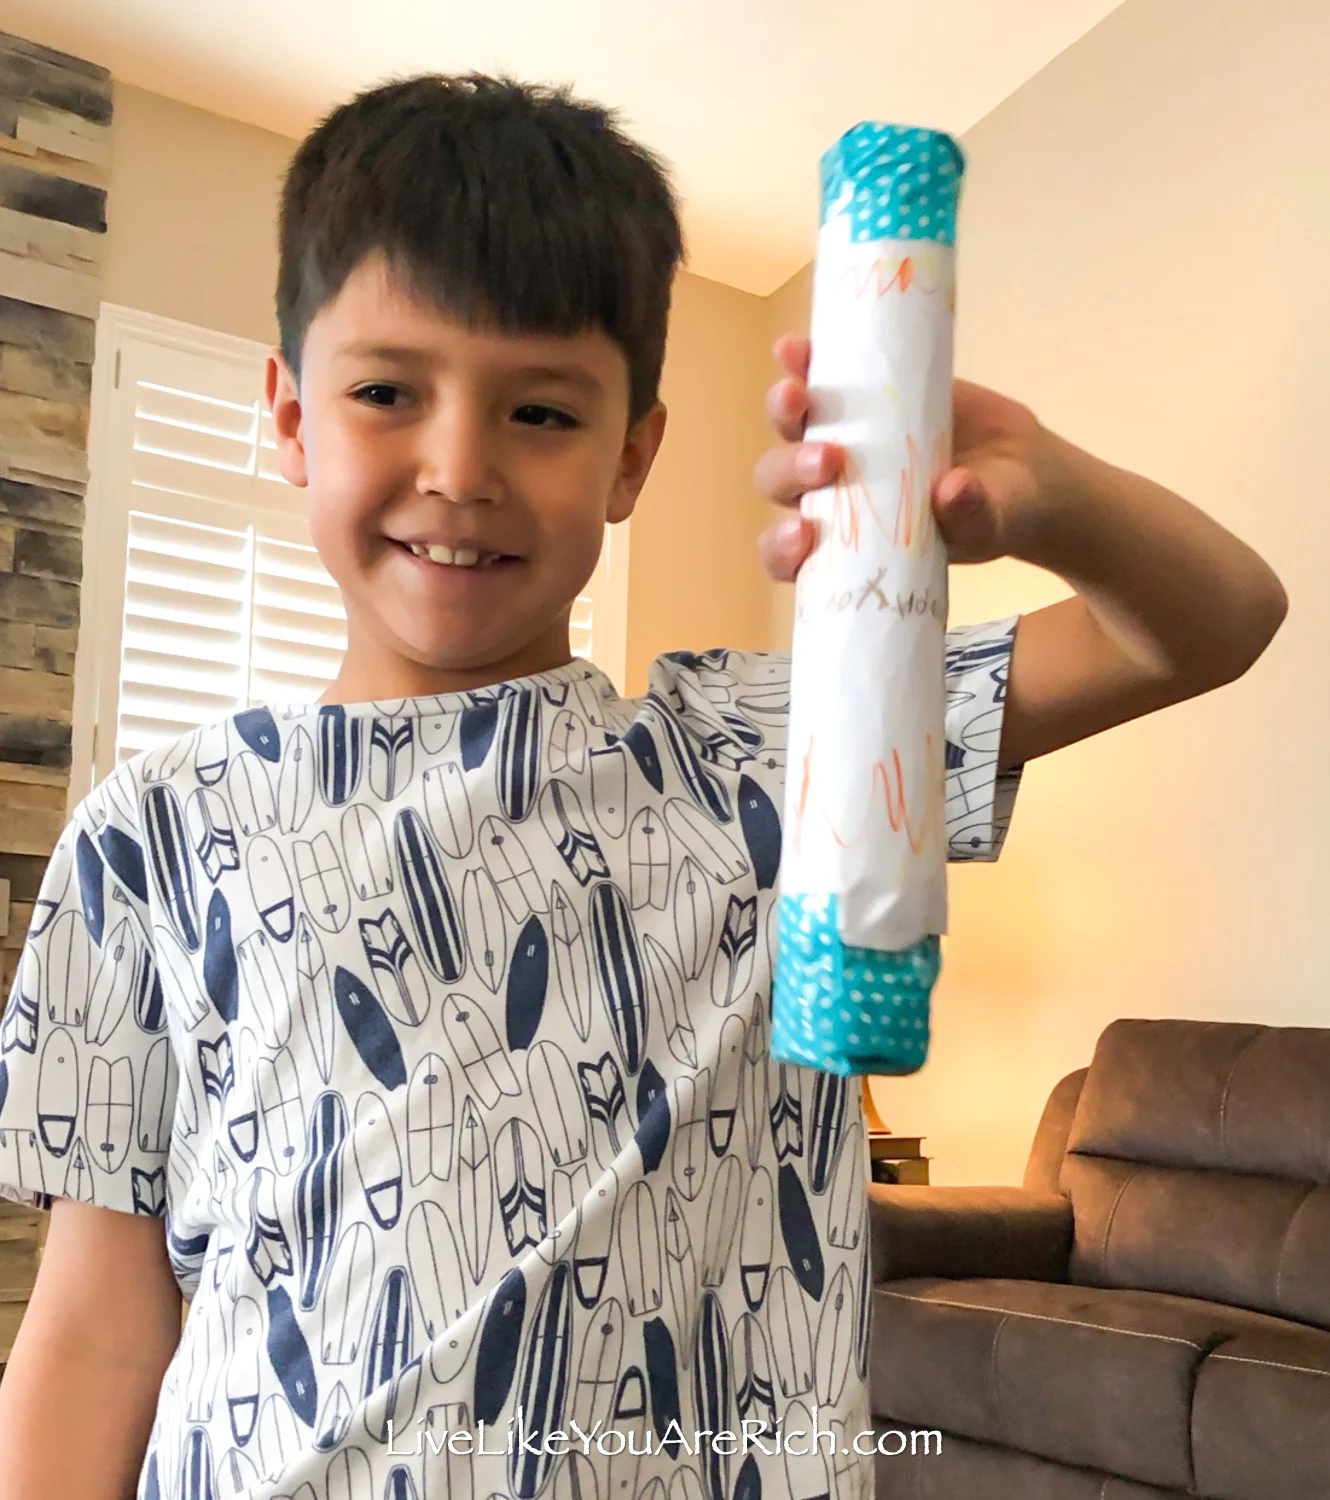
Now, the kids can listen to the sound of the rain whenever they turn the rainstick over.
Watch this video to hear what these rainsticks sound like.
That’s all there is to making a DIY Rainstick for Kids! Pretty easy, huh?
If you make one, I’d love to know how it goes in the comments below.


For other ‘rich living tips’ please Subscribe Here or connect with me on these other platforms:

Supply List for DIY Rainstick for Kids
paper towel roll
paper (thick for the top and bottom and regular paper for the sides)
Optional–Gerber Puff bottle emptied and cleaned