

This is our Master Bedroom Renovation Before and After—Home 3 with description of how I saved thousands.
I have many posts about the homes I have renovated that I will hopefully be posting this year (2021).
It seems that much of my time for the past 10 years has been dedicated to renovating houses.
I have renovated 3 homes top to bottom and helped with some friend’s and family’s renovation and interior design projects as well.
As I begin to post these posts, I will label each renovation as a friend or family members or Home 1 (my first home I renovated), Home 2 (my husband’s home we renovated last year), and Home 3 (our current home that we renovated and are still working on—we have the theater room and exterior still to renovate).
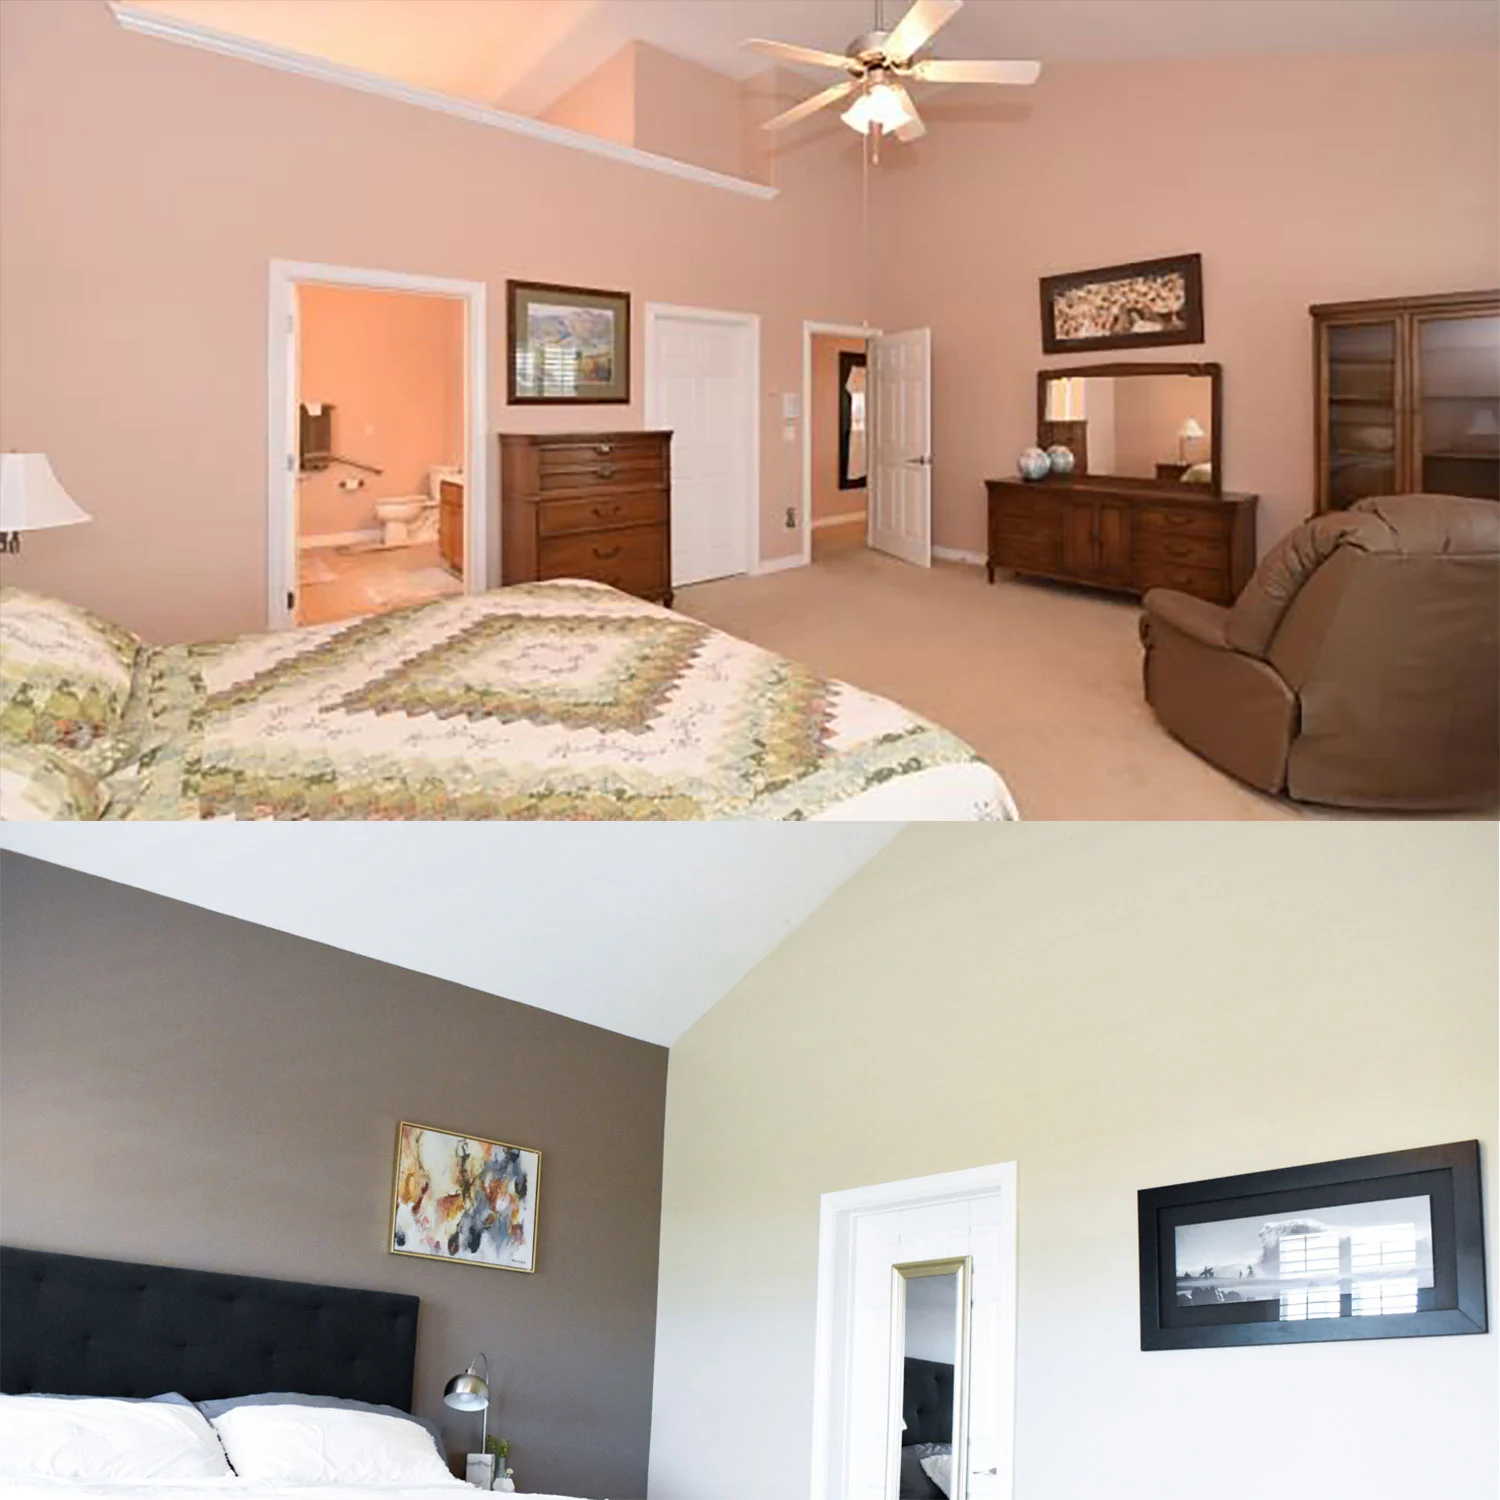
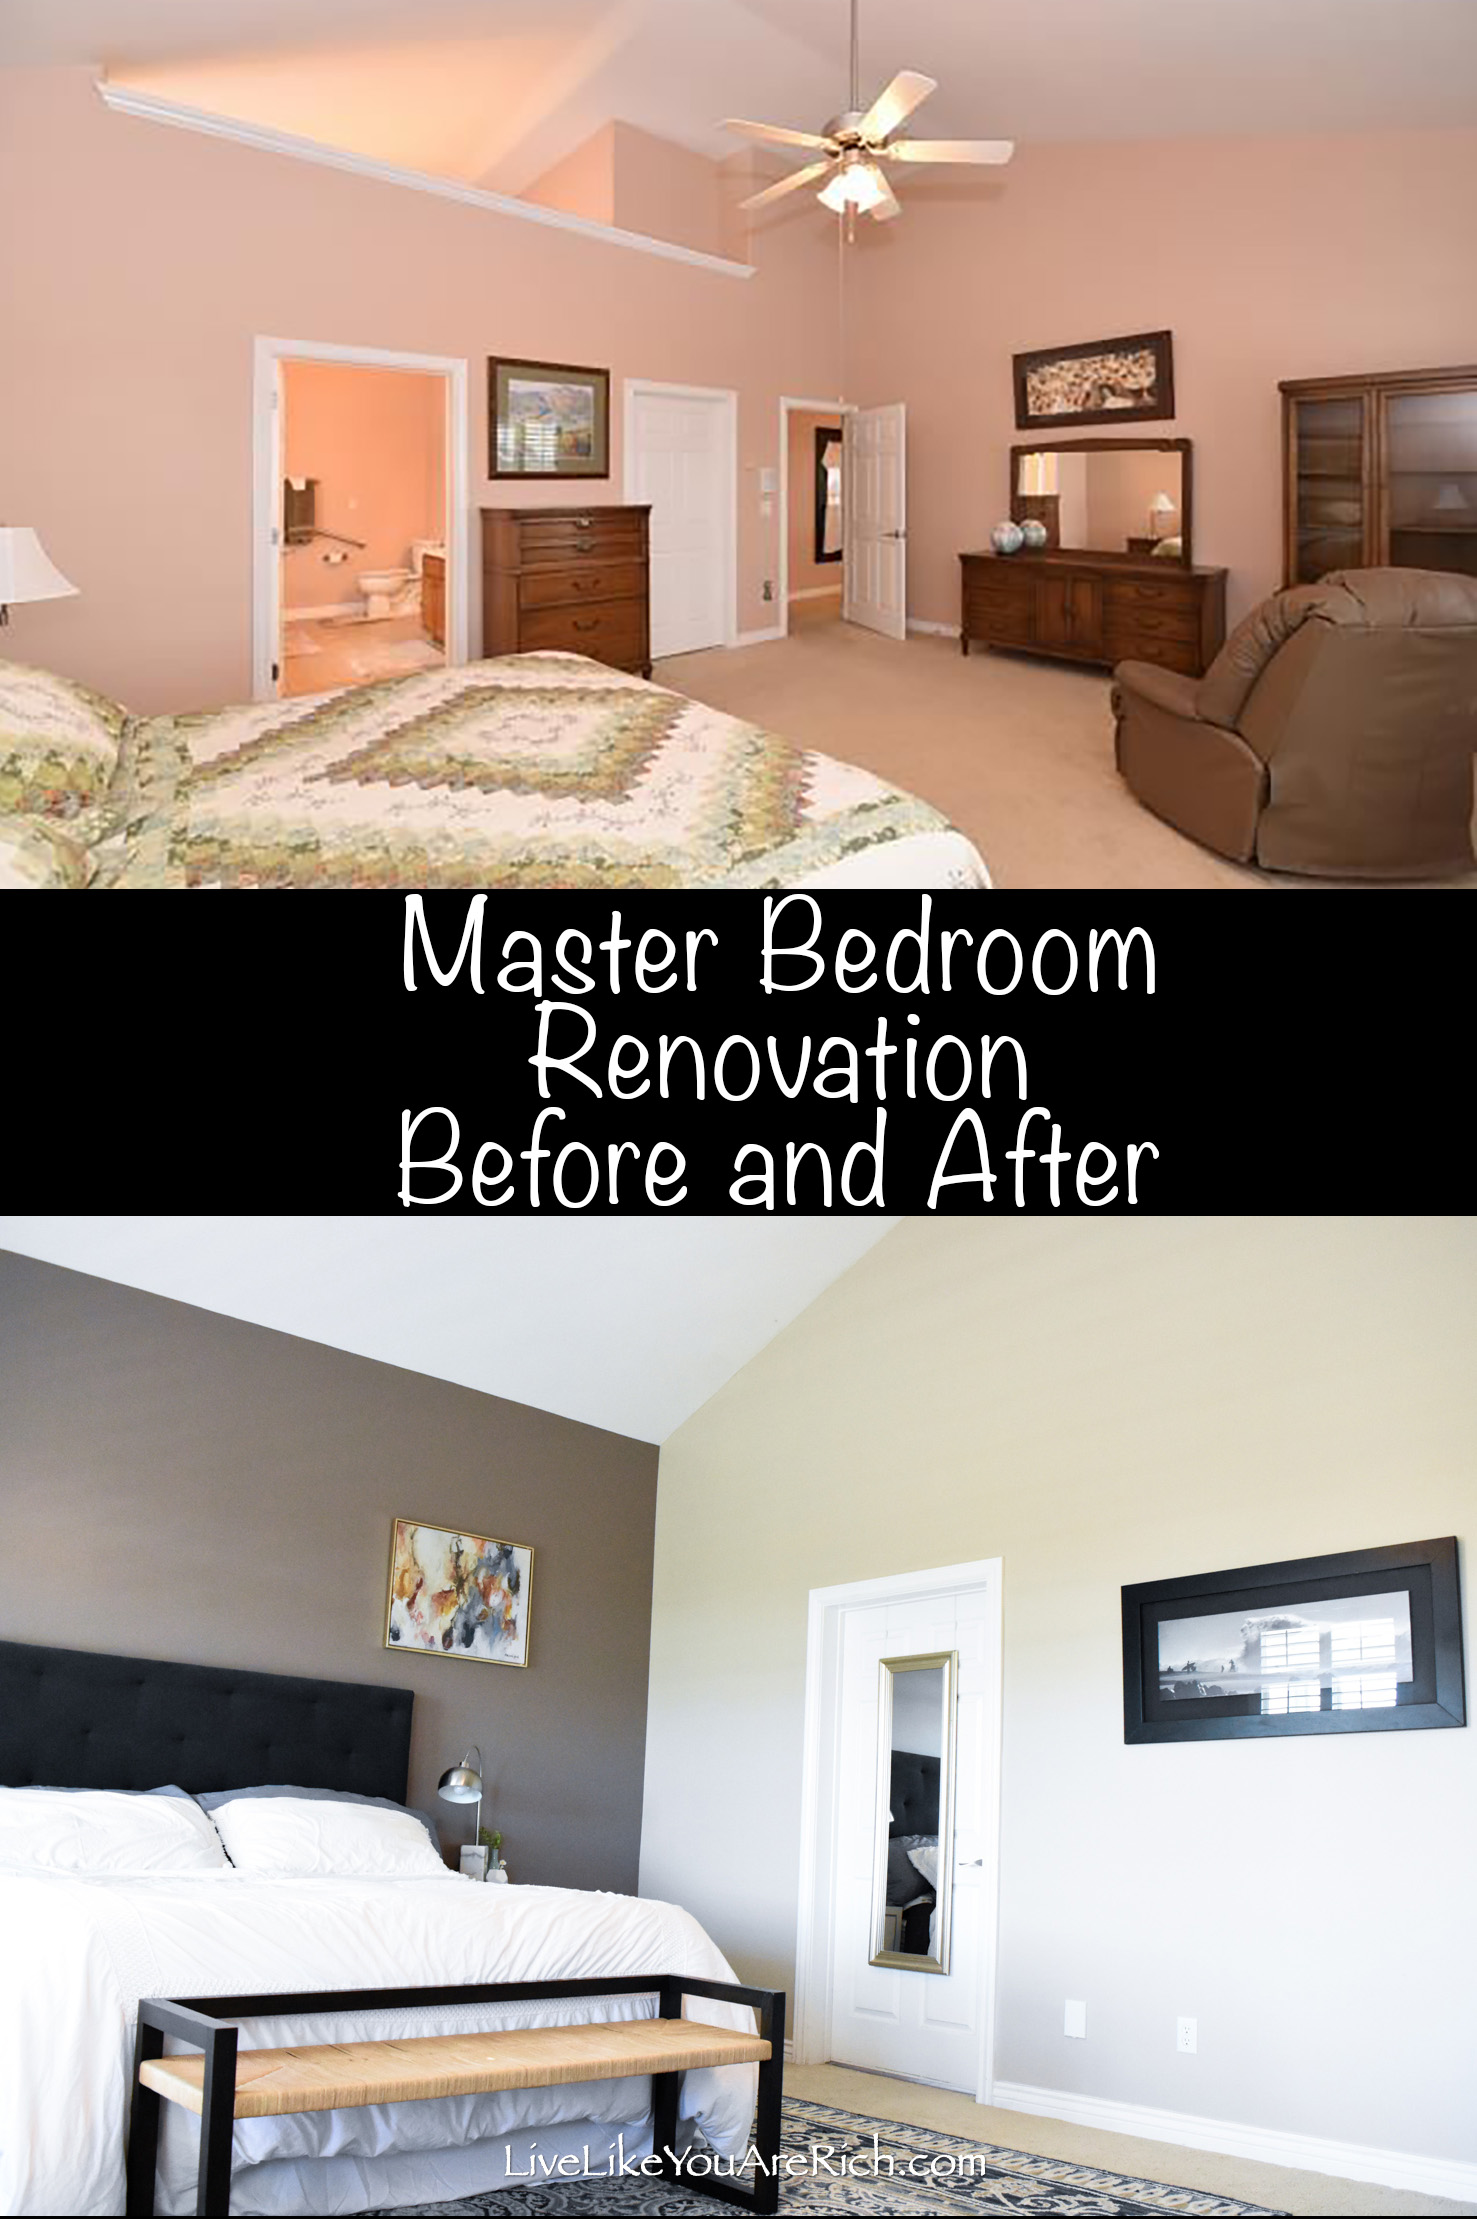
Master Bedroom Home 3 Renovation Before’s

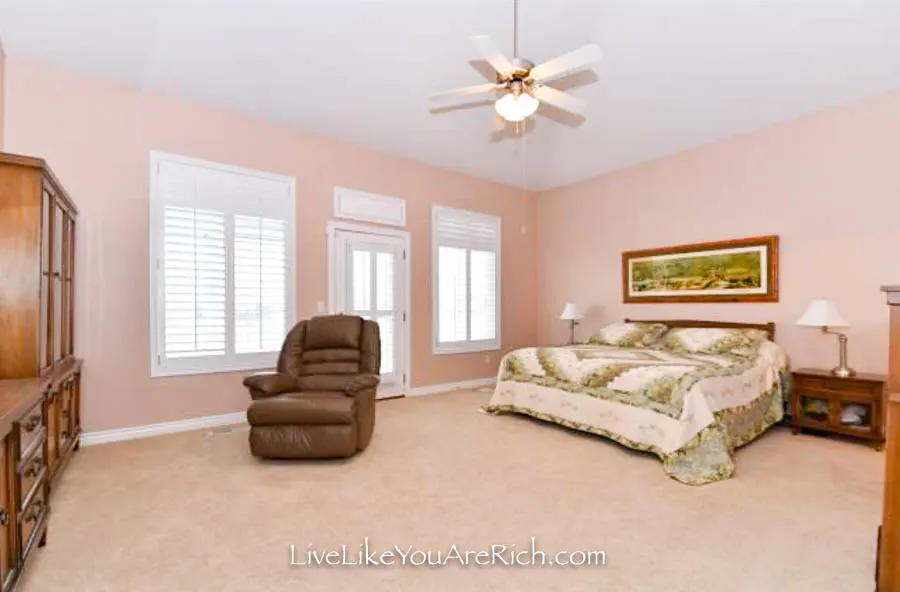
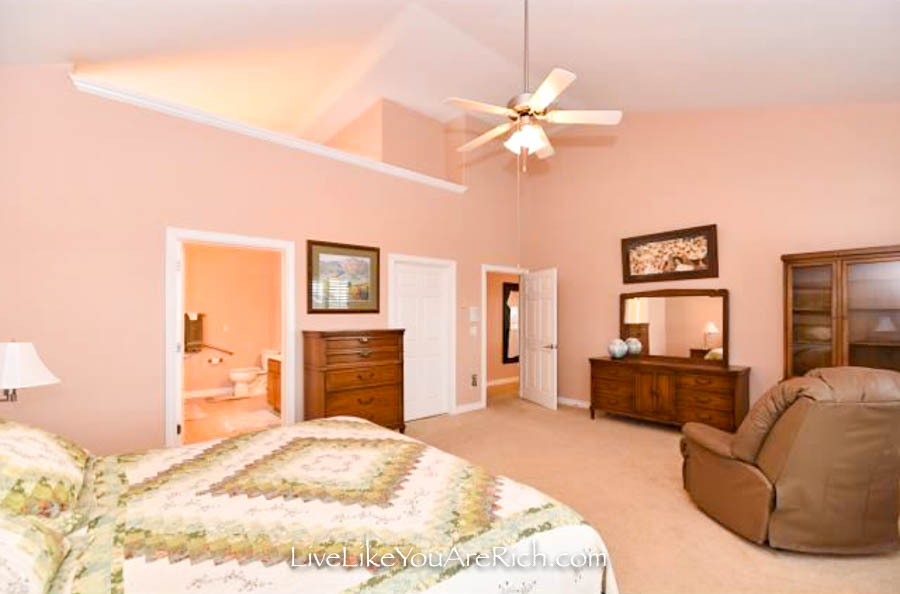
The overwhelming theme of this home when we bought it was pink and oak. It is a large home (about 7,000 square feet) and almost every last inch was covered in pink walls, orange/warm oak furnishings and flooring, and it was semi-outdated as far as light fixtures and other items go.
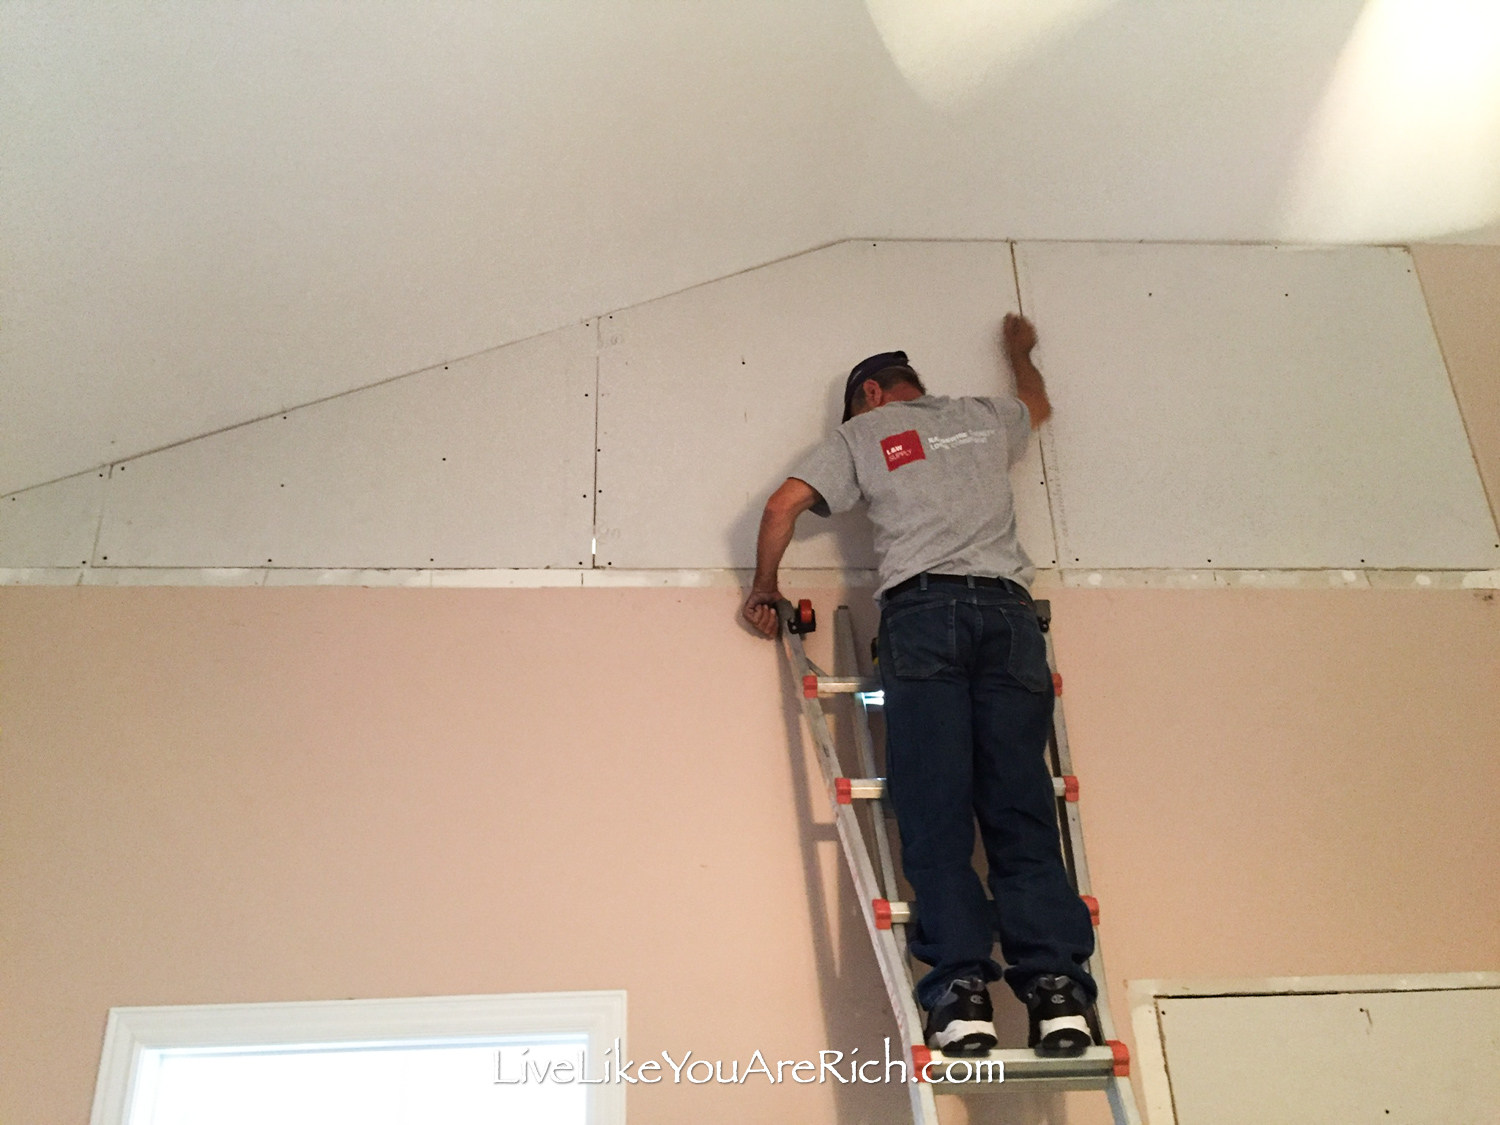
For example, check out the window ceiling to the master bathroom. This window made it so the steam from the shower would go into the bedroom, turning the light on to use the bathroom at night would light up the master too, and the noise was not at all muffled between the rooms.

Master Bedroom Renovation Home 3 During

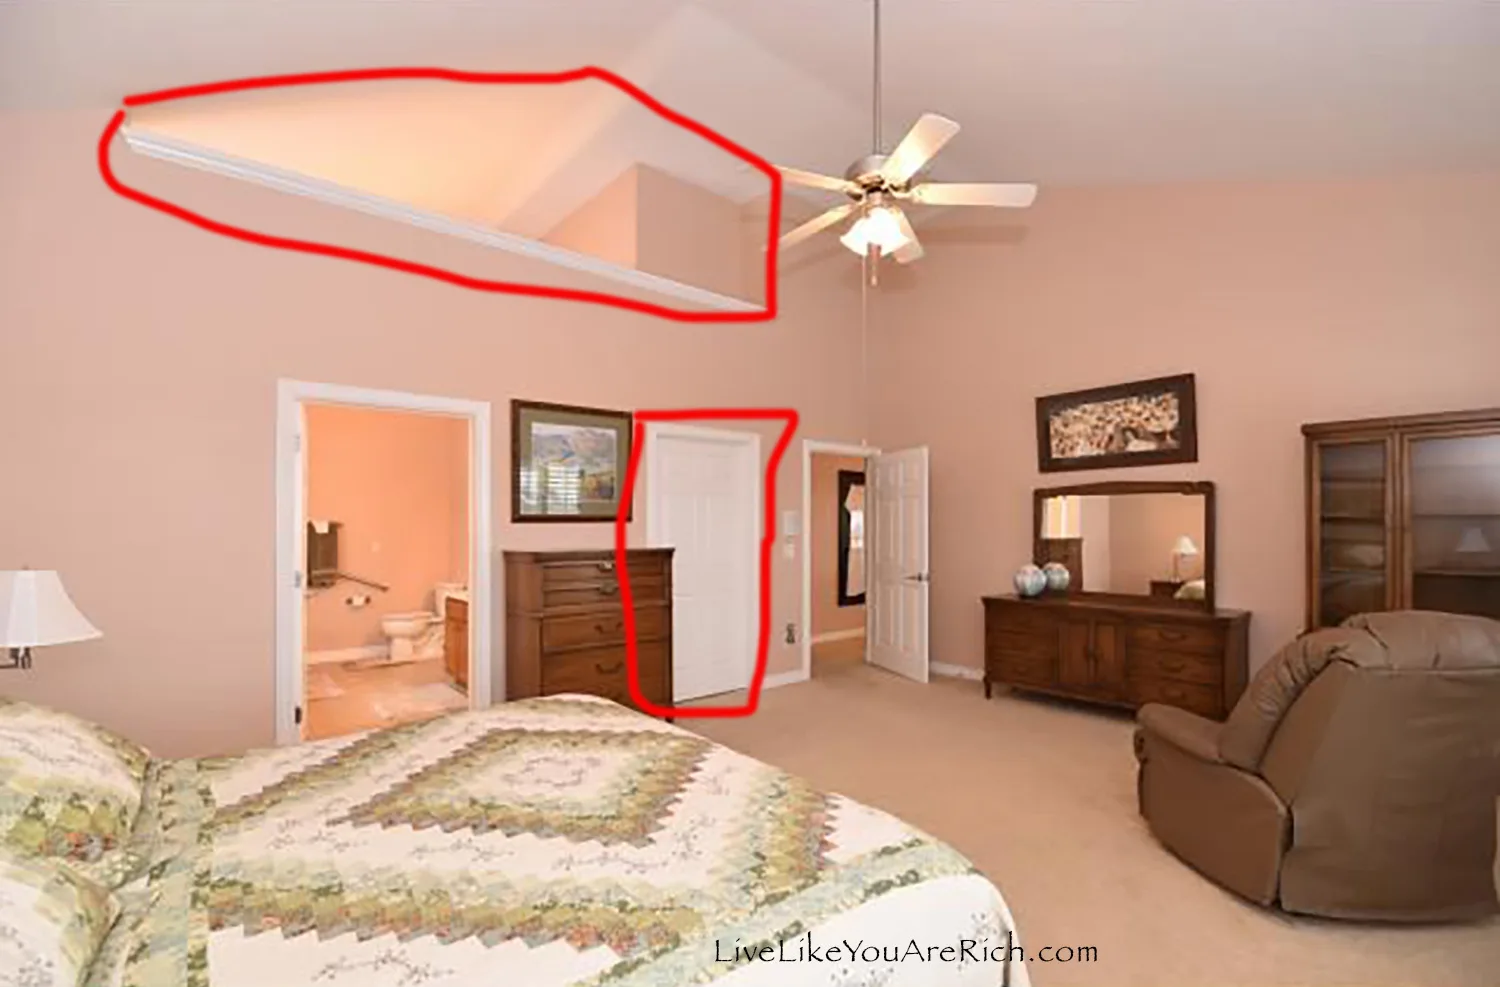 The main changes to the master bedroom we made were closing off the open ceiling window to the master bathroom and closing off the door to the master closet.
There is already an entrance to the closet through the master bathroom. So this door I assume was there because the previous owner was in a wheel chair.
 This extra closet door made access to the closet easier for the previous owner. However, it took up almost half of the walk-in closet.
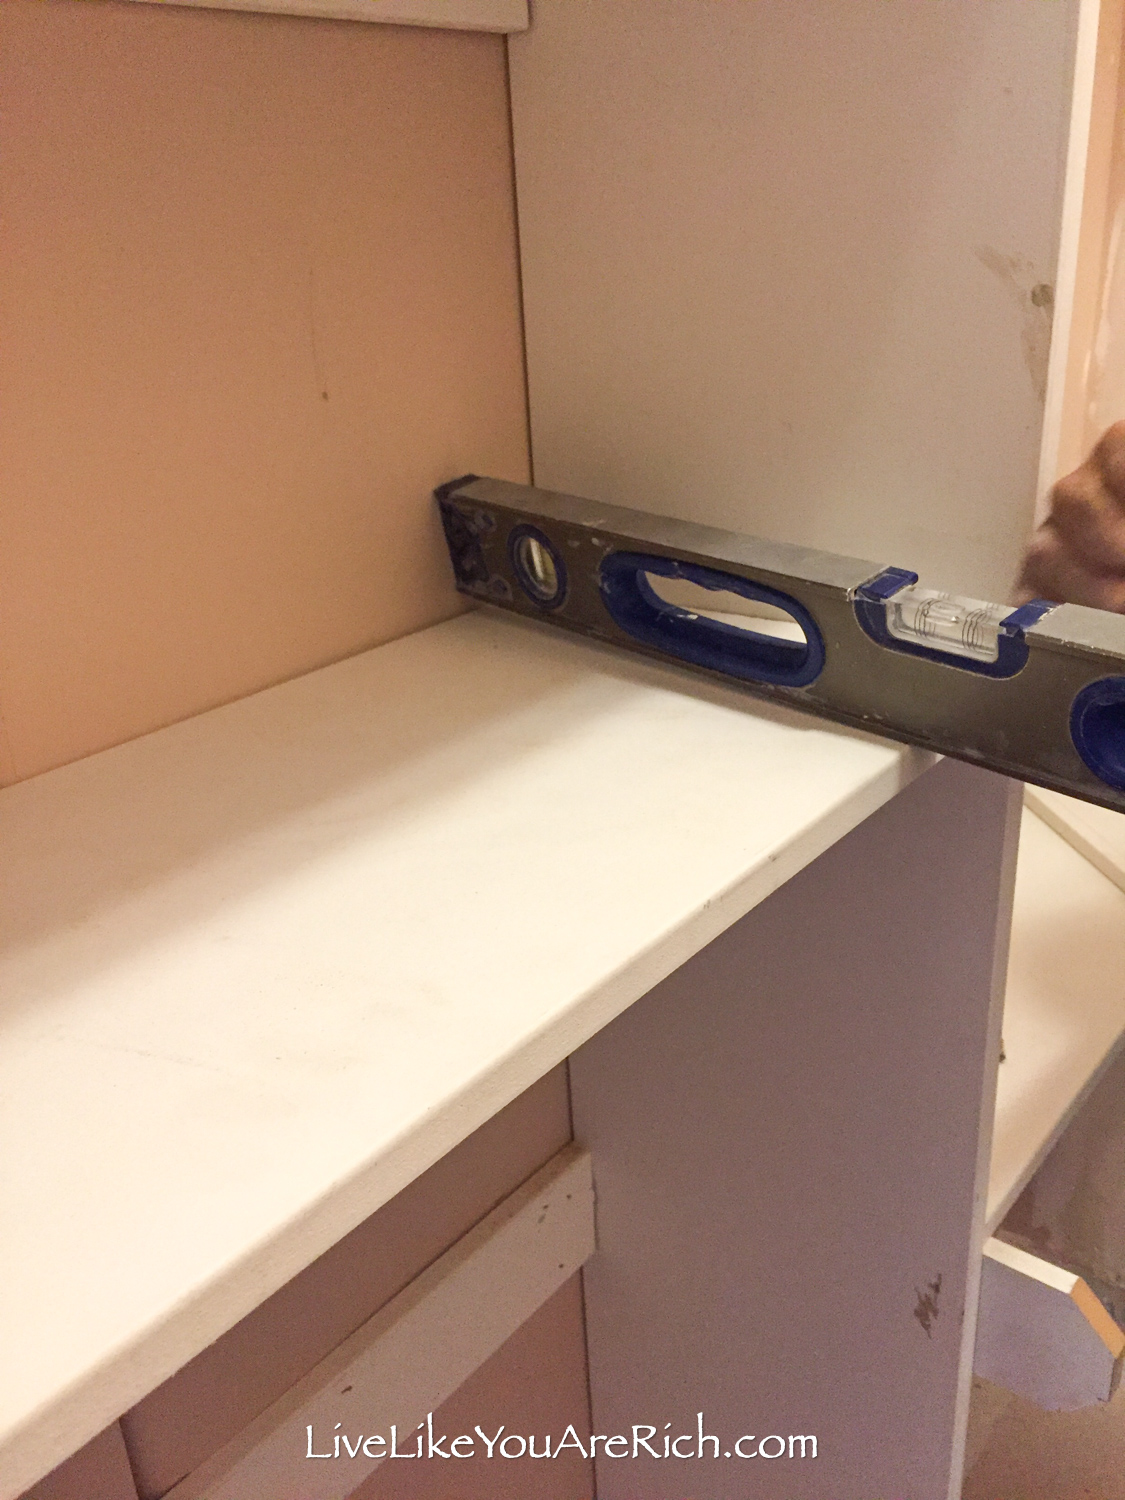
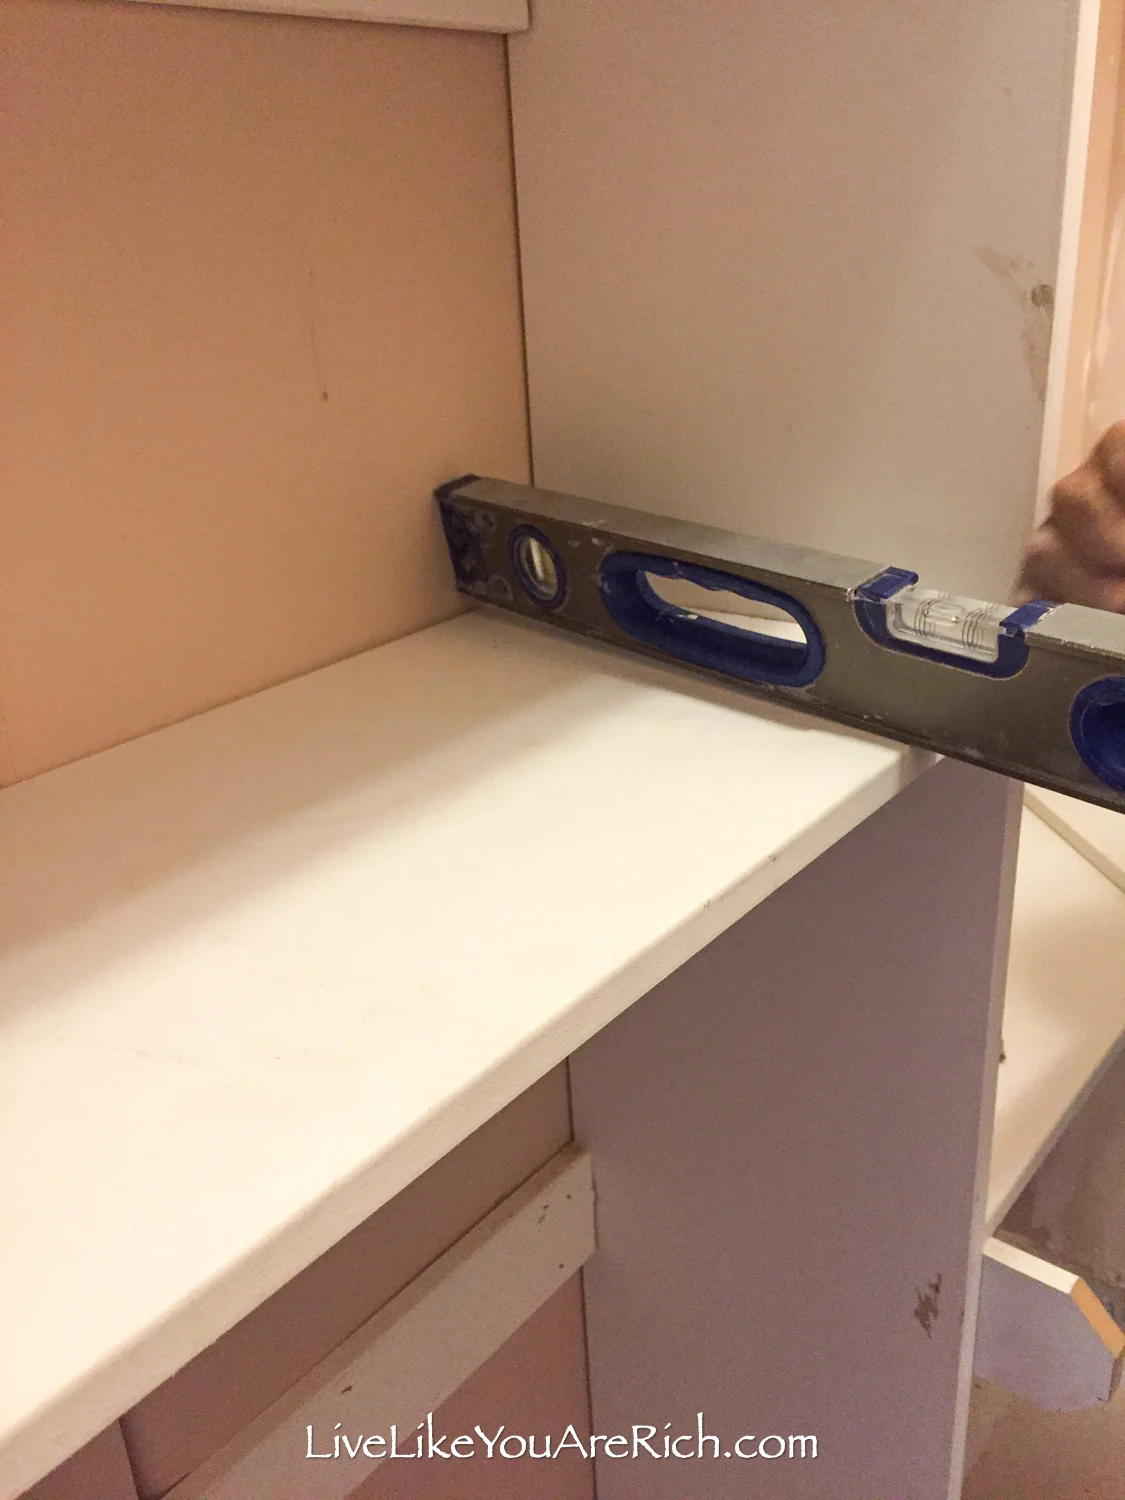 By closing off the door, we were able to put shelves, rods and a bench in; which almost doubled the closet’s capacity.

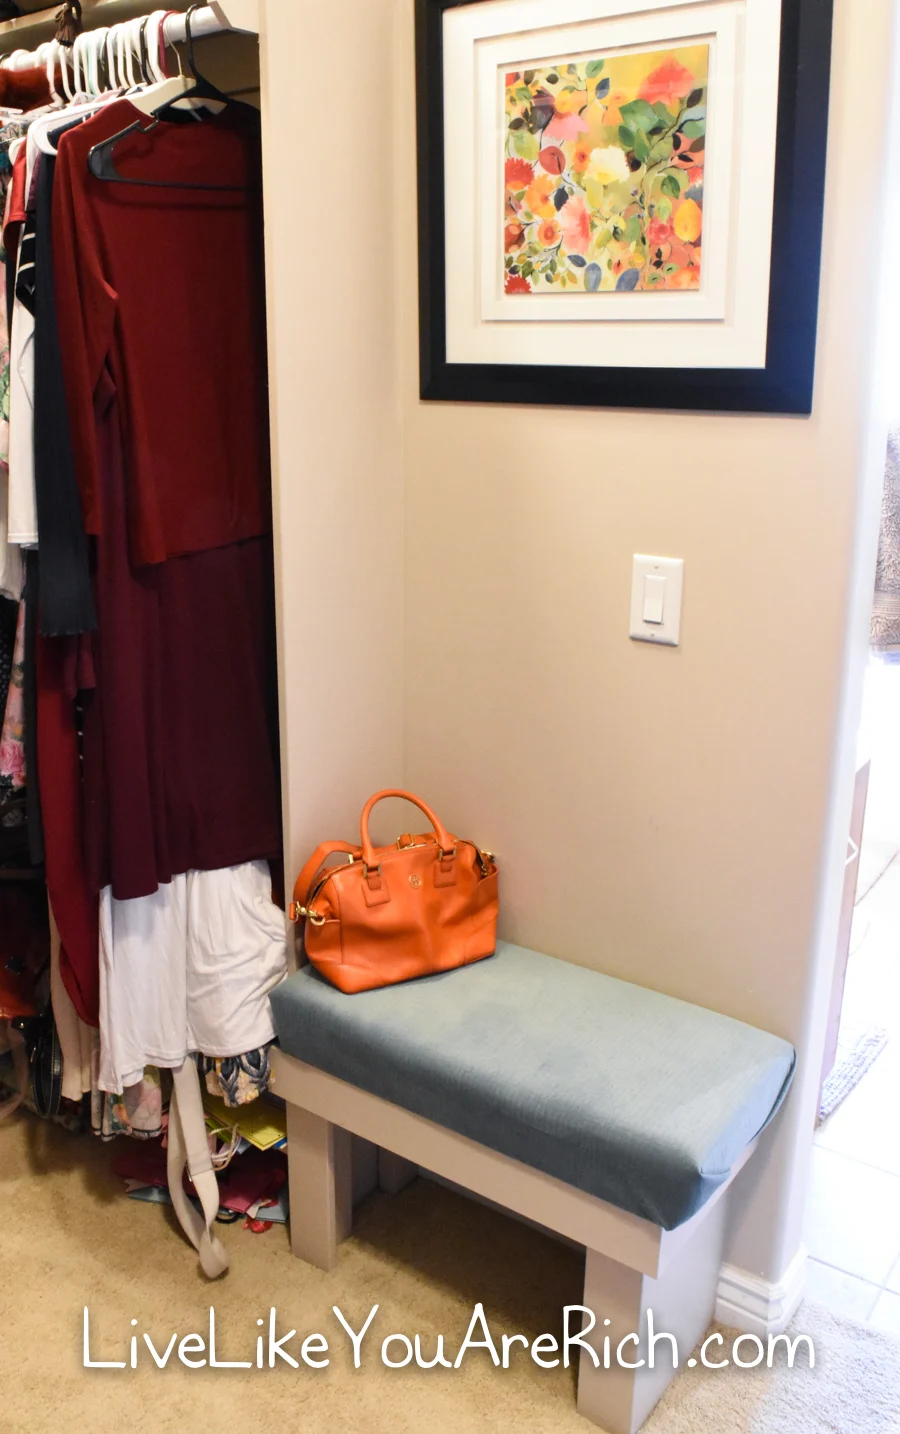 This bench has been so useful during my pregnancies because putting socks and shoes on isn’t the easiest when pregnant.
To see how to make this closet bench check out this post here.
Straight ahead in the photo below is where the extra closet door and hallway used to be.
All of the shelves and rods on either side were added because we no longer needed the hallway to the closet.
My cute upcycled trunk (center) holds all of my winter hats, gloves, and scarfs.

 I helped with the labor on the master closet remodel as well as did the finish work. I did the sanding, caulking, and painting.
If you remodel your closet note that closets are actually very time intensive to prep and paint—especially if it is a walk-in closet. This is because there are so many surfaces to paint.

 It took many more hours to prep and apply two coats of paint to than I anticipated it taking.
It also took 2.5 gallons of paint—which is a lot!
However, I believe I saved over a thousand dollars by doing a lot of it myself.
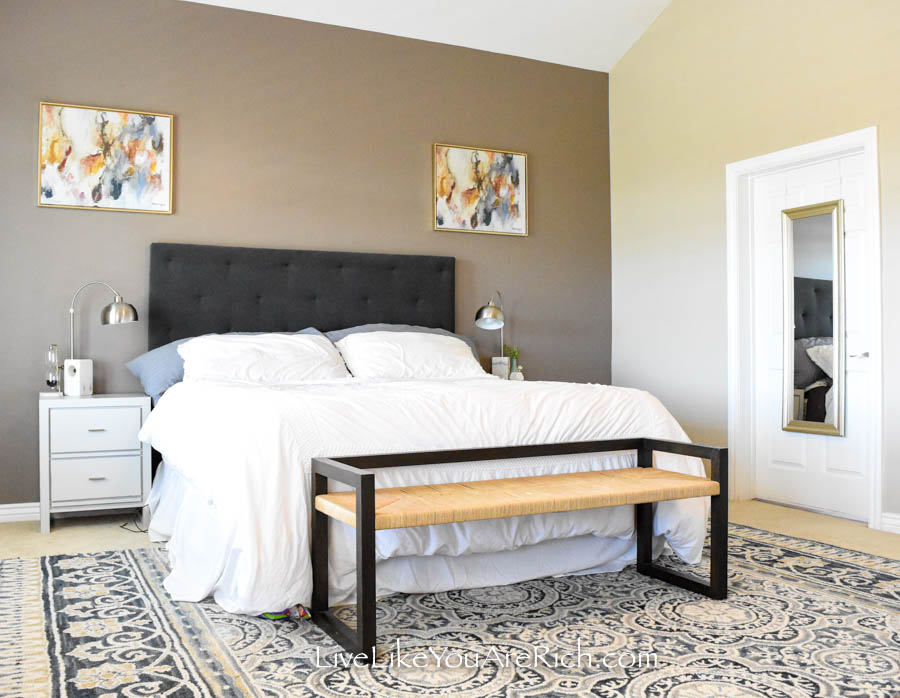
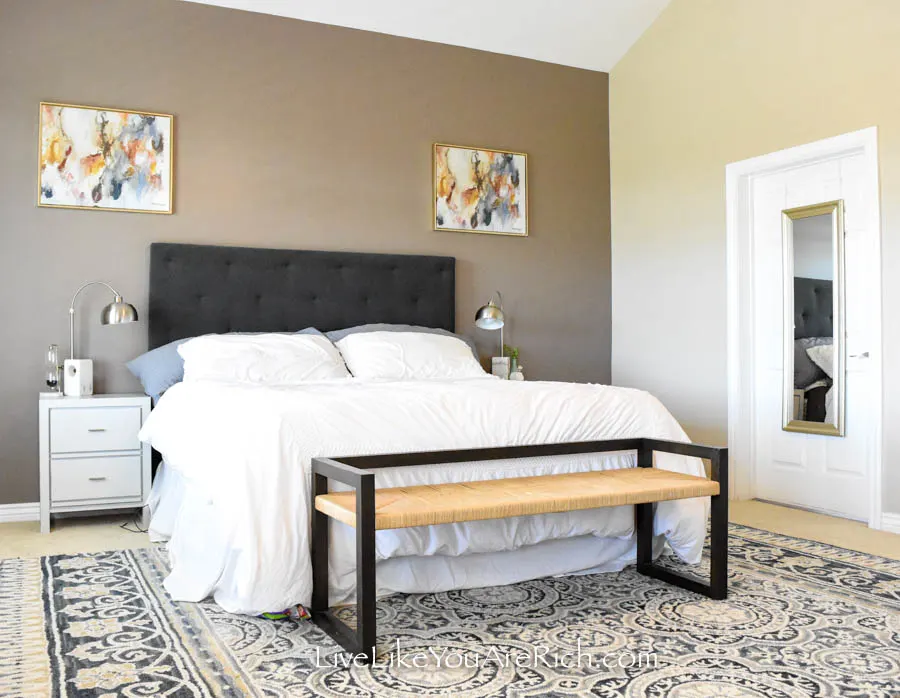
Master Bedroom House 3 Renovation After’s
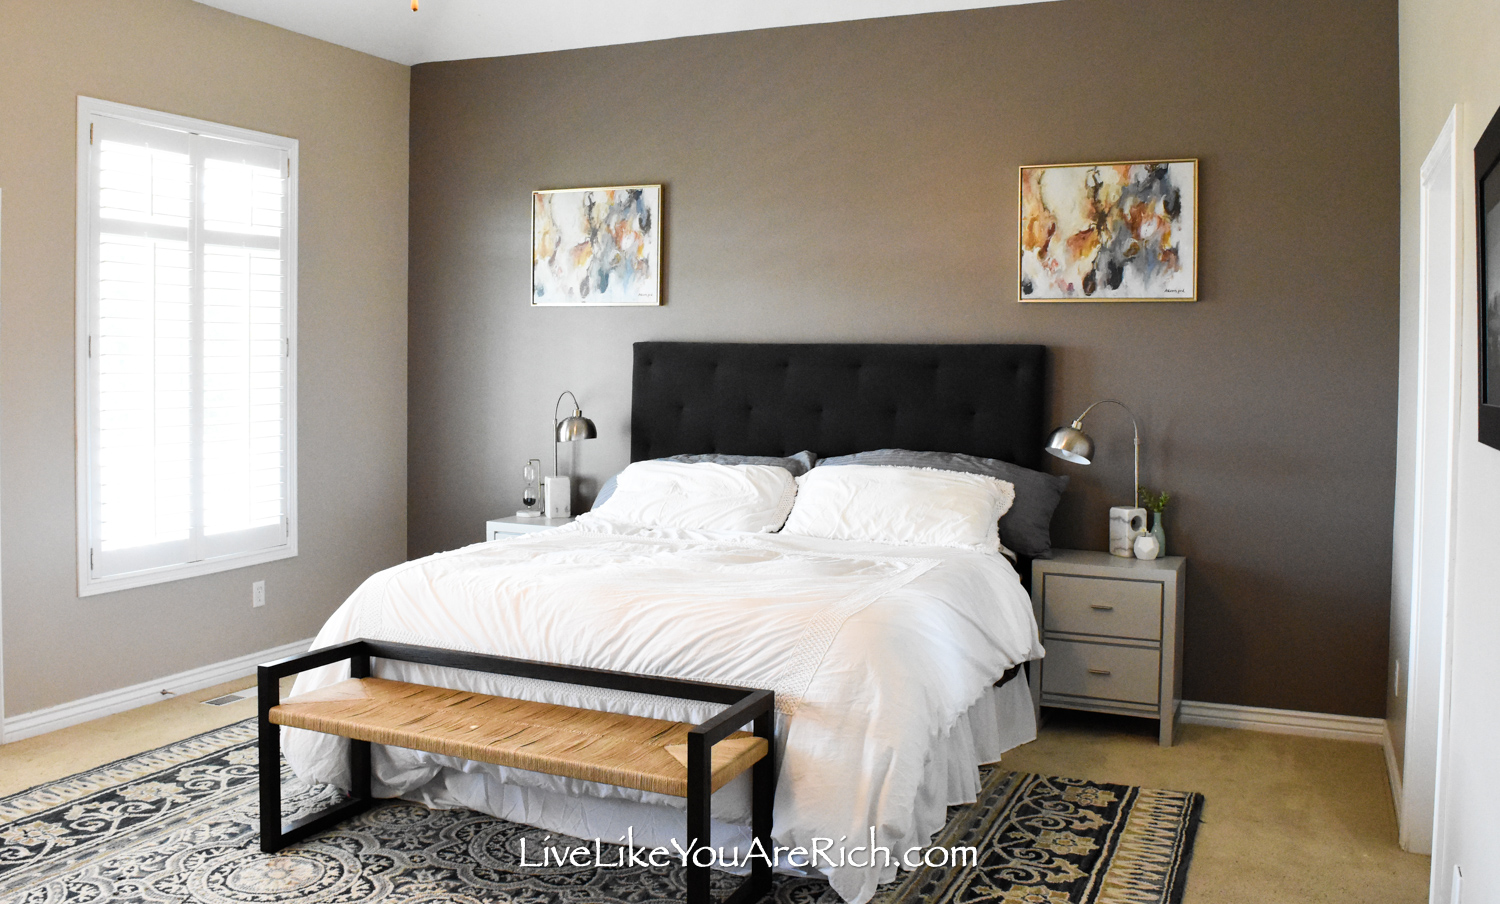
 So as you can see, the after is quite an improvement.
I used Sherwin Williams Bungalow Beige SW7511 on the walls


and Sherwin Williams Poised Taupe SW6039 for the accent wall.


The carpet could really stand to be updated but I love to decorate with rugs! They add dimension, interest and color.
So, I just used a carpet cleaner and cleaned the carpet really well after all of the drywall and painting was done.
 After the carpet was clean and dry, I put rugs down.
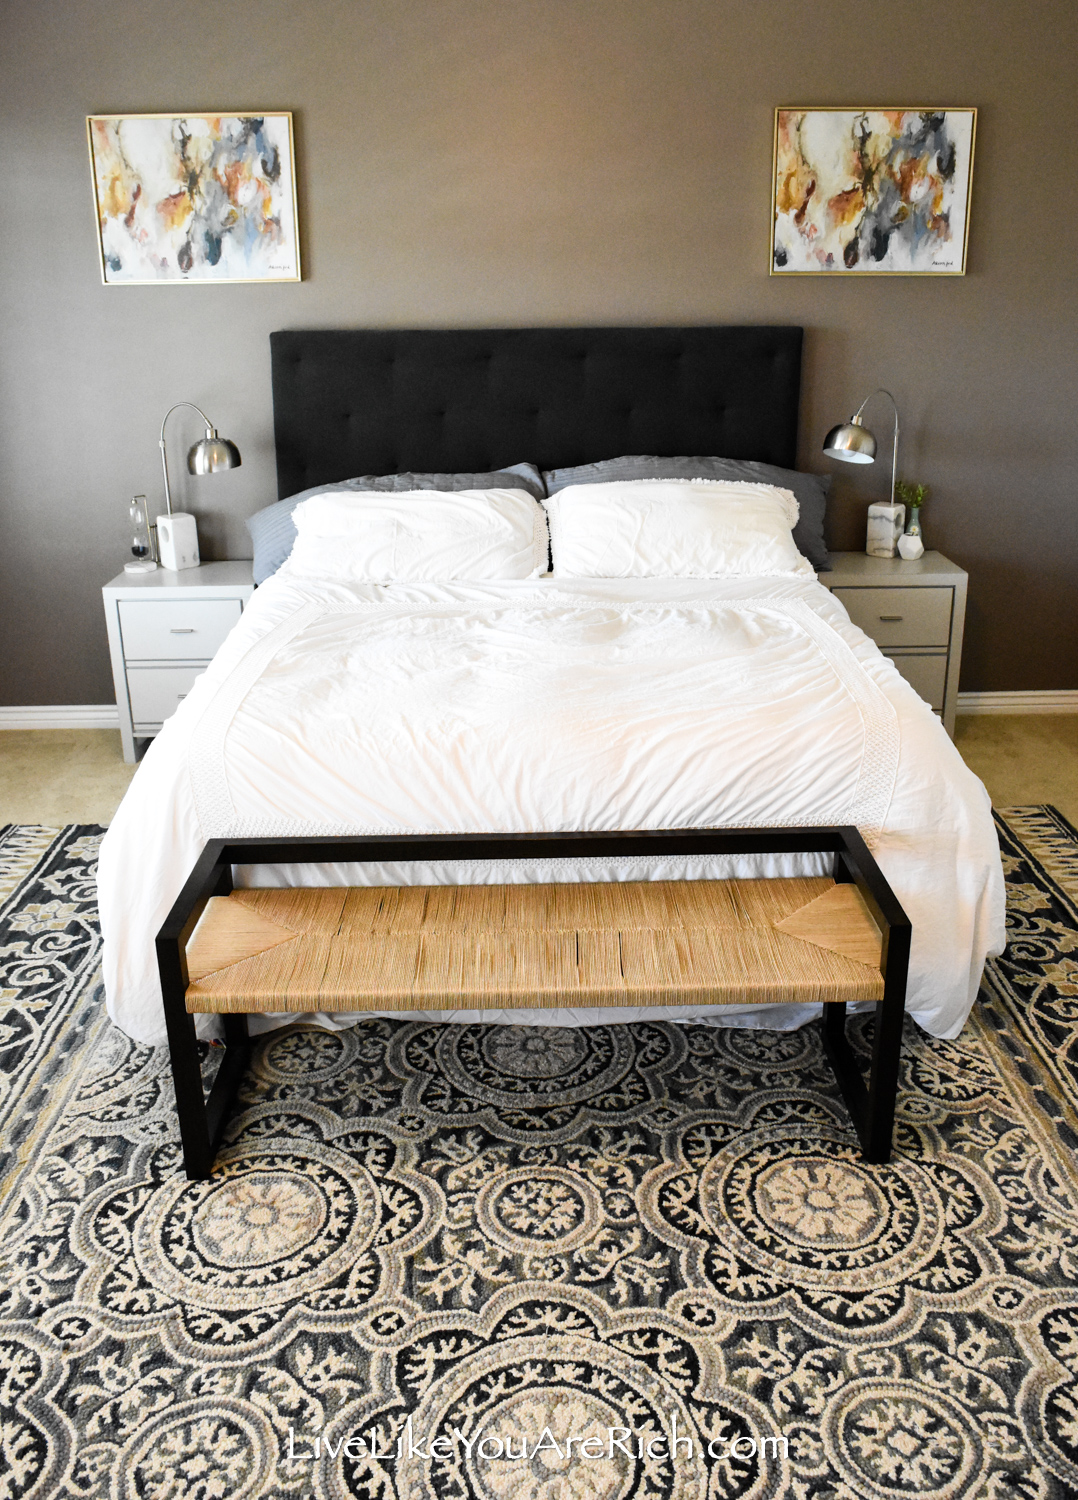

I bought the main 9×12 blue rug secondhand on a local classified for $125. It had originally been bought for much more at Target here.
It was still in like-new condition. The buyer just changed her mind about it shortly after the return time frame ran out.
By utilizing rugs instead of re-carpeting, we saved thousands.
Even 3 years after the renovation, the carpet is still doing good because I’ve covered it with inexpensive yet quality rugs (see the other rugs by scrolling down).
I already had the bed, frame, and bedding.
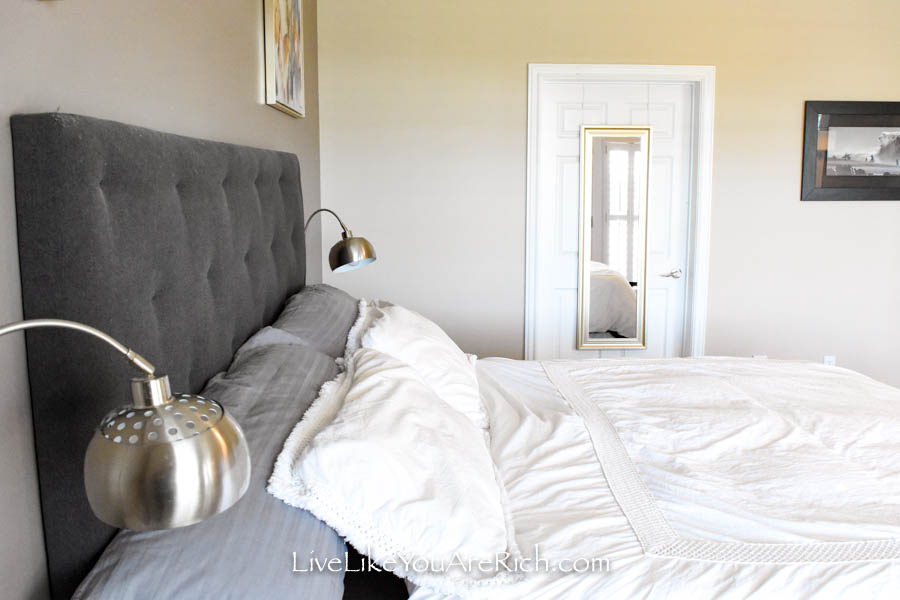
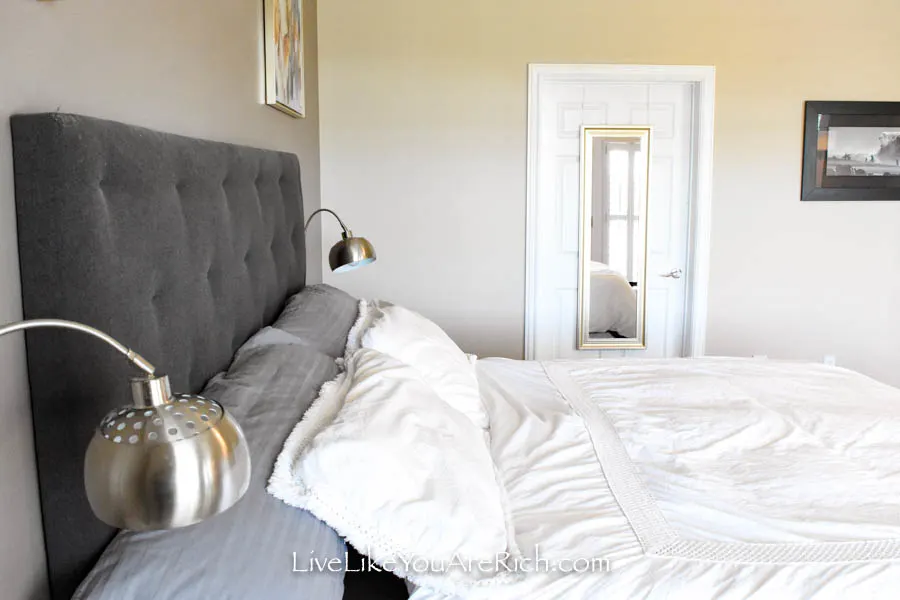 The King headboard I got secondhand (local classified) for $50.00.
The bench is a Calvin Klein natural rope. I bought it from a home stager who no longer needed it. The bench was also basically new. I bought it for $50.00.

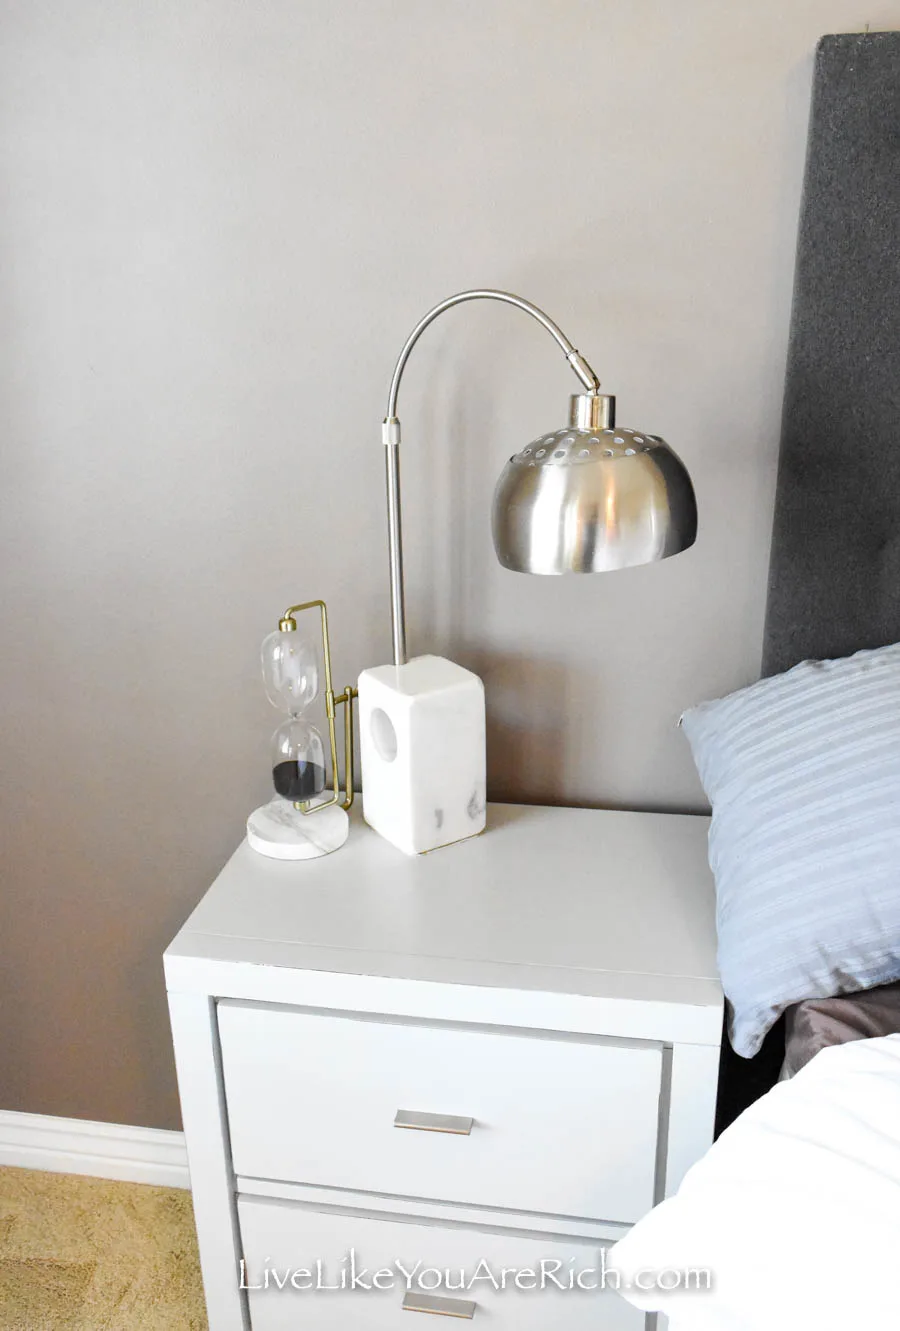
 The lamps are really neat. I found those used on a local classified as well.
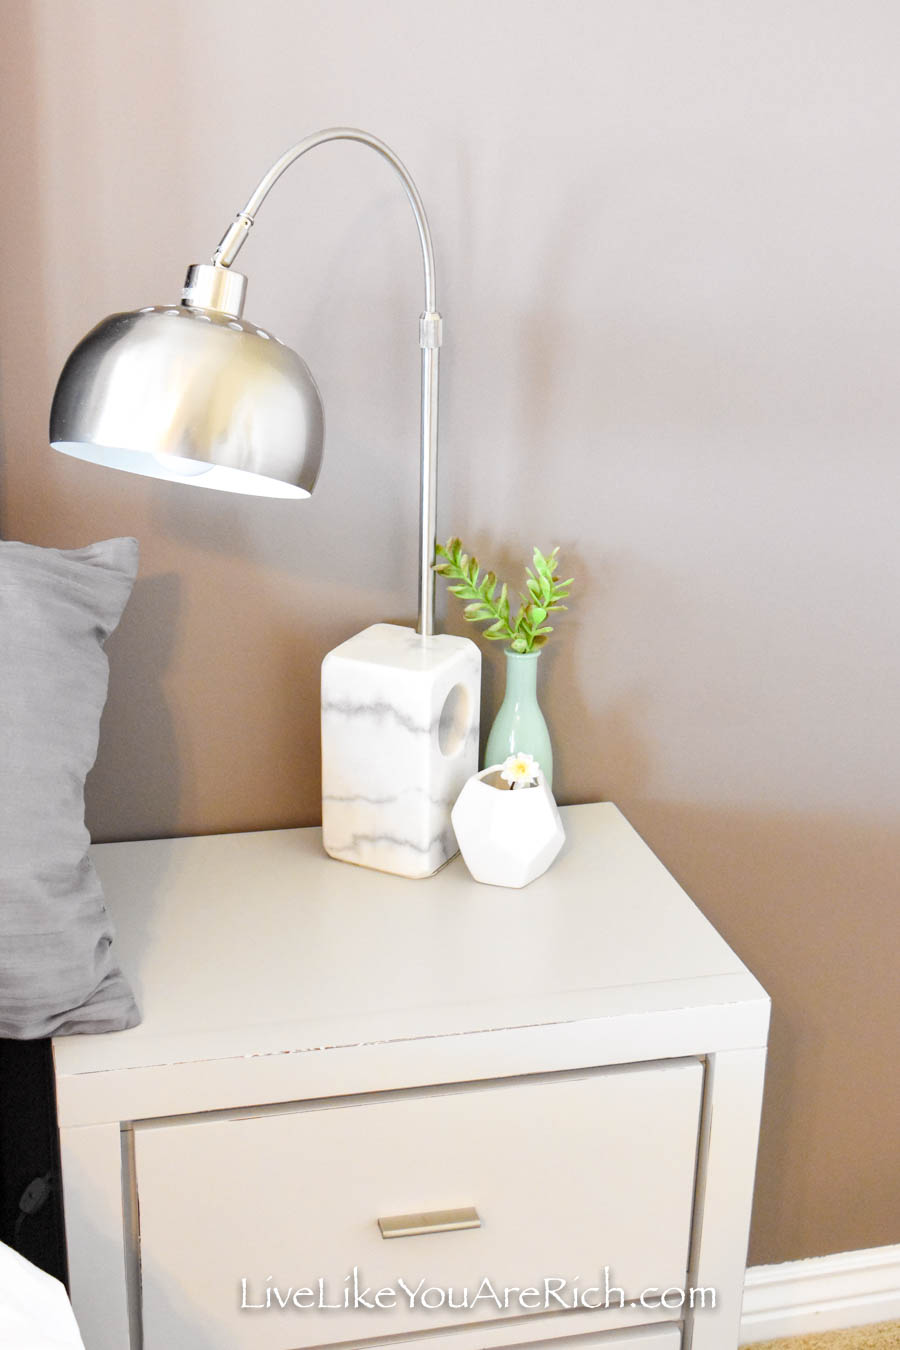
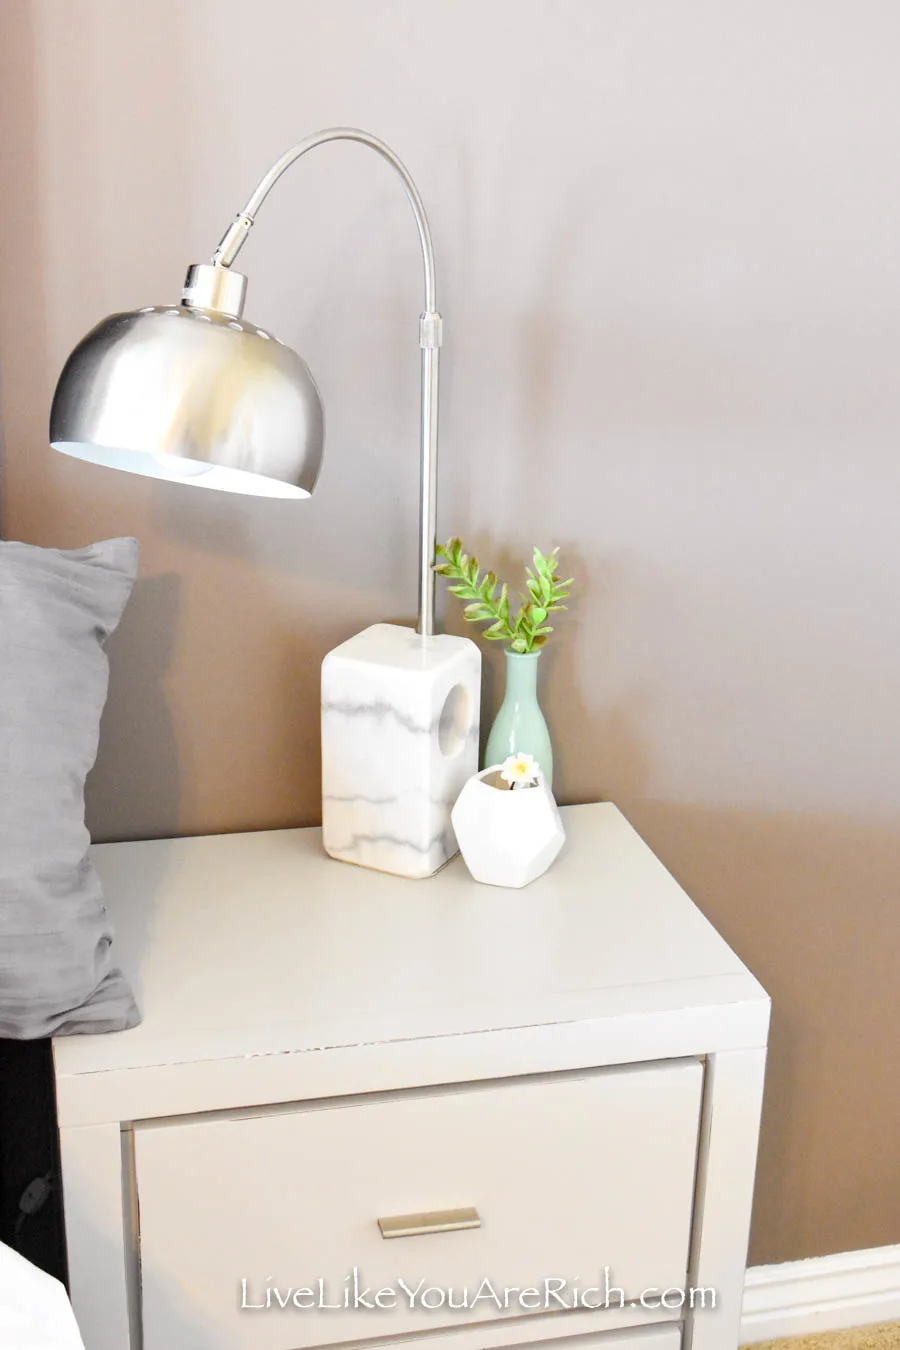 They have real marble bases and are super heavy and sturdy! I love the stainless steel shades on these lamps as well.
I got these for $40 for the set! The marble hour glass came from Target for $14.00. I had the little vases and flowers.

 The artwork was purchased on sale. The two abstract paintings above the bed together cost $45.00.

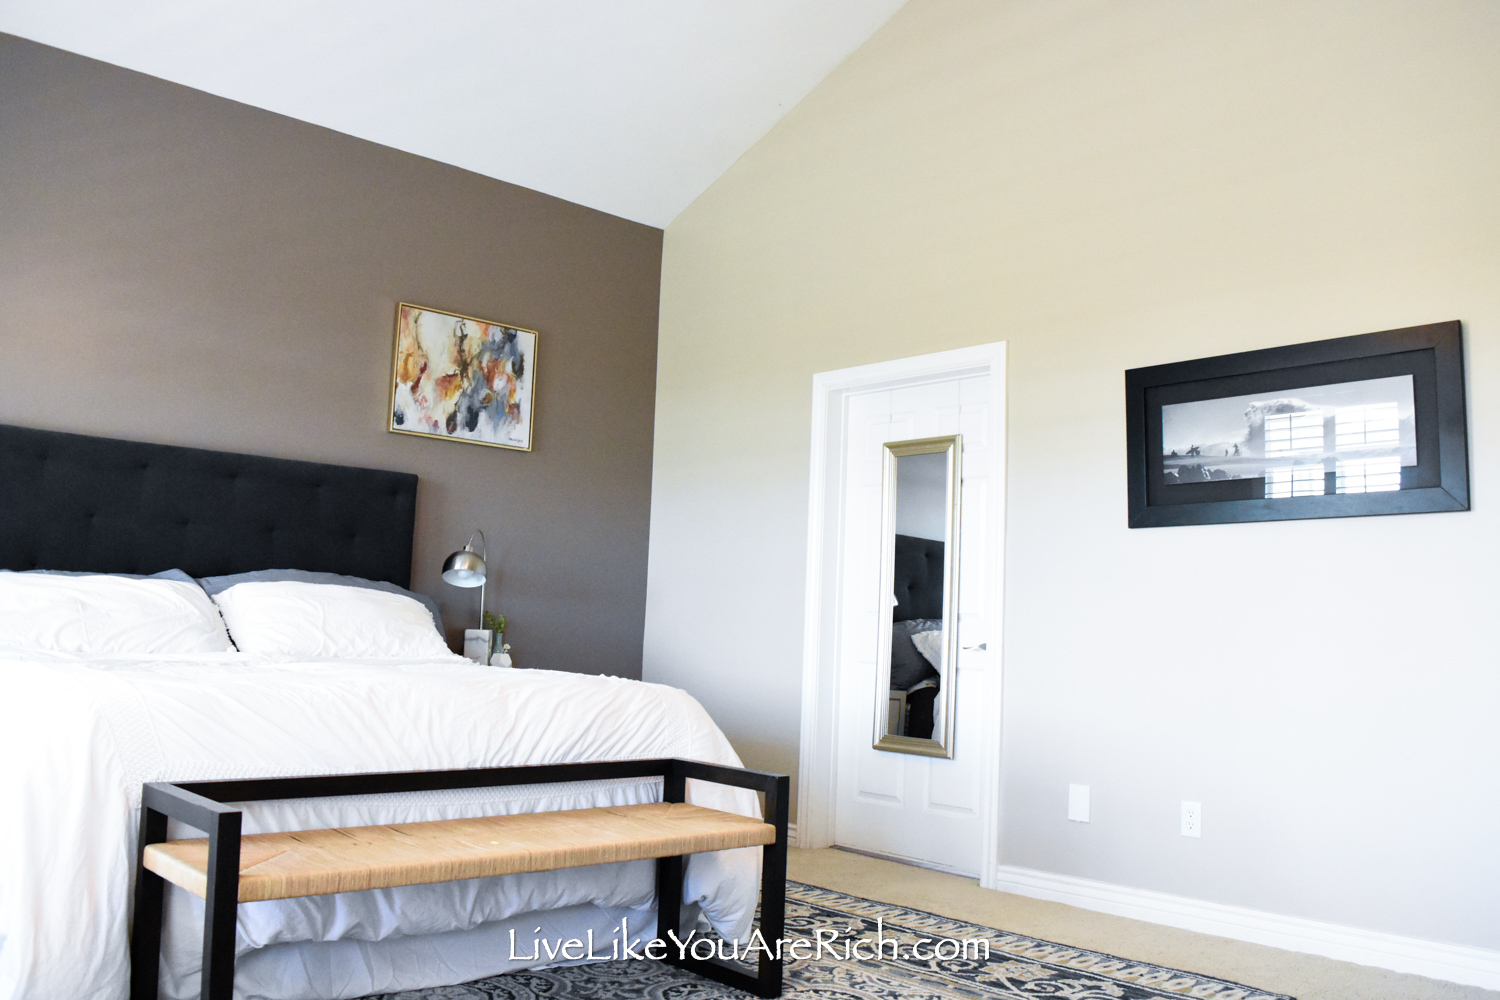
 I had the mirror that hangs on our door to the master bath.
The side tables were the most difficult items in the room to find.
My husband and I both wanted deep drawers in our side tables. This is so that all of our odds and ends could accumulate/be tucked away out of sight.
I searched all over the internet and I was not willing to pay hundreds per side table.
Everything under $100 each either didn’t match or didn’t have the drawers we were wanting.
Finally, I found this set for $100 on a local classified—$50 each is a steal of a deal.
Finding a side table with deep drawers that matched our room at a reasonable cost was not easy. I had to search for months for these but I am glad I waited until I found the perfect fit.
 I have had this framed photograph of a massive wave breaking at the North Shore in Hawaii since 2003.
I love it and never get sick of it.
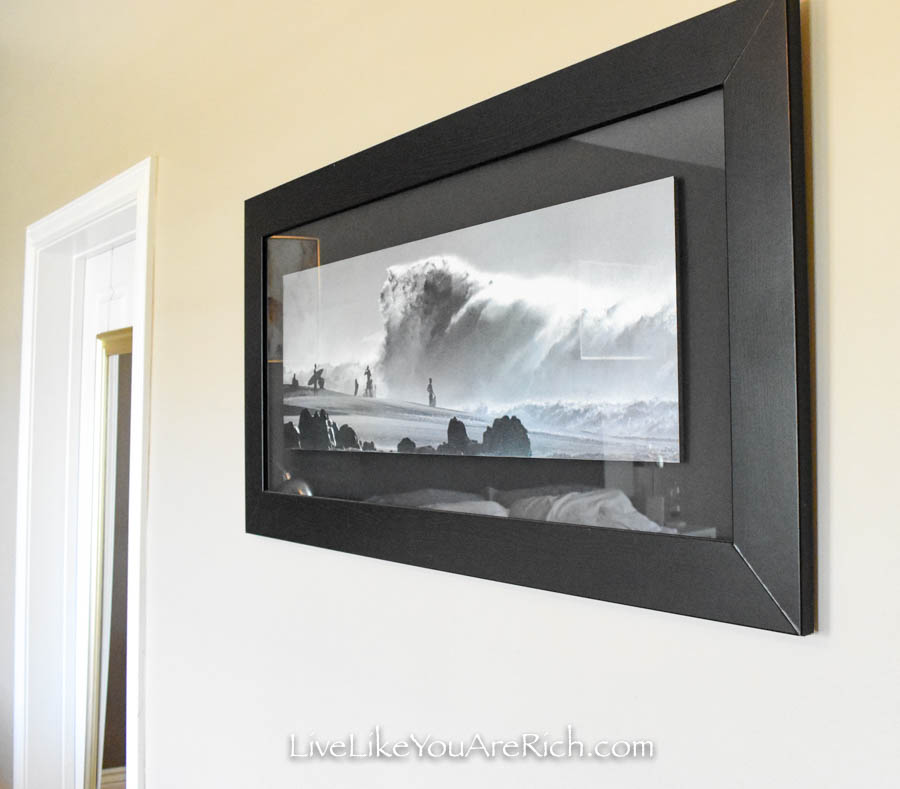
 In fact, I moved it into my office when we renovated that and replaced this image with a large canvas print of a poem I love.
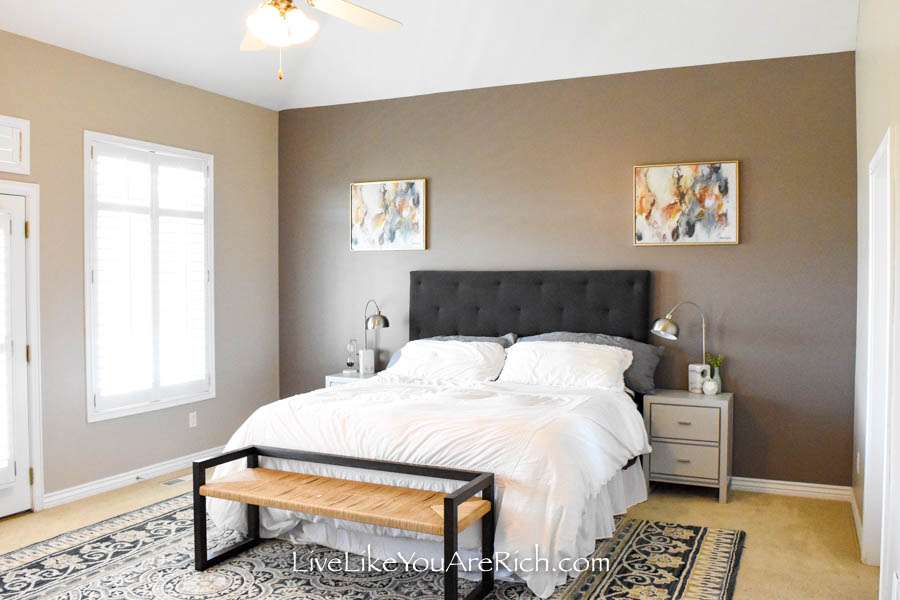
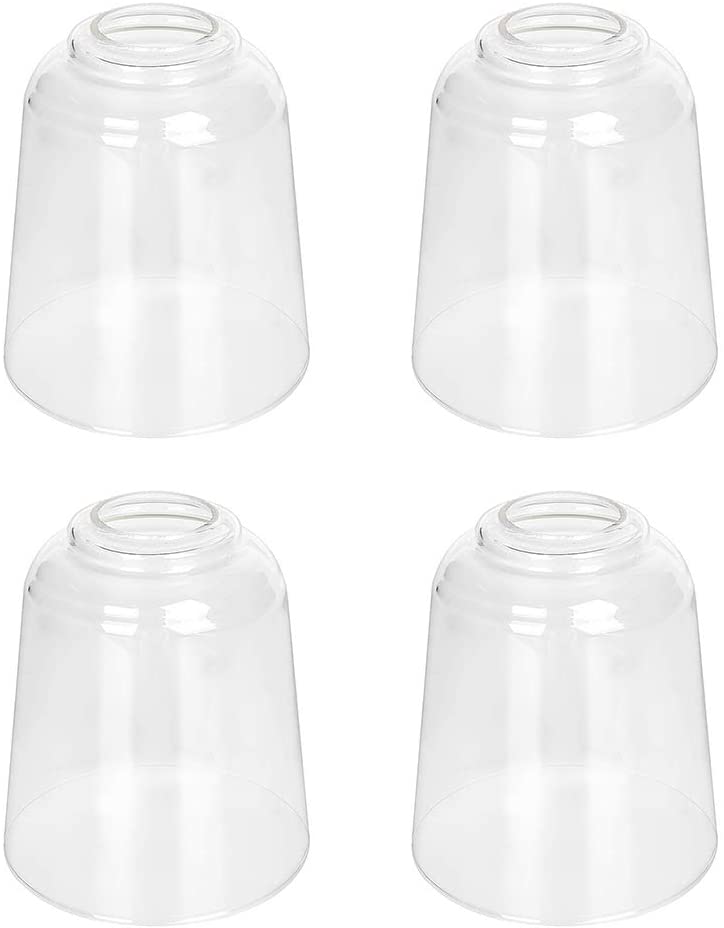
 We were going to update the lighting but just haven’t gotten around to it. I’m thinking I’ll just get new modern glass or steel light shades to replace the outdated glass-flowery shades on our ceiling fan.
I’m likely going to purchase these:
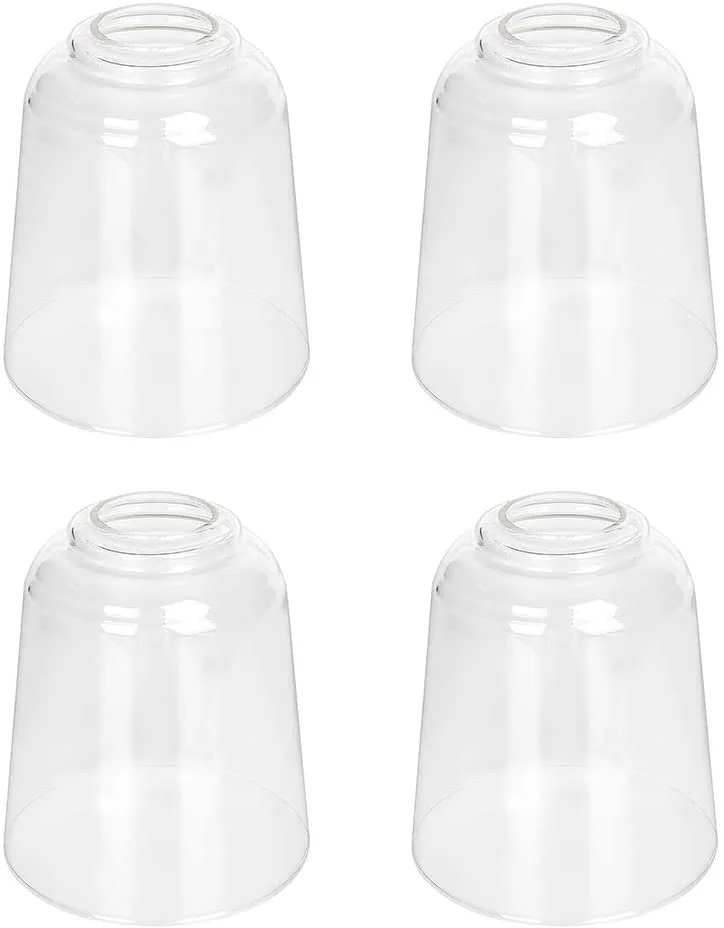
Or these:
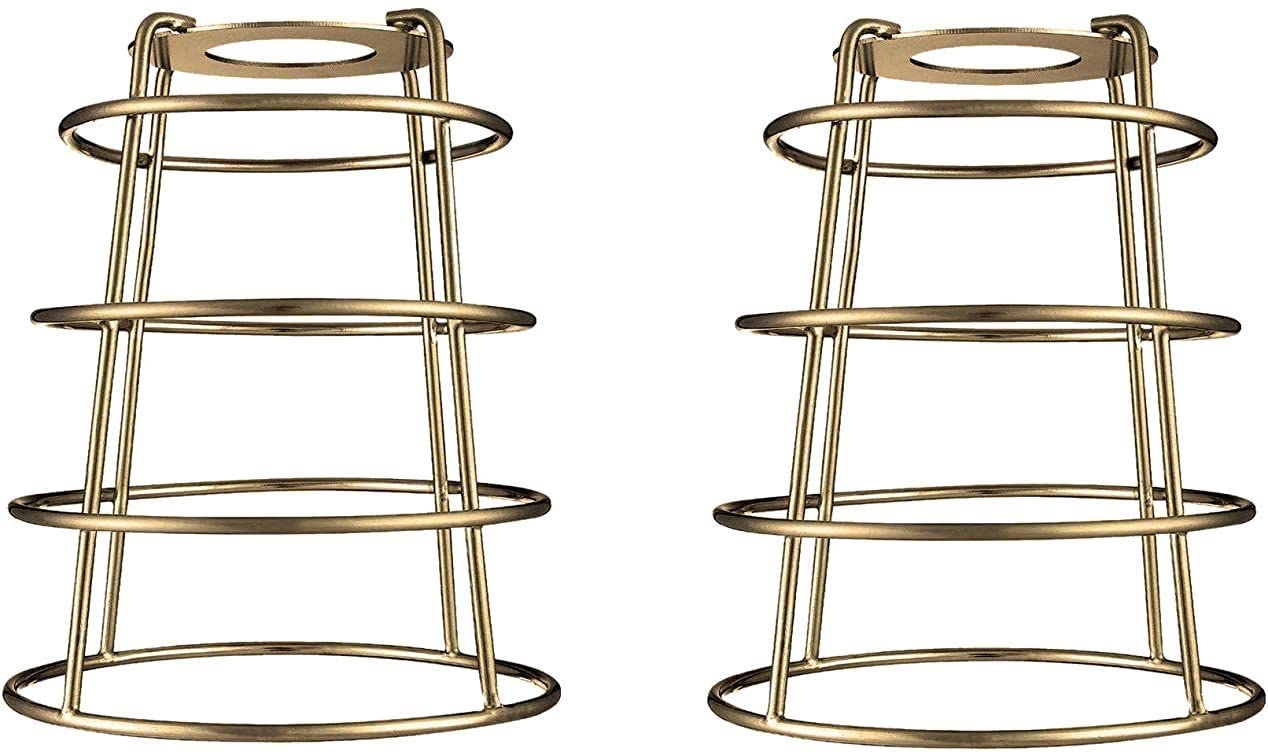

This will not only save hundreds on a new fan but it will also save us time and effort to change out a fixture on a vaulted ceiling. Win-win.
And that is it… at least for this side of the room.
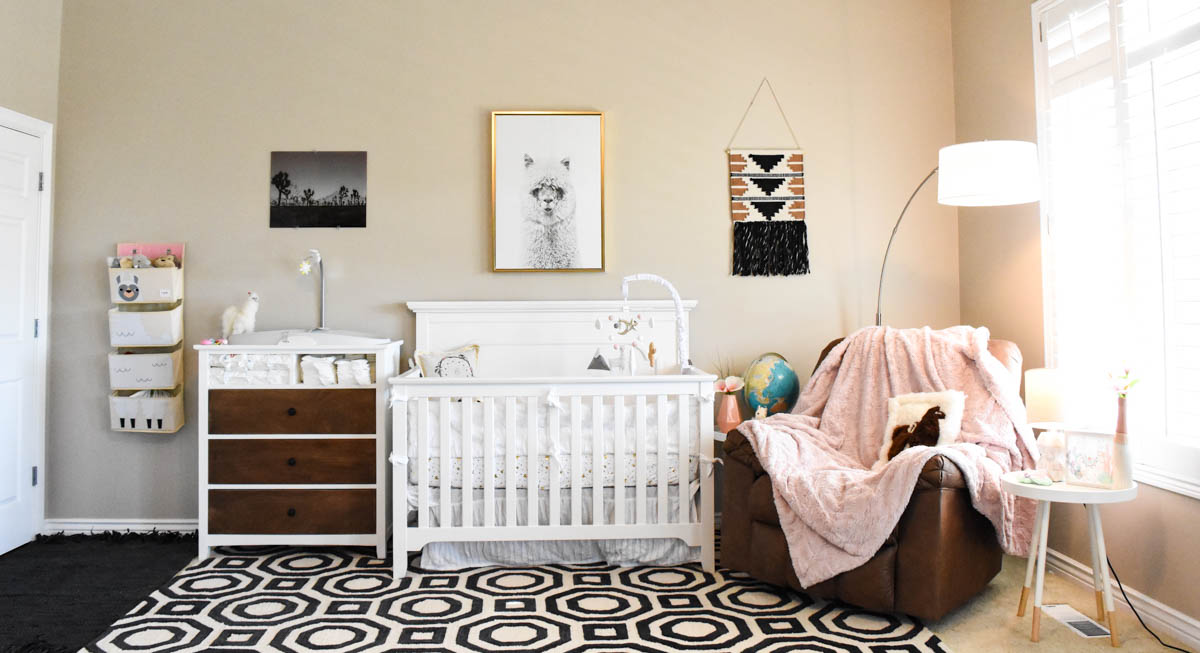
Surprise, there is another side of the Master bedroom you have not yet seen (unless you follow my blog closely)… we turned it into a nursery.
 To have both the master and the nursery in the same room was a practical decision for us.
The nearest bedroom to ours is a pretty long distance away and I like to have my newborn babies close to me at night. Stumbling through the house and going up and down many stairs to get the baby when he/she needs me multiple times a night is not my idea of convenient or practical.
Plus, my husband is a very deep sleeper so he rarely—if ever— hears the baby cry (lucky him right!). He is really helpful after work but I willingly take the night shift so he can function at his full-time job.
Having the nursery in our room has worked extremely well for our family. Click to see more details of the llama nursery.

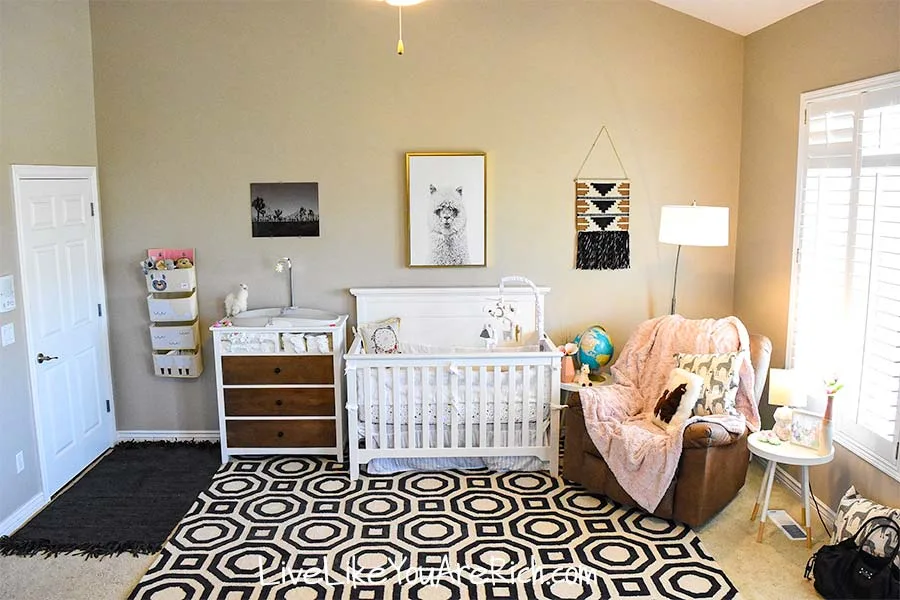 Soon our daughter, Amelia, (17 months old) will be leaving her nursery/our room and transitioning to her own bedroom.
Which will be just in time for me to re-decorate this nursery for our baby boy who is due in 4 months. I am so excited to redecorate it.
I have always wanted to be an interior designer…maybe I will get the chance after the kiddos are more grown up. But for now, I just decorate on my own and help friends and family’s with their homes as well.
Total cost of Master Bedroom Renovation Before and After…
Decor for the master part of the bedroom turned out to be: $400.00
Decor for the nursery part of the bedroom: $800.00 (see the nursery post to get the price breakdown on items bought).
Cost of paint: $200 for Master bedroom
Cost of labor and supplies for covering extra closet door and ceiling bathroom window: $700
Cost of closet renovation labor, shelves, rods, caulk, paint, bench: ~$1,000.
So there you have it our Master Bedroom Renovation Before and After Home 3. I have read renovations of master bedrooms cost between $6,000-$20,000 I am feeling really good that ours including the nursery only cost about $2,000. If you count the closet renovation then it is closer to a $3,000 total…which is still less than half of the cheapest figure/estimate I could find online.
We’ve loved the space and hope to for many more years to come!

For other ‘rich living’ and money-saving tips, please subscribe, like me on Facebook, and follow me on Pinterest and Instagram.

JHA Australia
Monday 29th of November 2021
The renovation results are stunning that every home owner can refer through it,