


There are a lot of things you can do to make painting and stenciling more convenient, efficient, and not as messy.
But before you start reading please know that the biggest part in painting is prepping the room right. If you fully prepare the room you are painting in, the project will go much more quickly and smoothly.
Further, if you prepare the room right, use the right tape, plastic sheeting, and have wet wipes on hand (and clean mistakes as you go) the clean up will be effortless and fast.
Here are 11 steps to take to paint and stencil an entire room…
1. Start by clearing out the room as best as you can and take anything off or out of the walls you are planning on painting. I like to sweep well before the next step.
2. Lay down heavy duty plastic sheeting and go along the base boards with Multi-Purpose FrogTape® painters tape to secure the plastic to the tops of the base boards. Tape off electrical outlets, light switches, etc.
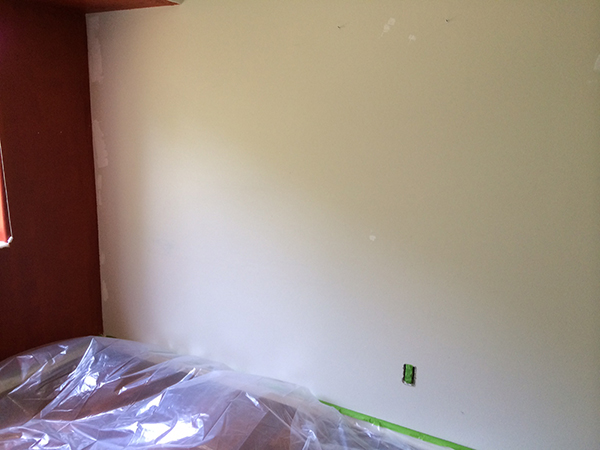
Make sure to cut a hole around any vent in the floor and tuck the plastic under the vent lip. If a vent is covered you will experience a balloon effect with the plastic sheeting. This will cause the plastic to bubble up and even hit and spread fresh paint on the walls.
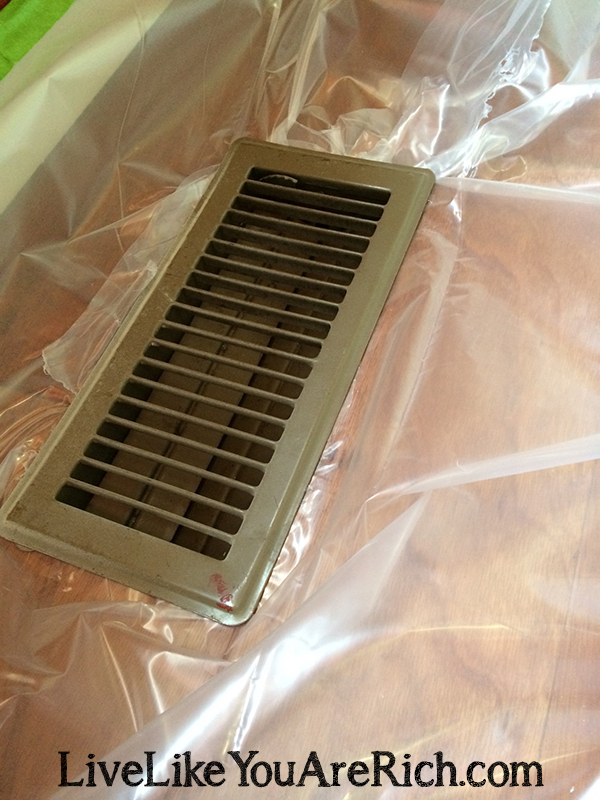
If your plastic is still bubbling up after tucking it into the vent, cut a few holes in areas where you are unlikely to spill or drip paint.
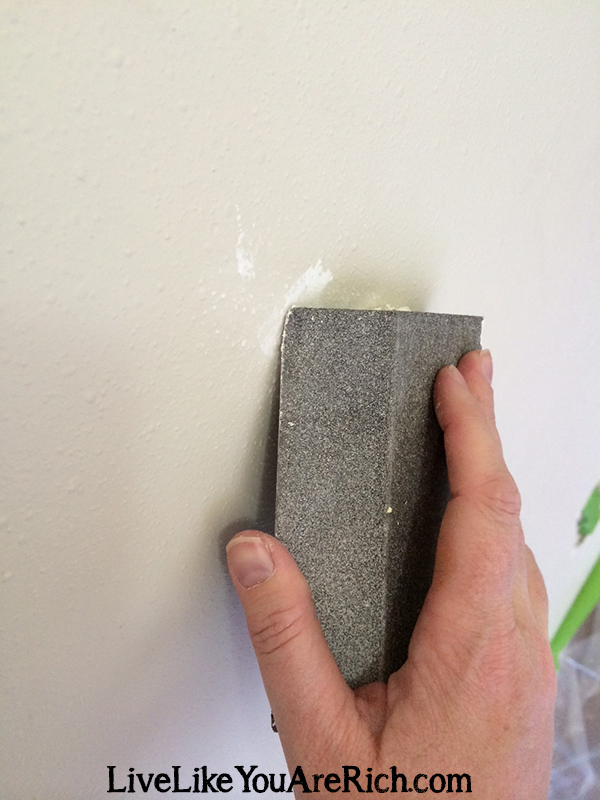
3. Put Spackle in any holes in the walls you will be painting with a putty knife and scrap off additional putty. Allow it to dry.
After it is dry (30 minutes or more depending on the brand) sand it with a sanding block or sand paper until it is level with the wall.
4. Take a damp paper towel or a wet wipe and go along the baseboards to clean off any dust that may have landed from sanding off the Spackle.
You can also do the Spackle and sanding before laying the plastic and taping off the base boards. Either way, you will need to clean up the dust that settles on the walls, baseboards, tape, etc. so that you don’t get dust on the paint tape or paint roller. I find taping first works better. This way the baseboards are not wet from the clean up and the tape adheres better.

5. Next, tape off the walls and/or ceiling with FrogTape® Painters Tape. I recommend painting the ceiling first, then the walls, but that is just personal preference.
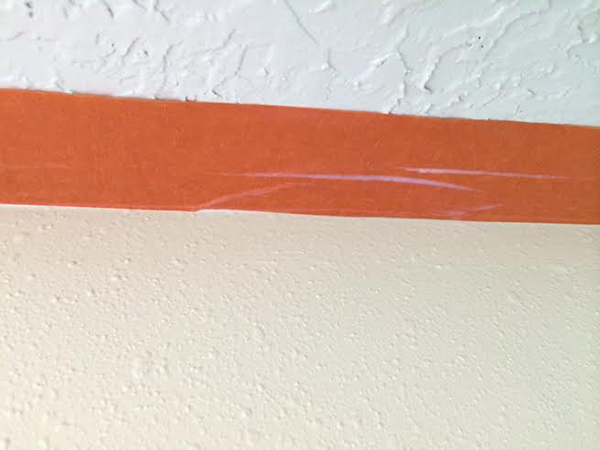
If your walls or ceilings have texture (little bumps or lines on them) you will want to use the FrogTape® Textured Surface check it out here: Textured Surface by FrogTape because it is treated with patented PaintBlock® Technology.
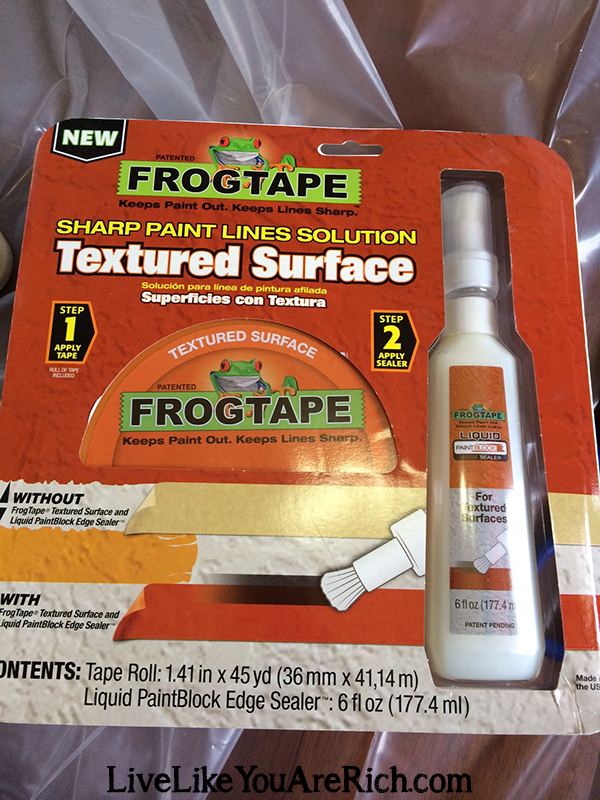

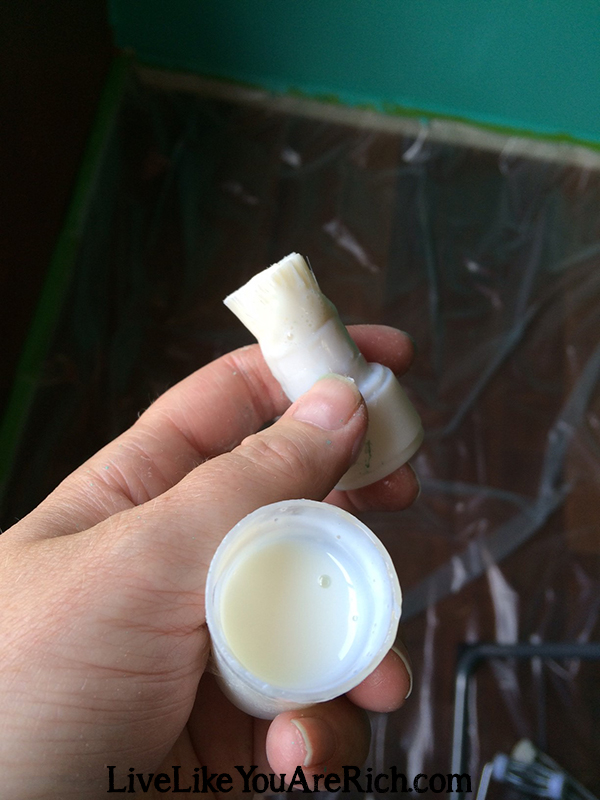
It has a super absorbent polymer that reacts with the water in latex paint and instantly gels to form a micro-barrier that seals the edges of the tape, which helps prevent paint-bleed. Further, it comes with an awesome bottle of Liquid PaintBlock® Edge Sealer™ which you run over the paint tape and it helps deliver super sharp paint lines, even on textured surfaces.
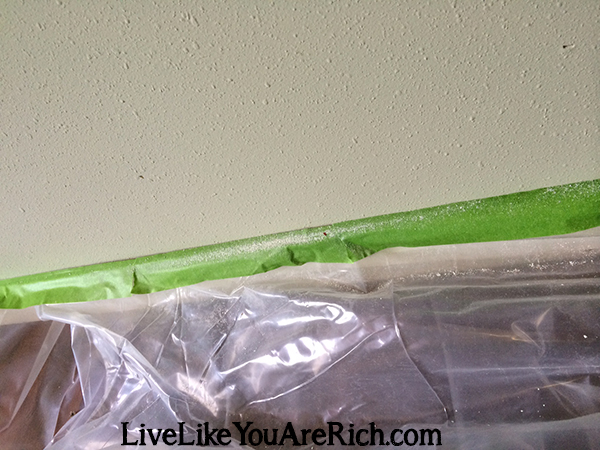
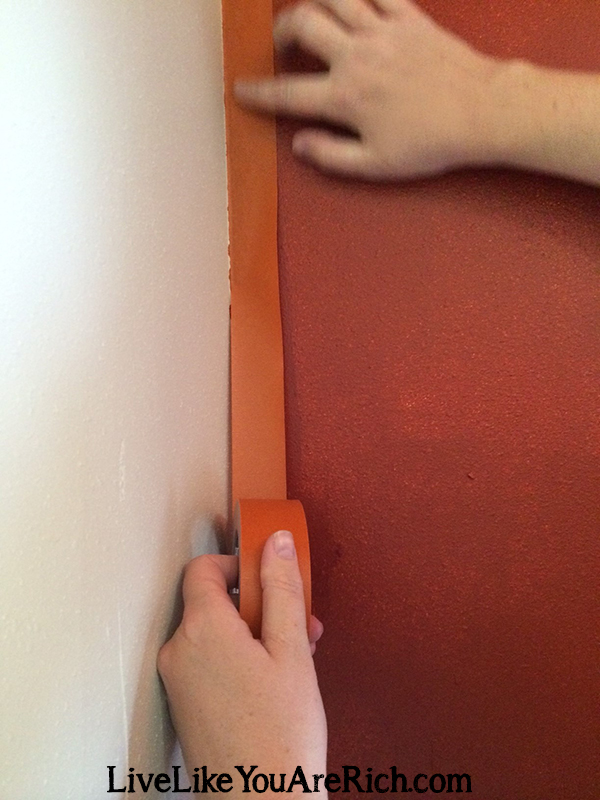
What I did was tape the baseboards with green Multi-Surface FrogTape®. Then for the walls and ceiling that had textured (bumpy) surfaces, I used the orange FrogTape® Textured Surface paint tape.
Next, I ran a coat of the Liquid Paint Block Edge Sealer (which comes inside the FrogTape® Textured Surface package) along the sides of the tape to ensure a great line.

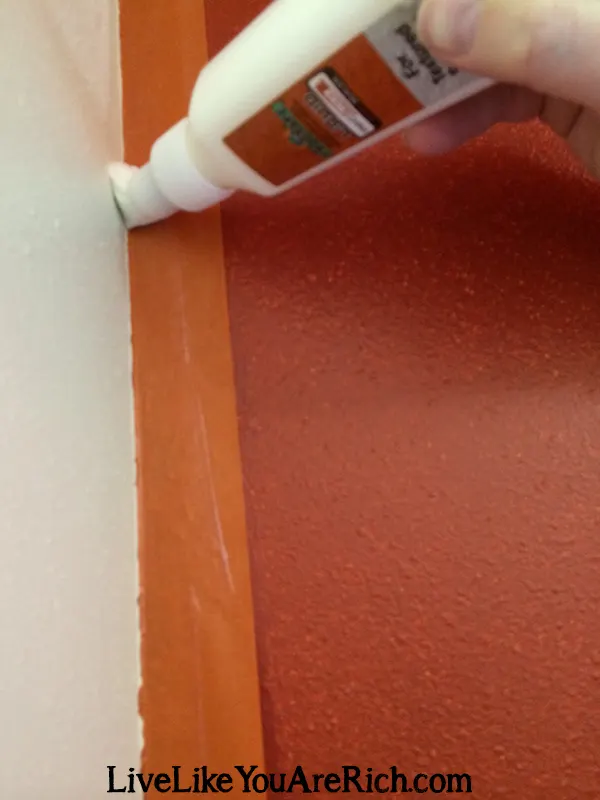
Tip-For the ceilings I took the lid off of the Block Edge Sealer, poured some of it into the cap, and used the brush attachment to get the ceiling tape sealed. I did this because the bottle didn’t want to work upside down.
In the past, I have used clear paint painted on the edges of paint tape to block runs on textured surfaces. Having now used both, I can say that the FrogTape® Liquid PaintBlock® Edge Sealer™ works much better than using clear paint to seal/tape off textured walls from allowing paint-bleed.
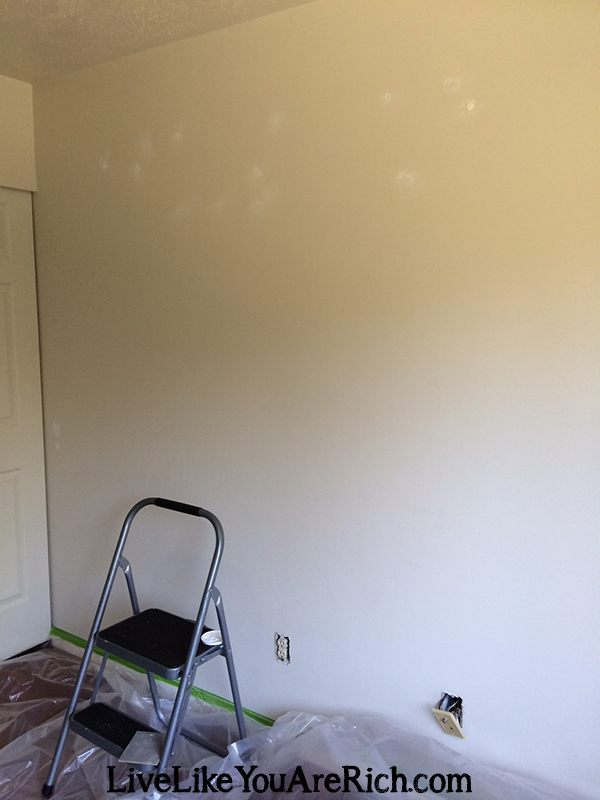
6. If needed, prime the surfaces you are planning on painting. Then, paint the first coat of paint, let it dry, and paint the second coat (make sure to follow the individual paint instructions).
If you tape the base boards well, you can roll very close to the base boards. For the ceiling I stay a few inches away from it so I don’t accidentally hit the ceiling behind the tape with the roller. Next, I come back over what I didn’t hit with the roller and paint it with a brush. Make sure to apply two coats with the brush (once the first has dried) as well.
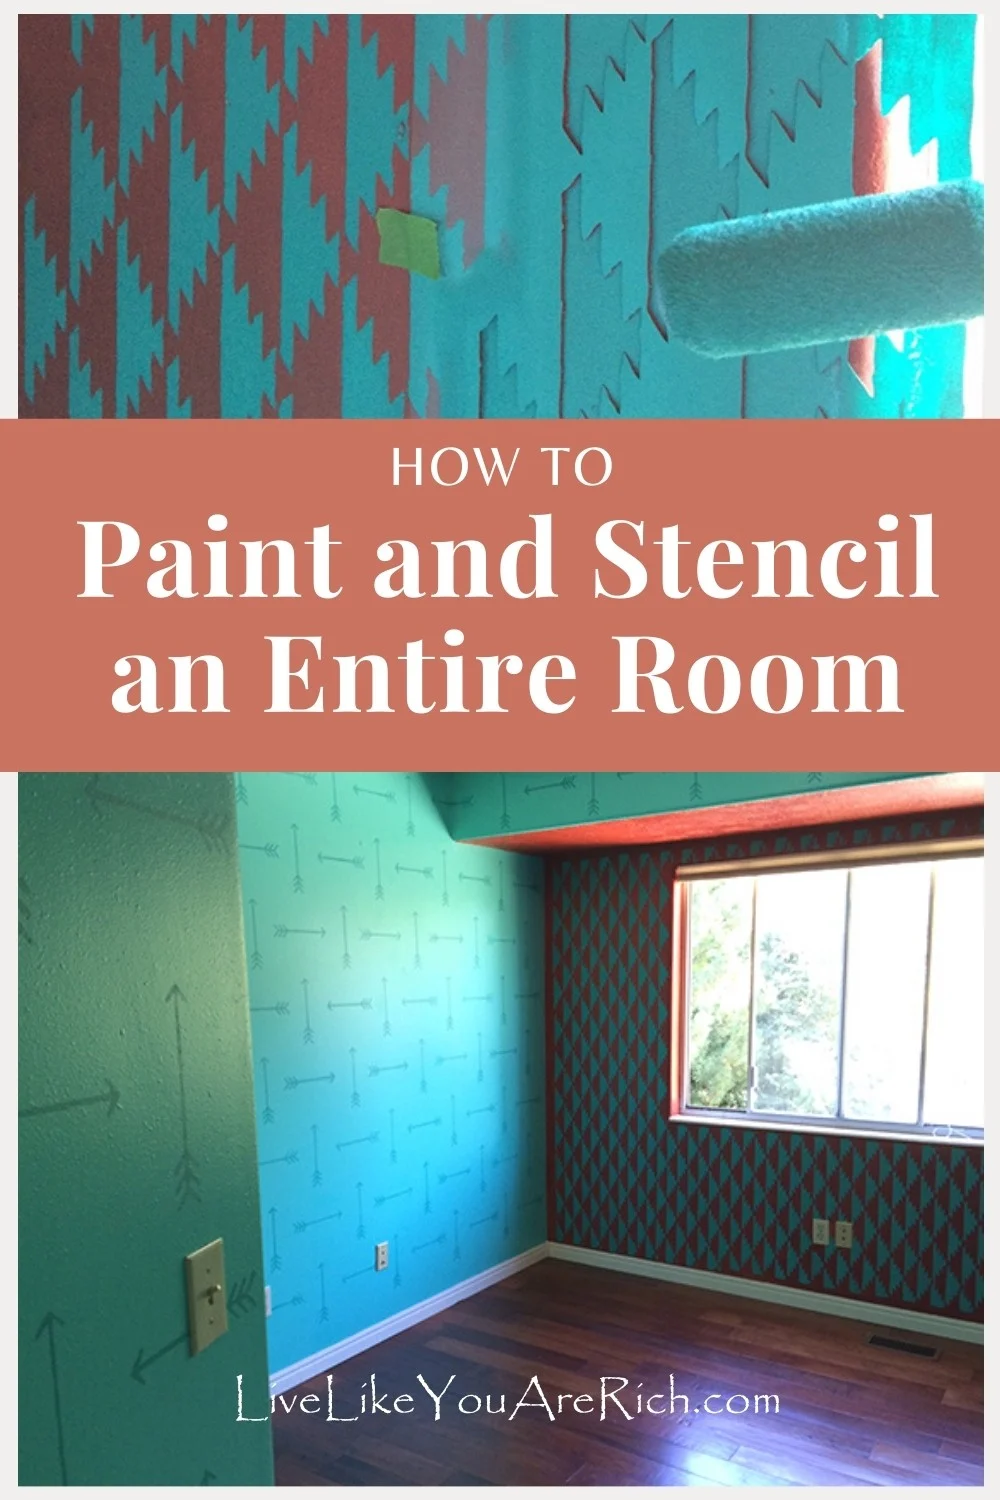
7. About 15 minutes after the last coat (but before the paint dries fully) pull the tape off of the baseboards and walls. Pull tape off of the ceiling and walls very carefully. FrogTape® does a great job of keeping the lines very crisp! I was very surprised at how well it did on my textured walls.
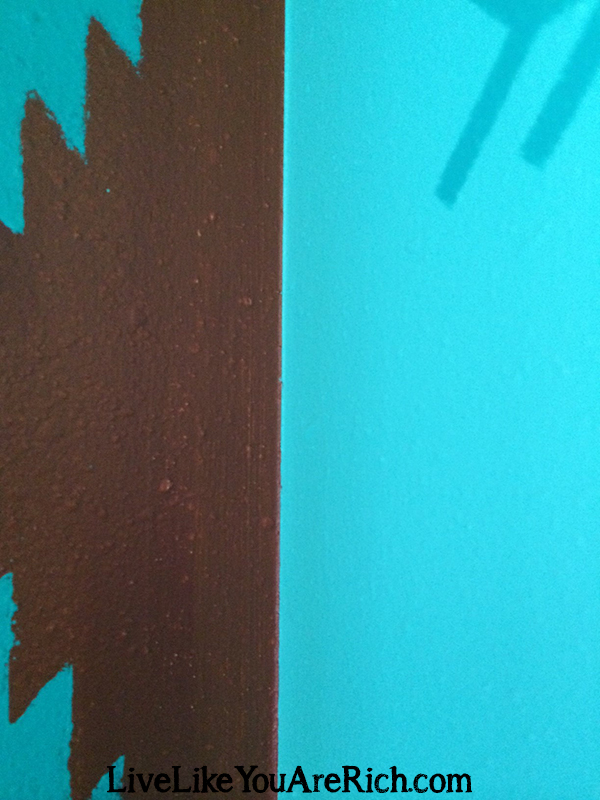
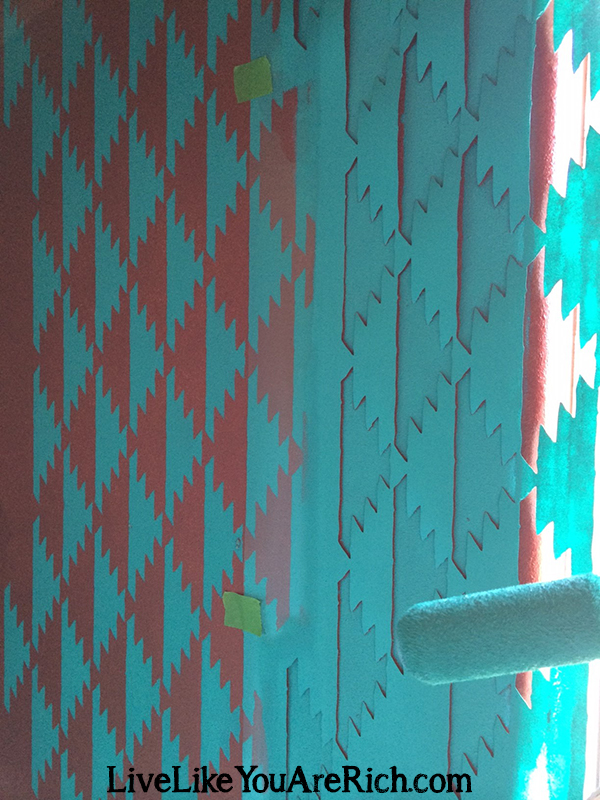
I’ve painted textured walls before, and leaks are very common (even with using the clear paint method I had been before). With FrogTape® Textured Surface paint tape I didn’t have hardly any paint-bleed as shown by the straight lines in the photos below… Please ignore the stencil bleed. You can’t use tape for stencil designs. The results can be seen in the straight lines in between the two colors of paint.

If the plastic sheeting is heavy duty enough, you can simply pull the tape off of the base boards AND the plastic sheeting at the same time. If the plastic sheeting is not heavy duty enough you can cut along it so you can dispose of the tape.
Throw the used tape away into a trash bag as you pull it off. This ensures that the wet paint that may still be on the tape doesn’t get all over.
8. Allow the paint to dry for at least 24 hours before stenciling on it.
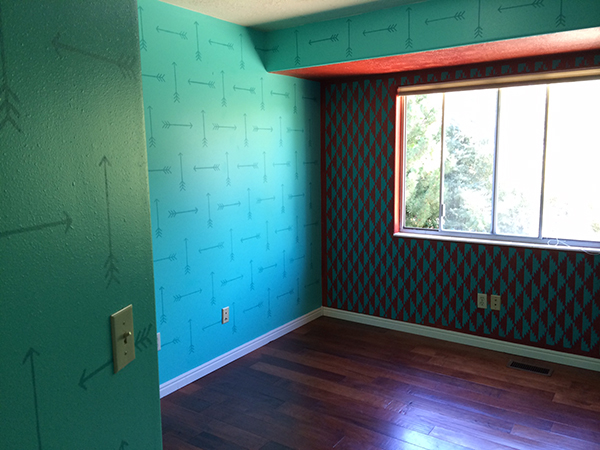
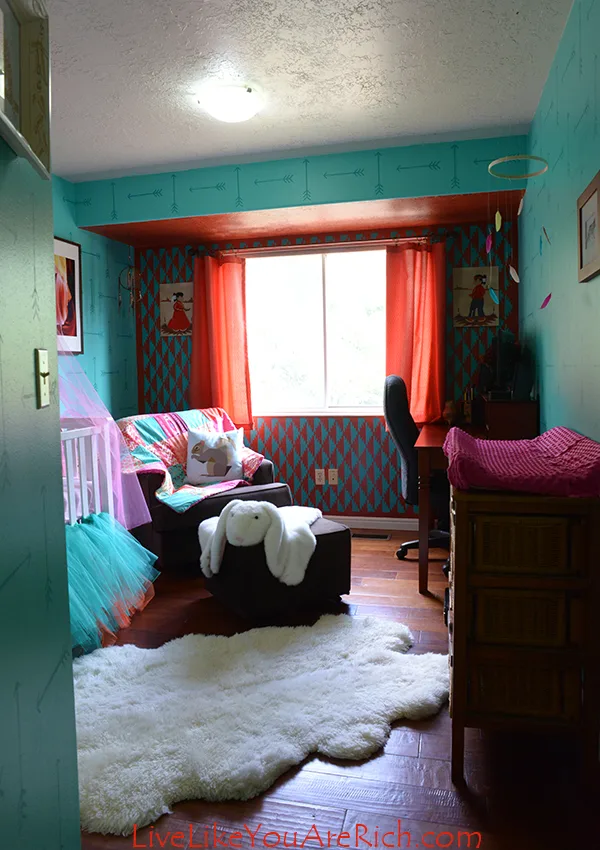
The paint used were: Sherwin Williams Synergy 6938 (lighter on 3 walls) and Turquish 6939 (the arrows and Navajo design color).
9. Next, read the stencil instructions very carefully. I found that they were very thorough. Think carefully through how you want the pattern to look on your wall before beginning.
10. Start using Delicate FrogTape® (for freshly painted walls) or Multi-Purpose FrogTape® for 3+ day dry walls to hold the stencils on the wall. The instructions on the stencils give awesome tips. But I’ll add a few of the most important ones. I’ll also add things that are not on the instructions that I learned by stenciling an entire room.
As soon as you get the stencils (if they were rolled up during shipping) lay them flat and use books etc. to keep them flat. I laid mine out flat overnight and were flat enough on their own to start with the next morning.
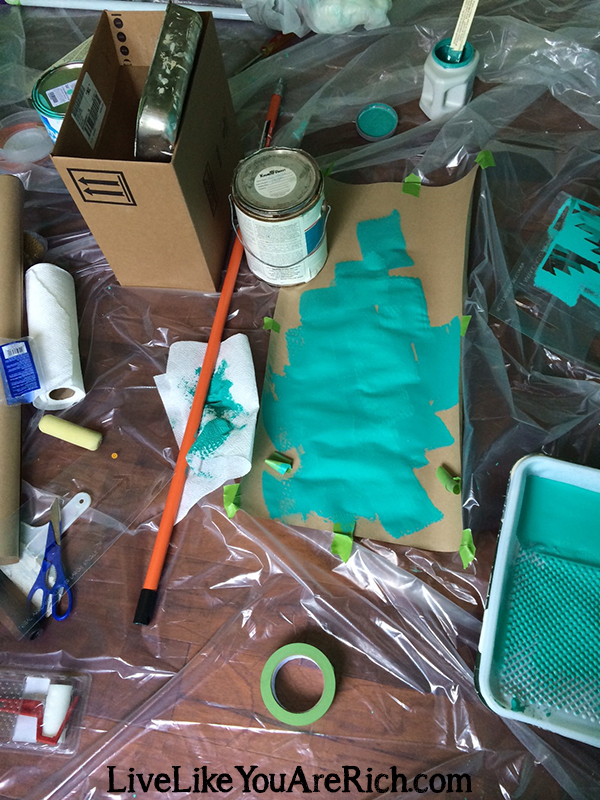
Once you get started we found it very handy to have a few thick pieces of poster paper to practice on. After we started stenciling we used the roller on the post paper to get the excess paint off the roller before stenciling. The poster paper/board was very helpful.
We used a level to start the first couple of stencil patterns and again towards the end of the wall just to make sure the pattern was level.
The less paint you use on the roller the better the stencil will look. Granted you give it a few coats so you can see the stencil, but it needs to be very lightly coated. If you hit the stencil with a lot of paint on the roller, paint-bleed is sure to occur.
Having two people working together made this project go much faster because one person can hold the stencil in place while the other secures it to the wall.
Stencils used were:
Navajo Allover Stencil Small (found here)
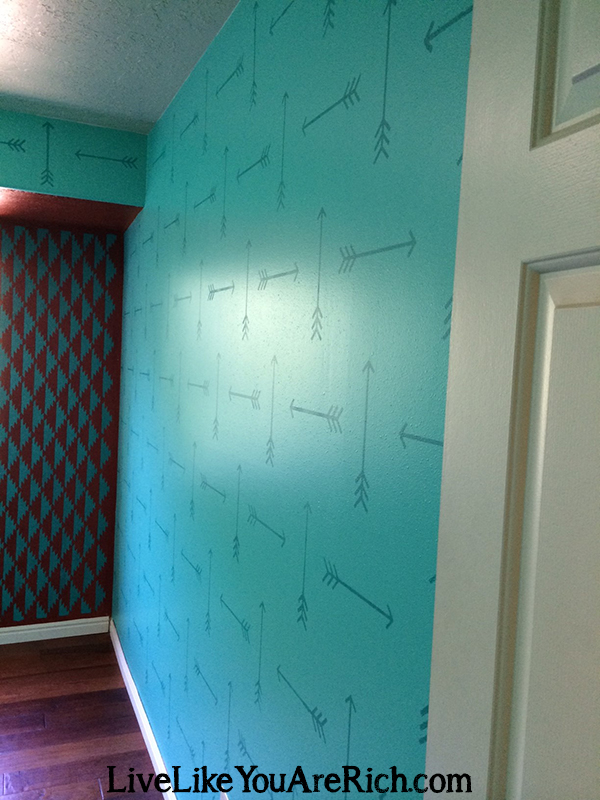
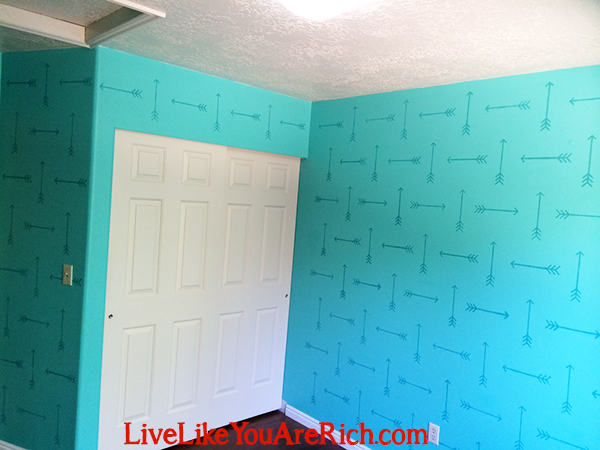
Trial Arrows Allover Large (found here)
The paint used were: Sherwin Williams Synergy 6938 (lighter on 3 walls) and Turquish 6939 (the arrows and Navajo design color).

We were also working on different walls. I was doing the traditional Navajo design and my friend was doing the arrow stencil. We would stop and help each other line the stencils up and secure them with the tape and go back to our own section. This was extremely efficient.
Midway through the project (we had a big surface area), we took our stencils into the kitchen and ran hot water over them. The paint peeled off the stencils quickly with really hot water. We cleaned them completely off and dried them in about 10 minutes.
This allowed us to continue stenciling with much sharper lines. The paint builds up on the stencil if you are using it multiple times and especially on bigger walls. We washed the stencils at least 2 or 3 times during this project. Just be sure to not flip the stencil backward if you clean it completely off.
When we got to the very end, it was necessary to cut the stencil down for the top border. Wait until you have everything done (using the full stencil) before you cut the stencil down.
Finally, we kept wet-naps/wet wipes on or near us for any leaks, mess ups etc. with the stencils and cleaned them up as soon as we could as we went along.
10. When you are finished go around with a small paint or foam brush and touch up any designs that came through too lightly. Also, use a wet wipe and wipe up any areas that are too messy.
11. Once you are done, take everything that is on the plastic sheeting that you don’t want to throw away off of it. Everything else that you do want to throw out, just fold into the plastic sheeting and toss it all in the trash. Sweep and mop or vacuum.
There you have it. That is how to paint and stencil an entire room in an efficient, clean, and speedy (as possible) manner.

It is a lot of work, but with two people it can be done in two full days (with at least one day in between for drying). If you choose very detailed stencils it may take three days. This is a process you don’t want to rush… and the results (at least for me) were worth the patience!
Oh and if you want to check out the final reveal of my Modern Navajo-Themed Nursery (our daughter will be 1/2 Navajo 1/2 Caucasian),

Stencils used were: Navajo Allover Stencil Small (found here)
Trial Arrows Allover Large (found here)

For other ‘rich living tips’ please subscribe, like me on Facebook, and follow me on Pinterest and Instagram.


kelly A francis
Thursday 13th of August 2020
You totally skipped a huge step. When you use spackle on repairs, you MUST PRIME those repair areas! You cannot just paint over them. They will flash and leave dull spots on the finish. Paints with primer in them do NOT count as "primer". Priming is a sealer and never should be skipped. Treat repairs with good primer and not rely on the tiny diluted amount thats in the paint/ primer combo paints. They dont work well enough.
Anita
Wednesday 18th of November 2020
Thanks for the tip. I have painted countless rooms at this point in my life and if I spakle something in a small area, sand, and wipe only a tiny bit of spackle is left. Ive never had any issues, but I agree, for larger areas one should prime the spackle. Thanks!
House Painters Brisbane
Wednesday 29th of January 2020
I appreciate the tips that you have given. This is really worth sharing. Thanks for sharing this post!
Anita
Thursday 30th of January 2020
Thank you for stopping by!
Lisa Hardley
Wednesday 15th of November 2017
The designs that you have used are the most decent and lovely design. It will give a soothing effect to the room. I even looked the color of paints that you have chosen.