

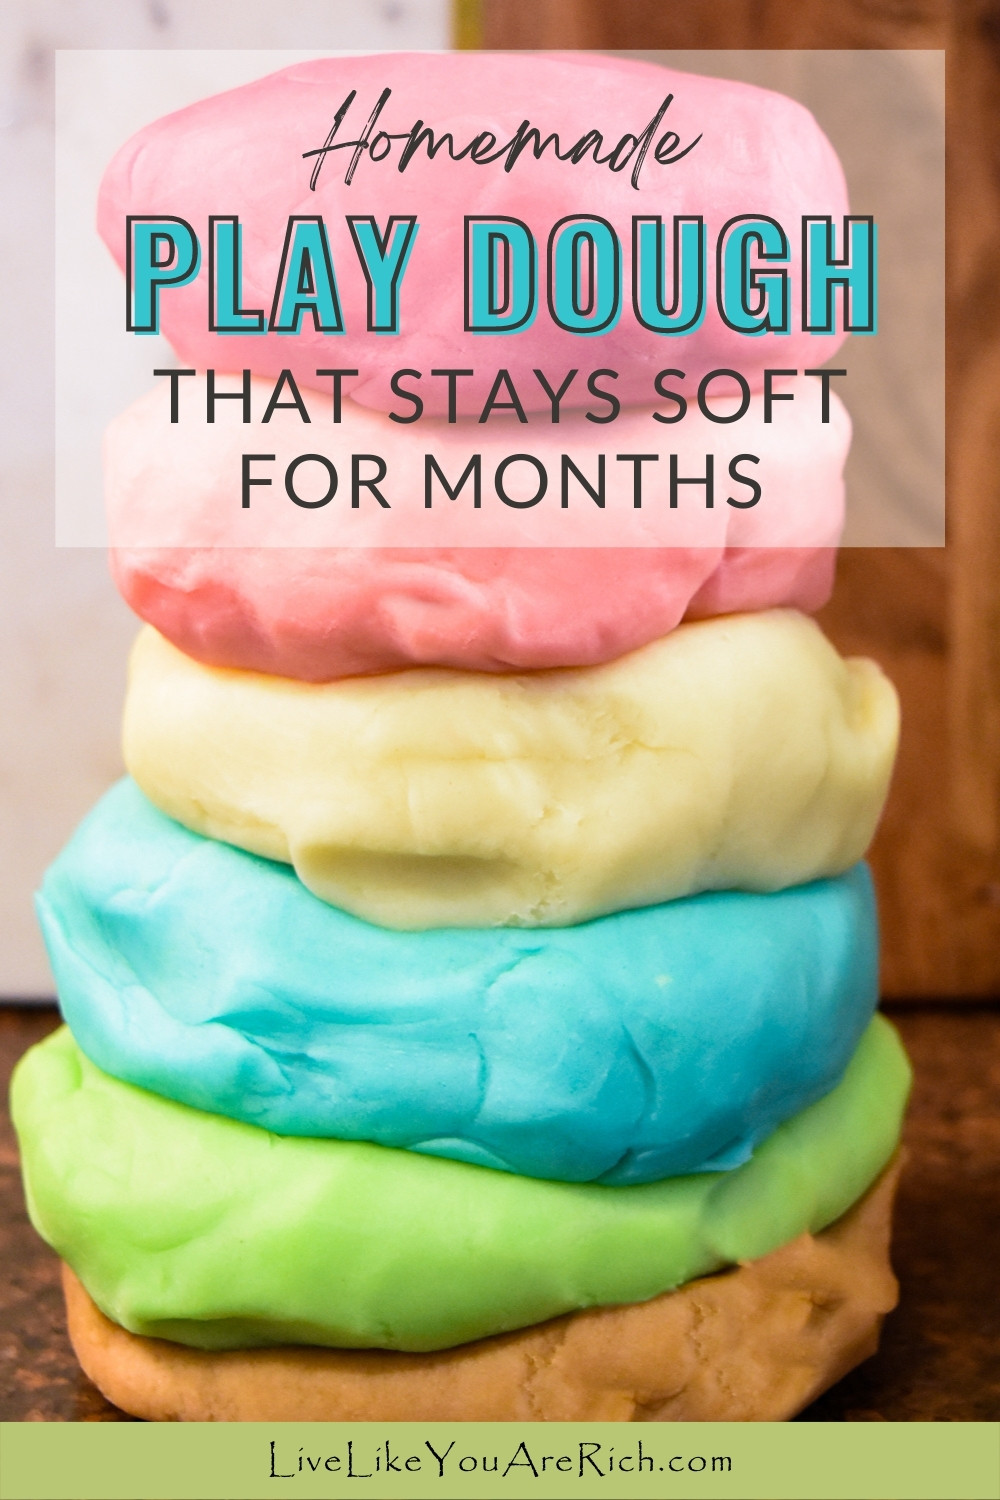
This is a recipe for Homemade Play Dough That Stays Soft for Months.
I made this months ago and it is still super soft and pliable it even works really well in my children’s Play-Doh activity sets.

When I worked in a toddler nursery for about a year, we used this play dough to save on costs and it stayed soft for months and months.
We stored it in a zip-loc bag and in an air-tight container. We live in a dry climate and had the kids wash their hands thoroughly before playing with it. Those steps kept it from getting moldy.
You may need to refrigerate this if you live in a humid climate.
Why is my homemade play dough molding?
If you are here wondering why your homemade play dough recipe is molding there are a few different possibilities.
1- Essential Oils. I’ve noticed that homemade play dough molds much faster if I use essential oils in it. I love the smells that come from using the essential oils in homemade play dough, but next time I’m not going to use them because the shelf life of this play dough went down by months when I used them vs. in batches that I did not use them in.
2- Storage. Homemade play dough needs to be stored in a zip-loc bag zipped tight and in an air-tight container. A sealed jar or bottle may be best.
3- Humidity. Homemade play dough, even kept in an airtight container can grow mold, especially in more humid climates. To prevent this from happening, you will need to refrigerate the dough if you live in a humid climate.
4- Lack of salt. Homemade play dough, such as this recipe, can lack enough salt to make it completely resistant to mold. The downside to adding a lot of salt is that you get a more crumbled whiteish-looking dough that sheds salt and leaves a residue on your hands—as there is too much salt to be fully incorporated/absorbed into it.
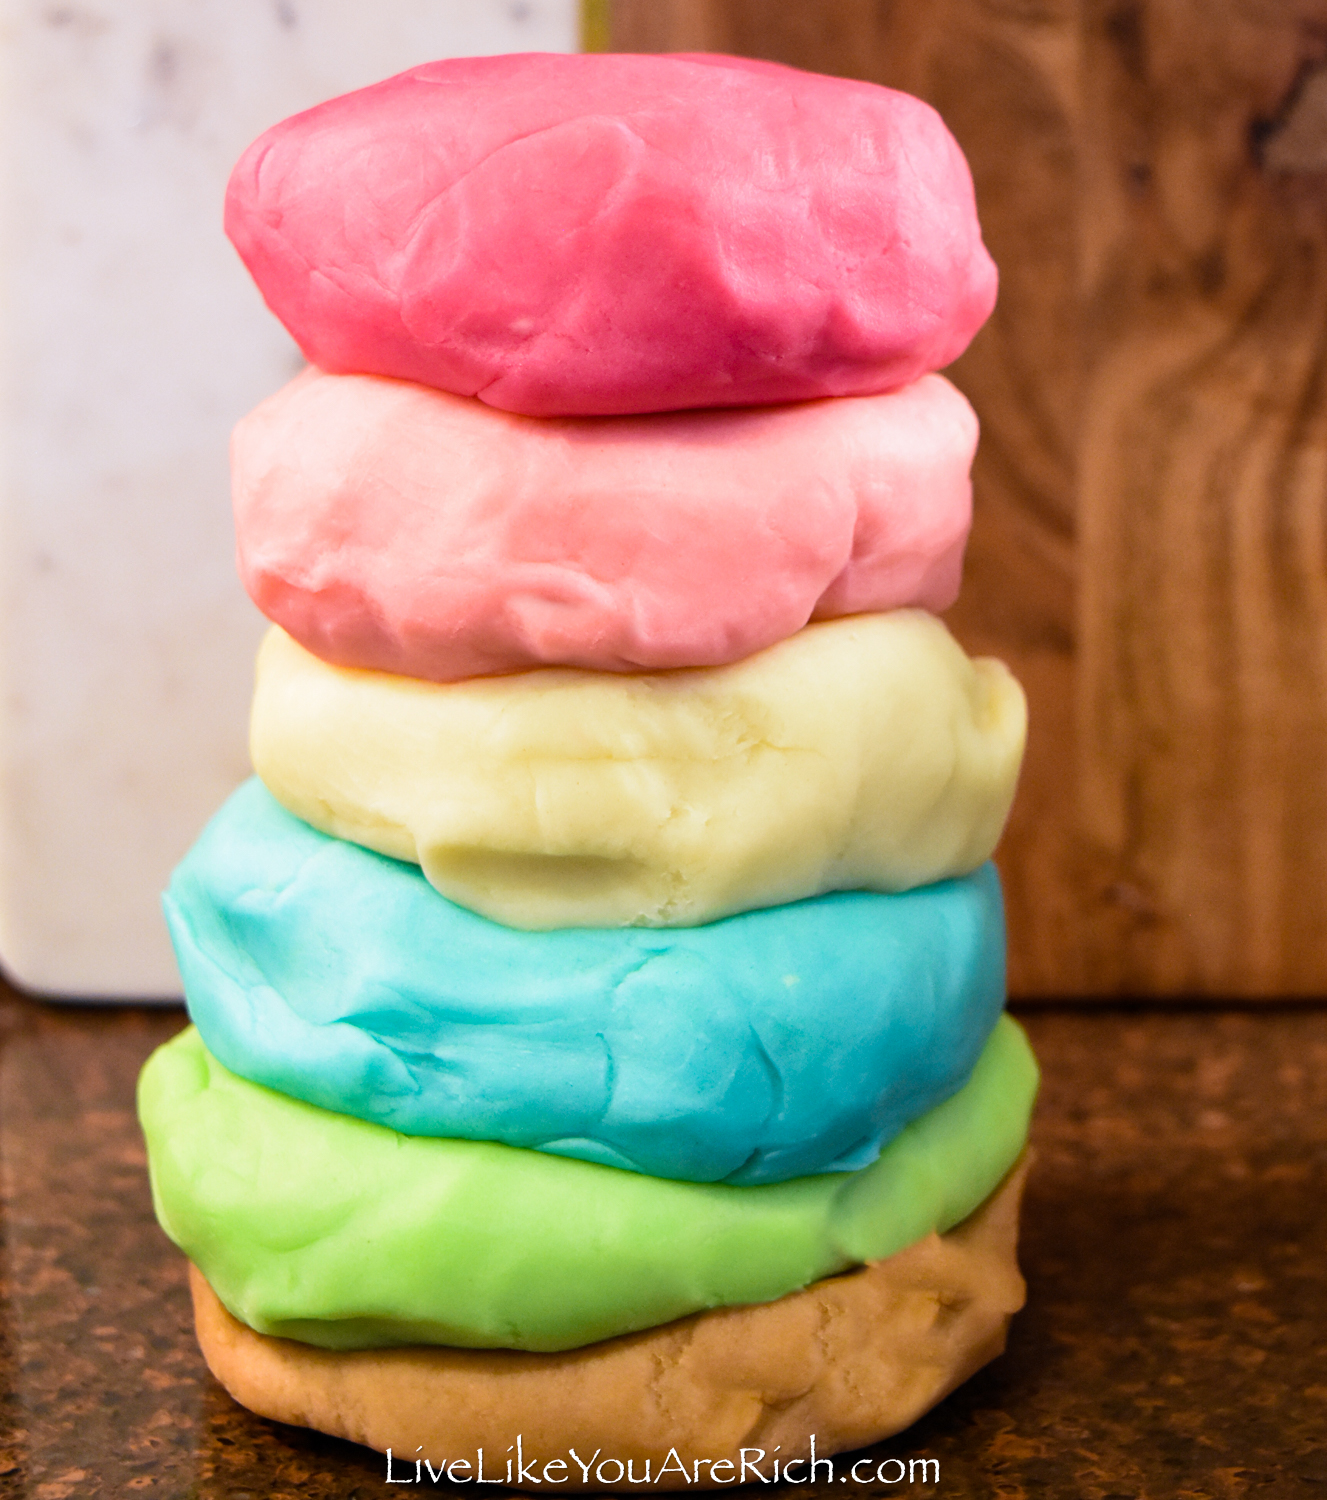
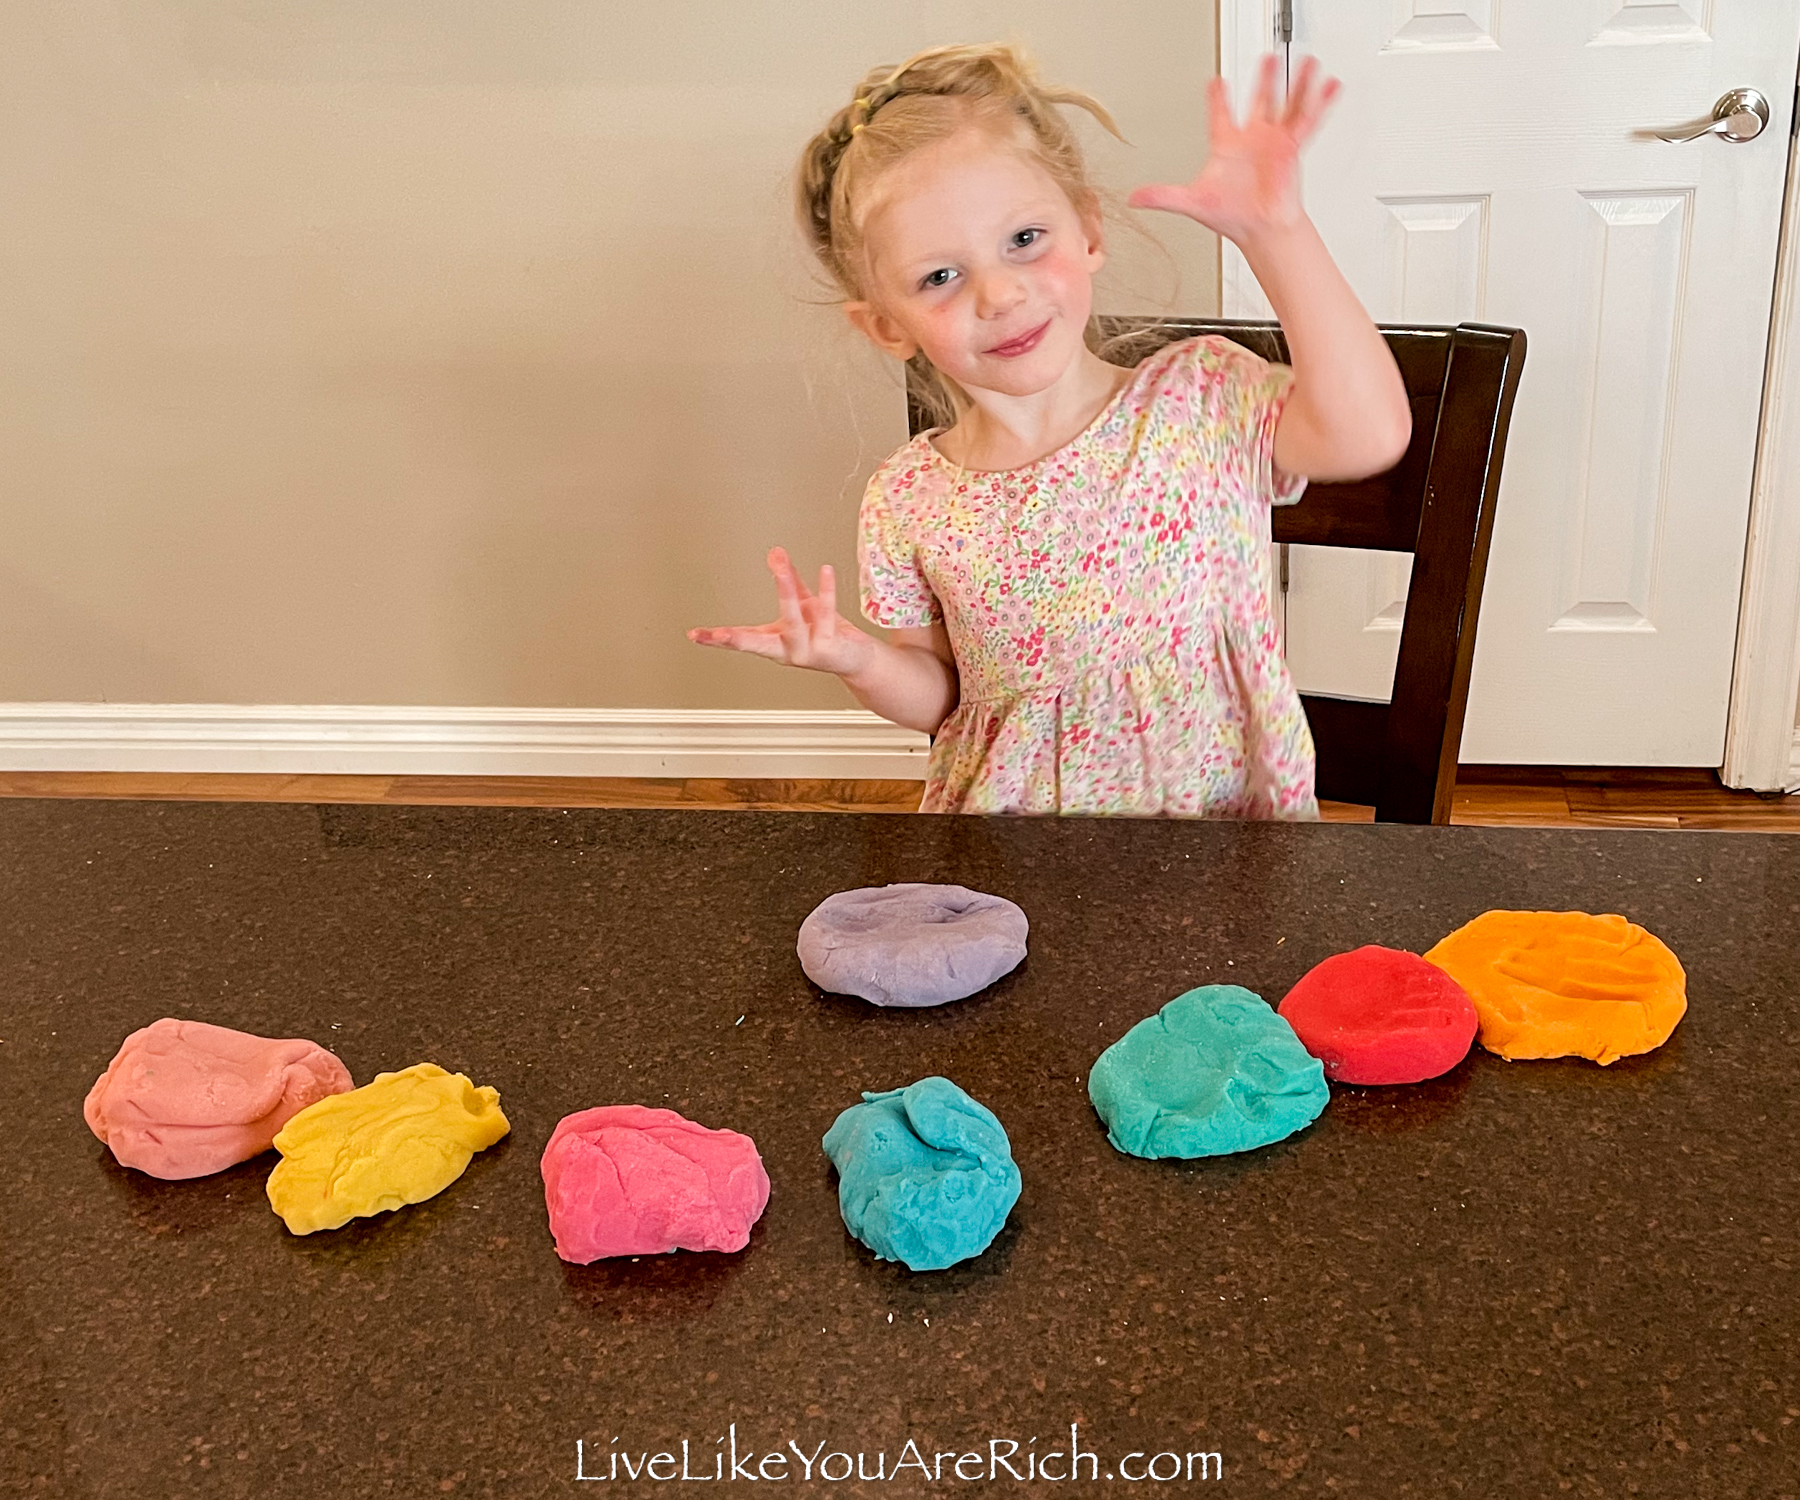
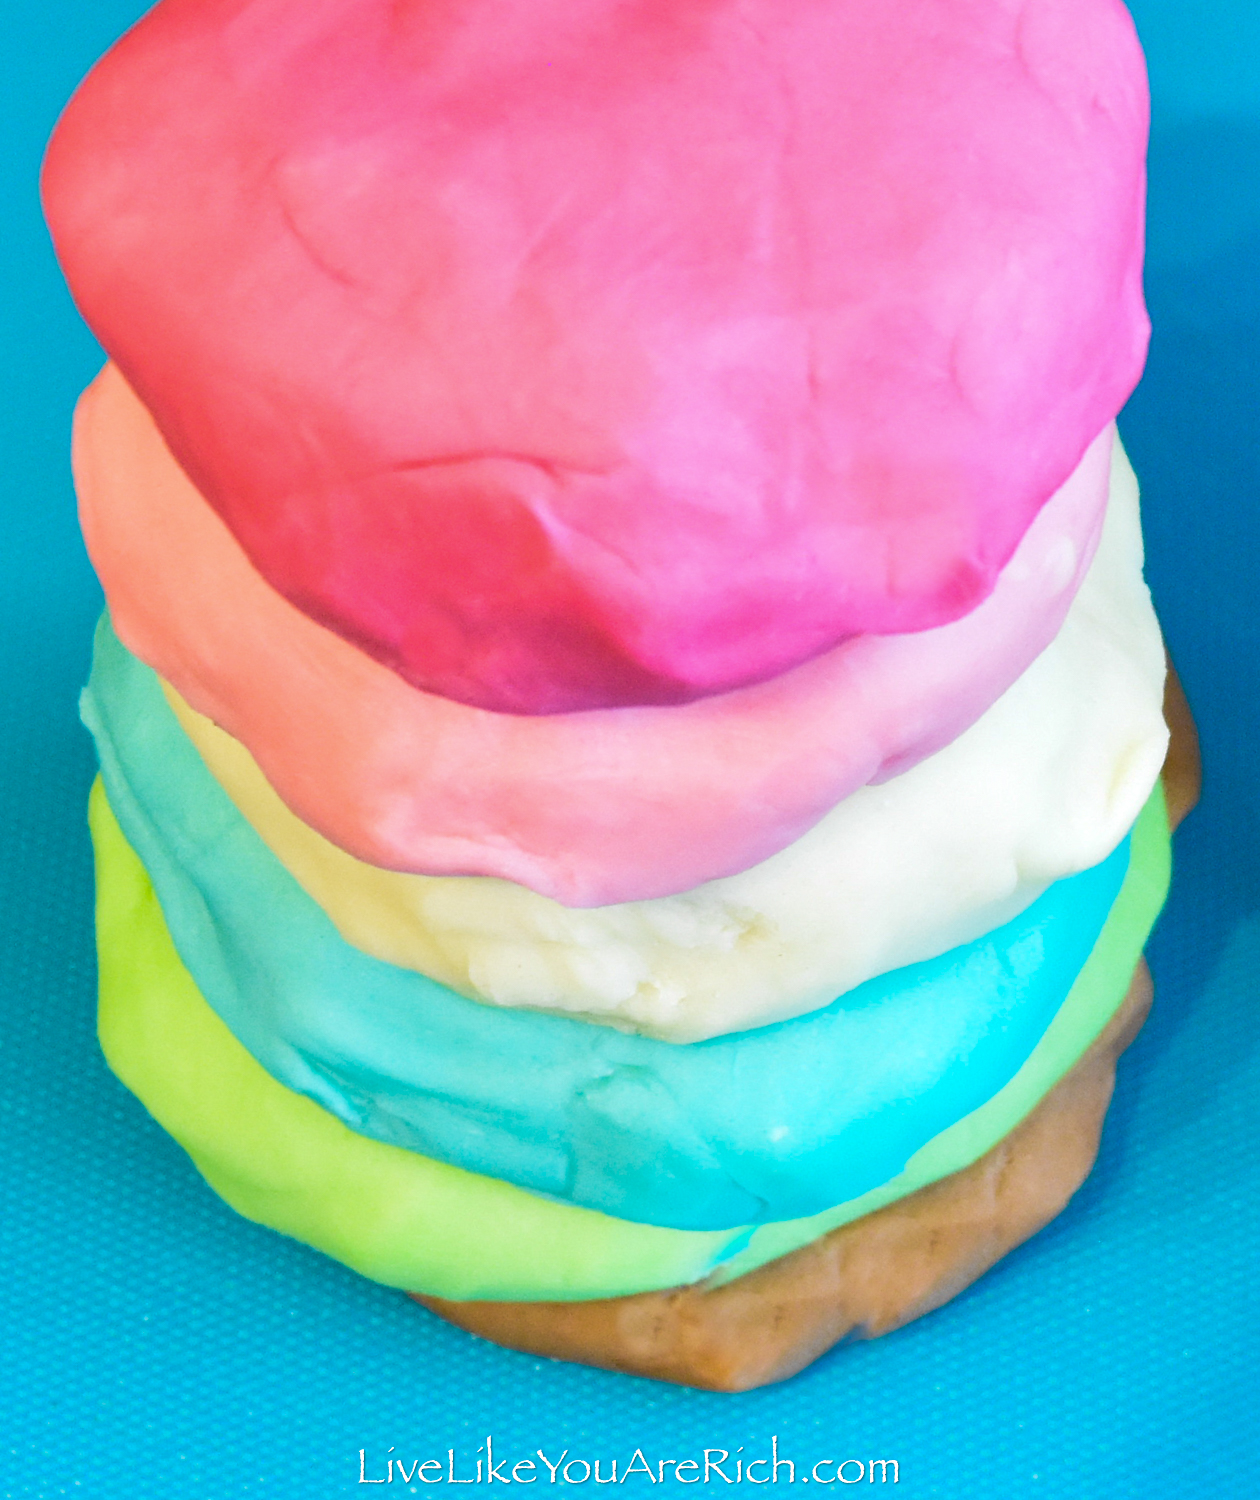
For example, you’ll see the following recipes I’ve made. The first two photos are of this recipe. I find it is a perfect combination of ingredients without too much salt.
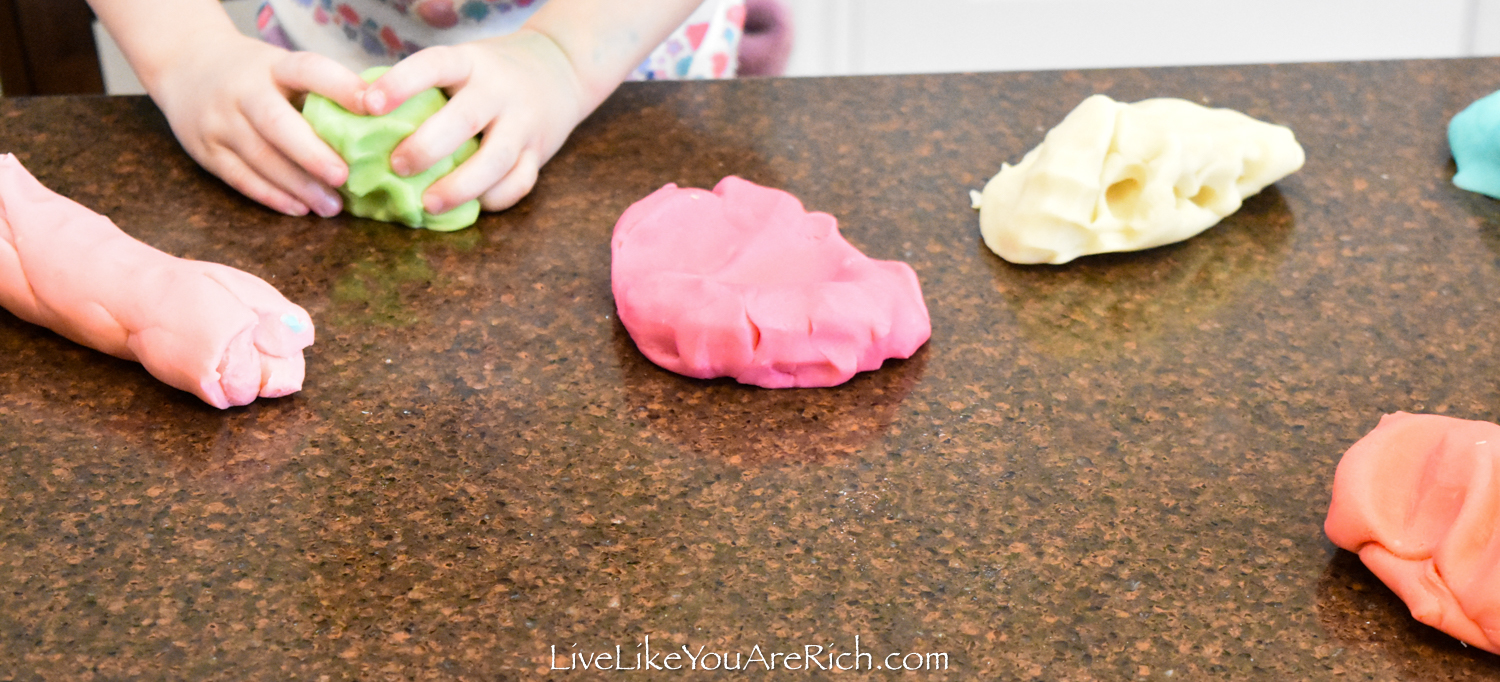

You can see how soft, moist, and colorful it looks and it doesn’t crumble, shed, or leave a whiteish salt residue when playing with it…

This second photo is of a recipe with a lot more salt. Too much salt in my opinion.
While this recipe is not terrible, it contained too much salt and as a result, it was a drier less pliant dough, my kid’s and I’s hands were left with a film of salt on them every time we played with it, and it also shed dough and salt as it was worked with.
How much salt should I add?
Well, it depends on how important texture is to you. If a salty drier texture doesn’t bother you in the least, then I recommend adding more salt, then you don’t need to worry about storing it so carefully. If textures and residue do matter to you, stick with the recipe below.
I like the recipe below even better than brand-name versions of play dough—especially if we plan to use it with sets like the Play-Doh Kitchen Creations Drizzy Ice Cream Playset or Play-Doh Dental or Volcano set.
It makes better soft-serve ice cream, works better with the dental drill set, the volcano functions better, etc.
The softness and pliability make this dough easier to use, and the play-dough-specific toys function a lot better.
To add to the sensory experience, try adding essential oils. I loved using essential oils to make each color smell similar to its name. Please note that I believe using essential oils will reduce the shelf life of this play dough—unless you keep it refrigerated when not using it.

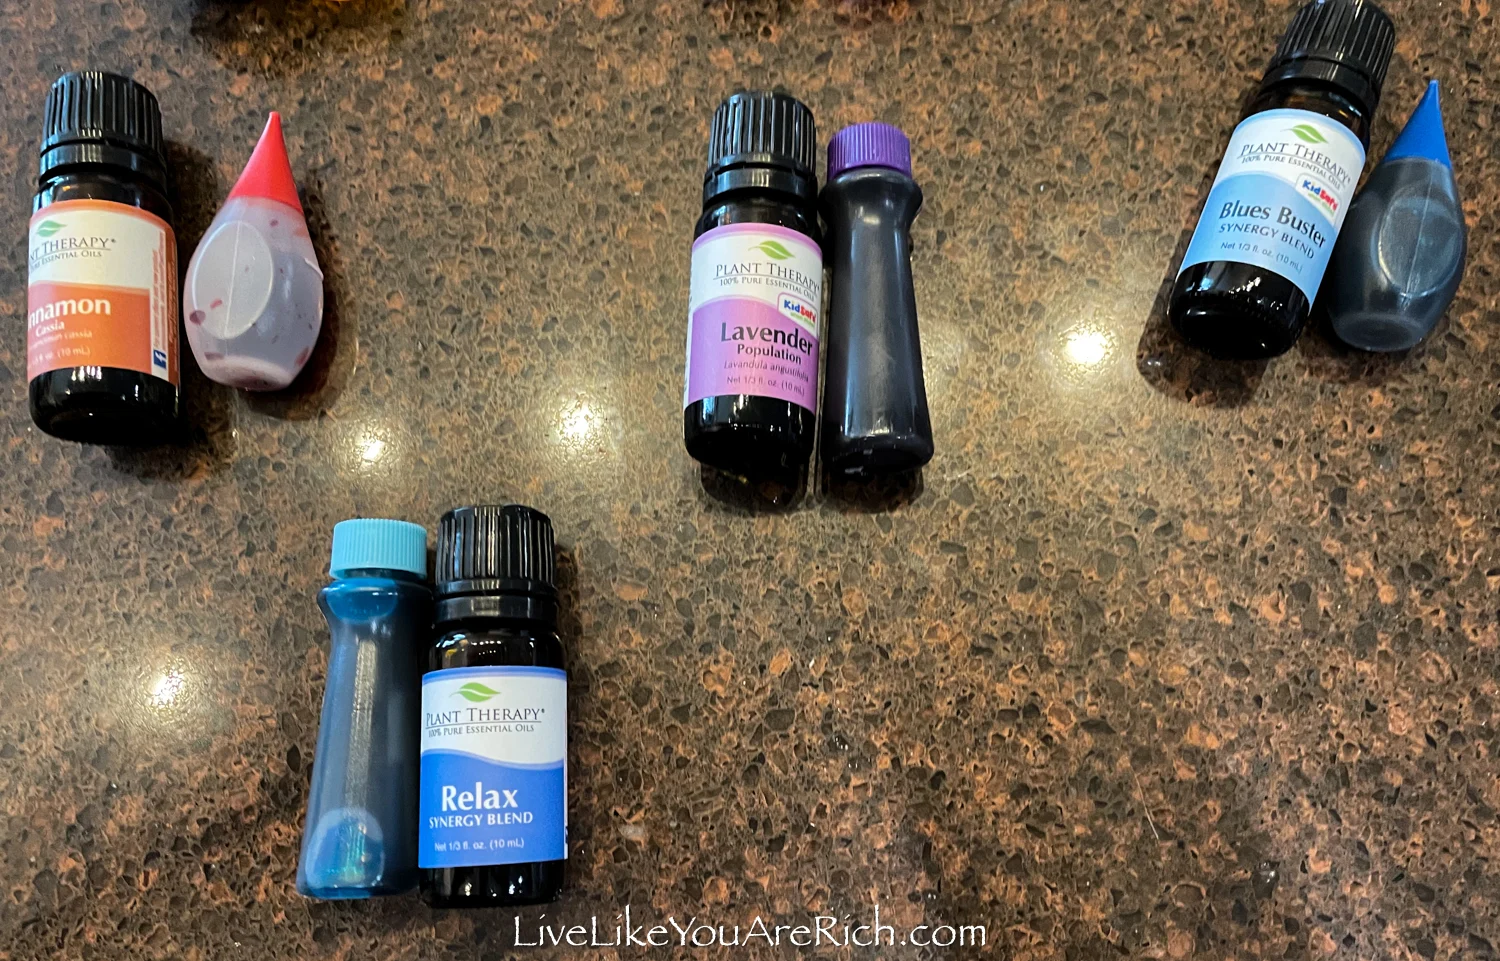
For example, I used lemongrass for light green, sweet orange for orange, lemon for yellow, peppermint for dark green, wintergreen for teal, grapefruit for pink, cedar wood for brown, lavender for purple, blues buster for dark blue, cinnamon for red, and relaxing blend for light blue.

It made the play dough smell so good!

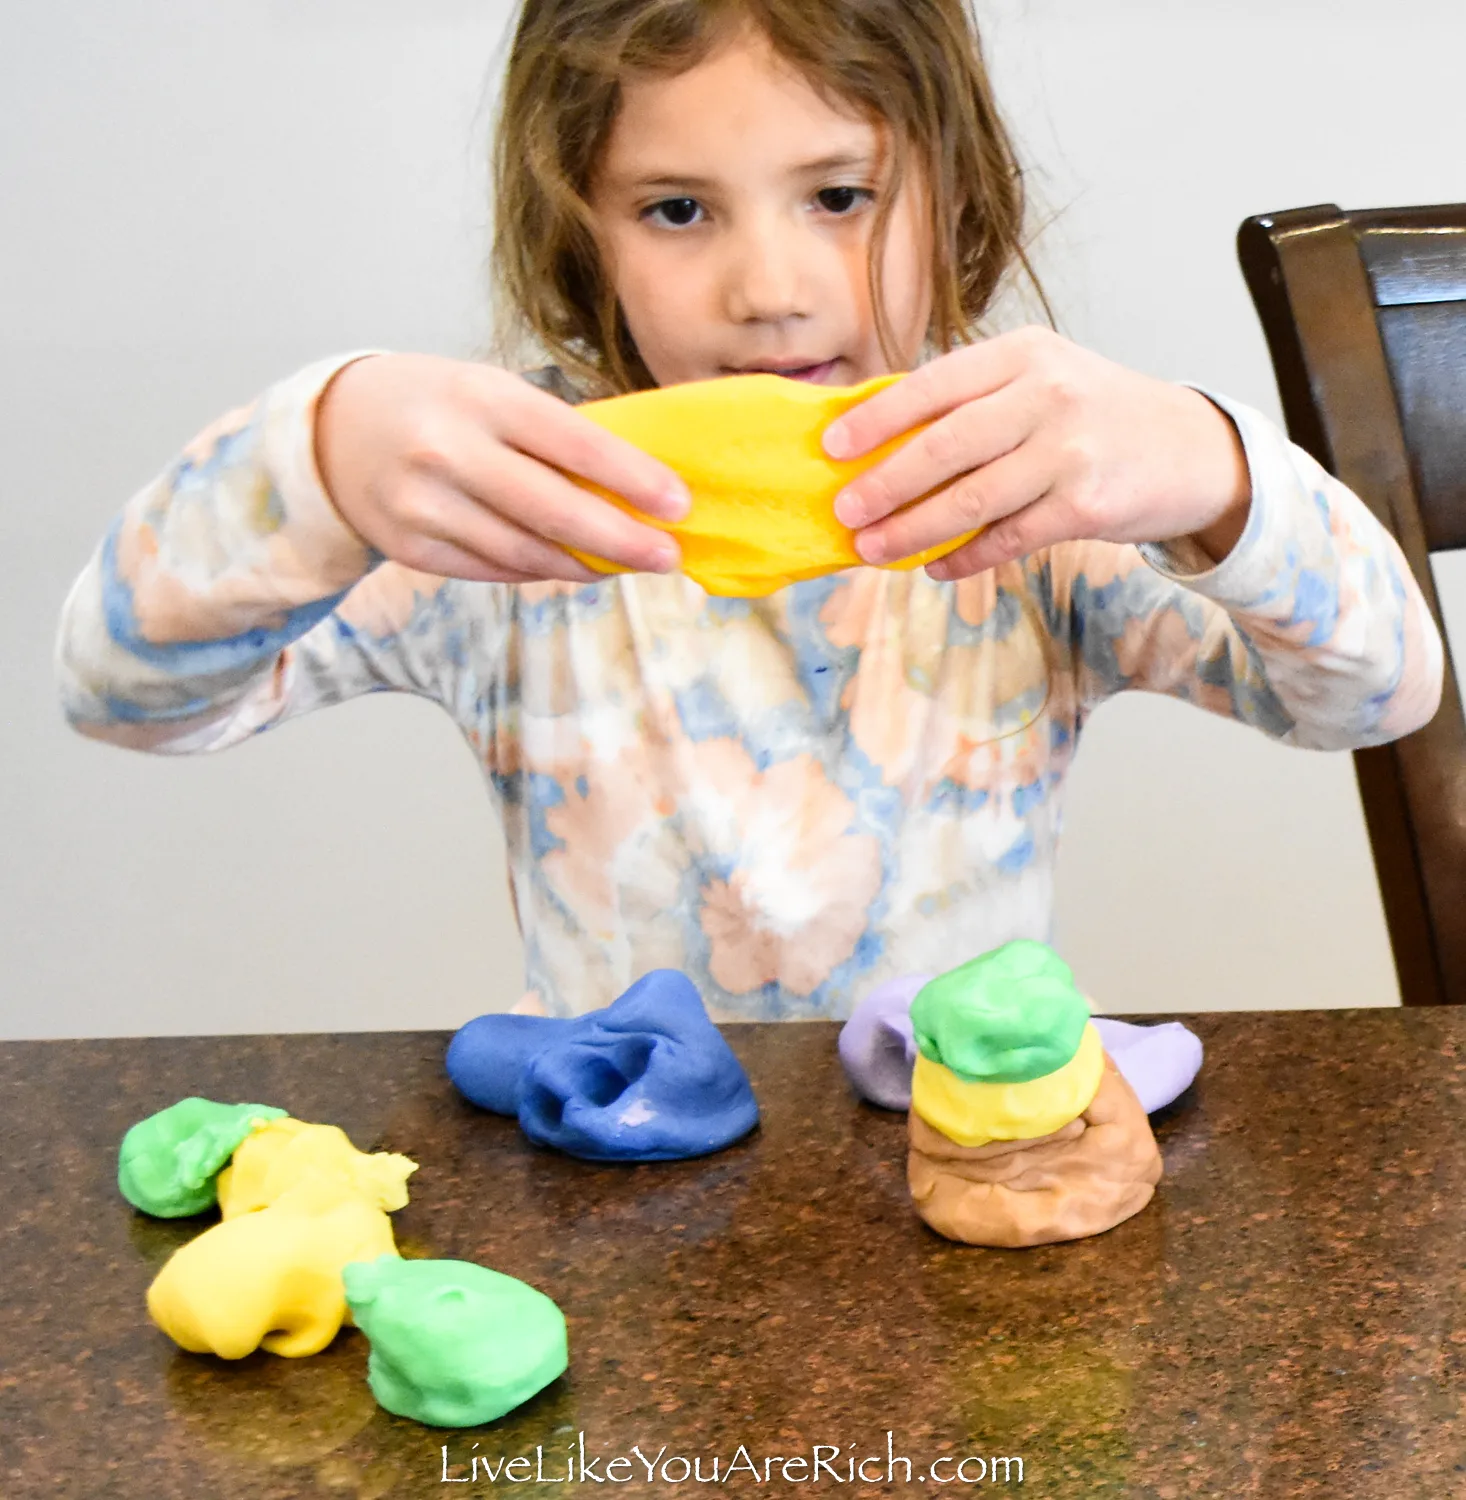
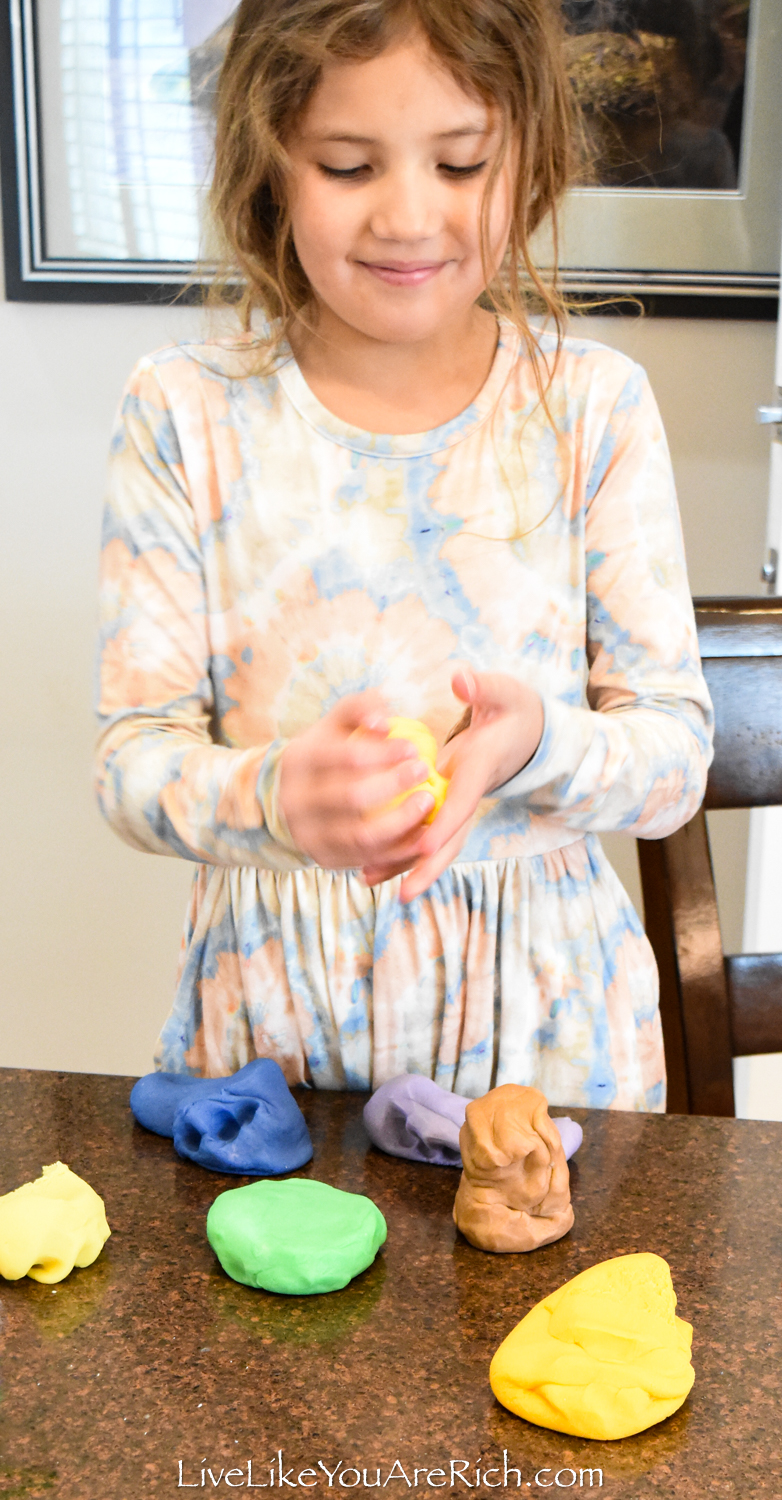
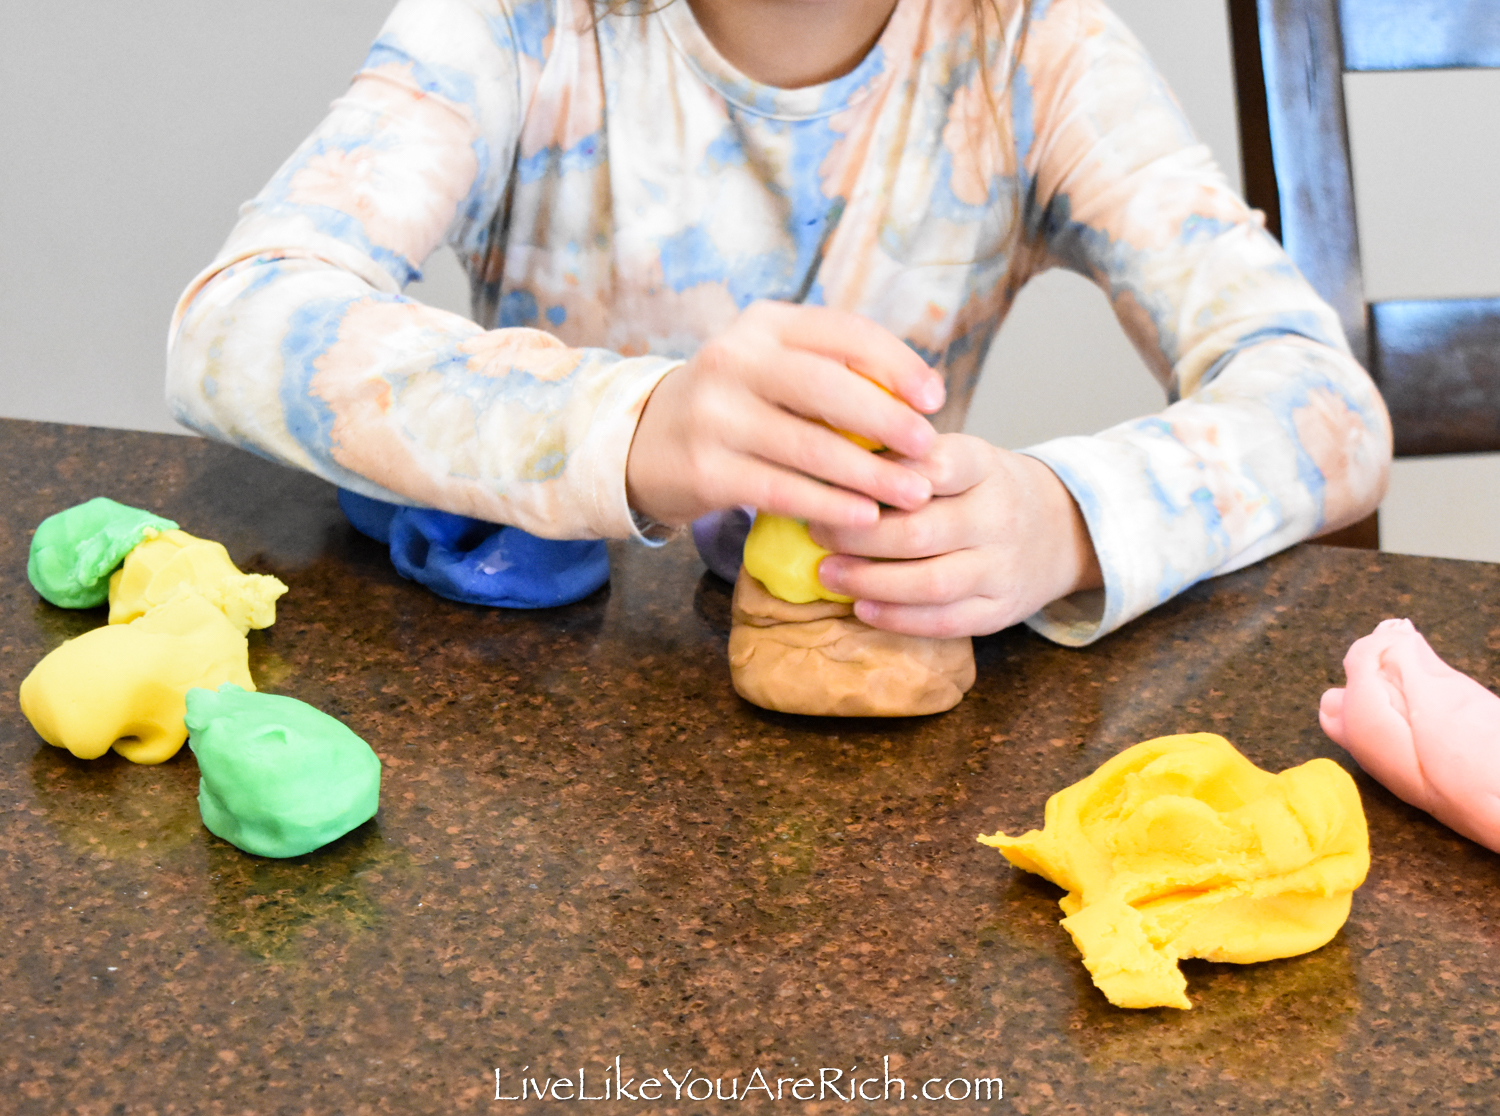
It was such a great recipe to make with my older and younger children and kept them occupied not only for the time we made it but for hours afterward and for hours on other days.
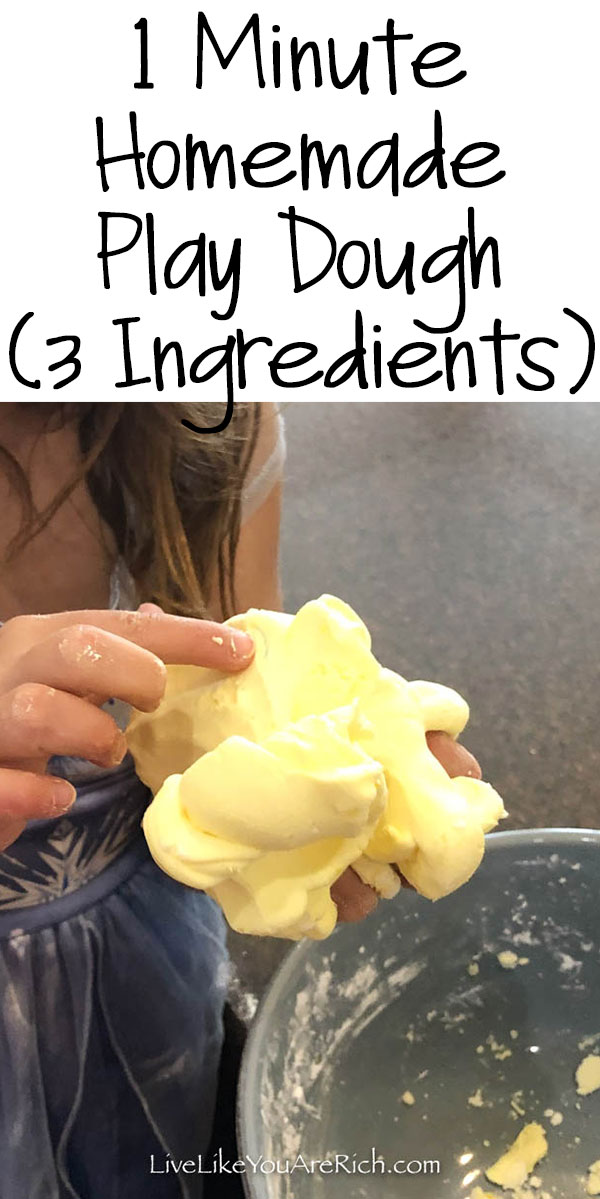
Unlike the 1-minute-3-ingredient play dough that we have made in the past, this recipe holds up over time. It is a play dough that will last for hours and hours of play.
Here’s how to make this Homemade Play Dough That Stays Soft for Months…
You can watch the video tutorial and/or continue reading…
- Pulverize salt in a blender or food processor to make it super-fine.
- Mix the dry ingredients in a stock pot with a whisk.
- Stir the wet ingredients together with the dry ones with a whisk in the pot.
- Turn the stove on to medium-high heat and once hot, turn the temperature to medium.
- Continue stirring until the play dough comes together and there are no longer any really wet areas.
- Once the play dough is no longer wet and has turned into a mass of dough, turn it out onto a cutting mat.
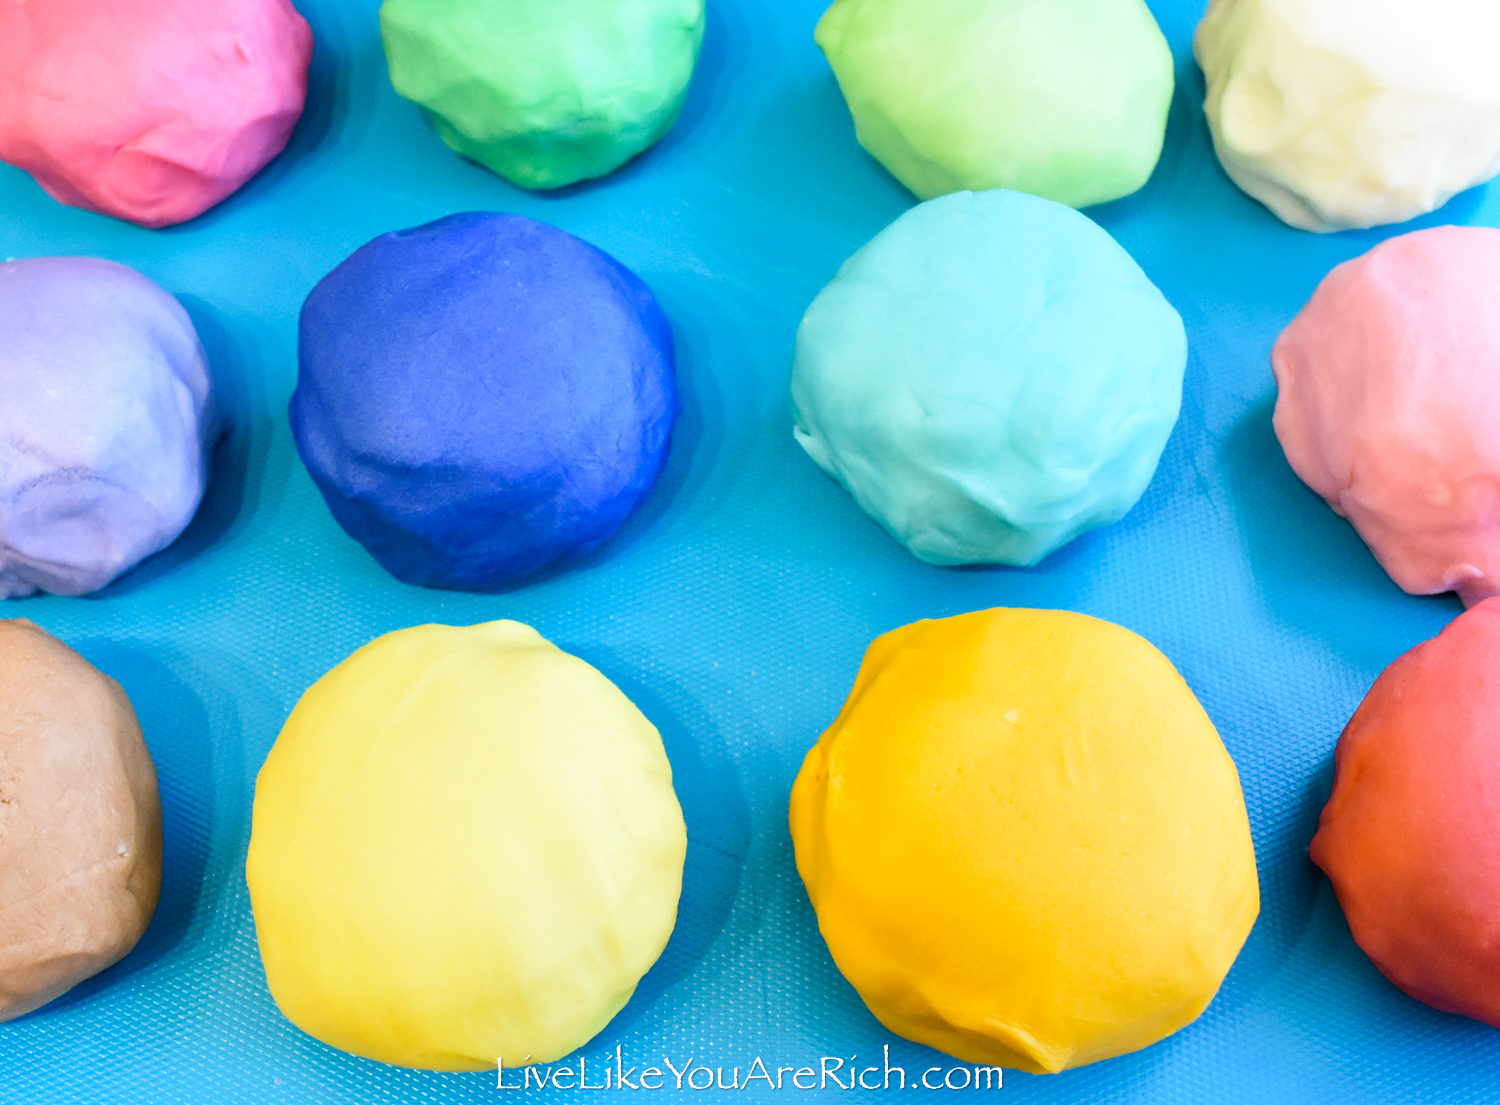
- Using thick kitchen gloves to knead the dough and form a roll (as it will be hot!), cut off pieces to make as many dough balls as you desire colors. This recipe made 12 large dough balls.
- Make a well in each dough ball and add essential oils and gel food coloring into each ball and place it into a quart-sized Ziploc bag. Knead the dough together with the oils and food coloring.
- Once you get the color you desire, it is ready to play with.
- Keep it refrigerated for as long as you desire to have it around to play with. If you plan to make new batches often, it will keep unrefrigerated for up to a few weeks.

Supply List for this Homemade Play Dough That Stays Soft for Months
measuring spoons and cups
Ingredient List for this Homemade Play Dough That Stays Soft for Months
This makes a BIG batch, you can cut it down if you want, but it will make about 12 Cups of play dough…
essential oils (optional) 3-5 drops per play dough ball
food coloring 3 drops of food coloring of each color you are wanting
6 Cups all-purpose flour
1 1/2 Cups salt (powdered in a blender or food processor)
5 TB cream of tartar
1/4 C vegetable or canola oil
6 Cups water

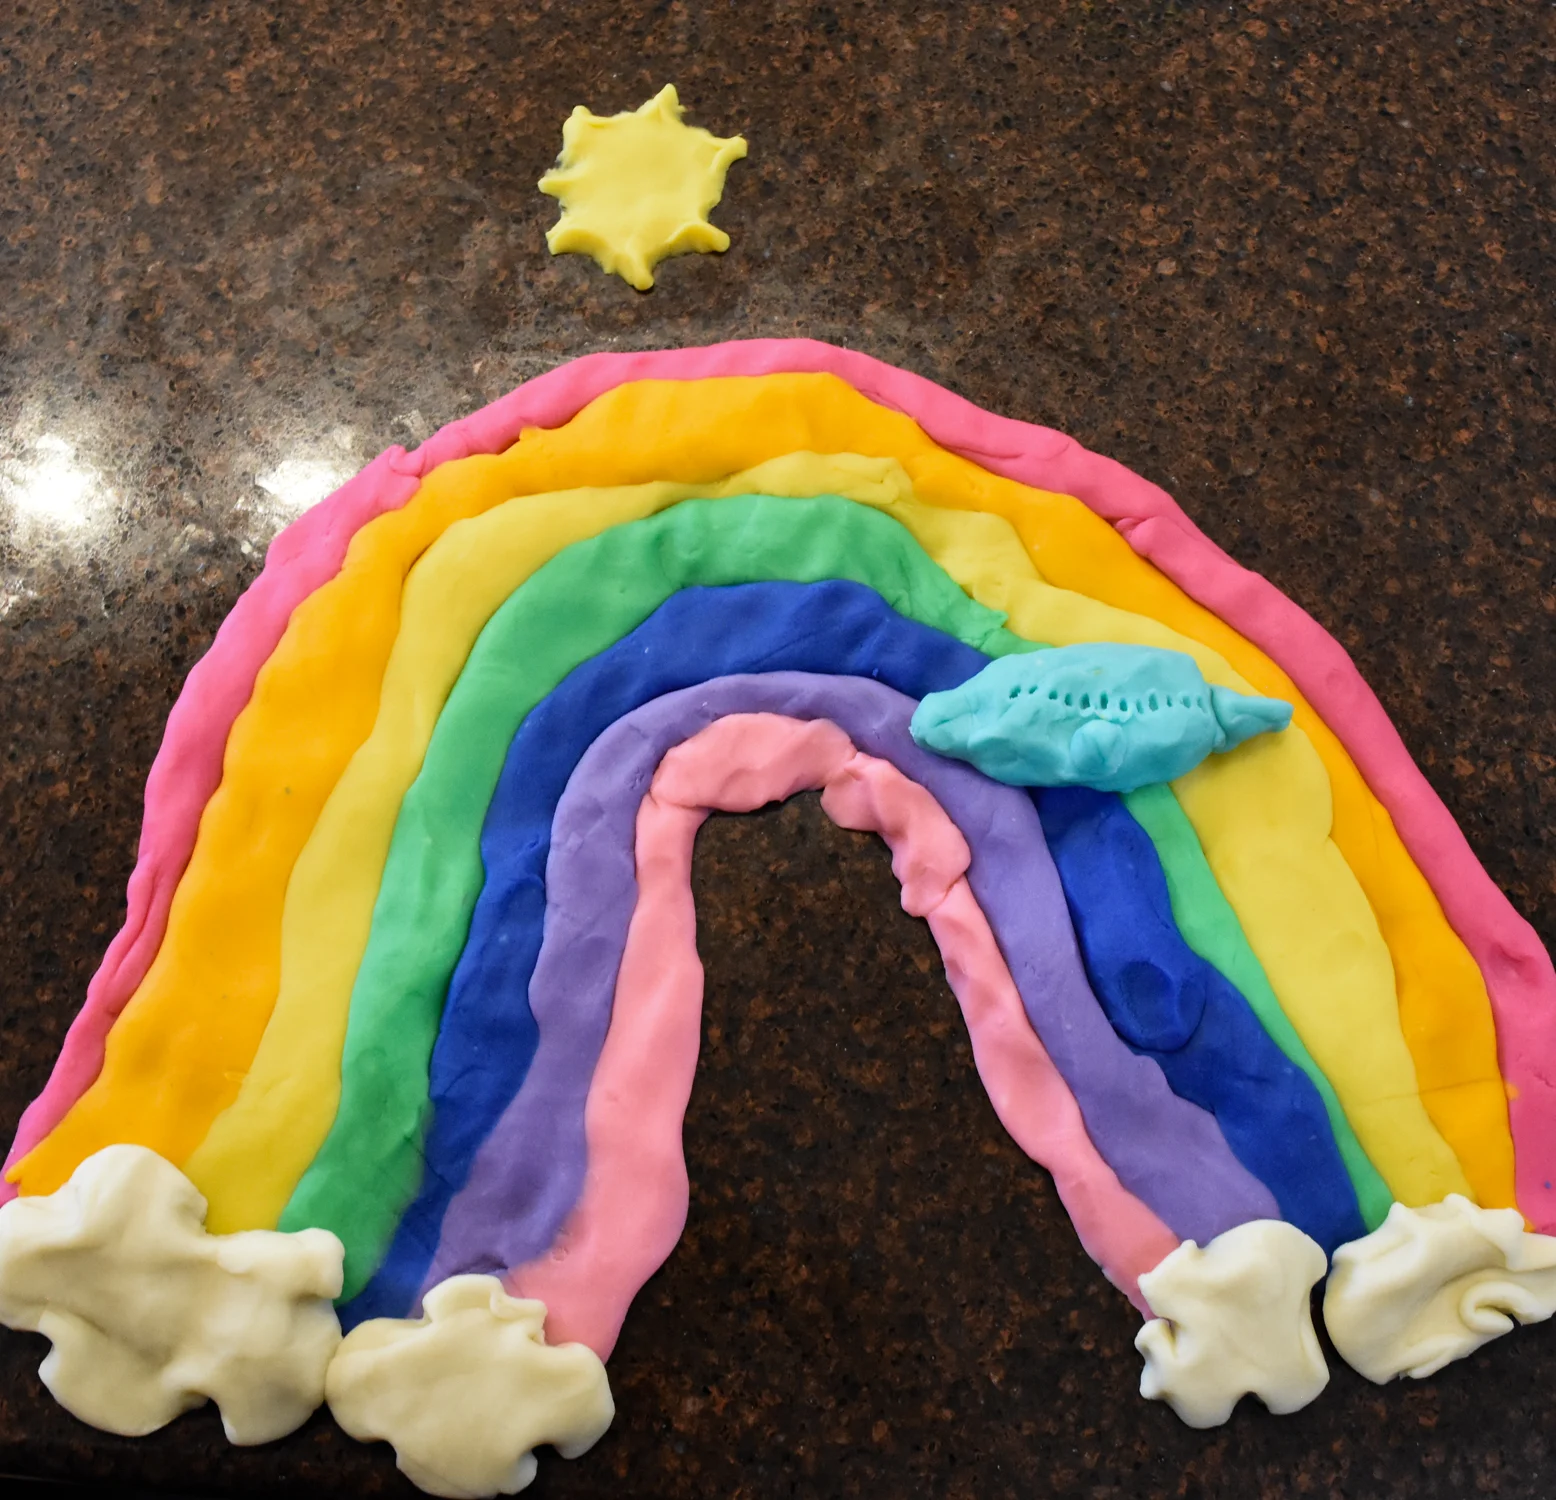
I love how soft and pliable this play-doh is. My kids love to play with it and the smell of the essential oils makes it appeal to the senses.
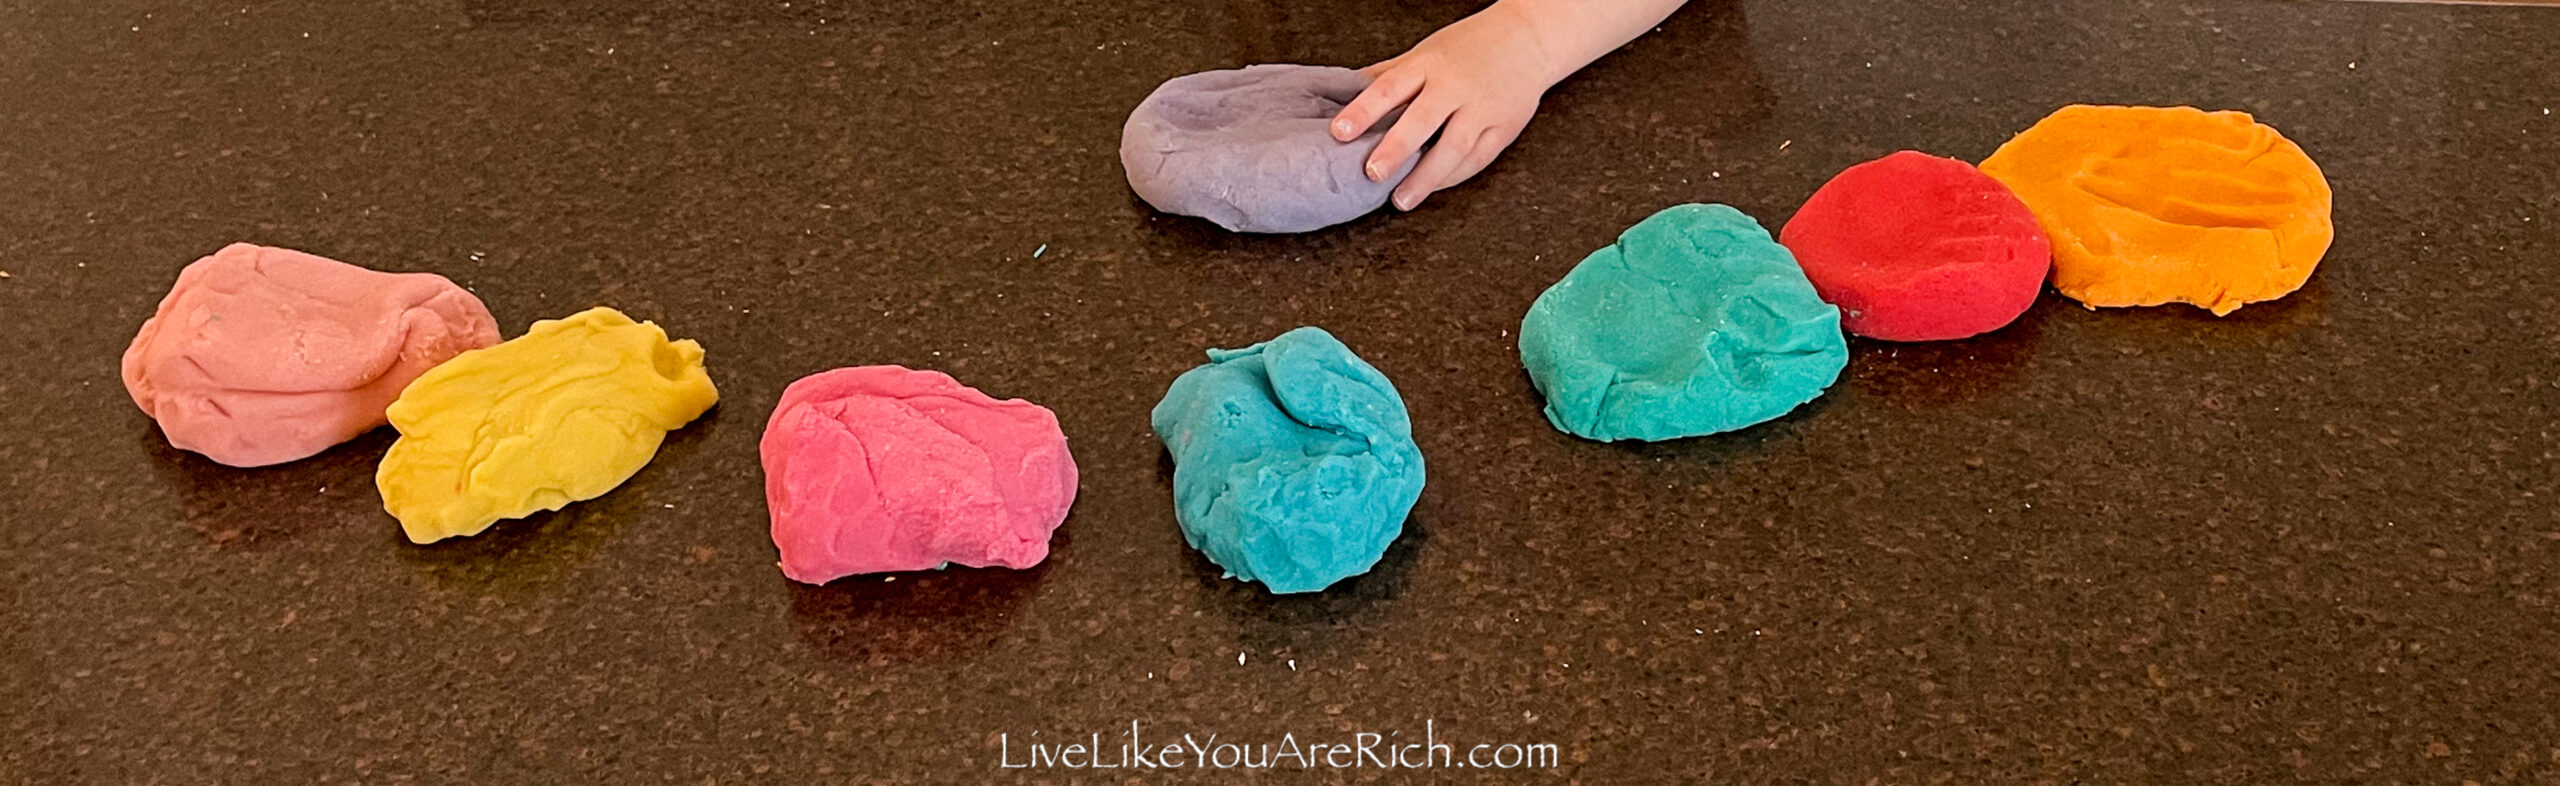
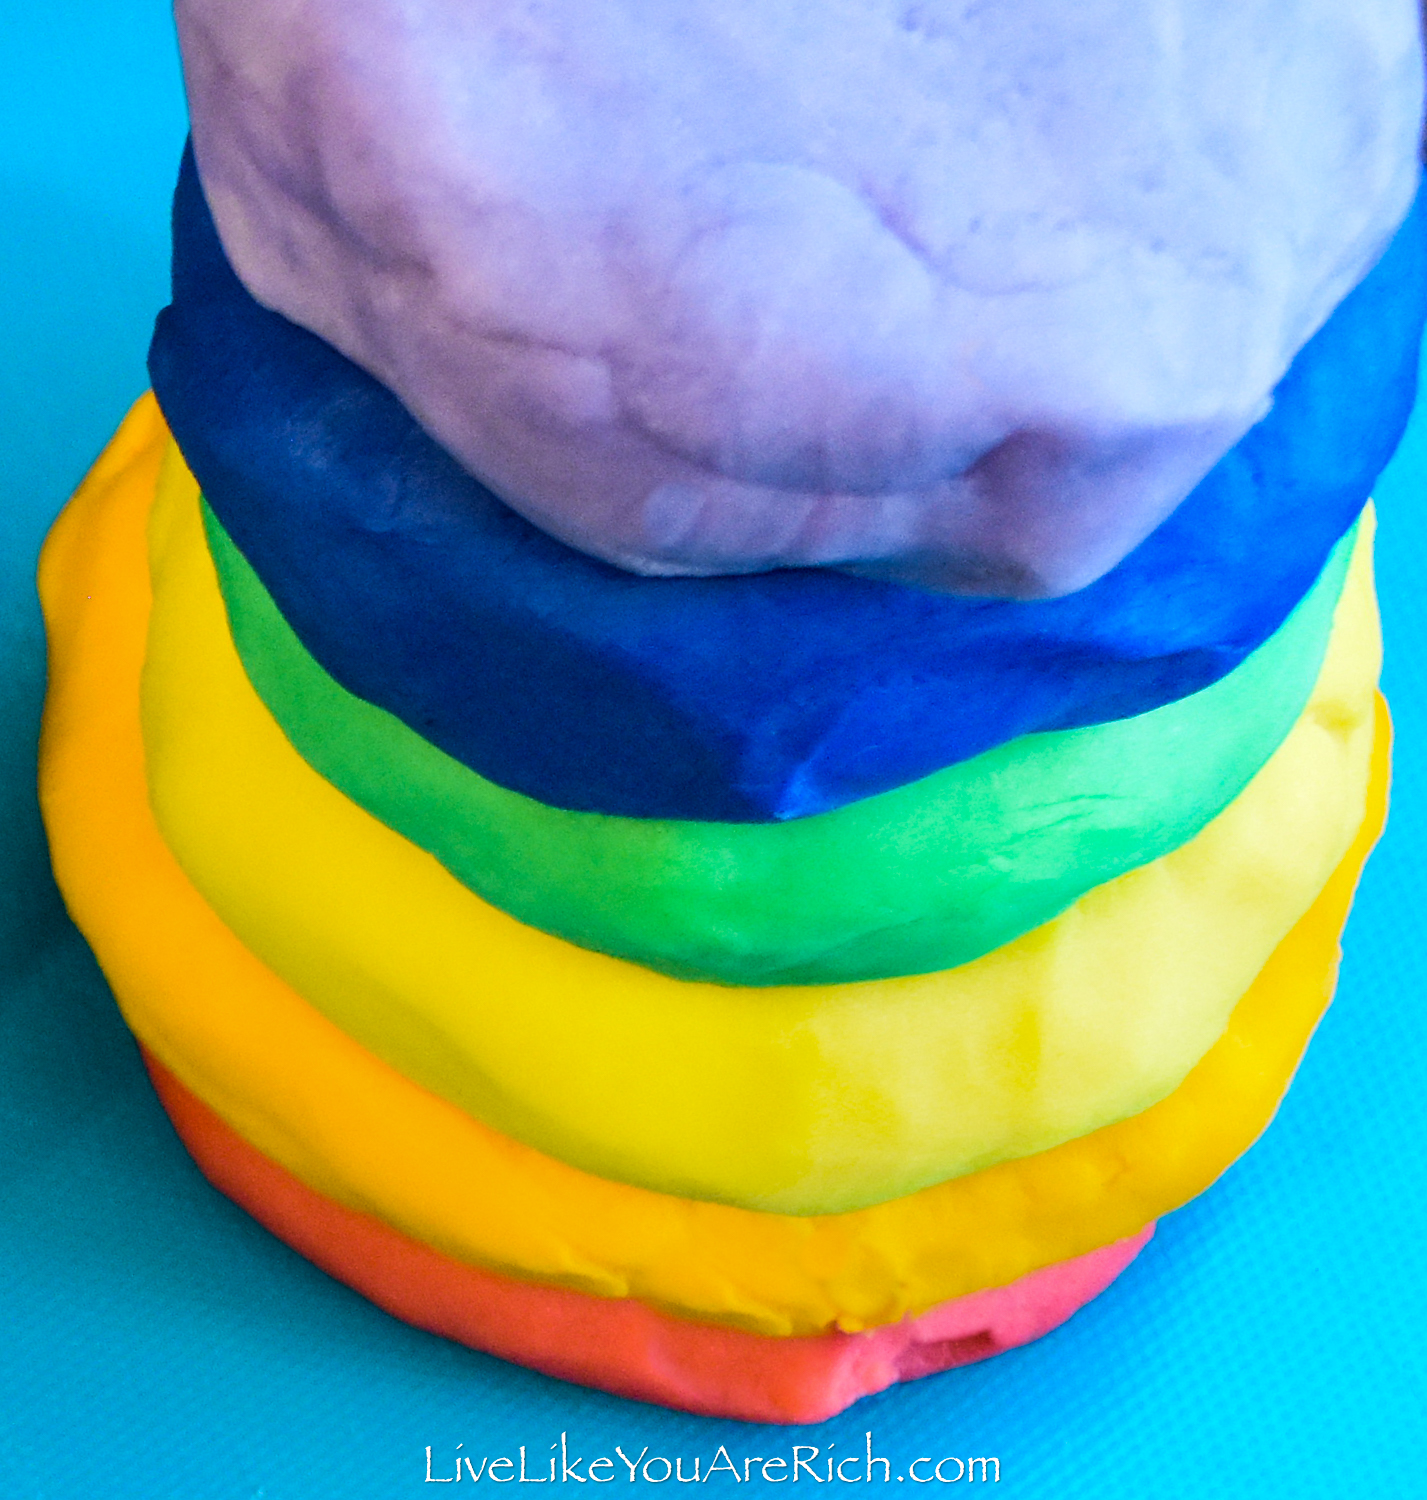
It can hold its shape and make fun designs.
You can customize this recipe to be larger or smaller and make all of the colors you wish by mixing food coloring together.

I hope you get to try this, ‘Homemade Play Dough That Stays Soft for Months’ recipe out!
This is a recipe for Homemade Play Dough That Stays Soft for Months. I made this months ago and it is still super soft and pliable and works really well in my children's Play-Doh activity sets. You just need to keep it in the fridge or it will mold.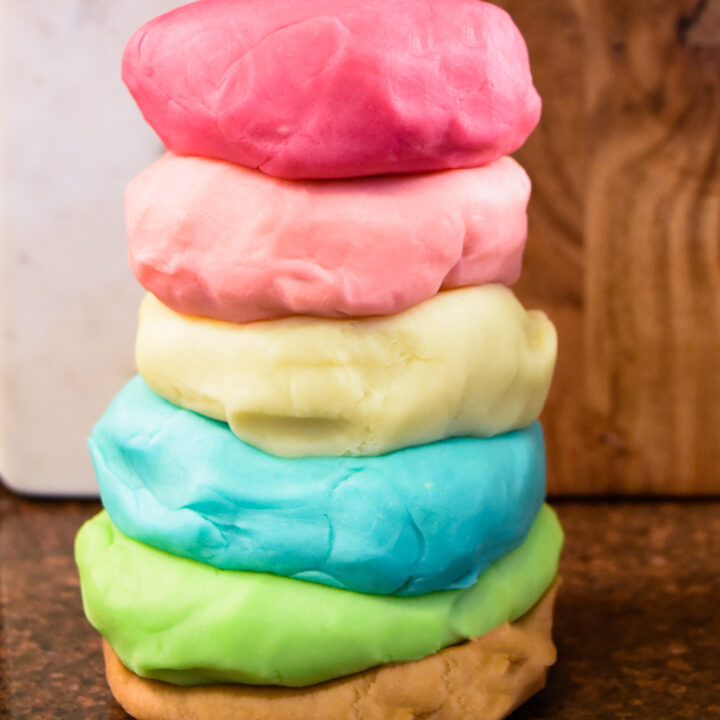

Homemade Play Dough That Stays Soft for Months
Ingredients
Instructions

For other ‘rich living tips’ please Subscribe Here for my weekly email or connect with me on these other platforms:
Melody
Sunday 28th of January 2024
When adding food color- it did NOT turn the correct colors. The only difference was this recipe had the salt pulverized. Other then that I have had no other issues with my food coloring. But it took so much color to get even remotely the correct color and it turned a lot of the colors super dark. Have you experienced this? Only thing I could think was the chemistry of the salt?
Anita
Tuesday 30th of January 2024
I'd highly recommend pulverizing/blending the salt if possible as that really makes a difference when it comes to consistency with this recipe. I'm sorry your food coloring wasn't the same strength as mine. Maybe try using gel food coloring. That is what I used.