This is How to Remove Stucco Key Stone Decals
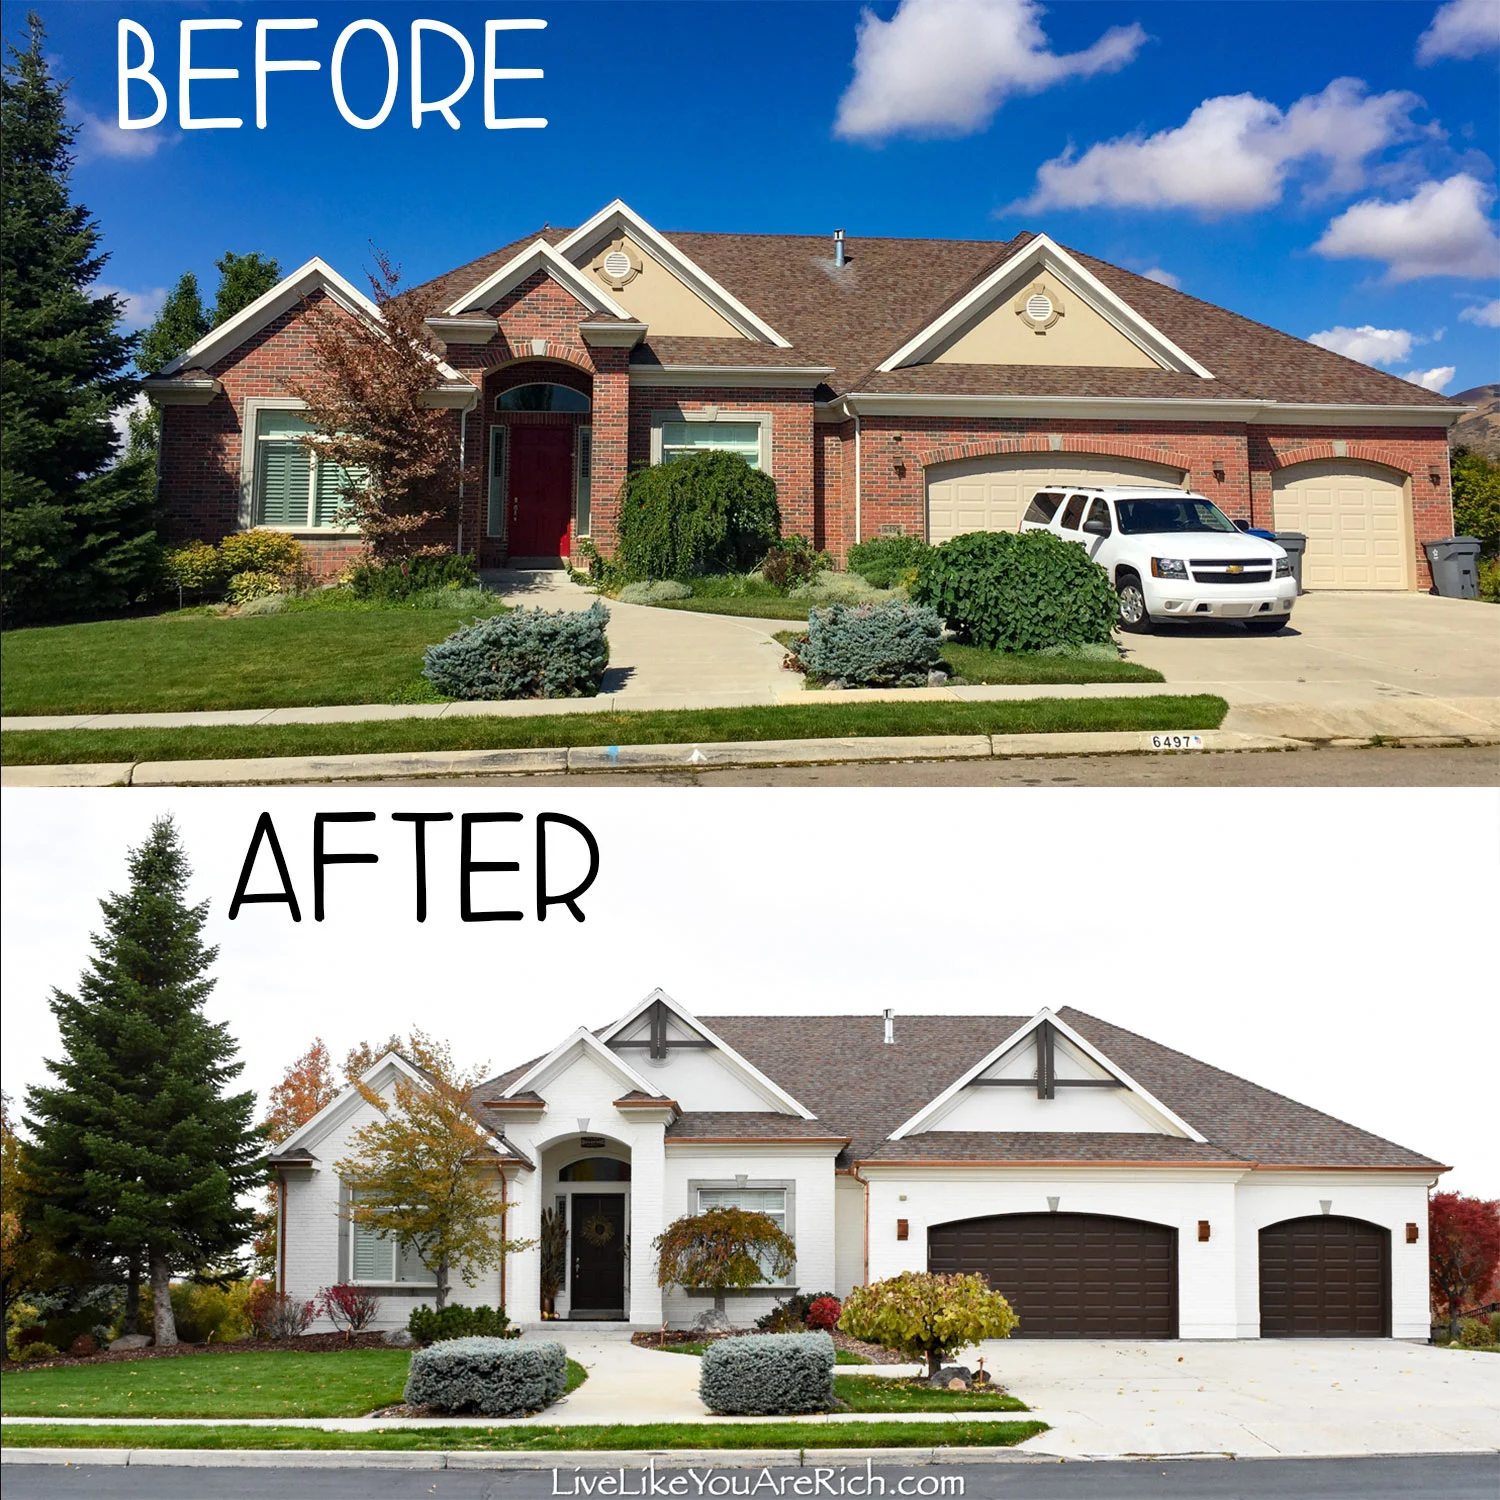
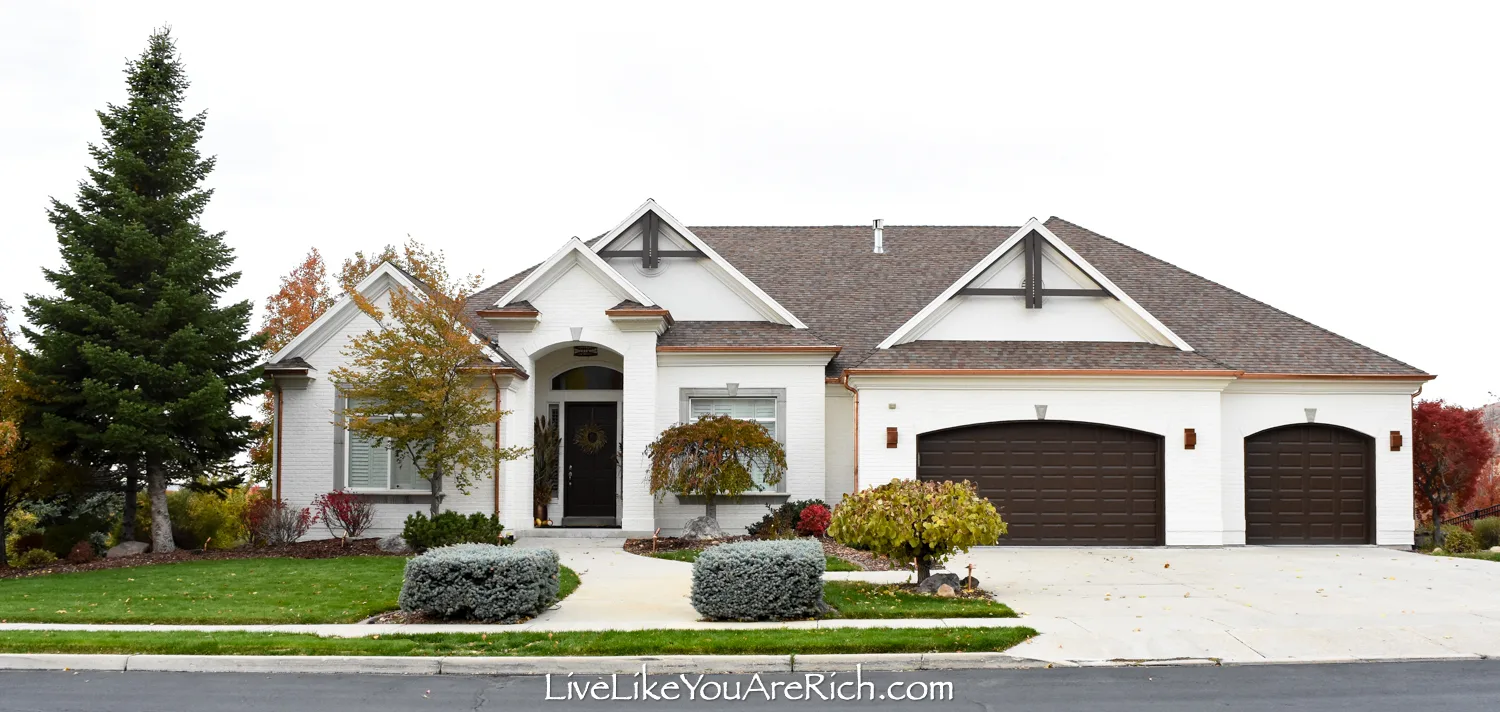
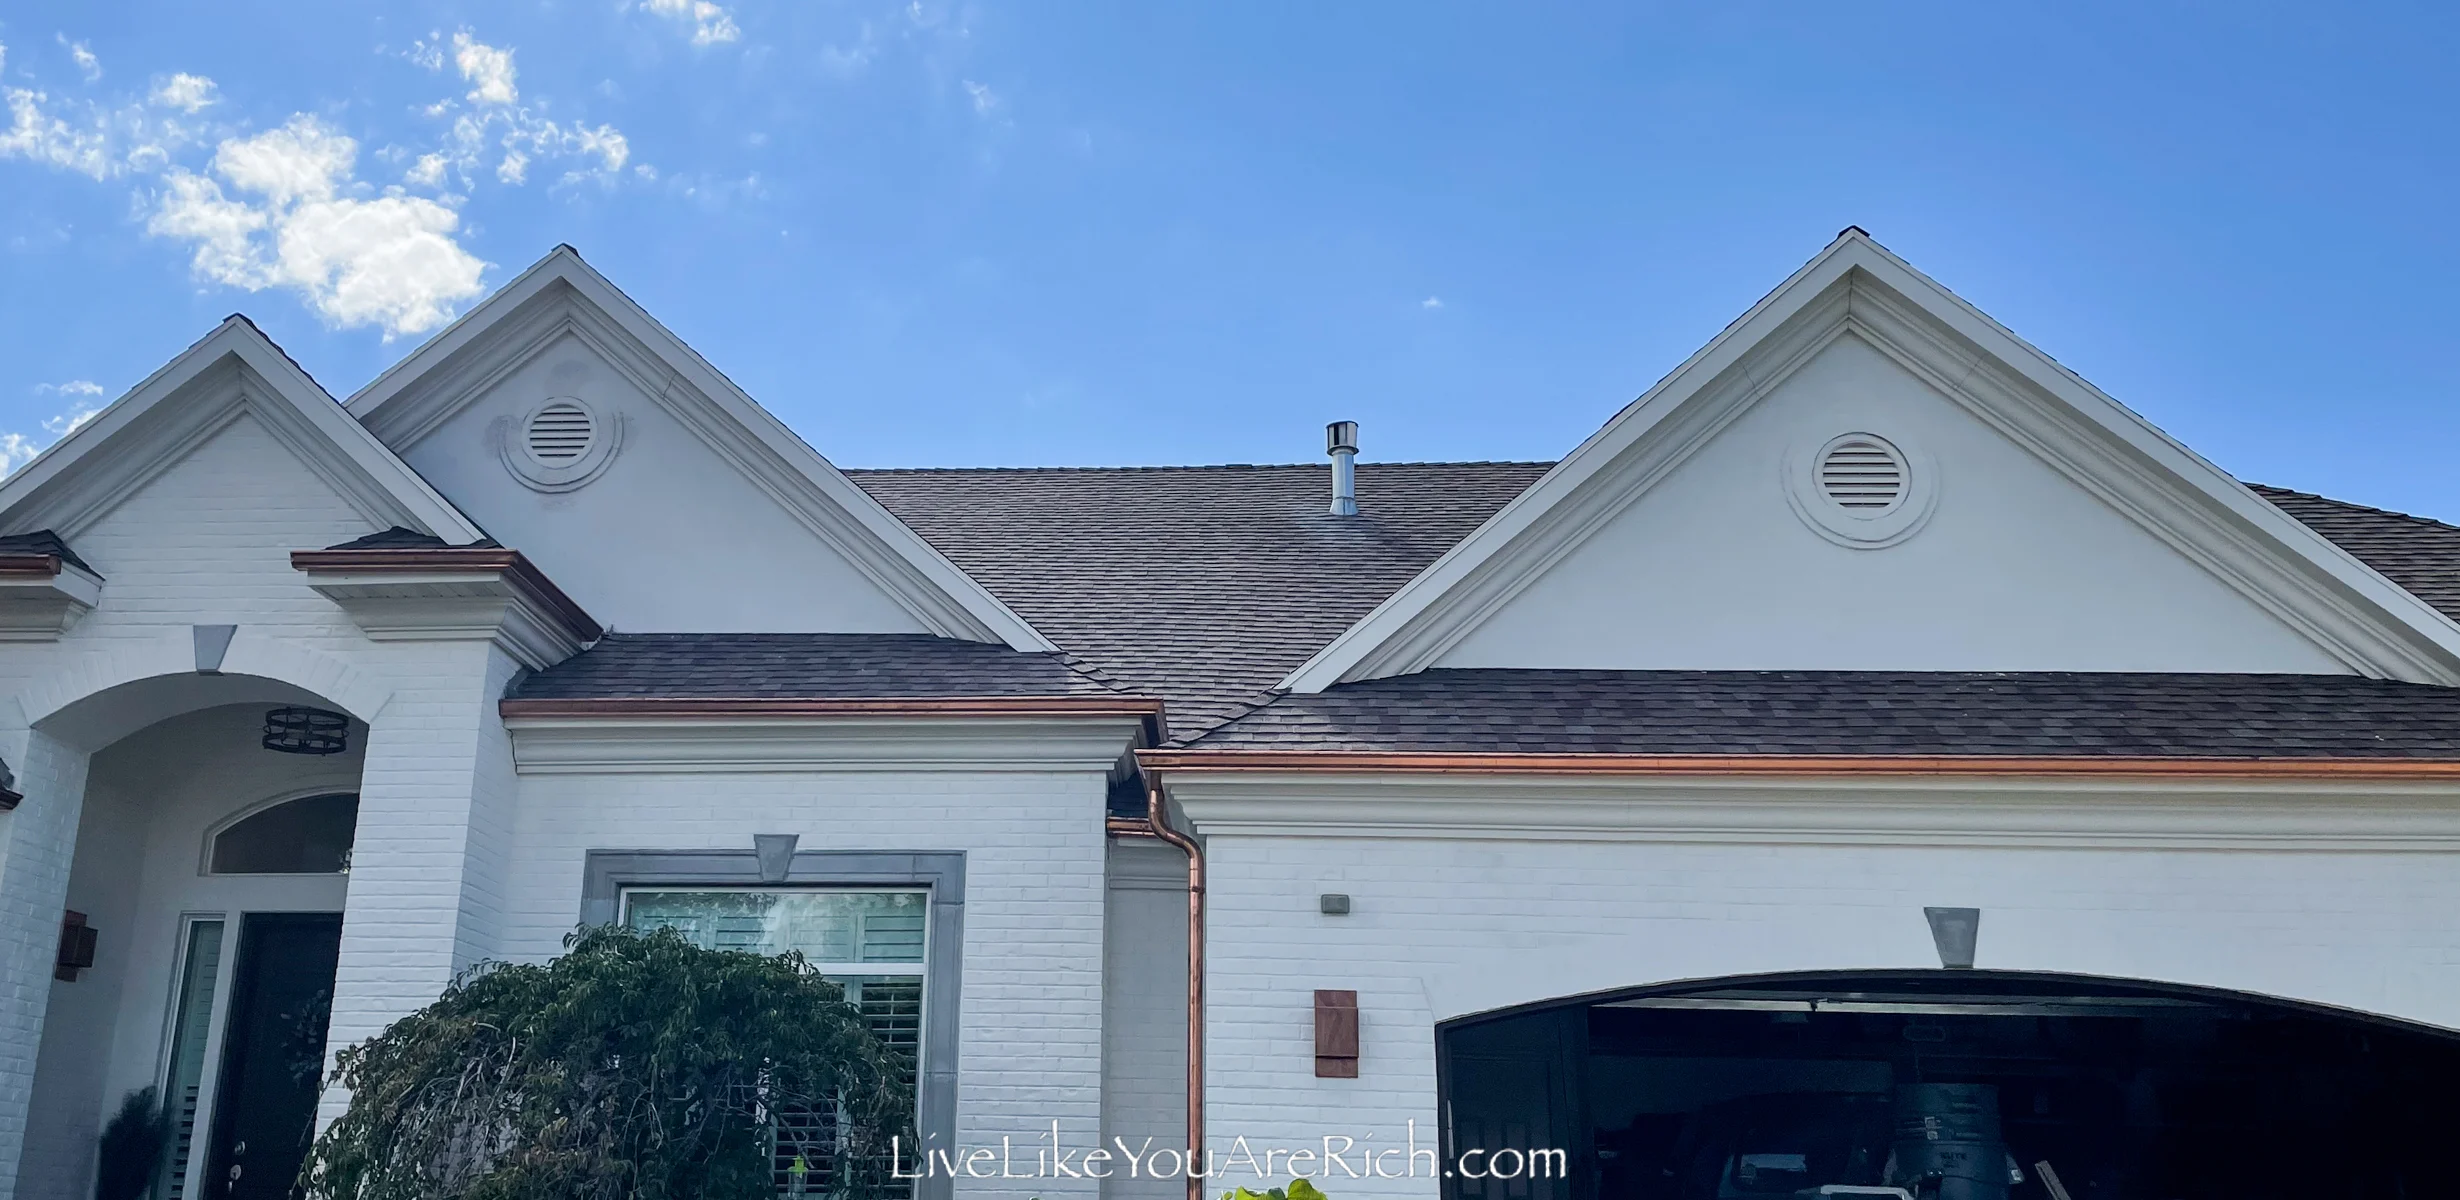
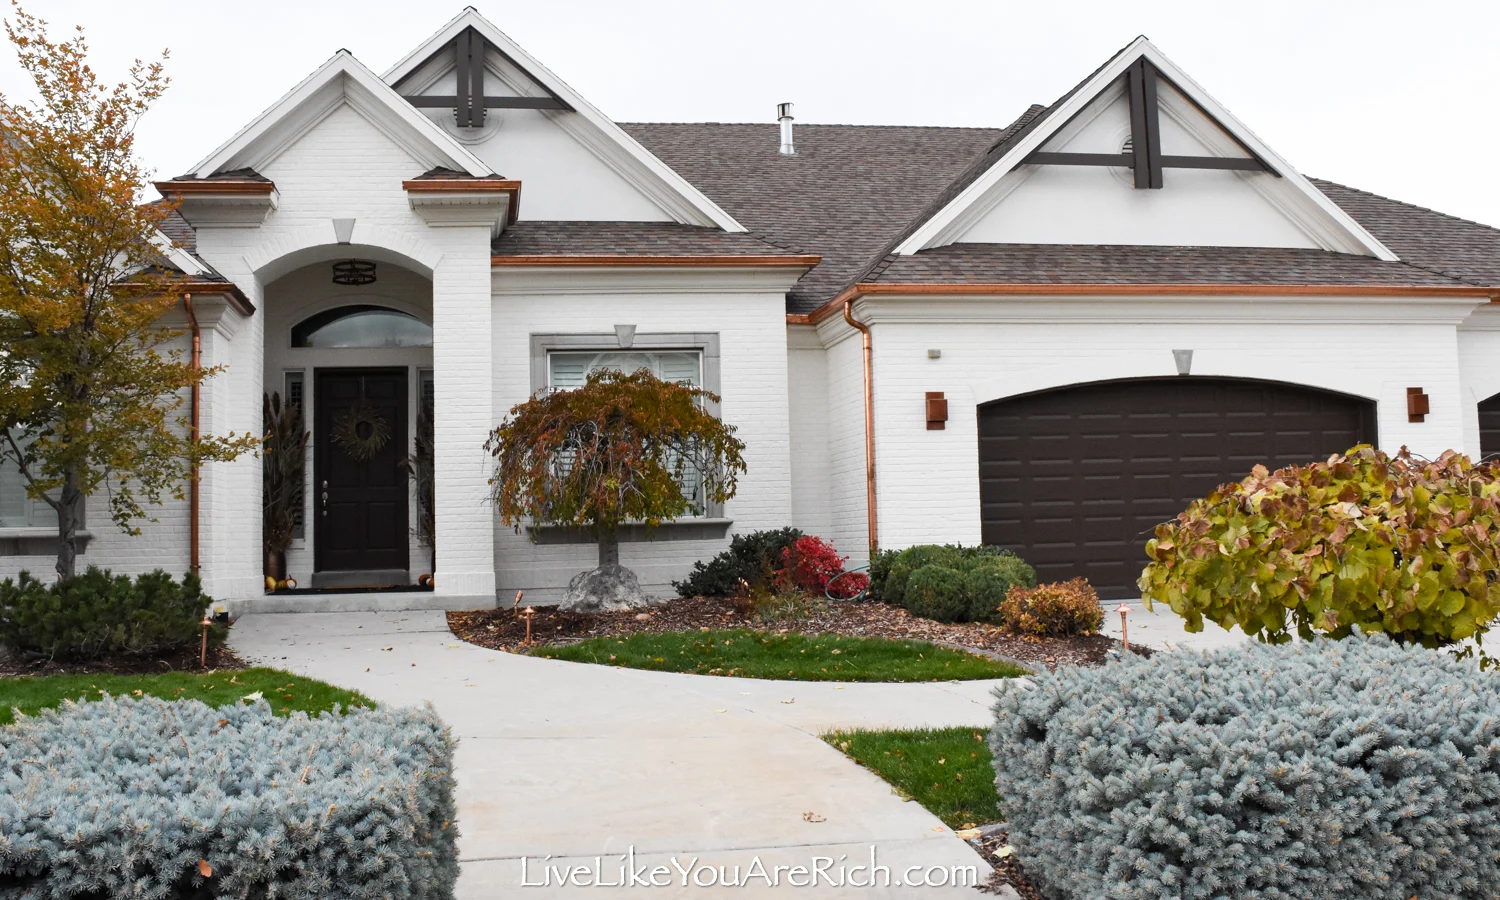
Two years ago, my husband and I renovated the exterior of our home. I knew that I wanted to lime wash the brick, paint the doors, and get copper gutters and lighting, however, I had no idea what to do with the gables.

As I was researching gable ideas. I saw these modern gable arches on the internet and fell in love with them. I love the unique look of them, the fact that I could custom order them, and the price ($1,200 shipped from Canada).
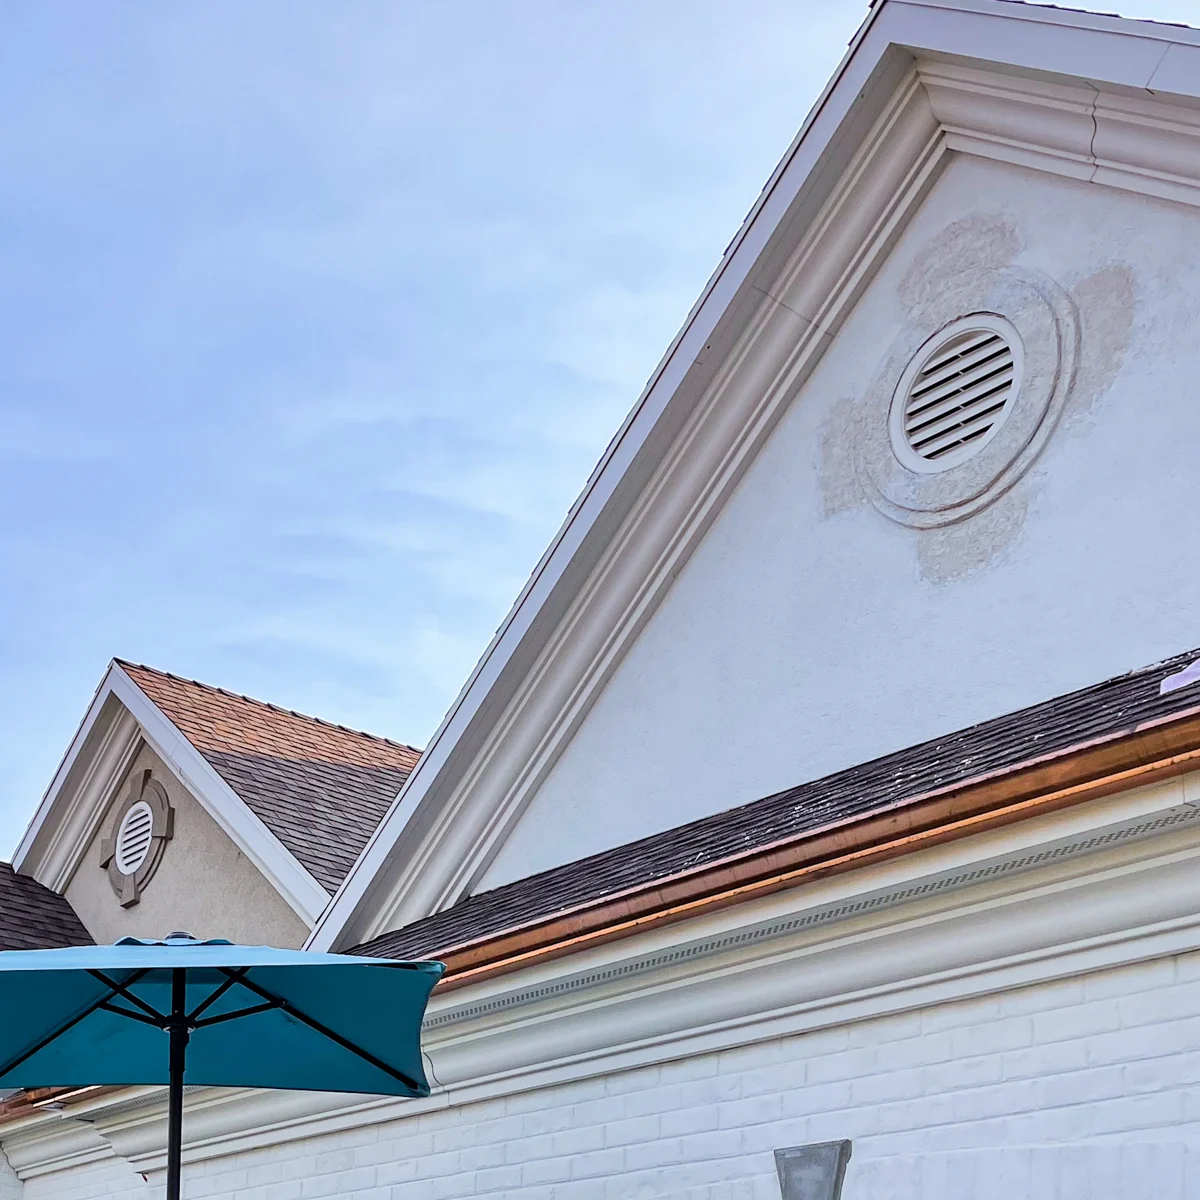
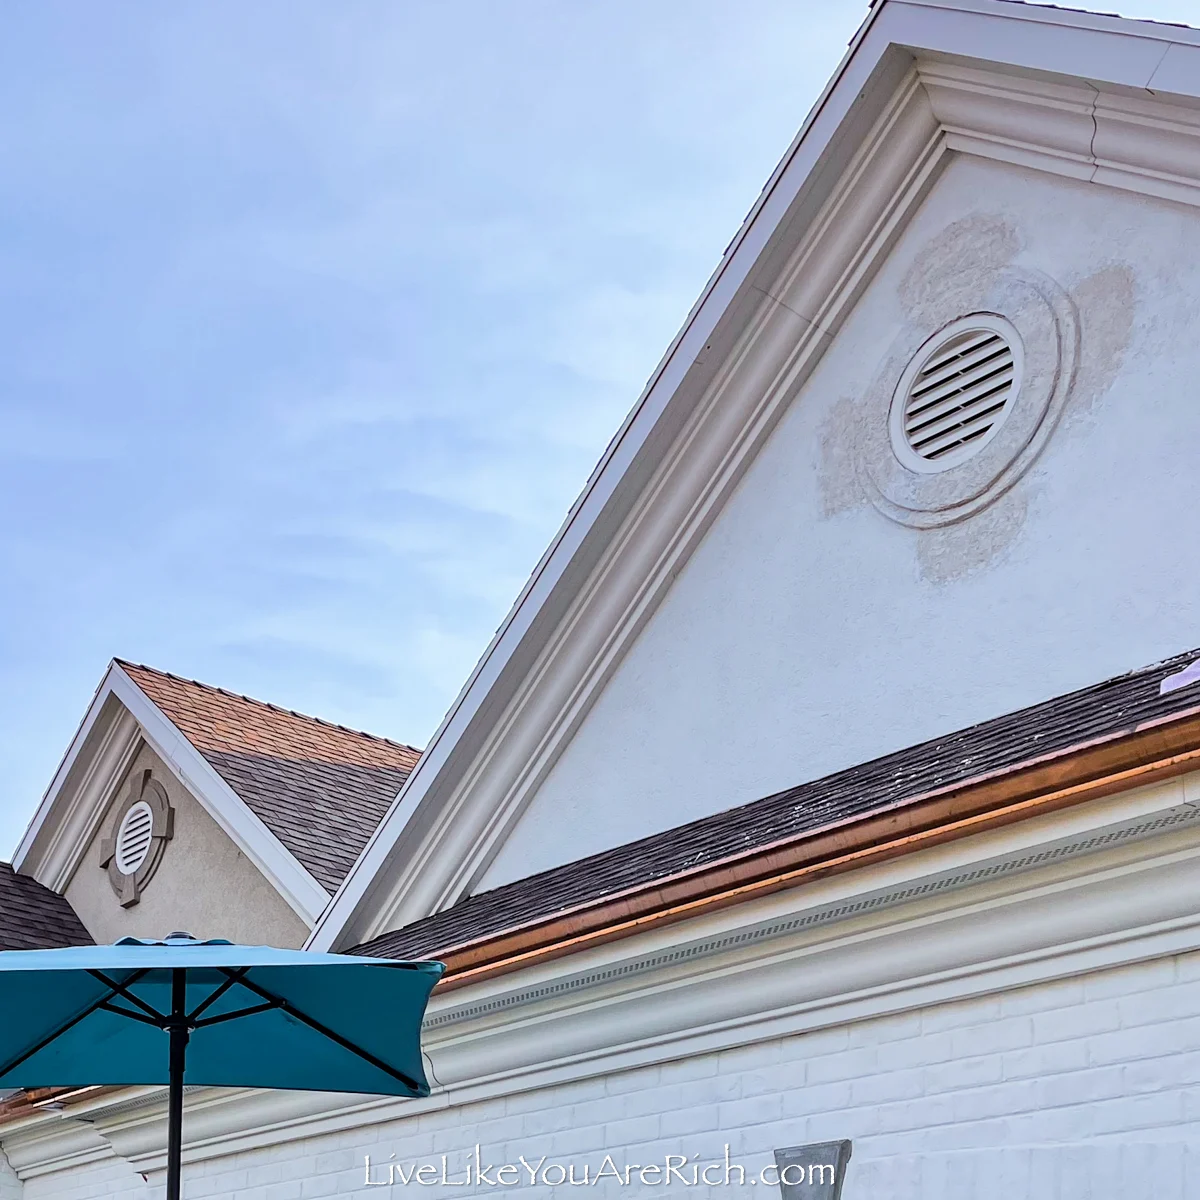
I wanted to get rid of the keystones (stucco designs that flower out in four different directions) and paint the gables to match the limewash before installing the gables.
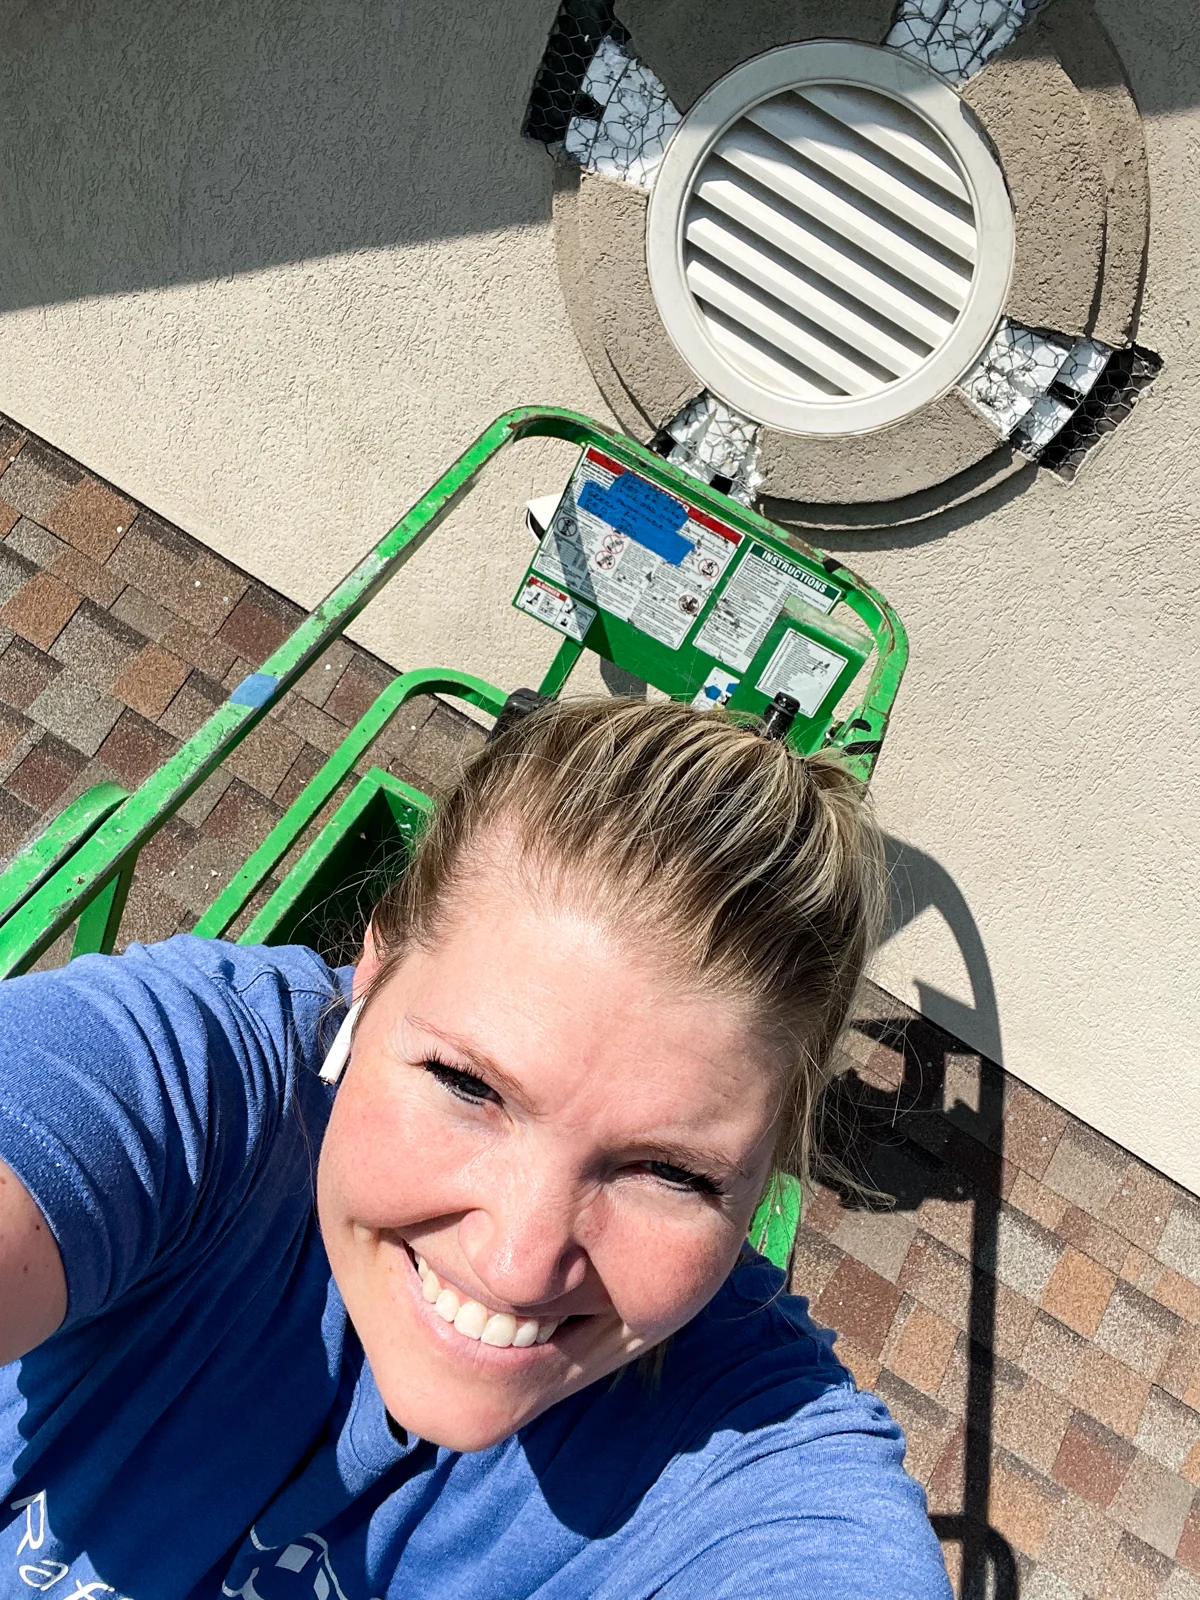
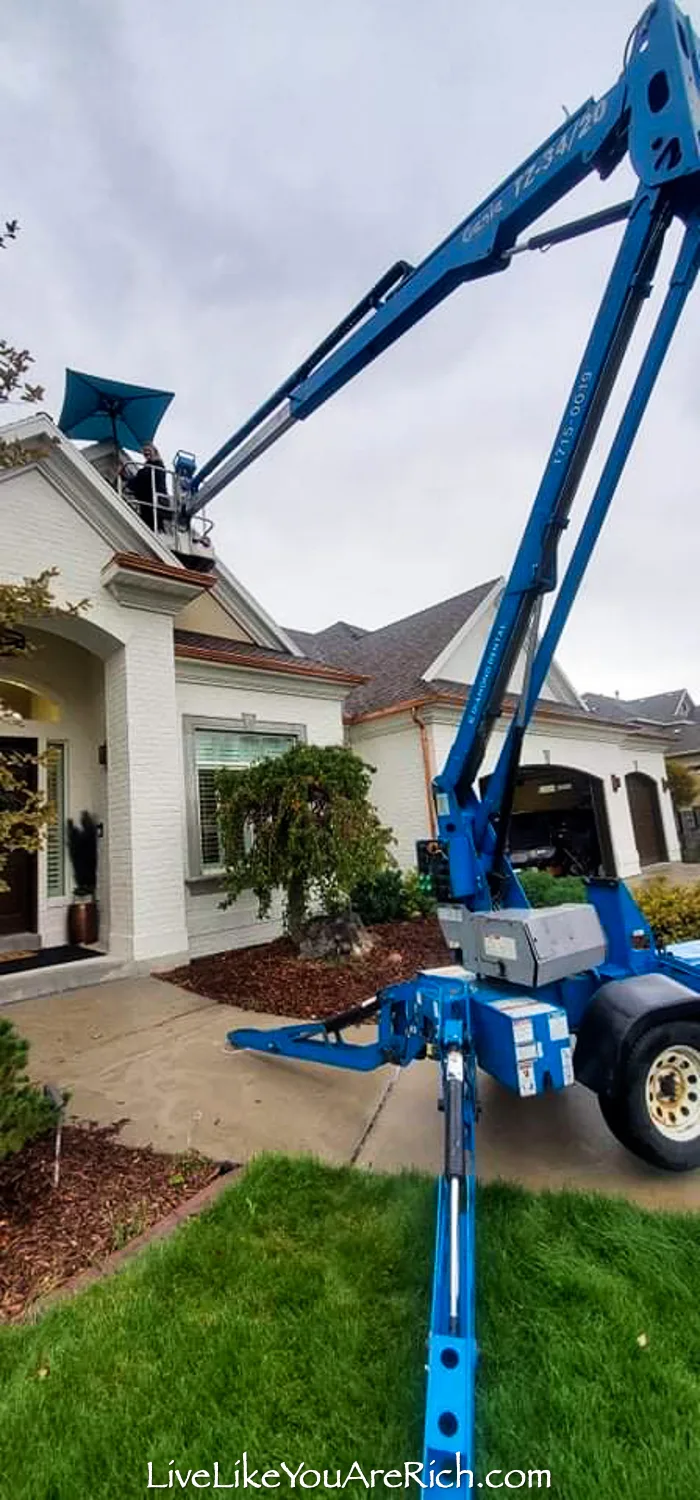
So, we rented some equipment so I could reach them and I went to work.
I could not find information on how to remove the keystone decals, however, I read that these decals are foam blocks/molds that are hammered into the foam underneath—which turned out to be true.
So, I figured the following would work—and it did.
How to Remove Stucco Key Stone Decals
1. Take a pry bar and a hammer, and position the flat edge of the pry bar so that it is resting near the edge that you need to come loose. With medium force, hammer the bar into the edge. Basically, you are deep-scoring the edges of the decals you would like removed.
2. After you are done deep-scoring the edges, take the pry bar and pry the stucco-covered foam decals/blocks out.
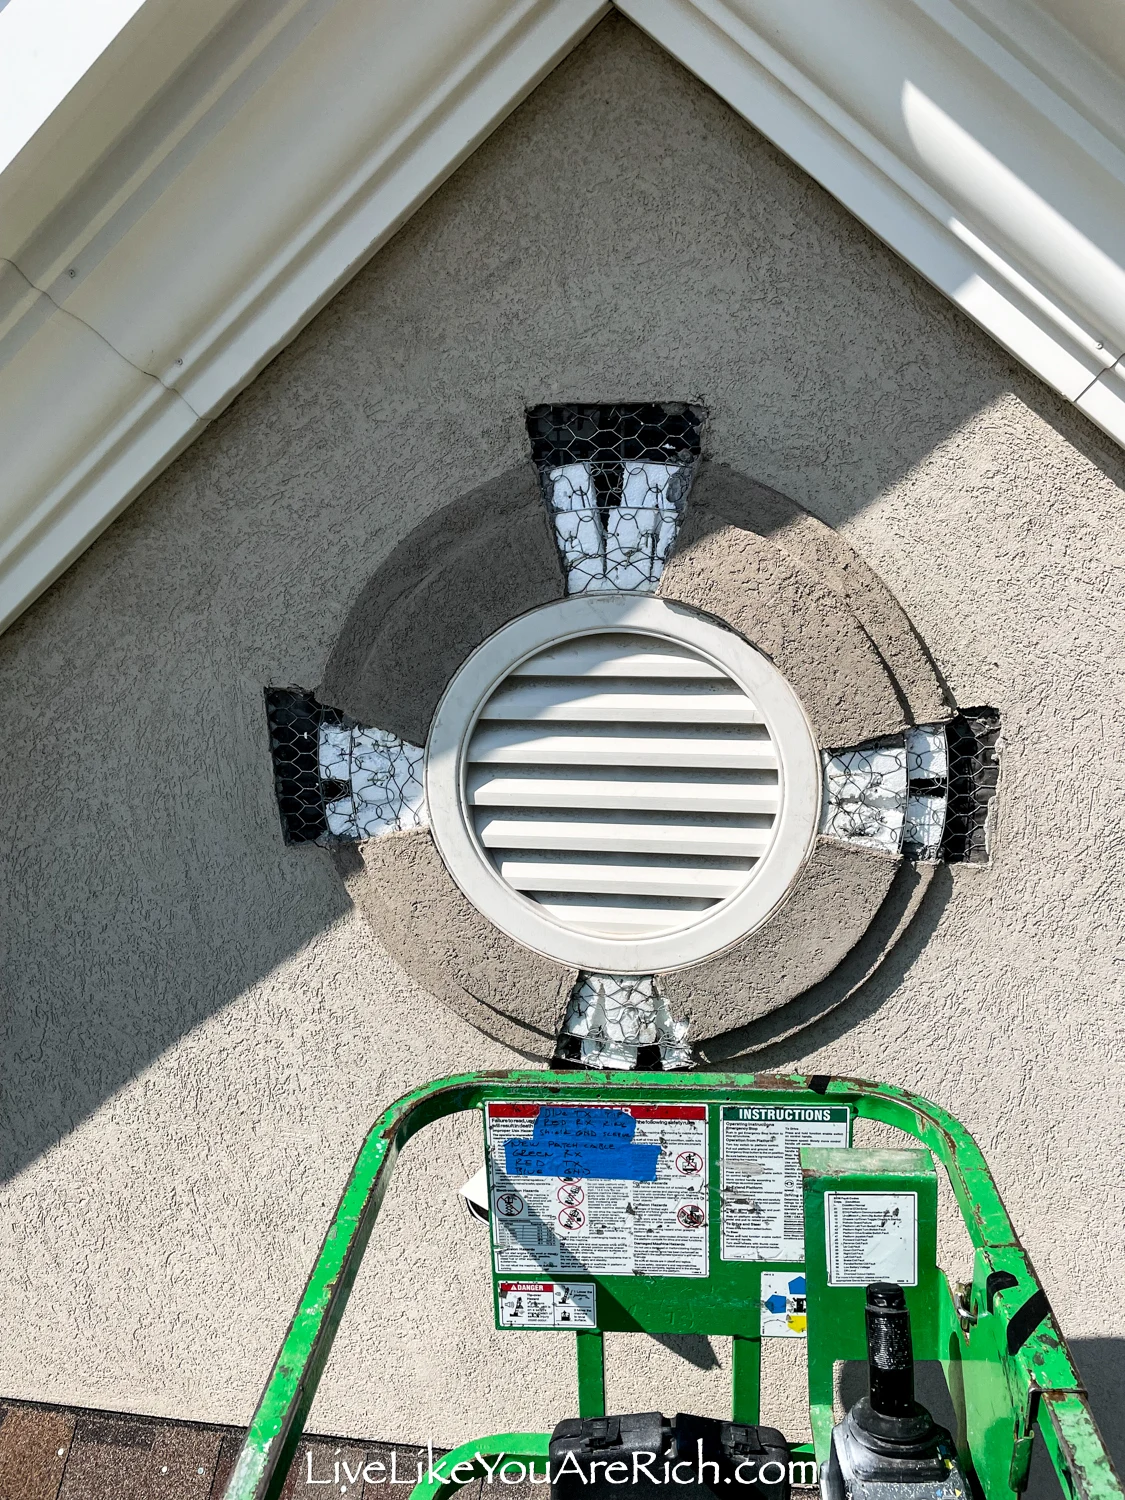
3. Using a flathead screwdriver, clean up the edges and remove any small pieces of stucco that have been left behind.
That’s it! I was pleasantly surprised at how easy it was to do.
How to Patch Removed Stucco Decals
Next, I used a stucco patch to patch the areas where the decals came out.
Because they were so deep, I had to do multiple coats and make sure they had dried between coats. If you are in a hurry, you could make new foam blocks and nail those in and then cover them with stucco patch as well.
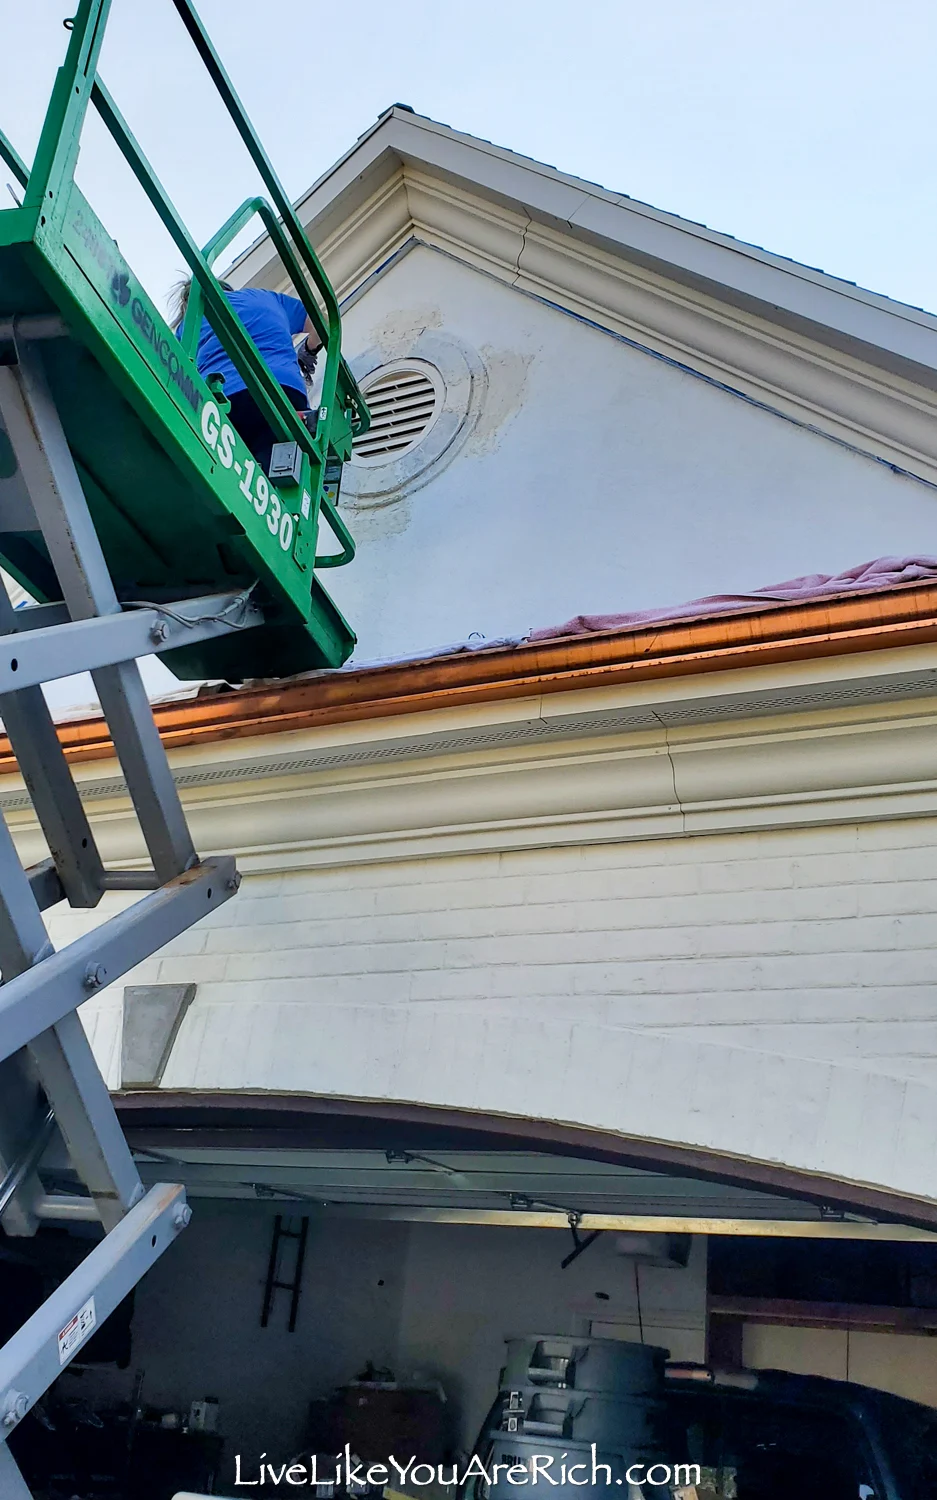
I knew that we were hanging gables and arches that would more or less hide imperfections,
So, I just did the best that I could in patching and making the areas I was filling in with stucco patch match the rest of the rounded design.
Below you can see the one on the left was still in progress while the one on the right was complete.
Once finished, the top layer of the stucco patch had to be textured to match the existing texture. I did this using a trowel and doing the best I could to match the designs.
I also brought the stucco patch out over the original stucco so I could blend it in.
We had the scissor lift from my husband’s company. We had to rent a boom lift to do the other gable. Thus, we were on a tight timeframe. So, I ‘jimmy rigged’ an umbrella to shade me on hot days and keep me dry from rain on wet ones.
After the stucco patch was dry, I primed it and painted it.
I hope this tutorial is helpful if you are wondering How to Remove Stucco Key Stone Decals
POSTS IN THIS SERIES
Before and After…WHITE BRICK LIME WASH WITH COPPER GUTTERS AND LIGHTS— EXTERIOR HOME RENOVATION
How to Choose an Exterior Garage Door Paint Color
How to Paint Exterior Garage Doors
How to Remove Stucco Key Stone Decals
POSTS TO COME
How to Patina Copper Quickly
Tips and Tricks on Applying Romabio Lime Wash With Video
DIY Gable Arch Install
Paint Code for Exterior Paint on Stucco that Matches Avorio Lime Wash by Romabio

For other ‘rich living tips’, please Subscribe Here or connect with me on these other platforms:

