

Here are 13 steps on How To Start a Neighborhood Joy School.
A few years ago, my neighbors and I started an at-home joy school for our children ranging from ages 3-4.
Joy school is also known as a co-op preschool; it is taught and ran by the mothers of the children.
Supply List for a Neighborhood Joy School
A plastic supply/organization box that can be easily passed from one mom to the next
baggies for items you want to group together
Velcro sticker dots (for the welcome board items like Weather, Day of the week, etc.)
13 Steps for How To Start a Neighborhood Joy School
1- Start by asking friends of children 3-5 years old if they would like to do a joy school.
Post on Facebook, on neighborhood apps, neighborhood pages for moms who may be interested in your area. A preschool wait list if you have access to one is a great resource as well.
Start early! Sometimes finding mothers who can all coordinate together is difficult, so I’d recommend starting to plan at least a few months before you want to kick off joy school.
2- Aim to have about 4-7 children join.
Most of us moms discussed that 6 was the perfect number of kids to have in the group. Too many more and it would have been hard to keep them in line, a few less and it would not have been as fun or diverse.
I’d say anywhere from 4-7 kids would be a good amount.
3- Once you have mothers who want to participate, schedule a time to meet.
You could meet at someone’s house, over Zoom, or at a park. We met at my neighbor’s house.
4- Decide on days and times for joy school. Also, decide how many lessons each mom will teach for each round.
We did Tuesday and Thursday for 2.5 hours. 9:00-11:30am
We used the holiday calendar of our school district for holidays, snow days, etc. This way the parents who had older children had all of their children on the same schedule and we did not have to outline holidays and other days off.
We also decided that we would teach for 1 week or 2 lessons and then pass the supplies on to the mom who would teach next.
So, on our last day to teach that week when the next mom to teach came to pick up her child, we gave her the welcome board and supply box.
We did have a calendar of who taught which weeks so we knew who to pass the supplies off to at pickup.
Note—we had already divvied up the lesson packets so all we had to do was to pass off the welcome board and supply box and unit booklets to the next mom on the calendar.

5- Decide on a curriculum.
We choose the Mother Goose Time curriculum and divided the expense by the 6 kids attending. Two of us had two kids in the Joy School so there were 4 moms and 6 kids. Those who had two children paid twice the amount as the rest. The total expense ended up being about $10.00 a month for each child.
The way we bought the curriculum was we picked 6 months of curriculum topics on Mother Goose Time. We collaborated and decided which topics to choose.
Since we were only teaching twice a week, 6 months of curriculum was easily spread out (with lessons left over) to teach 9 months of the year. With tax, shipping and a coupon code it ended up being $8.50 a month for each child. However, we also paid a one time fee of $10.00 for each child for the supplies listed on the supply list.
The cheapest preschool I could find in our area was $180 a month and most were closer to $250-$300 a month. For two kids that $400-$600 a month savings was huge.
I didn’t feel like I was sacrificing their education at all. In fact, I felt like the joy school was just as good, if not better than any preschool I could have chosen.
My children learned a lot, they had a lot of attention from the moms participating (since there were only 6 kids), and I enjoyed it too.
As an aside…I also signed both children up for the free Upstart online preschool program which is sponsored by the state of Utah and is available online. Upstart is designed to help your child begin reading before kindergarten. Both of my children graduated from online Upstart and have done very well with reading in elementary.
6- At the meeting, you will want to discuss discipline with the moms involved.
We had really good kids in our group. Still, at times they would get out of hand.
We all agreed that a time out after a warning would be appropriate discipline for children who were not behaving well.
So that is what we would do if the kids were acting out. If a warning and time out did not work. We would just call the mom.
Luckily, I never had to call a mom due to bad behavior.
Teaching good kids helps but it also helped having a system, a lesson plan, personalized attention and consistency in warning and time outs.
7- Discuss and set an outline for a lesson plan you will follow when you teach.
Each day at Joy School I would follow a lesson plan that all the mothers and I had agreed on.
When the children arrived we would have them sit in a semi-circle around the welcome board.
We would review the letter of the week, the day and month, what the weather was outside, we would sing a few songs, and then we would introduce the topic/lesson of the day, etc.
This welcome time took about 30 minutes and was a great way to get the kids into a frame of mind for learning.
Then we did break time for 5-10 minutes. The kids got to play with toys or run around outside on nice days.
Then we did lesson time for 30 minutes.
Followed by break time for 5-10 minutes.
Snack time was next and lasted about 15 minutes. We all tried to have some sort of fruit, veggie, water, and either crackers or fruit snacks for the kids.
After snack, we had break time for 5-10 minutes and finished the lesson up with the activity.
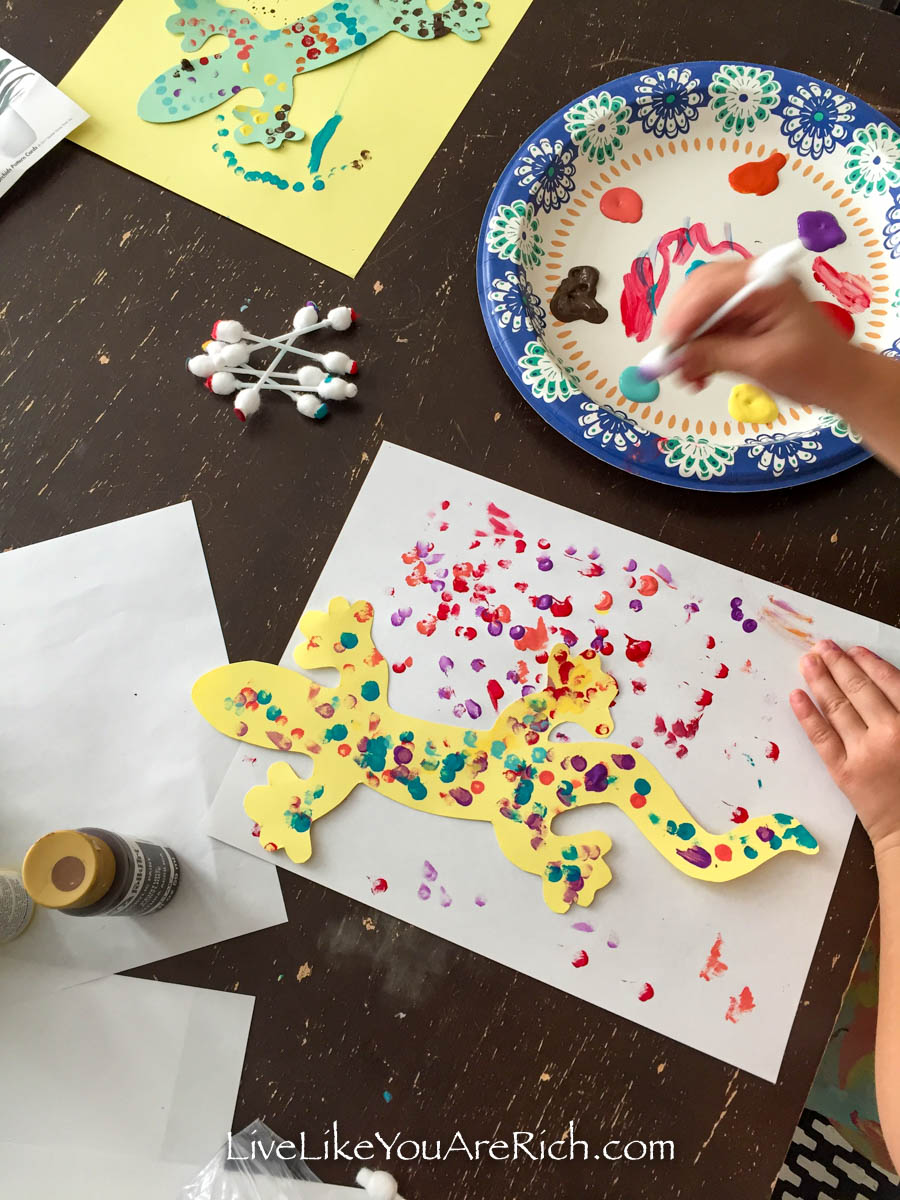
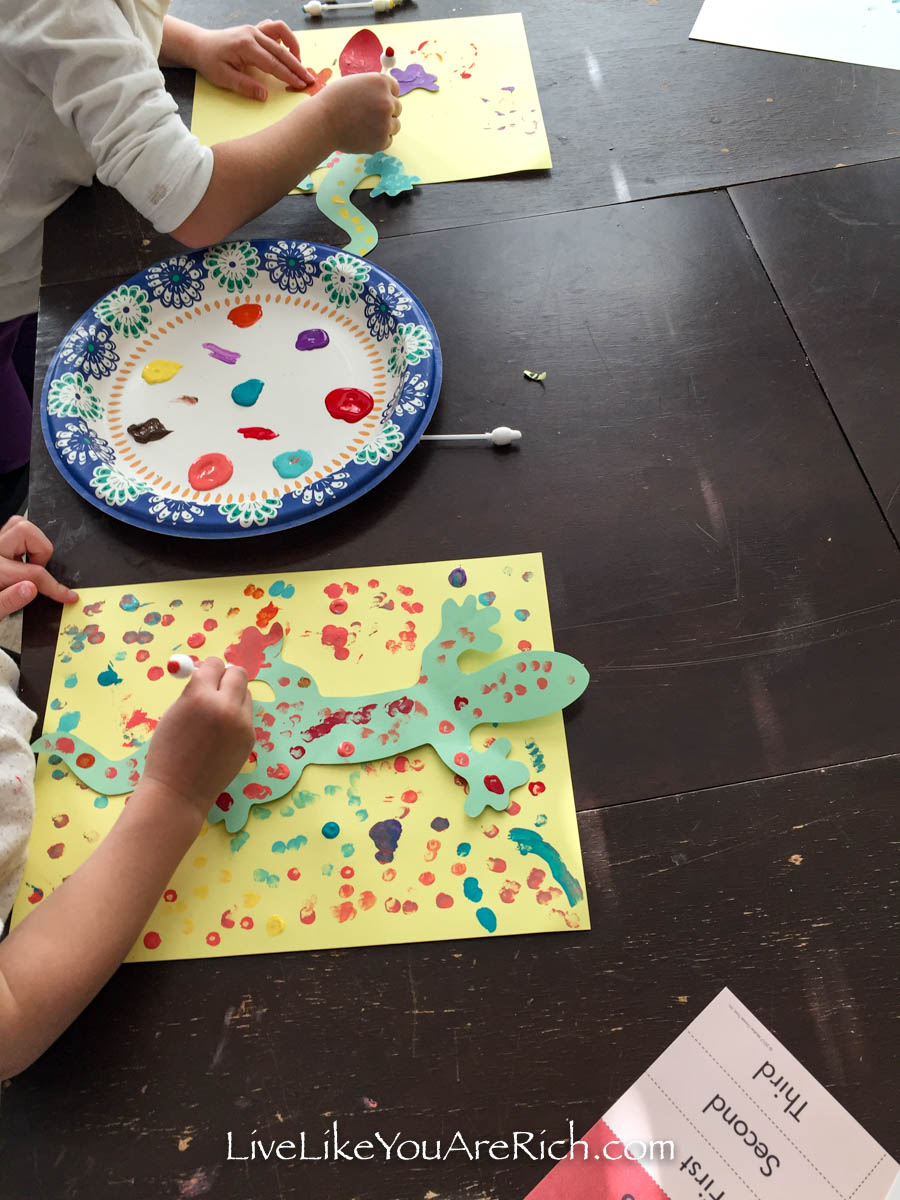
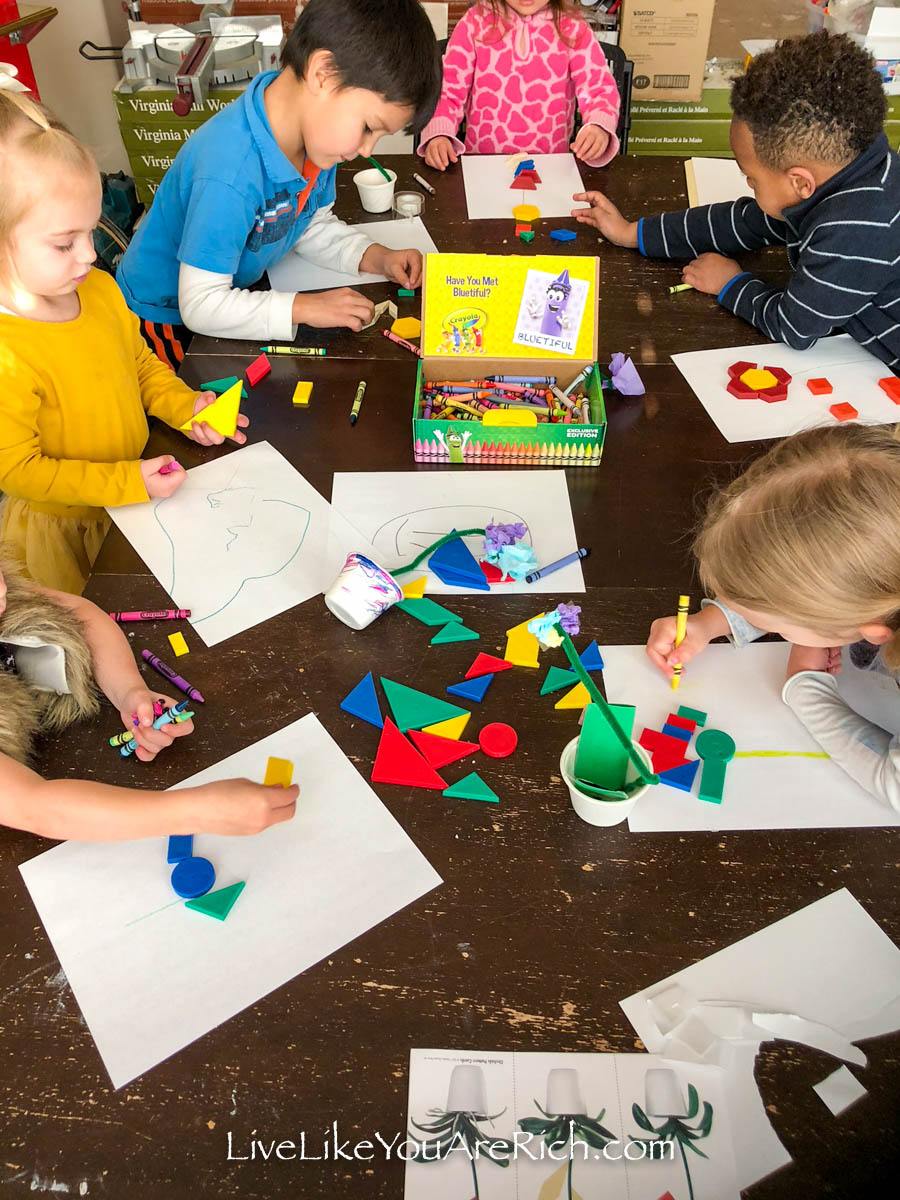
The activity was usually an arts and crafts type of activity that tied in with the lesson and took about 60 minutes.
Finally, we had clean up and get ready time 10 minutes.
I really felt like the kids learned a lot using this lesson plan.
Plus, they had plenty of time to socialize and get wiggles out with the many break times we had.
None of them got too hungry or grumpy because of snack time and we saved the best (the art/craft/fun activities) for last to hold their attention.
It went very smoothly each time I taught—which was about twice a month.
8- Ask a mom to volunteer to buy and make a supply box.
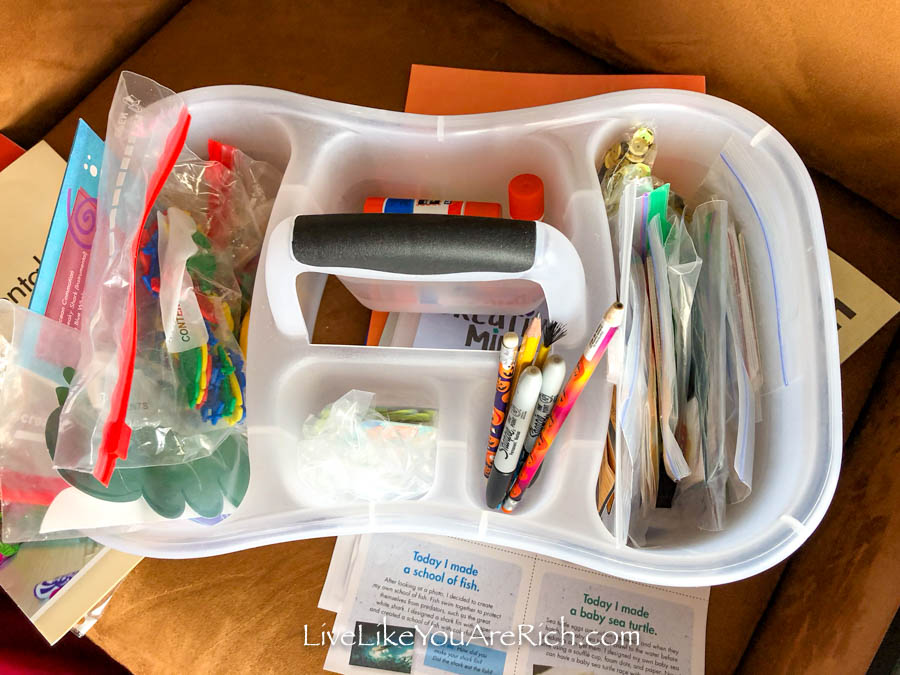

We all pitched in about $10.00 each per child to buy additional supplies.
See supply list for what was inside.
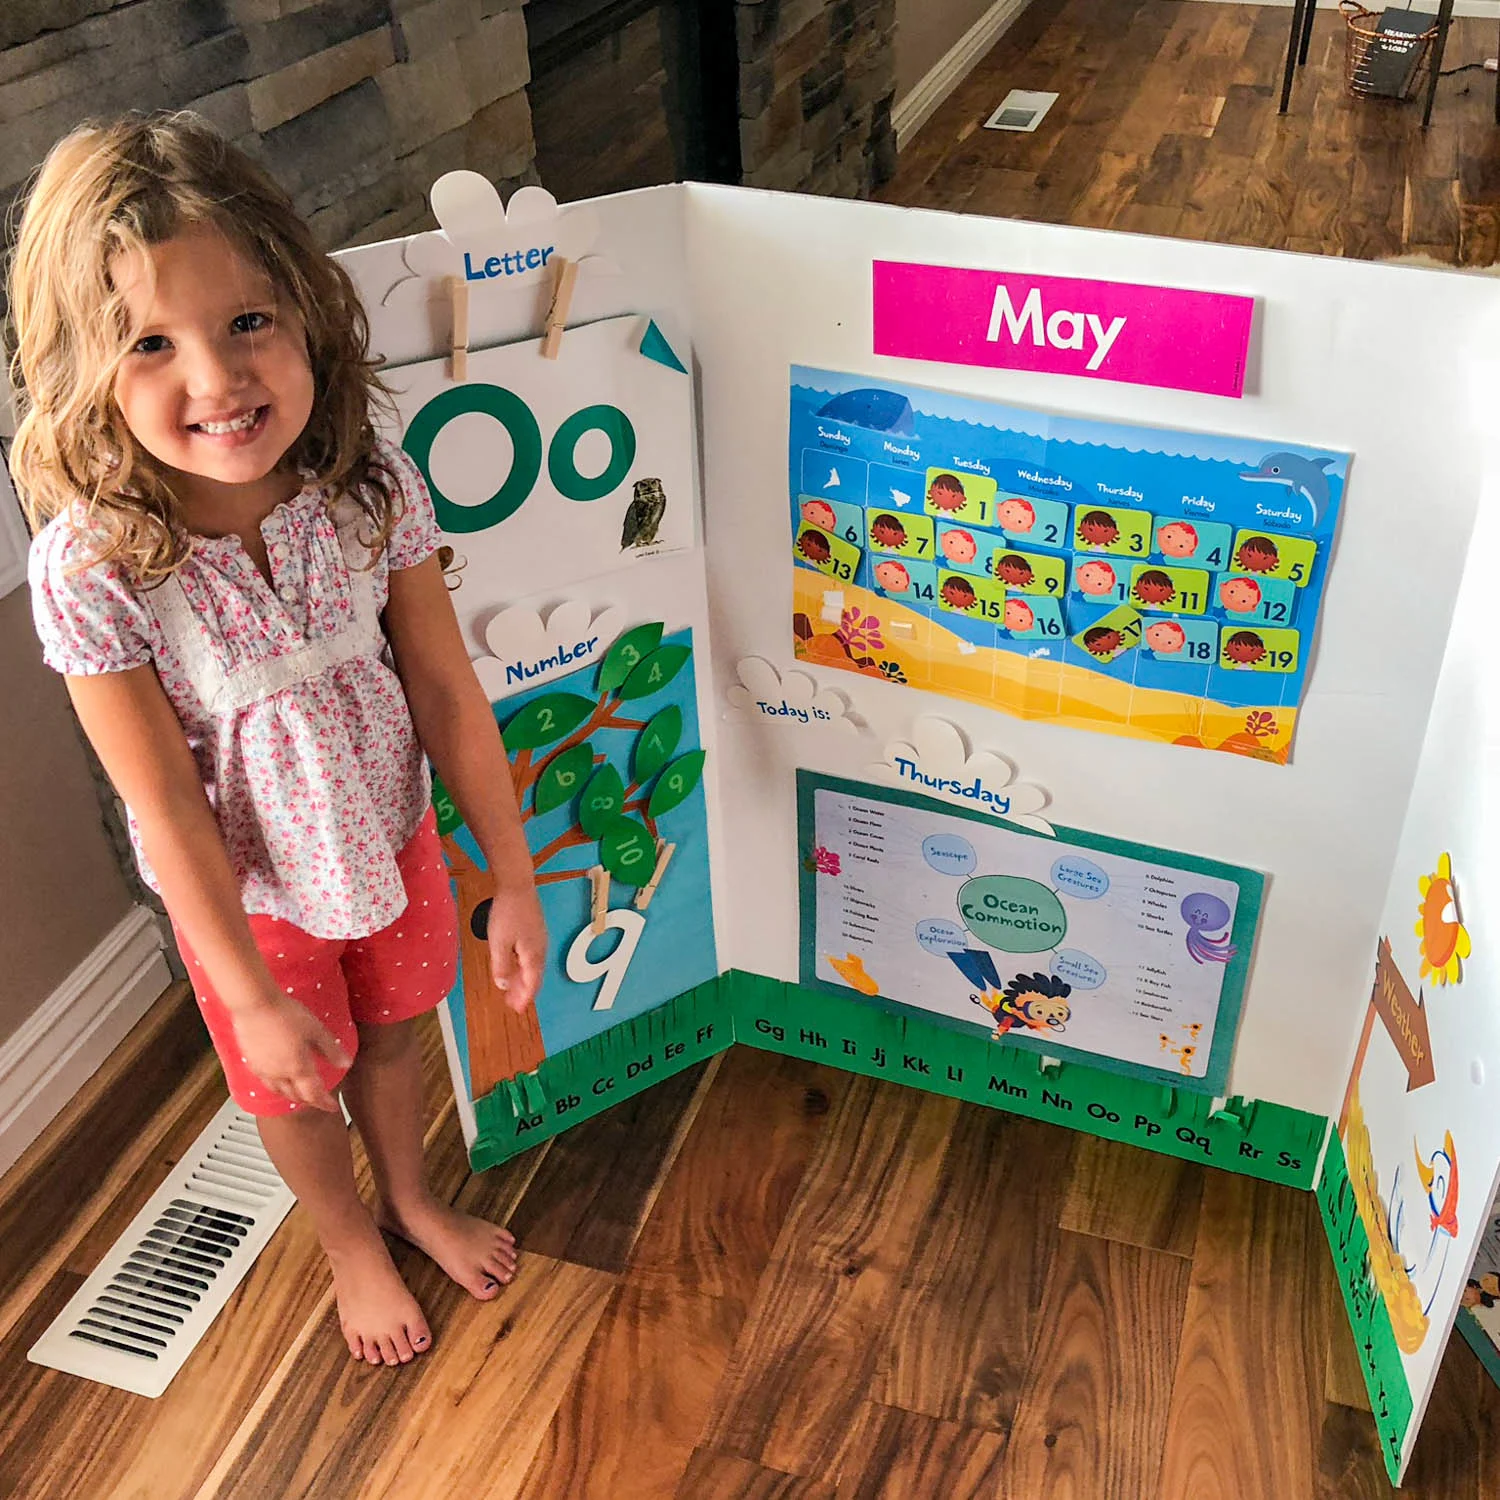
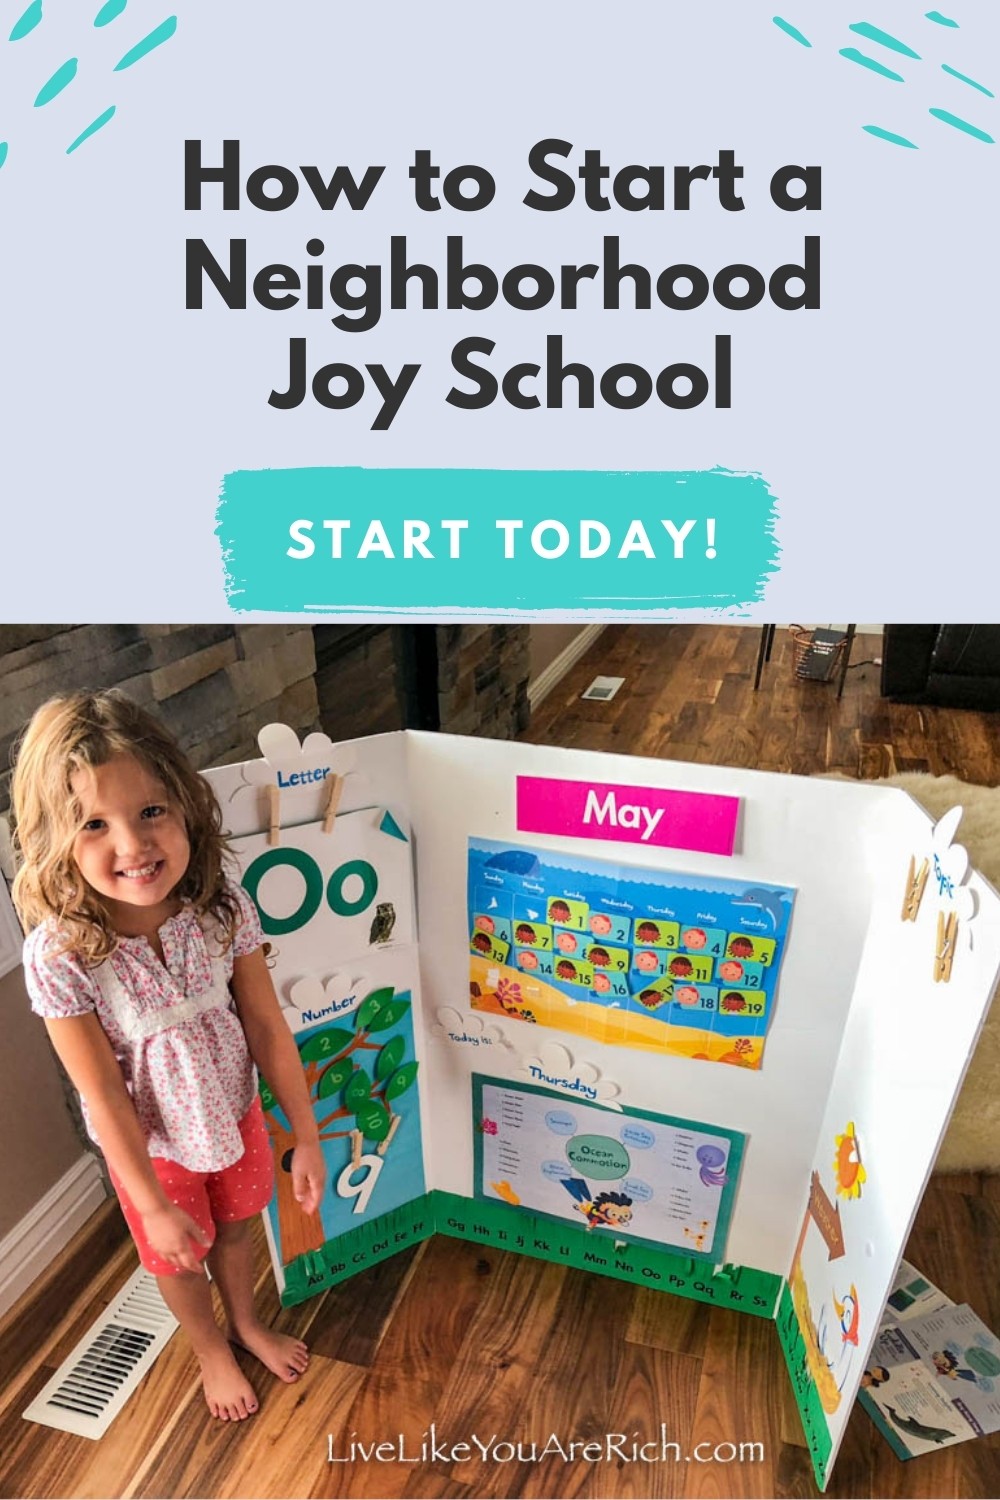
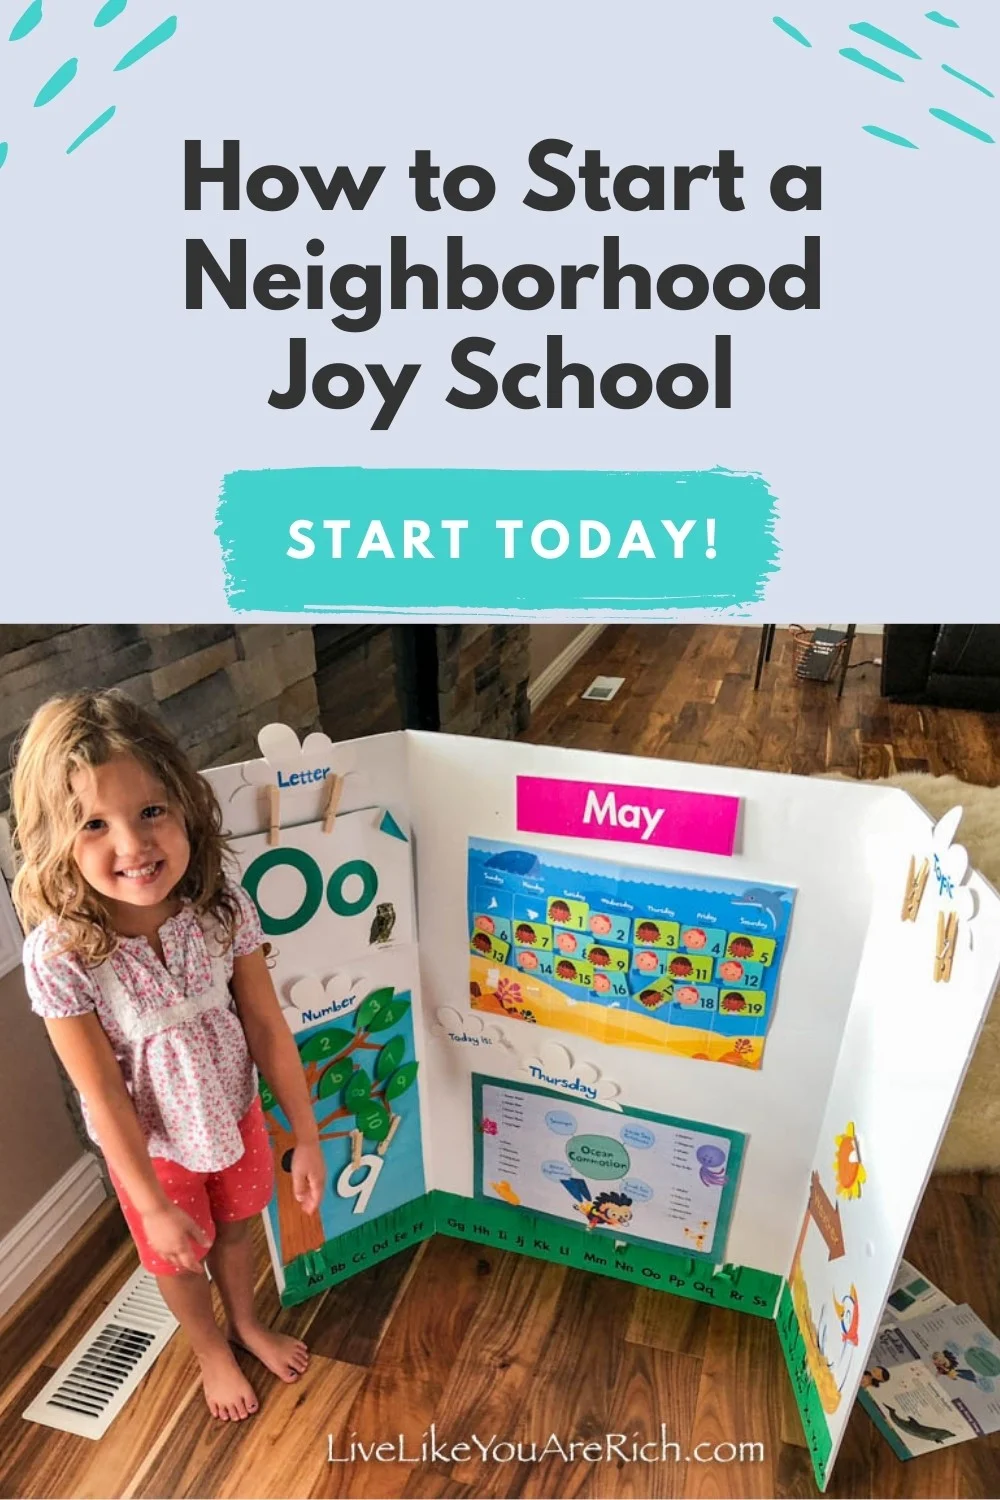
9- Designate someone to make a welcome board.

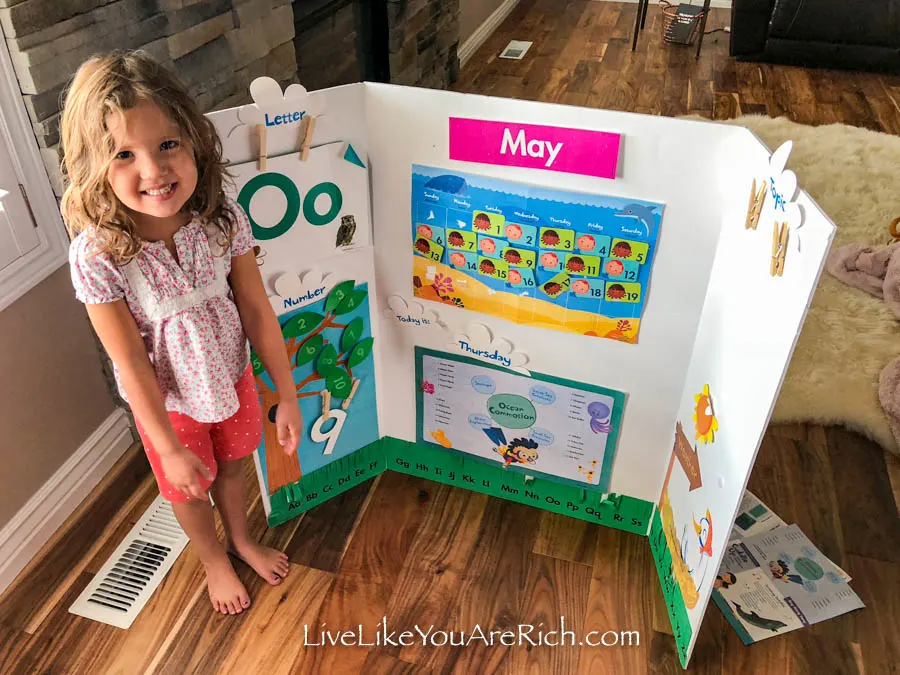
The Mother Goose Time curriculum came with directions on how to make a welcome board. You’ll need a 3 part poster/presentation board, glue, tape, and velcro dots.
During welcome time I would involve the kids by having them take turns switching out the day of the week, the number of the day, the letter of the day, the weather and other topics as well.

10- Order the curriculum and divvy it up among the mothers teaching.
When the curriculum came we met again and took lessons that we were most interested in teaching. This way everyone had the lesson packets with supplies. The unit books contain content for multiple lessons, so the unit books needed to be passed on from mom to mom each week so she had the unit book for the lesson packet she was using.
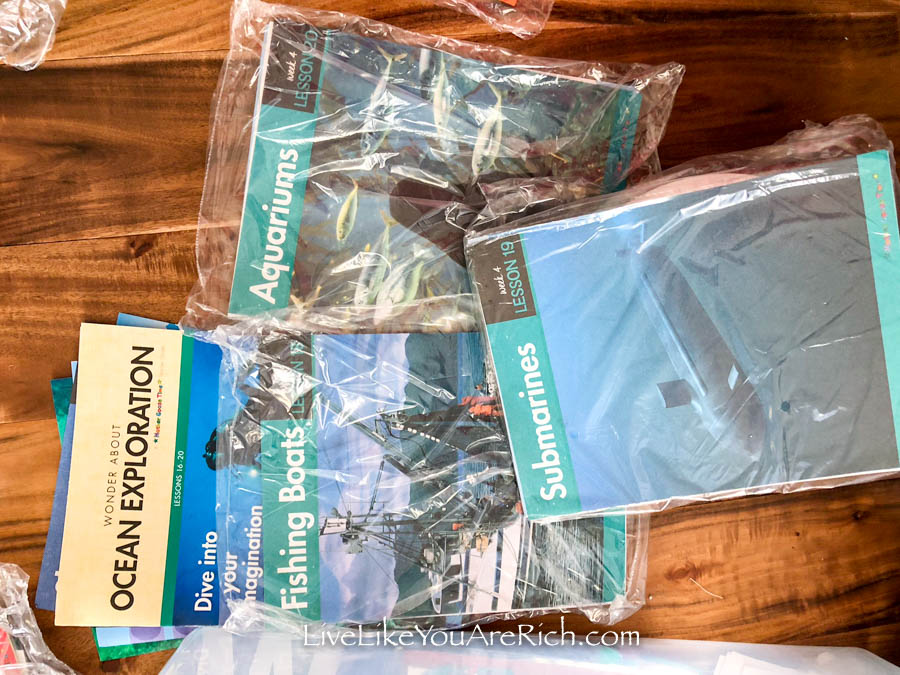

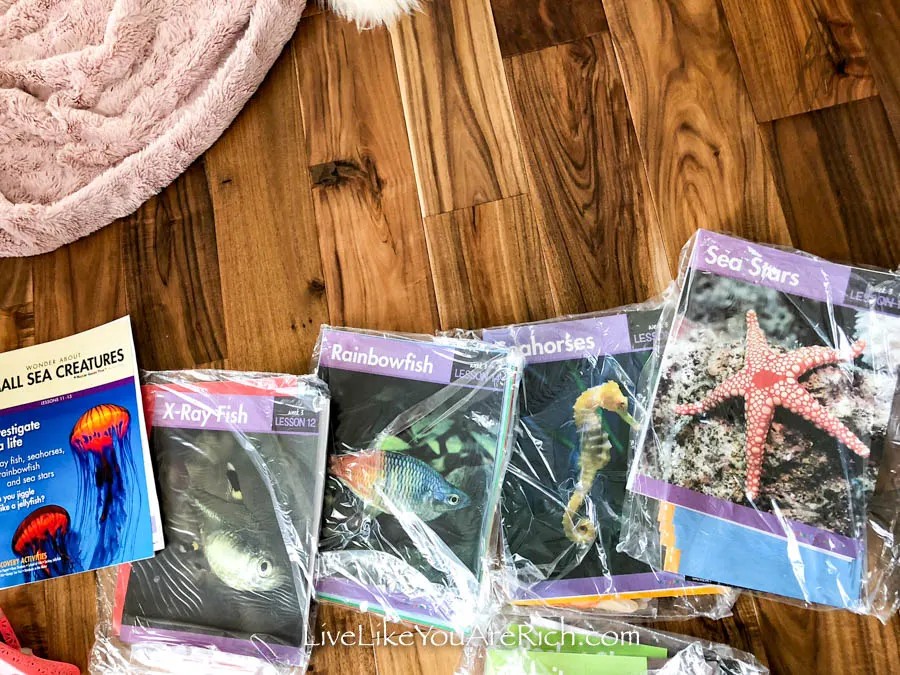
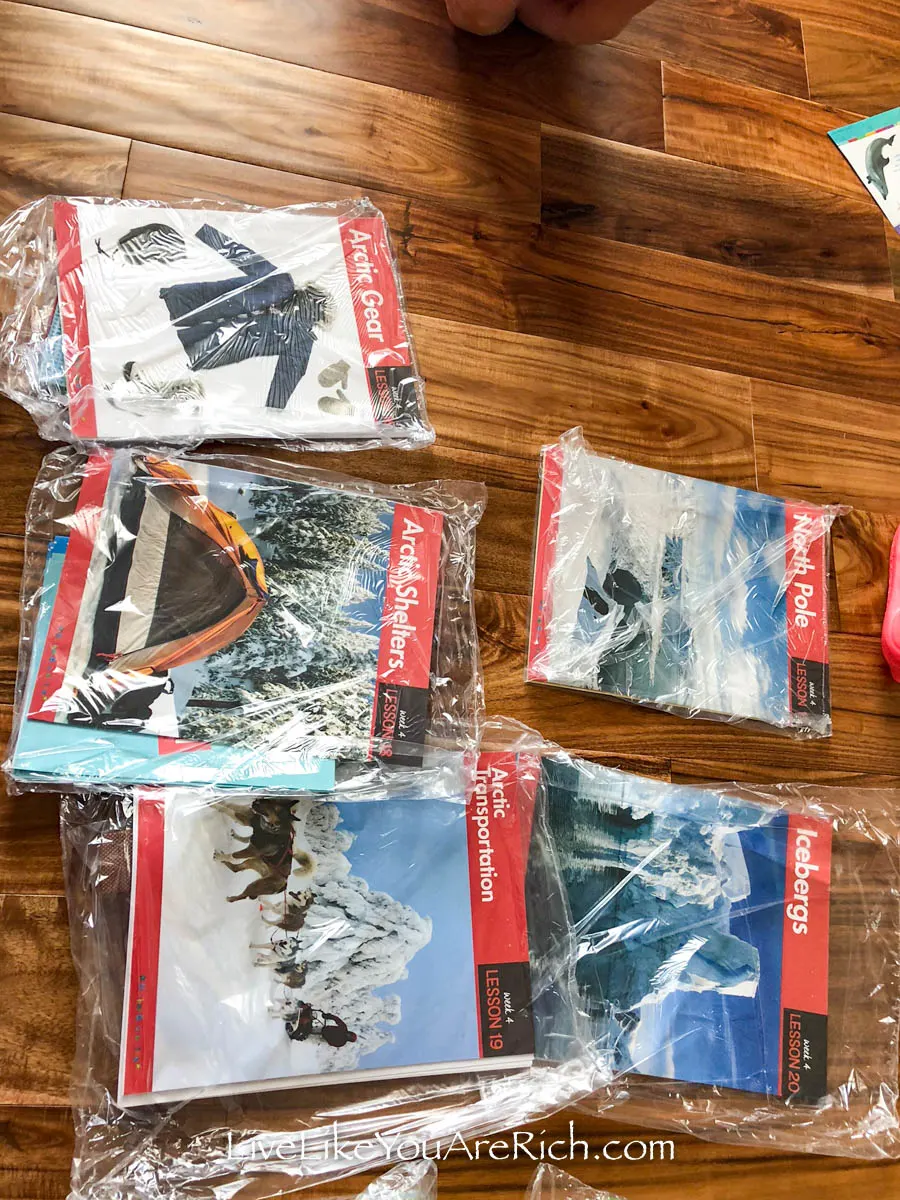
I wanted to teach the ocean, dinosaurs, space, rain forest, and about winter. I was given lessons for those topics as well as some food and clothing units that I did not volunteer for but they turned out to be fun to teach anyway!

I received the unit booklets for those units as well as the lesson packets.
Each booklet had the lesson content plus it had ideas, instructions, and directions for teaching each lesson.
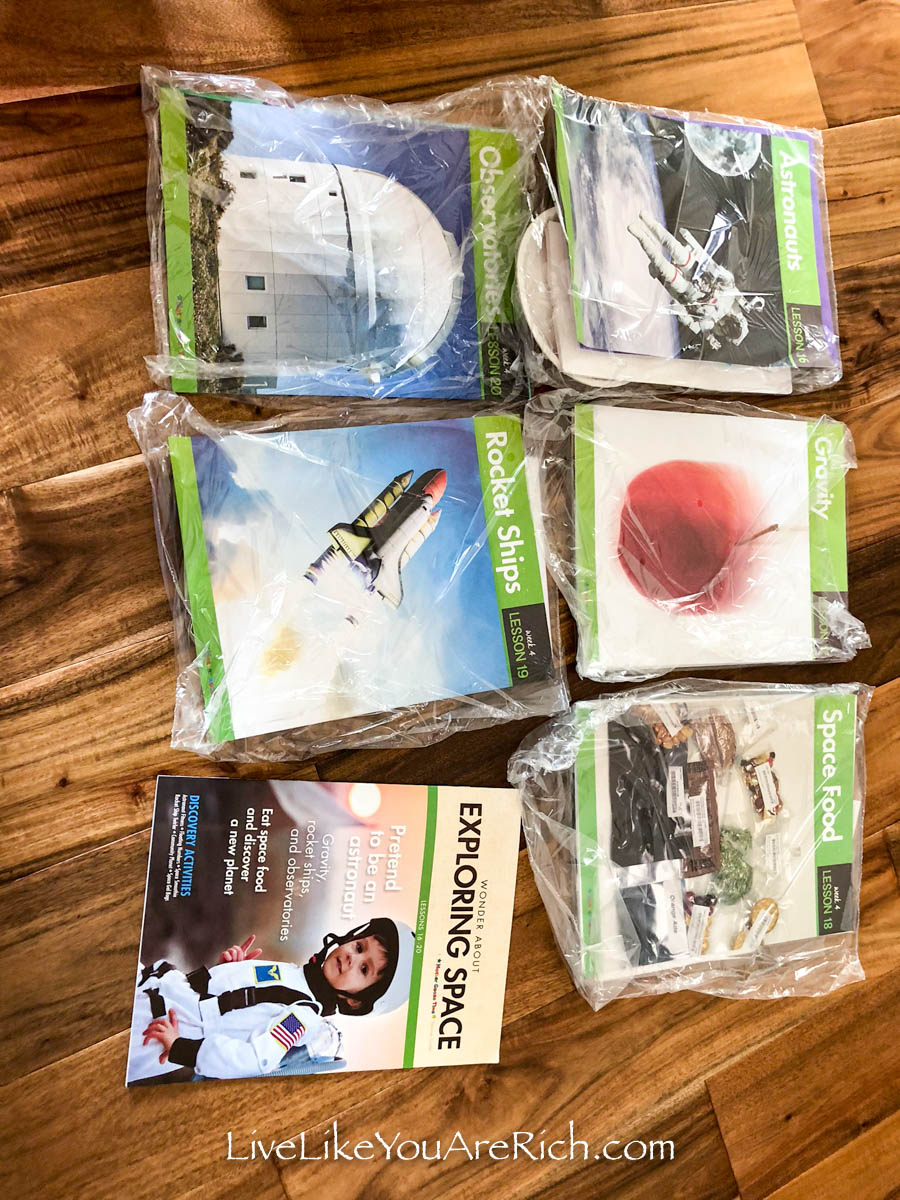
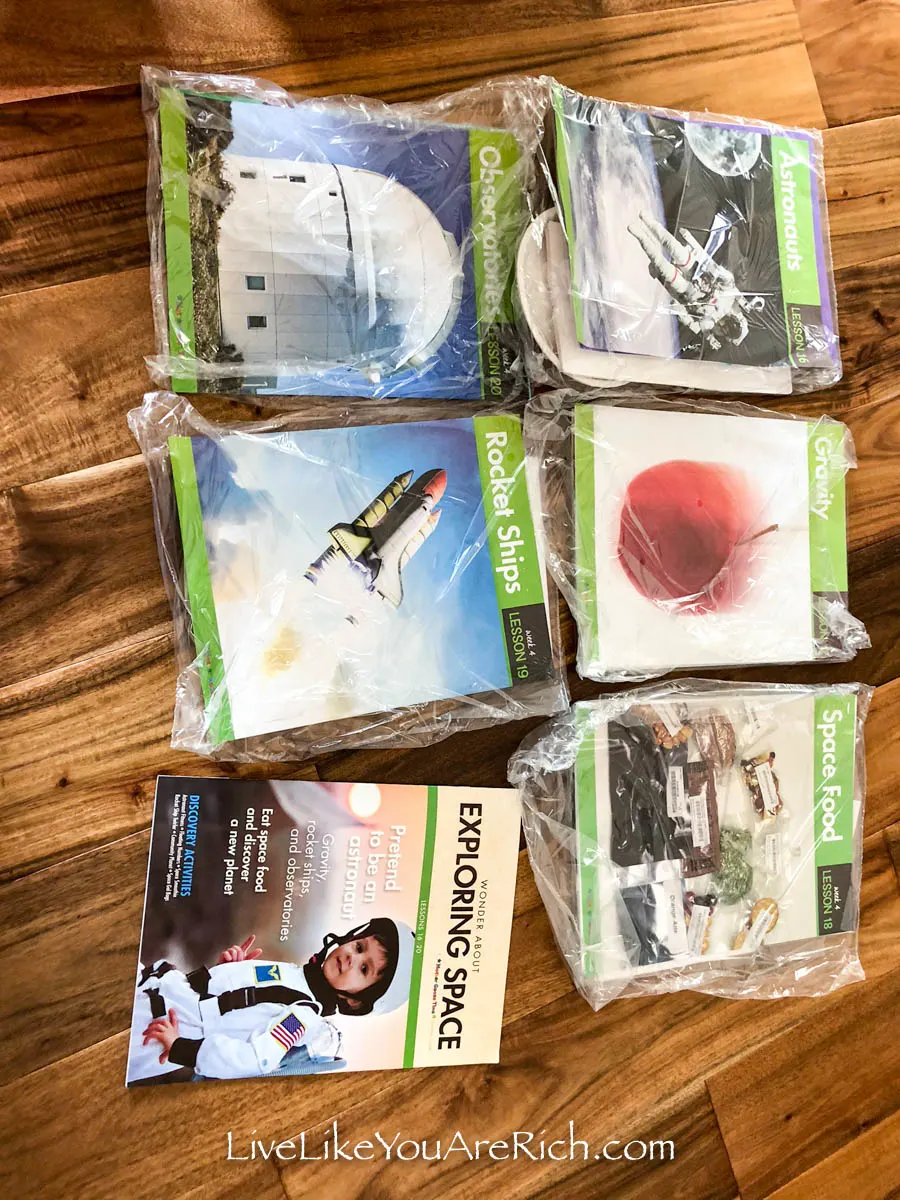
The packets for each lesson were very helpful. They contained the topic/lesson image to put on the welcome board, supplies for the activities, and other needed items.
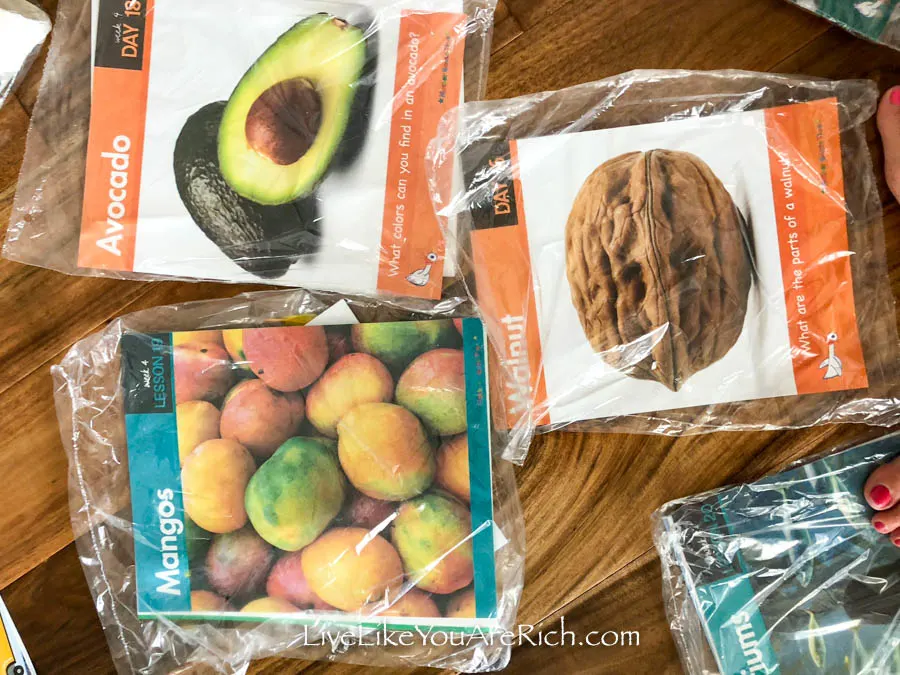
If you find you have more lesson packets than lessons scheduled to be taught, don’t worry… we did too.
It was helpful to take lessons that were more difficult to fill the time with, like lessons on avocados and add it to the lesson on walnuts. This helped fill the time with more content and gave me more activities to choose from/do to keep the kids busy learning.

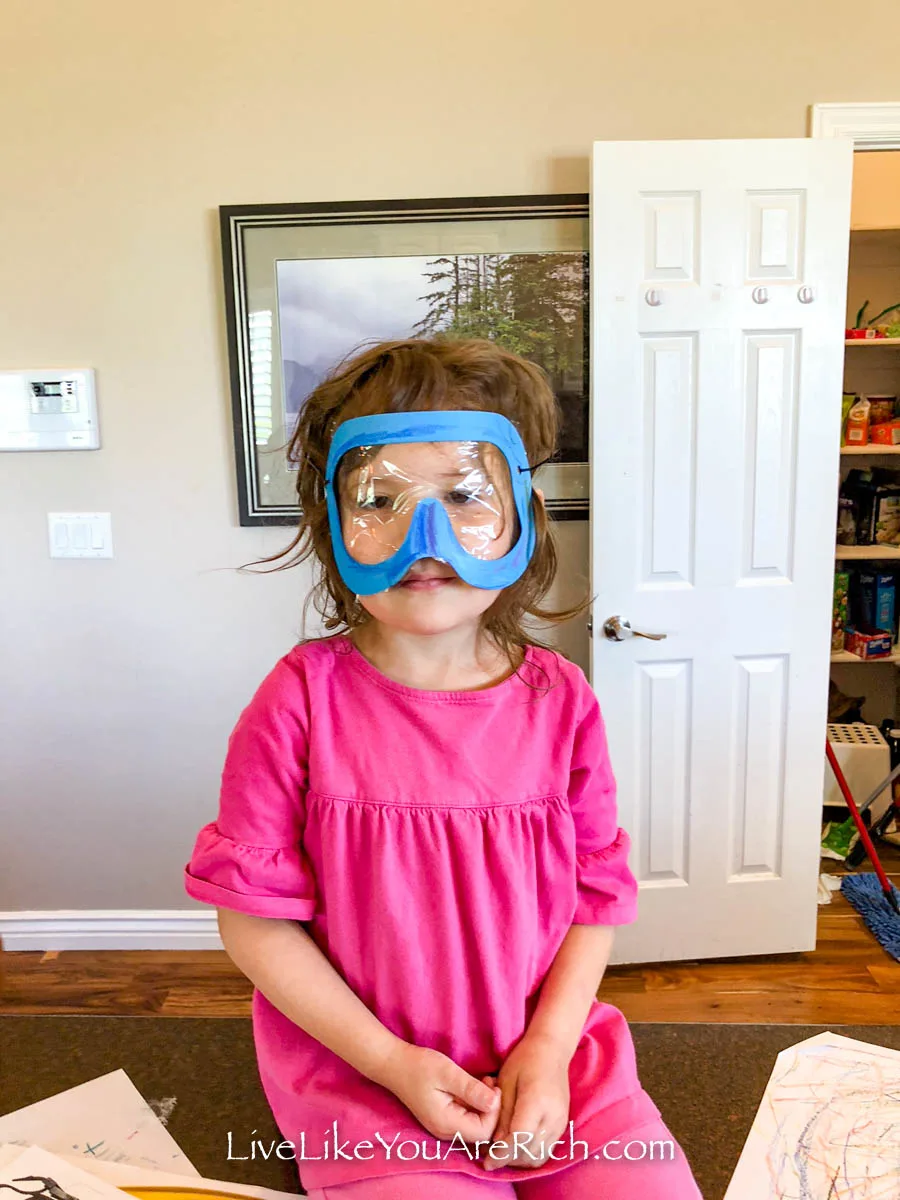
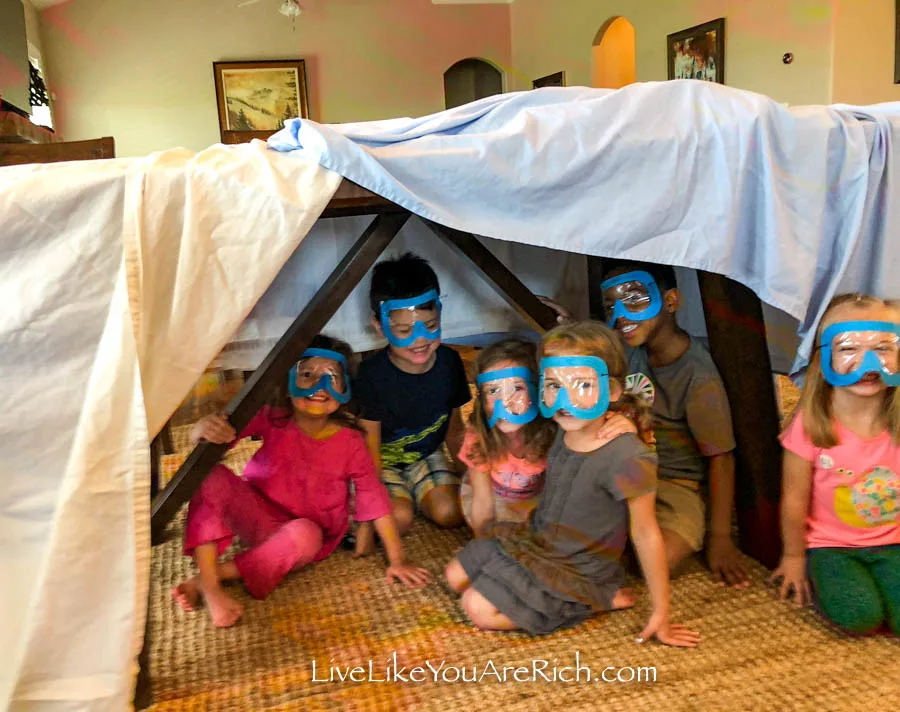
Some lessons are great as stand alone lessons. For example, the lesson on the scuba diving was full of content and the activity was long. The lesson packet we received these cute pre-cut scuba masks with stretchy strings to tie them to fit each child’s head.
We had instructions to glue seran wrap to the paper mask to make them look more real.
The kids colored them a bit as well.

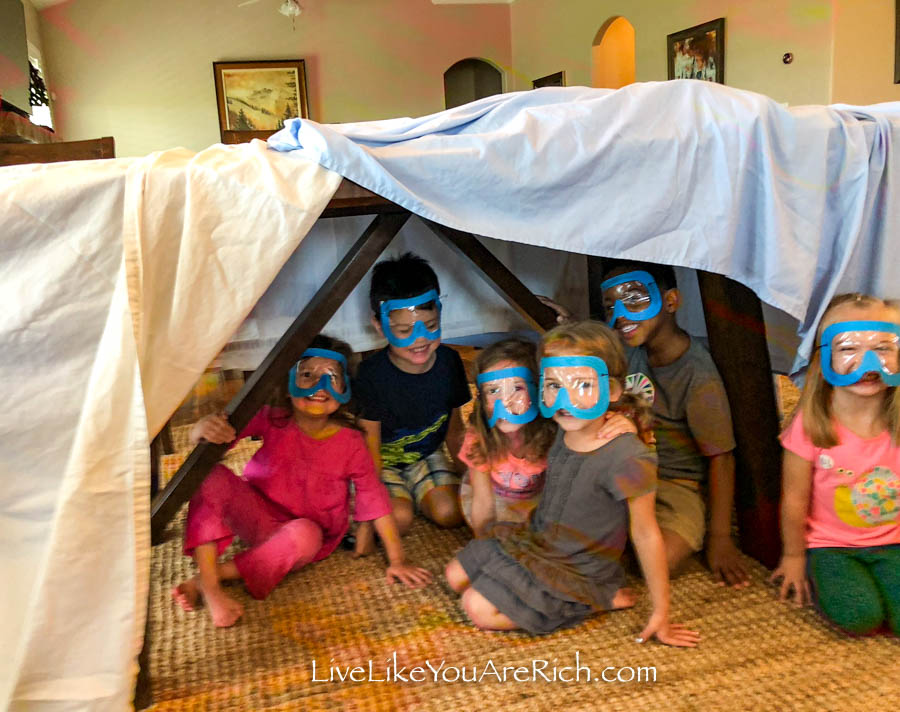
The scuba lesson packet also contained a small jigsaw puzzle of a manatee.
The lesson outlined an idea of sprinkling the manatee puzzle pieces under a table and draping the table with a cloth or a sheet.
Then it suggested to have each child put on their scuba mask and take a turn pretending to scuba dive under the table to search for and find one puzzle piece.
The kids had so much fun with their scuba masks on diving for puzzle pieces.
After we found them all they assembled the puzzle.
At the end of the activity, they all wanted to go on a scuba dive together. It was so cute, I lifted up the sheet to get a photo of them.
My kids loved the scuba masks. A few days after this lesson they earned a dinosaur egg to excavate for good behavior. Without my even mentioning or thinking of it, they put their masks on to excavate. It was adorable.
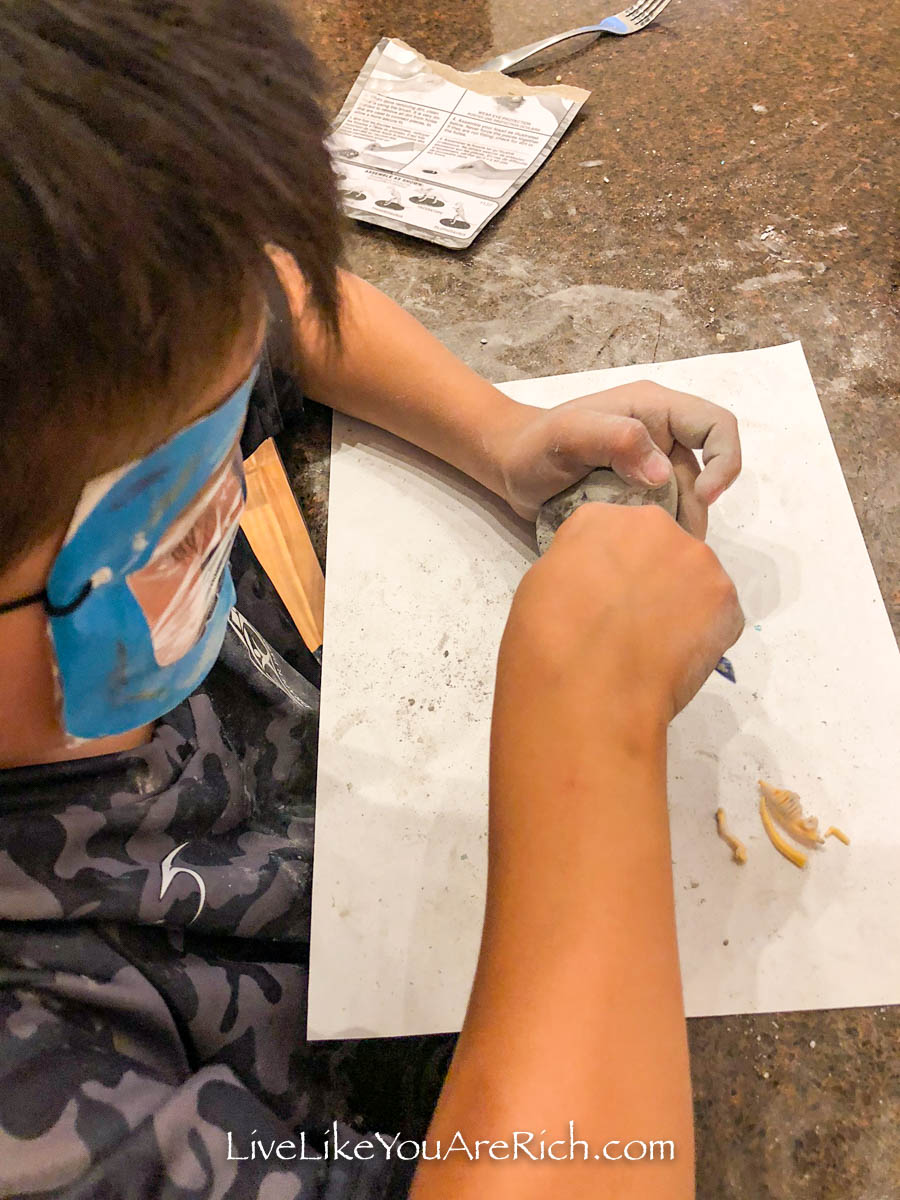

Wearing eye protection while excavating bones is something they likely learned when we were covering the excavation lesson in the dinosaur unit.


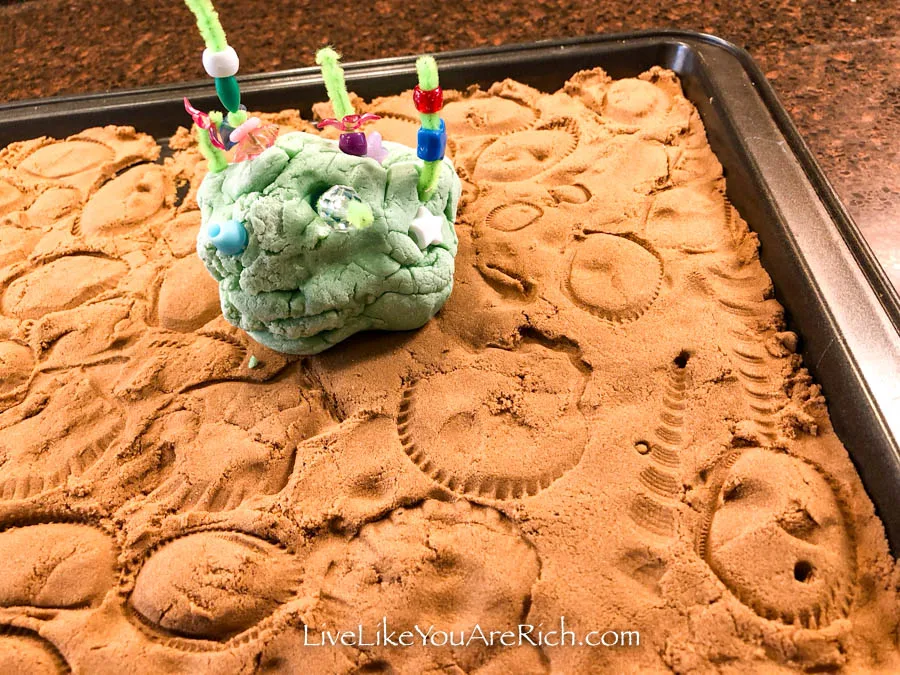
Another fun activity idea for the ocean unit was in the lesson about the ocean floor.
After learning about coral, sand, and sea shells, the lesson suggested to use sand, play dough, pipe cleaners, and beads to make a coral reef.
Each child got to put a pipe cleaner with beads (included in the packet) into the play dough to create a coral reef.
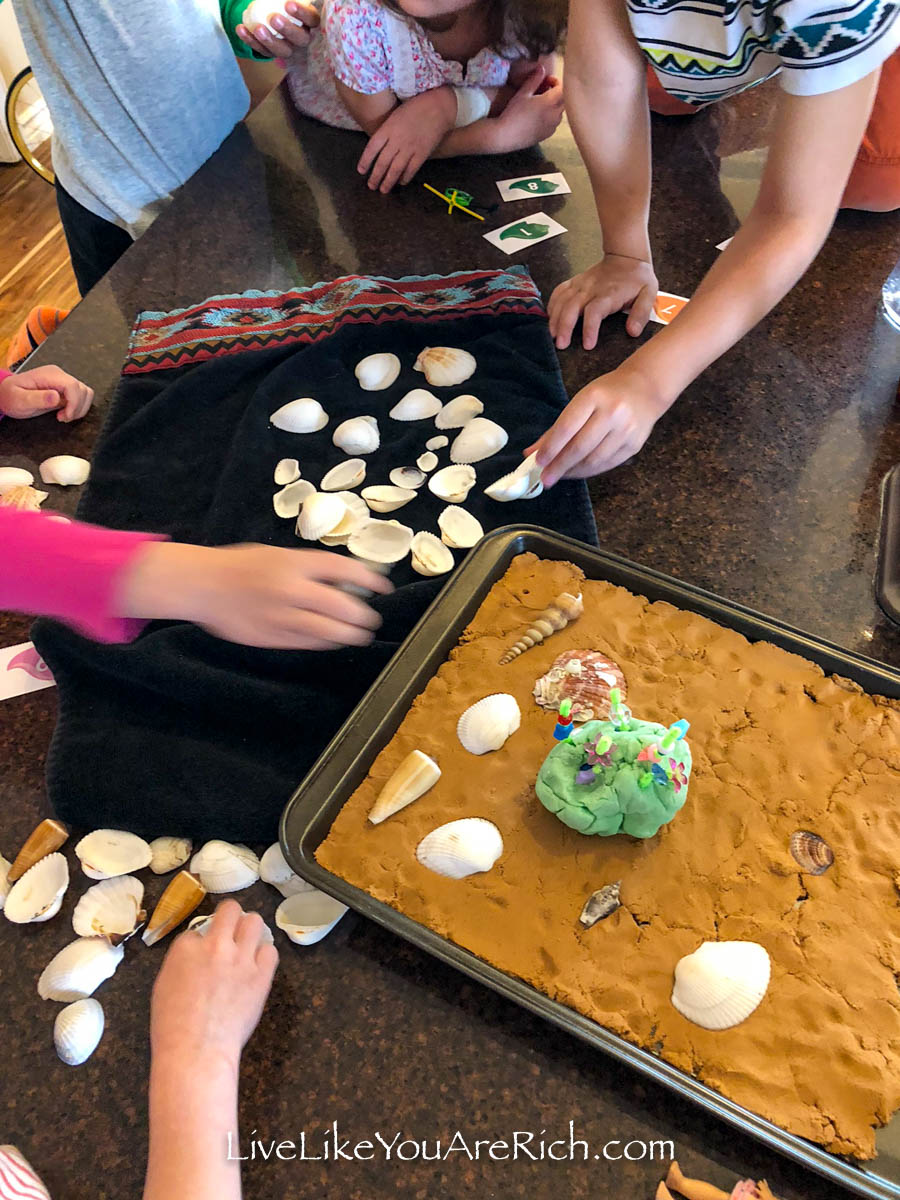

Each child took some sea shells out of the bag (included) and pushed them into the sand.
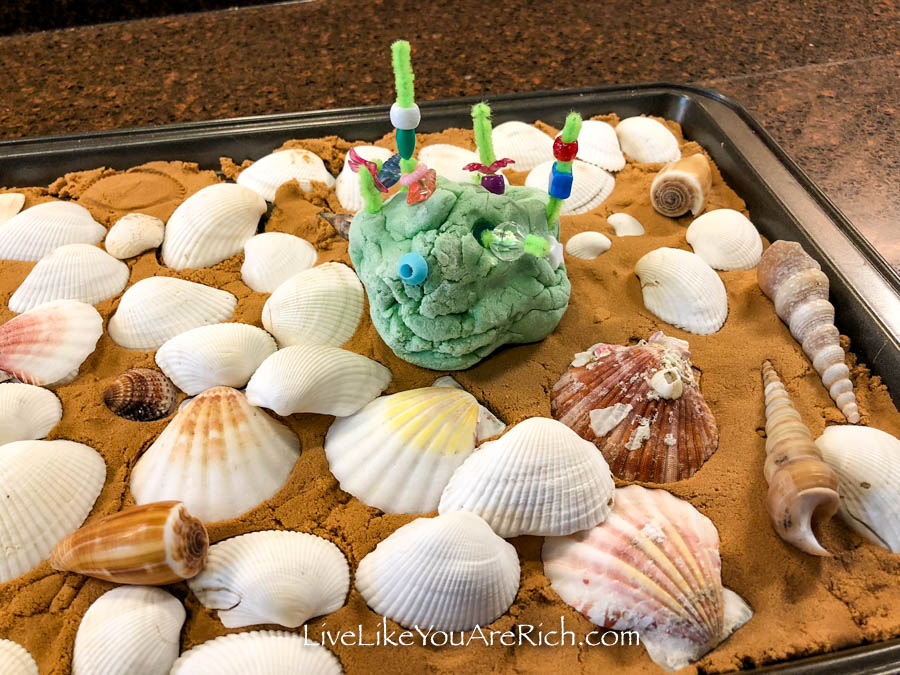

The lesson suggested having the kids remove the sea shells to study the different designs and imprints of the sea shells.

The ocean unit was so fun for me to teach because I love marine life!
When I was a child I wanted to become a marine biologist; this unit was just as fun for me as it was for the kids.
I learned that the ocean sand is in great part so soft due to parrot fish eating coral and pooping it out as soft sand—and many other interesting facts.
I would, at times, supplement the Mother Goose Time lesson with an idea or activity I had on how to make it more entertaining or educational.
For example, we have an amazing sea creatures pop up book (it is center in the photo below).
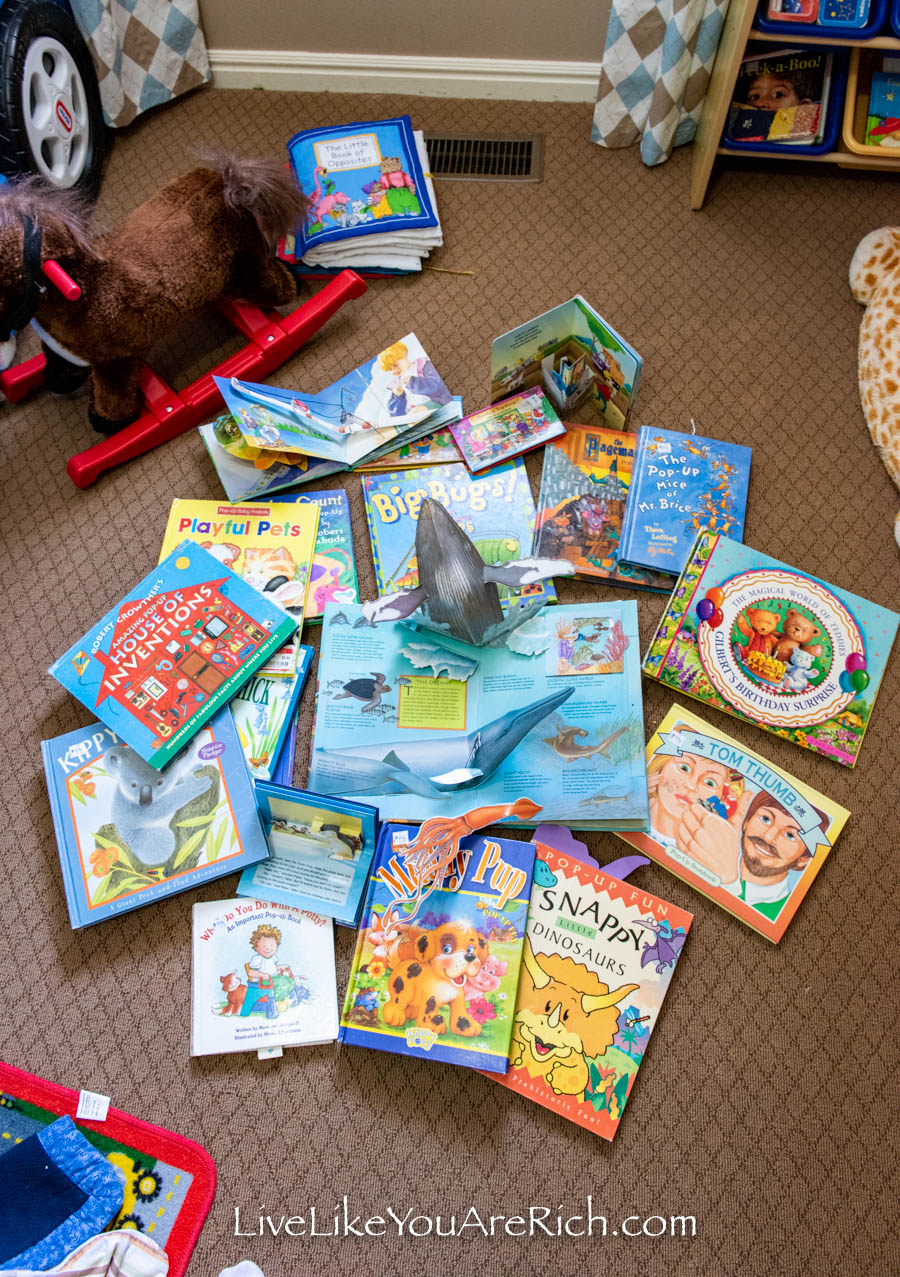
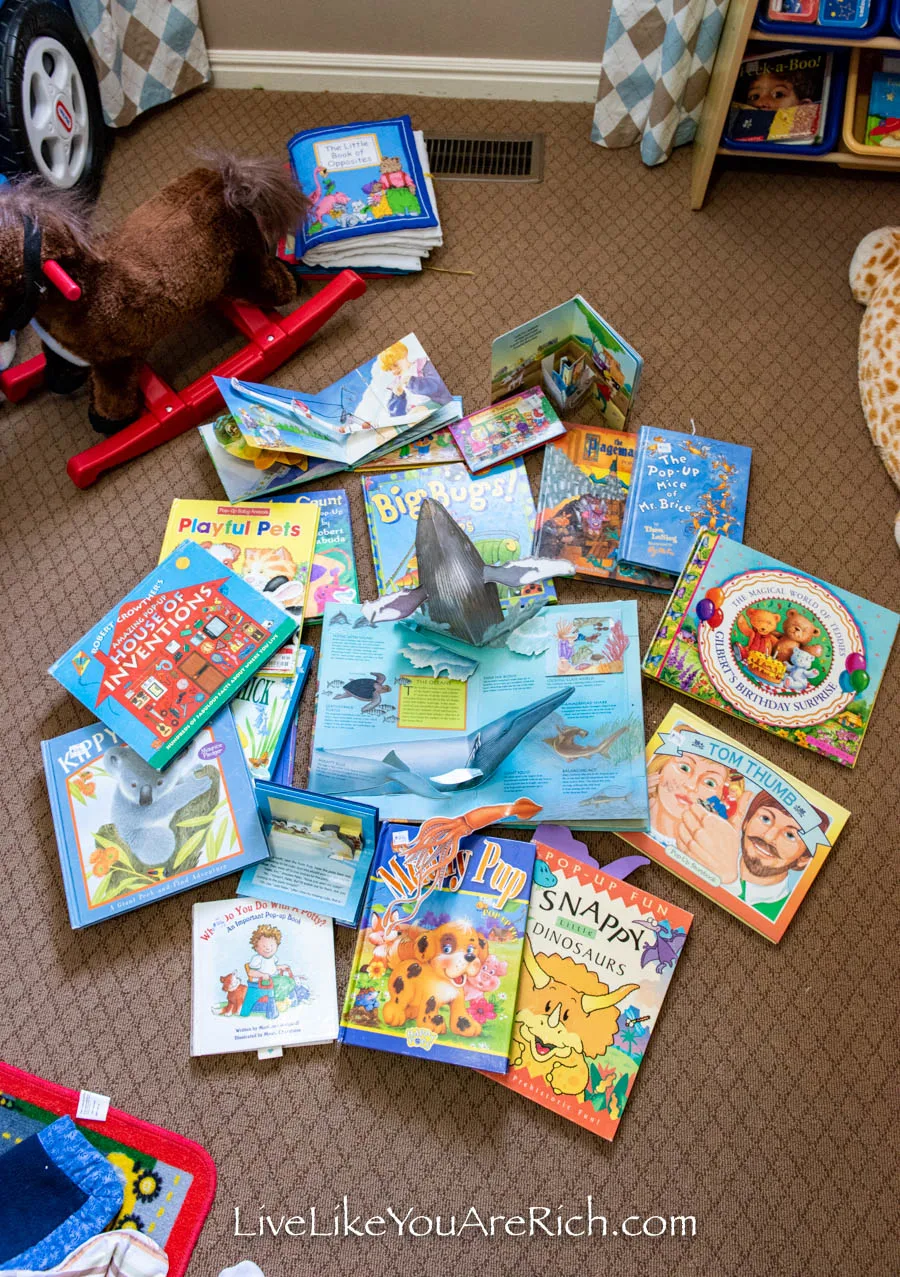
I read that aloud to the kids and they got to see the awesome popup illustrations.
Sometimes, I would show them a Youtube video of the topic we were learning about. Like a parrot fish eating and pooping out sand.
They loved seeing what we were learning about come to life in video.

I also really liked that as a group of moms we were able to collaborate and pick some of our favorite topics to order from Mother Goose Time so we could teach what interests us.
I loved that Mother Goose Time sent the precut shapes to paint, the blocks to make designs with, the pipe cleaners and beads for the coral, and the many other items that went with the activities.
If you look closely at the photo below you will see the little flower pots that Mother Goose Time sent for us to make. The lesson also included blocks to trace out into flowers.
And please don’t mind the mess in the background, we were getting new hardwood flooring during this time.

Most of the supplies were included with the lesson packets and that made preparation and teaching a breeze.
There were times when the lesson activity required me to have items such as: paint, q-tips, tape, etc. But for the most part the items missing were standard household items.
As it turned out, I never had to purchase anything. It was either included or I had it on hand.
11- Make it fun
Make it fun. Consider that you are likely only teaching a few times every 4-6 weeks so plan your lessons out beforehand and try to make it fun and interesting for kids.
Add your own unique flair to teaching.
For example, I like a lot of camp songs. So instead of singing the same songs over and over for Welcome time, I taught the kids the song, “Going on a bear hunt”, and other fun songs they may not have known.
If they are having fun, you’ll have fun too and it will be an enjoyable experience for every one.
12- Keep it simple.
Keep it simple. Do not complicate things if at all possible. Keep to a schedule and curriculum (we found Mother Goose Time super user-friendly) and stick to an easy lesson plan.
At first, when I thought I’d be teaching preschool I was a little intimidated and confused about how and what I would actually teach. However, with a lesson plan/schedule of what to do and when and with the lesson curriculum and activities already outlined for me, it was a breeze.
Just do what’s easy; kids thrive when things are simple, active/fun, and consistent.
13- Be very kind to the kids and their moms.
When I began teaching, I had no idea the kids in our joy school would be my children’s best friends for years to come. I had no idea how much I’d come to appreciate the friendships I made with their mothers (who began as acquaintances).
Our friendships have led to many opportunities; our daughters have danced together and our sons played soccer together to summer camps and play dates, just to name a few.
So just be super sweet and kind while teaching, even if it gets stressful at times, it’s good to be nice to potential life-long friends.
Conclusion
Participating in a neighborhood joy school was such a positive experience! I’d highly recommend participating in one if you can!
I hope these 13 steps help you to know how to start a neighborhood joy school!

For other ‘rich living’ and money-saving tips, please subscribe, like me on Facebook, and follow me on Pinterest and Instagram.
Supply List for How To Start a Neighborhood Joy School
A plastic supply/organization box that can be easily passed from one mom to the next
baggies for items you want to group together
Velcro sticker dots (for the welcome board items like Weather, Day of the week, etc.)