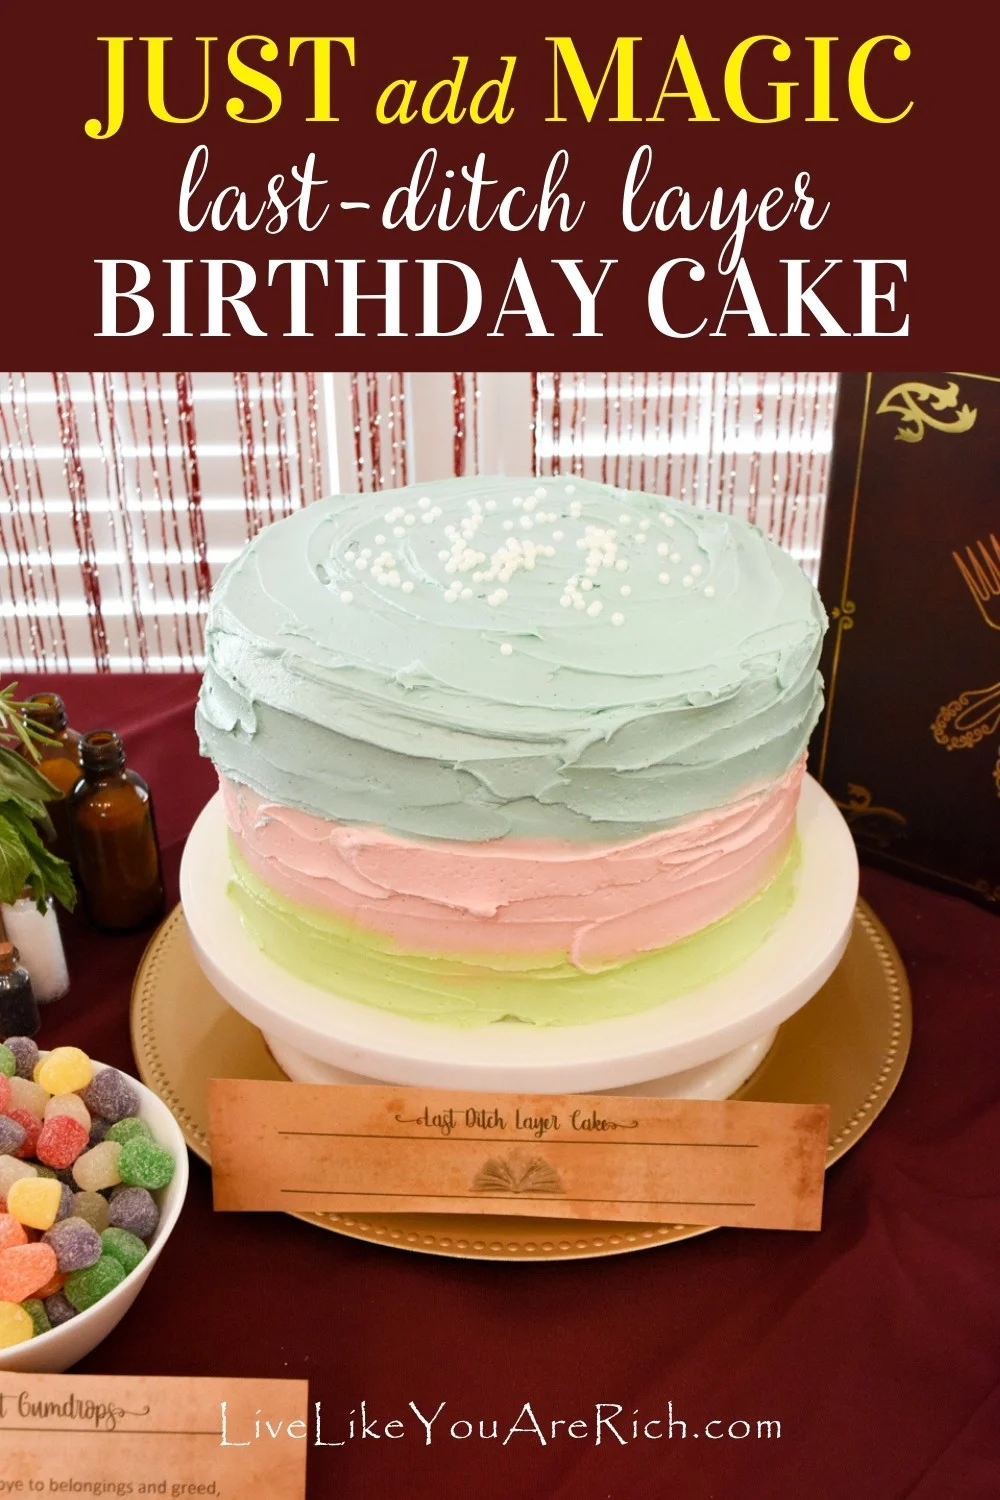
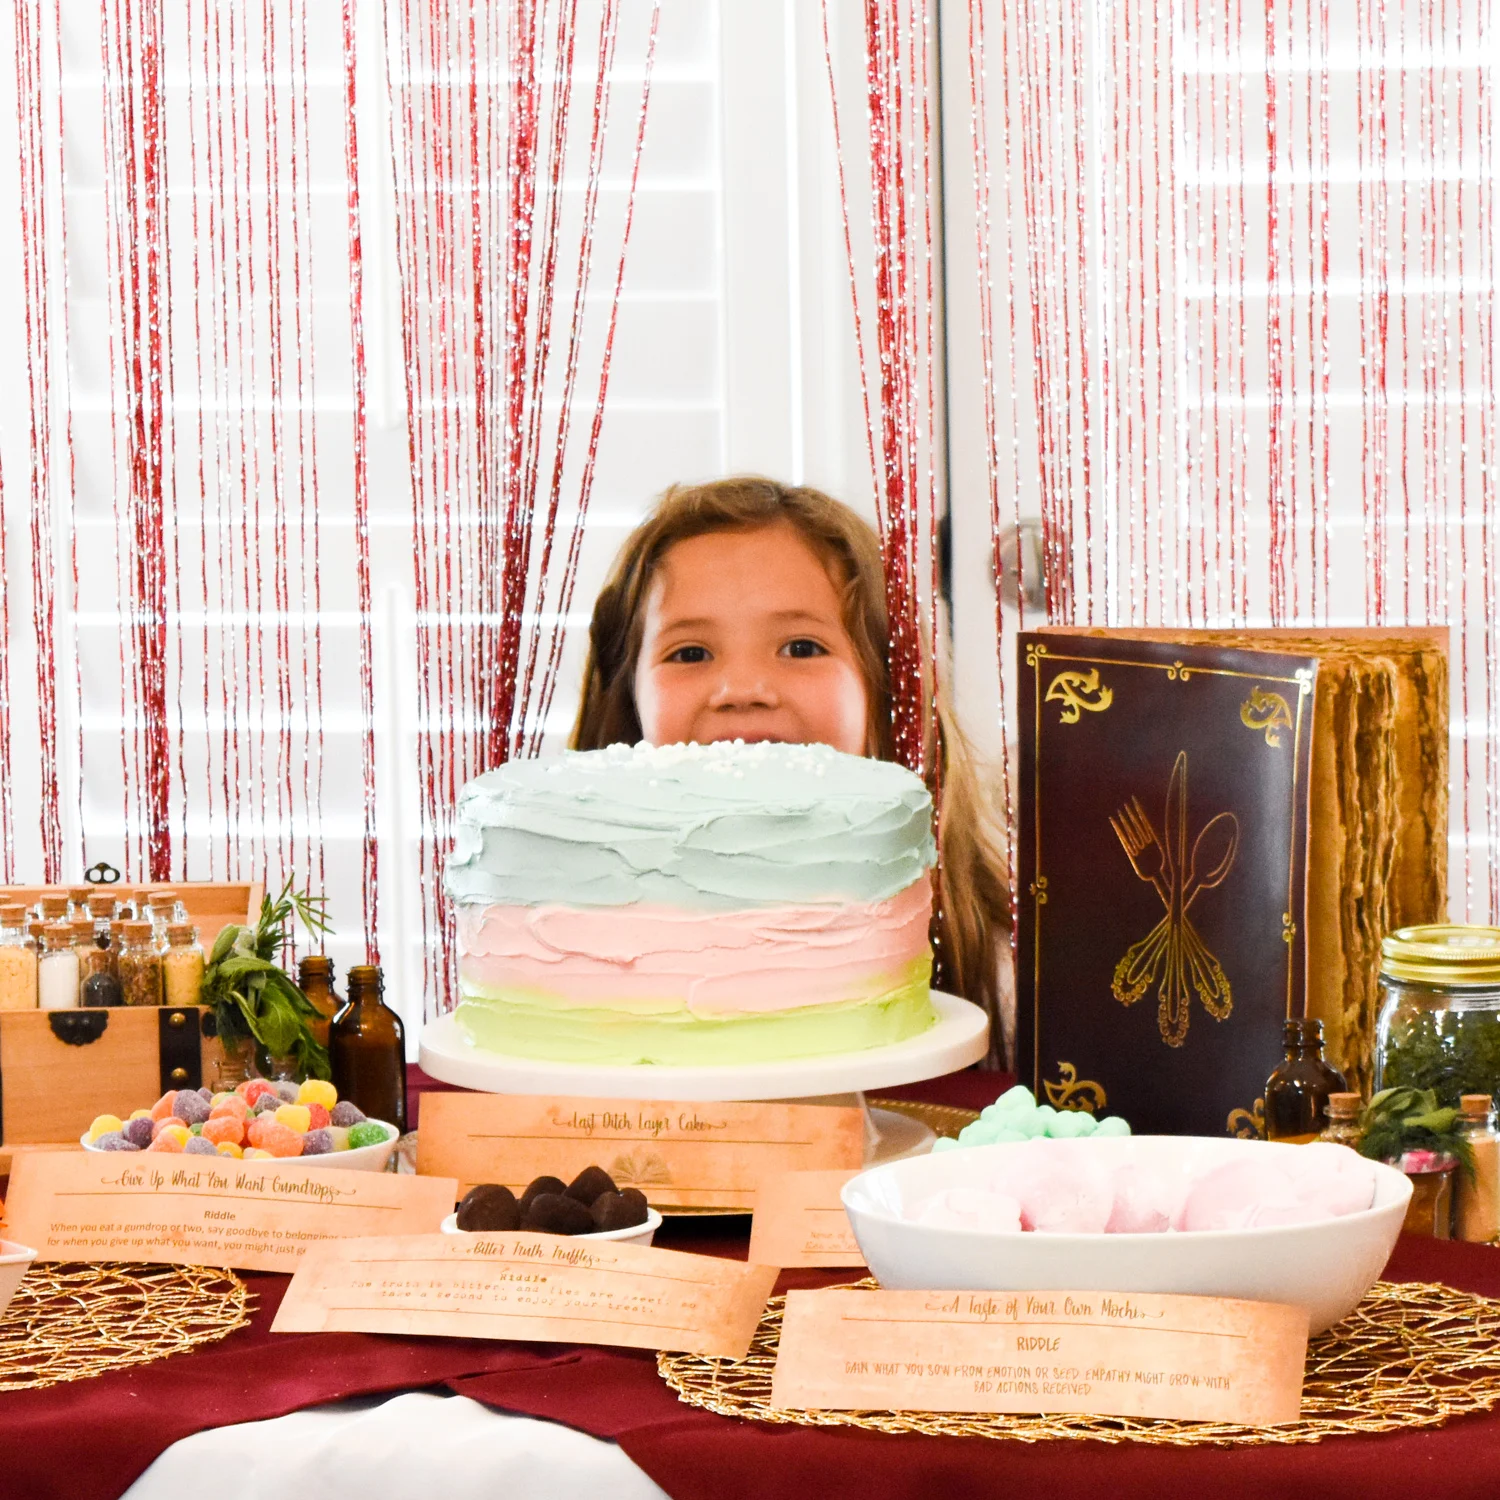
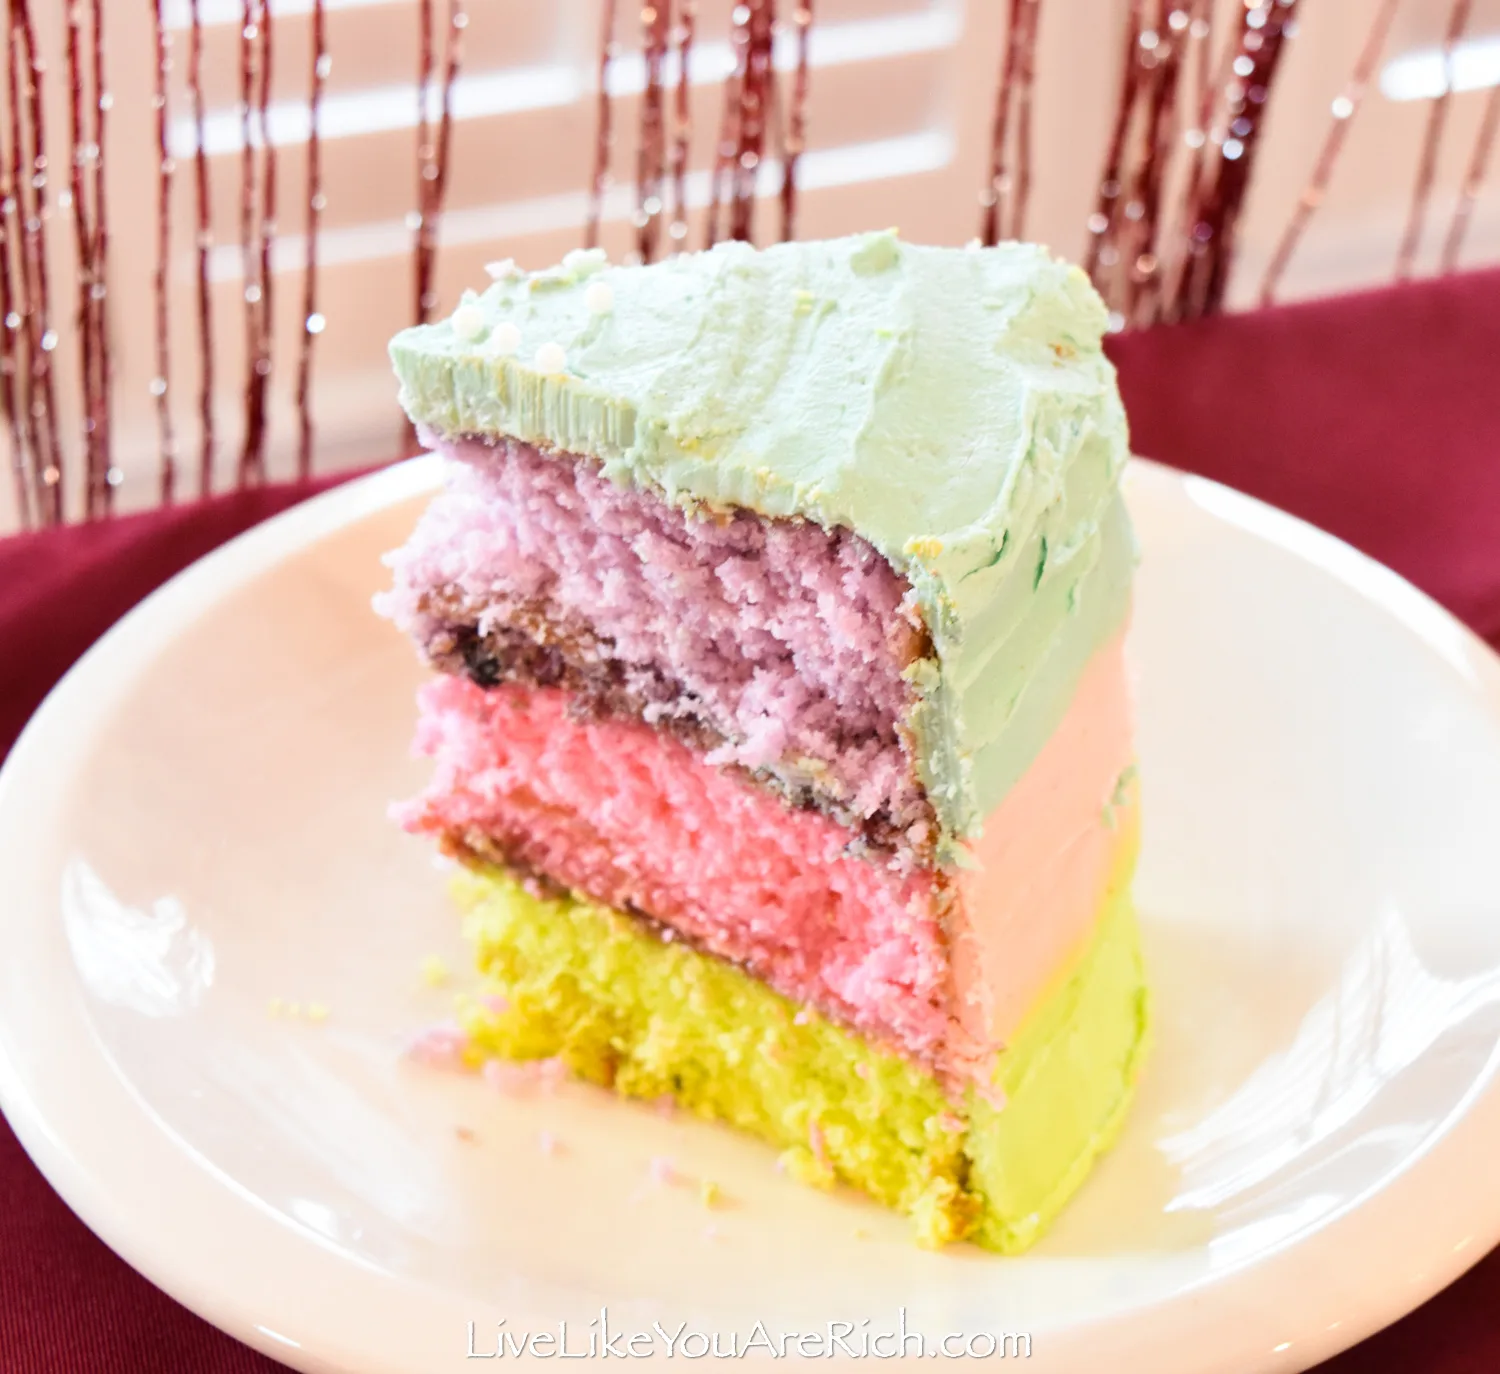
Below you will see how my daughter and I made this Just Add Magic Last Ditch Layer Cake—Easy Version.
While this cake looks authentic, I made a few changes to make it much easier and inexpensive to make than what the show Just Add Magic depicts.
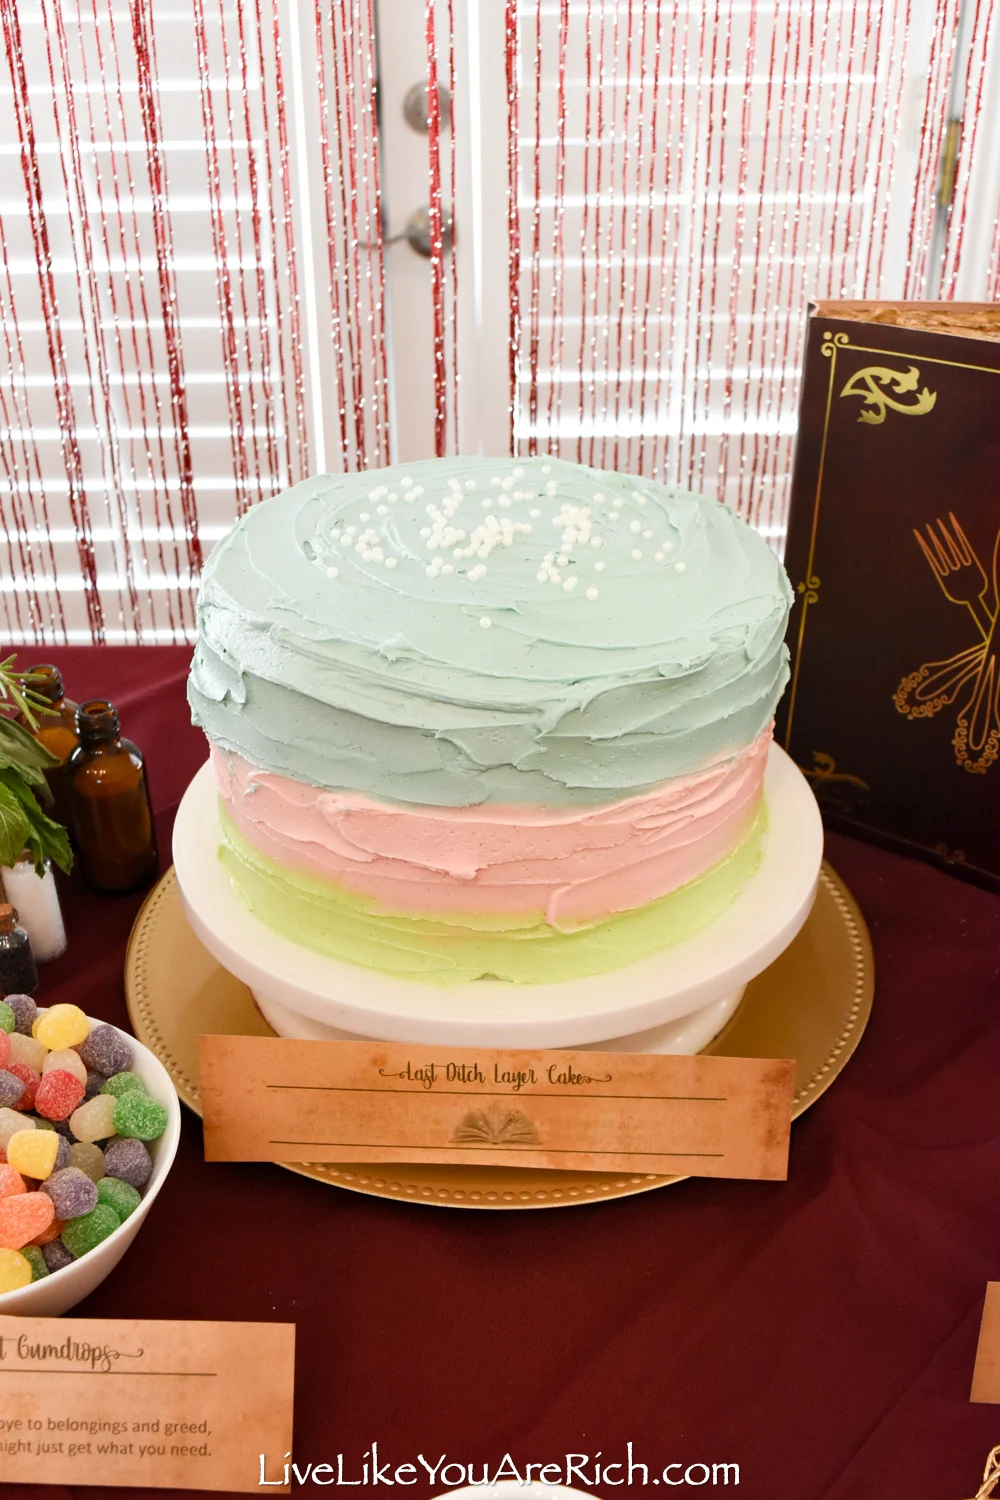
The show’s recipe for this cake requires hard-to-find extracts and pastes. It requires making a jam and just seemed like a lot of work! So, we simplified it and it tasted delicious.
I got the cake mixes on sale for .60 cents each and had most of everything else on hand… so this was a very inexpensive and easy cake to make.
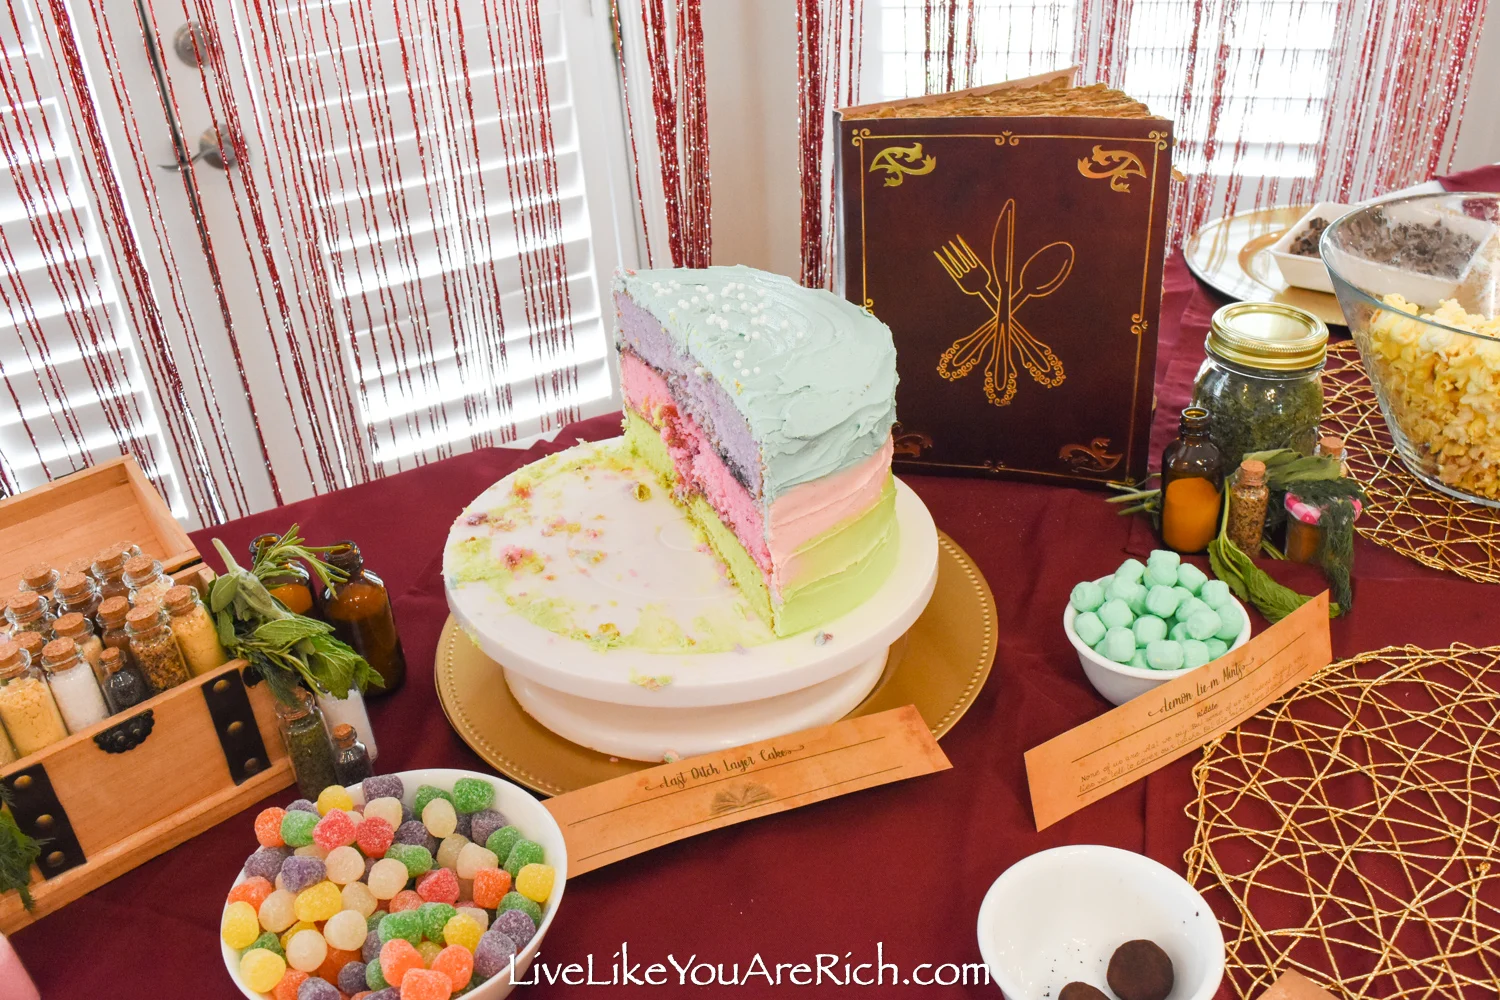
The reasons why we simplified the Last Ditch Layer Cake were:
1- The original recipe calls for very hard-to-find ingredients.
2- The original recipe is too time consuming considering we were prepping a large party with a lot of guests.
3- One of our party guests was allergic to pistachios, so we didn’t want to use them.
Supply List for Just Add Magic Last Ditch Layer Cake- Easy Version
non stick cooking spray
9″ cake pans—I like using springform cake pans for layered cake but any type of cake pan will work.
spatula
cooling rack
piping bags or large gallon ziploc bags
Small bowls and spoons for icing
Small rounded icing spatula or butter knife
pie spatula or long straight icing spatula (for scraping the edge of the cake).
candles for a birthday party
Ingredients for Just Add Magic Last Ditch Layer Cake- Easy Version
3 white cake mixes and needed ingredients to mix them(i.e. water, oil, eggs)
purple, blue, green, and pink food coloring—I find gel food coloring makes the best colors
Icing Recipe Contains:
butter
heavy whipping cream
vanilla extract—my fav
powder sugar
Optional- add this cotton candy flavoring—our favorite to the frosting
Directions on How to Make this Just Add Magic Last Ditch Layer Cake- Easy Version
1- Turn oven on to the correct temperature for your cake mix and pan size. Mix the cake mix and add green food coloring to get the following green color (bottom layer).
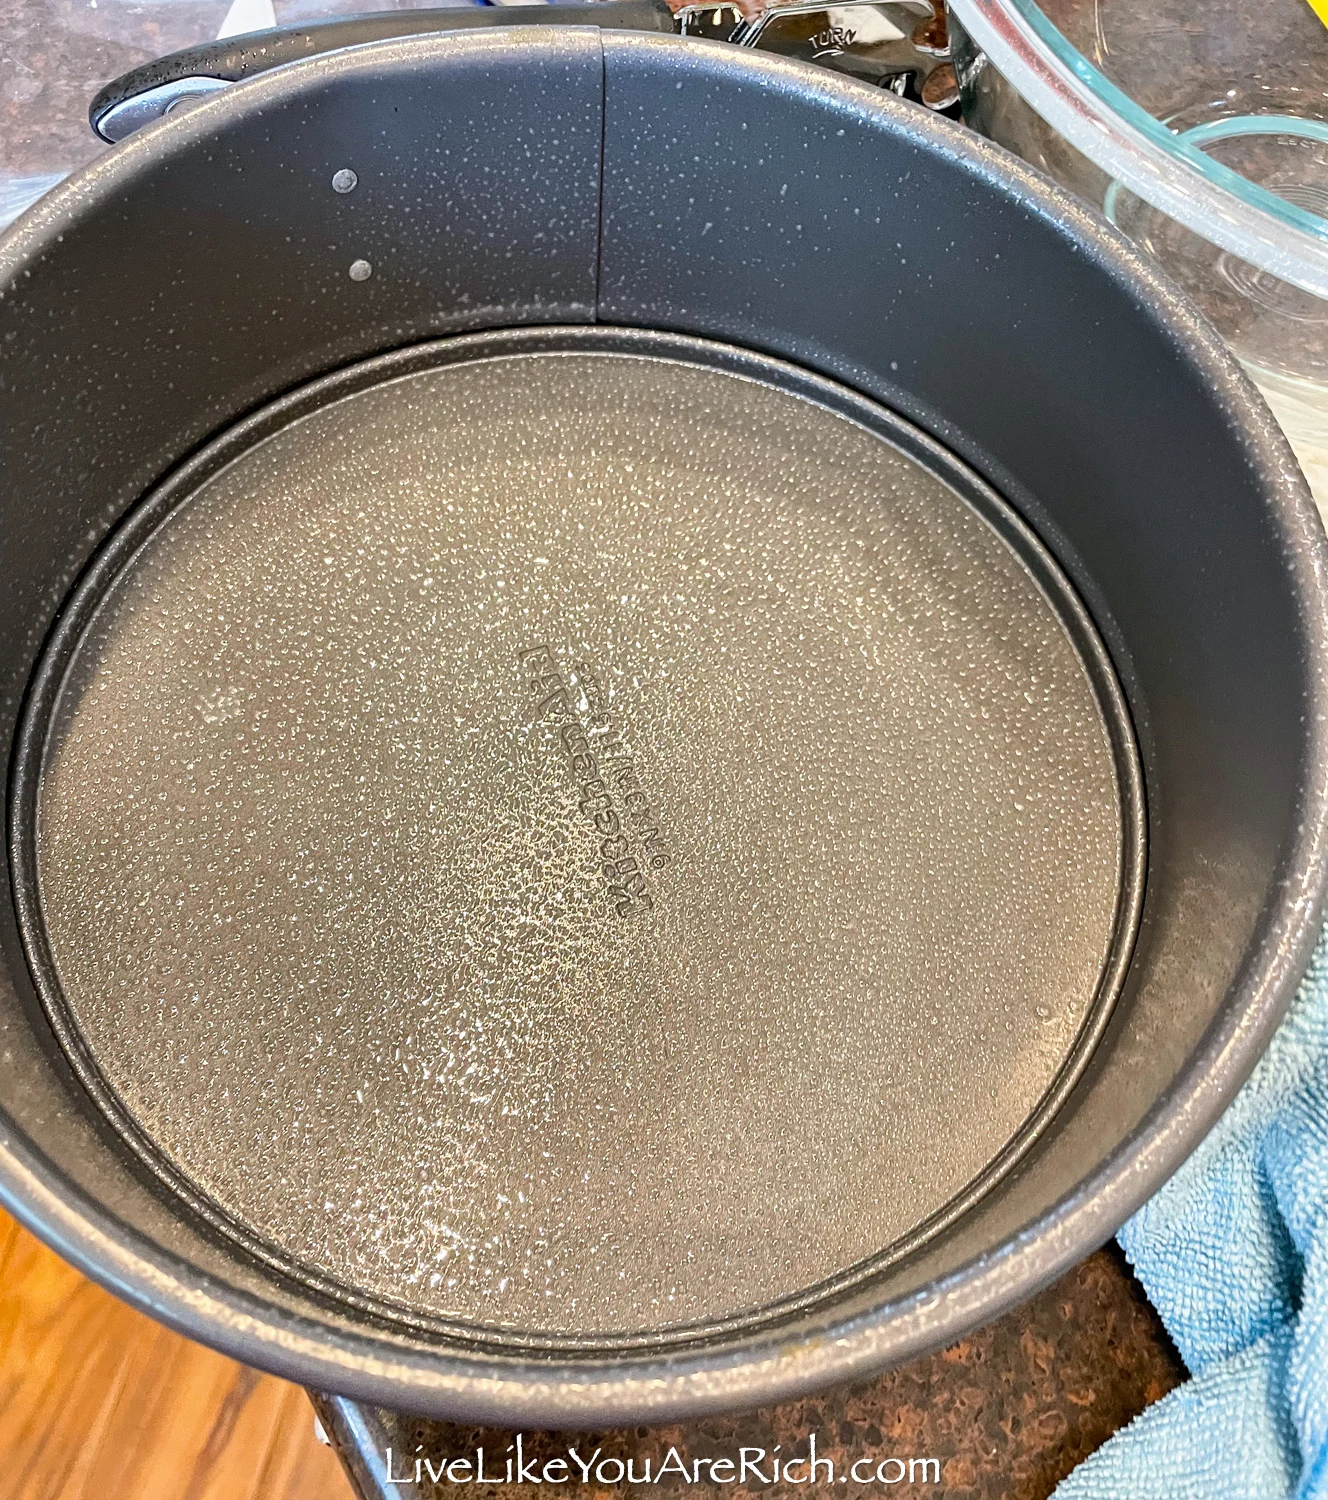
2- Spray a pan with nonstick cooking spray.
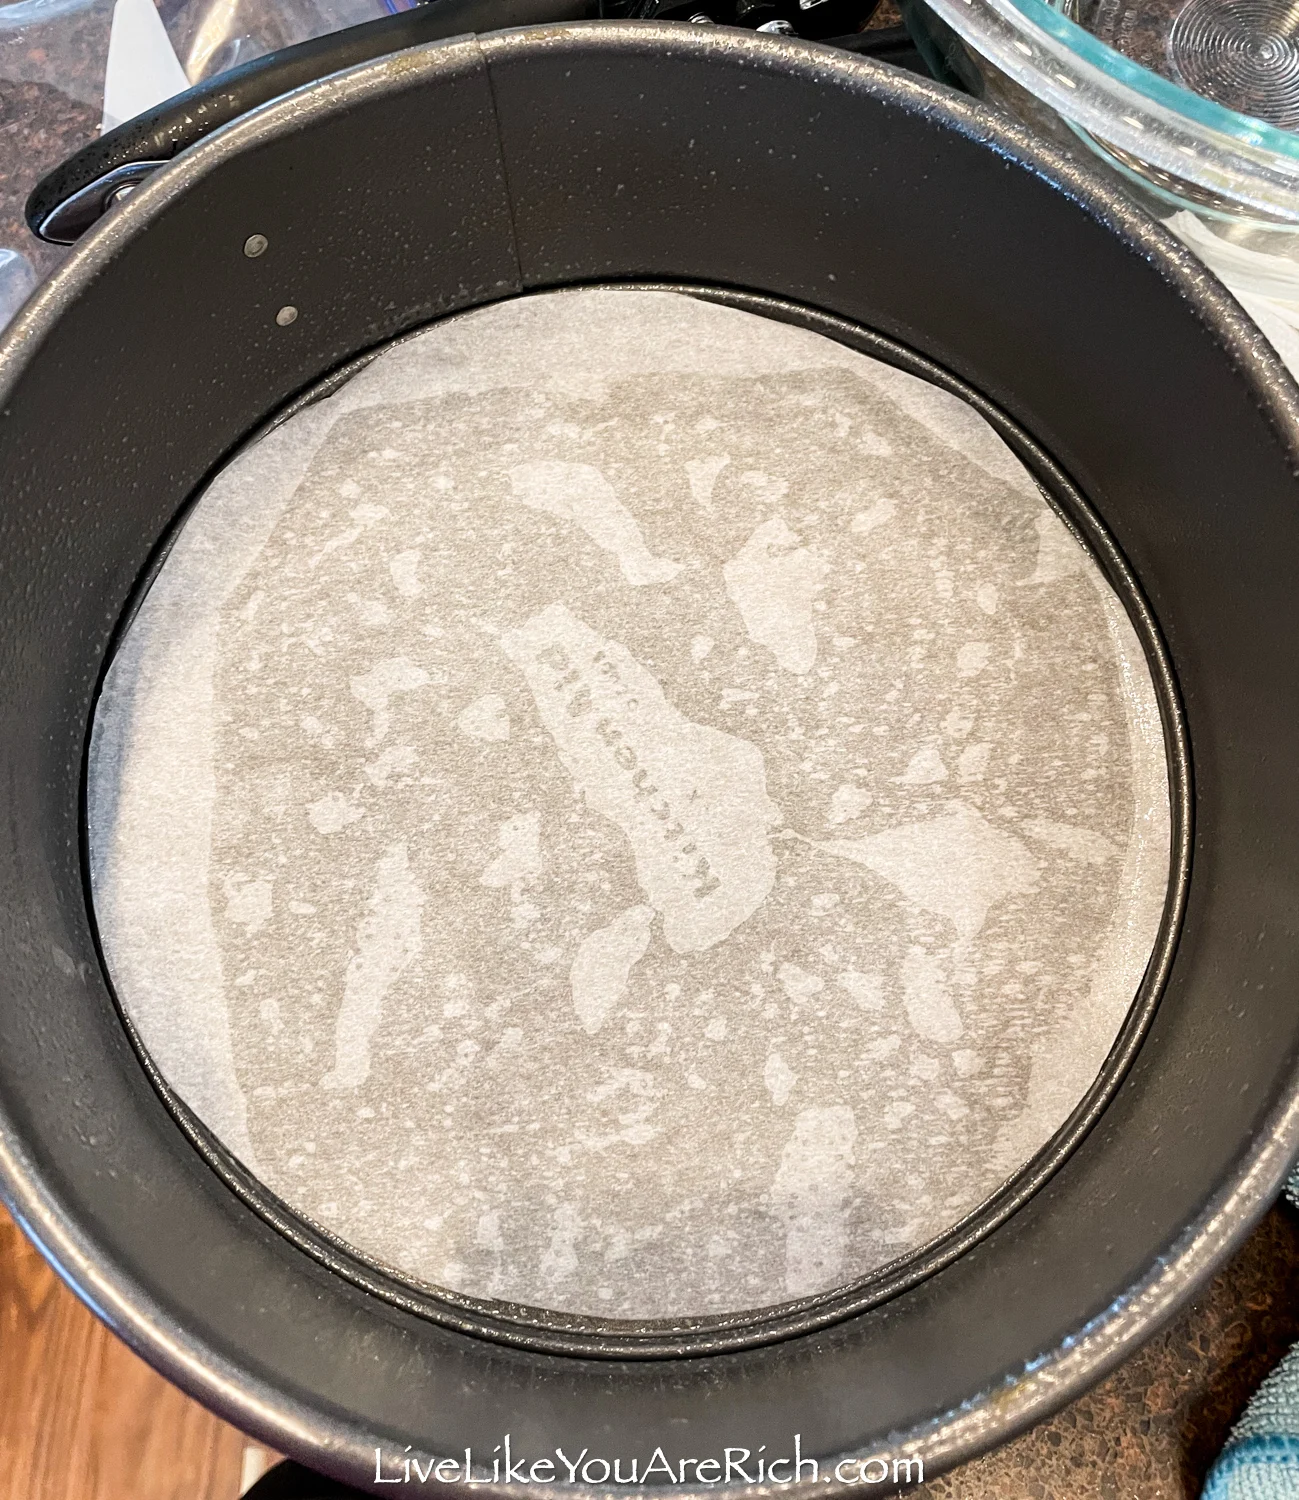
3- Cut out and line the bottom of the pan with parchment paper.
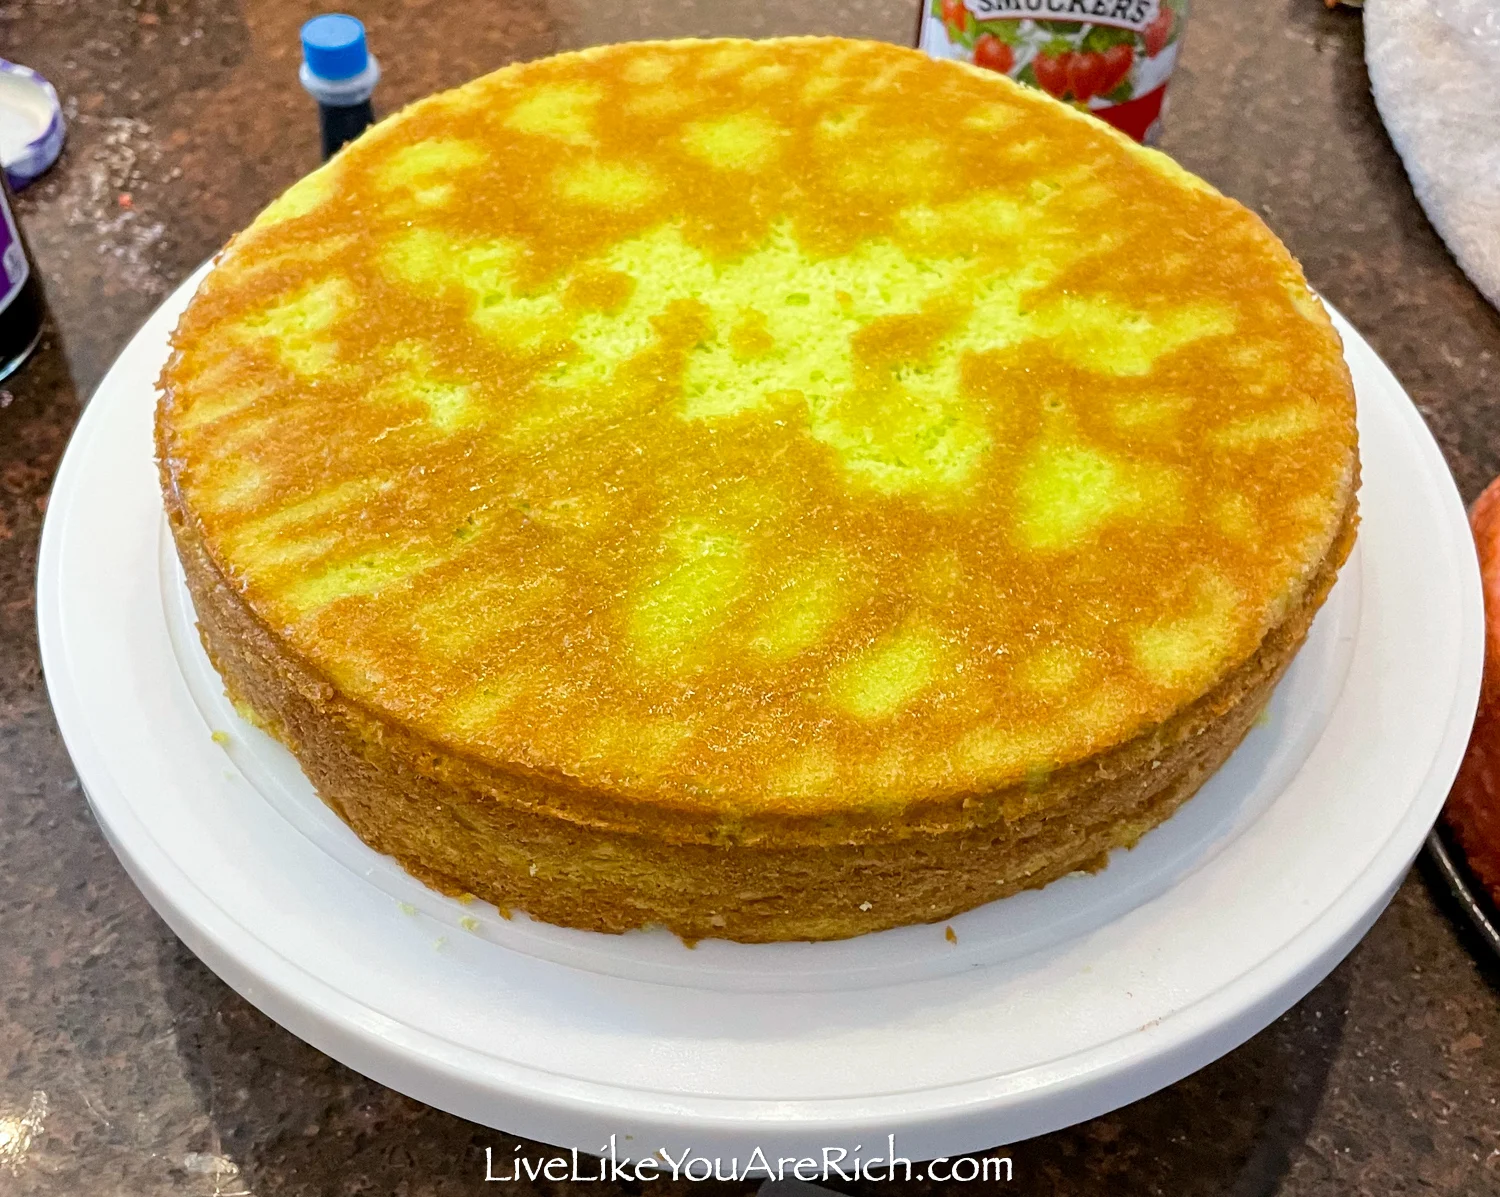
4-Bake the green cake and allow for it to fully cool.
5- Once cooled, level it using a cake leveler.
6-Flip the cake upside down (bottom up) and centered onto a cake stand.
6- Repeat the steps 1-5 with the pink cake and purple cakes.
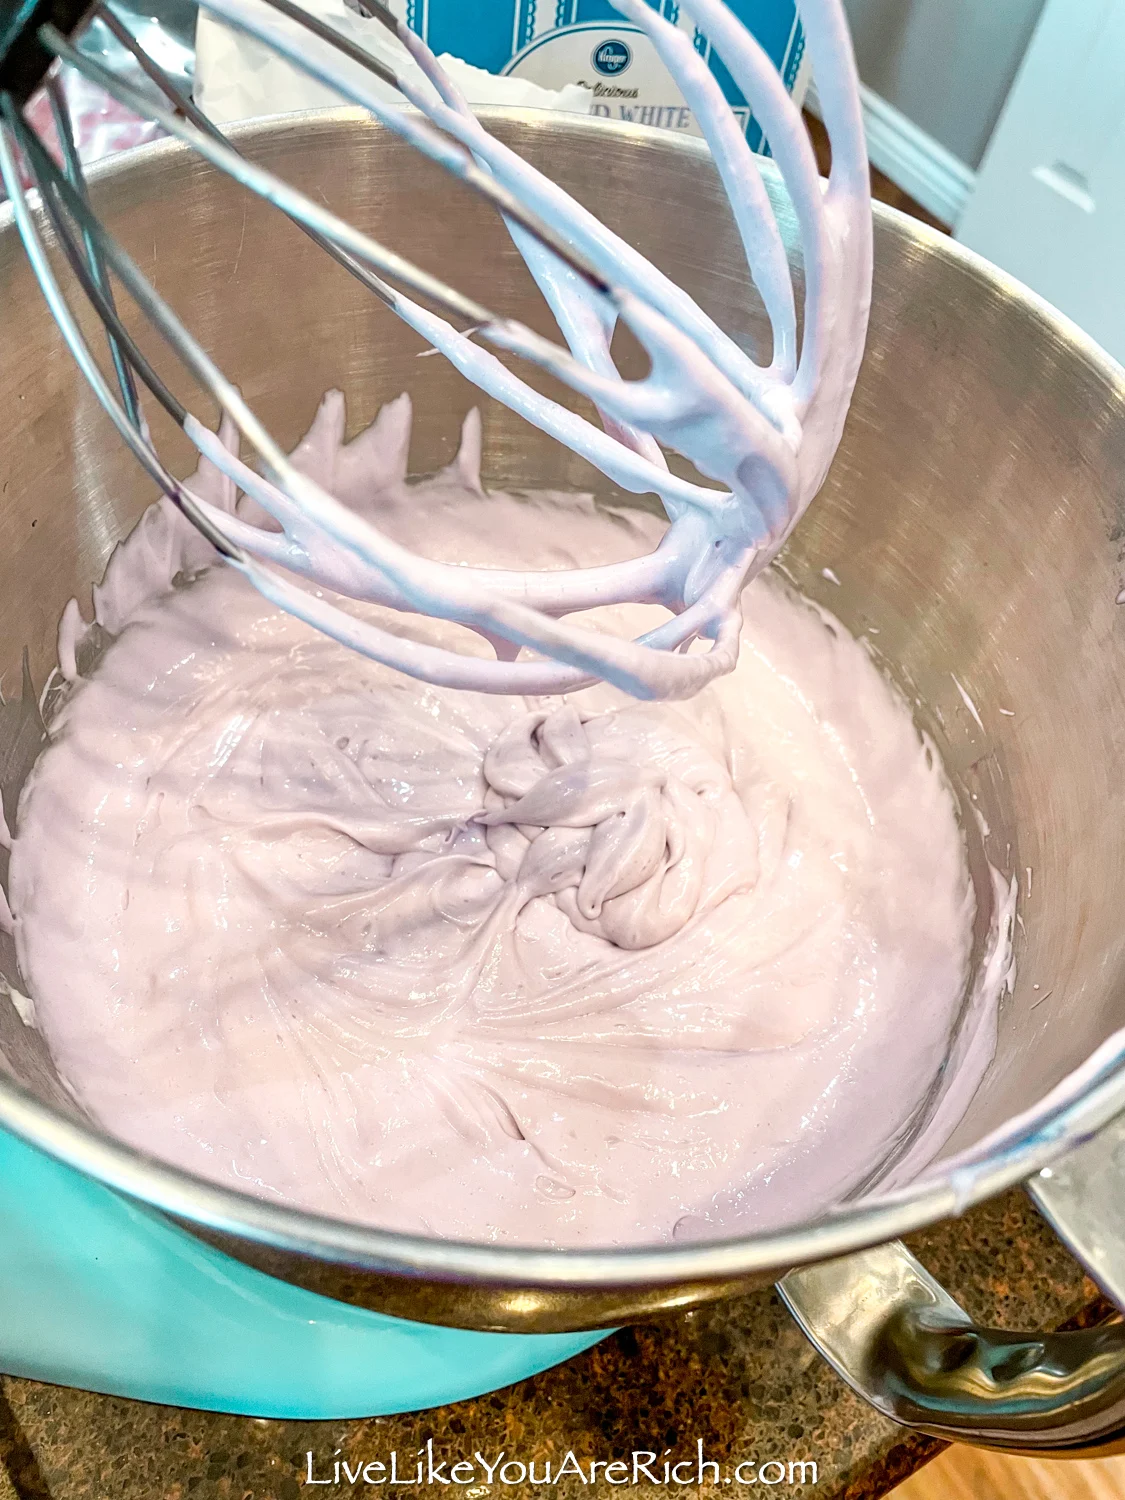
You want to get the cake mix colored slightly lighter than what you want it to look like once baked.
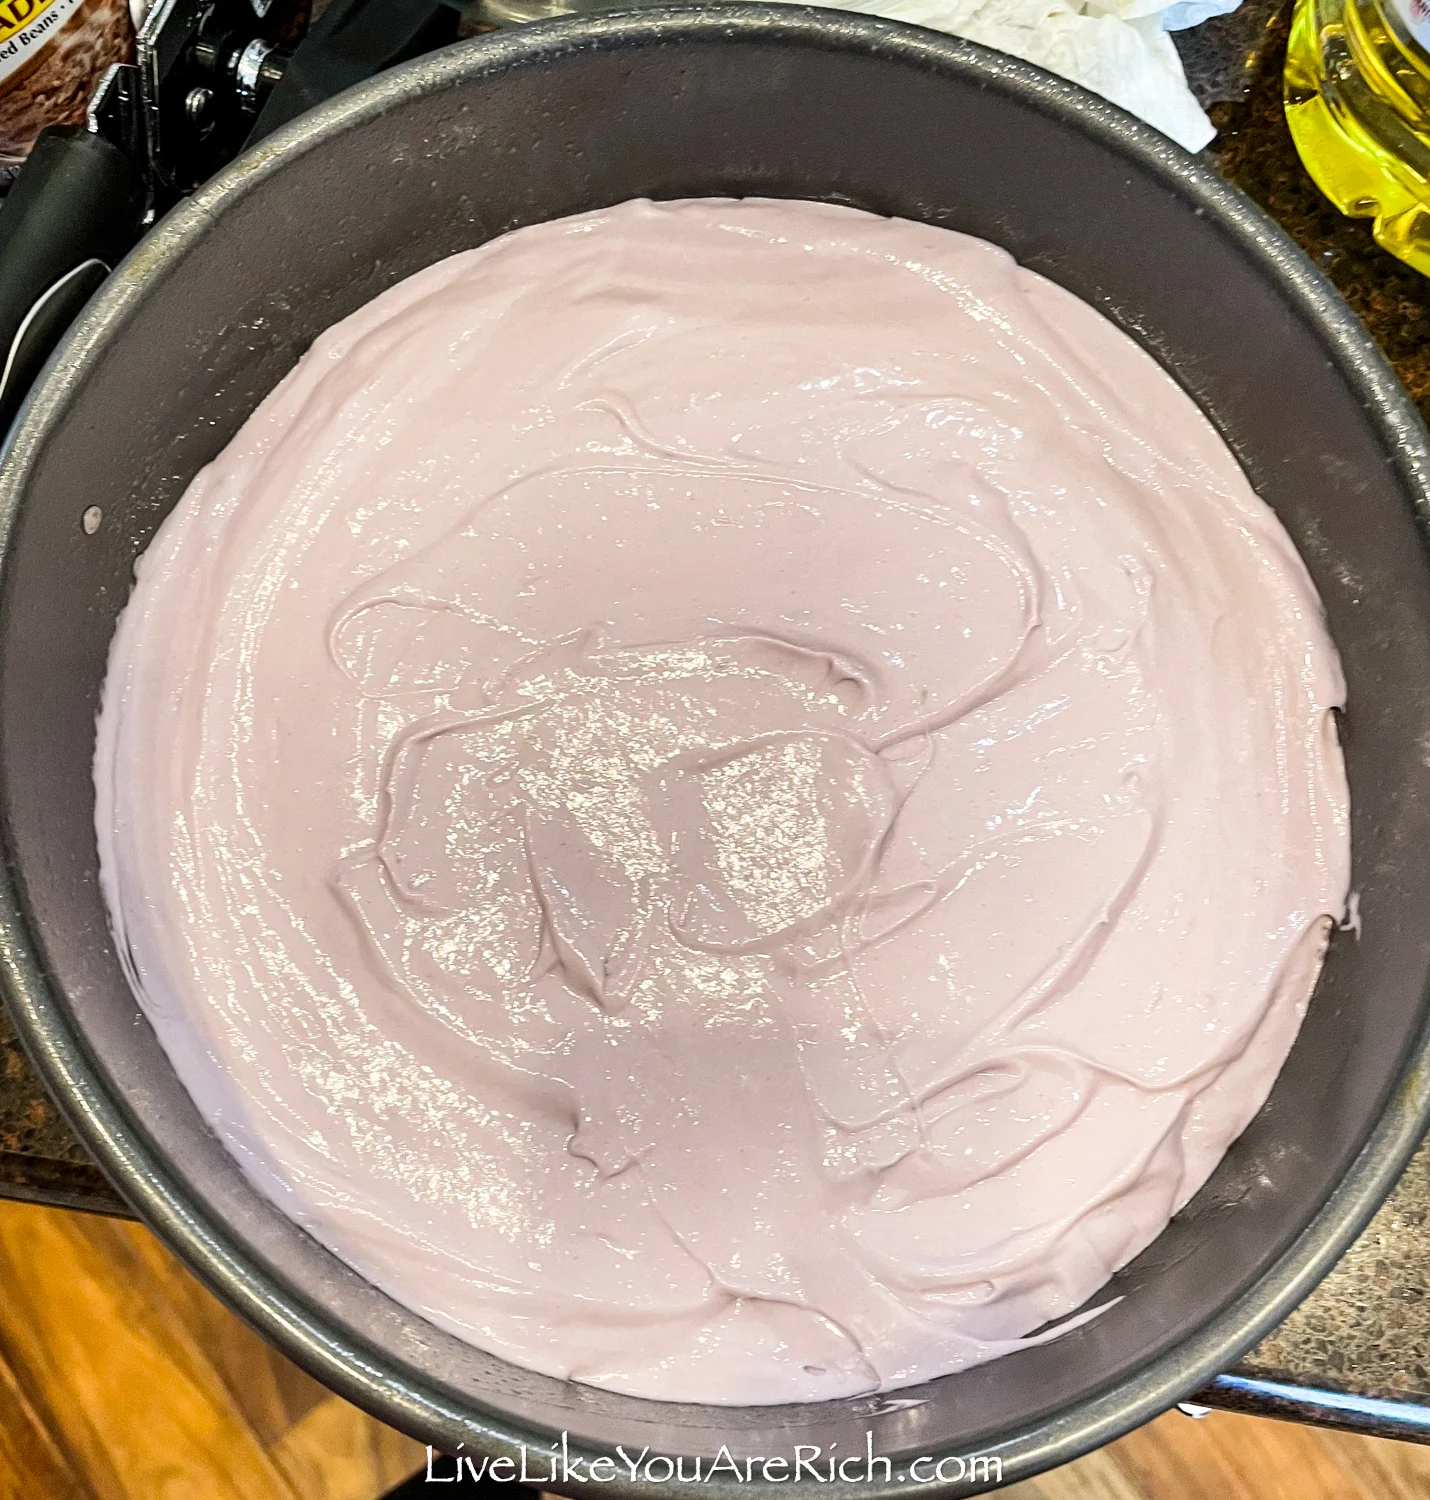
If using gel food coloring, I have found that the baking process will darken the color.

Make the frosting recipe found here. If you want it flavored like cotton candy (for kids I highly recommend this), add 2-4 teaspoons of cotton candy extract—to taste. This cotton candy flavor made the cake taste so yummy and the kids at the party loved it!
Note— if you do flavor the frosting with cotton candy extract, you can skip using the vanilla bean paste in the frosting recipe and just use the regular vanilla extract amount to balance the cotton candy out. Using both the vanilla bean and the vanilla extract requires that you use more cotton candy extract to overcome the vanilla flavor. However, you will still want to add a bit of vanilla to round off the taste a bit.
Divide the frosting into 3 bowls. You will need the least amount of green icing, then pink, and you’ll want the most in the purple-blue hue to ice the top layer and top of the cake.
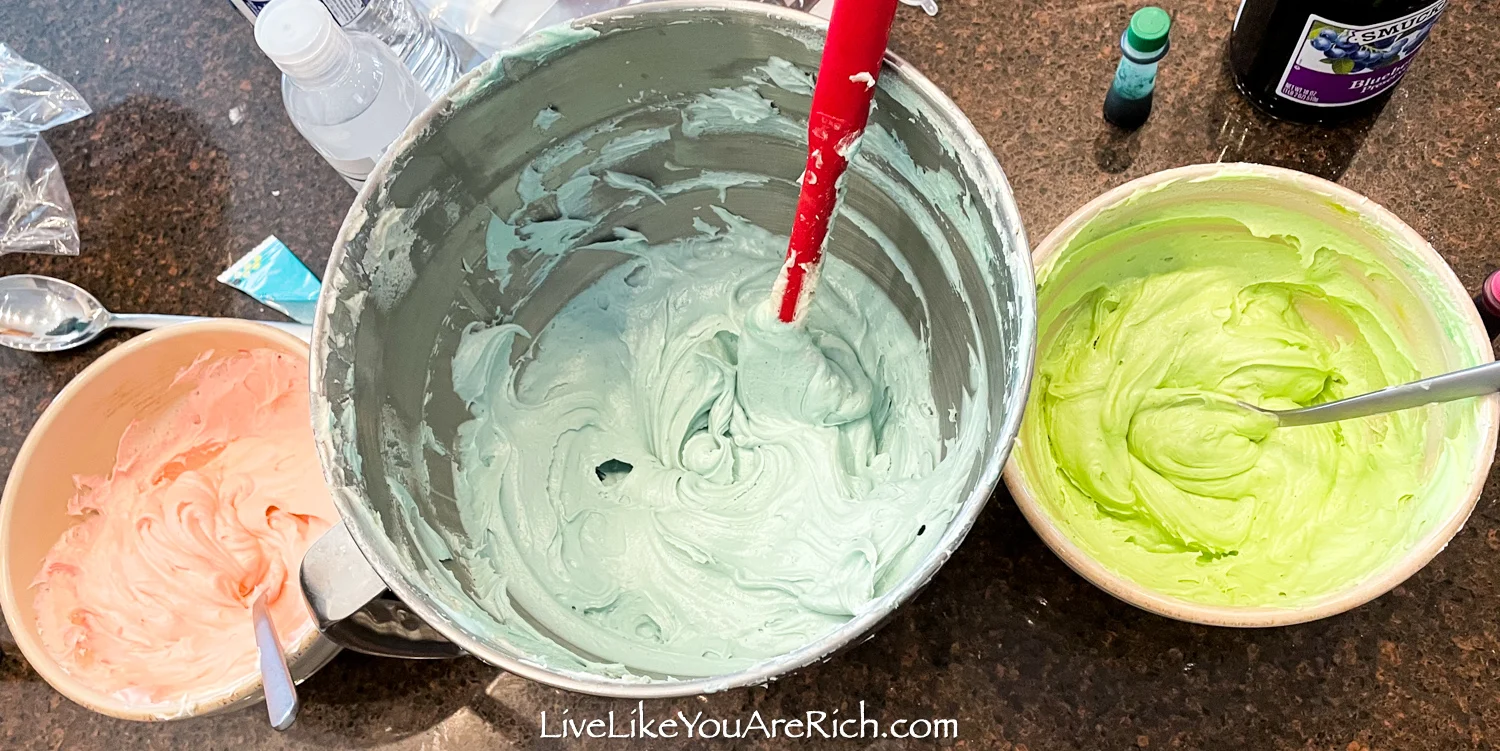
Pipe the frosting into frosting piping bags or ziploc bags.
When all three cakes are baked, cooled completely and leveled, begin assembly.
How to Assemble Just Add Magic Last Ditch Layer Cake- Easy Version
Start with the green cake flipped upside down on a cake stand. Remove the parchment paper.

Add strawberry jam on top and pipe the pink frosting around the edges.
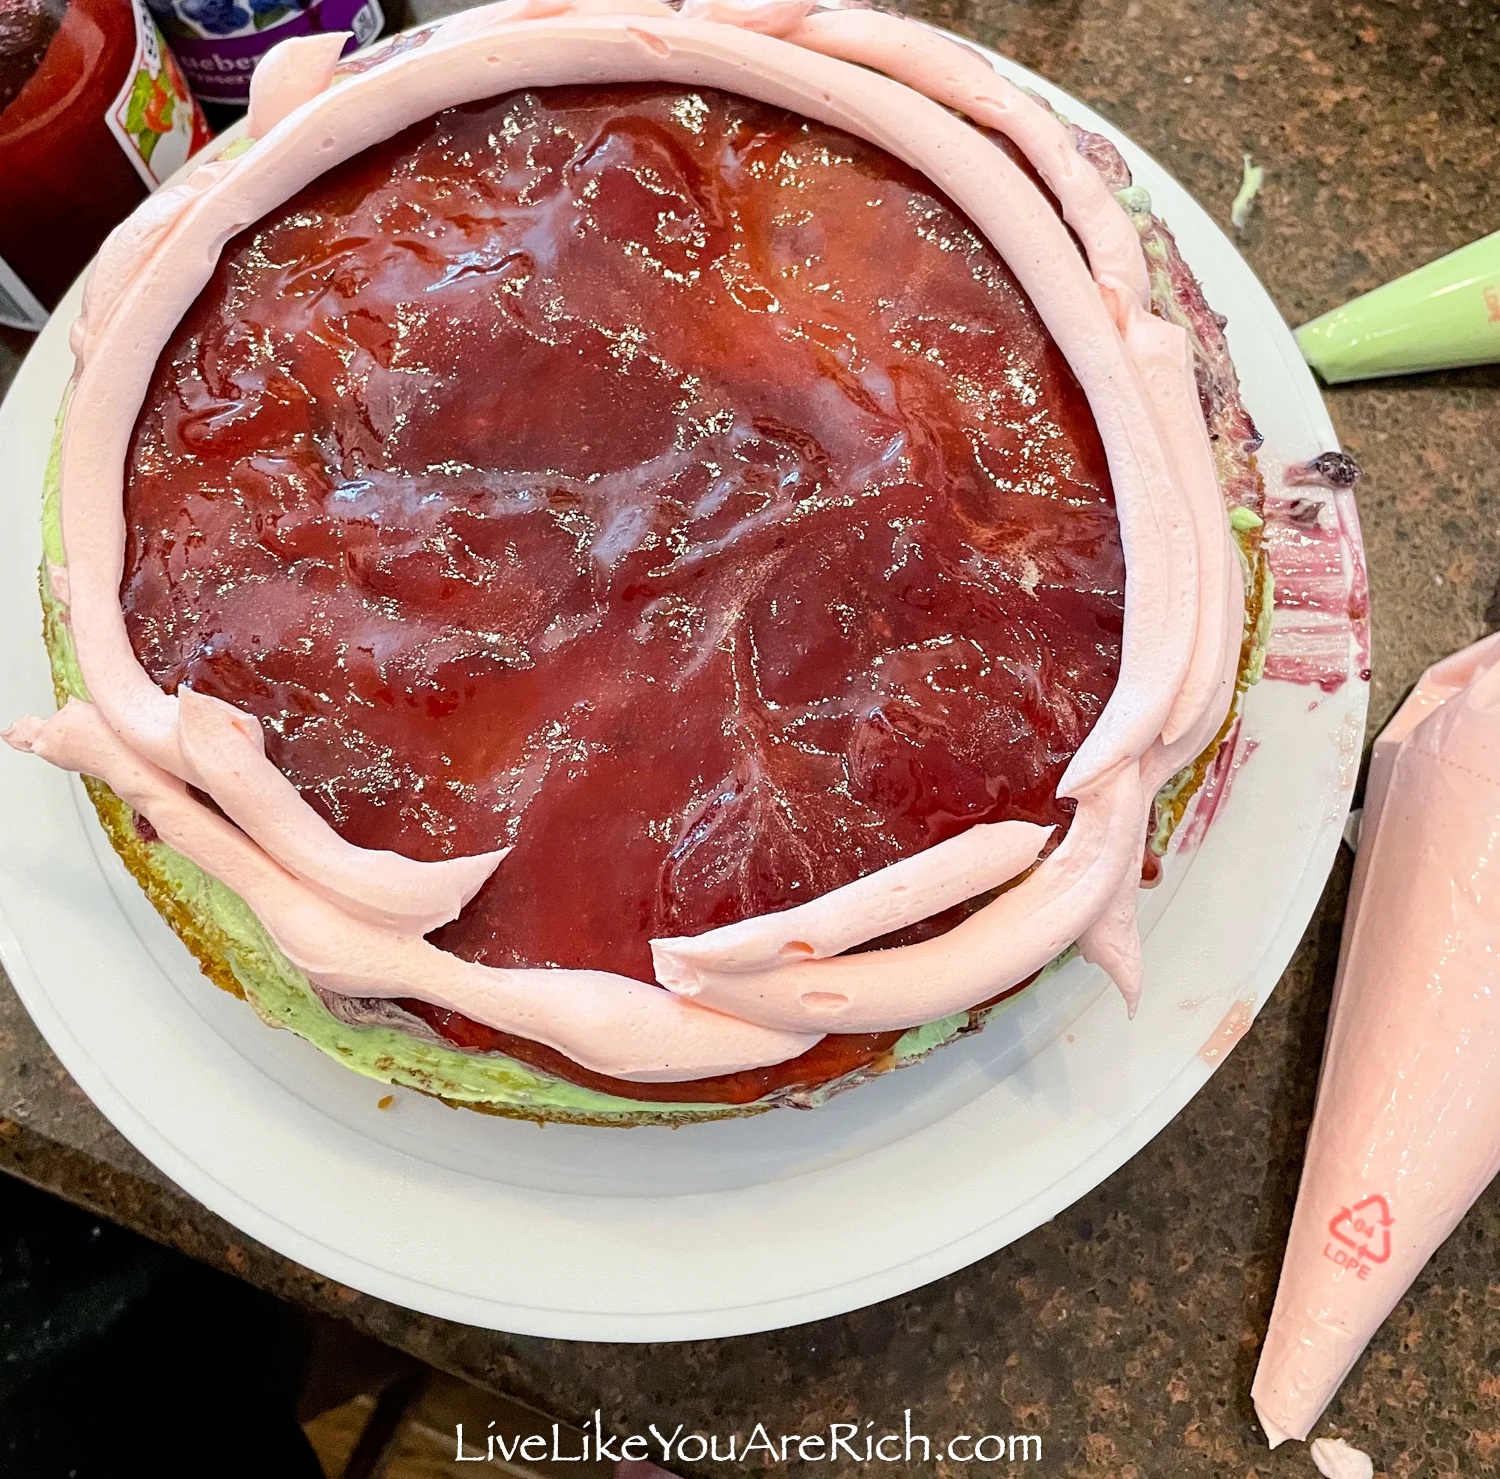
Mix the frosting and jam together.
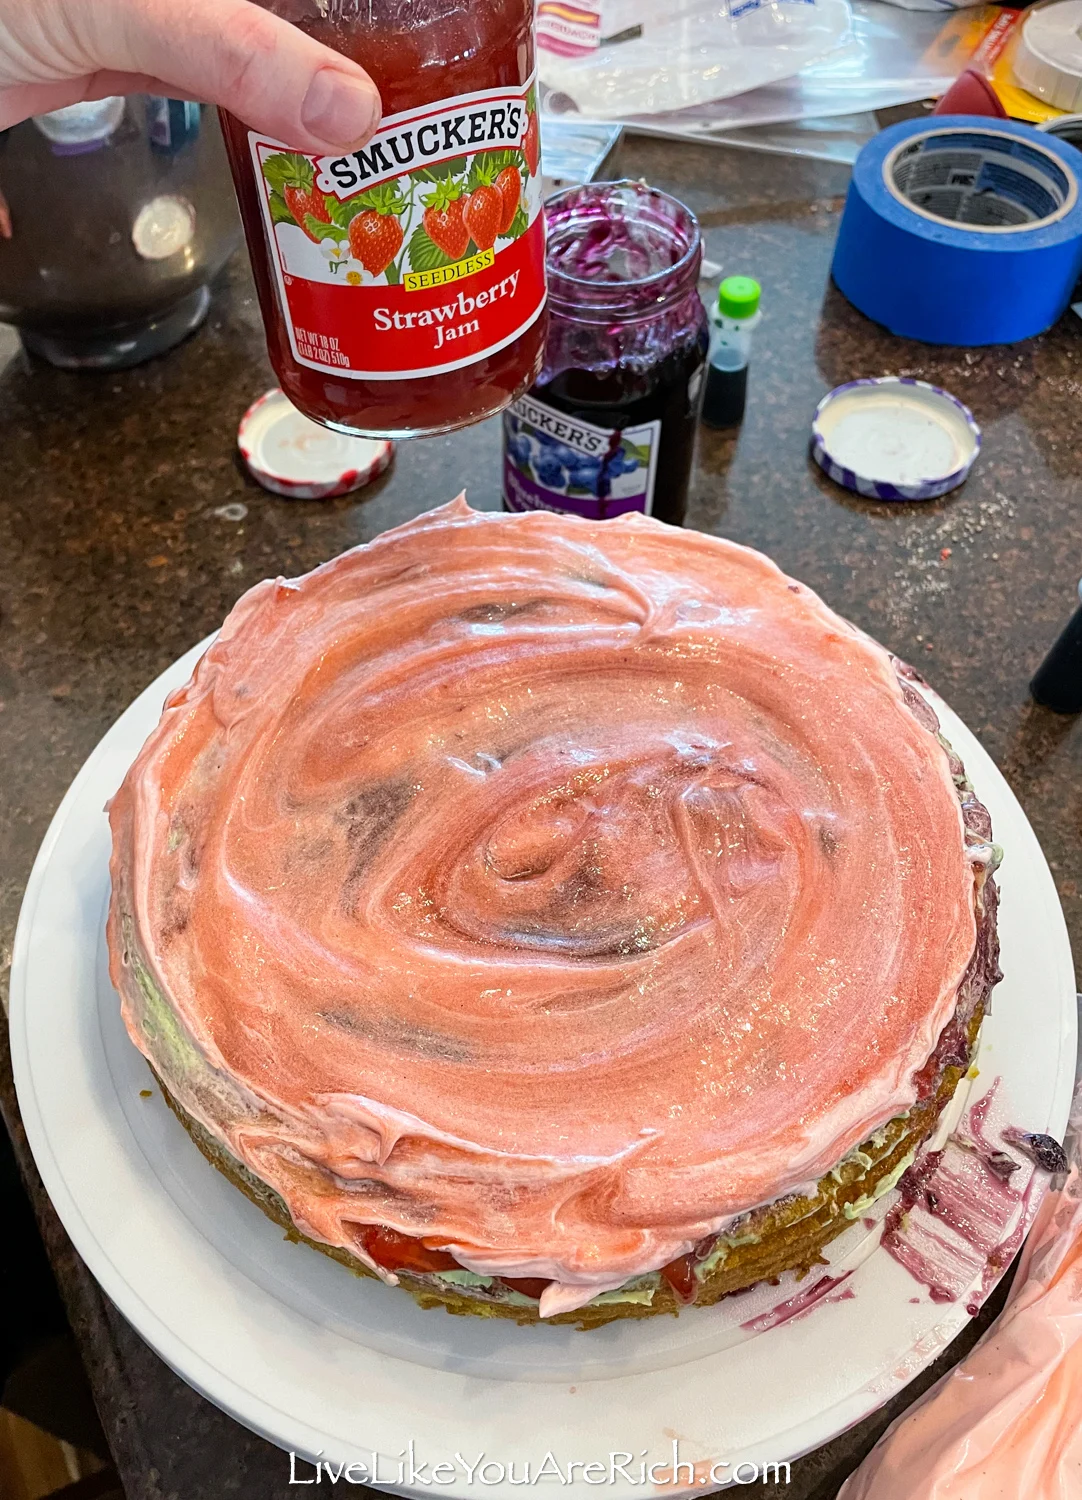
Place the pink cooled and leveled cake upside down on top of the strawberry jam mixture. Remove the parchment paper.
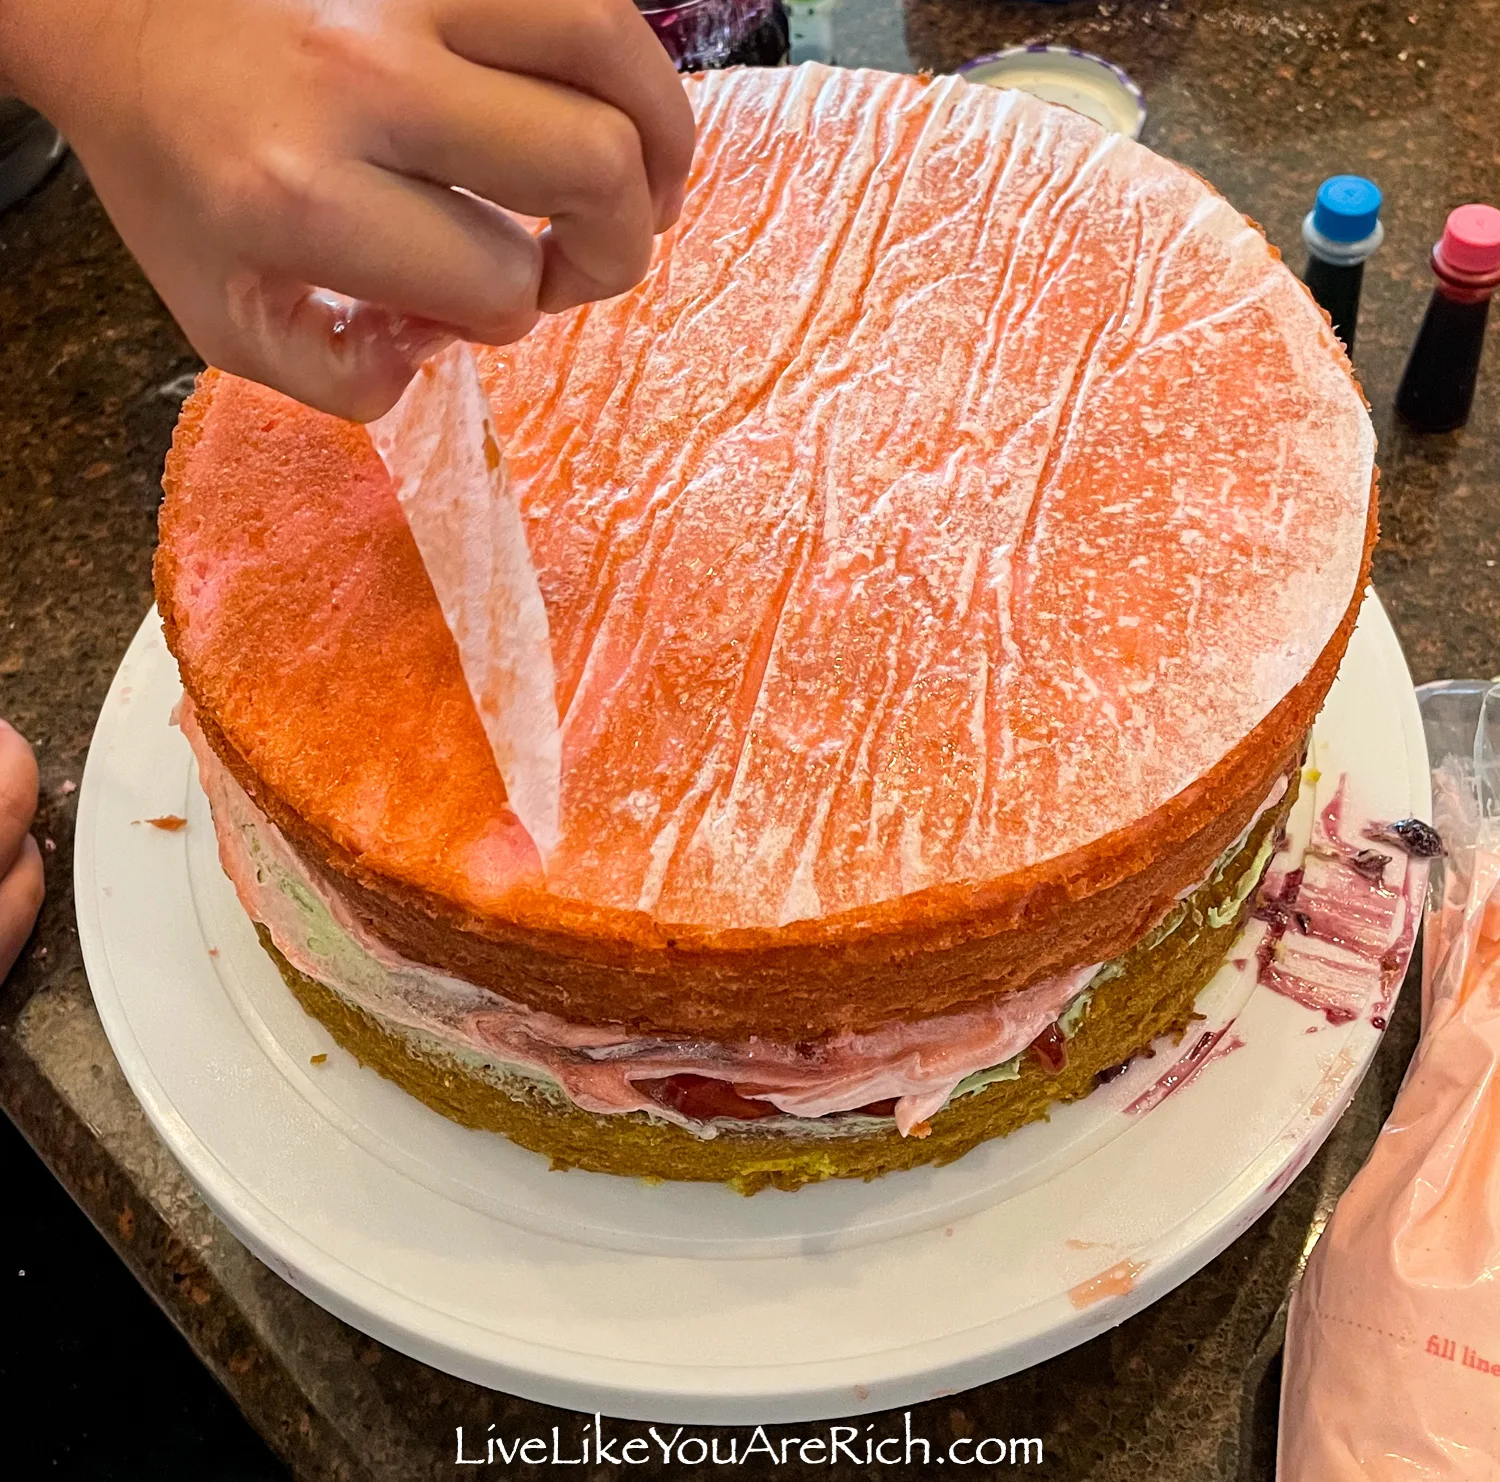
Scrape away any jam that oozes out.
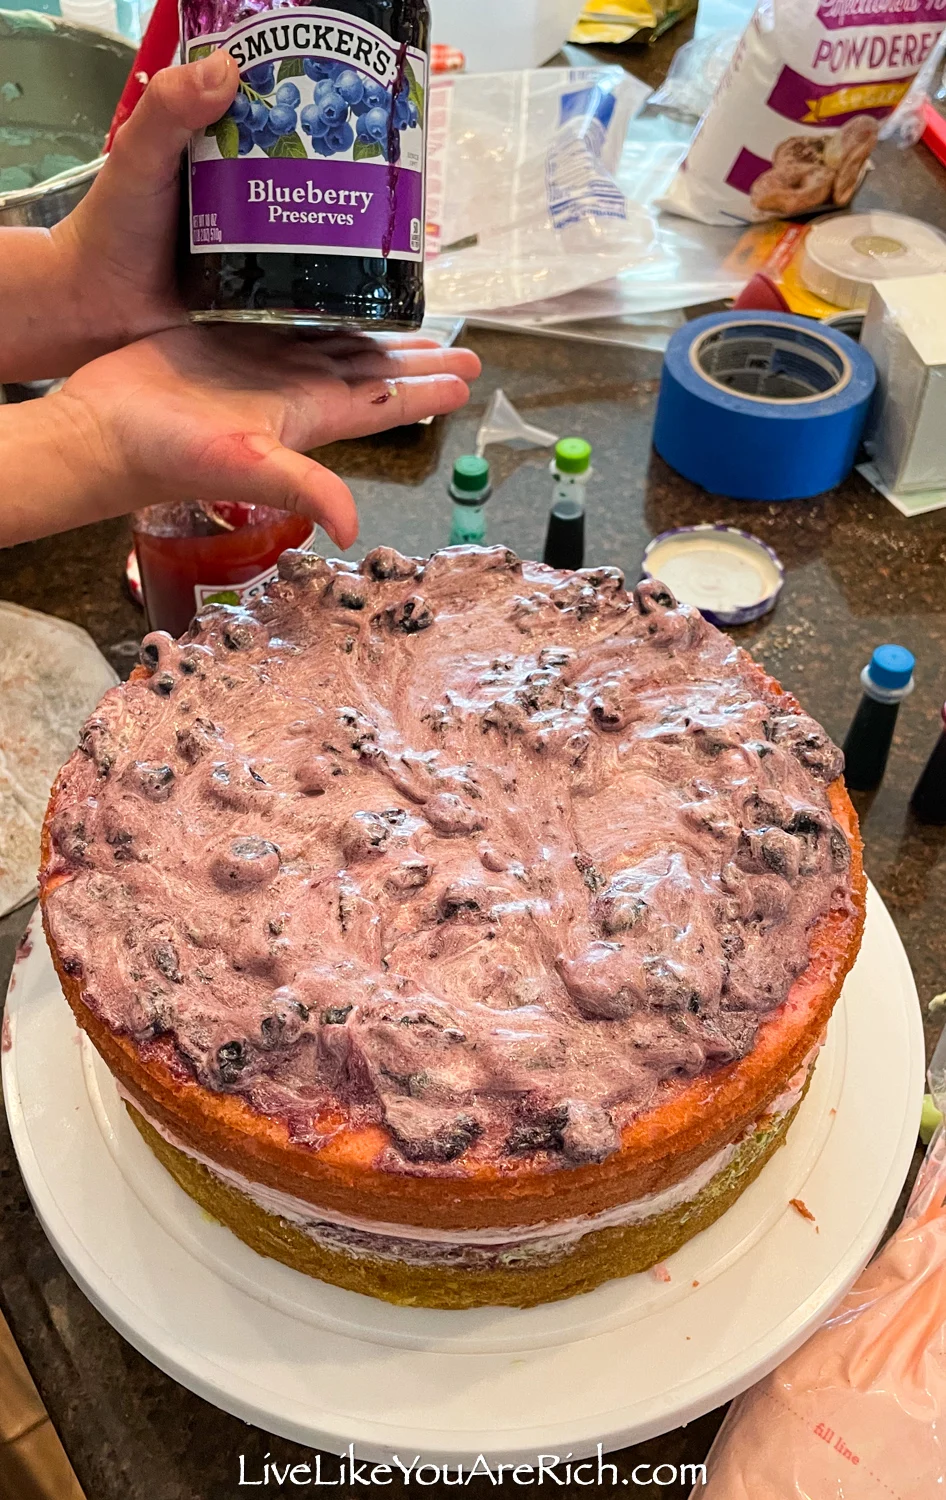
Add blueberry jam and the purple-blue frosting on top of the pink cake. Mix it well.
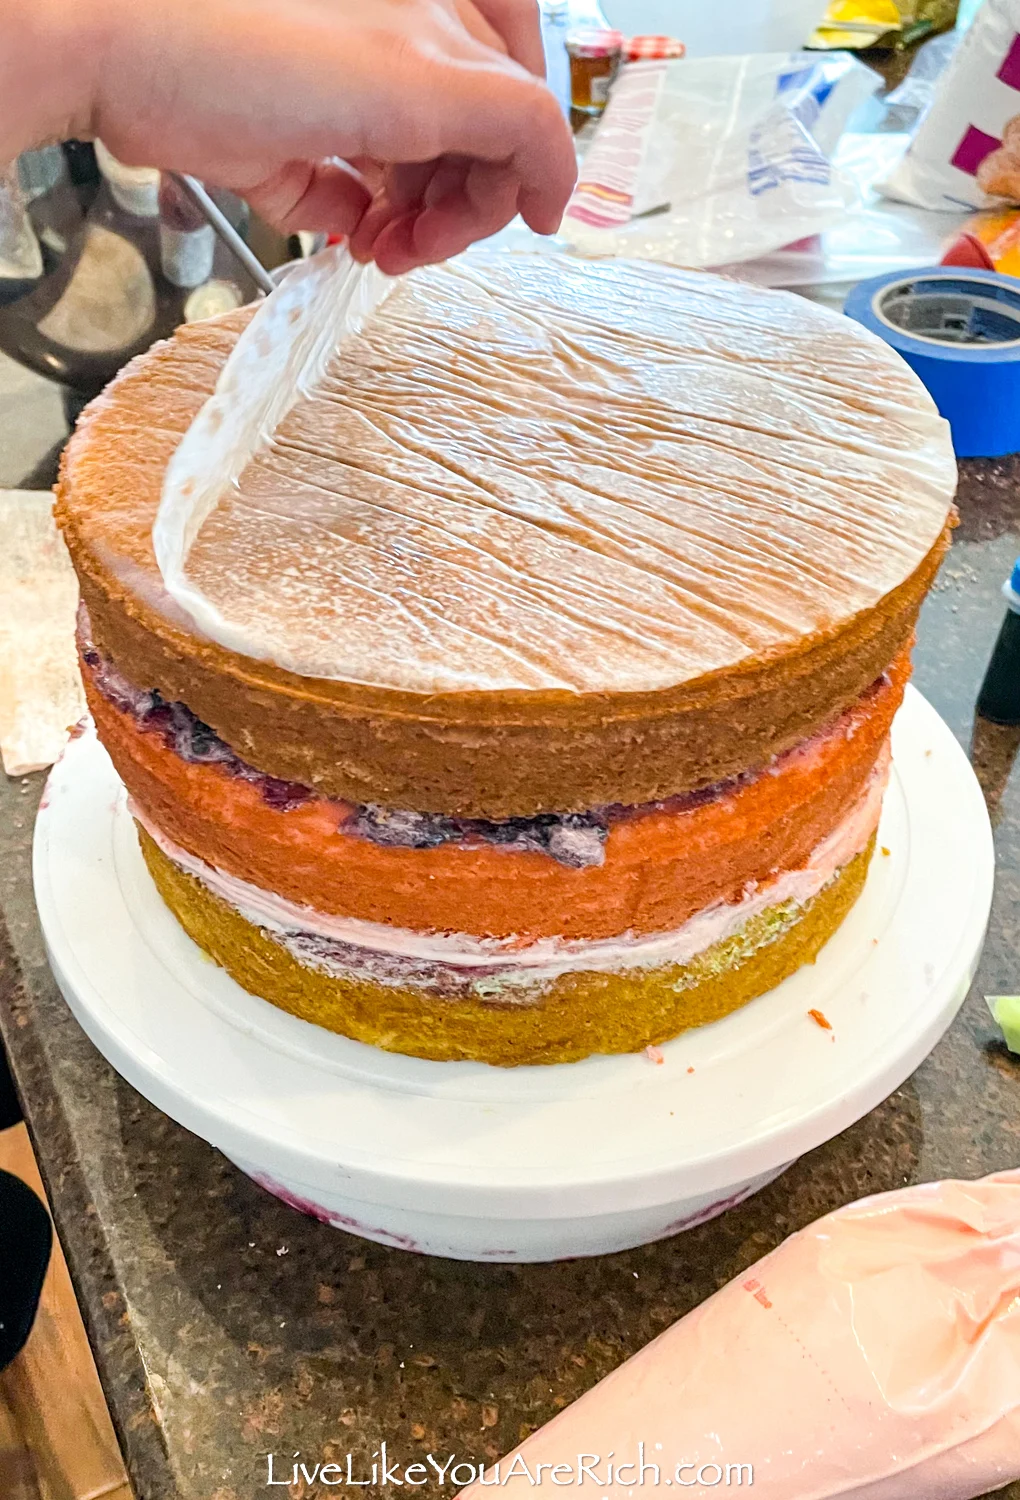
Place the leveled and cooled purple cake upside down on top of the blueberry jam. Remove the parchment paper and scrape away any jam that may ooze out.
Using a piping bag, pipe the green, pink and purple-blue icing onto the side of the cake.
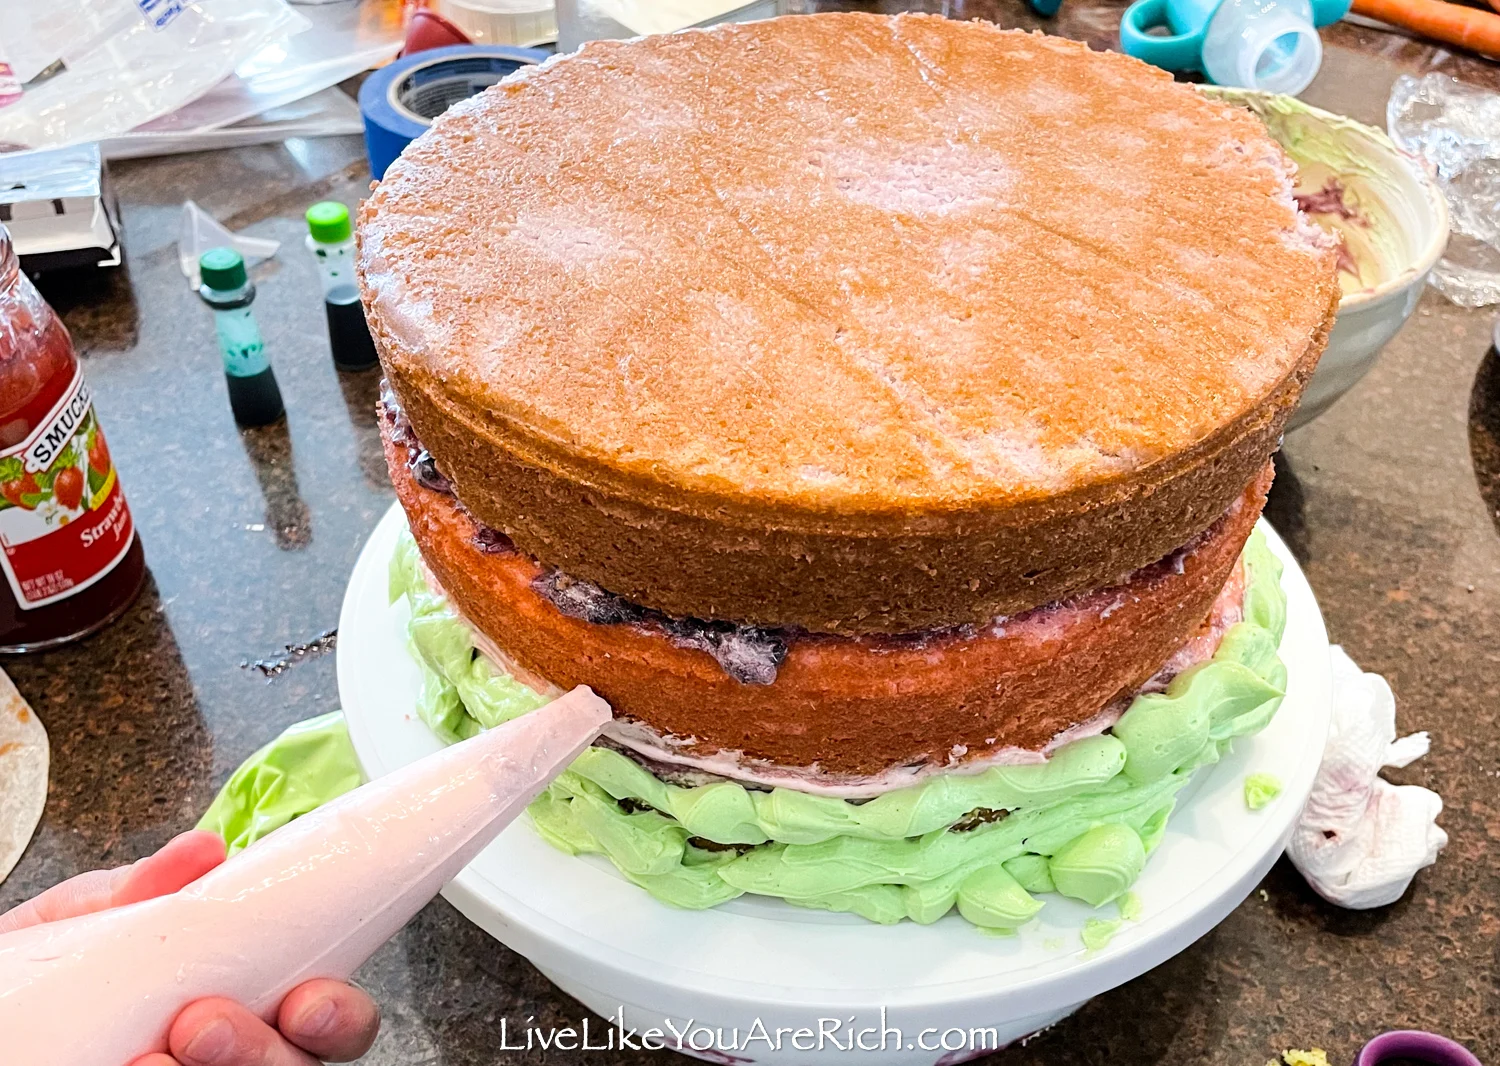
My daughter (6 years old), piped while I rotated the cake stand. She did a pretty good job for her first time piping frosting on a cake!
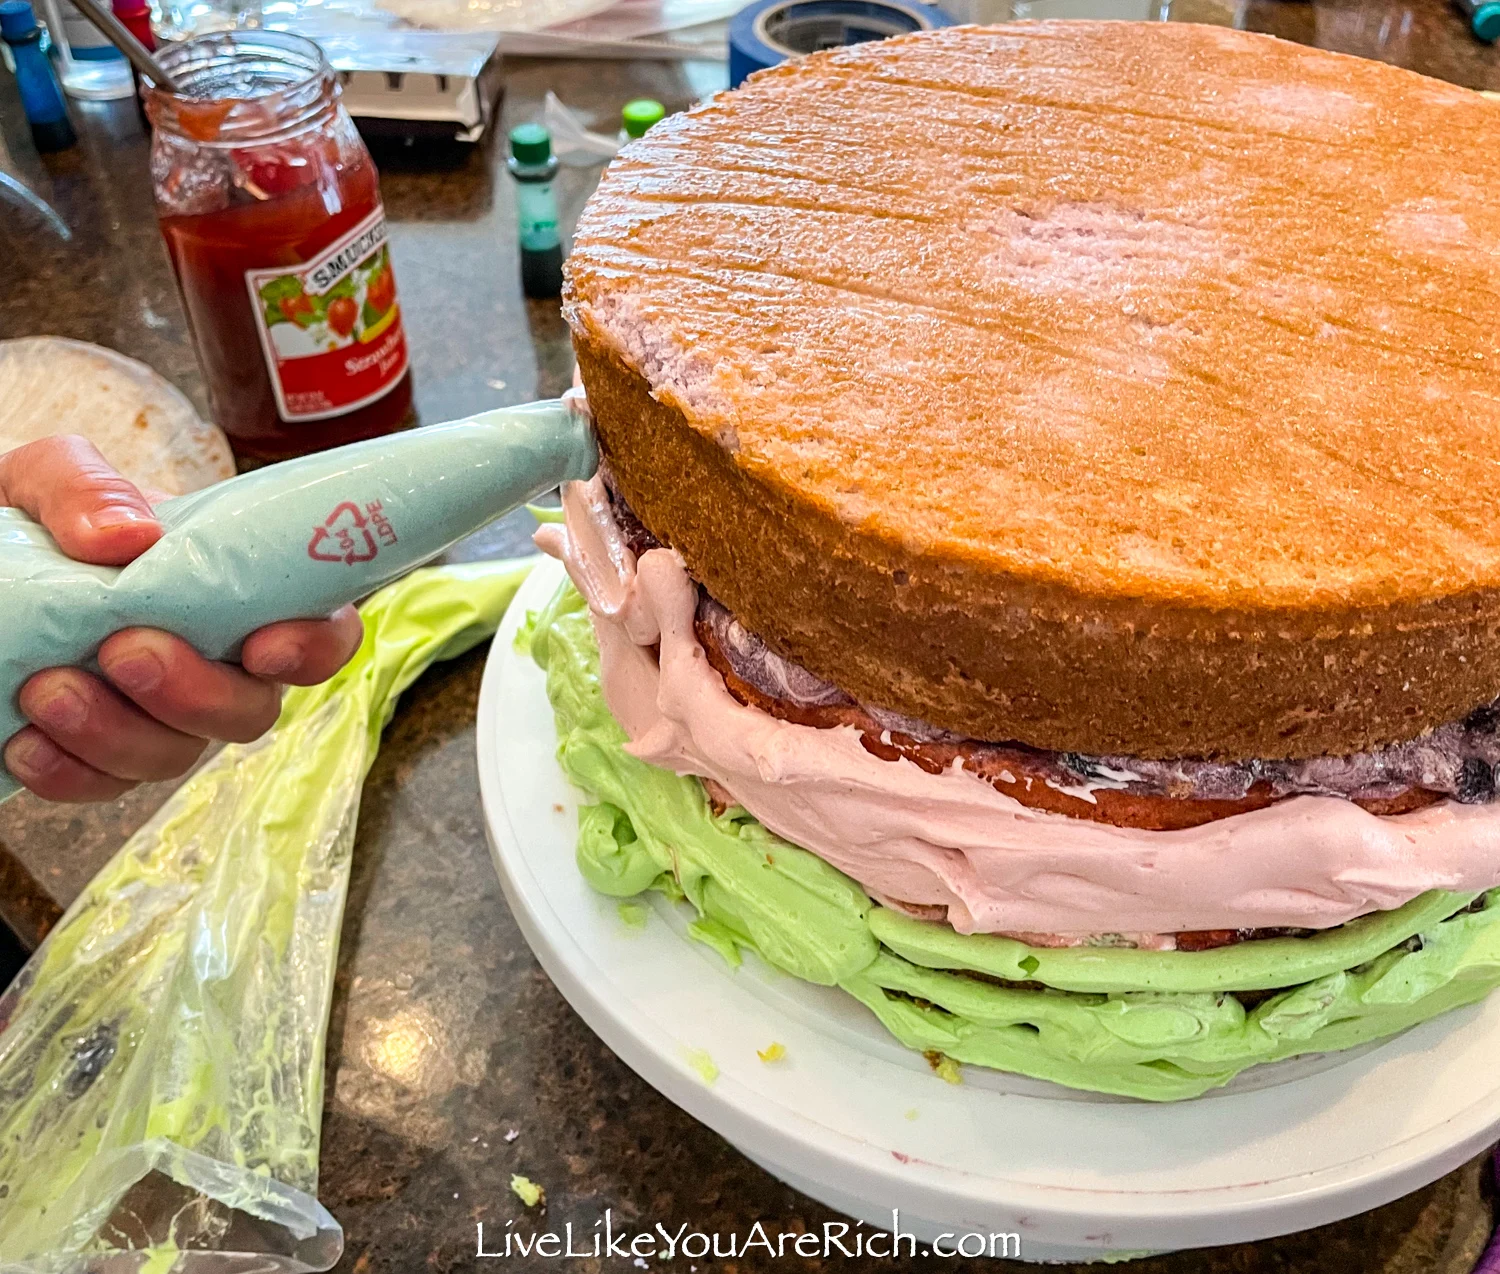
Once all three colors of icing are up on the side of the cake, use a straight edge (like a pie spatula or this long icing knife) to smooth the colors into the cake, stop and wipe off the straight edge between swipes.
Next, ice the top of the cake. Use a small icing spatula to create texture in the sides and top. Sprinkle silver or white small sugar pearls in the middle of the top of the cake.

Cool the cake in the fridge until shortly before serving.
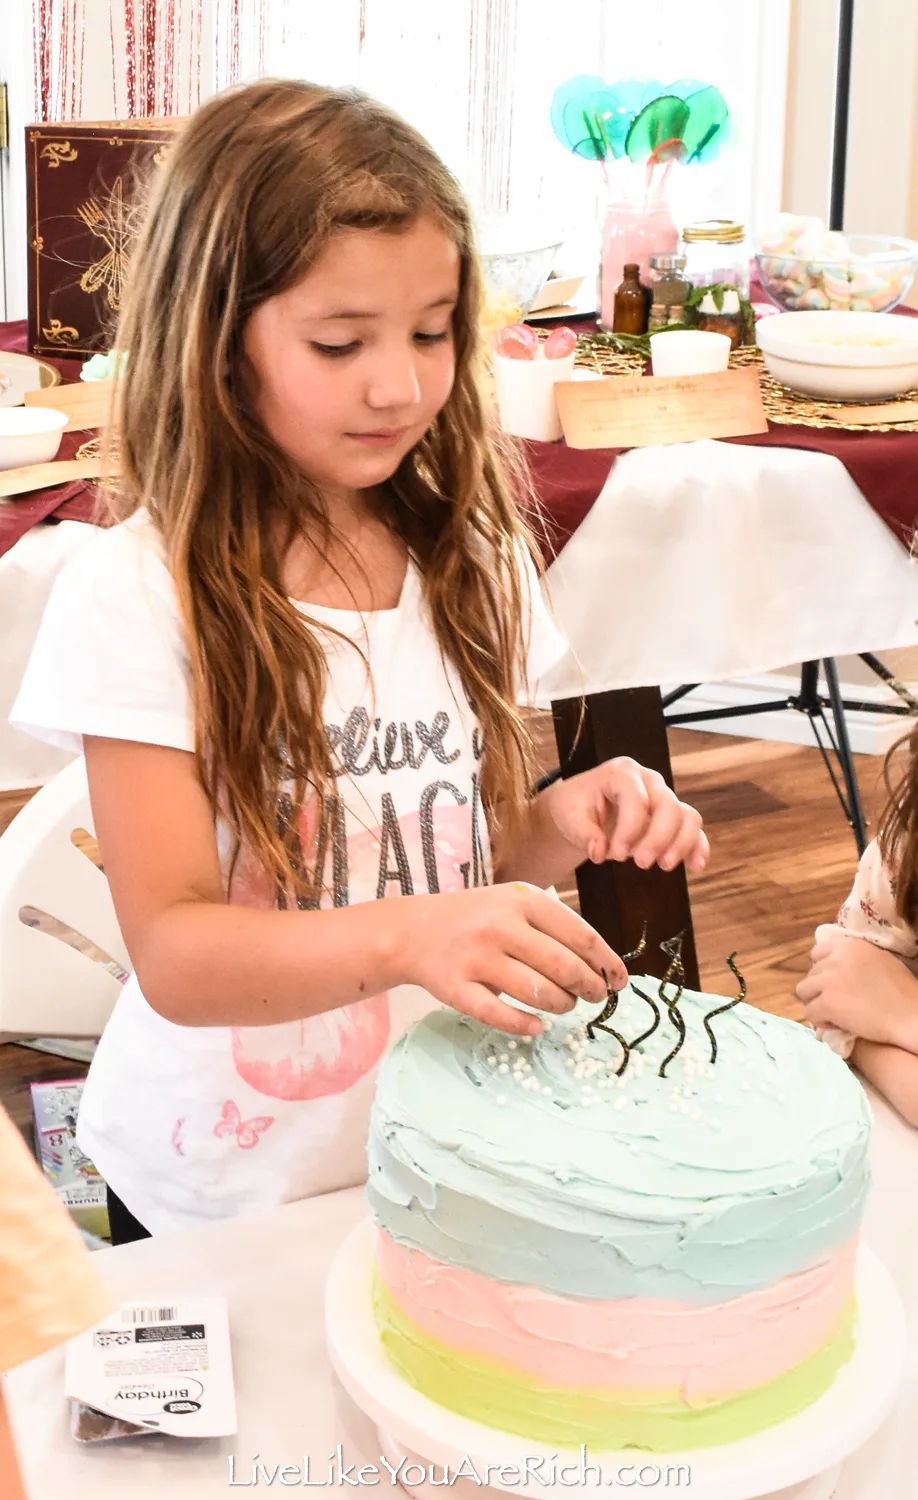
If using for a birthday cake, place fun candles on it. I bought these awesome candles for it.
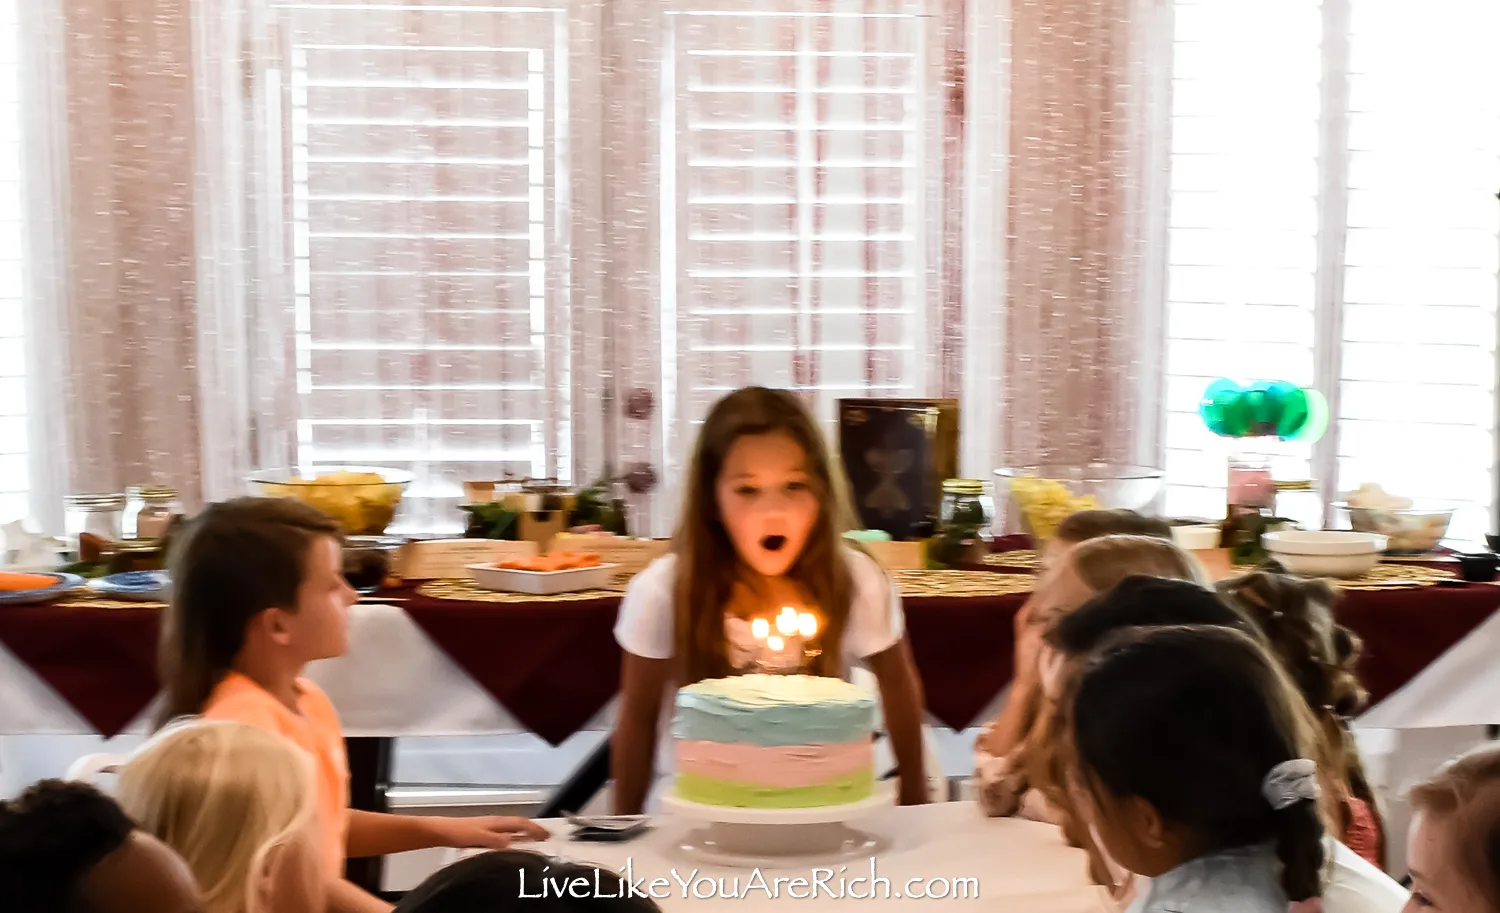
Have the birthday person blow them out and serve to guests.
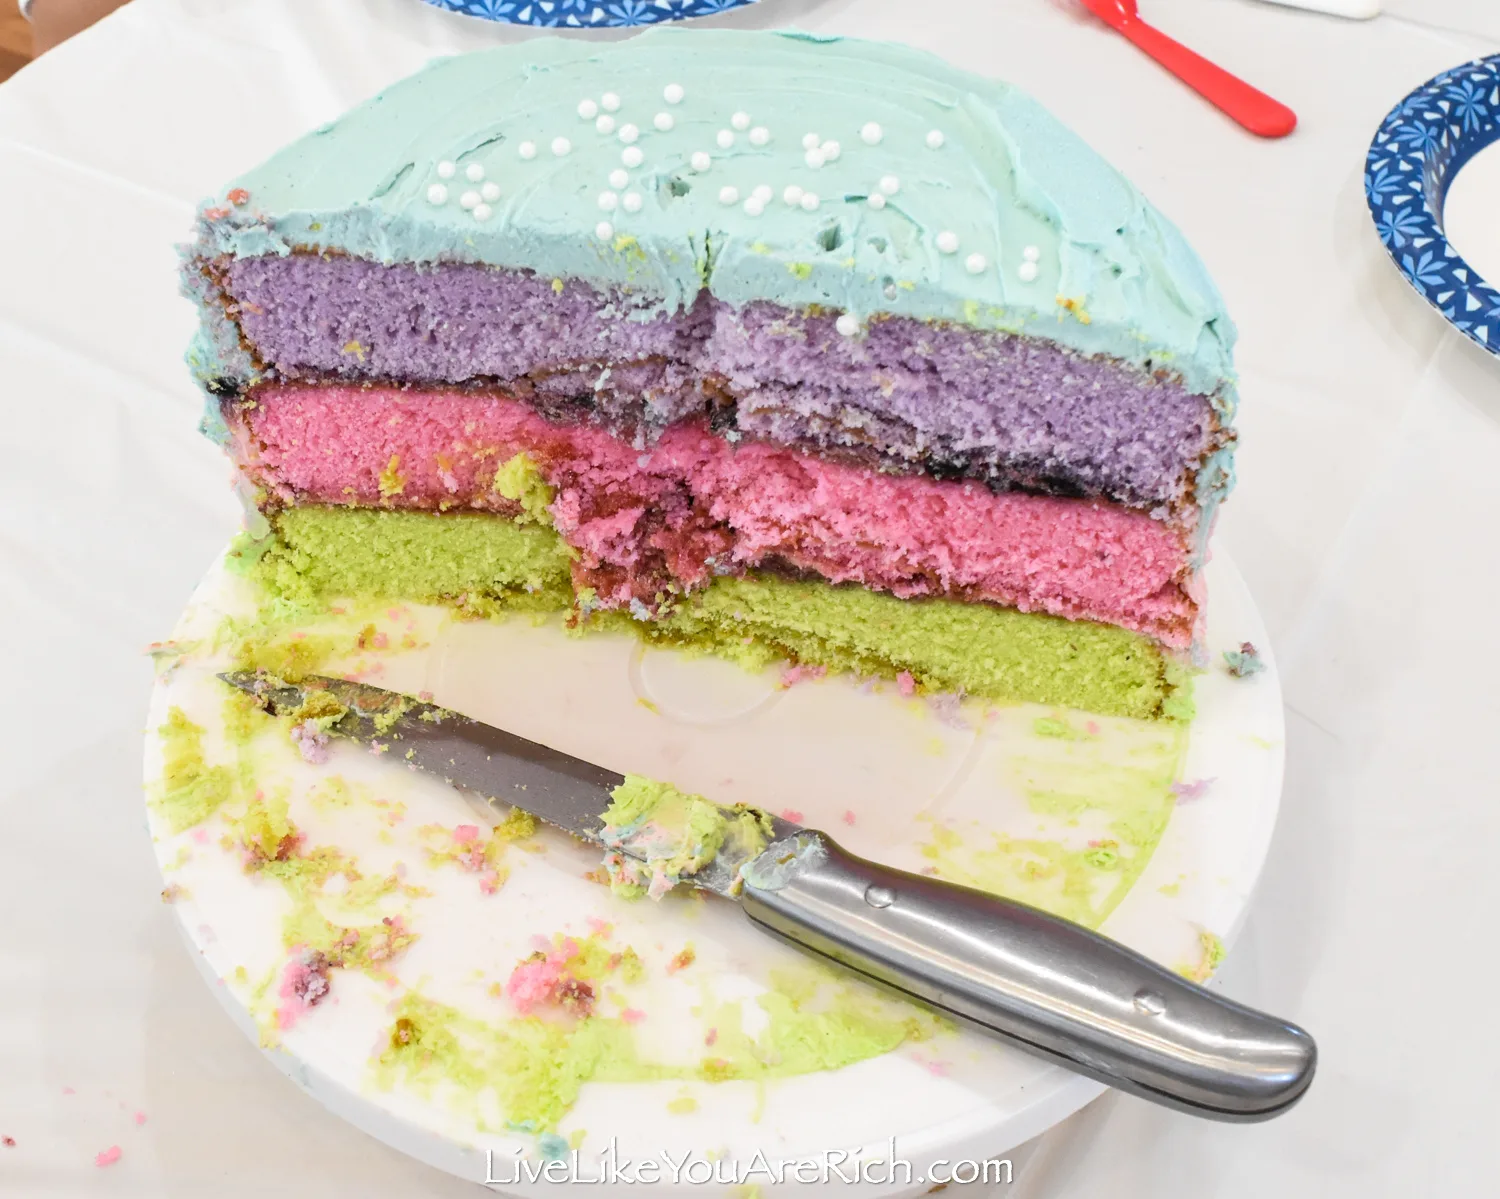
I hope you enjoy this delicious easy version of the Just Add Magic Last Ditch Layer Cake!
For other ‘rich living’ and cleaning tips please subscribe, like me on Facebook, and follow me on Pinterest and Instagram.
