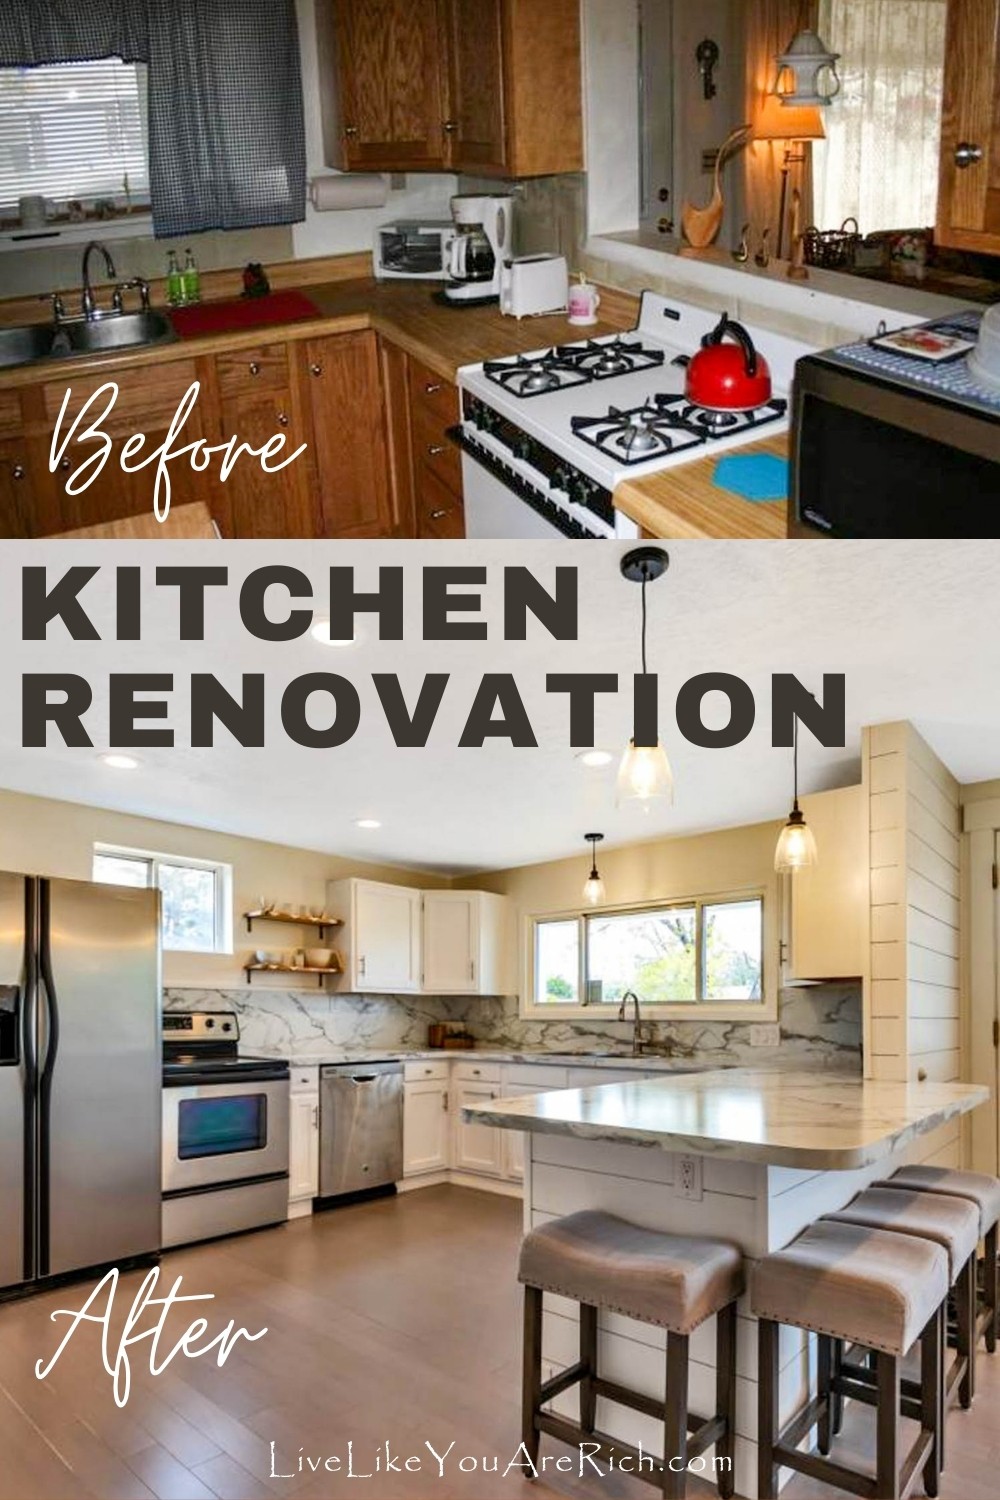
Kitchen Renovation Before and After—Home 2
When renovating my husband’s house, (what I call Home 2), I was hoping we would achieve a stylish, affordable, and practical renovation.
After looking at comps, we found that my husband had bought in a neighborhood where granite/quartz, over the stove elaborate ranges, etc. were not in any of the comps that we looked at.
Looking at comparison homes that have recently sold in the area and their features is something I’d recommend doing if you are planning to sell the home you are renovating.
There were very few ‘upgrades’ in his area so we planned the renovation accordingly. We managed to renovate this kitchen including buying stainless steel appliances for $4,500.00. When you see the afters, I think you’ll agree we did this total makeover fairly inexpensively.
The before kitchen floor plan had a pass through window into the living room.
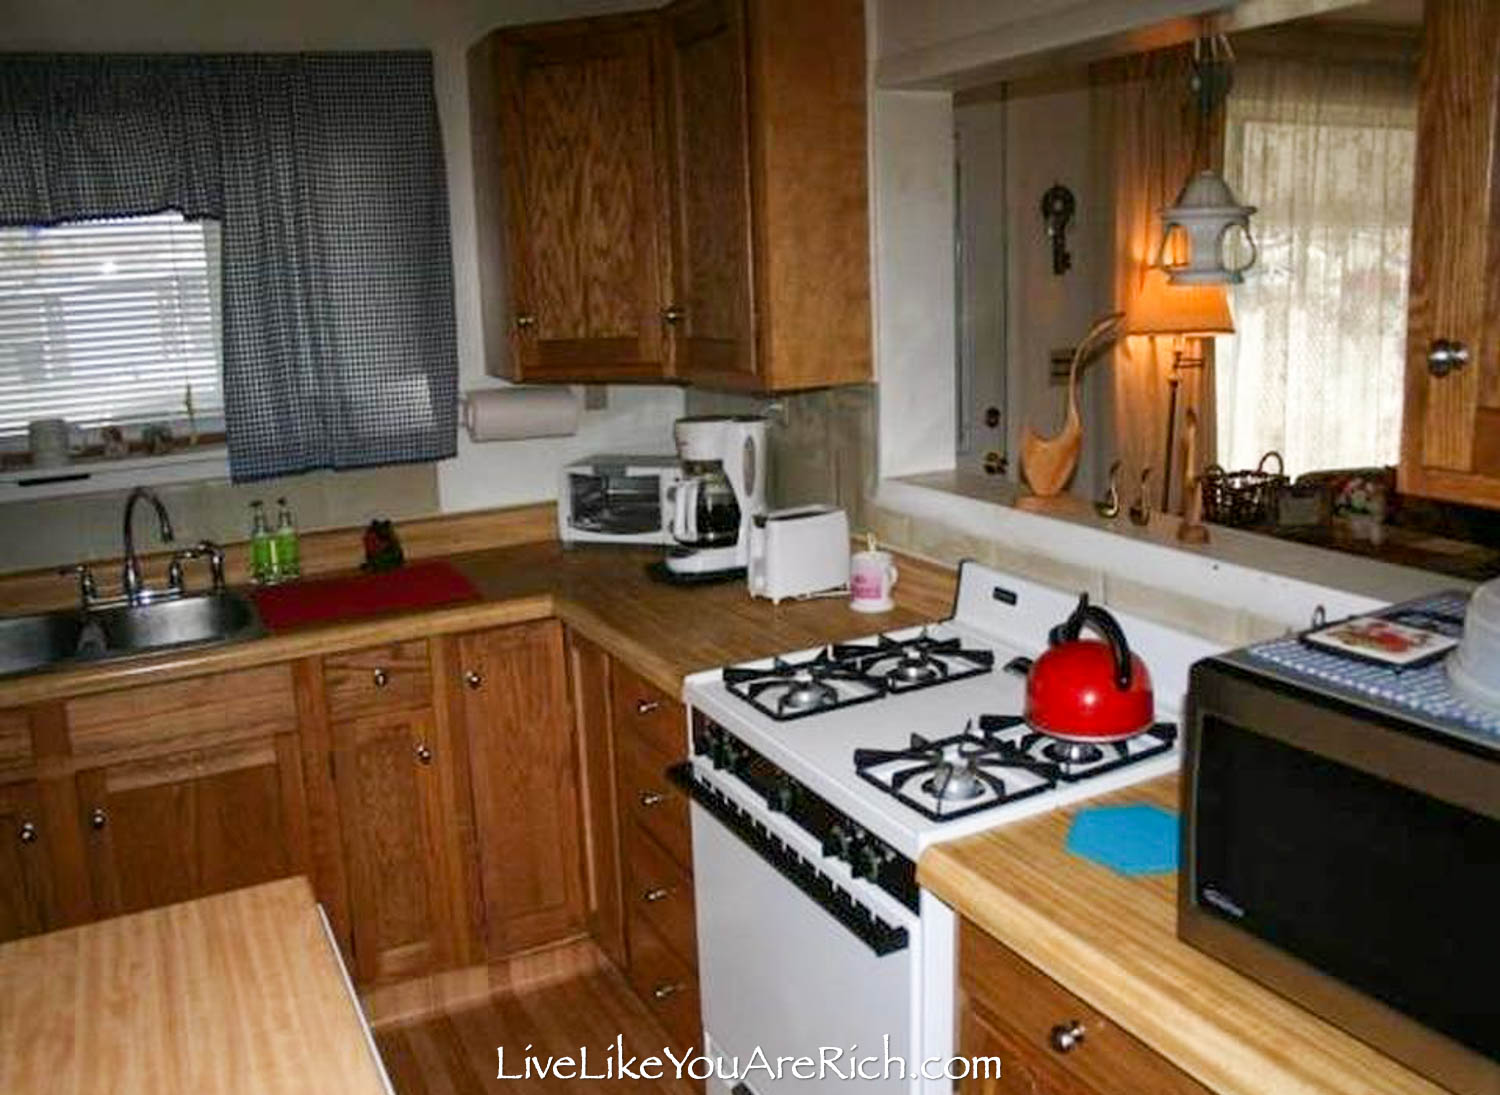

The appliances were old and the center island and fridge placement made the kitchen feel small and disjointed.
The kitchen did not have much lighting and felt dark. Plus, most everything was mis-matched, old, and dated.
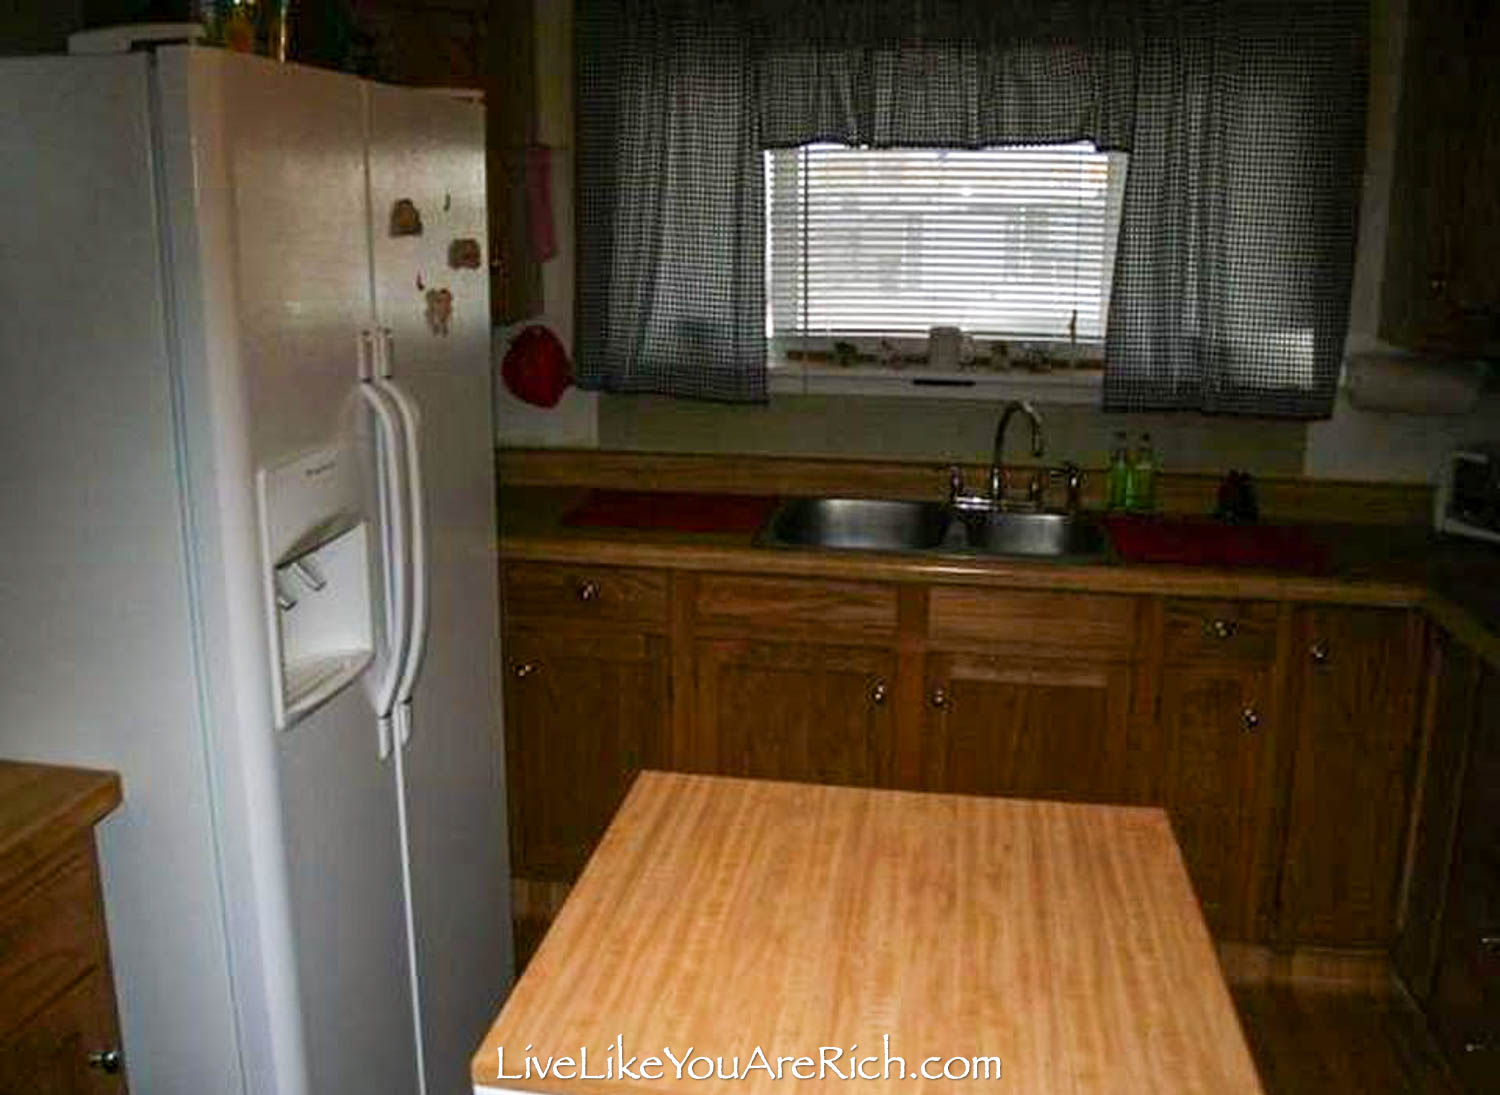

There was also no dishwasher and the corner cabinets (behind the fridge) were difficult to reach.
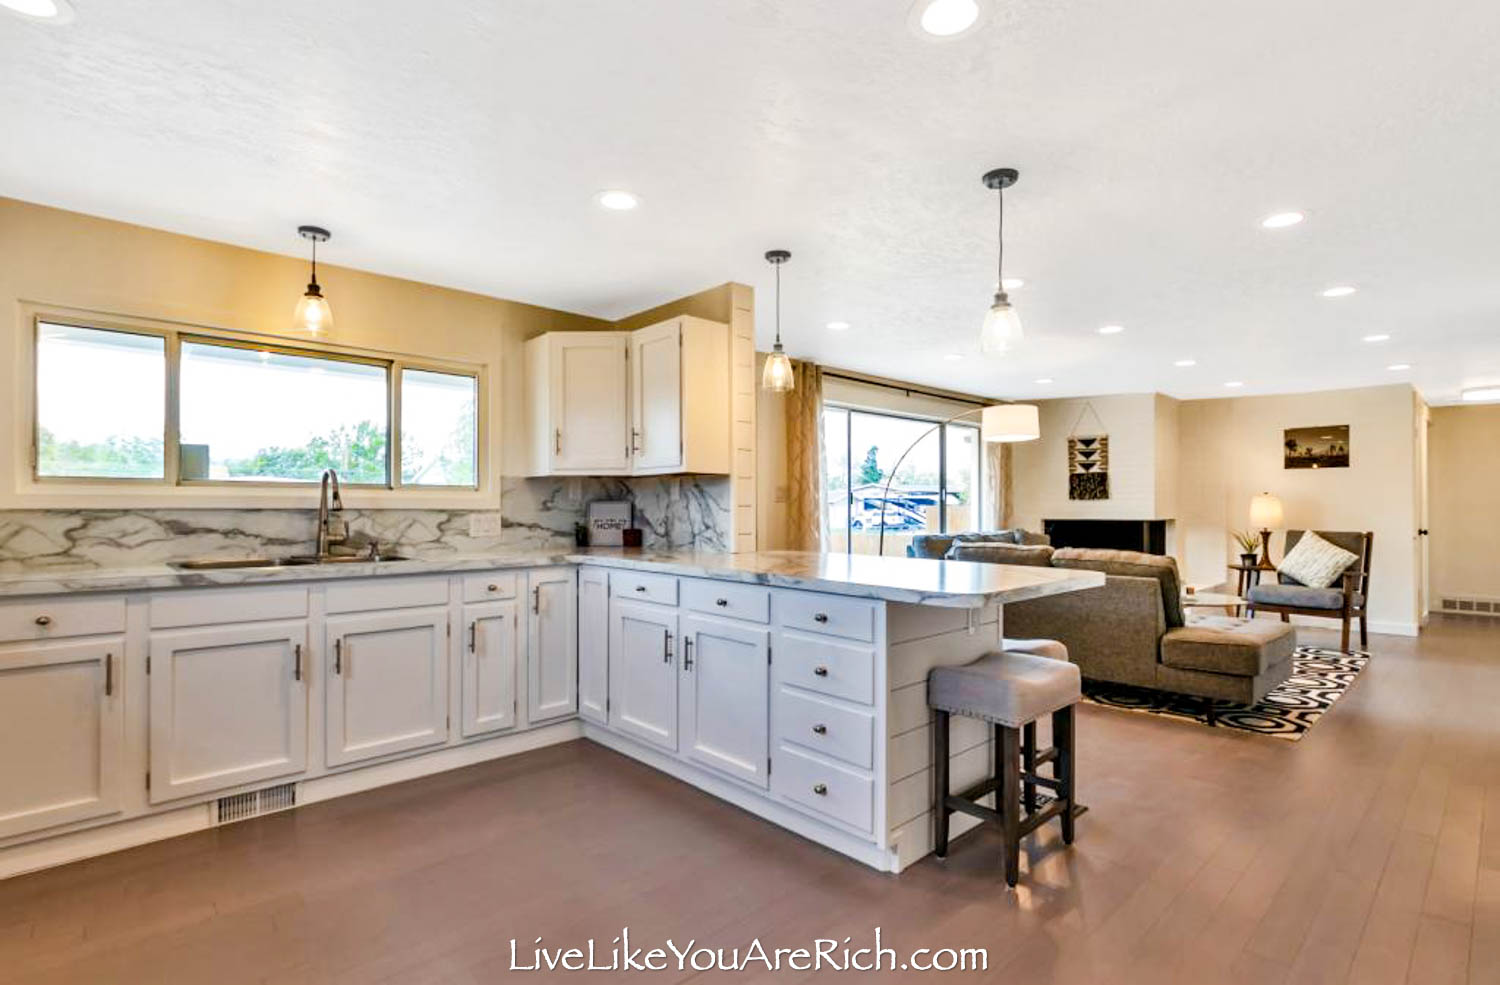
I wanted the kitchen, living, dinning areas to be open concept. We achieved this by tearing down half of the wall and creating a bar.
Luckily, the wall with the pass through window was a non-bearing wall so we were able to cut it back quite a bit without sacrificing structural integrity.
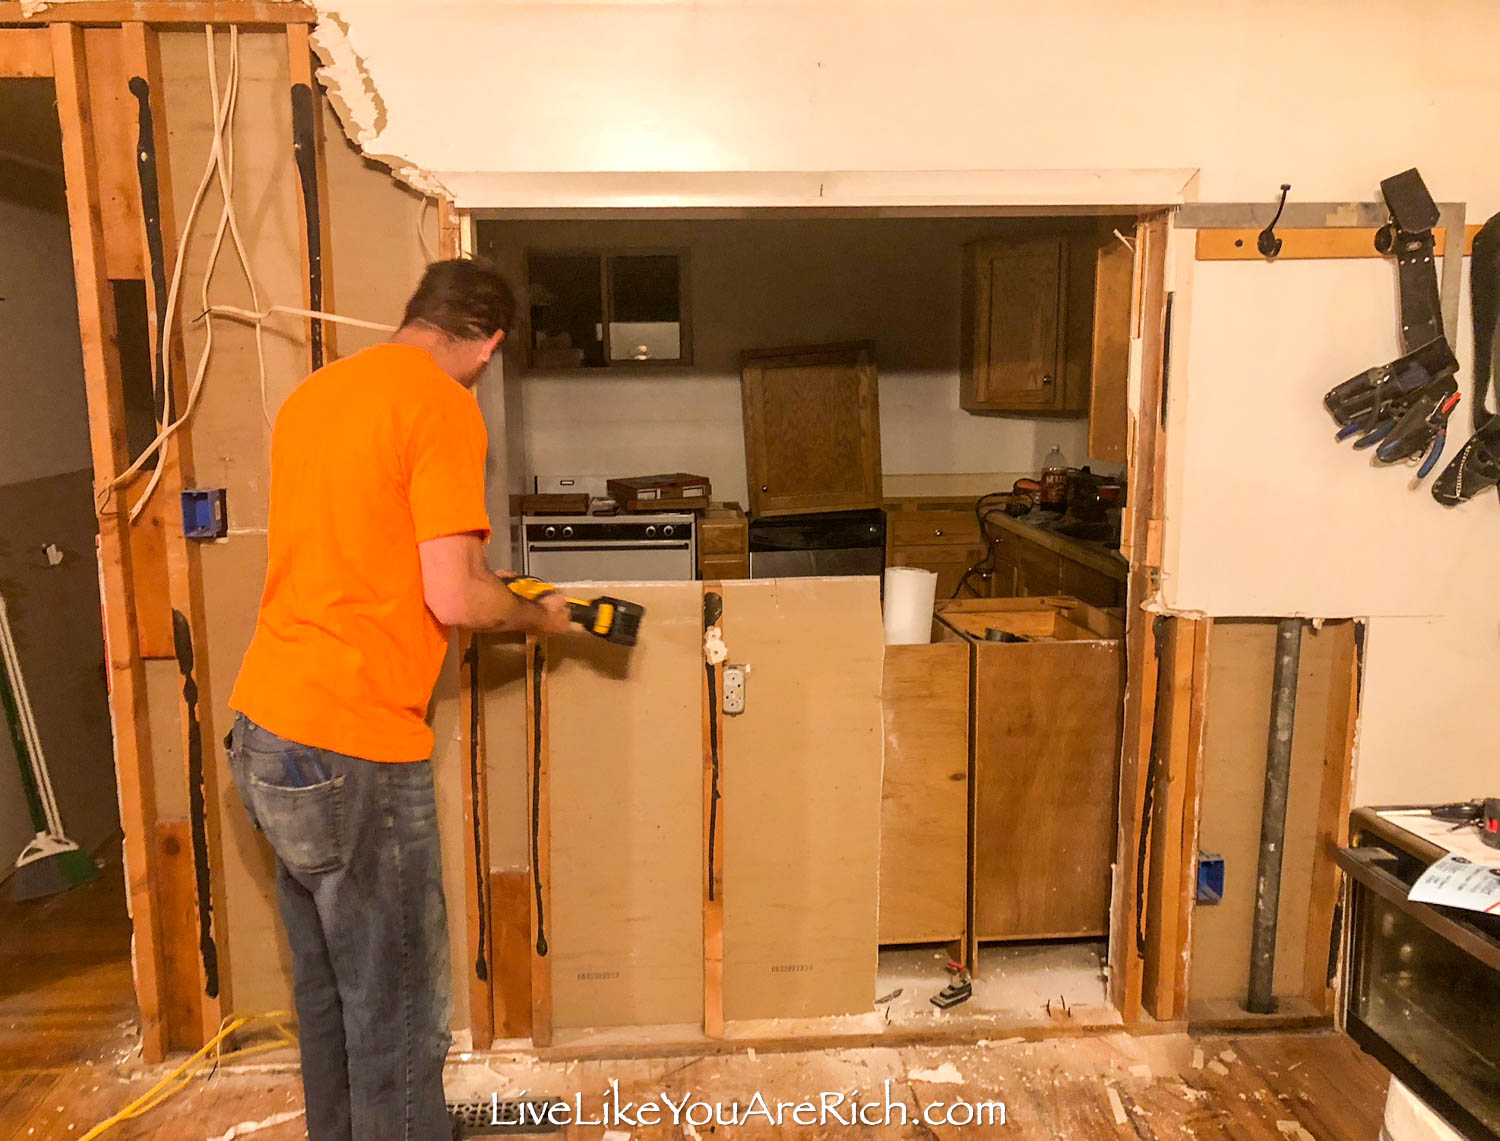

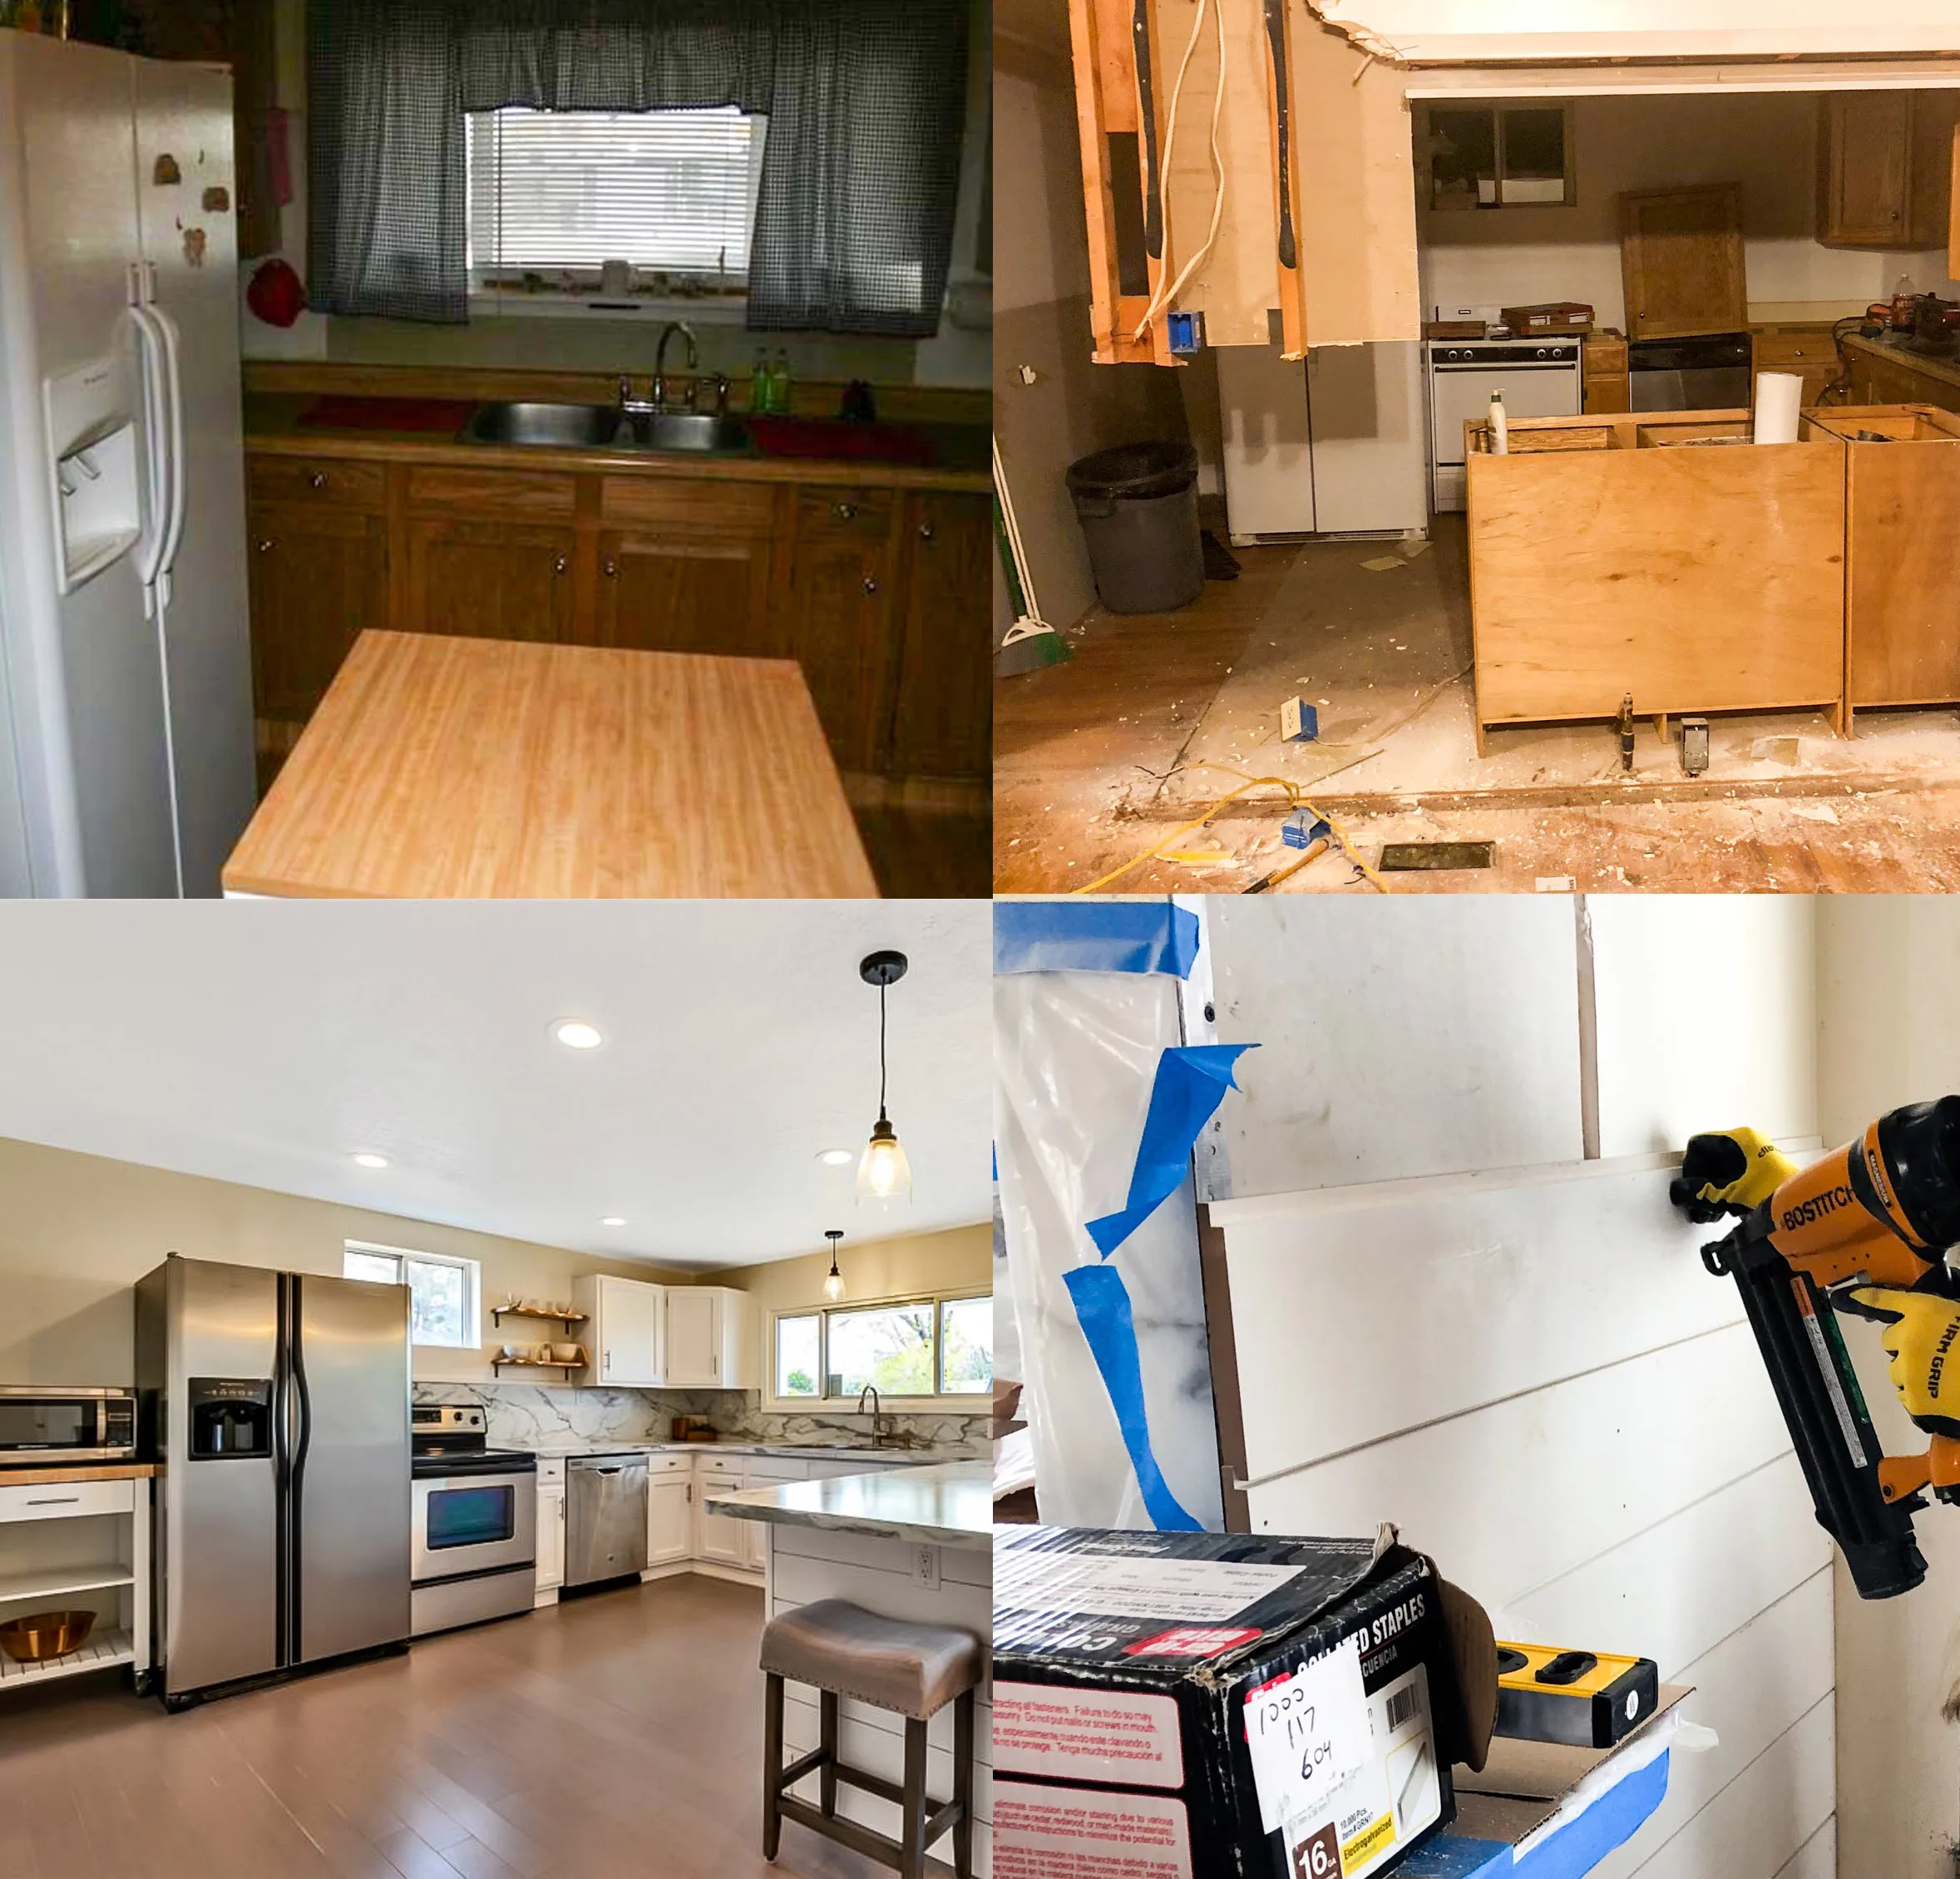
My husband and I got to work tearing down the wall.
We were rewiring and re-plumbing the house anyway so the existing wires and gas lines were fine to move or shut down.
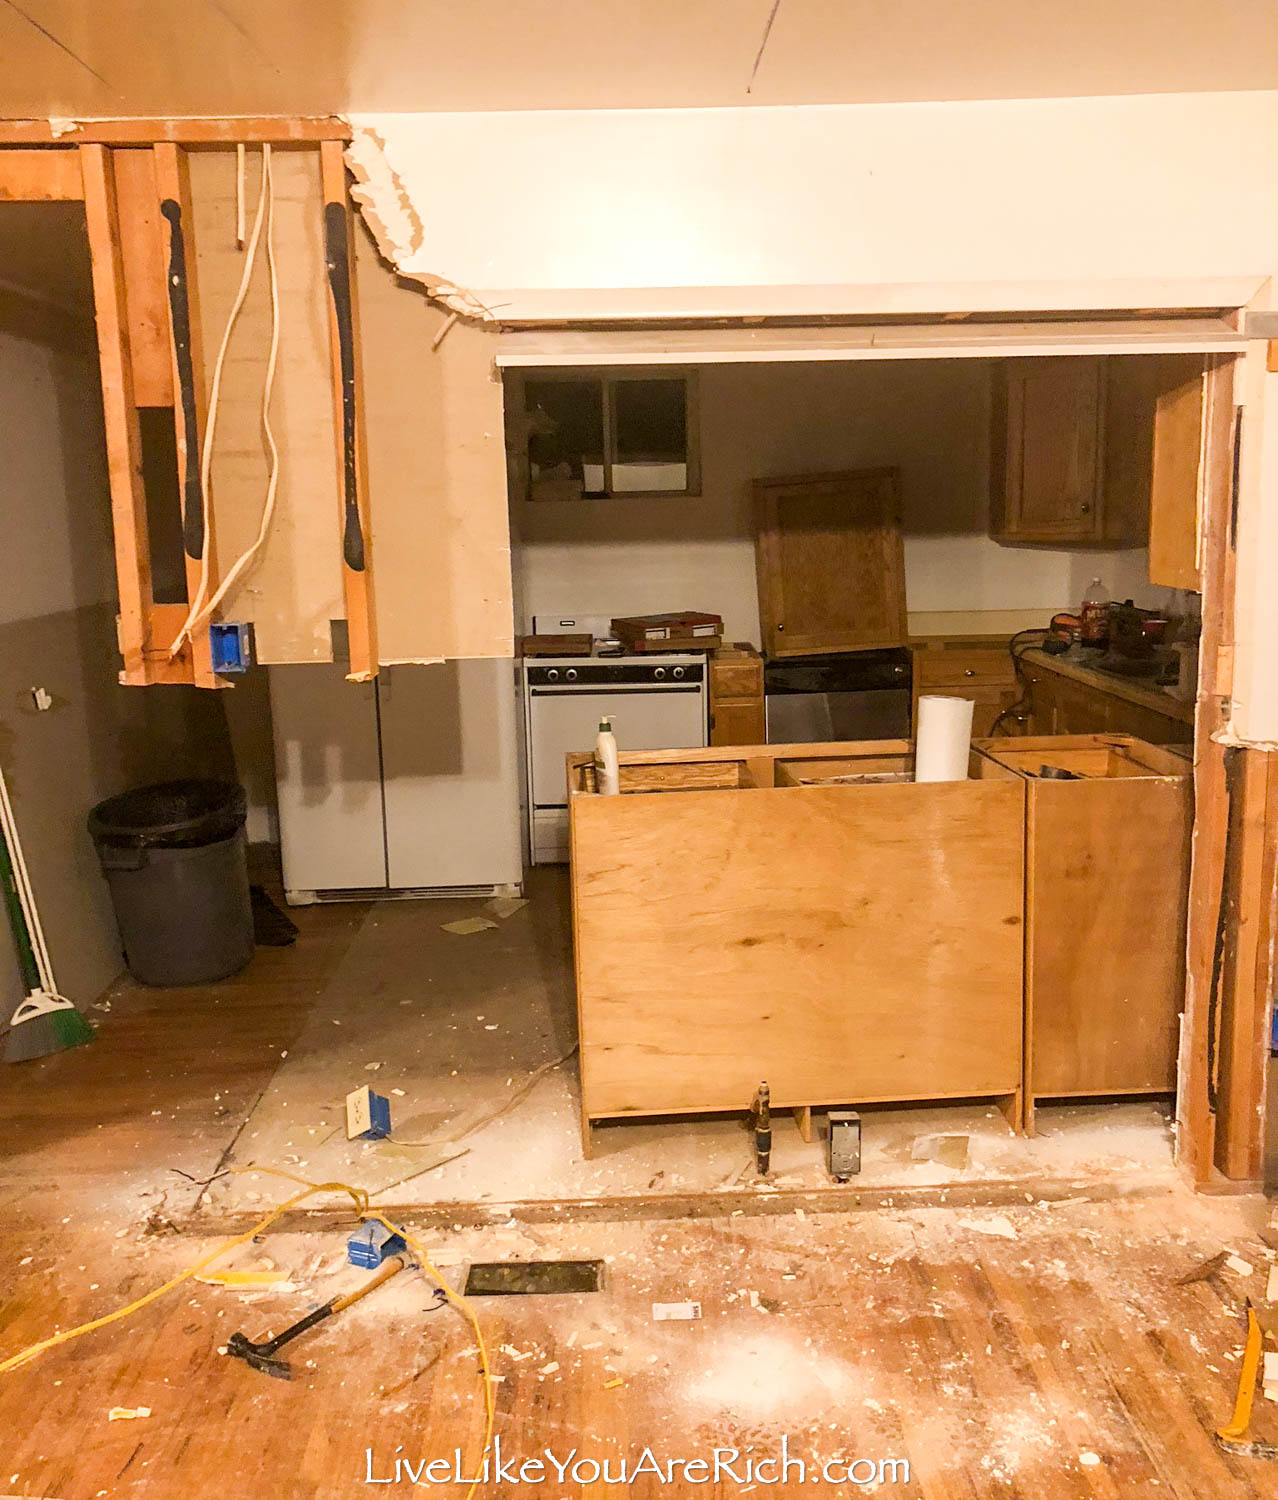

After removing the wall, a plumber came in and removed the gas line that was there for the previous stove.
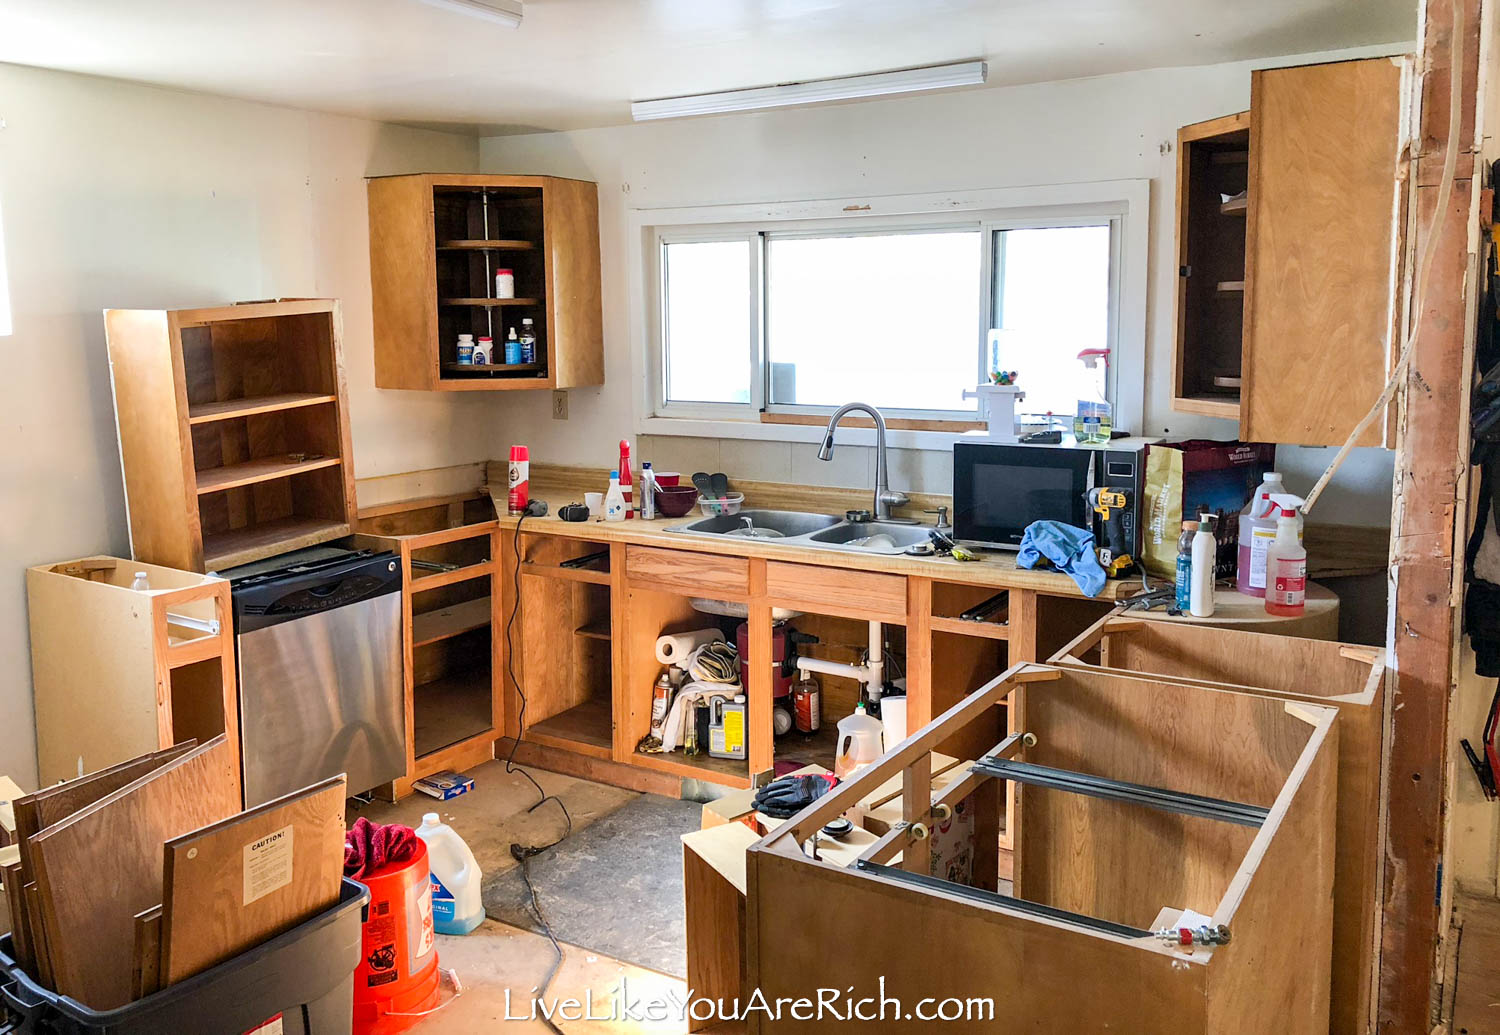

We removed the counter tops and uninstalled the base cabinets so I could begin reorganizing the cabinets in a way that I felt would work best for the layout of the kitchen.
I spent awhile thinking about the best way to reorganize the kitchen layout to incorporate an oven, fridge, dishwasher, microwave, and get as much counter space as we could. This is the layout we choose…

My husband installed can lights in the main kitchen area and pendant lights over the bar and sink. This made the kitchen look much brighter.
I bought the pendant lights for $10 each off a local classified. The can lights were purchased from Lowes on sale.
I loved the square shape and lines of the existing cabinetry and I knew if I could sand the detailing off, they would look modern.
Plus, they were made of real wood, and reusing the existing cabinetry would save us thousands. I wanted white cabinets so I got busy sanding!
Luckily, my husband had already invested in a Festool sander because I used it to sand for many, many hours.
It was such a great tool to sand this old cabinetry down with. The reason it took so long to sand each cabinet is that the doors had this old school detailing that ran pretty deep into the wood.
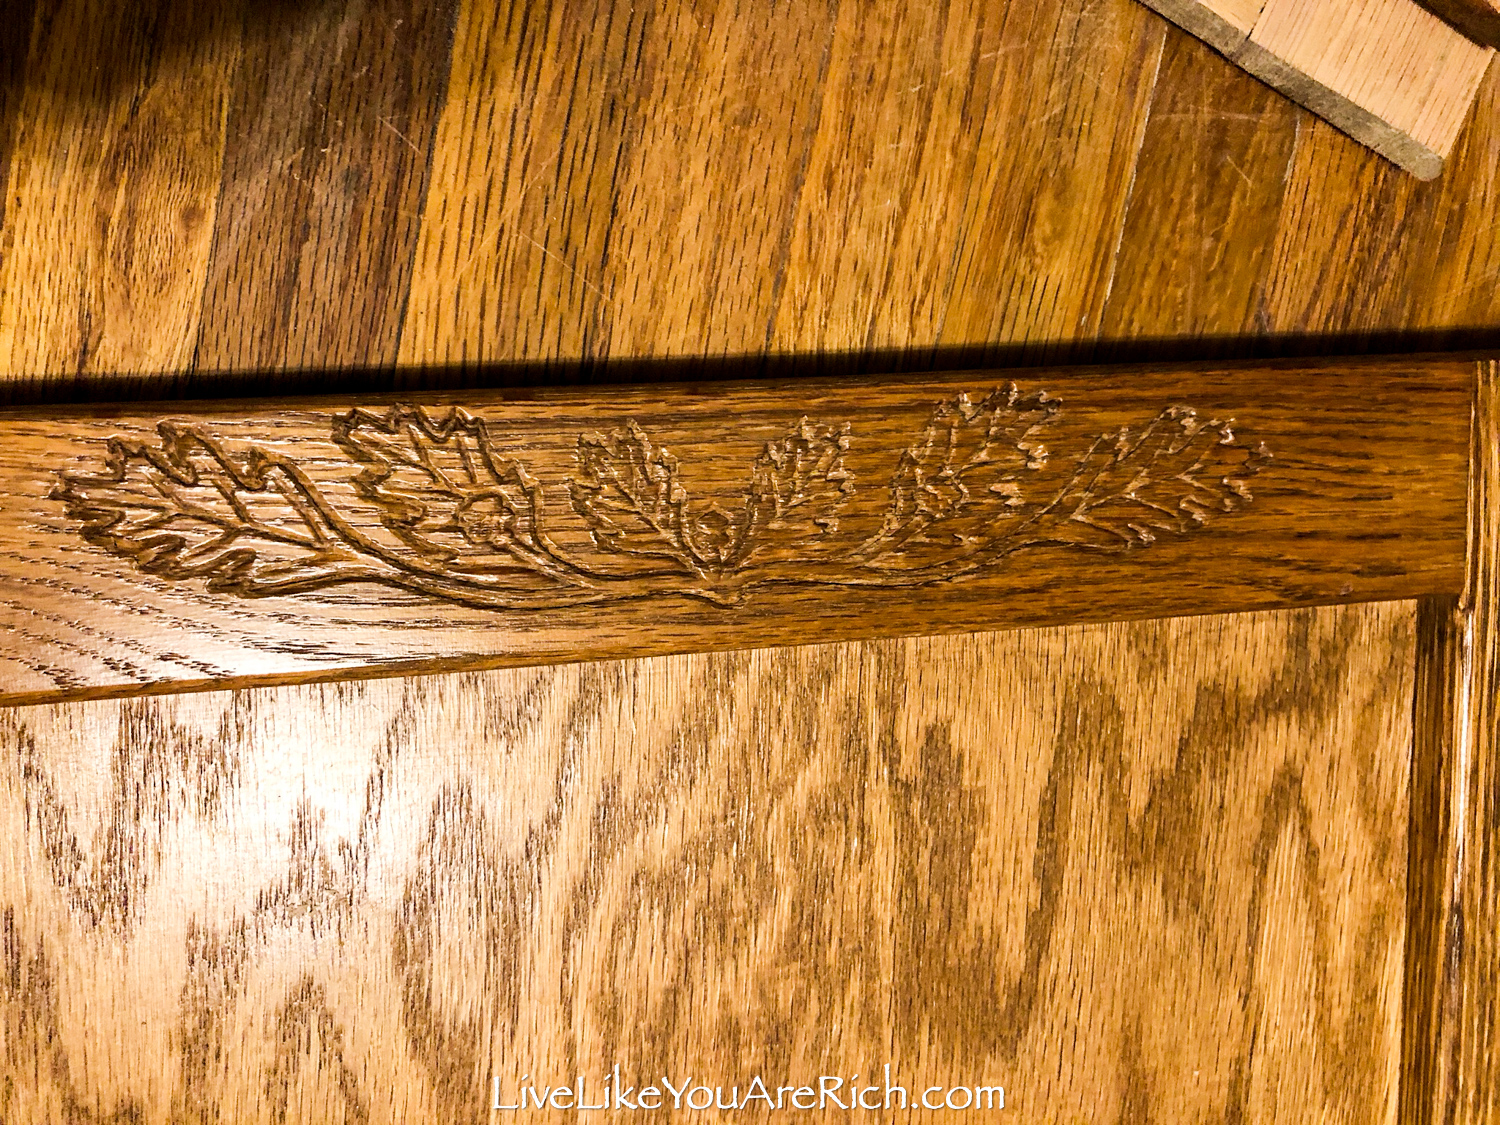

Each cabinet door and drawer took at least 30 minutes to sand and clean off; it was worth it.


When sanding cabinetry use a face respirator, something to shield your eyes, and do not wear loose clothing that could get caught in the sander.
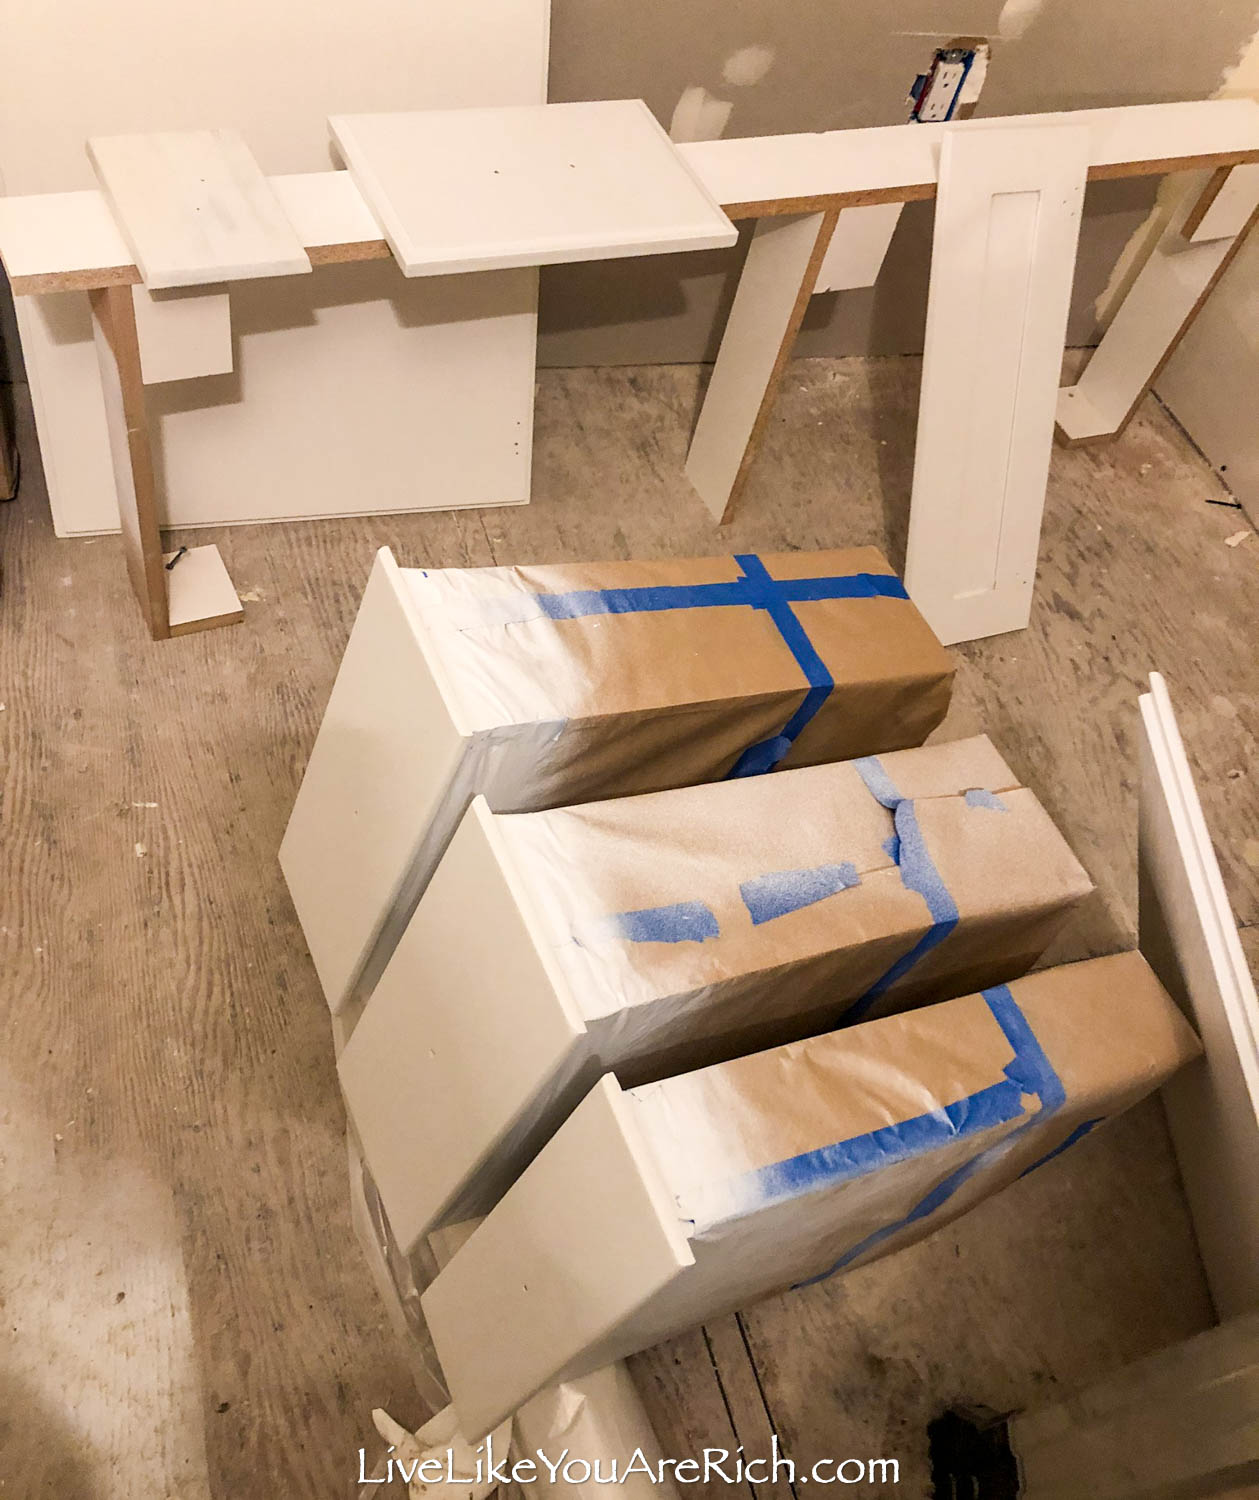
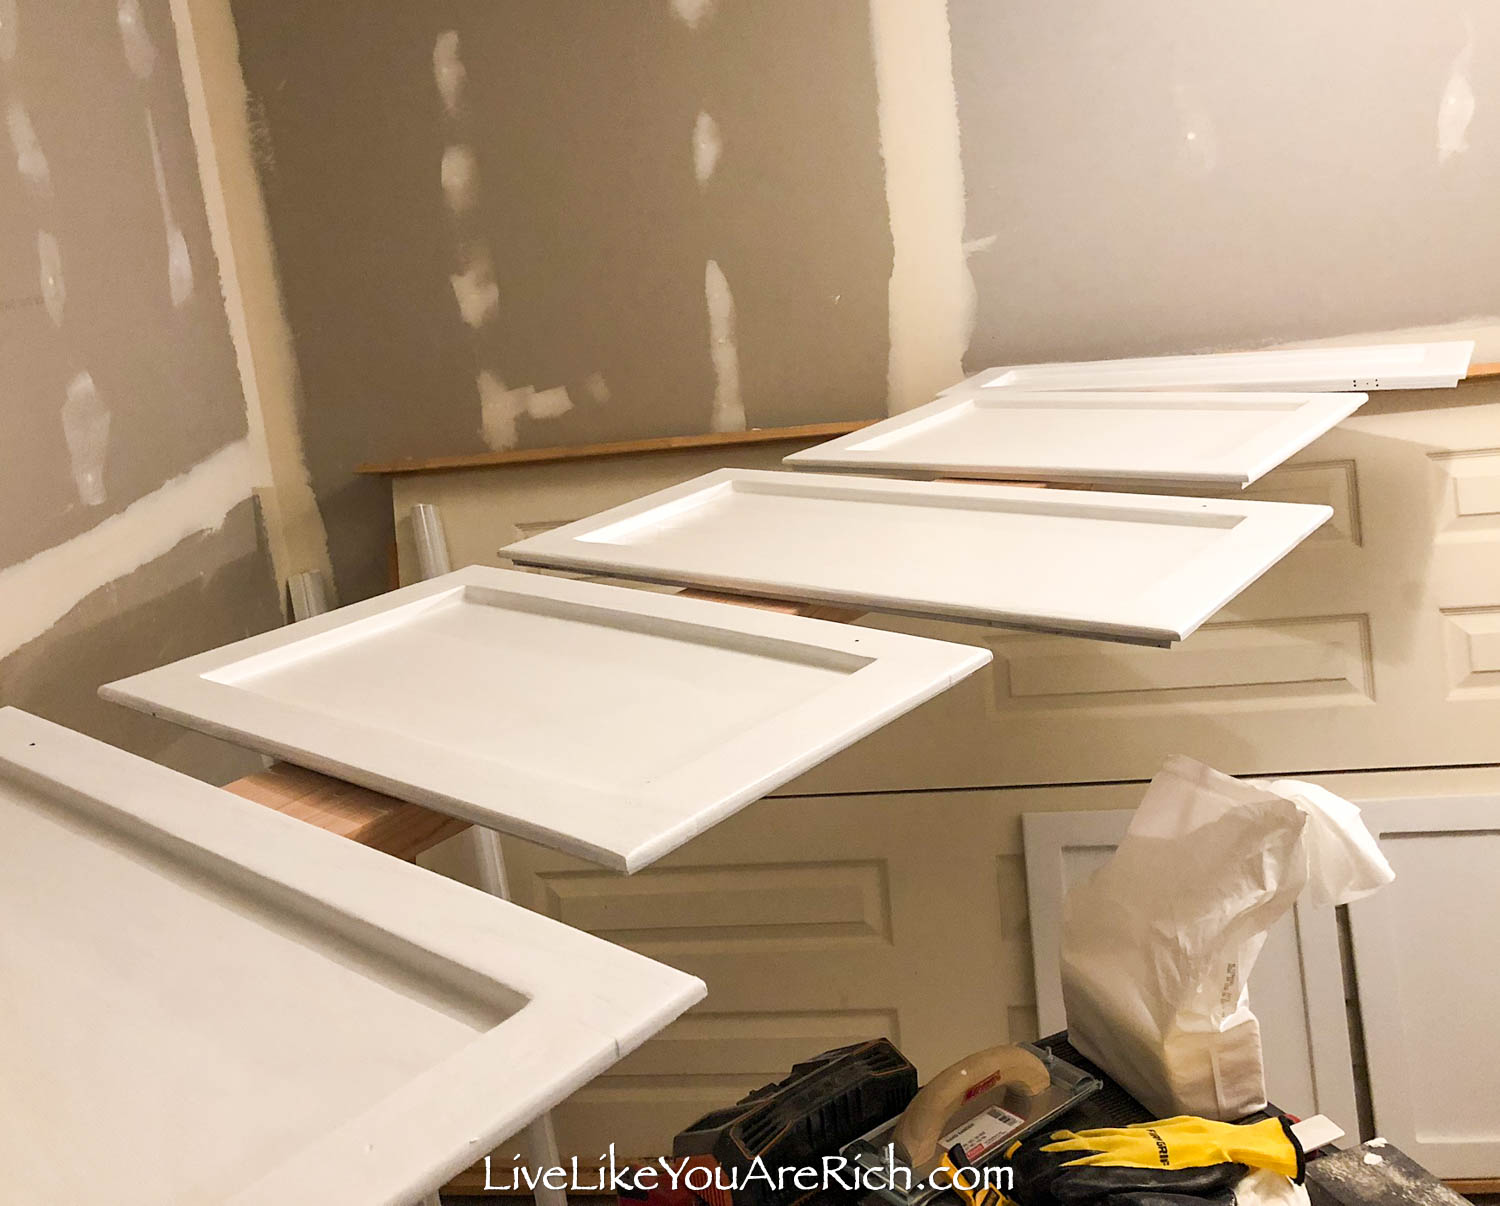
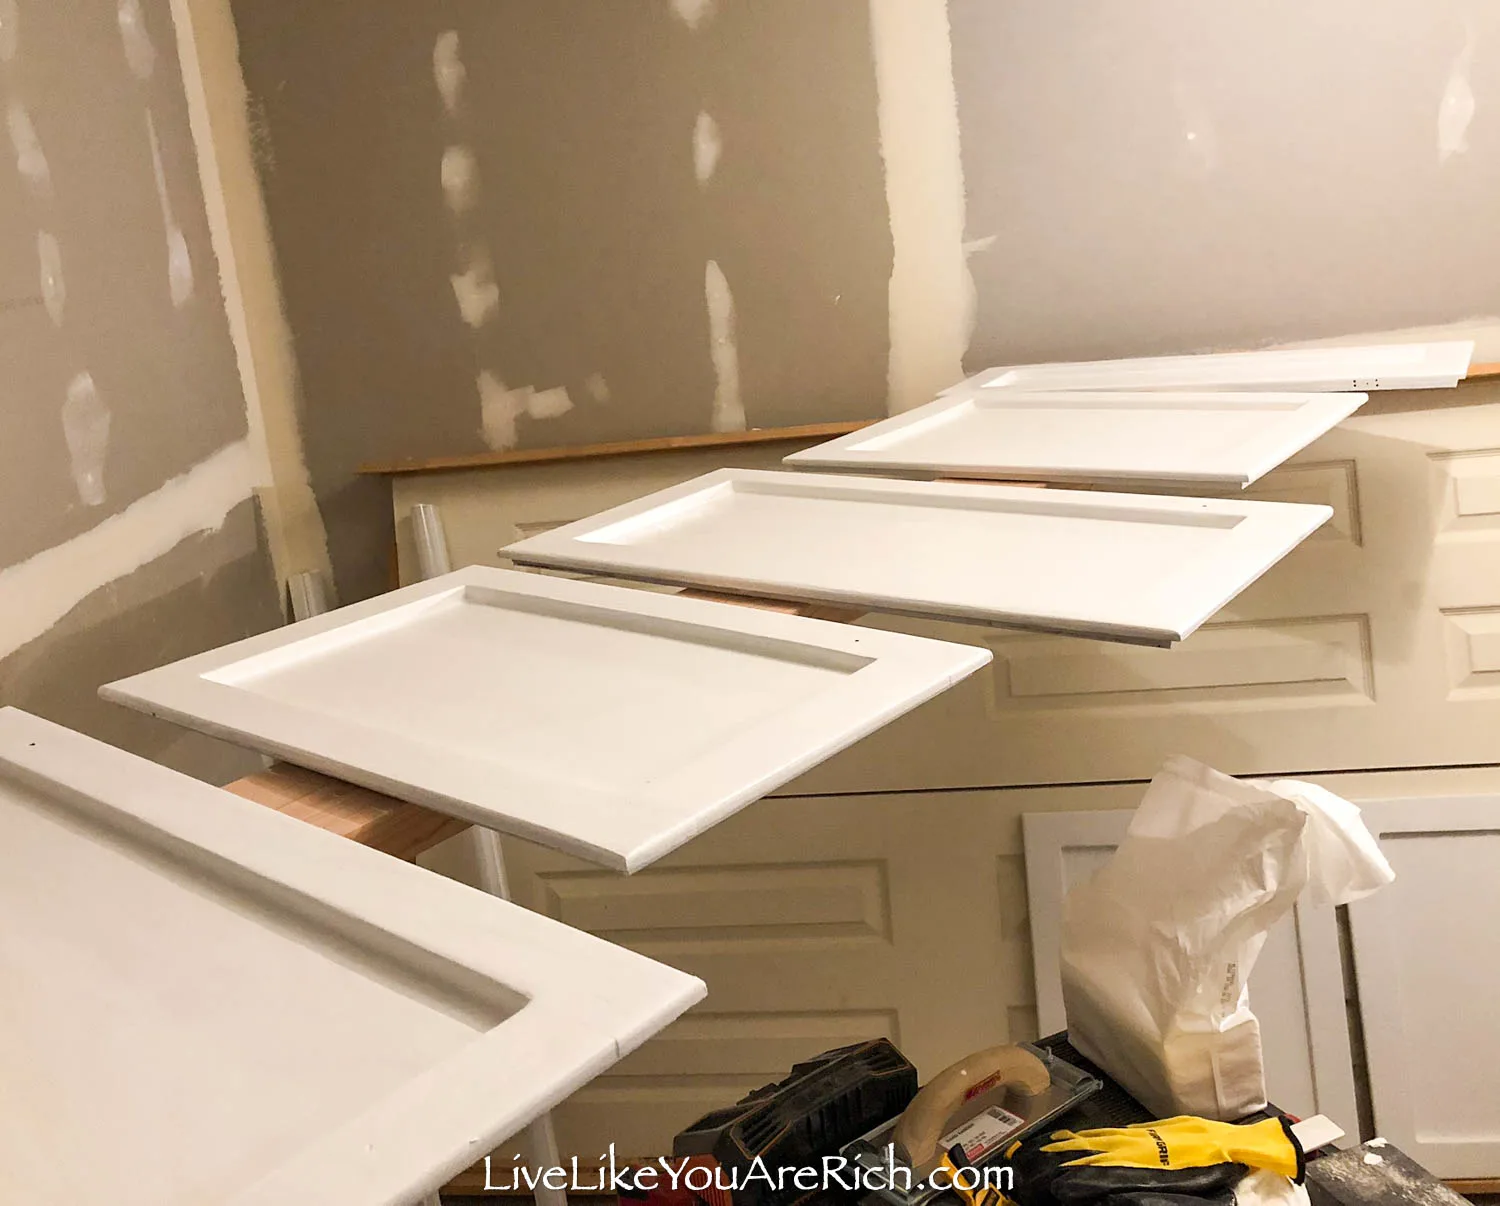
Next, I set up boards to paint the doors on. The first and second coat of normal wood paint was turning yellow as it dried!
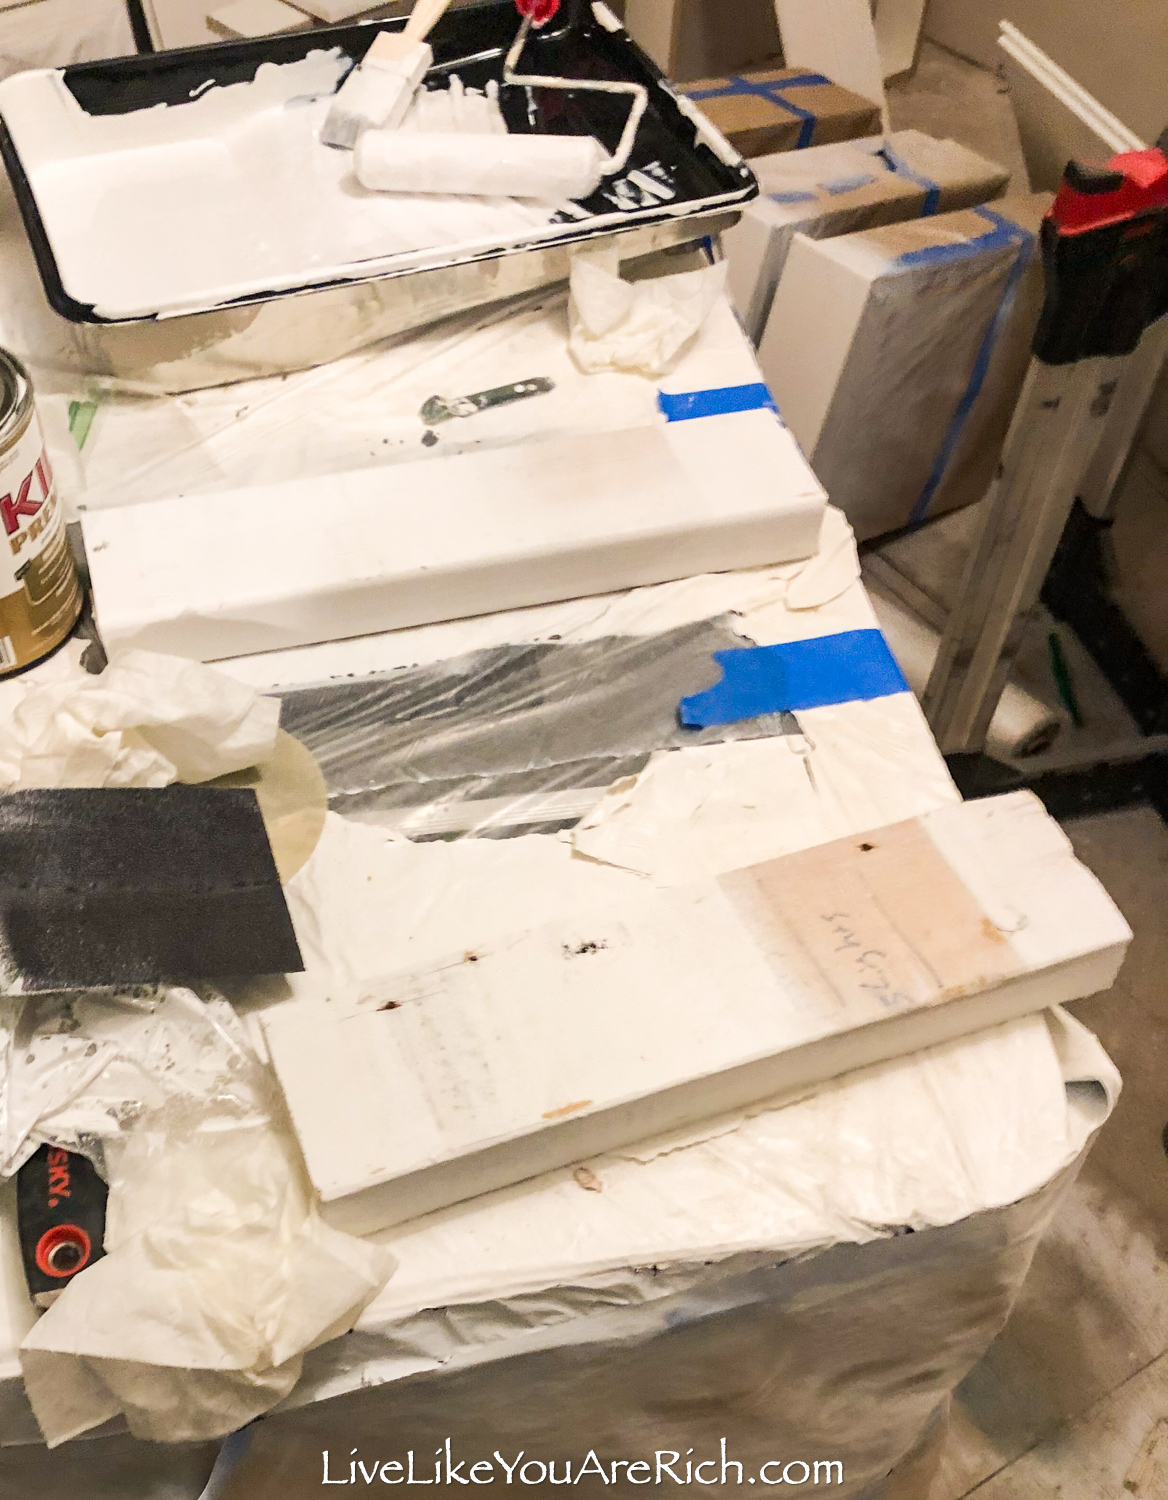

After research, we learned it was likely due to oils that weren’t properly vented out of the kitchen and had soaked into the wood… or perhaps previous owners were smokers?…it could have also been the original wood stain coming out. We weren’t sure, we just knew the regular paint wasn’t covering it.

So, I ended up doing the next few coats with KILZ premium high stain blocker paint.
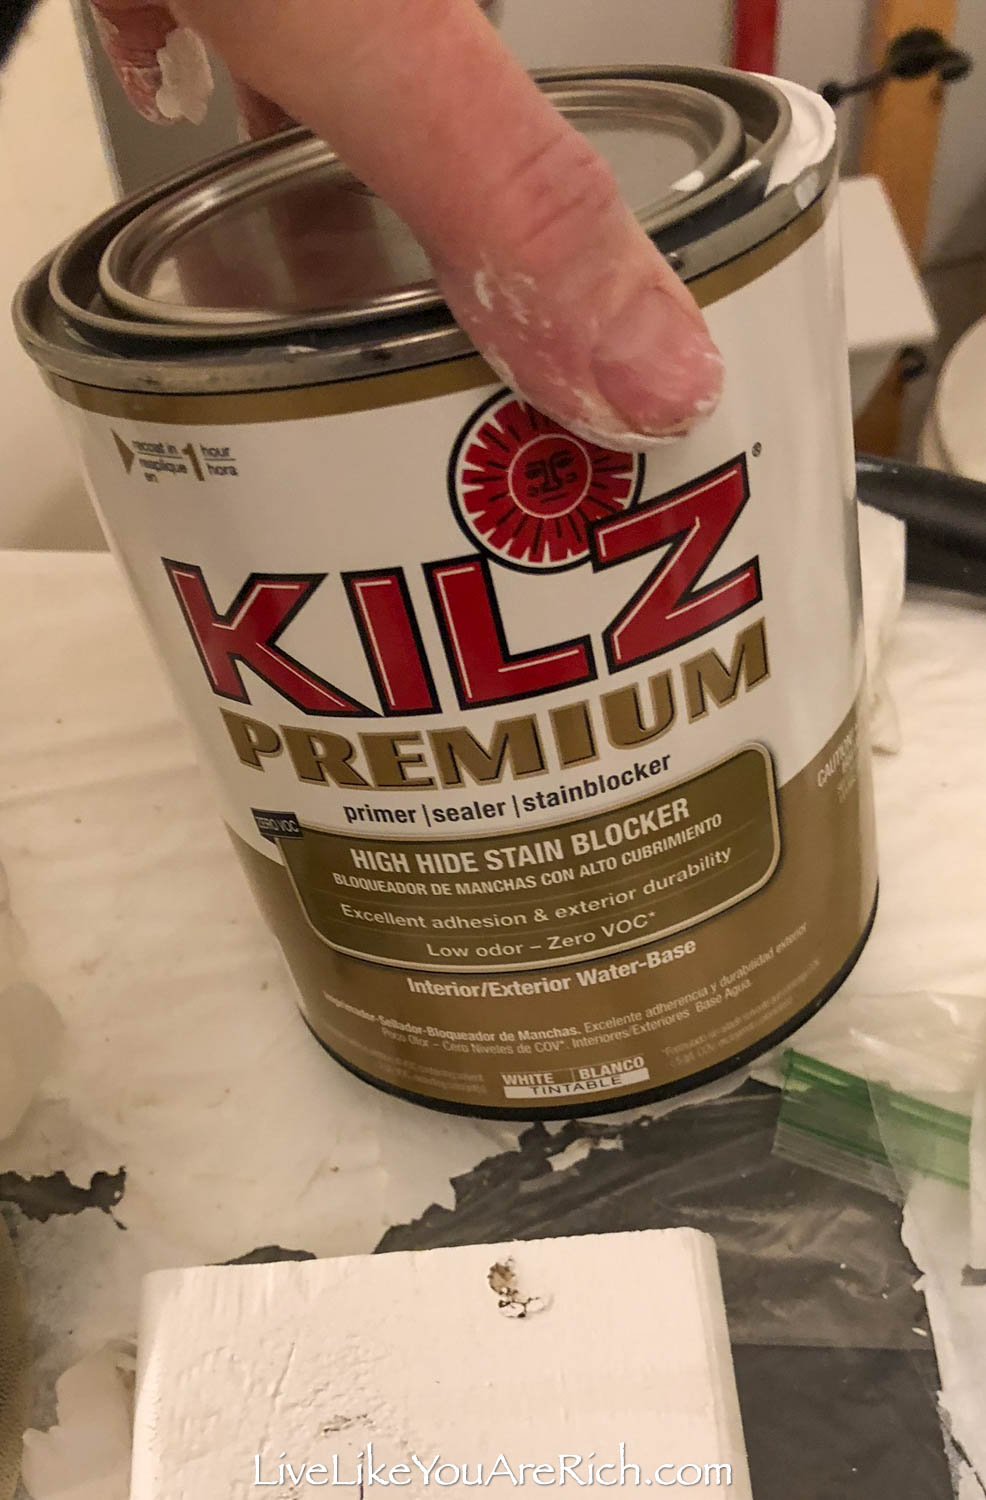
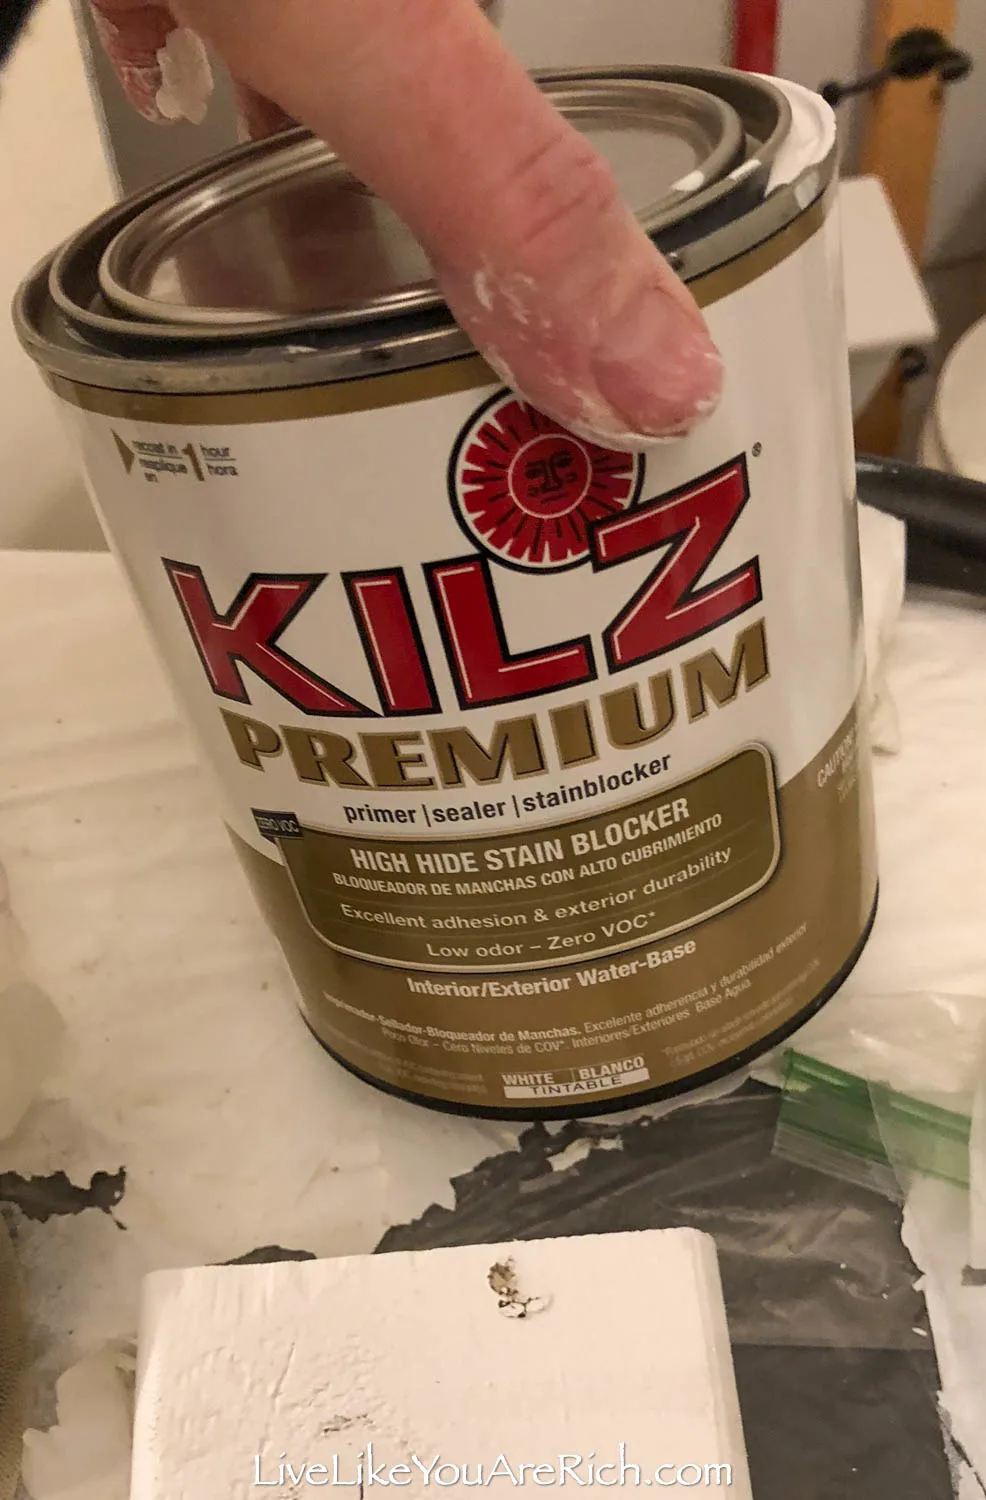
If you have yellowing cabinetry paint, I’d highly recommend using KILZ paint! The KILZ covered the yellowing like a charm.
I think I did at least four coats total of paint two with the standard paint and two coats of KILZ. I lightly sanded between each coat. I ended up rolling and using a foam brush for the corners to apply the KILZ. This was not a job for the faint of heart. I felt like I worked on these cabinets for a very long time!
I also sanded and painted the cabinet bases.
Since the cabinets were so old, we could not find any updated hinges that would work. Note, keep good track of hinges and hardware when refinishing cabinetry in case it has been discontinued.
When done, we put these door pulls on. I had the other handle pulls/ hardware from House 1’s renovation that I saved and we used as well.
I found an additional floor kitchen cabinet that matched well enough and enabled us to extend the countertops past the dishwasher. This additional small cabinet also worked to center the stove under the window. It only costs $10.00 on a local classified ad.
I couldn’t find a matching wall cabinet to extend to the window, so instead, I installed this open shelving found at World Market to fill the gap.
For the counter tops, laminate was actually the perfect material to use for the market this home fell into.
After reading reviews on good laminate installers, I got multiple bids. I went with the cheapest/best. It cost us $1,200.00
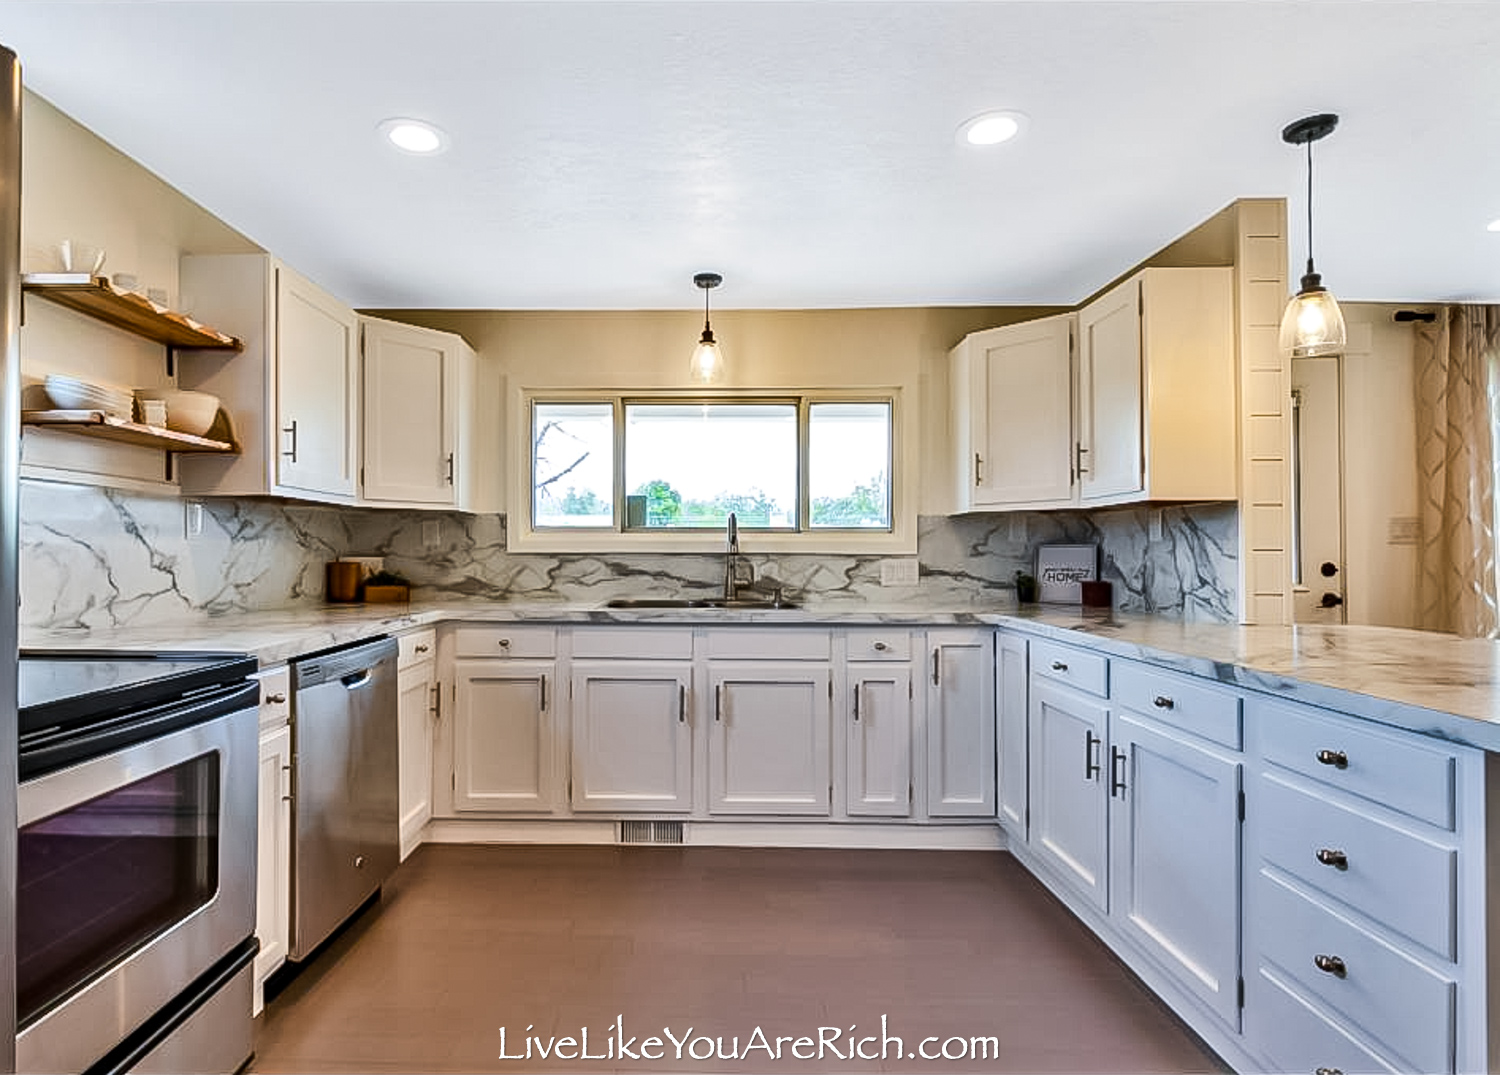
I picked out this faux marble laminate and the installers came and put it in. I loved the look.


For the exposed wall/bar I wanted to add shiplap. I felt like it would give the kitchen and living area on the other side of the kitchen some character.
I found a person giving away a lot of shiplap “remnants” from a job that they did which filled most of our wall for free. We had to buy a few of the longer pieces, trim, finish nails and glue, but it came in around $200 total.

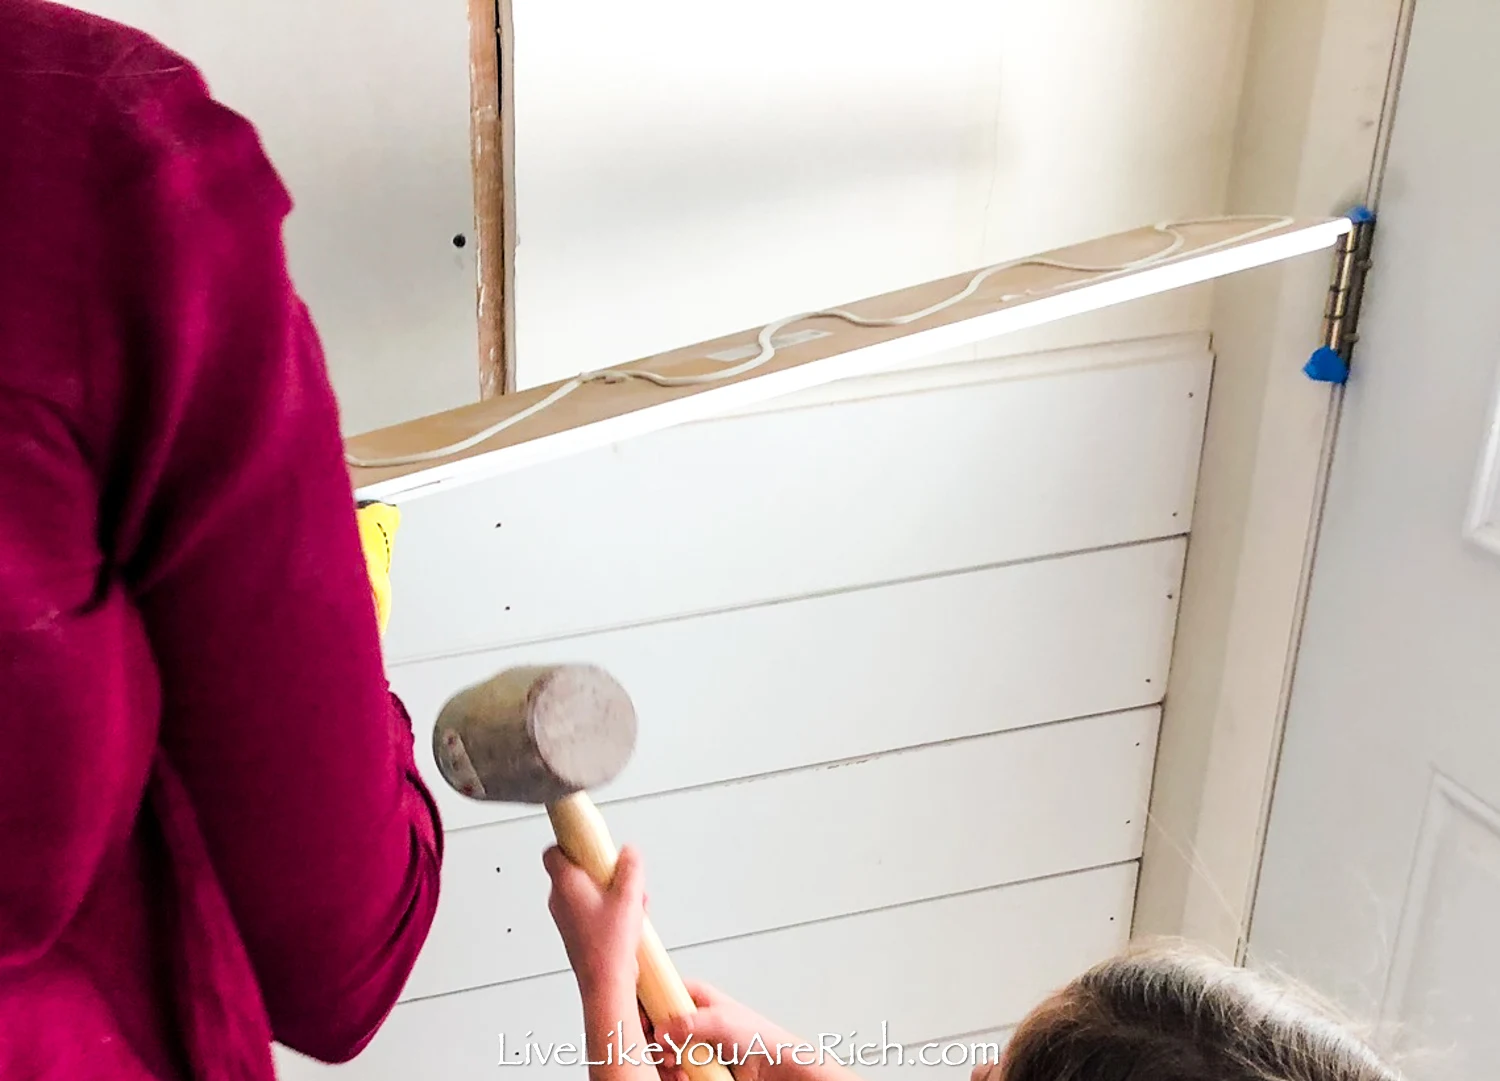
My daughter was helping this day, so, I taught her how to install shiplap. She helped me use the caulking glue and a rubber mallet to fix the shiplap and the glue firmly into place.
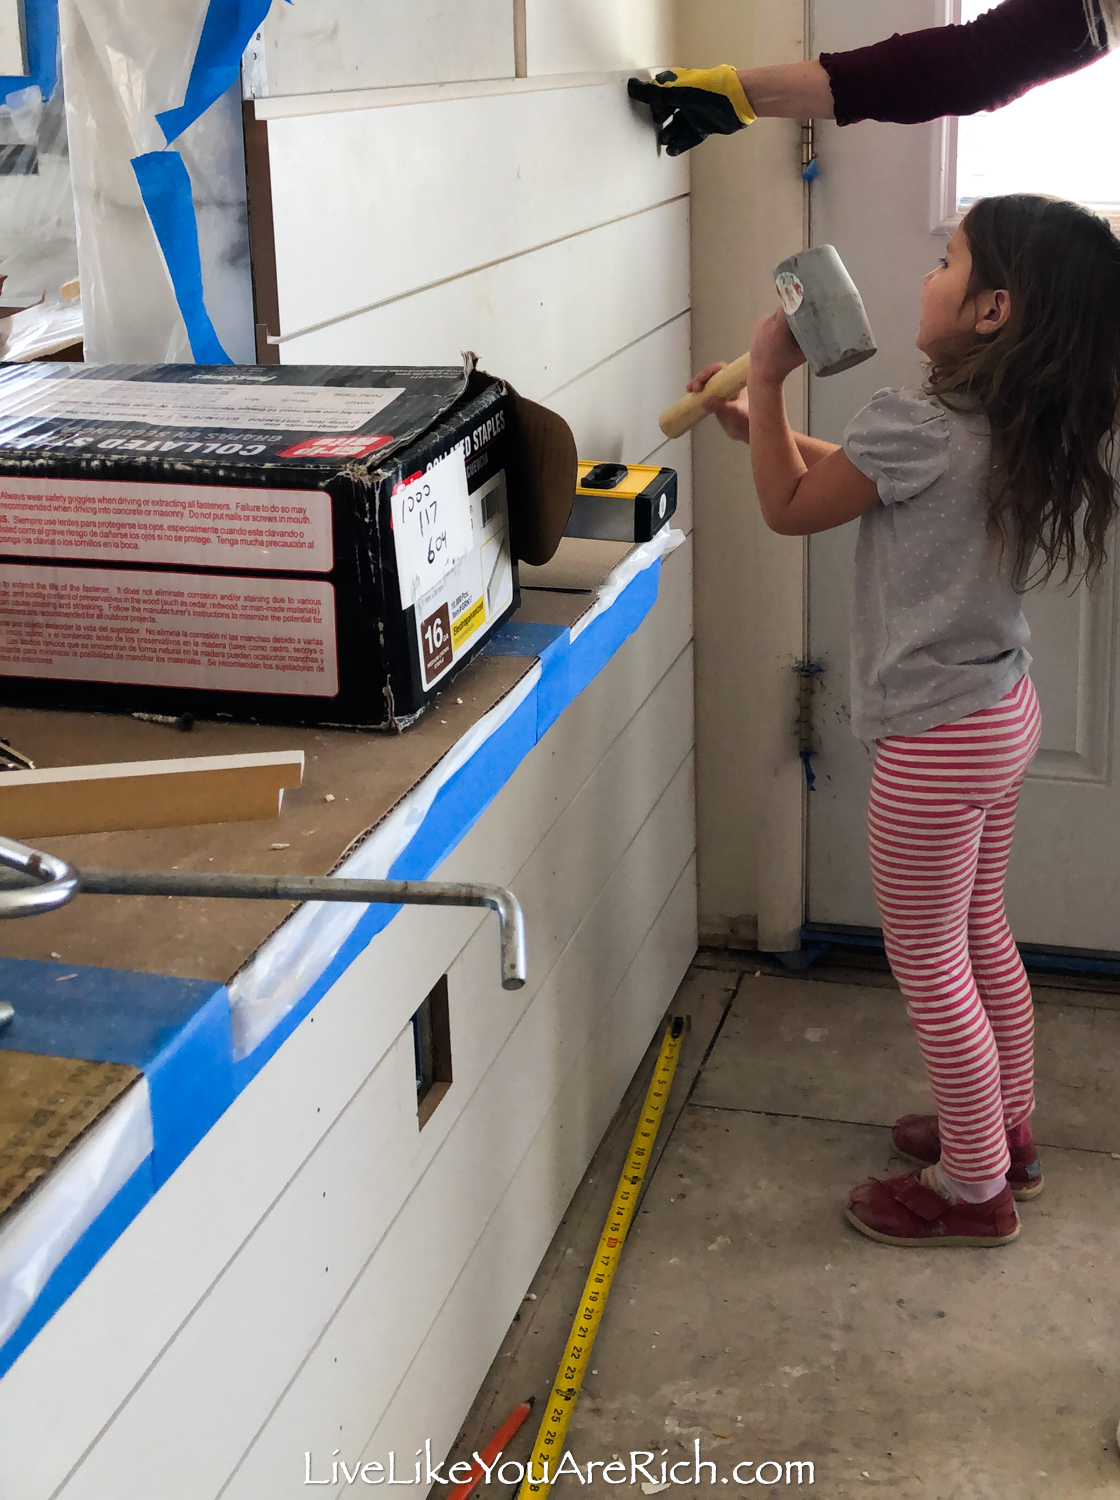

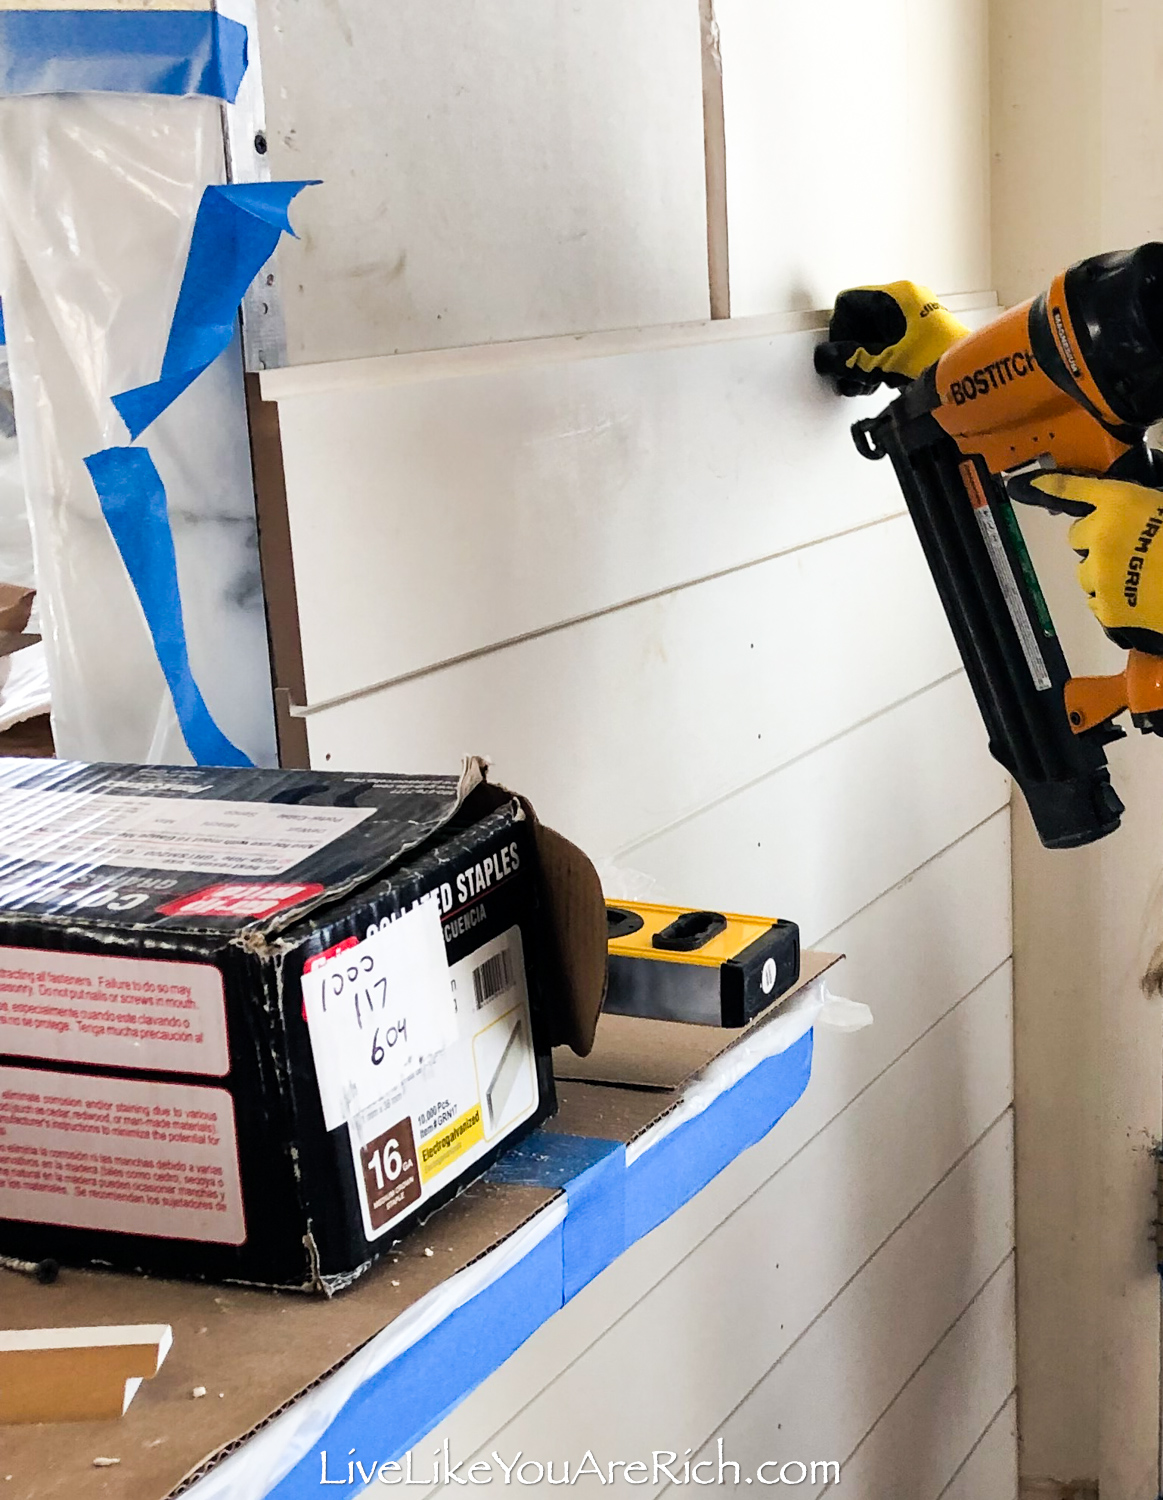
I secured it with a finish nail gun. Then I filled the nail holes, sanded and painted the wall. We also installed corner trim pieces to complete the look.
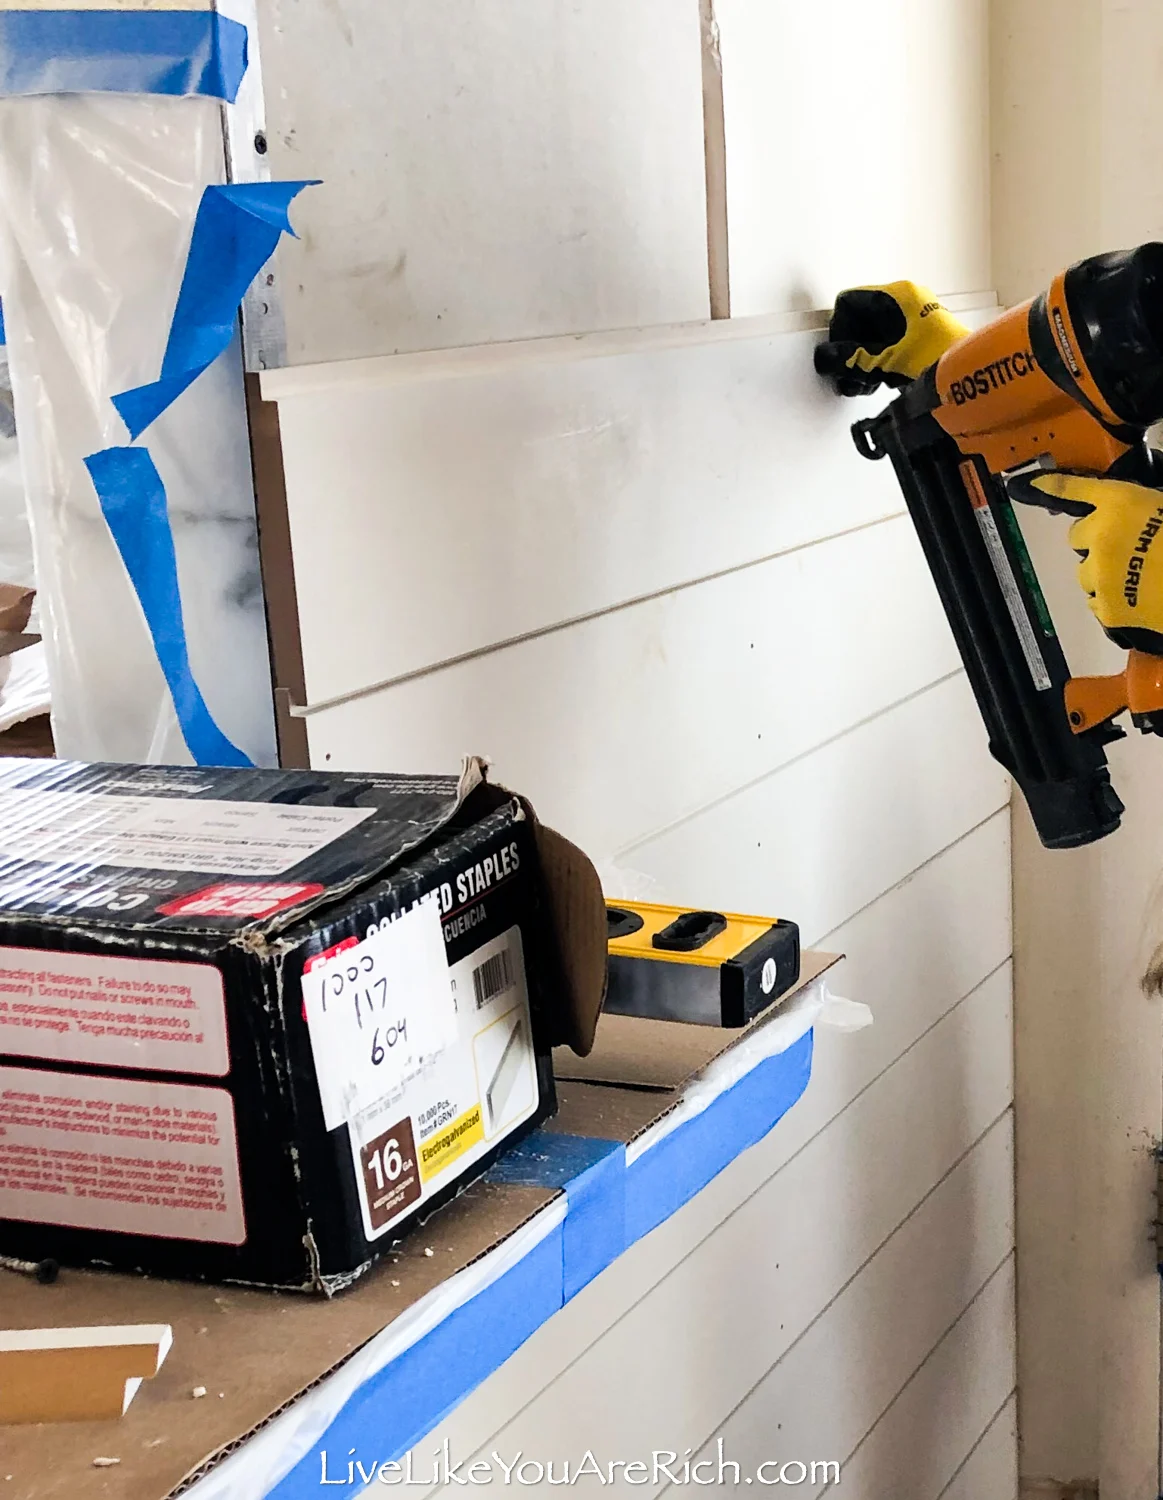
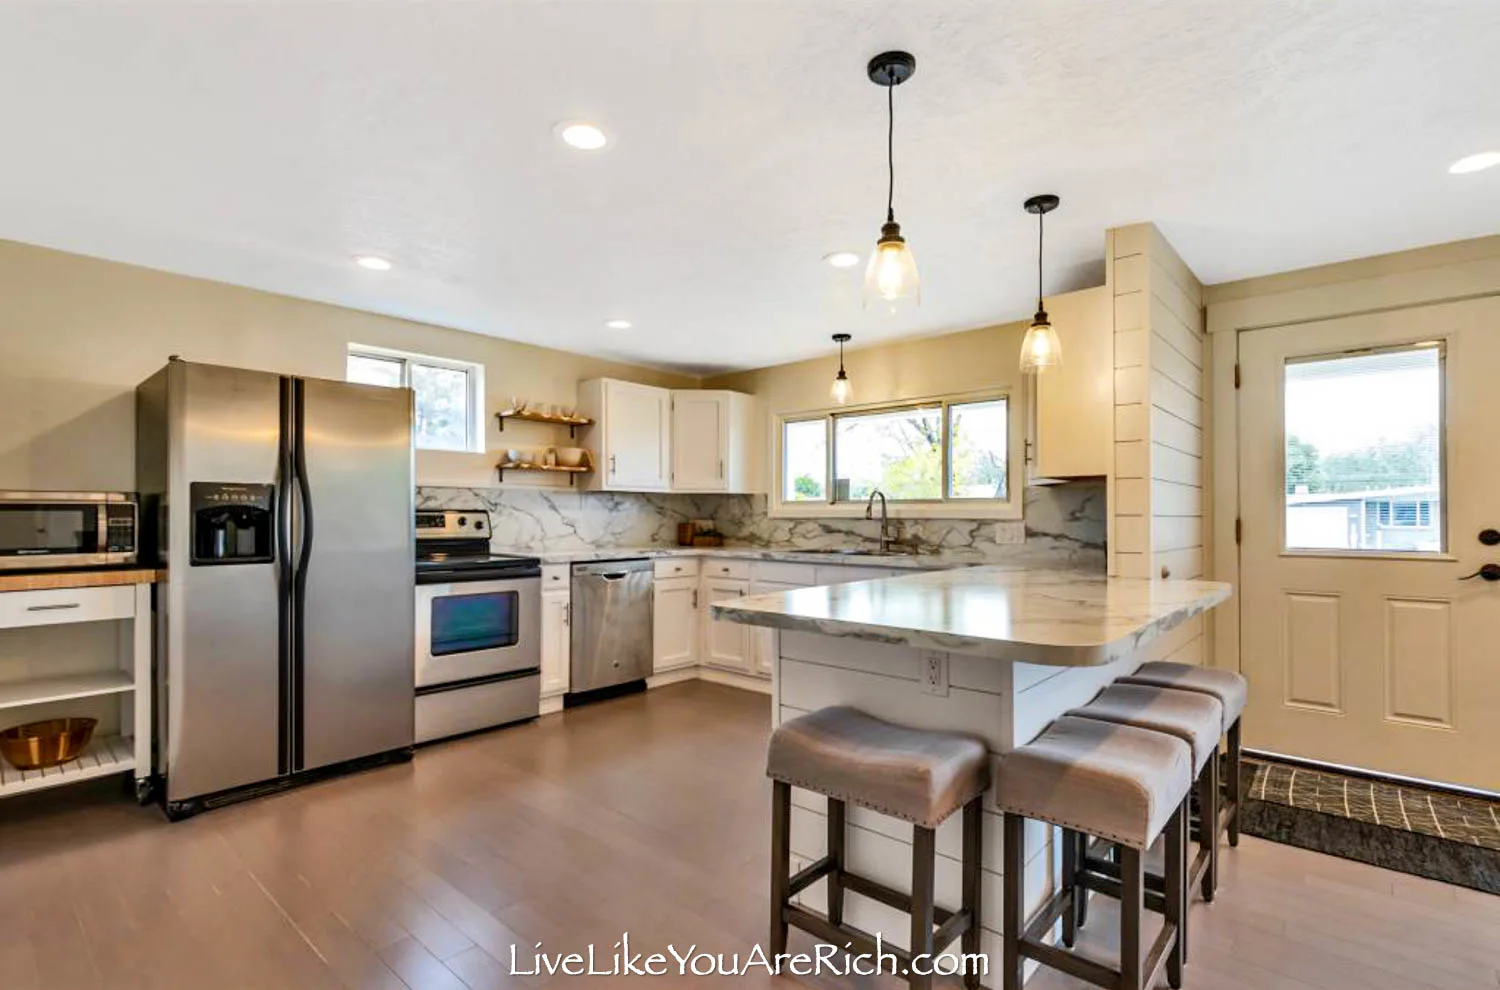
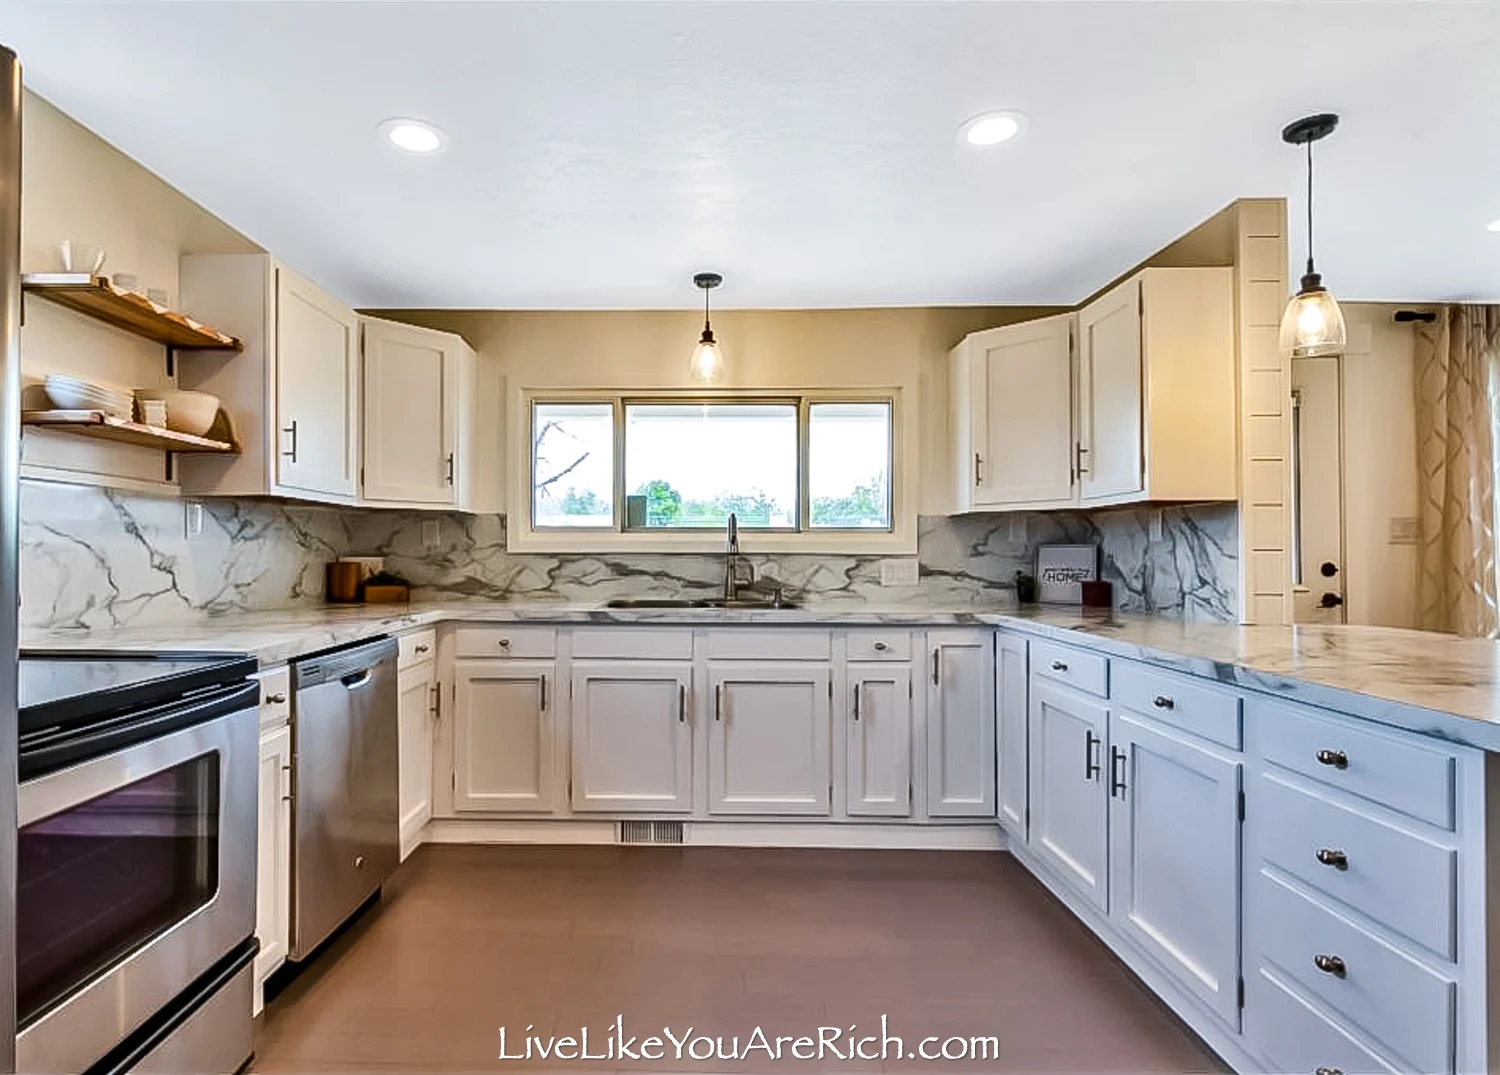
I LOVED the way the shiplap accent wall and bar turned out!
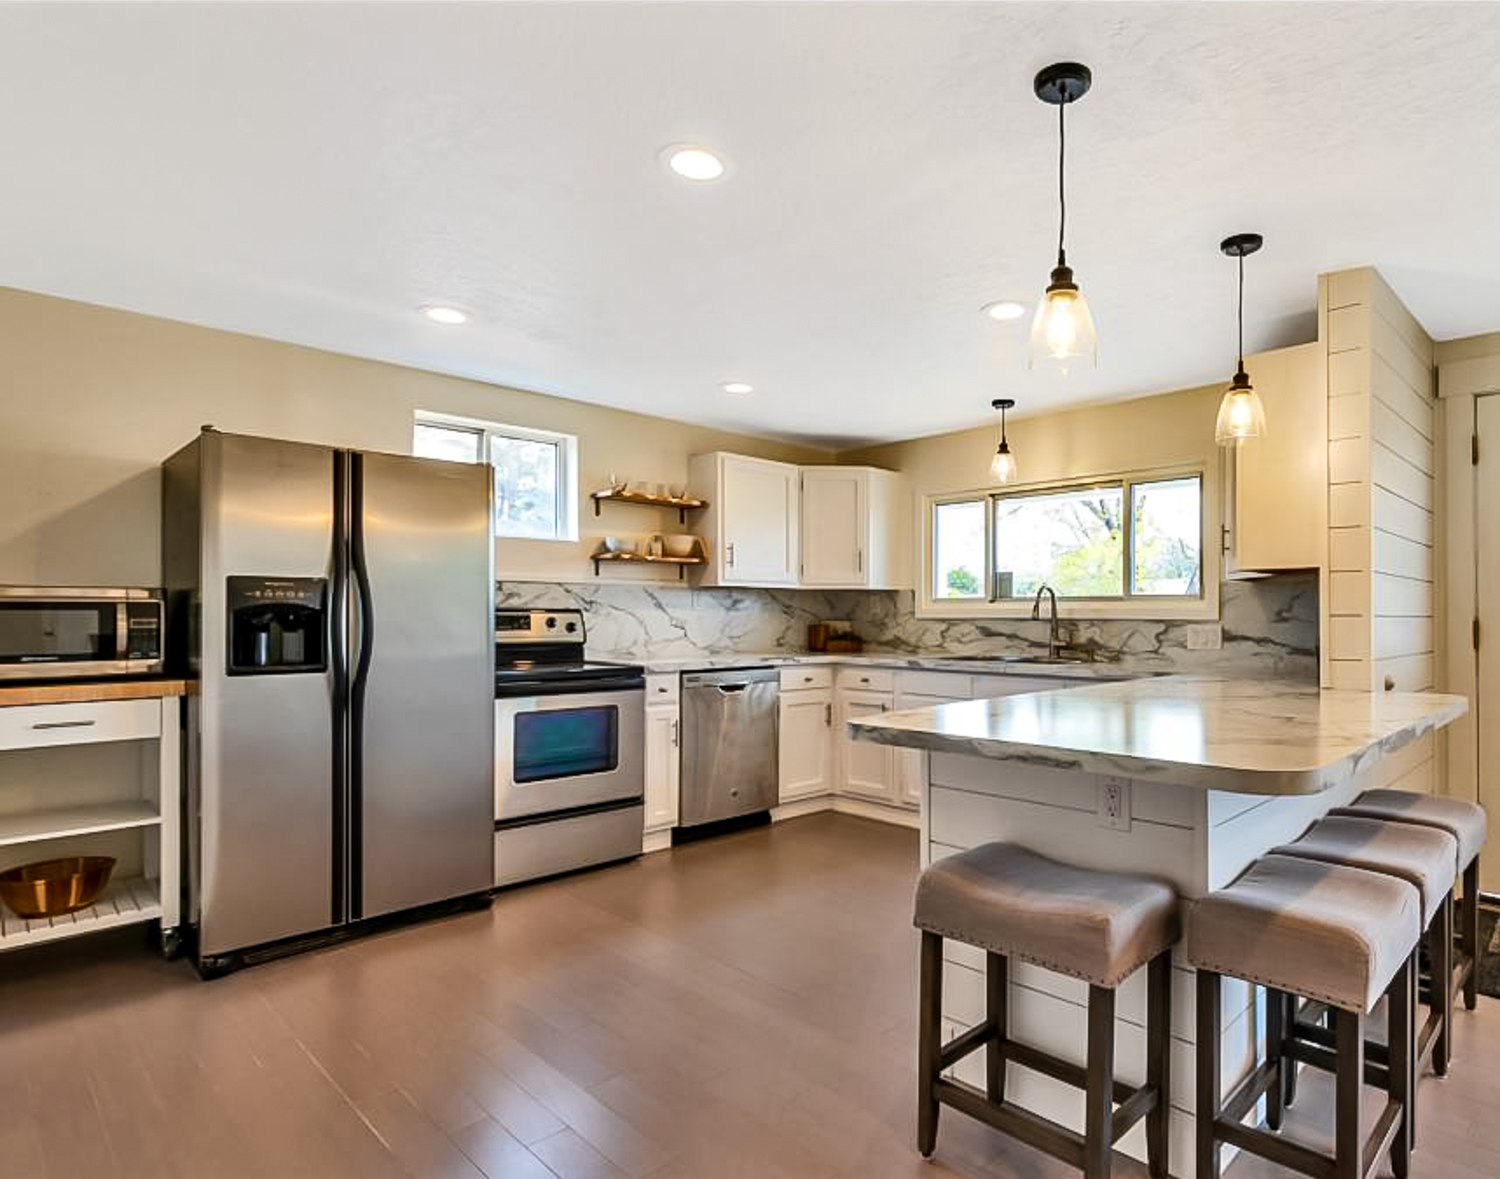

Our plumber installed the dishwasher, sink and faucet, and fridge (with a water line) and my husband ran all the electrical to the appliances.
I bought the darling rolling island cart new but from a private seller as well as the microwave for $150 total for both.
The island cart was 1 inch too long for the tight space between the fridge and the wall. I really wanted it there, so my husband took off the cutting board wood top, cut 1/2″ off both ends, I sanded and put polyurethane on it and my husband re-attached it to the cart.
It turned out perfect for a microwave and more storage.

I found the real bamboo wood flooring (pre-finished) at Lumber Liquidators on closeout for $1.00 a square foot. Installed the floor in the kitchen (labor and materials) cost us about $800.00.
I found the bar stools used and sold them for a bit more than what I bought them for—always great. They came from Target originally.
Doing most of the work ourselves saved us a lot of money! Plus, getting bids on the laminate, plumbing, and having a family member charge less than standard rate to install the wood floor also saved us big time.
Here is a rough breakdown of costs for this kitchen remodel:
Laminate counter tops $1,200
Paint and supplies for cabinets refinish $250
Paint for walls and ceiling $150
Used Appliances Fridge $300, Stove $200, Dishwasher $150 all working and nice looking but used: $650 (they were included with the sale of the house).
Island and Microwave $150
World market shelves & brackets $40
Shiplap wall (glue, nails, trim, & boards) $200
Lighting $100
Electrical $500
Plumbing $500
Wood floor $800.
Sink and faucet were bought before the remodel (my husband installed them shortly after buying the home we reused those). Free.
Total $4,540.00 Which is not very expensive considering the before and afters.
I hope this has given you ideas of how to complete an inexpensive kitchen renovation.


For other ‘rich living tips’ please subscribe, like me on Facebook, and follow me on Pinterest and Instagram.