

My daughter requested an ice cream cake for her birthday. So, I made her this Snickers Ice Cream Cake and it was delicious!

I thought I’d share it here so others can enjoy the deliciousness as well. This Snickers Ice Cream Cake was super easy to put together, it took about 10 minutes is all. However, it does need an hour or two to refreeze after assembly, so keep that in mind when you are planning the preparation for it.

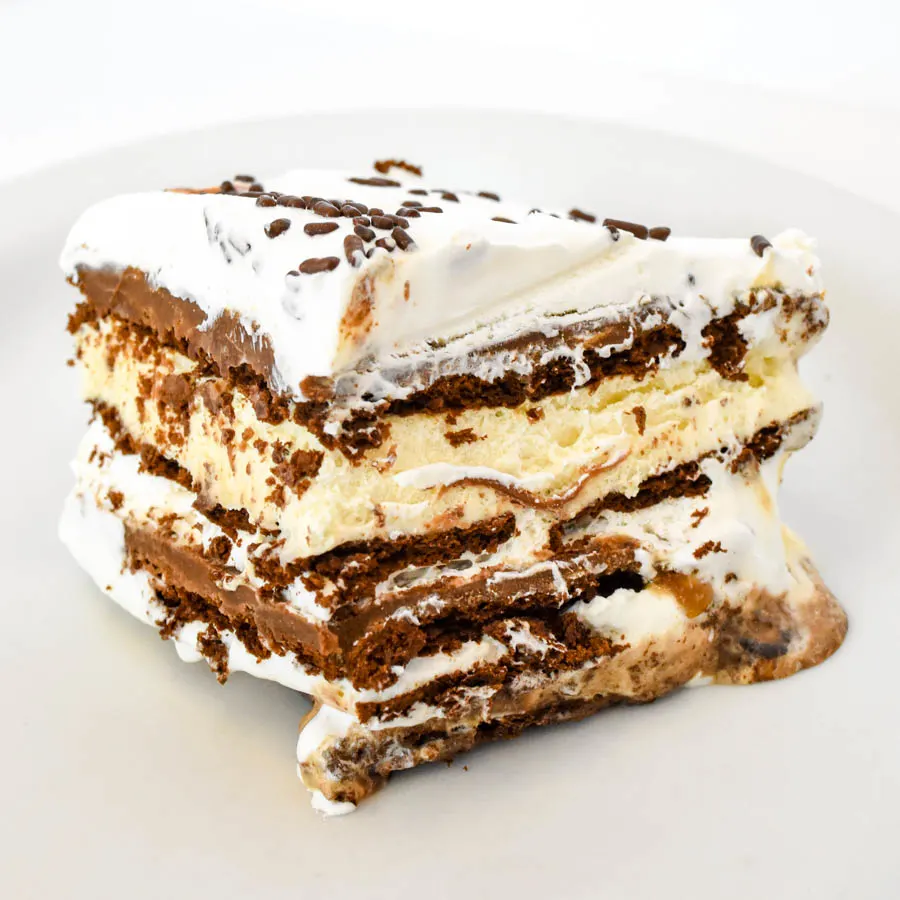
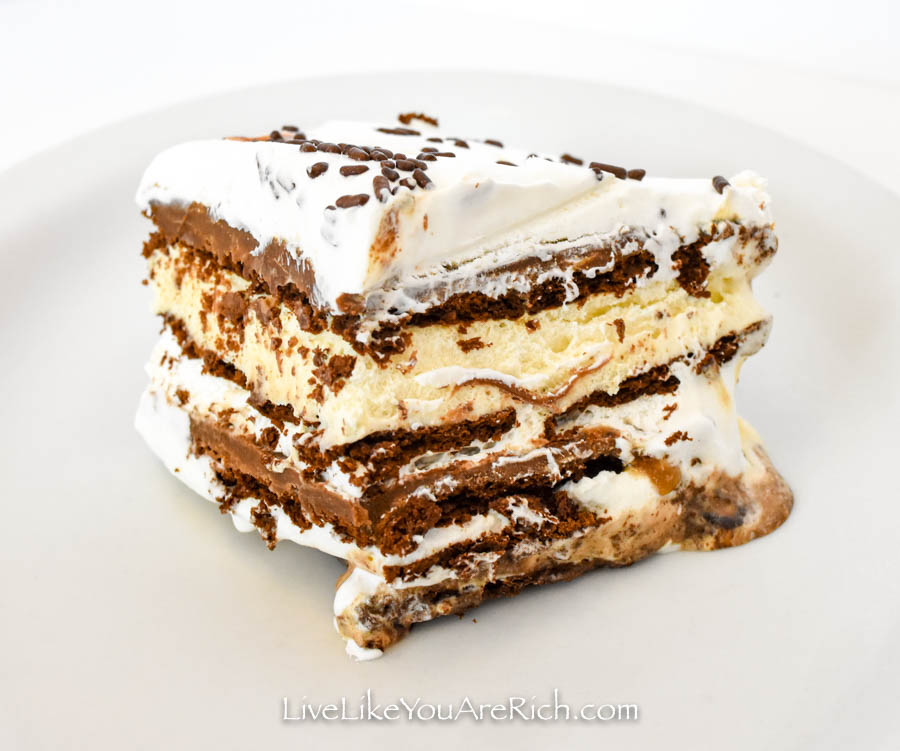
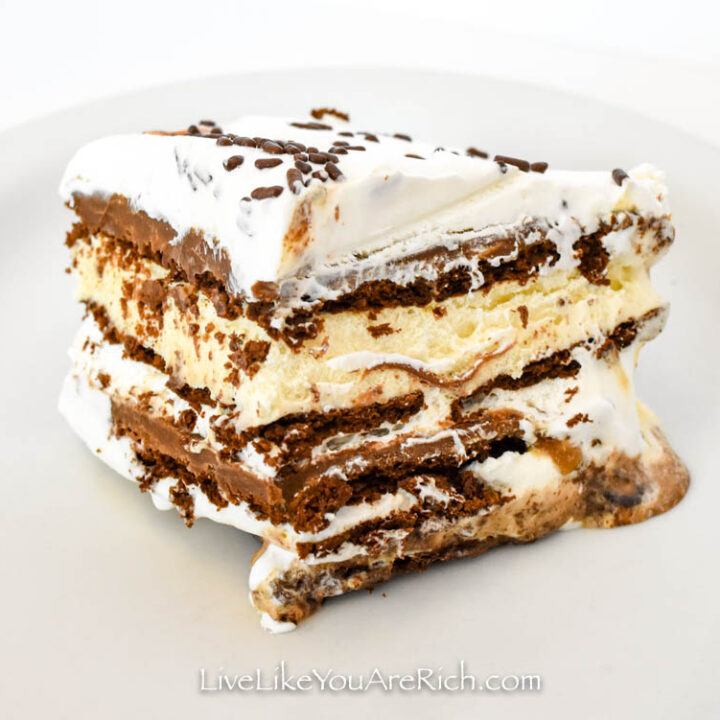
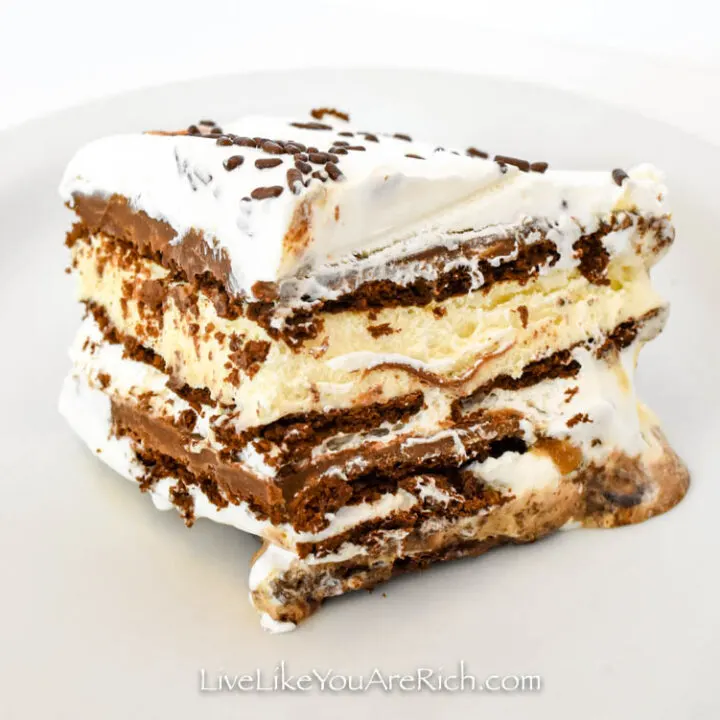
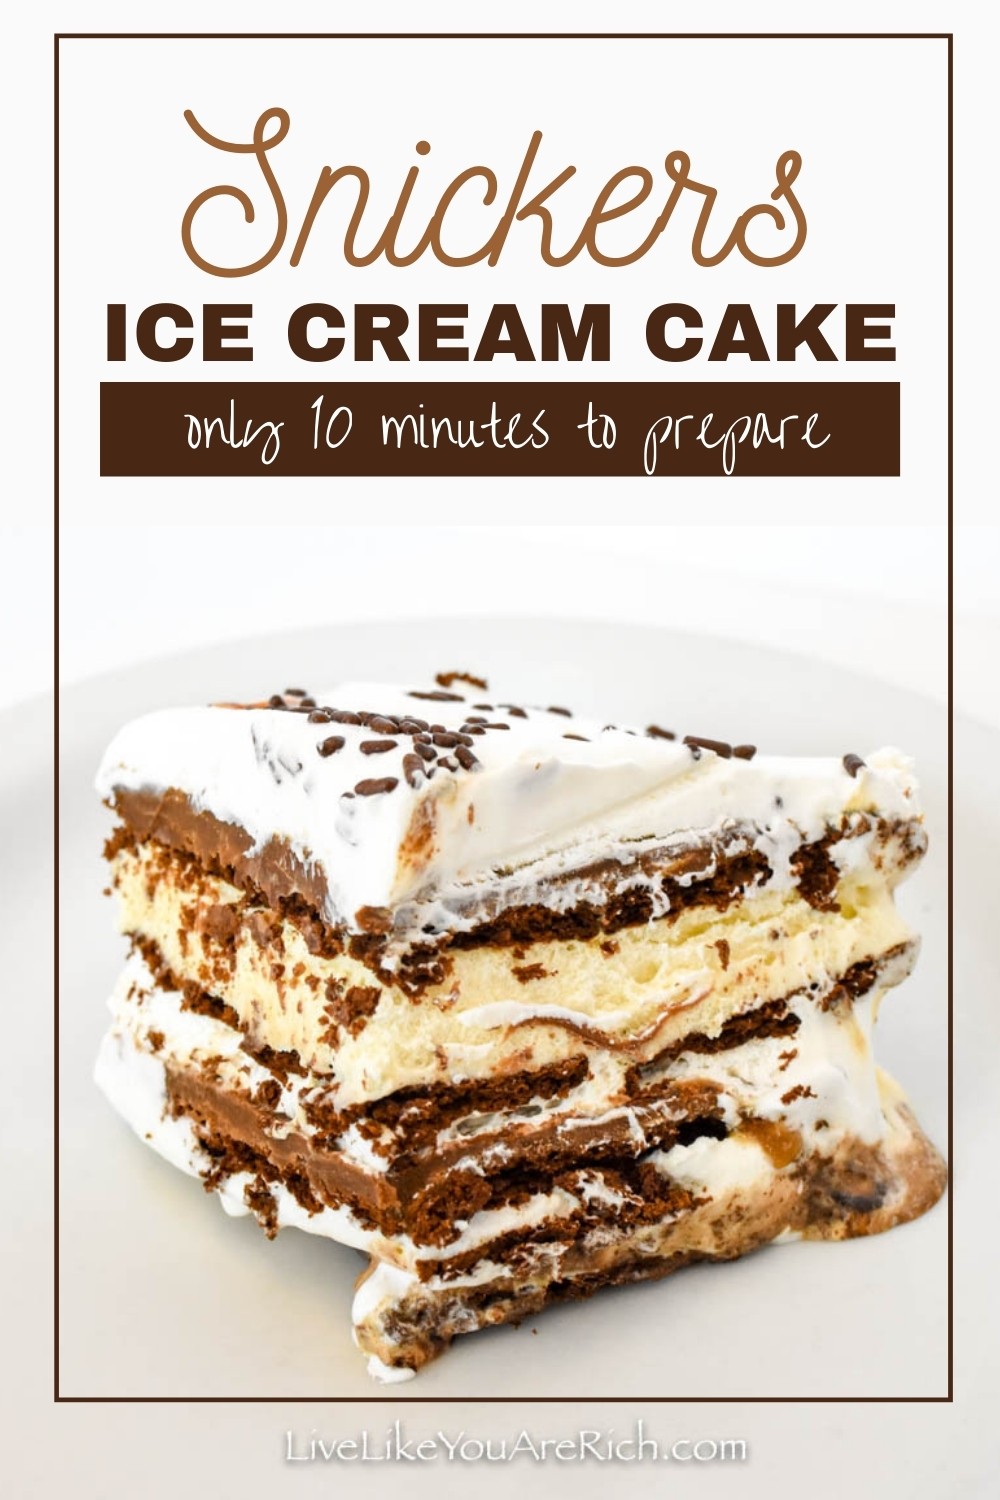
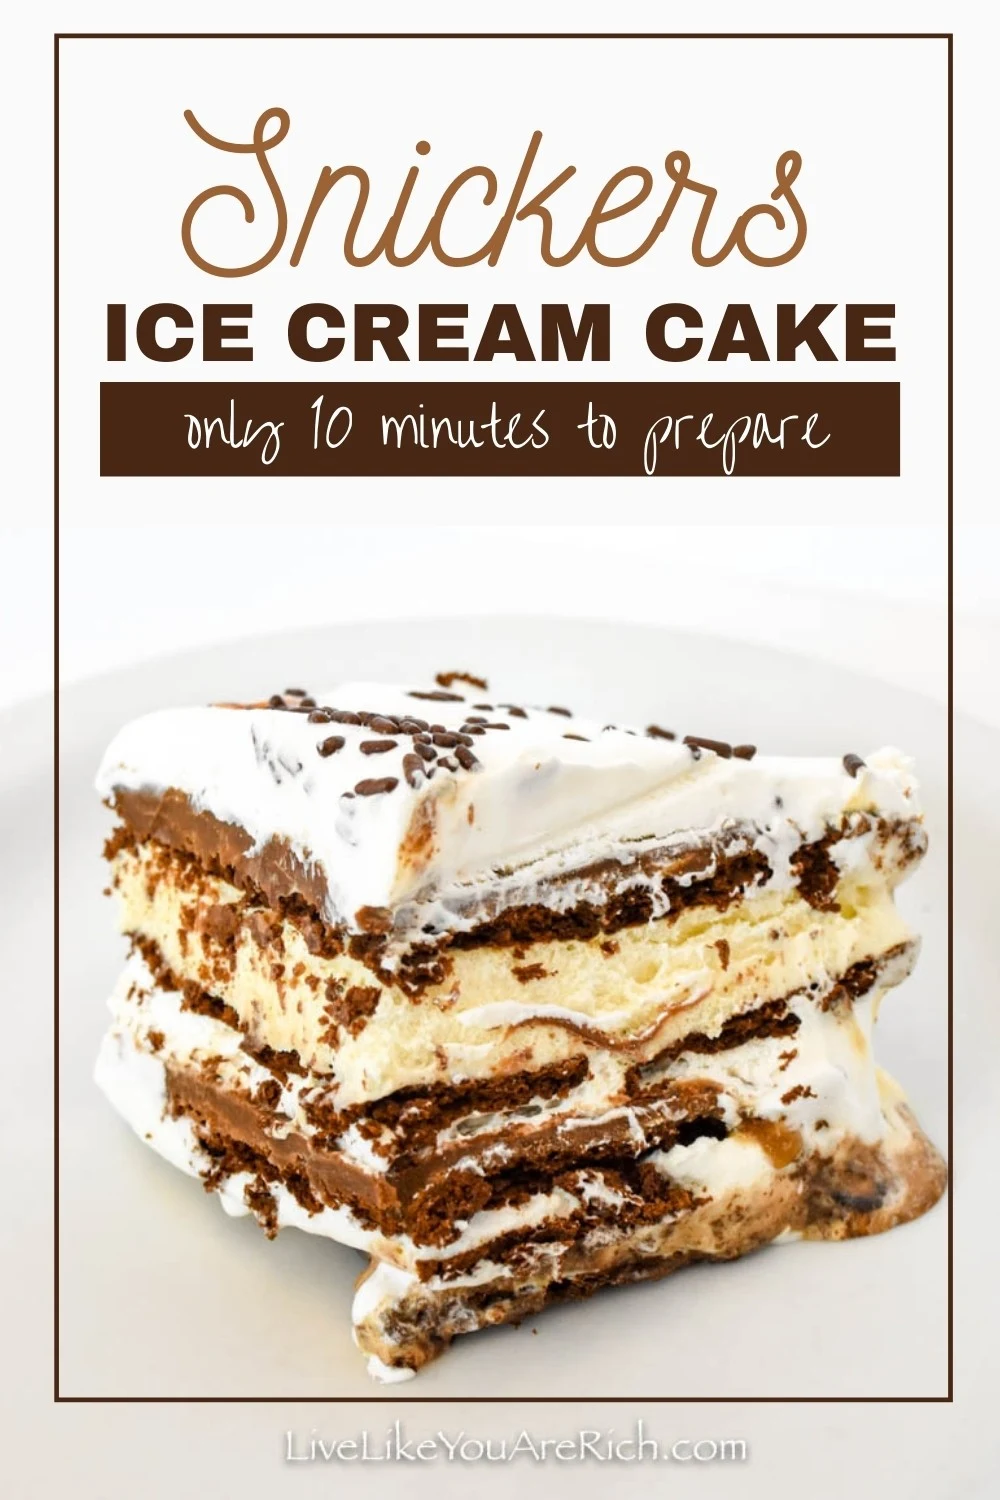
In my opinion this cake tastes better than a snickers bar. You have a wonderful mixture of vanilla ice cream, chocolate, caramel, and peanut butter combined perfectly.
Although delicious, it is very rich, so for people who are not used to lots of sugar, you’ll likely be satisfied with a small piece. My kids could eat a whole slice, but I could only eat about half of the photographed-sized-slice and I felt completely satisfied.


This dessert was a hit! I highly recommend it for a kids party or anytime kids are going to be eating dessert. Those who love ice cream and/or snickers are sure to love it as well.
Supply List for Snickers Ice Cream Cake
9×13 glass pan
medium sized mixing bowl
spoon
spatula
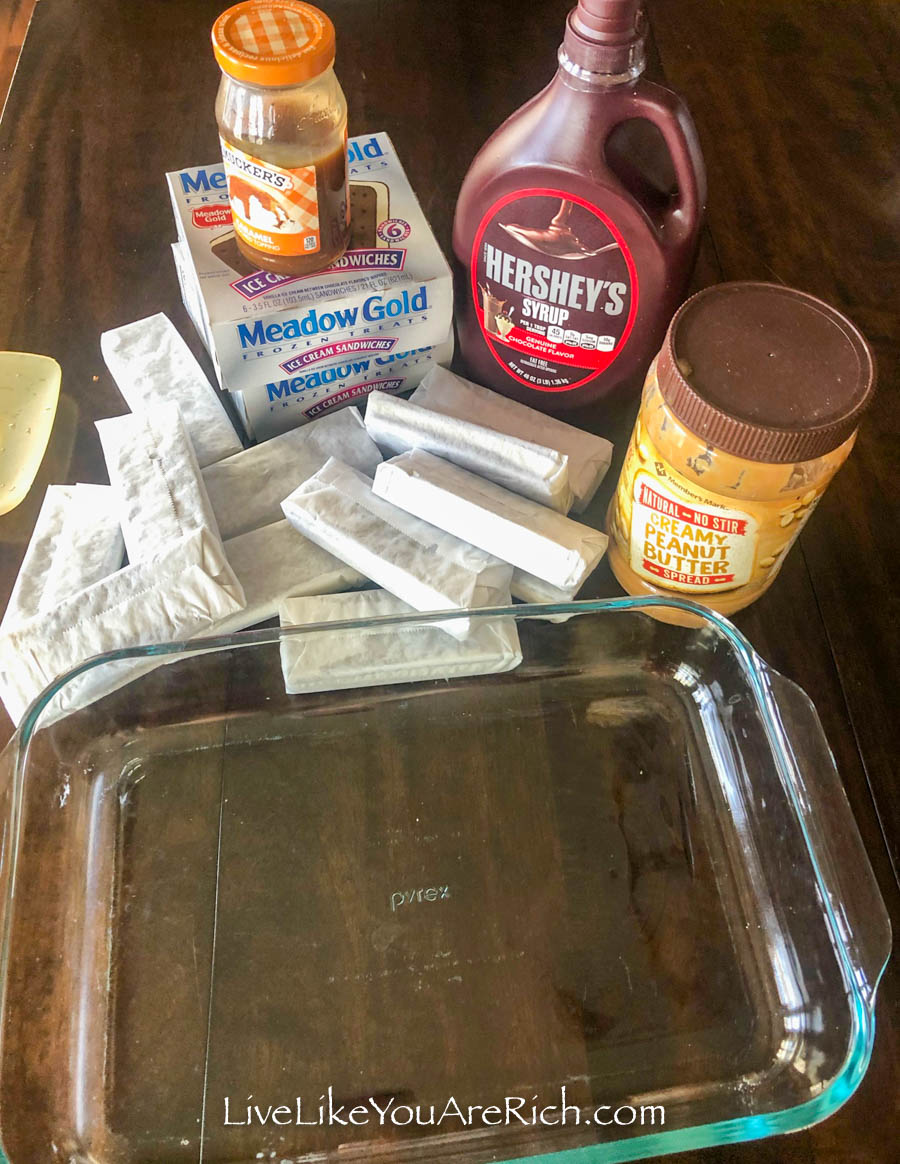
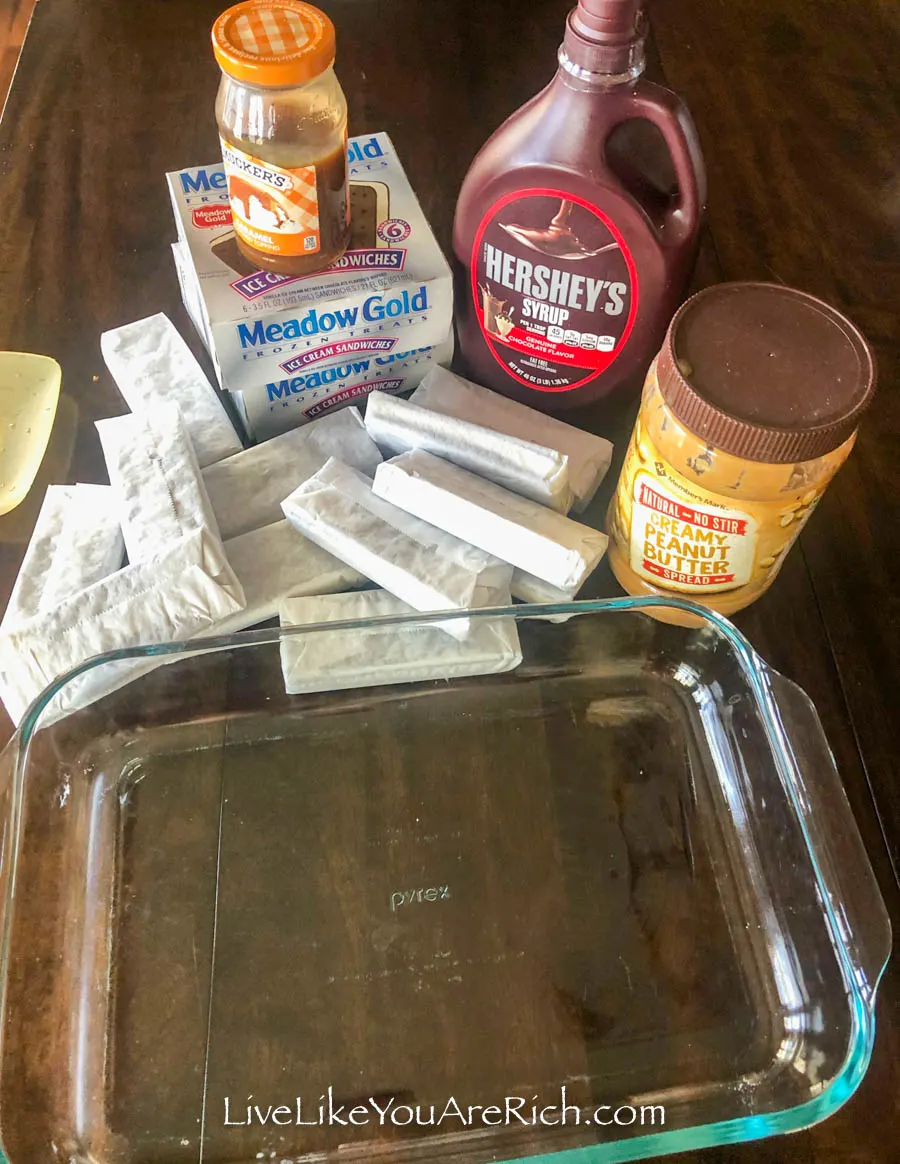
Ingredient List for Snickers Ice Cream Cake
Vanilla ice cream sandwiches. They vary in size widely between brands so to be safe, buy 26 of them.
2 standard tubs (8 oz) of Cool Whip
chocolate sauce or hot fudge sauce ~ 1 1/4 Cup
caramel sauce ~ 1/2 Cup
peanut butter (either smooth or chunky depending on your preference) 1 Cup
Optional- peanuts
Instructions for Snickers Ice Cream Cake
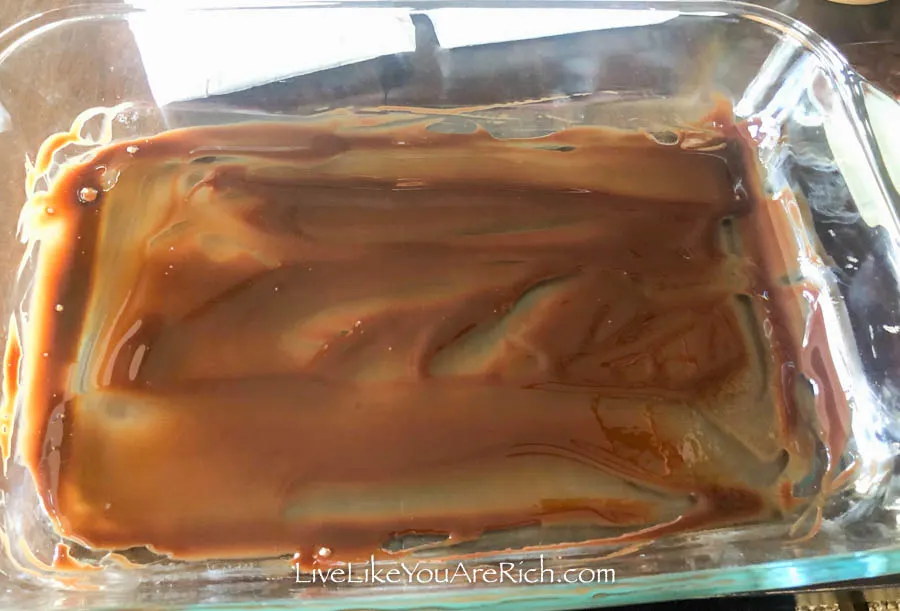
First, coat the bottom of a 9×13 pan with chocolate sauce. Just eye ball about 1/4 Cup, exact measurements are not needed.


Use a spatula to spread it across the pan fairly evenly.

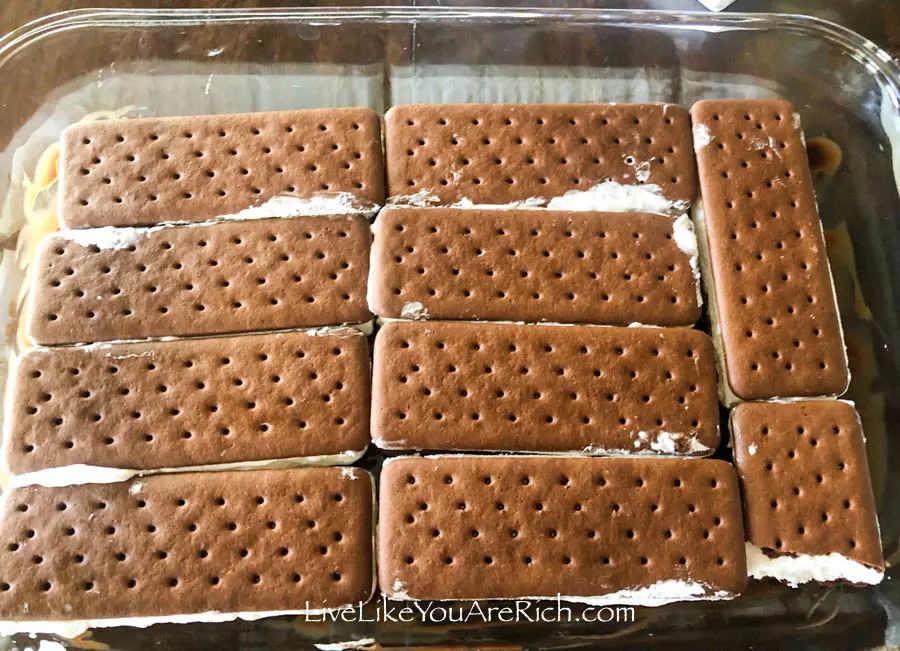
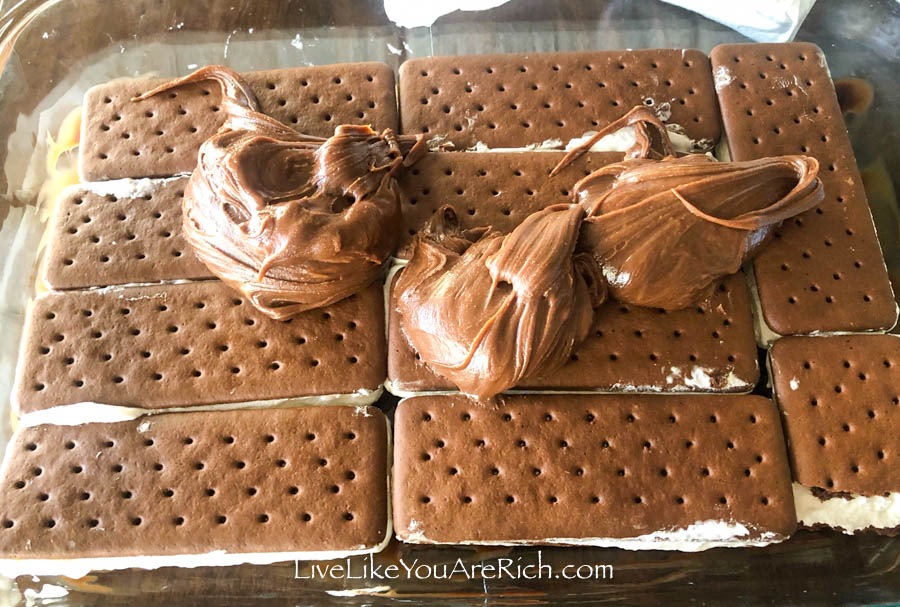
Unwrap and fill up the pan with ice cream sandwiches side by side in a row. Note- the generic brand of ice cream sandwiches tended to be larger than Meadow Gold brand. I noticed this because I used generic on the bottom and it took 9 1/2 bars. I used Meadow gold on the top layer and it took about 12 1/2 bars.

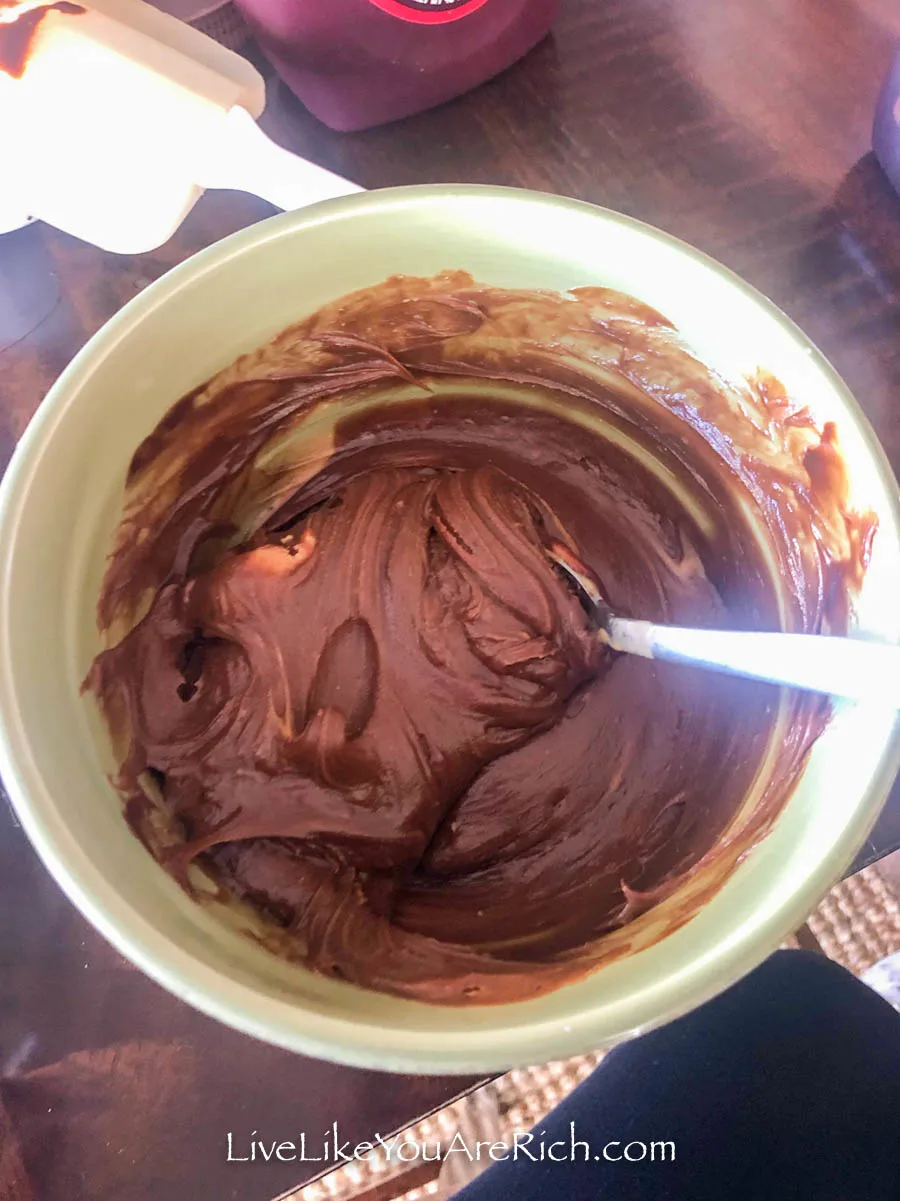
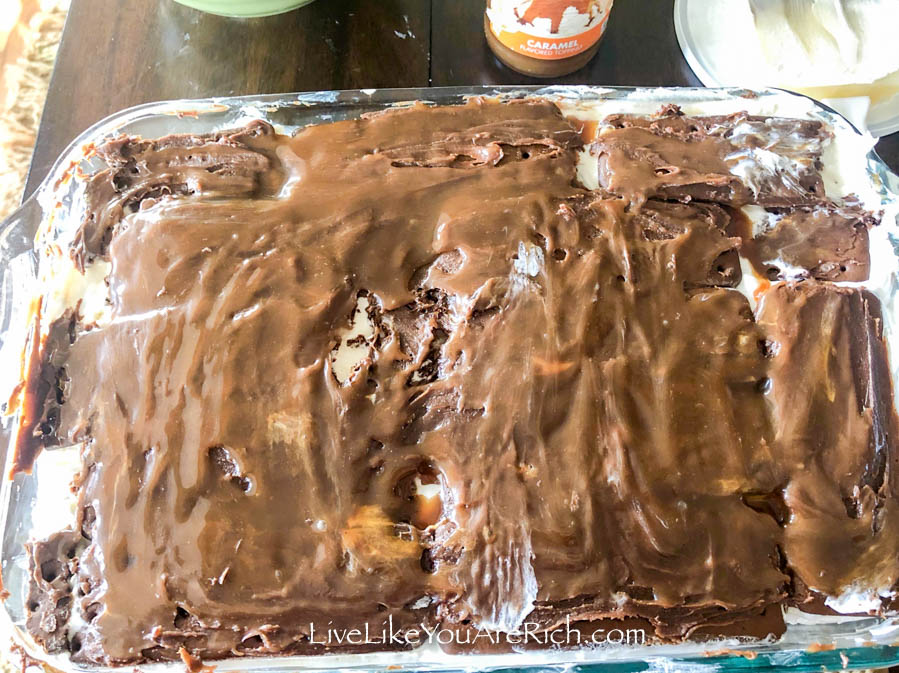
Next, in a medium sized mixing bowl, mix 1 Cup of peanut butter with 1 Cup of hot fudge or chocolate syrup
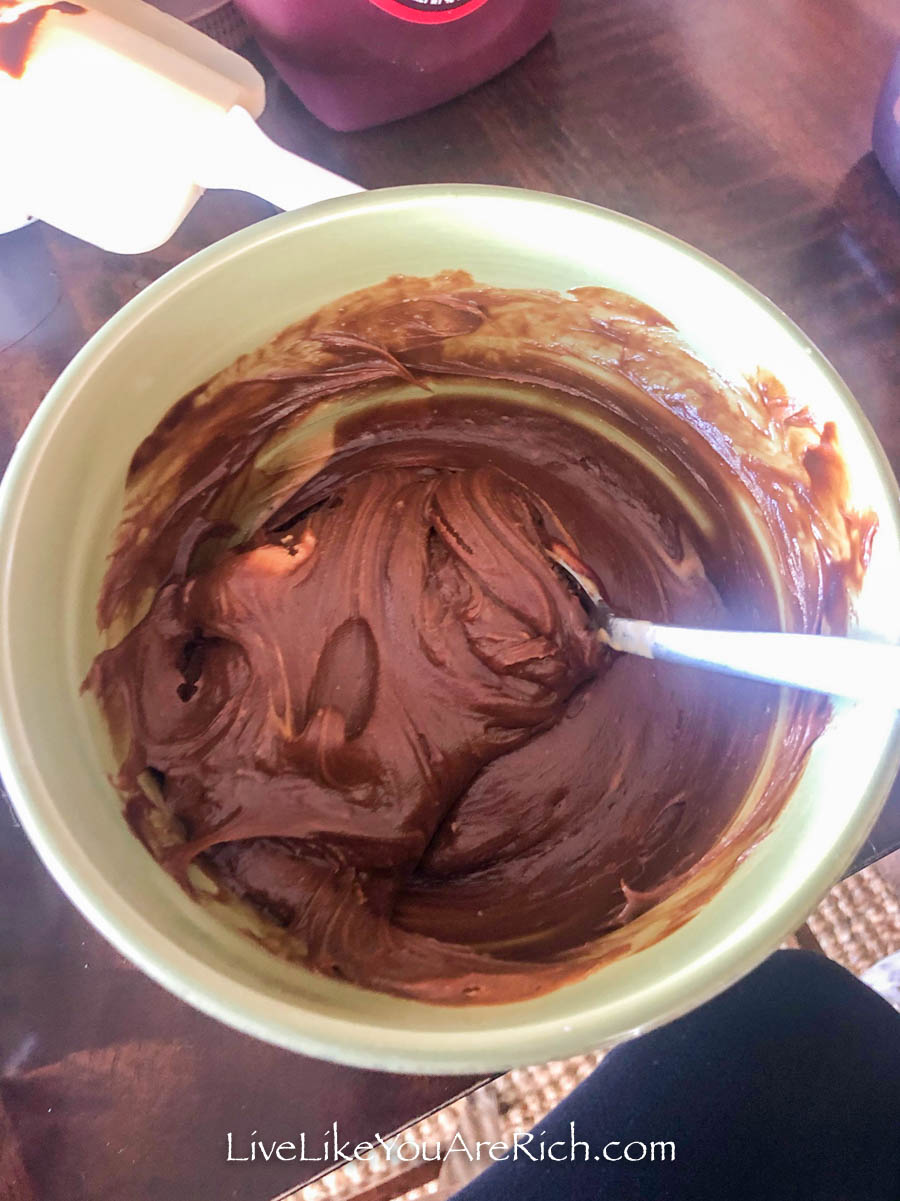
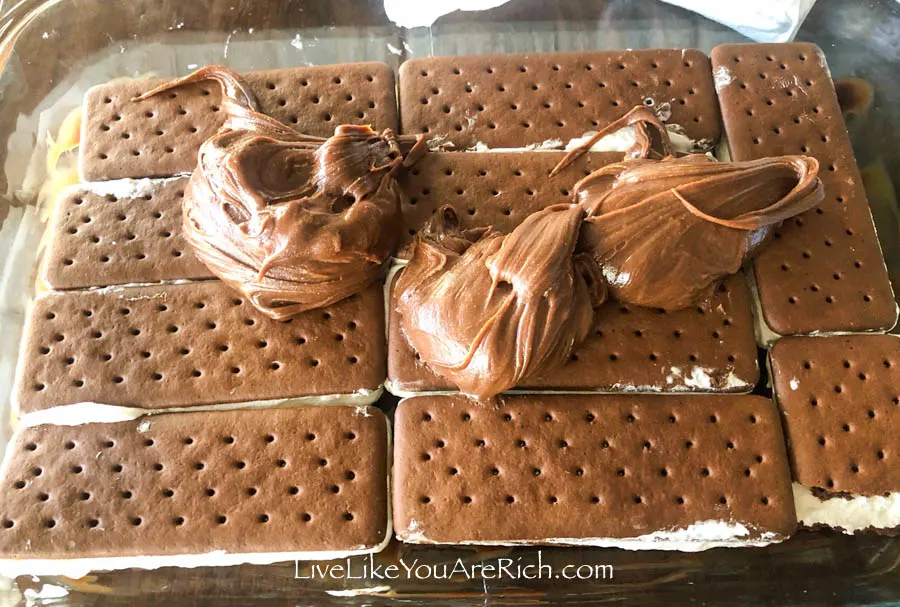
Put 1/2 of this mixture on top of the ice cream sandwiches and spread it around.
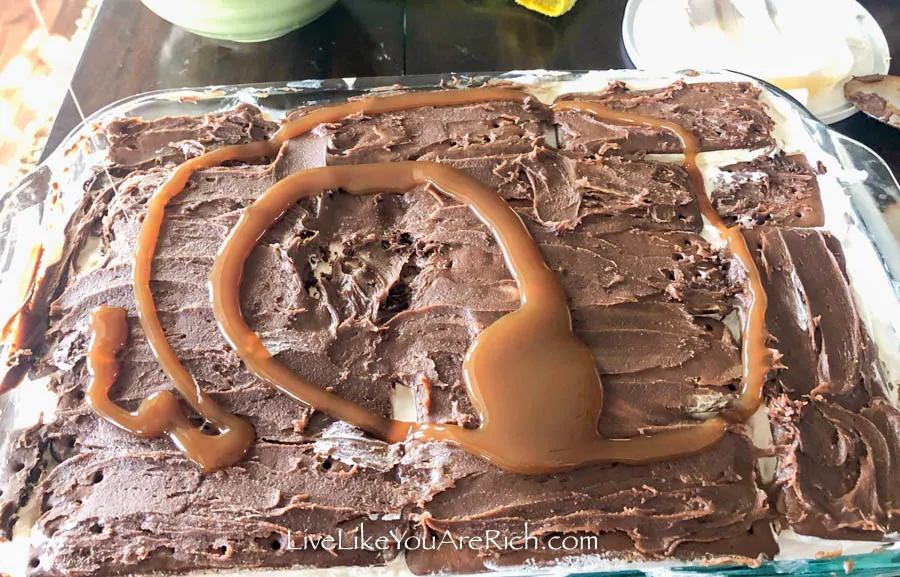
Next, pour about 1/3 C caramel on top of the chocolate peanut butter mixture.

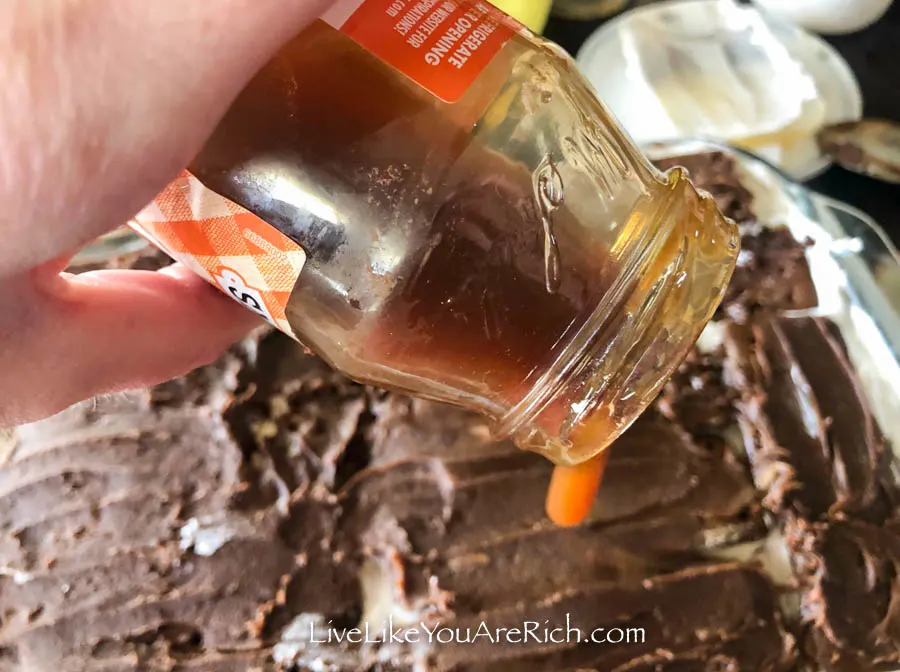
Spread it around evenly.

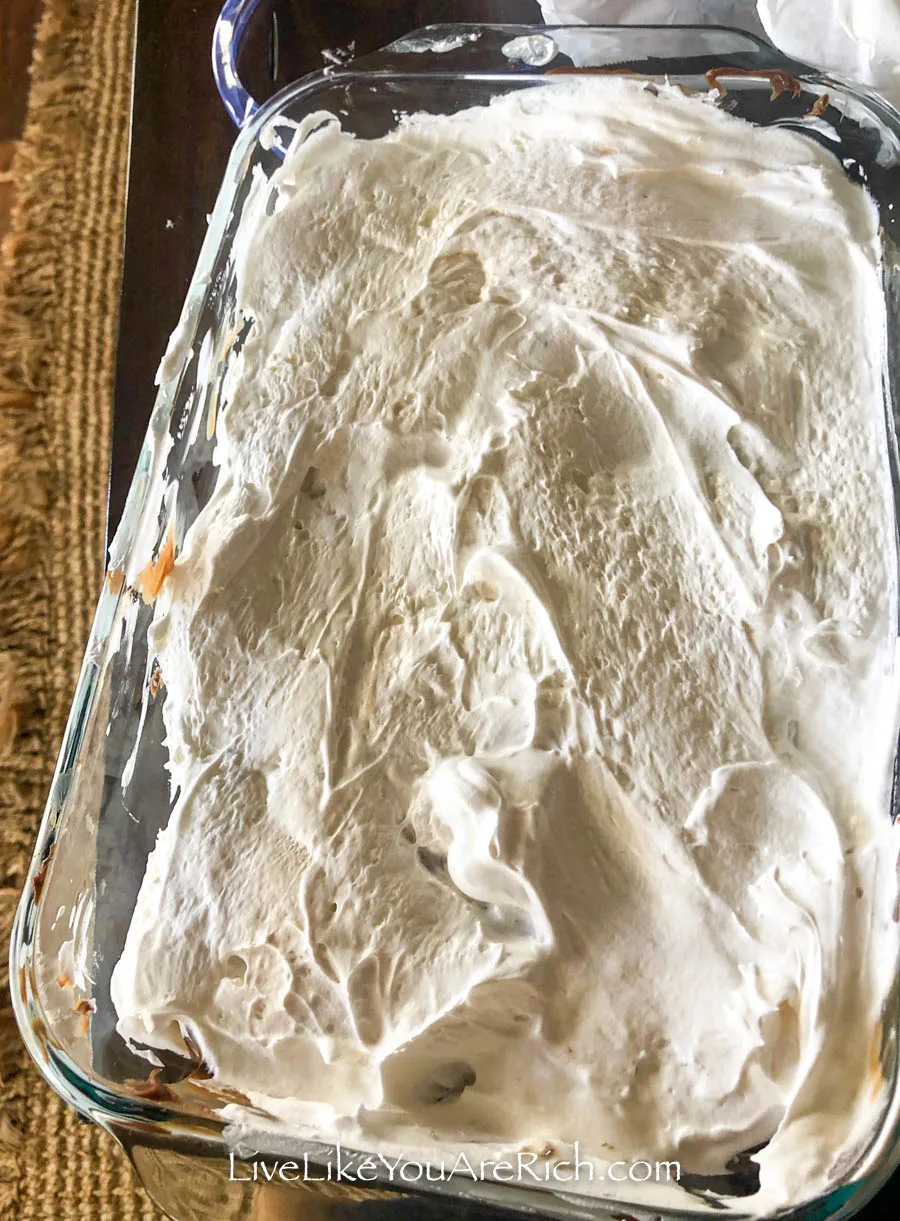
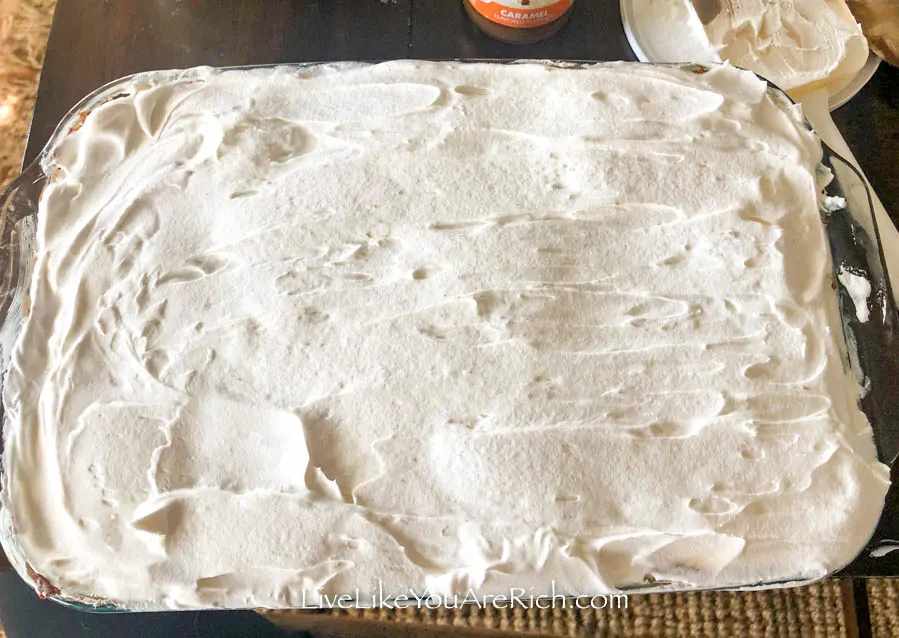
Then add 1 tub of Cool Whip on top of the caramel sauce.

Note- If you love crunchy things you can also add peanuts to the layers and use chunky peanut butter instead of creamy.
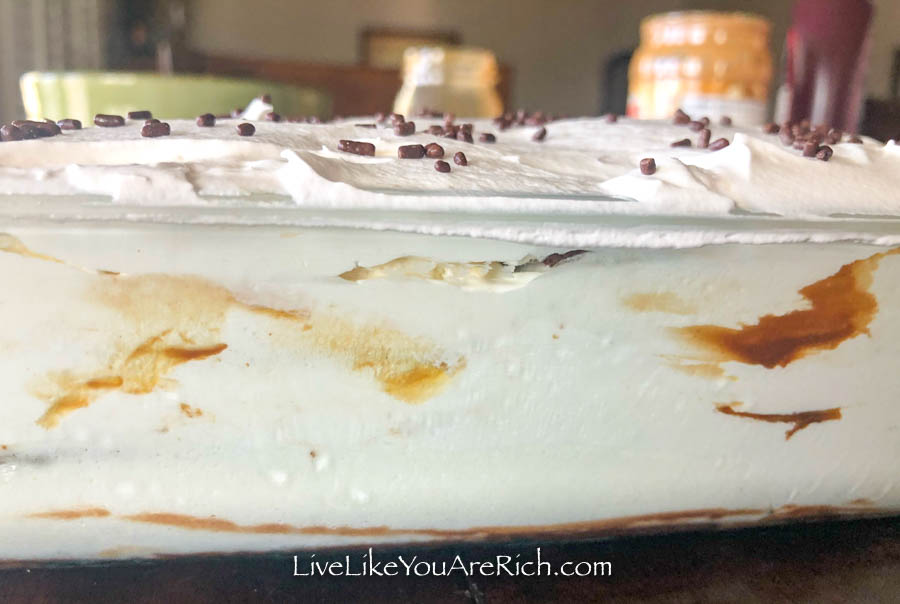
Repeat layers: Ice cream sanwiches, the rest of the peanut butter mixture,

caramel and Cool Whip Topping.
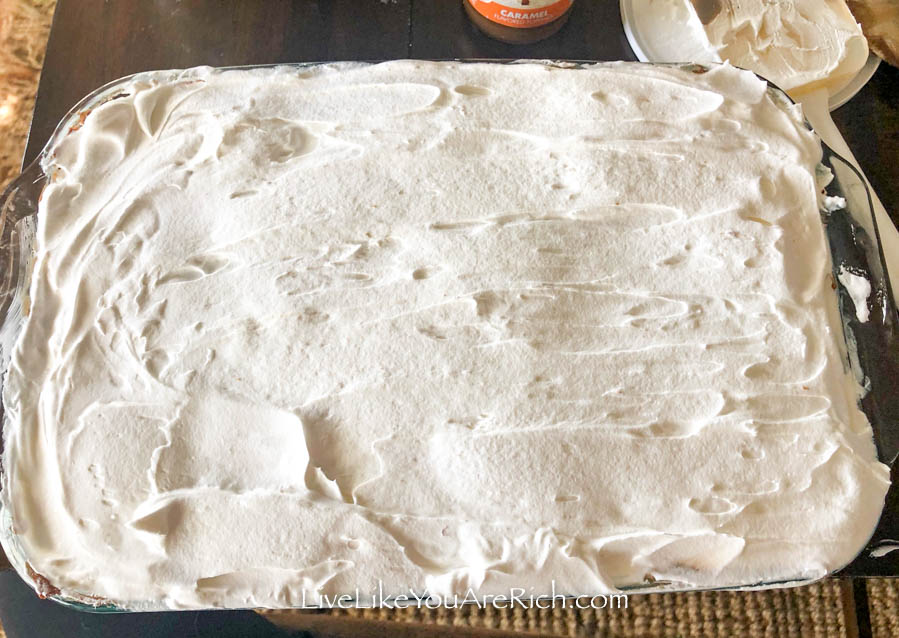
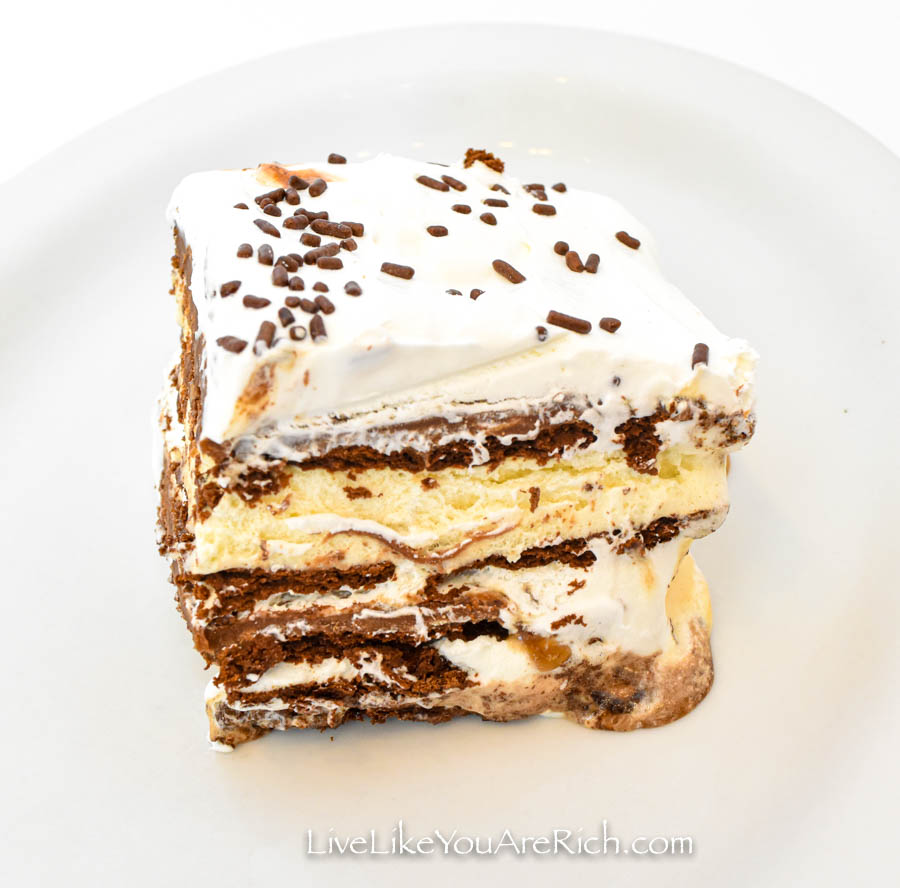
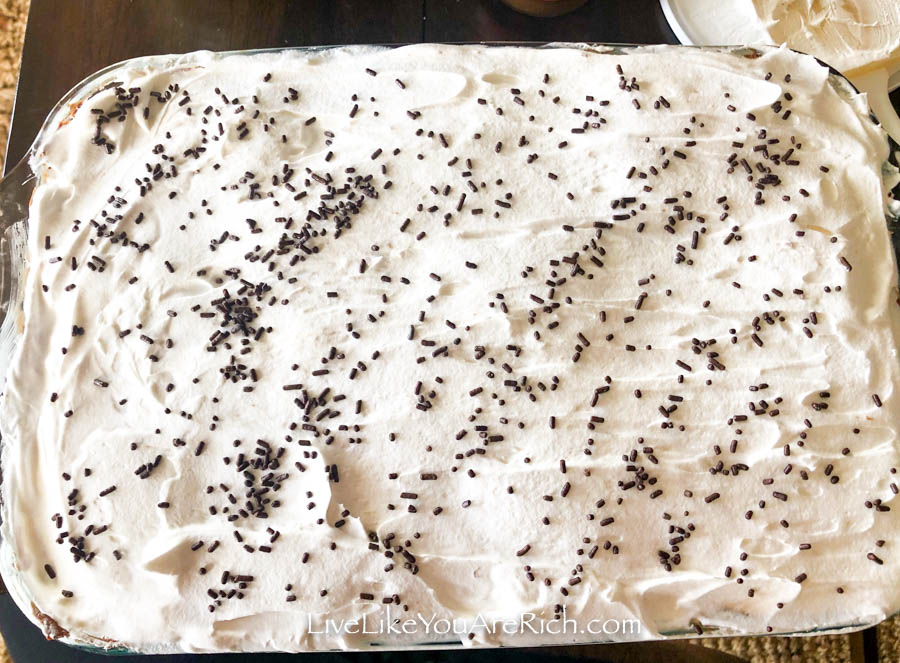
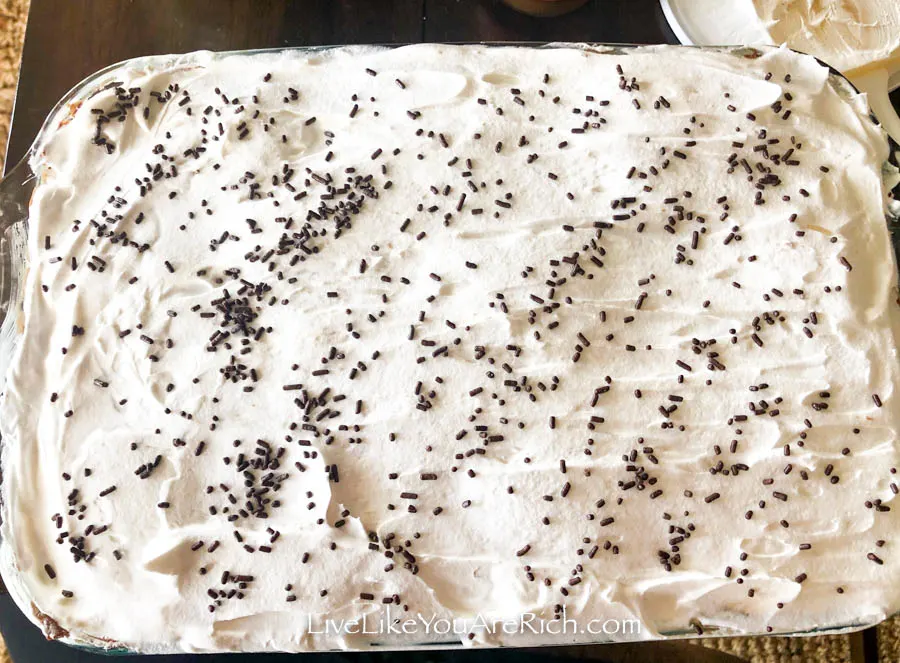
I sprinkled the top with brown sprinkles.
Refreeze for 1-2 hours.

Once it has set, take it out and cut it into slices.
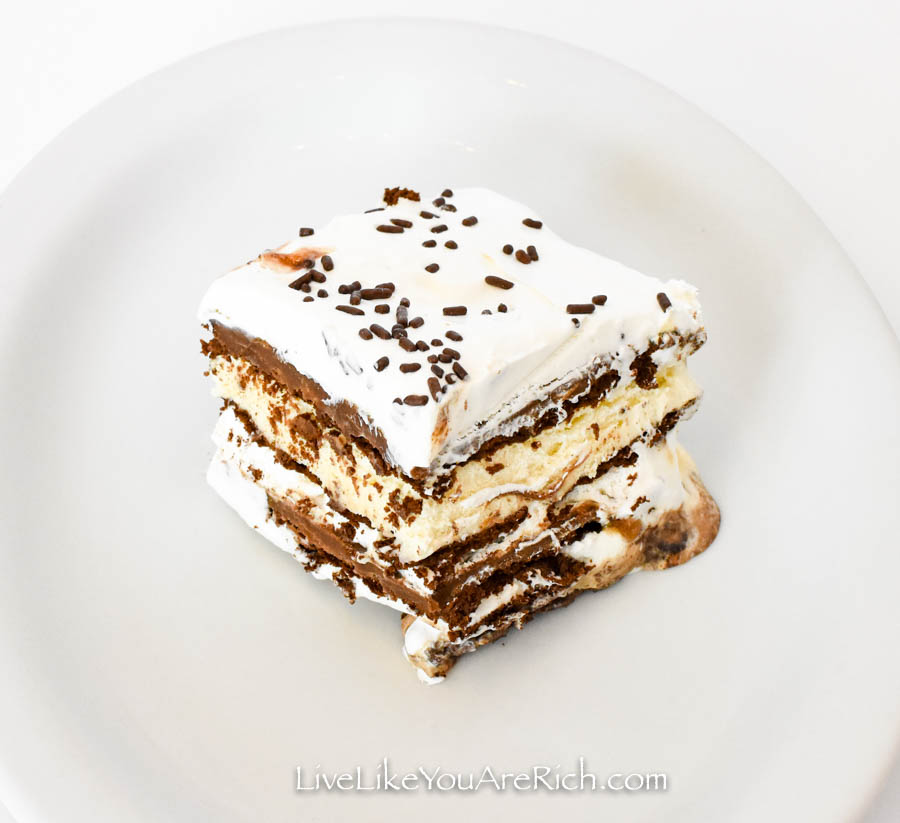
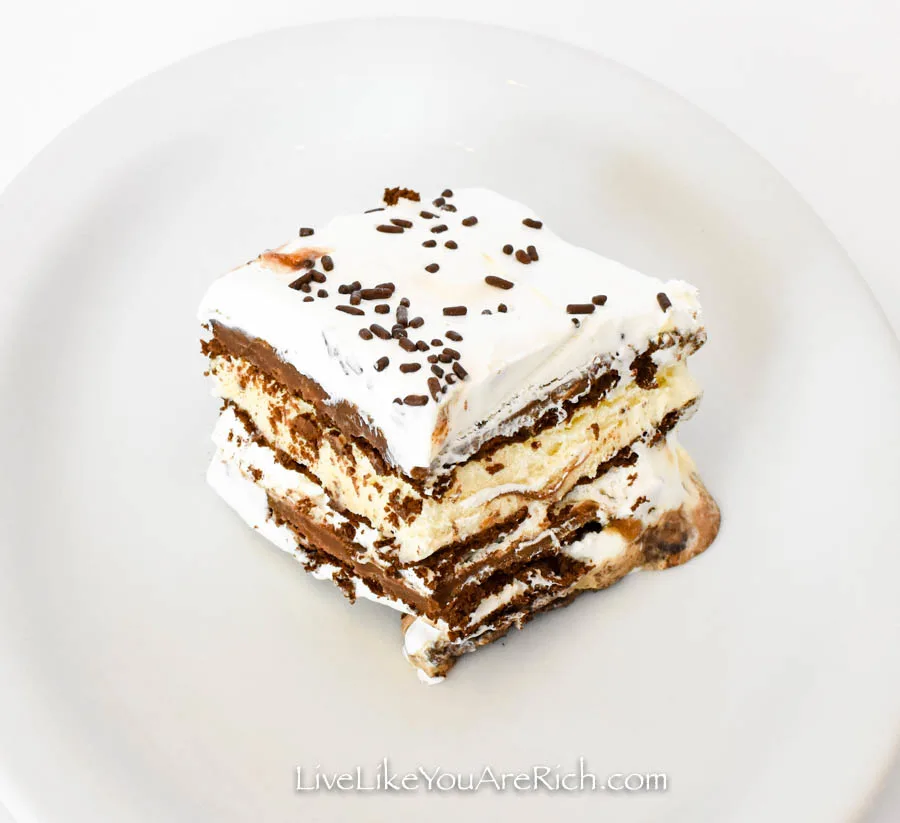
Enjoy!
Snickers Ice Cream Cake
A delicious Ice Cream cake that tastes just like a Snickers Bar! Easy to assemble and well loved.
Ingredients
- 24-26 Vanilla ice cream sandwiches. They vary in size widely between brands so to be safe, buy 26 of them.
- 2 standard tubs (8 oz) of Cool Whip
- 1 1/4 C chocolate sauce or hot fudge sauce
- 1/2 C caramel sauce
- 1 C peanut butter (either smooth or chunky depending on your preference)
- Optional- peanuts
Instructions
- First, coat the bottom of a 9x13 pan with chocolate sauce. Just eye ball about 1/4 Cup, exact measurements are not needed. Use a spatula to spread it across the pan fairly evenly.
- Unwrap and fill up the pan with ice cream sandwiches side by side in a row. Note- the generic brand of ice cream sandwiches tended to be larger than Meadow Gold brand. I noticed this because I used generic on the bottom and it took 9 1/2 bars. I used Meadow gold on the top layer and it took about 12 1/2 bars.
- Next, in a medium sized mixing bowl, mix 1 Cup of peanut butter with 1 Cup of hot fudge or chocolate syrup
- Put 1/2 of this mixture on top of the ice cream sandwiches and spread it around.
- Next, pour about 1/3 C caramel on top of the chocolate peanut butter mixture.
- Spread it around evenly.
- Then add 1 tub of Cool Whip on top of the caramel sauce.
- Note- If you love crunchy things you can also add peanuts to the layers and use chunky peanut butter instead of creamy.
- Repeat layers: Ice cream sandwiches, the rest of the peanut butter mixture, caramel and Cool Whip Topping.
- I sprinkled the top with brown sprinkles.
- Refreeze for 1-2 hours.
- Once it has set, take it out and cut it into slices.


For other ‘rich living’ and D.I.Y. decor tips please subscribe, like me on Facebook, and follow me on Pinterest and Instagram.
Isabel
Monday 7th of December 2020
Ice cream is everyone's favourite! As usual, same for me. When sunrise hit in the morning, we are hunting this the delicious food.