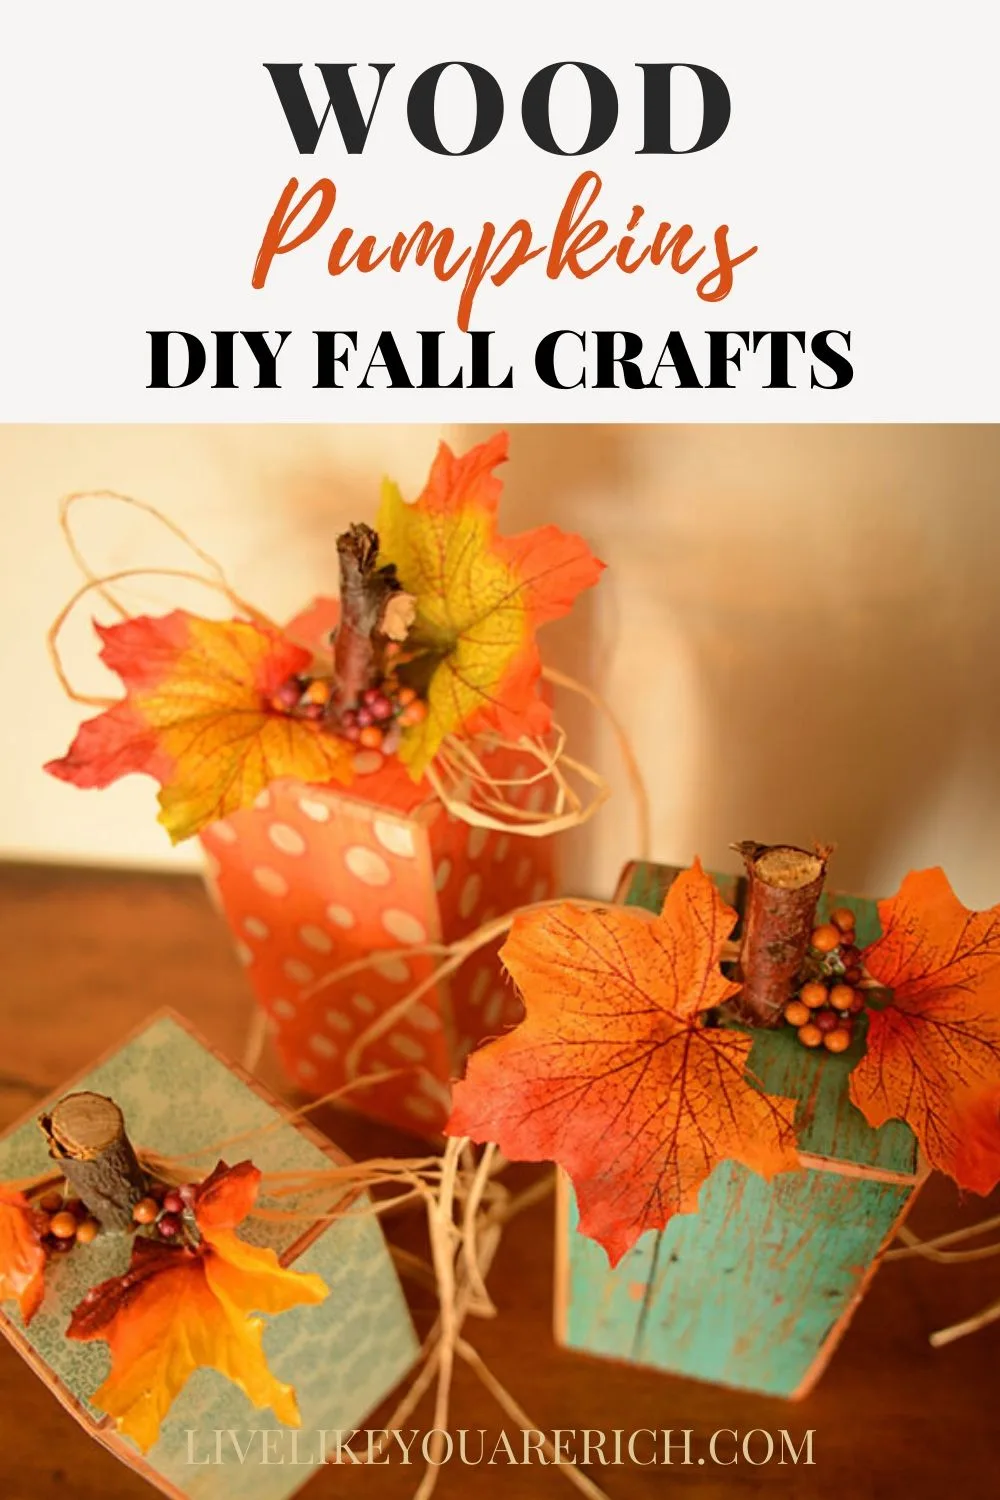
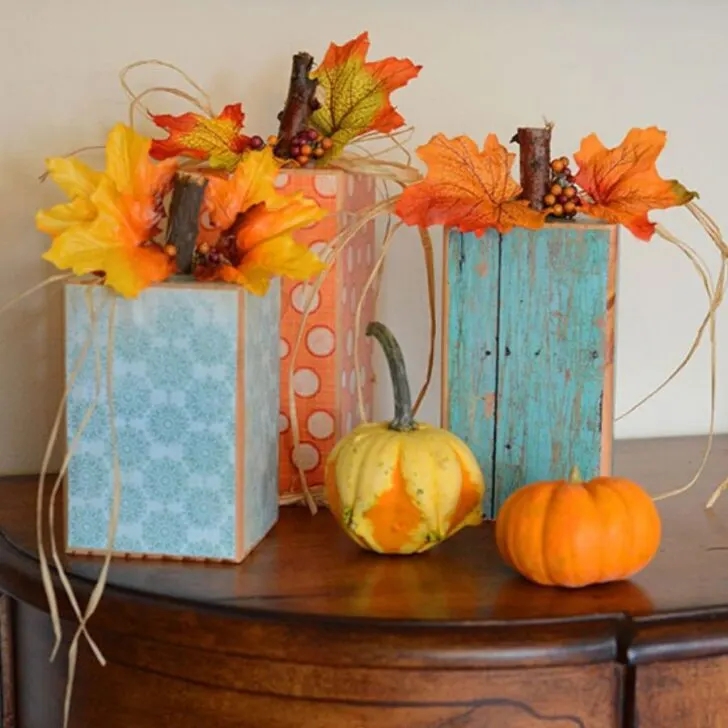
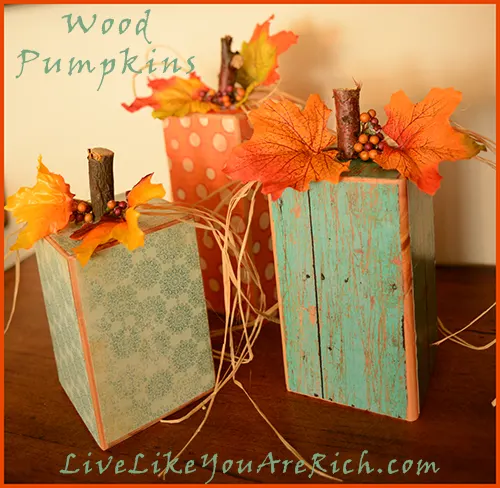
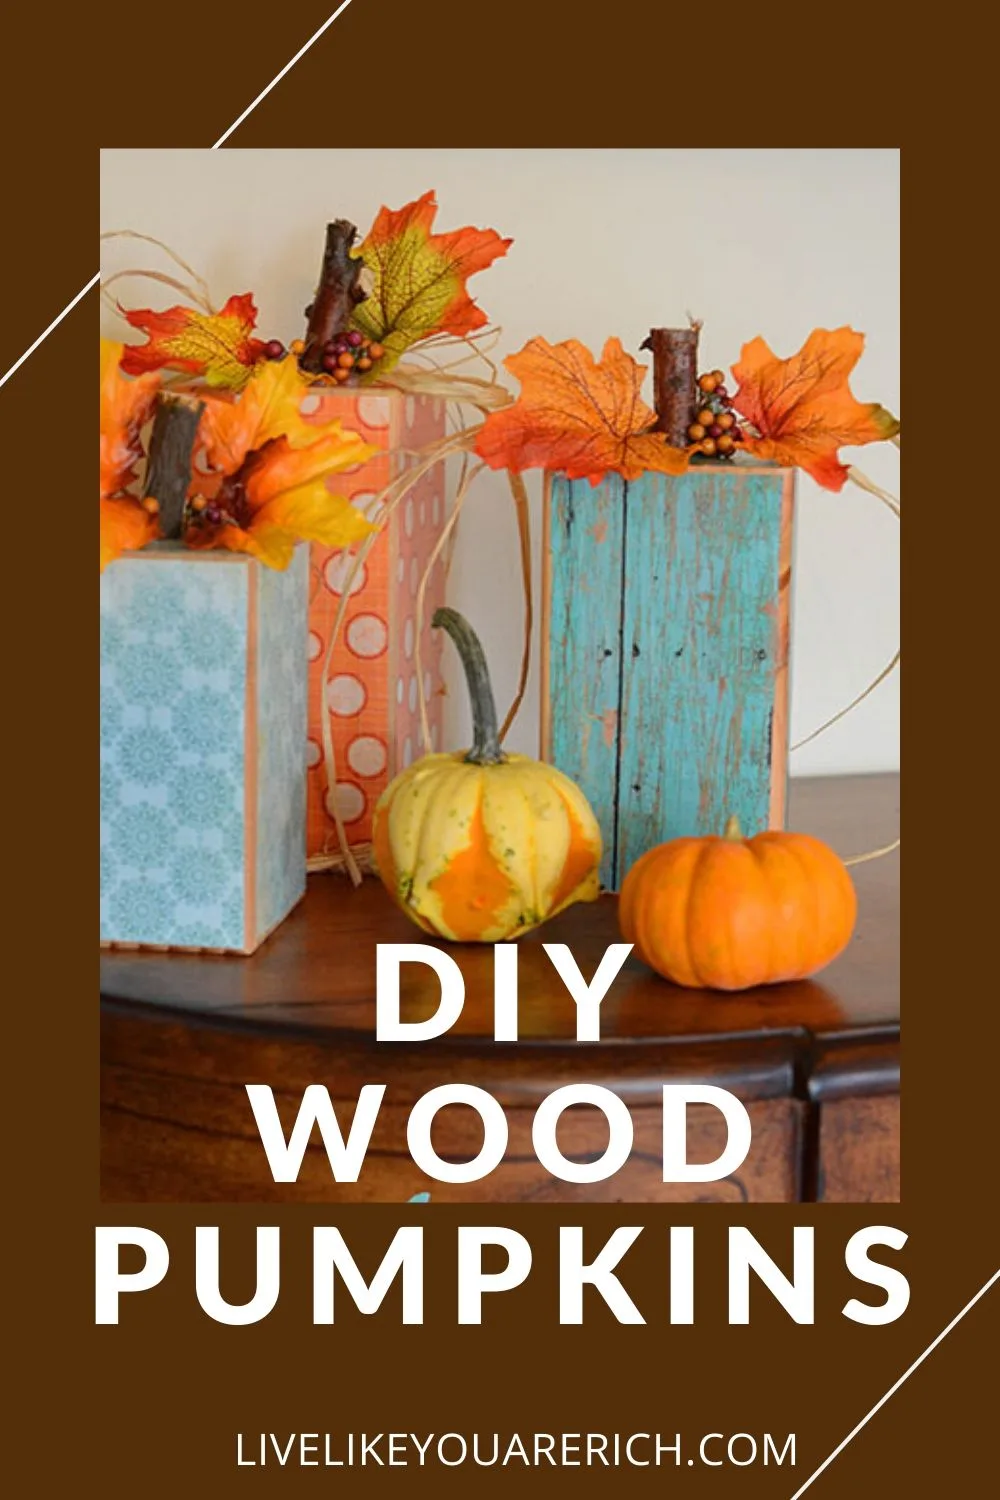
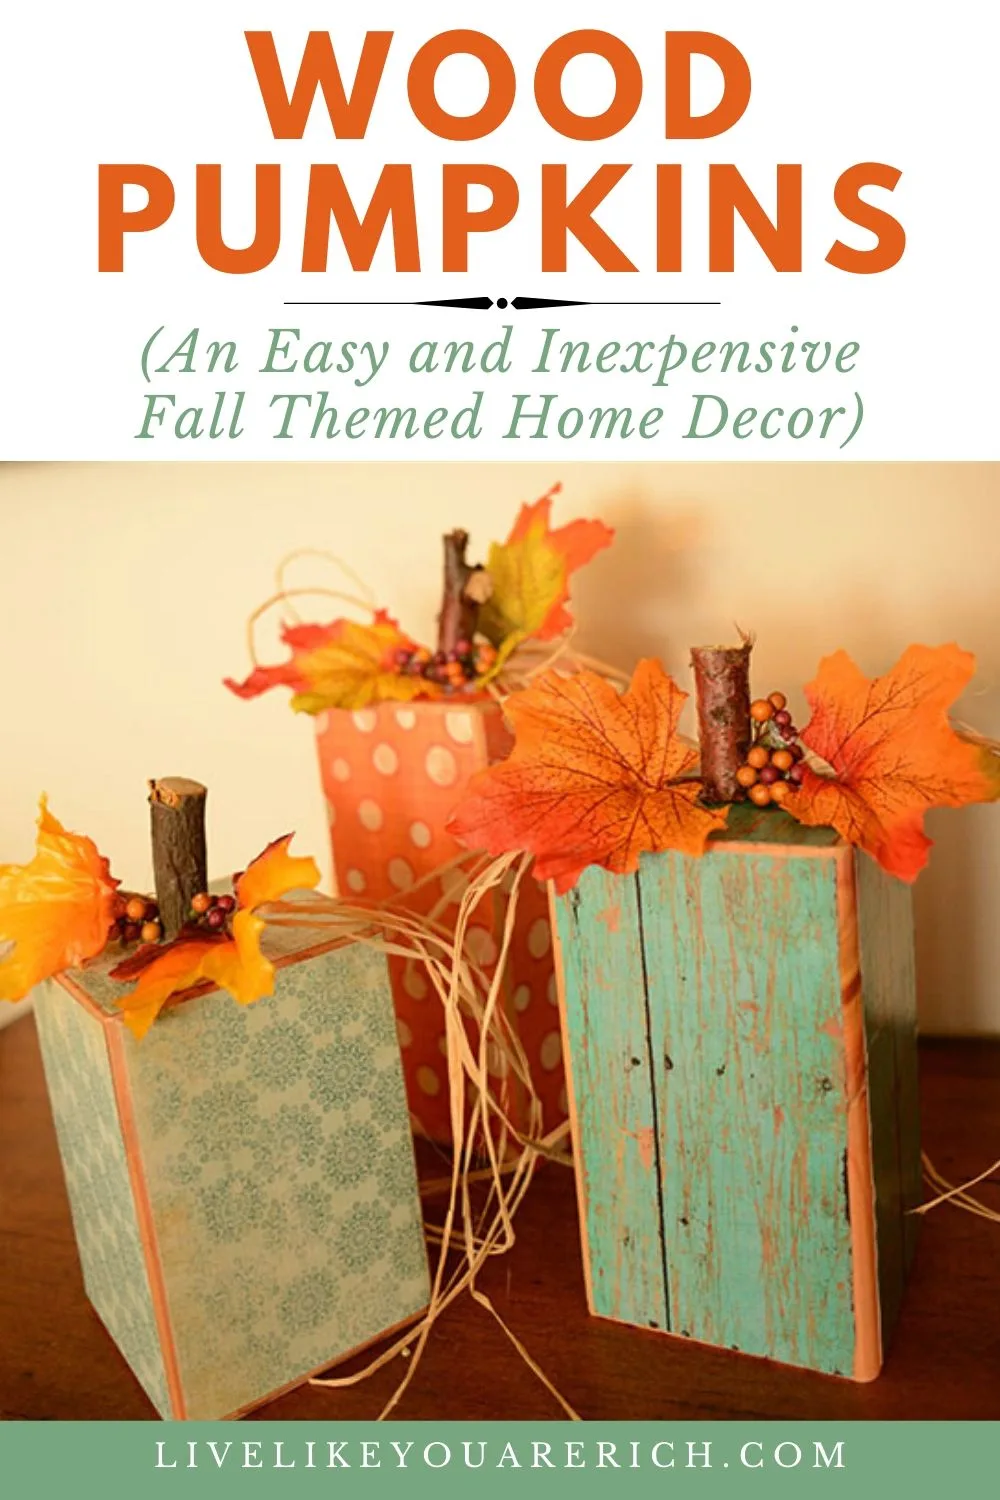
This Fall Themed Wood Pumpkins will work as home decor from September through Thanksgiving. They are very inexpensive and easy to make.
I was able to easily put them together without the help of step-by-step photos, so until I can add some (mine got deleted), I’ll just leave the step-by-step instructions.
List of things you need:
- 4×4 (at least 18″ long) and cut to lengths
- Mod Podge
- Brush for Mod Podge application
- Sand paper
- 3 (or 4 depending on the print) 12×12 scrapbooking papers
- Hot/cool glue gun and glue
- Branch and something to cut it with
- Fake leaves, berries, twine, or any other fall decorations.
INSTRUCTIONS
1. If you don’t have a wood 4×4 buy one at Lowes or Home Depot *Note: Look at the names of the wood instead of measuring because 4×4’s actually measure out to be 3.5″x3.5″… don’t ask me why. It is just one of those confusing things. Buy the shortest 4×4 you can (as long as it is 18″ long or longer). Have a worker at the store cut the lengths for you (they do this for free!). 1st pumpkin=5 inches, 2nd pumpkin=6 inches, & 3rd pumpkin=7 inches.
2. Sand the edges until they are somewhat smooth. Brush the dust off.
3. Take 12×12 scrapbooking paper (3 different but coordinating prints) and cut the paper to fit each of the 4 sides and top. When you cut, make sure to leave space so you can see the wood on the edges. I just used a pencil, put the paper on top, and traced it, then cut and trimmed it if needed.
Tip: the 7-inch pumpkin should be made out of paper that does not have a horizontal or vertical print (or you will need to buy two so all four sides have the same pattern).
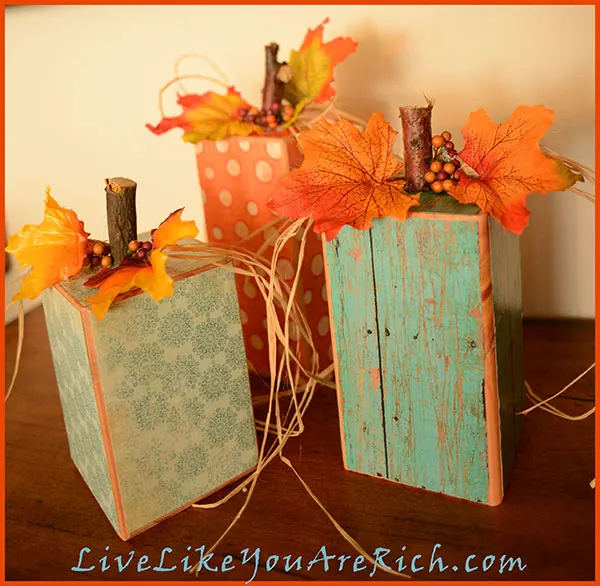
4. Apply Mod Podge to each side (one by one) and place the paper on the Mod Podge before it dries. Apply Mod Podge over the paper. Do this for all 5 sides (15 times). This goes very fast and only took me about 20 minutes to do all of them.
5. Let the pumpkin dry while you are finding a thick branch that you can cut (use scissors or a knife if you don’t have anything else) and letting your hot glue gun warm up.
6. Glue the branch down (as the pumpkin stem) and decorate using fake leaves, berries, or anything else you can think of.
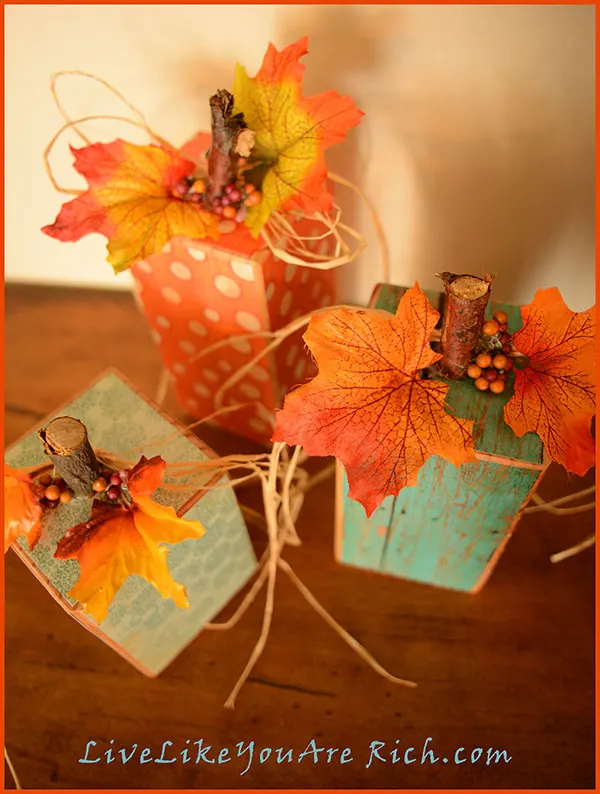
My neighbor had these cute pumpkins. She told me how to make them and even helped me get the supplies. Once I had everything, I was able to put them together in under an hour.
They turned out darling and I have gotten a lot of compliments on them. I hope yours turn out too.

For other ‘rich living tips’, please Subscribe Here or connect with me on these other platforms:

Welcome To Think Tank Thursday 9/29 | Saving 4 Six
Thursday 29th of September 2016
[…] Wood Pumpkins by Live Like You Are Rich […]
Fall Roundup: 7 DIY Pumpkins and 1 Sweet Treat | The Chelsea Project
Sunday 13th of September 2015
[…] for a complete change of pace, the fabulous Anita, who blogs at Live Like You Are Rich, explains how to cover 4 X 4’s with scrapbooking […]
Alayna @AlaynasCreations
Sunday 16th of August 2015
I love wooden pumpkins! And yours turned out really cute. Using the branches for the stems is the perfect touch.
I am co-hosting the #HomeMattersParty Link Party this month and would love to have you stop by for a visit. The door is open for the current party through Monday. http://alaynascreations.co/2015/08/14/home-matters-linky-party-50/
Ann @ Duct Tape and Denim
Tuesday 4th of August 2015
Hi again, Anita! I saw this on Hometalk and wondered if you would mind if I included it in a fall home decorating round up?
Anita Fowler
Tuesday 4th of August 2015
Sure I'd be happy to have it included! Thanks for asking!
Rosetta Evans
Saturday 20th of September 2014
Anita ,Thank you for the Pumpkin ideas .I really appreciate your blog. Love the cute expensive looking items for less then store bought. My husband is laid off and it is fun to have a few new things around.
Anita Fowler
Saturday 20th of September 2014
Rosetta- You are welcome! I'm so glad that you found the website and that you are finding fun ways to decorate for less! Best wishes for you and your family!