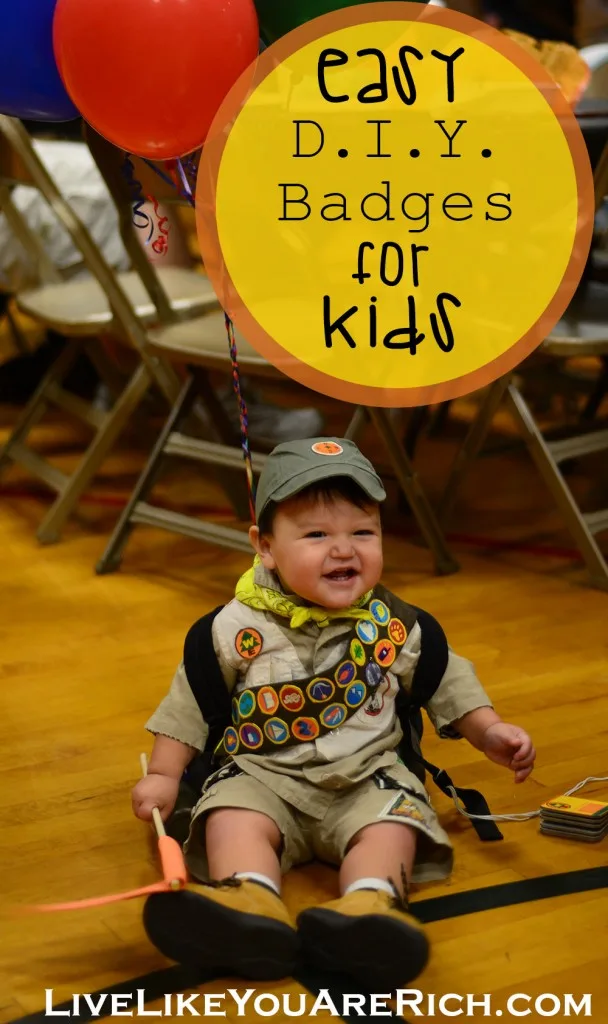
This tutorial will work for just about any badge. Birthday’s, Dress-up, Super Hero Logos, Halloween costumes, or any other reason you have to make a badge. They are very EASY, quick, and inexpensive. They stick on really well and also peel right off so you can wash the outfit when needed.
In addition, I was surprised and impressed at how durable they are. I was half expecting them to all fall off on the first day my son wore his Russell outfit, but even after 5 different days of wearing the costume, none of the badges have come off!
Step 1: Gather supplies.
First, you will need foam sheets with sticky backs. Click here for an example. I used the brand called Silly Winks with sticky backs found at Hobby Lobby. With a coupon they are even cheaper. You can buy the single sheets or a multi-pack. I needed yellow, purple, brown and orange so I purchased the multi-pack and I have plenty left over for other projects.
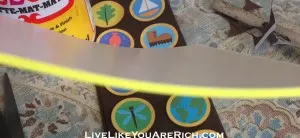
Second, you need the pattern of the badge/picture of it. I googled Wilderness Explorer badges and found the badges here for free! I printed them as well as the other Wilderness Explorer logos on my color printer.
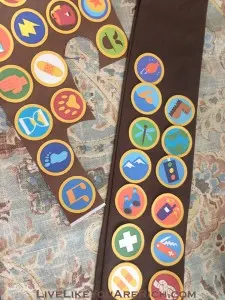
For his flag, shirt, and backpack I simply printed the logo as an image so I could enlarge and shrink it on the printer options.
Third, you will need Mod Podge. Click here for resource. It can also be found at any craft store. And you will need a foam brush to apply it.
Finally, You need something to apply the badge to. I had the shirt and the back pack. But I couldn’t find a sash for a reasonable price. So I made the Scout sash with some material I found a thrift store for .50 and was able to sew it in about 15 minutes. (Tutorial coming soon). I also made the flag (tutorial coming soon).
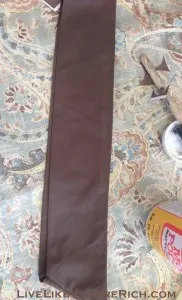
Step 2: Cut out the badge(s) and the silly winks to fit them.
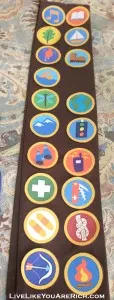
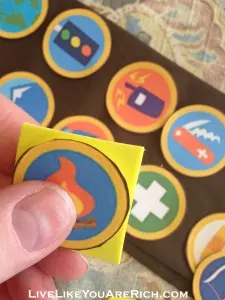
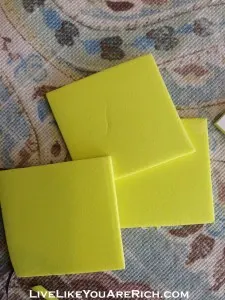
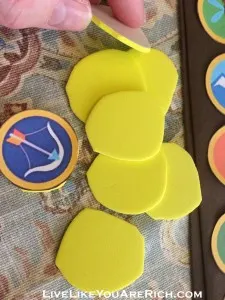
Step 3: Apply Mod Podge to foam and immediately place the badge/paper on it. Let is sit for at least 2 minutes so that the paper adheres well.
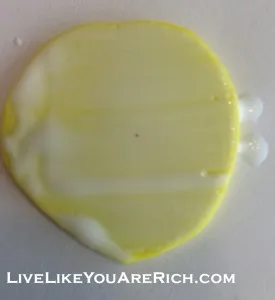
Step 4: Apply Mod Podge over the paper and let it dry for at least 5 minutes.
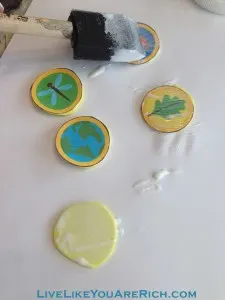
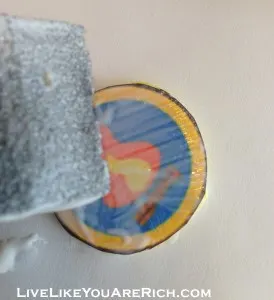
Step 5: Once completely dry, take the paper off the sticky side of the foam and stick it to the fabric or where ever you want the badge to go. Hold the badge down and rub the fabric into the sticky side really well.
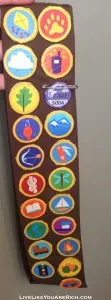
And you are done!
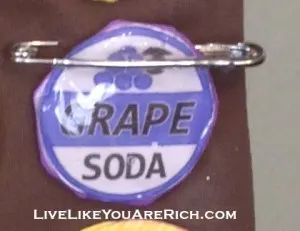
To make the Grape Soda badge I simply followed all the steps above (using purple foam) and then I added a safety pin to the material above the badge. I wanted it to look a little more like a bottle cap (with depth and shine) but I didn’t want a real bottle cap. I was slightly concerned that the sharp edges might hurt my baby’s fingers if he decided to play with it. I just used a hot glue gun and made a thick layer of glue on the top of the badge. The hot glue added the shine and the depth I was looking for.
One of the best parts about this project is the speed at which it can be done. The badges took a total of 25 minutes. The flag, the wilderness explorer handbook, etc. all took me another about 10 minutes each. I was completed with all of these project in just over an hour.
Although the badges aren’t free of flaws (if you study them up close), everyone told me how cute and perfect all the little details were. From about a foot or so away they look just perfect.
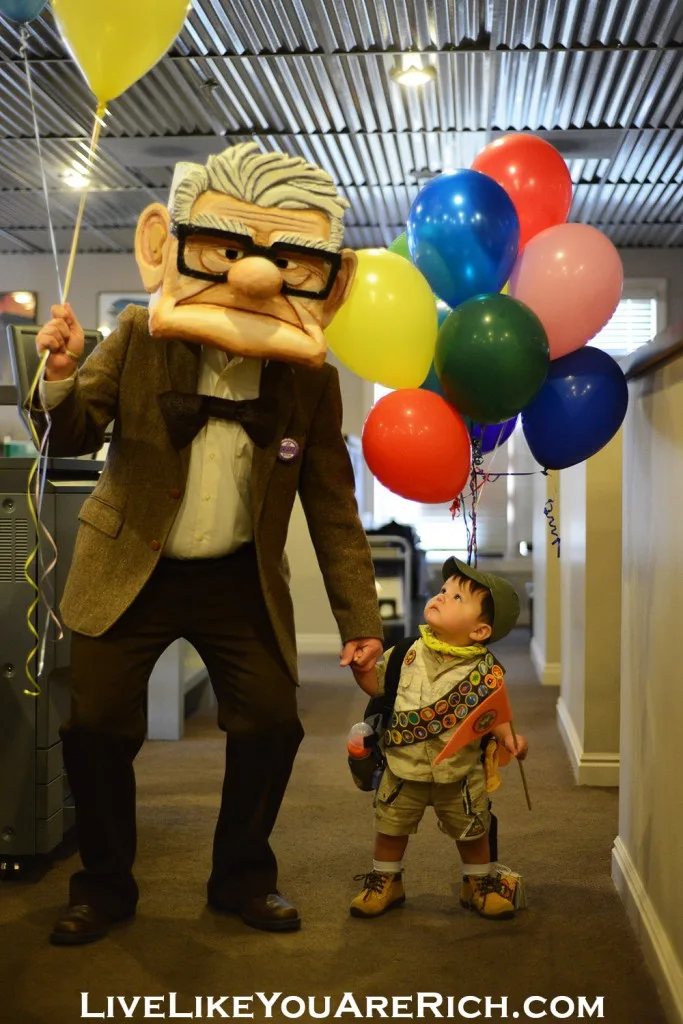
Click here for how to make a Mr. Frederickson costume and here for how to make a Russell costume.
The article about the Mr. Frederickson costume can be found by clicking here.
Please subscribe, follow me on Pinterest, and Like me on Facebook for other D.I.Y. Projects and ‘living rich’ tips.
I’d love to know what kind of badges you’ll be making.


Natalee
Monday 10th of October 2016
Thank you SO much for this tutorial! I had no idea how I was going to make Russell's costume. Thank you!
Anita Fowler
Thursday 13th of October 2016
You're welcome! Thanks for stopping by.
How To Make a Mr. Fredricksen Costume from the Movie ‘UP’. | Live Like You Are Rich
Friday 10th of July 2015
[…] For tips on how to make a Russell costume from the Movie up Click here […]
How to Make Disney UP Wilderness Explorer Badges | My great WordPress blog
Friday 28th of March 2014
[…] and printed had them printed at the copy store onto thick photo paper. I used this tutorial here as my inspiration, but made a few […]