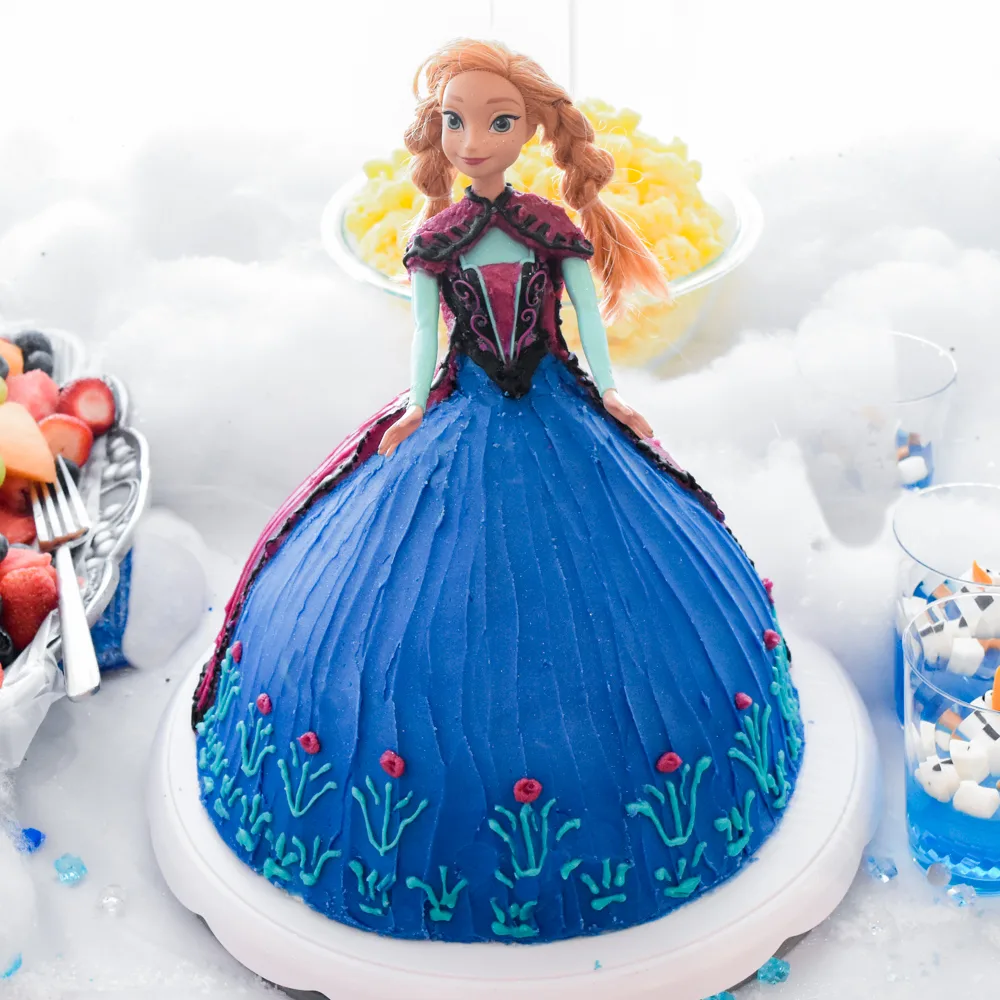
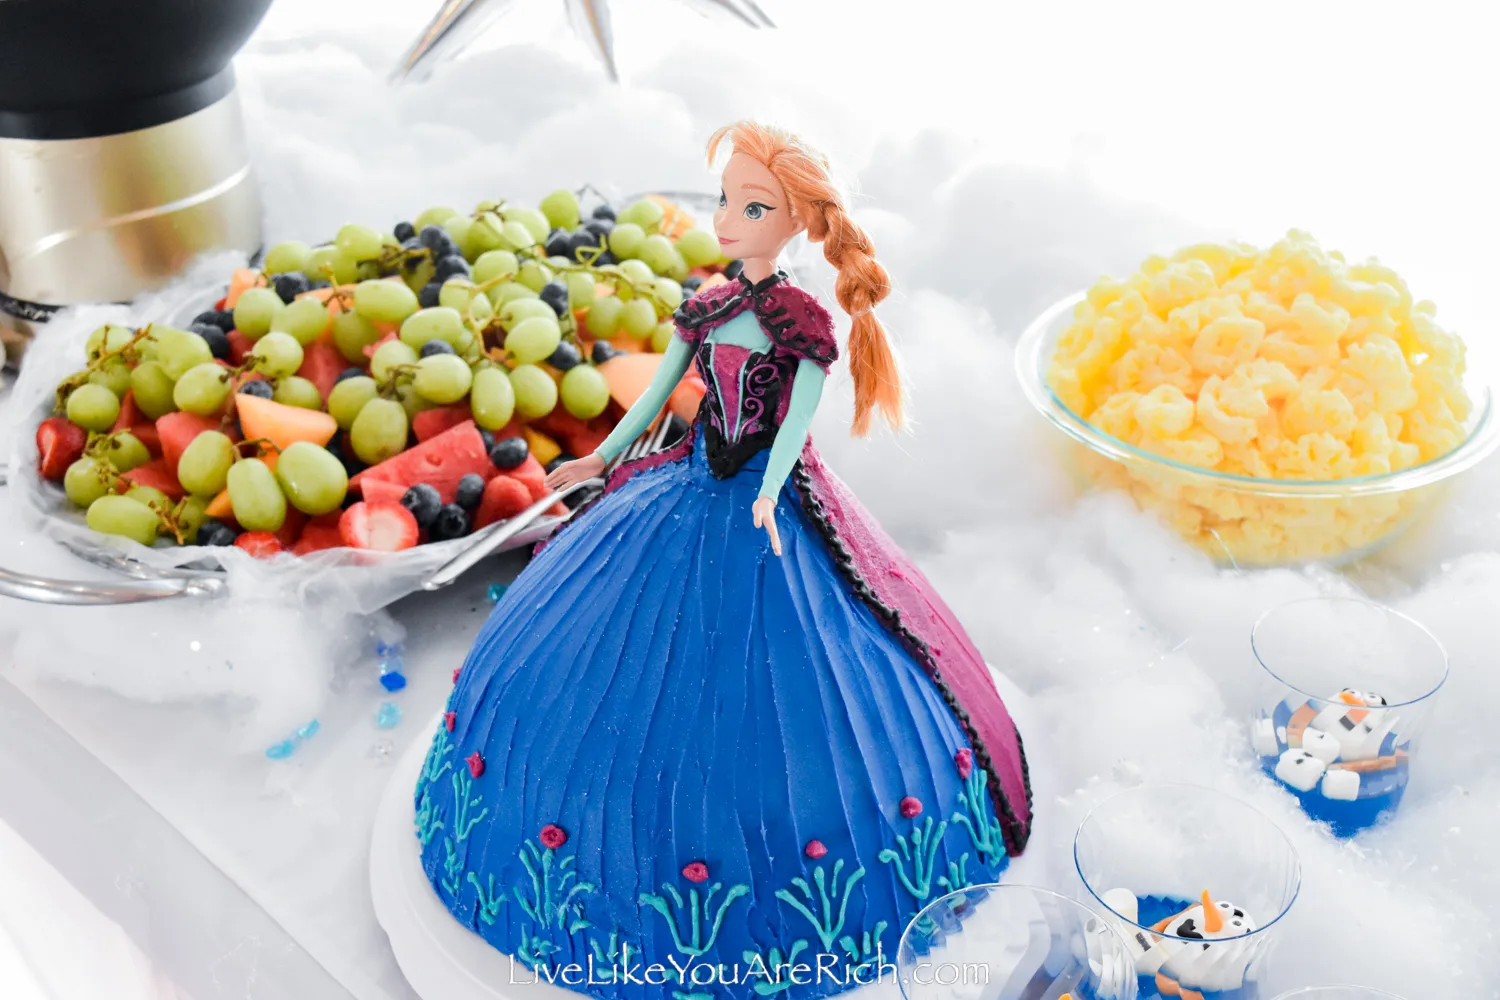
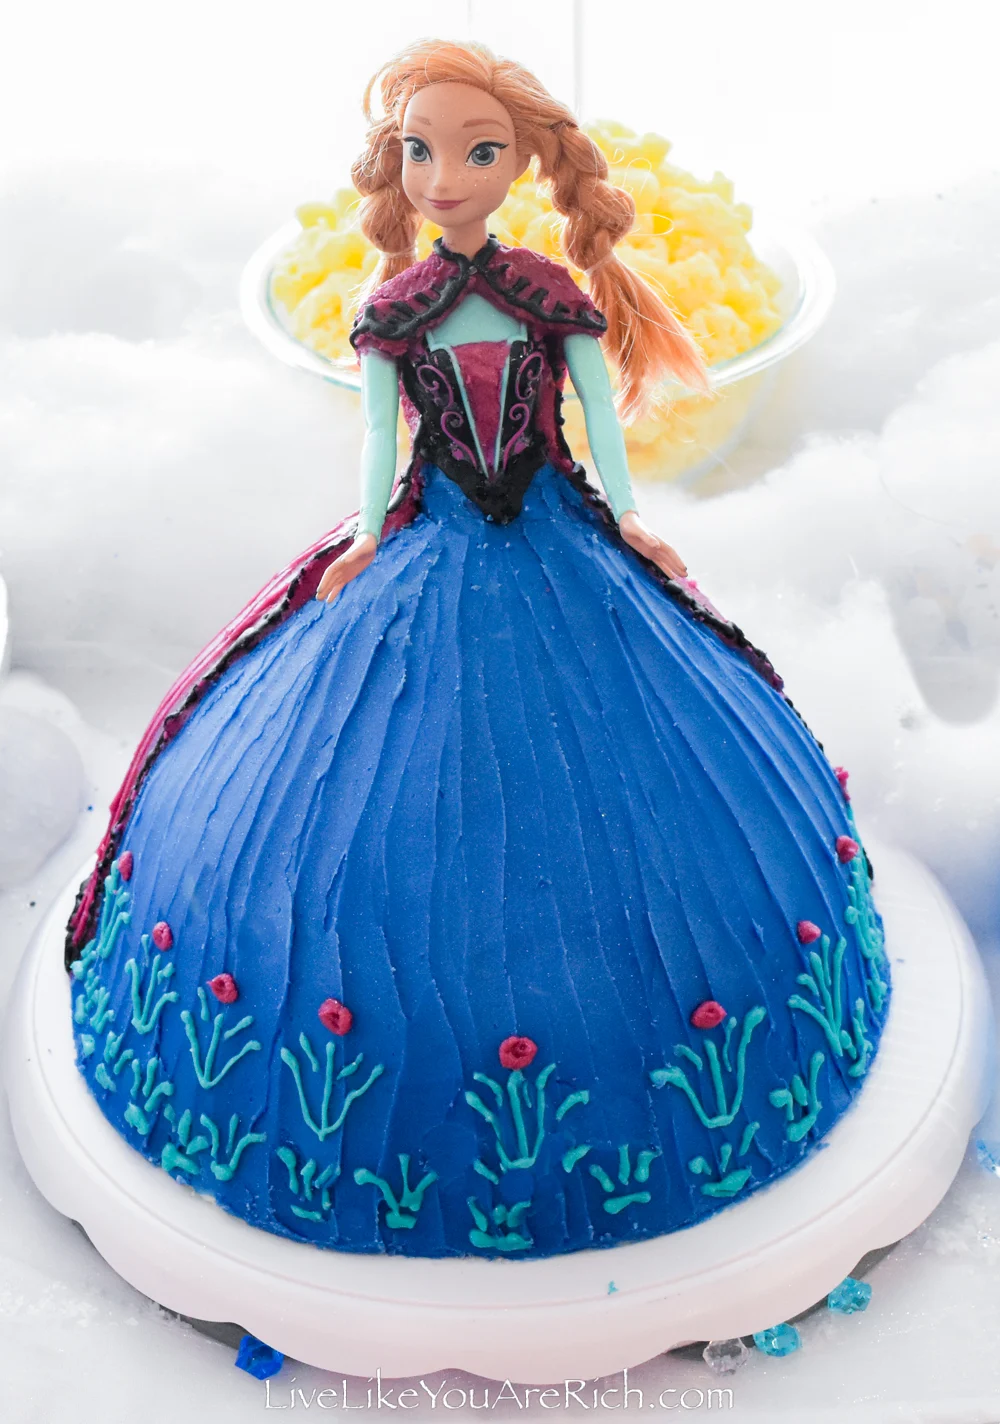
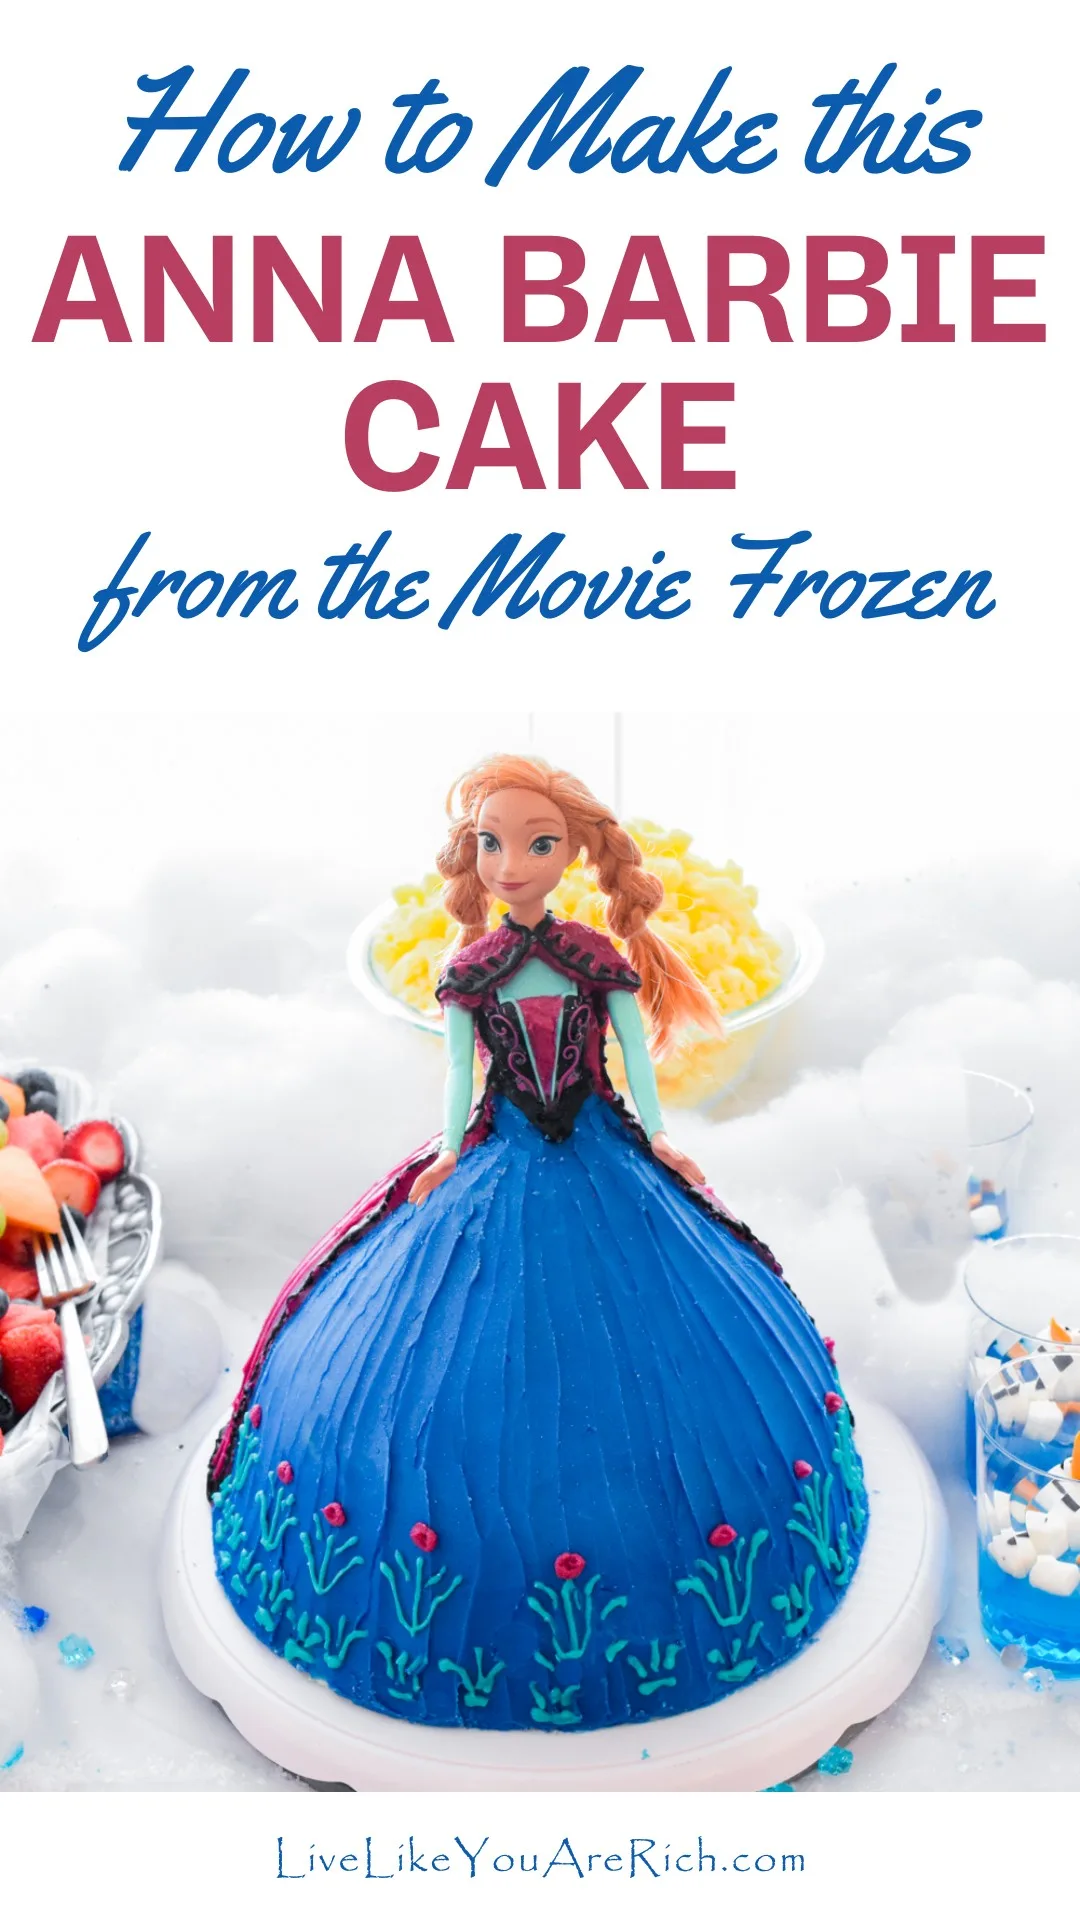
How to make this Anna Barbie Cake from the Movie Frozen.
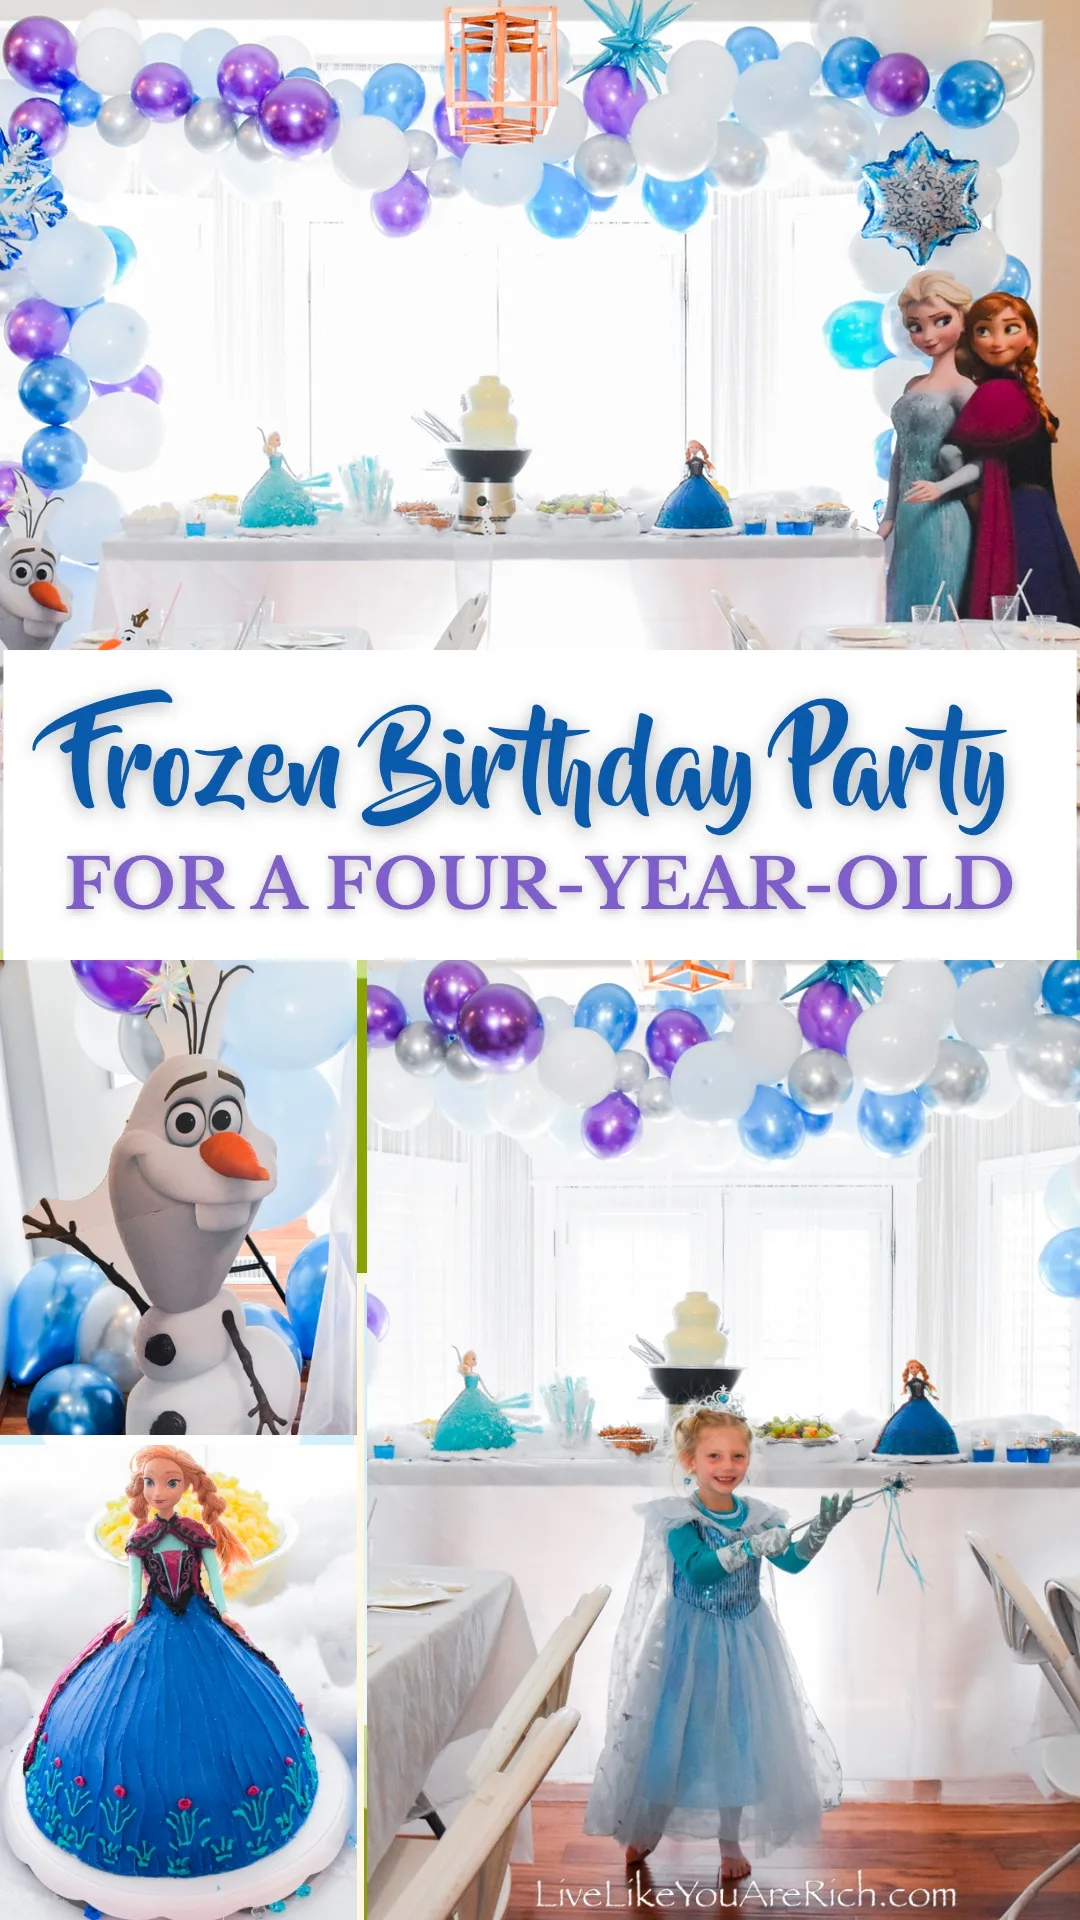
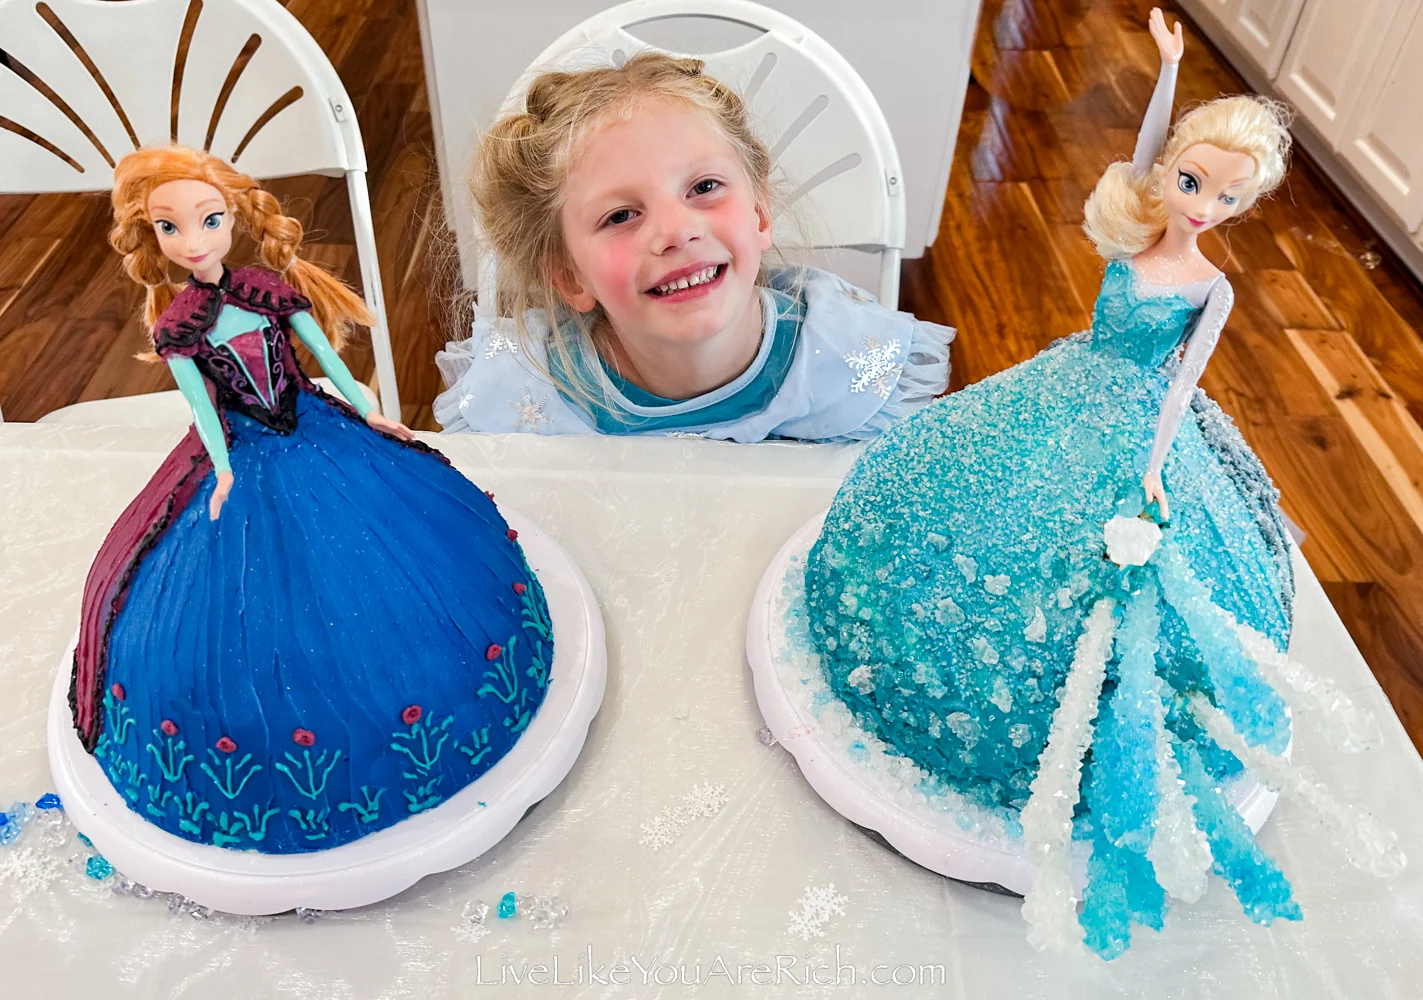
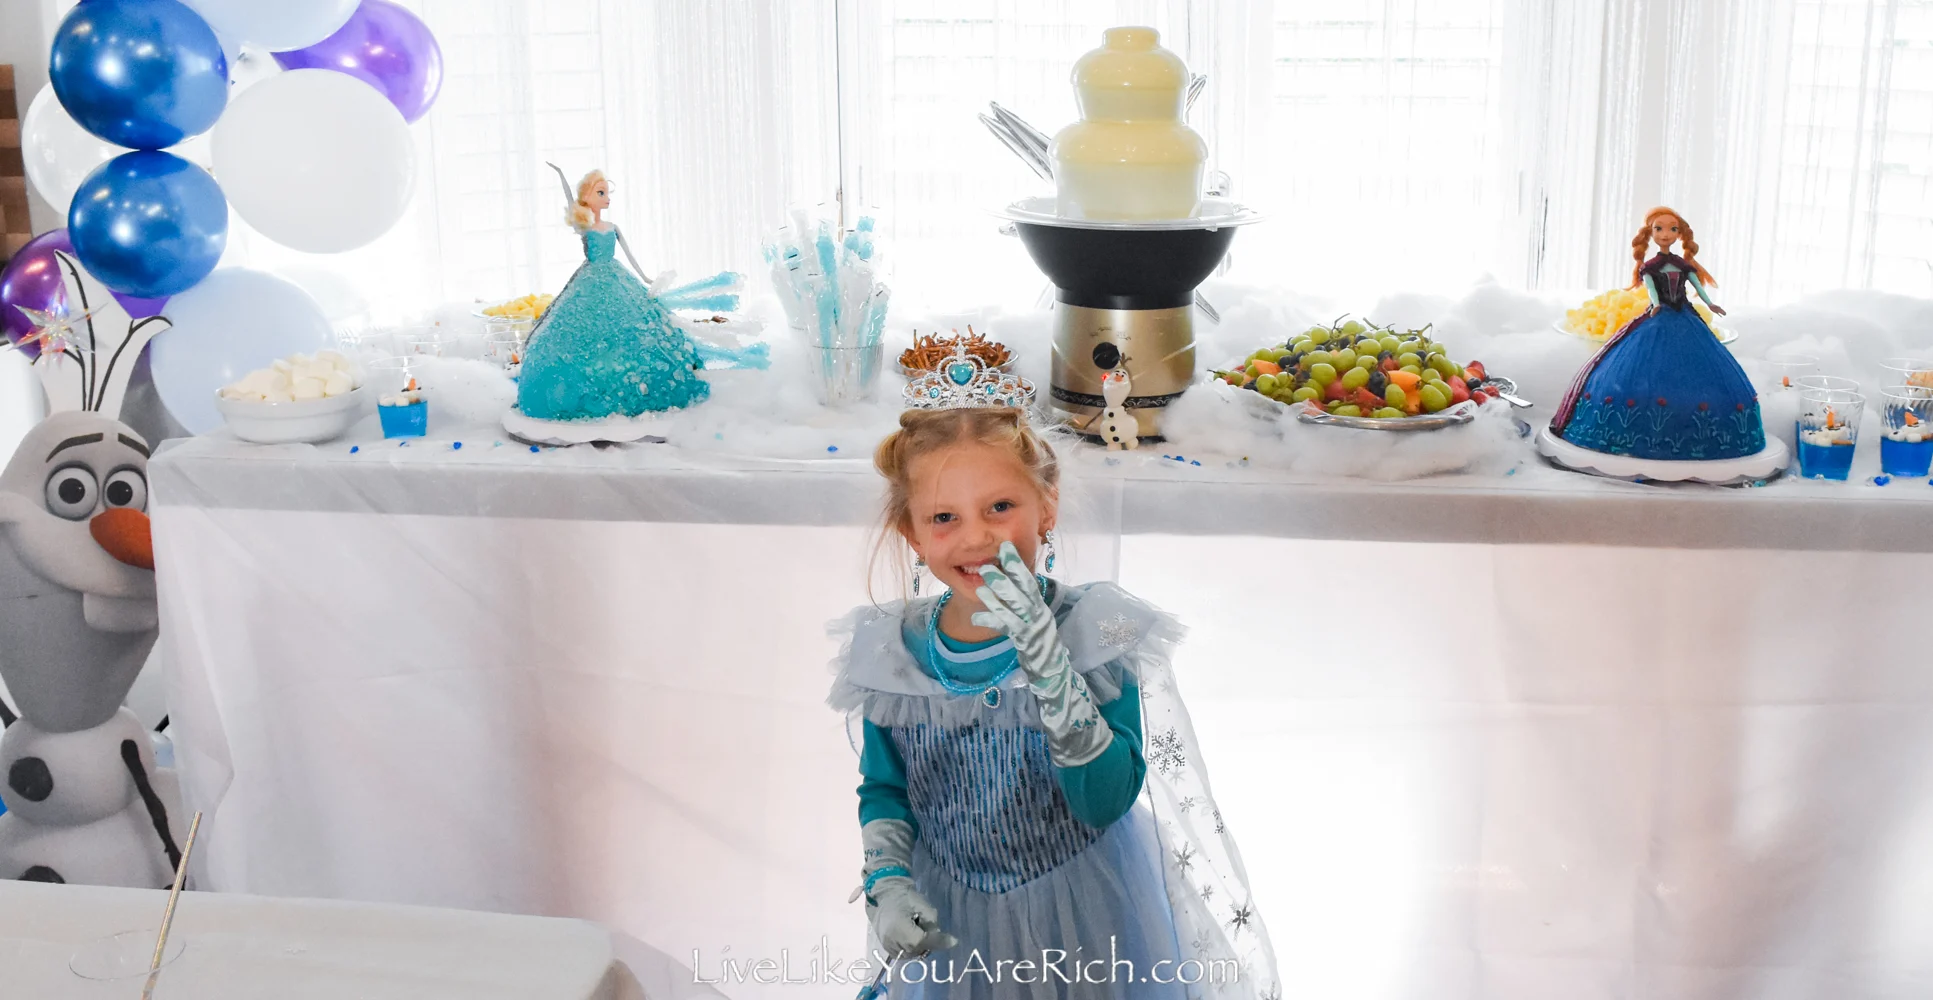
My daughter, Amelia, really loves Frozen right now. For her 4th birthday party she asked for a Frozen theme.
I had fun planning and throwing her this Frozen birthday party.
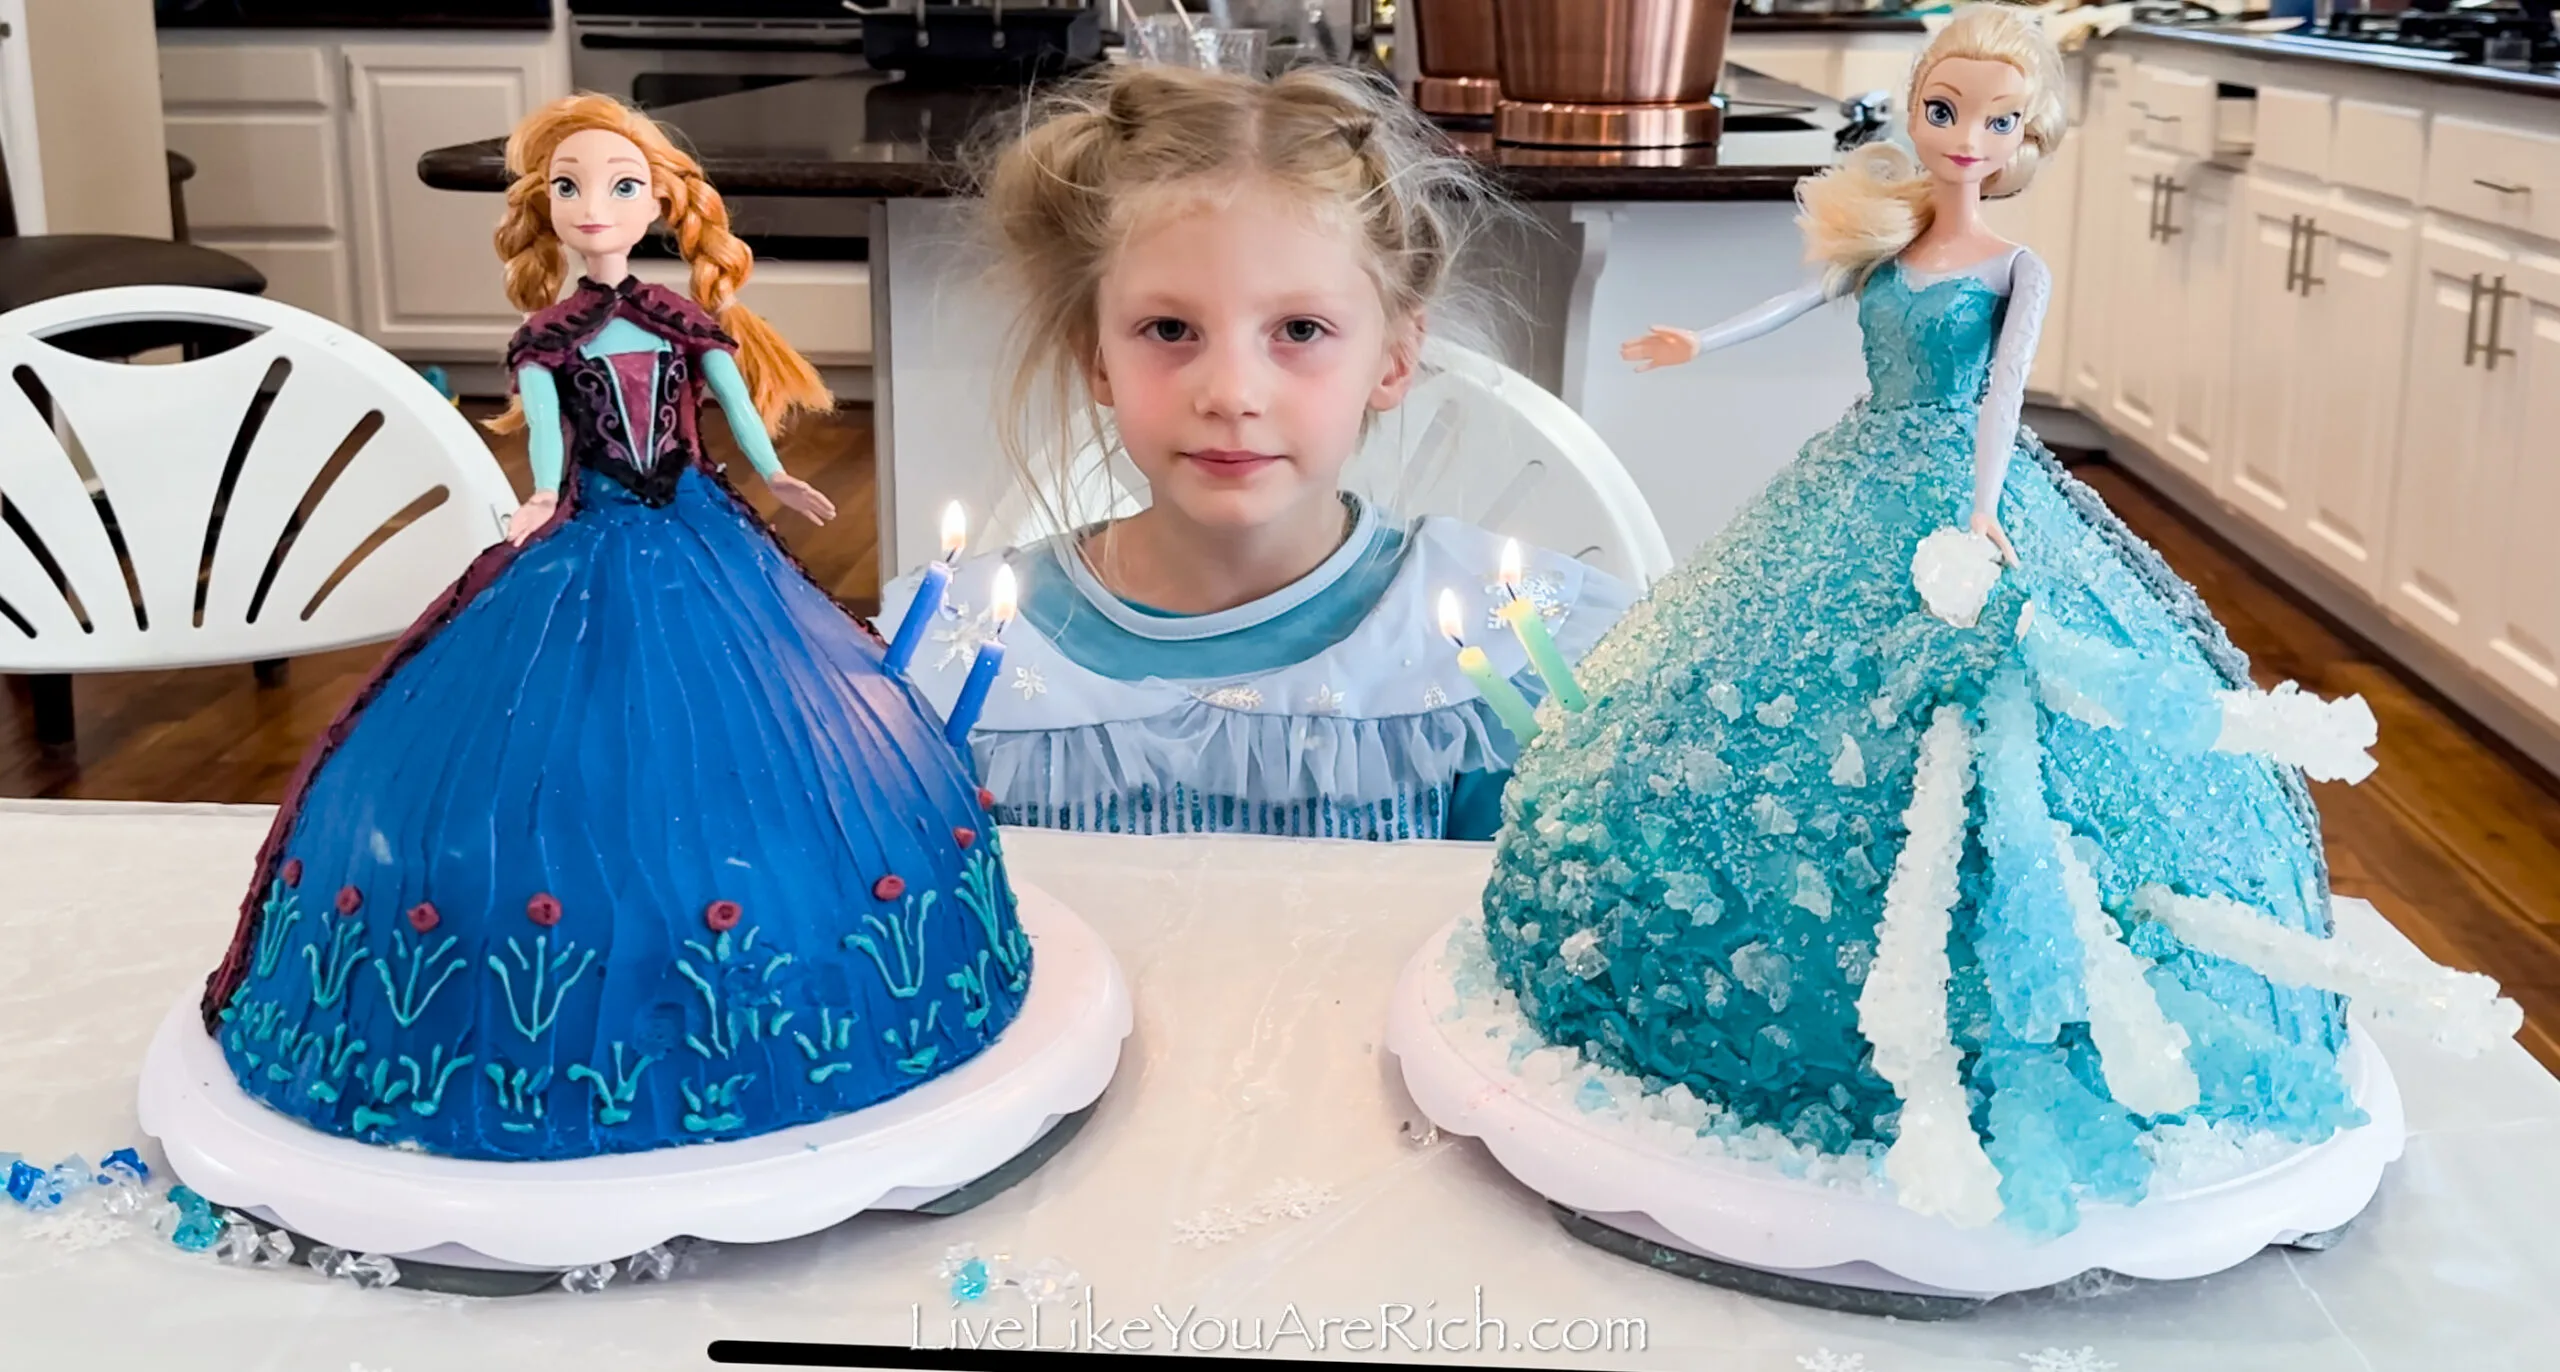
She absolutely loved it. She especially loved her Elsa and Anna Barbie cakes that I made.
A video tutorial for how I made the Elsa Cake can be found here.
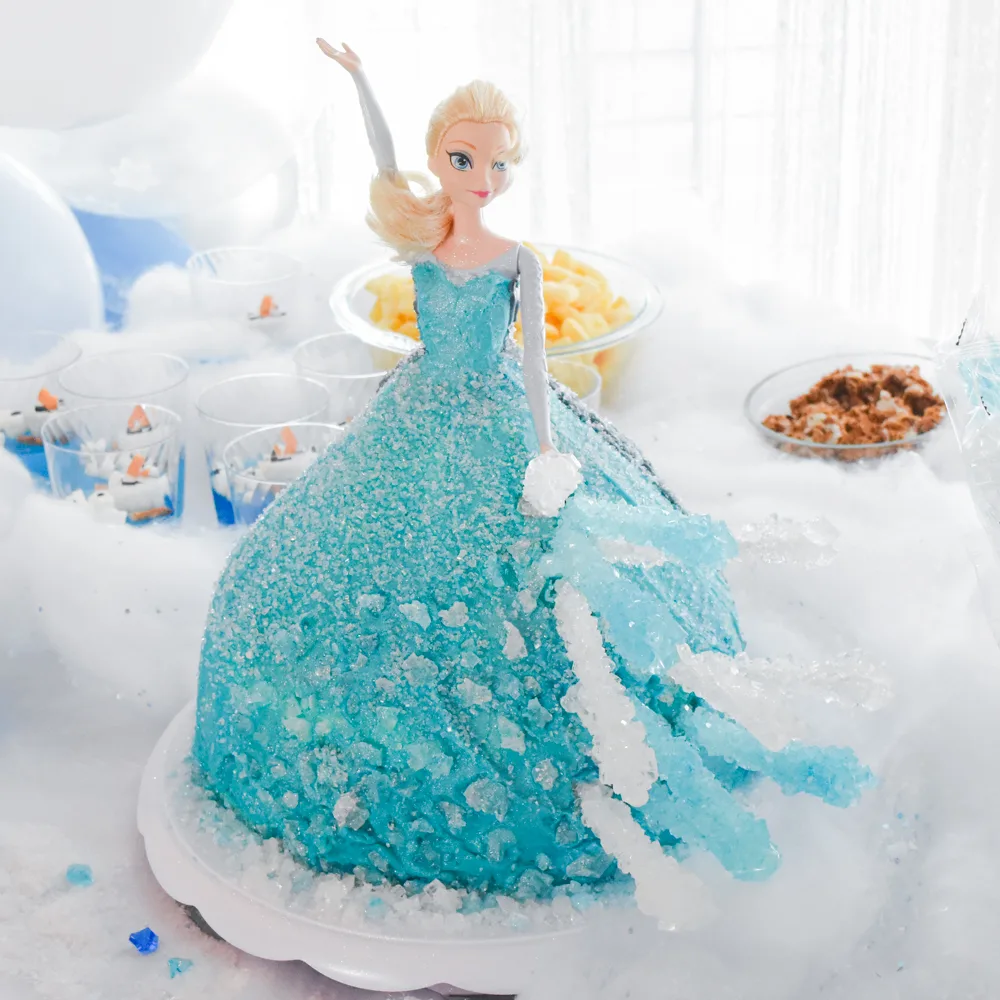
The Elsa cake I made was a layered vanilla cake with cotton candy buttercream and strawberry filling. It had cotton candy rock candy and sugar sprinkles as Elsa’s ice.
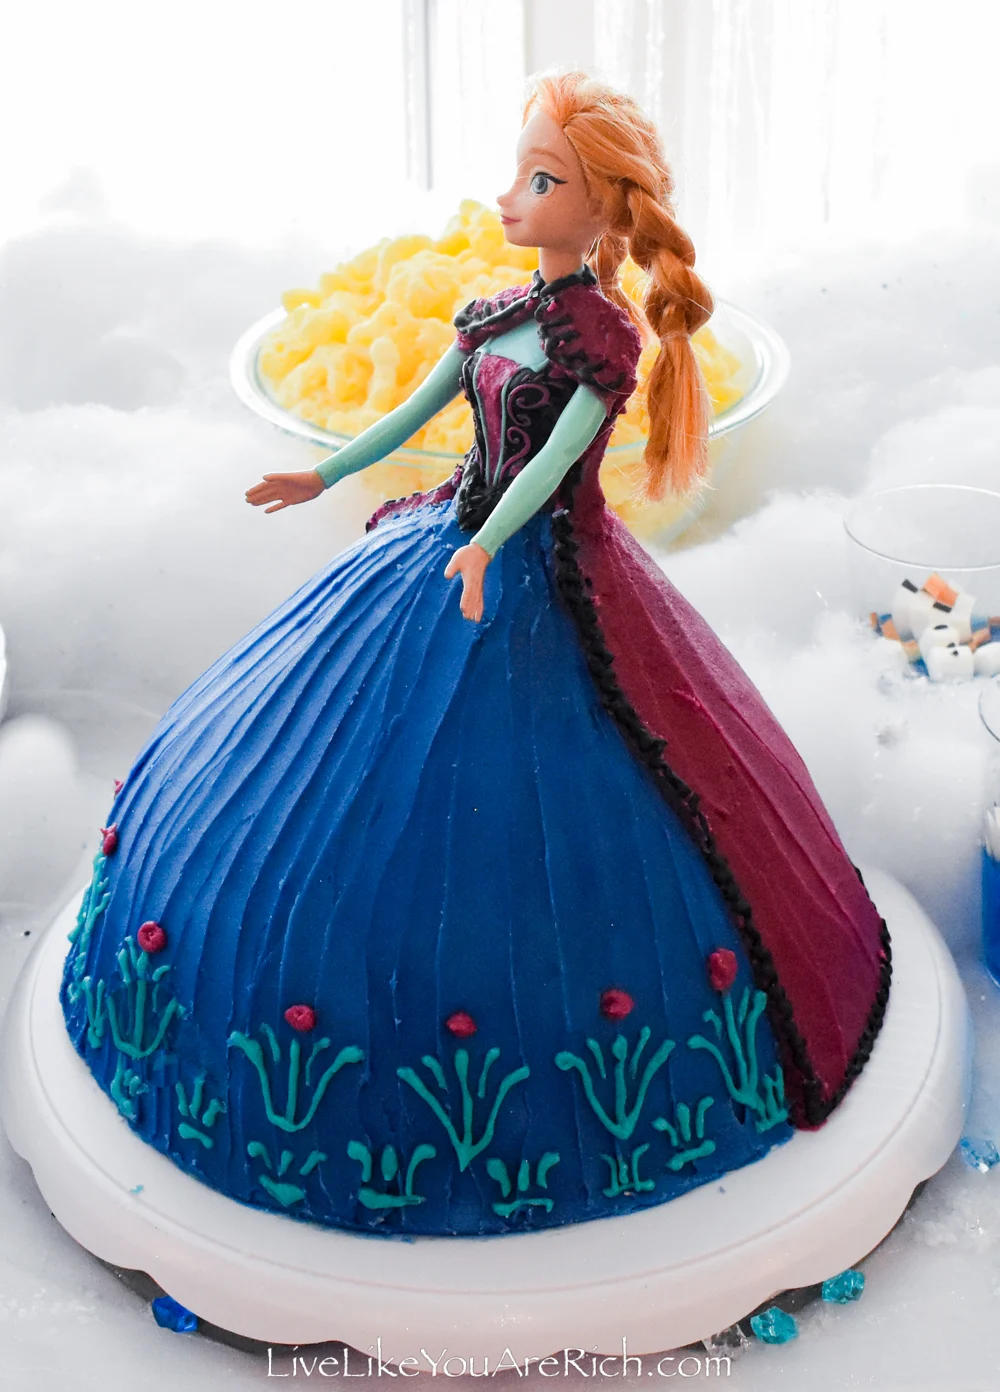
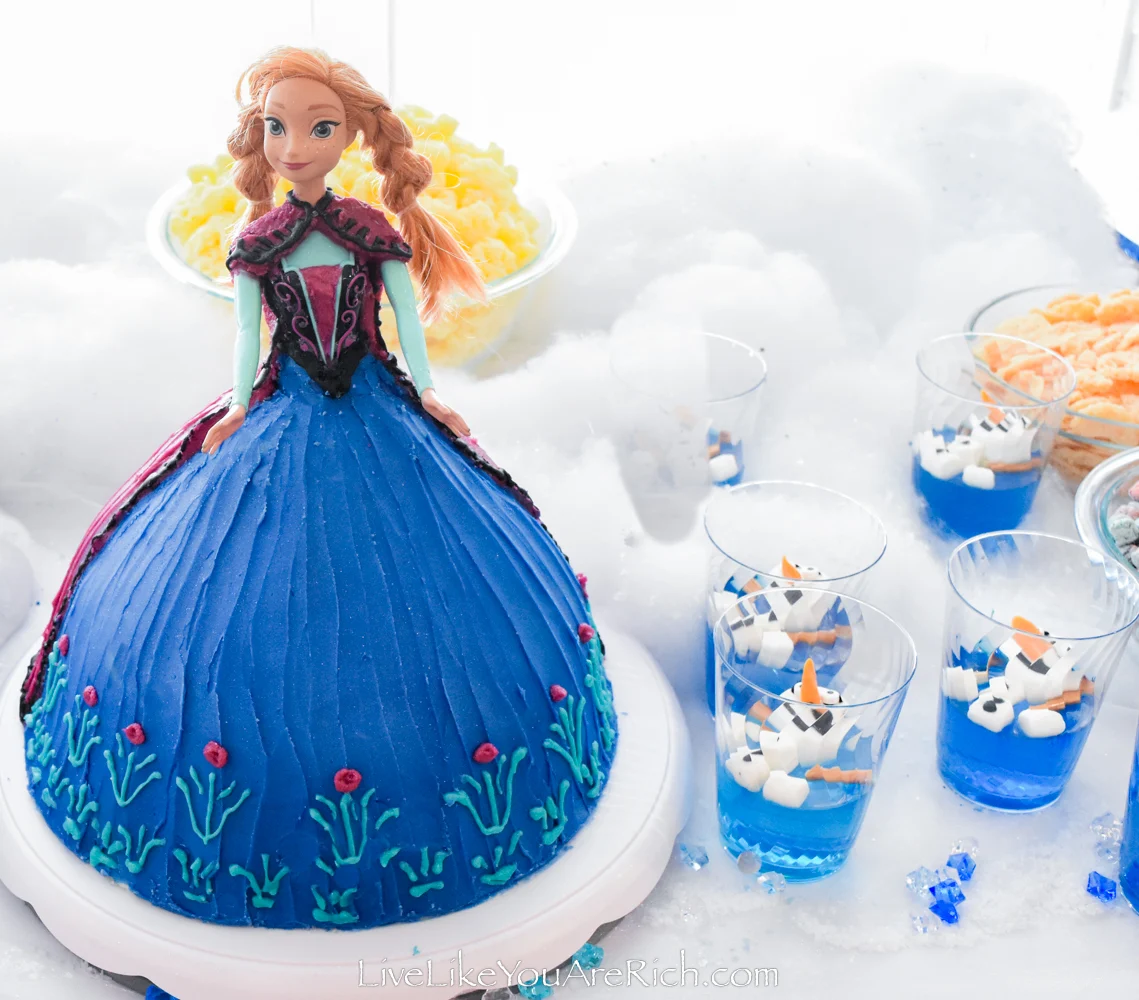
The Anna cake was vanilla cake with vanilla bean frosting.
It was the favorite among many of the guests.
Supply List for this Anna Barbie Cake from the Movie Frozen
Anna Barbie Mattel with built-in/painted top (Mattel brand SKU #94247151 was the one I used)
Barbie cake pan (Wilton Wonder Mold Doll Shaped Cake Pan is what I used)
food coloring I used these for the blue, mauve, and teal colors.
Supplies for 1.5 x The Best Vanilla Cake Recipe (make one and a half of this recipe)
Supplies for 1.5 x Best Vanilla Bean Frosting (make one and a half of this recipe)
How to Make an Anna Barbie Doll Cake
Watch the video and/or continue reading to see how to make this cake.
1- Preheat the oven to the temperature the cake recipe calls for.
2- Clean, spray, and flour a Barbie doll mold pan. Then cut parchment/wax paper and spray the side walls of a 1- 9″ round spring-form pan.
3- 1 1/2 this recipe for the best vanilla cake recipe (make one and a half of this recipe) or mix 2.5 boxes of cake mix (about 6 Cups of mixed batter will go in the Barbie mold and the rest will go in the round pan). Bake both cakes separately as one will be done far sooner than the other.
4- IF you use box cake mixes Bake the Barbie mold cake for ~60 minutes or so. Begin checking at 50 minutes and follow the box cake mix instructions for the round cake pans. IF you use the cake recipe on my website check the Barbie cake mold at 32 minutes and take it out of the oven once a long thin skewer or toothpick pushed down far comes out clean. For the round check at 27 mins and take out when a toothpick comes out clean.
5- Let the cakes cool completely then turn them out onto a cake decorating turn table in the following order… The cake turn table, frosting, round cake, frosting wall, and frosting base, Barbie cake, insert an undressed Anna doll whose legs are wrapped with saran wrap.
6- Mix up 1.5 x this vanilla bean frosting recipe you can also make this cake with 1.5 x cotton candy buttercream recipe (make one and a half of either recipe).
7- Make a crumb coat by doing one of two things. 1- Take 1/4 of the frosting and warm it in the microwave for about 30-50 seconds, stir well, and apply to the cake. The softening of the frosting will create a frosting that will spread more easily crumb coat. 2- Take 1/4 of the frosting and whip in about 1/4 C of milk to thin it and use this for the crumb coat. Spread the crumb coat on Elsa’s dress/ just the cake. I prefer the microwave method.
8- If needed, let the crumb coat set for about 15 minutes and come back and smooth out bumps and bubbles with an icing spatula or straight edge.
9- Place the cake in the fridge for at least an hour for the crumb coat to harden.
10- Take the rest of the full frosting recipe and mix in gel food coloring. I divided it in half and then put a few Tablespoons to the side for the teal. I mixed 1/2 color and a blue color that matched Anna’s skirt blue and then I mixed a bunch of colors, pink, purple, brown, red, etc. to get the mauve for her cape.
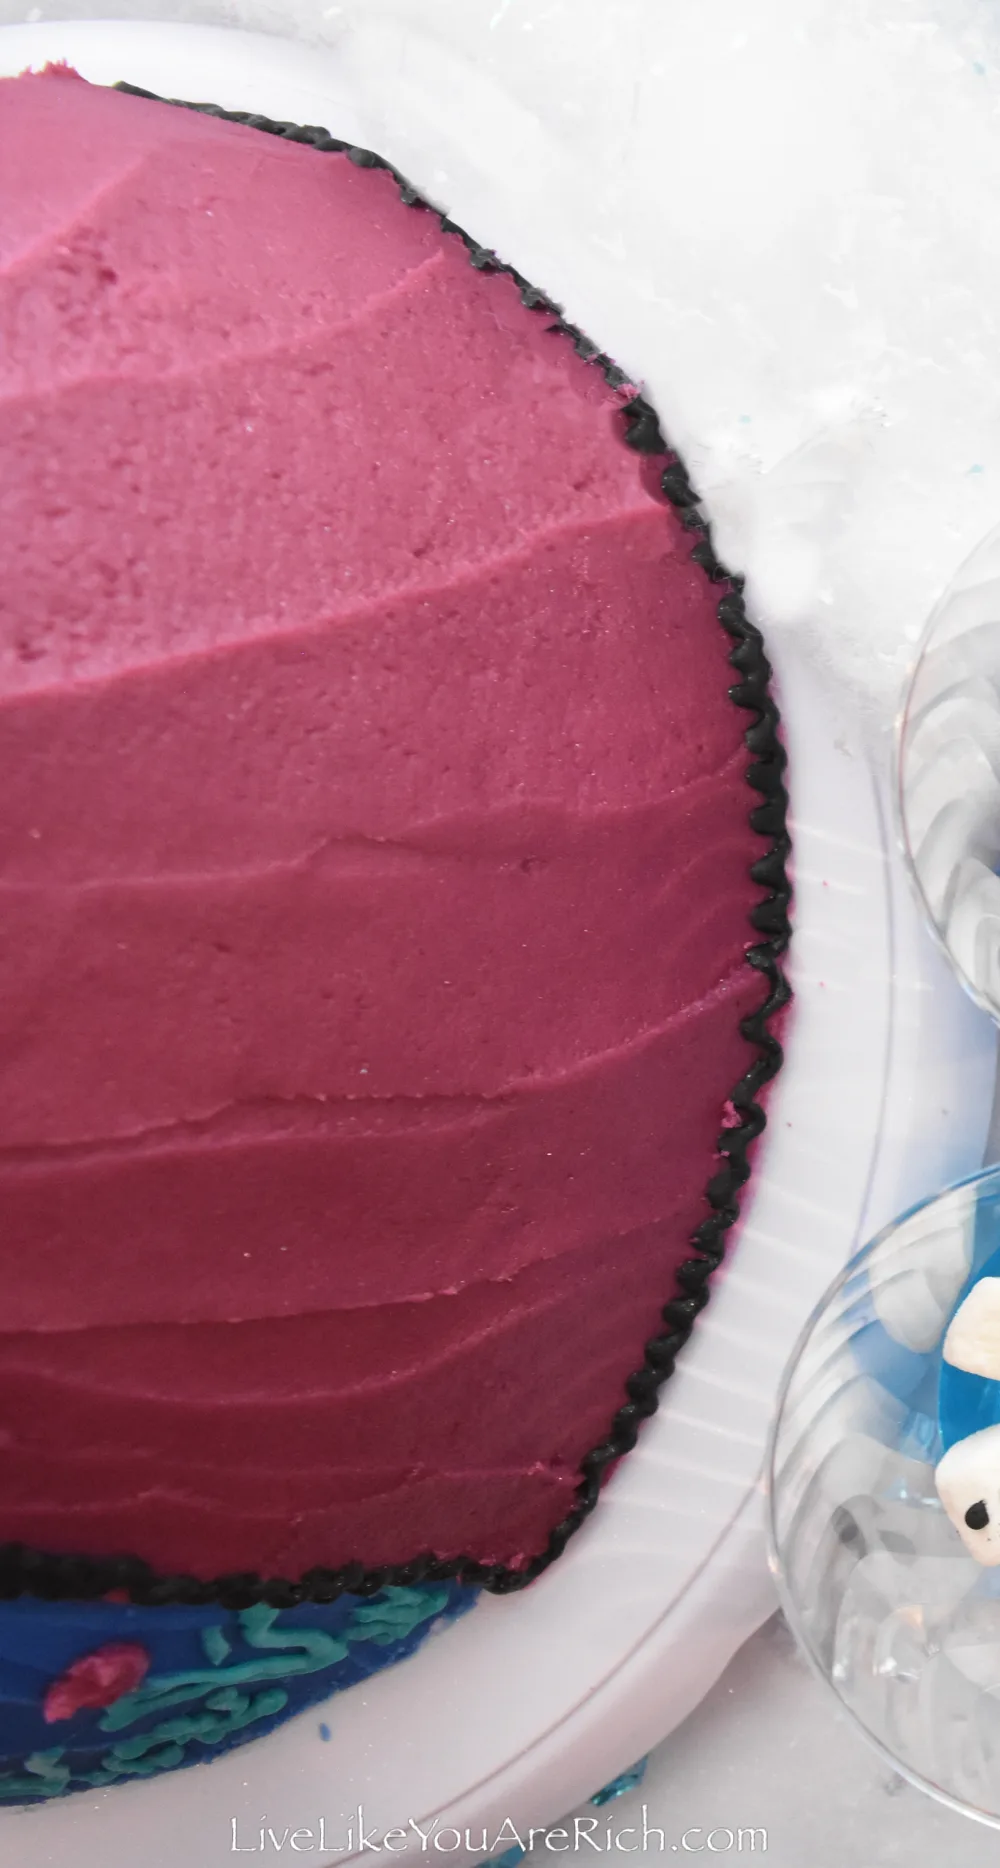
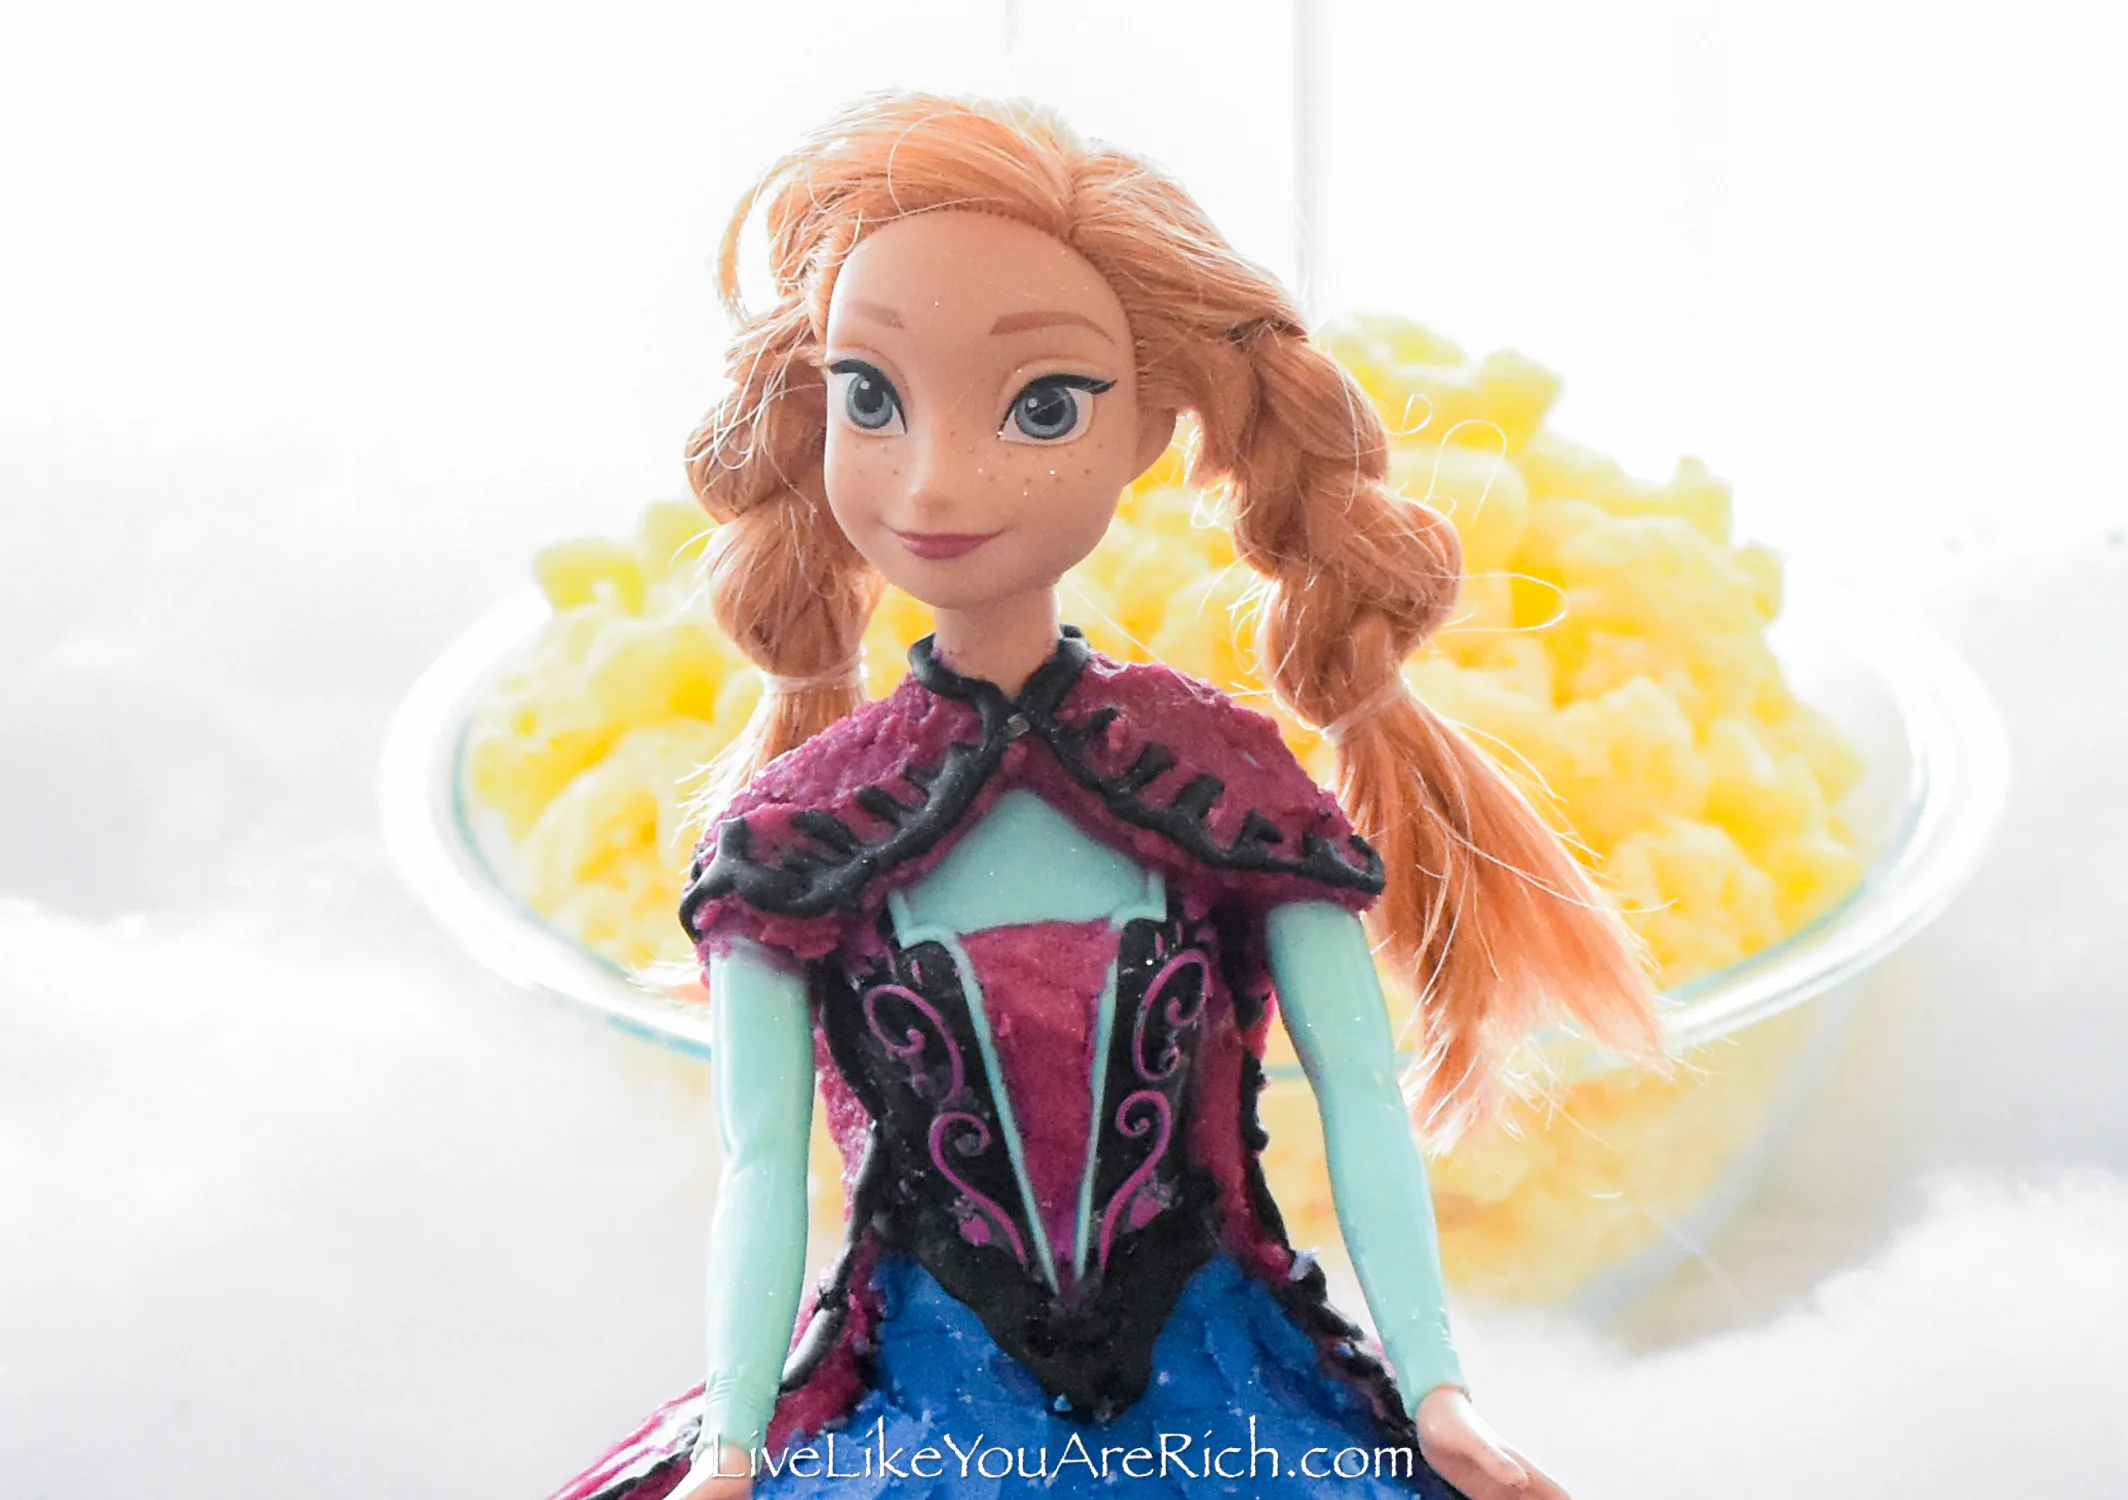
11- Ice the cake with blue on the front half of the skirt. Then ice the back 1/2 and back and shoulders as well and some of the bodice with the mauve. When icing the cake bring the icing spatula down from the waist down the bottom on the skirt to look like ruffles in the dress. smooth the cape as best as you can to look like a cloak.
12- Set in fridge to cool.
13- Ice flower patterns along the bottom of her skirt and add black piping along the neck, shoulders, sides, and back of the cape as well as the waistline to add detailing.
This is optional but I also added one sprinkle to her neck to look like a latch or button.
14- Using toothpicks, Q-Tips, etc. clean up the cake details so it looks clean and detailed.
That’s it. It will feed about 16 people and should keep fine for multiple days. Refrigerate leftovers to keep longer. Freeze leftovers for it to keep even longer.
Enjoy!
For other ‘rich living tips’ please Subscribe Here for my weekly email or connect with me on these other platforms:

