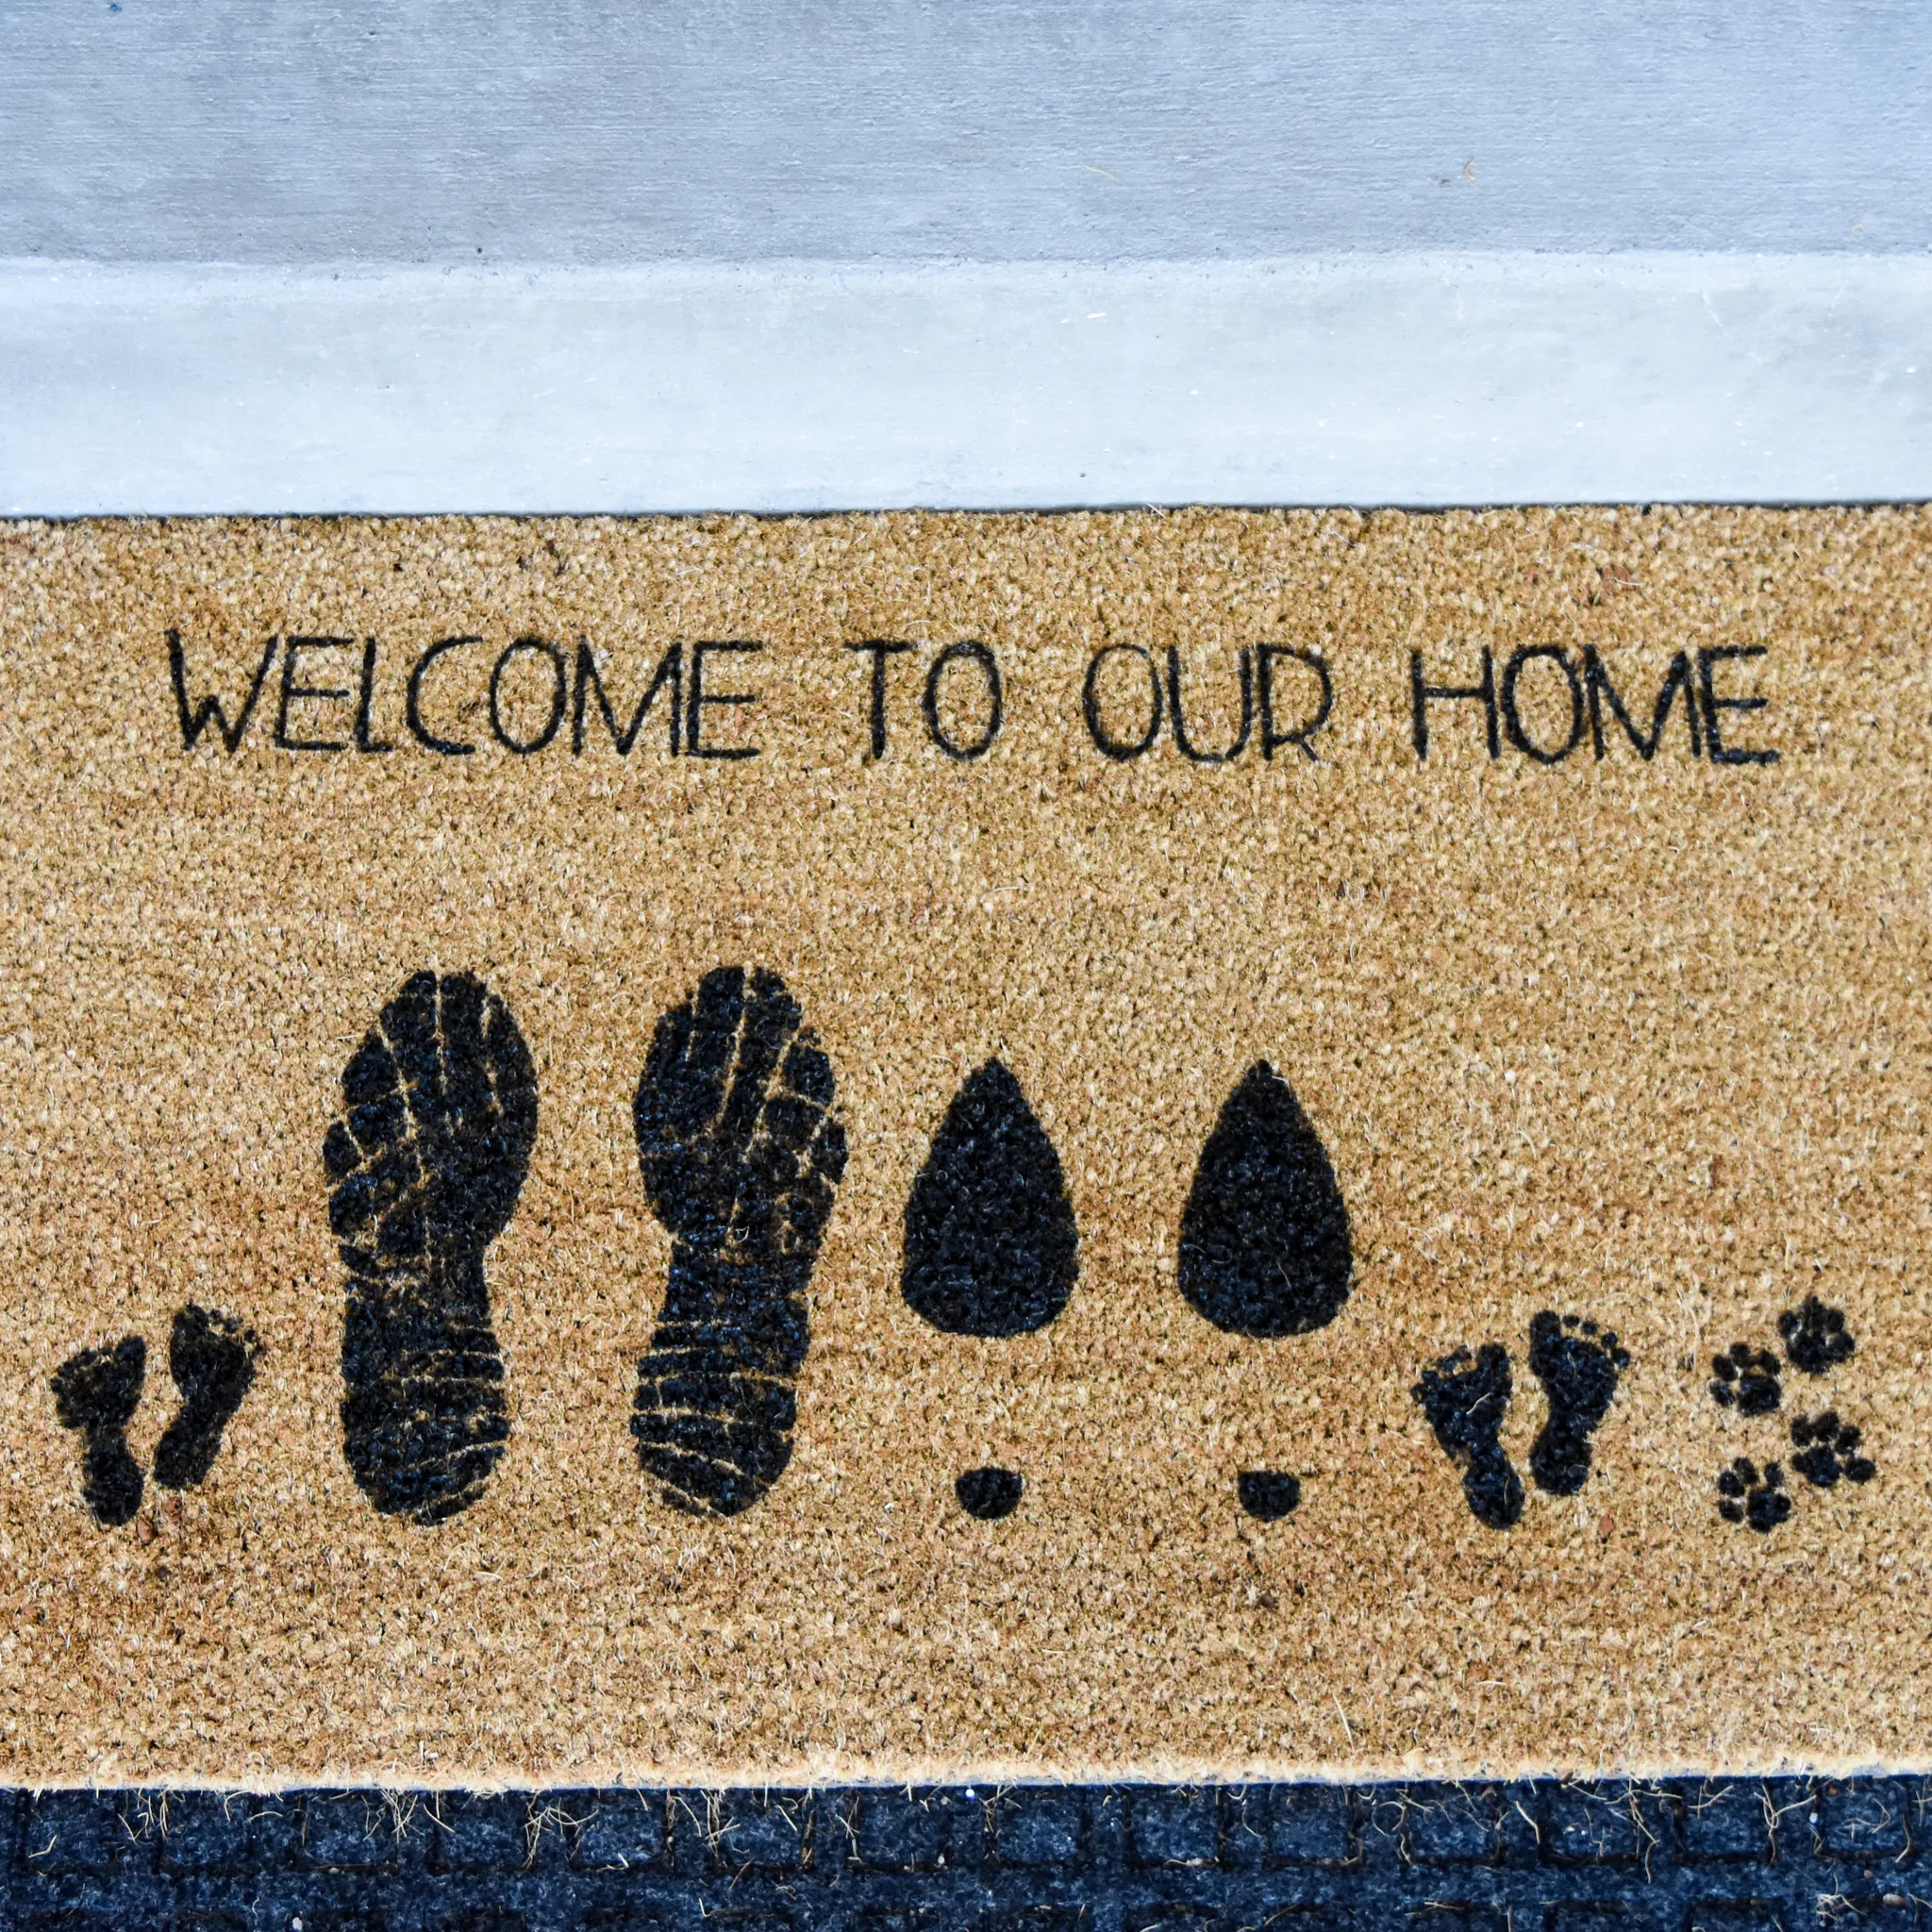
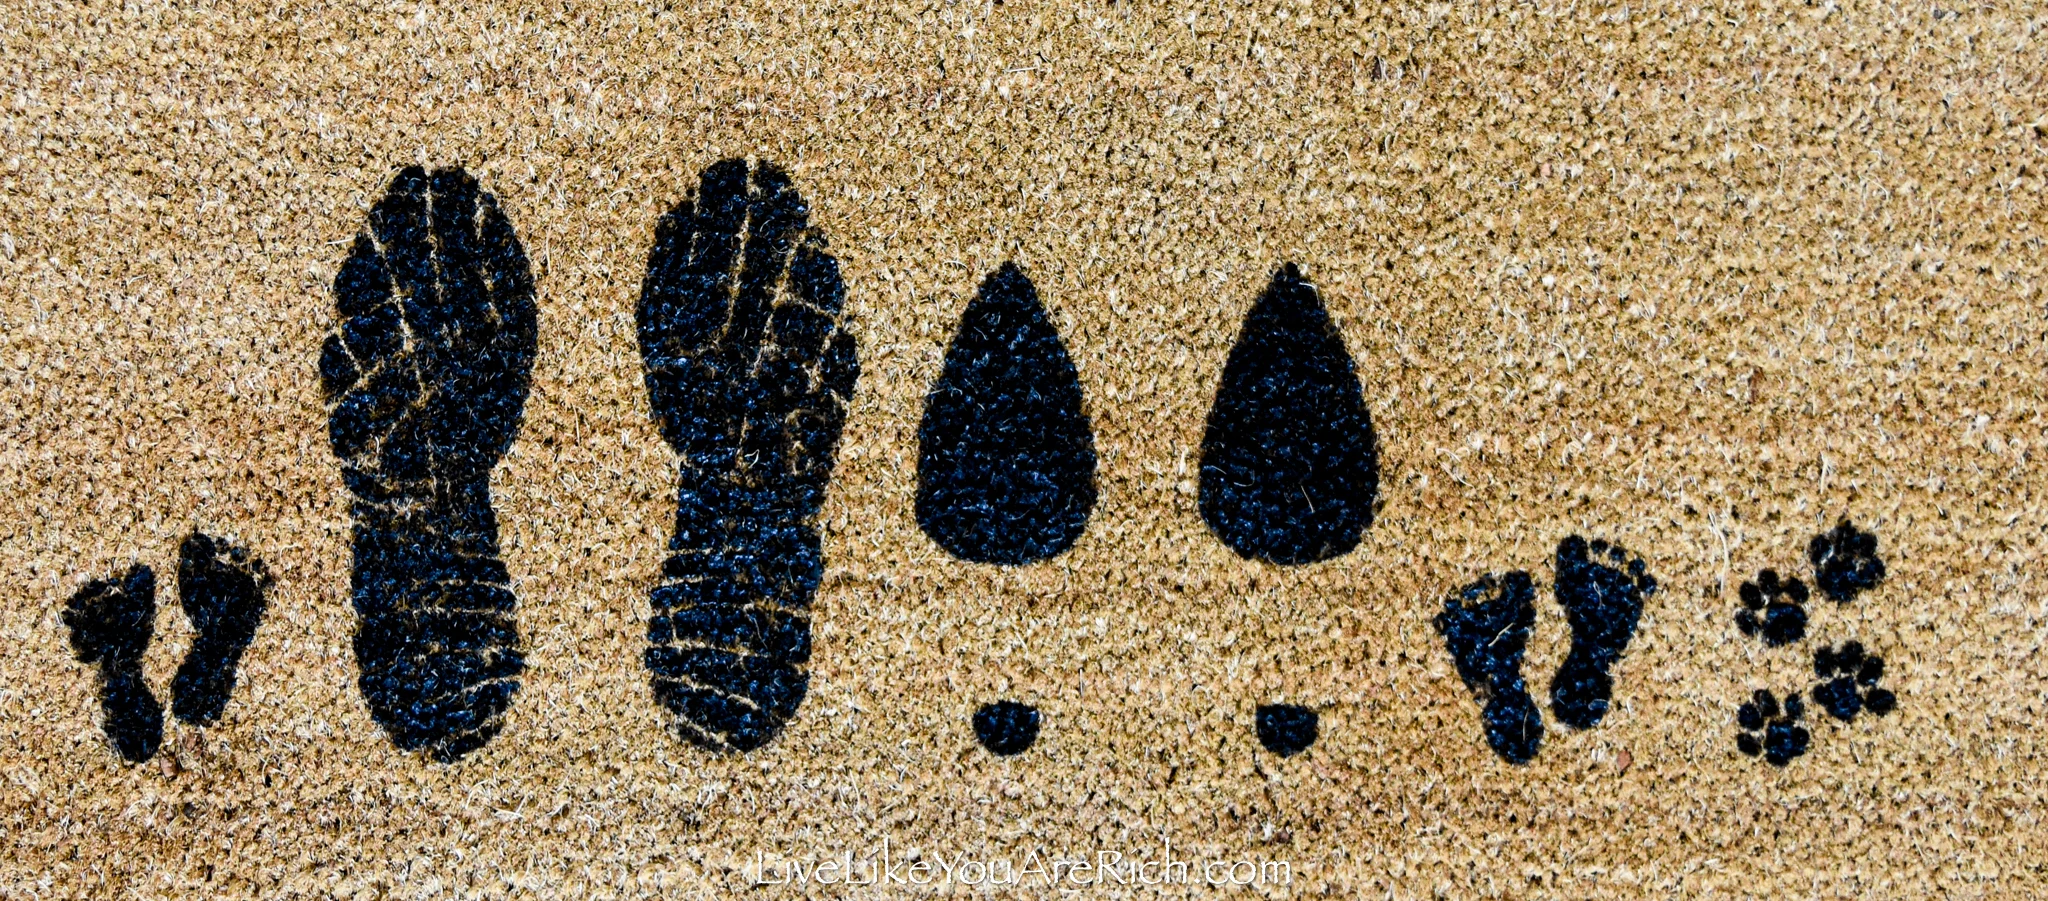
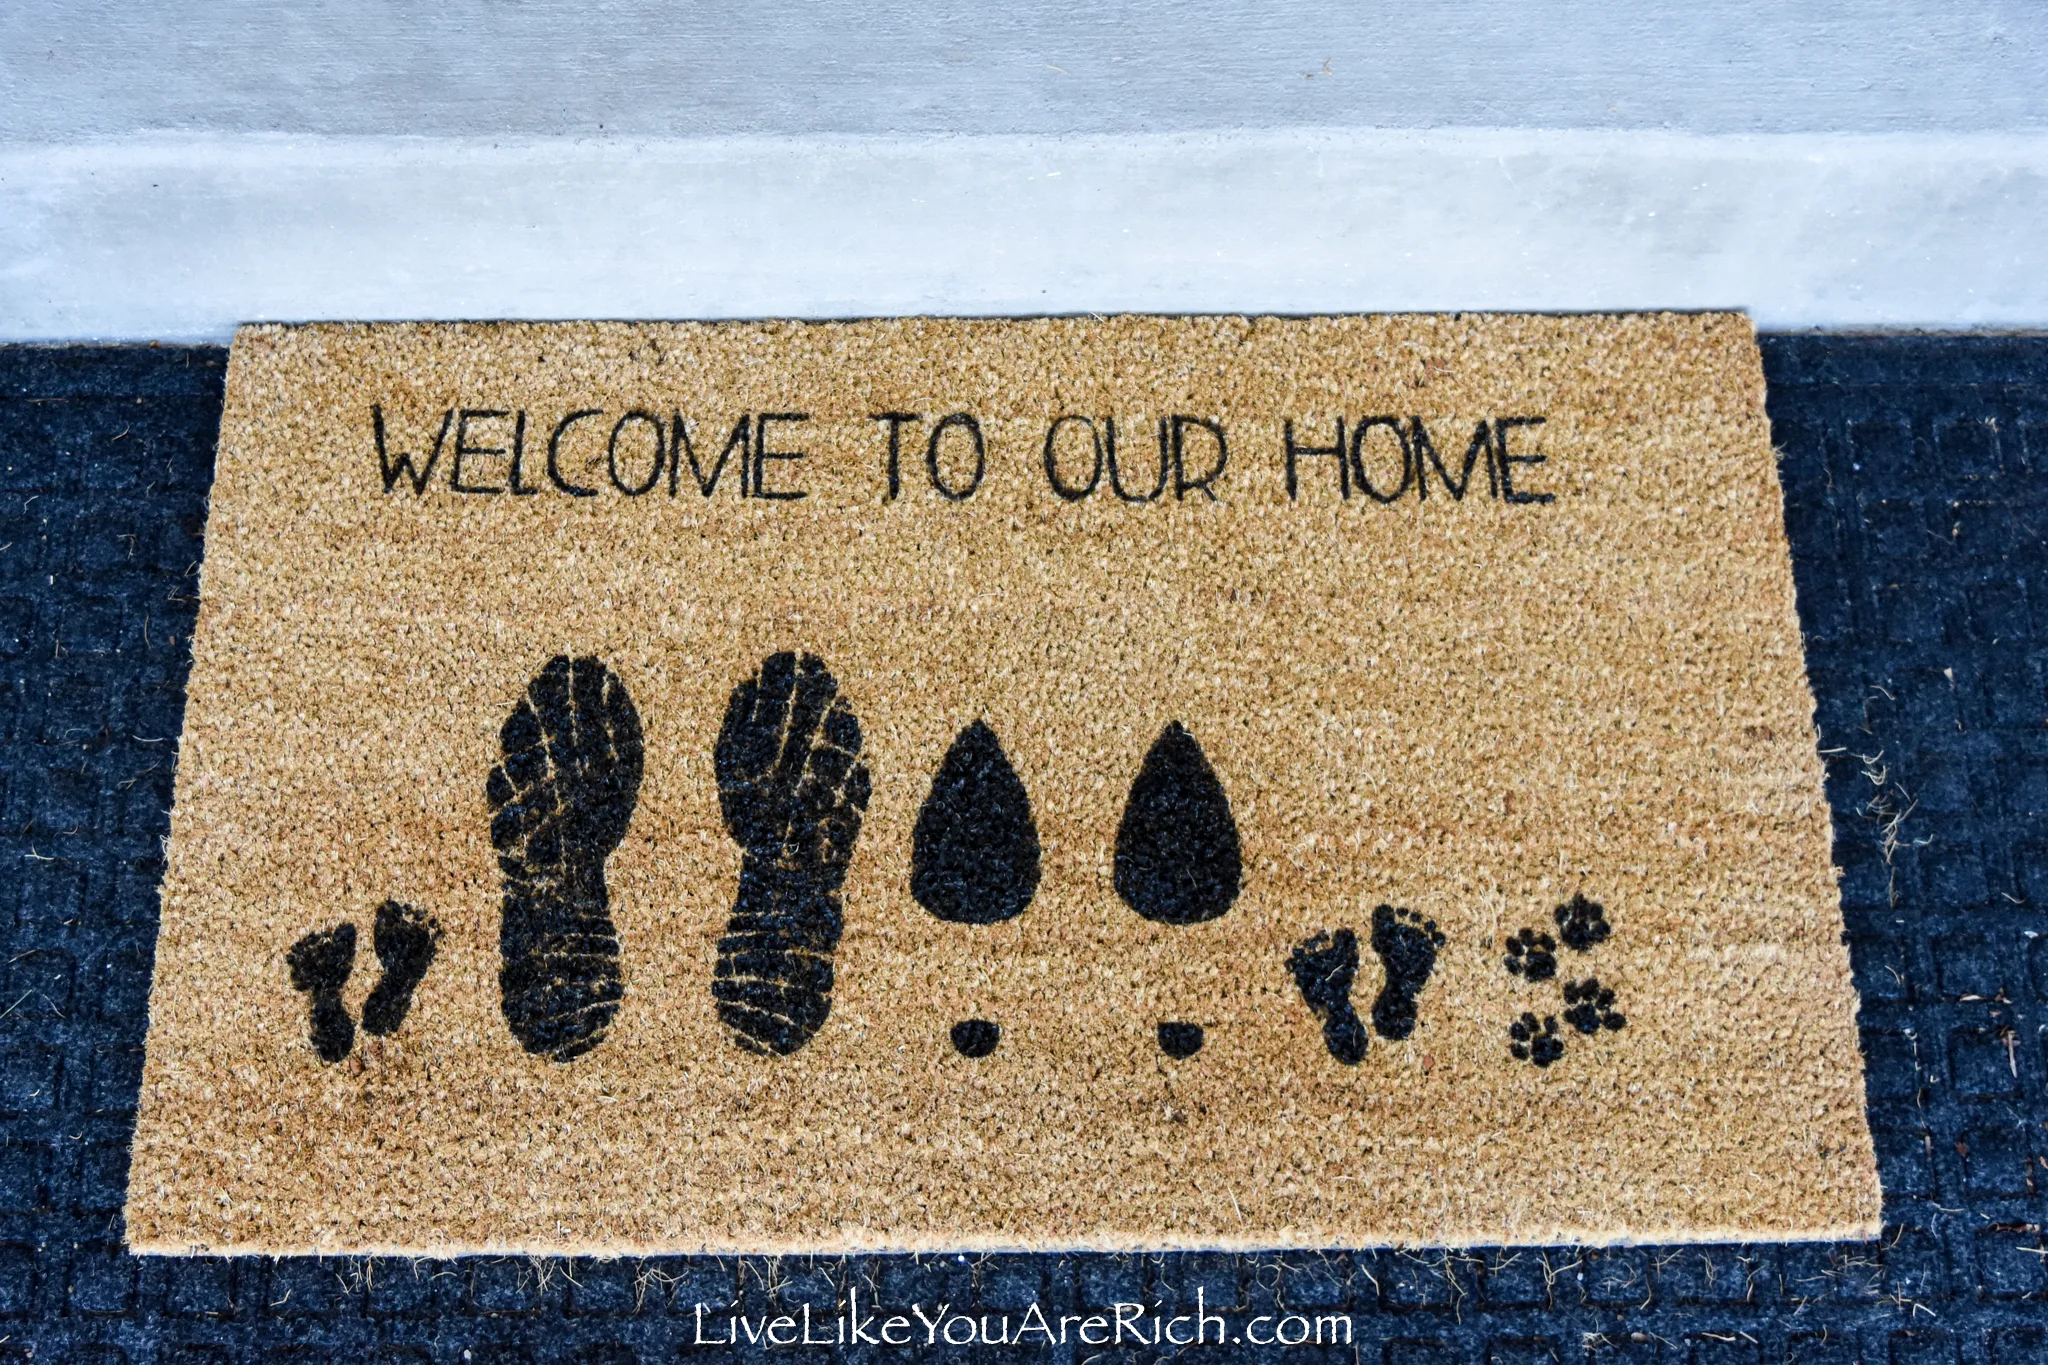
I made this custom footprint doormat for some friends that recently moved into a new home.
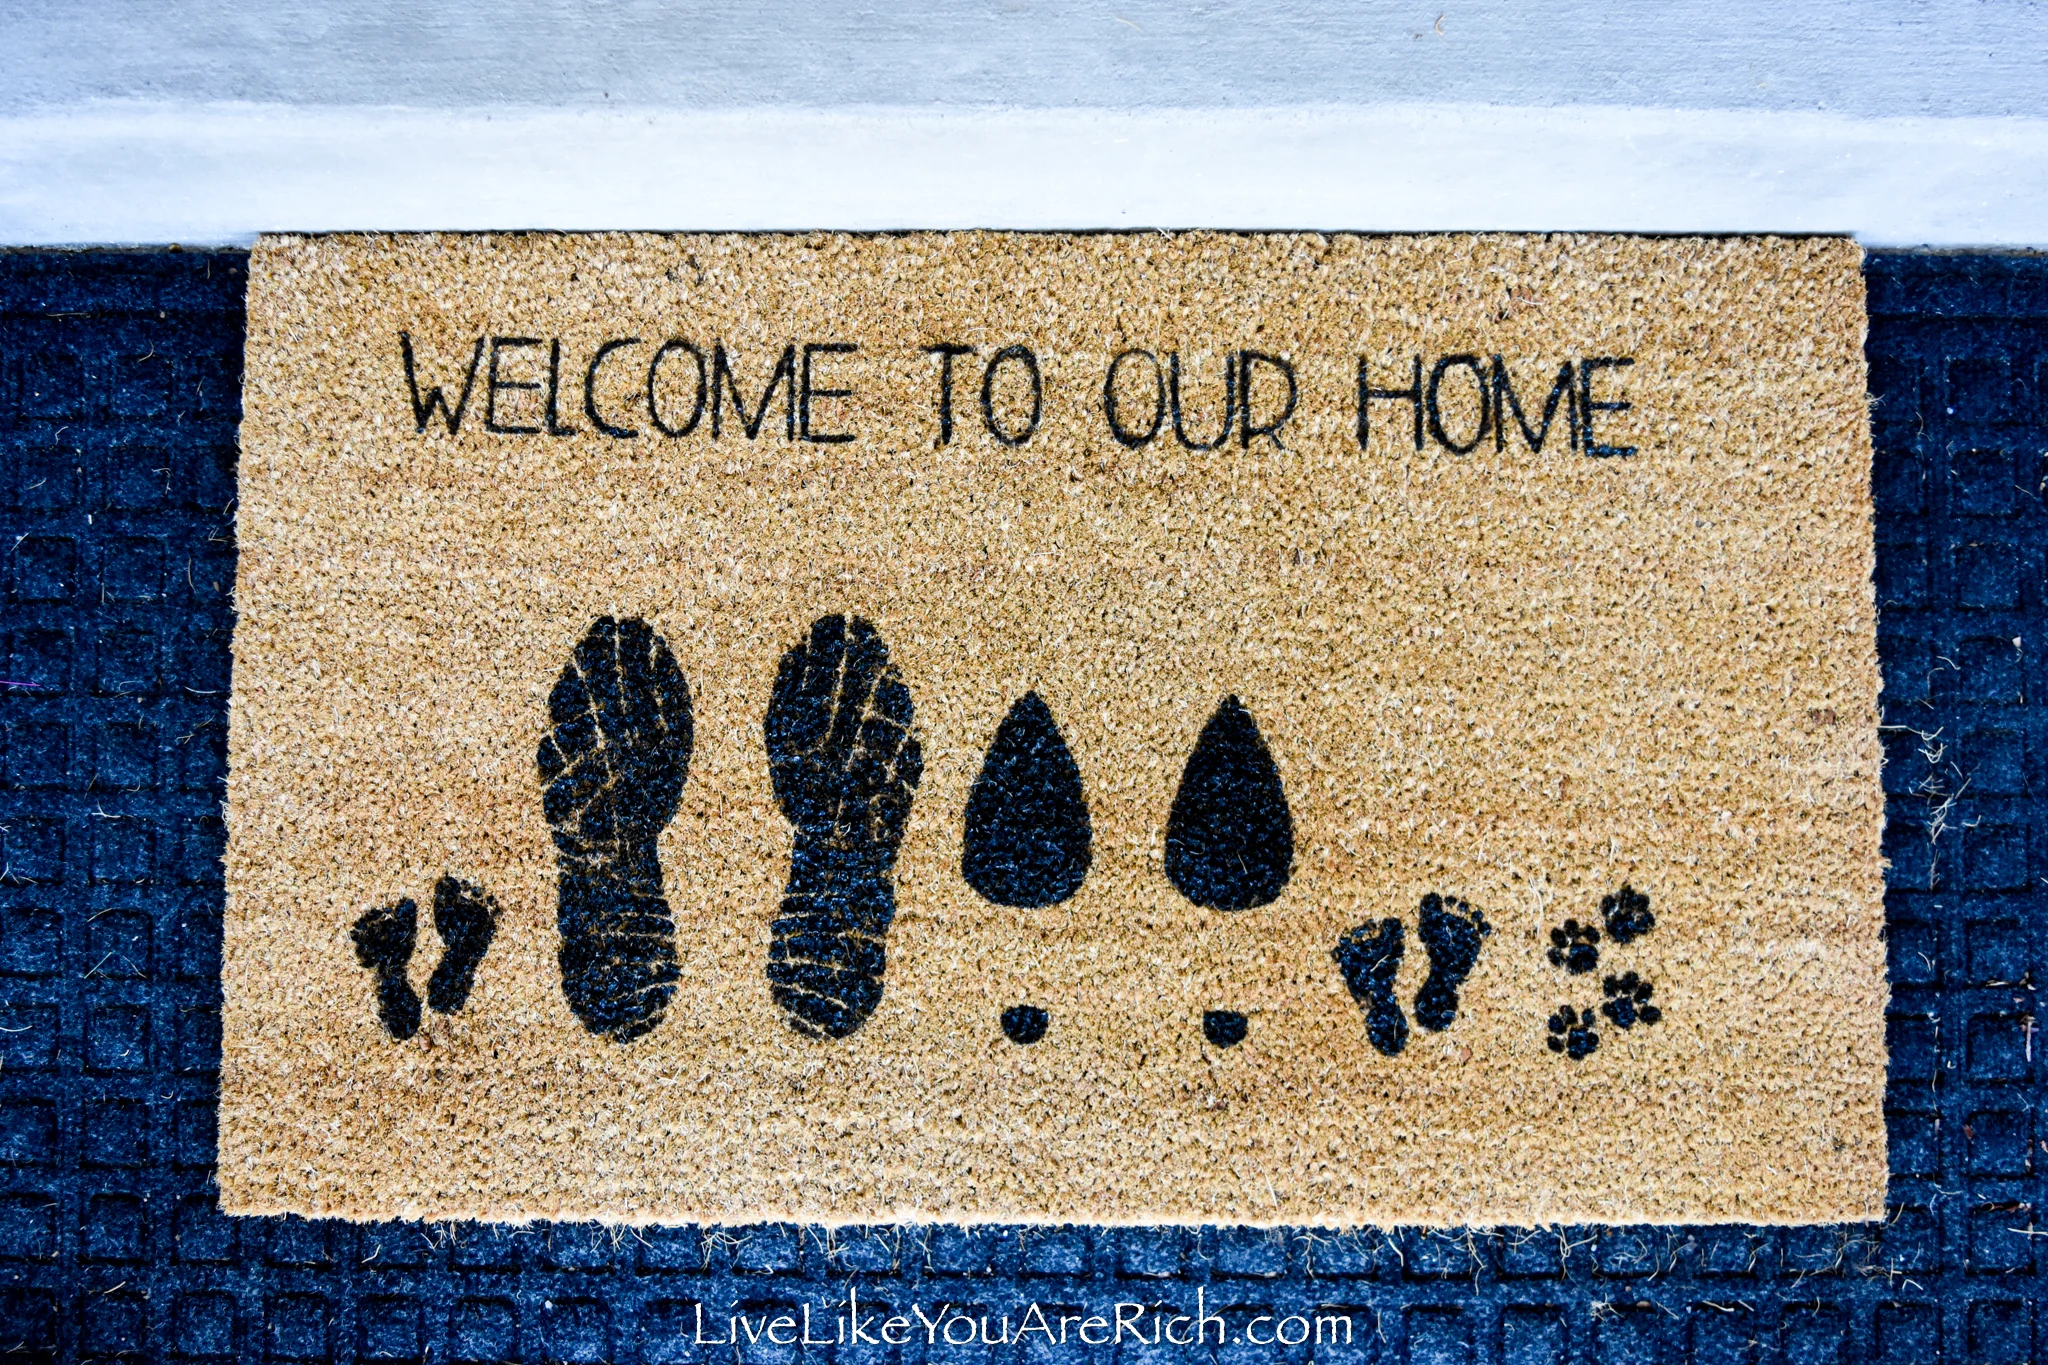
It was a fun, inexpensive and custom housewarming gift. I made it to fit their family as they have twin babies and a small dog.
The doormat was fairly easy to make. The most time consuming part of this project was creating the Cricut file to cut and use as a stencil.
The good news is, I’m giving you the files for free. As a result, I think this project should go fairly quickly for you (under 1 hour of active crafting).
You’ll need multiple hours for drying time so keep that in mind when you are planning to make this doormat.
You do need a few supplies to make custom coir doormats, but once you have the supplies you can make them any time and very inexpensively at that.
Once you have the supplies, you’d just have to buy the blank coir doormats which range from about $7-$12 (depending on the size and where you purchase them).
I found blank coir mats at Hobby Lobby, Home Depot, and Lowes all for competitive pricing.
After reading many reviews on the Traffic Master mat at Home Depot, I found that for price and quality they seemed to be the best.
They are normally $10 each but I had a coupon so I got the mat for $9.00.
I used Flex Seal in a paint can for this project and while I believe it will last longer than the outdoor acrylic alternative, there are some pros and cons to each. I mention those in more detail below.
Supply List for this Custom Footprint Doormat
Cricut cutting mat ( I used a 12×18 but if you did the design in two you can use 12×12 cutting mats)
Flex Seal Liquid Rubber in a can, (black) OR Exterior/Outdoor acrylic craft paint. The exact brand I use on other custom coir mats with great success is called Craft Smart.
chunky full bristle acrylic paint brush
thin bristle acrylic paint brush
Digital download of footprints and text free downloadable file can be found here. This file includes:
Man’s shoe prints
Women’s heel prints
baby footprints
puppy paw prints
All together and separate prints
Welcome to Our Home lettering
Tape measure (to center the stencils)
paper plate for paint
Krylon Clear Coating spray UV-resistant and moisture blocking
Home Depot seemed to carry the best mat (Traffic Master).
How to make this Custom Footprint Doormat
Continue reading and/or watch the video tutorial on this page.
Upload the free files to your Cricut Design Space. If you are unfamiliar with how to do this, you can google how to or select the following:
New Project, Upload, Upload image, browse, select the file, click “complex”, then click the white background (it will disappear), then click any areas that need to also disappear, then click apply & continue.
Select Cut Image and then add to the canvas. Drag it larger until at least one side is slightly less than 11.5″ (the largest you can cut on a Cricut mat).
You may have to break up the image into two different cuts if you don’t have a 12×18 cutting mat. If you do then you can select that option and cut the prints out on one 12×18 and the lettering on the other.
Put freezer paper on your Cricut mat and smooth it out.
Load it into the Cricut.
Click “make it”, choose “heavy paper settings” and “more” under the pressure of the cut.
Then click the flashing C button to cut out the design out.
For the “Welcome To Our Home”, you can do the aforementioned steps with the free file that has the words, “Welcome To Our Home” or if you want to type this into Cricut to alter it or anything, you’ll need to download the free font DK Aderyn to your computer (you download and click and install it). Now it should show up in your Cricut design space account.
Peel away the outer edge (the stencil part of the design).
Turn on your clothing iron to the hottest setting.
Use a measuring tape and center the freezer paper on the mat— lengthwise.
Iron the freezer paper on, shiny side down. Let the iron sit for a while for it to work optimally.
Using sewing pins, secure the edges of the letters or anything that needs extra hold.
Open the Flex Seal tar in a paint can in color black OR you can use outdoor exterior acrylic paint. If you are using acrylic paint, shake the craft paint and pour it onto a plate.
Dip the brush into the tar or paint (you want to use a lot of it on these coir doormats so it can sink in) and dab it onto the stencil.
You’ll likely want a thin paint brush to do fine lettering. Paint two coats on the words/lettering.
When finished painting, remove the freezer paper. Touch up anything that needs it.
Let the mat dry for four hours or more. The flex seal tar may need to dry overnight.
Take the mat outside and spray the mat with UV protectant clear coating and let that dry for a few hours as well.
That’s it!
Now you have a darling welcome to our home footprint doormat.
Flex Seal VS. Exterior acrylic paint for Coir Mats.
Pros of flex seal is that it should last longer and is a more durable medium than acrylic outdoor paint.
The cons of the Flex Seal are: it really stinks/smells badly when using, it is much more expensive, and it takes at least three times longer to completely dry than acrylic.
What would I recommend? After making multiple doormats, I’d recommend using Flex Seal for a doormat that you want to use just one color for (it comes in white, grey, and black) and want to use in a high traffic area for many months out of the year for many years in a row—especially during wet months.
I’d recommend using exterior acrylic paint if you switch out your doormat often according to Holidays, seasons, etc. and I’d recommend it if you want a colorful design, and/or are on a budget.
I hope this helps you to make your own cute Custom Footprint Doormat.

For other ‘rich living tips’ please subscribe, like me on Facebook, and follow me on Pinterest and Instagram.

