D.I.Y. Christmas Mason Jar Craft
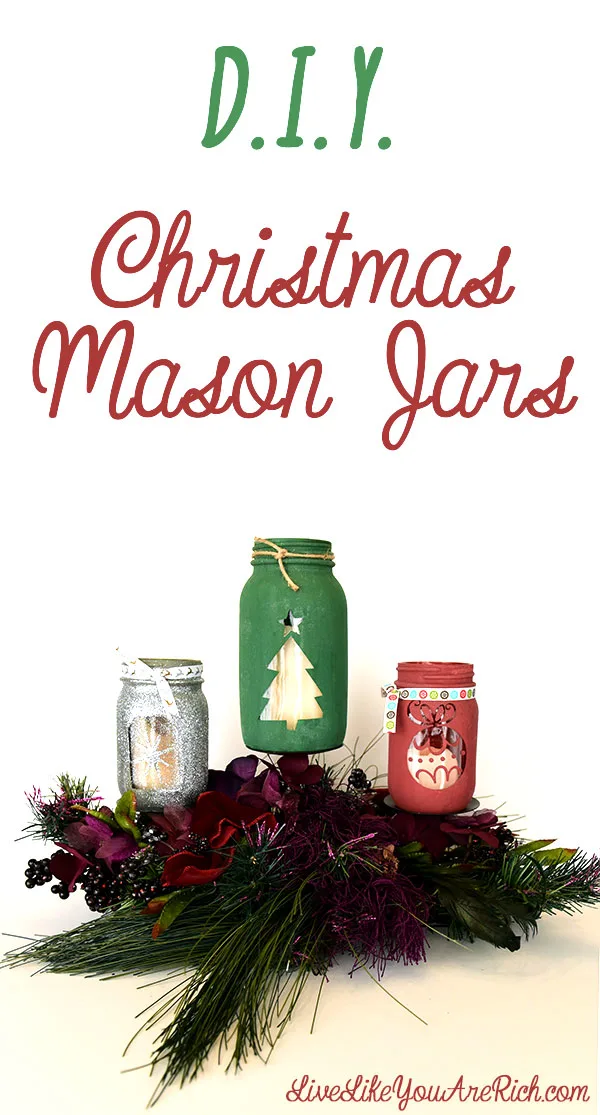
I love Christmas time and the holiday season! Decorating and making homemade crafts is one of my favorite things to do. Which is why I love these mason jars! They are easy to make, fairly quick, and completely customizable. You can choose the colors and the ‘window’ designs to match your home/existing decor and then fill them with a variety of items.
Some ideas of what to put inside: small ornaments, glitter, Christmas lights, candles, holly berries, candy, seasonal treats, and/or use as a flower vase. The possibilities really are endless.
Instructions
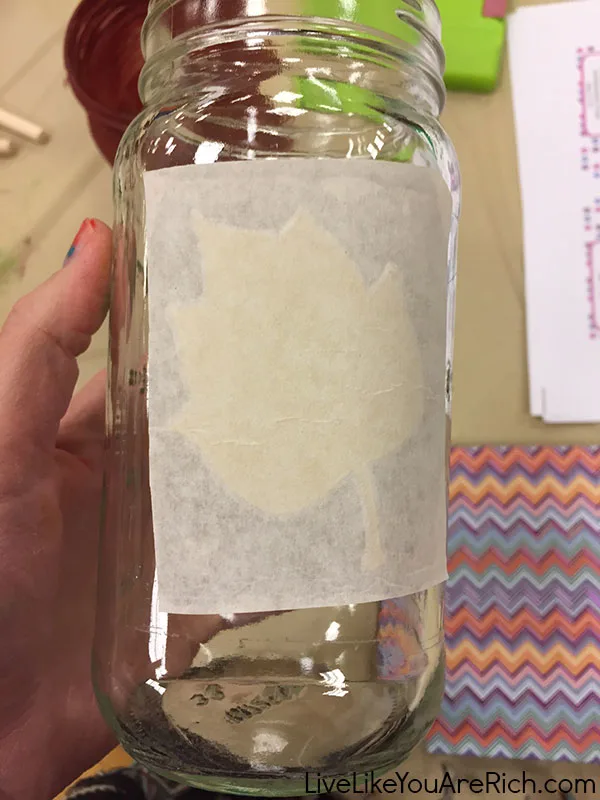
1. Use a Cricut to make the vinyl cut outs. Place the vinyl firmly on the jar and then peel back the wrapper so the vinyl is exposed.
Note: The photograph below was used on the last mason jar craft I did, (fall mason jars) which is why you see a leaf. For these Christmas jars, the cut outs were a tree, an ornament, and a star.
2. Paint the outside and bottom of the jar completely. You’ll paint over the vinyl sticker with chalk paint.
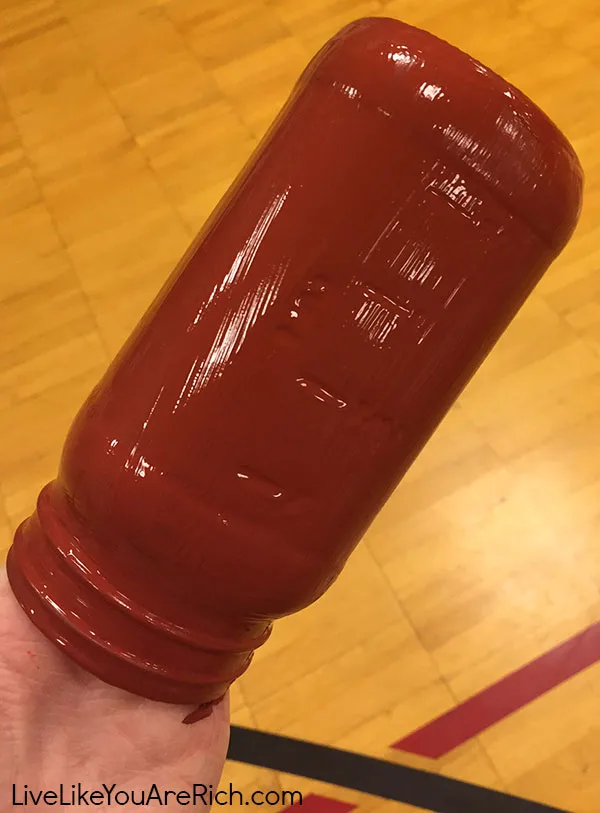
3. Let the paint dry well before adding another coat—if necessary. If you want to do a glitter jar, then please stop here and read the instructions below.
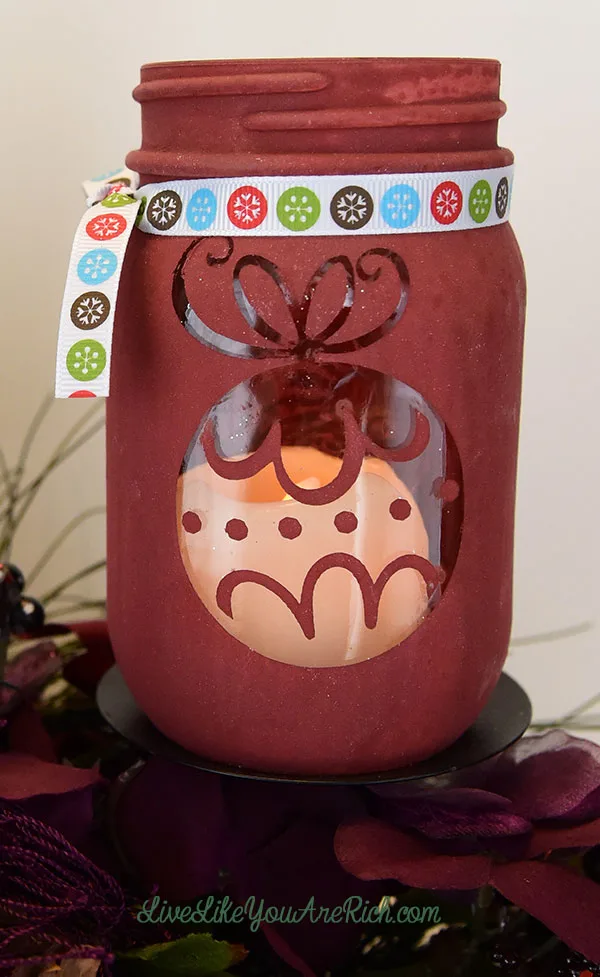
4. Once completely dry, peel off the vinyl carefully.
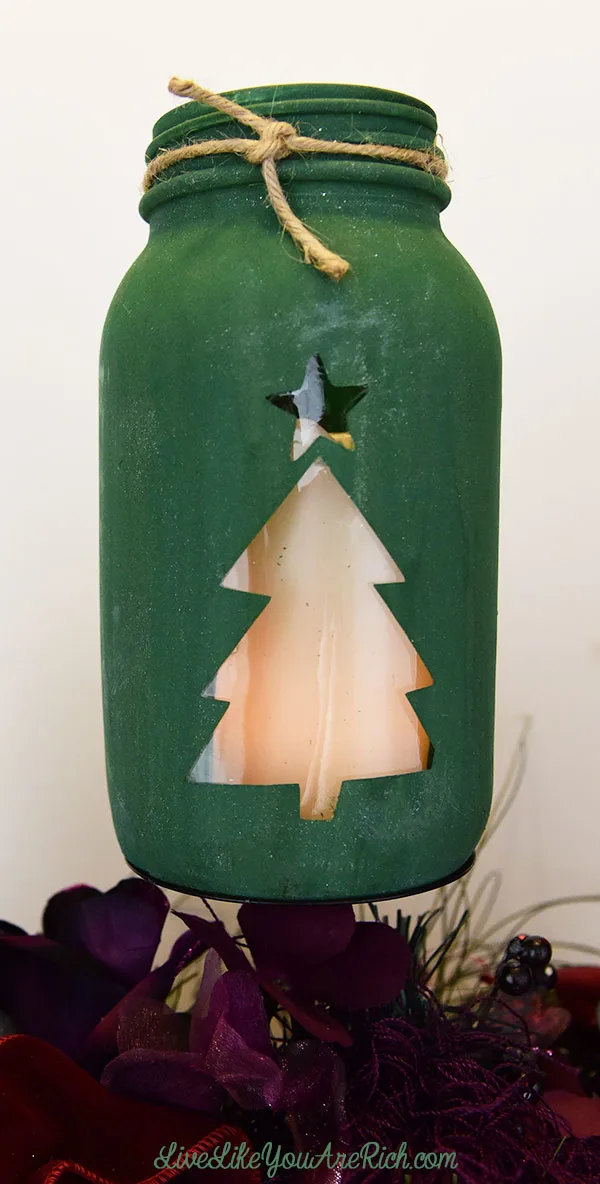
5. Add string, or ribbon around the mouth of the jar if desired.
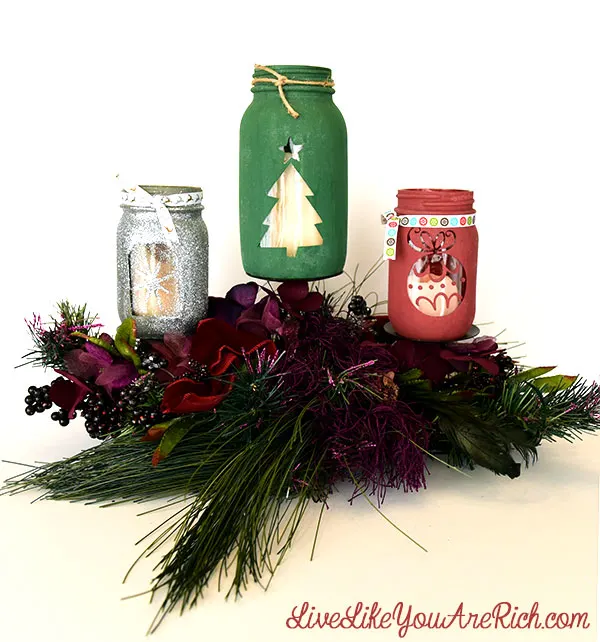
6. Fill the jar with whatever your heart desires. I put these flameless candles in mine.
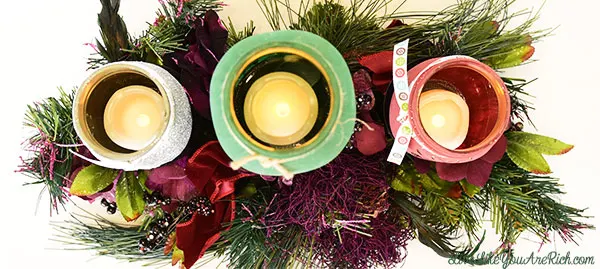
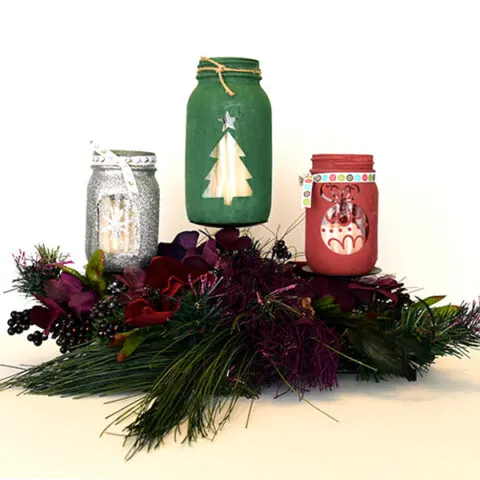
Then I placed my jars on a 3 tiered candle centerpiece.
Instructions for the Glitter Jar
First, complete steps 1-3 listed above.
Next, spray a painted jar (this one was painted gray) with adhesive glue spray and immediately roll it in glitter.
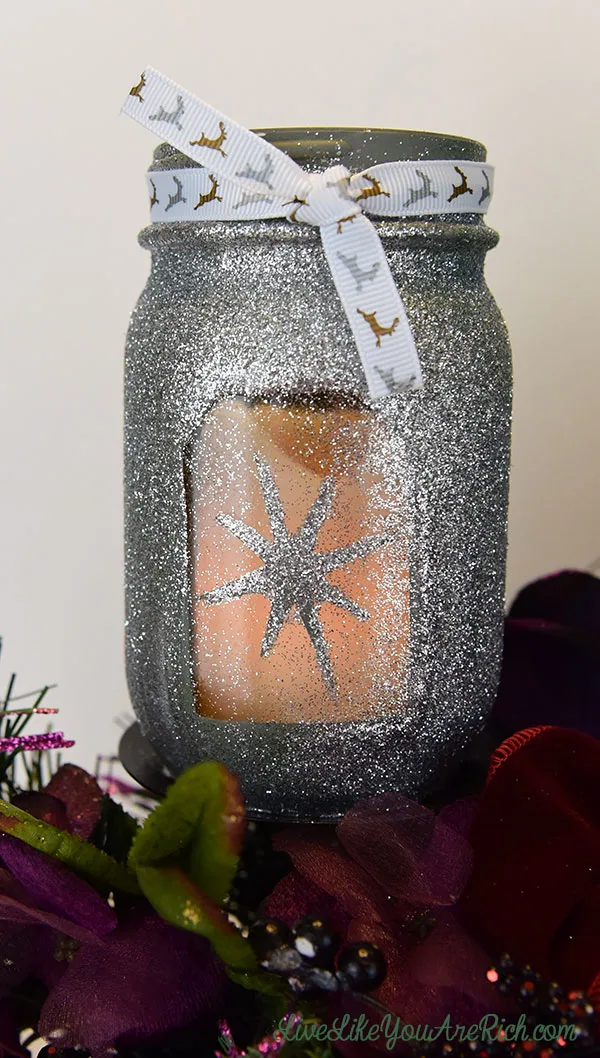
Once the glue/glitter is dry, peel off the vinyl.
Most likely some glitter will spread. But as you can see, despite the glitter spreading, you’ll still be able to see the design! I love the look of the sparkling star jar.
Now continue on with step 5.
Supplies Needed:
Vinyl cut out with a Cricut or similar
string, ribbon, and or other embellishments for the mouth of the jars
Something to put inside the jars. There ideas in the first paragraph of the post. I used these flameless candles sizes 2″, 3″, and 4″.
Extras
adhesive glue spray (for glitter jar)
glitter (for glitter jar)
A centerpiece that will hold large candles- If you don’t have one, and can’t find one to purchase, you could make one. I have a tutorial here on how to make a centerpiece with candle holders. You’ll need to modify it, but it will work for this craft. 3 tiered candle centerpieces on Amazon.
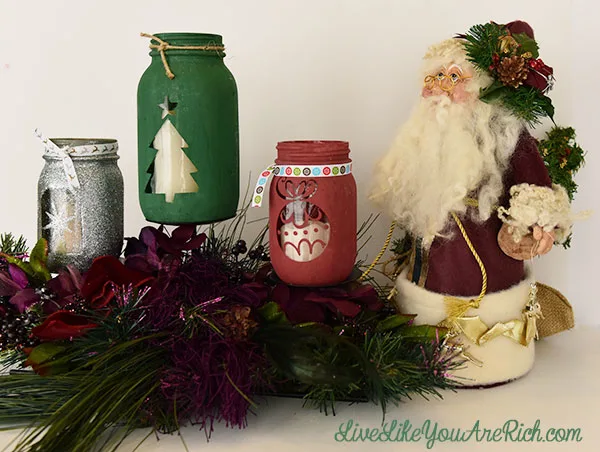
Finally, I added a matching Santa next to the centerpiece. And I’m now enjoying the finished project.
Merry Christmas!


For other ‘rich living’ and inexpensive crafts subscribe, like me on Facebook, and follow me on Pinterest and Instagram.

25 Christ-Centered Christmas Activities | Live Like You Are Rich
Thursday 5th of January 2017
[…] Plan to make Christmas Crafts together. A few I’ve made can be found here, here and here. […]
Exciting DIY Christmas Mason Jars That You Have To See
Sunday 27th of November 2016
[…] Source Source […]
allie @ Through Her Looking Glass
Friday 18th of December 2015
Dear Anita, these are so pretty. I love the simplicity. You did a great job!
Anita Fowler
Saturday 19th of December 2015
Thank you Allie! They are so fun to make too.
Chelsea @ Life With My Littles
Wednesday 16th of December 2015
These are so cute! I love vinyl projects!! I'll have to get my Cricut out!