
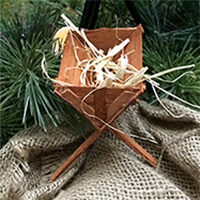


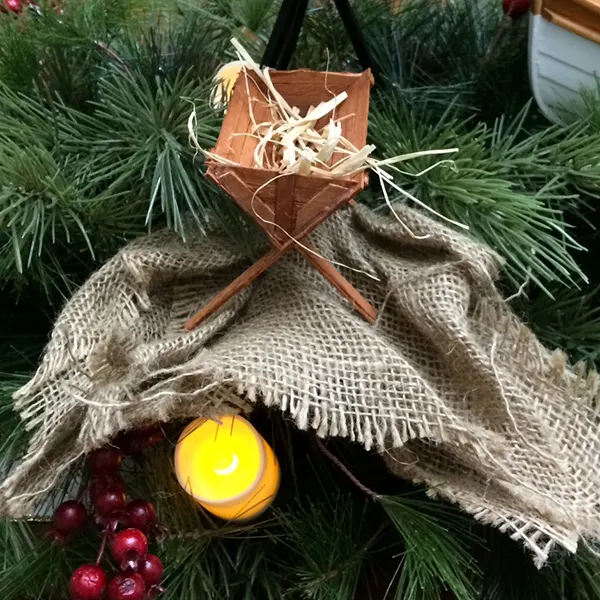
Creating a wood manger is a fun yet meaningful craft for Christmas. You can hang it on the tree, display one anywhere you want, in a nativity scene, or use it for a larger item like the Tale of Three Trees centerpiece/mantelpiece I did here (tutorial here).


They are easy to make (children can help), are inexpensive, and don’t take much time (20 minutes or so).
What You’ll Need:

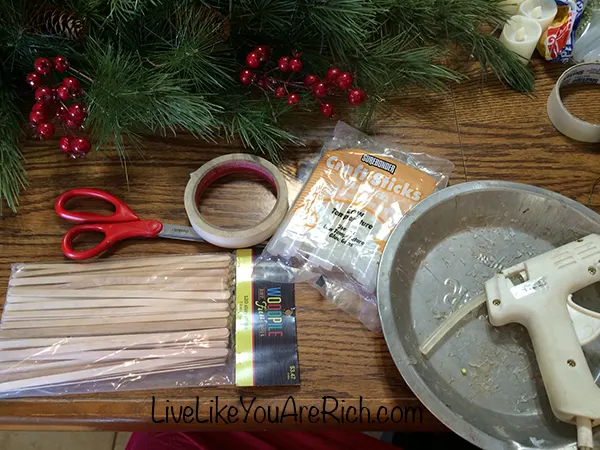
Scissors
Skinny Sticks 5 inches or longer
Masking Tape
1 sheet paper & pencil
1- Minwax staining cloth & gloves (optional) I used Maple stain
Fake or real straw (optional)
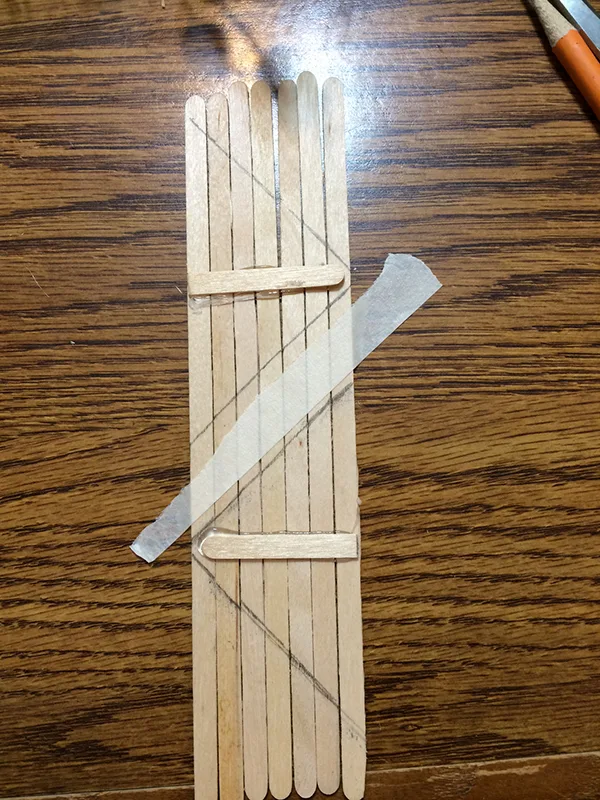
1- Lay 7 sticks horizontally and tape them with masking tape temporarily. Cut each of the finished ends off so that the length of the manger measures 4 inches.
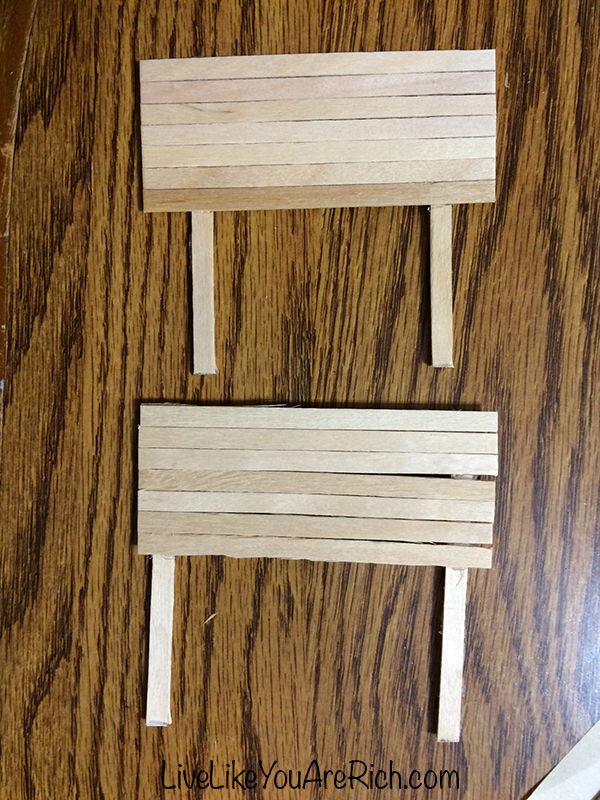

2- Then take a glue gun and glue in about 1/4 inch on each side (this is for the one side of the manger) and glue a stick to the line of glue. For the other half of the manger measure in and glue 1/2 inch. By staggering the measurements on both sides the legs will fit and not hit each other.

3-Next glue another skinny stick on top of the one leg to strengthen the legs of the manger. Cut the legs down to measure equal lengths I cut them at 3.5 inches long.

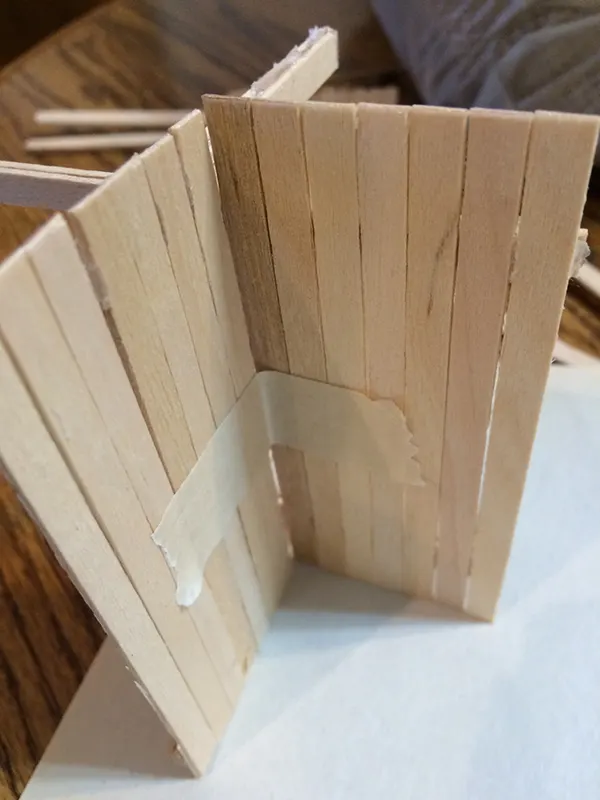
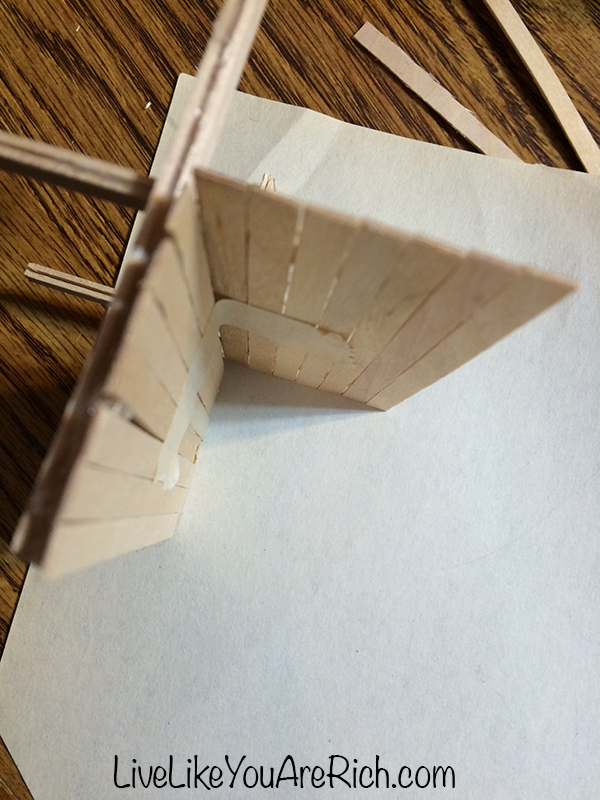
4- Next temporarily use masking tape to tape the manger together to form a V. Lay it sideways on a paper and trace the shape. Cut the paper out.


5-Take the cut out pattern that you made and trace the shape onto extra sticks lain next to each other and temporally taped. NOTE- I made a manger before this one that was larger. The photo below represents the V support triangles traced from the larger manger. Please just use it as a way to get an idea of what I’m taking about, not as an exact. The V you will make for this smaller manger won’t use as many sticks and will be much smaller.

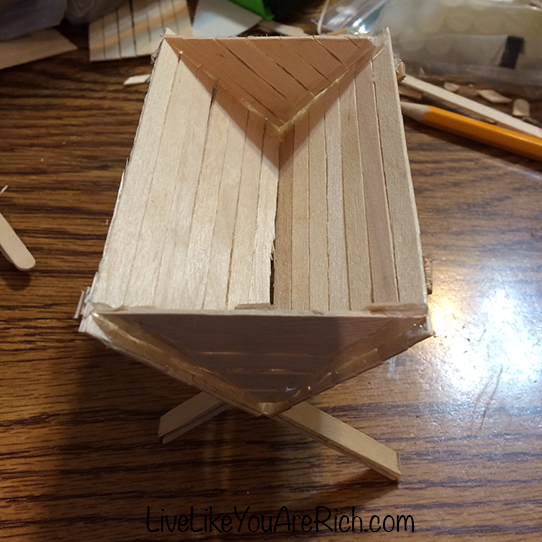
Add support beams for this V shaped structure and glue one in the middle and one on each side (see how the manager V with 3 supports looks in the final shot).I liked having the pieces with the braces facing out, but you can easily face them in.

6-STOP HERE and determine if you want to stain the manger or not. This is a picture of the manger stained, and a picture of the manger unstained.


To stain it I simply took a Minwax staining cloth (maple) found here and went over it. It only took a few minutes and I think the stain adds to the look. Just be sure to stain the manger pieces before gluing the cross triangle pieces in. This first unstained manger I made I tried staining but since I had already glued it the stain couldn’t stain the wood under the glue and it doesn’t look very professional. The third manger I made (the one pictured that is stained) I stained before glueing and it turned out much better.
6- Once it is stained or you have decided not to stain the manger glue the two triangle cross pieces in.
7- Add straw or fake craft straw. You are finished.
Merry Christmas,

For other ‘rich living’ and D.I.Y. decor tips please subscribe, like me on Facebook, and follow me on Pinterest and Instagram.
Fleeta West
Wednesday 18th of November 2020
Love it
Anita
Monday 23rd of November 2020
Thank you!