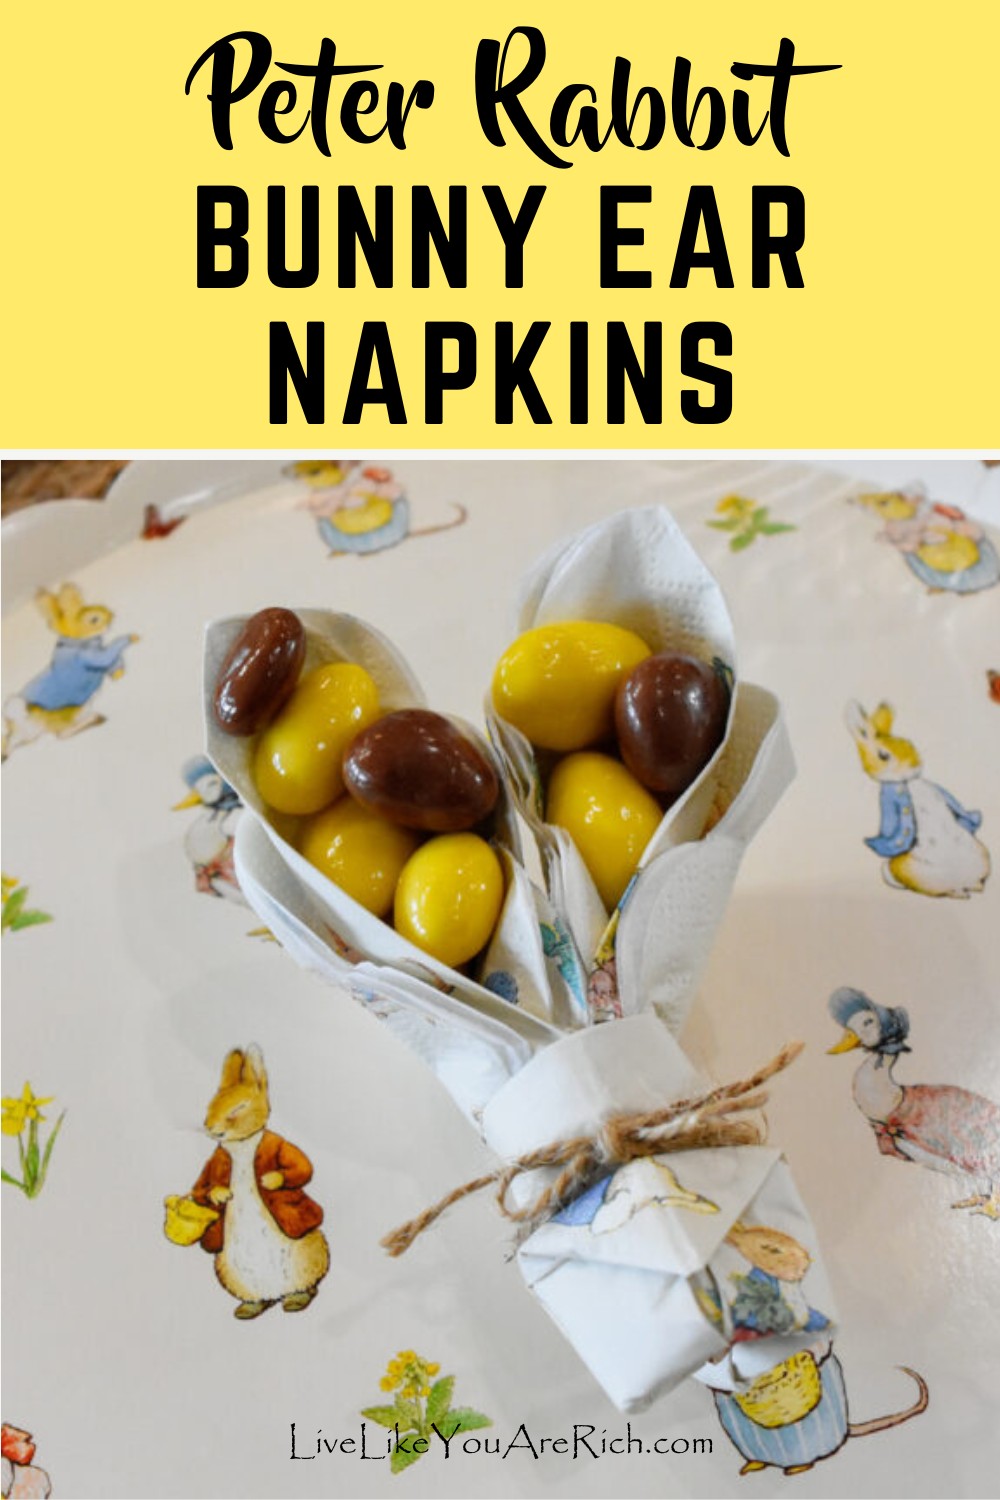
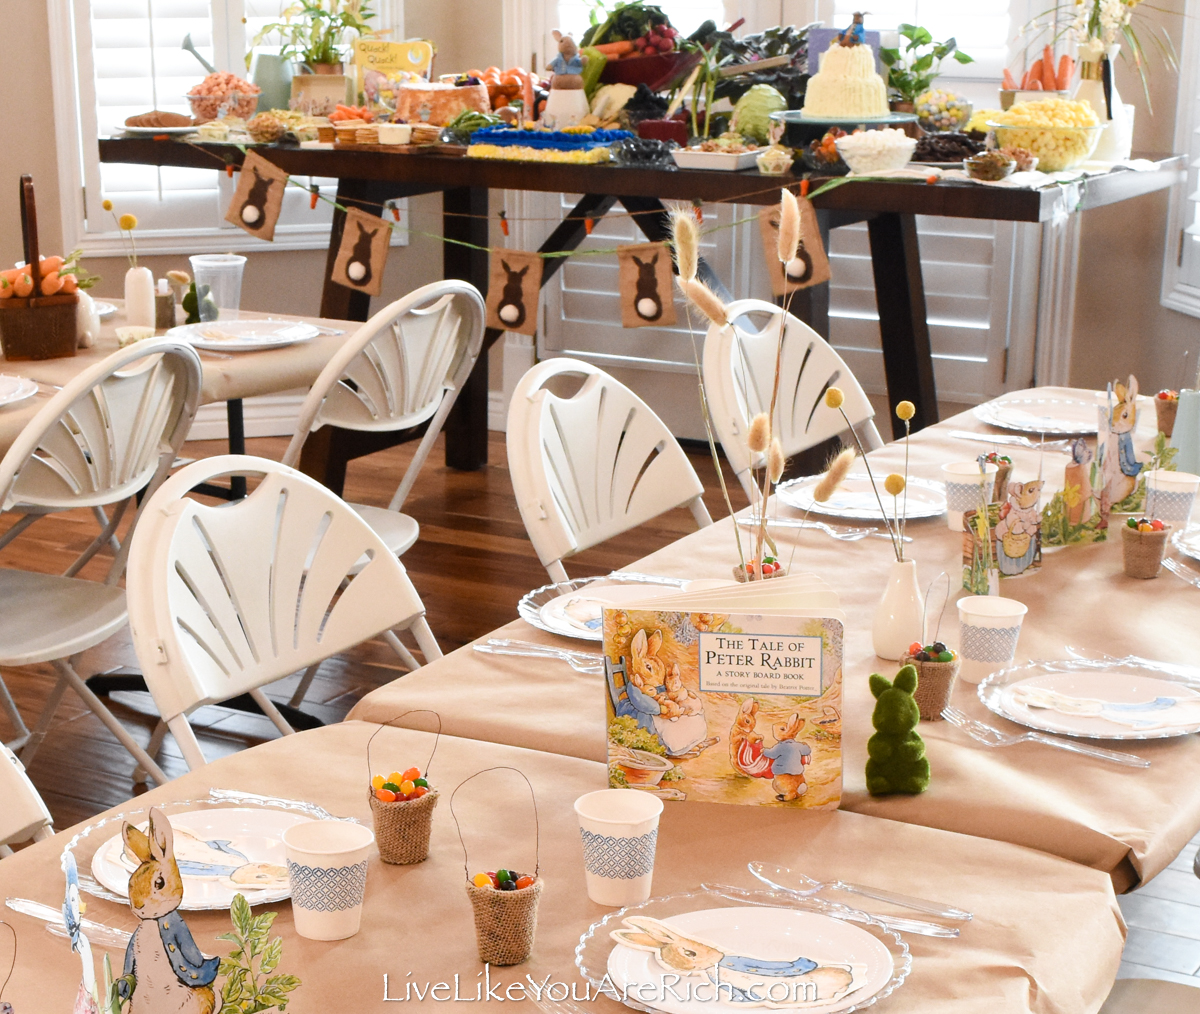
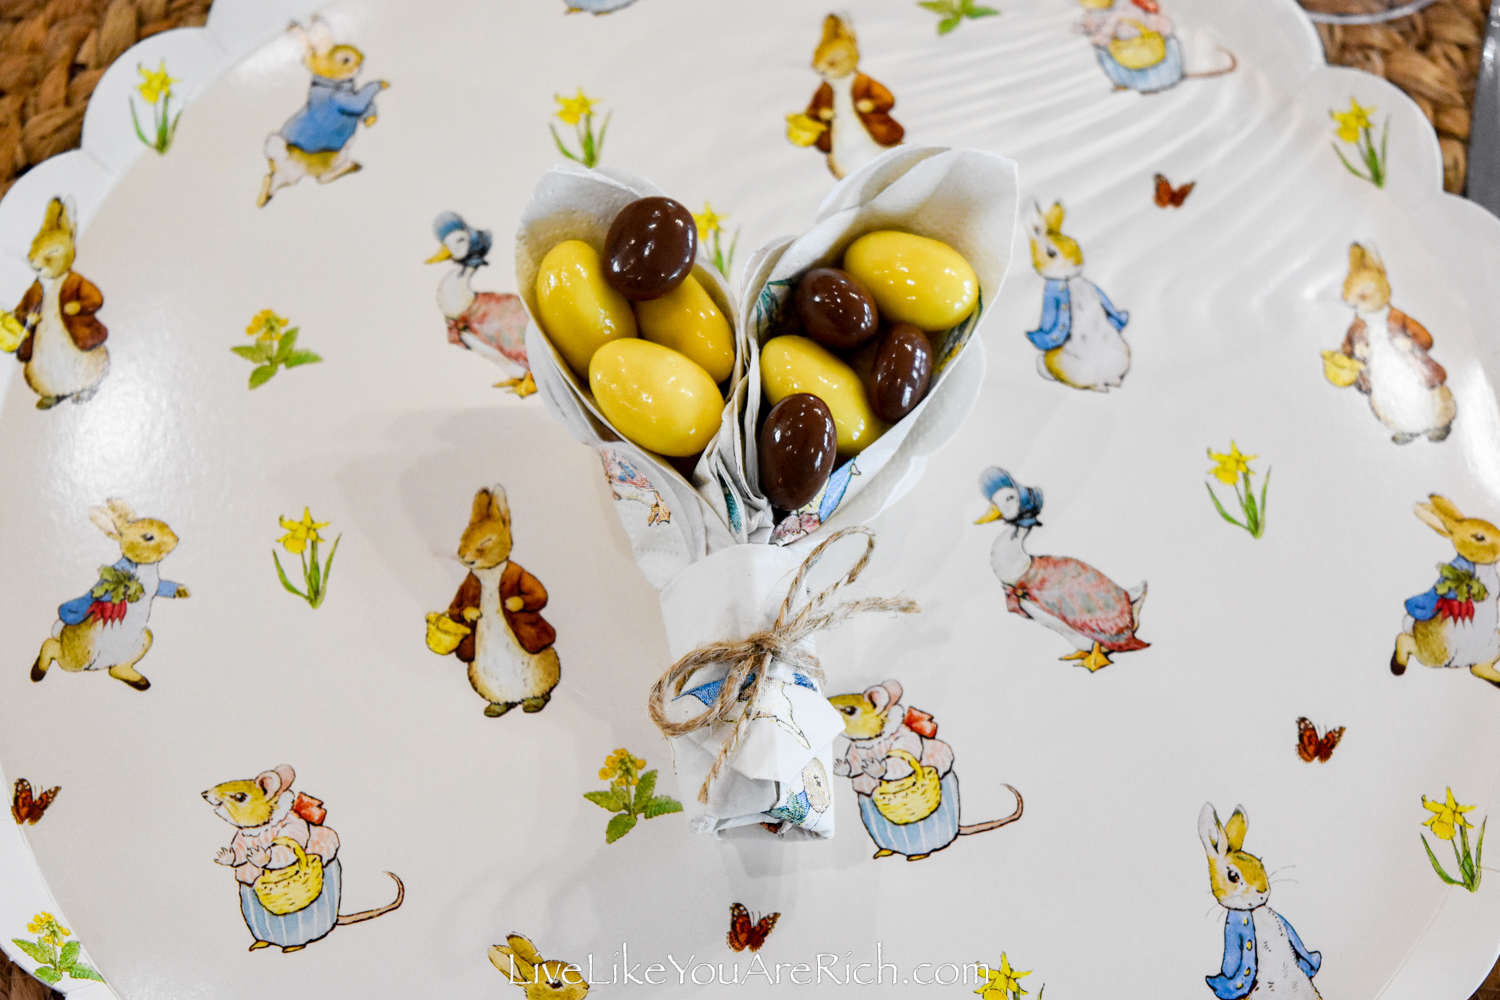
I made these Peter Rabbit Bunny Ear Napkins for my Peter Rabbit Easter Tablescape.
I like to do themed-tablescapes for holidays, parties, and get-togethers; it makes each family or friend meet-up unique and fun.
Having themed decor also helps me remember the event and details like who came, what we ate, what we talked about, etc.
When setting out a themed tablescape to make it even more fun, I like to add favors—even for the adults.
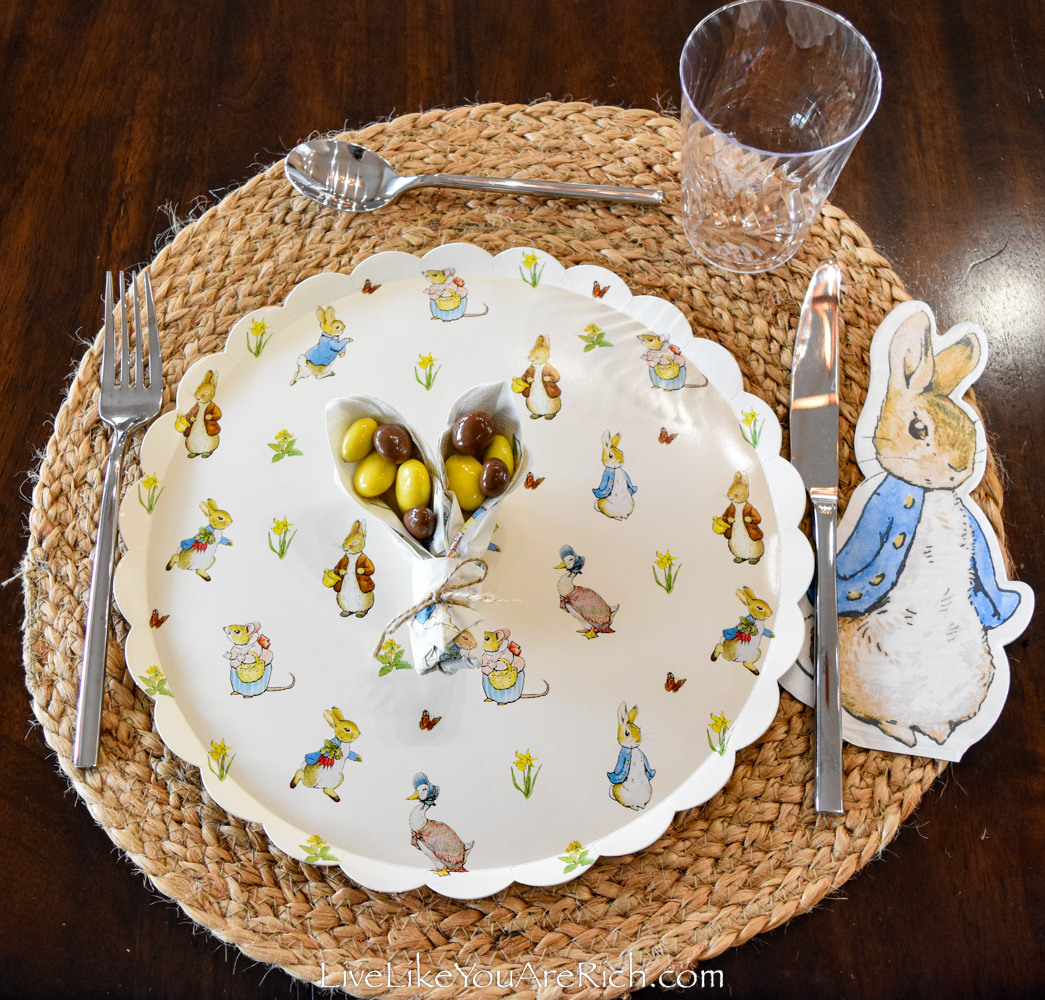
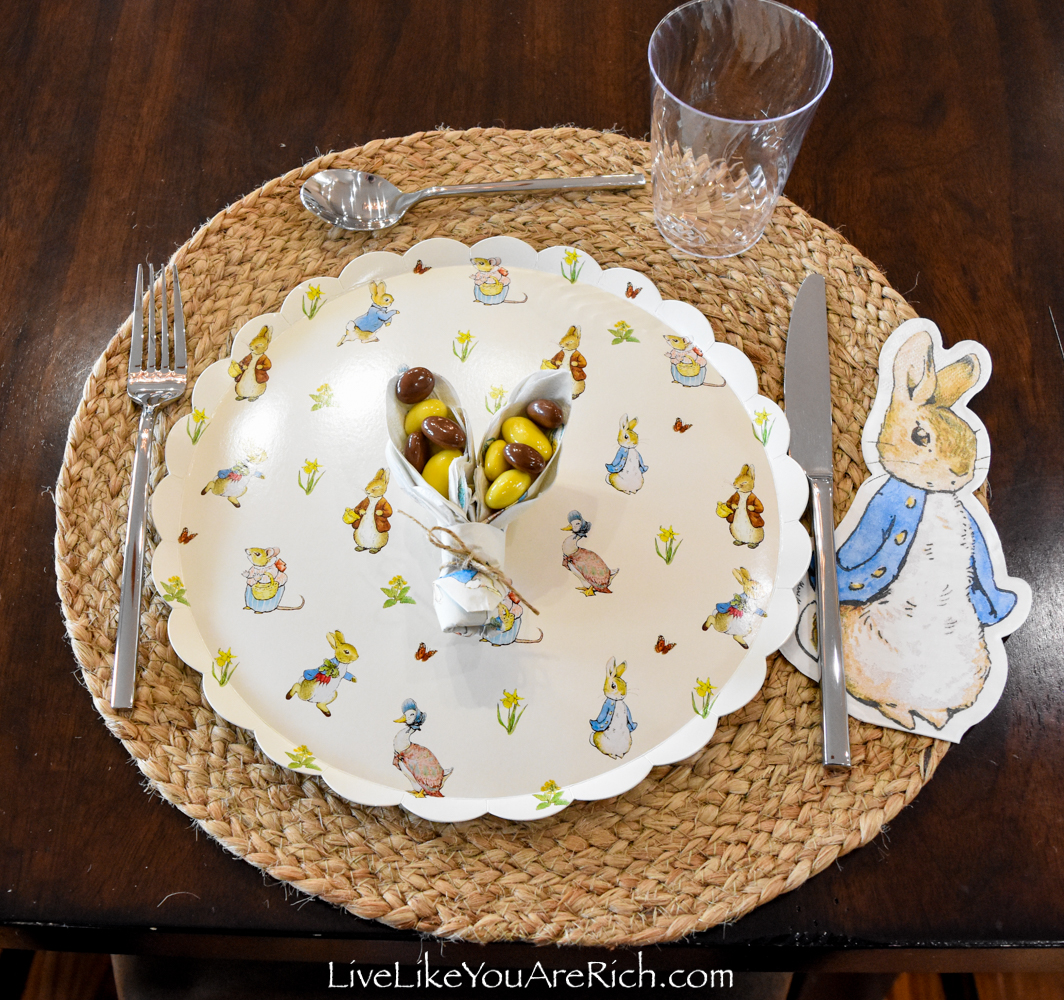
This Easter I had unused Peter Rabbit plates that came late for my son’s first birthday party which was a Peter Rabbit theme.
I remember being sad that the supplier was delayed in mailing me the plates and scalloped napkins that I had ordered for that party.
Luckily, the other supplies such as the stand-up cards and Peter Rabbit character napkins did come and my son’s first birthday still turned out great.
However, this left me with some plates and napkins that were never used for their intended purpose. I’ve been storing them for a year and I thought it would be fun to make use of them for an Easter tablescape instead.
I’ll be posting the tablescape soon.
Supply List for these Peter Rabbit Bunny Ear Napkins
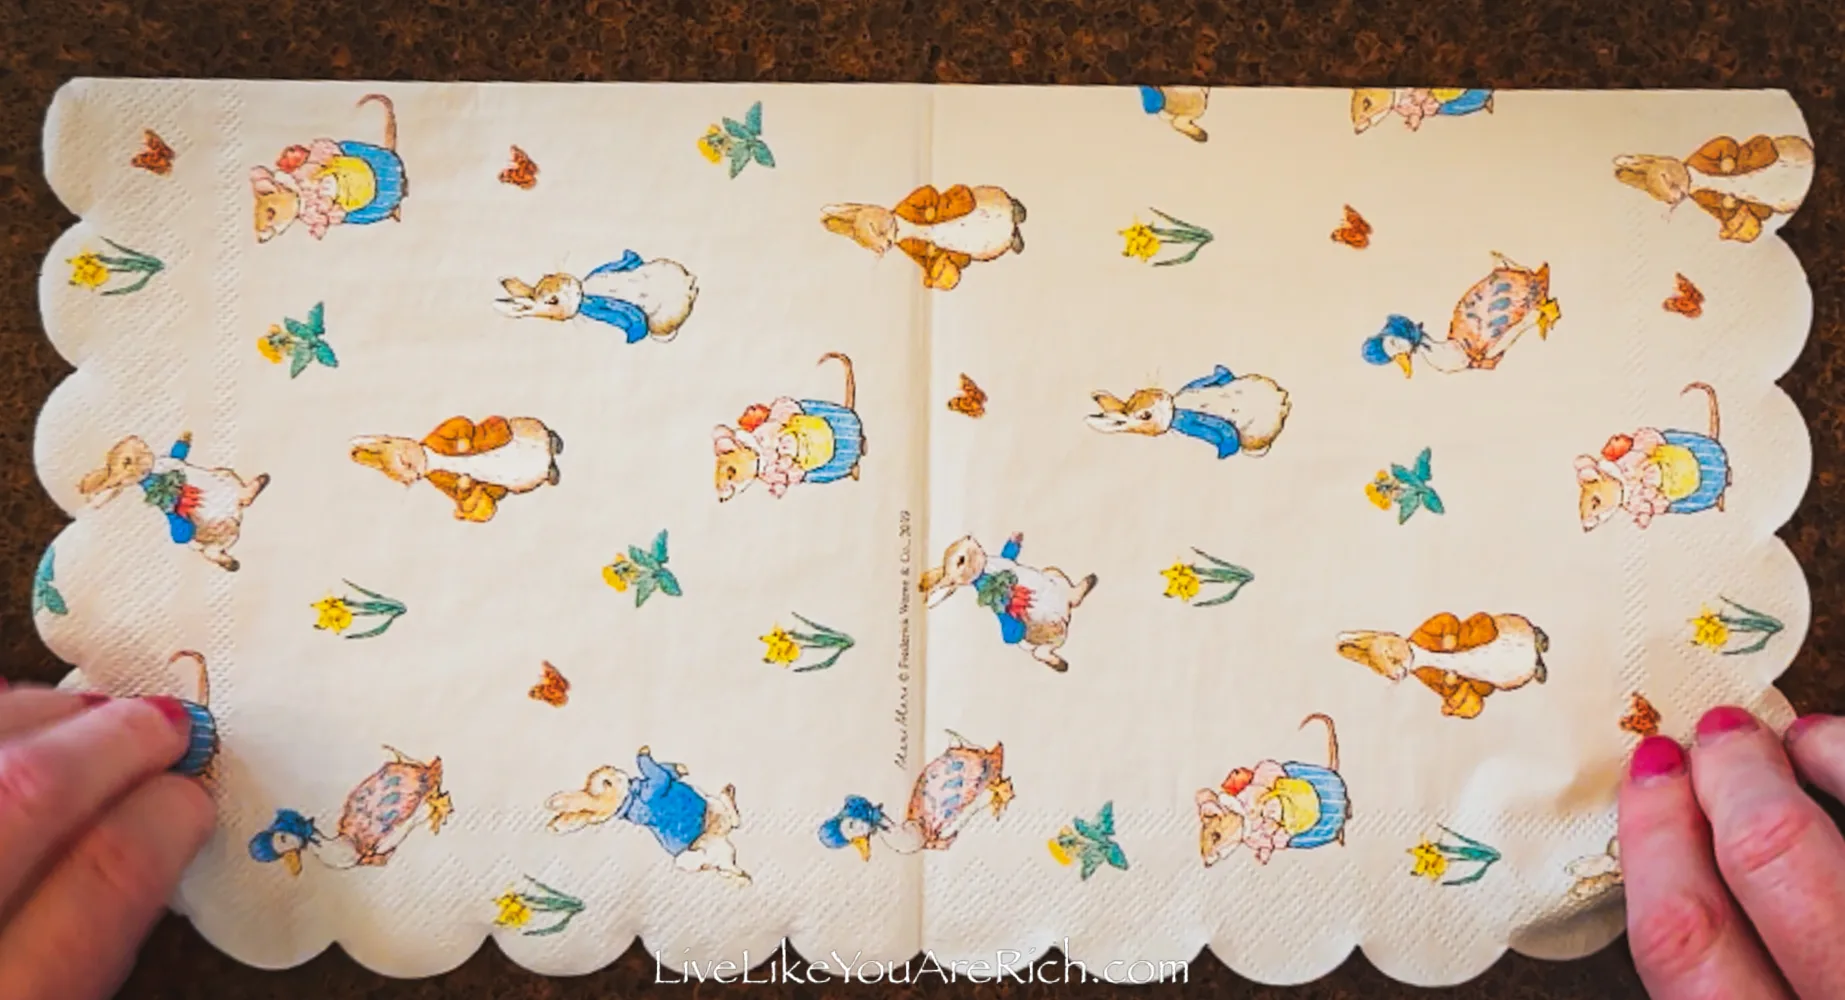
Napkins—I used the square Meri Meri Peter Rabbit paper napkins. You can use rectangular paper and linen napkins for this as well.
I got these particular napkins from Burke Decor for $7.00 for 20 napkins over a year ago. The plates also came from Burke Decor. I recently looked and saw that they are still available at Burke Decor (April 2023). You can find similar Peter Rabbit napkins here on Amazon as well.
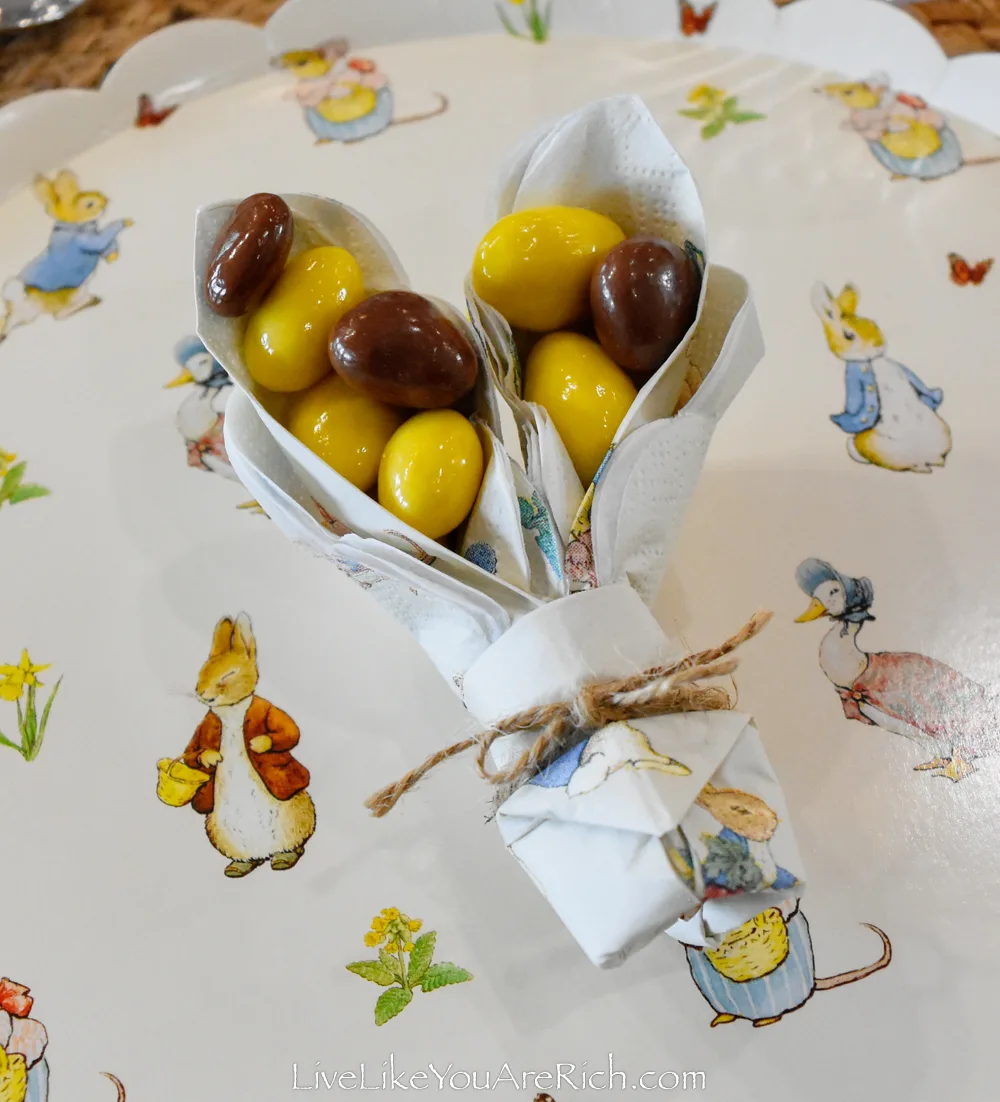
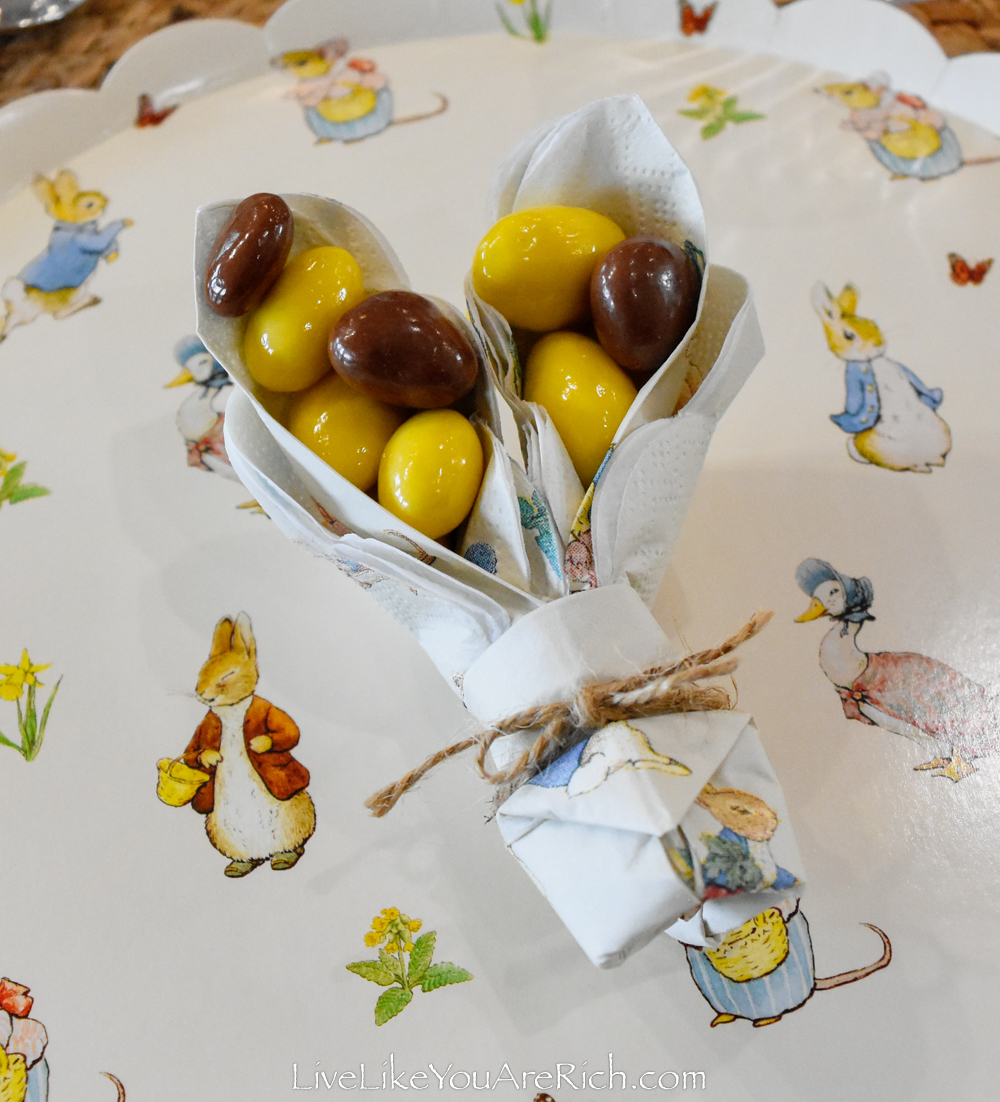
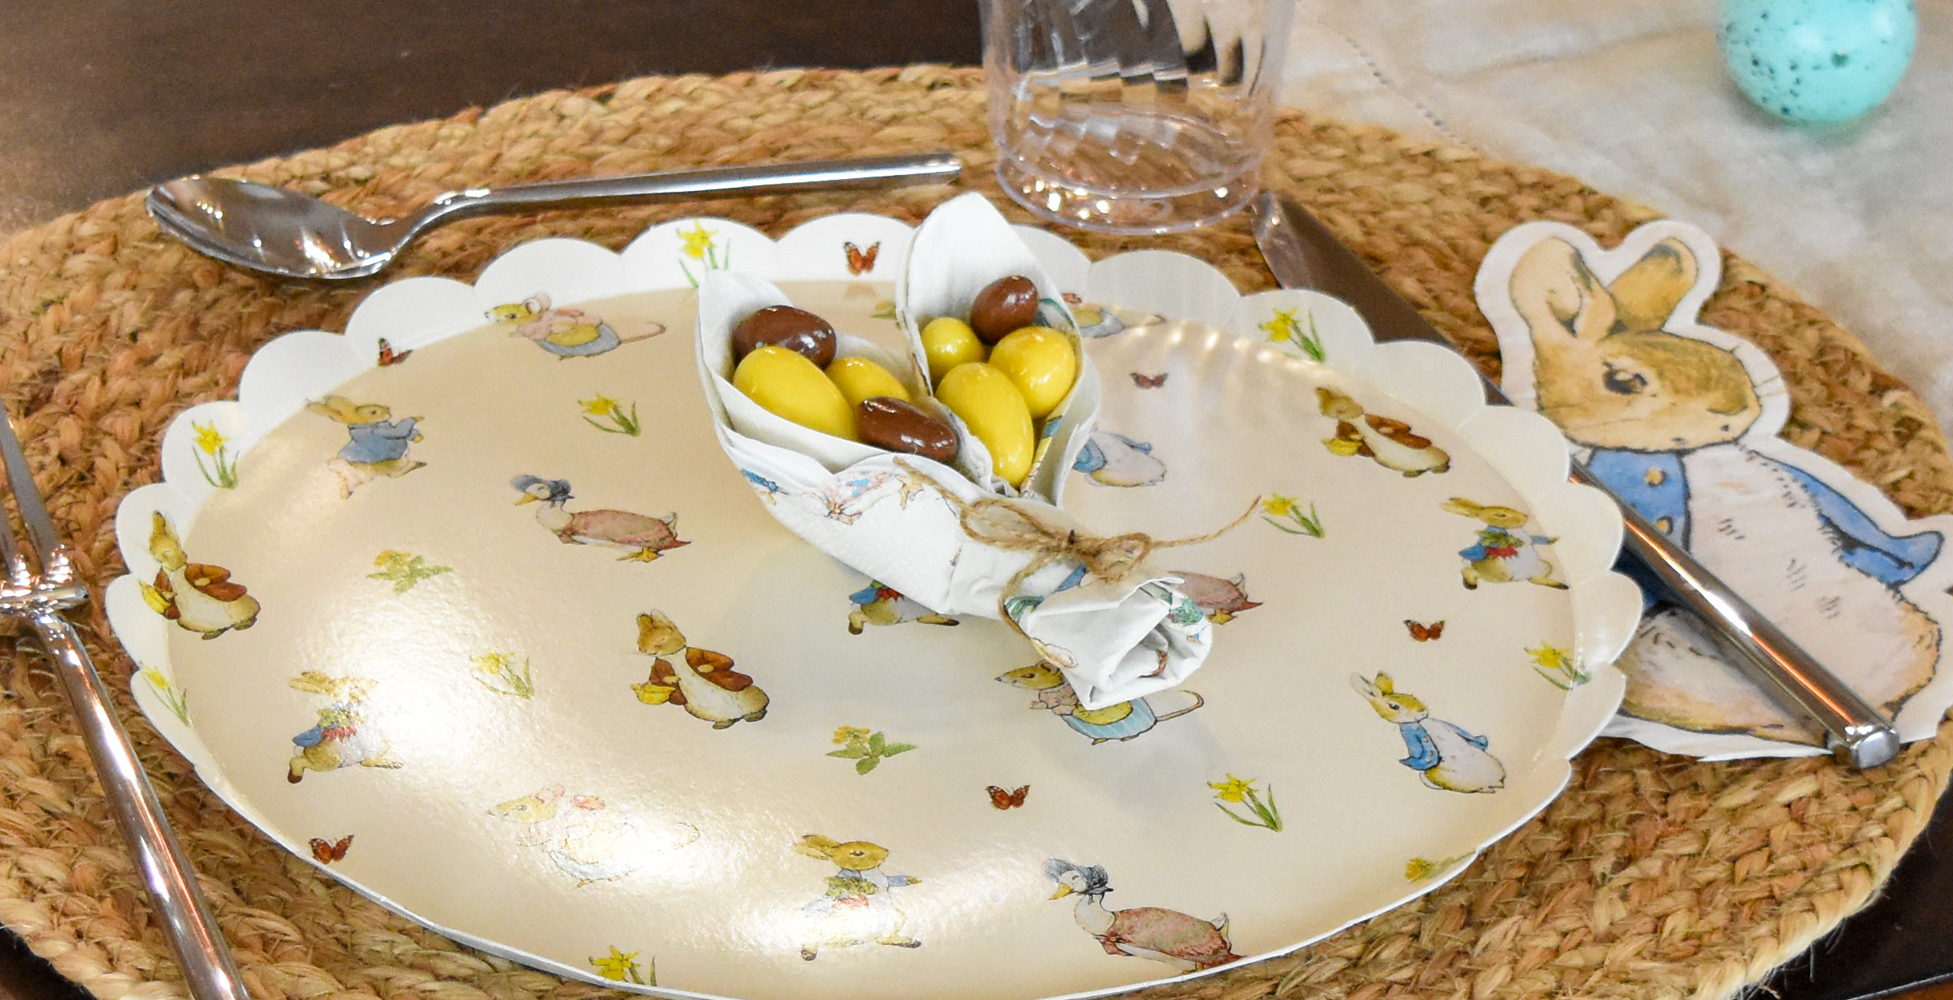
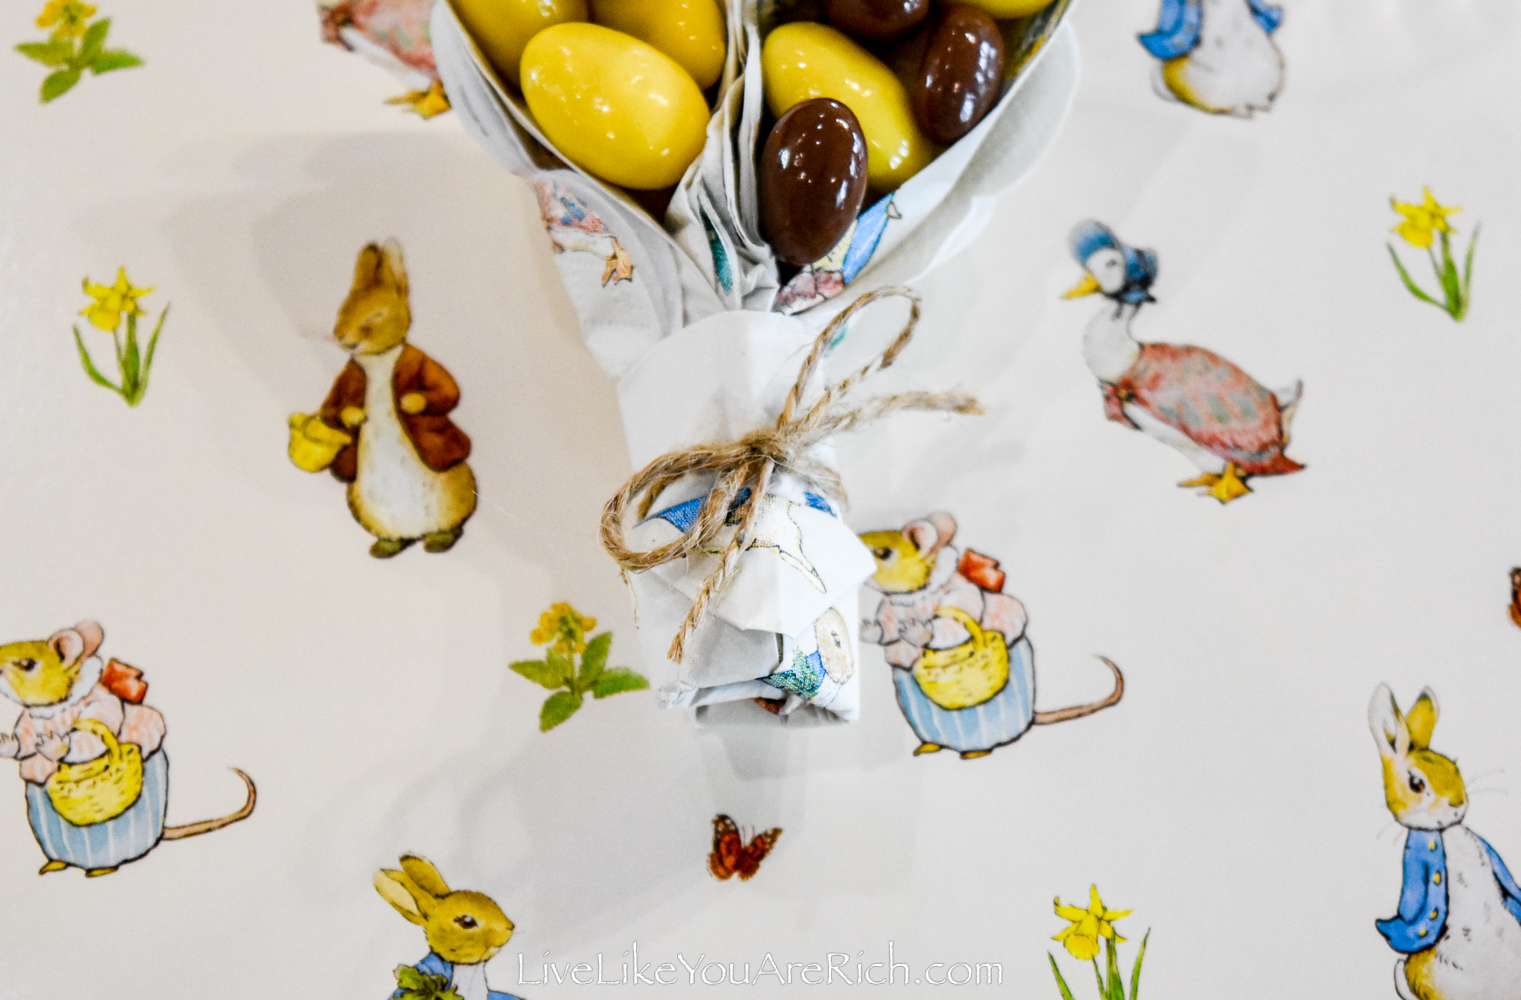
Optional—something to wrap around and secure the ears with. I used thin twine, I weighed my napkins down by adding lemon-covered almonds and chocolate-covered raisins into the ears and because of this extra weight, I secured the napkin by tying a bow around them with twine. I just purchased it from Dollar Tree and had it on hand. You could use ribbon or string as well.
Optional—something to fill the ears with. I added Sconza lemon-covered almonds and chocolate-covered raisins to the ears as a fun and yummy favor on the tablescape.
The colors matched and the candy kind of looked like eggs—making the Easter theme a bit more present.
A few other ideas of what one could stuff these with are Cadbury mini eggs, chocolate chip morsels, M&M candies, jelly beans, etc. Be careful if using nuts or dried fruit that are uncoated as the residue of these items will soil the napkins.
How to Fold These Peter Rabbit Bunny Ear Napkins
I made a video tutorial and it is located in the movie player on this webpage. I highly recommend watching it over reading the directions. In the video, I demonstrate how to fold these napkins and I do that demonstration TWO times in a row.
However, I’ve also tried to put the directions into step-by-step written instructions below…
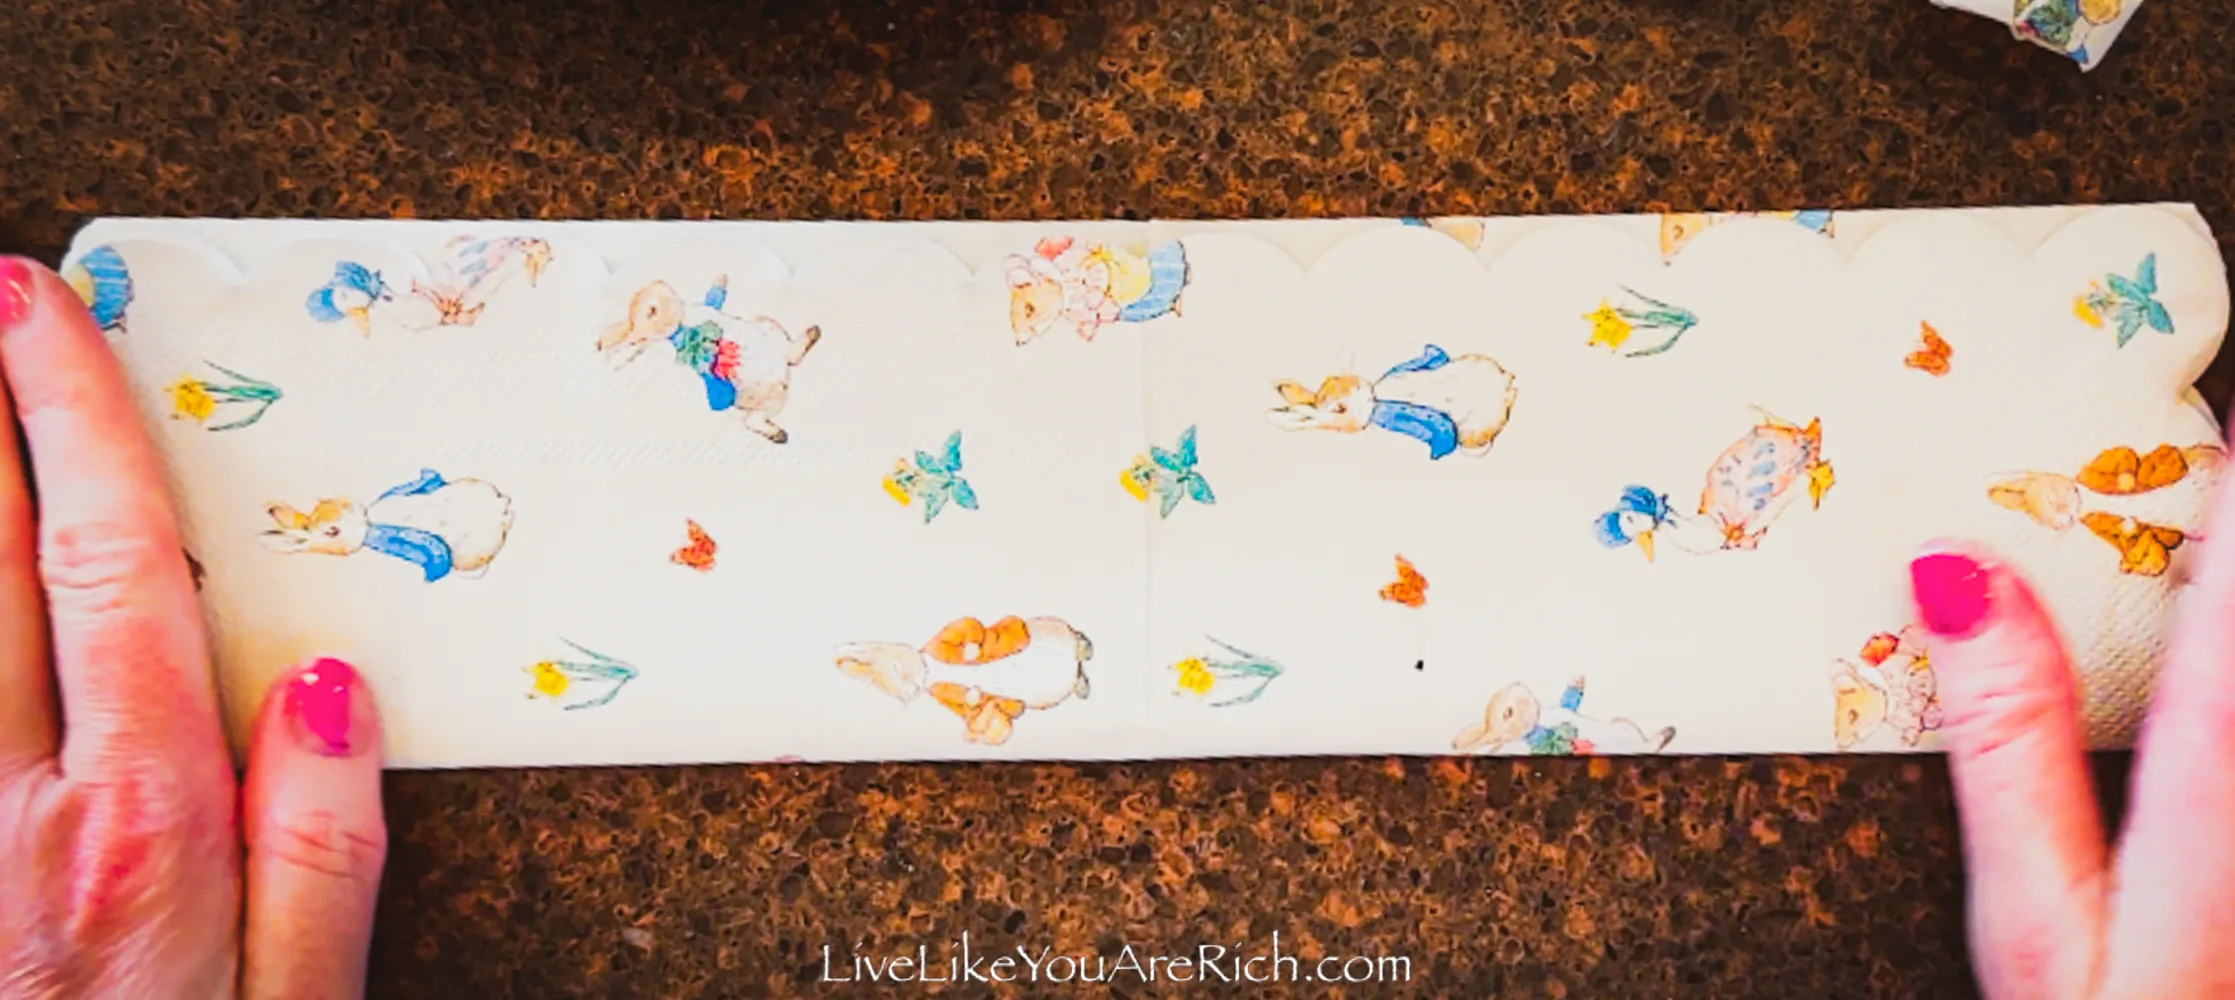
- Open the napkin once so that the pattern is fully visible front and back and it is still folded lengthwise once.

- Fold the bottom edge up to the top edge and crease the napkin.
Note- whichever edge you want to be on the outside of the bunny ears is the edge that you will want on the bottom to be folded up to meet the top edge.
For example, there is a scalloped edge on this particular Meri Meri Peter Rabbit napkin and I folded that up to the edge and then into the next fold so that the scalloped edges ended up being on the outside of the bunny ears. (See the video if this is still confusing.)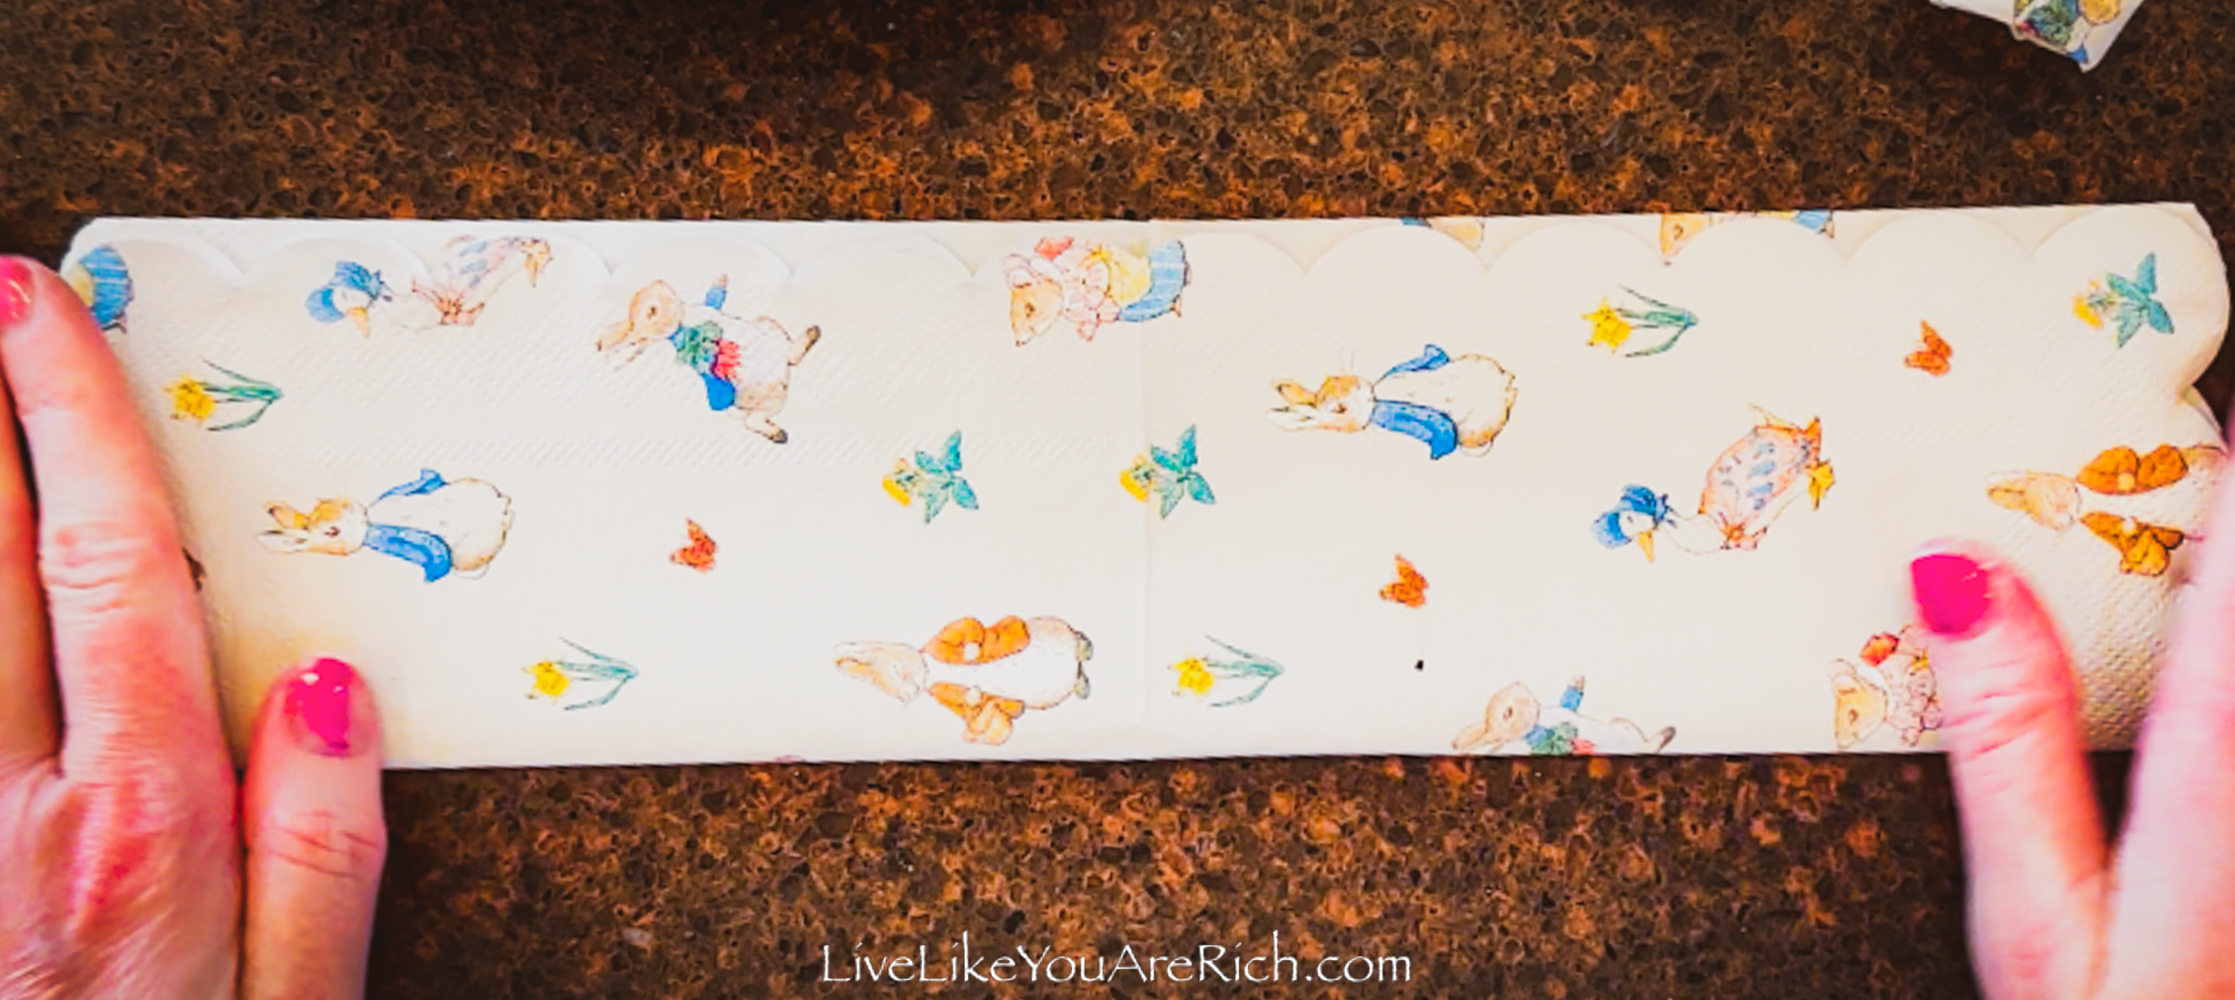
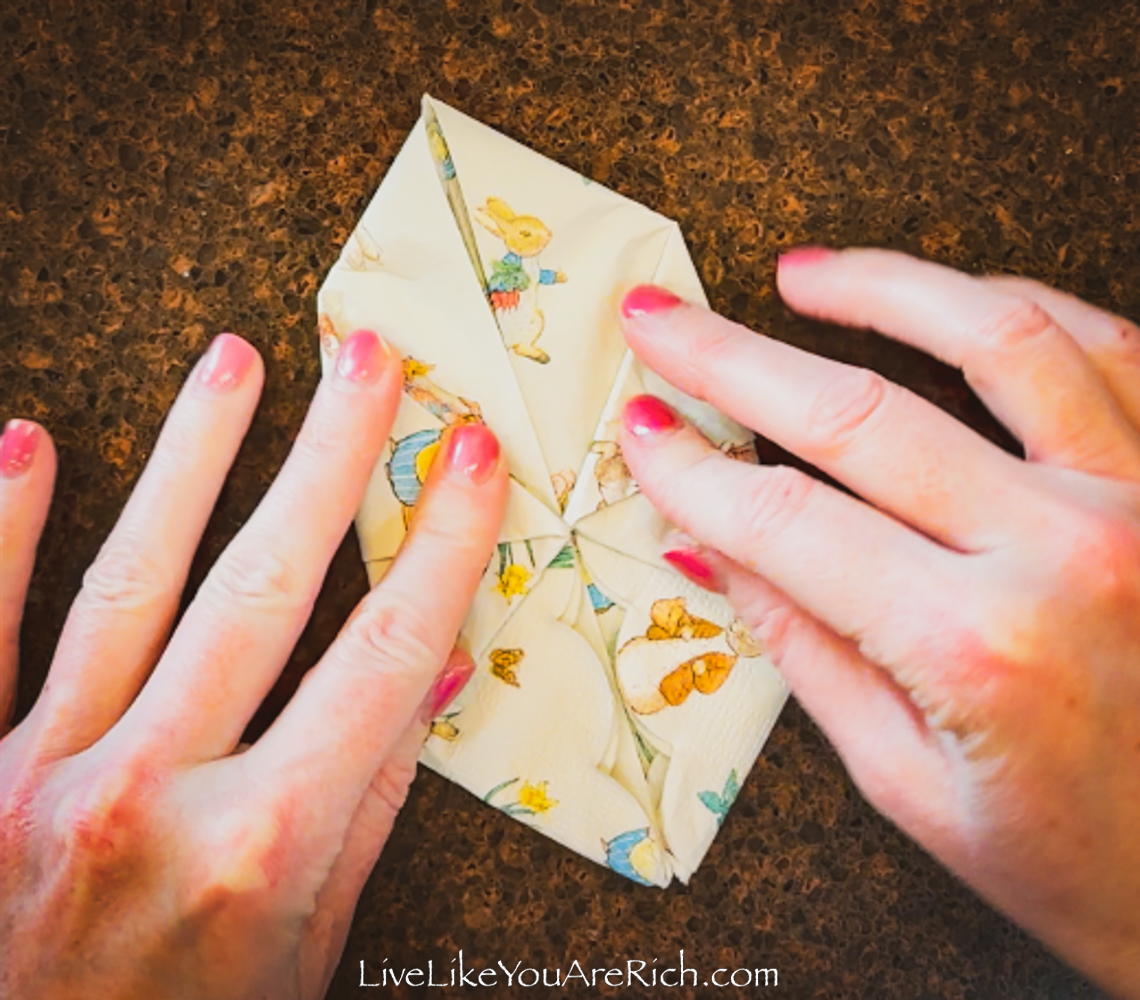
- Fold both top corners down and meet the folds in the middle—making half of a square at the top.


- Then you will take the bottom corners and fold them up to make a full square (or rectangle if you are using a rectangular napkin).
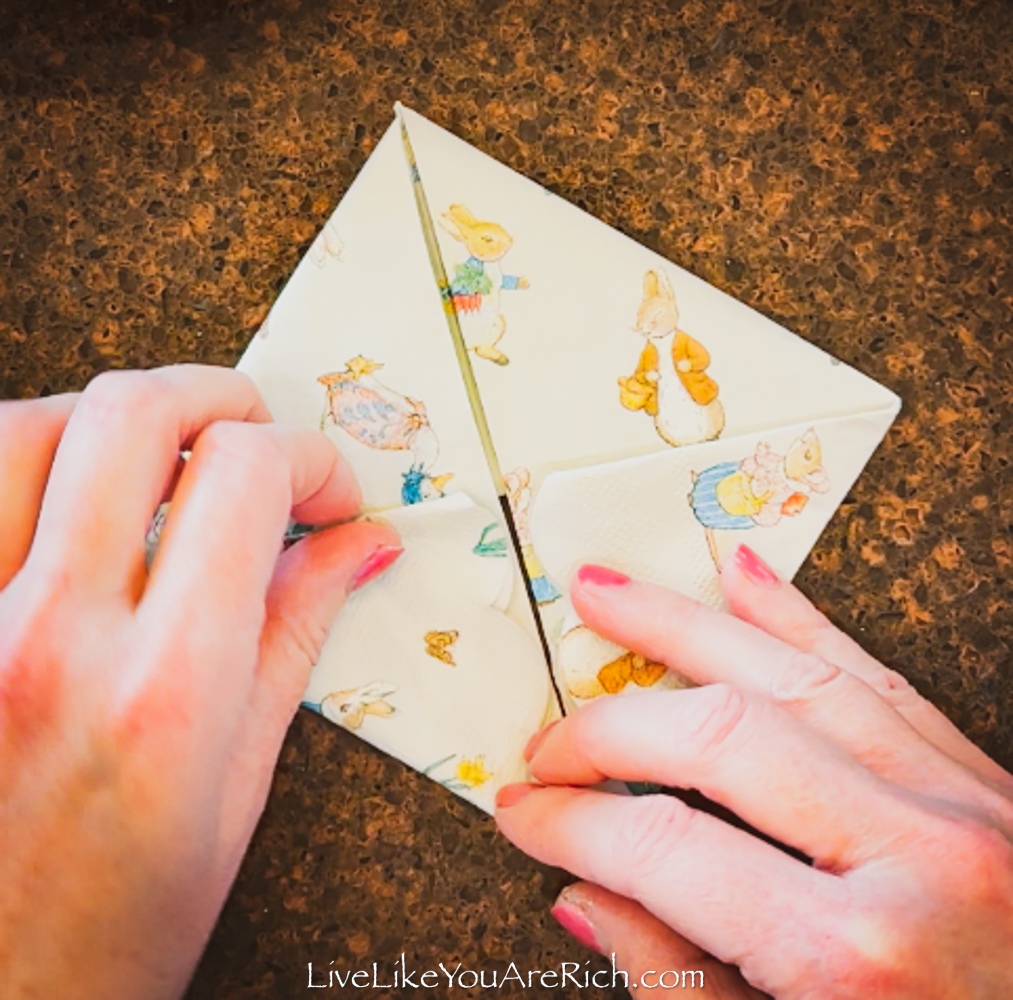
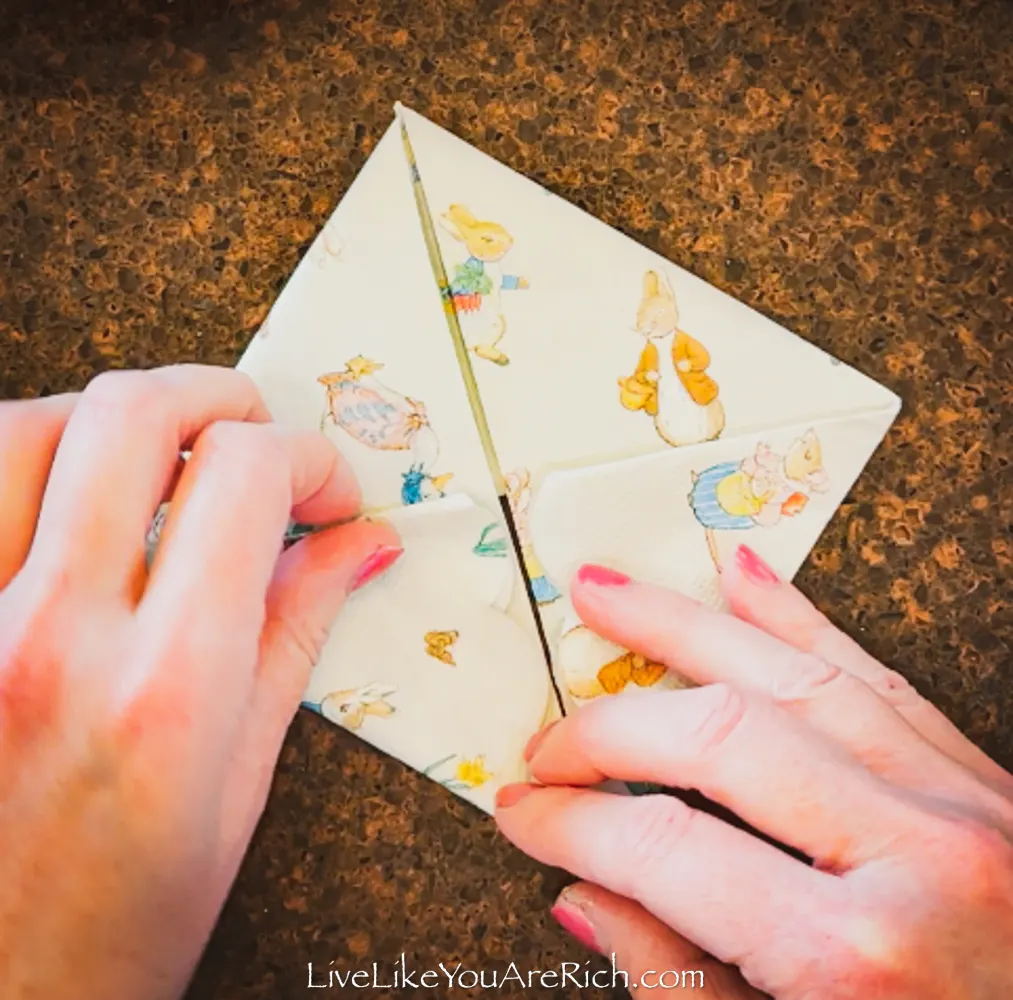
- Then you take the two edges across from one another and fold them into the center to meet in the middle. If you have a rectangular napkin you will fold it upwards and meet making the shape of a kite.

- Turn the napkin over.
- Fold the bottom corner up to the crease.

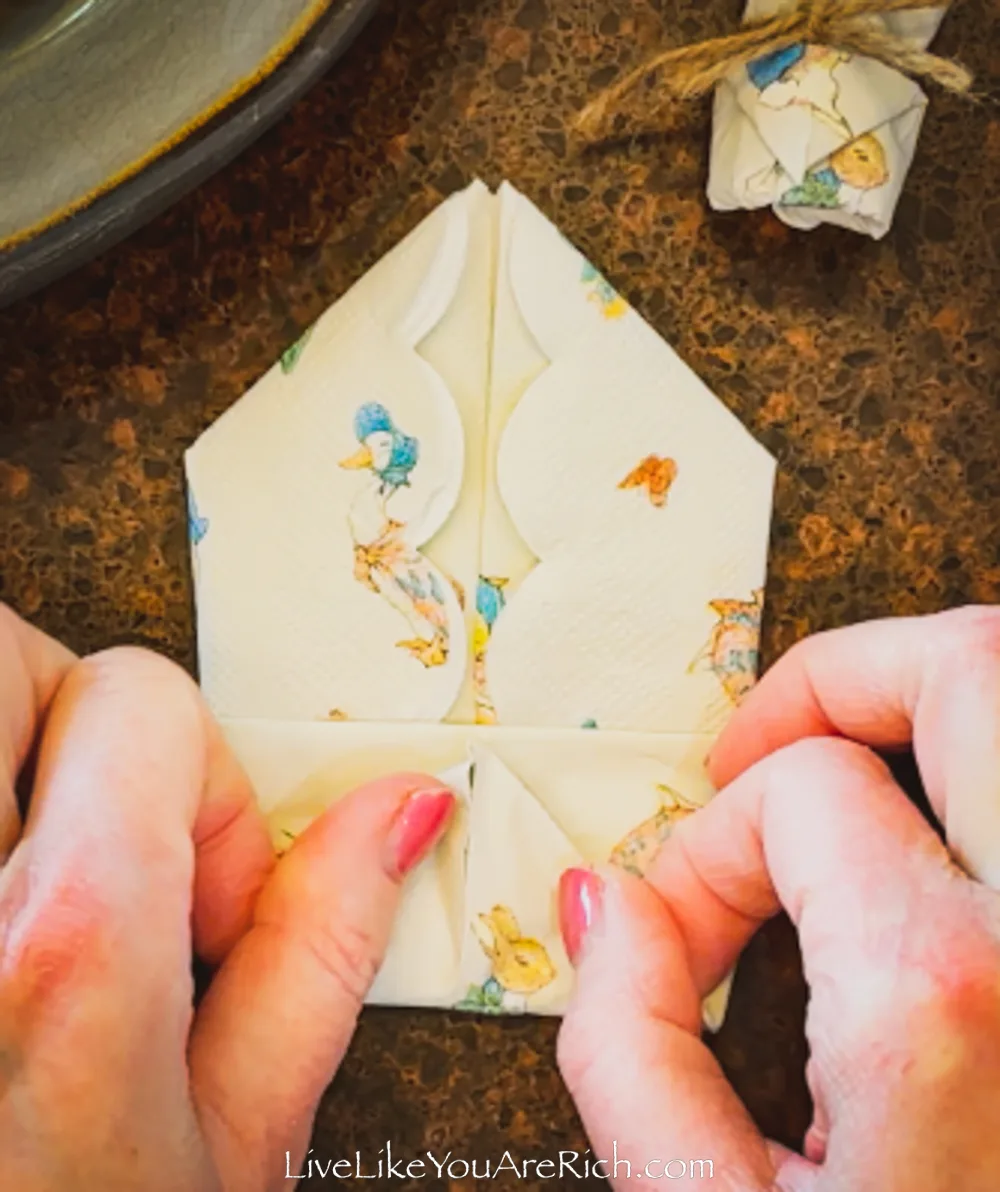
- Crease this bottom edge and then fold the point/corner back down to the newly made crease/edge.
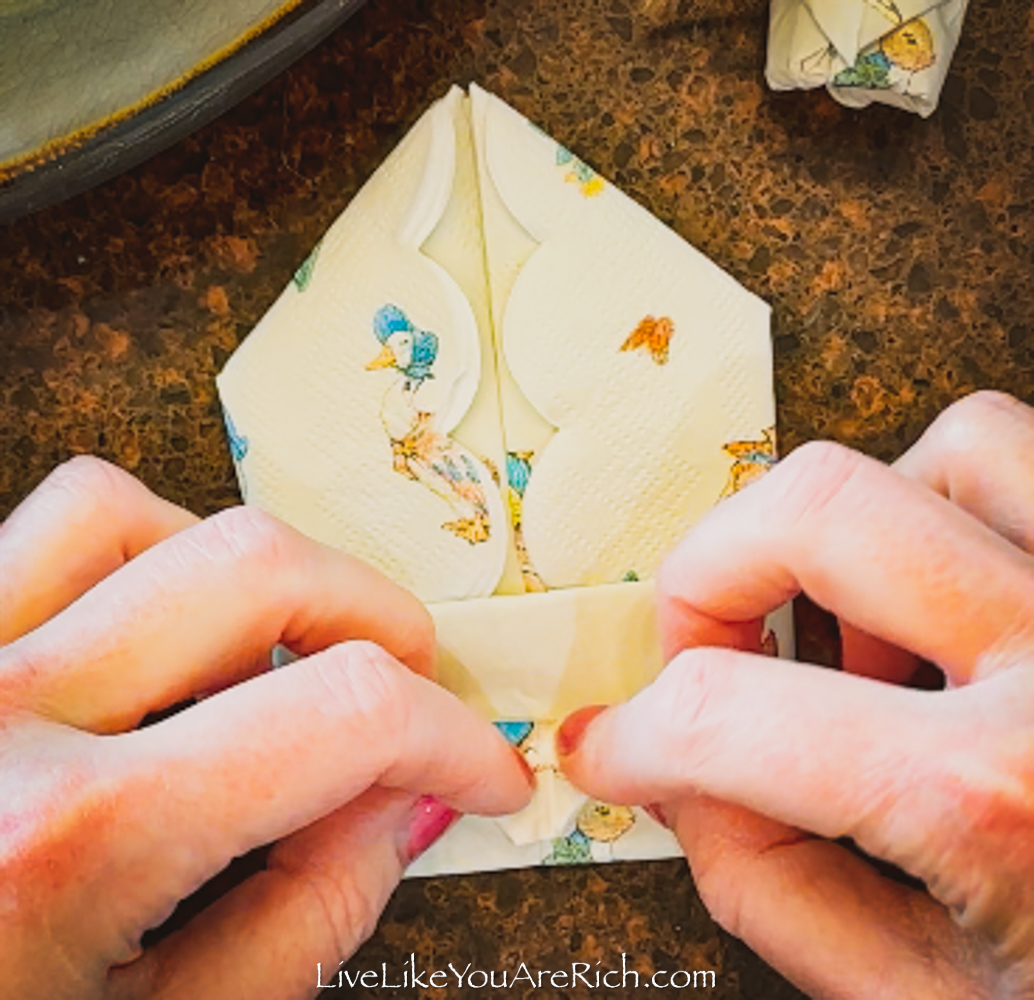

- Turn the napkin over.
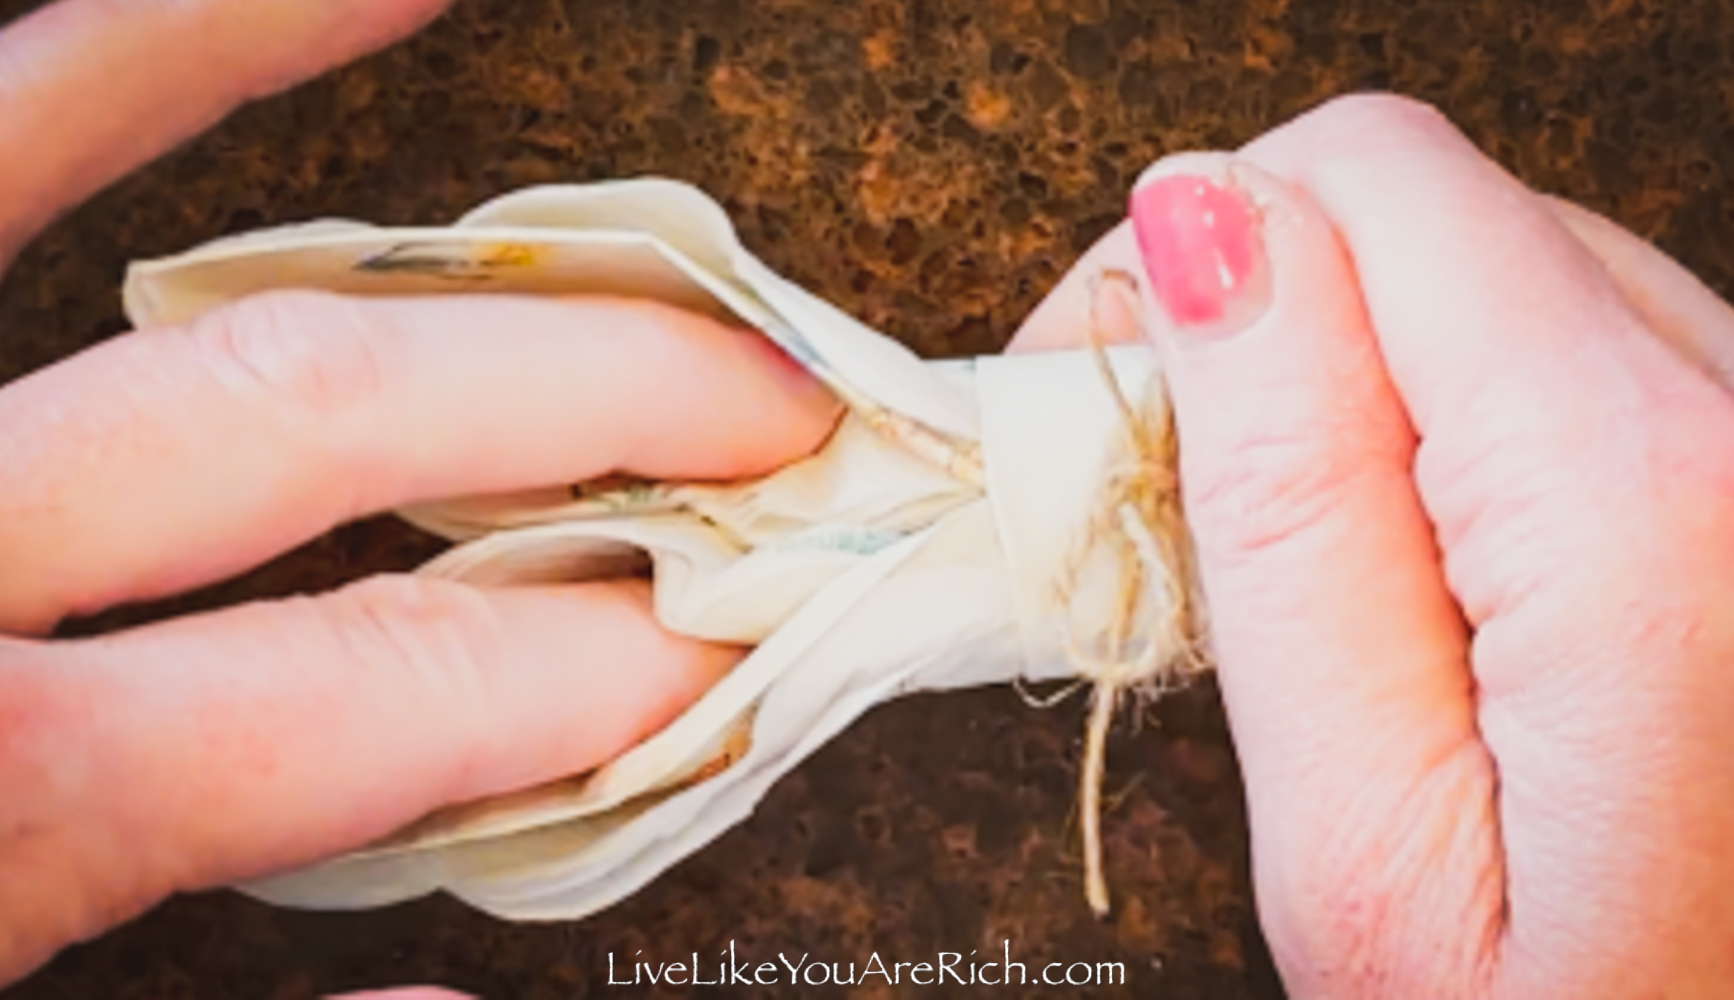
- Bend the two bottom edges over to meet one another. Tuck one edge into the pocket of the other edge.

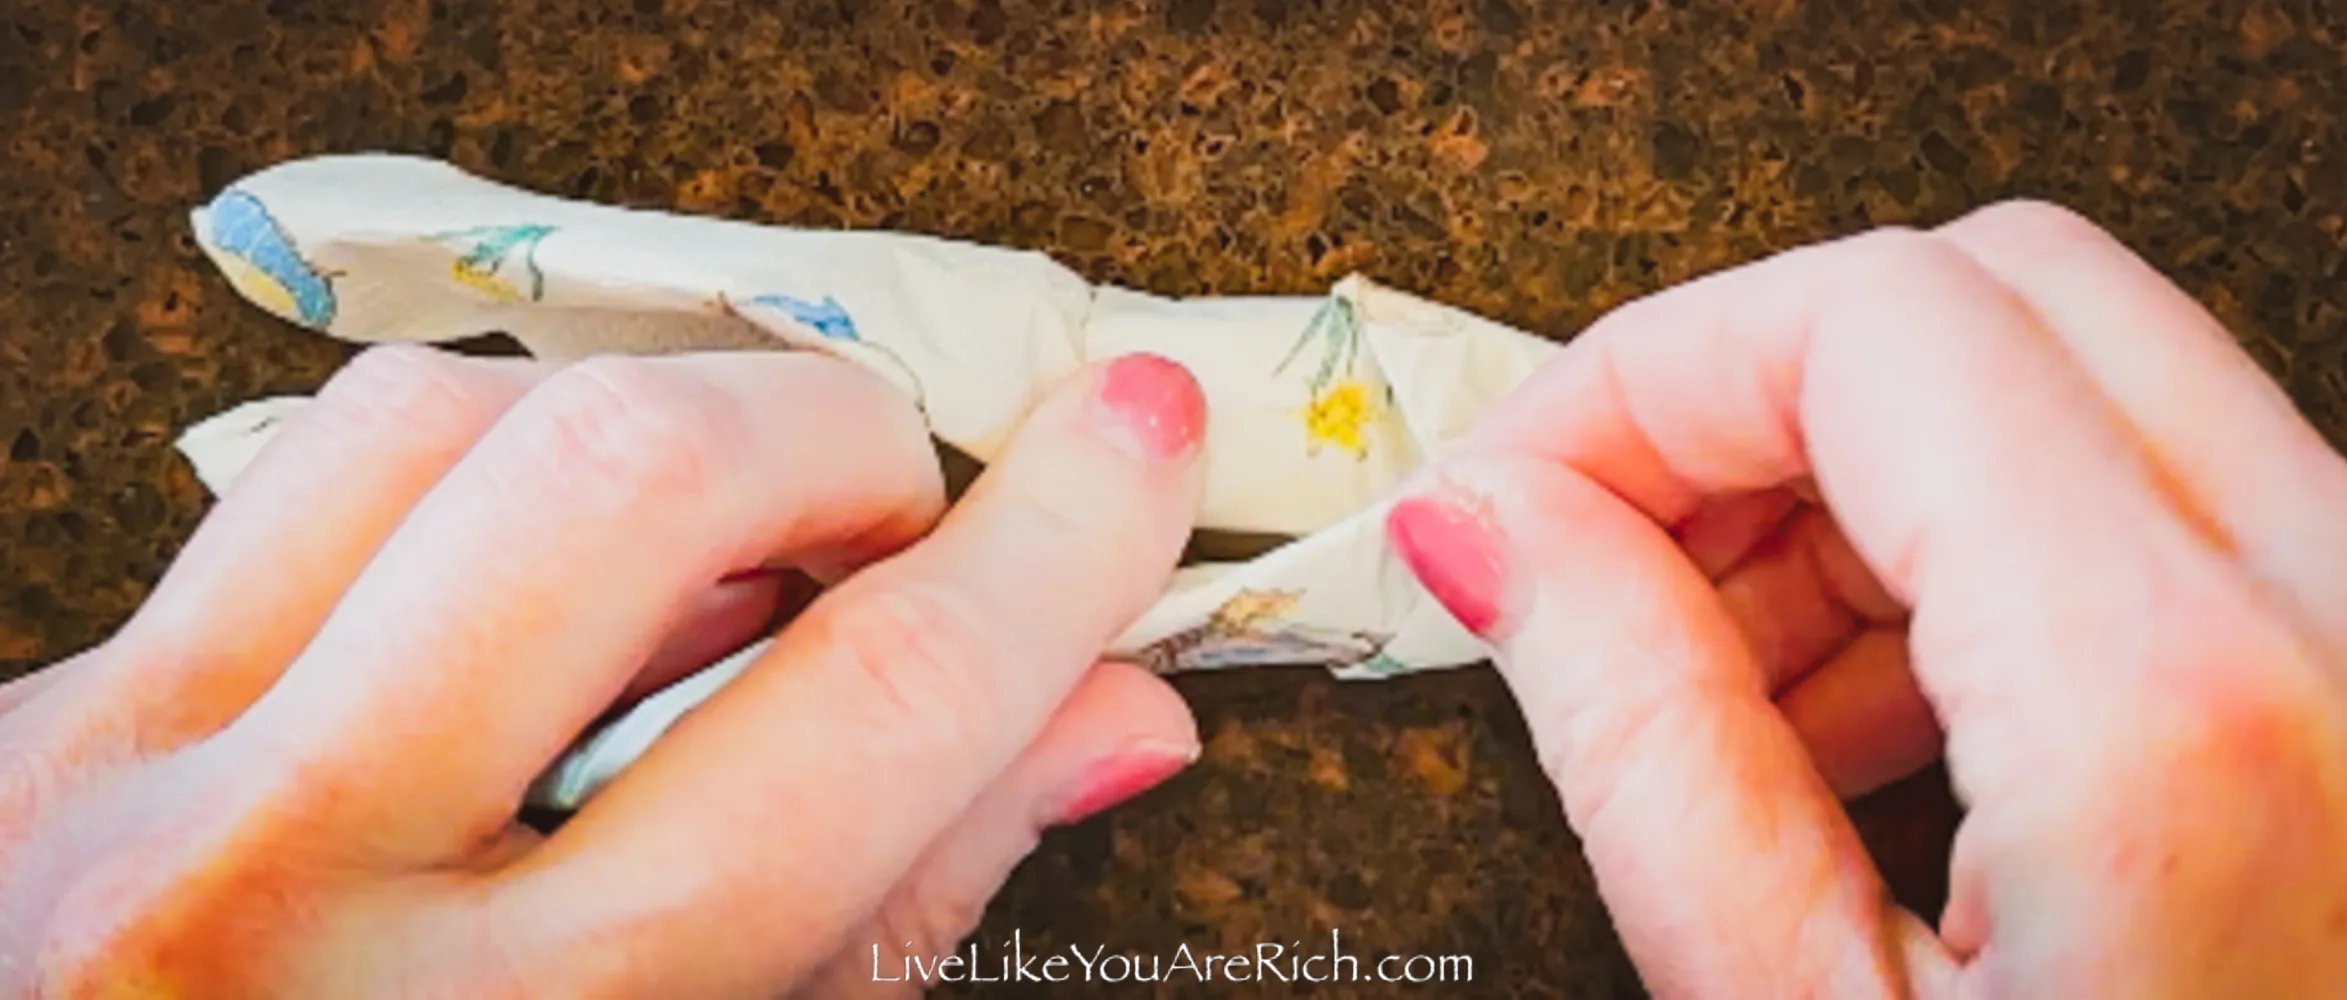
- Secure this napkin with twine.

- Using fingers open up the bunny ears.

- Optional-Lie the napkin down and fill the bunny ears with candies, nuts, or other treats that will fit.

That’s all there was to it. Each napkin took me a few minutes to fold, tie, and stuff. I made 12 so it took me a little over half an hour to do.
Cost of Peter Rabbit Bunny Ear Napkins
The napkins cost me 35 cents each. I had the twine and that was nominal as I only used a little of a $1.00 roll. I filled the ears with items I had in my pantry, although if I guessed, it probably adds up to about 10-15 cents for each bunny ear. So the total was around 50 cents a favor.
I hope this video tutorial and post prove helpful in making Peter Rabbit Bunny Ear Napkins.

For other ‘rich living tips’ please Subscribe Here or connect with me on these other platforms: