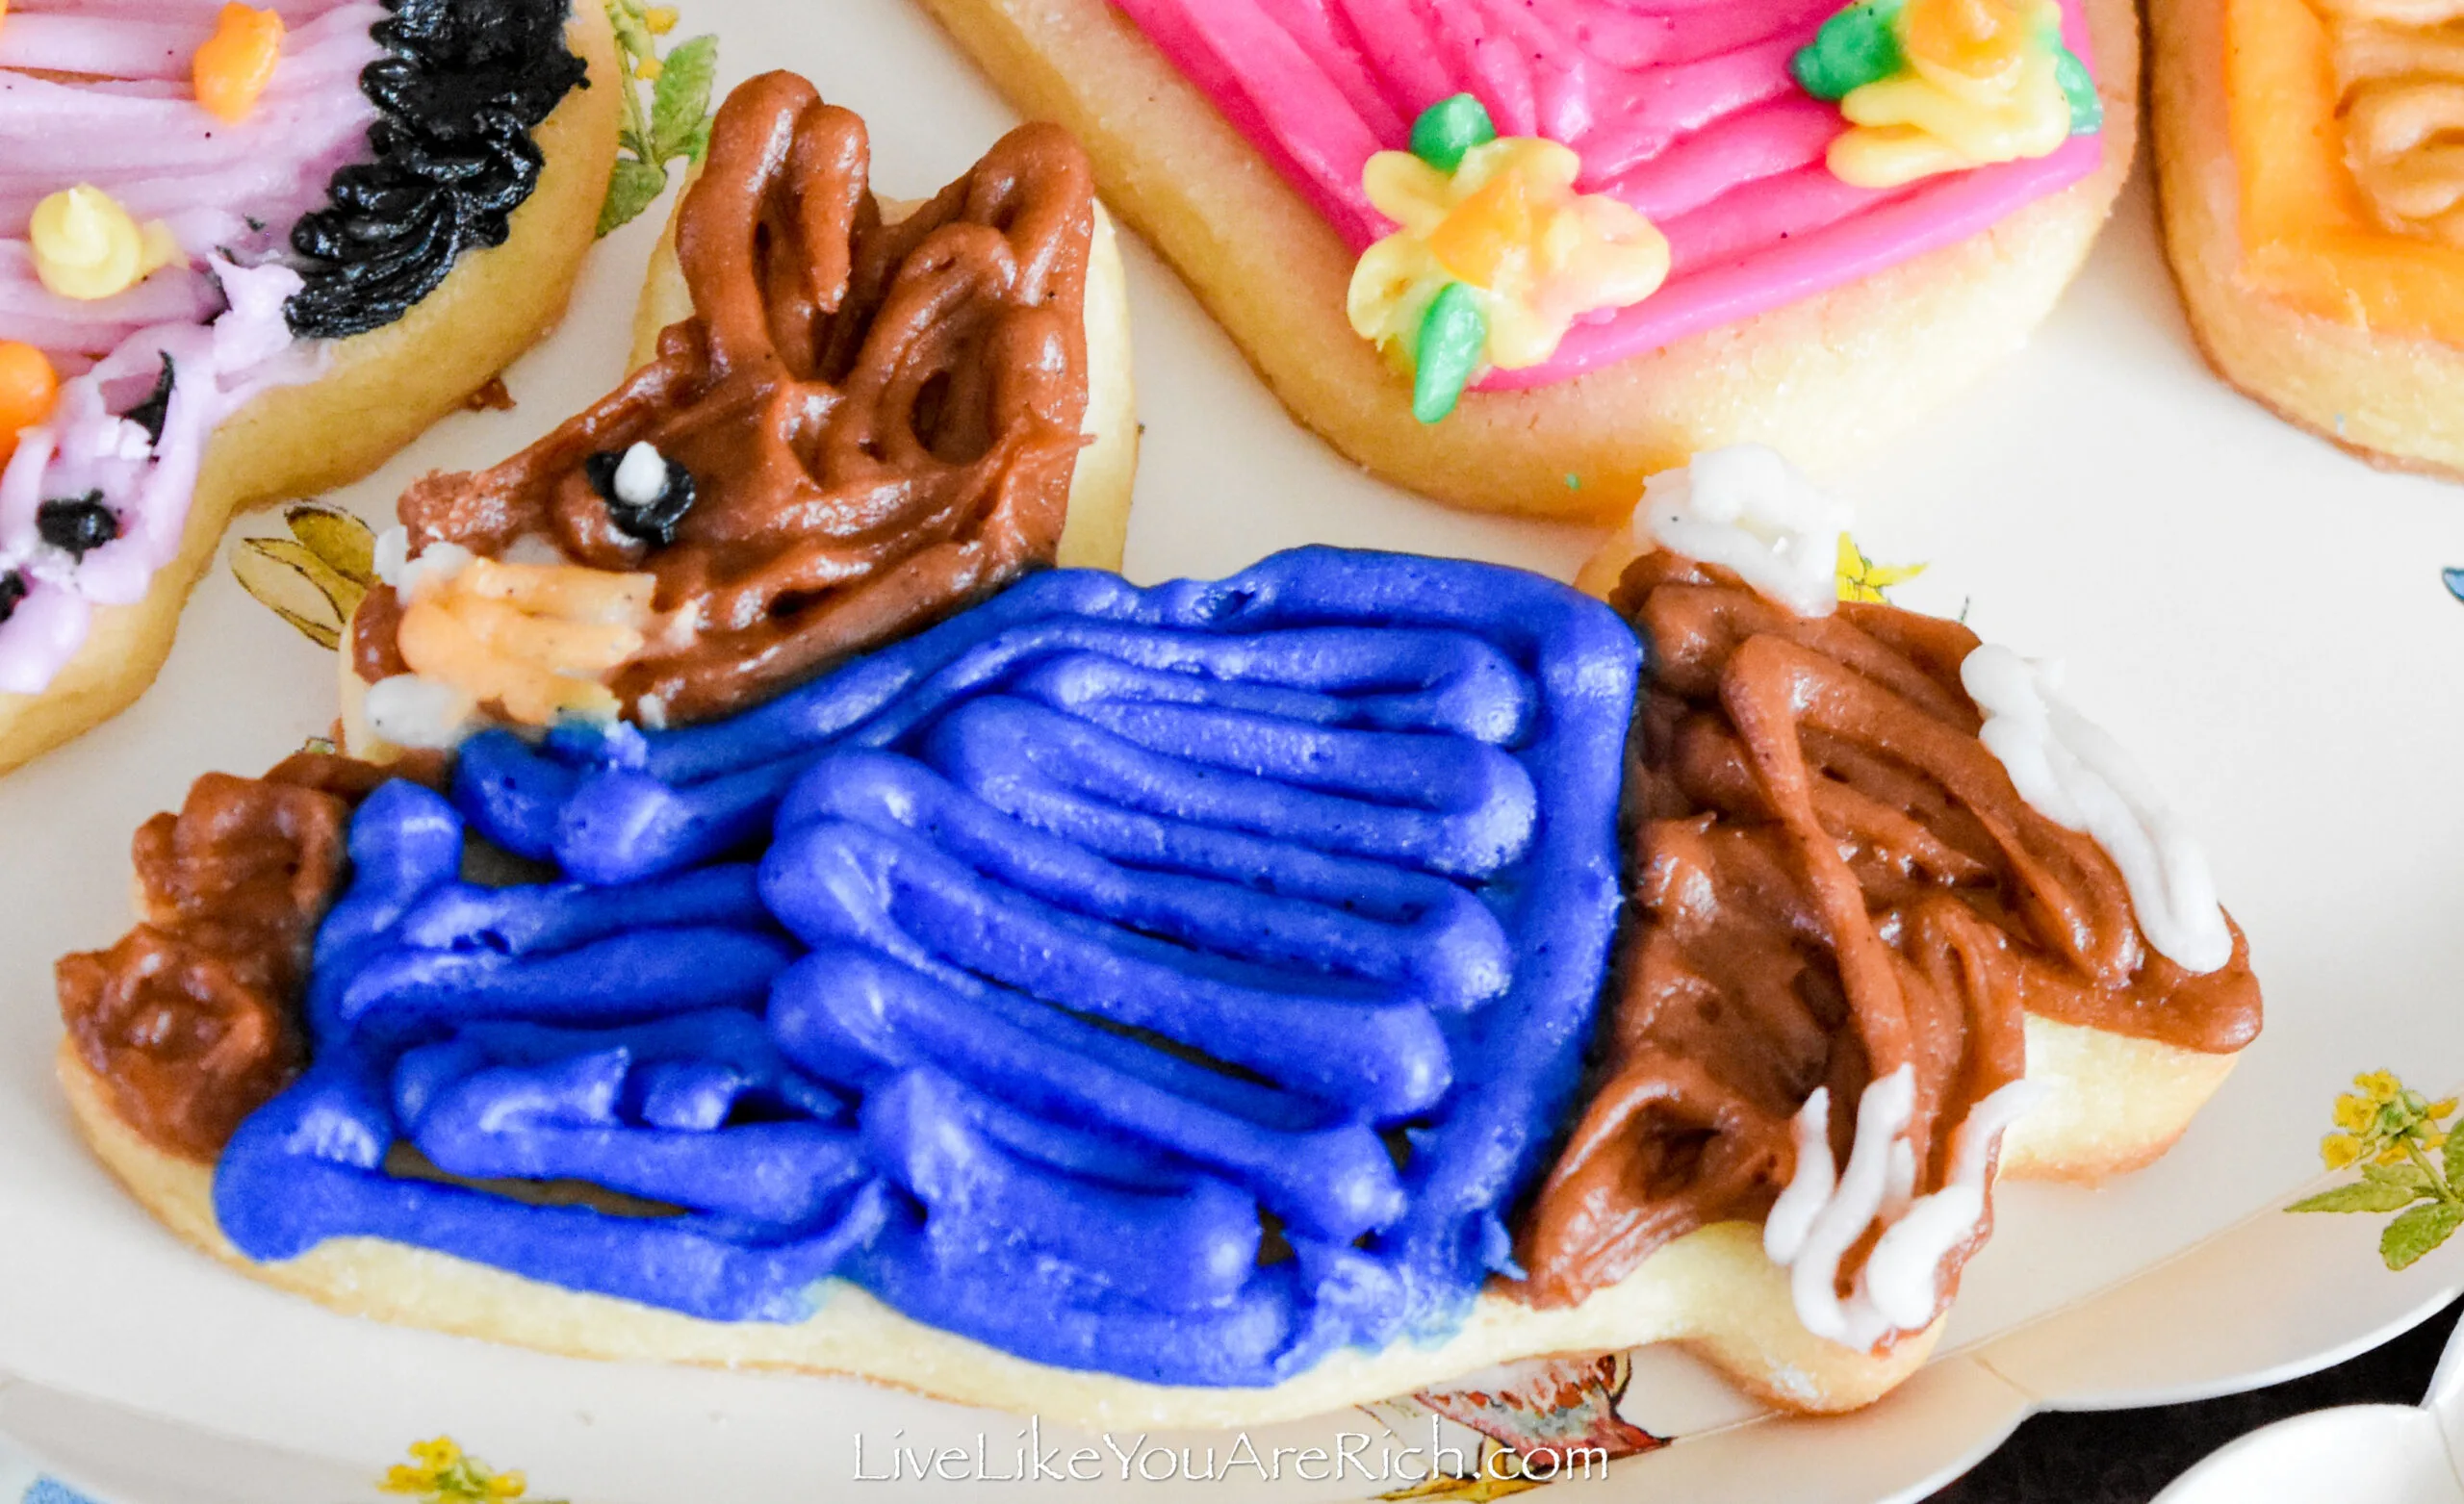
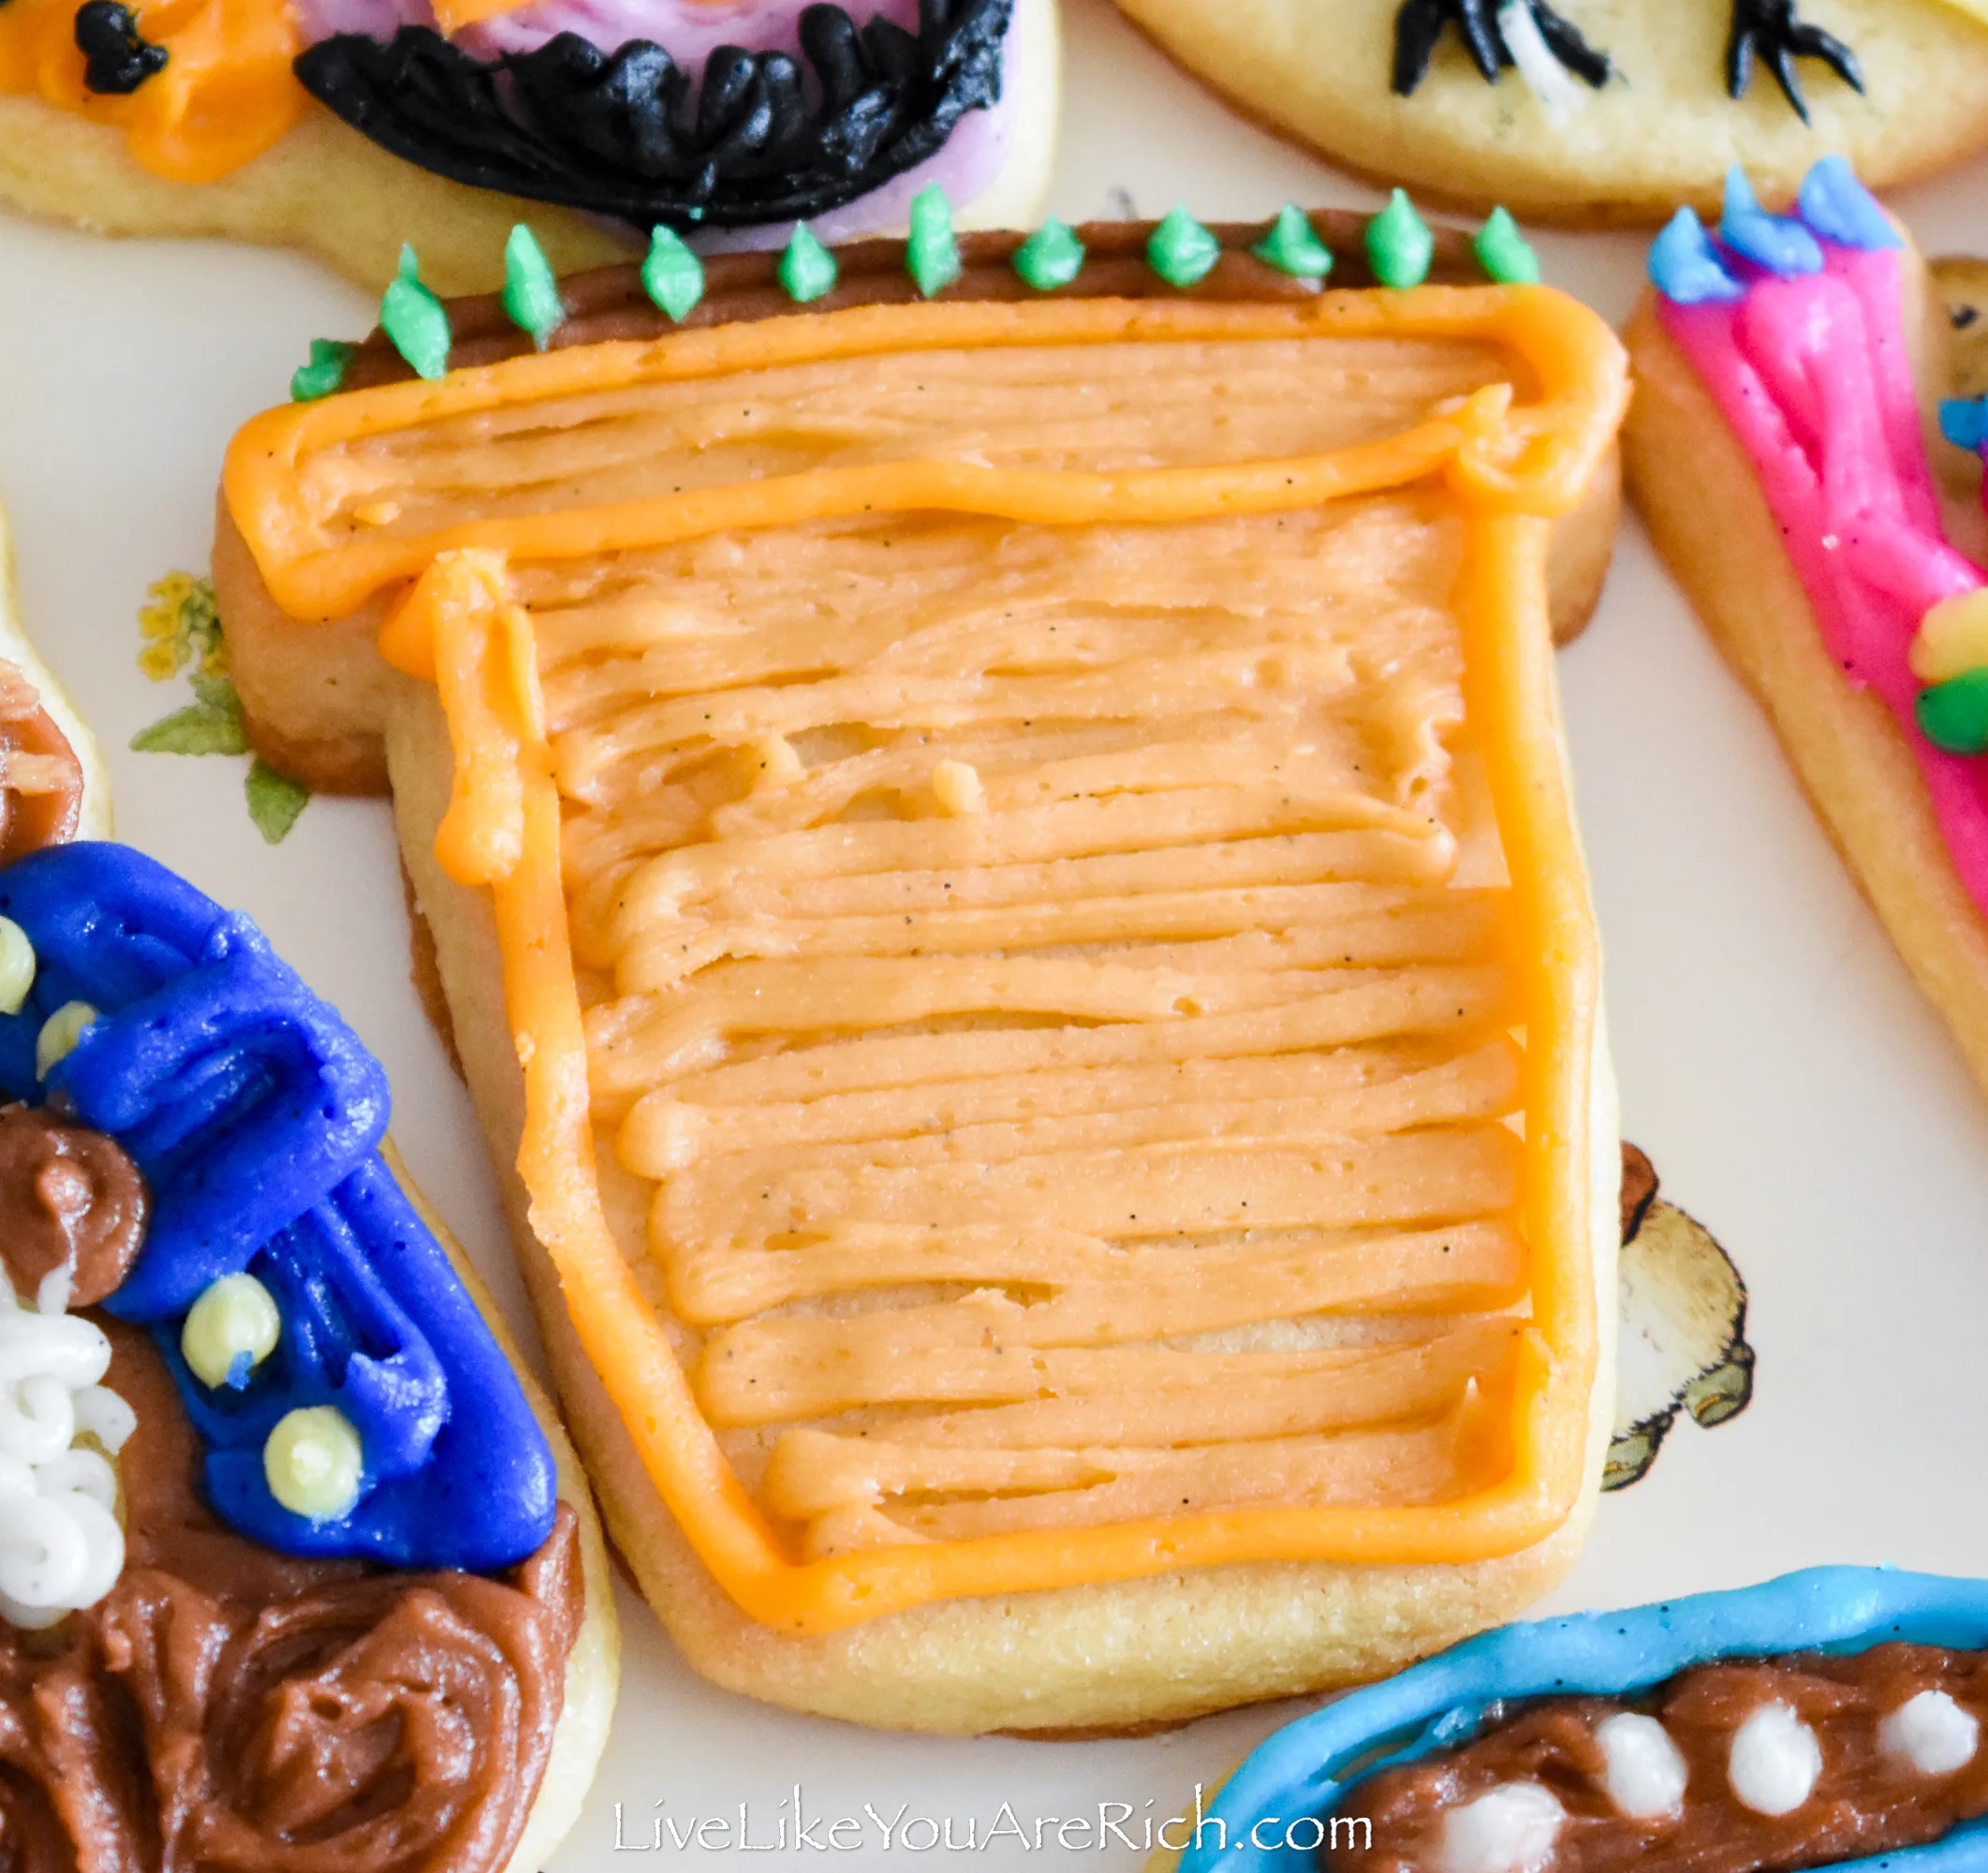
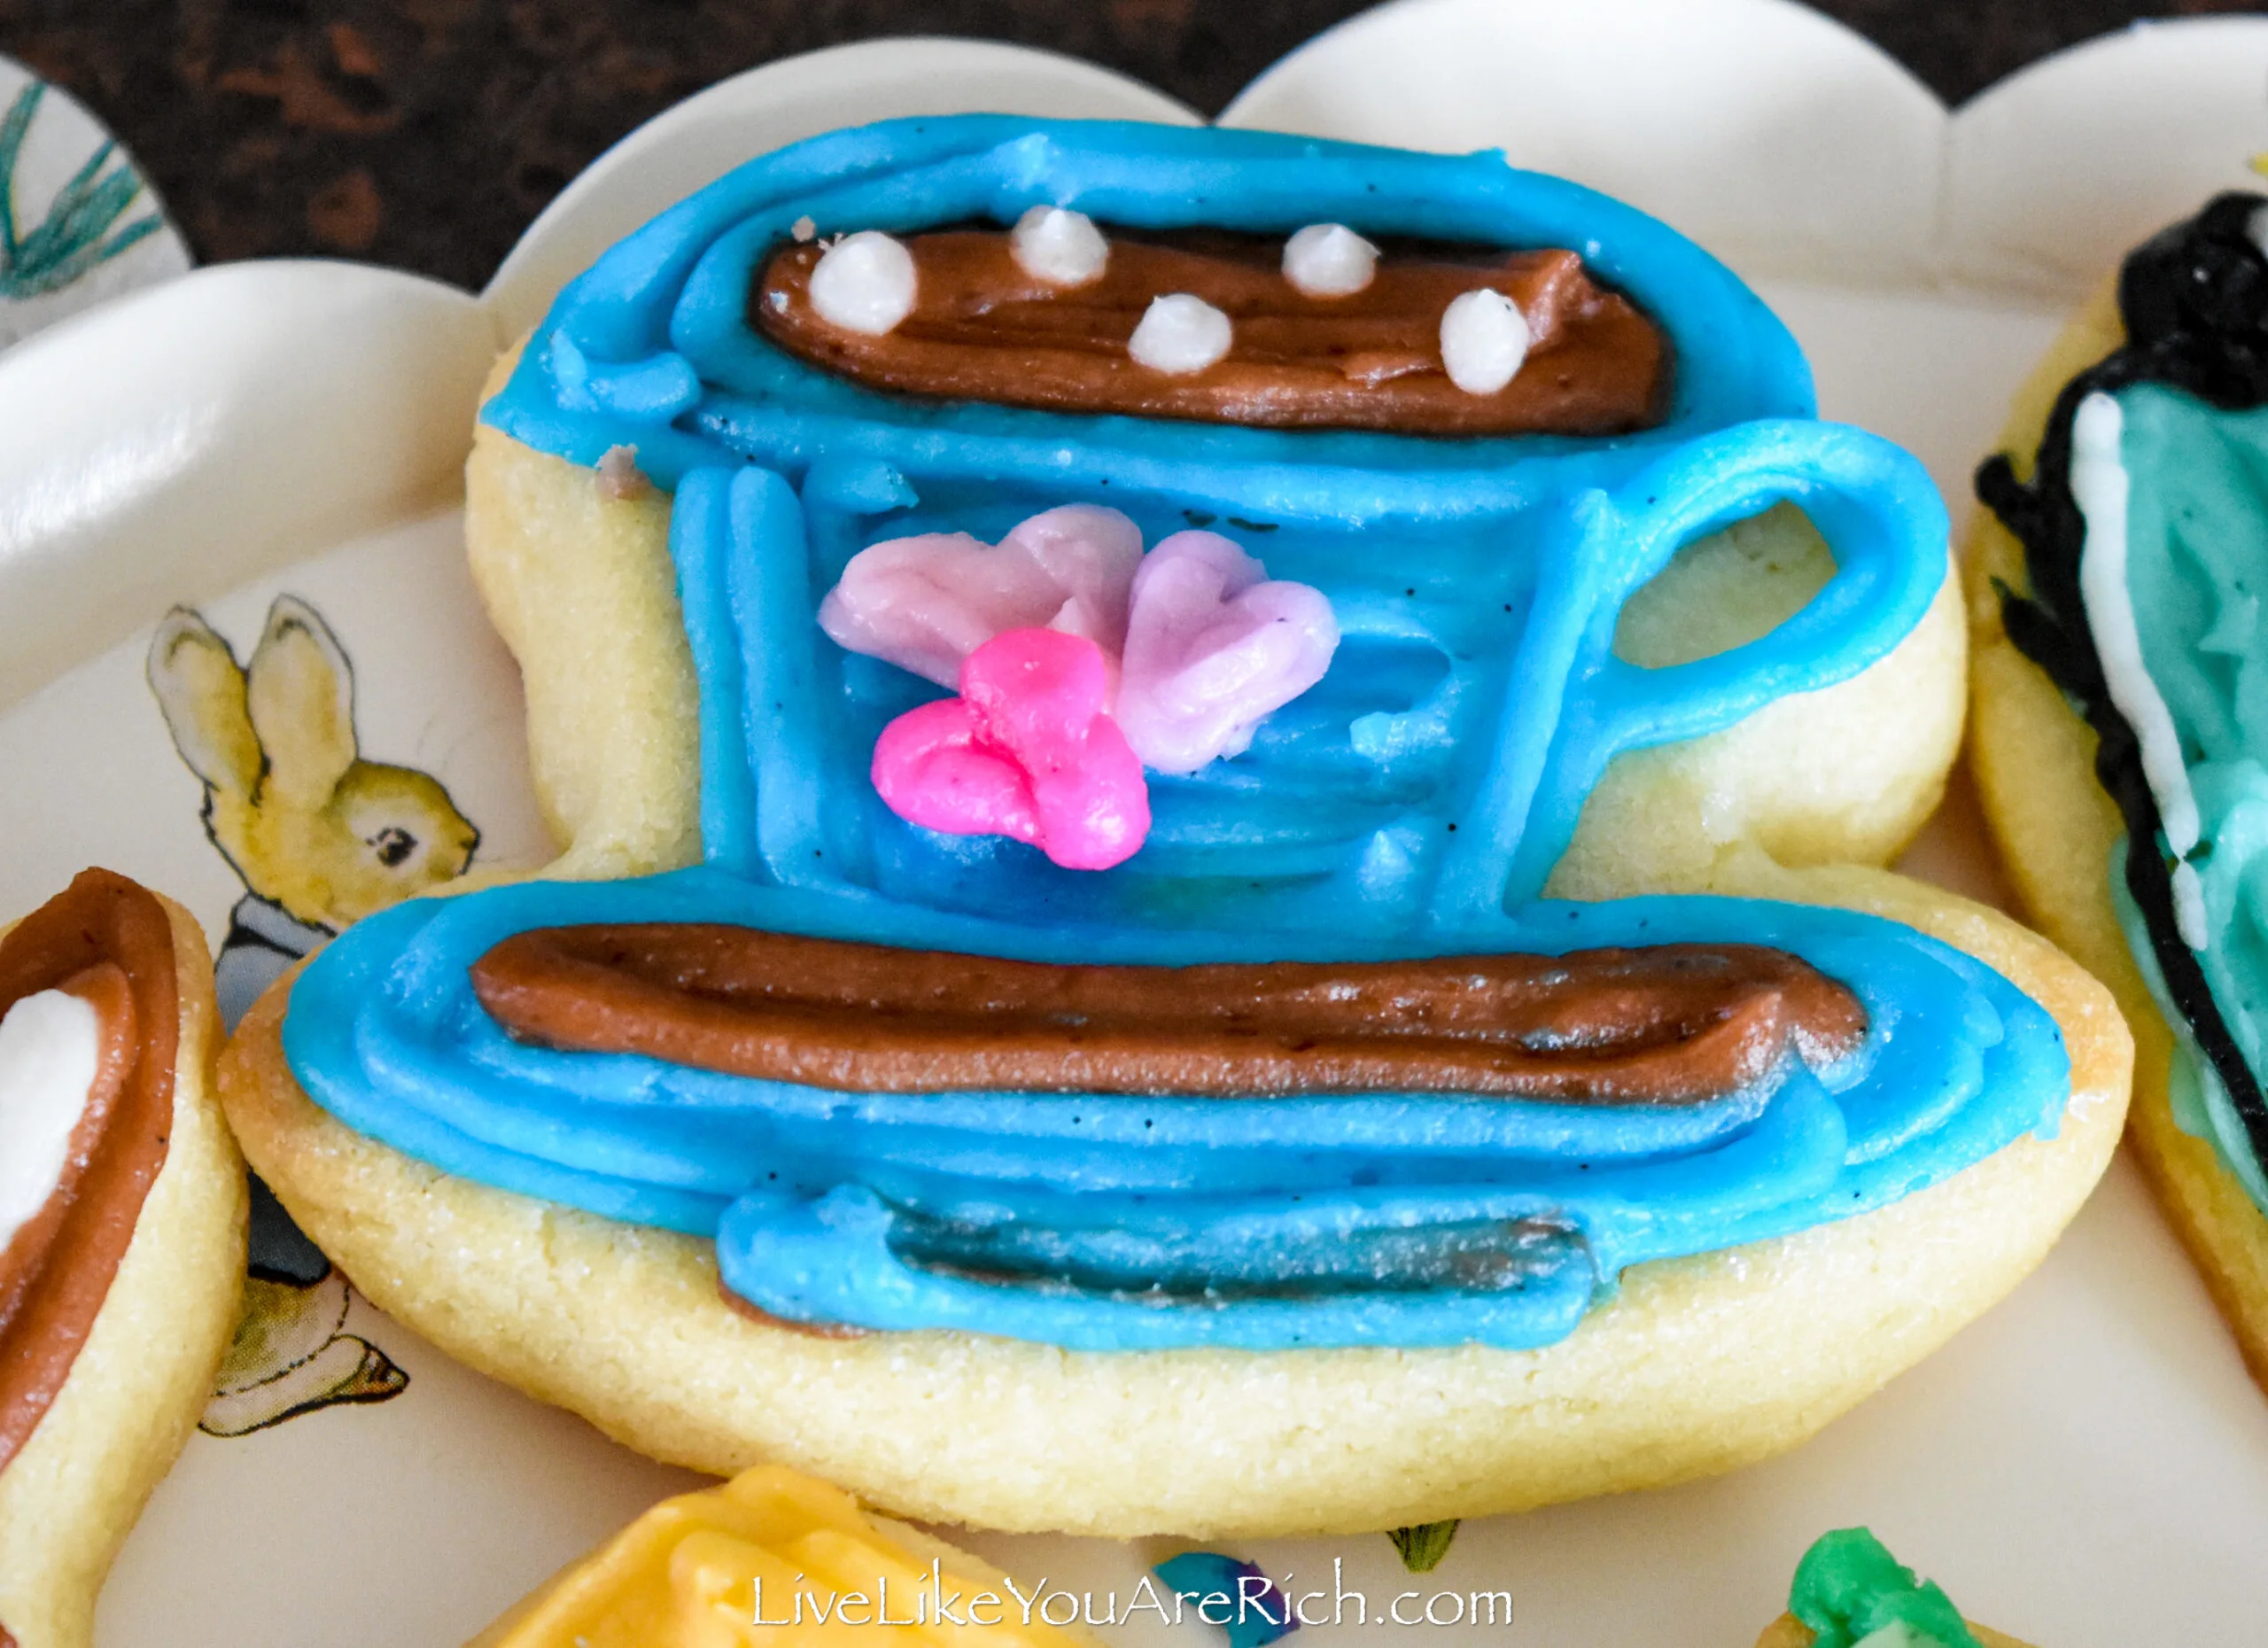
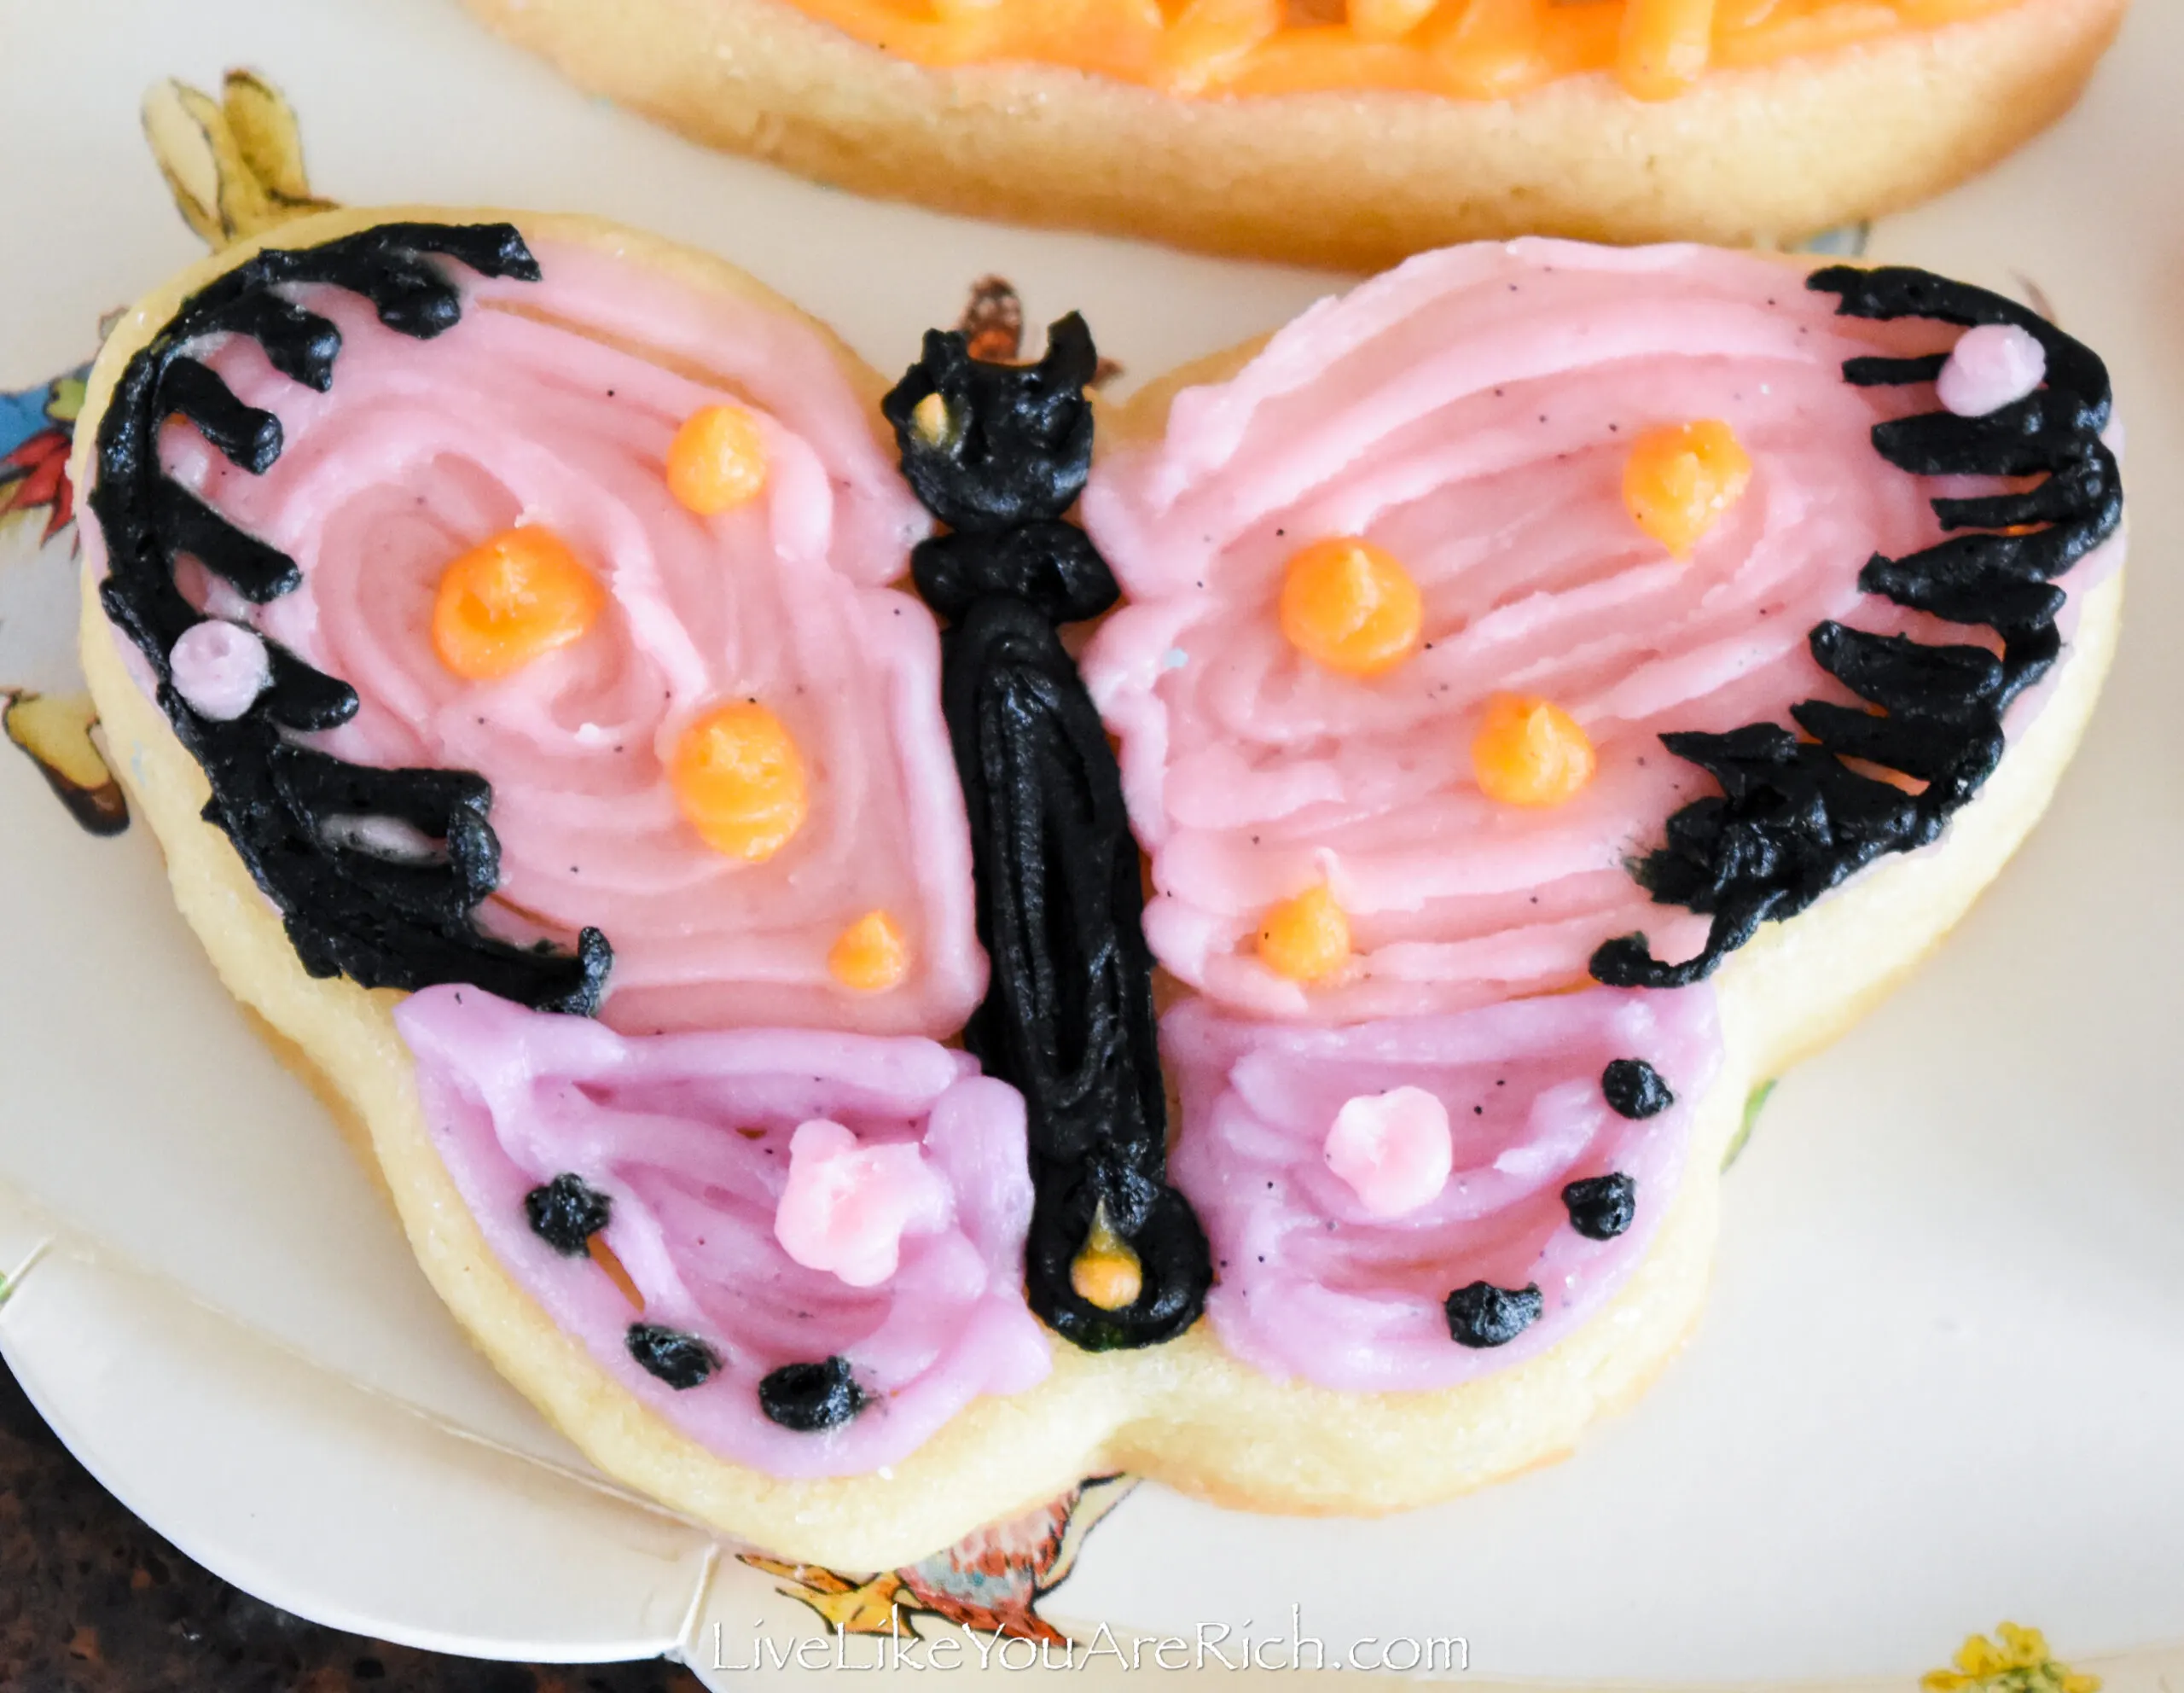
Peter Rabbit Detailed Sugar Cookies
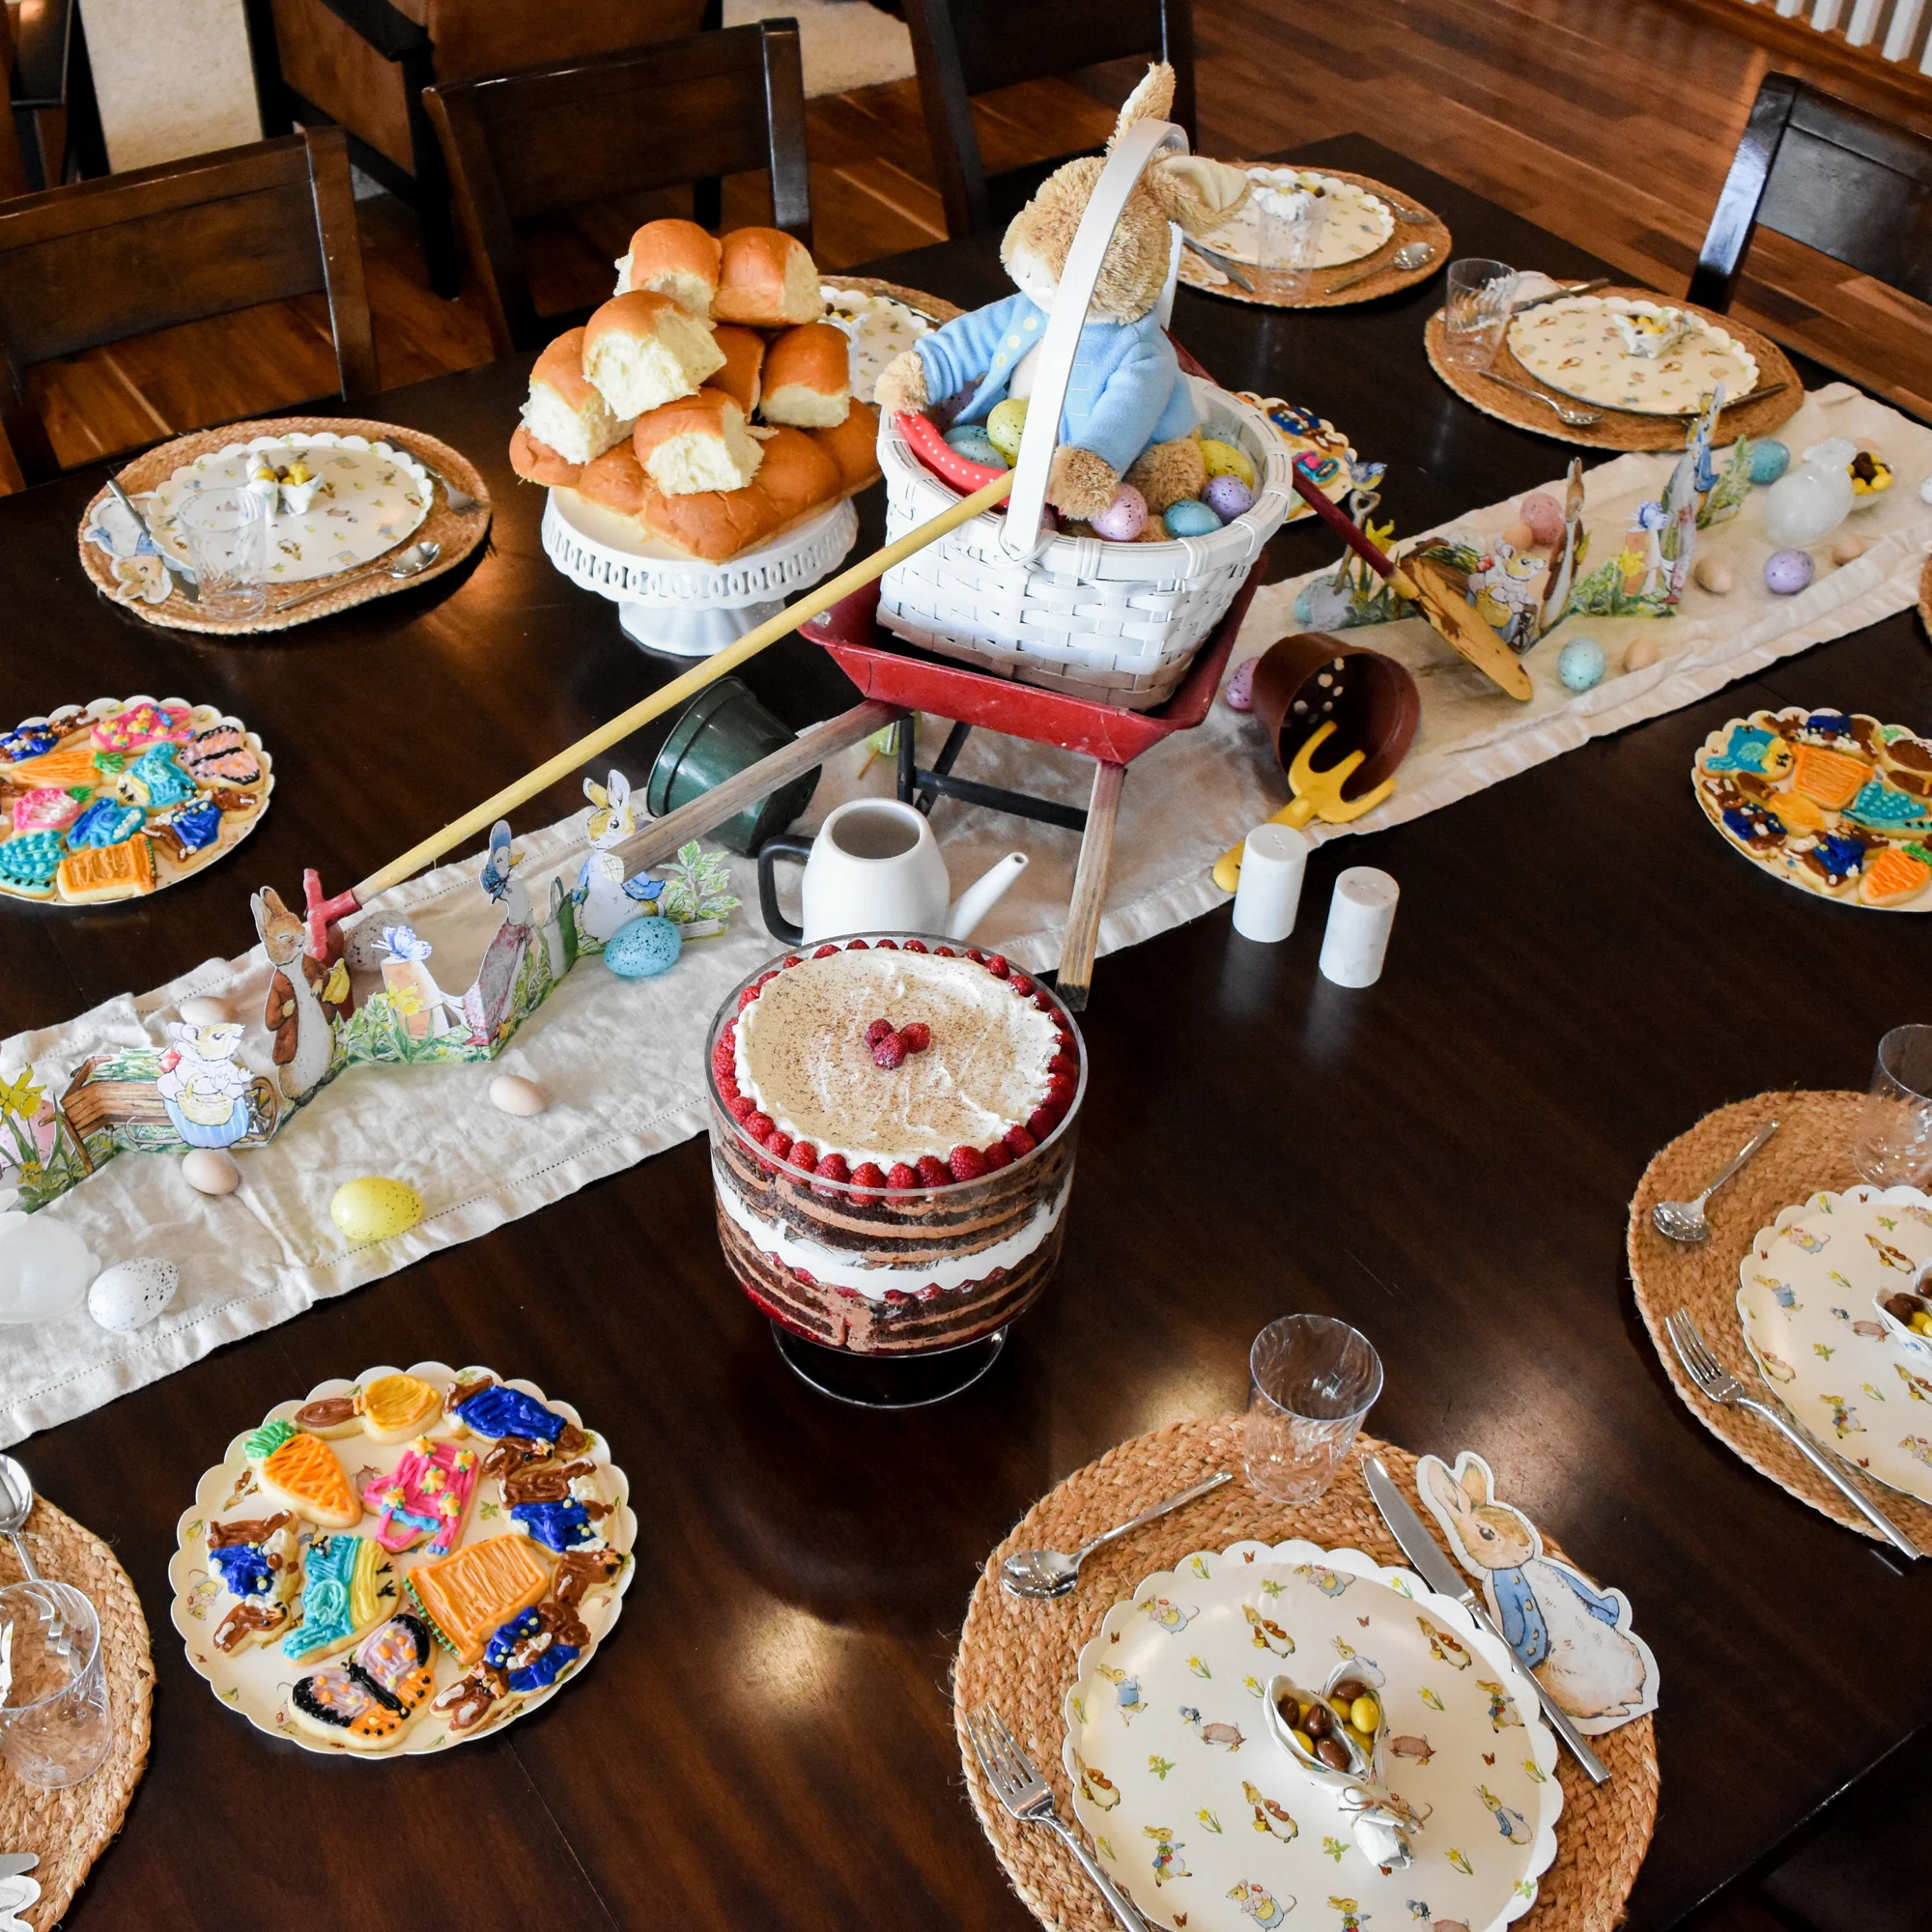
I was hosting Easter this year at my house and we did a potluck dinner with my family.
I was in charge of providing dessert and rolls for our dinner.

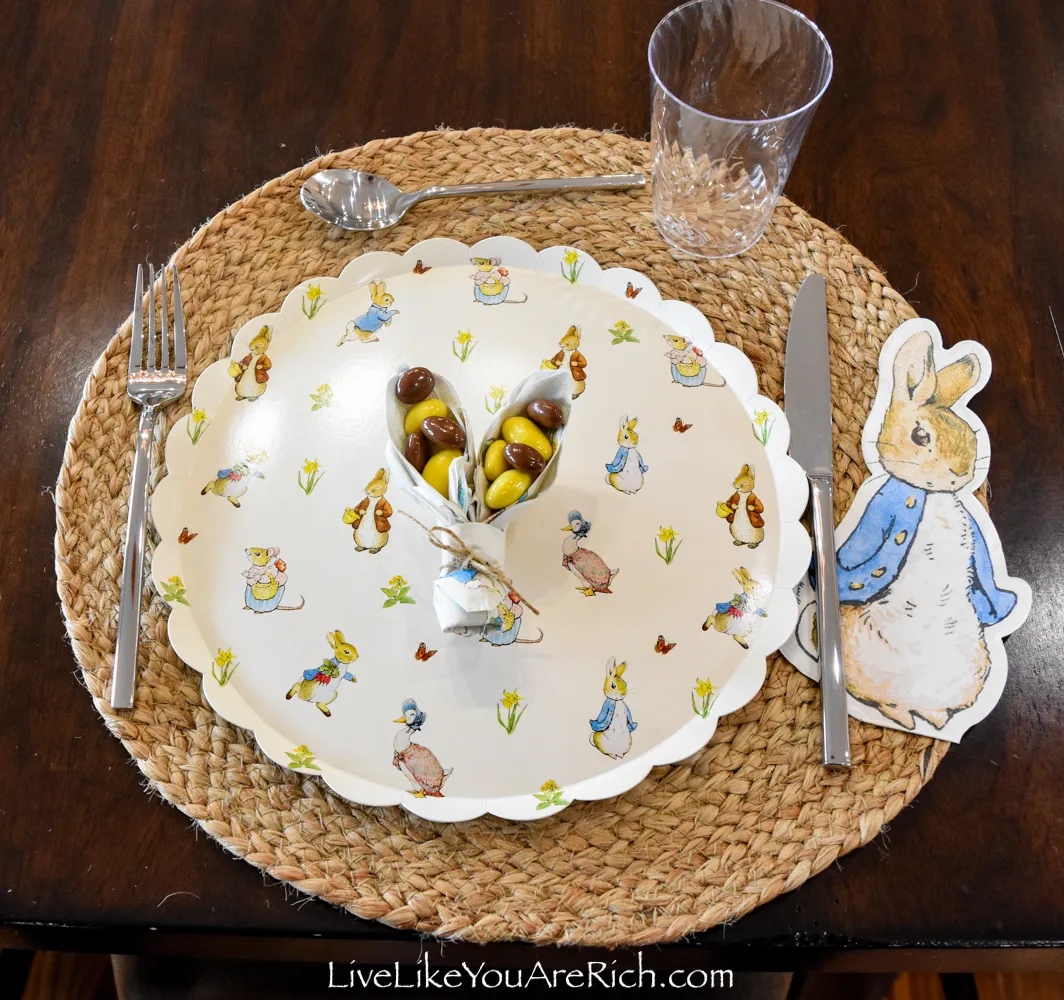
I thought it would be really fun to make a Peter Rabbit tablescape with bunny ear napkins.
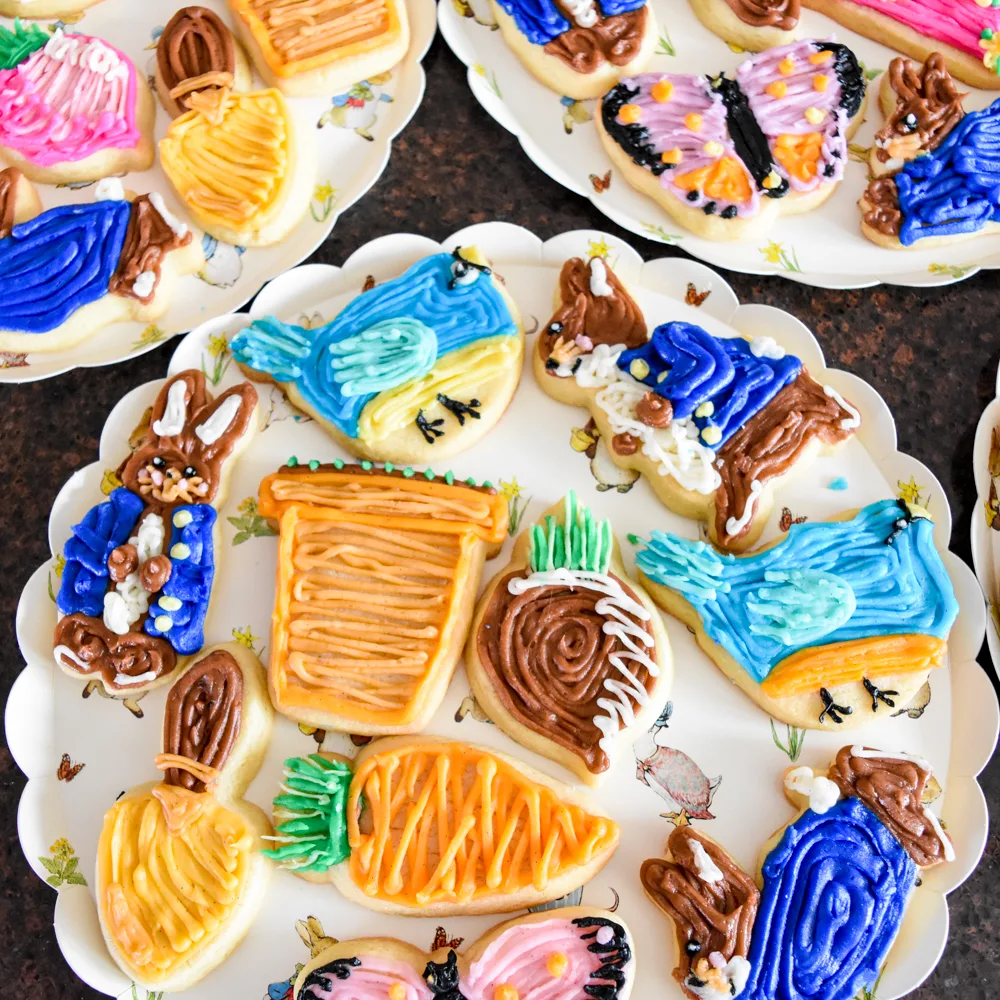
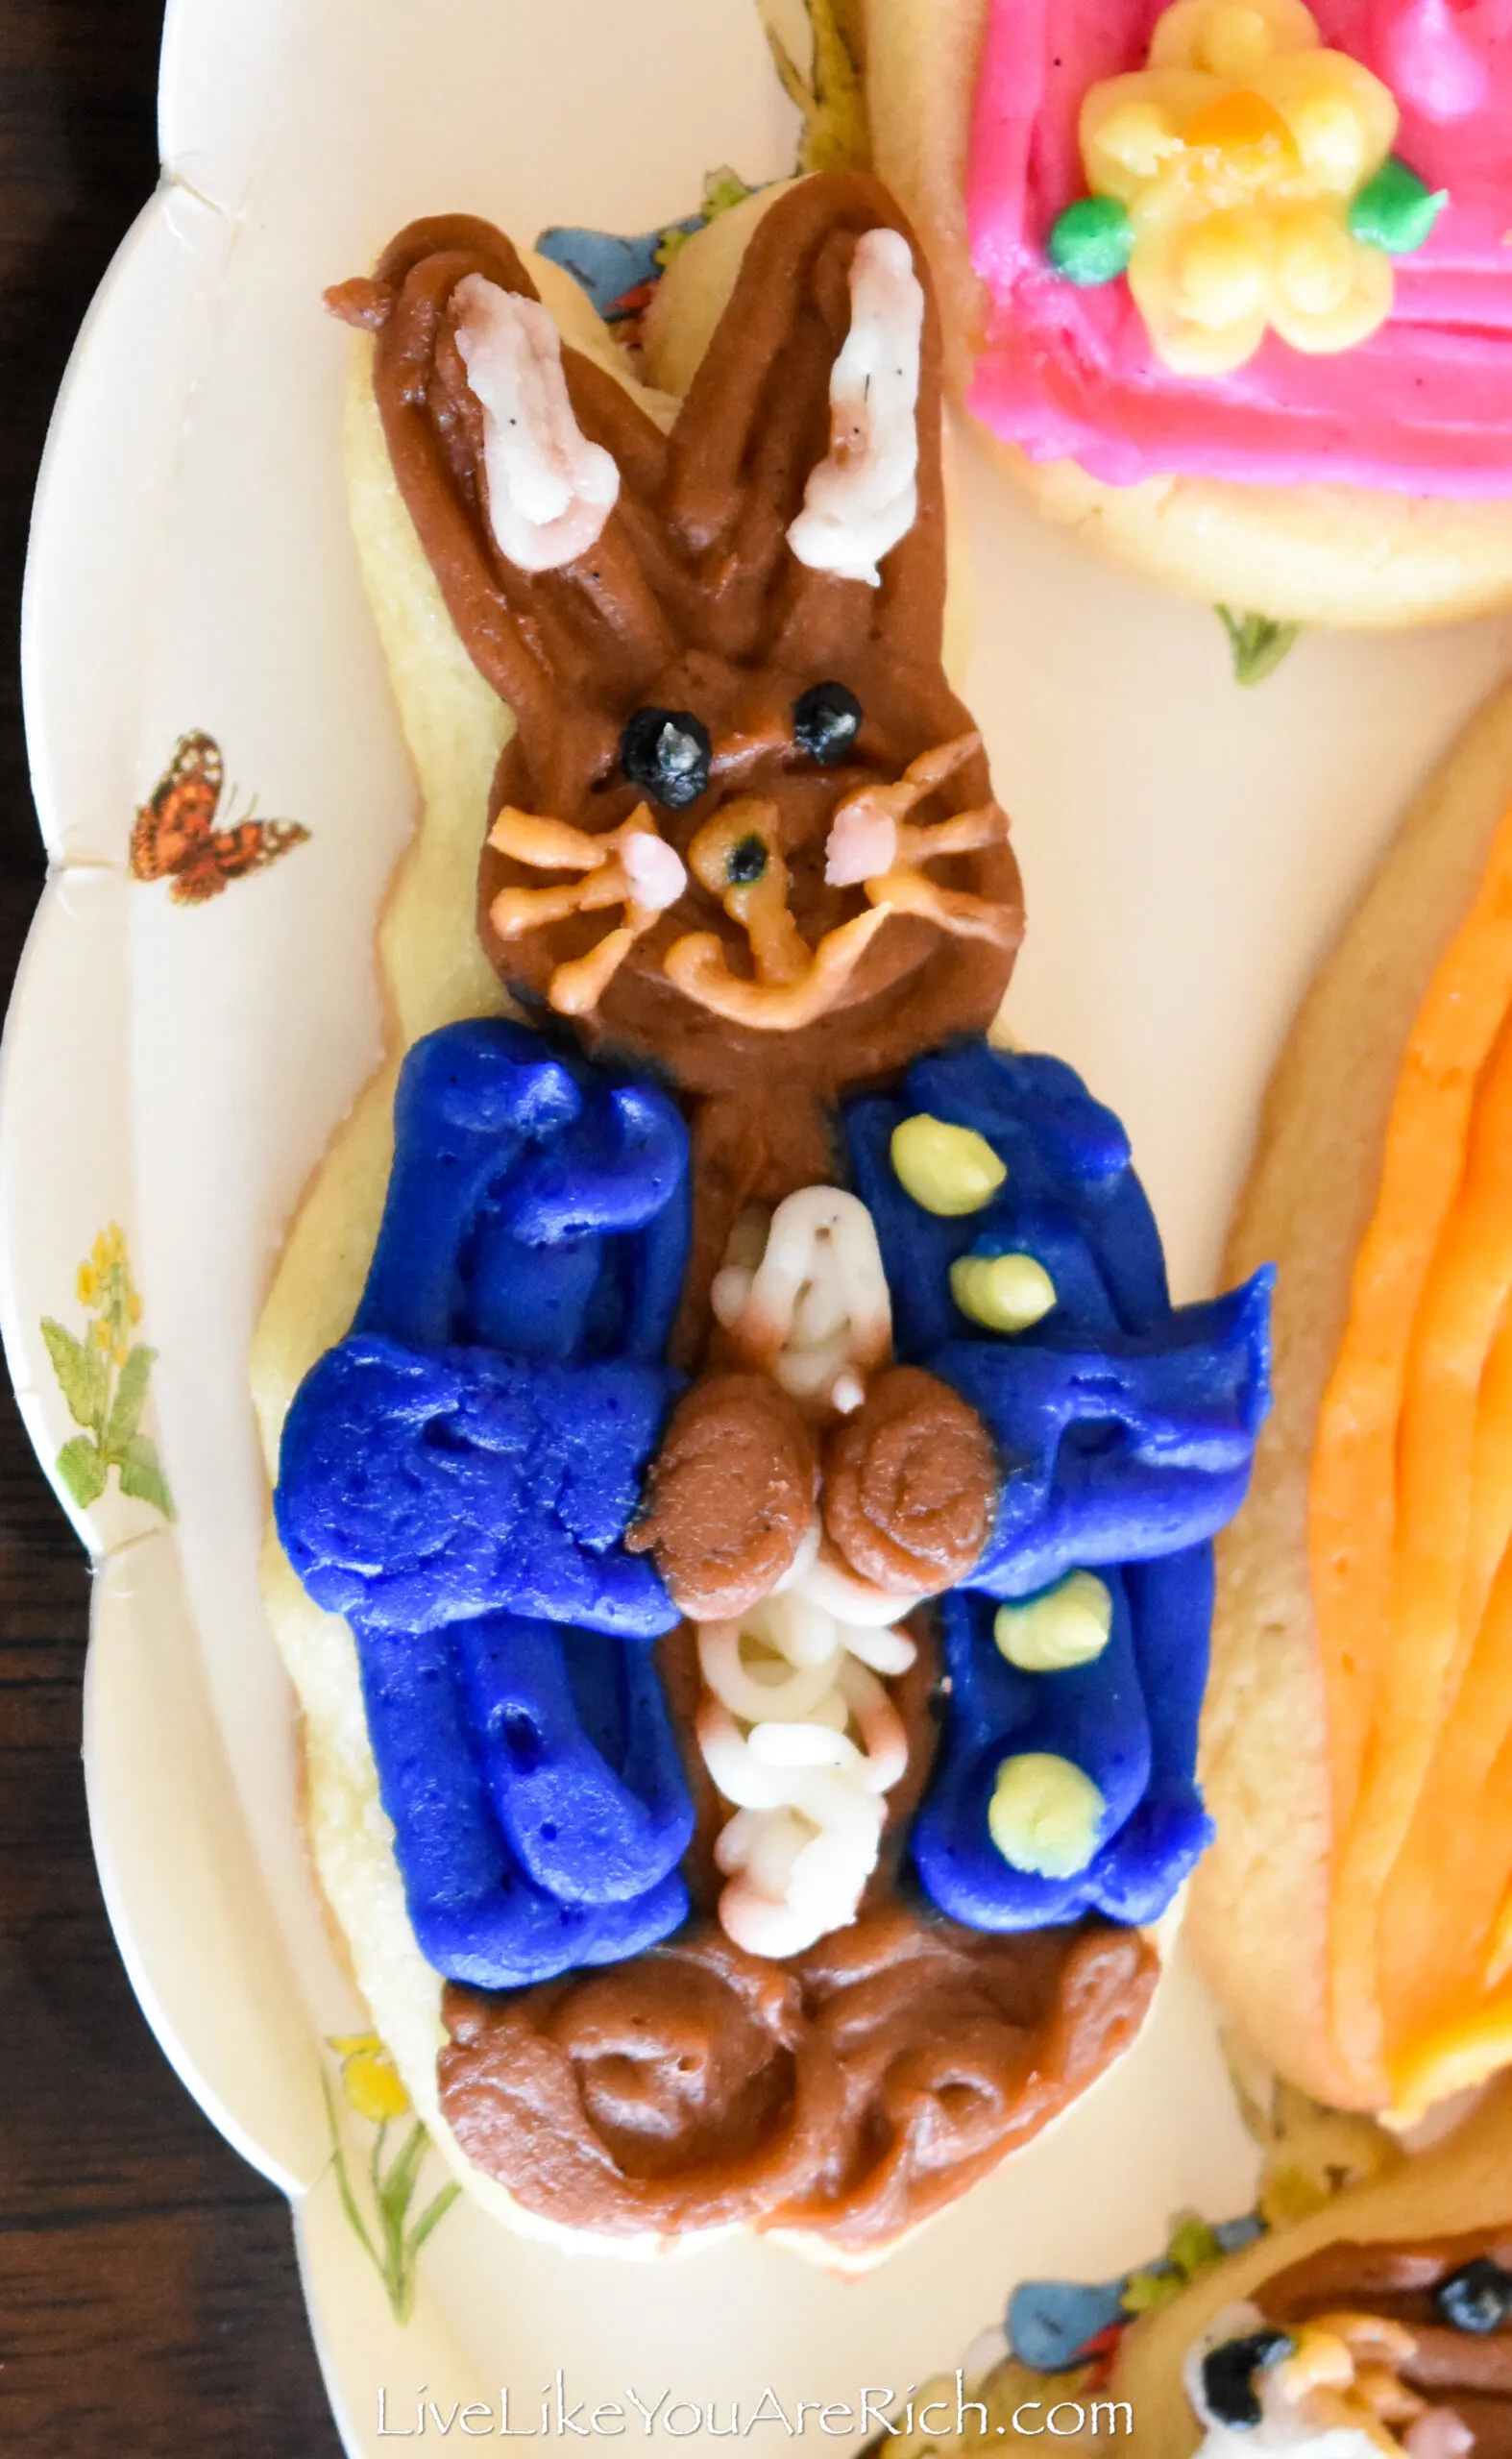
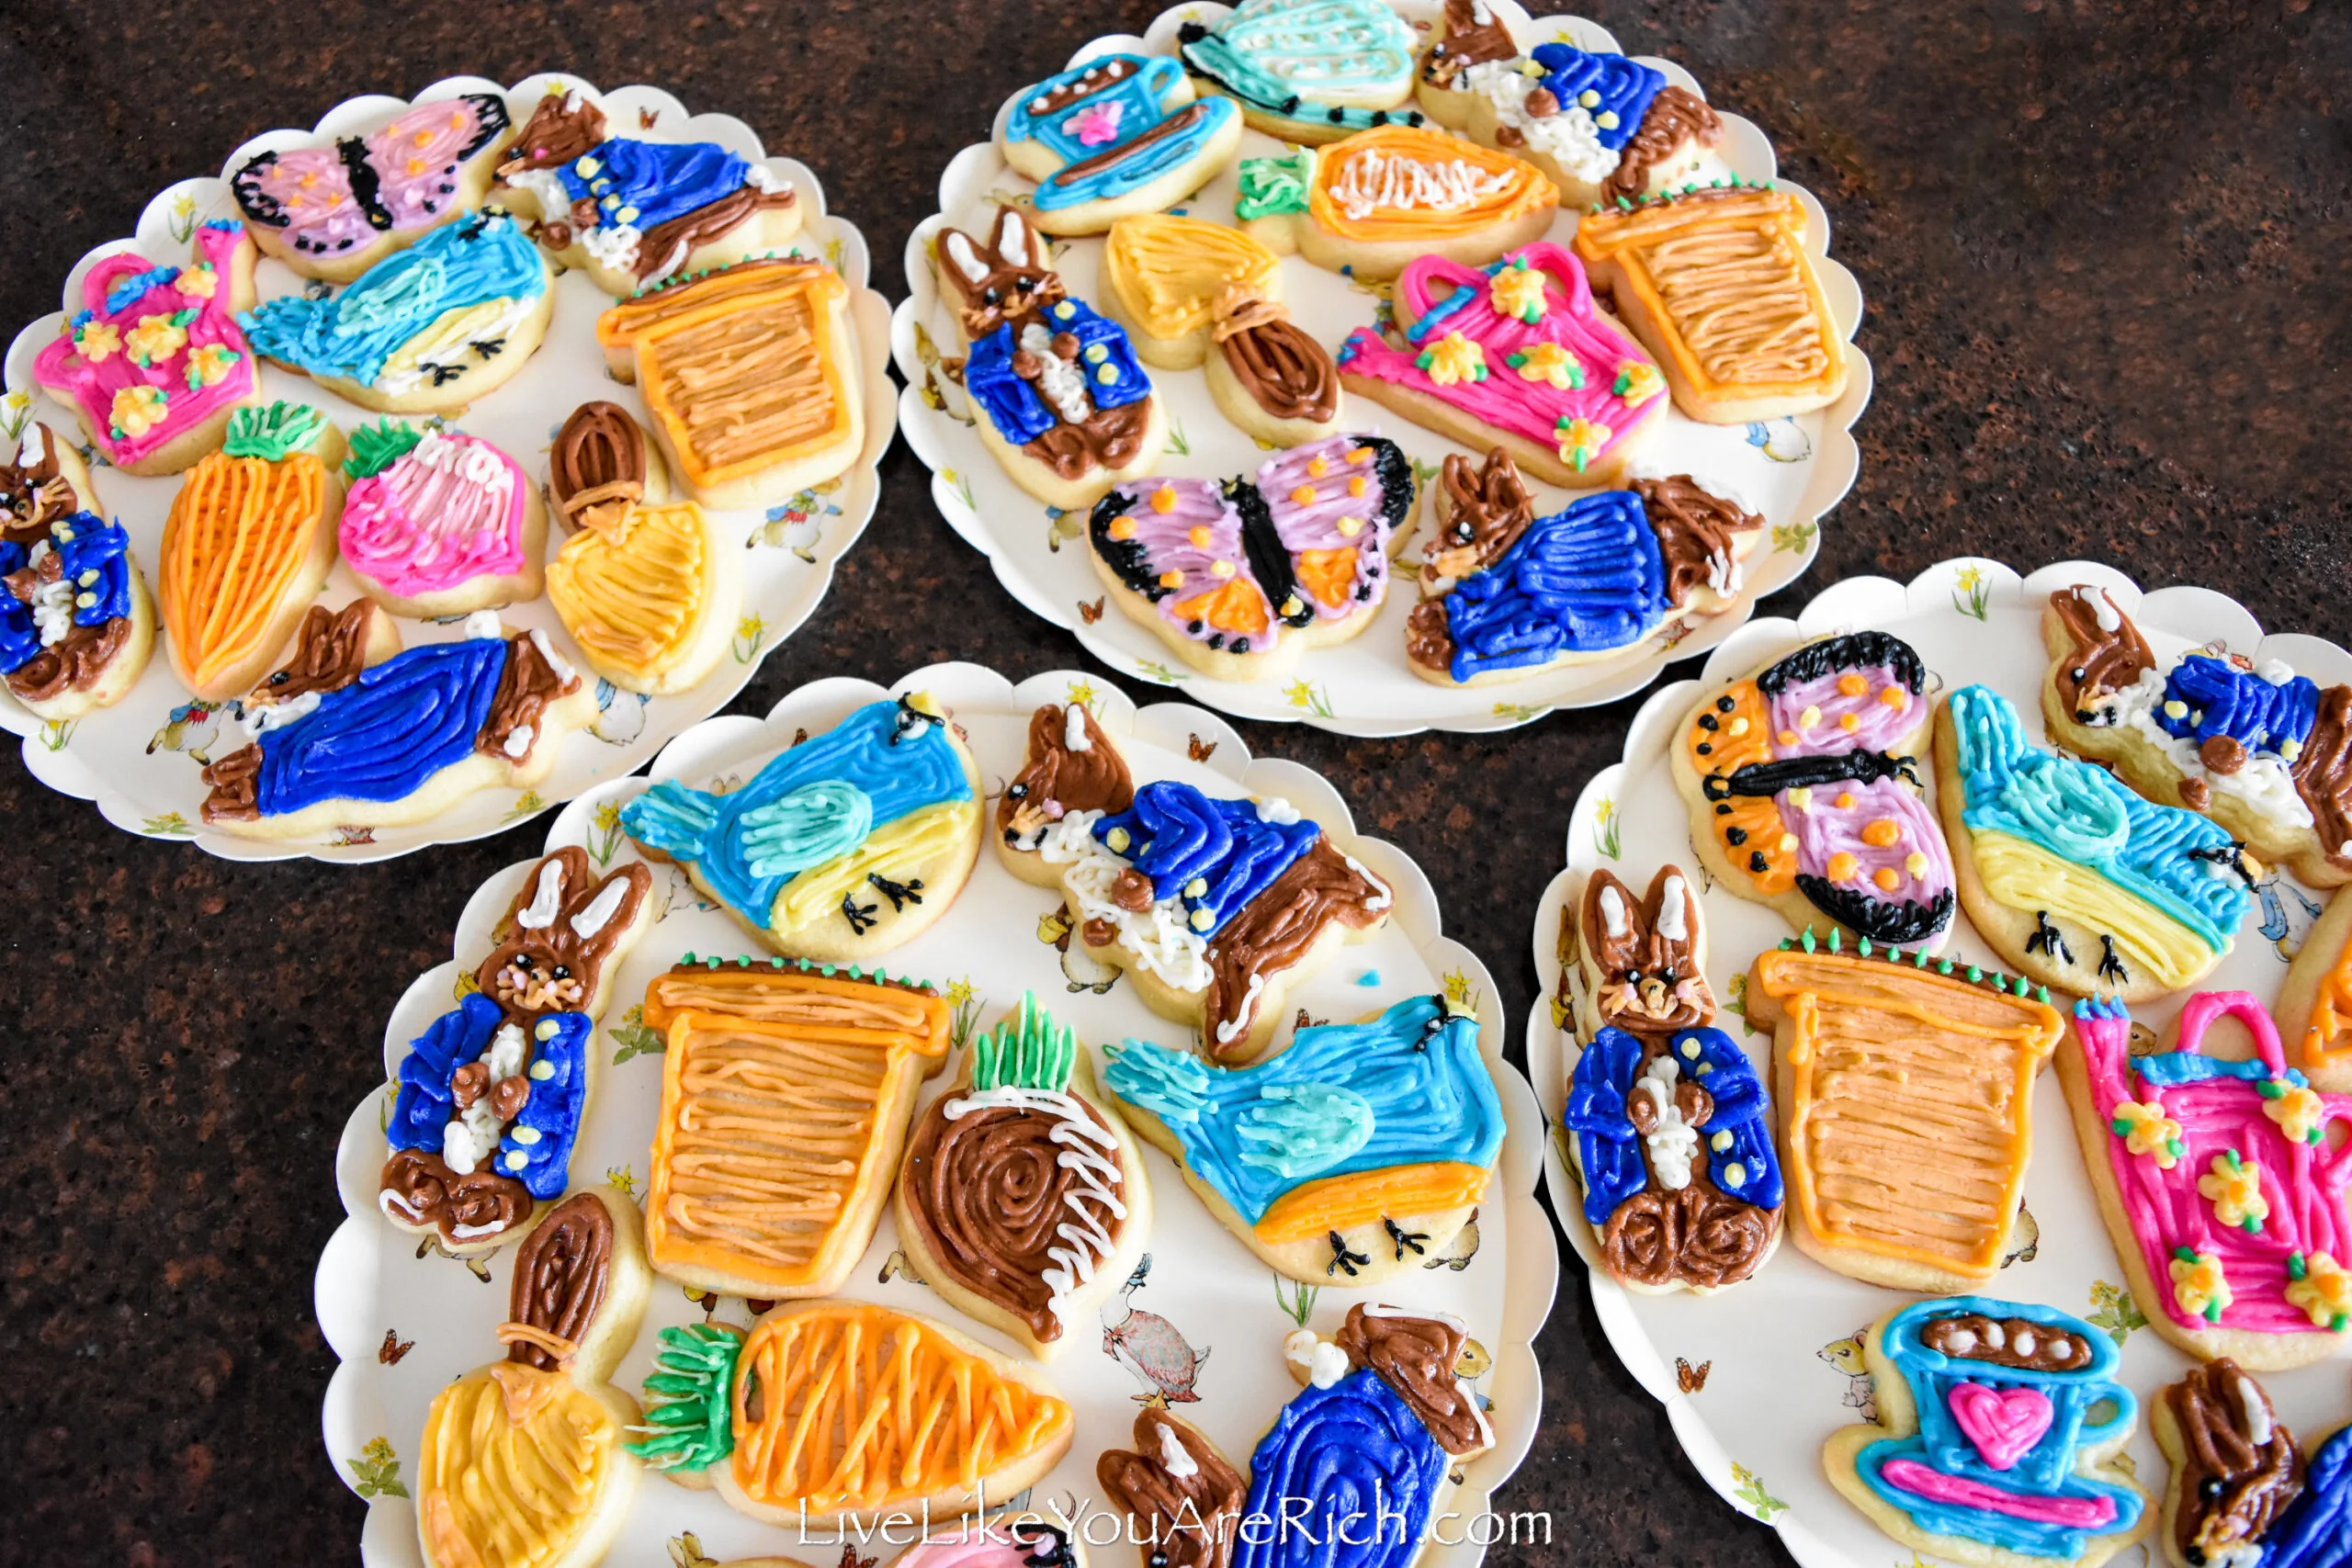
For dessert, I decided to provide Peter Rabbit sugar cookies with vanilla buttercream frosting to match the theme of the tablescape. I also made a chocolate raspberry trifle cake too (post coming soon).
I made my favorite chewy sugar cookie recipe (link below) and frosted them with my favorite vanilla bean frosting (link below).
I had a lot of fun making these cookies. I frosted them after my kids went to bed and listened to podcasts and audiobooks while I got to be creative.
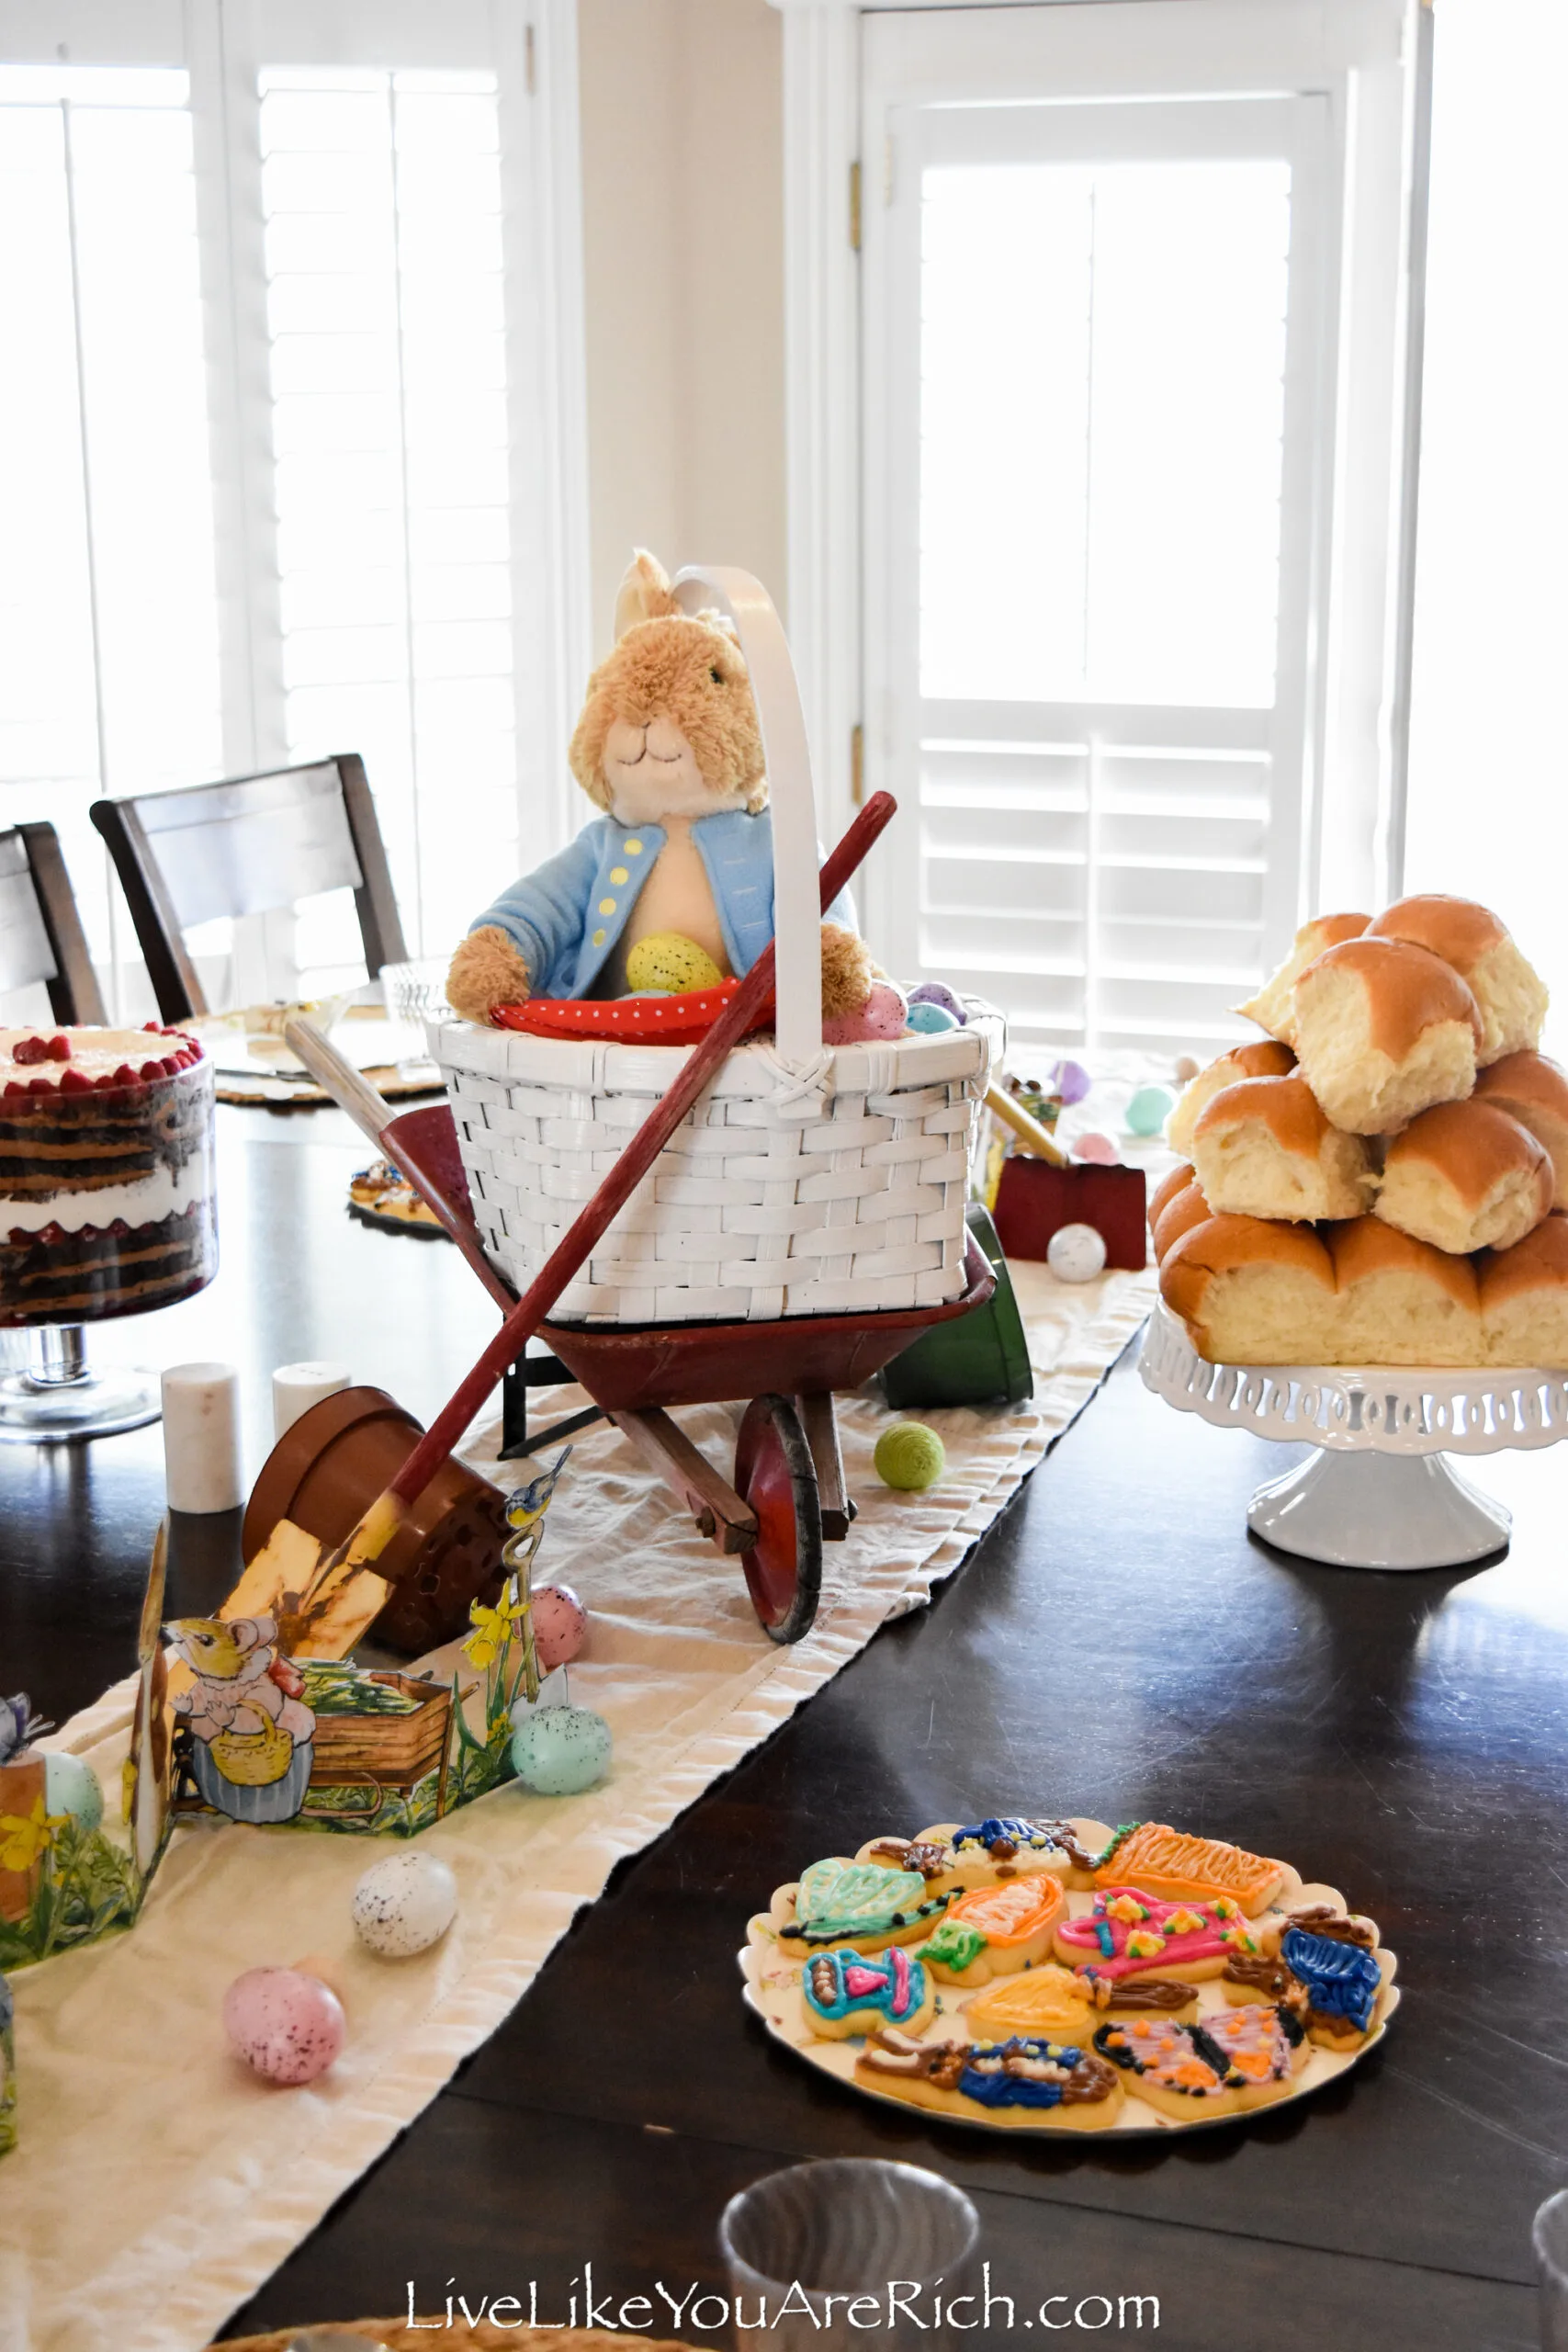
My guests loved them; I got so many compliments on them.
You may wonder why I didn’t use a sugar cookie frosting that bleeds and fills. These hard shiny frosting recipes are popular right now, especially for watercolor sugar cookie designs.
Even though I could have gotten better details doing a hard icing with icing paints, I don’t like that the cookies are so tough to eat. I have watched a few tutorials on it and it sounds as though if you want to do an edible watercolor over a shiny hard icing you have to let the icing dry for 24 hours before painting them which makes the cookies close to inedible.

I was going for first, taste, next, texture, and finally, on looks.
I’m glad I did.
The cookies were soft, chewy, and delicious.
Supply List for Peter Rabbit Detailed Sugar Cookies
scissors
bowls and spoons for mixing icing
tall cup to hold the piping bags while they get filled (optional)
clean surface or plastic cutting mat to ice cookies on
Peter Rabbit cookie cutter set (if you can’t find one, check eBay for the Williams Sonoma Peter Rabbit cookie cutter set because I don’t think they sell it any longer).
food coloring (normal color, and pastel colors and black)
Ingredients Needed for Peter Rabbit Detailed Sugar Cookies
Best vanilla bean frosting recipe ingredients + 1/4 C milk. I mixed an additional 1/4 C of milk into the recipe to thin the frosting for detailed piping (if desired, print the recipe at the bottom of the linked-to-page).
Chewy Sugar Cookie recipe ingredients (if desired, print the recipe at the bottom of the linked-to-page).
Instructions on how to make these Peter Rabbit Detailed Sugar Cookies
Continue reading and/or watch the video tutorial on this post.
First, mix up the sugar cookie dough. This recipe is great in that you don’t have to make it a day ahead. It only requires a little time to chill in the freezer or slightly more time to chill in the fridge.
Next, while the cookie dough was chilling, I mixed up the vanilla bean buttercream frosting recipe. I added 1/4 C milk to the recipe to get it a little thinner than the recipe normally is.
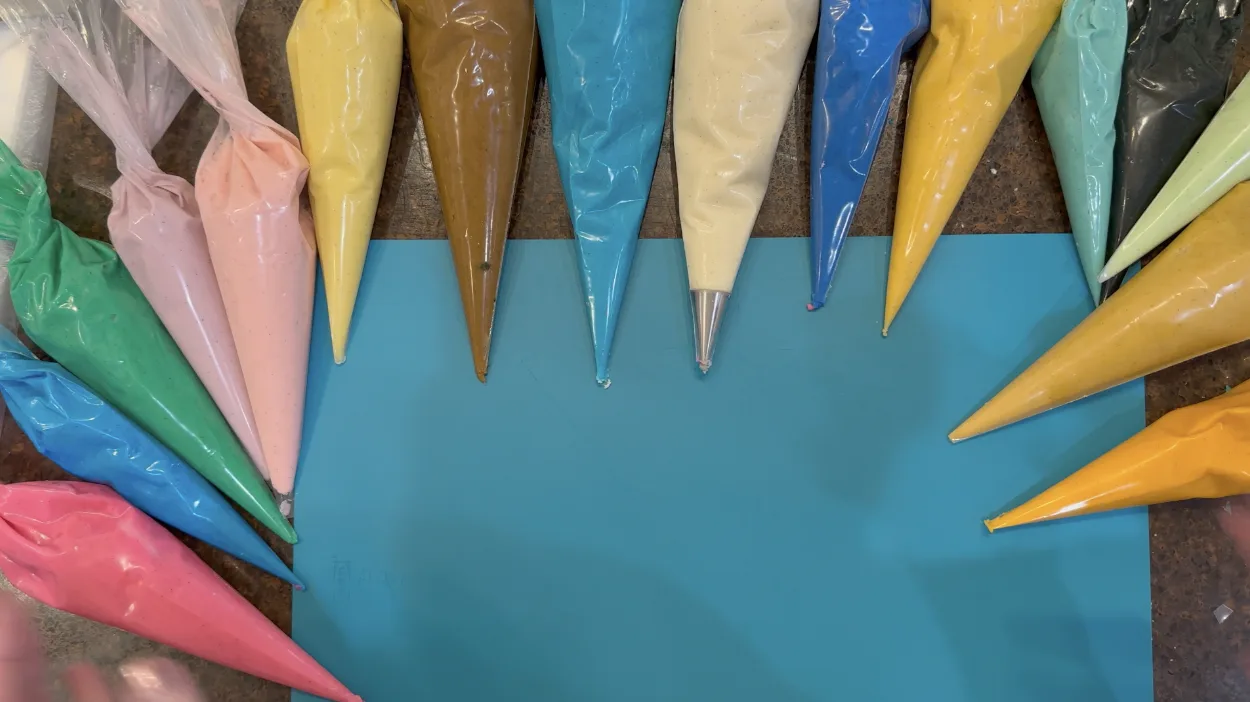
After filling a piping bag 1/2 full of white frosting, separate the rest of the icing into 15 bowls, and using food coloring, color them with the colors you’d like.
These are the colors I choose to mix up:

light pink, dark pink, light blue, medium blue, dark blue, light yellow, dark yellow, light orange/tan, regular orange, light green, regular green, light teal, light brown, dark brown, and a small amount of black.

Pastel food coloring is great for light colors. You’ll need a lot of a good black gel food color to get to a true black.
After piping the colors into the bags, cut a tiny tiny bit of tip-off of the piping bags so that you can get great details.
You can also cut more off of the piping bag if needed, so start small and cut more off as needed. While I did use a plain piping tip for the white frosting, it wasn’t really necessary.
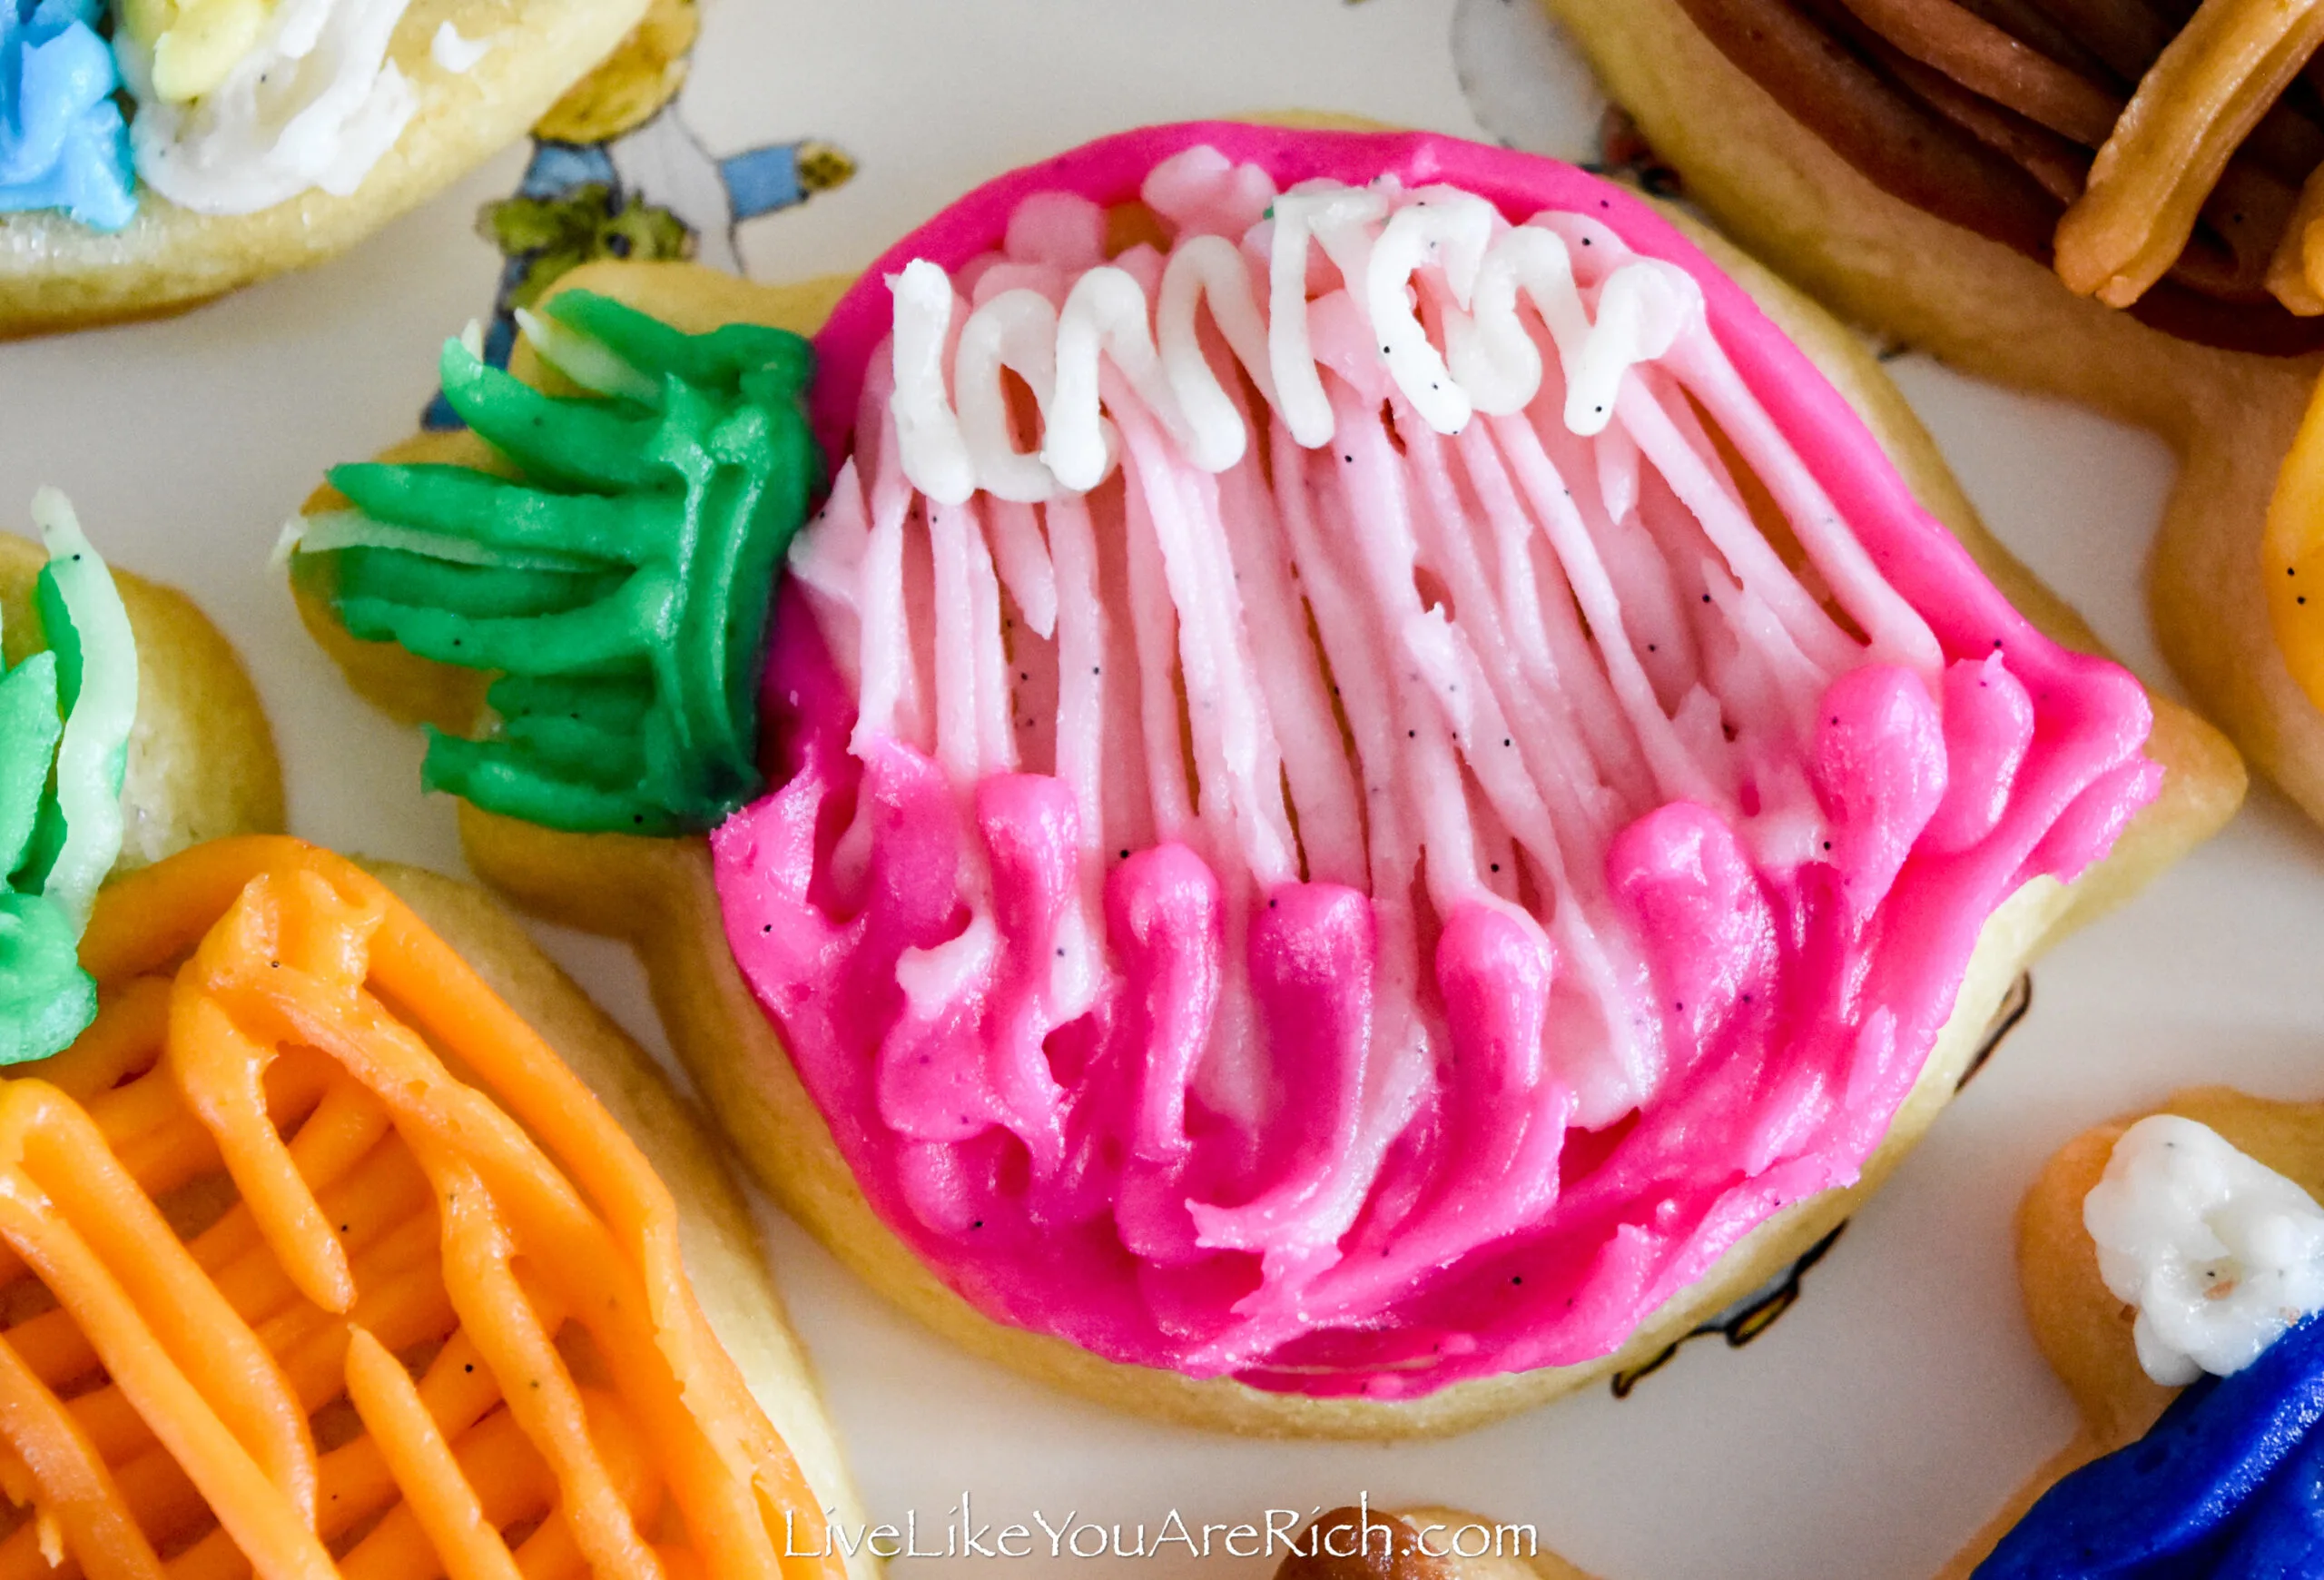
Make the sugar cookies as indicated in the recipe.

Most importantly, be sure that the cookies are at least 1/4″-1/2″ thick, and do not overbake them. It’s better that they come out of the oven underdone than overdone.
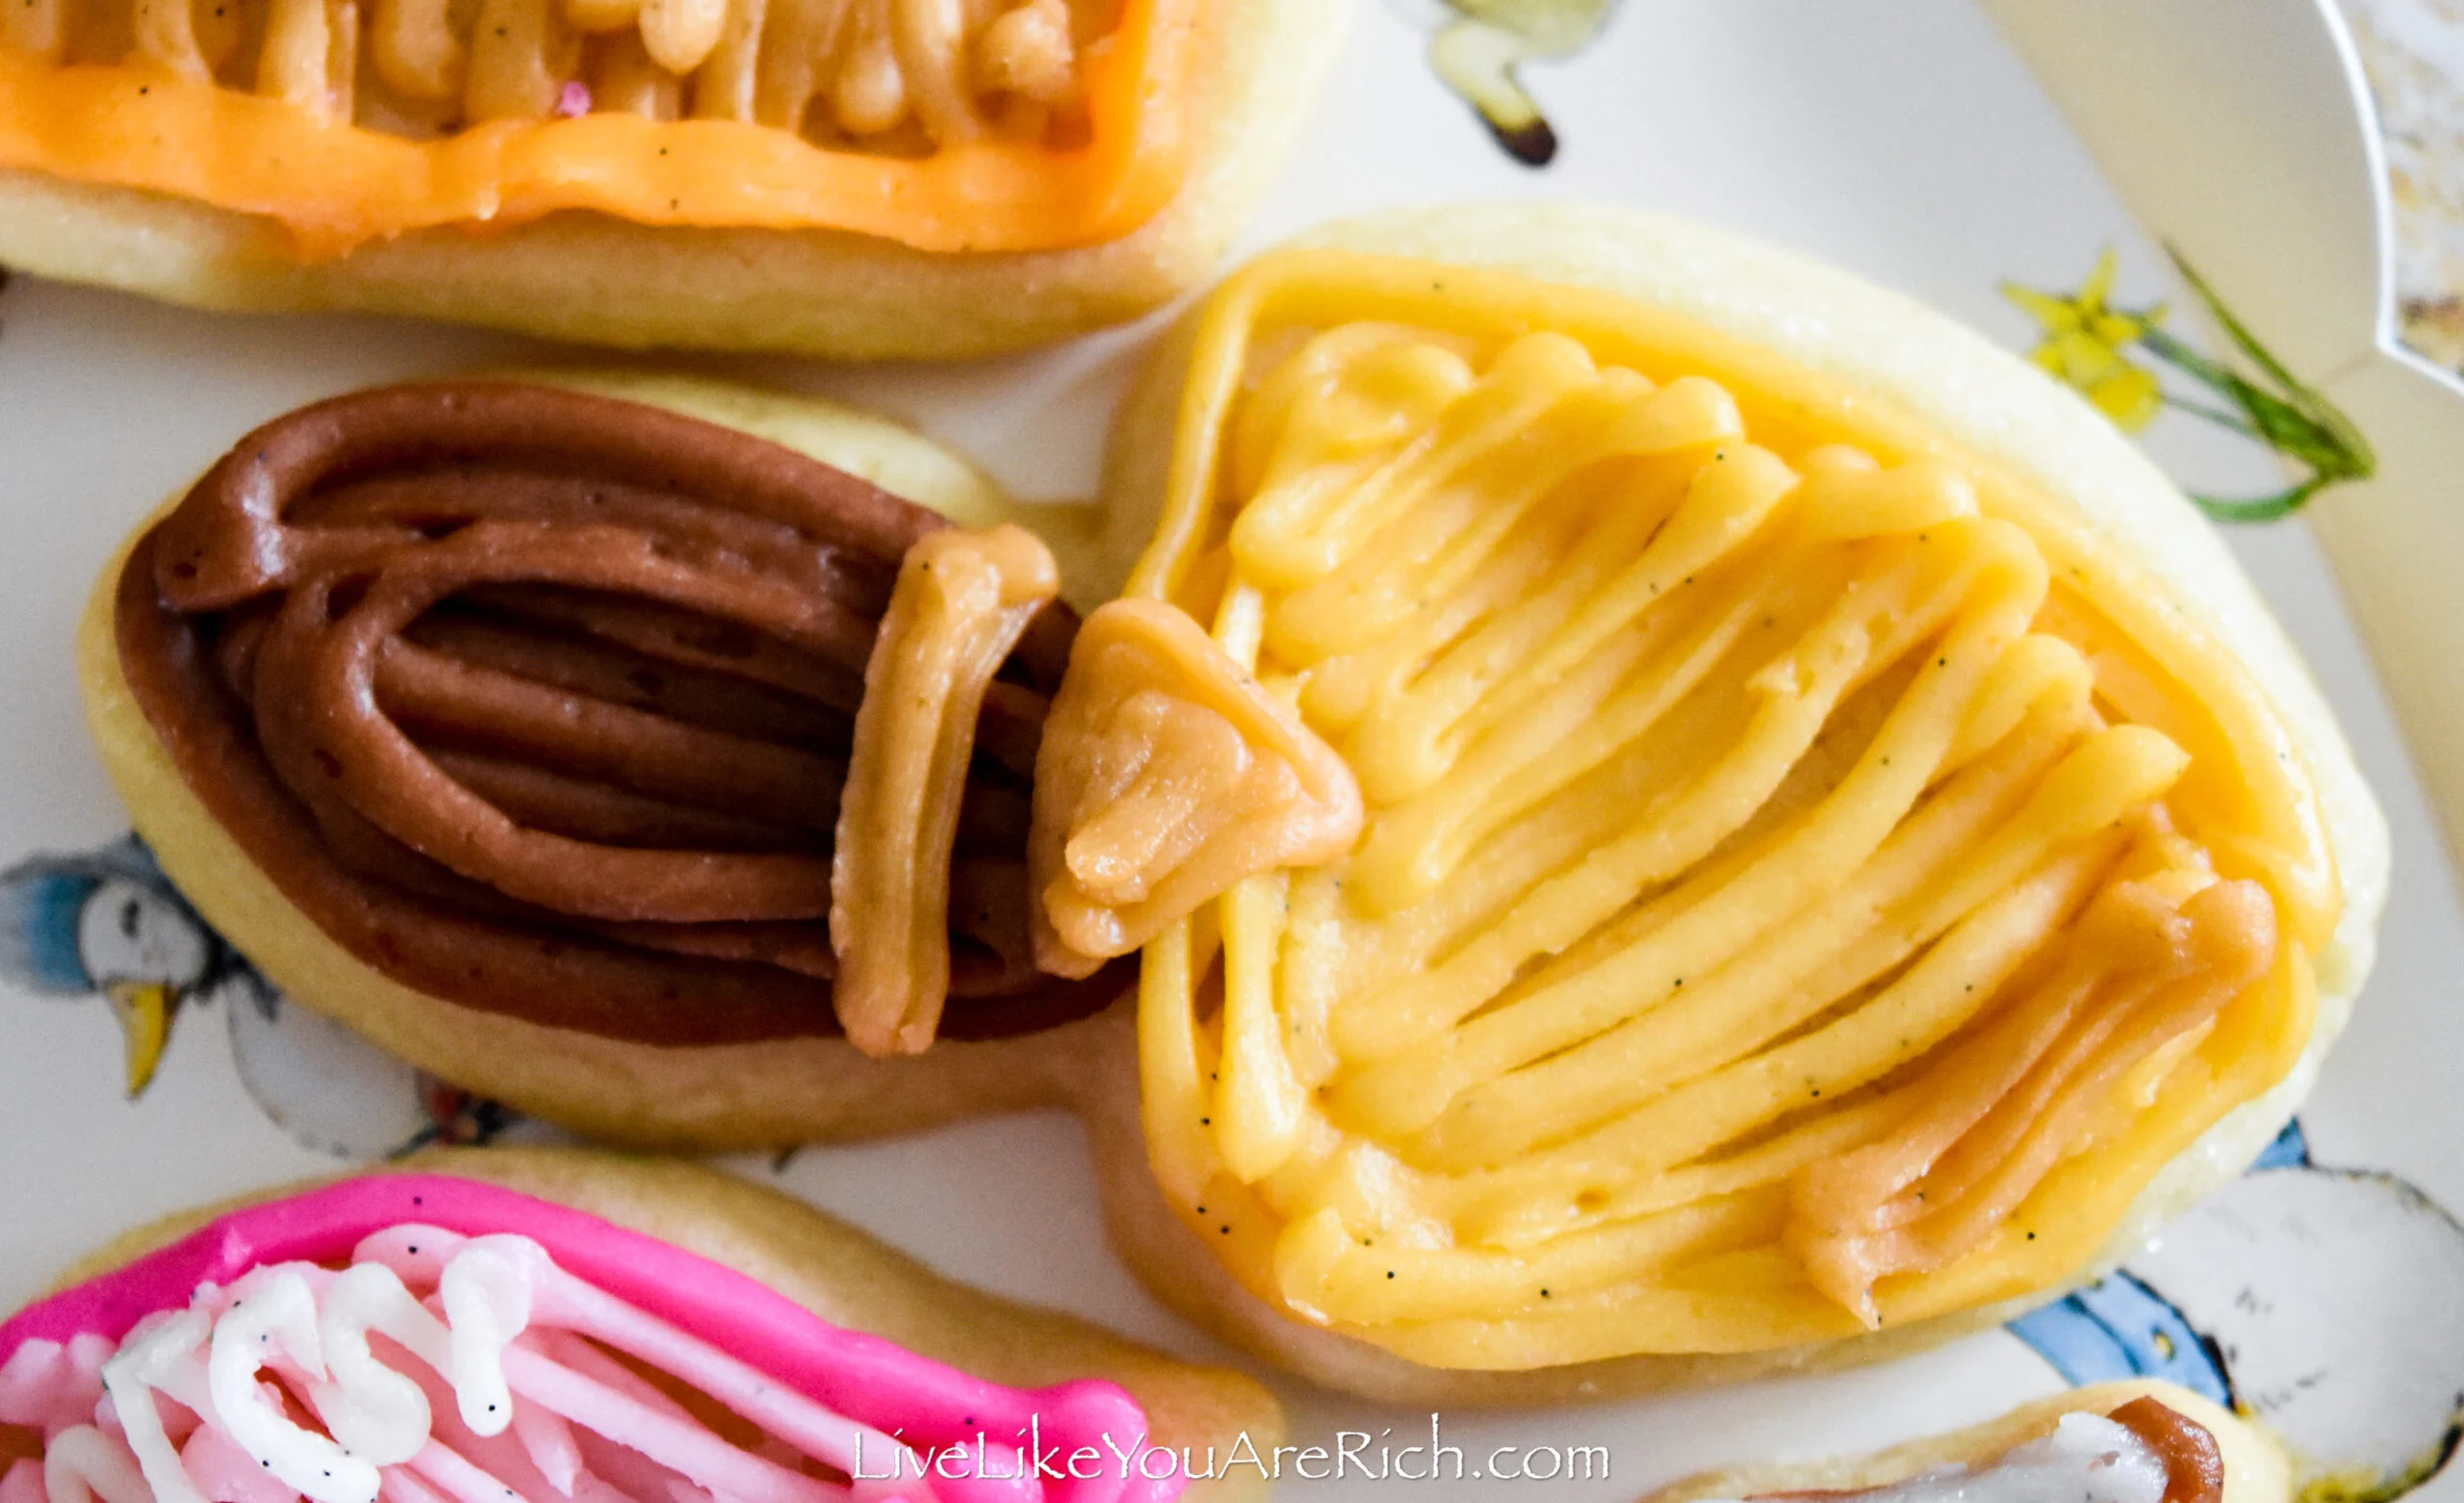
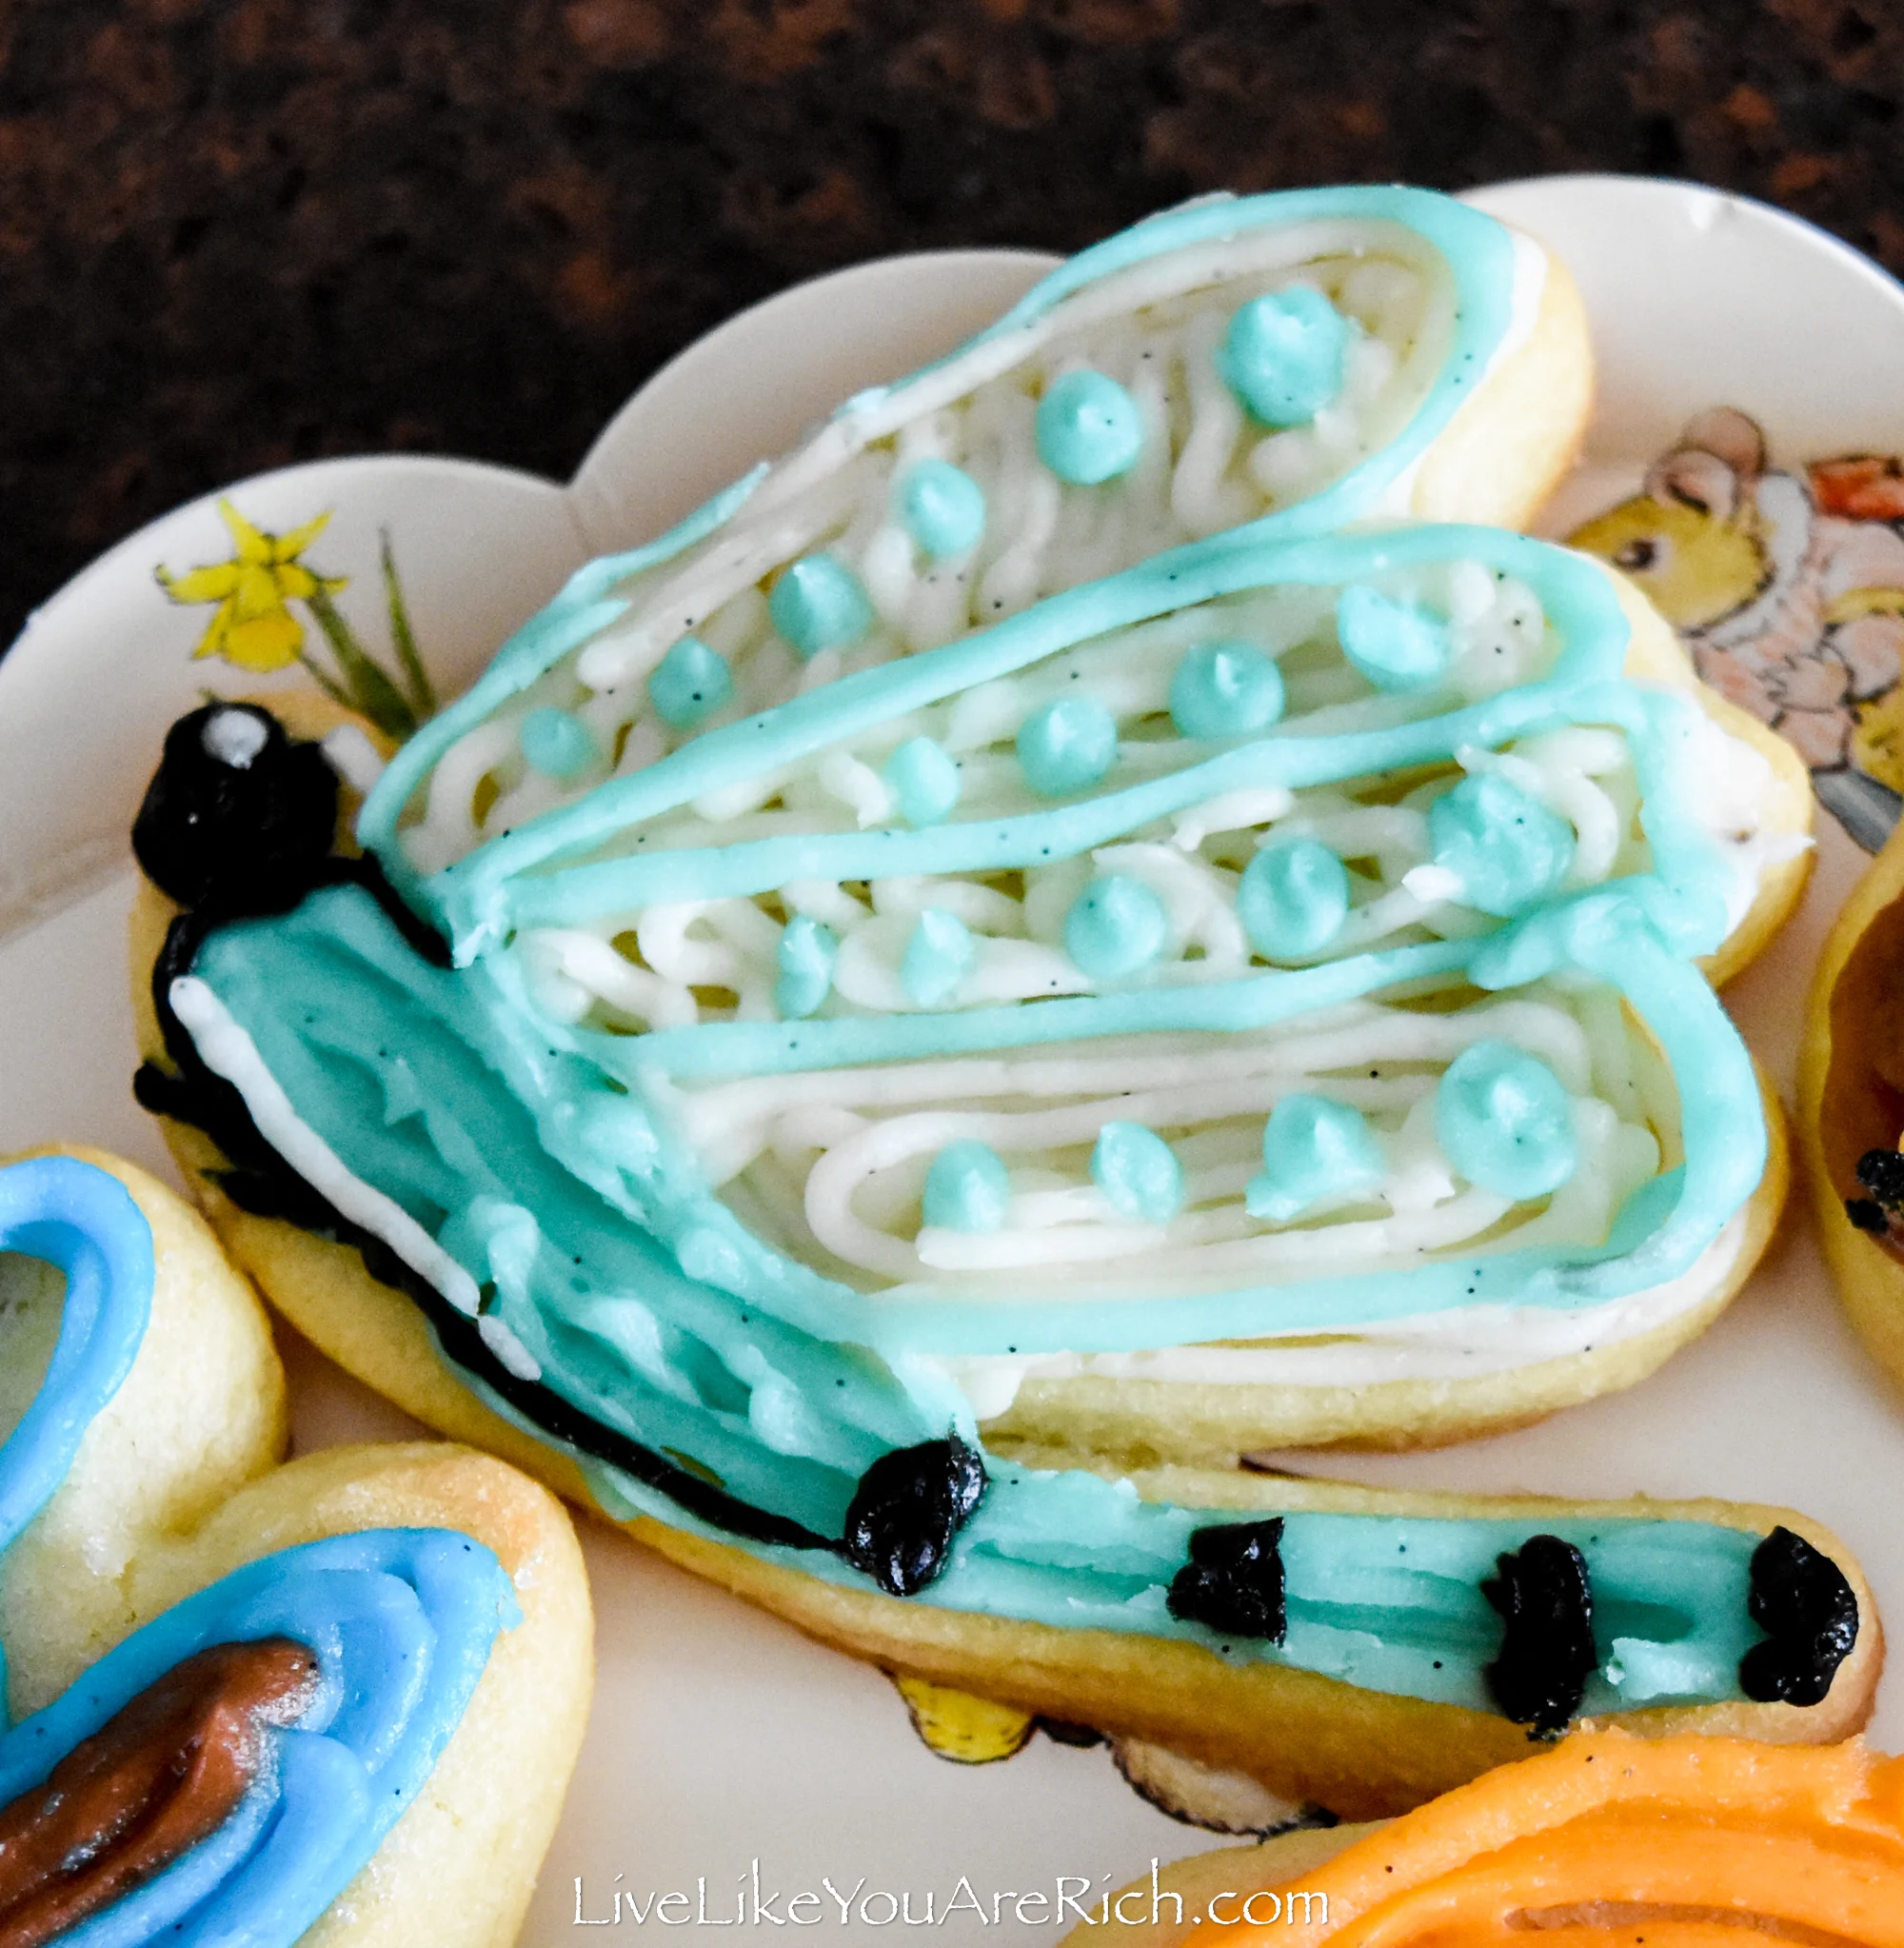
Once the cookies have completely cooled, frost them in ways that make you happy. Check out the video if you’d like to see how I frosted these.
Cover the cookies with saran wrap and store them in the fridge for up to a week, take them out of the fridge to come to room temperature before serving.
They are best served within a day or two.
Enjoy the deliciousness!
For other ‘rich living’ and D.I.Y. decor tips please subscribe, like me on Facebook, and follow me on Pinterest and Instagram.

