Red Velvet Buttermilk Cake Recipe
This is a deliciously moist and great-tasting red velvet cake.
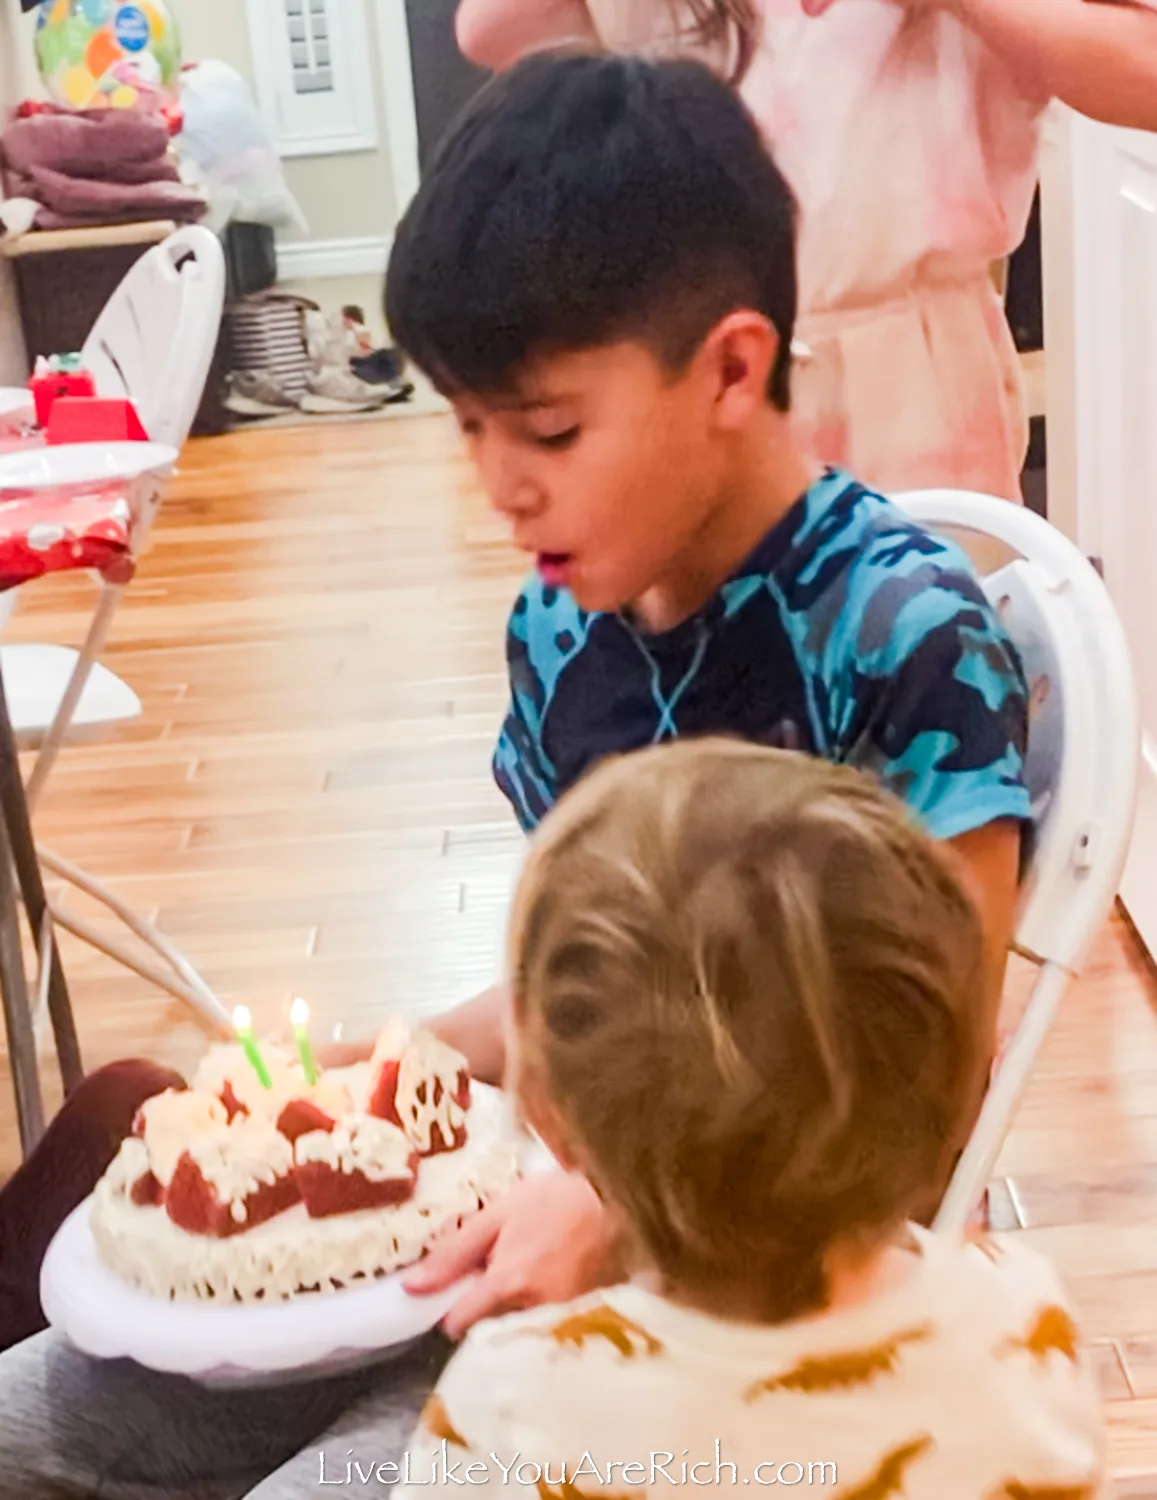
My son loves red velvet cake and requested a homemade one for his birthday dinner.
His birthday is in December and he said he was fine combining our family Christmas party and his bday party this year. He had a separate friend’s only birthday as well.
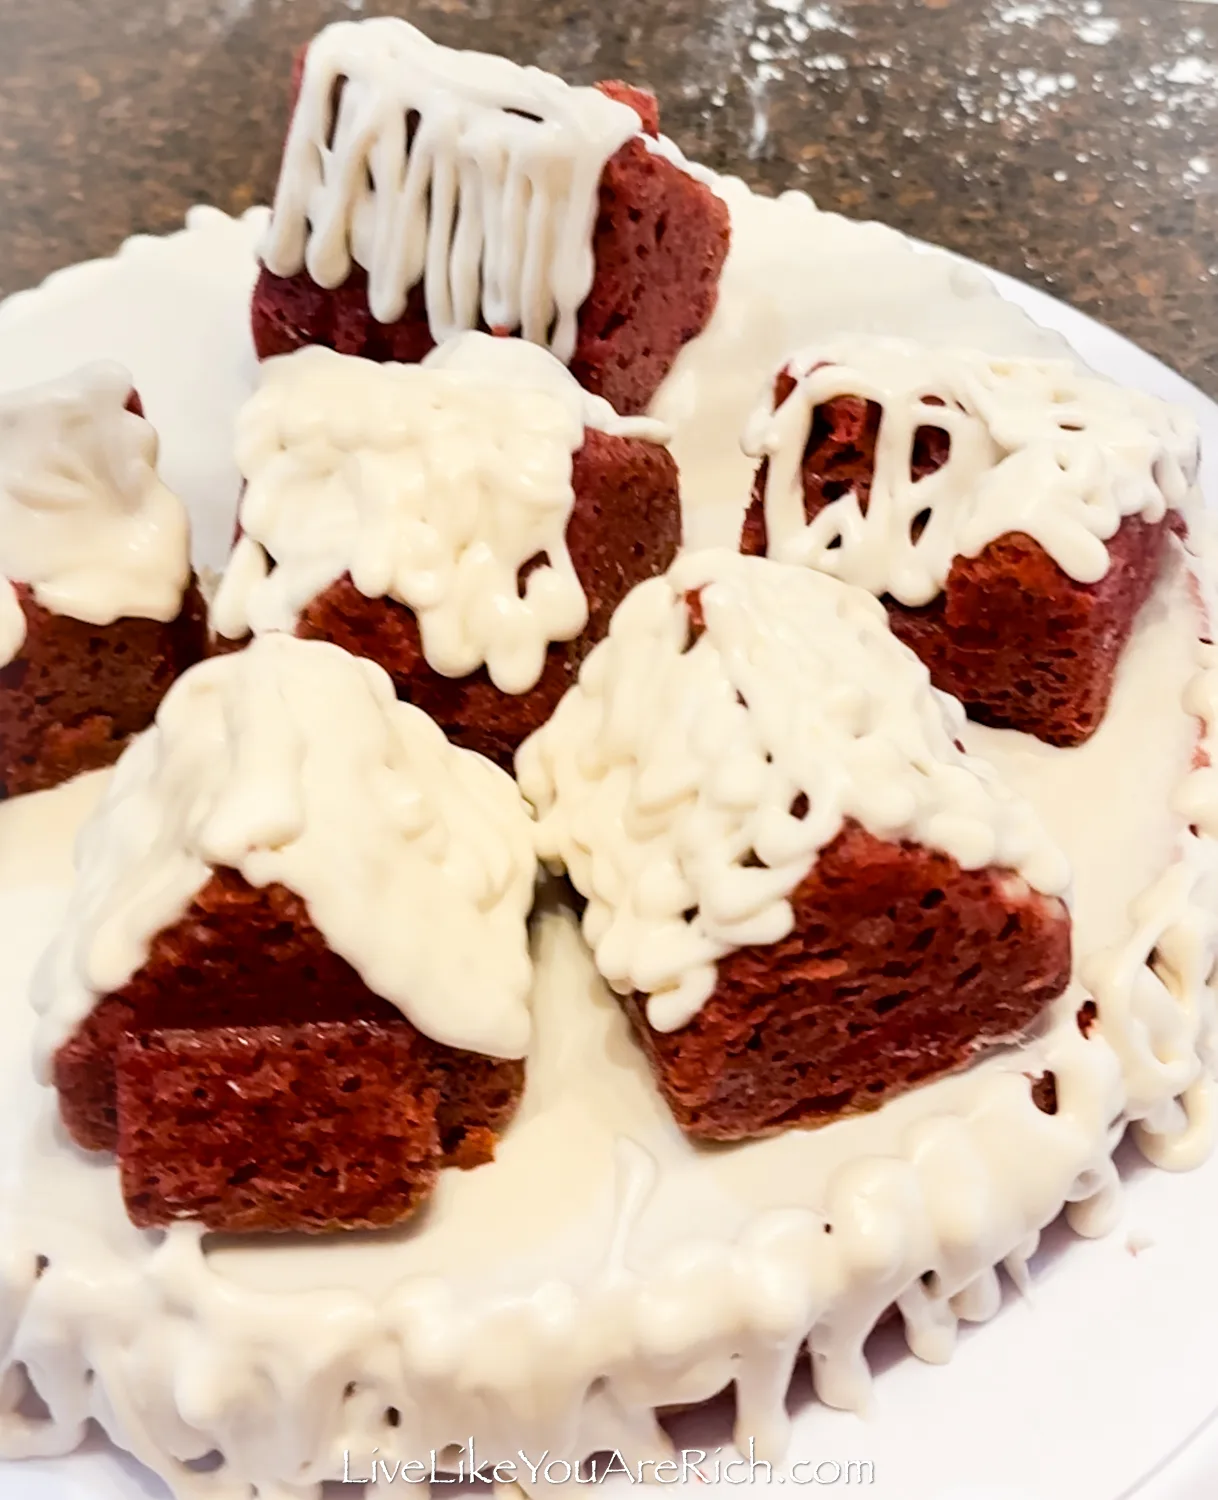
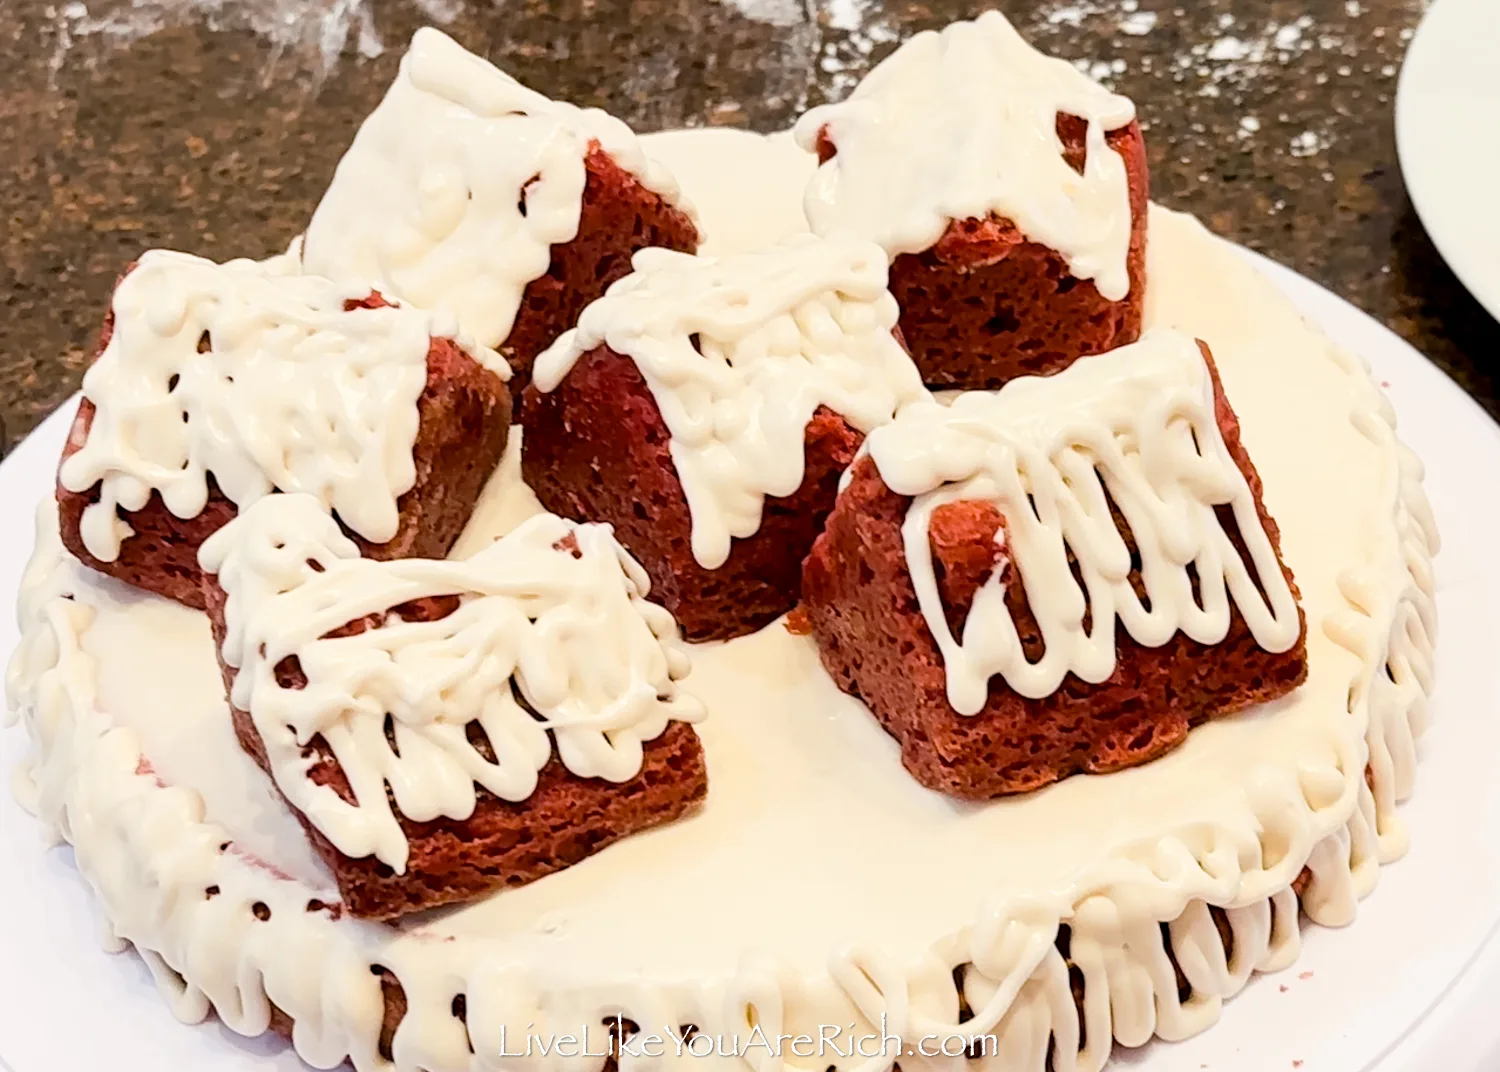
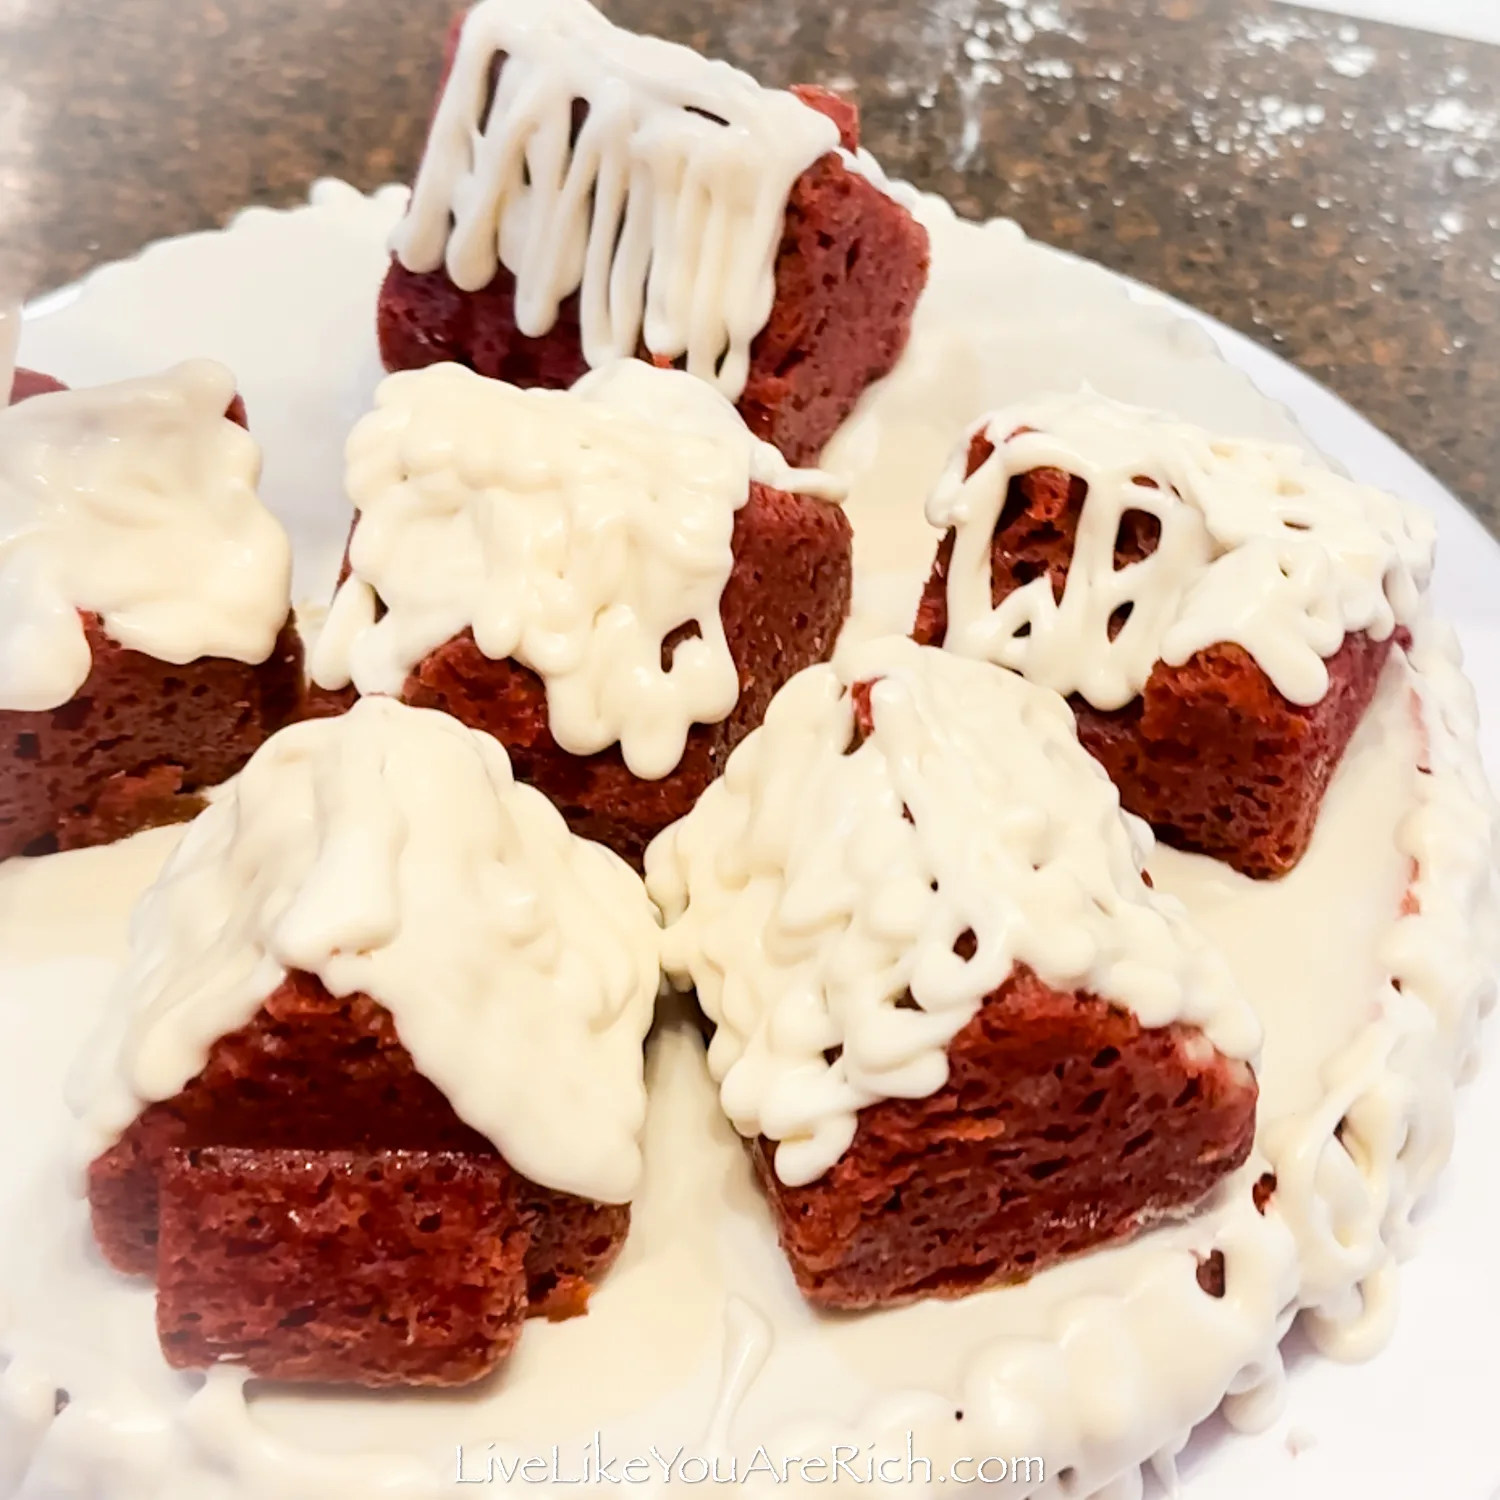
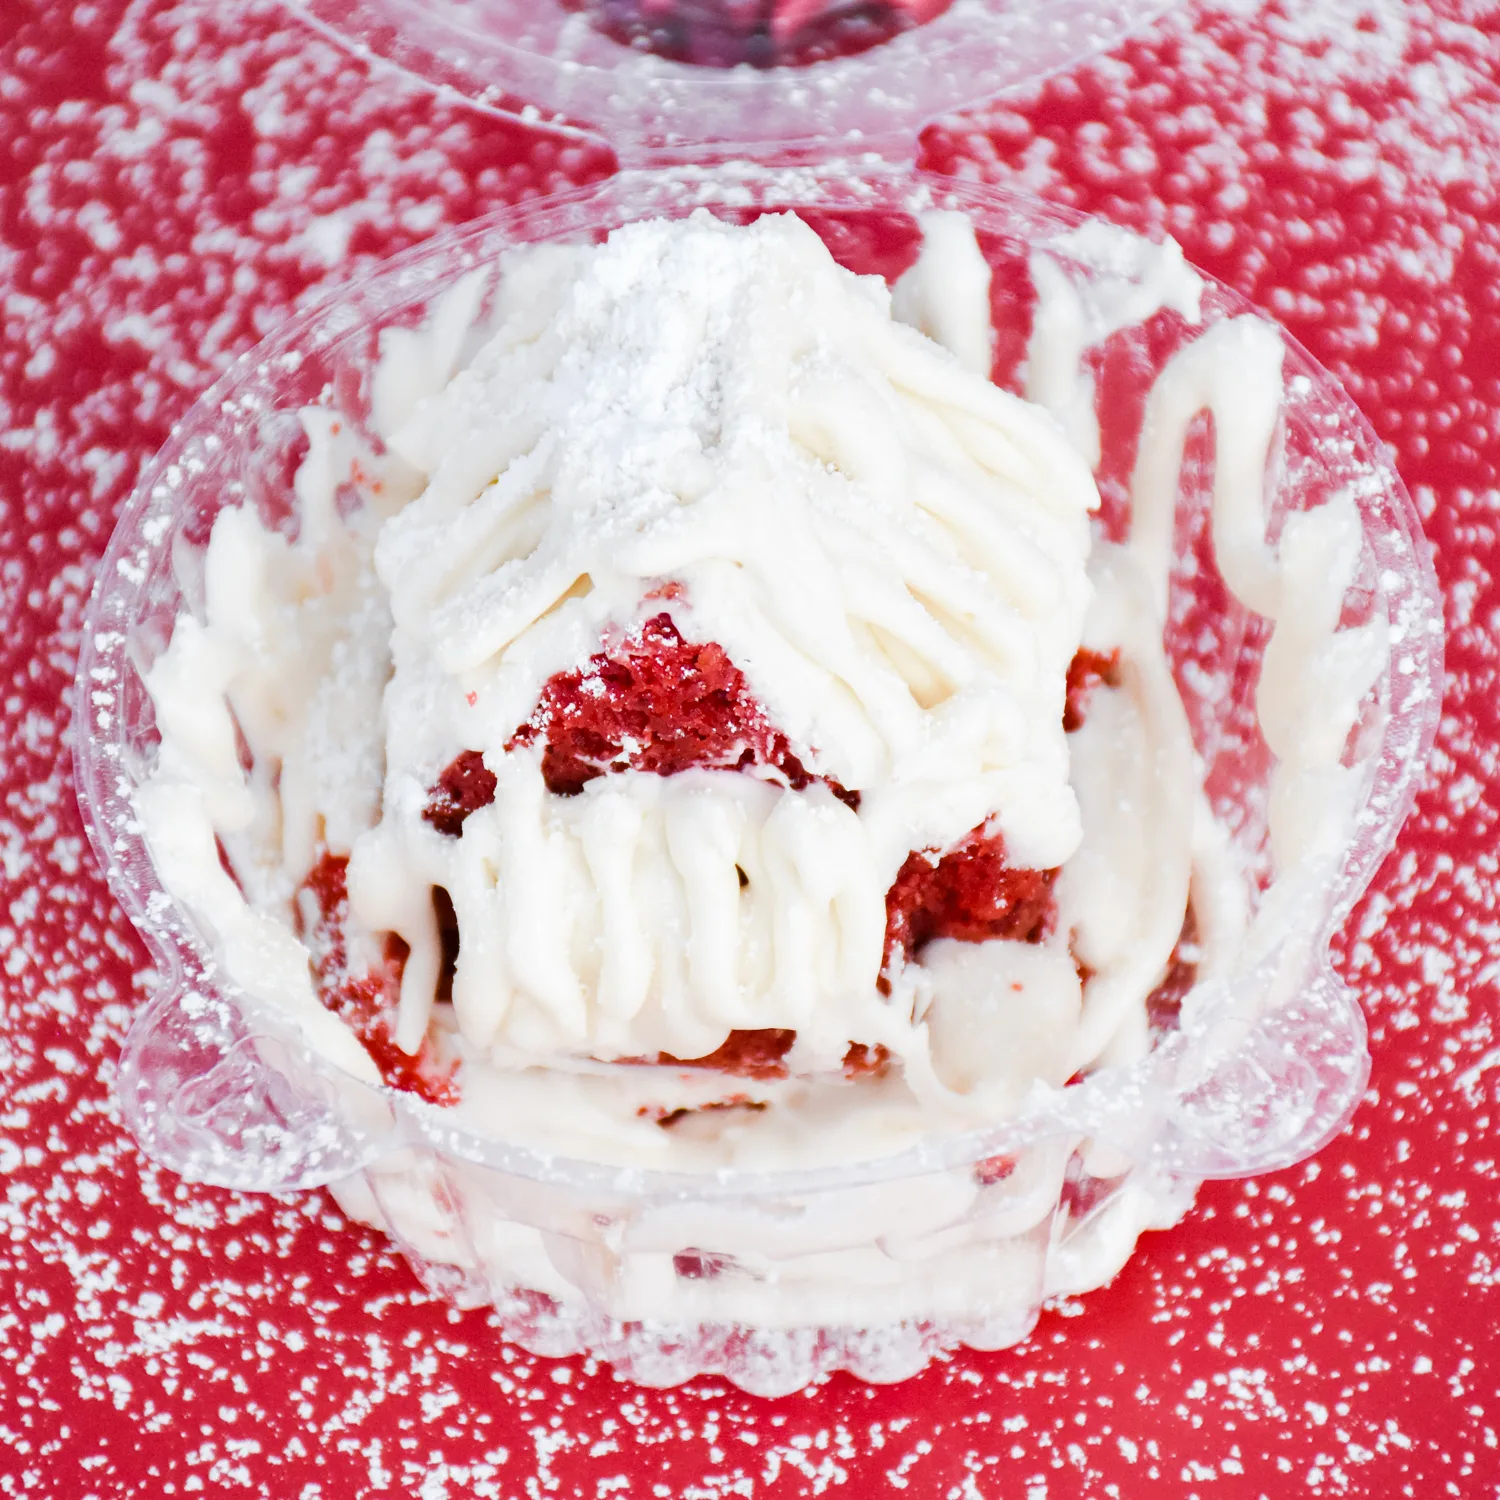
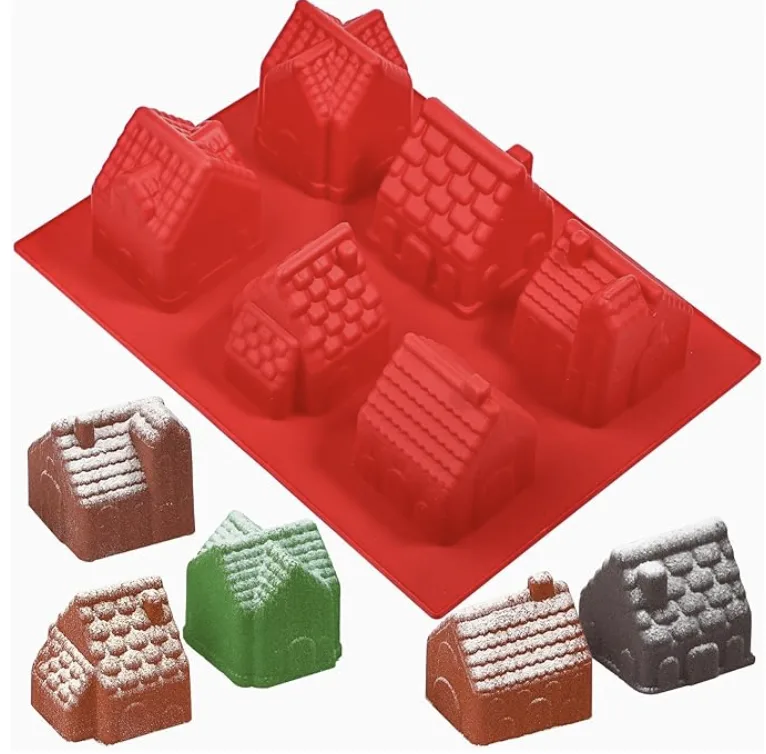
I have a cute mini gingerbread house cake mold, I thought it would be fun to make a Christmas village red velvet cake.
It turned out delicious.
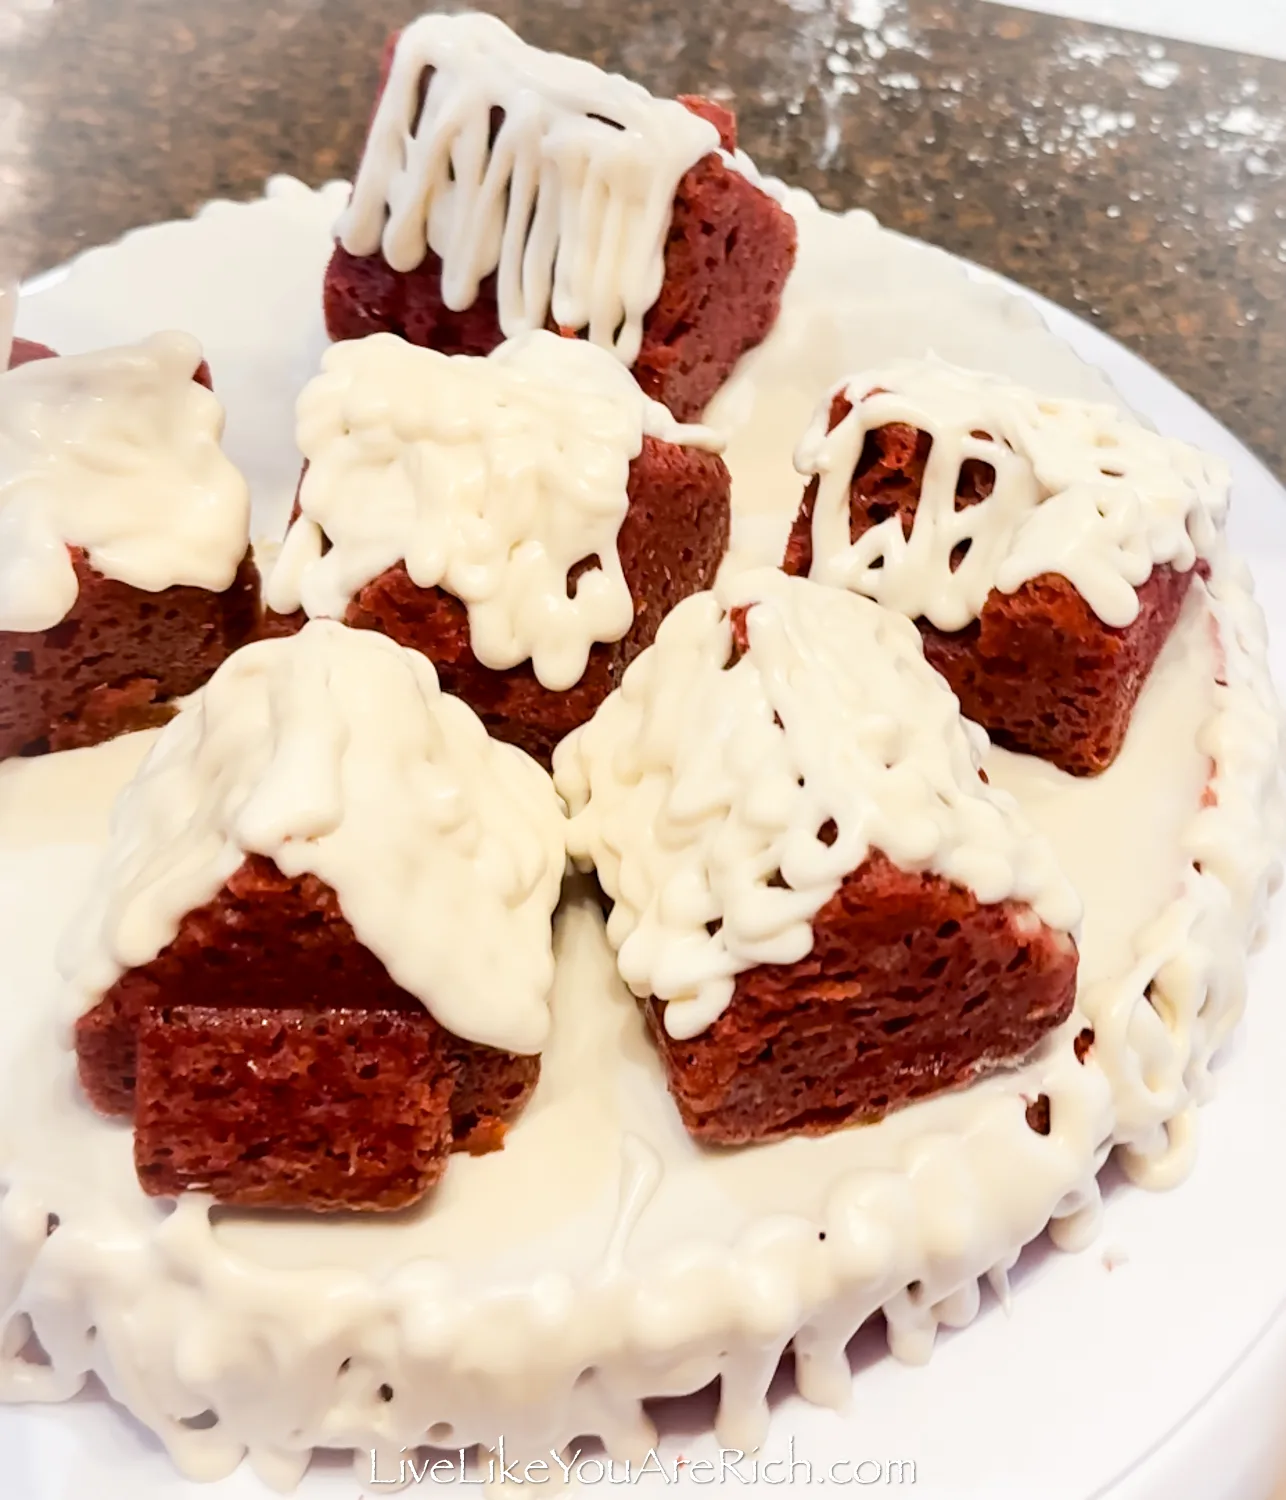
I didn’t get a “beauty shot” with just the cake and a nice background because I was running late on the party setup. I just took a quick shot of the cake as my daughter was helping me frost it.
It turned out delicious and my son loved it so, that is what counts.
Supply list for this Red Velvet Buttermilk Cake Recipe
pans (two round 8″ or two 9×13 rectangular) OR for this recipe I used: 1- mini gingerbread house cake mold
To Frost
piping bags or Ziploc bag, gallon
piping tips, if desired
You can keep scrolling to print off the recipe below.
Ingredients for this Red Velvet Buttermilk Cake Recipe
2 ¼ Cup (275 g) flour – regular all-purpose (do not use cake flour or bread flour)
3 TBSP (18 g) cornstarch
3 TBSP (14 g) cocoa powder – unsweetened
½ teaspoon baking soda
1 teaspoon baking powder
1/8 teaspoon salt if using salted butter or 1/2 teaspoon if using unsalted butter
6 TBSP salted butter – room temperature
¾ Cup (141 g) vegetable oil
1 ¾ Cup (344 g) white granulated sugar
3 large eggs – room temperature
1 TBSP (12 g) vanilla extract Mexican variety is my favorite
1 ½ teaspoon white vinegar
2 TBSP (38 g) red food coloring
¾ Cup (158 g) buttermilk – room temperature
Plus, you will need the ingredients for either one of these frosting recipes: cream cheese frosting or vanilla buttercream frosting recipe.
Directions on how to make this Red Velvet Buttermilk Cake Recipe
Continue reading and/or watch the instructional video.
1- Take eggs, butter, and buttermilk out of the refrigerator and let them come to room temperature.
2- Preheat the oven to 350°F with no fan on and 320°F with fan on.
3- Sift and mix (with a whisk or fork) dry ingredients into a large mixing bowl (flour, cornstarch, cocoa powder, baking powder, baking soda, salt) and set aside.
4- In a stand mixer on slow, cream together butter, sugar, and oil for 3 minutes.
5- On a medium speed, mix eggs into the bowl one by one, giving 10 seconds of mixing time between each egg.
6- Add vinegar, vanilla, and red food coloring and mix until well combined (a few minutes).
7- The rest of the cake will be stirred/mixed by hand.
8- Add 1/2 of the dry ingredients and stir by hand until just combined, it will look clumpy.
9- Add all the buttermilk and the remaining 1/2 of dry ingredients and gently fold them together.
10- Stir the ingredients until just when you no longer see clumps of flour this ensures that the cake stays soft and fluffy. If you want to use a mixer. Mix on slow speed and watch it closely. Make sure that you stop mixing as soon as the clumps of flour are incorporated.
11- Using parchment paper if you have a flat bottom pan, trace the bottom of the pan onto the parchment paper and cut out the shape, place it in the bottom of the pan. Spray the parchment paper and the sides of the round pan with a bit of cooking spray. Use a paper towel to spread it around to ensure an even coating. If you want to be extra sure the cake will come out easily, sprinkle a little flour on the sides of the pan. This is typically unnecessary though. I just did this because I was flouring my gingerbread house mold.
I used a round spring-form pan and small gingerbread house forms. For the silicone form, I used a bit of butter/Crisco food shortening and a light dusting of flour to ensure they came out just fine—which they did.
12- Pour batter into the cake form and tap it lightly on the counter before placing it into the oven. For this standard recipe use 2- 8 inch round pans and bake for 30 minutes. Start checking them for around 27 minutes. Do not overbake as it will dry out the cake.
13- Once completely cooled, frost the cake with this cream cheese frosting if you want a buttercream frosting instead, try this vanilla buttercream frosting recipe.
Tips for baking and using odd-shaped pans and silicone molds.
Fill the silicone mold with houses about 3/4 full of each form, place it on a cookie sheet, and bake for 15-20 minutes. Begin checking at 14 minutes.
I used a 9-inch spring form pan and only filled it about 1.5 inches deep—it took about 20 minutes to bake.
Once the cake springs up when lightly touched, or a toothpick comes out clean, remove it and allow it to cool.
Important Note- Do not open the oven until these cakes have baked for at least 80% of the called-for time. This will ensure that the cake will not fall. At this point, you can check them once in a while. Once the cake springs up when lightly touched, or a toothpick comes out clean, remove it and allow it to cool. Then remove them from the pan. The springform pan popped off, the silicone house mold worked like this: I placed a cookie sheet over top, flipped it over and the silicone pan just slid off when I removed it—all of the houses were perfectly intact.
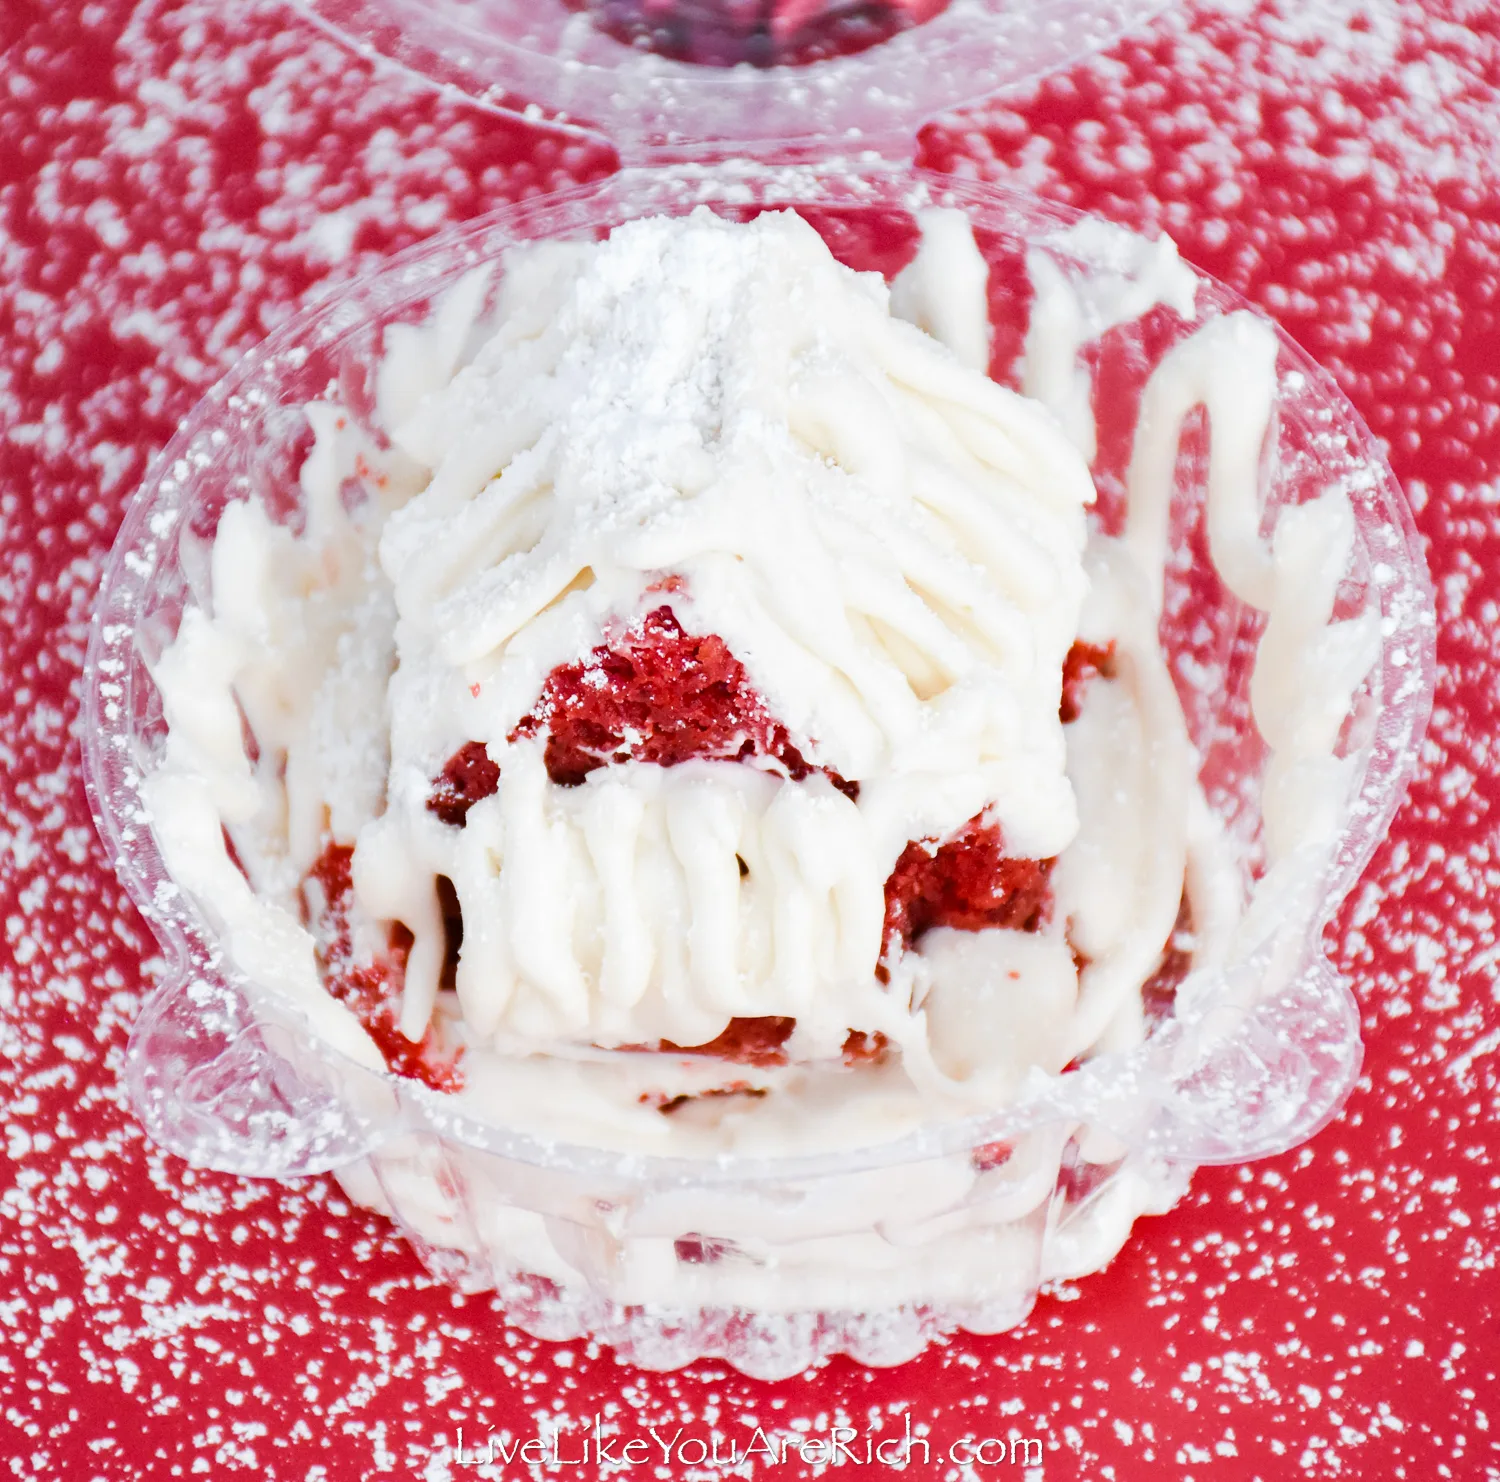
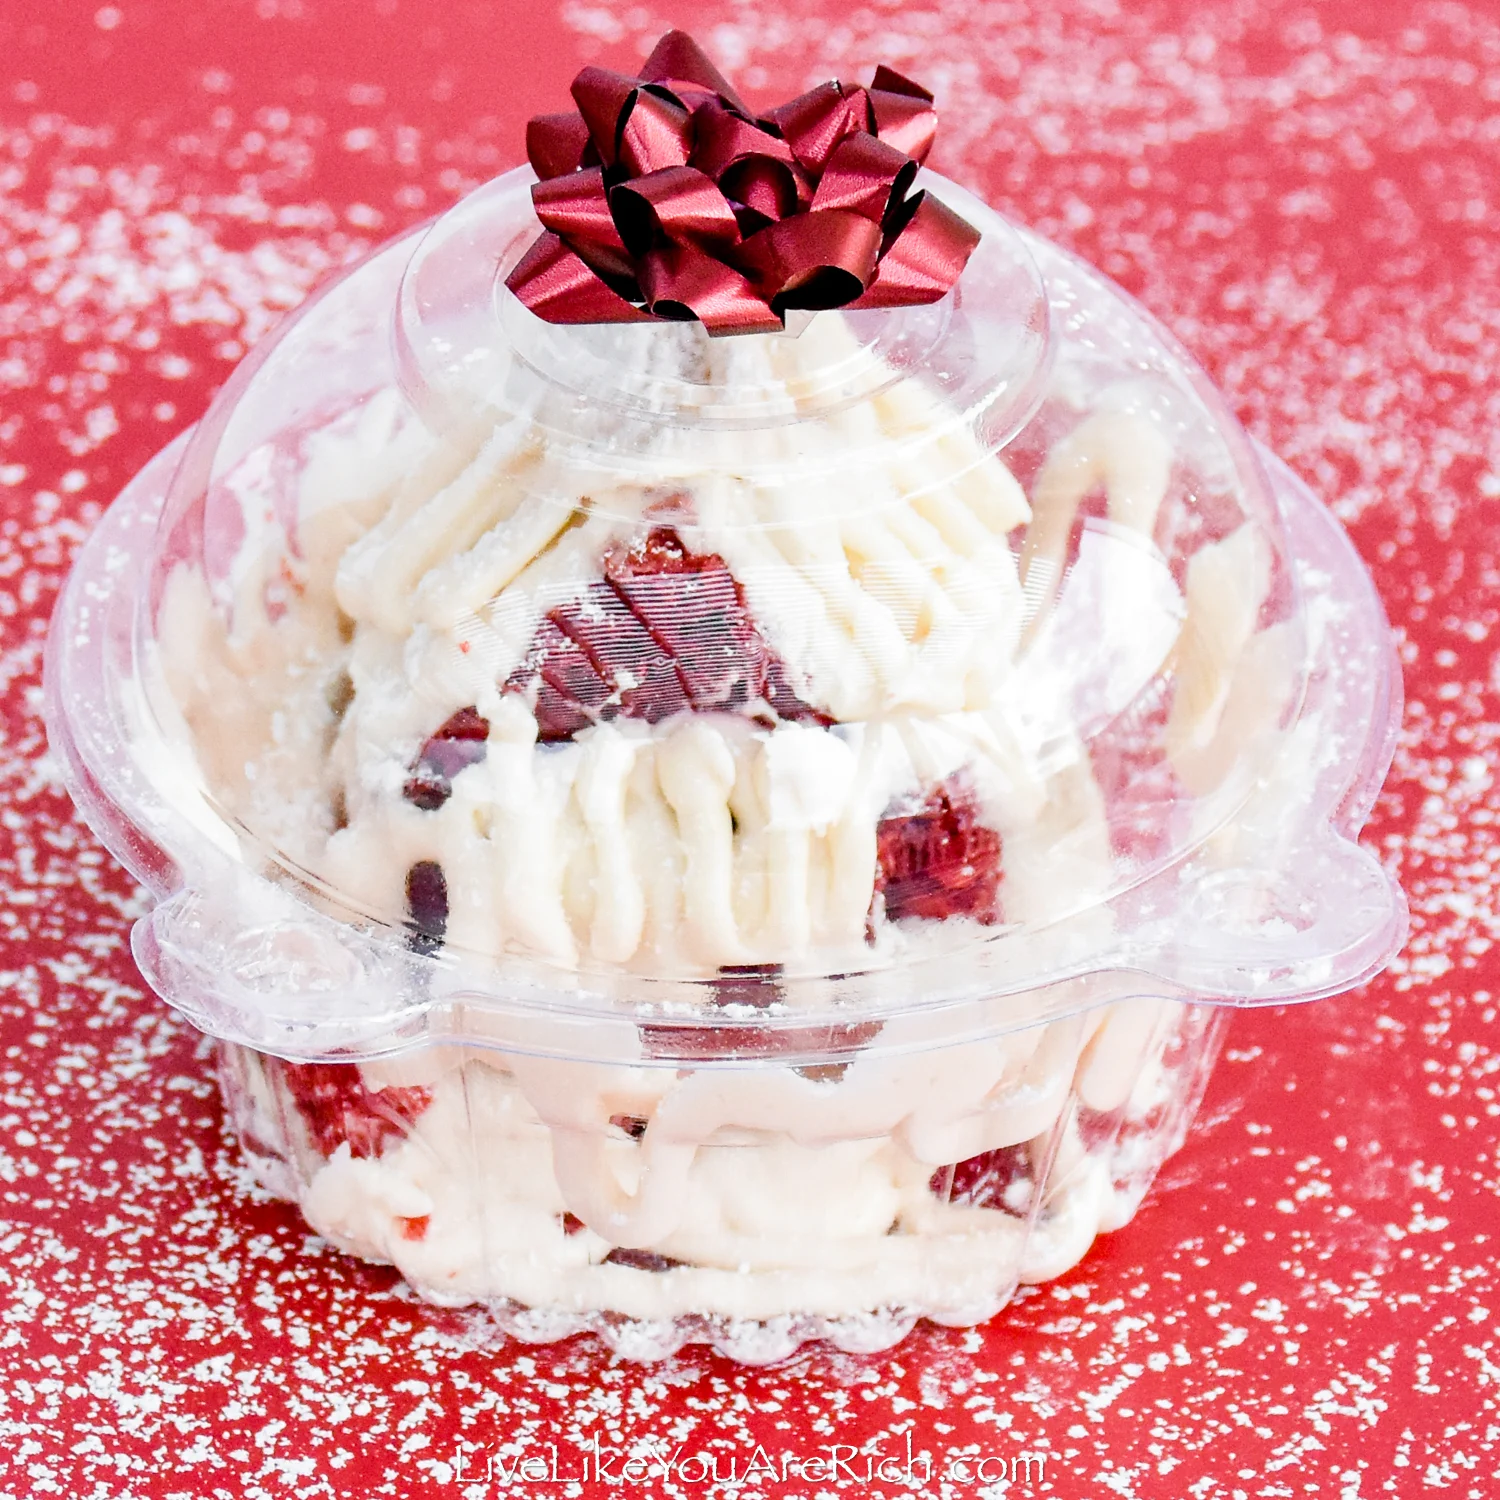
These also make great neighbor Christmas gifts see how I packaged them here.
This buttermilk red velvet recipe is delicious and soft; it pairs perfectly with my cream cheese frosting recipe. 1- Take eggs, butter, and buttermilk out of the refrigerator and let them come to room temperature. 2- Preheat the oven to 350°F with no fan on and 320°F with fan on. 3- Sift and mix (with a whisk or fork) dry ingredients into a large mixing bowl (flour, cornstarch, cocoa powder, baking powder, baking soda, salt) and set aside. 4- In a stand mixer on slow, cream together butter, sugar, and oil for 3 minutes. 5- On a medium speed, mix eggs into the bowl one by one, giving 10 seconds of mixing time between each egg. 6- Add vinegar, vanilla, and red food coloring and mix until well combined (a few minutes). 7- The rest of the cake will be stirred/mixed by hand. 8- Add 1/2 of the dry ingredients and stir by hand until just combined, it will look clumpy. 9- Add all the buttermilk and the remaining 1/2 of dry ingredients and gently fold them together. 10- Stir the ingredients until just when you no longer see clumps of flour this ensures that the cake stays soft and fluffy. If you want to use a mixer. Mix on slow speed and watch it closely. Make sure that you stop mixing as soon as the clumps of flour are incorporated. 11- Using parchment paper if you have a flat bottom pan, trace the bottom of the pan onto the parchment paper and cut out the shape, place it in the bottom of the pan. Spray the parchment paper and the sides of the round pan with a bit of cooking spray. Use a paper towel to spread it around to ensure an even coating. If you want to be extra sure the cake will come out easily, sprinkle a little flour on the sides of the pan. This is typically unnecessary though. I just did this because I was flouring my gingerbread house mold. I used a round spring-form pan and small gingerbread house forms. For the silicone form, I used a bit of butter/Crisco food shortening and a light dusting of flour to ensure they came out just fine—which they did. 12- Pour batter into the cake form and tap it lightly on the counter before placing it into the oven. For this standard recipe use 2- 8 inch round pans and bake for 30 minutes. Start checking them for around 27 minutes. Do not overbake as it will dry out the cake. 13- Once completely cooled, frost the cake with this cream cheese frosting if you want a buttercream frosting instead, try this vanilla buttercream frosting recipe. Fill the silicone mold with houses about 3/4 full of each form, place it on a cookie sheet, and bake for 15-20 minutes. Begin checking at 14 minutes. I used a 9-inch spring form pan and only filled it about 1.5 inches deep—it took about 20 minutes to bake. Once the cake springs up when lightly touched, or a toothpick comes out clean, remove it and allow it to cool. Important Note- Do not open the oven until these cakes have baked for at least 80% of the called-for time. This will ensure that the cake will not fall. At this point, you can check them once in a while. Once the cake springs up when lightly touched, or a toothpick comes out clean, remove it and allow it to cool. Then remove them from the pan. The springform pan popped off, the silicone house mold worked like this: I placed a cookie sheet over top, flipped it over and the silicone pan just slid off when I removed it—all of the houses were perfectly intact.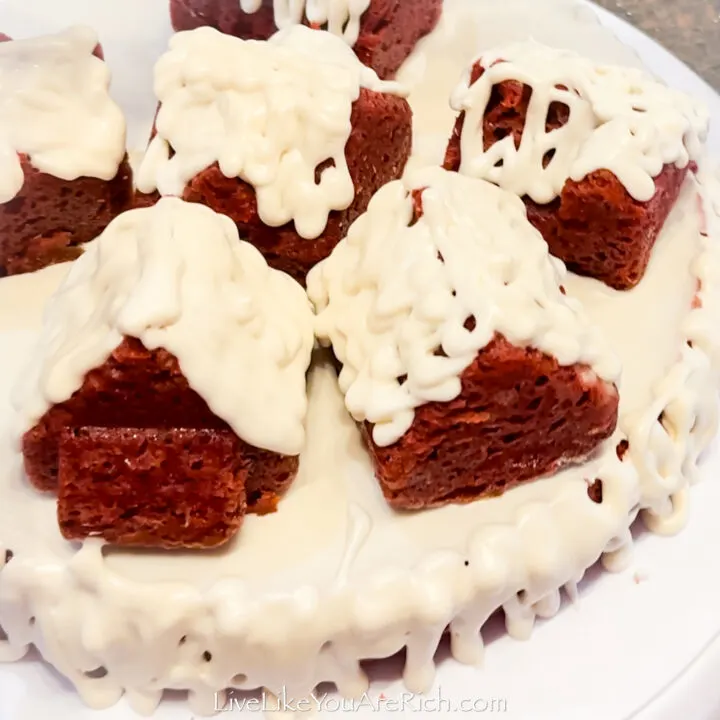
Red Velvet Buttermilk Cake Recipe
Ingredients
Instructions
Notes
Tips for baking and using odd-shaped pans and silicone molds.

For other ‘rich living tips’ please Subscribe Here for my weekly email or connect with me on these other platforms:

