


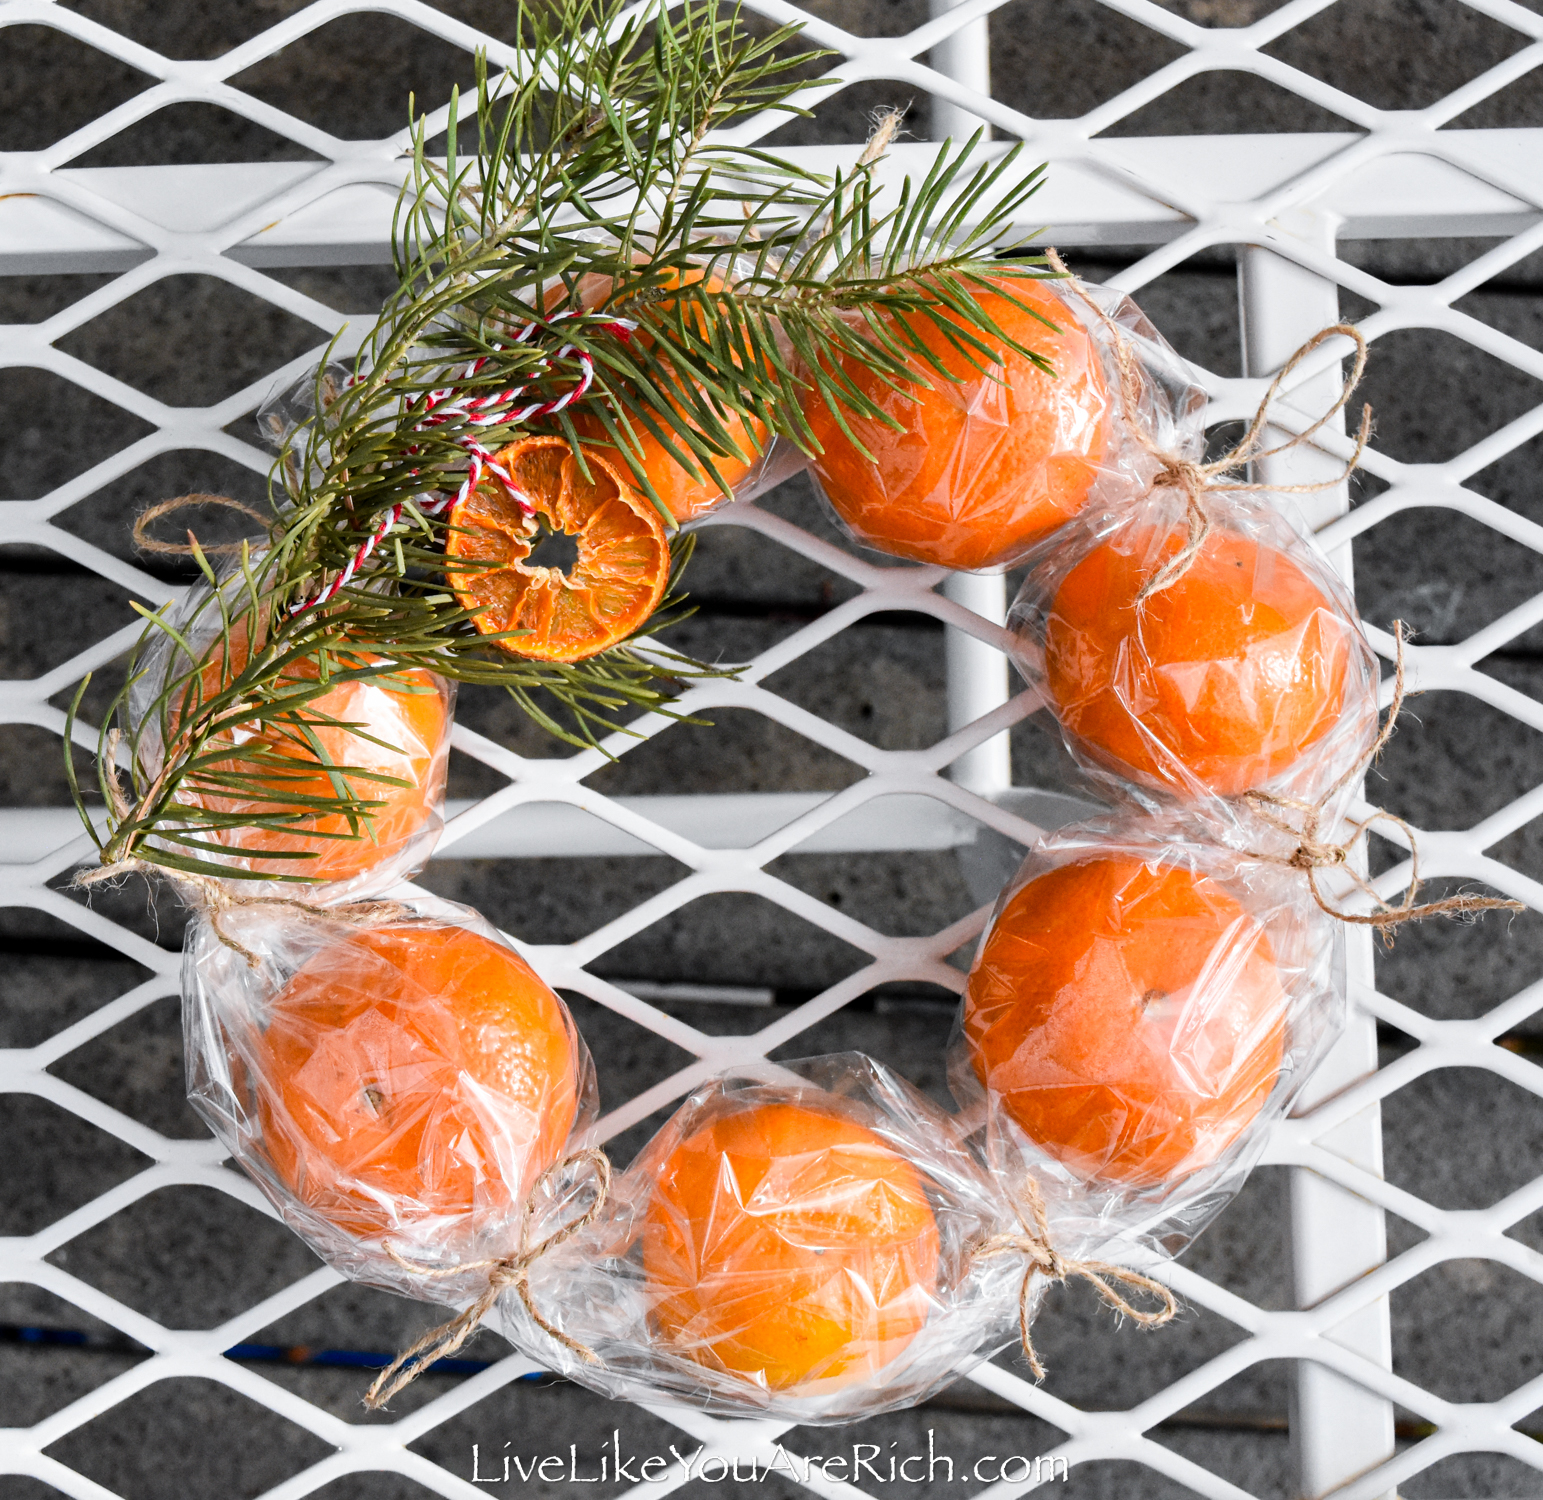
This Clementine Wreath—Cellophane Wrapped is easy to make, healthy, and festive.
This is a great citrus wreath to give to neighbors or teachers, family, and friends for Christmas.


Giving neighbors, friends, or family a clementine wreath is usually well received as a gift.
The reasons are that most people like fruit, it looks cute/classy, and citrus is traditionally a winter-time food.
Another great thing about this project is that you only need a few supplies.
These are easy to make. They take about 3 minutes each if you are making them alone. See the video tutorial on this page on how to make them.
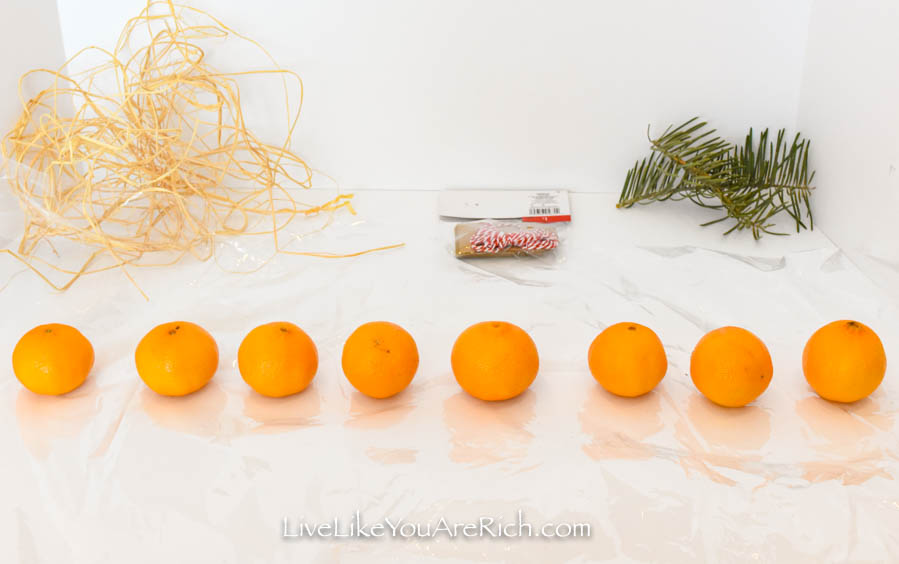
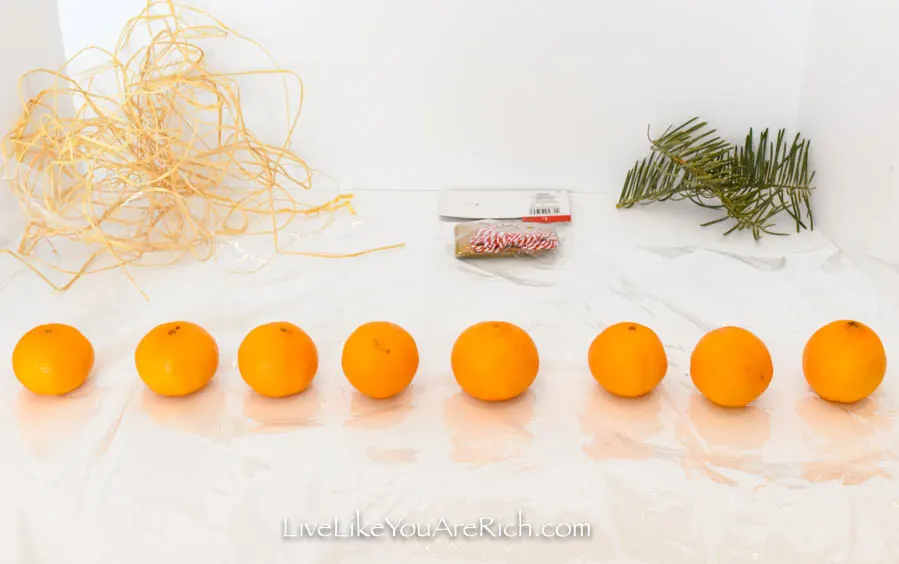
Supply List for a Cellophane Clementine Wreath
Clementines (7-8 per wreath)
String or natural raffia paper ribbon, or jute string.
Pine springs (I just cut them from my tree outside)
Dried clementine—tutorial (optional) these look very pretty with a dried clementine attached.
String– I love this red and white one to attach a tag and/or dried clementine slice.


How to make a Cellophane Clementine Wreath
Watch the video on this page and/or continue reading.
Optional- Get the clementines drying in your oven if you wish to attach them to this wreath. I did a tutorial/post/video on how to dry clementine slices here. Note- Make sure to make a hole in each clementine before drying it.
First, take a good roll of cellophane and roll it out on the table. Don’t use super thin cellophane; anything 2+ Mil thick or thicker will hold the clementines just fine.
Next, place 7-8 clementines on it in a row leaving an inch and a half in between each clementine and about 6 inches on either end.
Cut the cellophane to size.
Tip- You could now use this length to cut out many sheets of cellophane if you are making many of these wreaths.

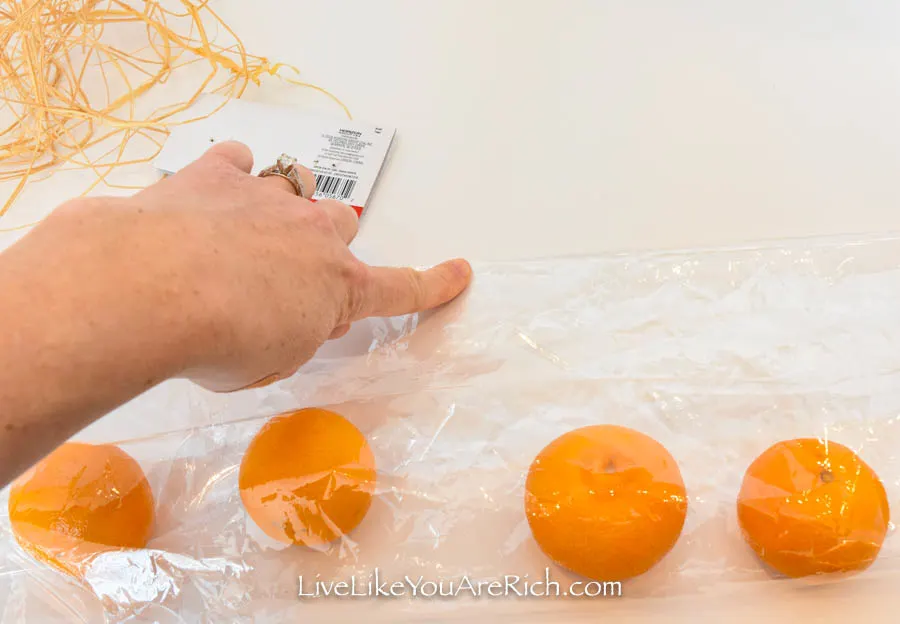
Fold over one side and kind of roll the clementines on top of the folded edge to hold it down.
Then, fold over about an inch of the exposed side to make it look nicer when you fold that over the clementines to wrap them up. The folded edge just makes it look a lot nicer than the exposed edge.
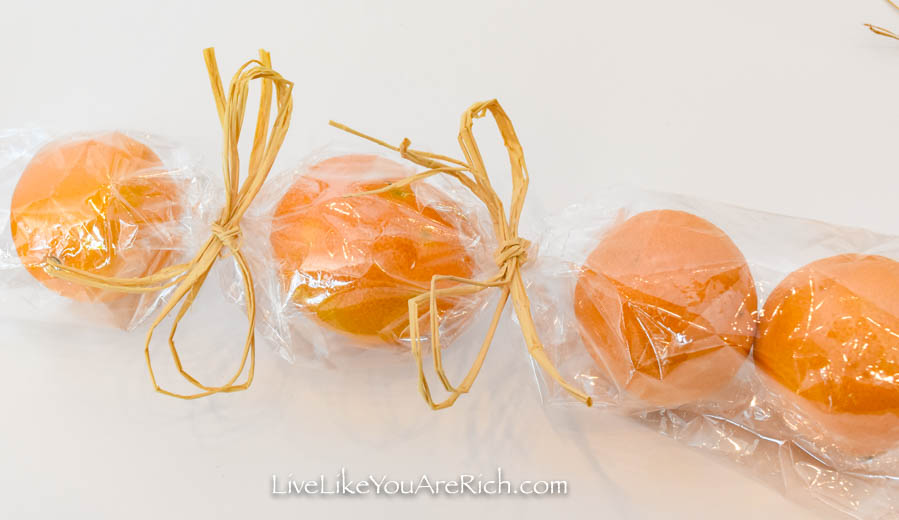
 Begin tying string or twine in between each clementine in the middle and work your way out to either side.
I started with 8 clementines and ended up using only 7 because I felt it made a nice wreath size and the fewer I used the more wreaths I could make.
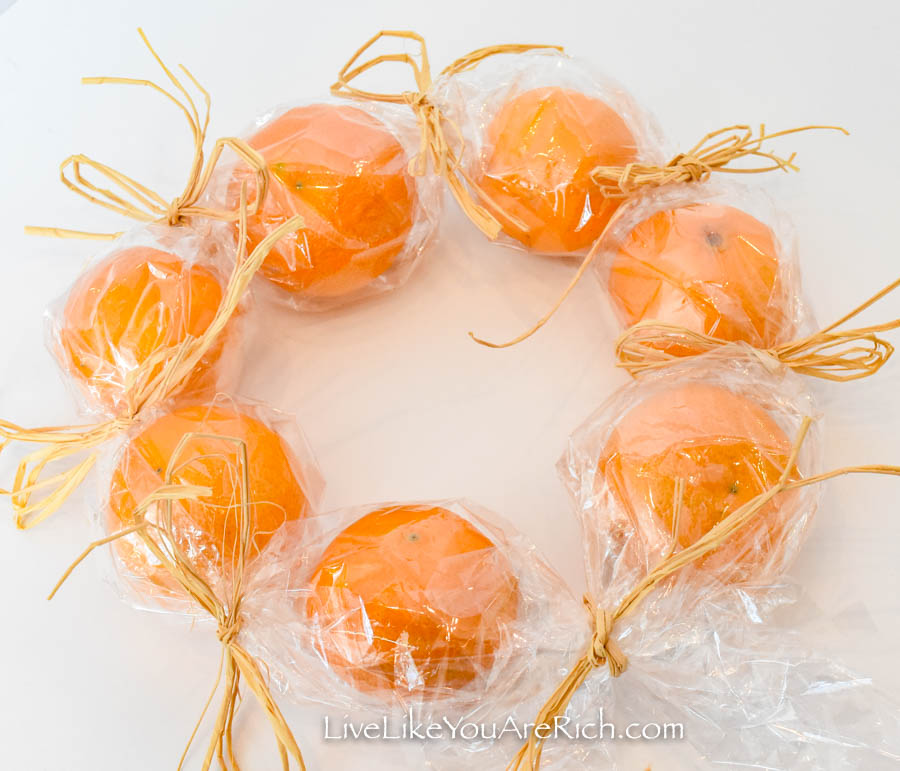
 Once you have tied a bow in between each clementine, bring the two ends together and tie a double knot with twine leaving 10+ inches of twine on each end to make a big bow once the tag and pine needles have been added.


At this point, I made the tag.
I used these two markers to write Merry Christmas in silver and then gold.


I liked the layered look of both because each alone was just not looking the best.


Next, I secured the tag and then I took a few sprigs of one of my pine trees and added it to the wreath. You can also buy springs of pine needles at a local store if you do not have pine trees.


I also experimented with adding a dried clementine slice and loved the look!
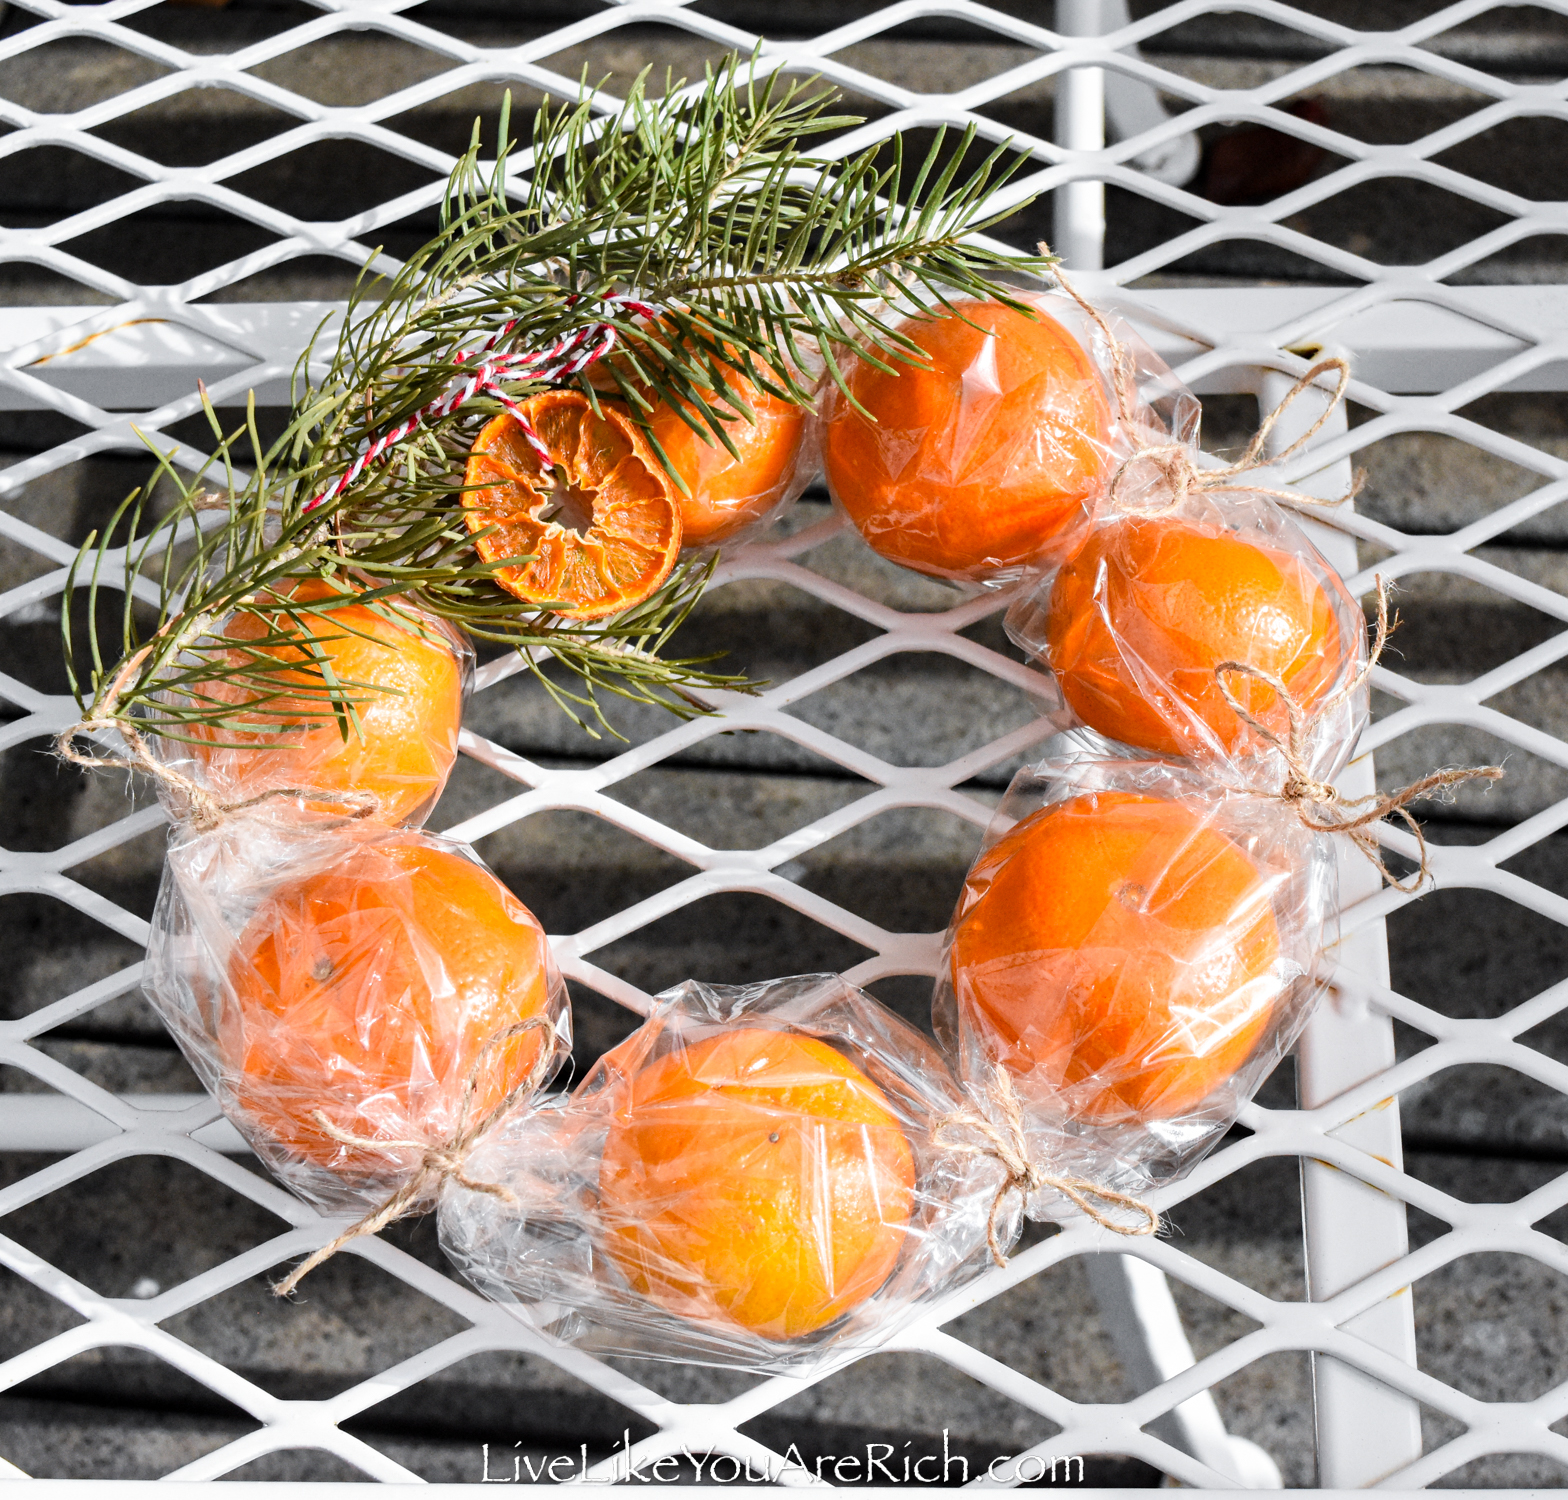
And that is it! It really was very simple to make.


I saw this wreath online and wanted to experiment with it to see if it would be a good gift for my neighbors this year (2020).
Although simple to make and inexpensive (two must-haves with neighbor gifts), they did take me about 3 minutes each to make. I gift to over 50 neighbors and because I am pregnant and exhausted all of the time this year, I decided I needed to choose something more simplistic; so, I went with this gift instead.
I may try making these for neighbors next year because I just think it’s such a cute idea!
If I do make this cellophane clementine wreath for neighbor gifts next year, I will recruit my husband and children to help.
We will likely create an assembly line. I bet we could put 50 of these together in an hour or two.
Let me know below if you make these and how many and how long it takes you in the comments below. Thanks!
Supply List for a Cellophane Clementine Wreath
Clementines (7-8 per wreath)
String or natural raffia paper ribbon
Pine springs (I just cut them from my tree outside)
Other posts you may like:
classy neighbor gifts for $2.00 or less here.
Quick and inexpensive neighbor gifts

For other ‘rich living tips’ please Subscribe Here for my weekly email or connect with me on these other platforms:


Dustin
Tuesday 15th of December 2020
LOVE this idea–colorful, pretty, easy to put together! Thank you! I love red, too, all year round but especially at Christmas!
Anita
Wednesday 23rd of December 2020
Thank you! I'm glad you like it.