
This is how to make these Halloween Cereal Necklaces and Bracelets.

My daughters love to craft with me.
My older daughter and I have time set aside once a week to do crafts together. So, I’m always looking for fun, cheap, and easy crafts we can make.
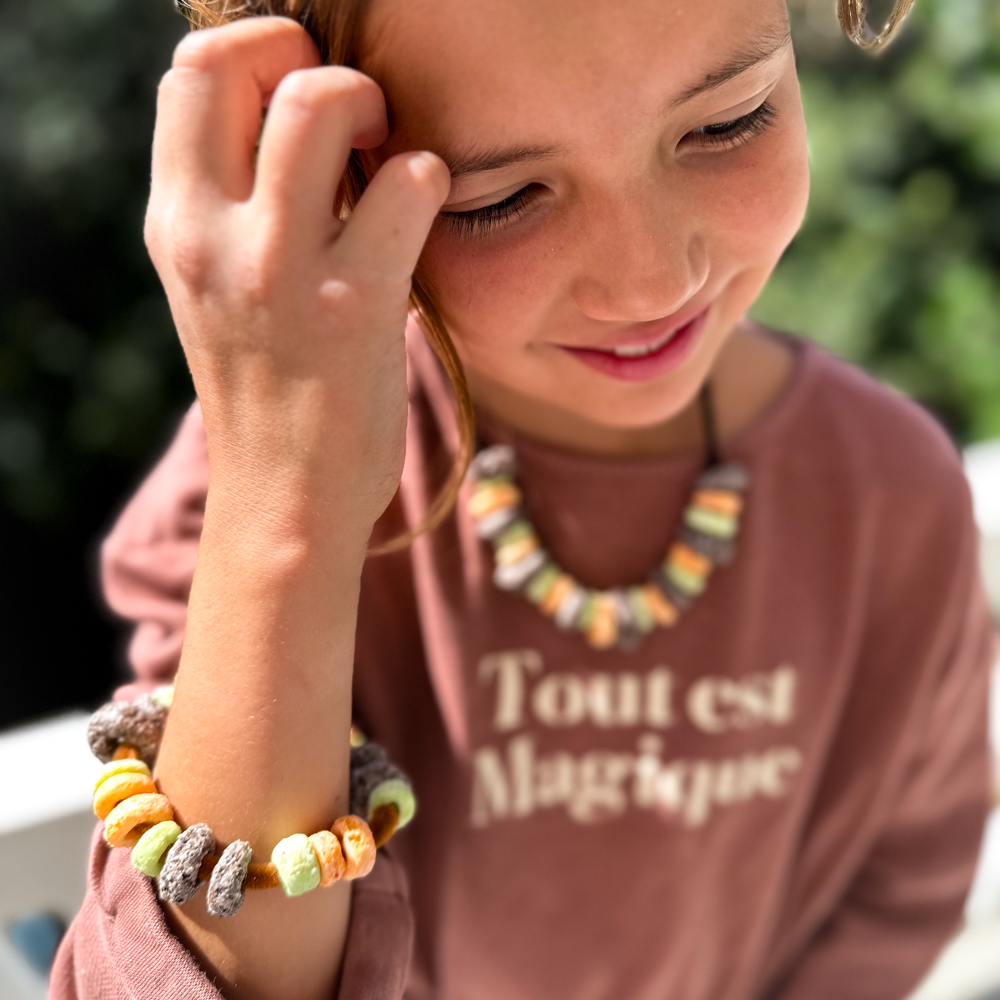
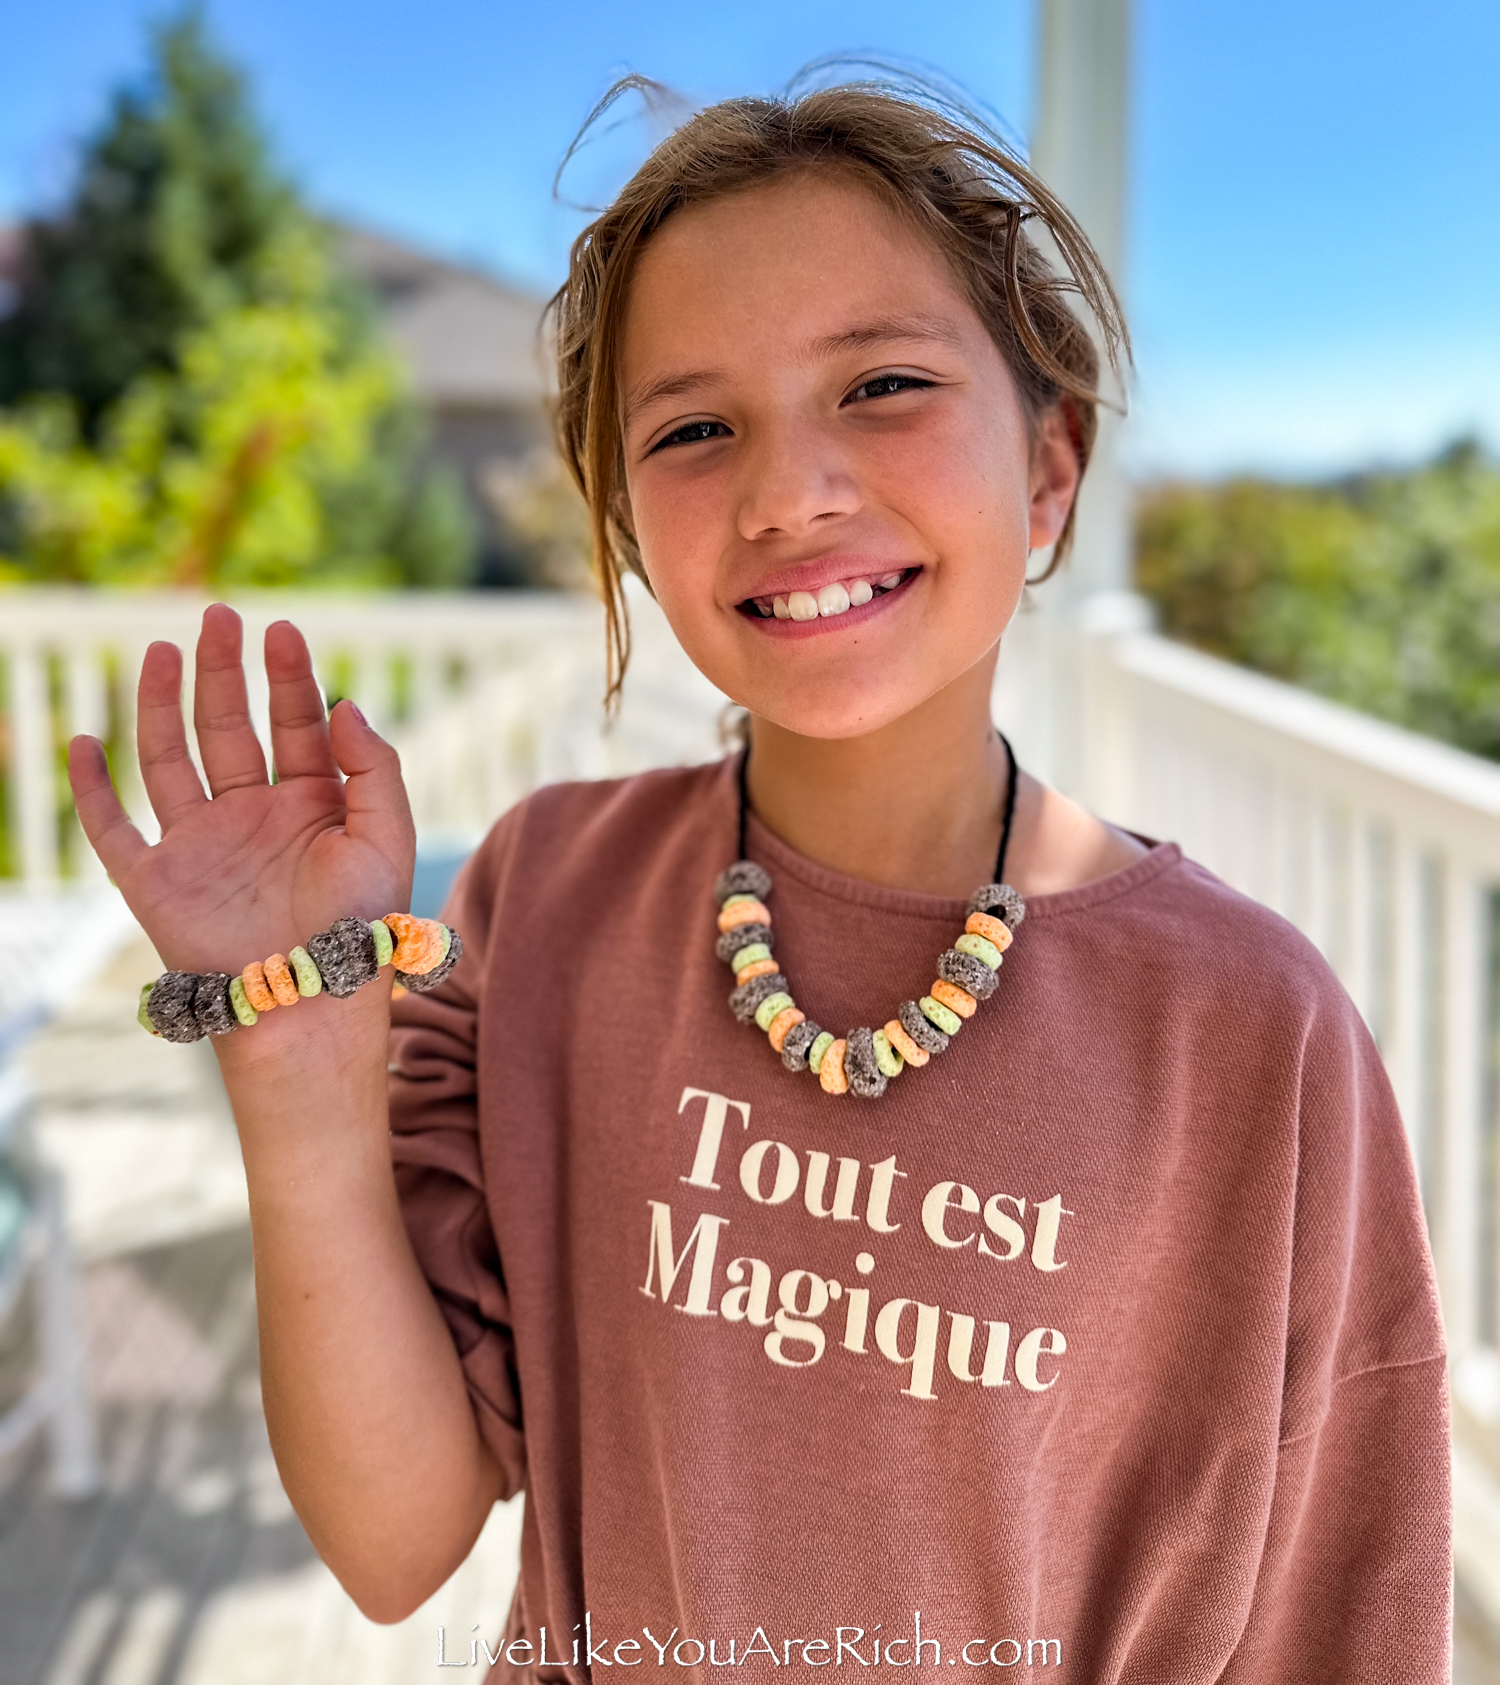
Today, we made Halloween cereal necklaces and bracelets using Oreo O’s and Apple Jacks cereals.
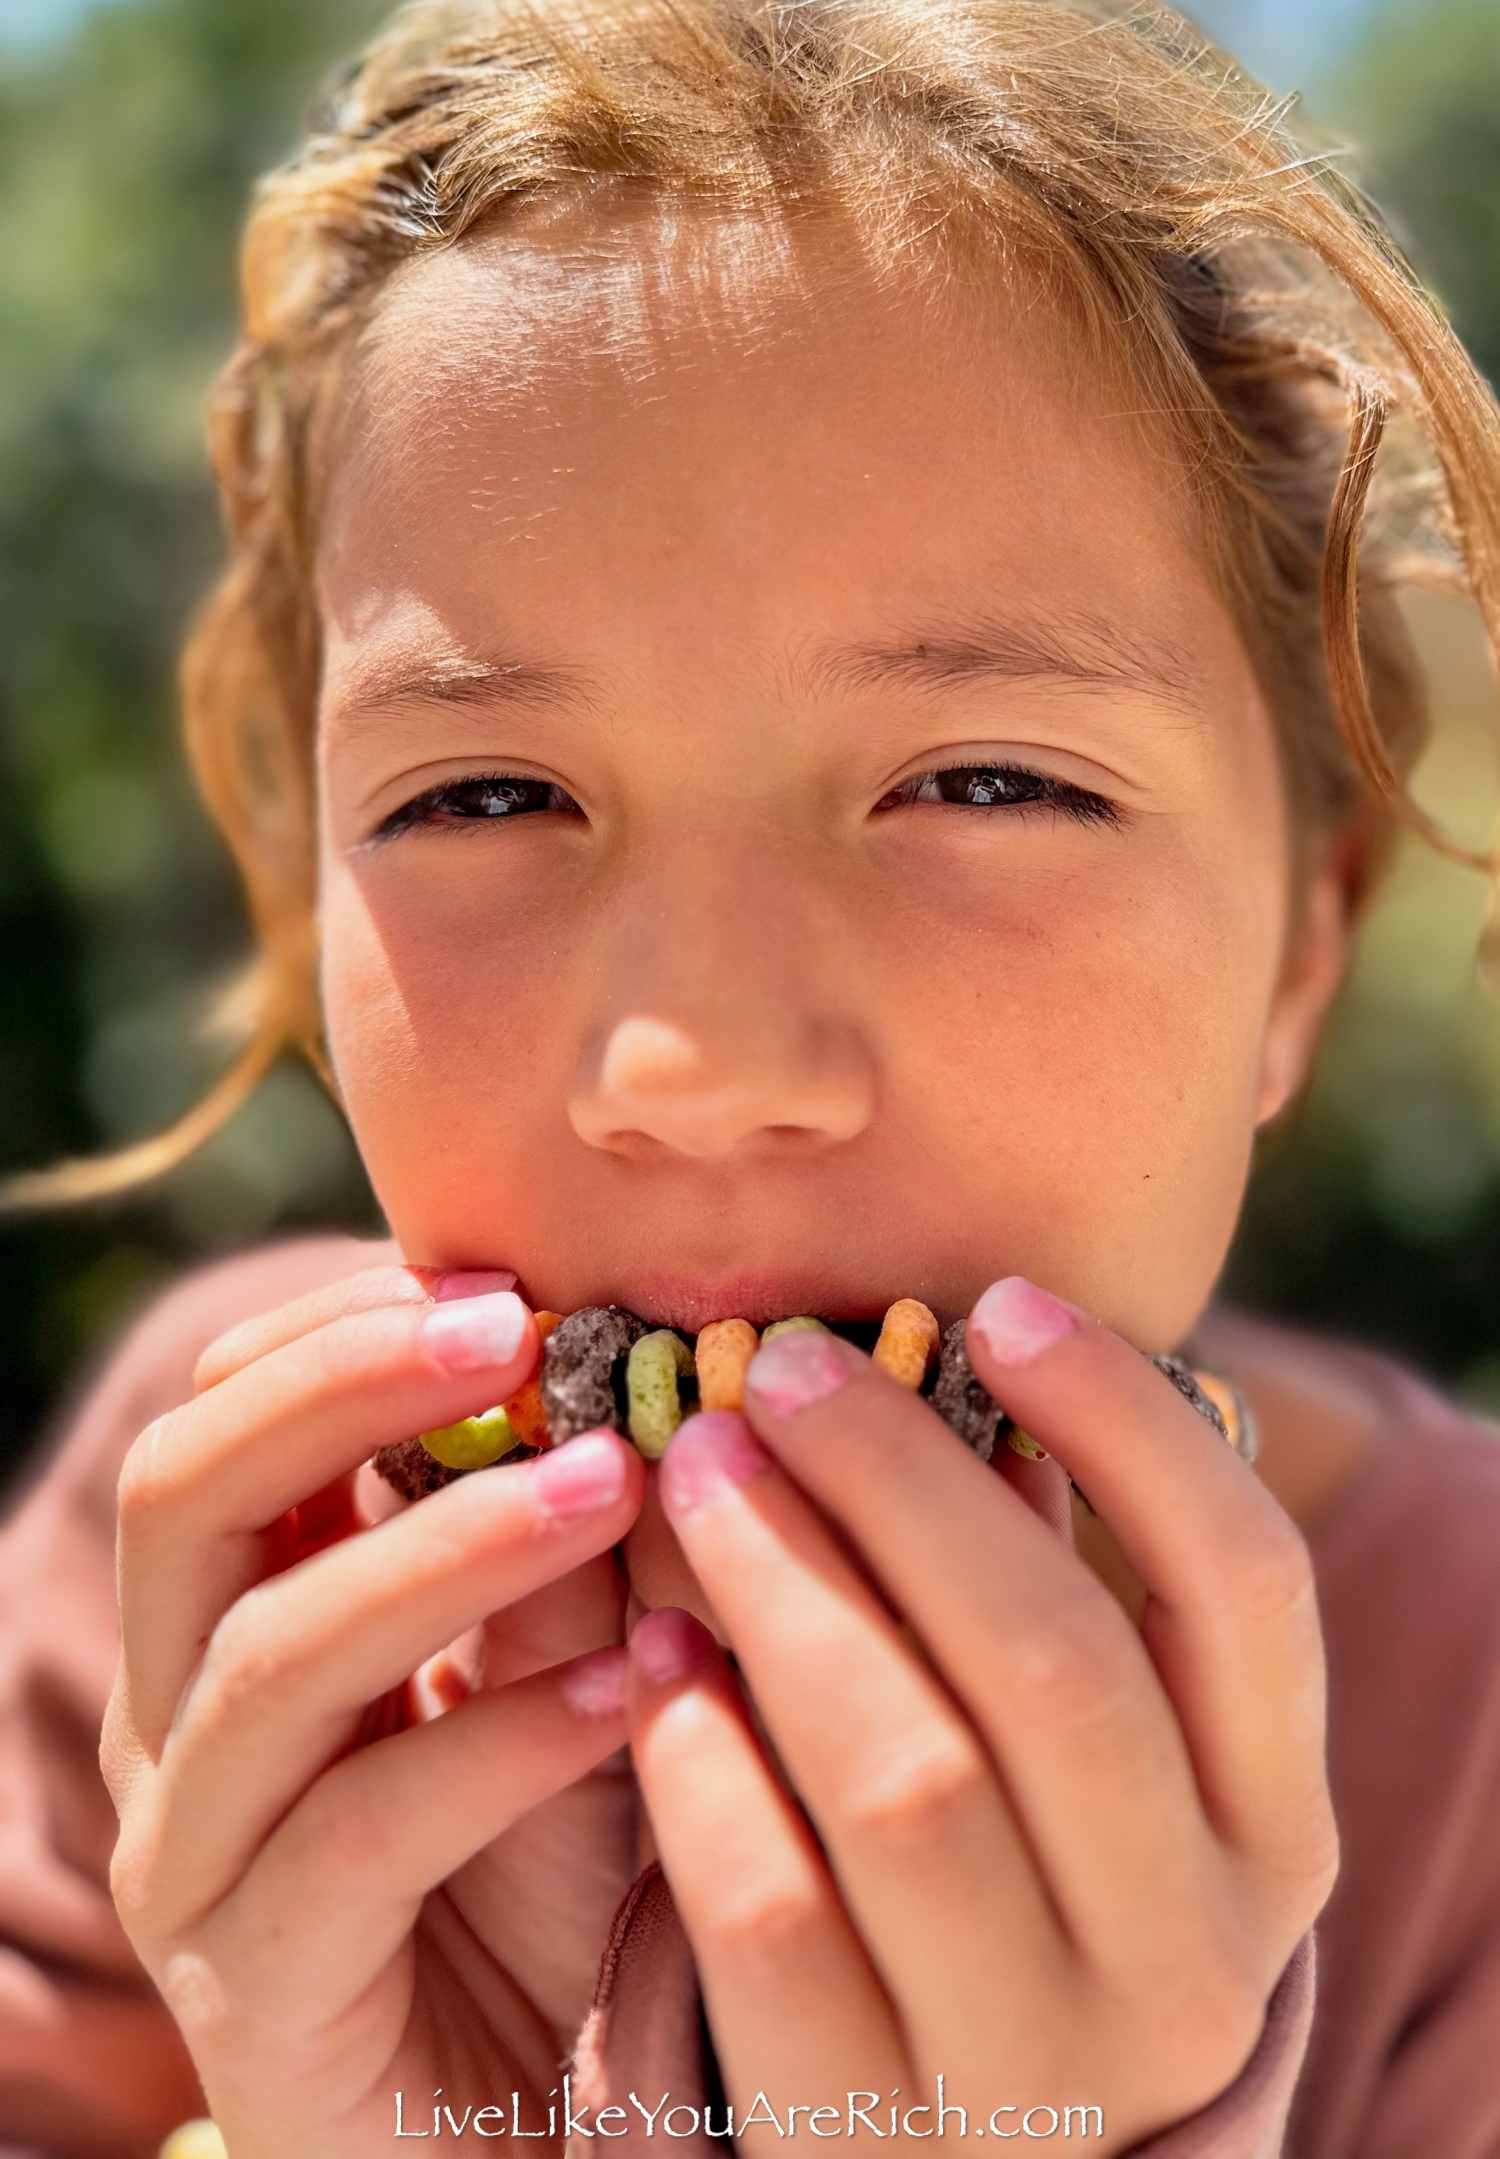
My girls loved making this together. The best part for them was that it was an edible craft.
We don’t often make edible crafts, so this was an inviting change.
Supply List for these Halloween Cereal Necklaces and Bracelets
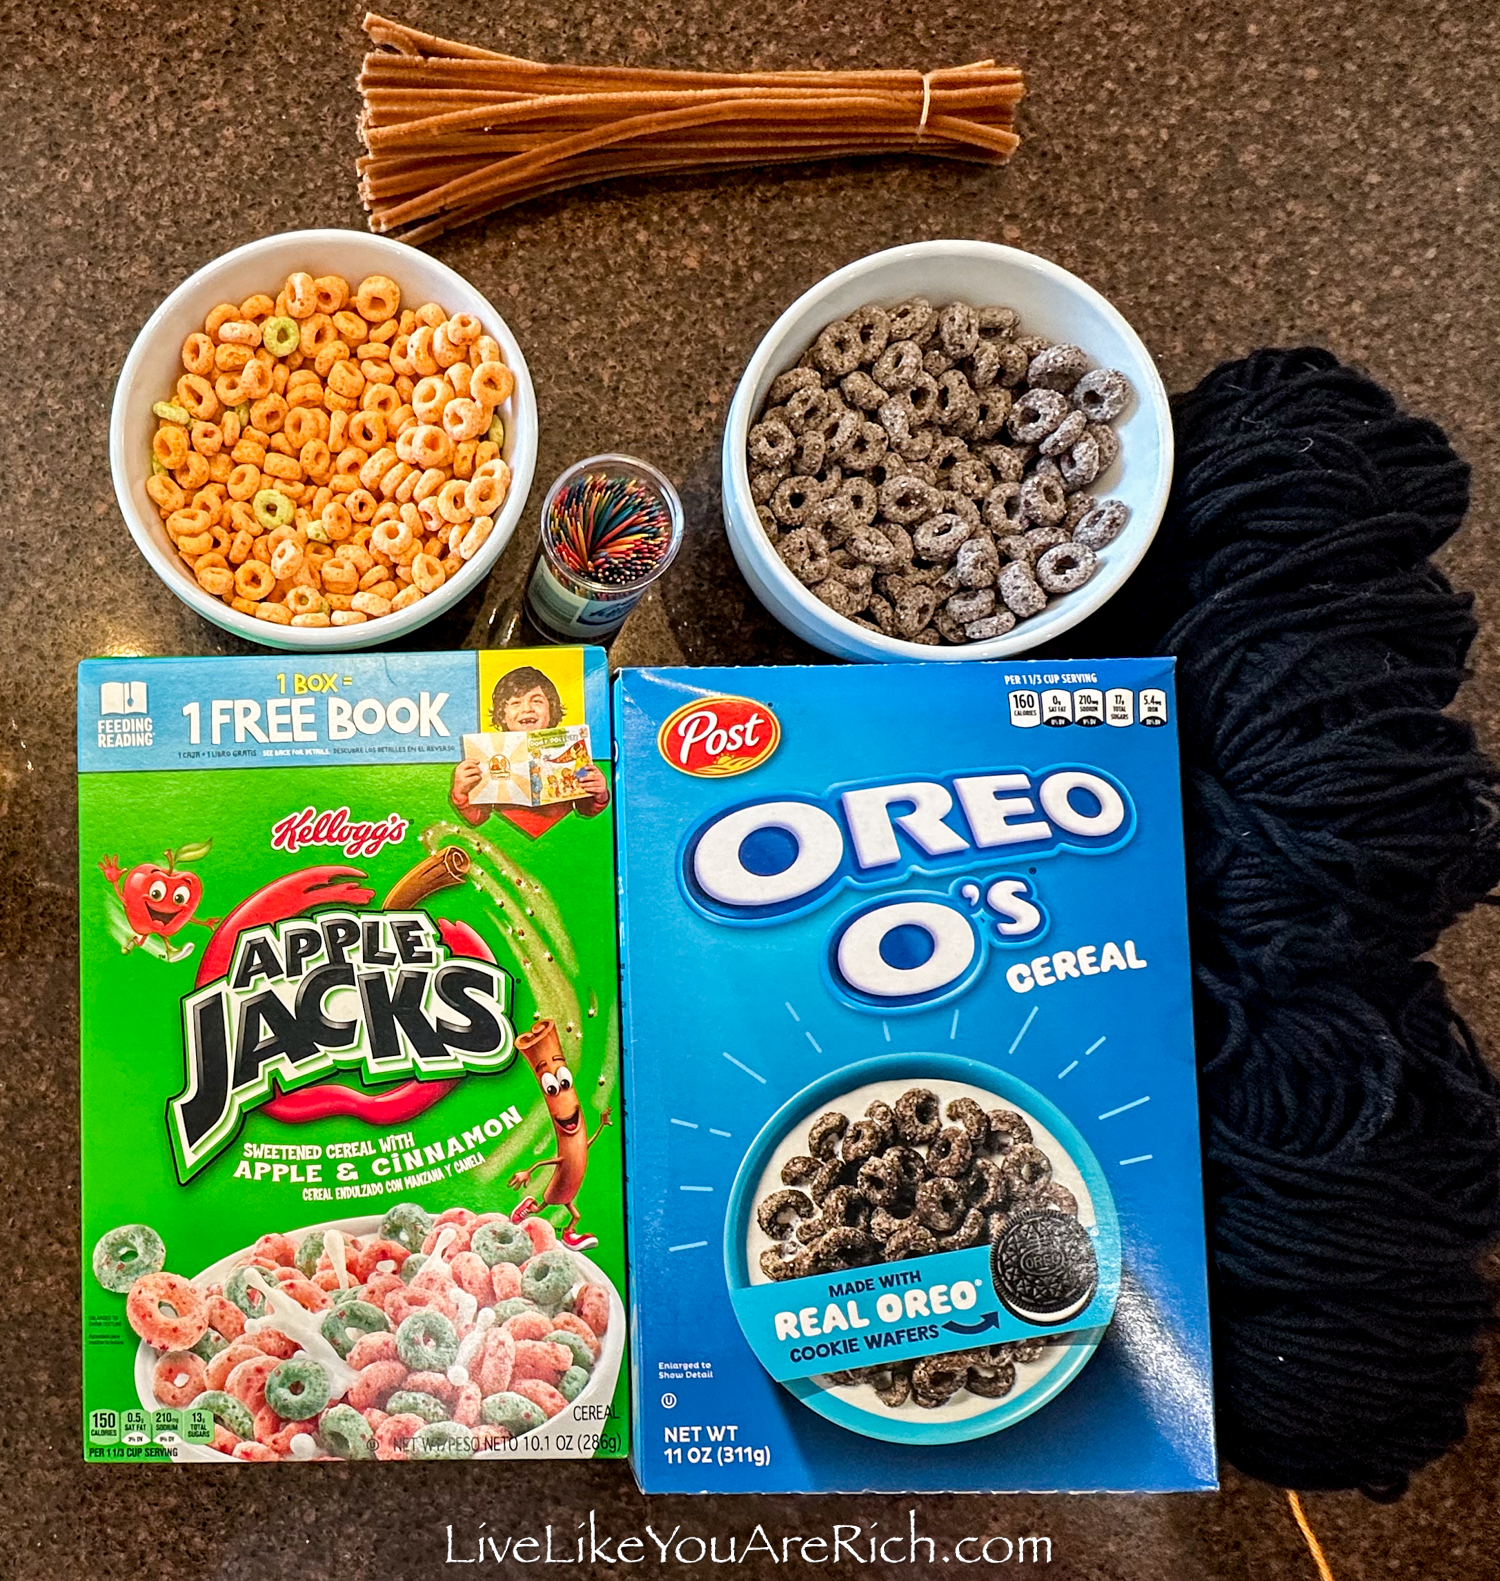
Apple Jack’s Cereal. Oreo O’s Cereal. We used about 20-25 cereal pieces for the necklace and about 30-35 for the bracelet.
yarn (thinner yarn works better)
How to make these Halloween Cereal Necklaces and Bracelets
Watch the video on this page and/or continue reading below.
1- You can use yarn or pipe cleaners for both the necklaces and bracelets. It is up to you which to choose.
As shown in the video, it is far easier to string the cereal on the pipe cleaners than the yarn. The yarn requires one use a toothpick to push or pull it through the cereal.
However, my 8-year-old did great with the yarn and if you use a thinner yarn, you won’t need to use the toothpick so much either. Younger than 7, I’d use a pipe cleaner for sure. For older kids, you could choose either or. I’d recommend choosing to use one or the other depending on the age of the child, which look you like, and/or what you have on hand.
2- Collect the supplies you’ll be using.
3- Wash hands well.
4- Pipe Cleaner-Using a pipe cleaner put the cereal on with fingers in any pattern desired. For a bracelet measure the wrist and size of the fist to determine how large to make it or put it on the child after it is made to avoid having to make it large enough to fit over the fit or the head. For a necklace, if using pipe cleaners, you’ll likely need to twist two together. Measure head circumference or just twist the two pipe cleaners together on one end and wait to twist the remaining ends together until after the cereal has been strung and it is around the child’s neck.
4- Yarn- Using yarn and a toothpick, place the yarn in the hole of the cereal and push the yarn through with the toothpick. Alternatively, you can use a toothpick to fish the yarn through from the other side of the cereal as well. Both ways work. Tie it onto the neck or wrist after it is made, or make sure you use a large enough piece of yarn if you want it to go over the child’s head or wrist.
That’s it!
After they were made, I took some photos and then my girls gobbled them up in a few minutes. It was so fun for them!
Happy crafting and Happy Halloween!

For other ‘rich living tips’, please Subscribe Here or connect with me on these other platforms: