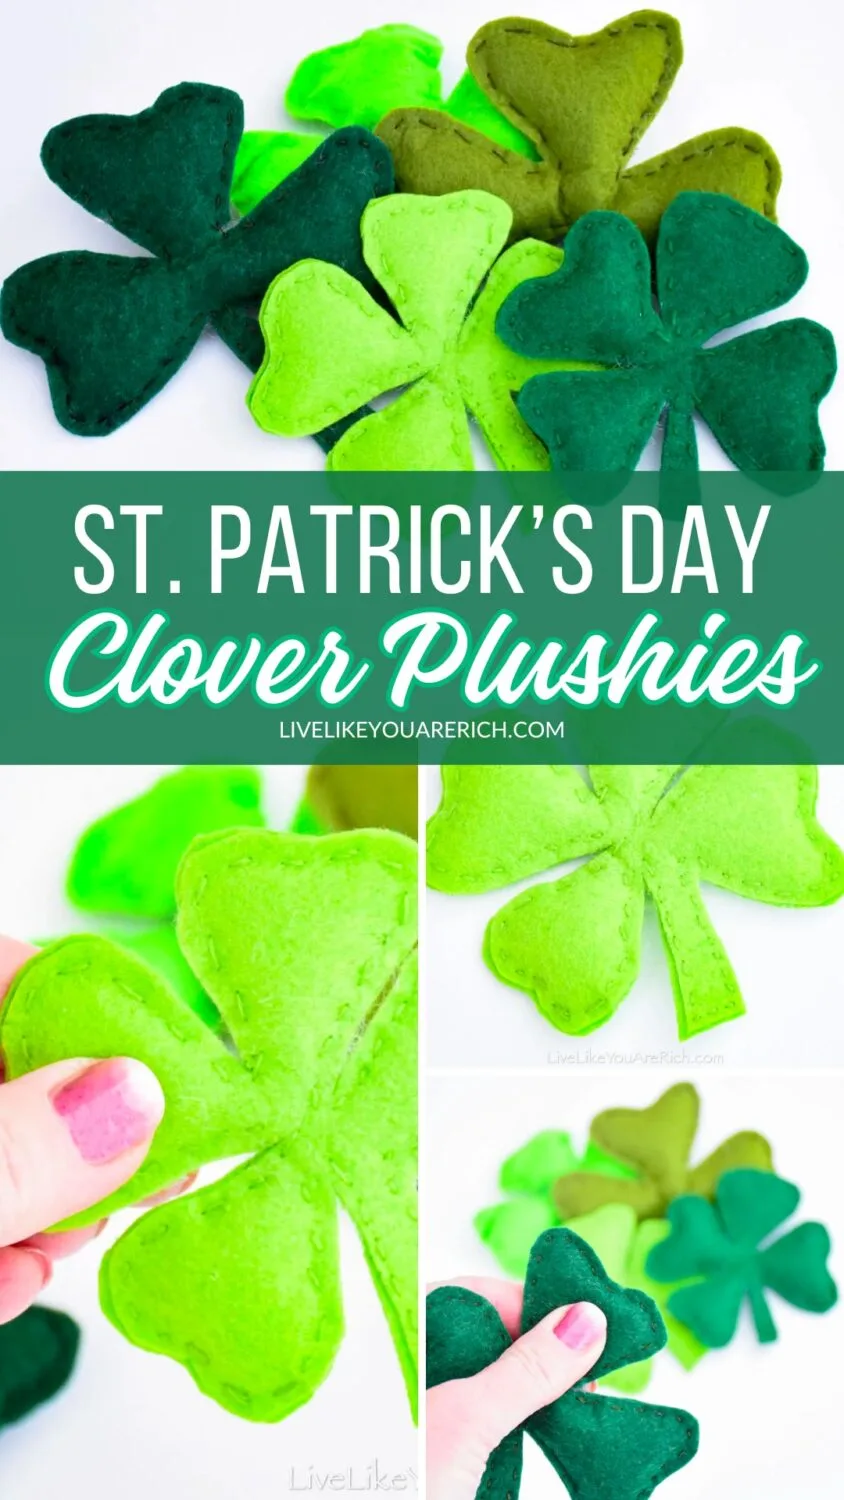
These felt plushies are easy to make and are a great craft for St. Patrick’s Day.
They are especially fun if you are teaching a child to sew or have a beginning sewer in the family to practice with.

They’d make great table decor, they’d be pretty in a bowl or a vase, and you could also string them together to make a fun banner for a mantel or door.
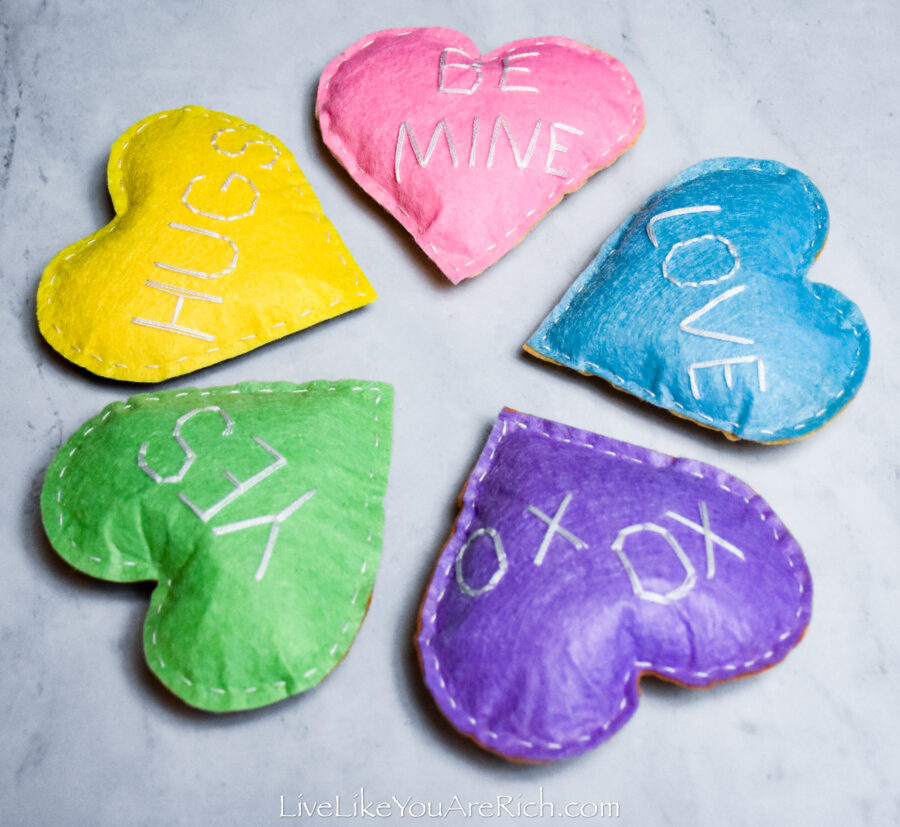
I made these Valentine’s Day Conversation heart plushies and my kids loved playing with them.
Plushies are very inexpensive to make and fairly indestructible; they are a great decoration to have around if you have toddlers.
They only cost about 0.80-$1.00 each and only take a few supplies.
Supply List and Cost for these St. Patrick’s Day Clover Plushies
embroidery needle- a regular sewing needle will work too.
Clover patterns. You can freehand your clover or you can print these two free printables out: four-leaf clover and three-leaf clover.
scissors
and pencil to trace the heart and stuff the leaves with polyfil.
How To Make These St. Patrick’s Day Clover Plushies
If you are a visual learner, I recommend watching the video on this page.
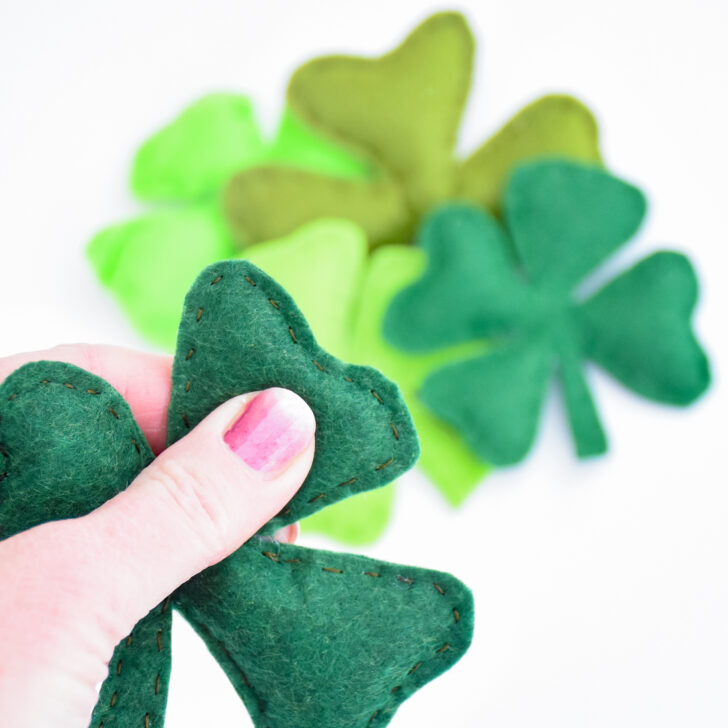
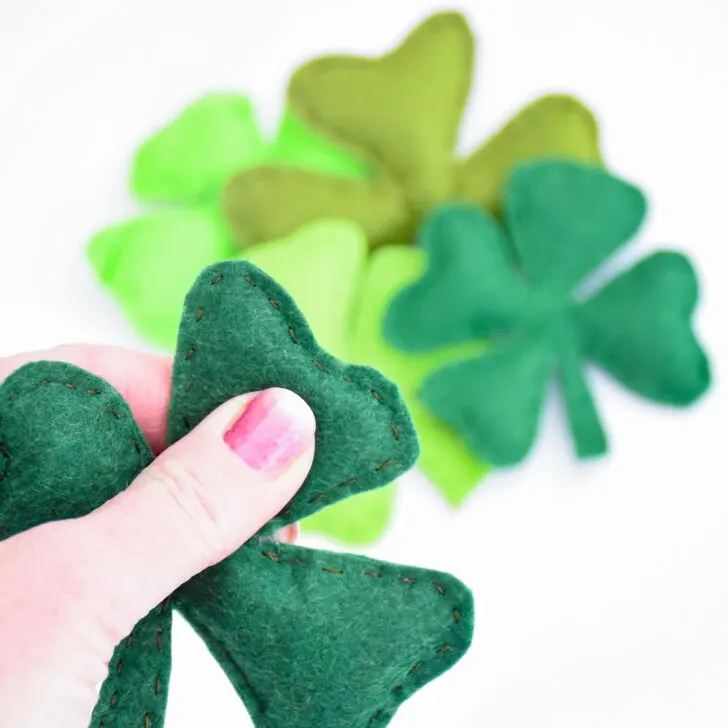
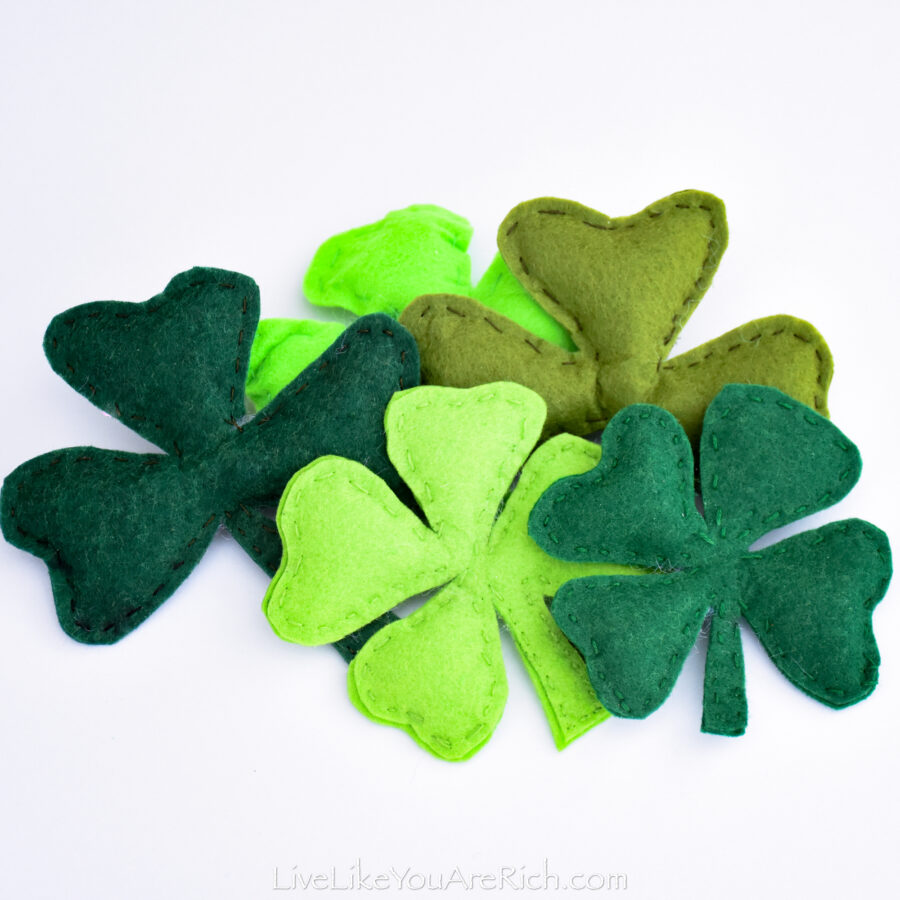
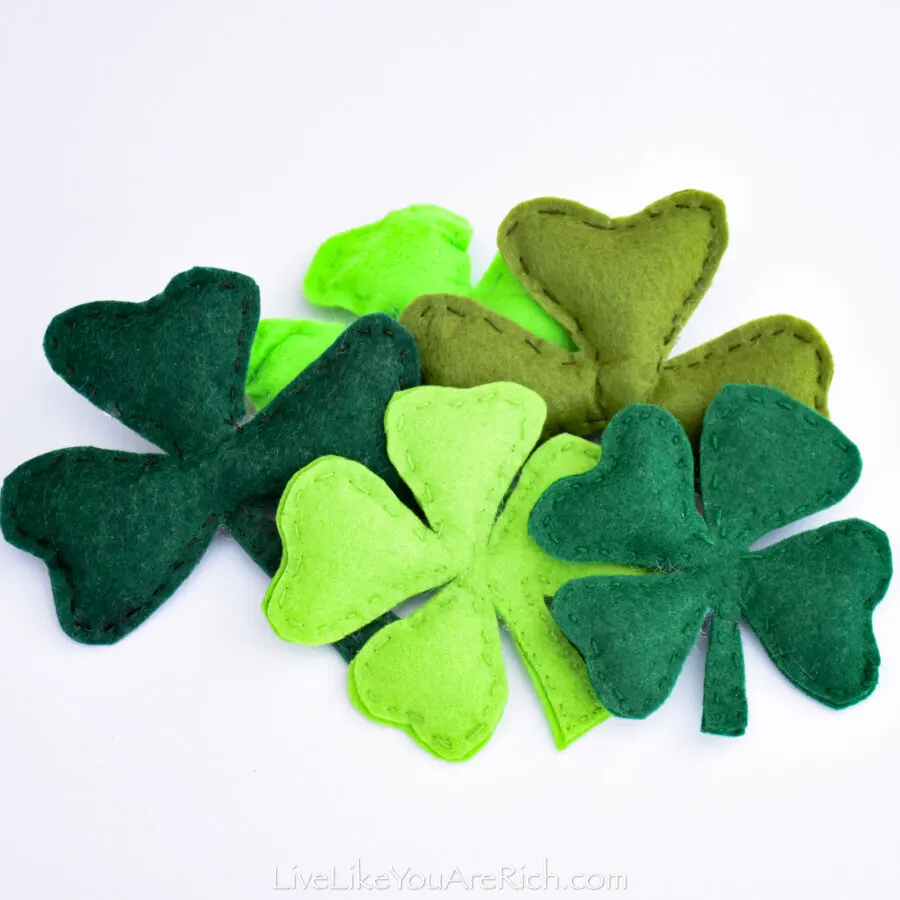
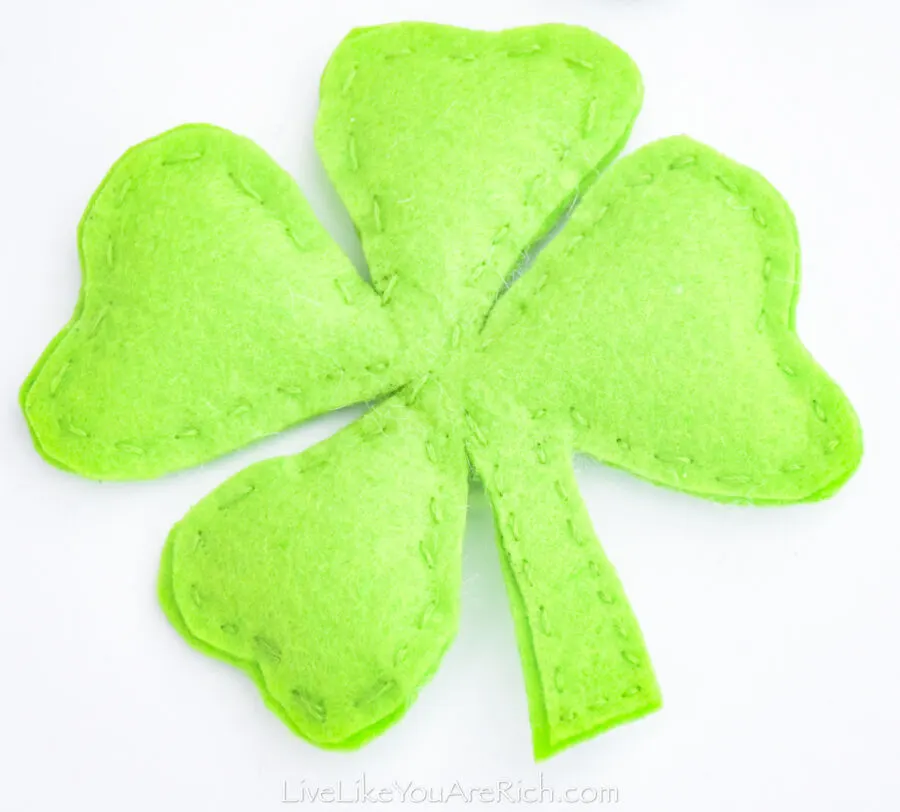
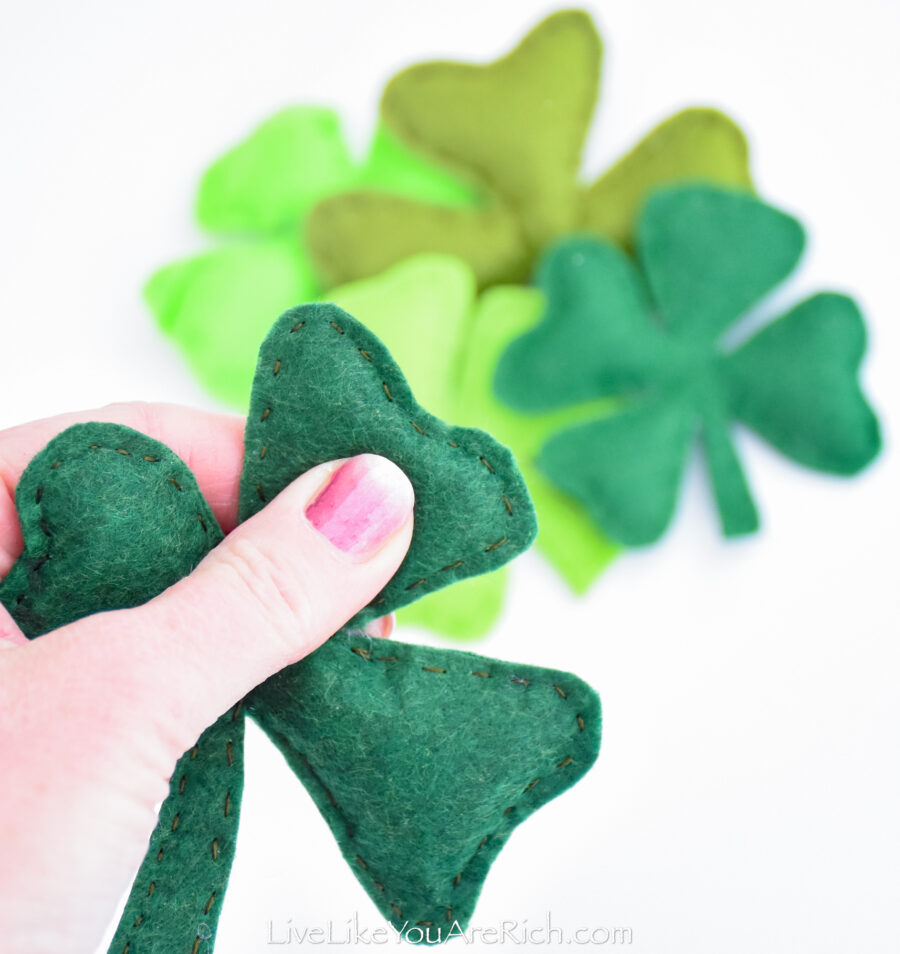
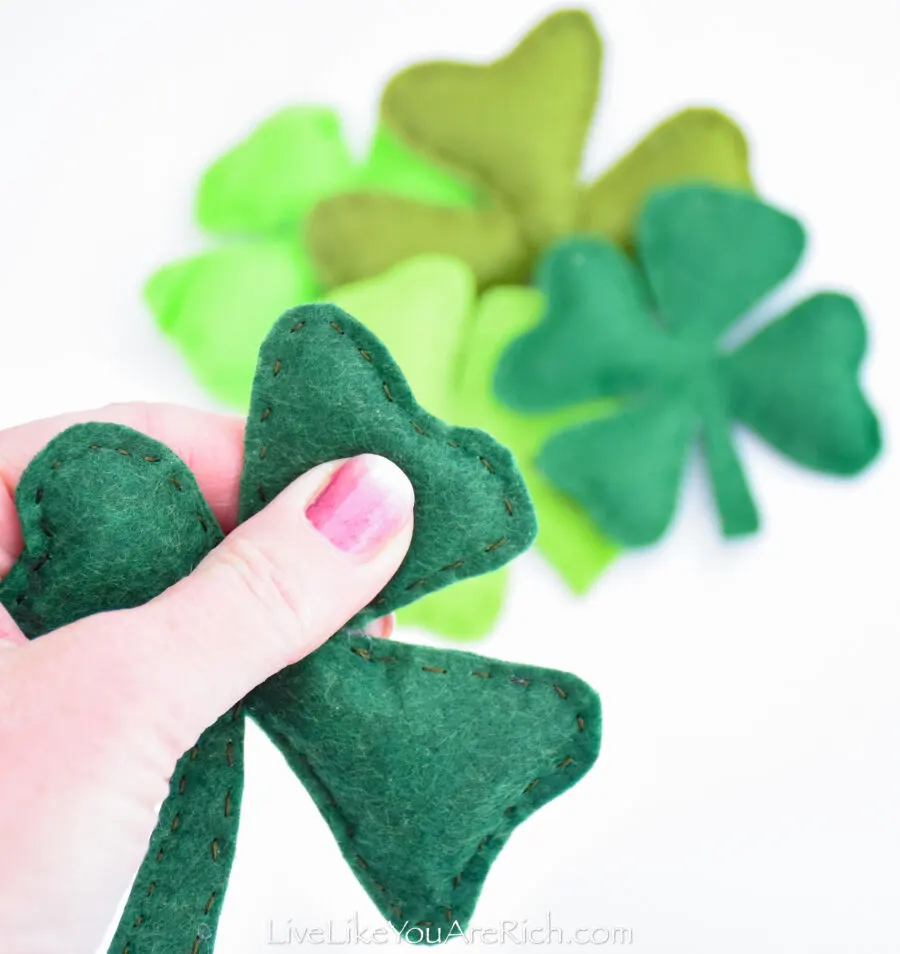
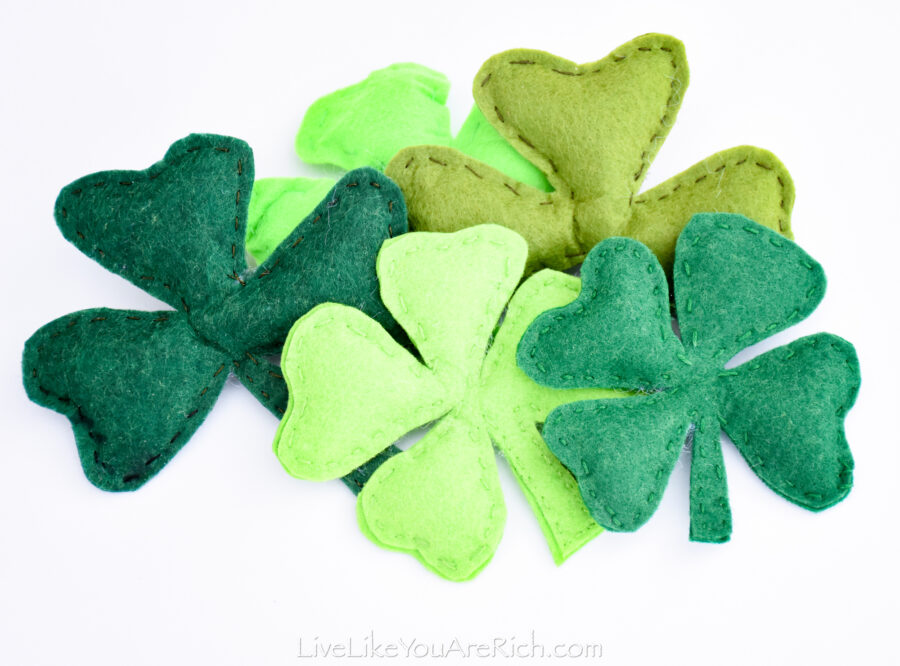
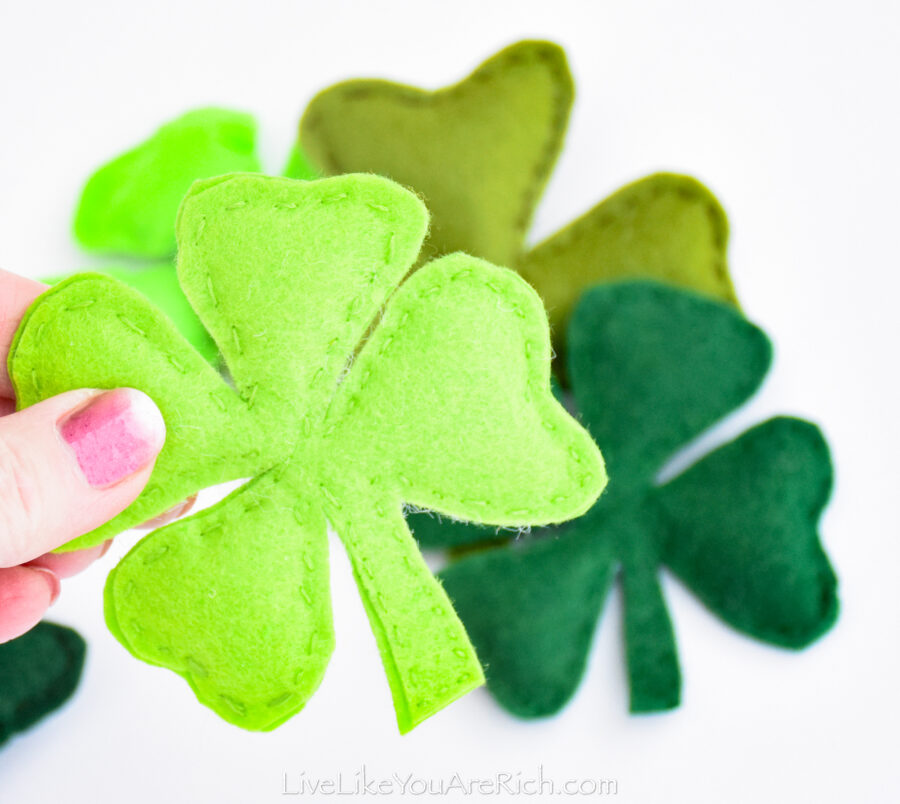
1- Trace a clover onto two pieces of green felt and cut it out. I used light green, neon green, green, forest green, and sage. It’s important that you trace and cut out both top and bottom pieces at the same time so that they match exactly.

You can print these images out: four-leaf clover and three-leaf clover to trace, if desired.
2- Flip the side that you marked upside down so that the pencil marks are hidden on the inside. Alternatively, you can use the paper as the pattern and cut around it without marking up the felt.
3- Thread a regular sewing needle with a 10-gram thread. If you have a lighter thread you can double it up. If you have embroidery thread you can thin it by splitting it apart into just two threads and three thread pieces and use the two thread piece.
The felt I was using was tight and thick and my daughter made her clover with a single thread of sewing machine thread. it was not strong enough to hold in the polyfill. This is the reason I suggest using 10 grams or higher thread, doubling regular thread, and since embroidery floss would be too hard to use as-is, I recommend making it thinner for ease of use.
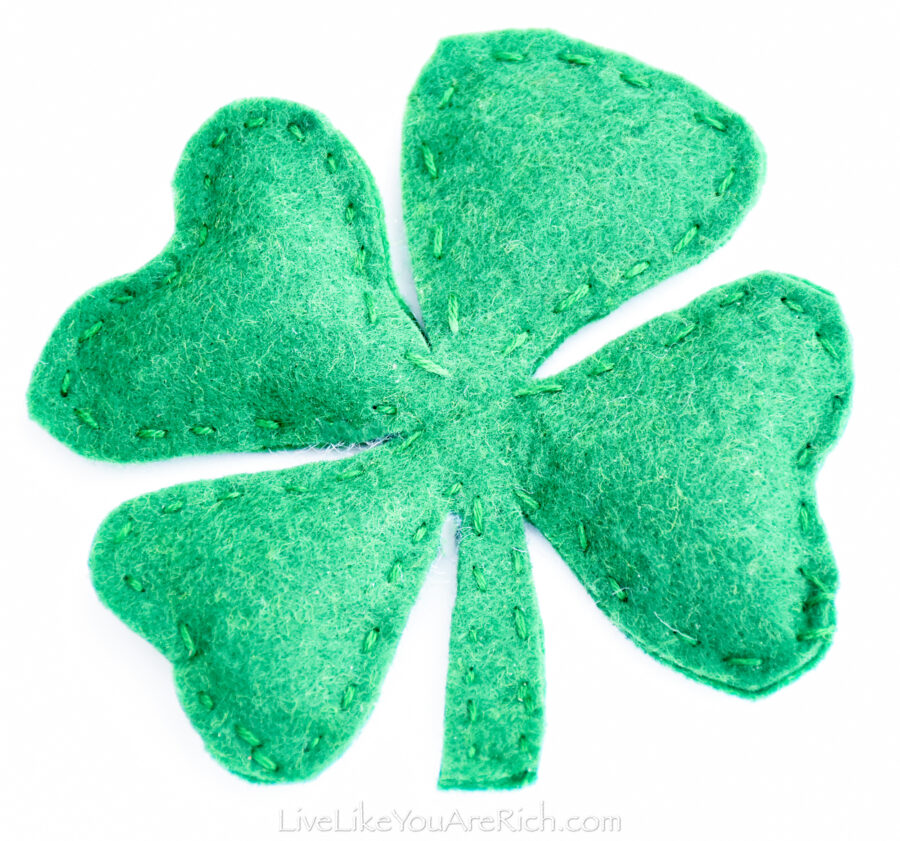
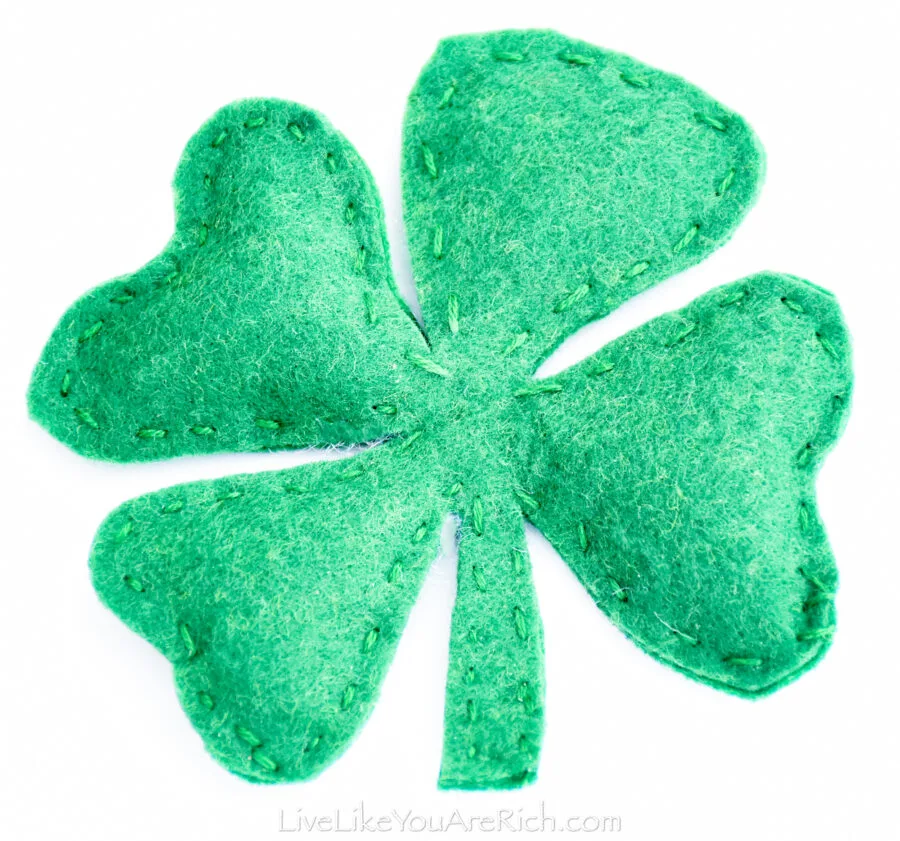
4- Four-leaf clovers: Using a running stitch, stitch each clover about 3/4 the way around and then stuff it with poly-fil. Make sure the poly-fil is deep into the cloverleaf so it is not getting caught in your stitching as you continue the running stitch to close the leaf. Make your way all the way around and tie off at the end. If you need more string, simply tie one strand off and start a new one.

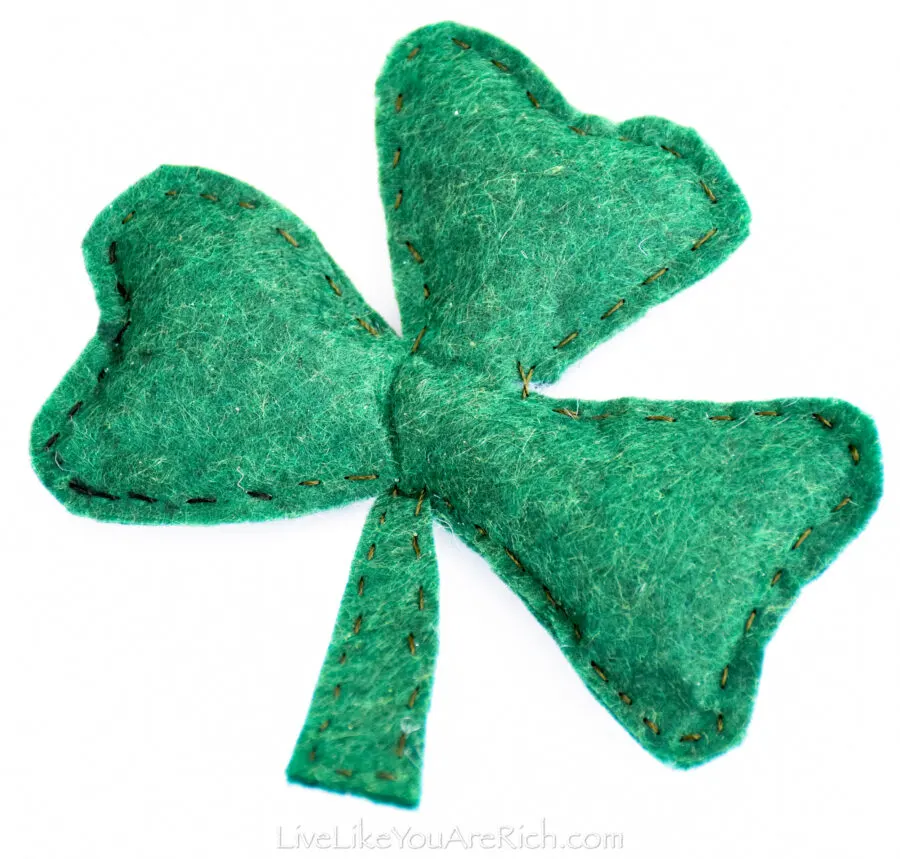
Three-leaf clovers aka shamrocks: if your shamrocks are as large or larger as the ones I cut out, you can stitch the entire clover leaf and before moving on to the next leaf, stuff it with polyfil. Make your way around the entire clover and tie off when finished.
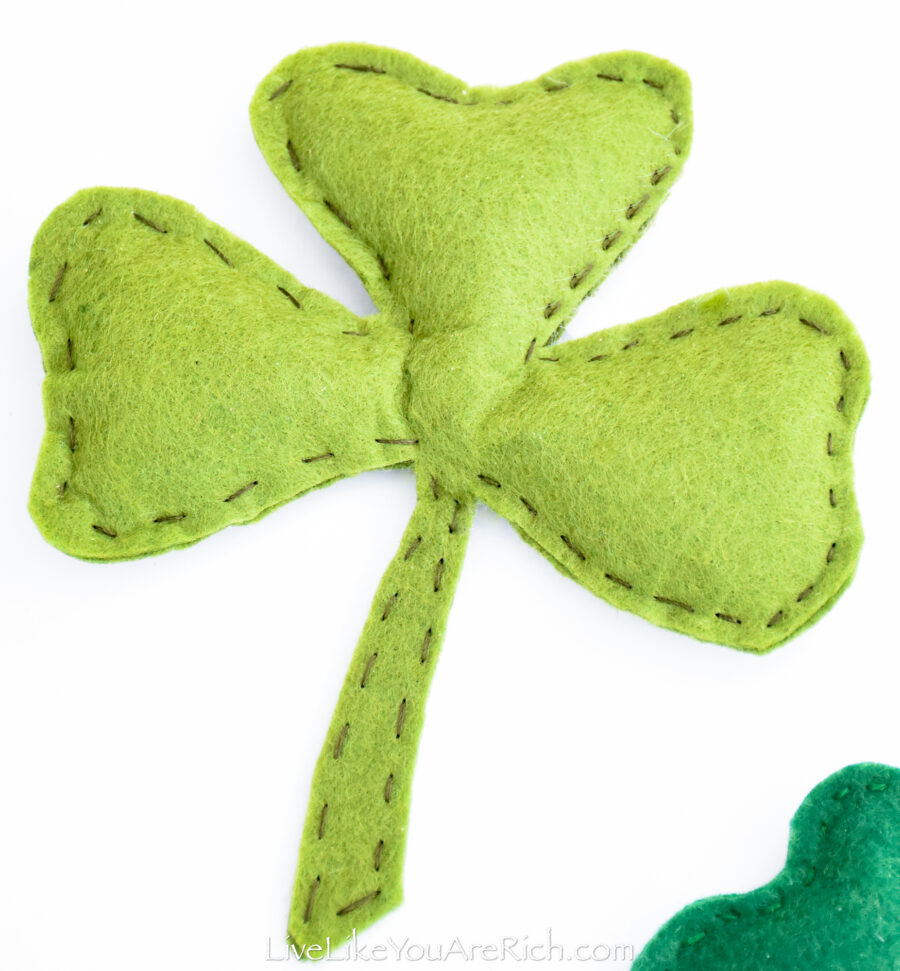
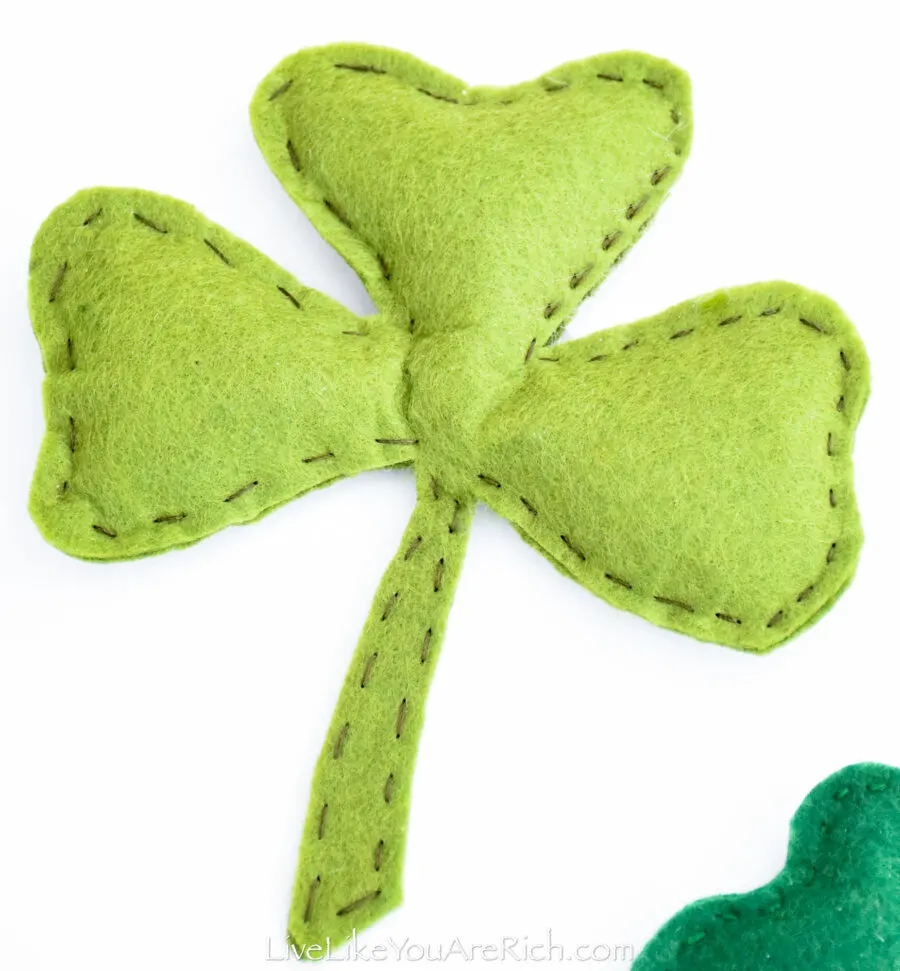
The different techniques are because the opening to the leaves on the three-leaf clovers is larger than the four-leaf clovers so they require different techniques to stuff them with polyfill.
That’s it, these St. Patrick’s Day Clover Plushies are easy, fun, and inexpensive to make.

Happy St. Patrick’s Day!
You can find more Easy St. Patrick’s Day crafts for kids here.


For other ‘rich living tips’ please Subscribe Here for my weekly email or connect with me on these other platforms: