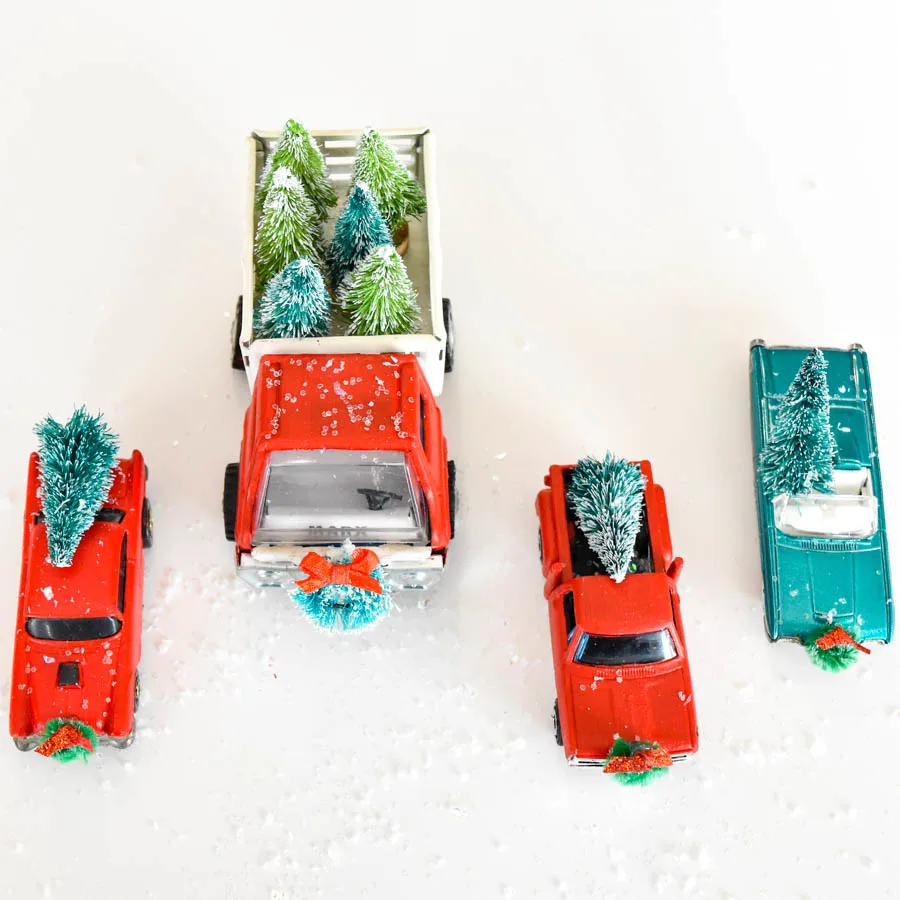
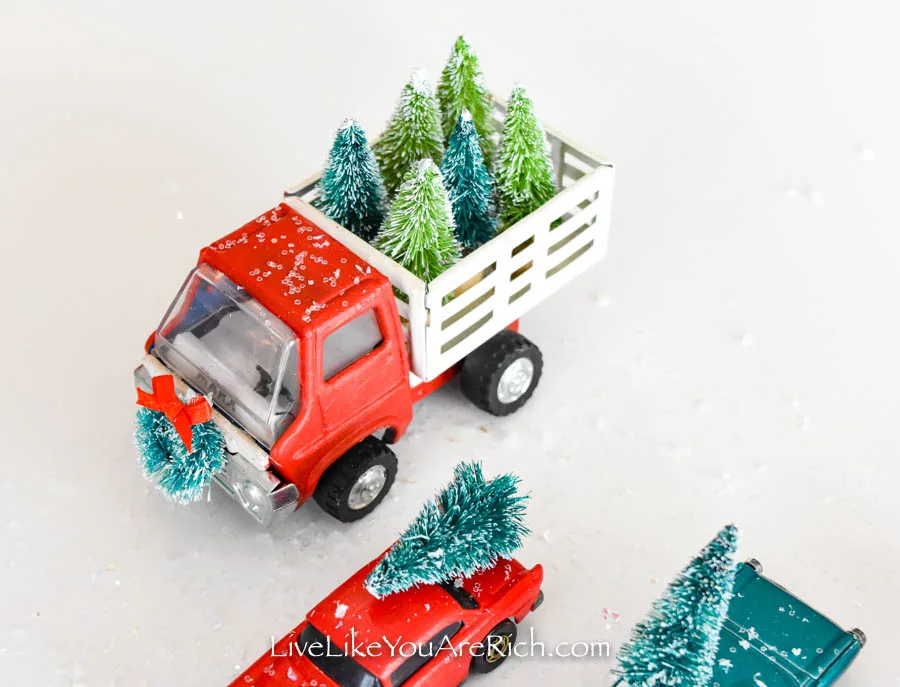
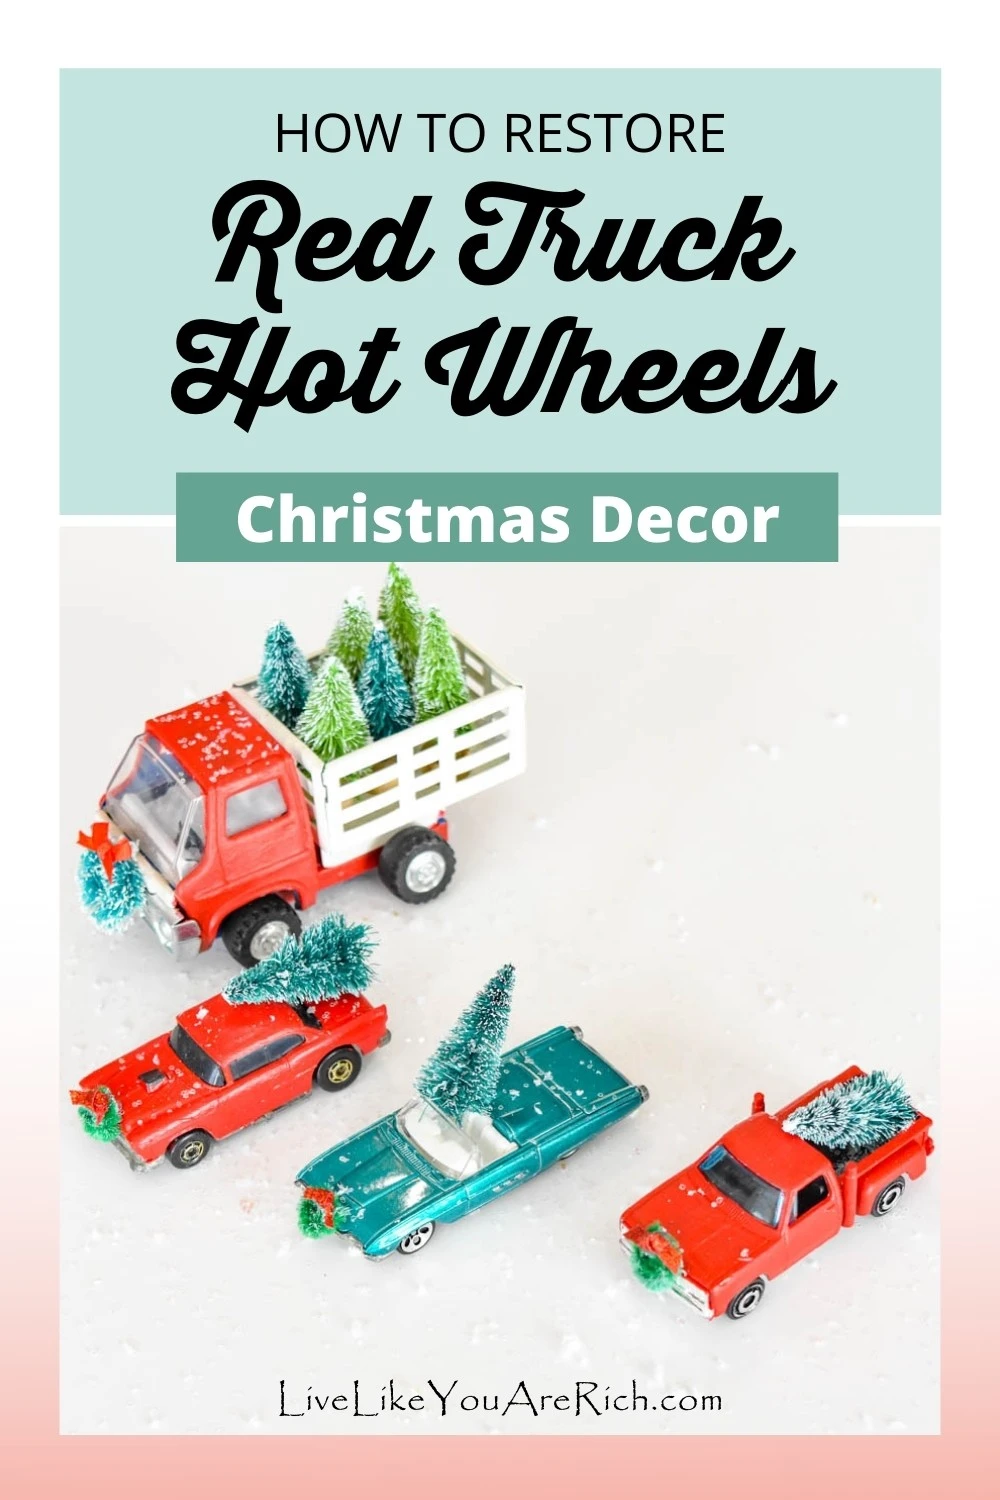
This Christmas Red Truck Hot Wheels Restoration craft is fun, inexpensive and quick. Plus, they make really cute decorations when finished.
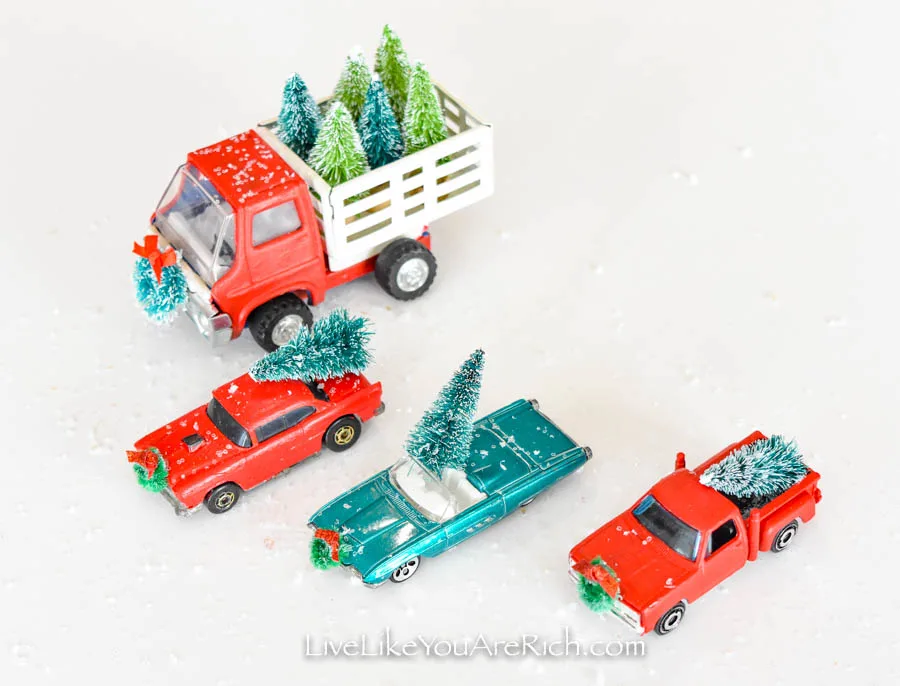 You have likely seen the Red Truck Christmas decor trend going on this year (2020); it is everywhere in Christmas decorations.
I don’t always decorate with “trendy” decorations. However, I couldn’t help but decorate in the Red Truck Christmas theme this year. It is the right balance of vintage and cutesy, fun and classy.
I have decorated in this theme around my house with store bought items; yet, I wanted to make some of my own.
I made these ornaments and these snow globes that fit the theme. Then I decided to do a restoration of some of my son’s old Hot Wheels and cars we had around the house to fit the theme as well.
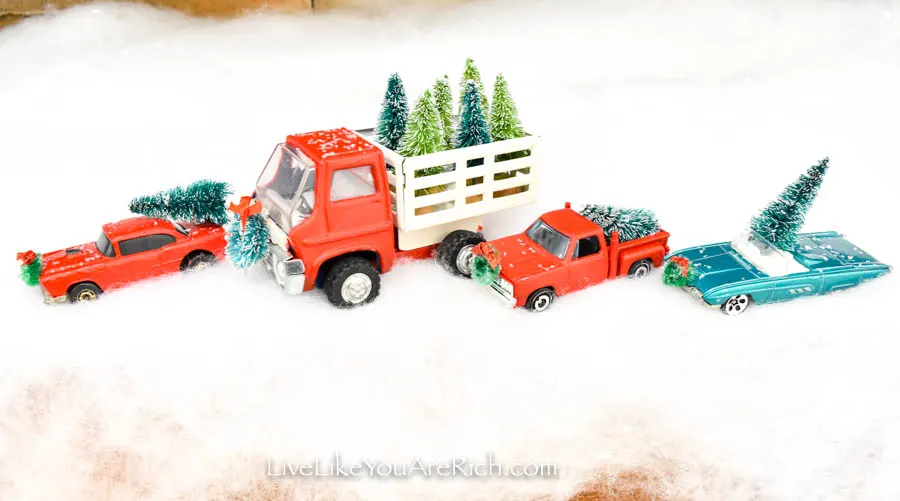
I dug through my son’s Hot Wheels bin and found three Hot Wheels that fit the 1940-1970’s era that he said I could use.
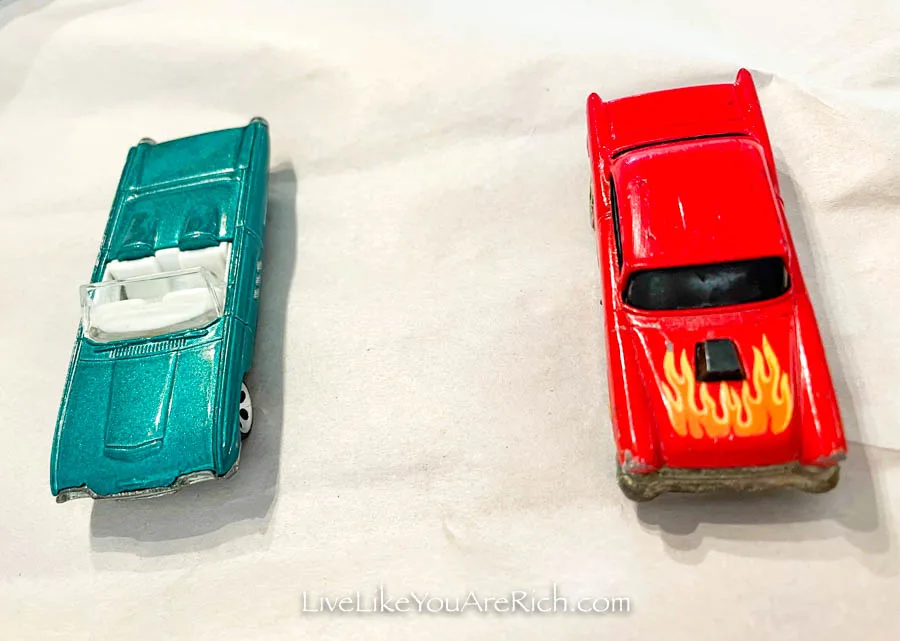 My husband also had a random vintage truck sitting around that worked as well. Although the dump truck, “Marx”, is not specifically Hot Wheels brand, it turned out to be a perfect fit with the Hot Wheels after it got a mini restoration done to it.
 Once I found my cars, I gathered the supplies I would need for the restoration.
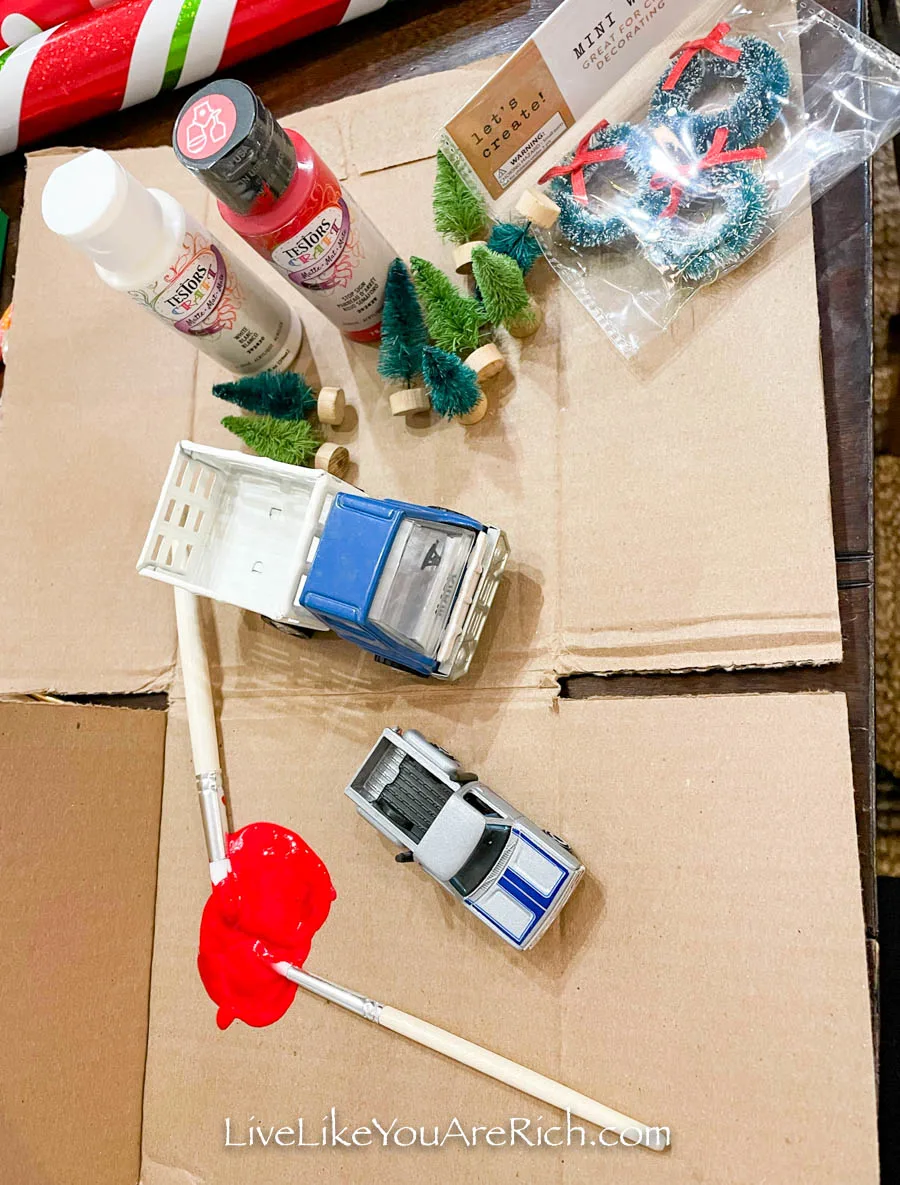
Supplies for a Christmas Red Truck Hot Wheels Restoration
Red (Stop Sign) and white (White) Acrylic Paint
Mini sisal Christmas trees. I found these in packs of 4 for $1.00 in the seasonal bins at Target. Similar here.
Hot Wheels cars years 1940-1970’s
Optional- Mini sisal wreath ornaments (or add a string to plain wreaths). These came in packs of 3 in the seasonal bins for $1.00 at Target. Similar here.
 Instructions to Make Christmas Red Truck Hot Wheels Restoration Vehicles
First, lightly dust the mini sisal trees with white paint using a paint brush or foam brush.
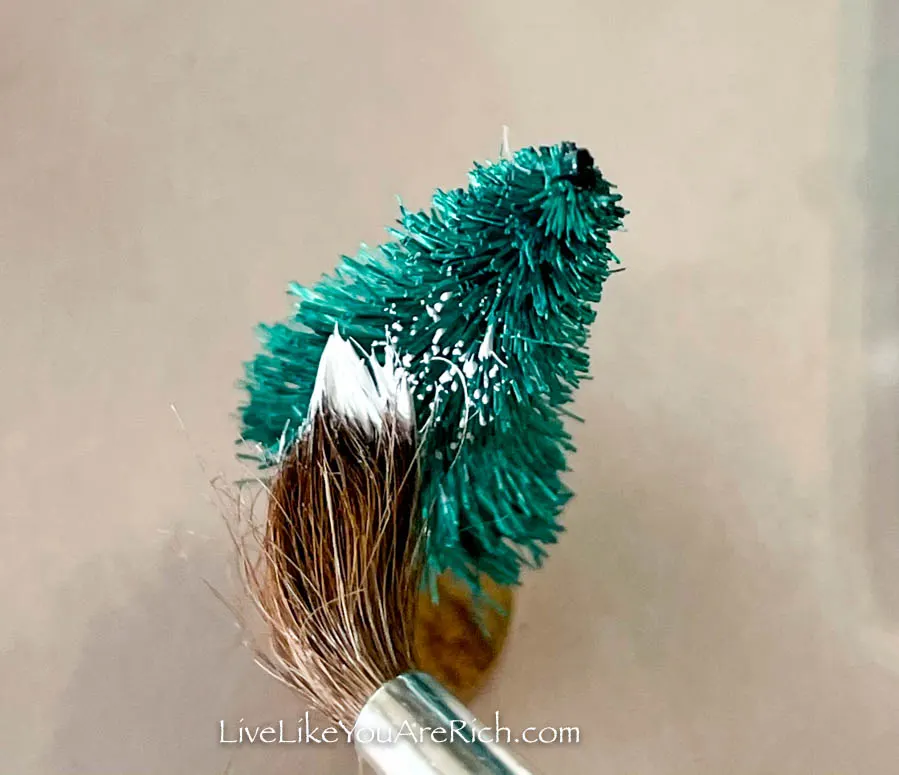 Use light quick strokes to give it a snow flocked look. Allow to completely dry.
If there is a base to the sisal tree and it doesn’t fit the Hot Wheels of choice, cut it off.
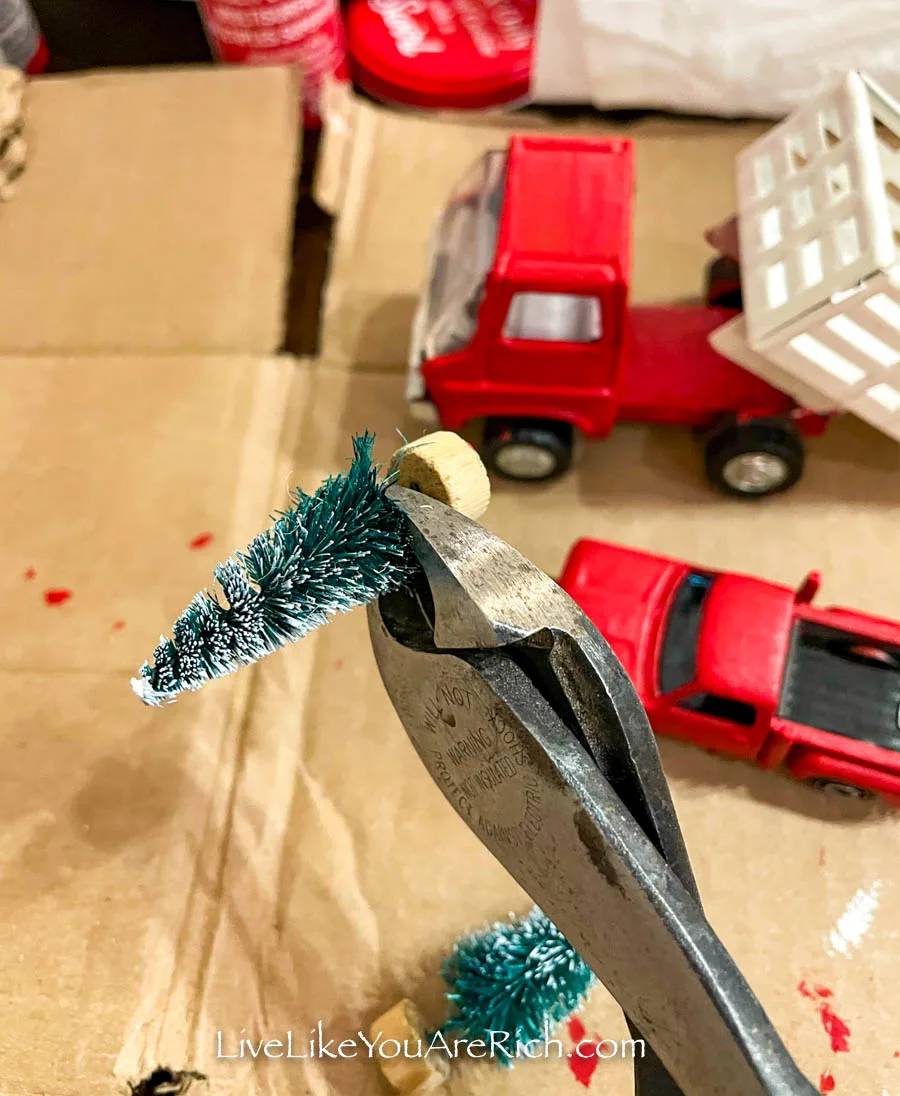 I kept the bases on the trees that went in the dump truck but the other Hot Wheels trees’ did not have bases on them.
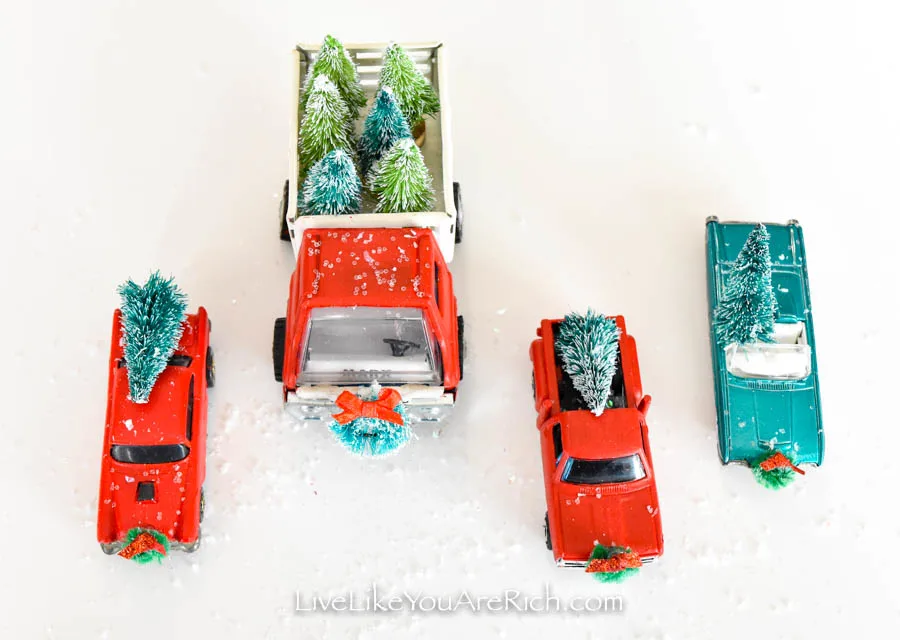 Next, decide if you’ll paint the car or leave it as is. I’ve noticed that the colors red, white, black, and teal/aqua work well within the color scheme of the trendy Red Truck Christmas look.
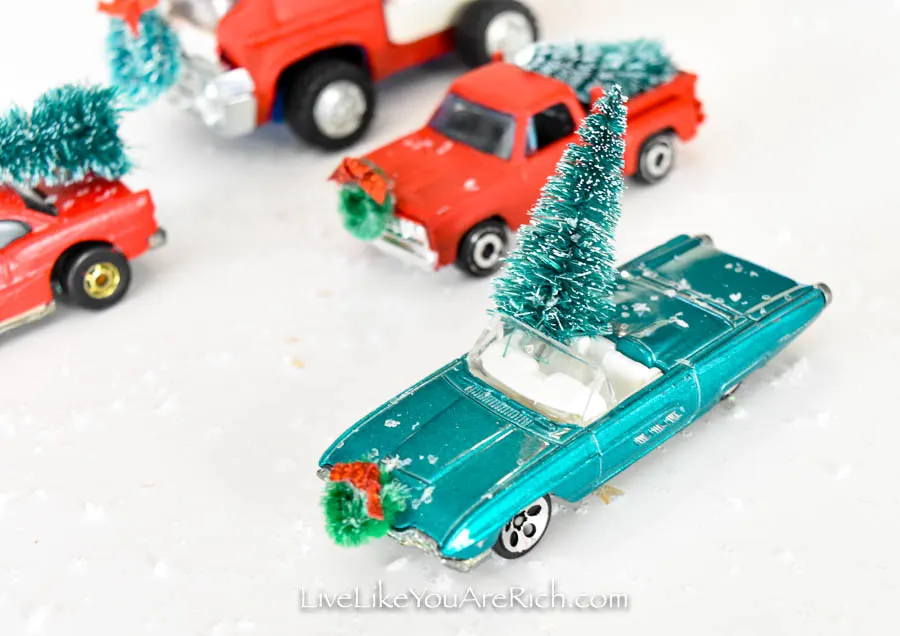 The cars I picked are all old toys and 3 of them really needed a fresh coat of paint. The T-bird was in great condition so I left that one as is. The pickup and dump trucks were the wrong color to begin with so I that also helped me decide to give them a fresh coat of paint.
I painted the Hot Wheels red car and two trucks with a red acrylic paint.
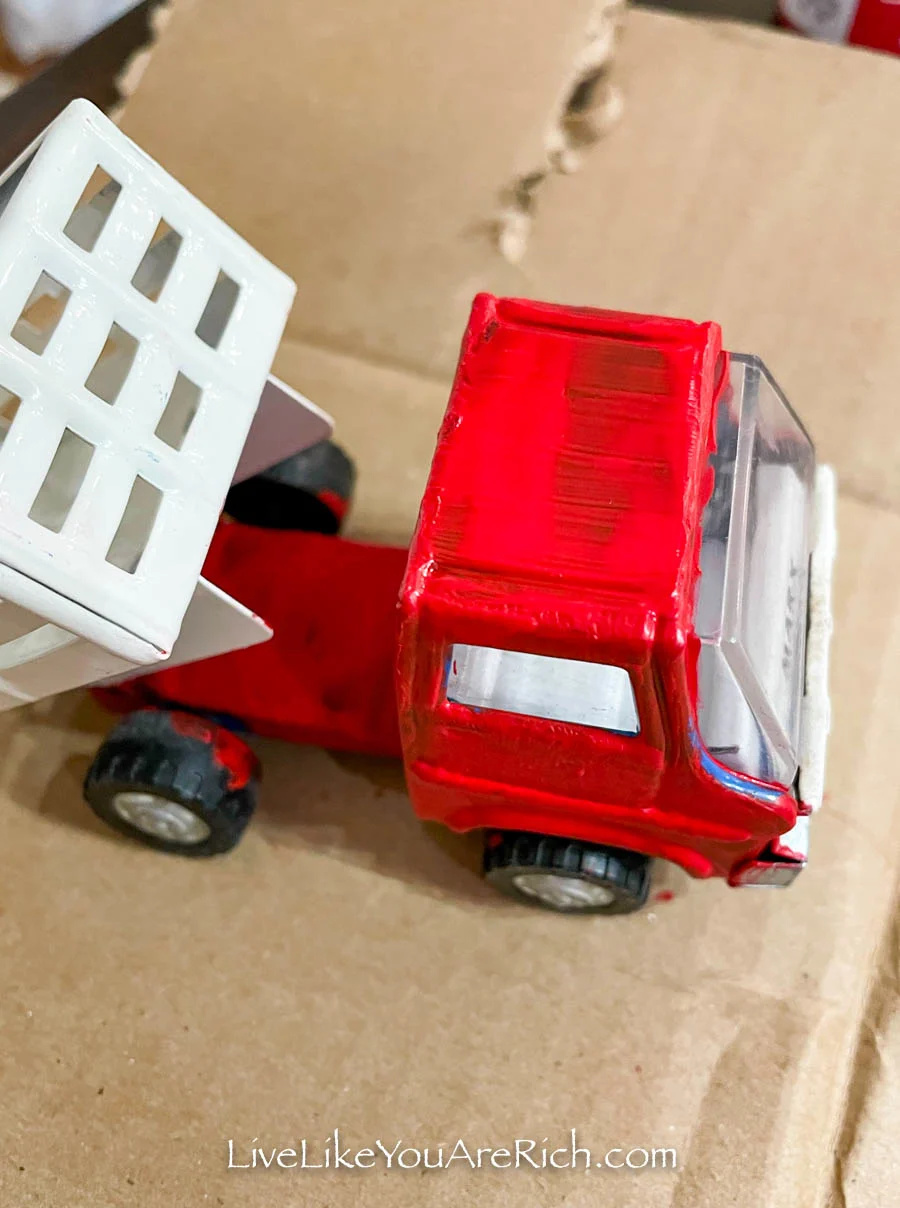 You will likely need 3-4 light coats of paint. I found having Q tips on hand to wet and use for touch ups helped.
I kept adding light coat after light coat. I decided to stop when the paint coat no longer looked see-through (3-4 light coats).
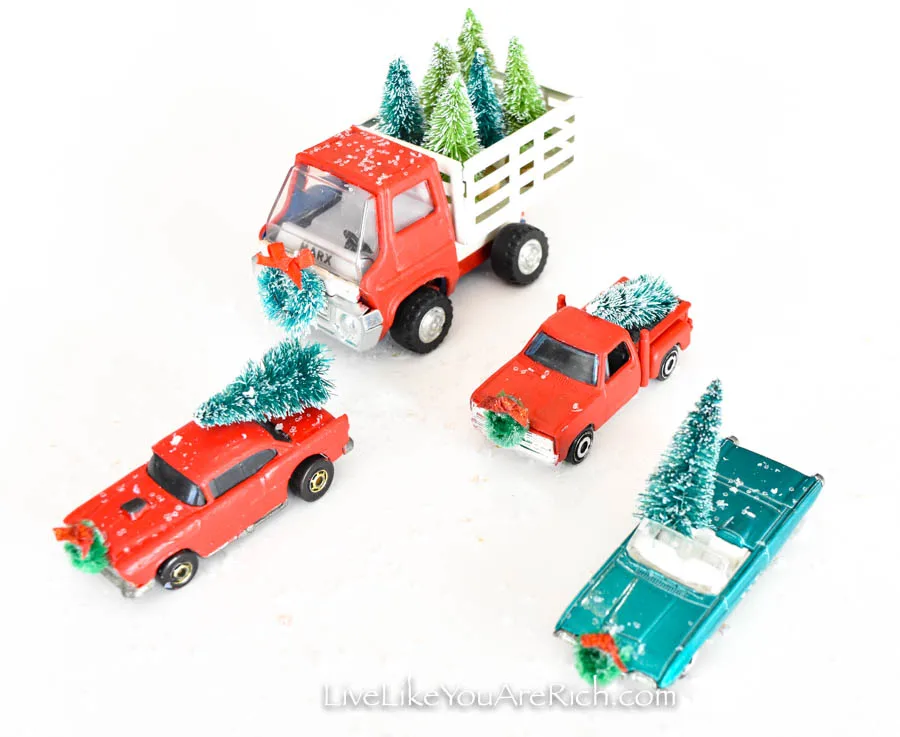 The acrylic paint dries quickly; I just painted one car at a time and by the time I was finished with the final car, the first was ready for the next coat.
Note- If you are doing this with a child, give them a car you don’t intend to use on display and let them go to town with the paint.
 Once dry, position the trees in the Hot Wheels the way they look best.
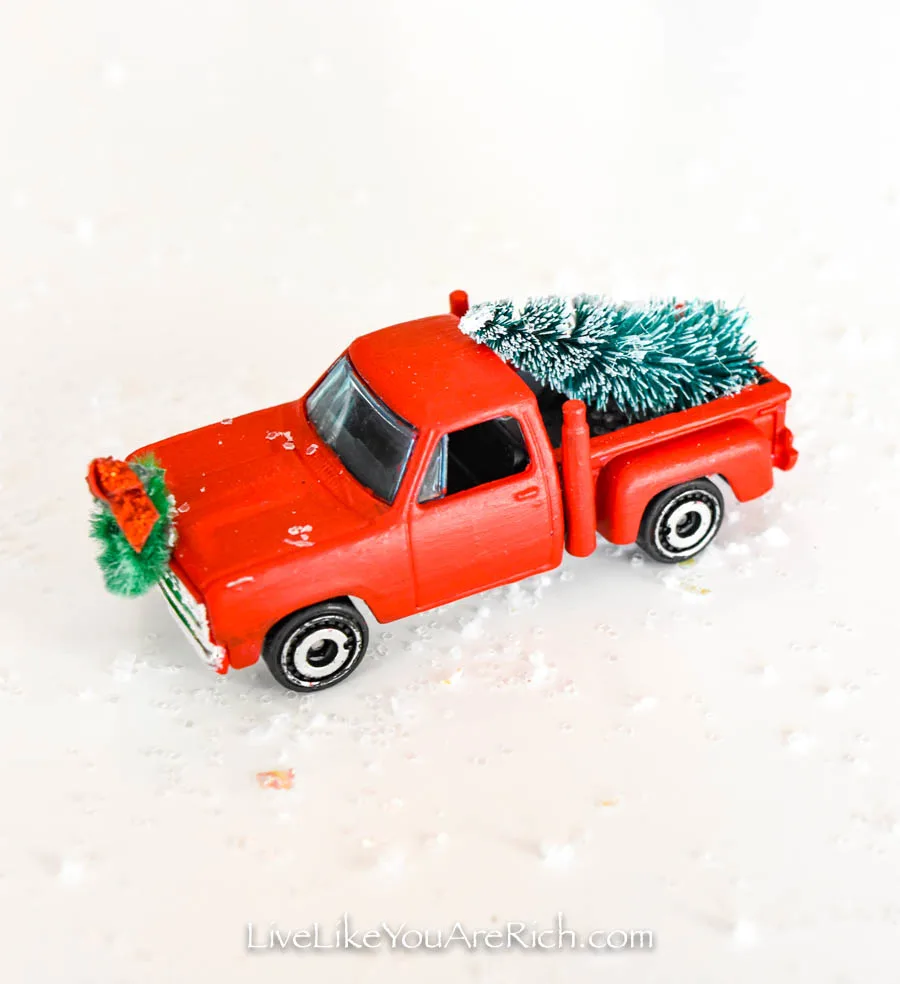
 The pickup truck was pretty easy to fit. I just placed it like so…
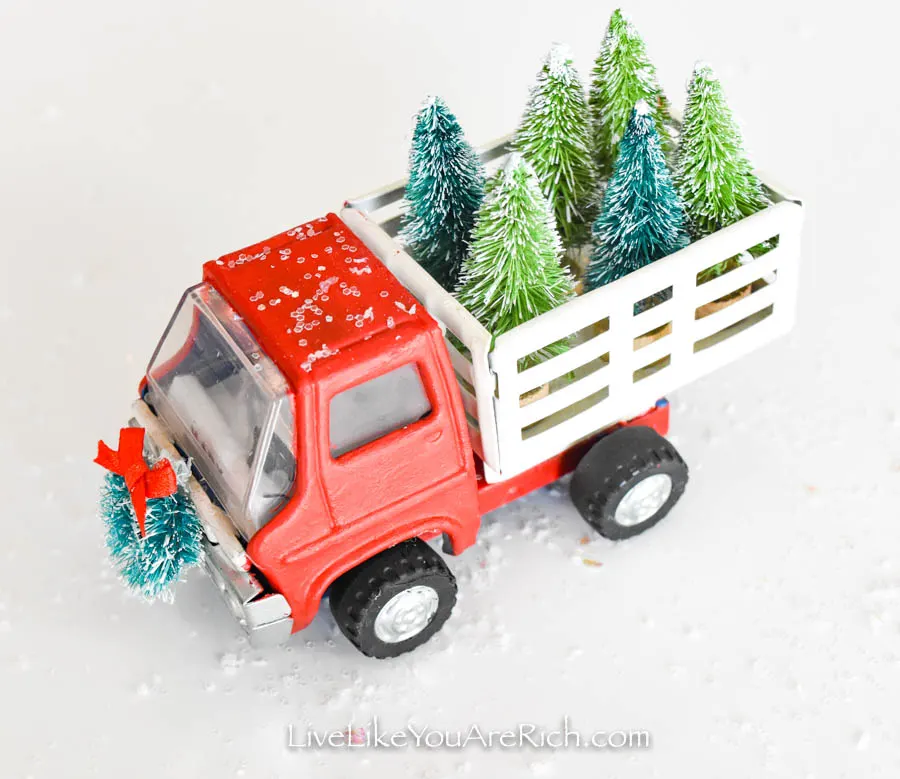
 The dump truck was also easy to arrange.
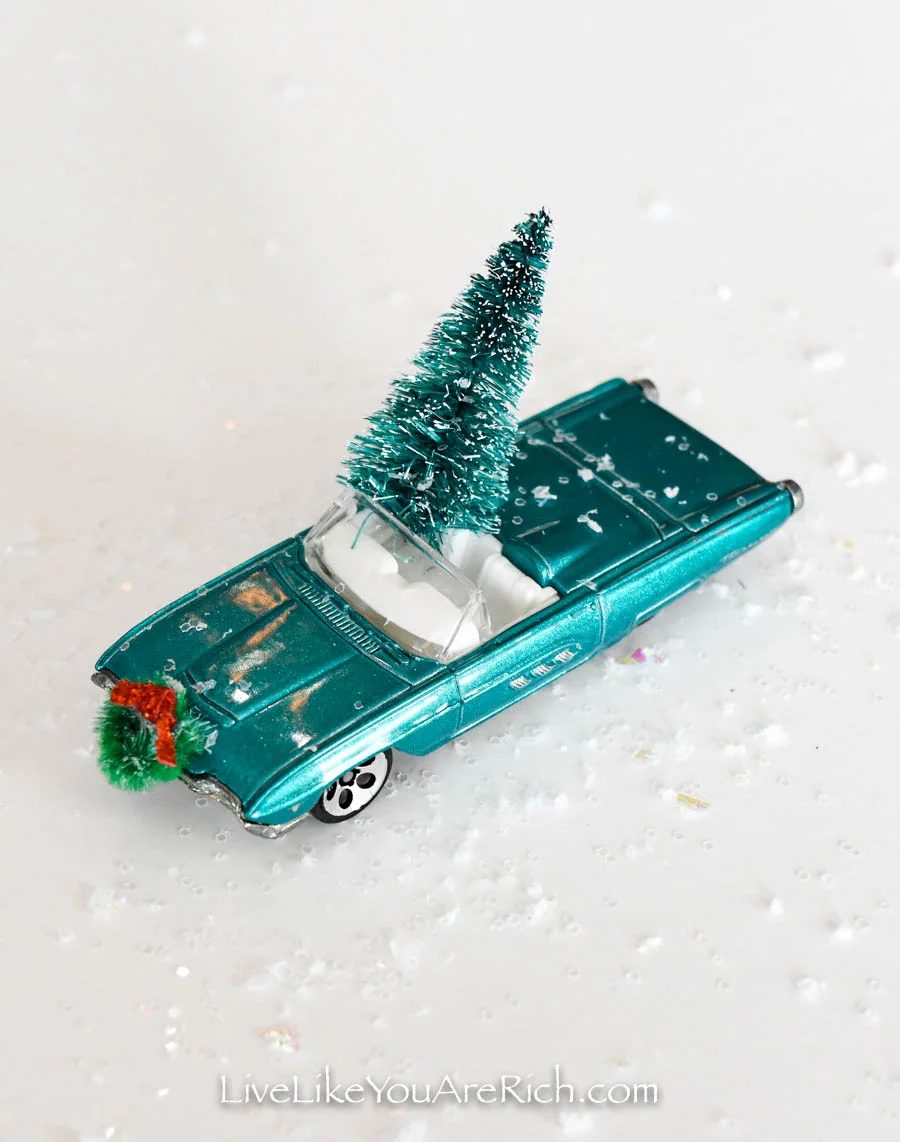
 The T-Bird took a some experimentation but I liked the way this look turned out.
 Finally, the red car’s tree went on similar to the truck tree…
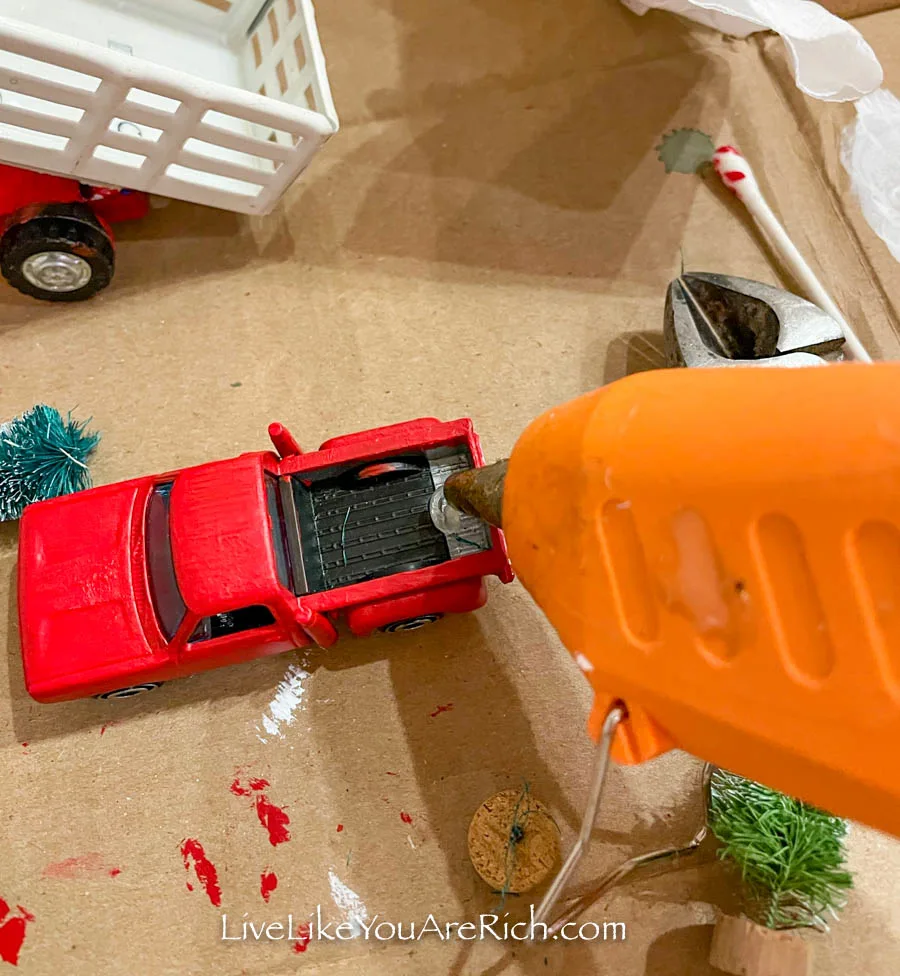
 Hot glue the trees in place once they are set up the way you want.
 Next, I made the mini grill wreaths for the front of the cars. I made these grill wreaths two different ways.
 For the smaller cars, I used pipe cleaners; for the dump truck I used a mini sisal wreath and just made it smaller.
 To make the pipe cleaner wreaths. I used a green pipe cleaner and a paint brush to shape it and paint it.
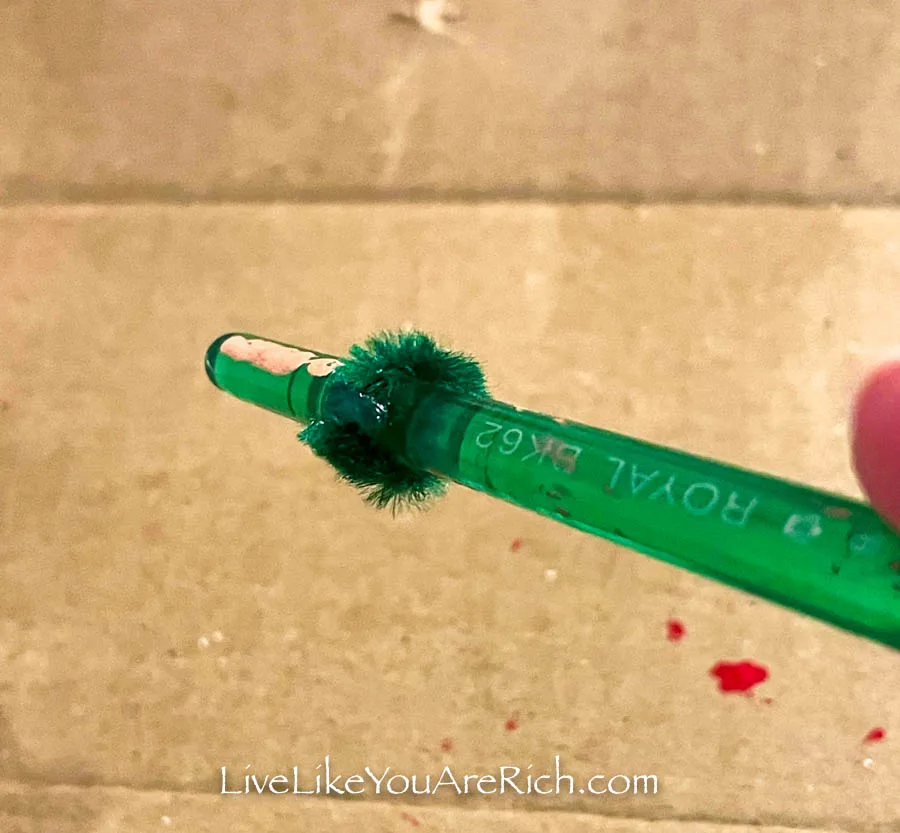 I wrapped the pipe cleaner around the paint brush handle and hot glued the ends of the wreath together. Make sure not to glue the wreath to the brush handle.
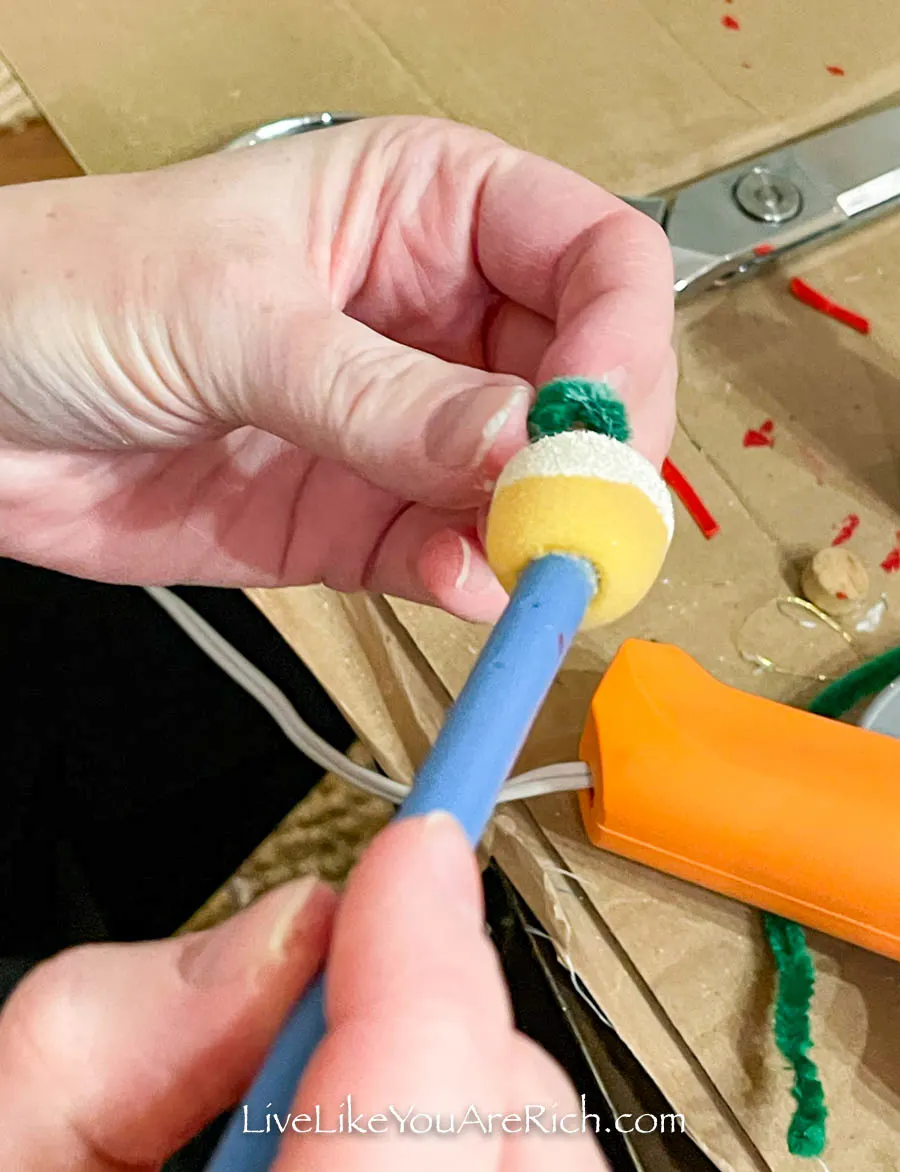 Next, I dusted/flocked it with white paint to look like snow.
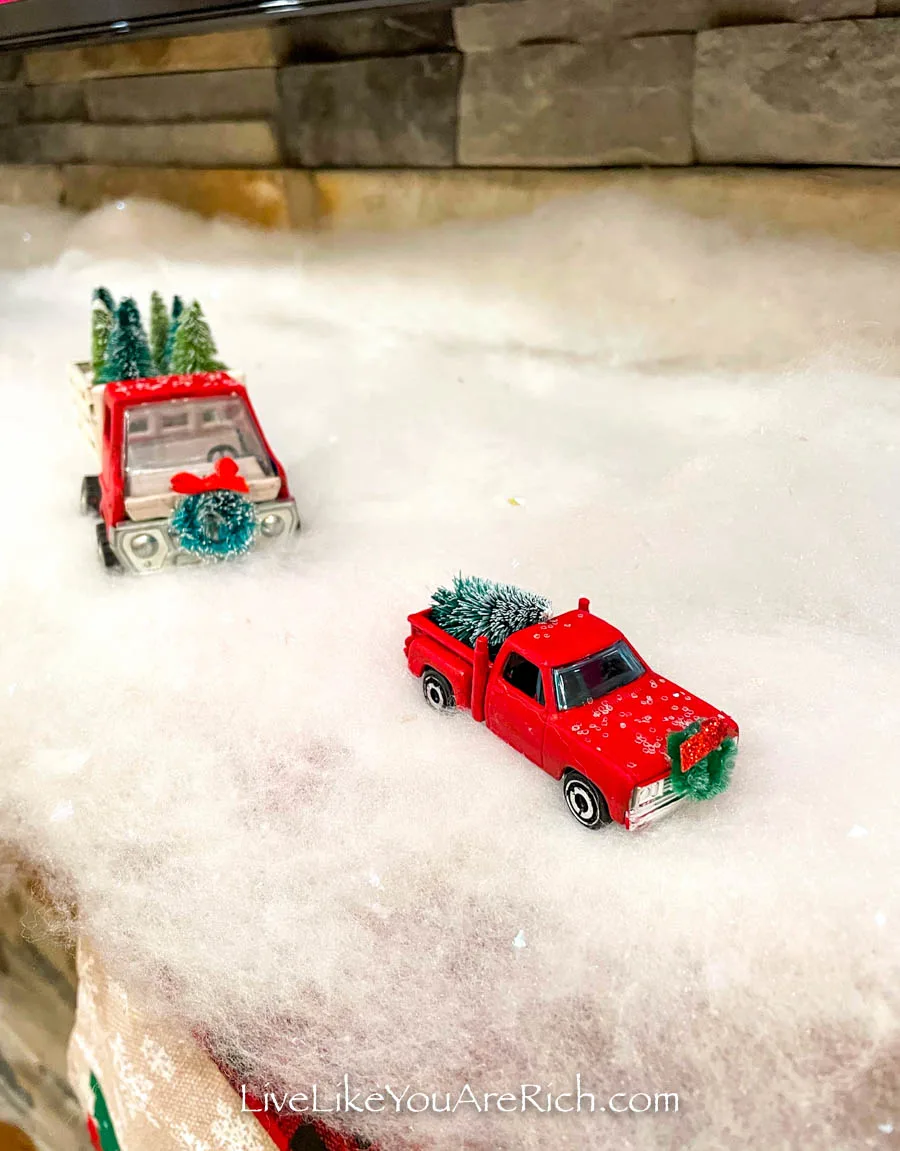
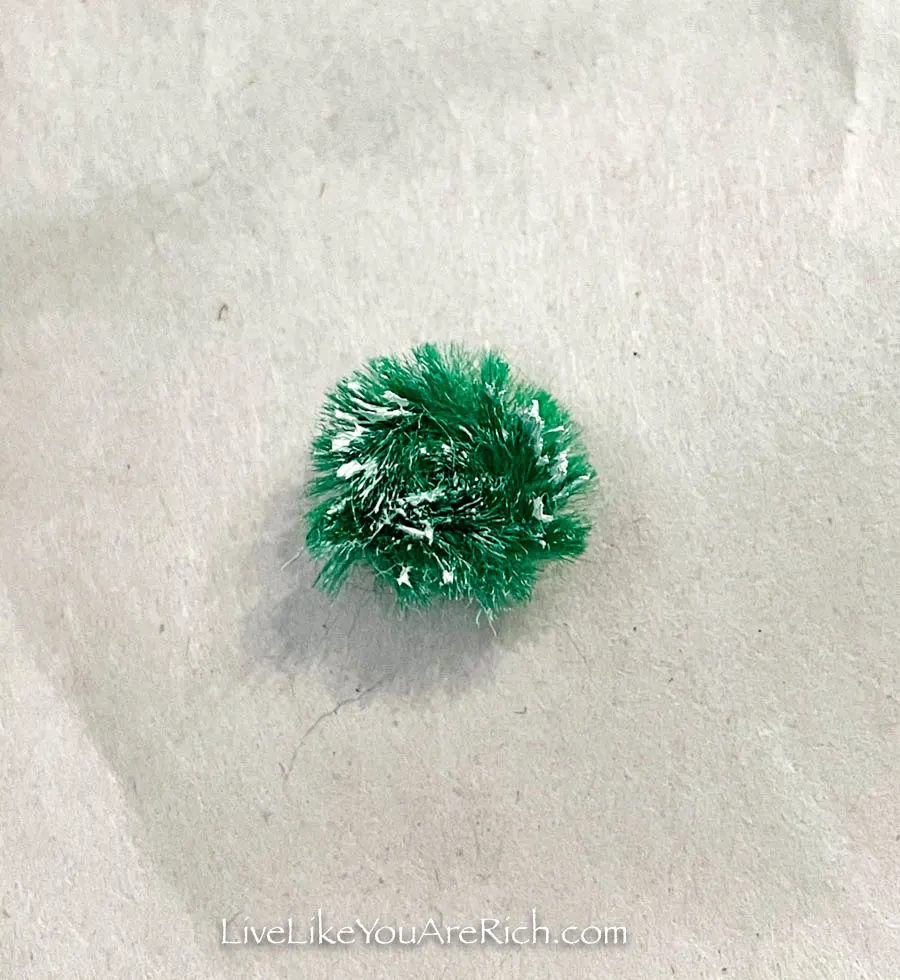 I glued the wreath on to the front of the small Hot Wheels cars.
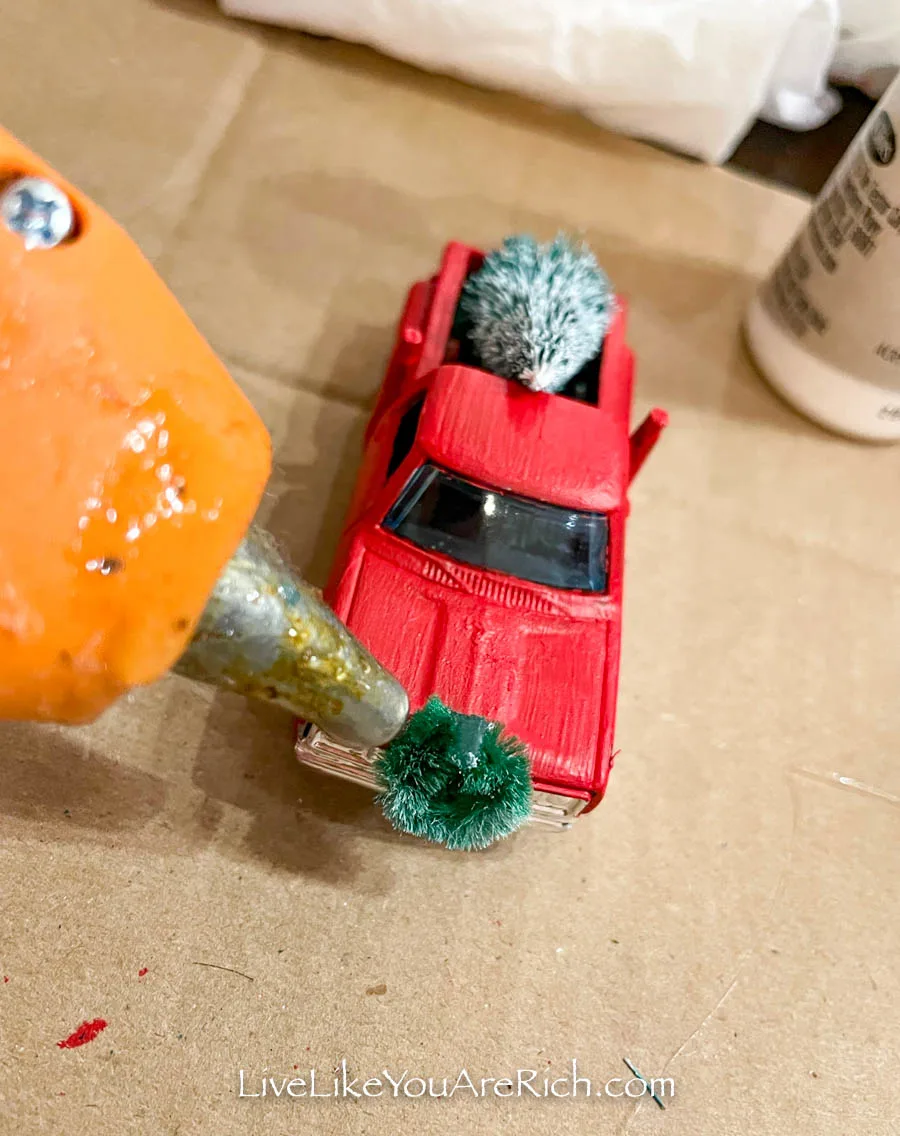 Then I cut a tiny bit of ribbon from an existing ribbon I had.
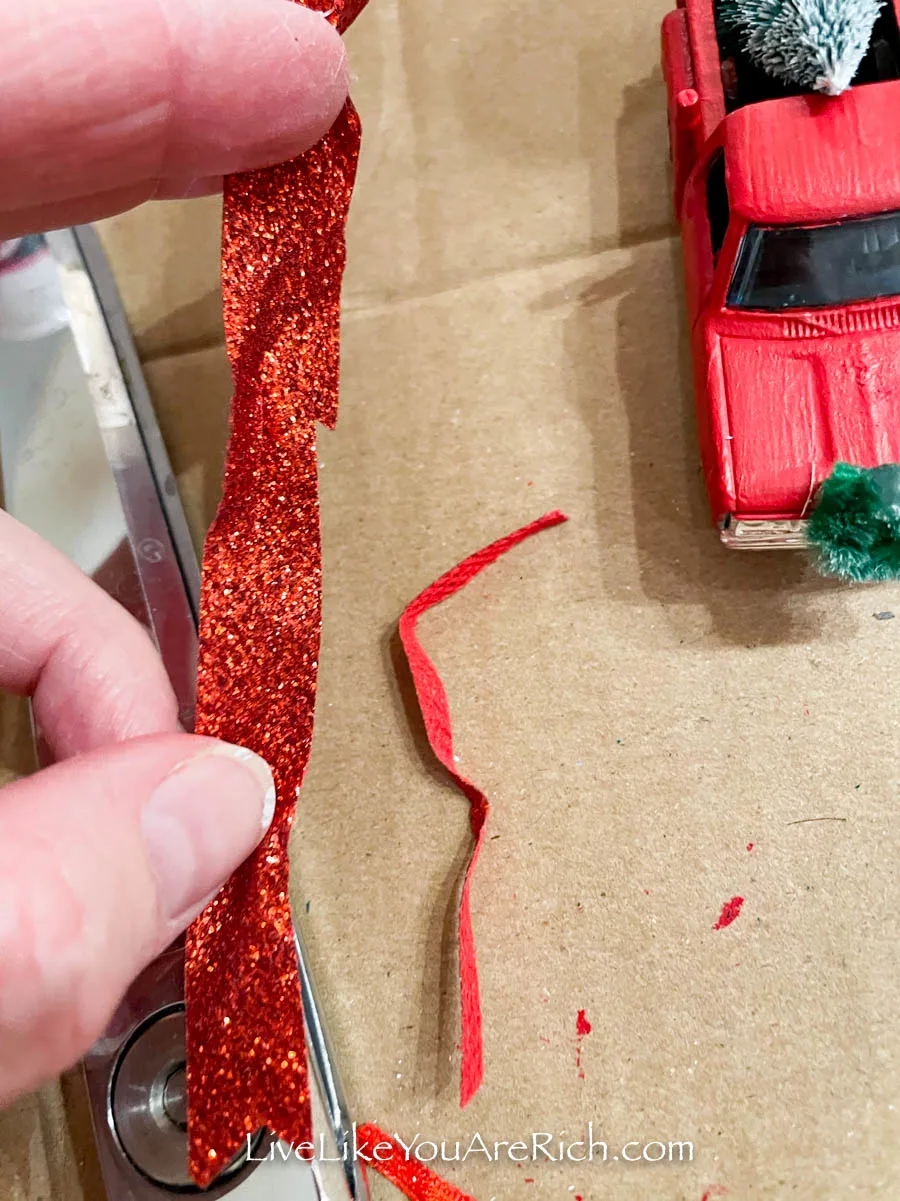 Now, I had a tiny strand of ribbon. This is probably 1.5 millimeters wide and and a few inches long.
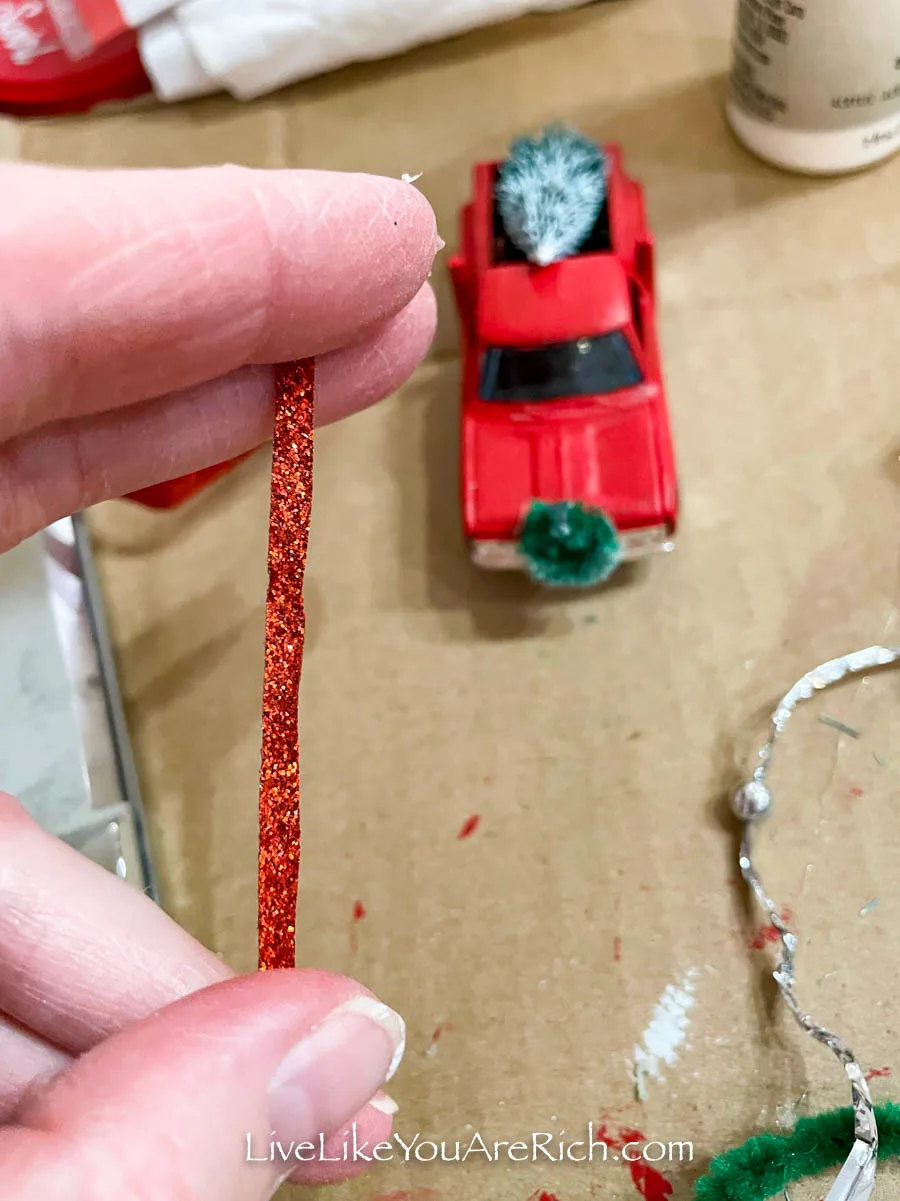 I tied it in a knot.
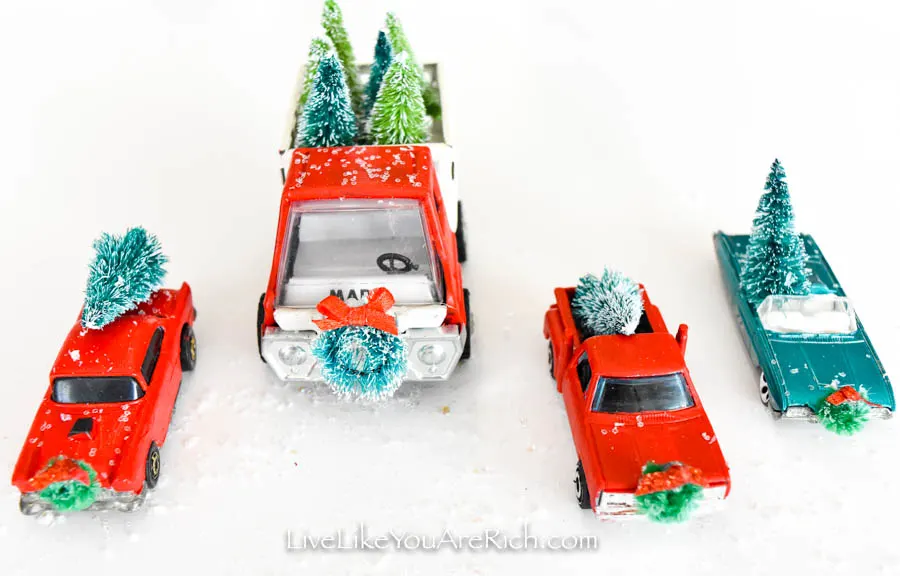 I trimmed the knotted ribbon ends down to size and hot glued them on top of the smaller grill wreaths.
 To make the sisal wreath for the dump truck, I took a mini sisal wreath ornament.
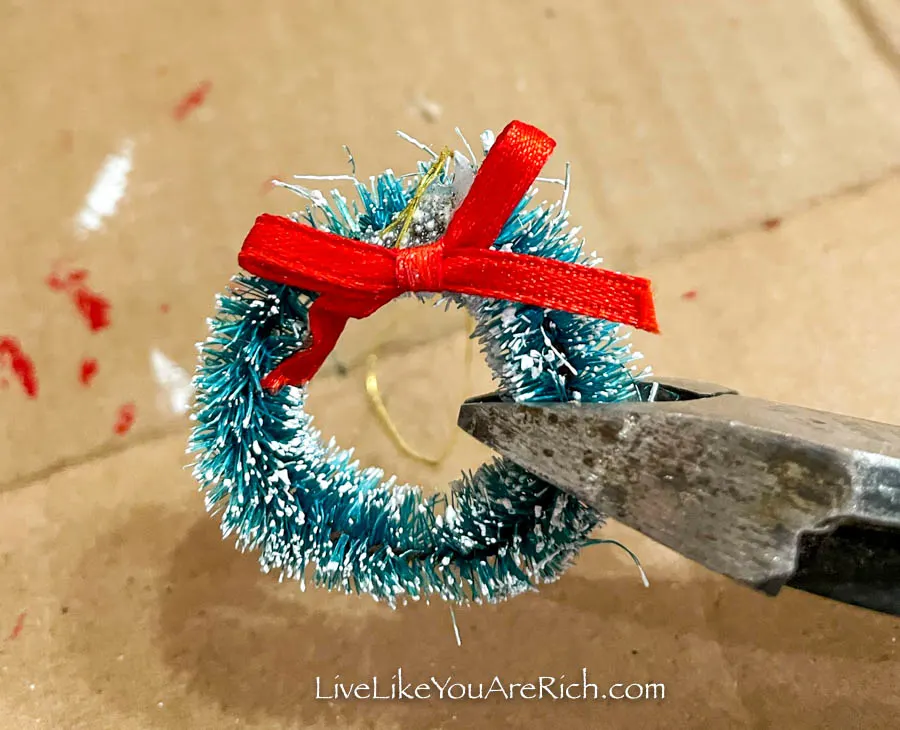 I cut it down to size. I ended up using about 1/3 of the ornament for this mini grill wreath.
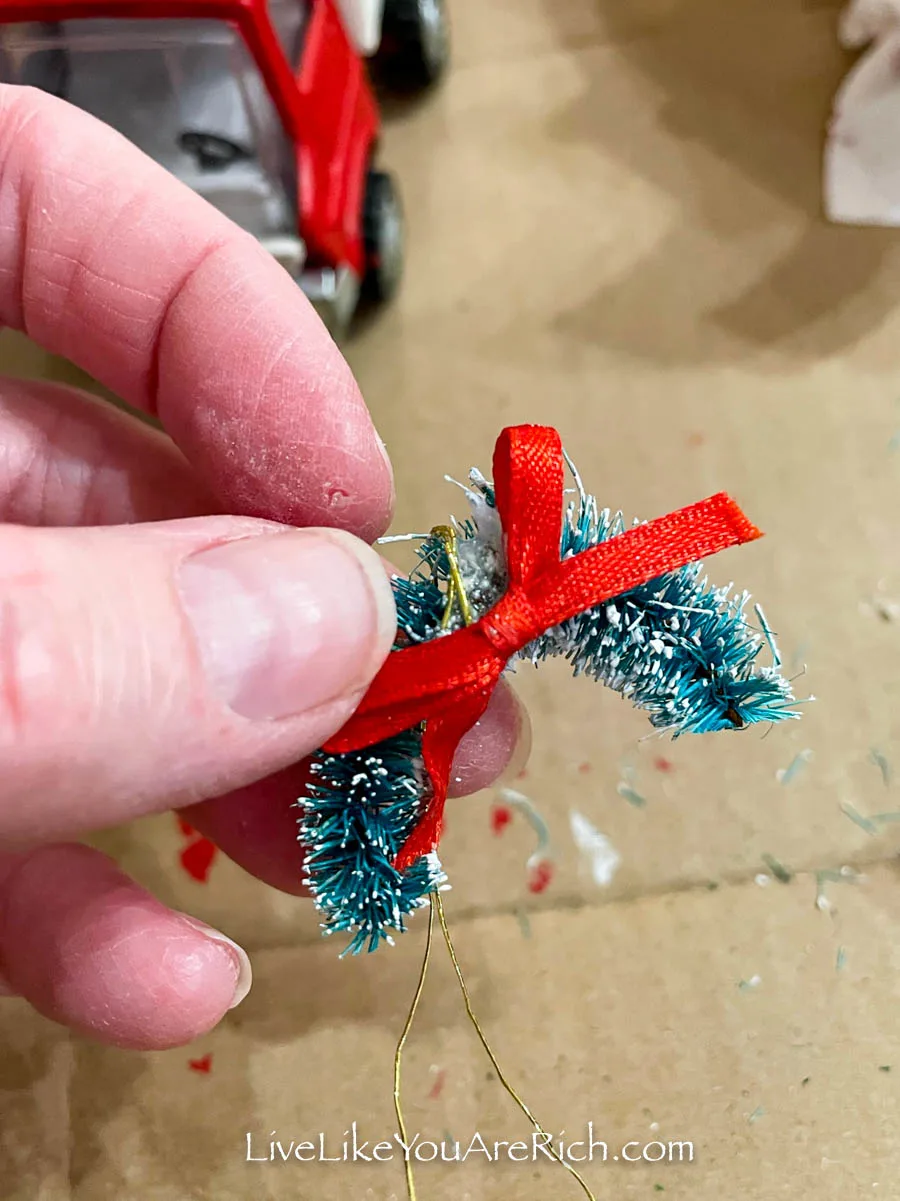 Then I wrapped it in a circle. Be careful when bending the ornament; bend it slowly so it doesn’t break.
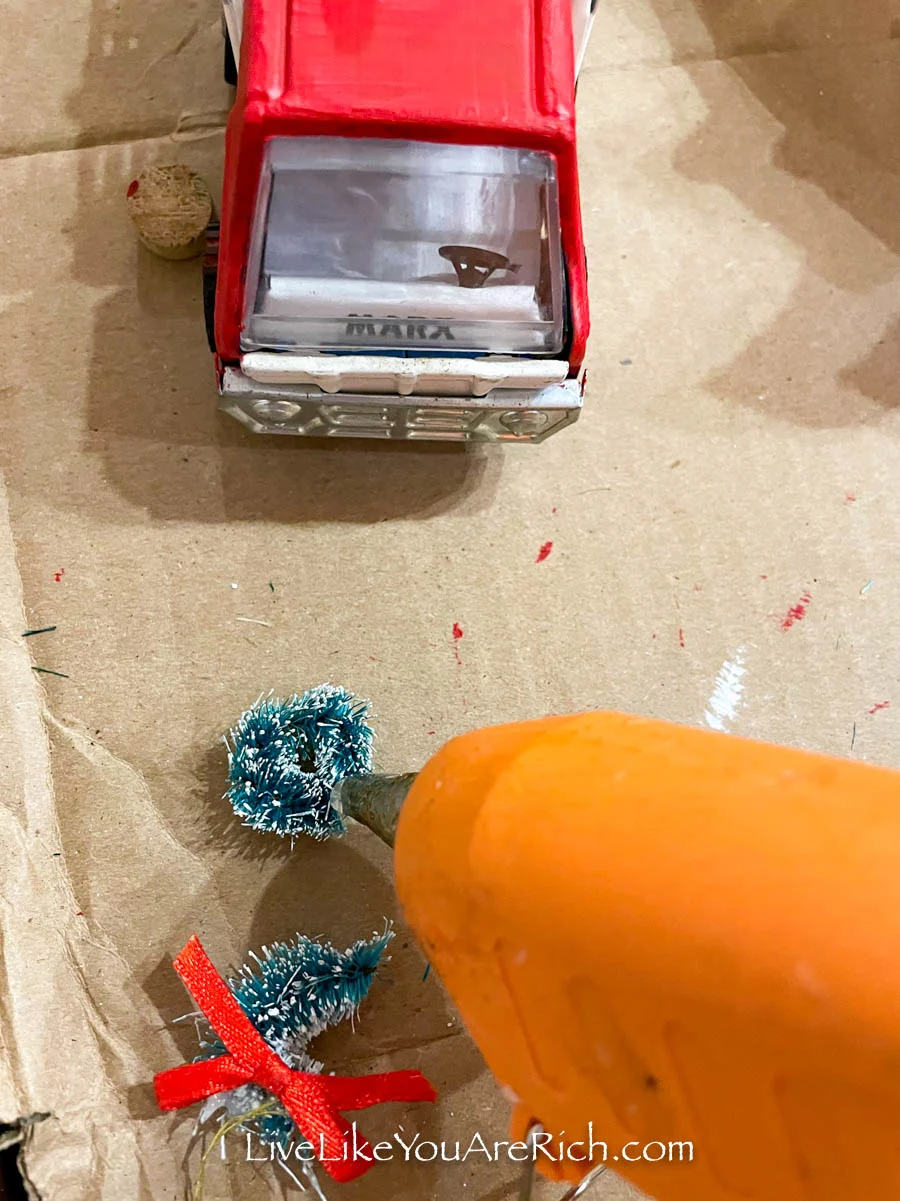 I hot glued the ends together. Then I hot glued it to the truck.
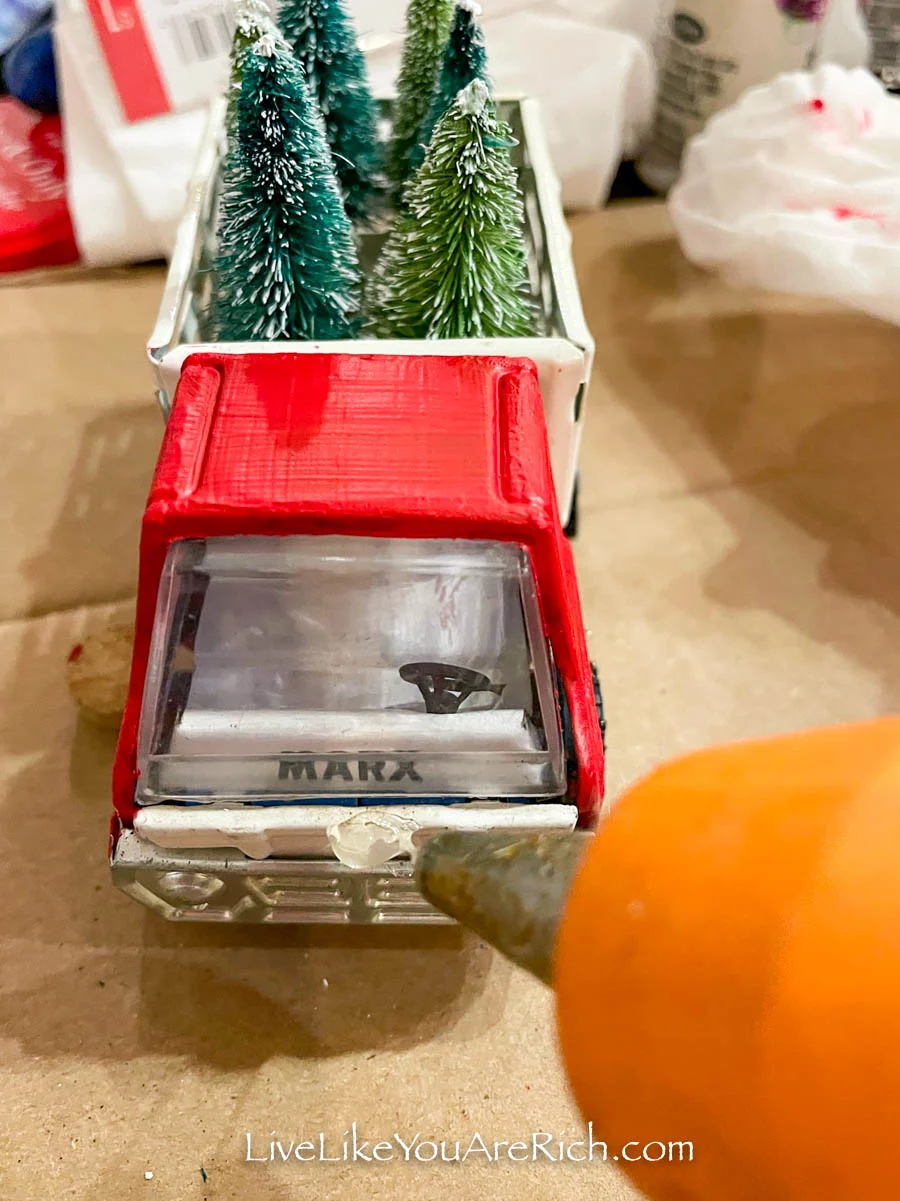 I allowed it to set/cool while I worked on the ribbon for the grill wreath.
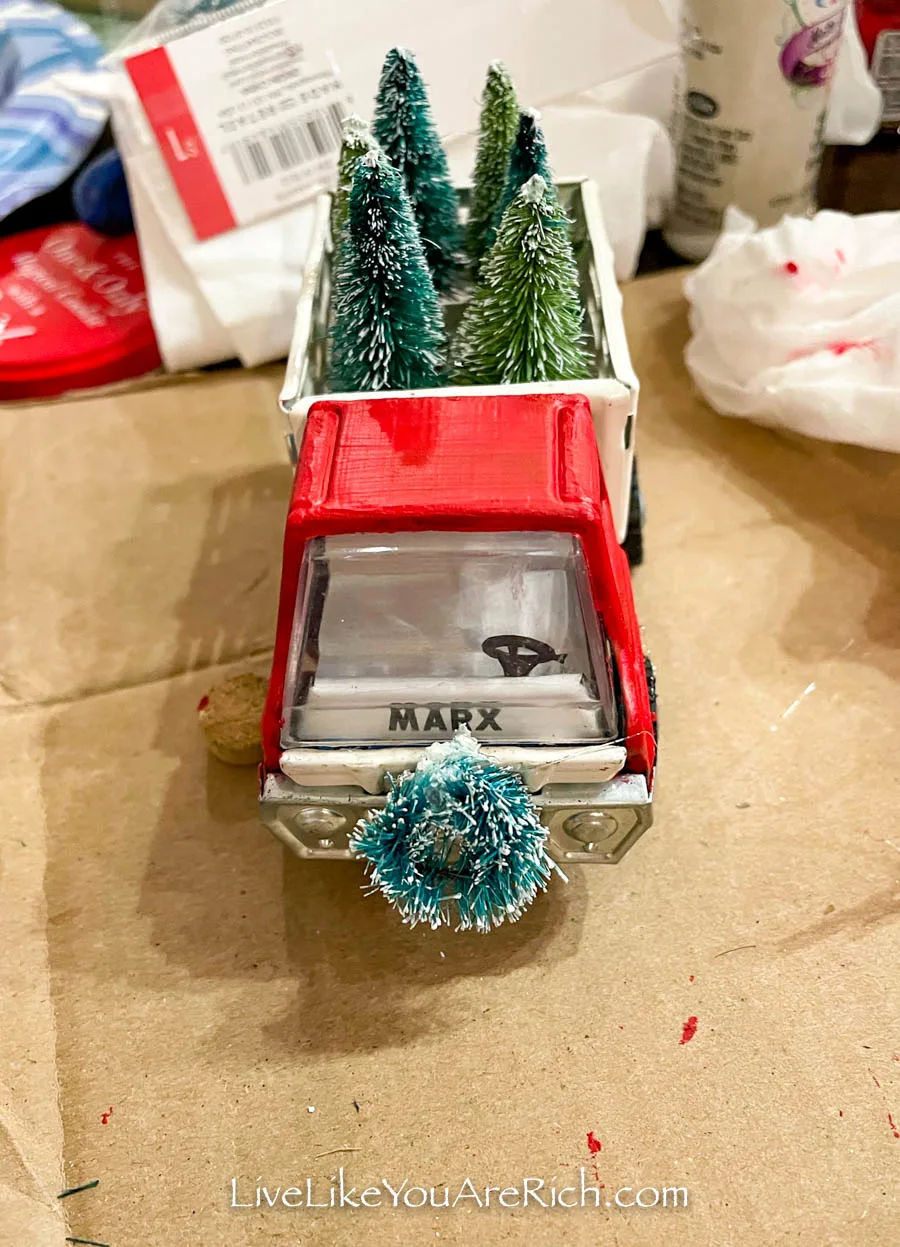 I took the existing ribbon off of the mini sisal wreath and just made it smaller.
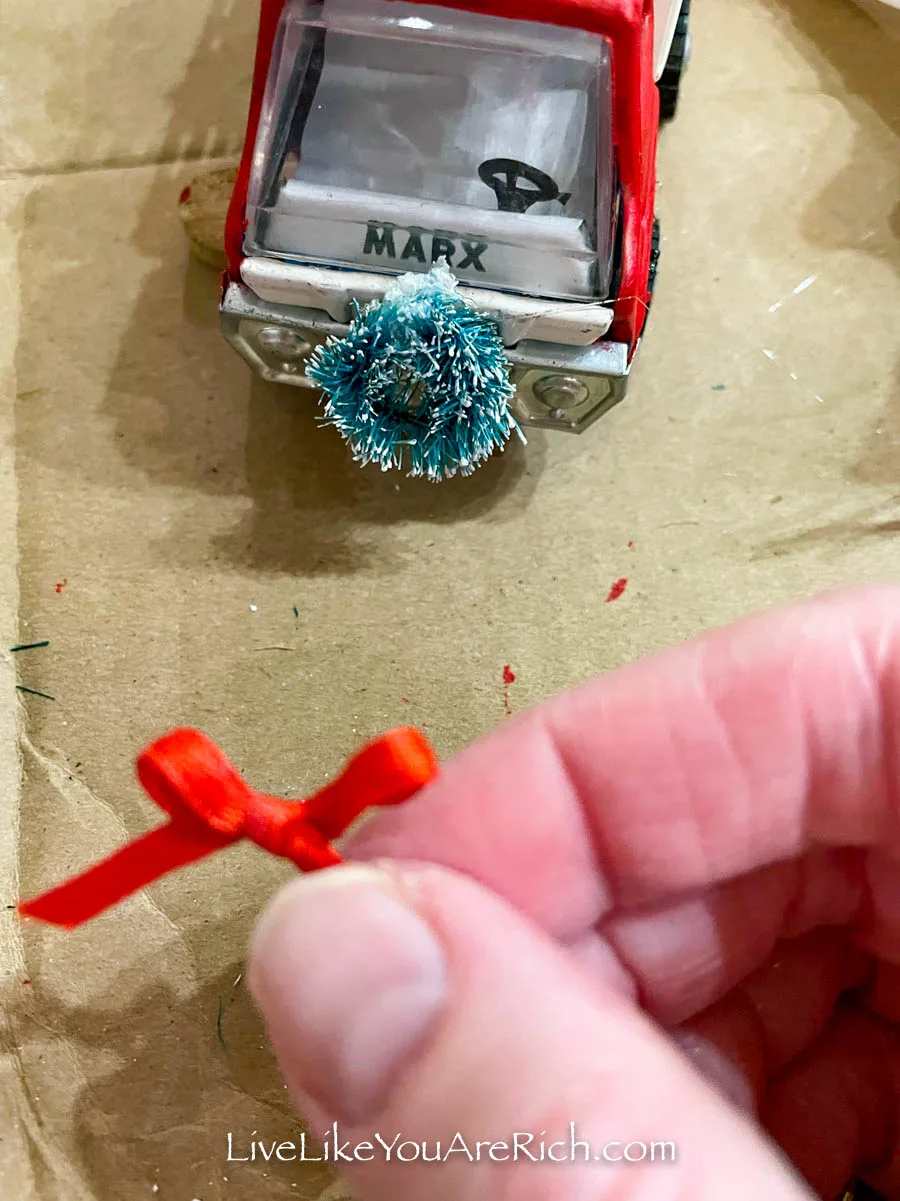 Then I trimmed the ends off to fit the new wreath and glued it on.
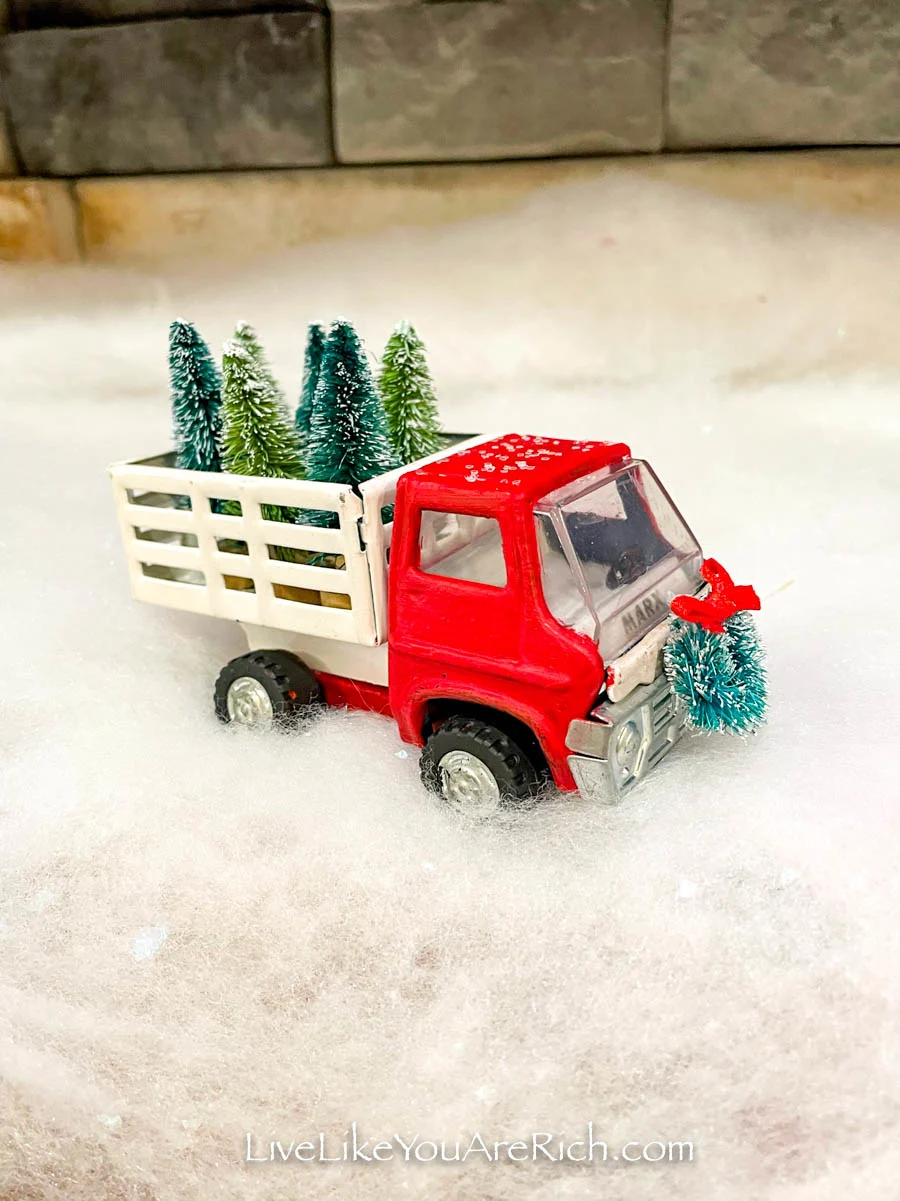 That’s it!
 All it takes is a little painting, cutting and hot glueing!
 I love how these Hot Wheels cars and trucks came together!
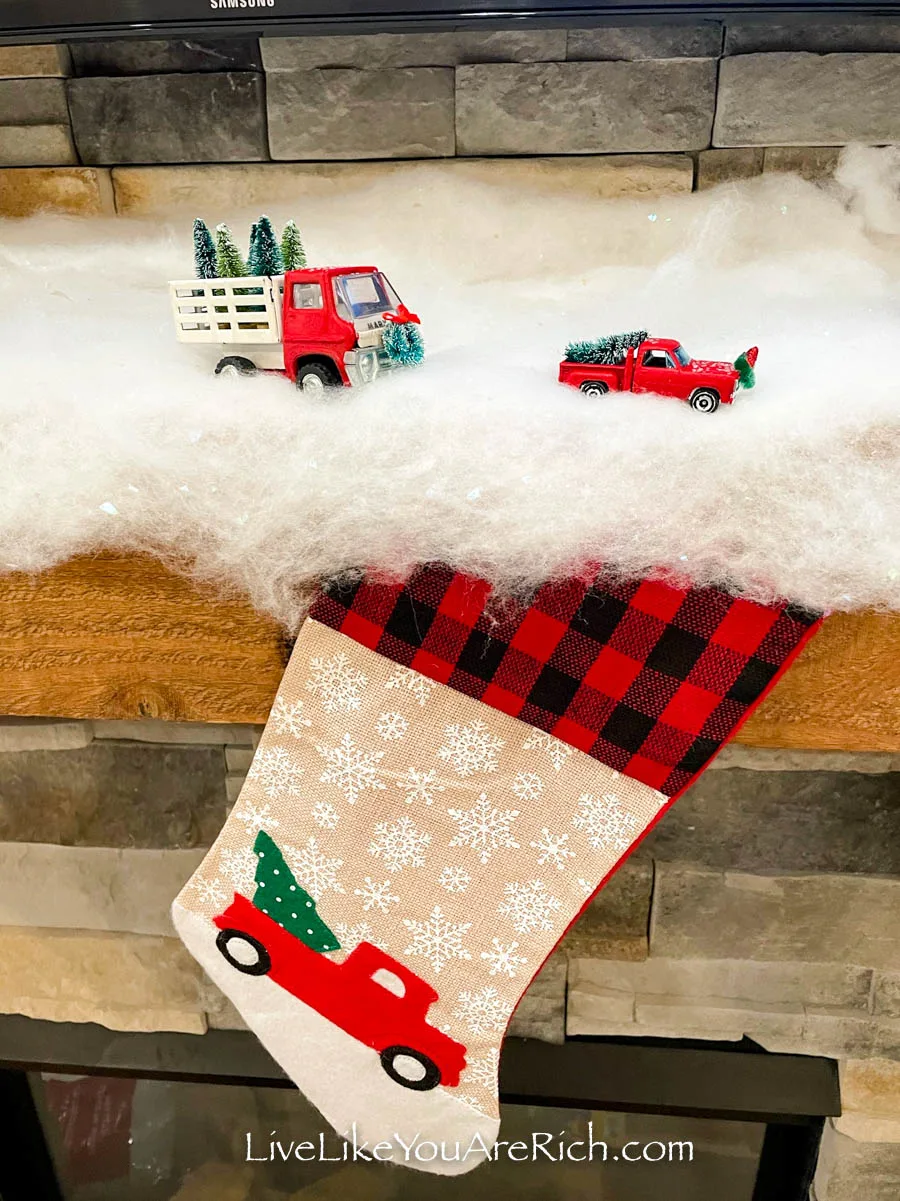
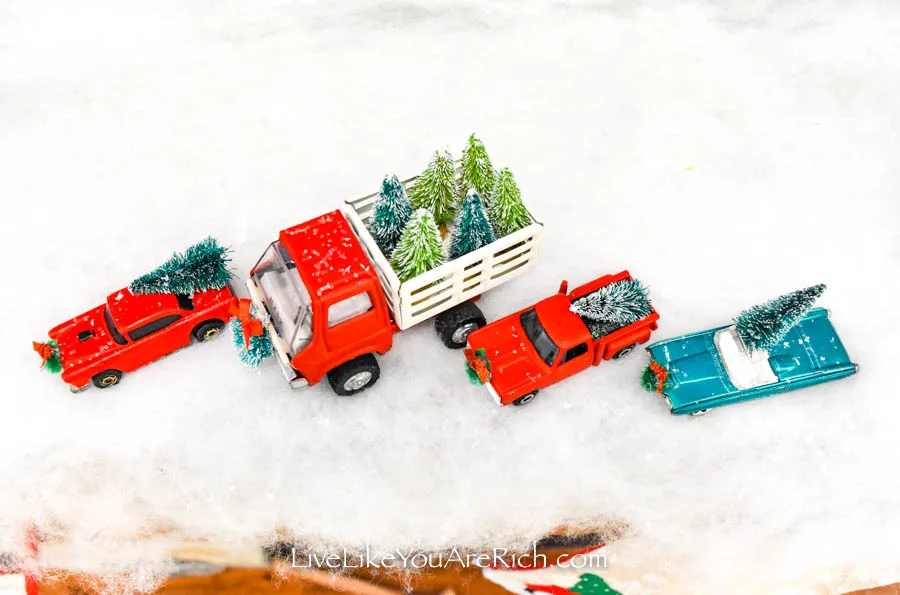 I put them on my Red Christmas Truck Mantel and sprinkled them with faux snow.

If you decide to try this Red Truck Christmas Hot Wheels Restoration, I hope you love the result as much as I do.

Merry Christmas!

For other ‘rich living’ and D.I.Y. decor tips please subscribe, like me on Facebook, and follow me on Pinterest and Instagram.
Supplies for a Christmas Red Truck Hot Wheels Restoration
Red (Stop Sign) and white (White) Acrylic Paint
Mini sisal Christmas trees. I found these in packs of 4 for $1.00 in the seasonal bins at Target. Similar here.
Hot Wheels cars years 1940-1960’s
Optional- Mini sisal wreath ornaments (or add a string to plain wreaths). These came in packs of 3 in the seasonal bins for $1.00 at Target. Similar here.

