After building a closet bench seat, we needed to create its cushion. Making a DIY Bench Seat Cushion was super easy to do! After gathering the materials, it only took me about 15 minutes to make. I know you can make one too.


Materials Needed
Wood glue
1- piece of plywood 1/2″ thick cut to the size of your seat (ours 26″ x 13 1/2″)
5 ” thick memory foam cut to seat size (ours 18″x 14″x 5″)
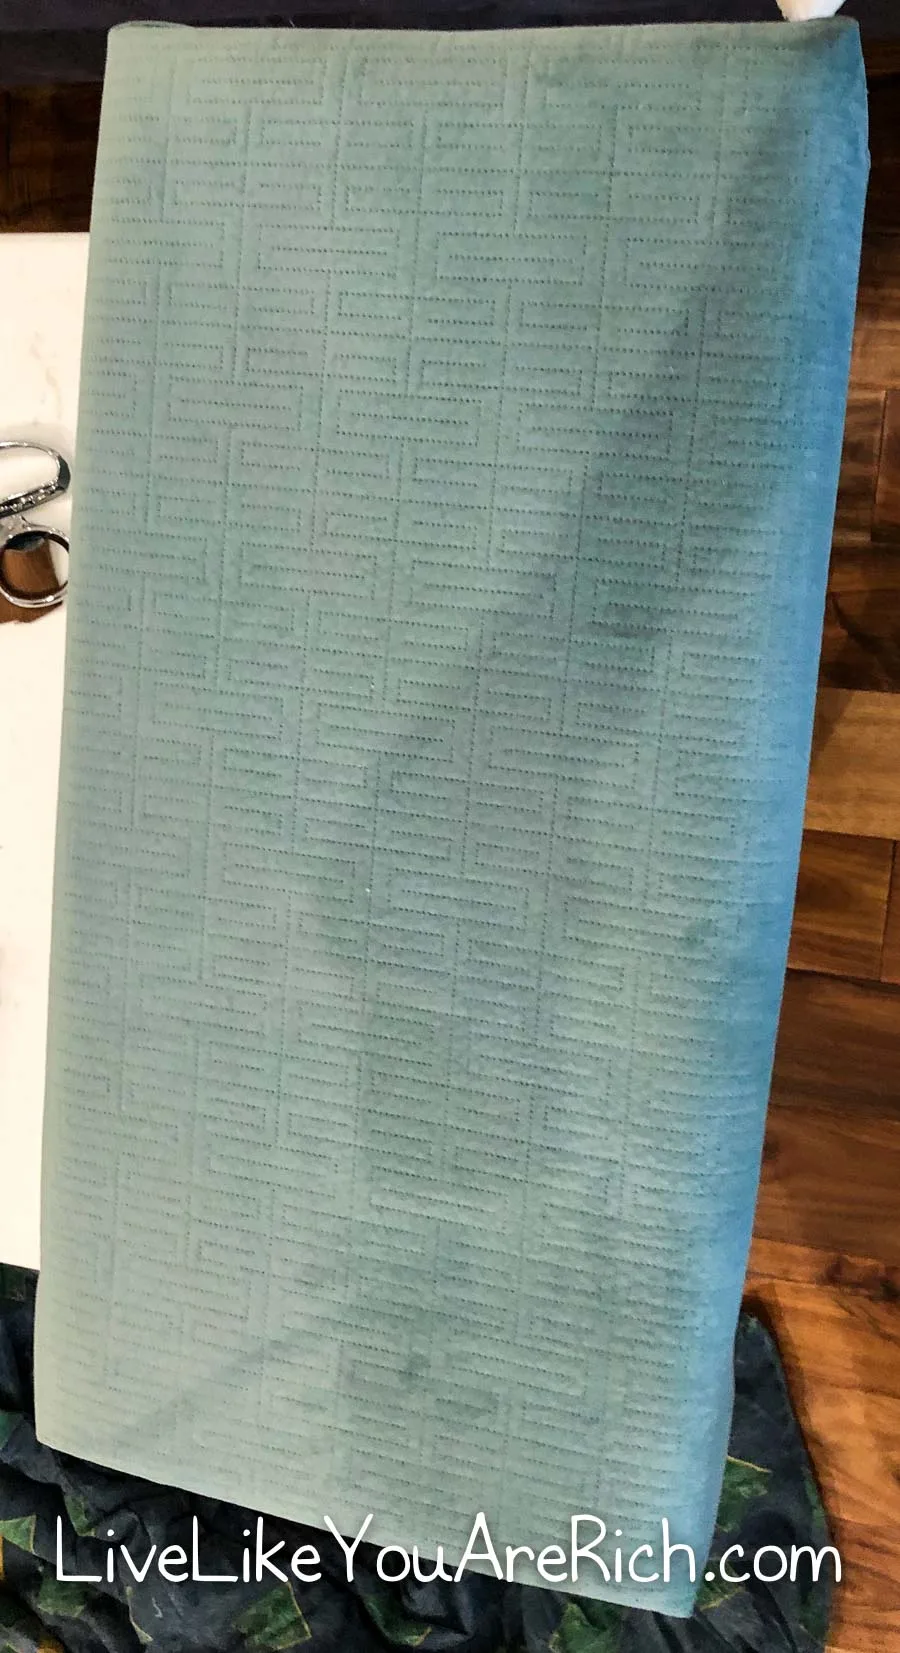
Upholstery fabric of your choice to cover (ours 1 1/2 yard= 54″x44″)
Staples and staple gun (Stanley Sharpshooter or an air pressure staple gun
Instructions
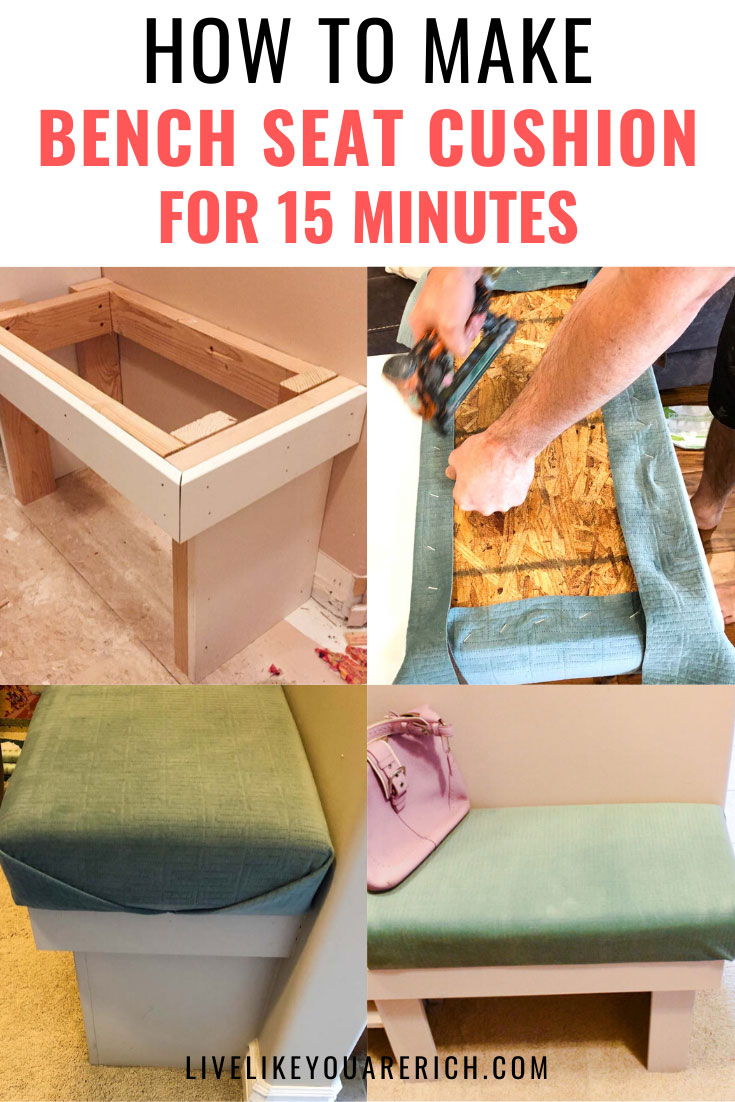
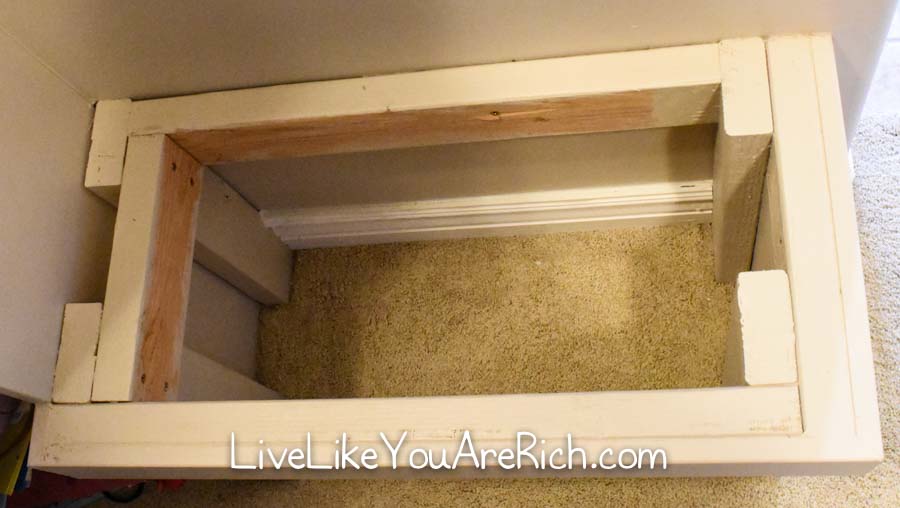
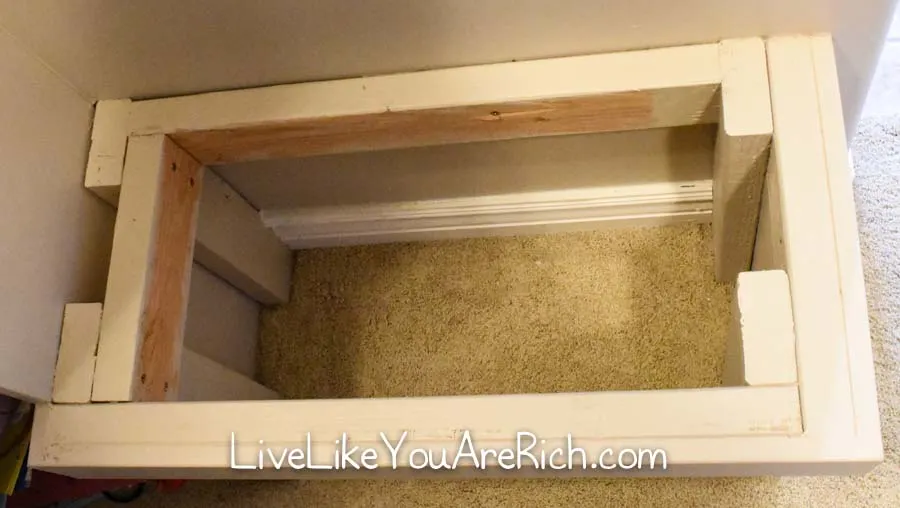
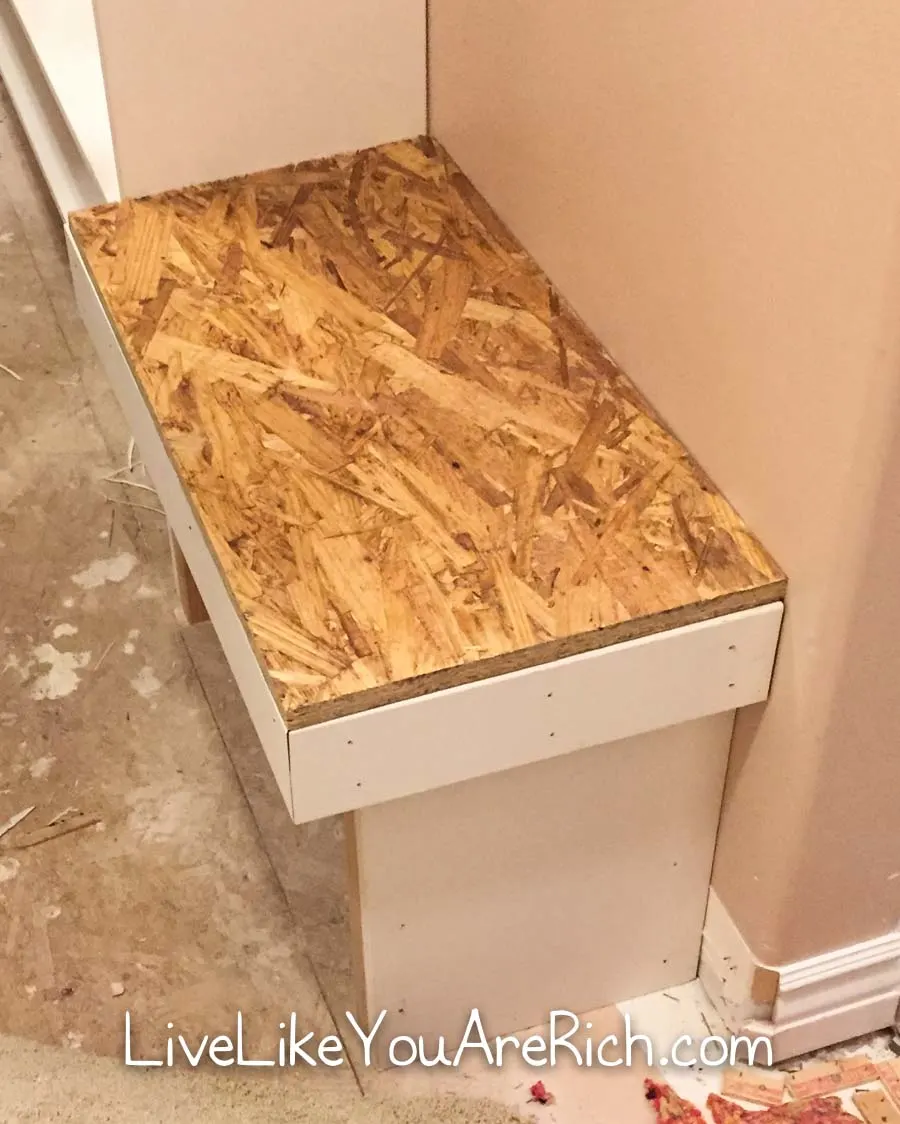
After creating the frame for our closet bench, we did the following to make the bench seat and cover it.
Important Note- Measure your bench frame or seat and use measurements that correspond. The following measurements are for a bench seat that goes with this frame.
First, cut your plywood to fit the bench frame (ours was 26″ x 13 1/2″)
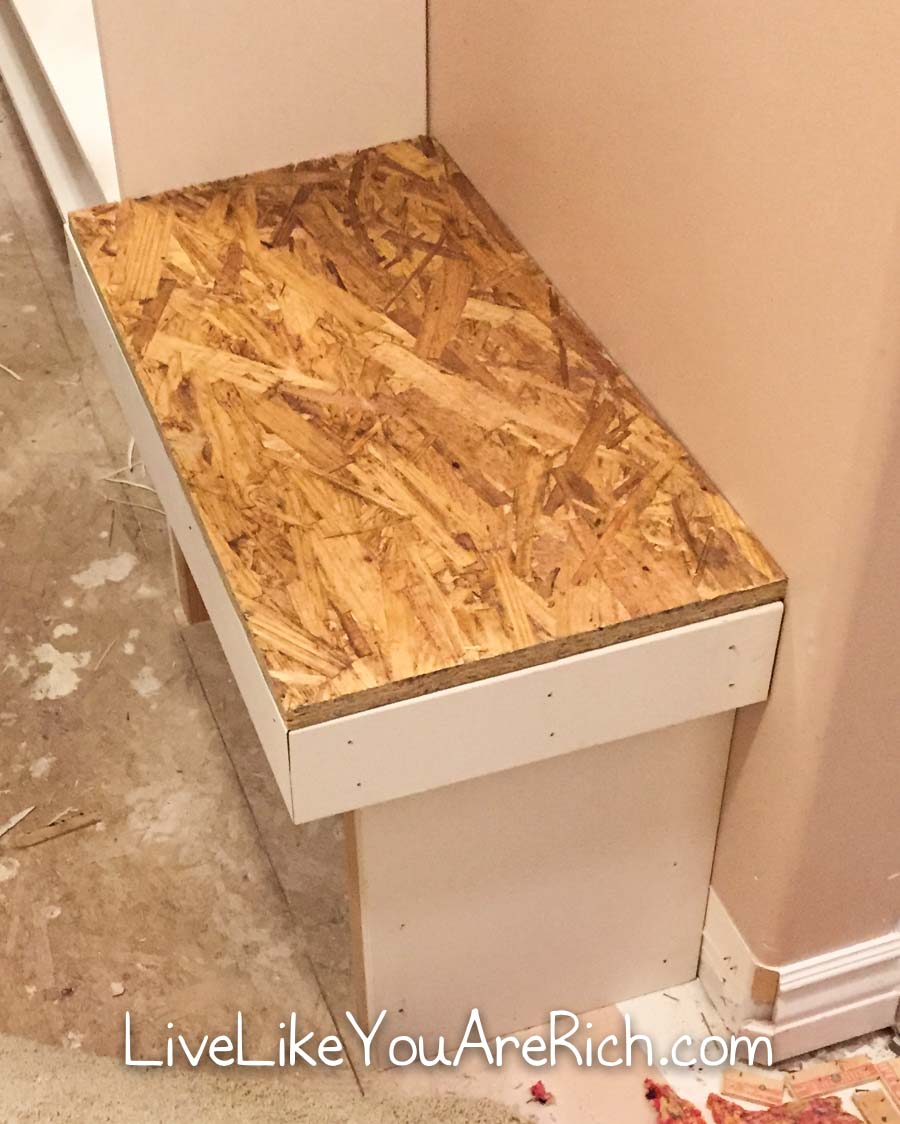
Next, cut the foam to fit the plywood piece. When cutting this thick foam, it is best to use a lightly cerated knife and run it in one direction only. I learned by trial and error, making this project not saw back and forth on the memory foam. Only cut in one direction (similar to going with the grain when you are cutting wood). If you look at it, it will end up looking jagged.
I had a 5″ memory foam piece left over from this project. It almost fit the entire bench cushion. So, I just got a small remnant from JoAnn’s and saved money. Because the majority of the seat cushion is one piece and it was glued together, it is not noticeable and does not change the comfort of the cushion.

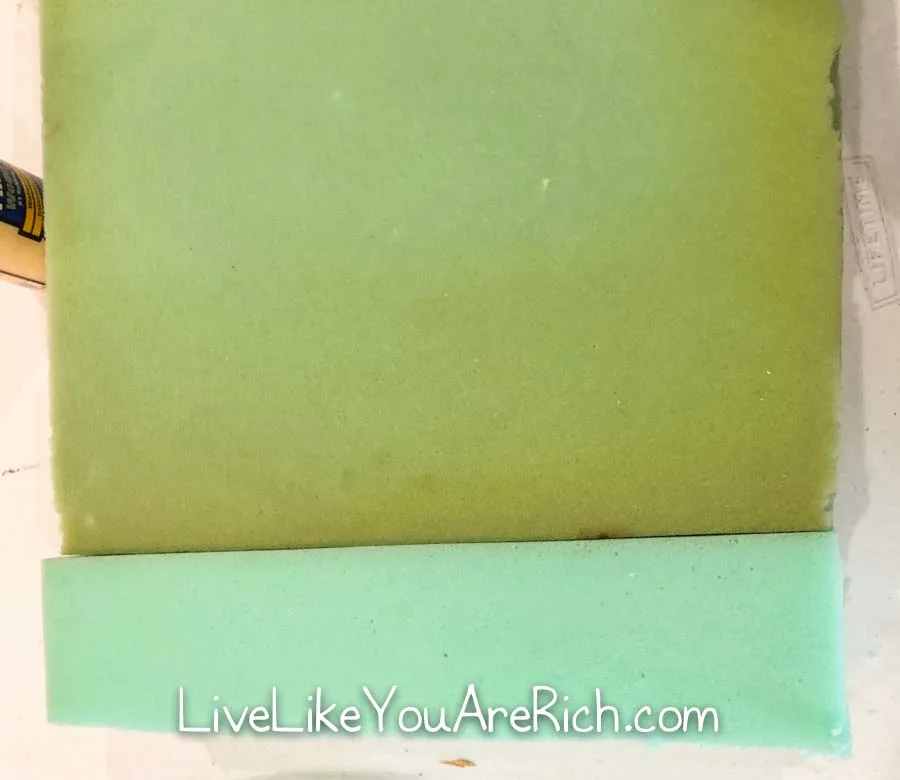
Important- when cutting memory foam, allow a 1/4″ overhang of foam over all edges of plywood. This is because when you pull the upholstery tight, you still want foam up to or slightly over the edge a bit because plywood is not comfortable.
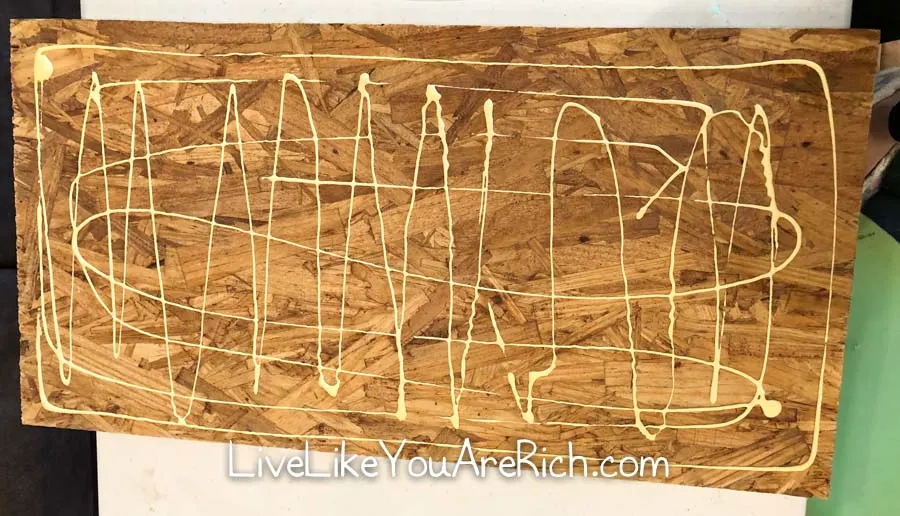
Now, put wood glue down on the plywood and fit the foam on top pushing down to secure the foam in place.

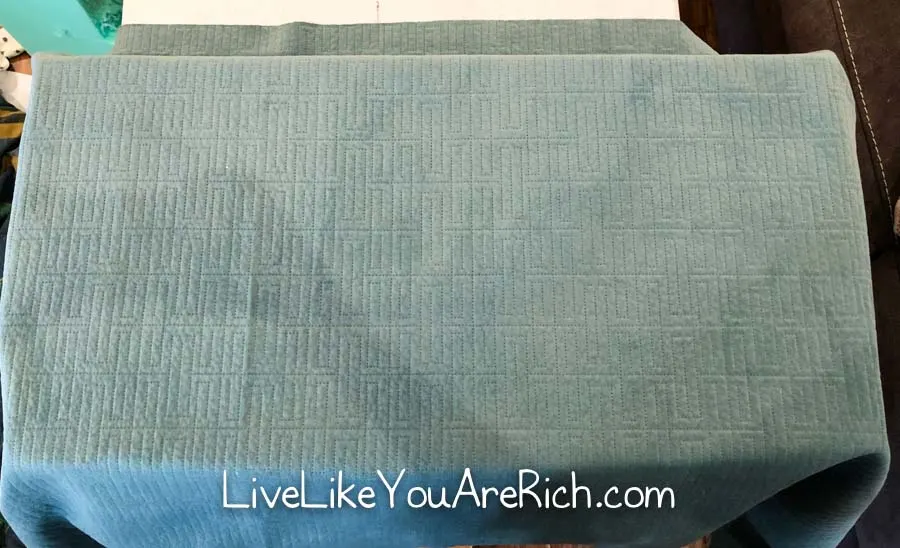
Drape the upholstery fabric over the bench seat and give yourself at least 1 1/2 inch border underneath the plywood for stapling.
When buying your fabric choose anything you love, just make sure to add 14″ to each dimension of your plywood. This is because you are adding 5″1/2 inches in height on each side (plywood is 1/2″ thick, the foam is 5″ thick) plus you want 1 1/2 inch of fabric to work with on each side 5 1/2+1 1/2=7 x 2 (each side)= 14
So for example, my plywood dimensions are 26″ x 13 1/2″ so I added 14 to 26= 40 and 14 to 13 1/2=27 1/2 which is why I bought a yard and a half of fabric or 54″x44″.

I did have a little extra fabric left over, however, it was better to have and not need then to need and not have.
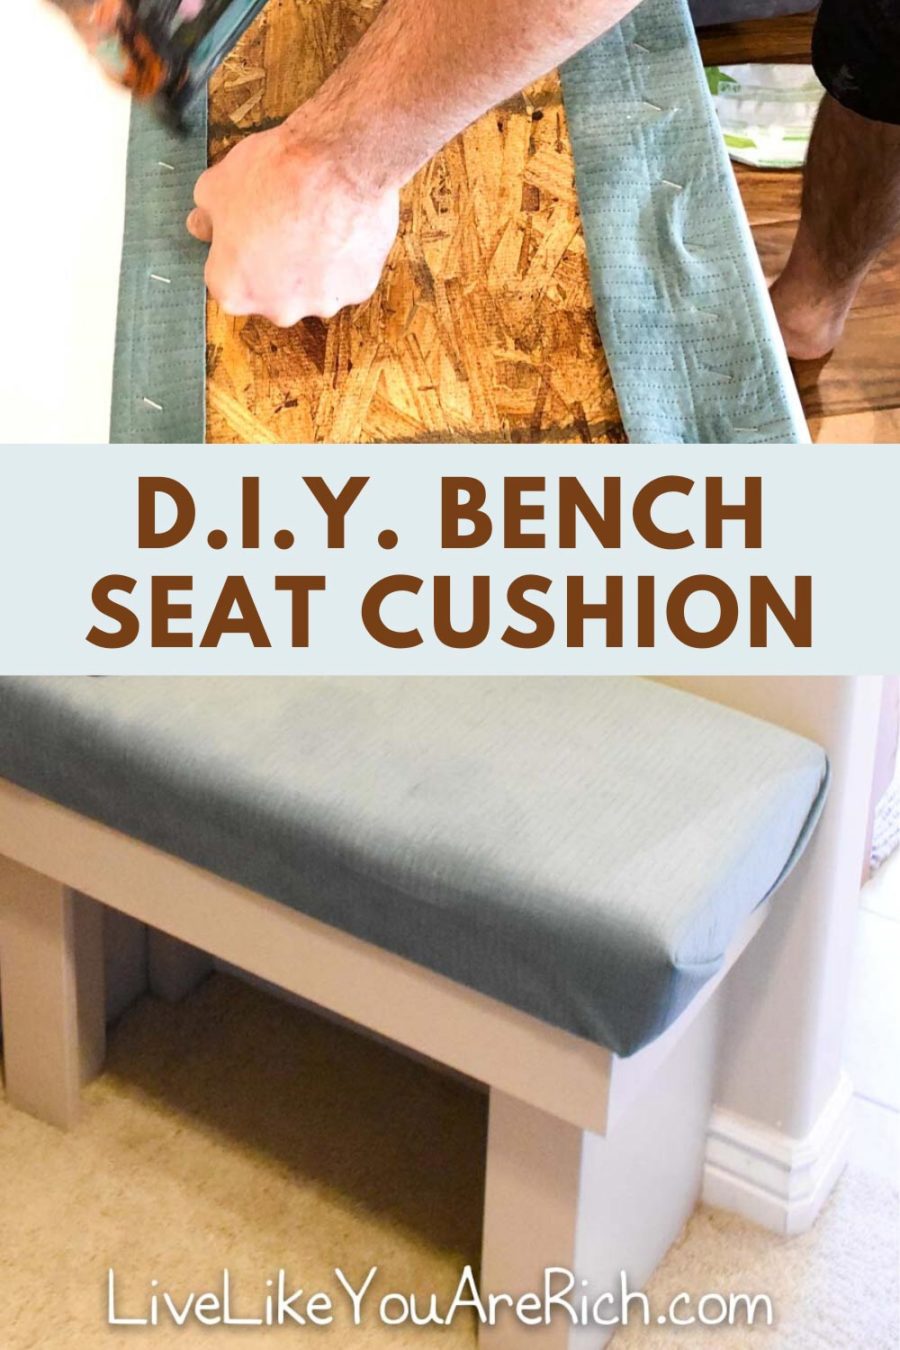
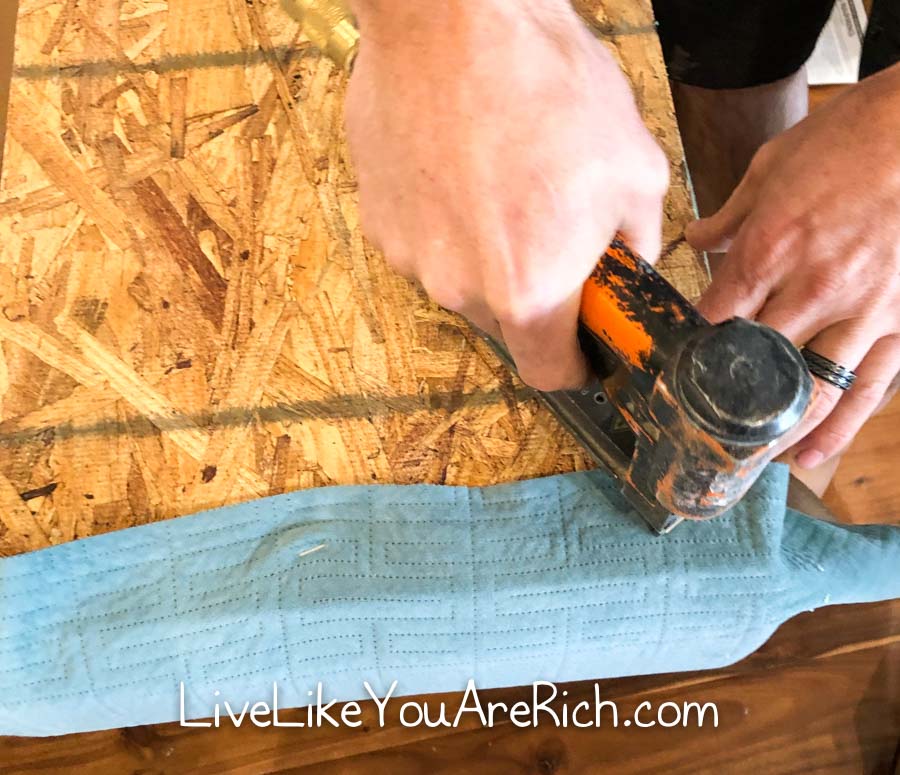
Make sure the fabric/pattern is straight and turn over the bench. Secure one or two staples along one edge and double check that the fabric/pattern is still straight and has not moved. Now continue securing the one side.

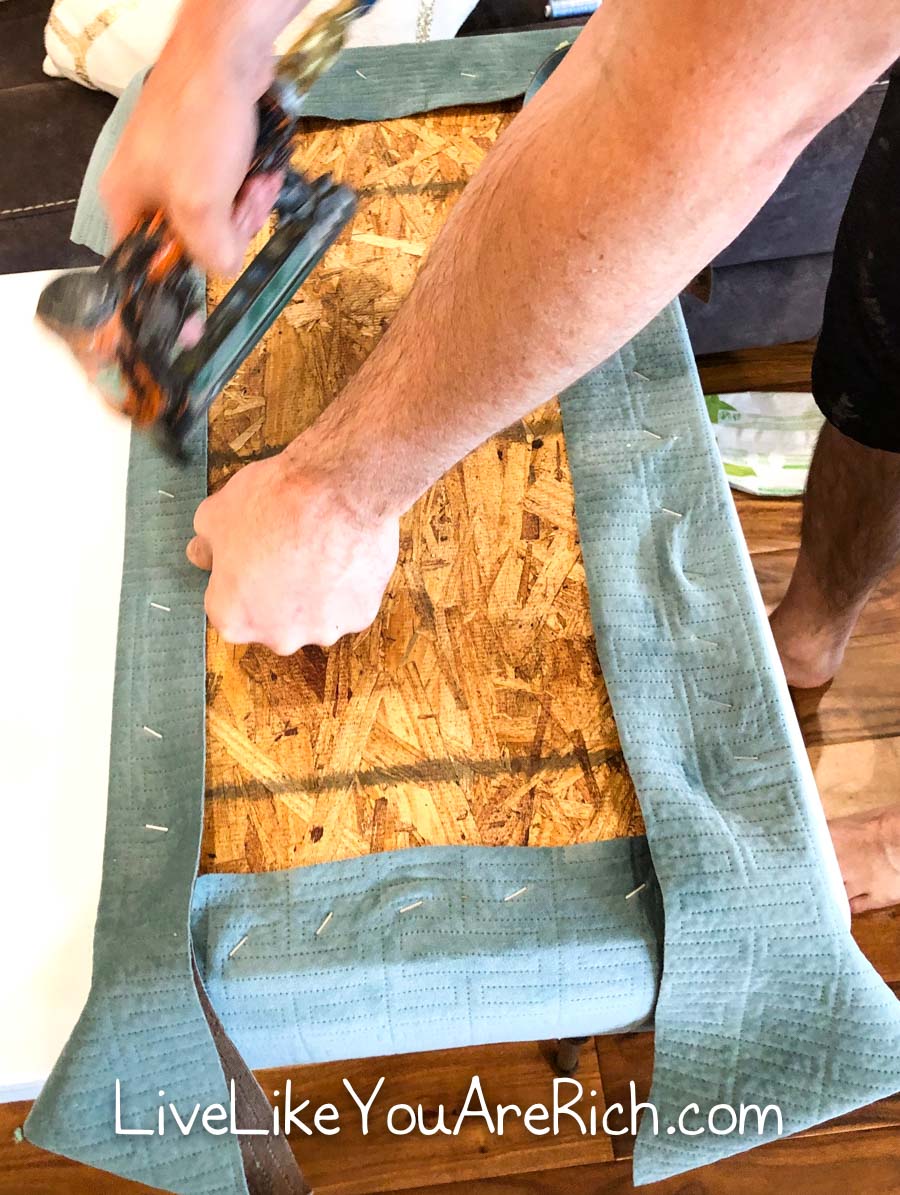
Pull the opposite side tight and staple along that next side.
Follow the same process for the 2 remaining sides. Cut away additional fabric if necessary just don’t cut too close to the staples.
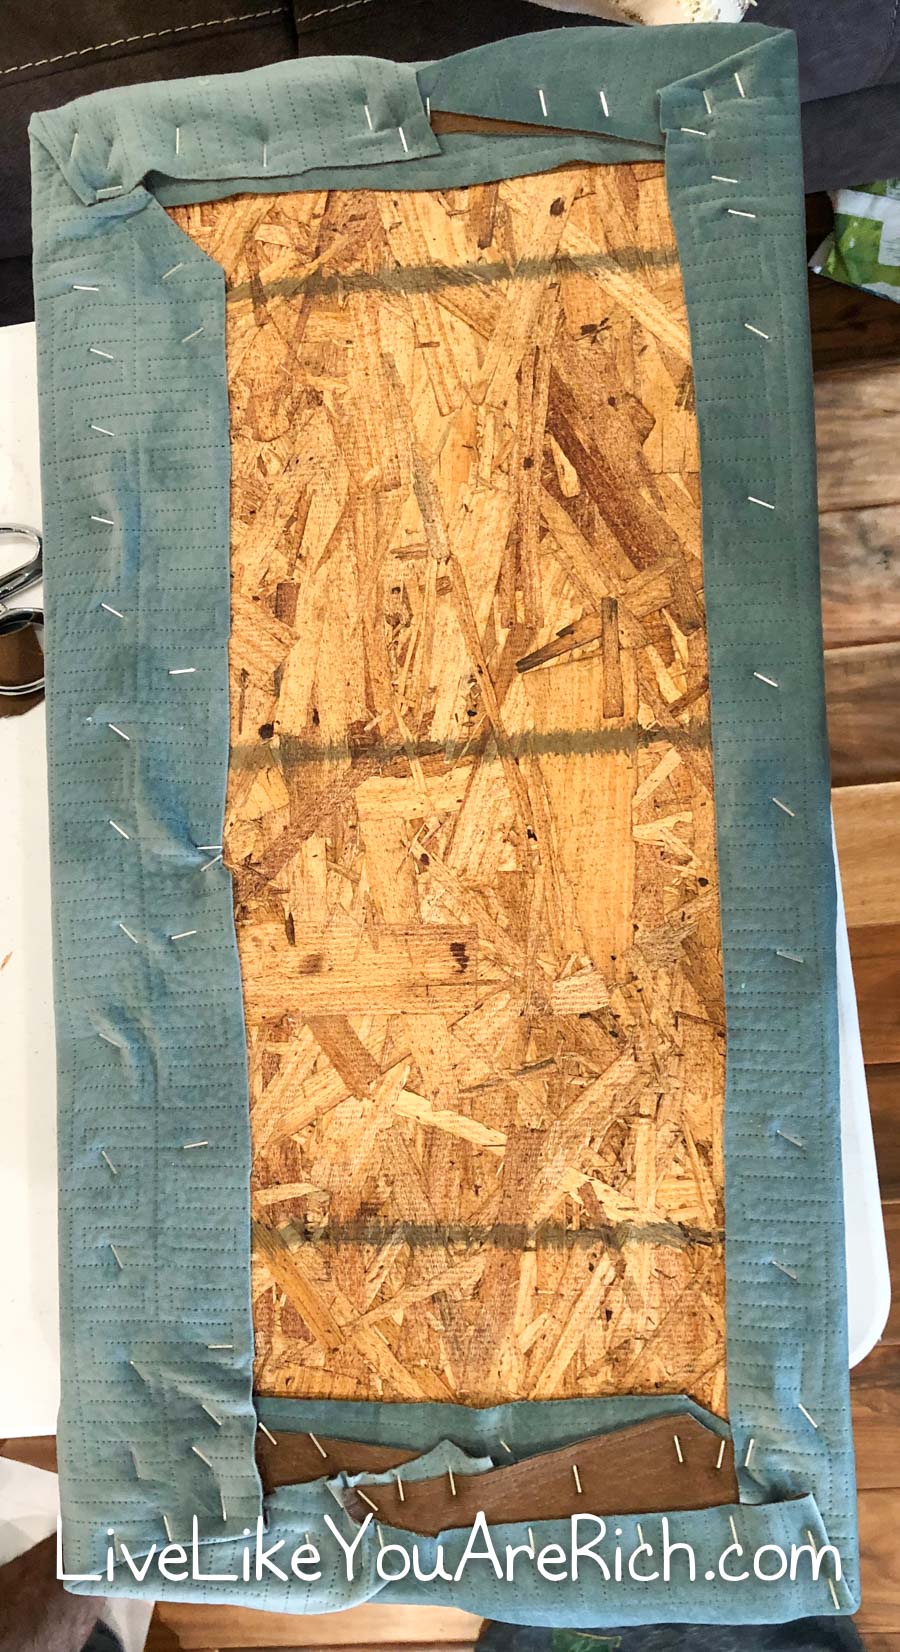
Corners are tricky. Especially if you are dealing with a high-quality thick upholstery fabric like I was. You are going to have a lot of extra material around the corners. There are a few ways to deal with this material.

If you like the folded ends look, you can fold the end sides in like a present and staple (see image).

I really like this look. So, I prefer to do it this way.

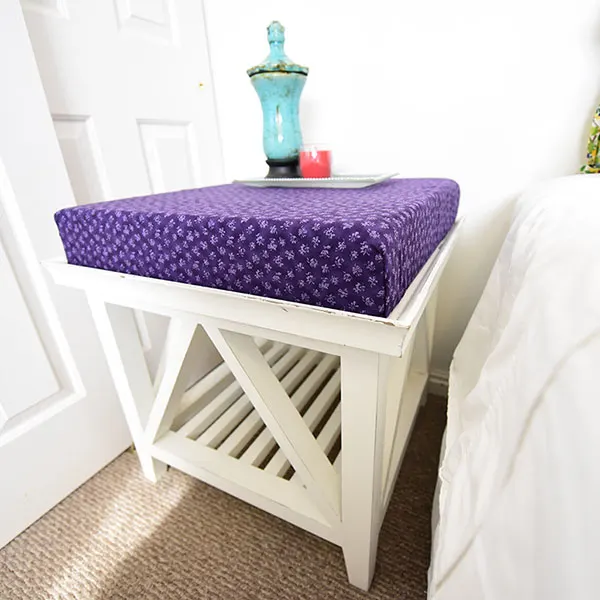
If you don’t like the diagonal edge look you can tuck one edge completely under the other and fold the edges right on the corner (kind of like a hospital bed sheet fold) as seen on this side table I made.

Or you can tuck and staple on the corners as you go so there are no folds, just small gatherings of upholstery depending on its thickness and how tight you pull.
Once finished…

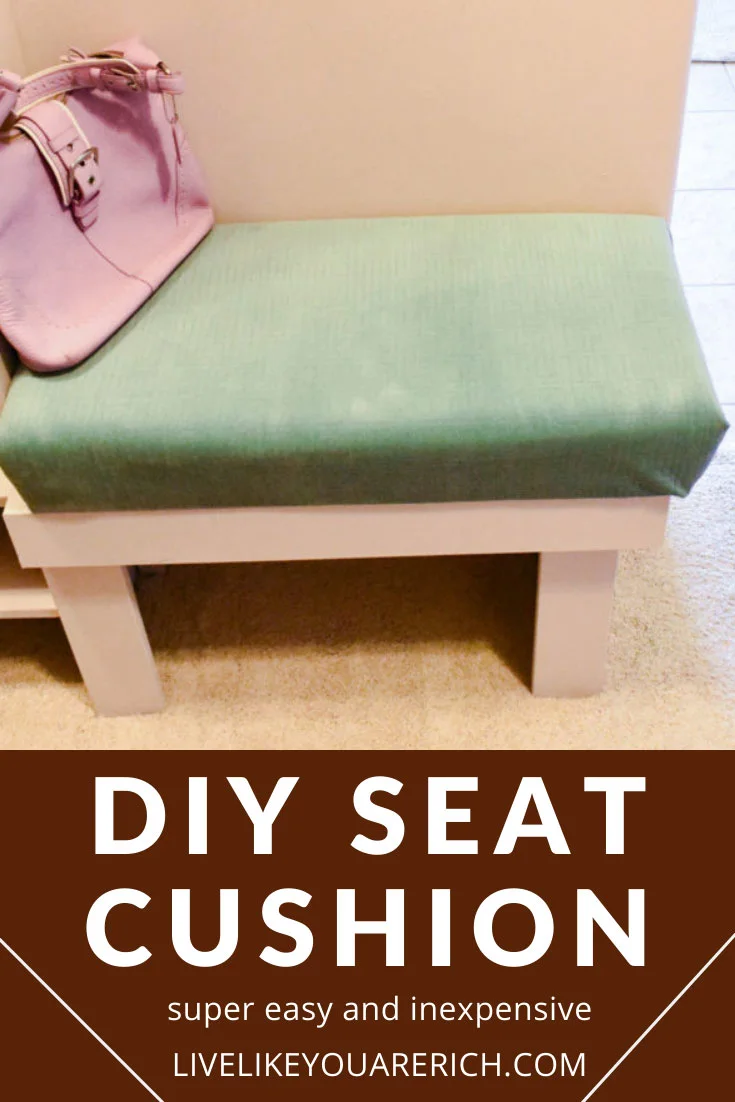
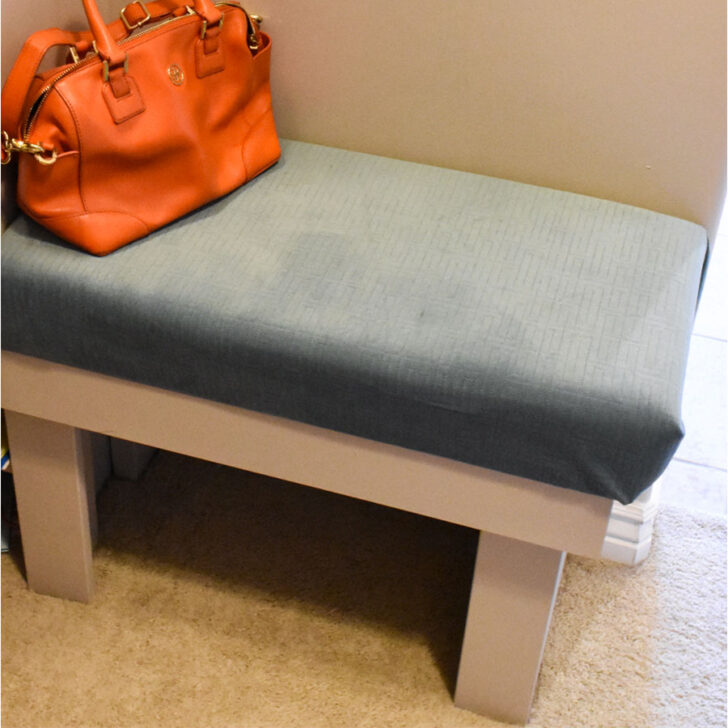
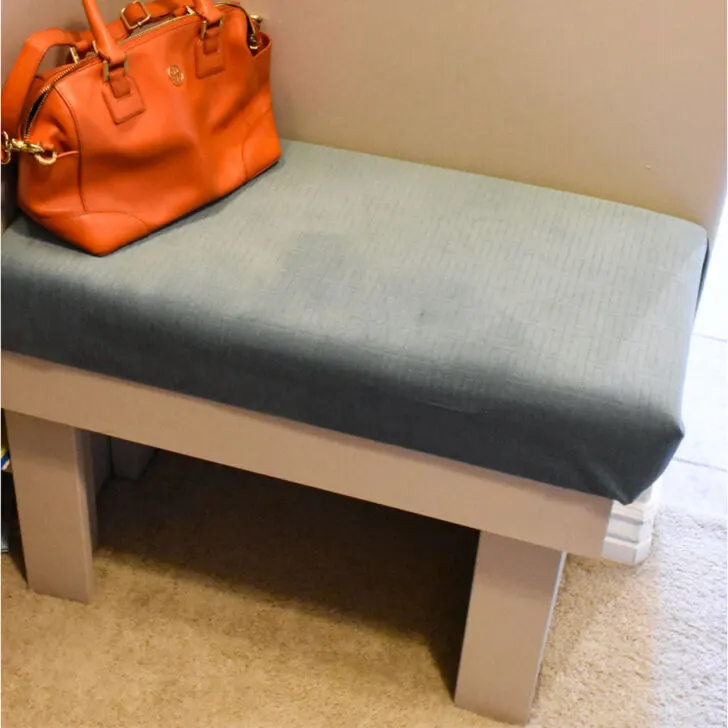
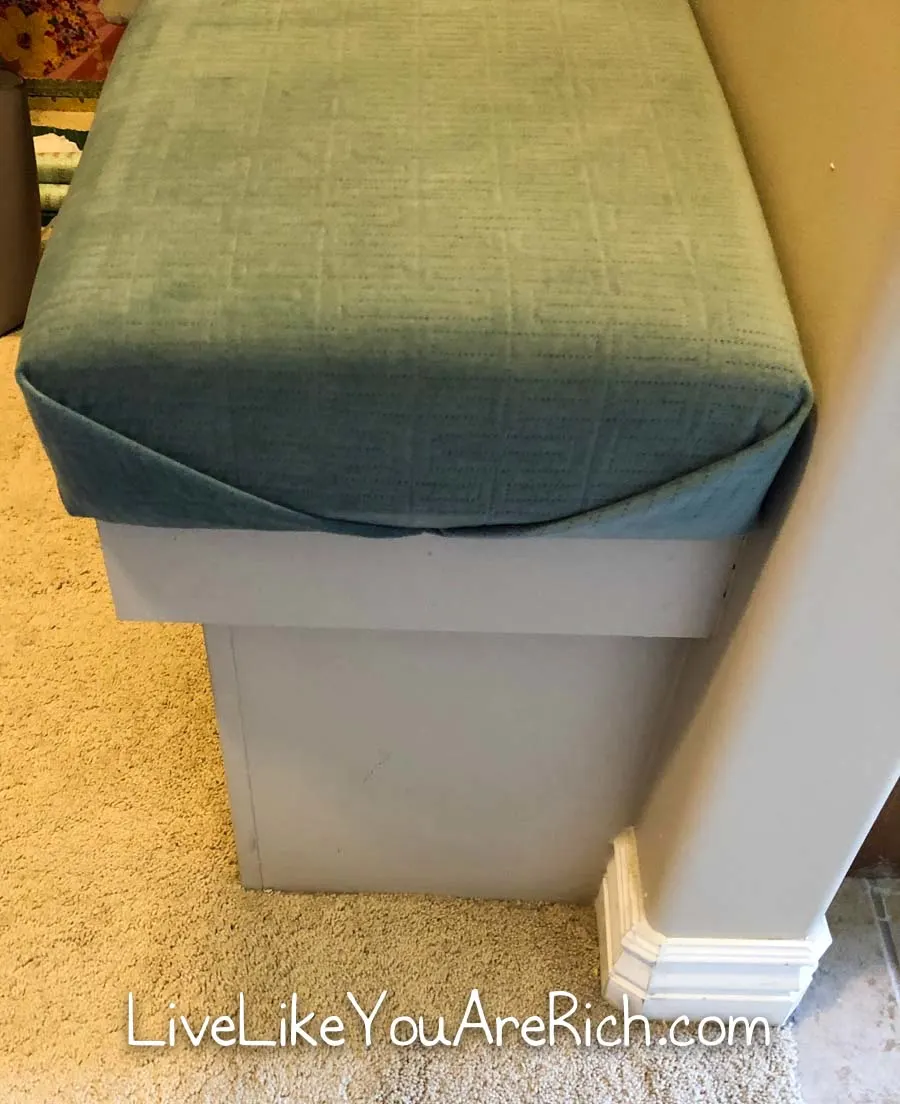
Set the bench top on the bench frame.
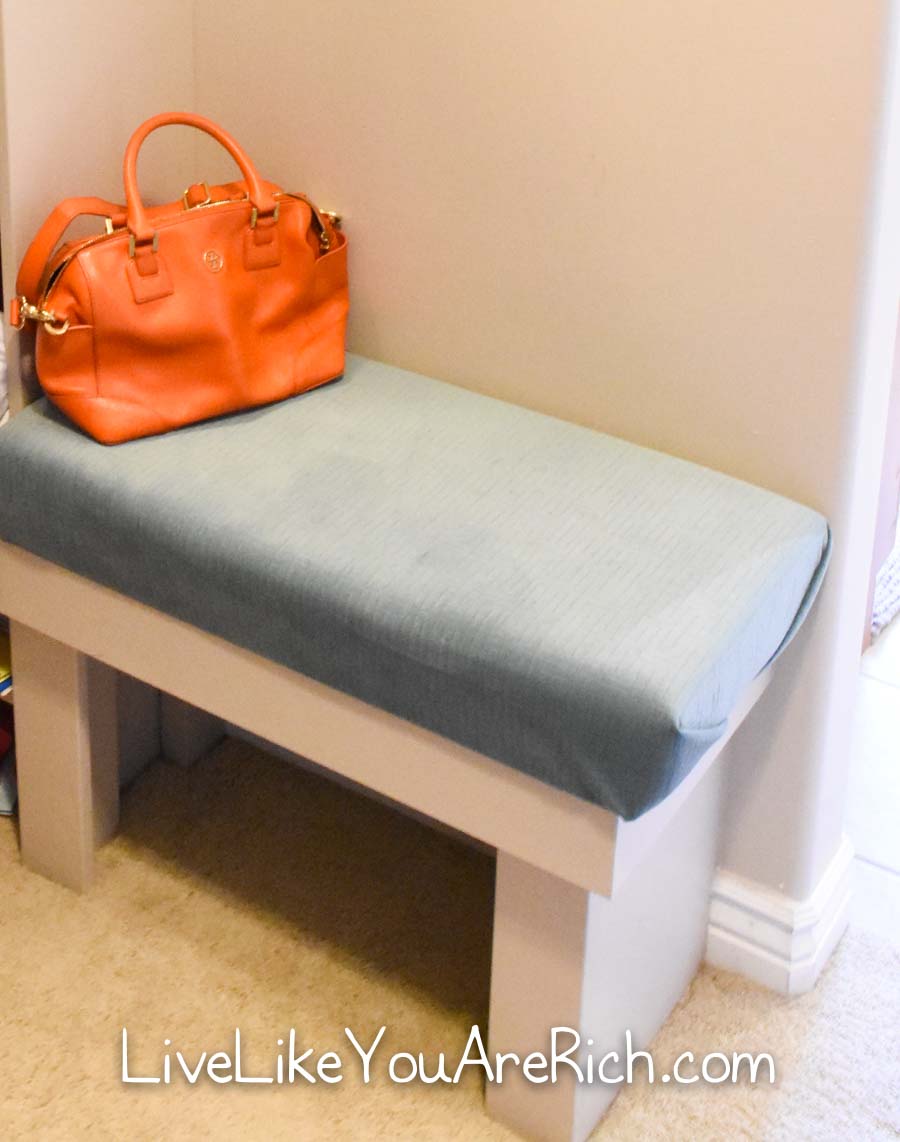
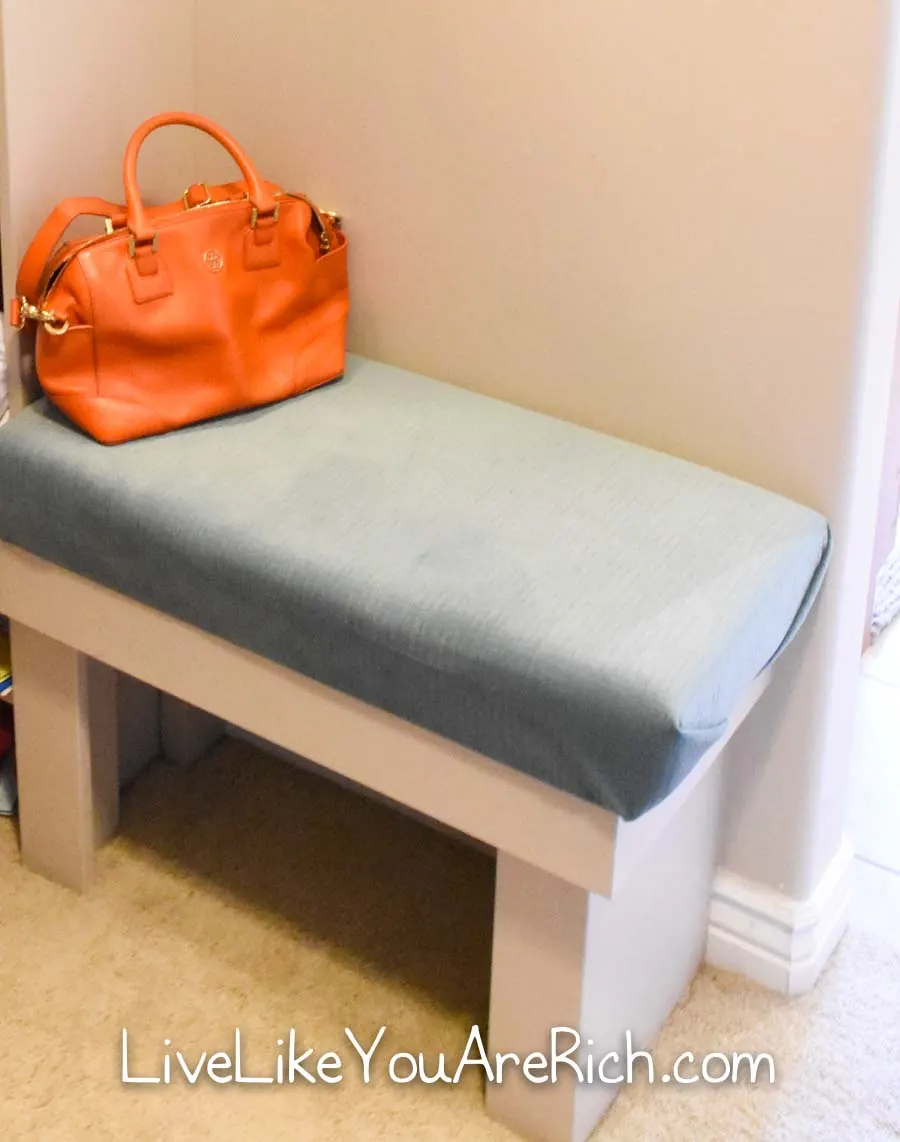
I did not secure the seat to the frame because it is heavy, solid and secure enough that it does not move or wiggle. Plus, I can lift it up and put it back on if desired.
See, not hard at all! Enjoy your DIY Bench Seat Cushion!


For other ‘rich living tips’ please Subscribe Here or connect with me on these other platforms: