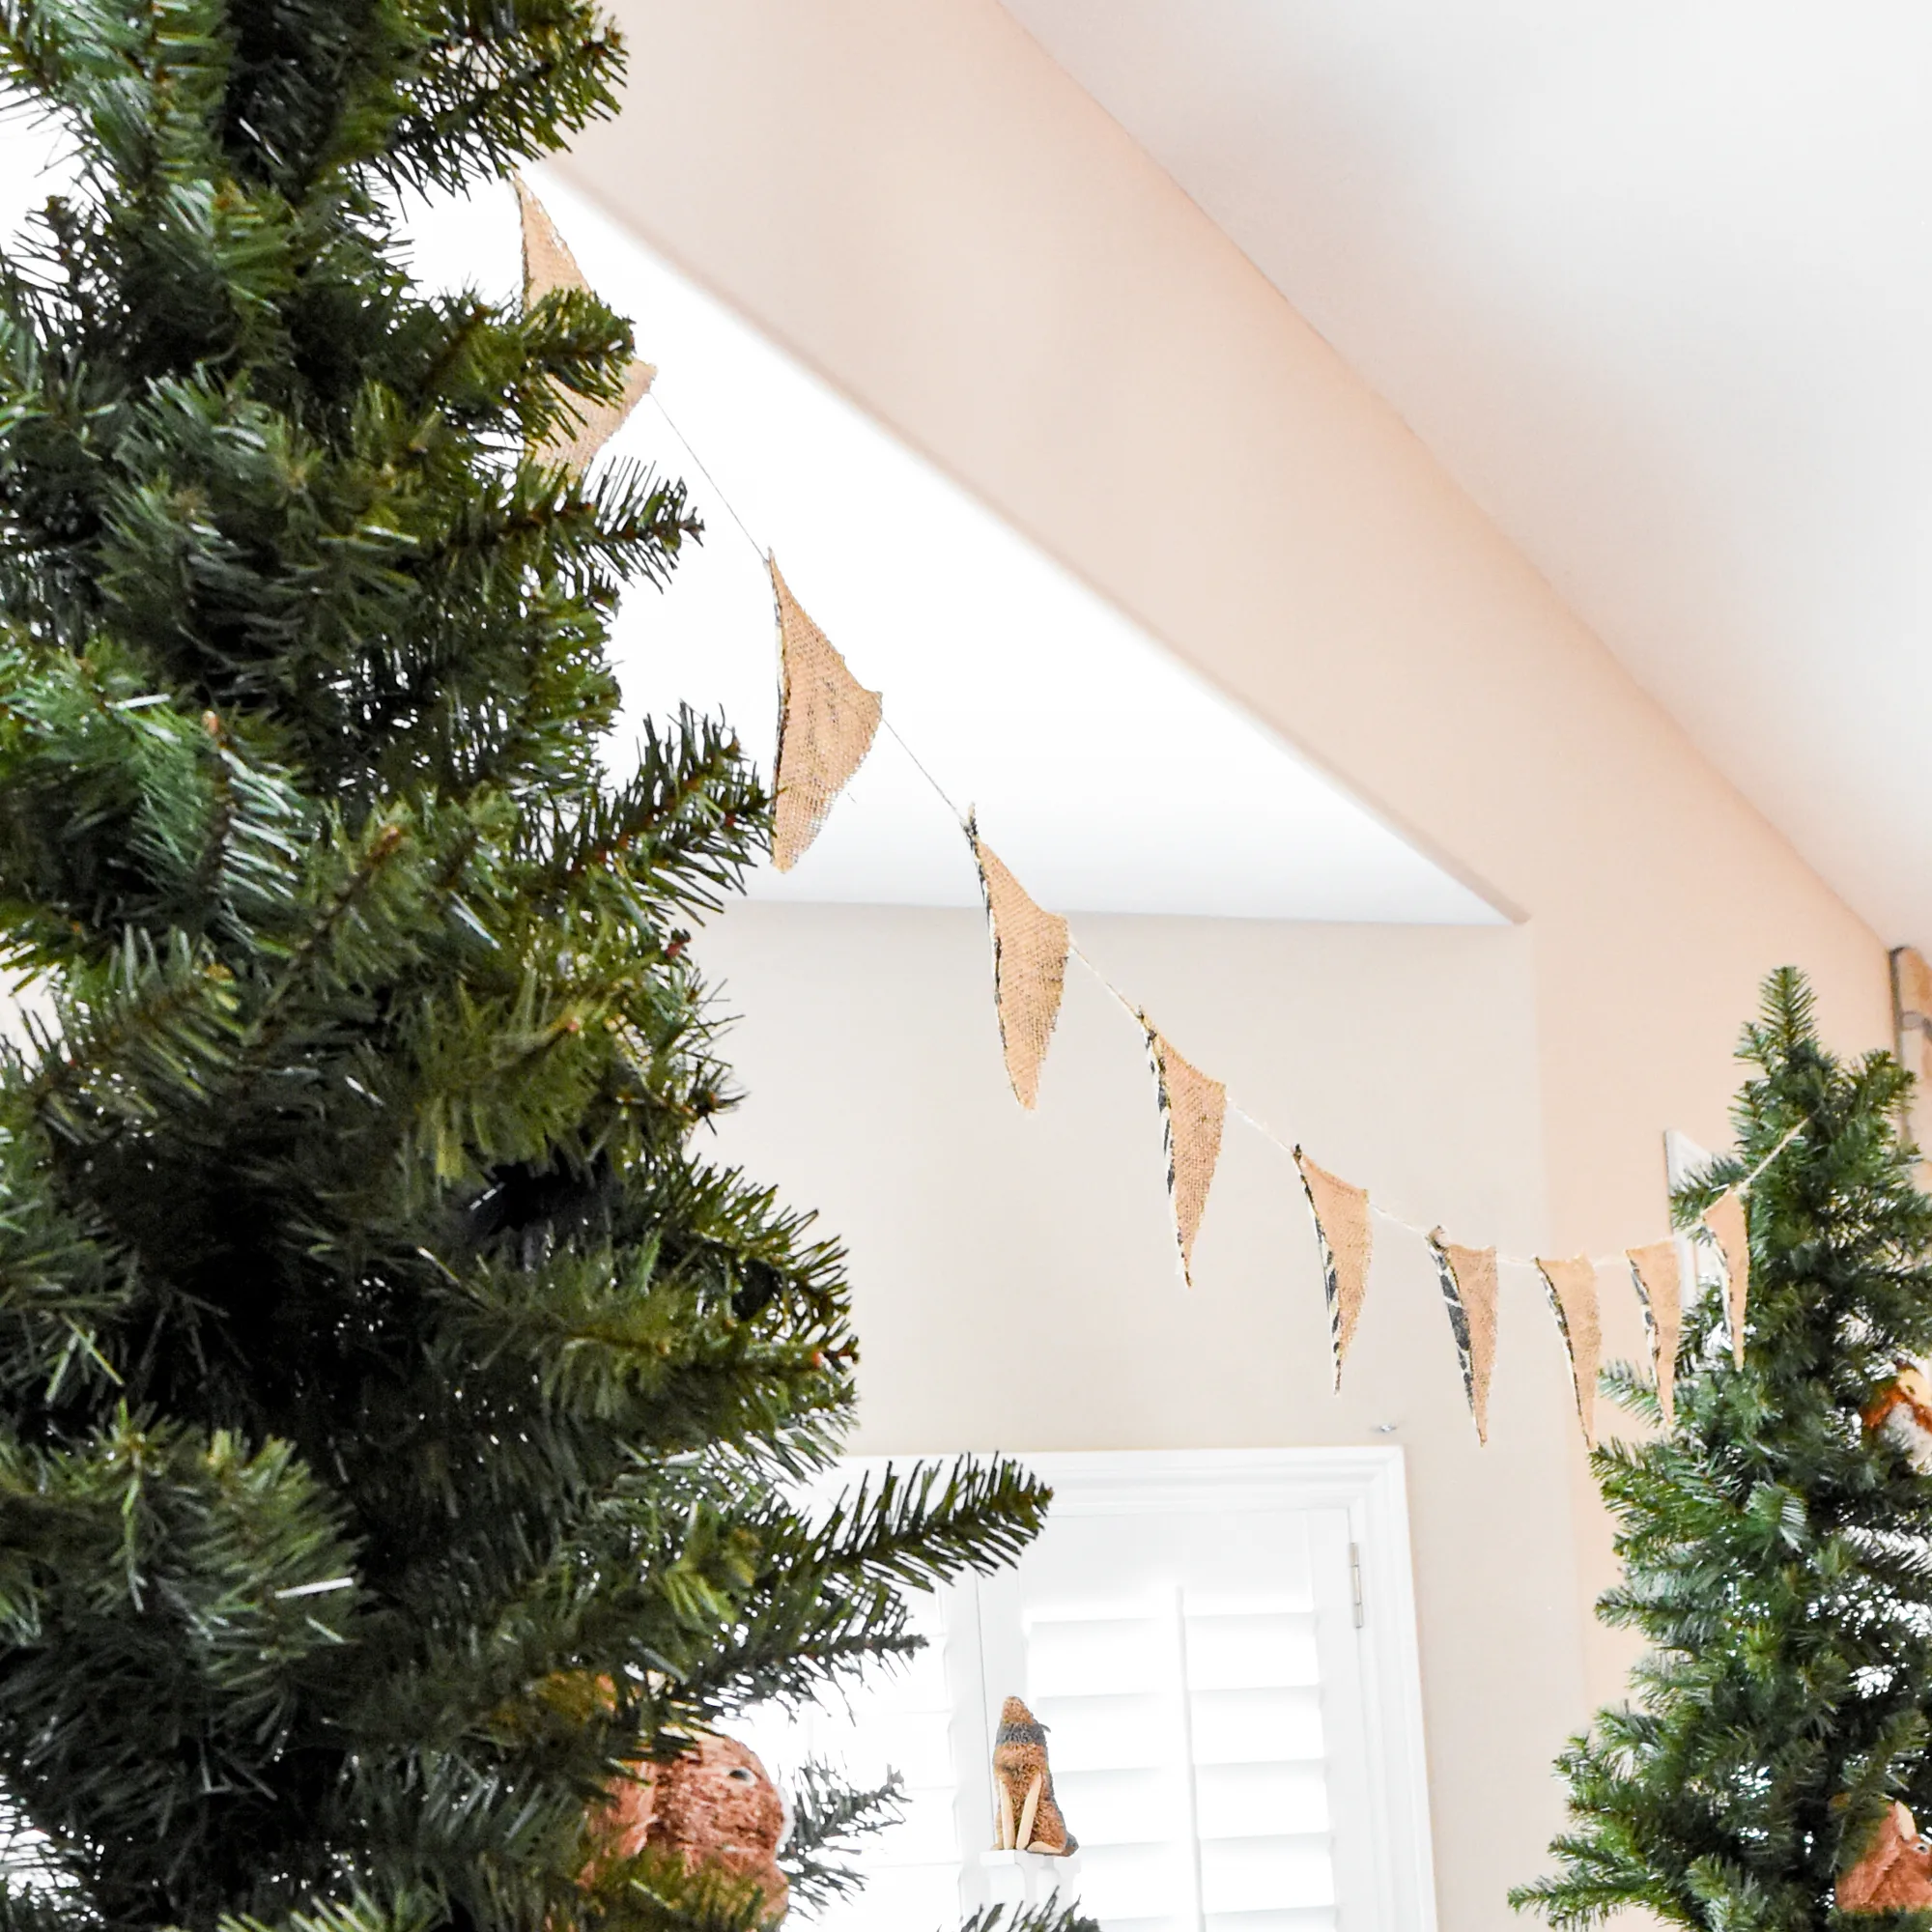
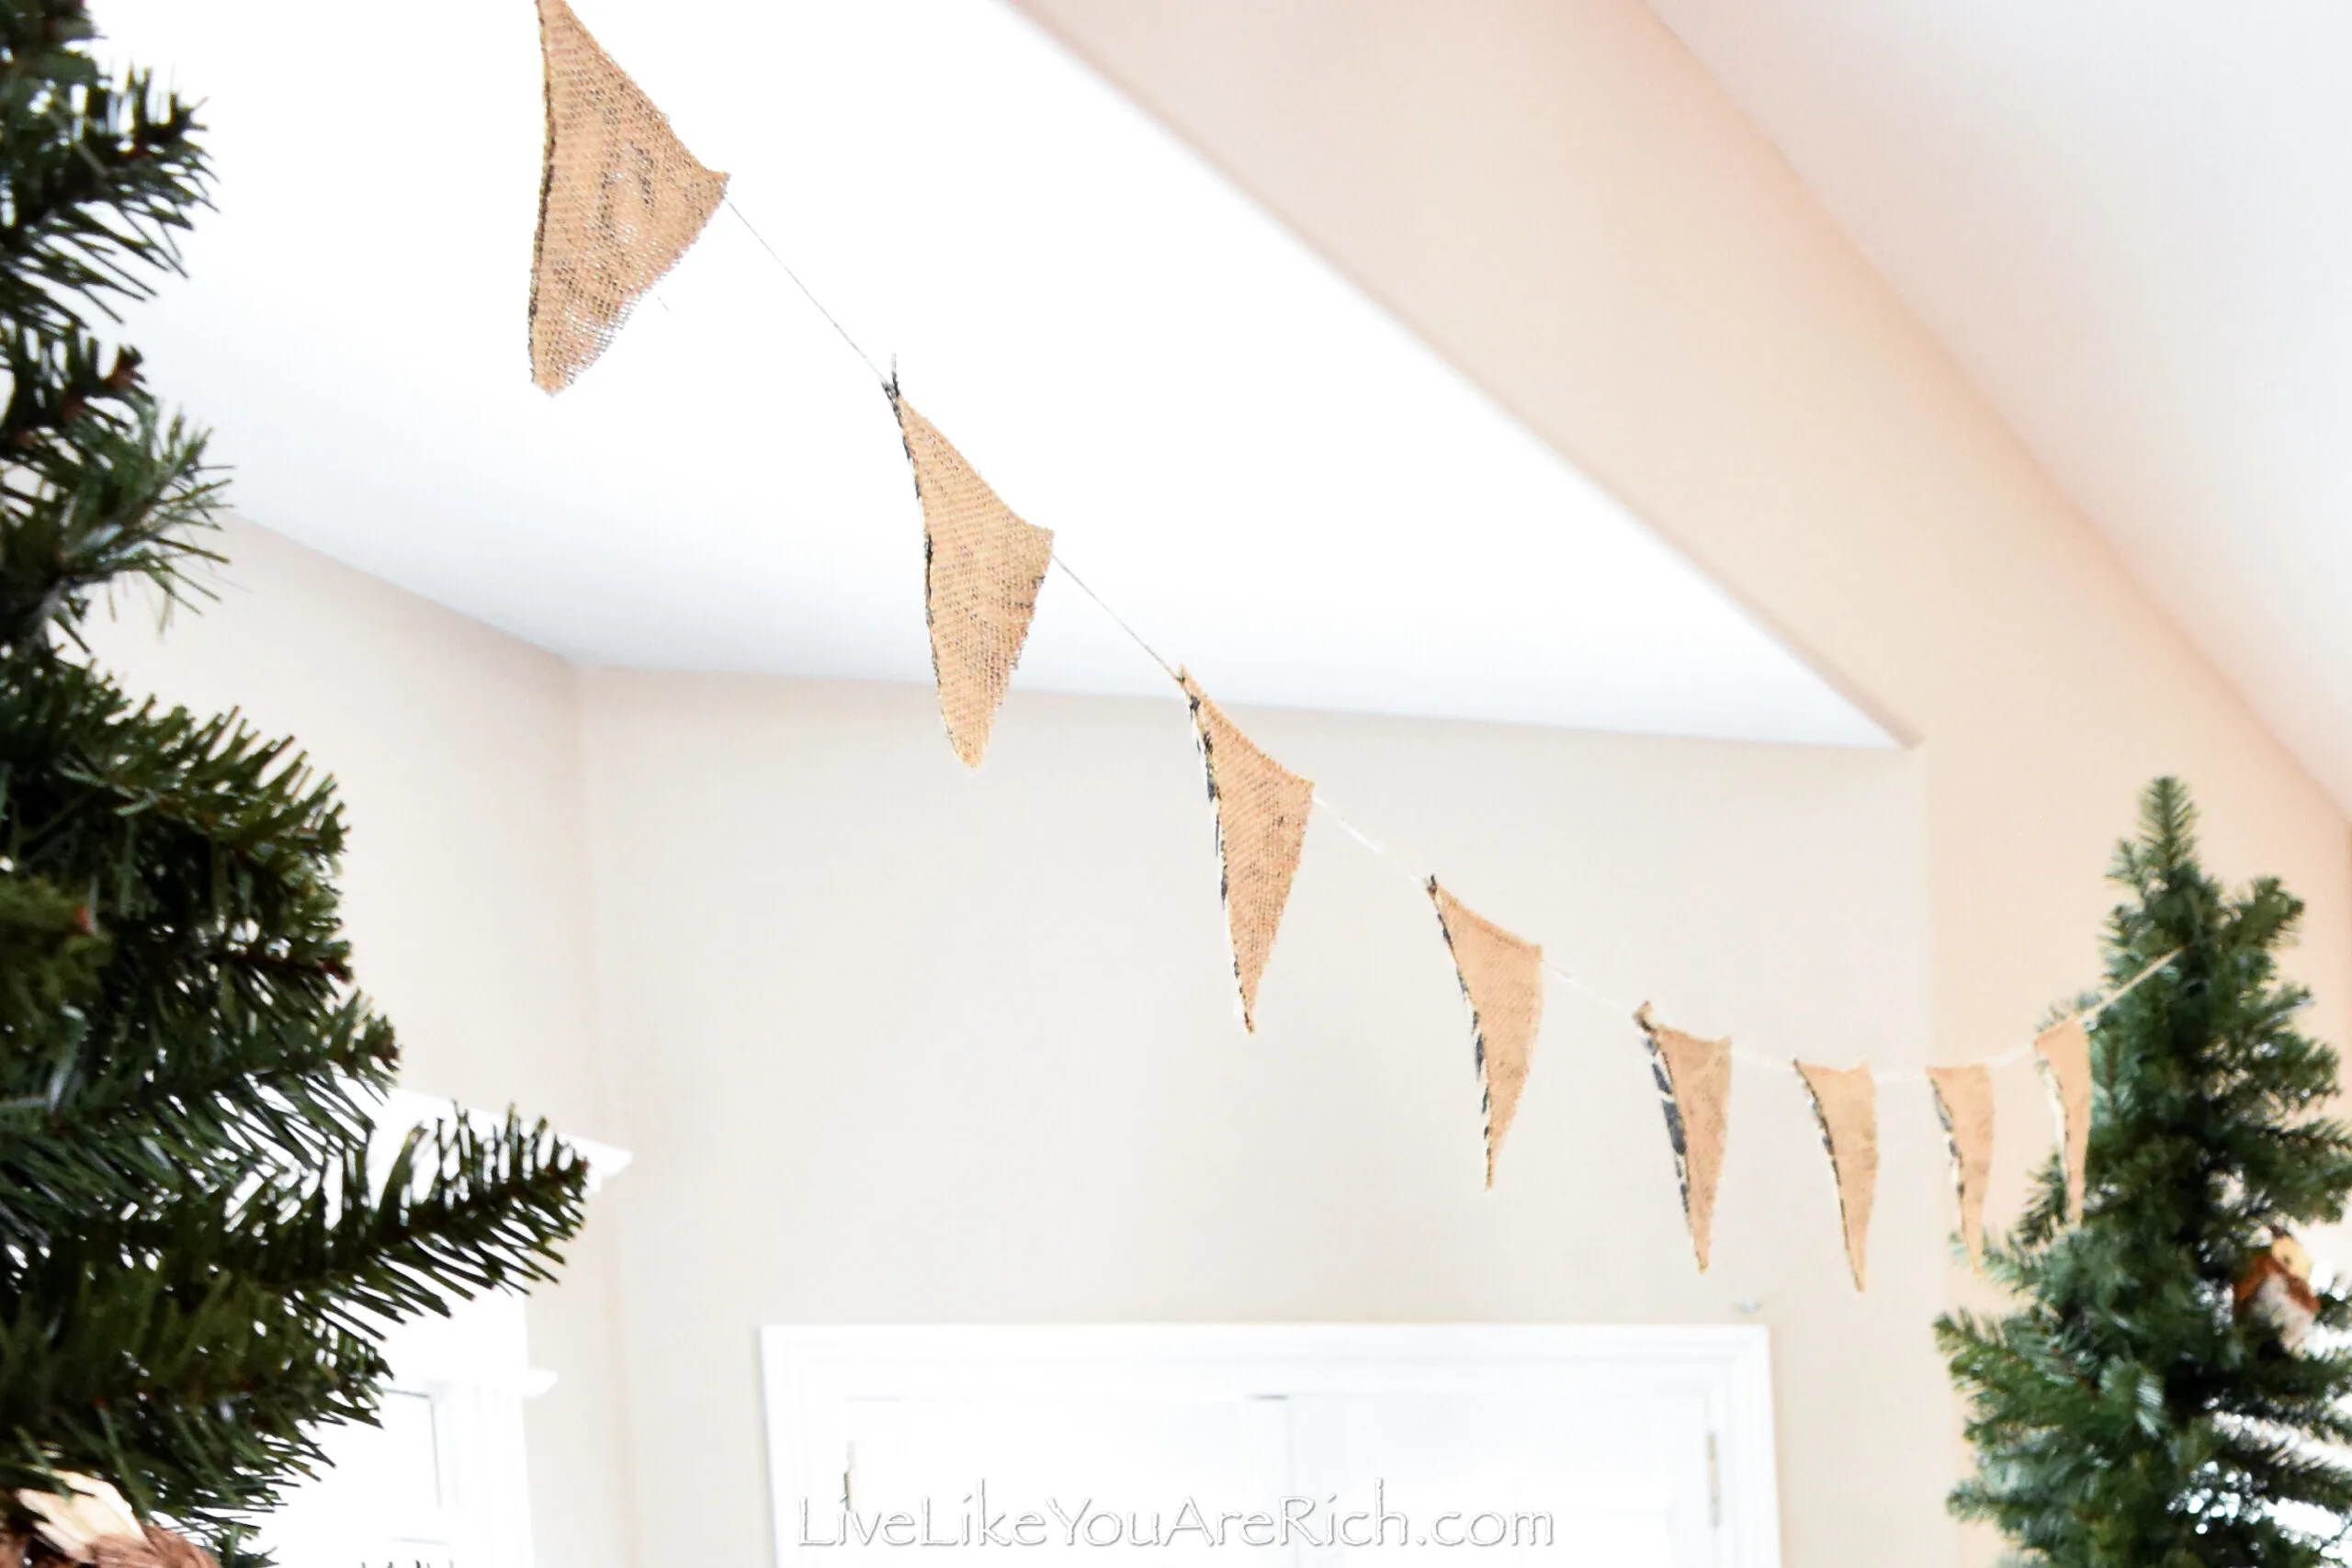
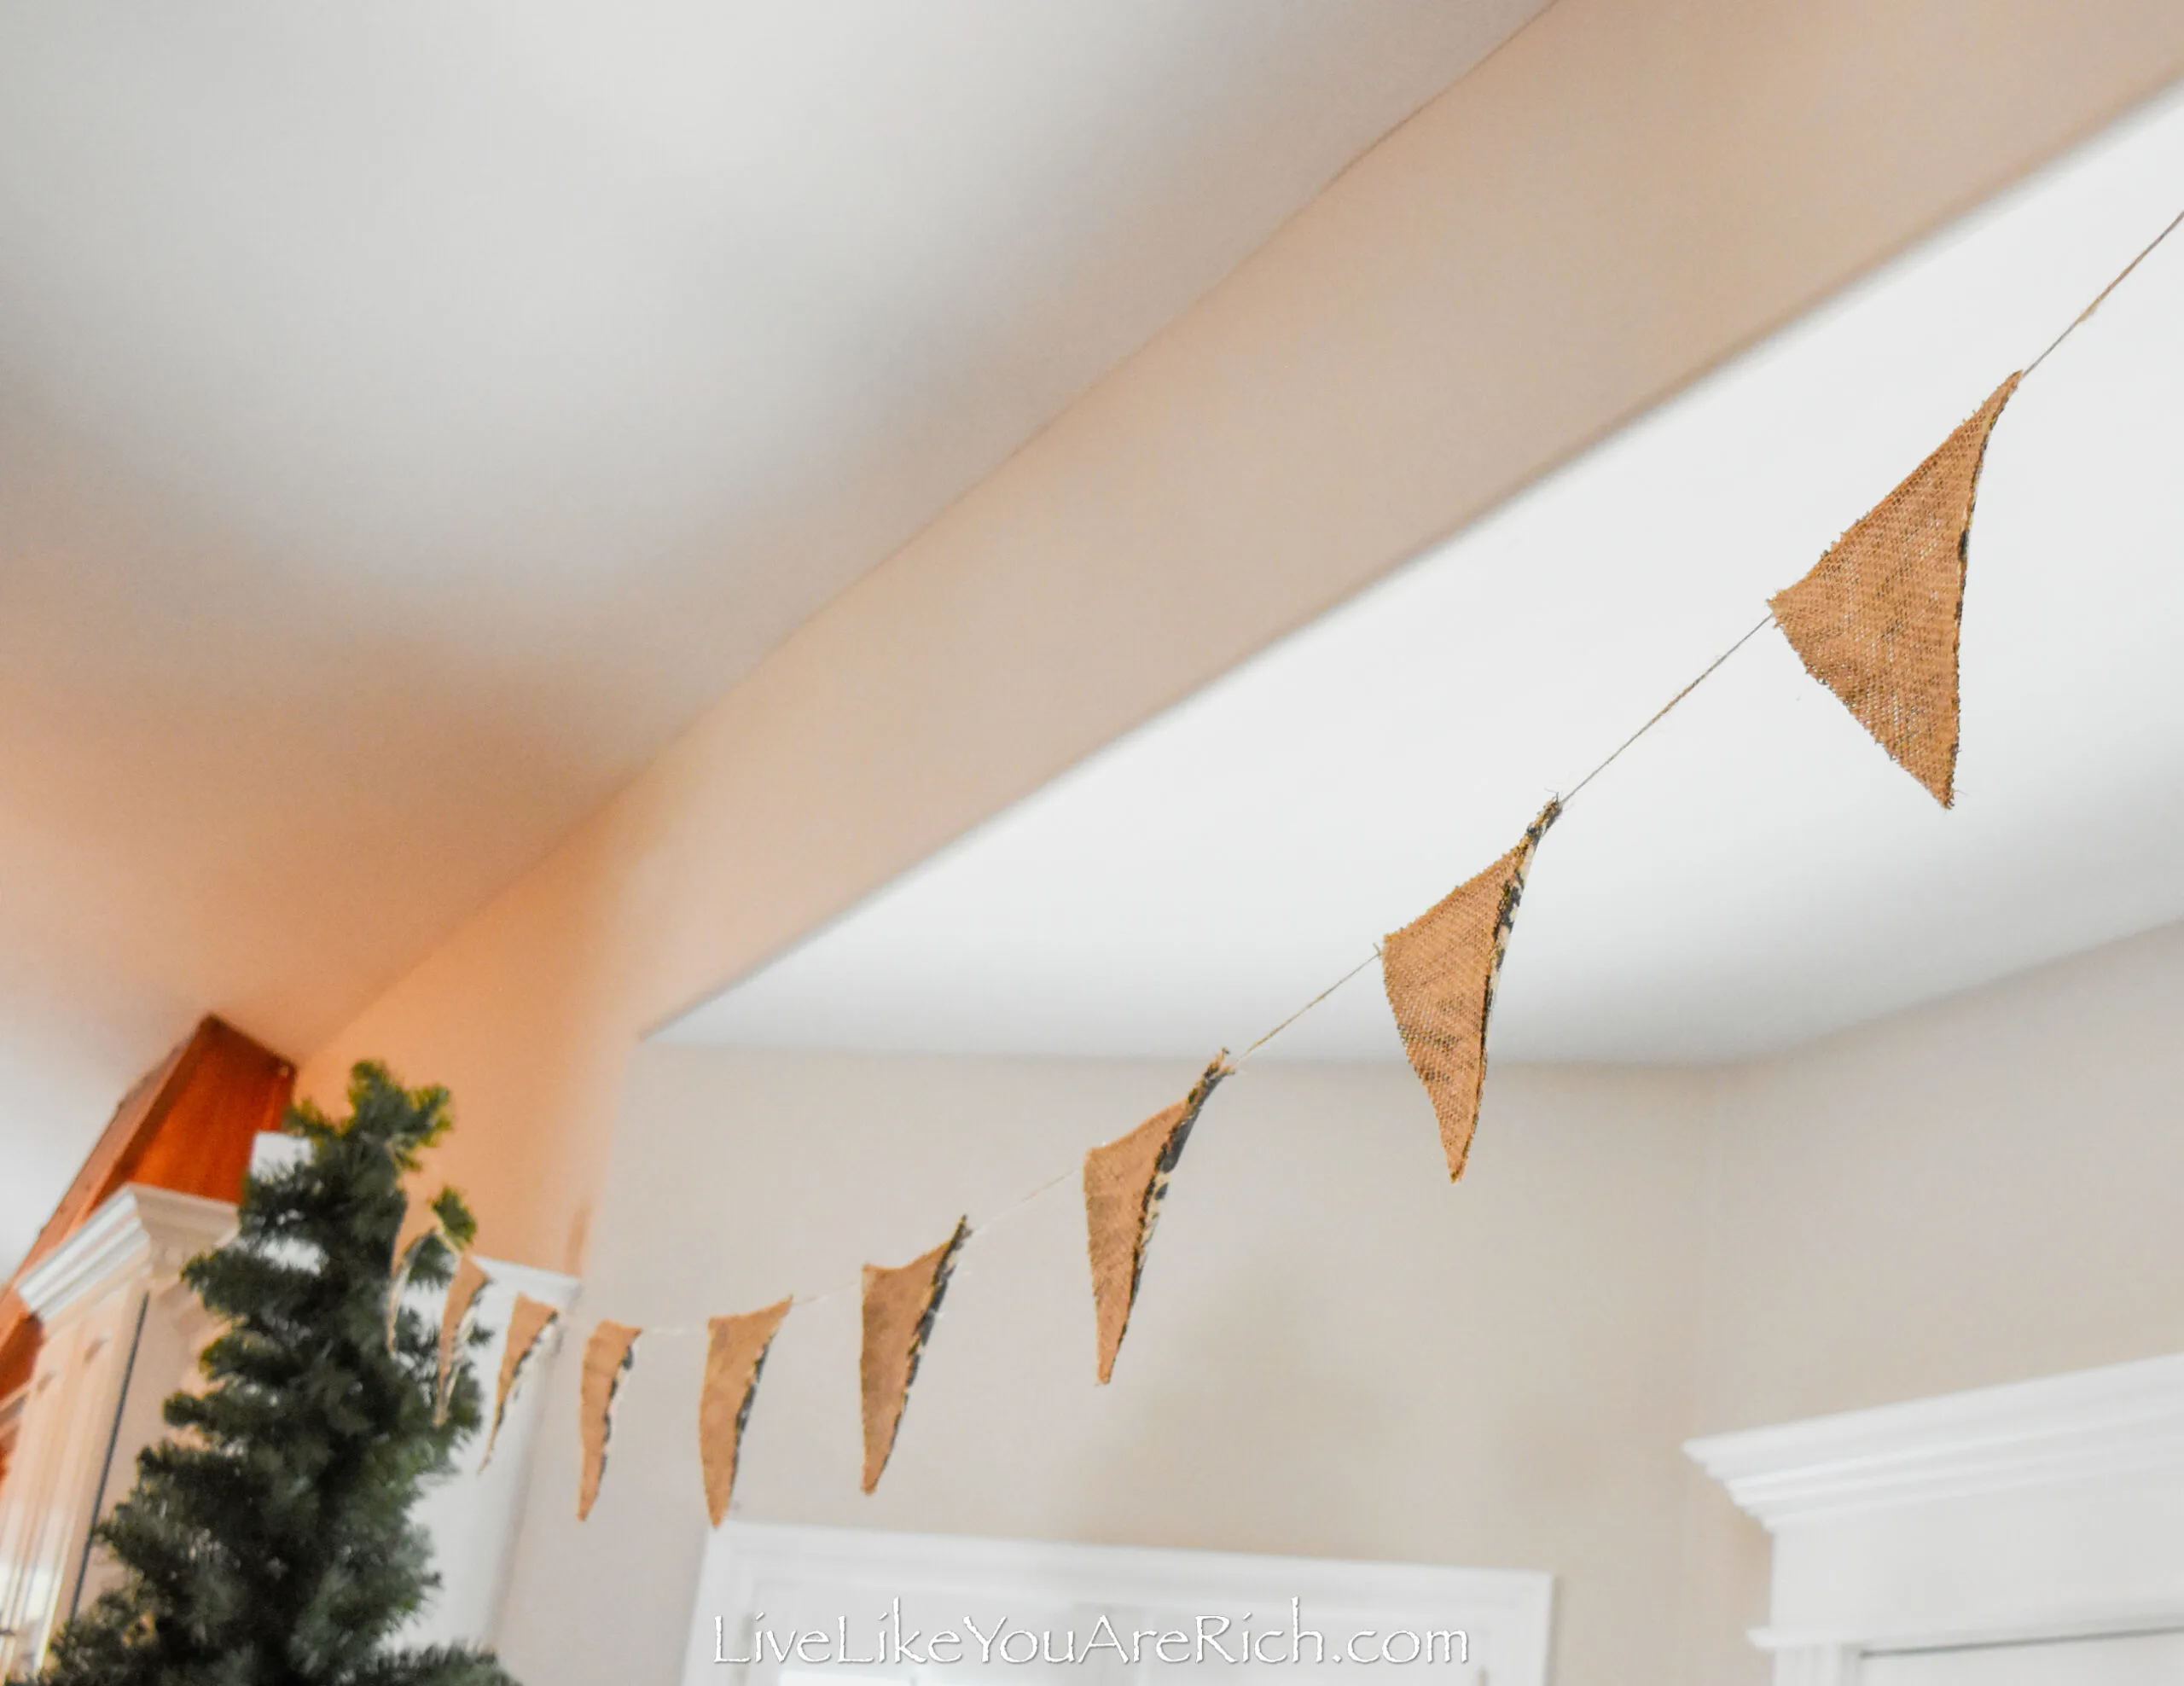
No-Sew DIY Burlap Banner.
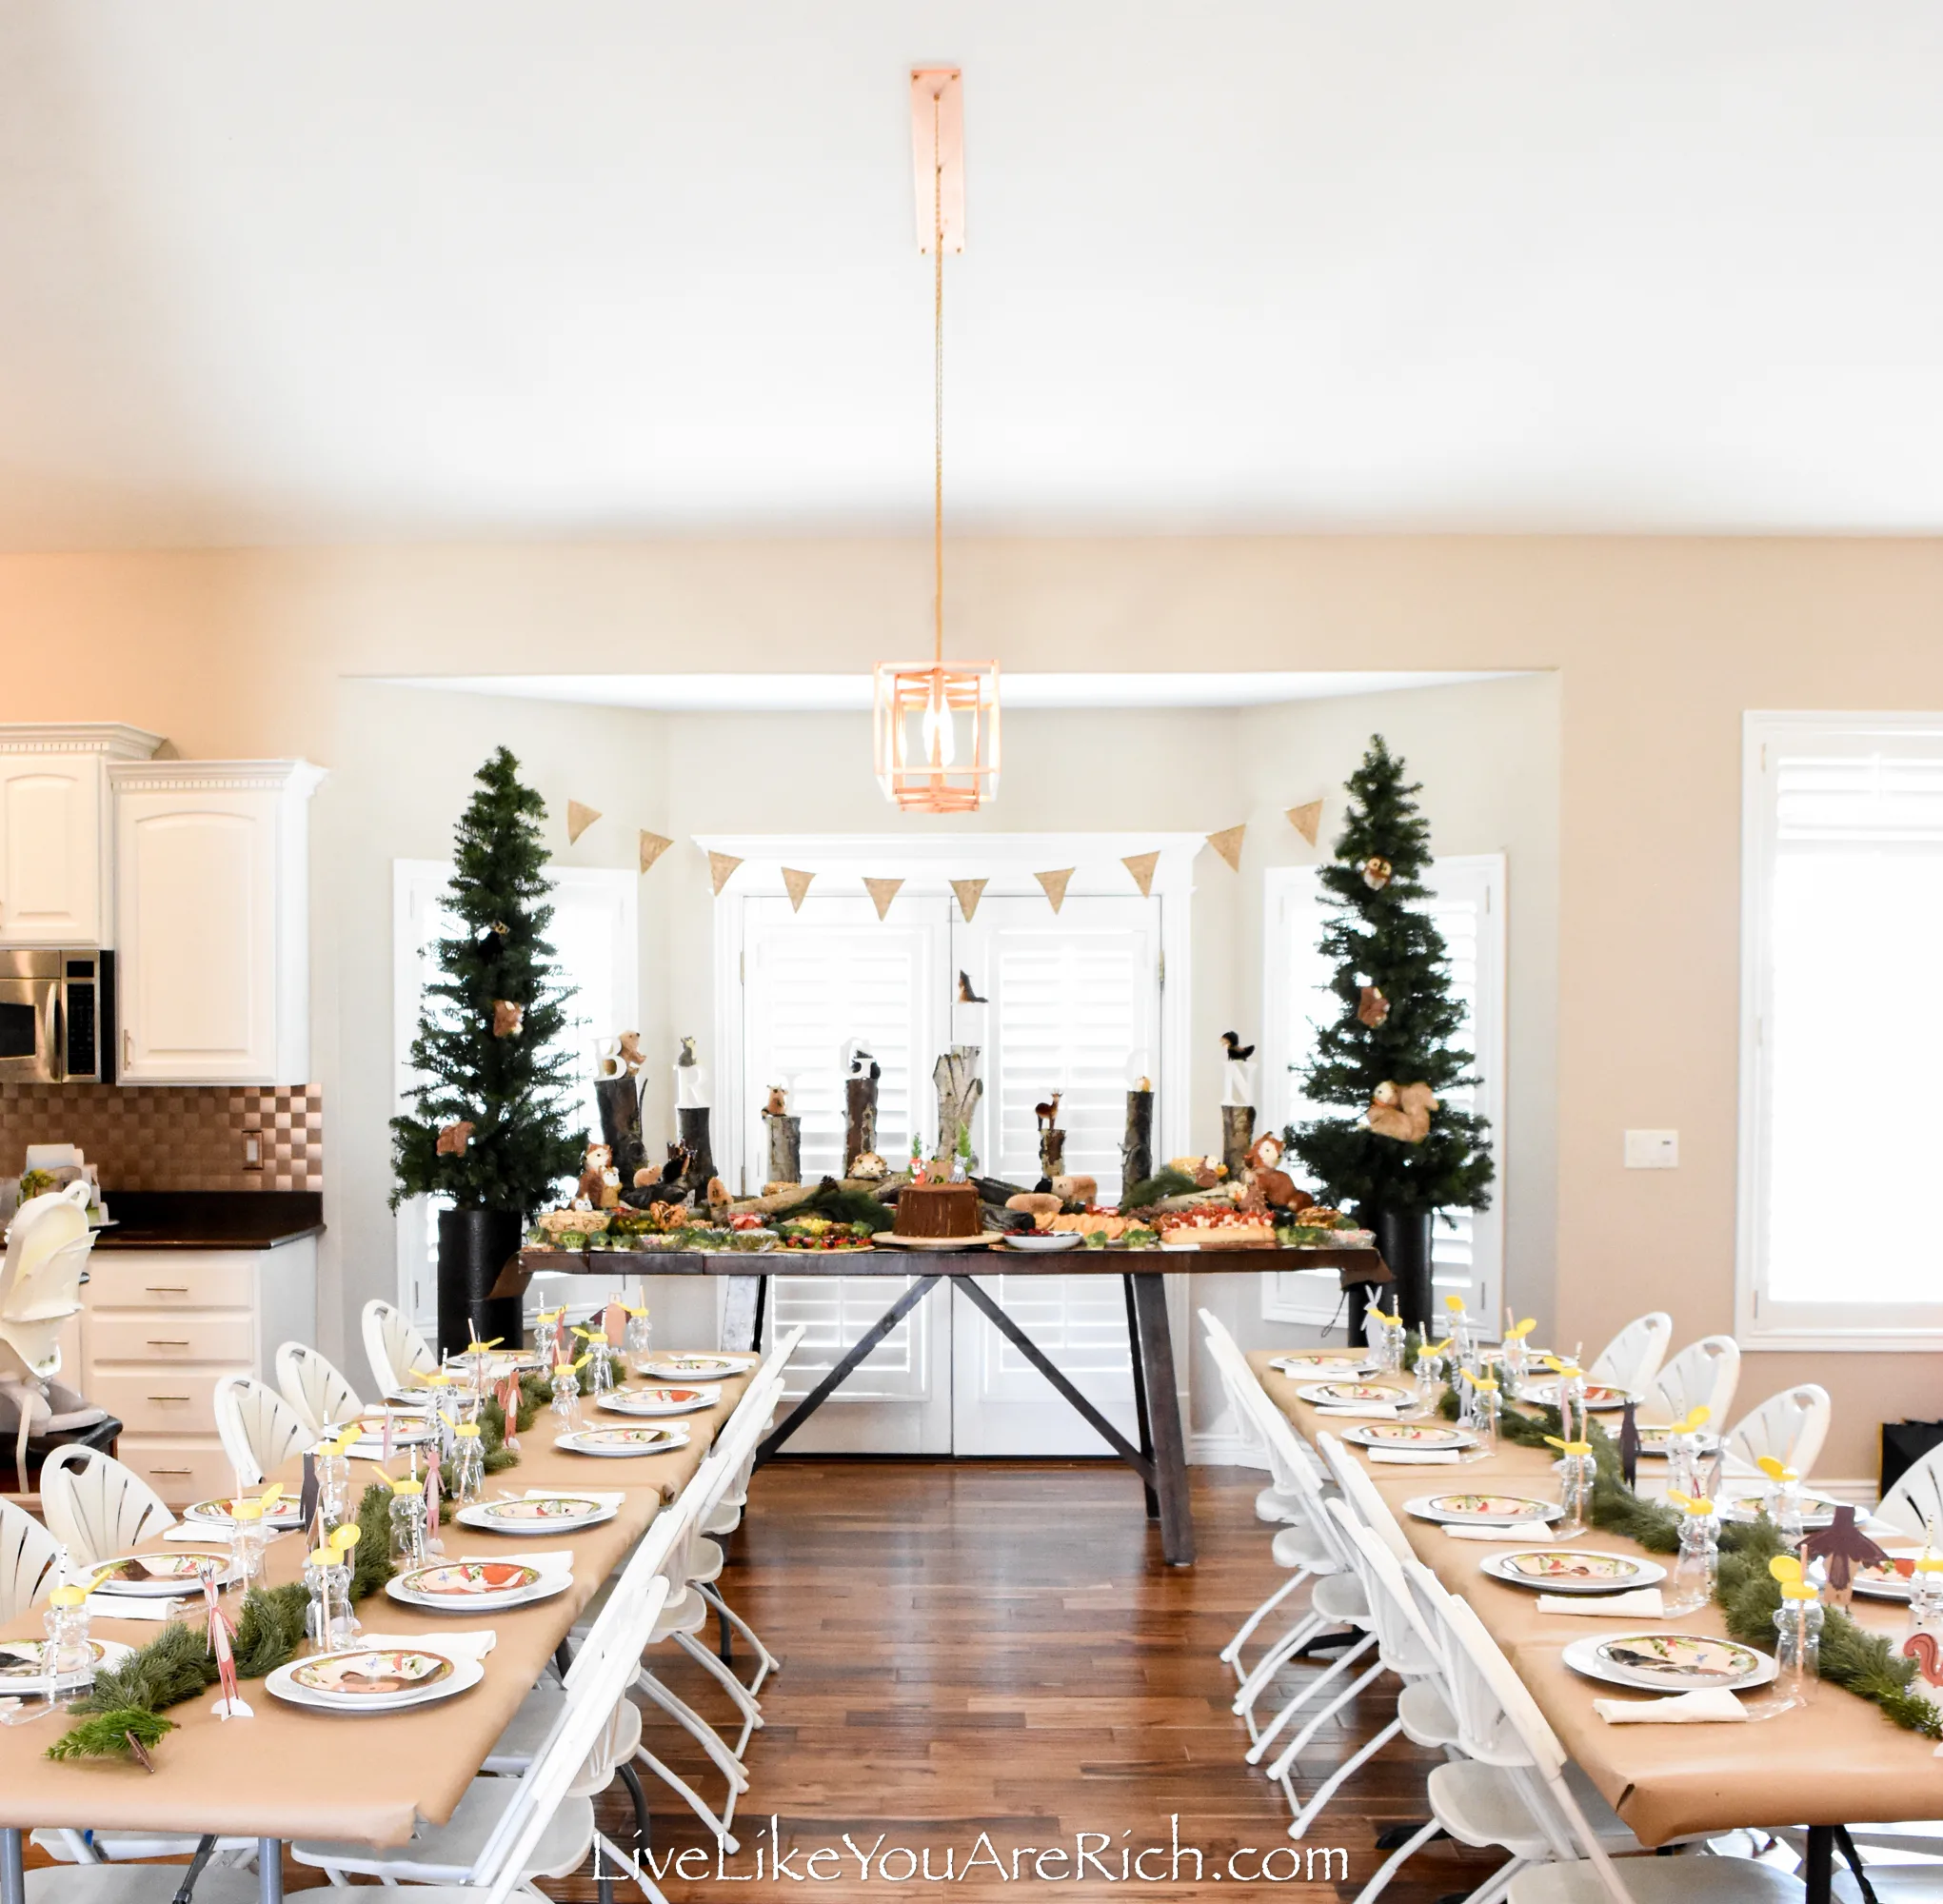
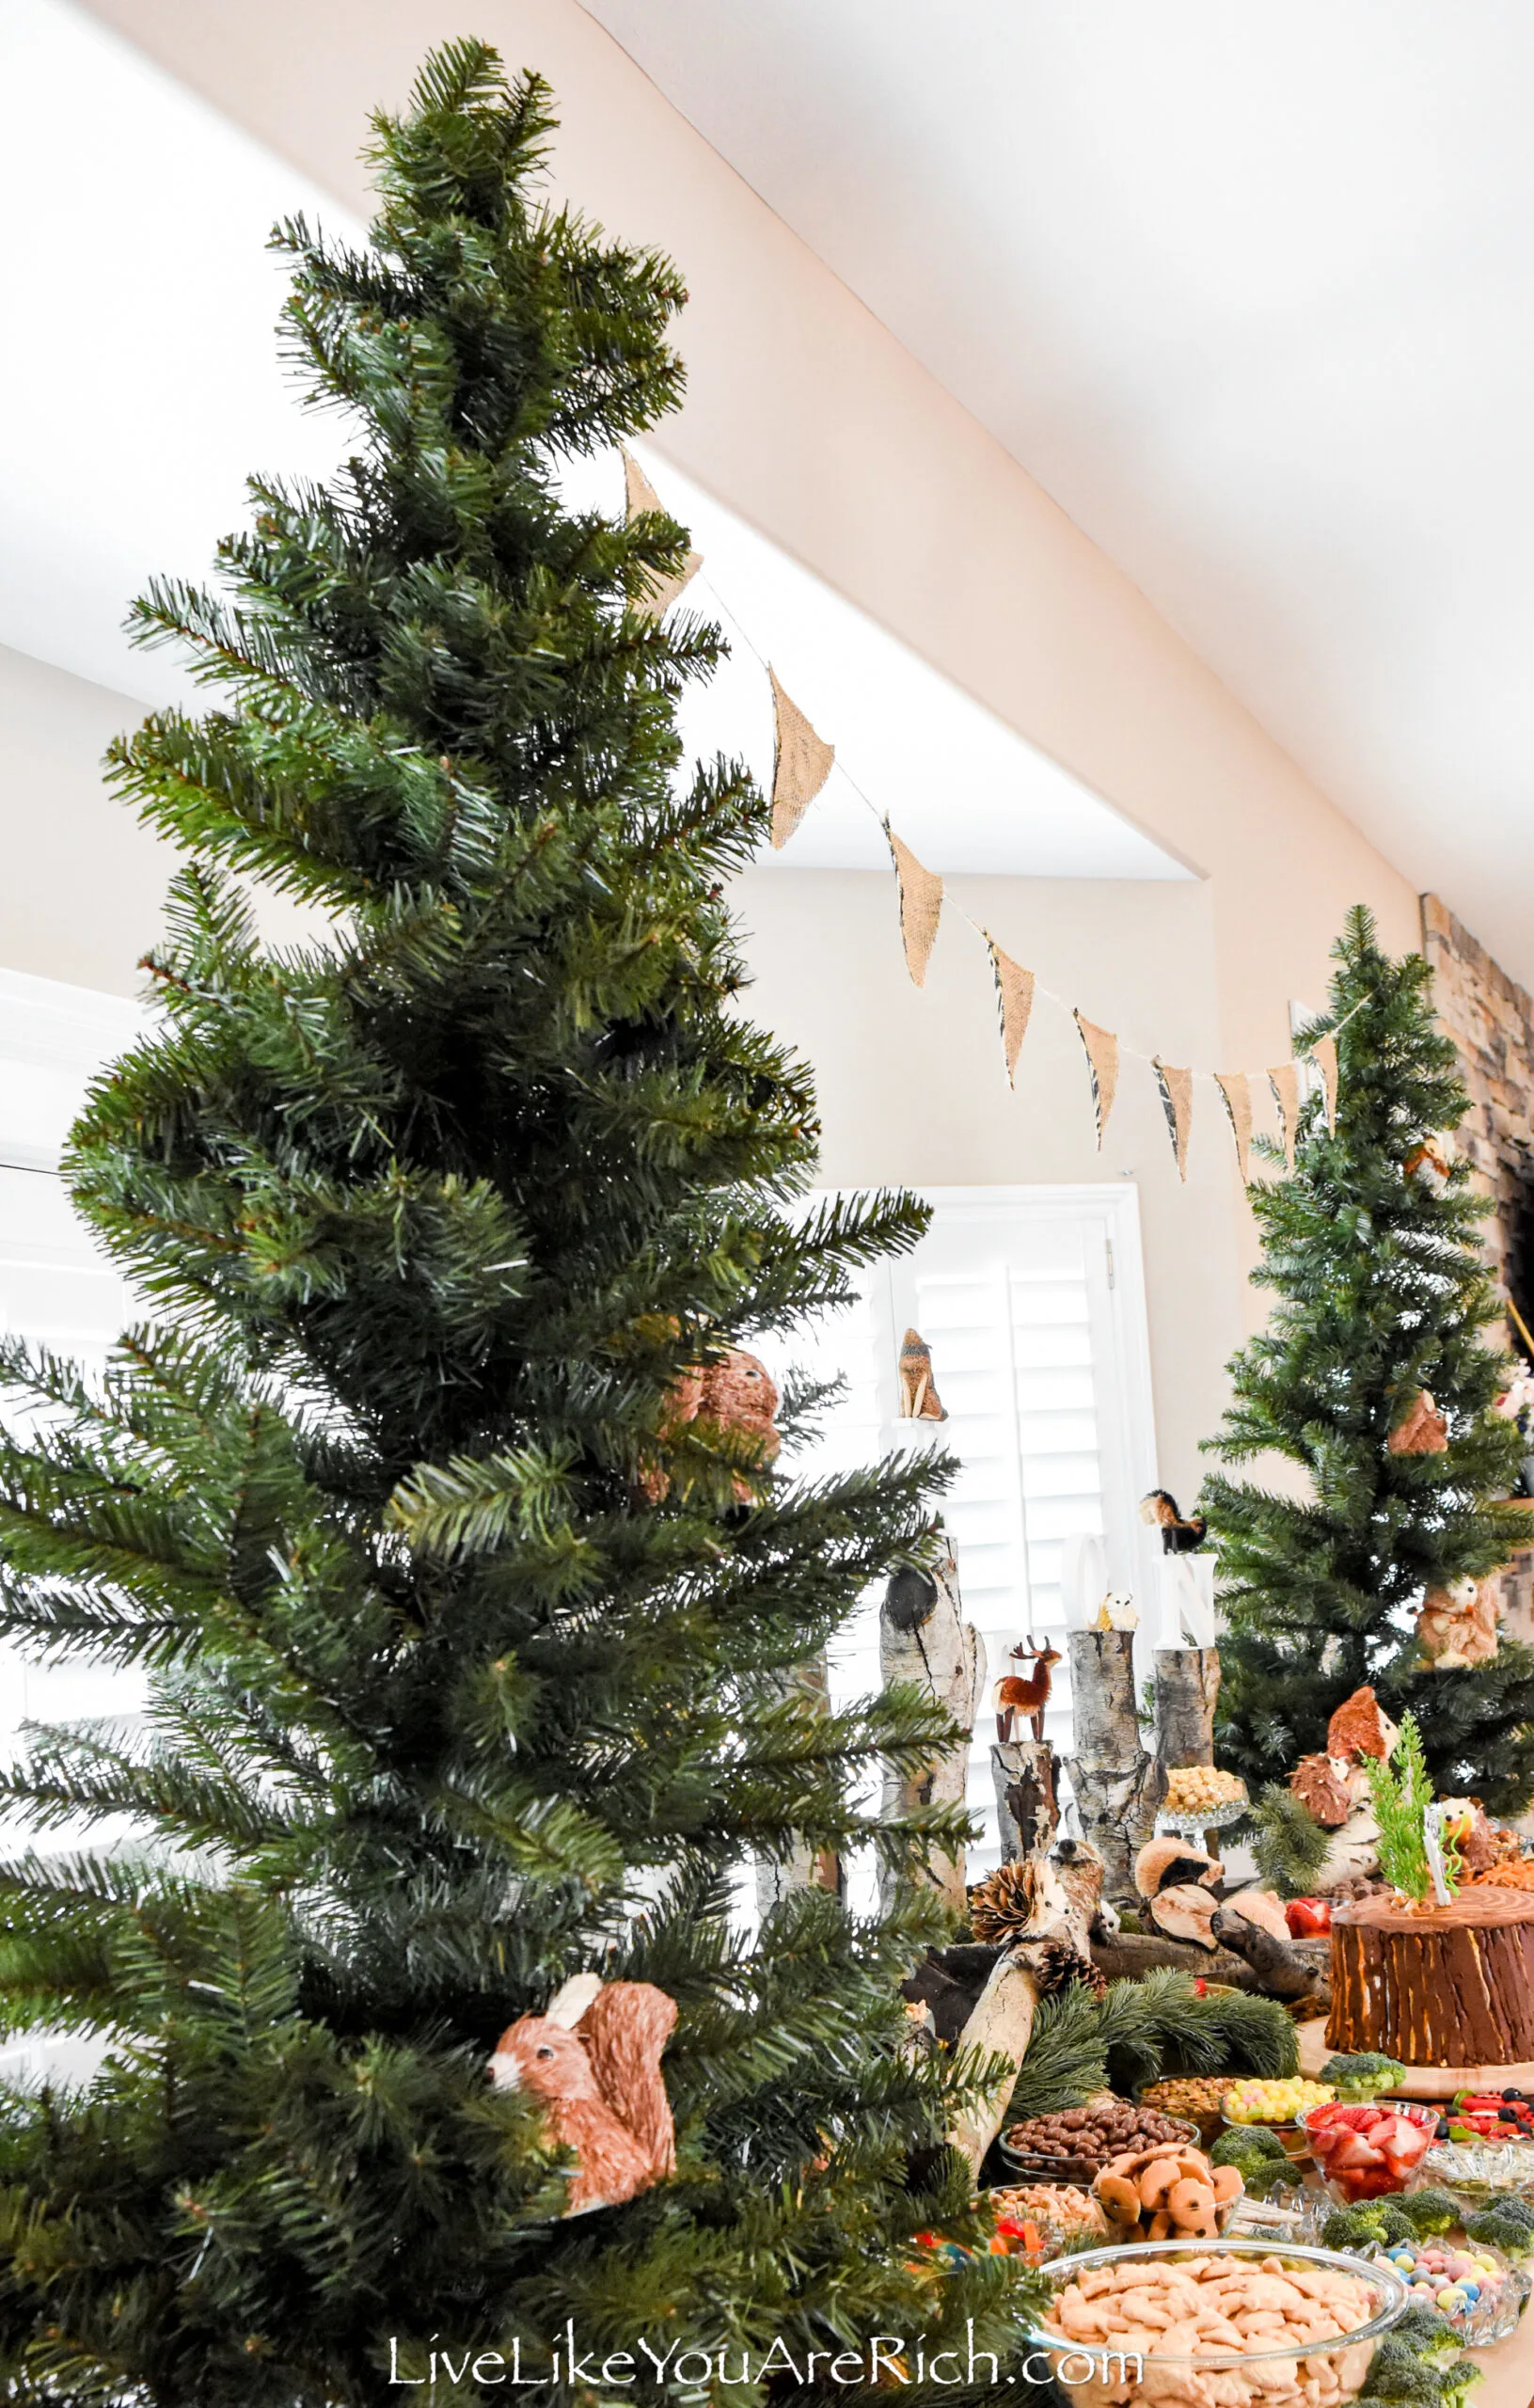
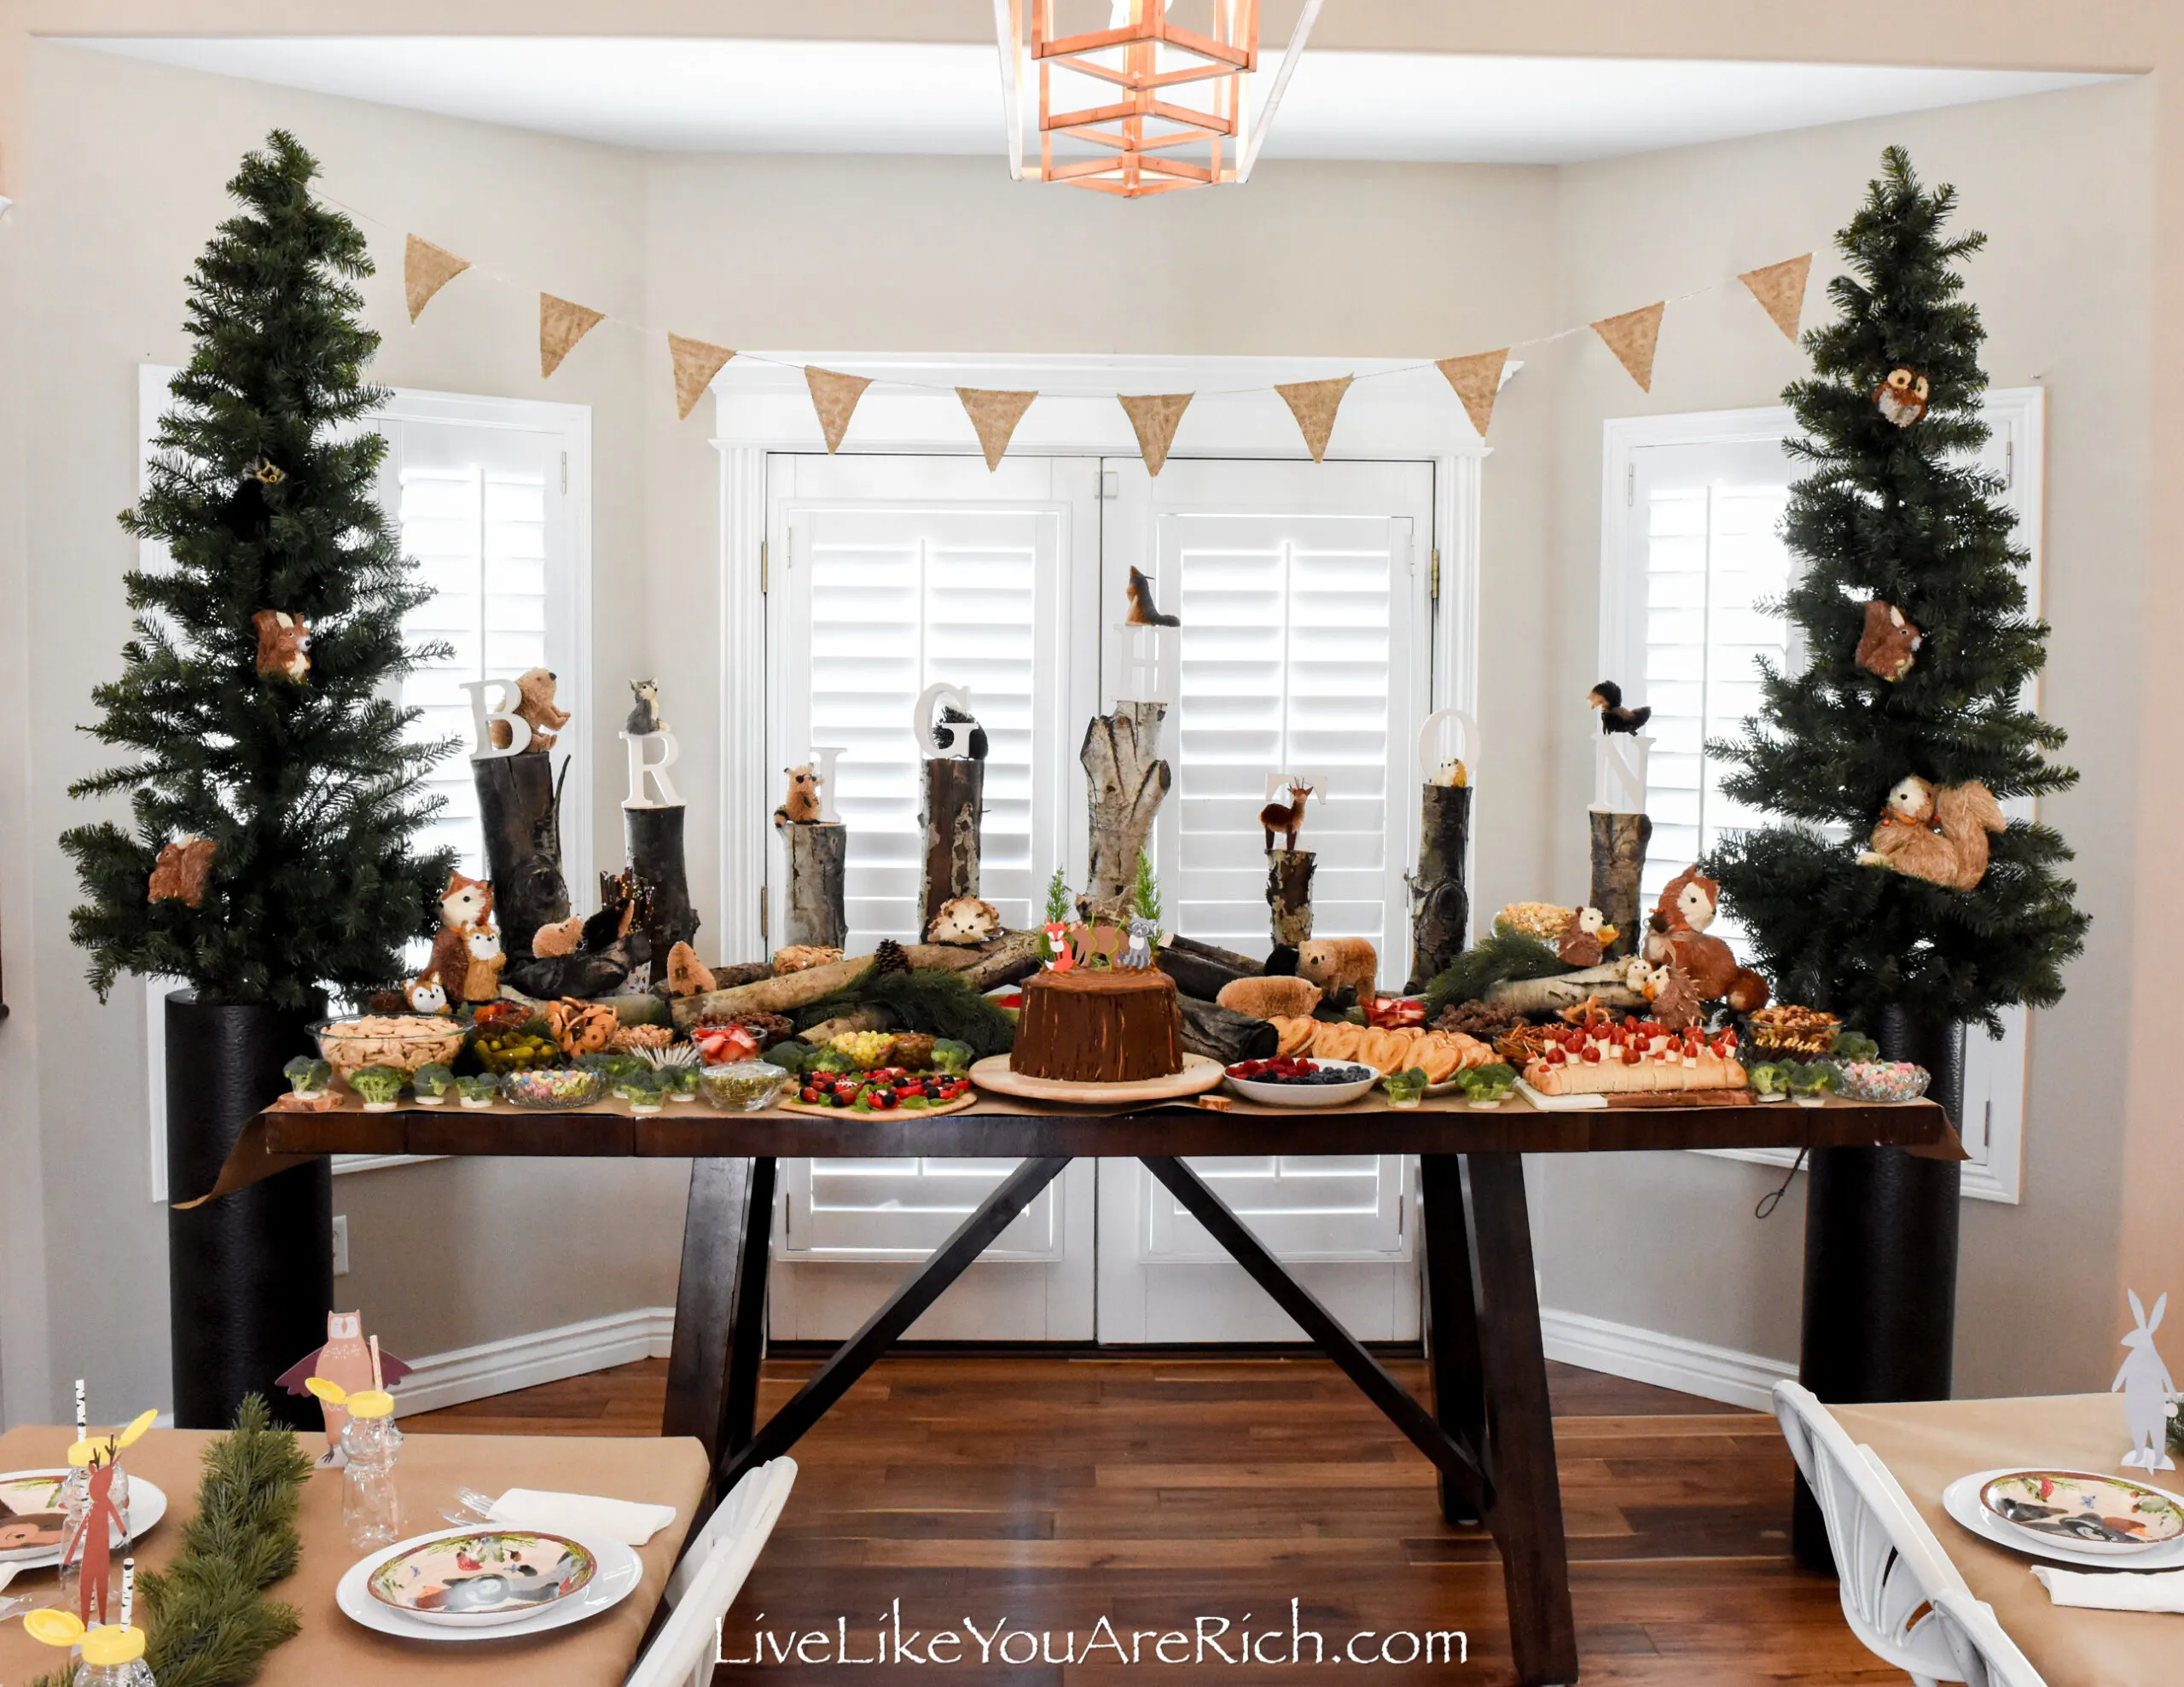
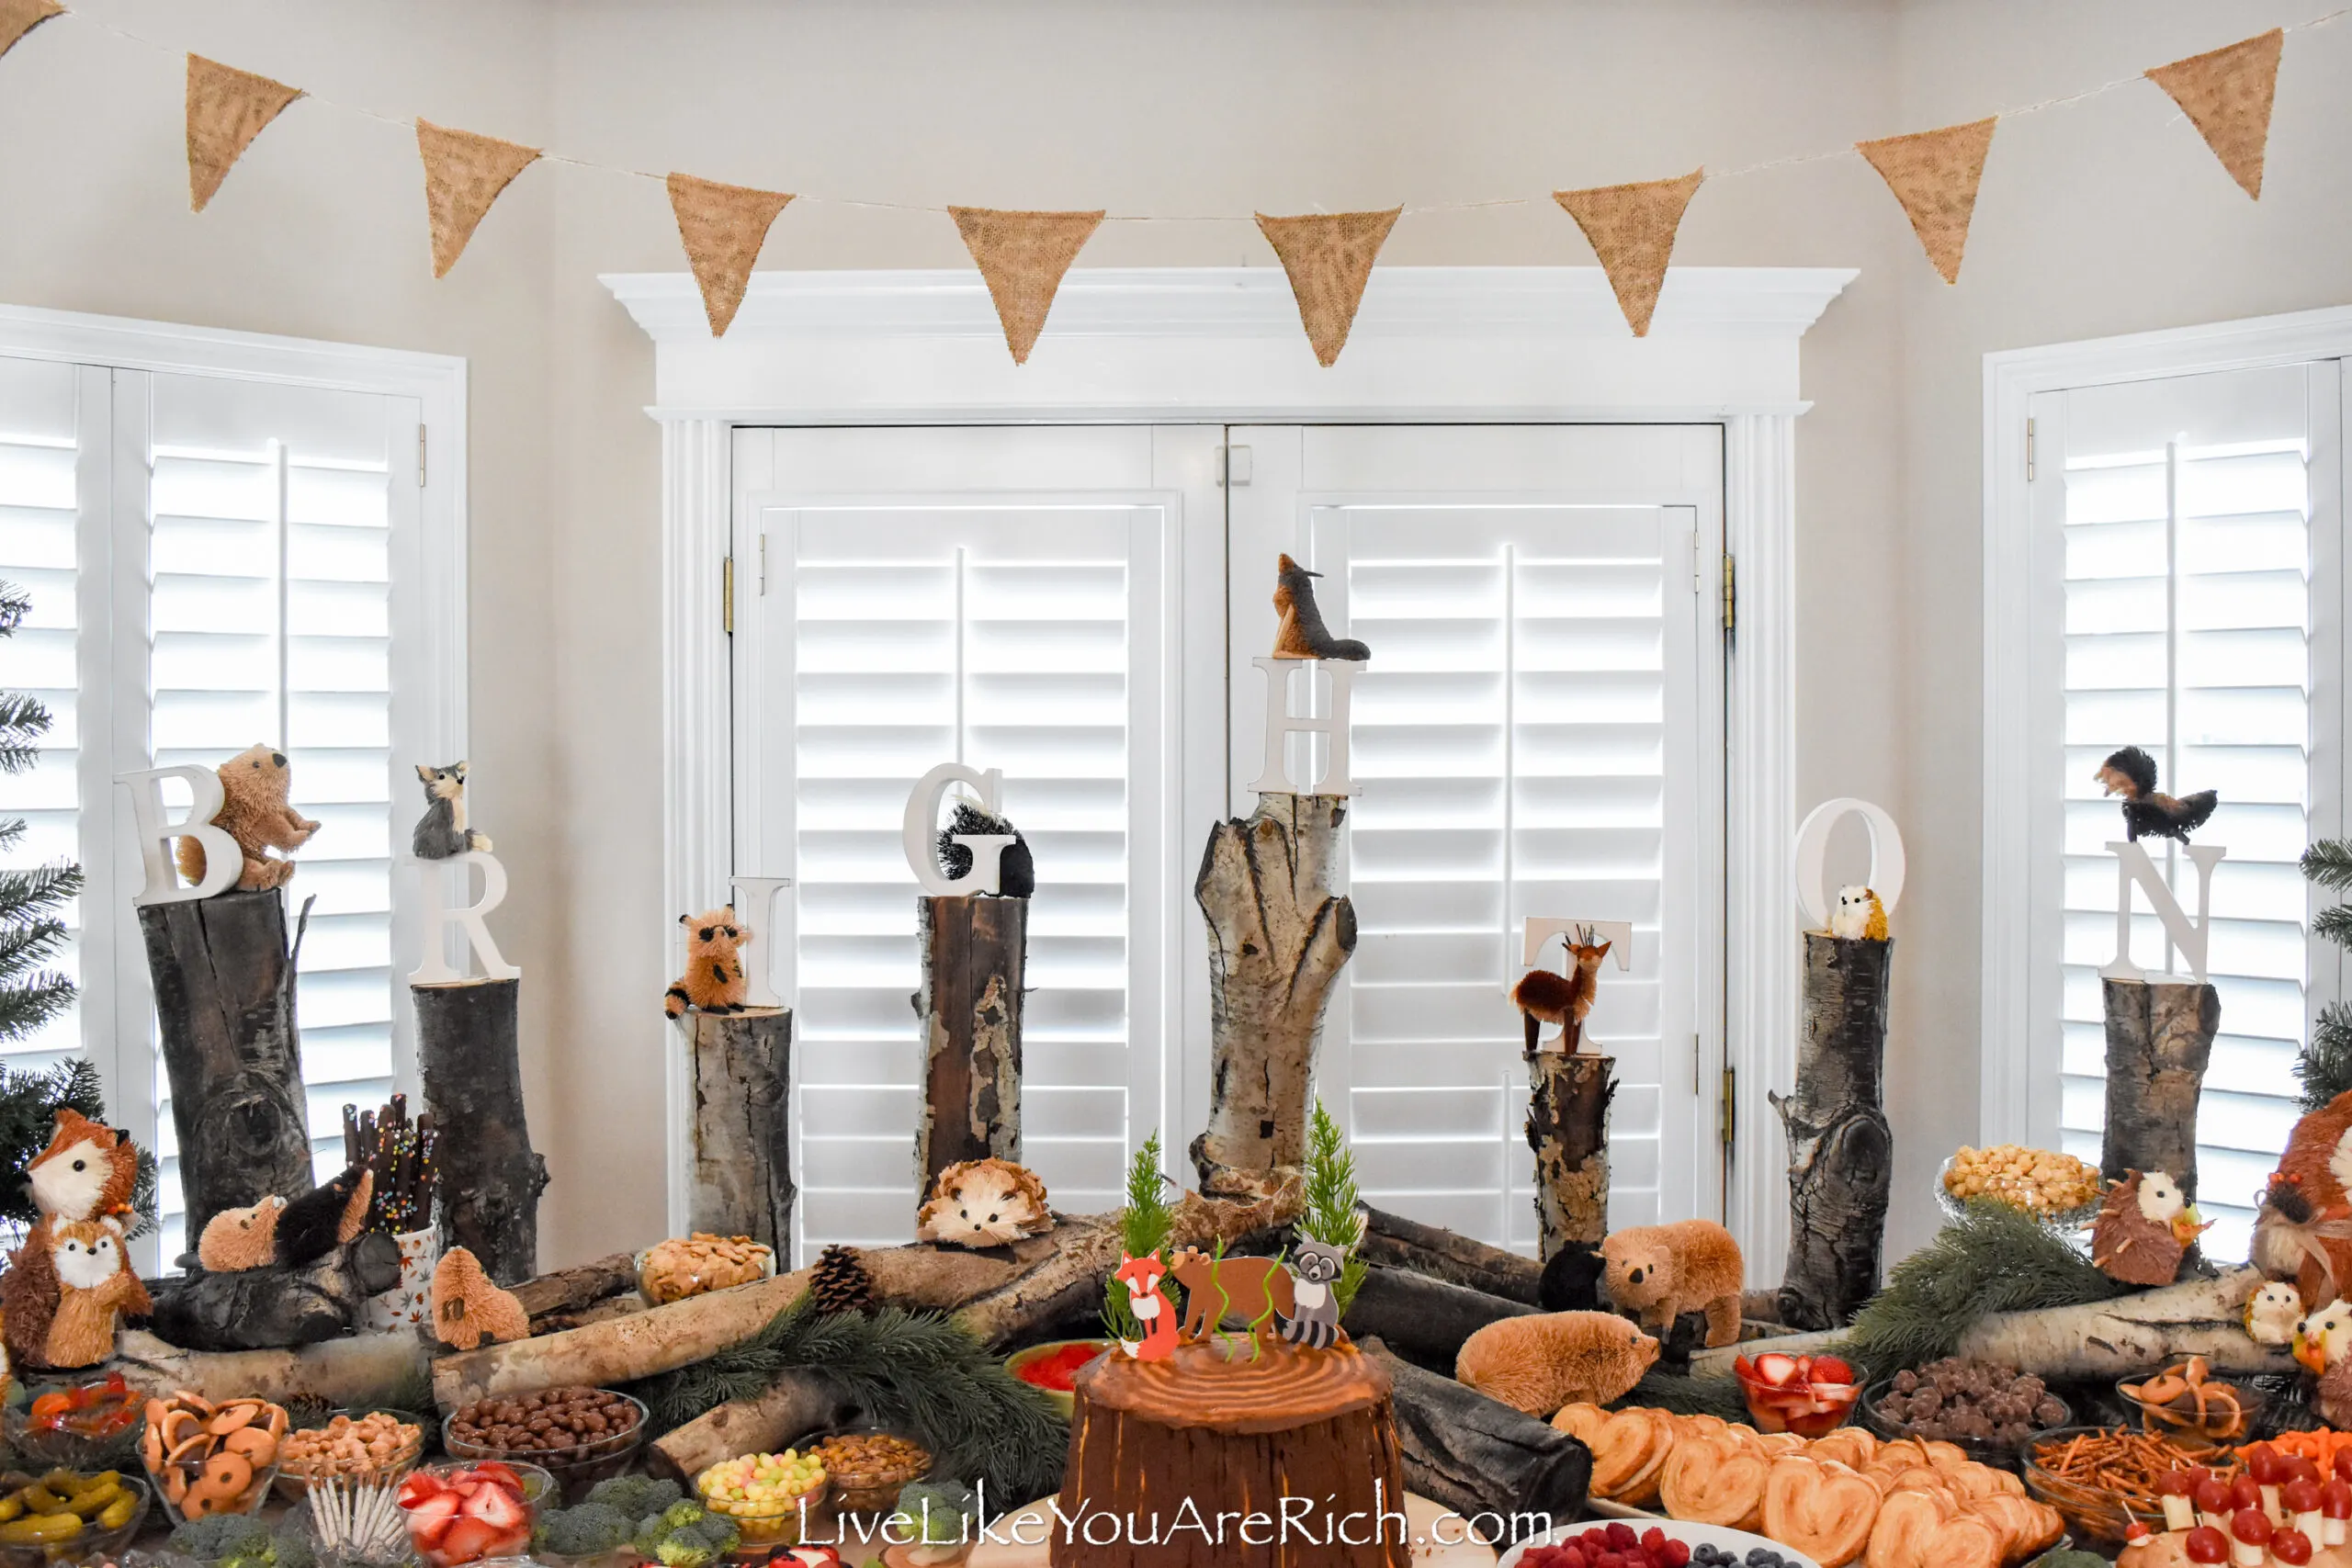
This is an easy burlap banner to make. It is great for decoration for an event that has a rustic look and would work great for a mantel, a party, or a picnic.
This banner is super simple/easy and comes together very quickly. It is a no-sew banner that requires few supplies and is made using hot glue.
I made it for my son’s woodland party you can check out more posts from that party below.
To make it, I just used the 6″ wide burlap ribbon that I had on hand to make these. The burlap that I used had black patterns on one side.
Even though I used the blank side facing out, I think the black paint/pattern on the inside of the burlap ribbon was able to show through every so slightly. This gave the burlap banner a bit more dimension and more of a vintage look than had it been plain burlap.
I appreciated the look it achieved and it was one of those unexpected pleasant surprises that happen when you use materials that you have on hand.
The burlap I used is called patterned burlap another reason why I like it is it is strong, doesn’t fray, and holds its shape for buntings and banners better than just plain burlap. The paint/designs on the back make it more rigid.
If you do not have a patterned burlap or do not know where to find it, you can achieve the same effect by using paint or Mod Podge on the back of plain burlap buntings to hold it in place and prevent it from fraying.
So, if you want your banners to turn out just like these, I’d recommend either buying burlap ribbon with a dark pattern on it, or painting your burlap with black crafting paint on one side.
Simply dab black paint in random ways until you have pretty good coverage and then let the ribbon dry completely before gluing it onto the cup.
Supply List No-Sew DIY Burlap Banner
Burlap ribbon 6″+ wide with a pattern on the back or use plain burlap with craft paint or Mod Podge on the back to make it a bit more rigid.
Scissors
Directions on how to make this No-Sew DIY Burlap Banner
1. Measure how long your banner needs to be. Account for a droop which will add a few feet to multiple feet depending on the distance. I held my string up and wrapped it around the trees before I began to calculate how long the banner needed to be. Don’t skip this step.
2. Divide the length into 12″ increments 6″ for the pendant and 6″ for the spaces in between and leave an extra foot or two on both sides for securing it/tying it.
Then divide the length of the banner in inches by 12″. This equals how many pendants you will need to cut out.
3. Cut out triangular shapes pendants that are 6″ wide along the top after they are glued and folded over they will be about 5.5″ along the top and 6″ down the sides
4. Layout the twine start in the middle and glue them to the twin. Using a measuring tape equally space the pendants along the twine as you glue the pendant to the string. You run a dab of glue along the twine and then fold the top of the pendant over the string and then secure it with a bead of glue along the back. I apologize that I did not video record the making of this.
5. Pull the twine taut measure 6.5″ (because the pendants end up measuring about 5.5″ after gluing them and folding the fabric over) and glue the next pendant. Work your way out on both sides—make sure to glue an even amount of pendants on both sides.
6. That’s it.
It is very simple. This banner only took me about 25 minutes to make and it was free as I just used supplies I had on hand.
Now you have a beautiful No-Sew DIY Burlap Banner.
Check out other posts in this Woodland Party Series below.
Invitations and Details- Inexpensive Woodland Birthday Party
Decoration– Woodland Party Decor
Decoration– Kids’ Woodland Party Tablescape
Decoration- Adult’s Woodland Party Tablescape
Decoration- No-Sew DIY Burlap Banner Woodland Cake Topper (coming in the next few weeks)
Food- Woodland Party Food
Food- Cheese & Tomatoes Mushroom Display for a Woodland Party
Cake- Easy Tree Stump Cake for a Woodland Birthday Party
Cake- Mini Burlap Banner for a Cake
Food- Edible Ladybugs for a Woodland Party
Food- Easy Nilla Wafer Acorns

For other ‘rich living tips’, please Subscribe Here or connect with me on these other platforms:

