

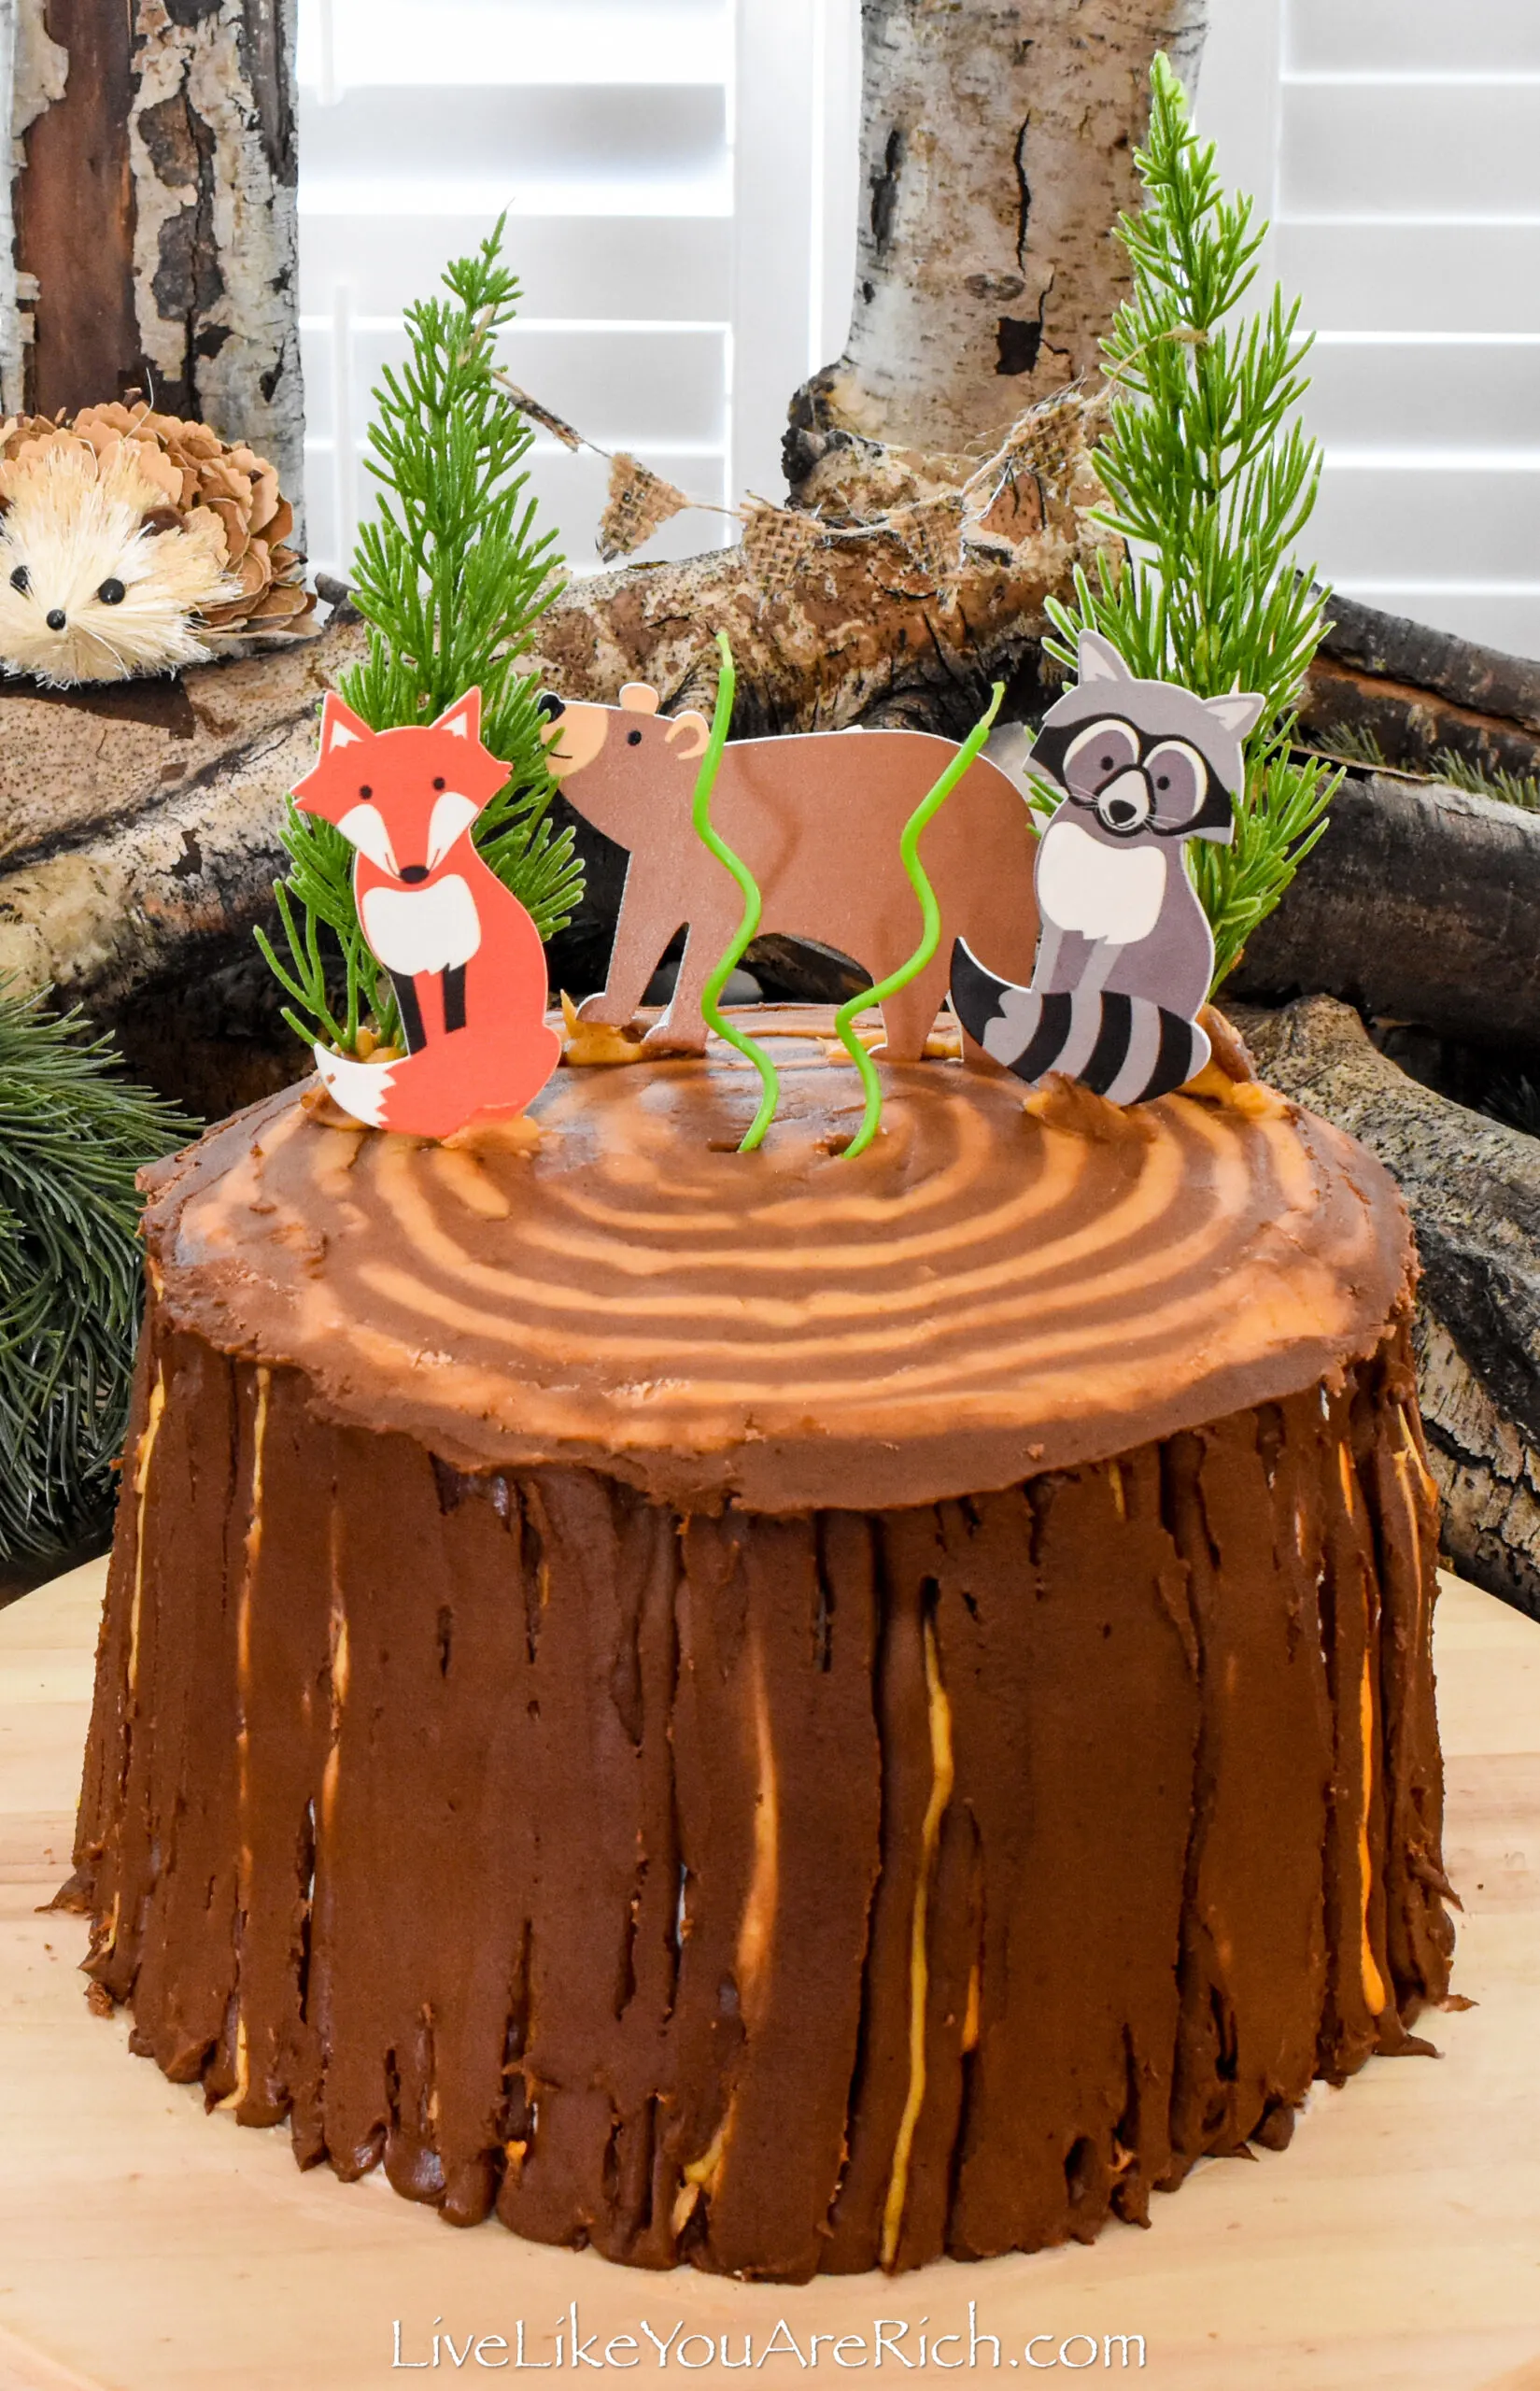
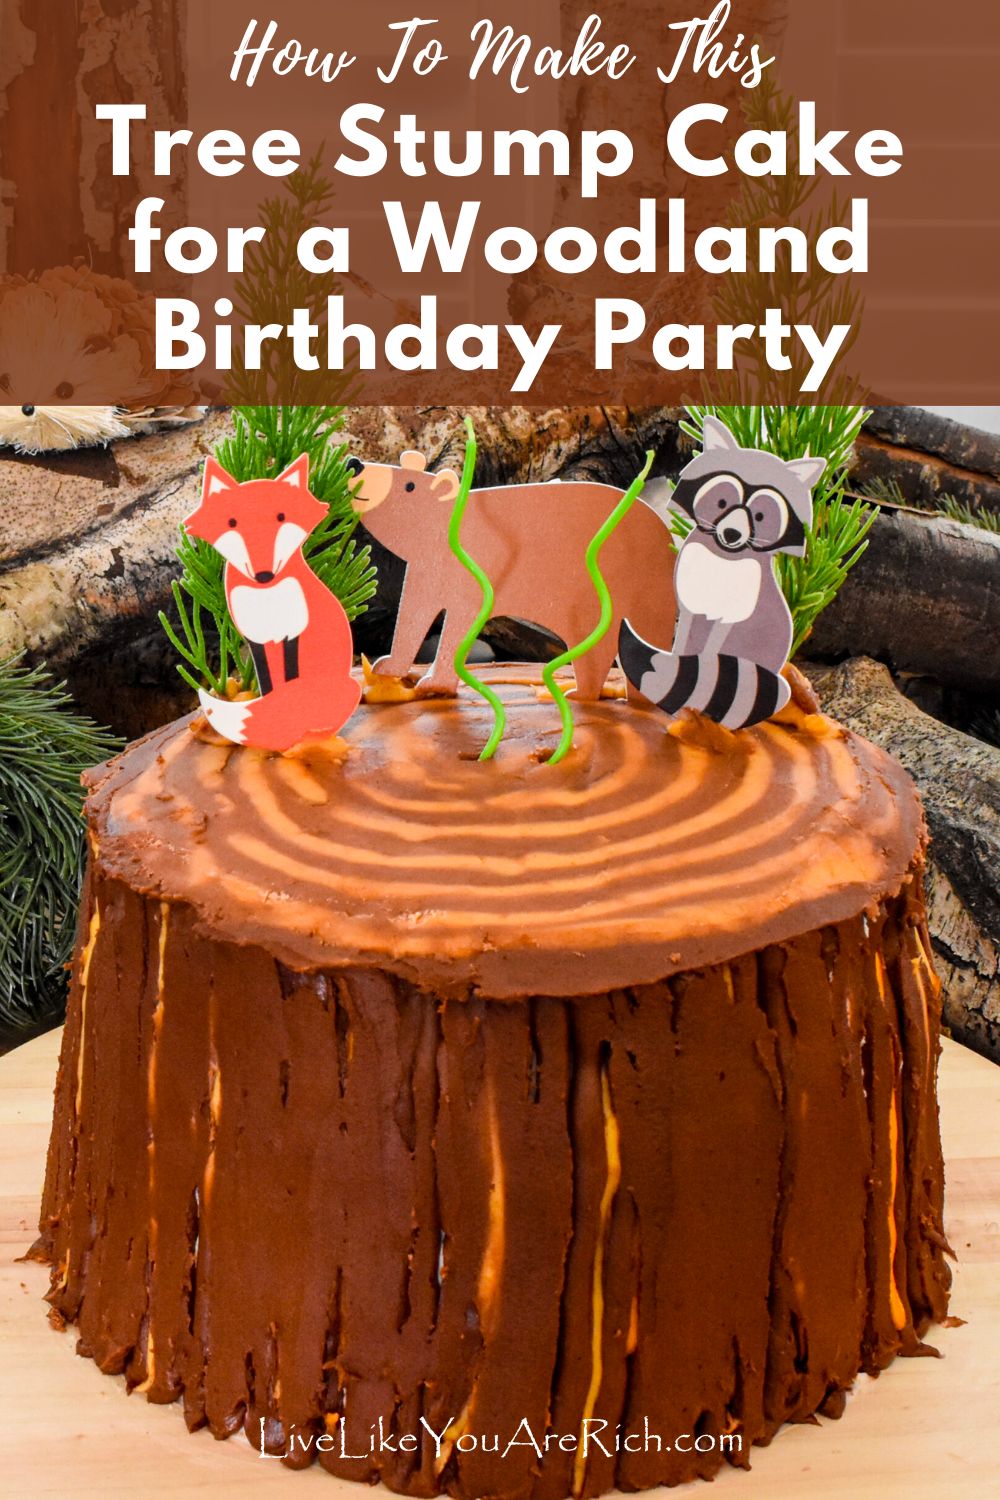
Tree Stump Cake for a Woodland Birthday Party
I threw a woodland party for my son’s second birthday and made this tree-stump strawberry vanilla cake.
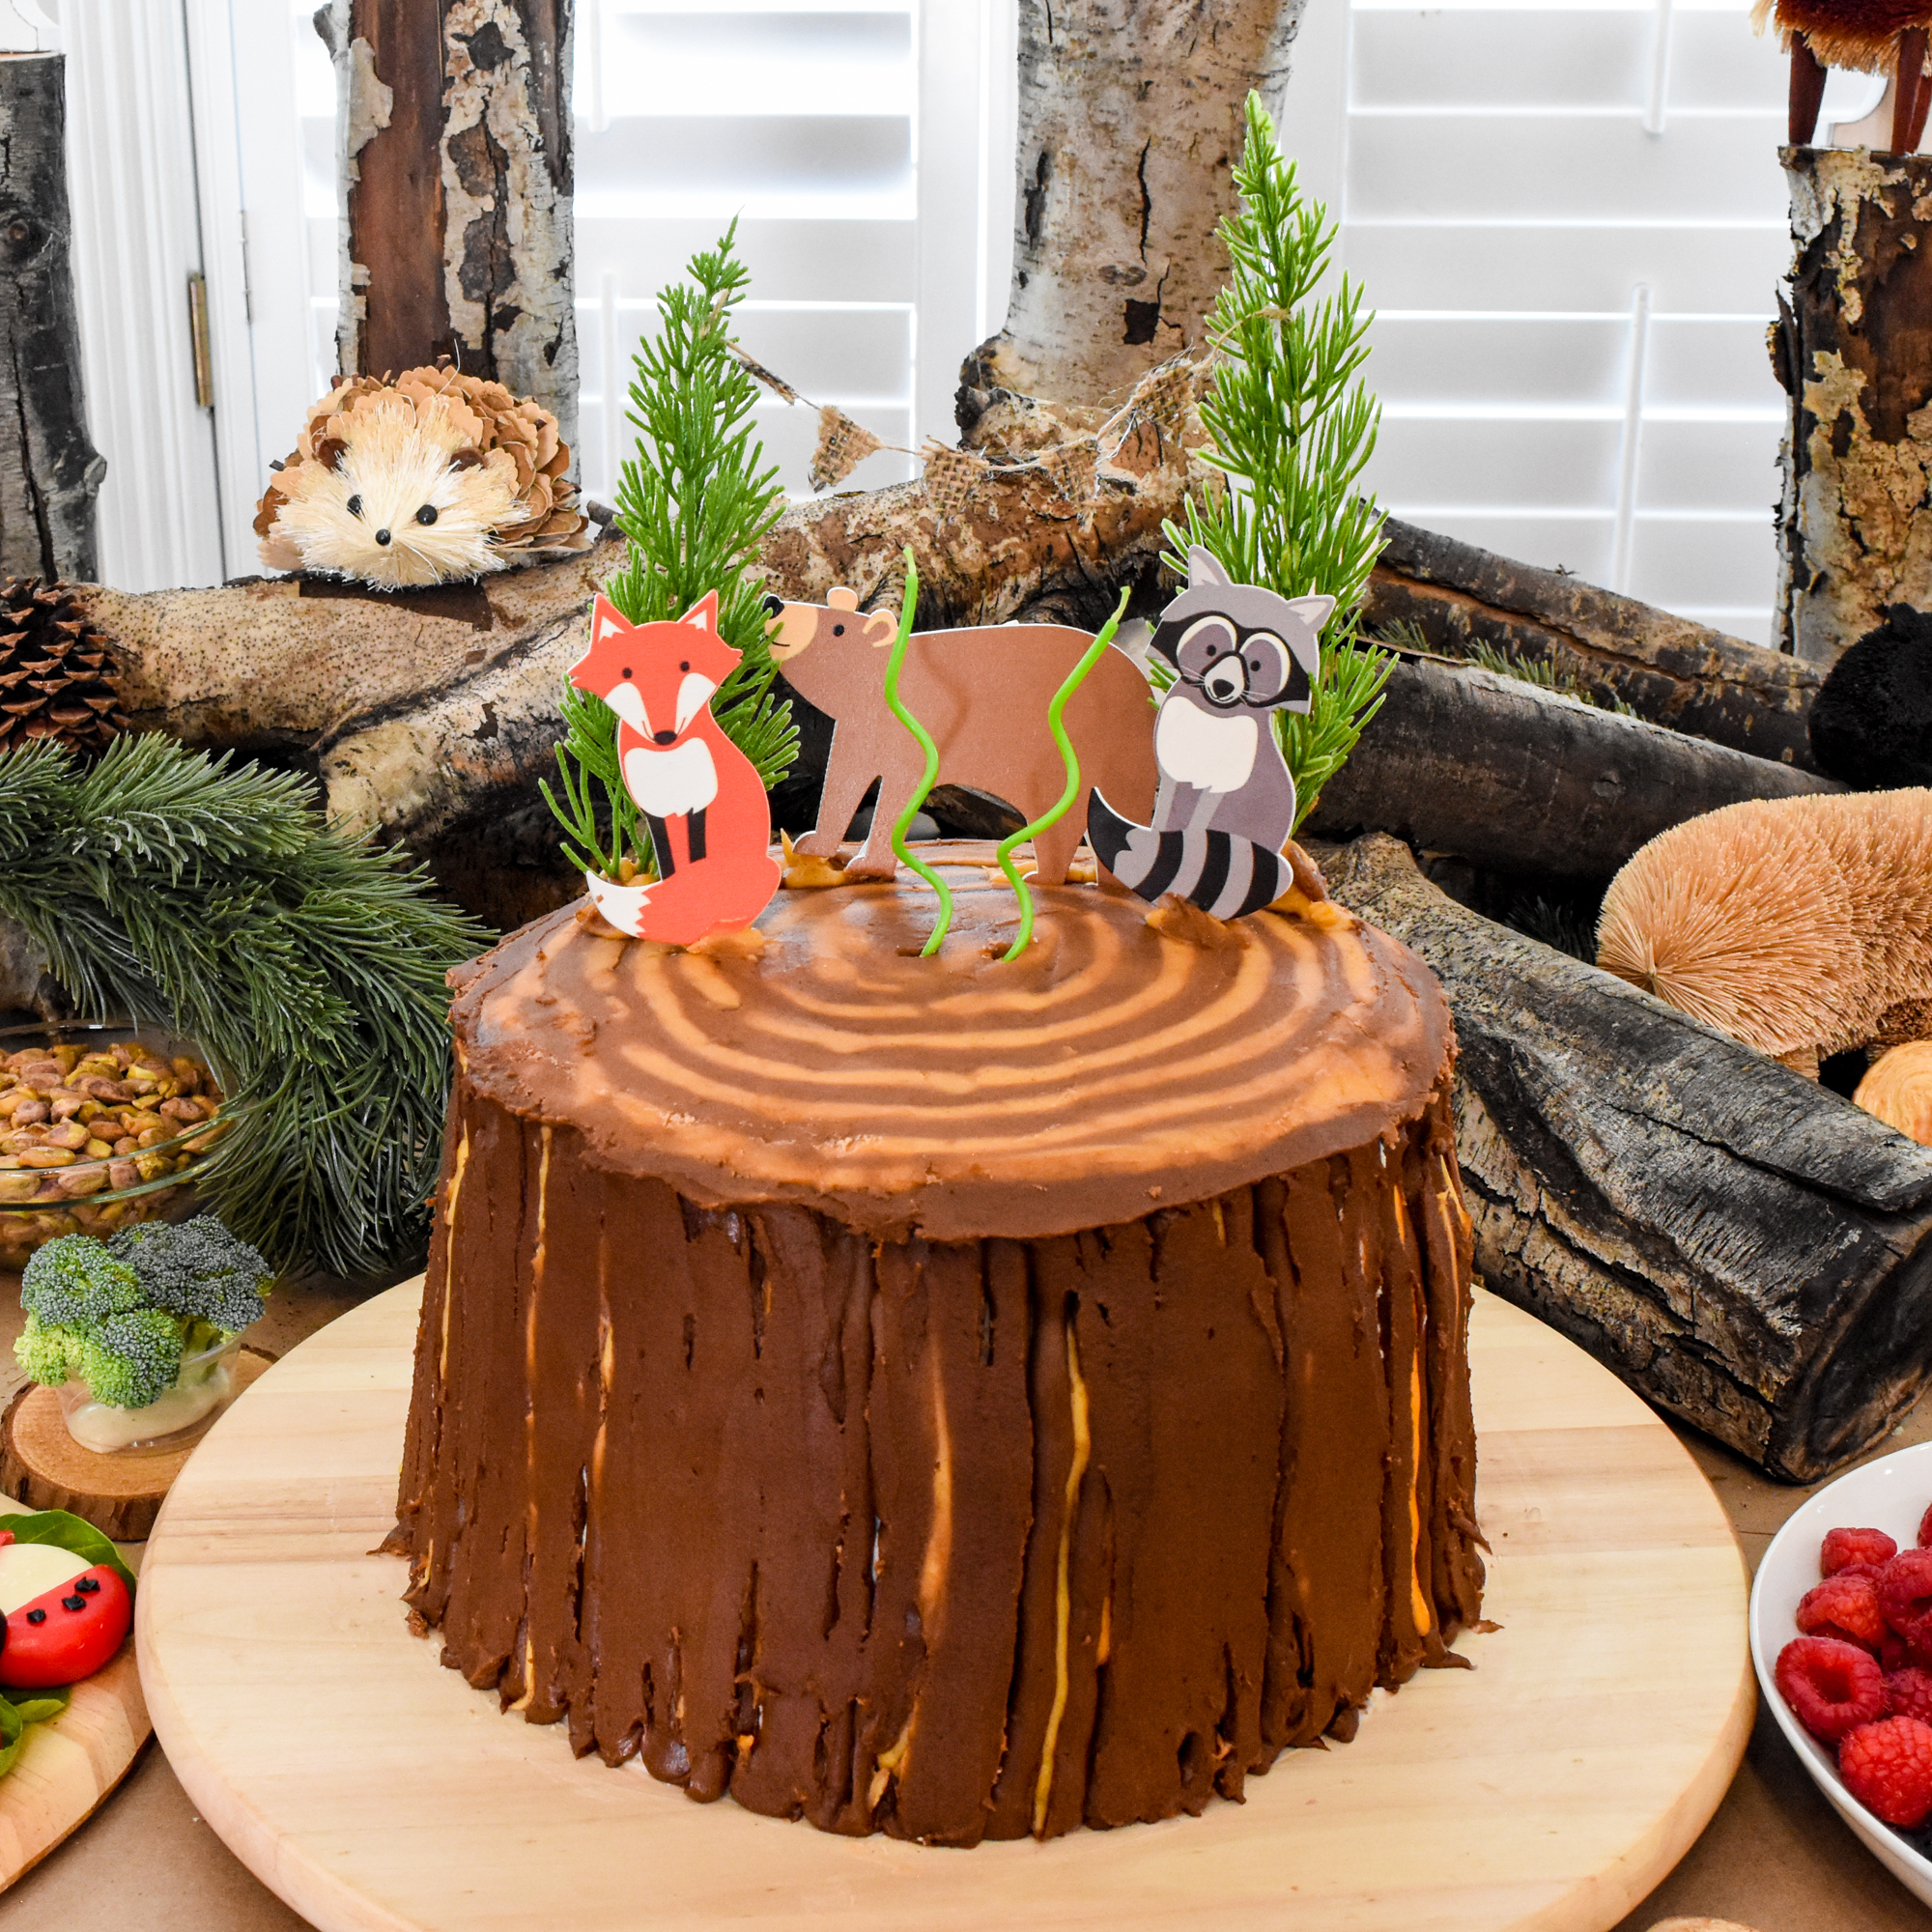
I choose strawberry vanilla because I found a fantastic vanilla cake recipe (link below) and I know that vanilla pairs well with strawberries.
Also, strawberries can be found in the woods, fitting the woodland theme.

I considered making a chocolate frosting for this, but I knew that I wanted yellow, tan, and orange to add highlights and interest to the cake’s icing and thereby creating more of a tree stump look; so I just stuck with my BEST vanilla bean frosting for this cake (link below).
I used food coloring for the brown, tan, orange, and yellow.
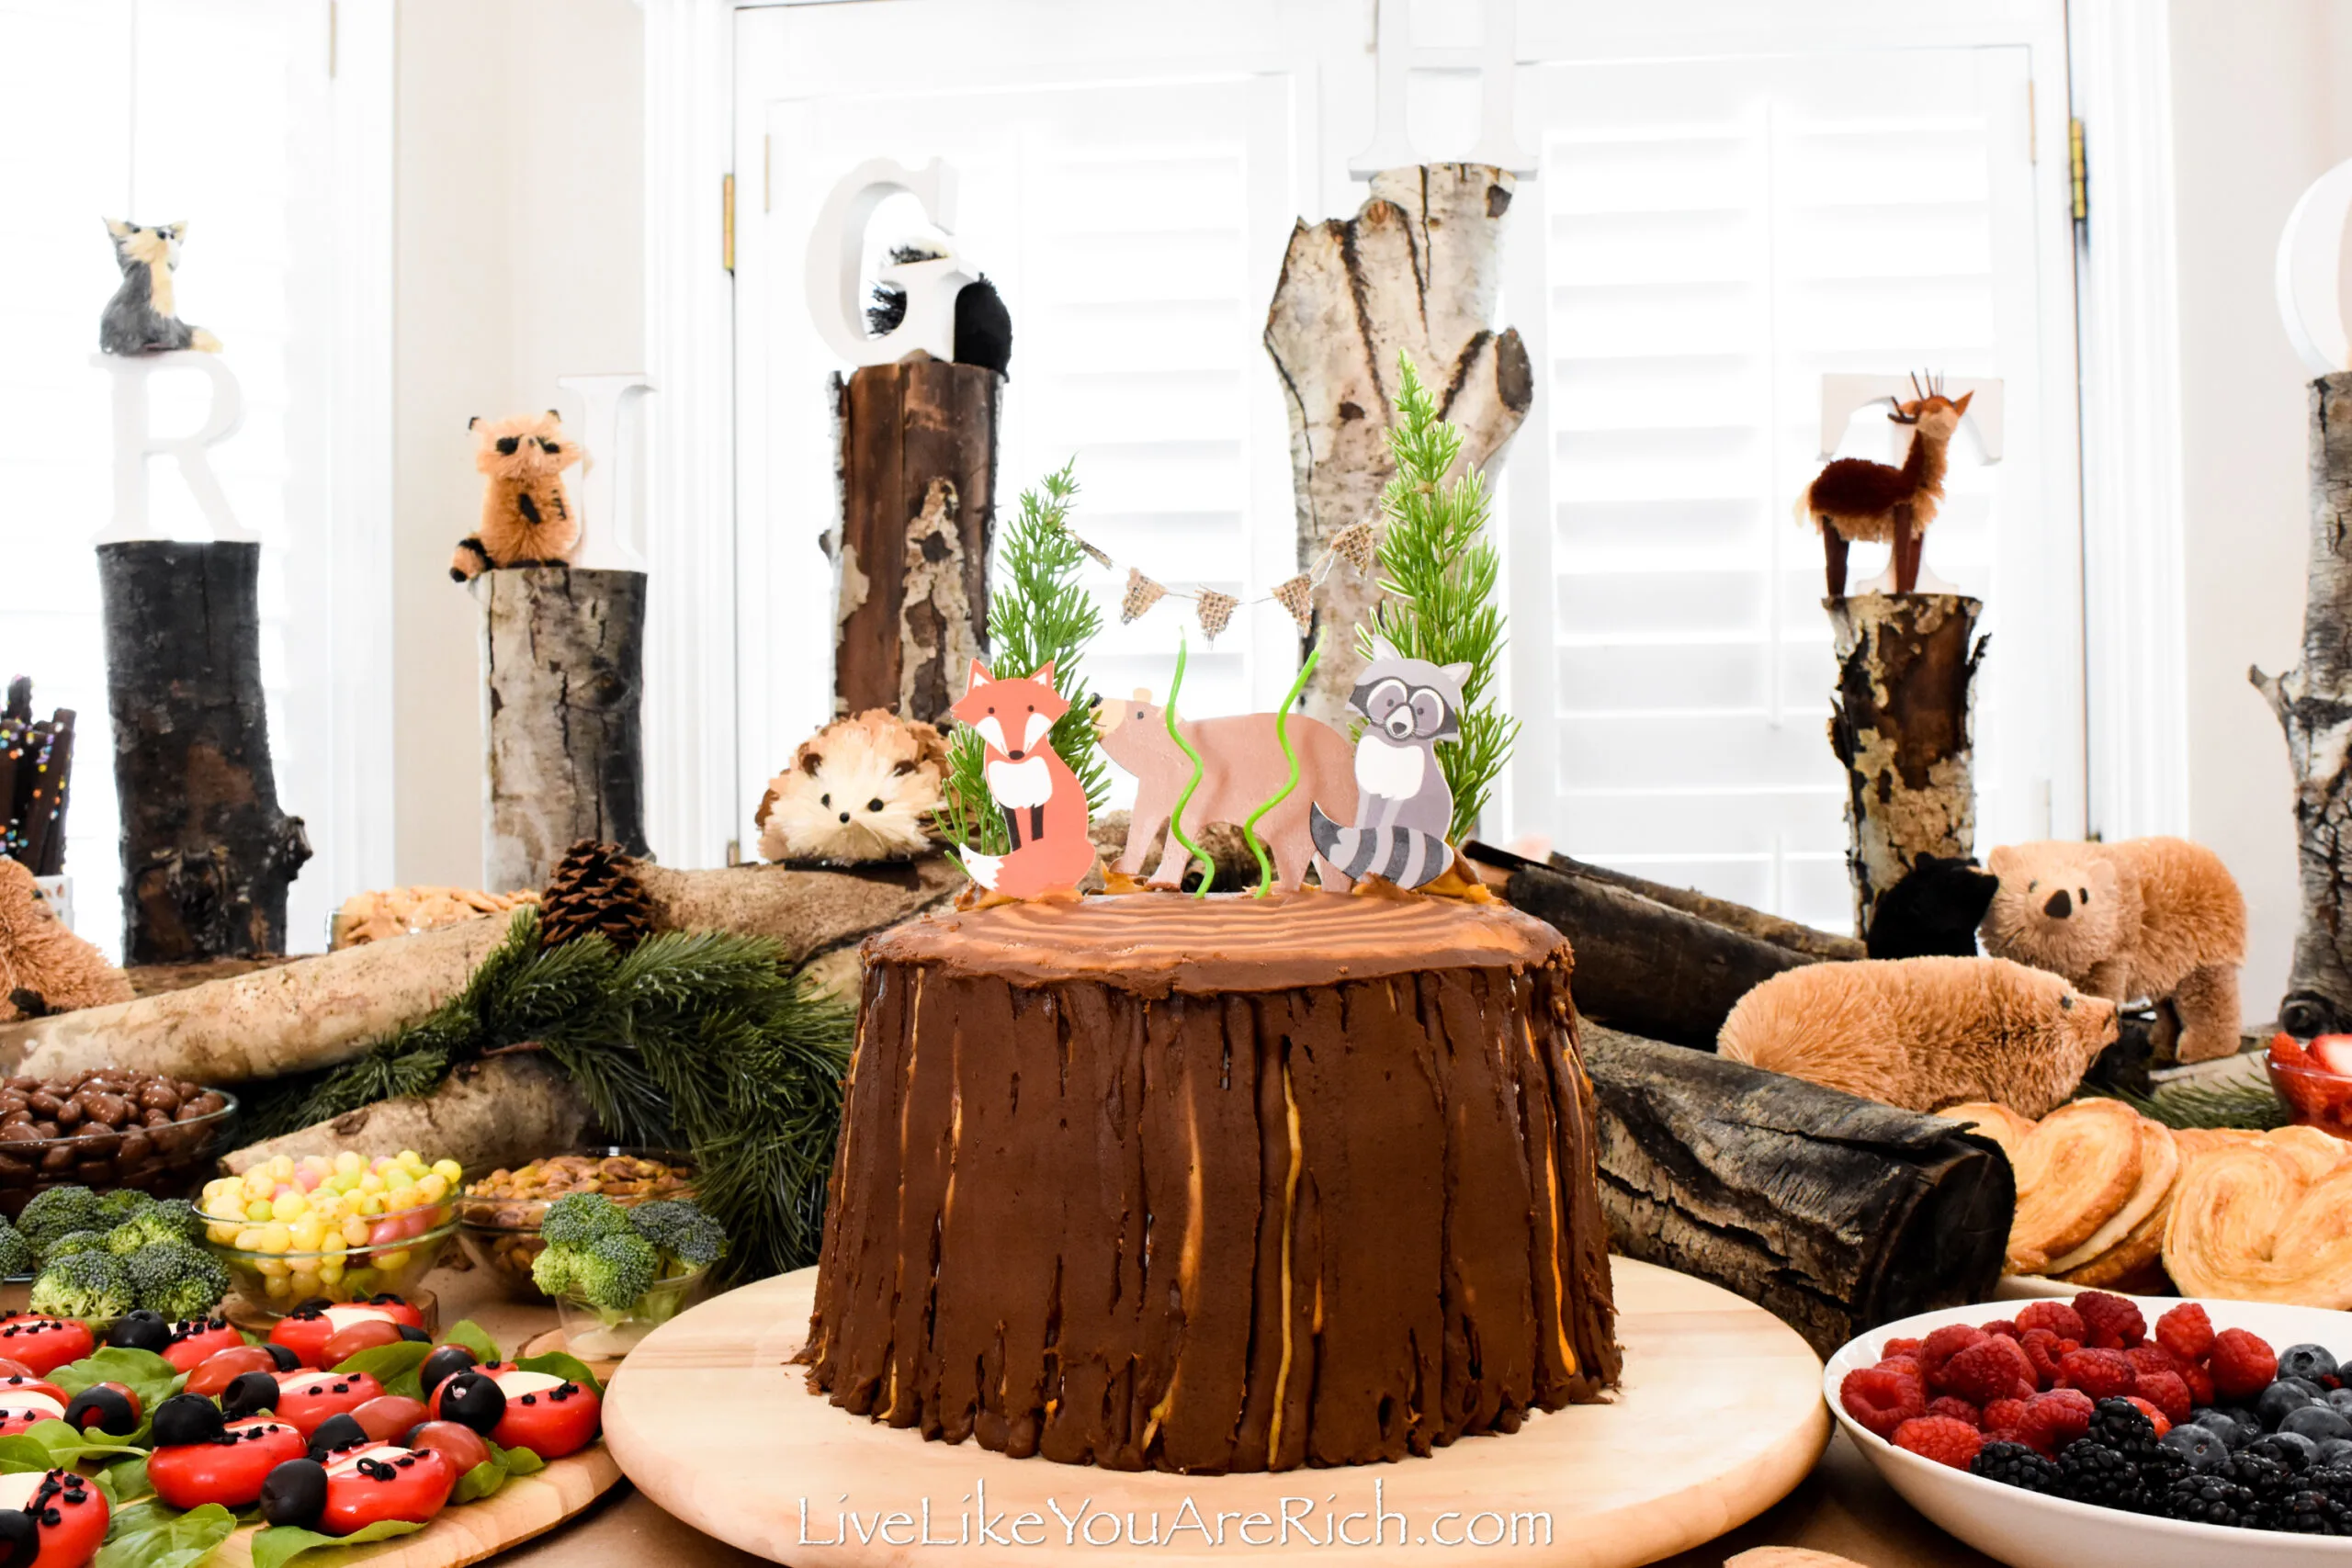
The guests of my son, Brighton’s, party really loved it. I was asked for the recipe and praised for its texture. Again, the cake recipe is not mine and I do agree it is fantastic. I’ll be using it again and again.
My father-in-law cracked a joke that he hoped we didn’t get splinters in our mouths when eating it. Gotta love a good dad joke from a father-in-law.
How to make this Tree Stump Cake for a Woodland Birthday Party
In order to make this cake, you can watch the video tutorial on this page or you can continue reading the step-by-step instructions.
1- Preheat oven to 350F If you have a fan preheat to 330F.
2- Prepare pans by tracing and cutting a wax bottom and spraying cooking spray onto the sides. I used a paper towel to make sure I fully covered the sides of my springform pans.
3- I made the cake following this Best vanilla cake recipe carefully. I recommend reading through the entire recipe (including the notes) carefully. I doubled the recipe. I also used a kitchen scale so that I got the ingredients exactly as the author specified.
As mentioned in the video, I have two Kitchen-Aid mixers of varying sizes: one is 4.5, and the other 5. I don’t know why, but the batters ended up having a slightly different consistency, so, after I was done mixing them, I stirred them together so that I would get the same texture of cake throughout my layers.
4- I baked the cakes and started watching them after they had baked for 22 minutes. As soon as the top was turning a slight golden brown and the toothpick came out clean I removed them from the oven. I think I baked them for 24 minutes.
I let them cool entirely while they were still in the pans- mainly because I had to run kids and didn’t have time to remove them but leaving them in the pans to cool worked just fine for me.
5- I mixed up 1 batch of this Best vanilla bean frosting recipe and set it to the side. Then I mixed an additional 1/2 batch of it and added 1/4 C milk to the recipe and then a little more to get a crumb coat consistency for the crumb coat. I think I accidentally added more milk than I should of because my crumb coat was a bit too thin, but it did turn out okay anyway. Just a tip is to add a little less milk than you think you need and then increase the milk in small increments.
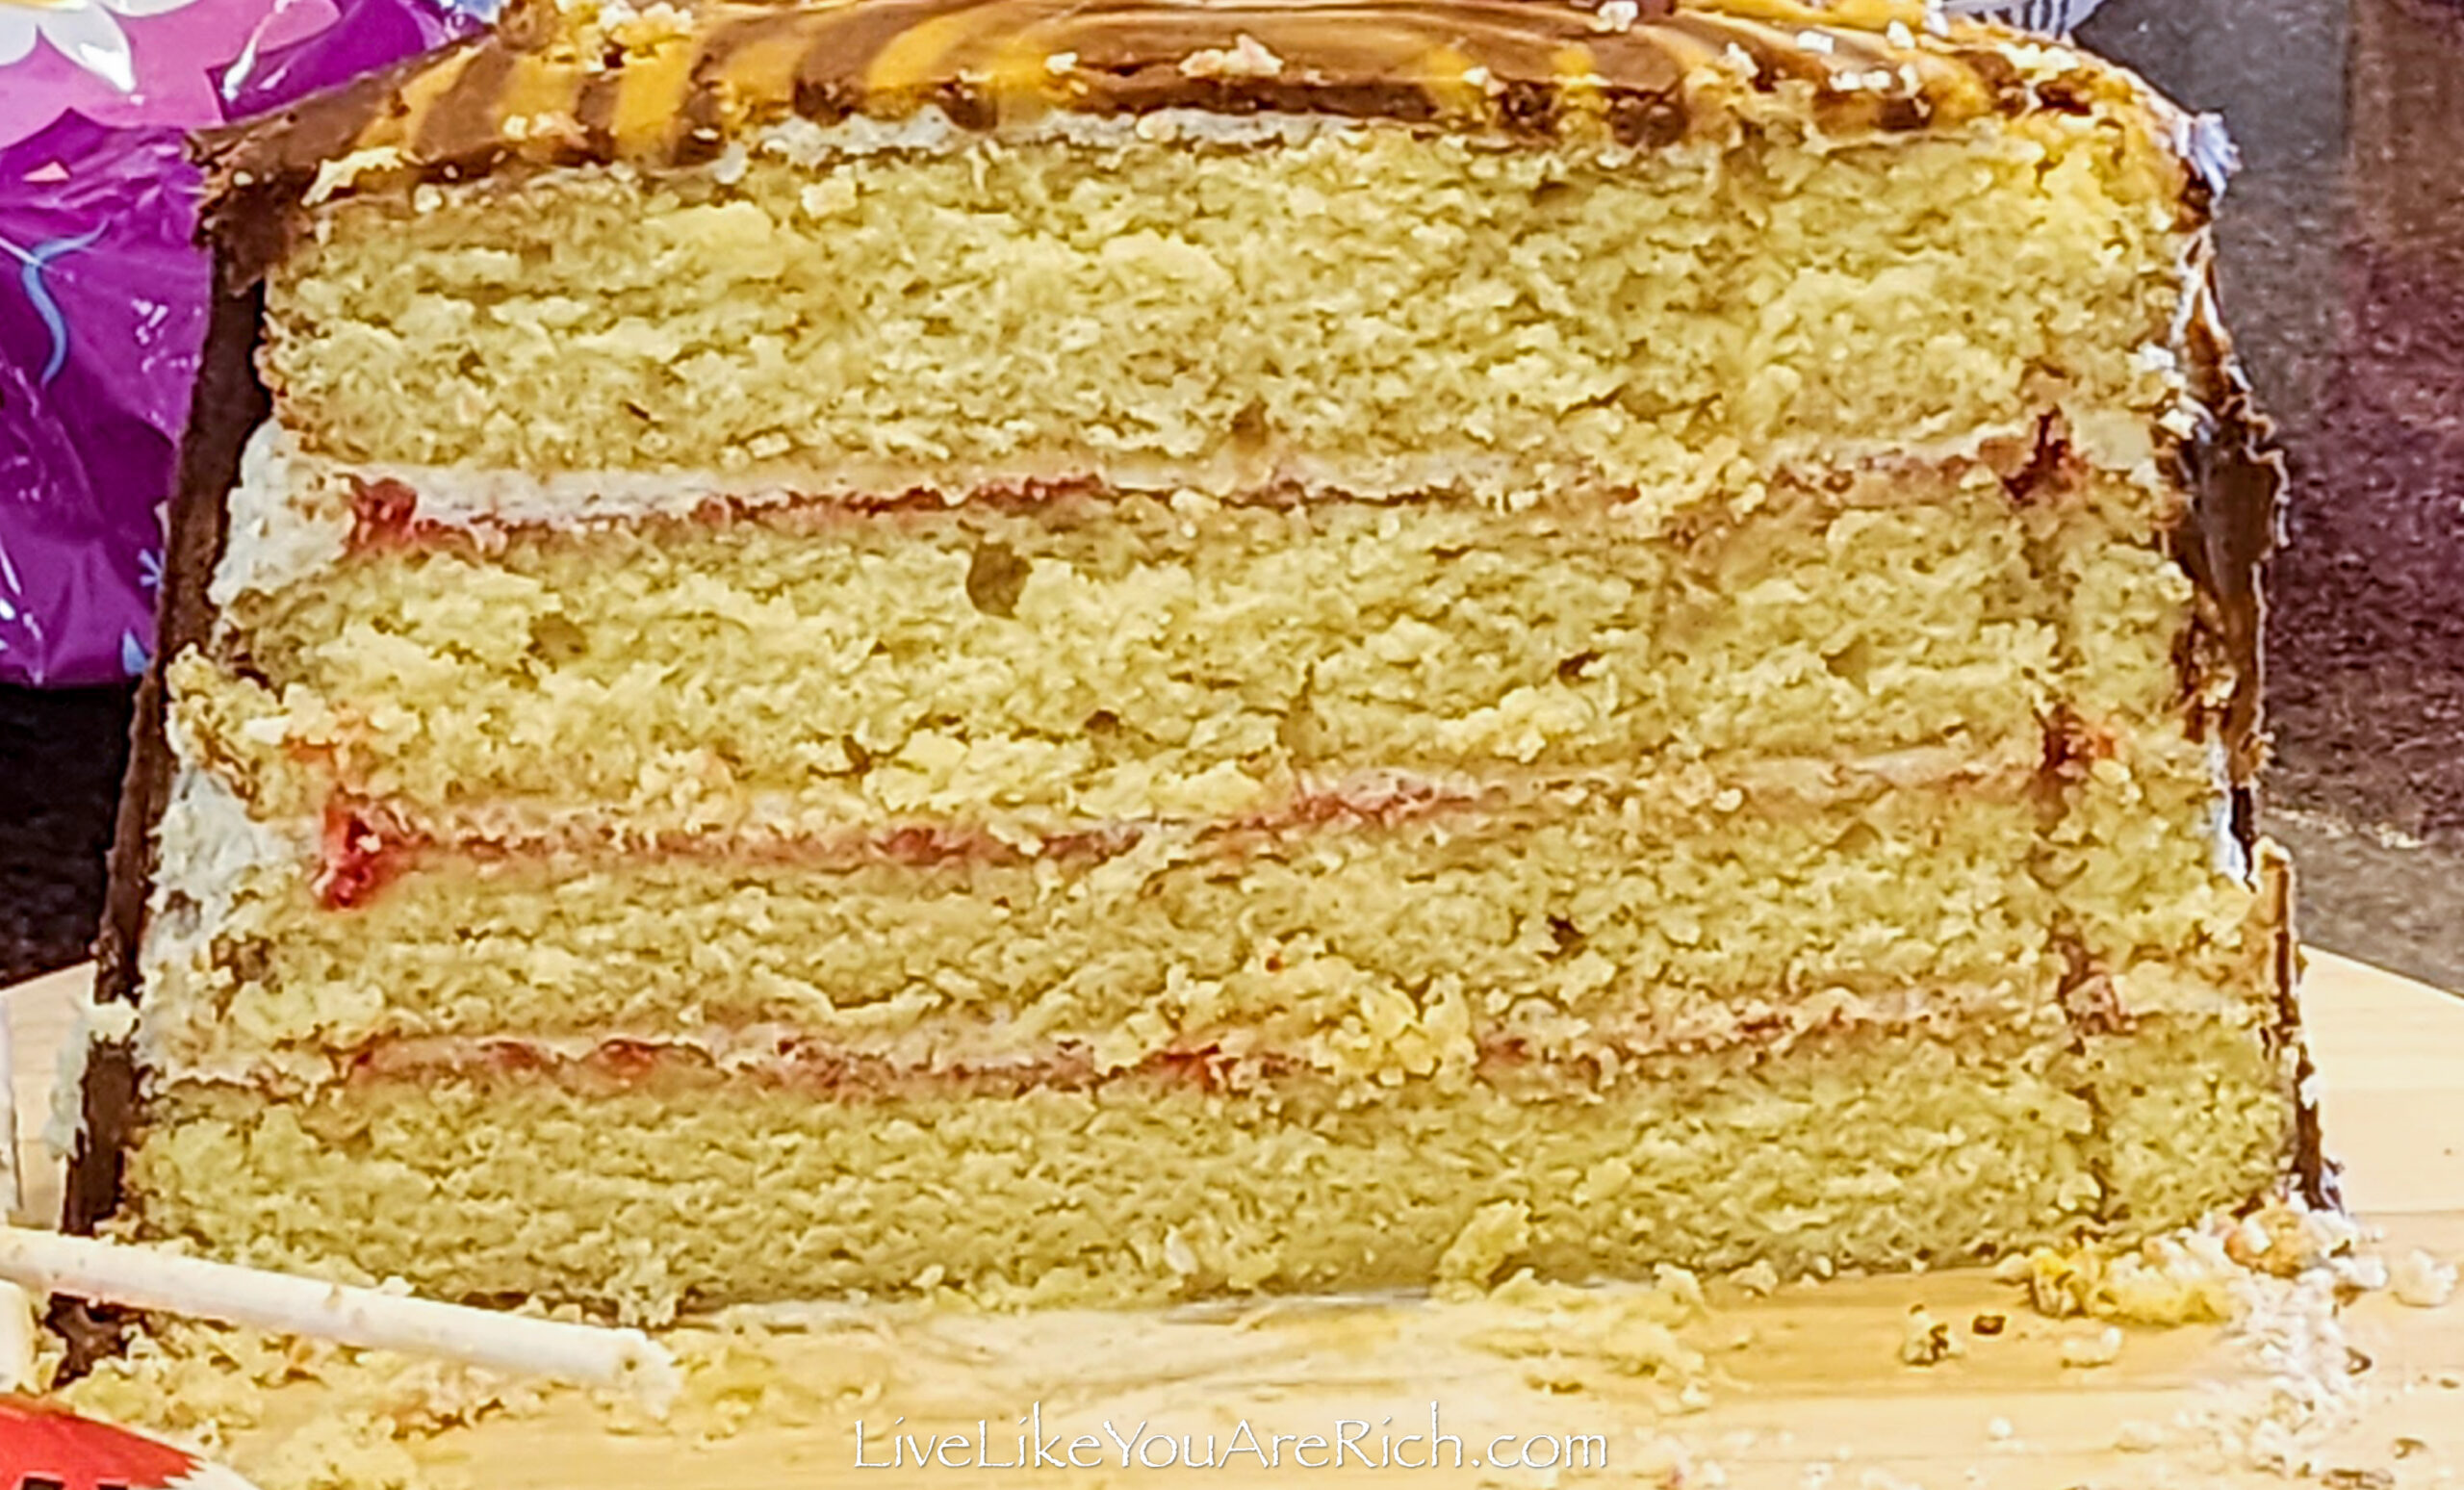
6- To ice the cake, place some icing on the middle of a cake board and put the first layer of cake on it. This secures the cake and helps prevent it from slipping and sliding around.
7- Pipe regular consistency frosting (as my recipe indicates) around the top of that cake layer to create a dam so that the preserves and crumb coat icing don’t seep out of the layer when you place the next cake layer on top.
8- Put strawberry or other flavored preserves in the circle created by the regular icing and then add a layer of crumb coat icing. Place a layer of cake on top.
9- Repeat steps 7-8 until you get to the top. Do not put preserves on the top of the cake.
10- Ice the entire cake outside in its crumb coat.
11- Place the cake in the fridge for at least an hour to set. If you are struggling to get the crumb coat to set leave it in longer or put the cake in the freezer for a little while to help get the crumb coat set.
12- Make brown, tan, yellow, and light orange batches of frosting (the majority of frosting needs to be brown) and fill piping bags. I just cut a hole in the piping bags because you do not need specific shaped tips for this cake.
13- On the top of the cake, alternate brown and tan colors in a circle going round and round until the entire top of the cake is covered. Then, using an icing spatula, very gently press down to smash the colors together to create a tree trunk ring design.
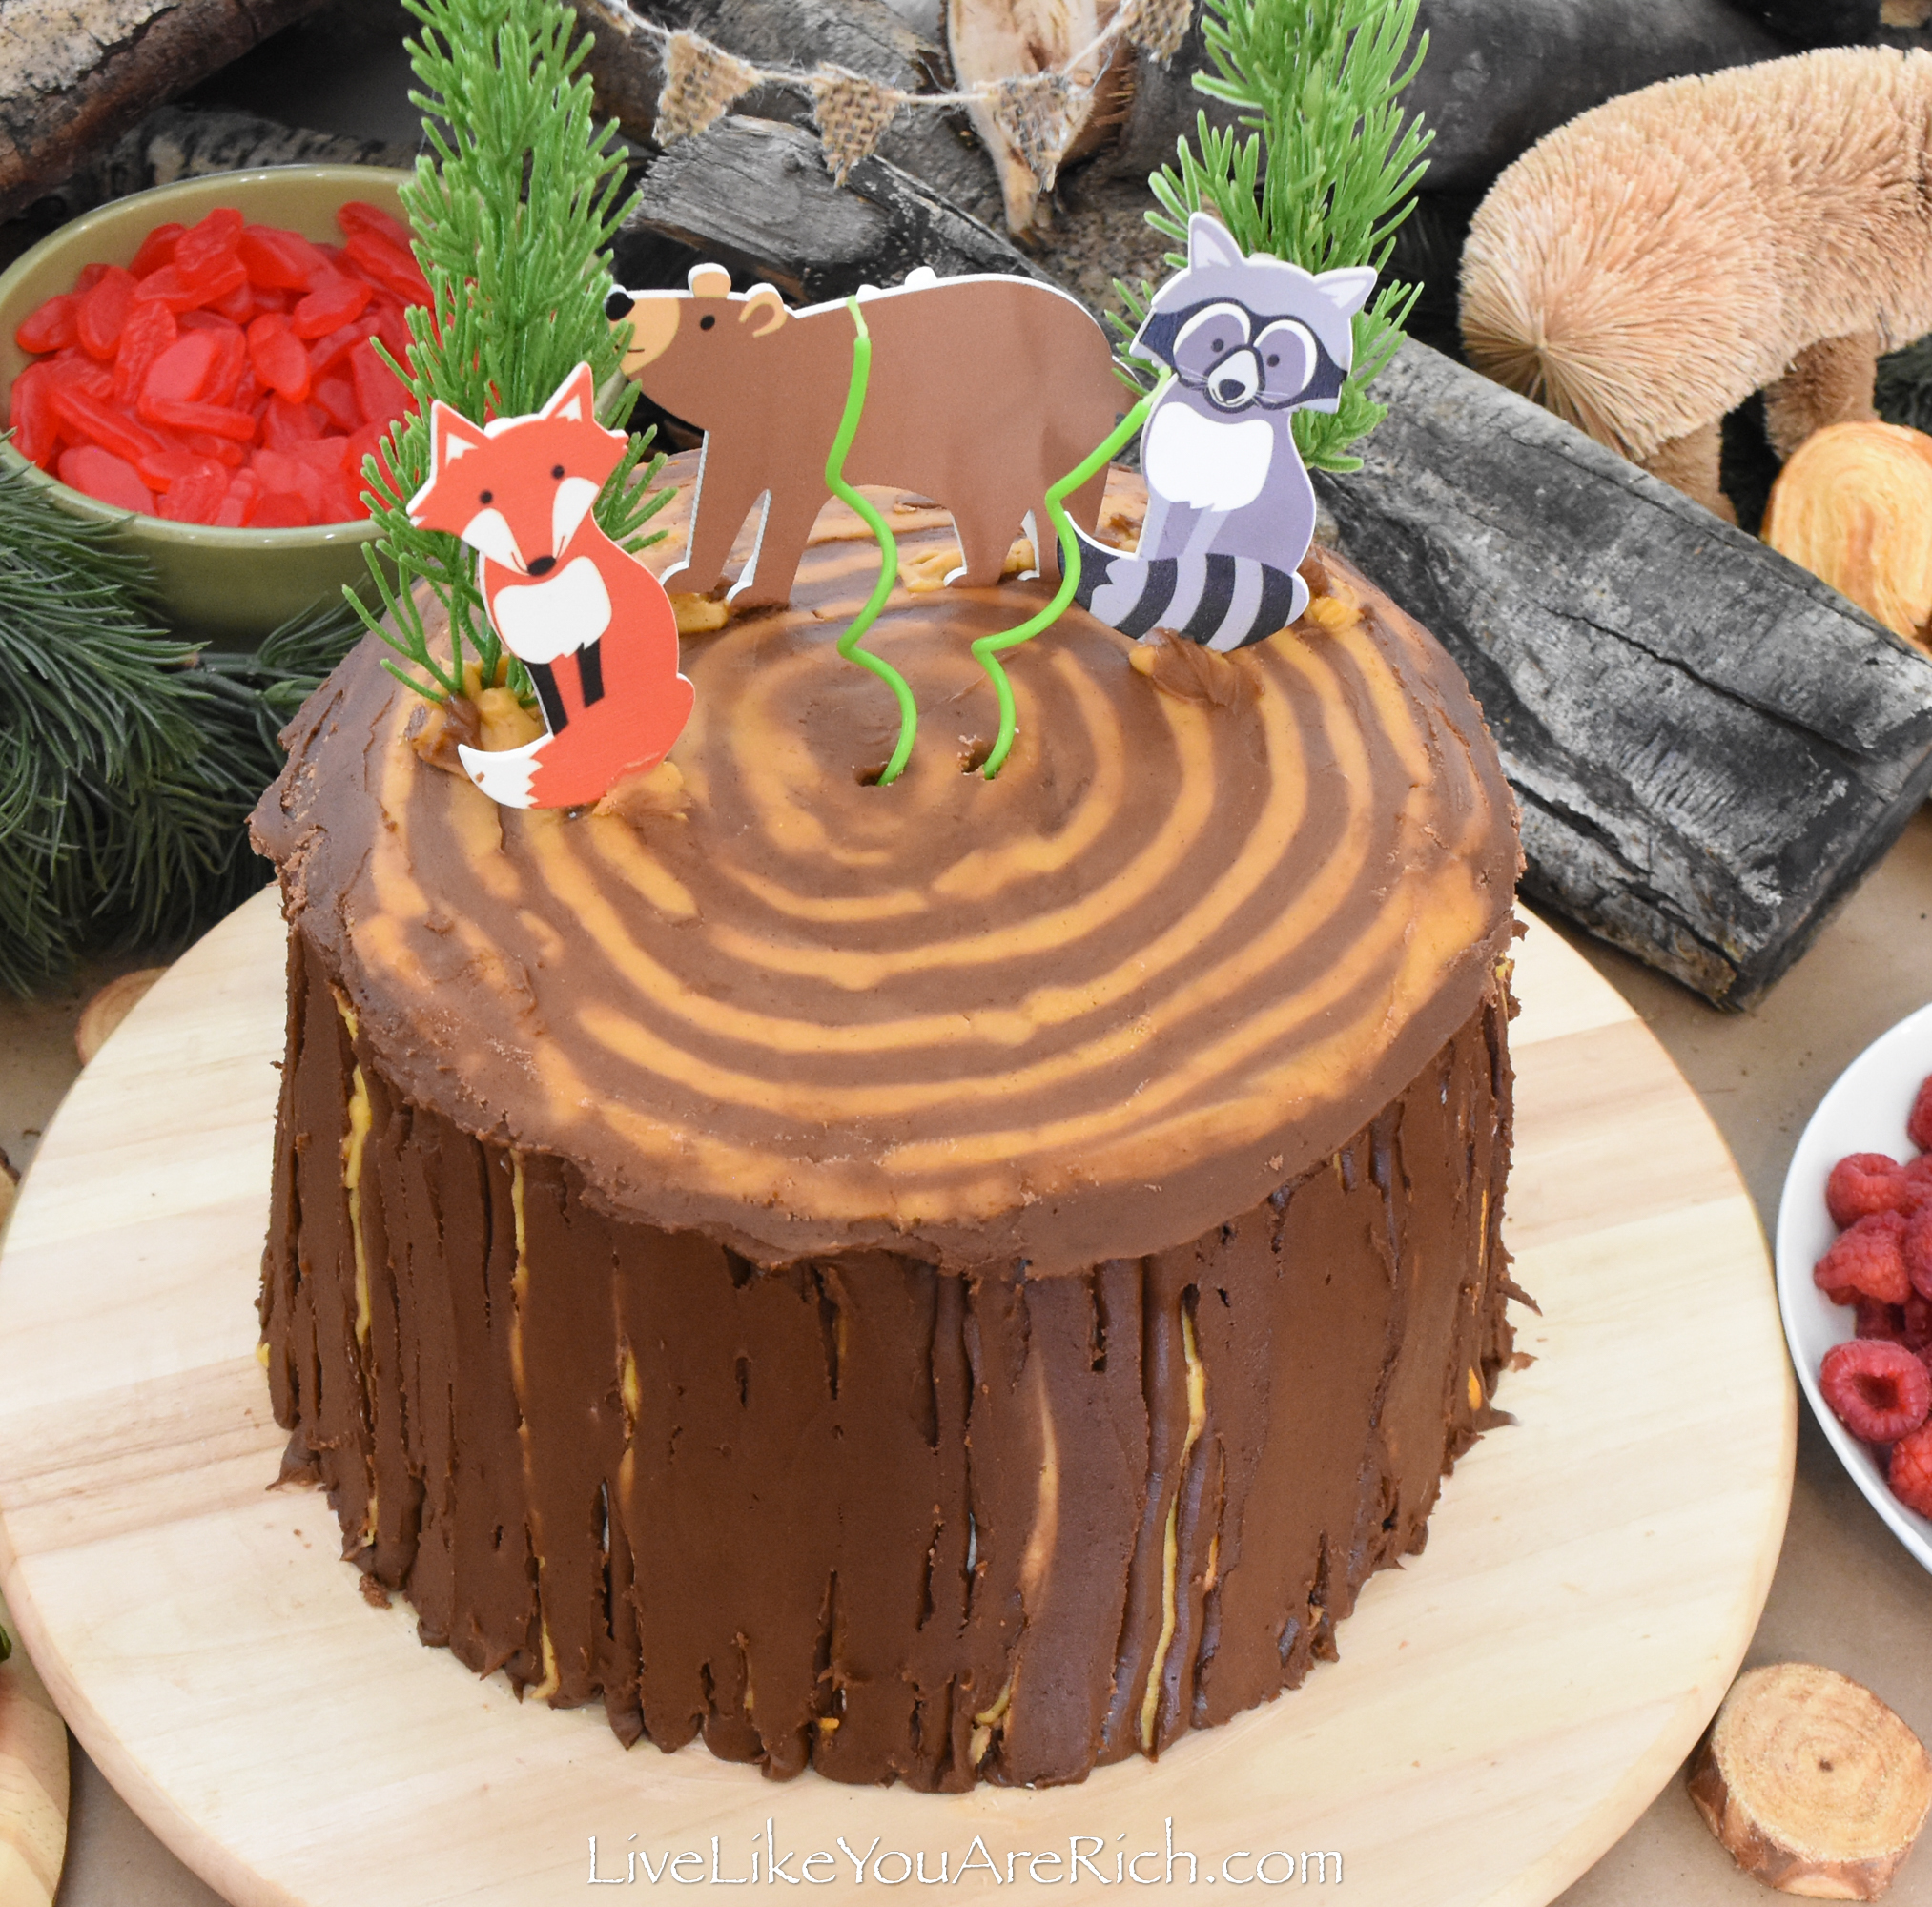
14- Pipe lines of icing up the sides of the cake in brown, add lines of orange, yellow, and tan, and leave some white showing through if desired.
15- Then, using an icing spatula, gently press down on the piped lines of icing while moving upward to make some flatter areas resemble bark.
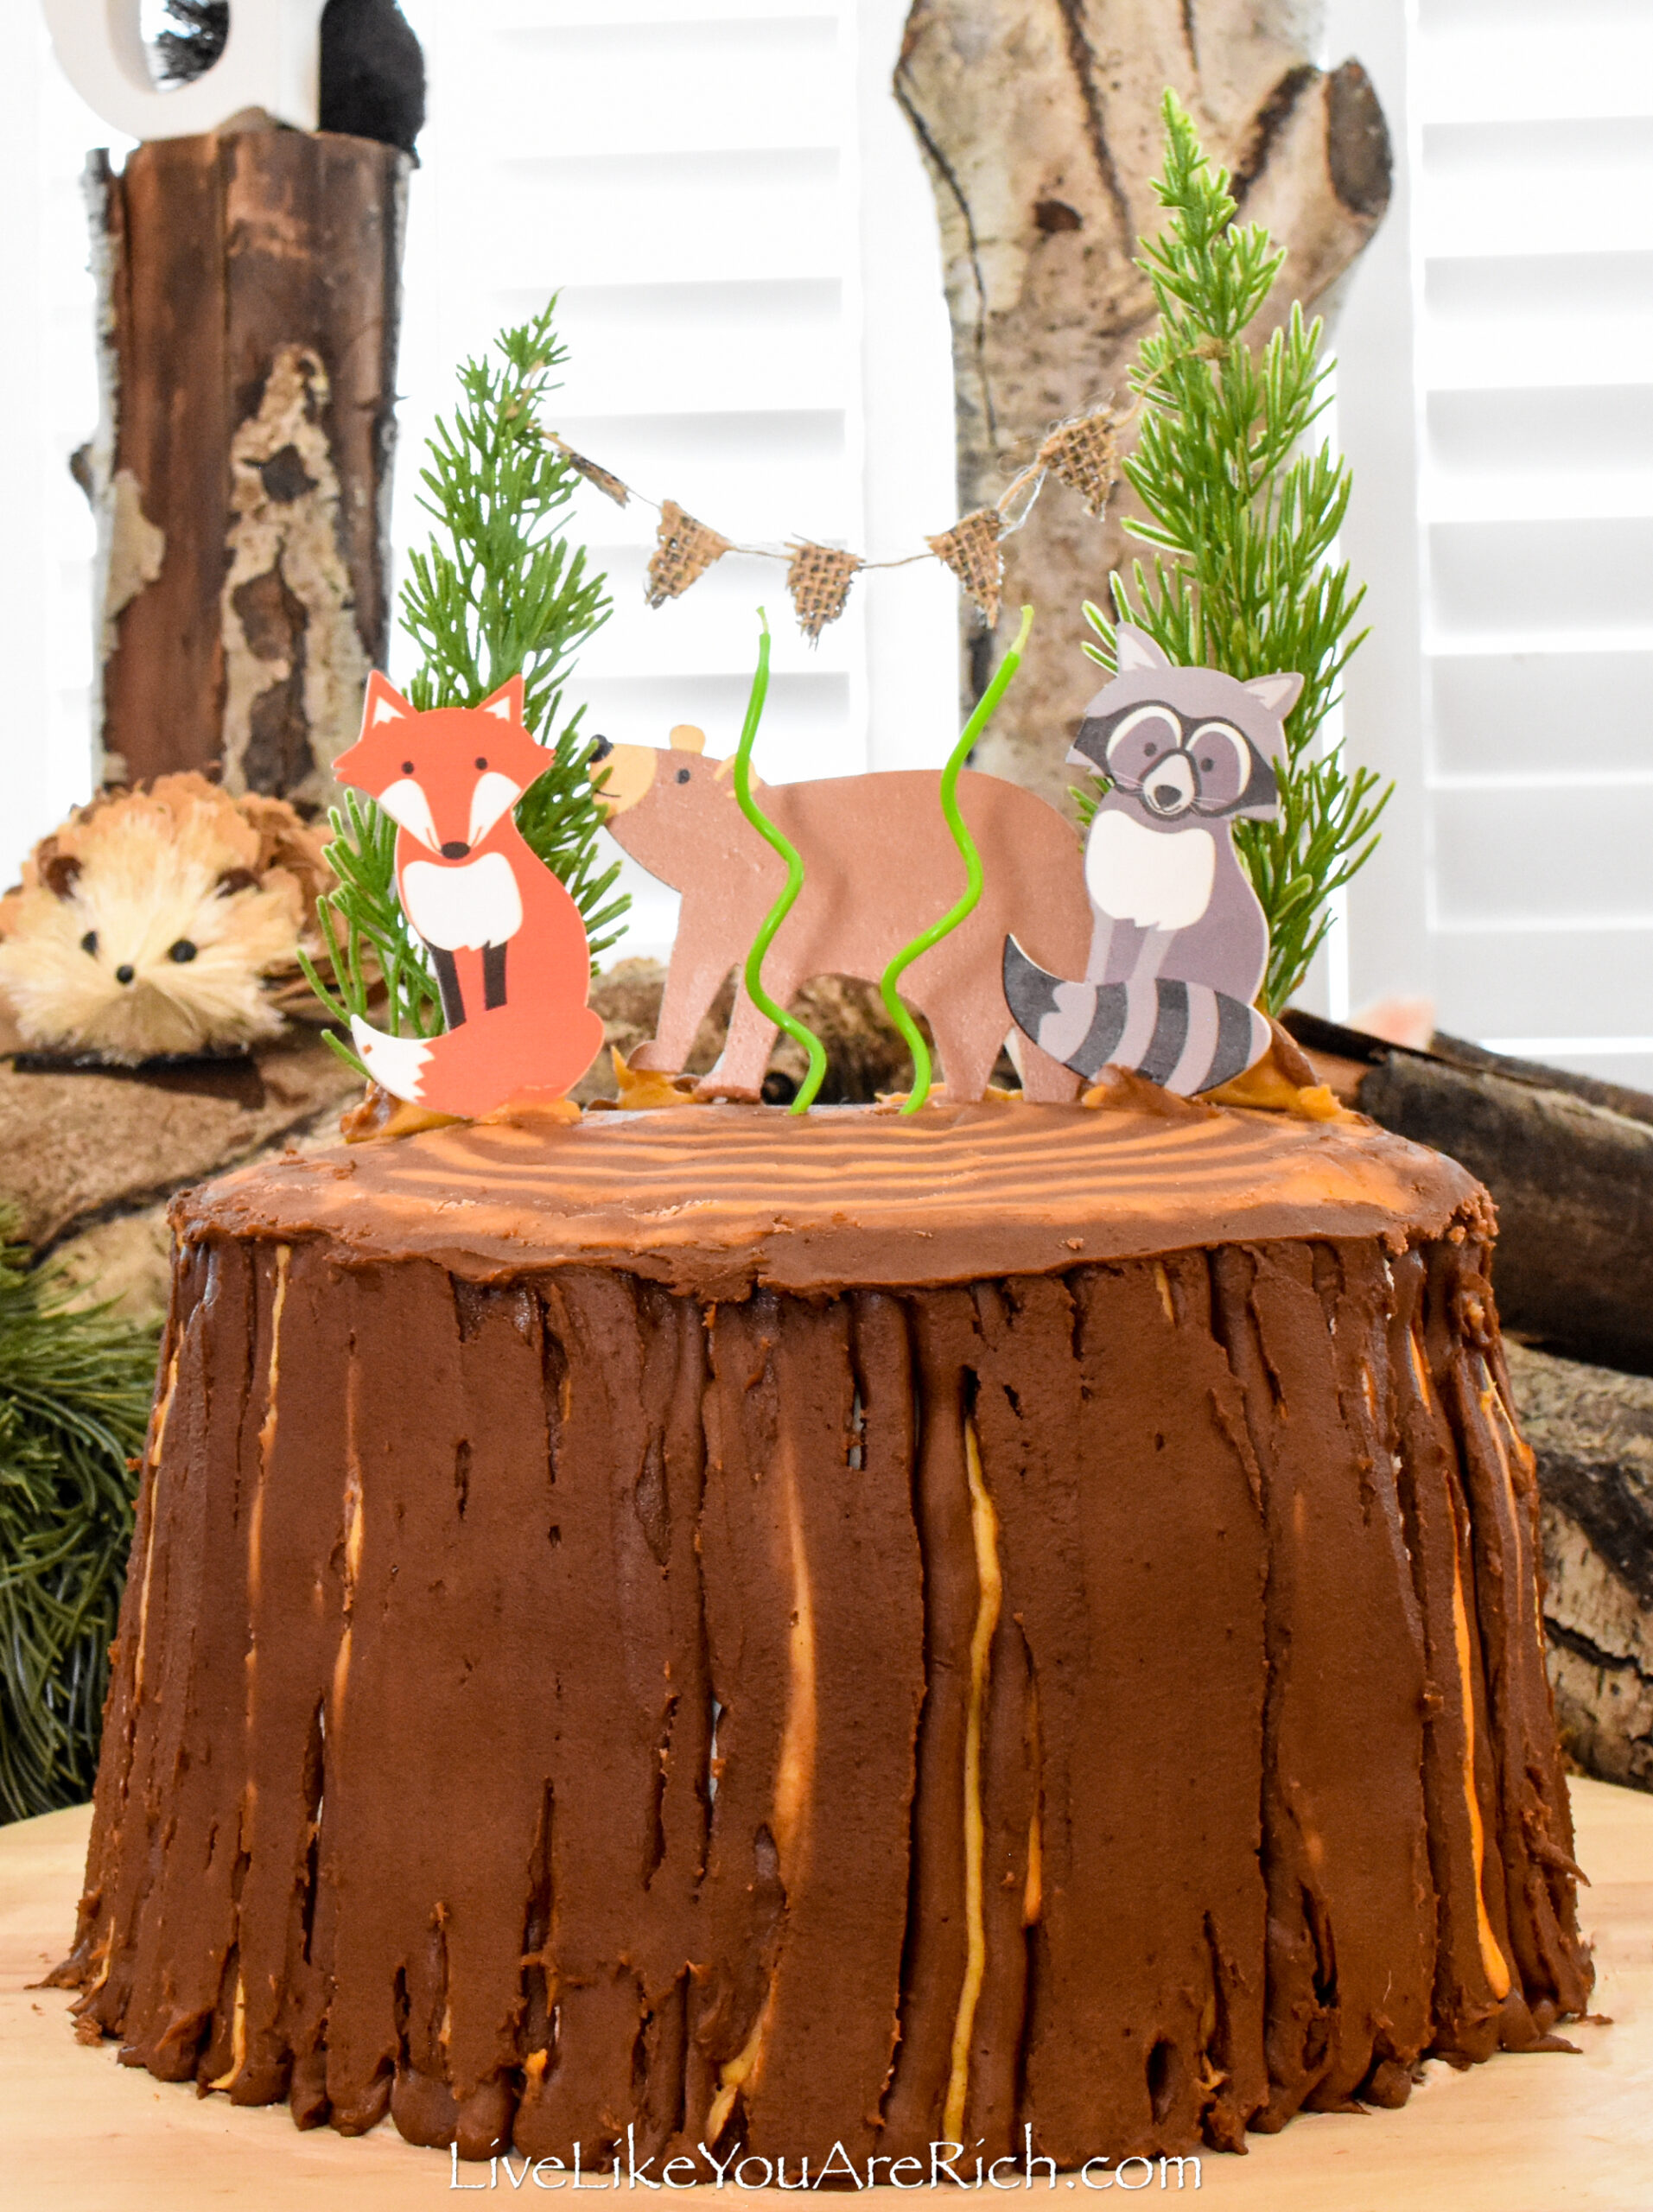
16- Make a cake topper and set it on top.
See the video if any of these steps are confusing.
Supply List for this Tree Stump Cake
You’ll need mainly standard cake supplies for this cake.
I used a food scale when measuring just so I knew that I had the quantities called for in the recipe.

food scale (optional but highly recommend)
bowl
spatula
Wisk

cake stand that rotates (optional but recommended). I used the IKEA lazysusan that I’ve had for a long time.
spring form pans or if you do not have four pans, you can do multiple batches. I used 12″, 8″, and 2- 10″ pans for my four-layer cake.
wax paper, pencil, and scissors to cut out the bottom layer so that the cake doesn’t stick
Ingredients for this BEST vanilla bean frosting. I one and a halved this recipe adding 1/4 C milk to the half portion to create a crumb coat.
Ingredients for this vanilla cake recipe. Many tips are found in the notes section on the recipe so be sure to read them all through before baking.
Topping of some sort. In the video on this post, I show how I made the woodland animals and trees stand up using cake pop sticks. I have a short tutorial on how I made the mini burlap banner for the cake linked to below.
To see more posts for this Inexpensive Woodland Birthday Party check out these posts below…
To see more posts for this Inexpensive Woodland Birthday Party check out these posts below…
Invitations and Details- Inexpensive Woodland Birthday Party
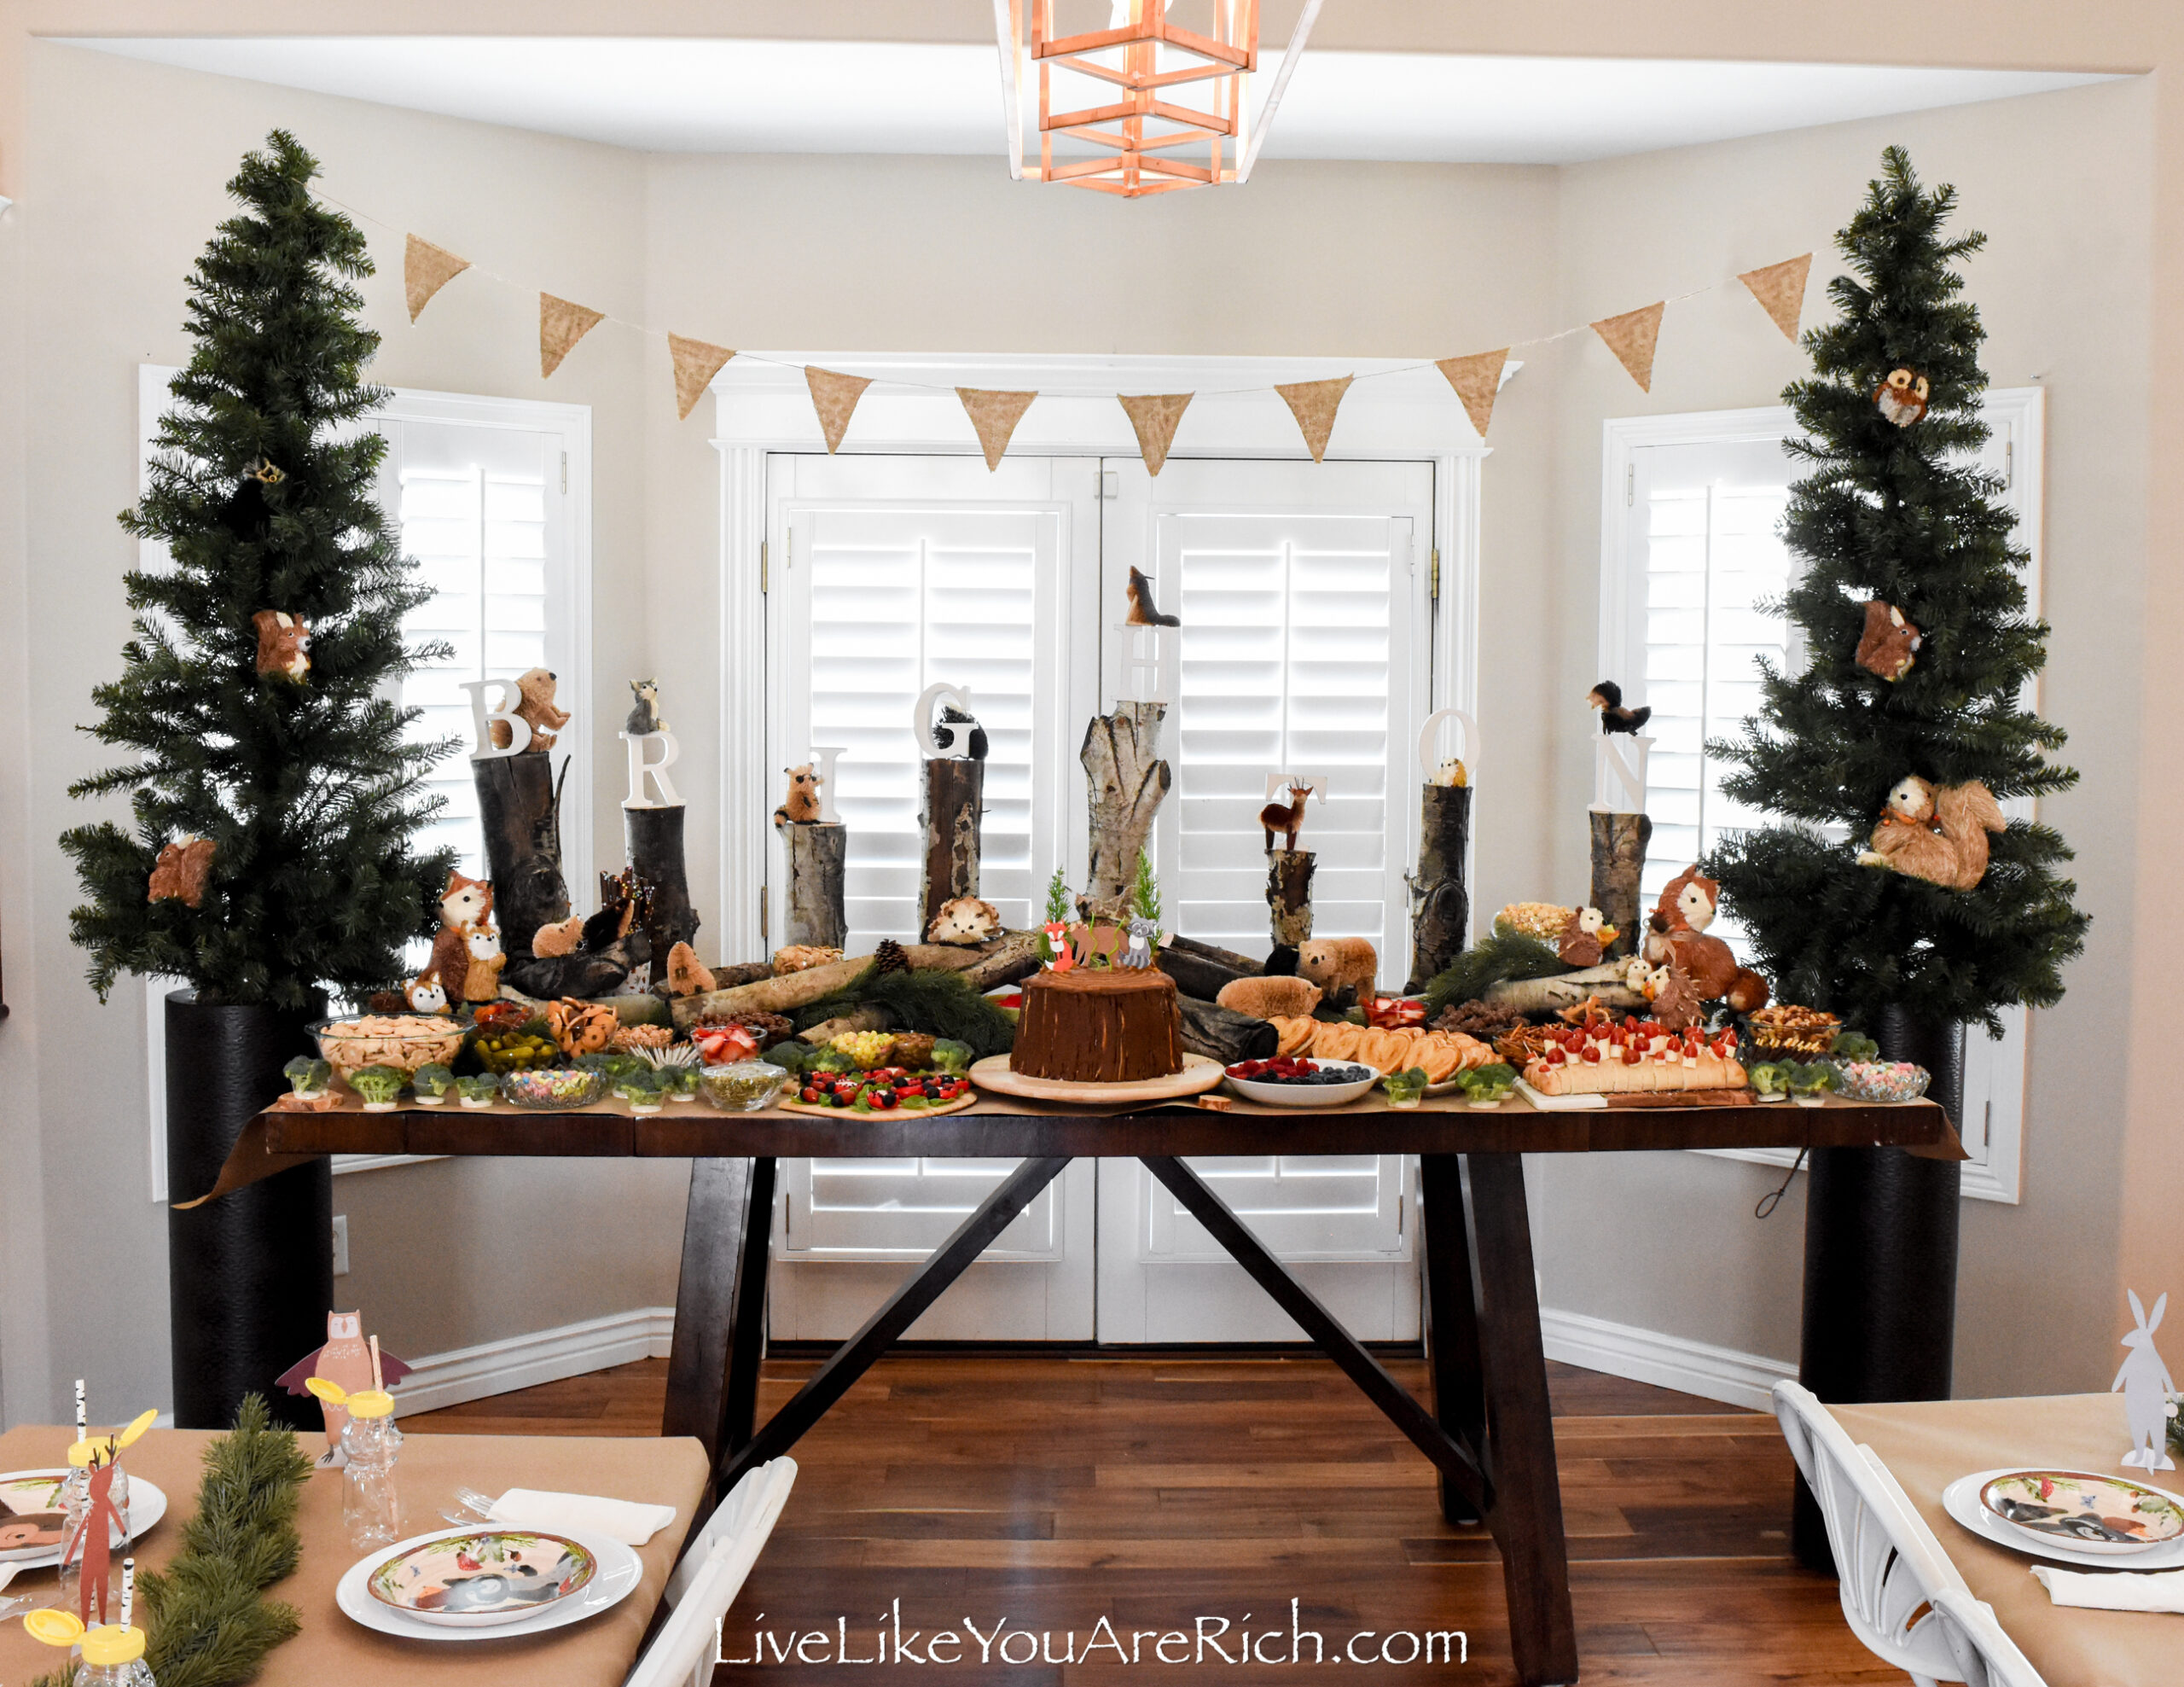
Decoration– Woodland Party Decor
Decoration– Kids’ Woodland Party Tablescape
Decoration- Adult’s Woodland Party Tablescape
Decoration- No-Sew DIY Burlap Banner (coming in the next few days)
Food- Woodland Party Food
Food- Cheese & Tomatoes Mushroom Display for a Woodland Party
Cake- Tree Stump Cake for a Woodland Birthday Party
Cake- Mini Burlap Banner for a Cake (coming in the next few days)
Food- Edible Ladybugs for a Woodland Party
Food- Easy Nilla Wafer Acorns
Research I did for ideas- Darling Woodland party ideas including ideas I didn’t have the time or budget for (coming in the next few days)
Happy Partying!

For other ‘rich living’ tips please subscribe, like me on Facebook, and follow me on Pinterest and Instagram.
Sweet E's Bake Shop
Tuesday 6th of August 2024
Adorable tree stump cake idea! Perfect for woodland-themed parties. The bark texture looks incredibly realistic.