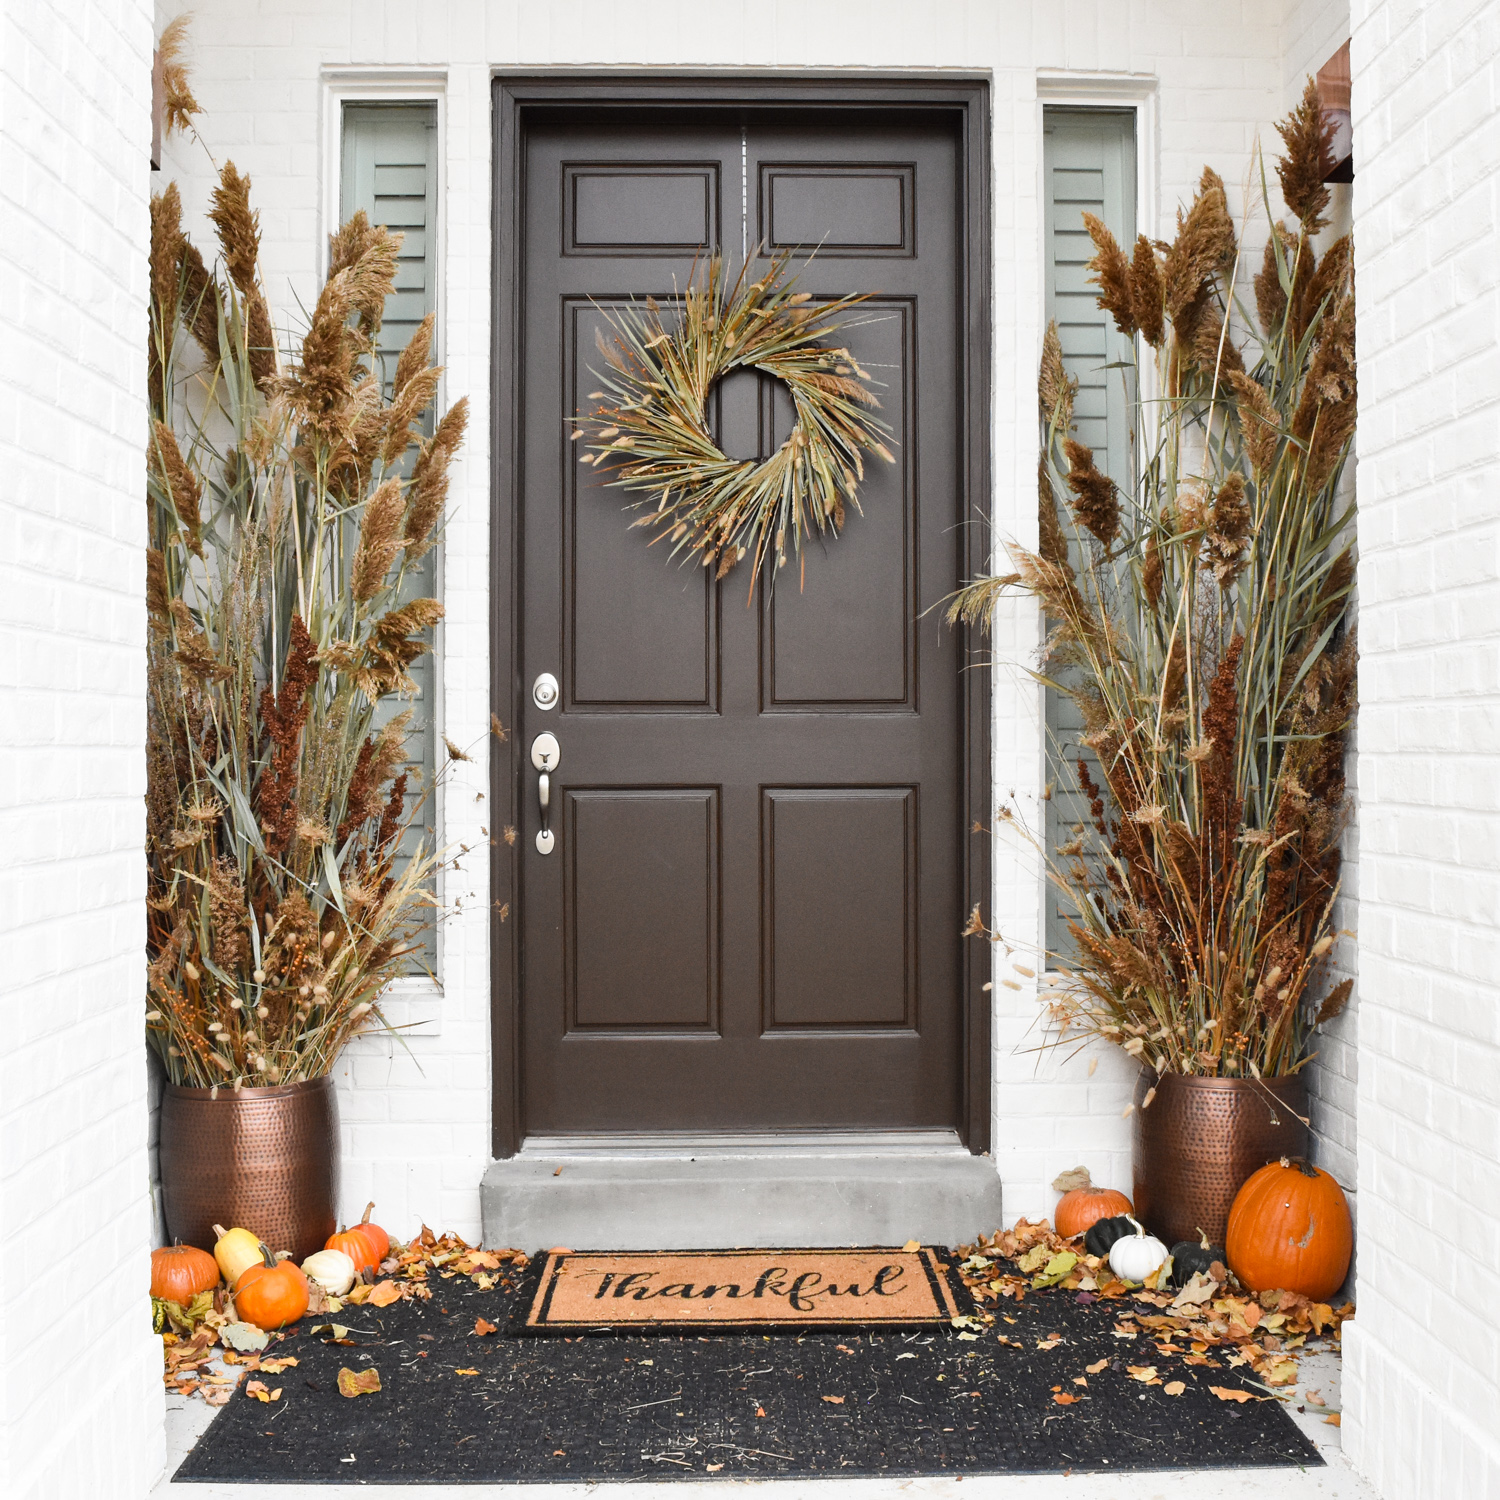
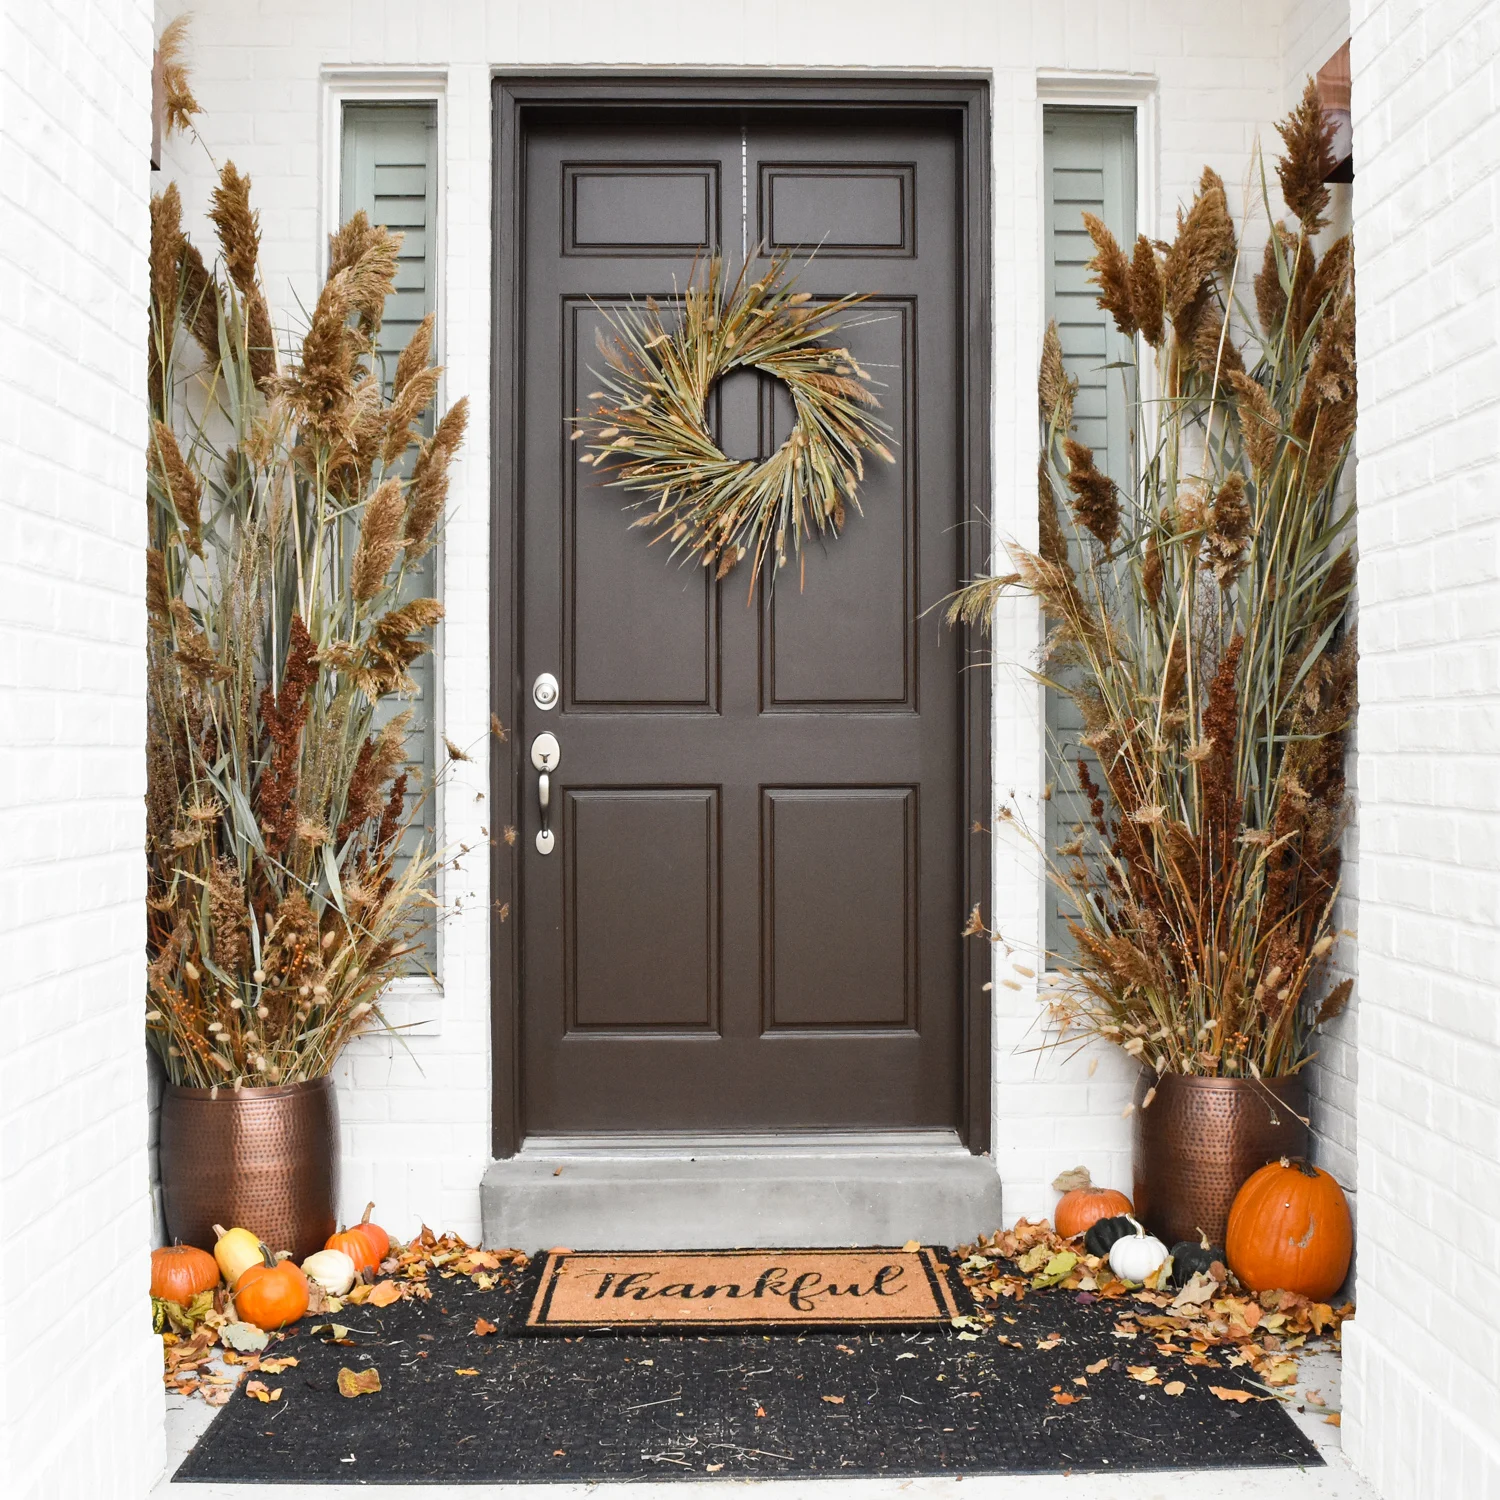
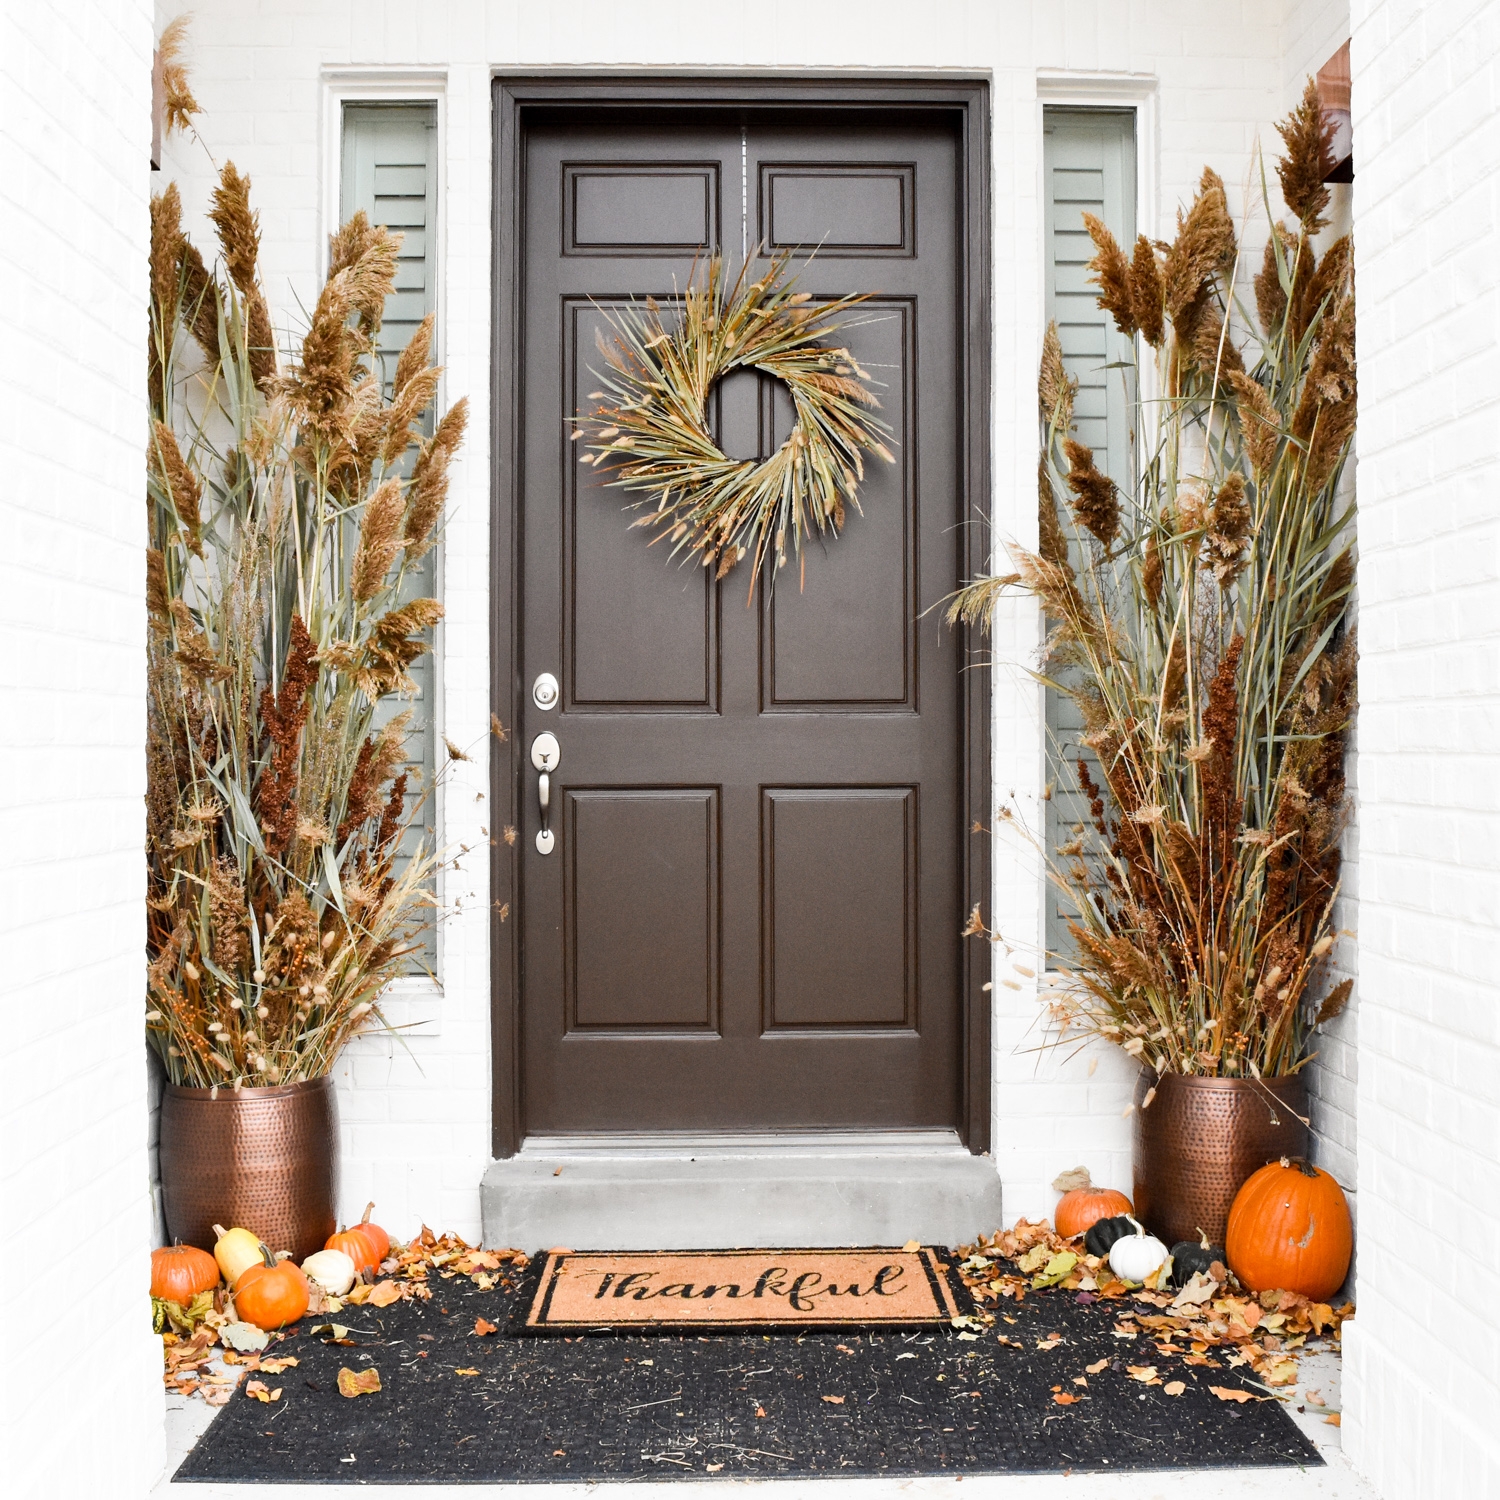
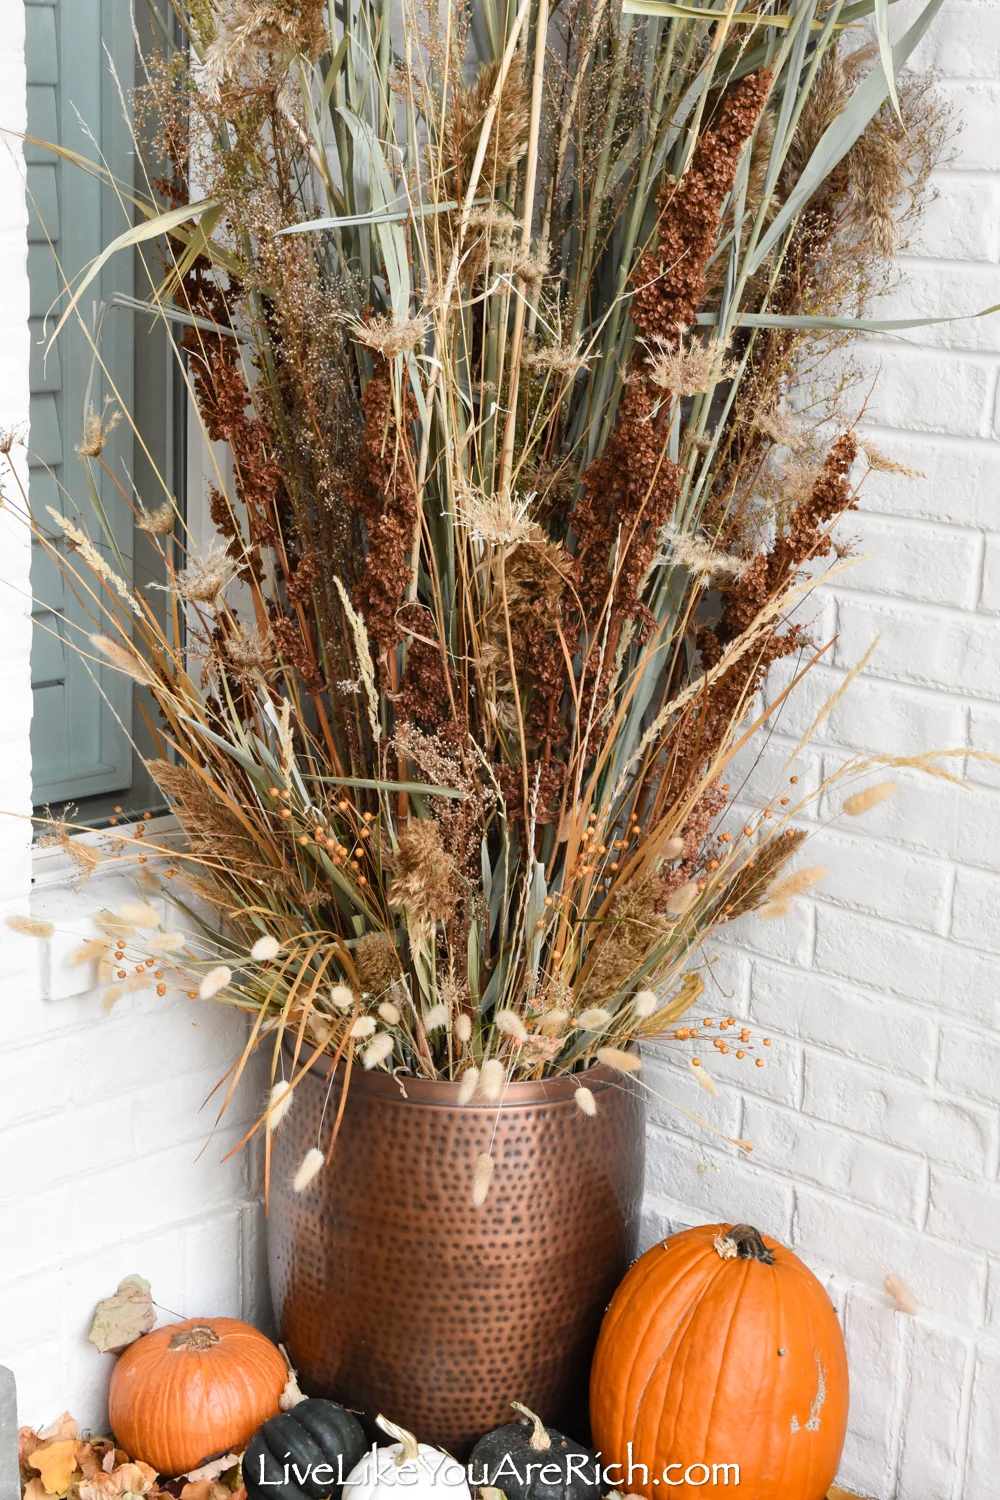
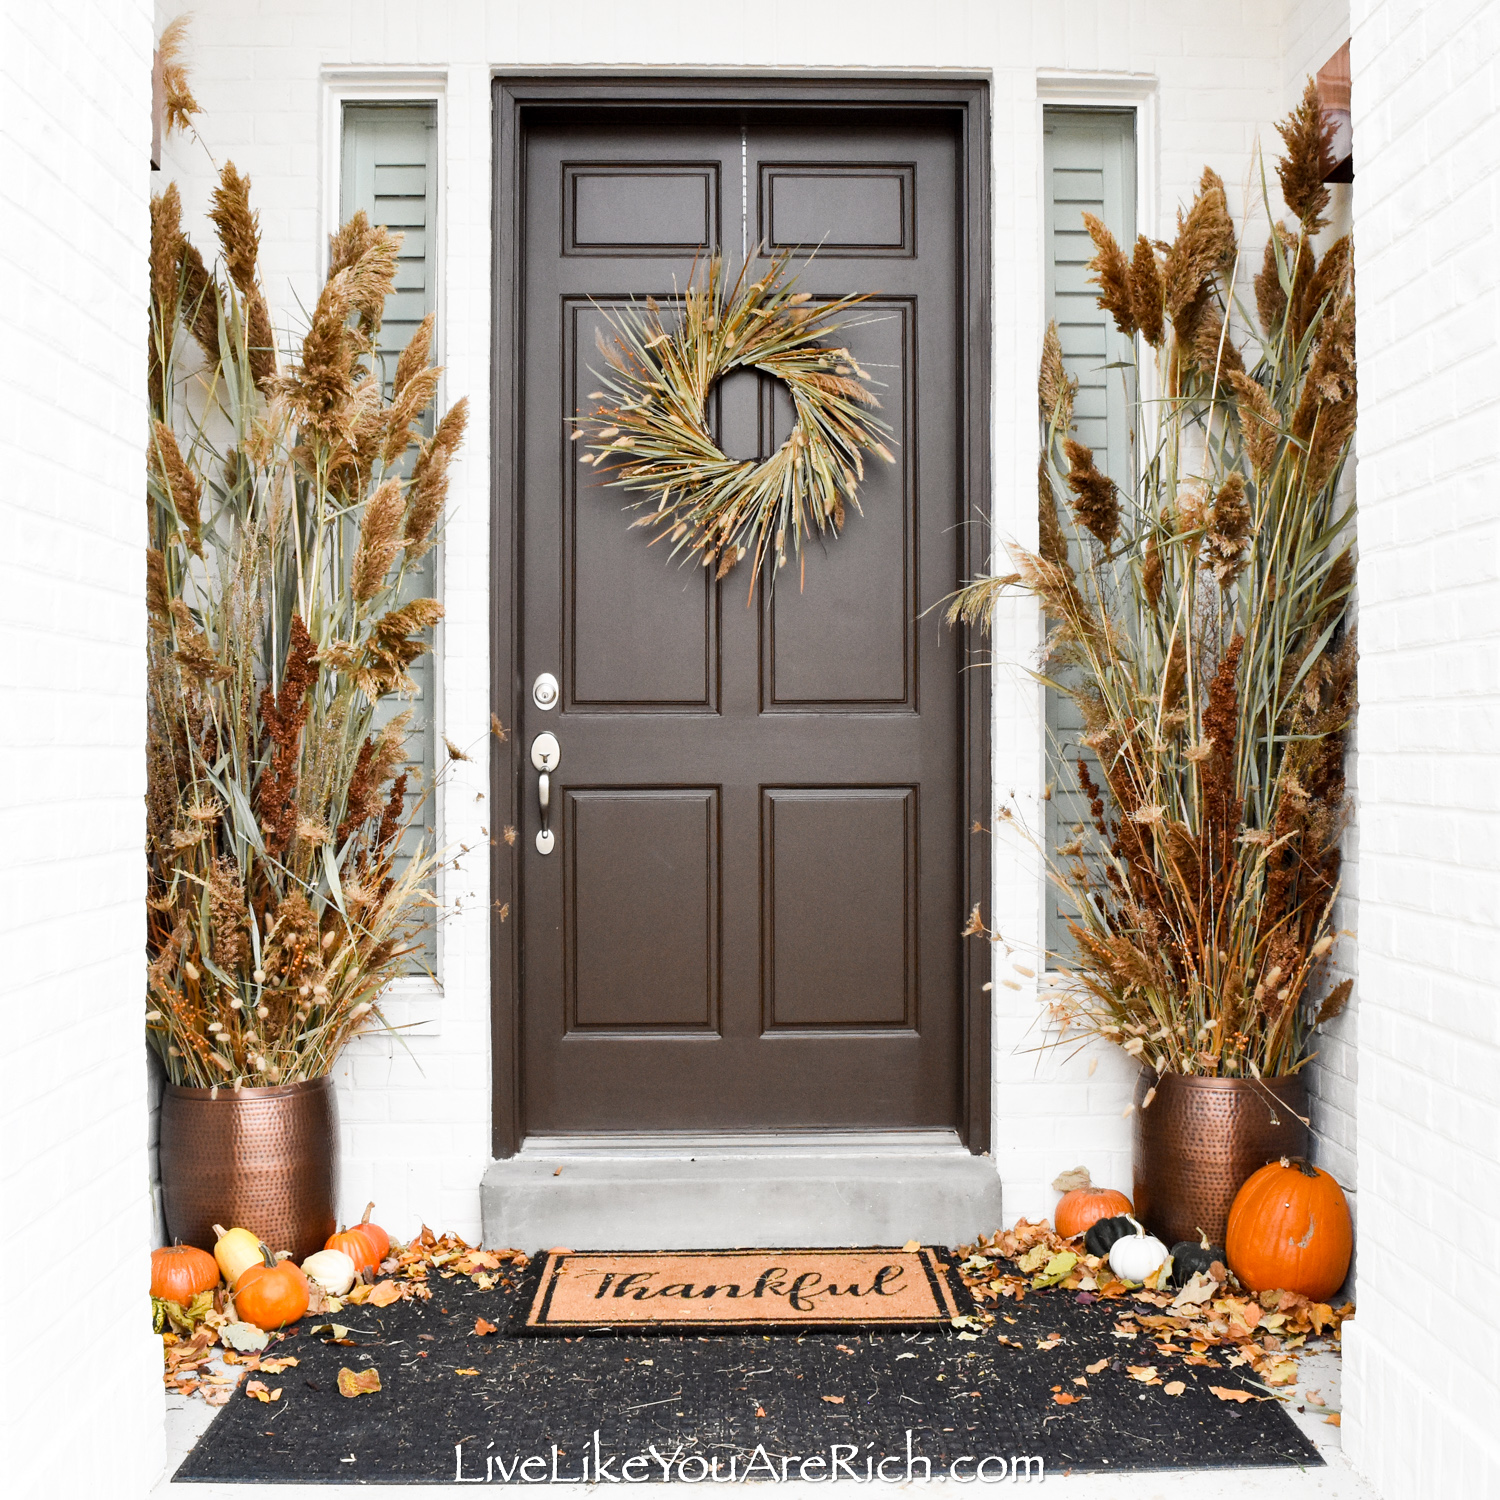
These Tall Autumn Arrangements were very inexpensive and fun to create.

I love fall colors! From harvest colors to the beautiful reds, pinks, oranges, and yellows of changing leaves; the world is such a gorgeous pallet of colors before it changes to the relative contrast of winter.
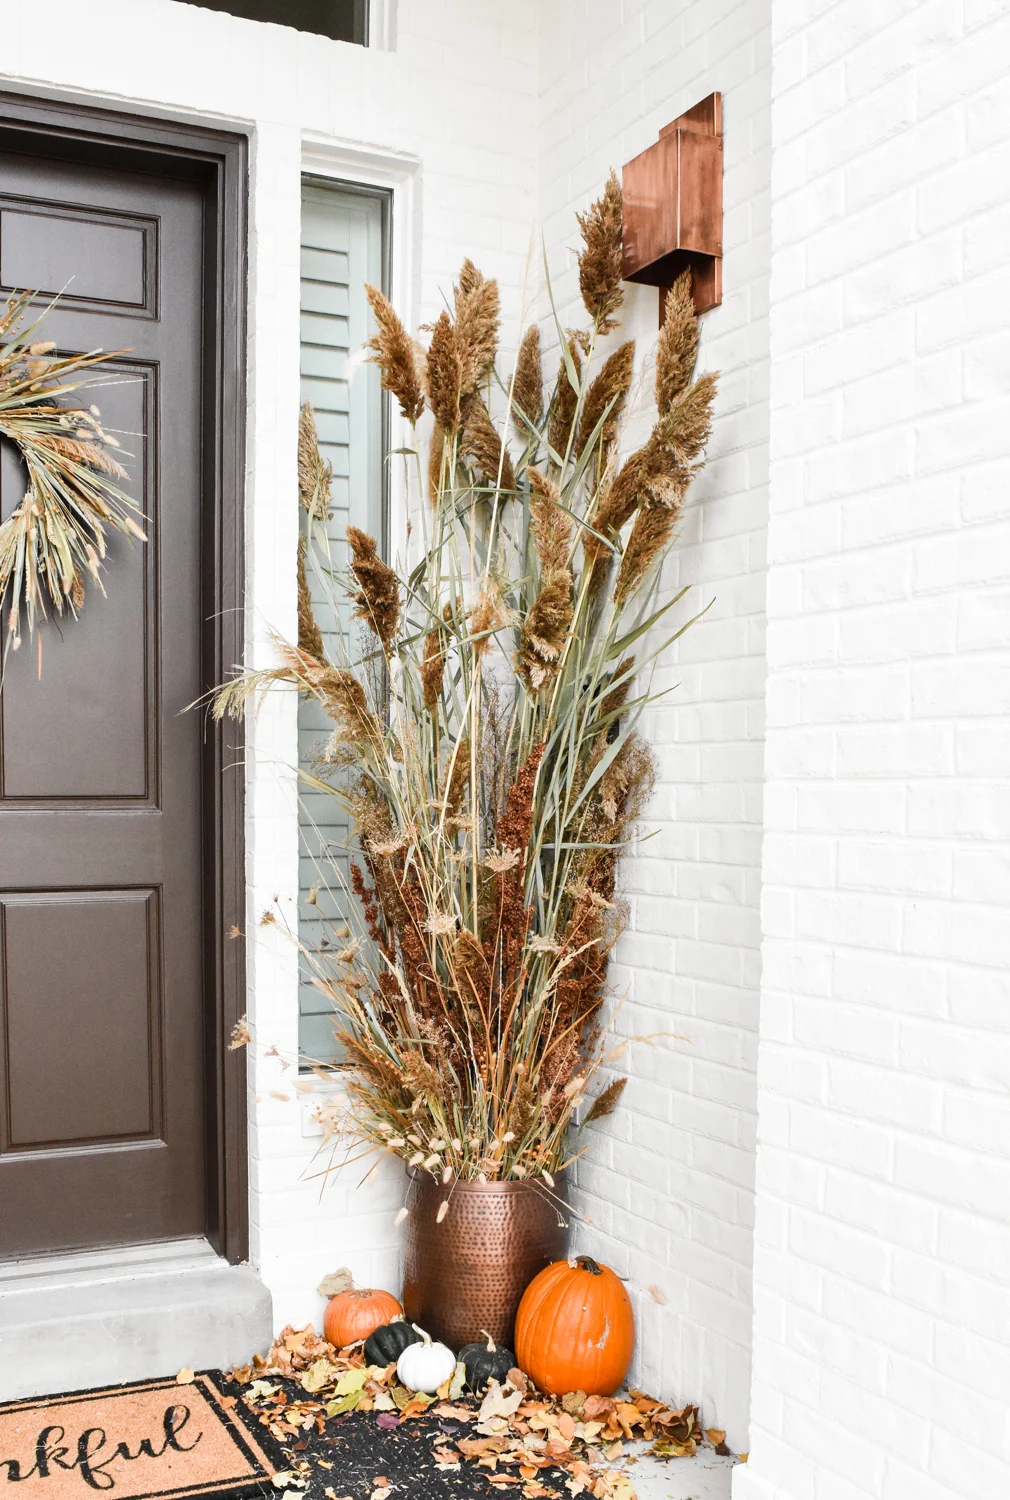
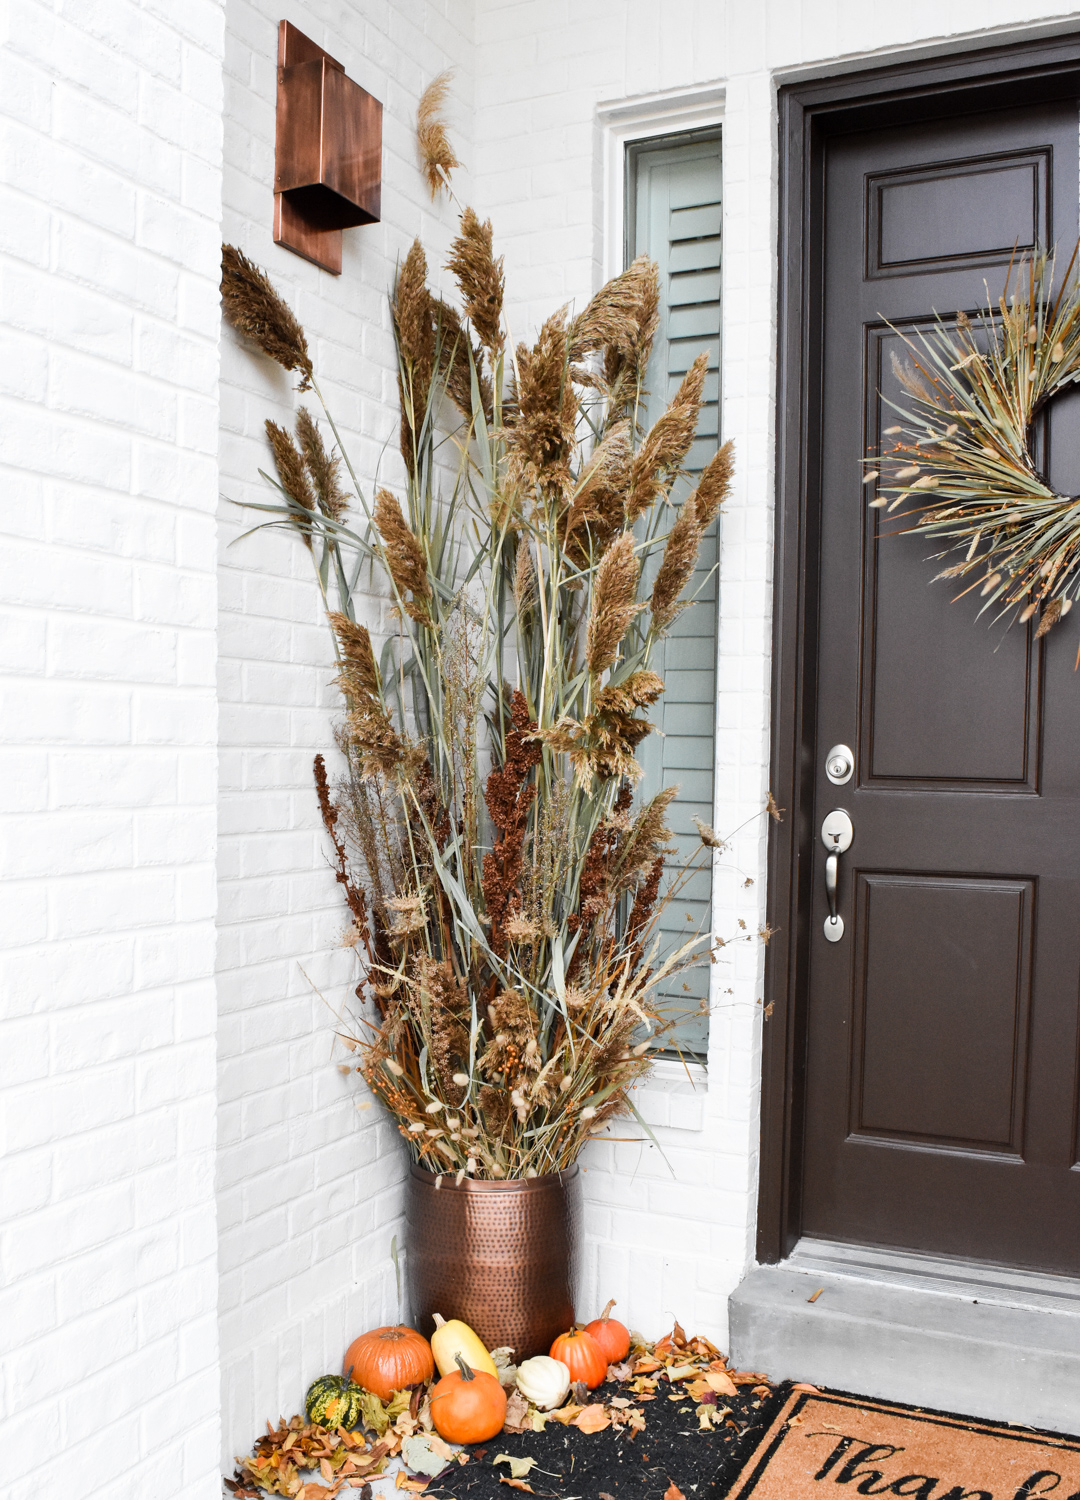
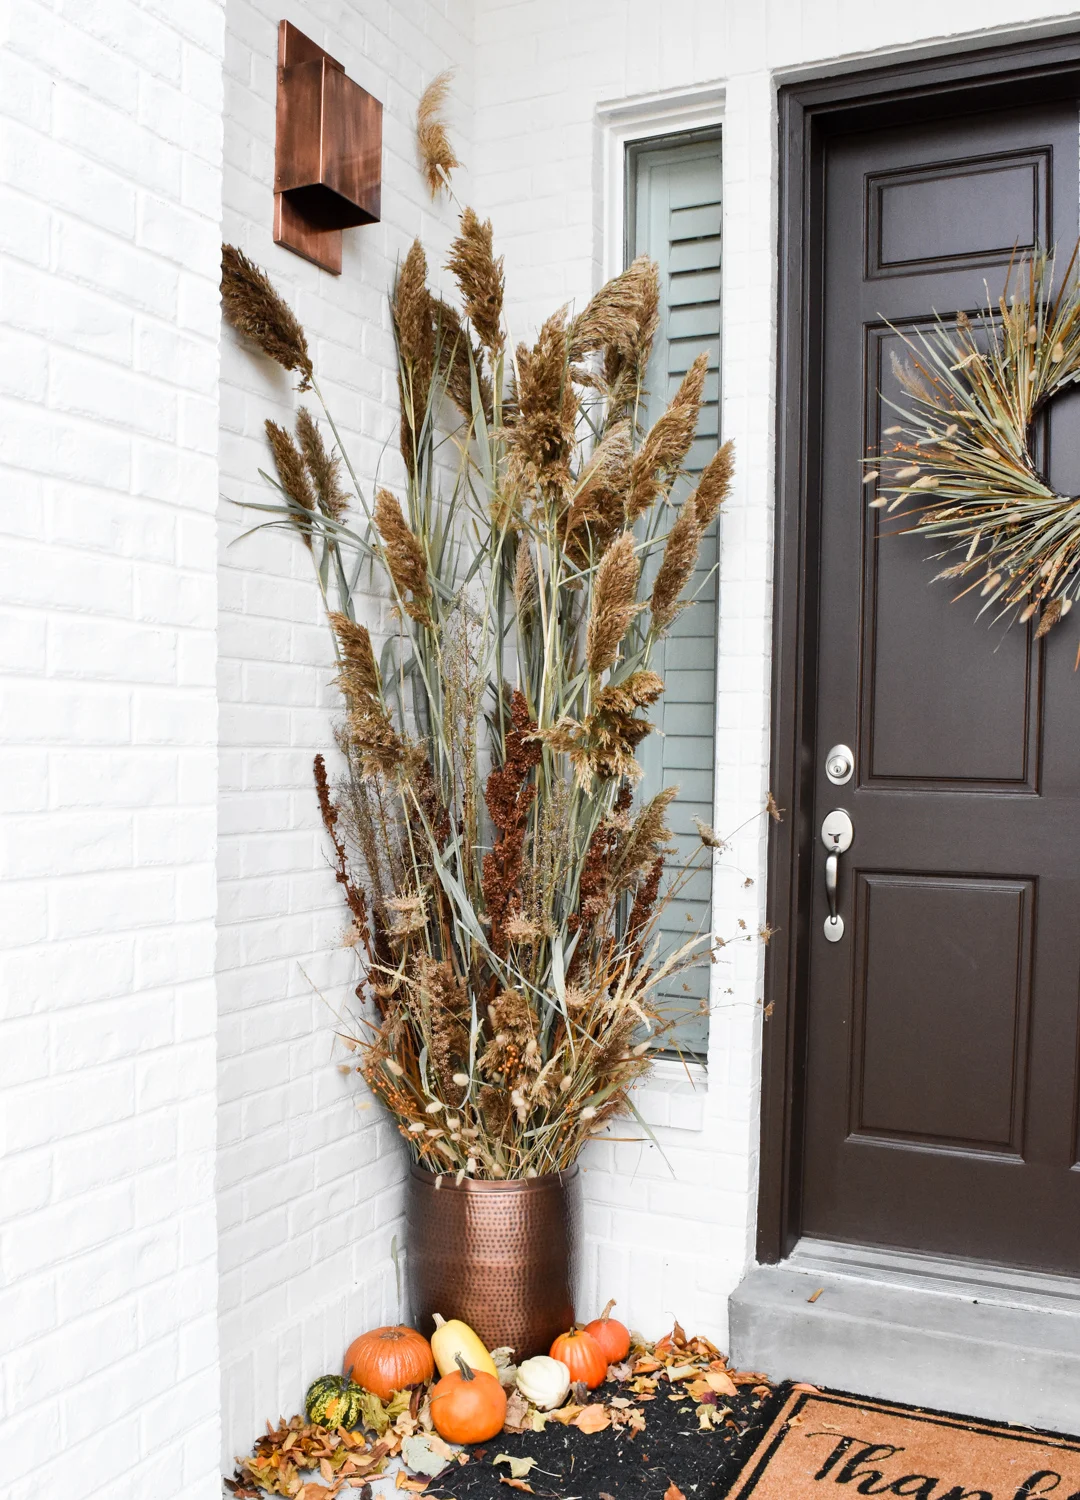
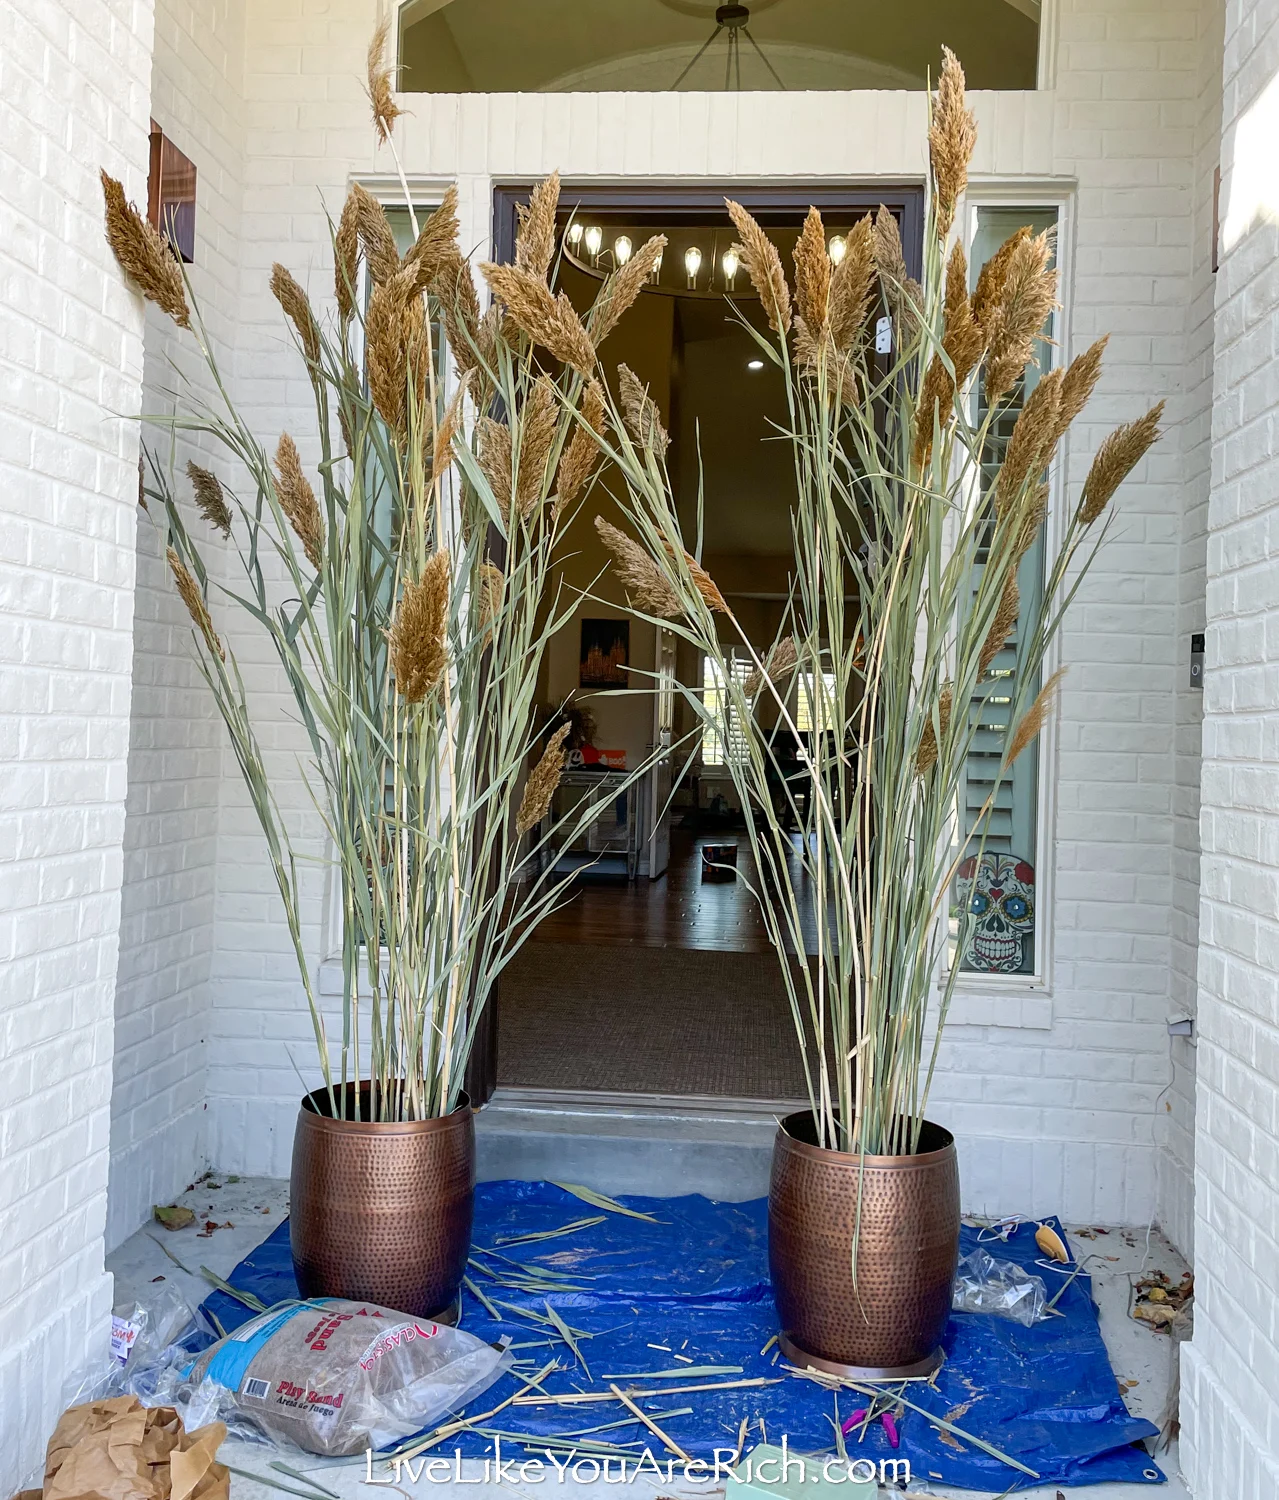
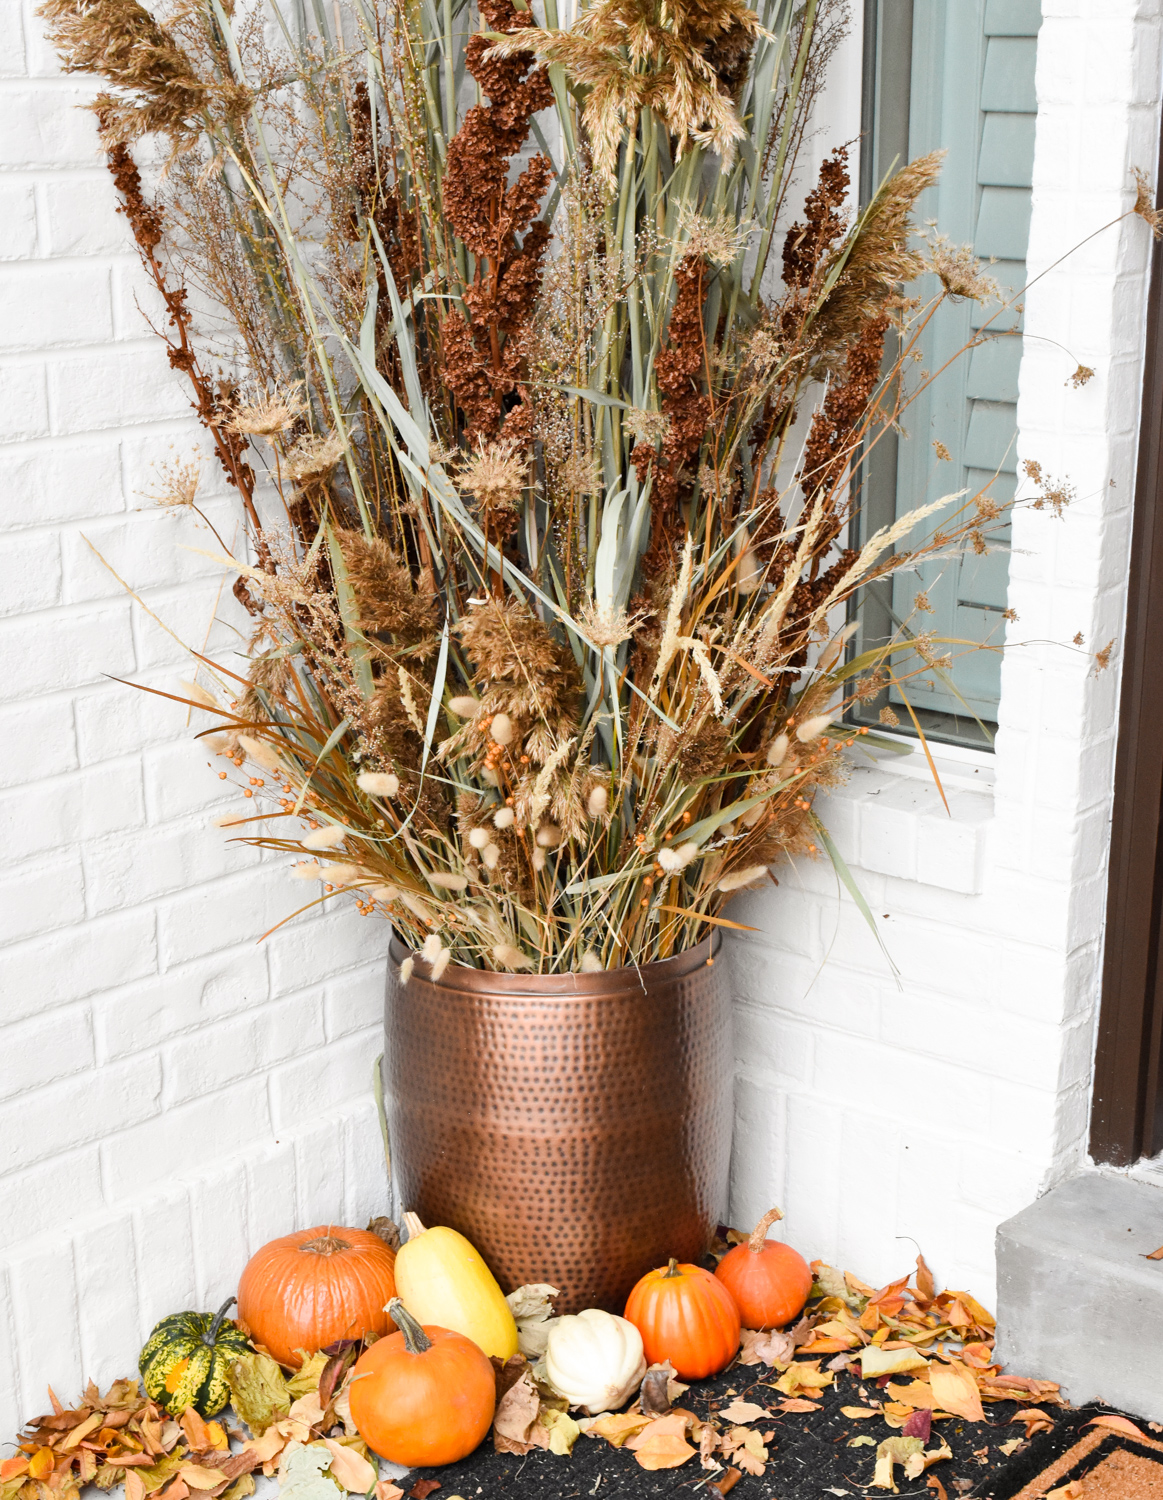
I love the way these arrangements turned out; the colors, height, and texture really make me happy.
I have gotten a lot of compliments on them as well.

Even better, they cost less than $15 each to make!

To make these fall front door tall autumn arrangements I used plants and flowers that I picked myself or had in my fall decor bin.

I went to Utah Lake to pick most of what I used. This was the day I went to pick the plants.

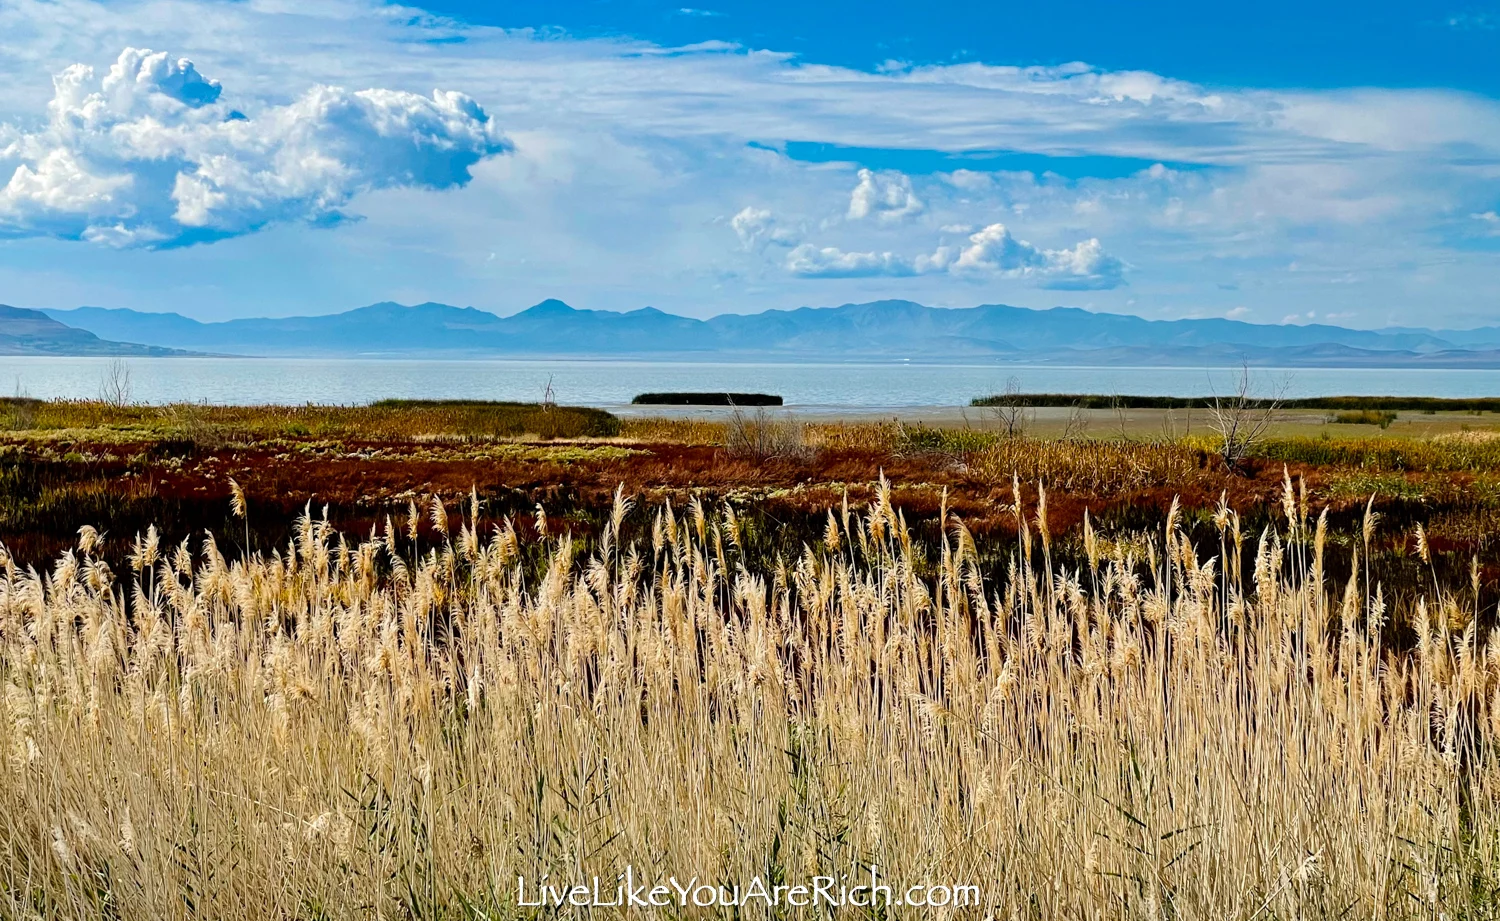
It was so gorgeous, I had to take and post a few photographs.


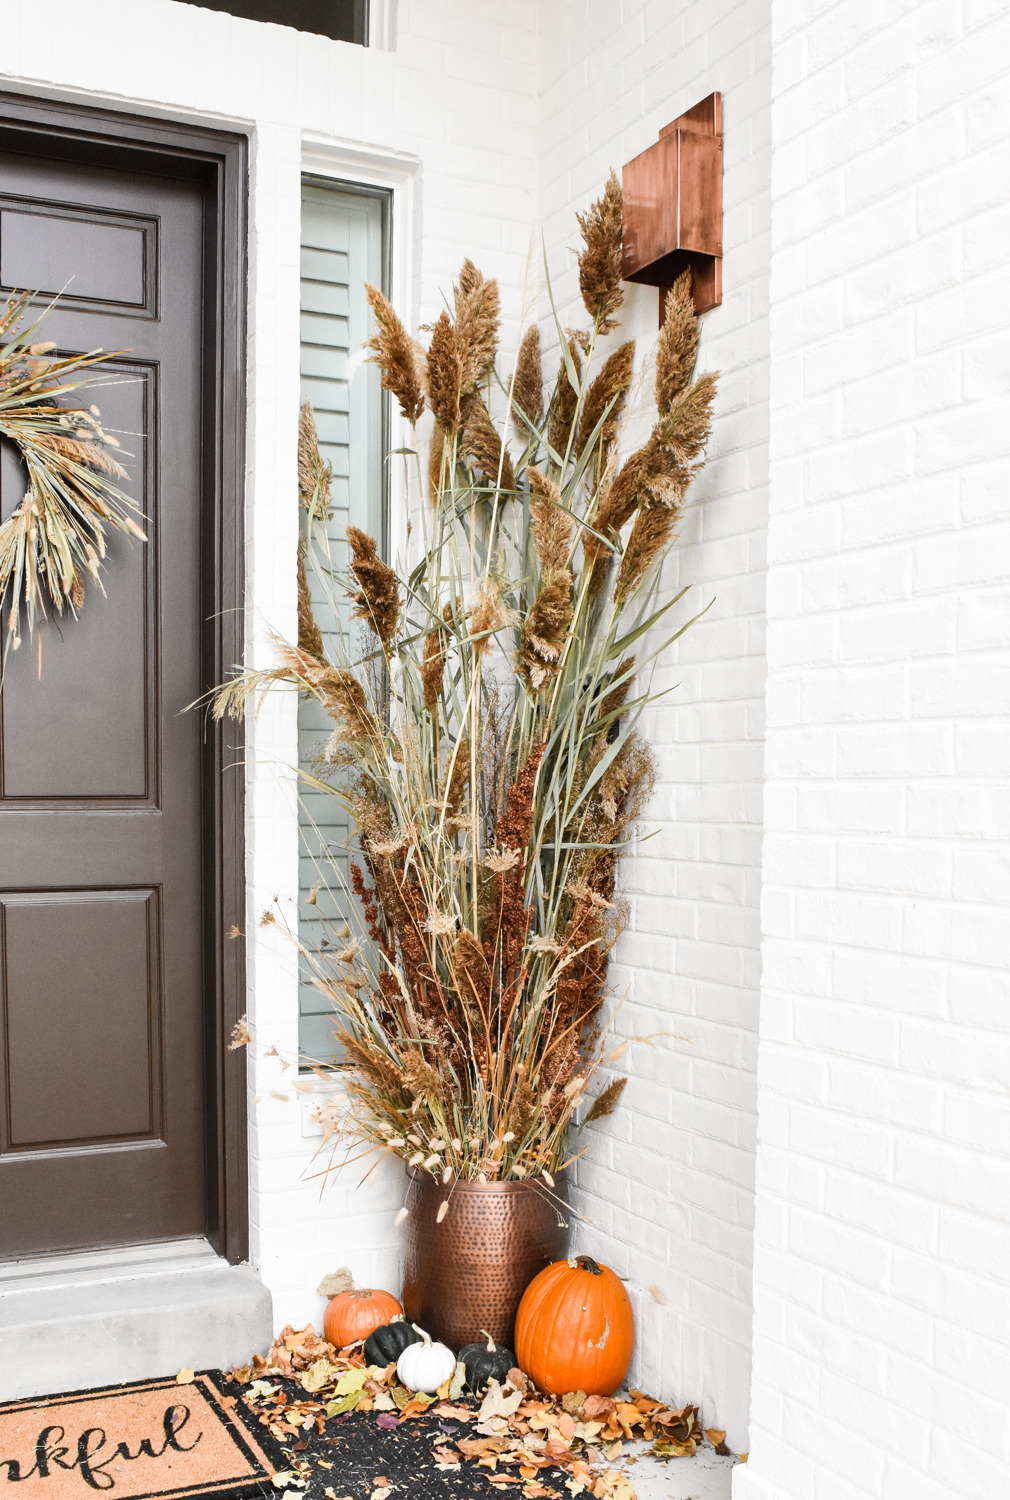
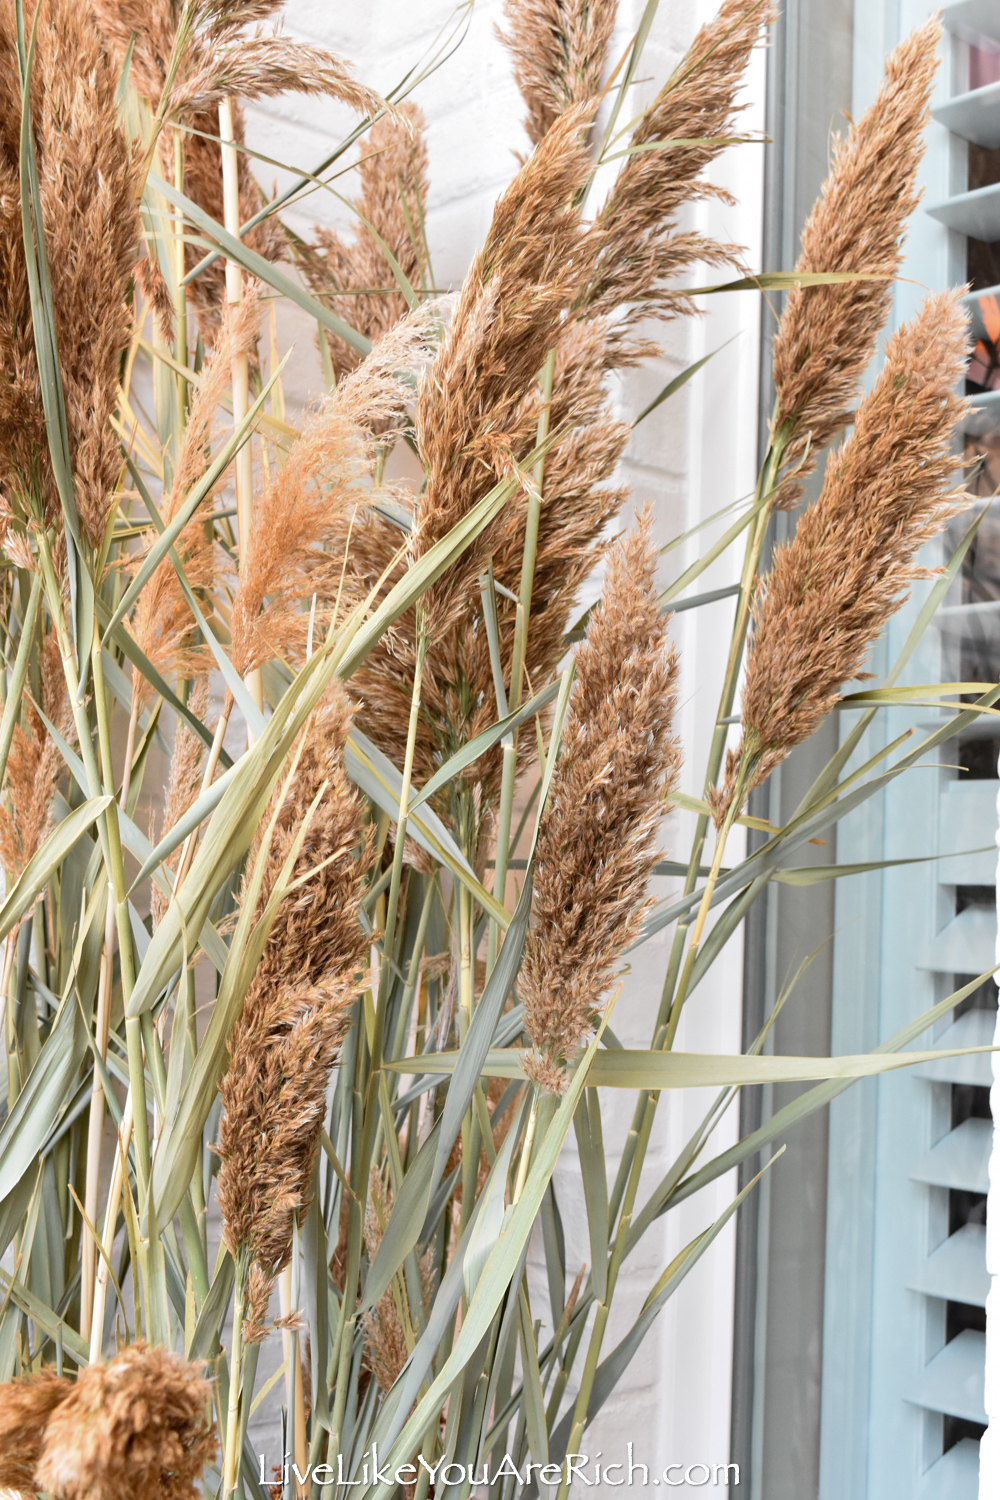
I brought home lots of giant reads, fescue, grass, and other long grasses and plants that I do not know the names of.
I picked most of the giant reeds at Utah lake when the leaves/stalks were green. Some had already aged yellow/tan.

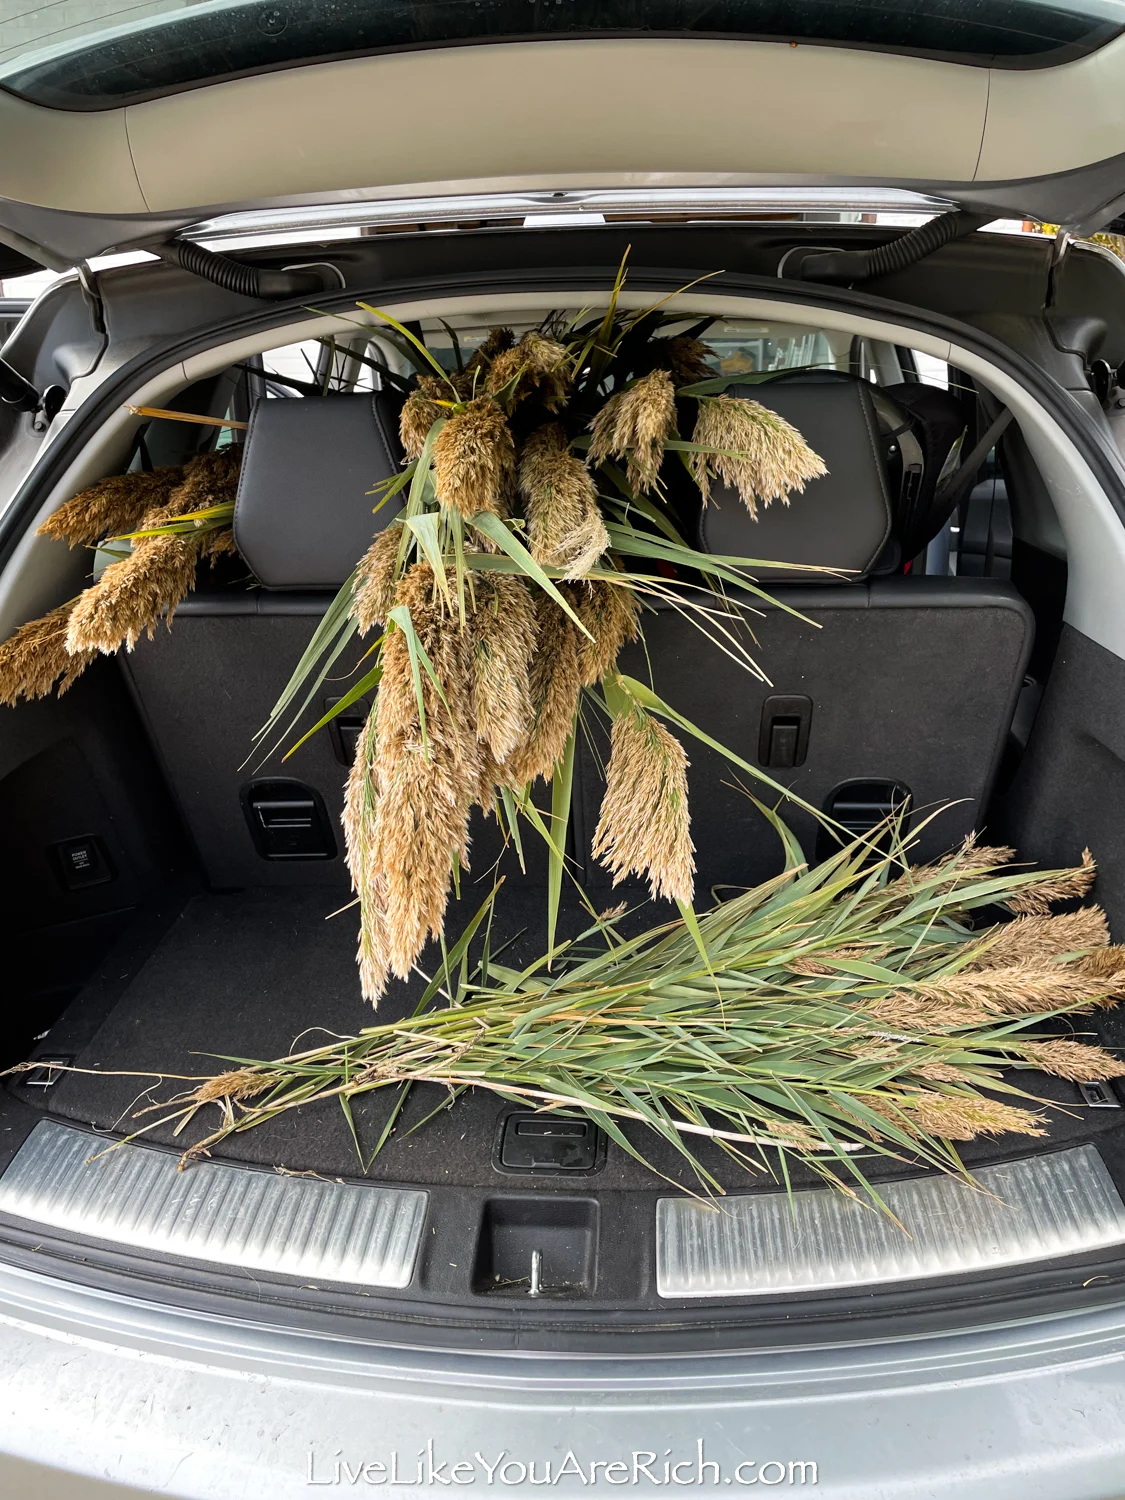
I picked about 35 long and 15 short reeds for these.

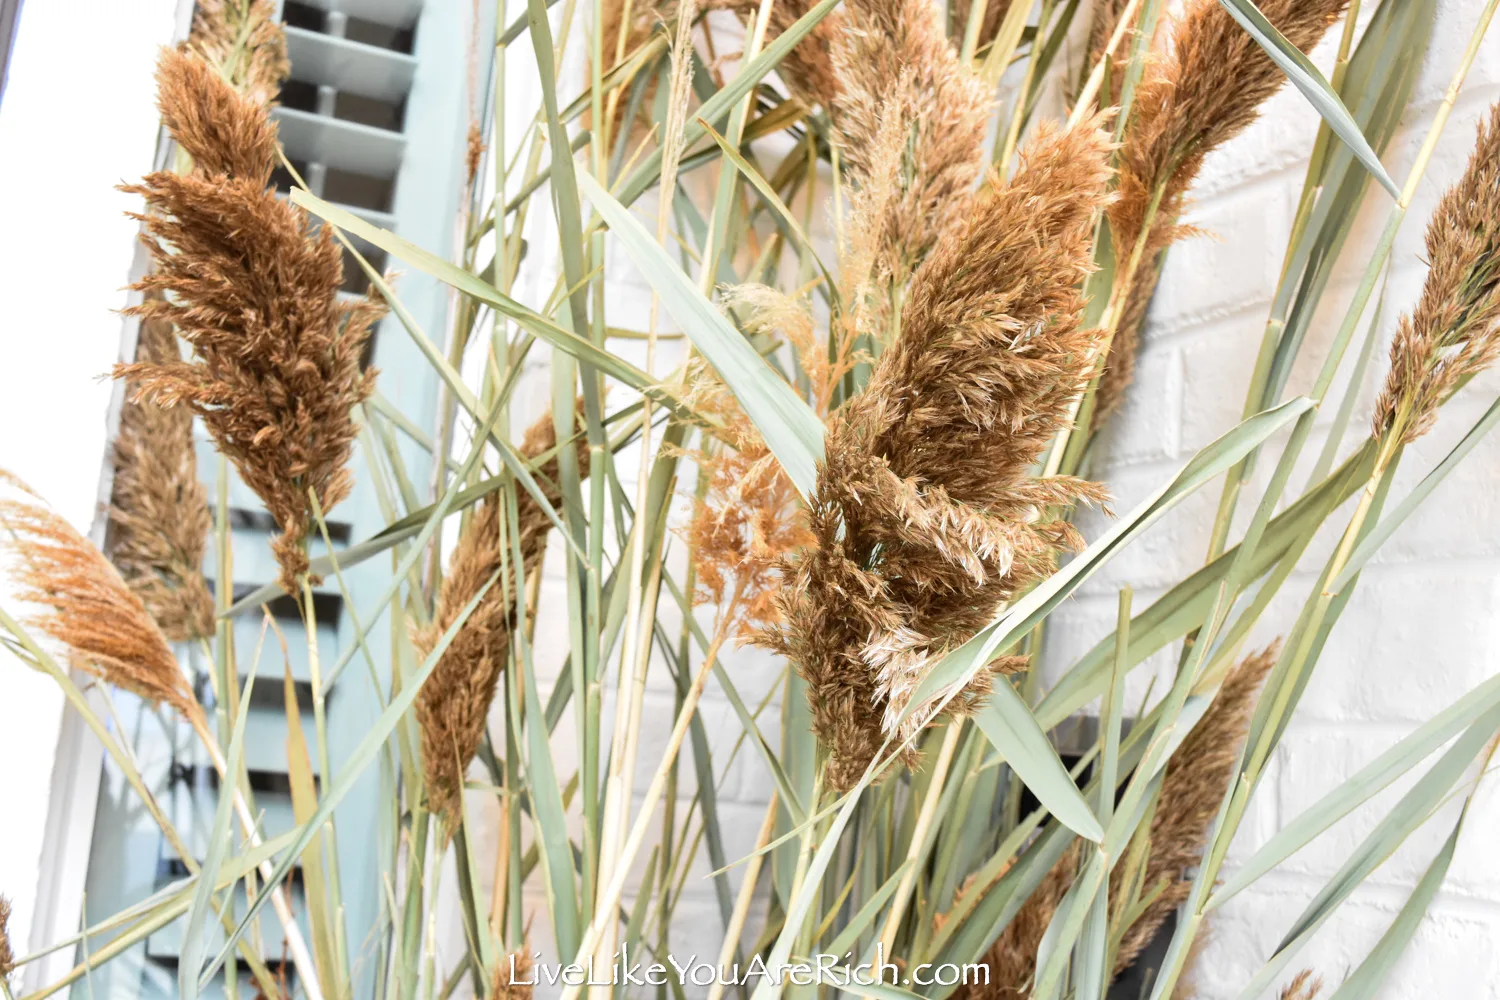
I used hair spray to spray the fragile blooms to keep them together while they dried for a few days.


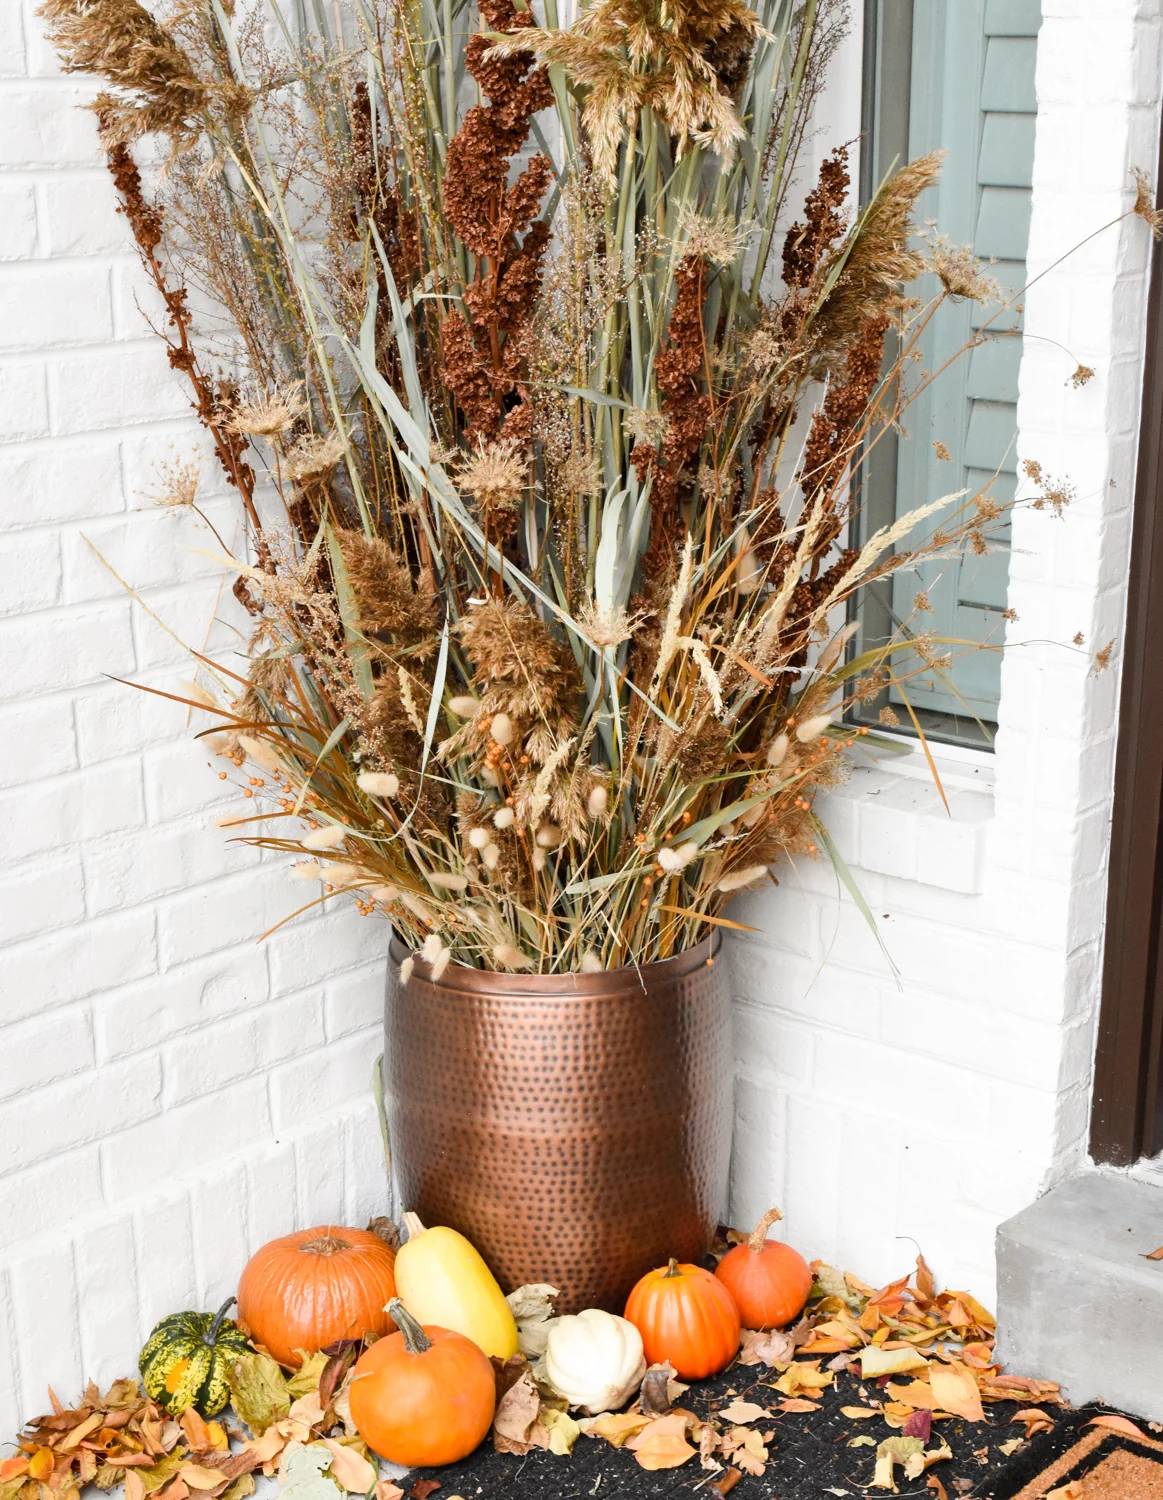
I had the copper planters/drums. I bought them on local classifieds 4 years ago for $20 each.
Since I have had these vases/planters for so long, I am not including them in the total cost.
If you do not have large planters, you’ll want to add this to your estimated expenses. Tip- buying used planters can save a lot!
Supply List for Autumn Tall Planter Arrangements
A lot of these plants and grasses I used can be found at craft stores or on Amazon if you do not have access to them in the wild.
- Tall Fescue
- Curly Dock
- Giant Reed- I picked about 35 really tall and 15 shorter ones
- Tall grass (brown and tan)
- Bunny Tails
- mini berries autumn orange (similar here)
- Various other dried plants I found in my backyard, Utah Lake, and on the side of public trails.
- floral foam I used 12- 2.6″x3.4″x7.8″ blocks in each planter. I bought these on sale with a coupon from Michaels—total $8.00 for 12.
- 1 bag of play sand for each large planter ($4.00 at Home Depot)
- 2 copper planters or big vases/pots (I had these)
- Tarp (optional). This helped with clean up and came out of my 72 hour kit for the day.
- gardening shears
- work gloves (optional)
- black door mat
Instructions on How to Make these Autumn Tall Planter Arrangements
Read below or watch this video tutorial
- Pick a variety of plants, berries, fall flowers, and grasses. Tip- Take gardening shears with you.
- Spray blooms with hairspray.
- Set anything that needs to dry to the side in a non-humid area for a few days to dry out.
- For assembly, you can put a tarp down if desired. It helped a lot with clean up. Gather supplies (see supply list).
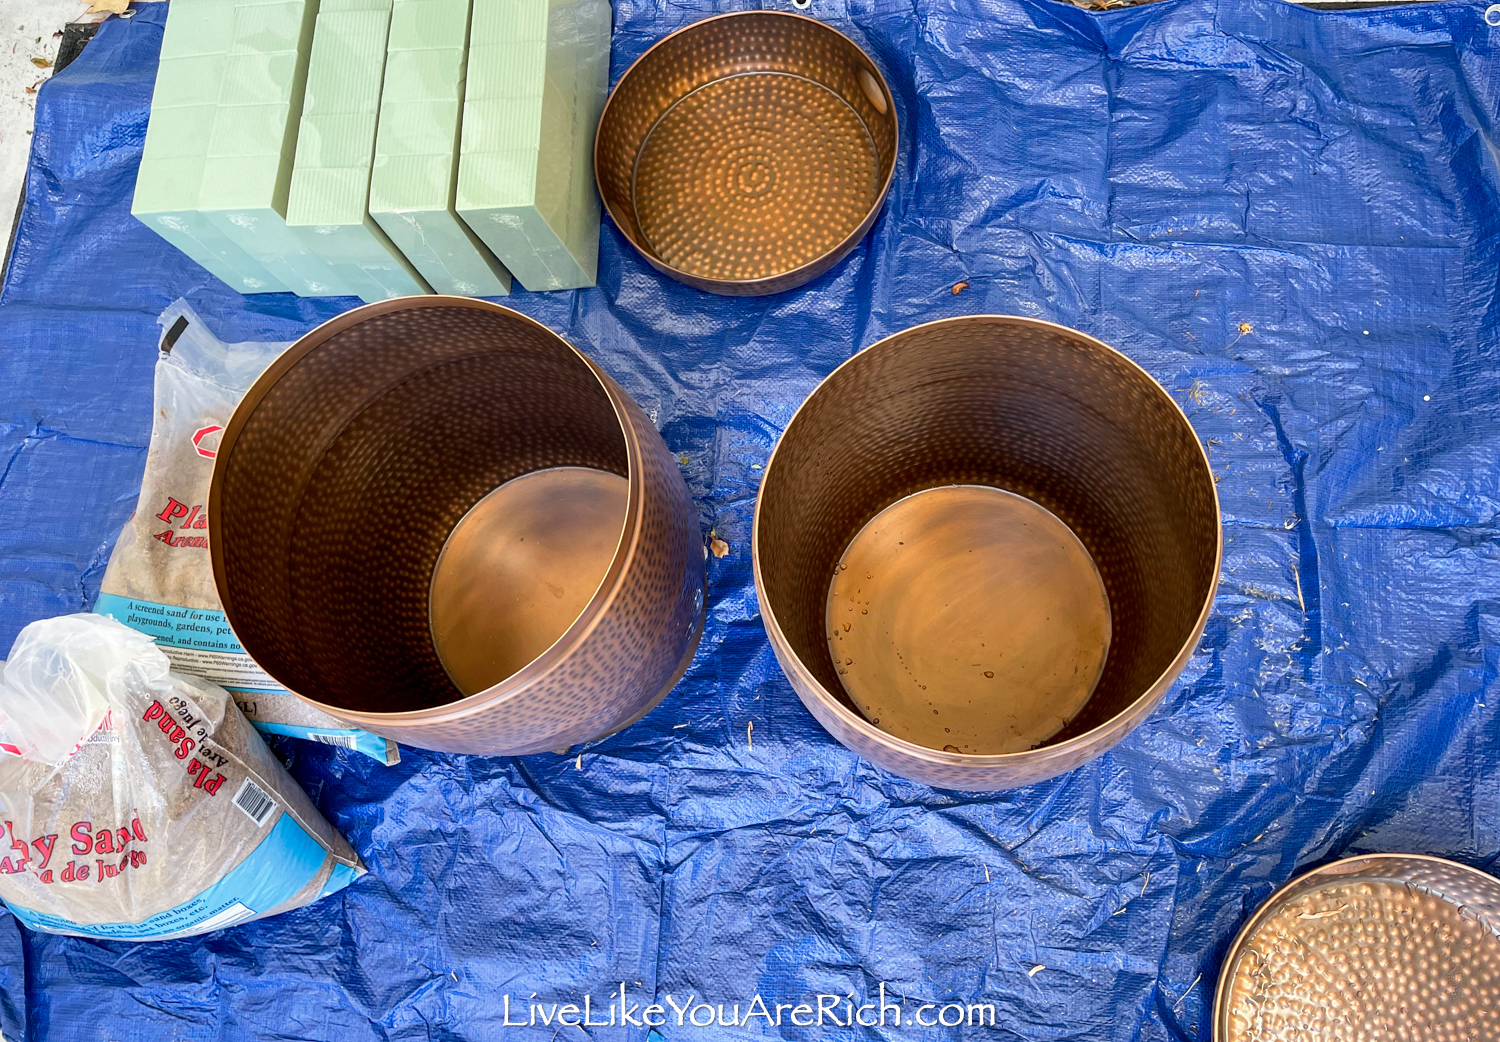
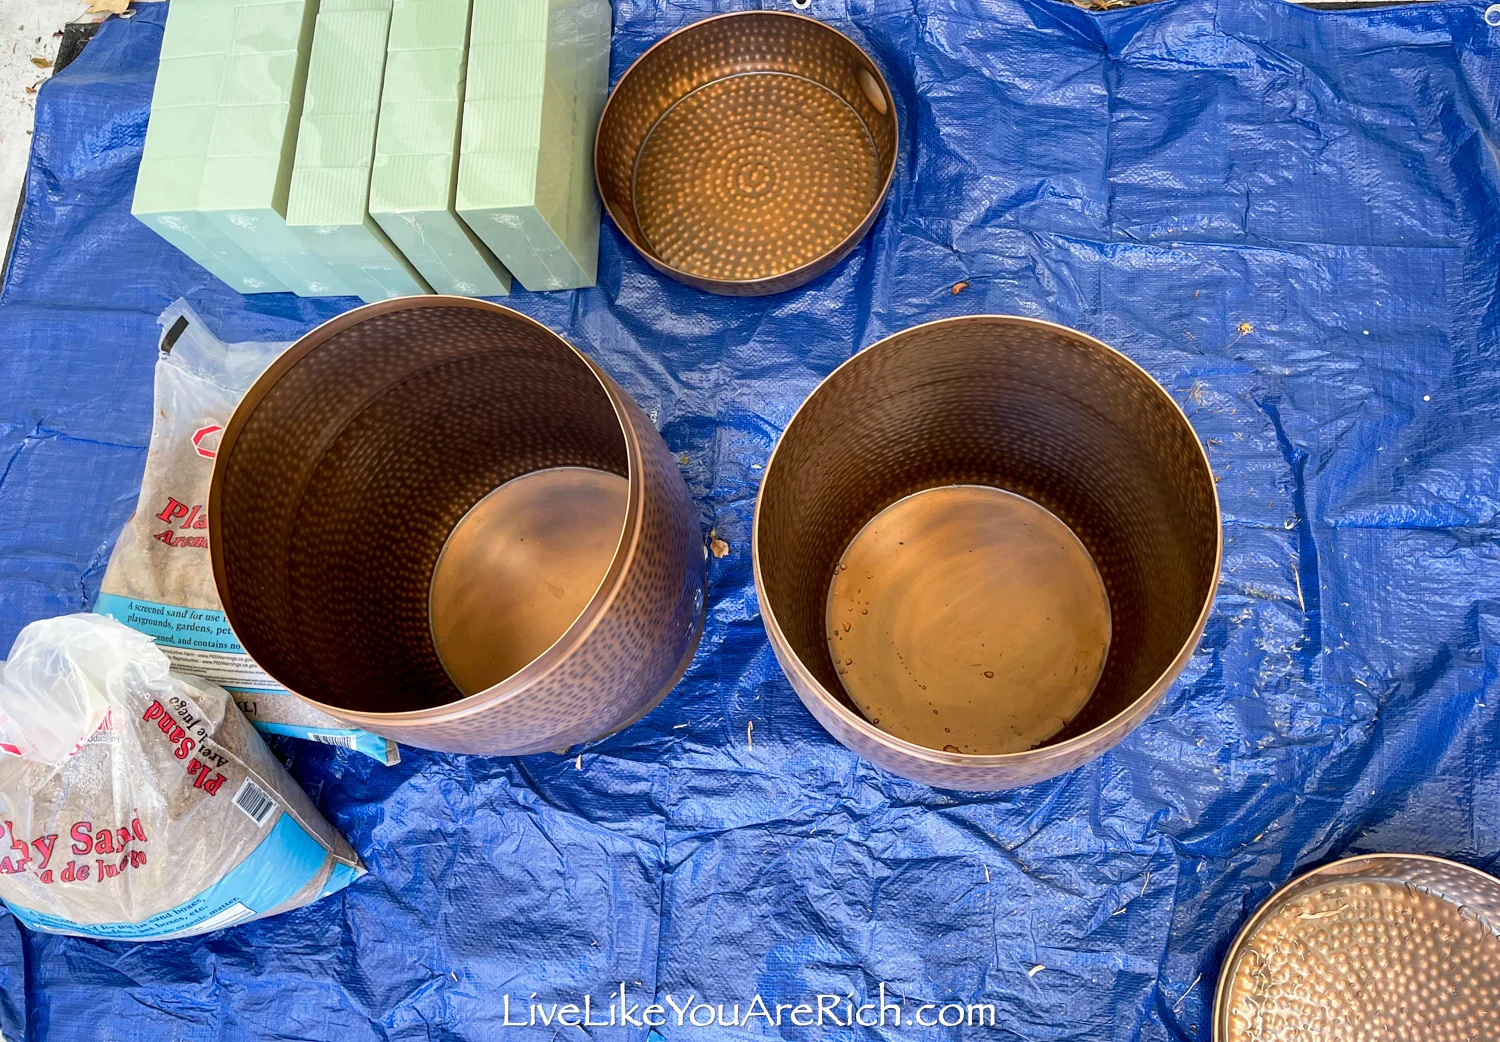
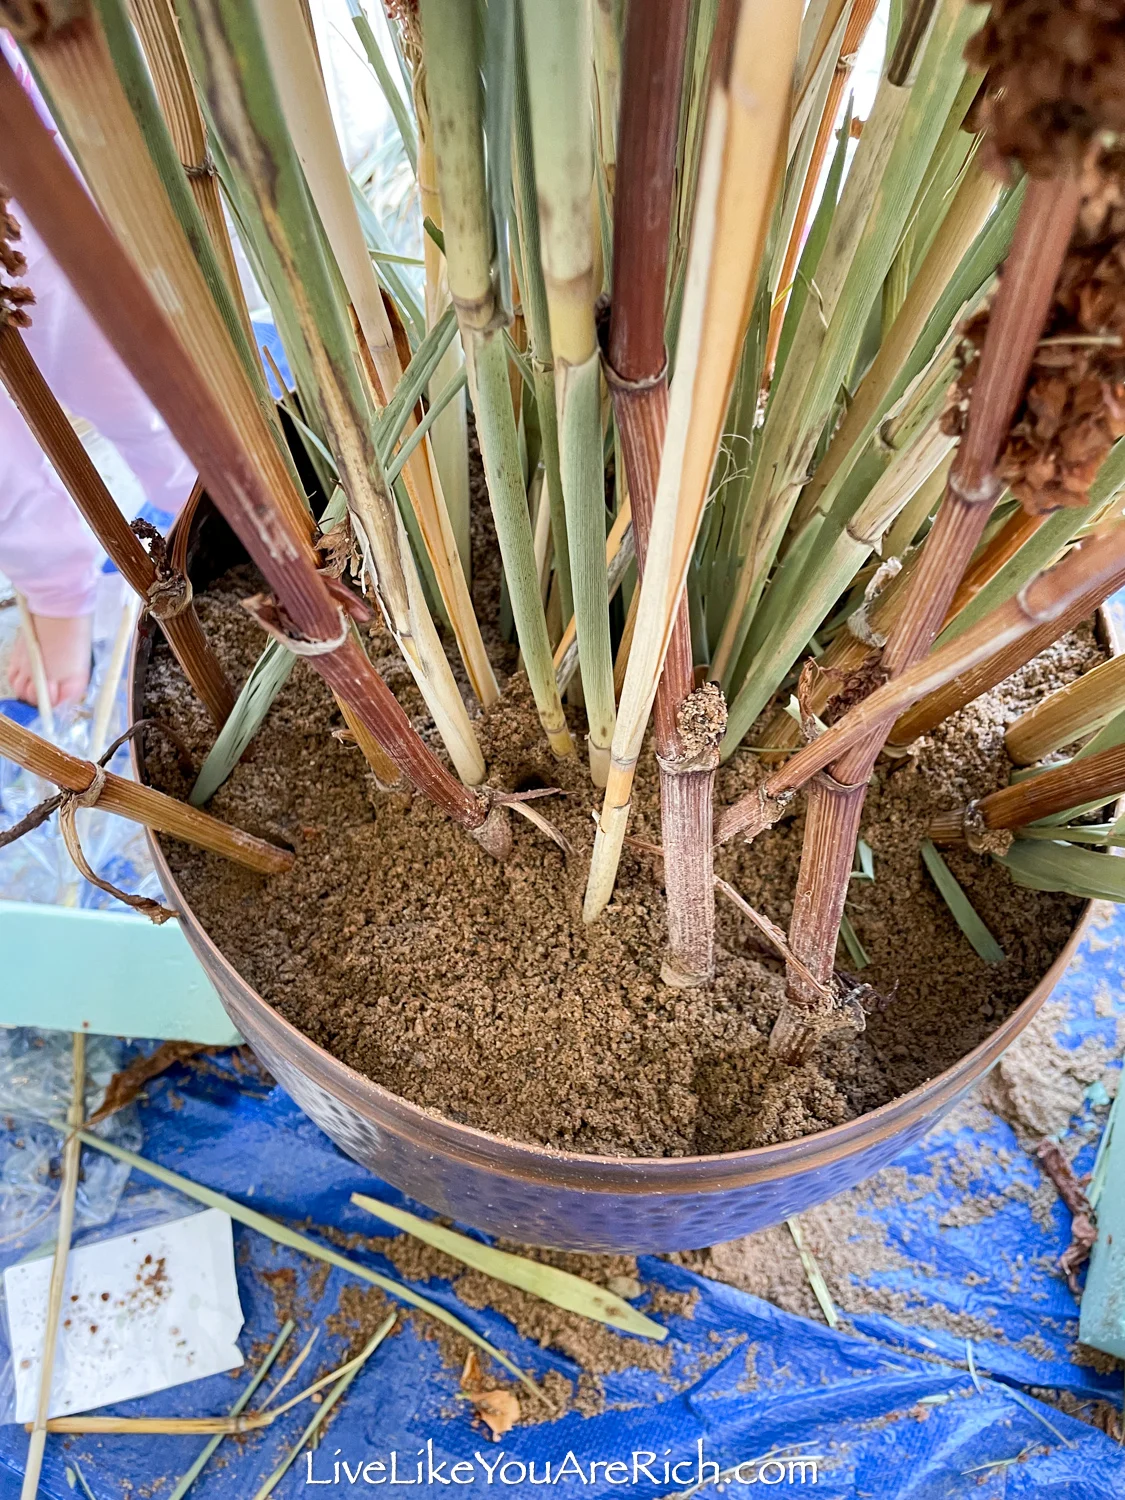
- Fit foam blocks into planters about 2/3rds -or more- high.


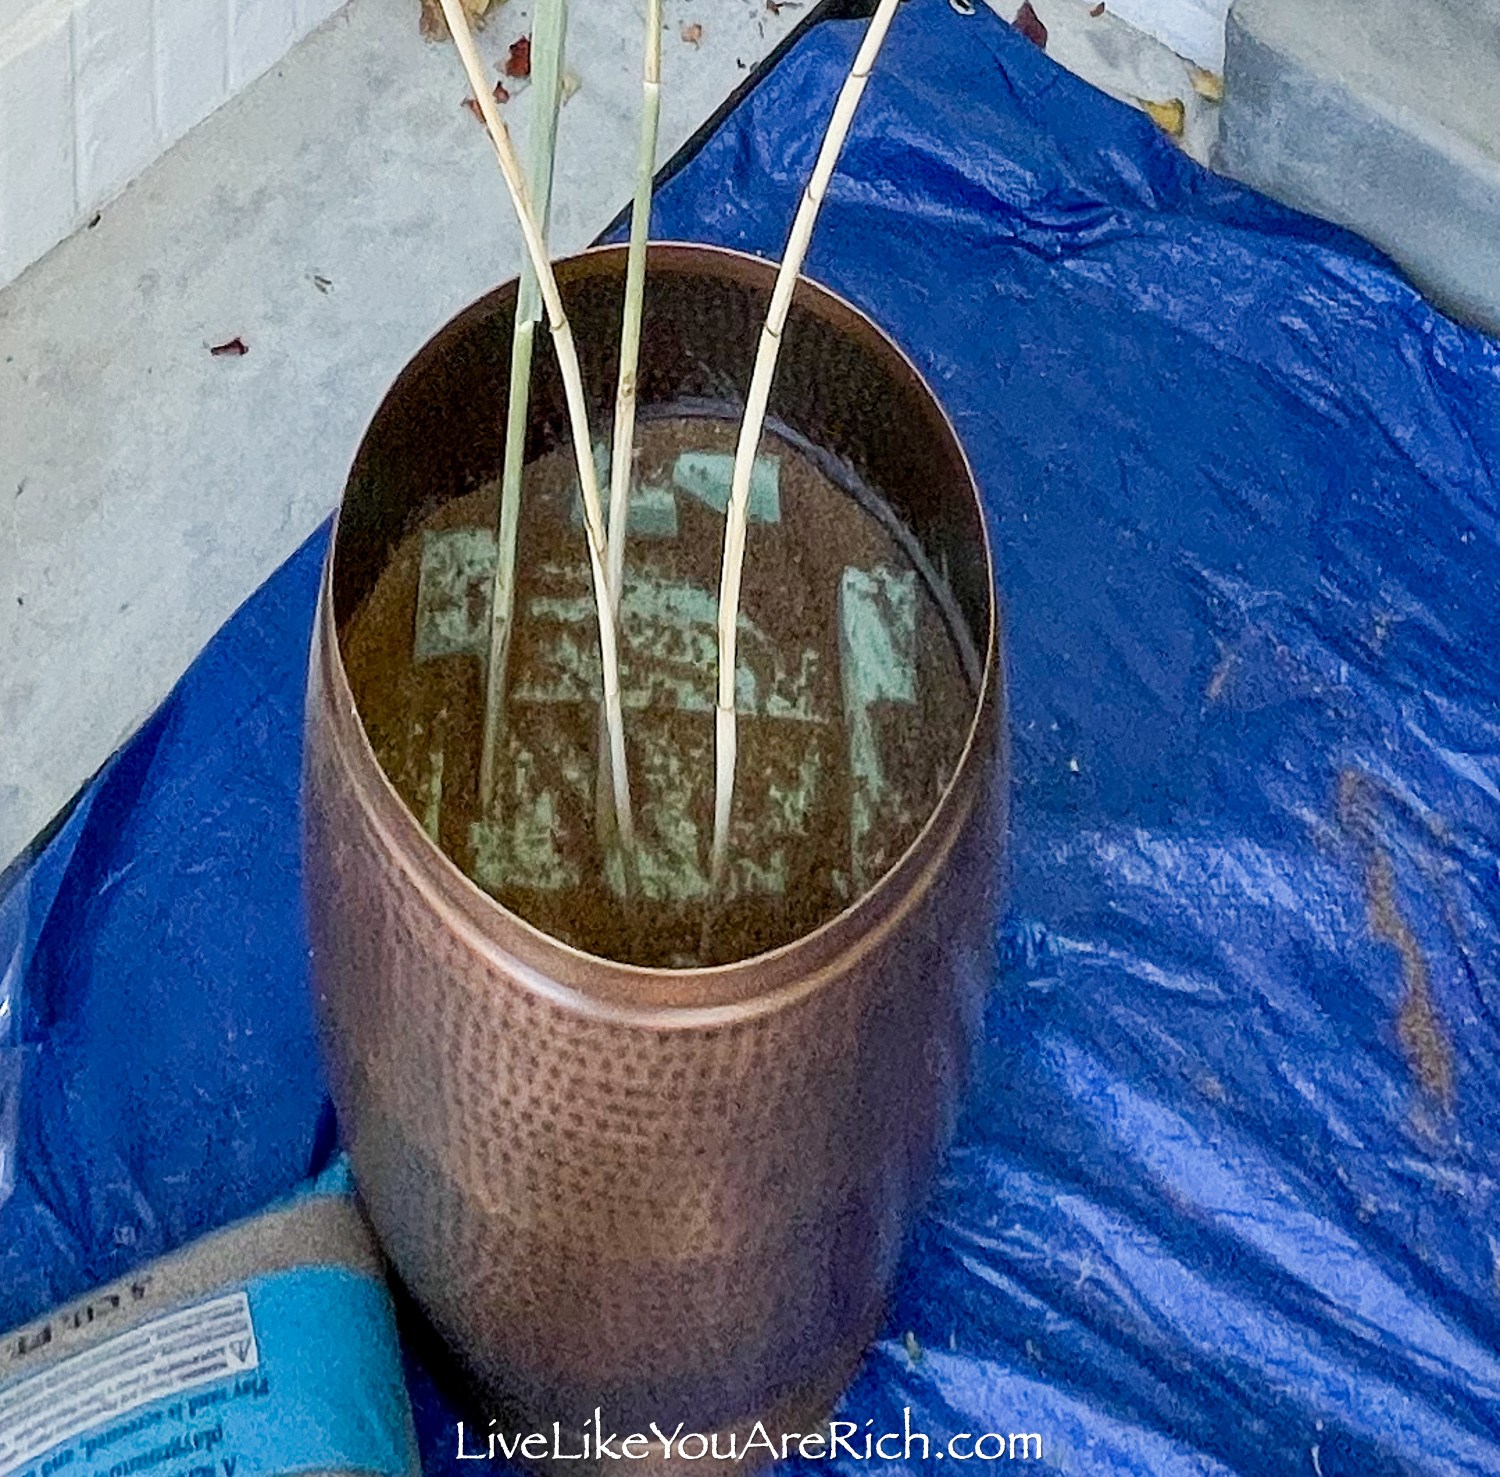
- Pour enough sand around the foam blocks to fill up the gaps to the top of the foam blocks. Tip- I found shaking the planter helped get the sand down the gaps. Using a gloved hand, I spread sand throughout the sides. I scooped out the additional sand so the sand wouldn’t hinder the reeds from going into the foam. Once it was level with the foam I moved on to the next step.


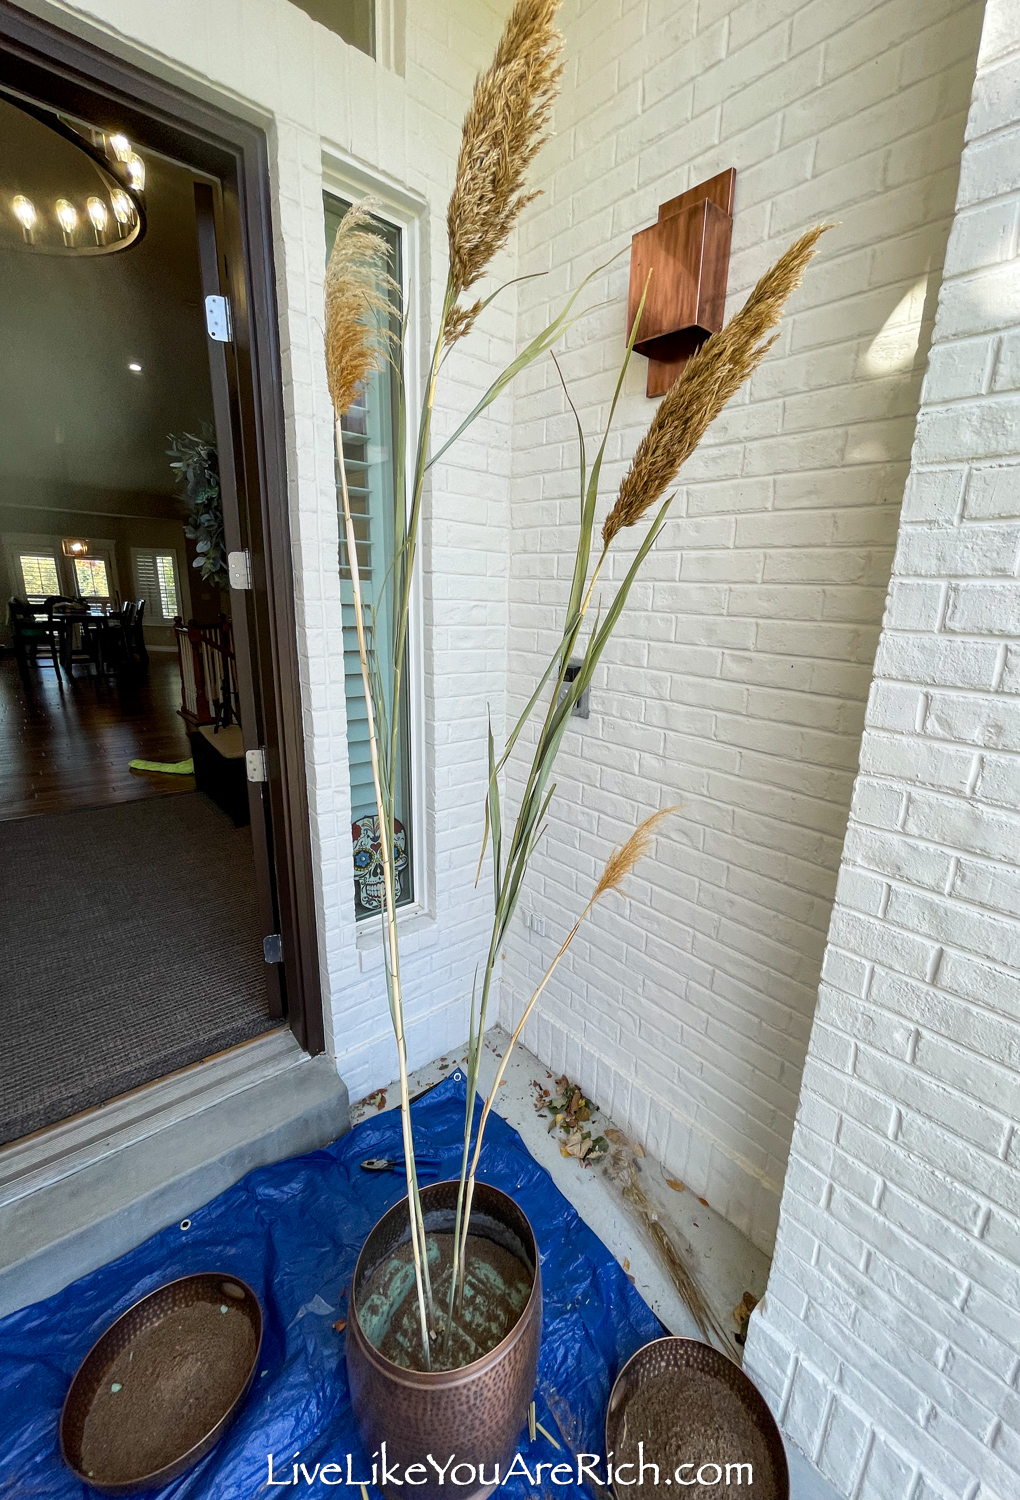
- Place the tallest reeds in the center of the arrangements and fill around them working your way to outer edges, trimming down as needed. Tip-Wait to put the thin and fragile grasses in until after step 8.
 Tip-I found making both planters at the same time very helpful to keep them looking balanced and to avoid running out of plants.


- Once the sturdy plants are in the foam (giant reeds and fescue for my arrangement), fill the rest of the planter with the additional play sand. Fill the sand almost to the top of the planter’s rim.

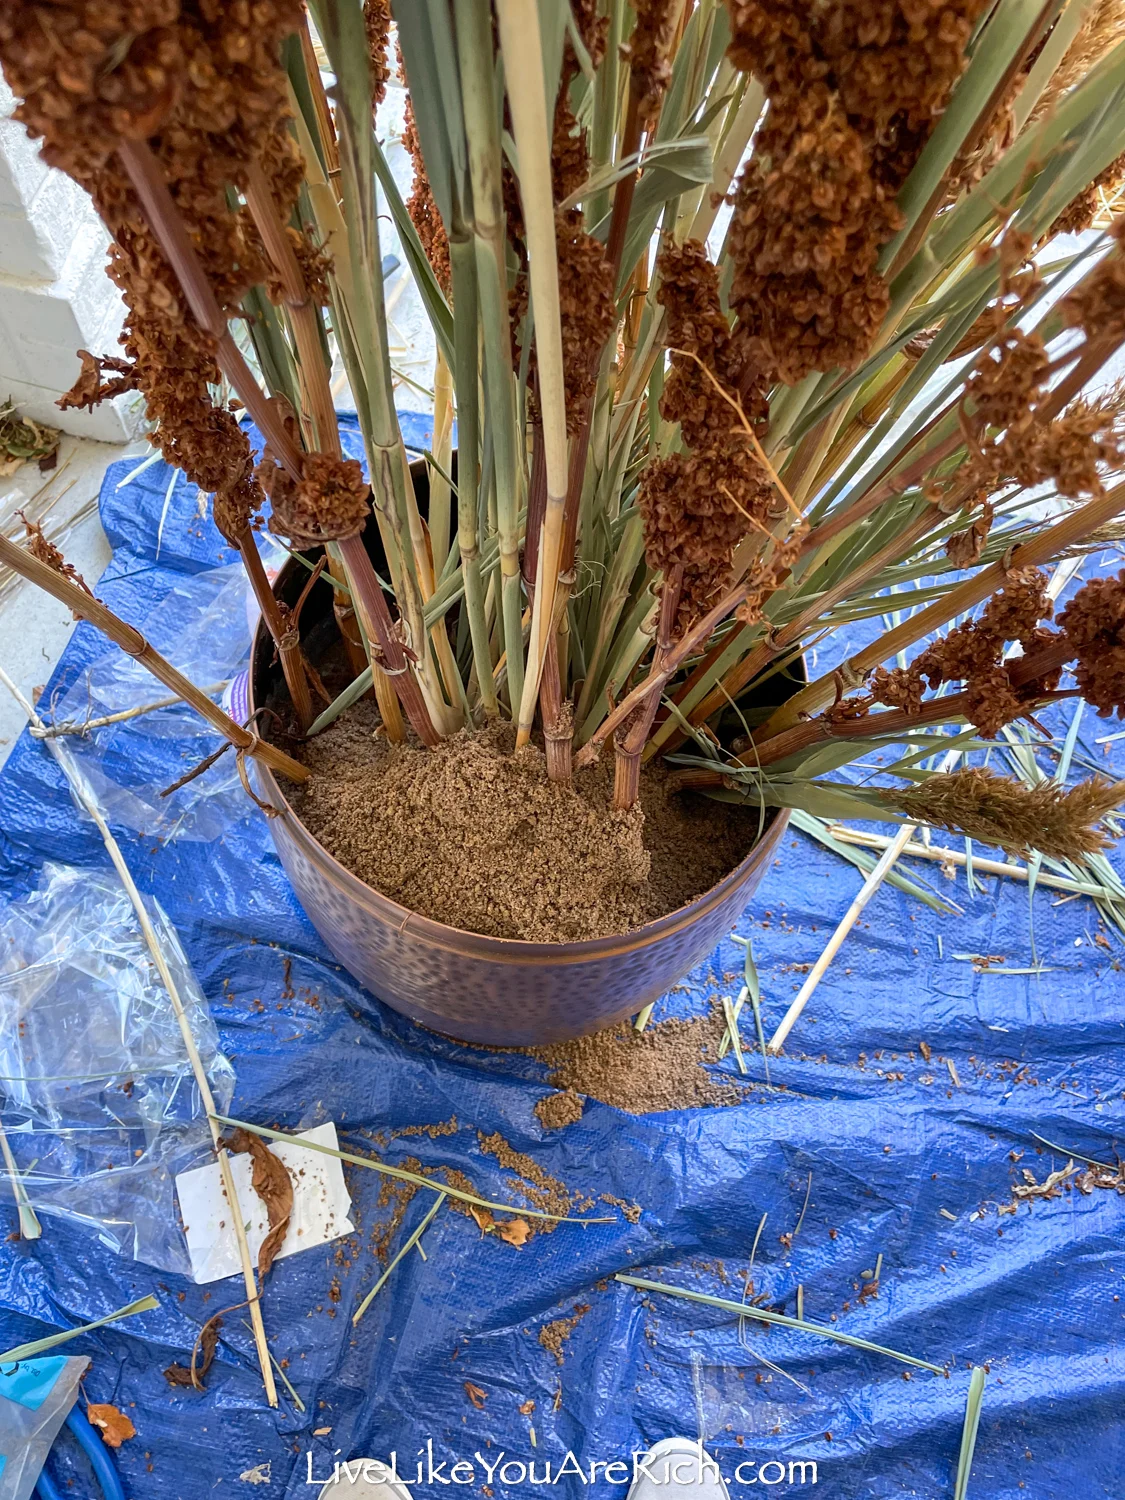 Tip- I used a measuring cup to put sand in between the stalks more easily. My cute little daughter helped too.

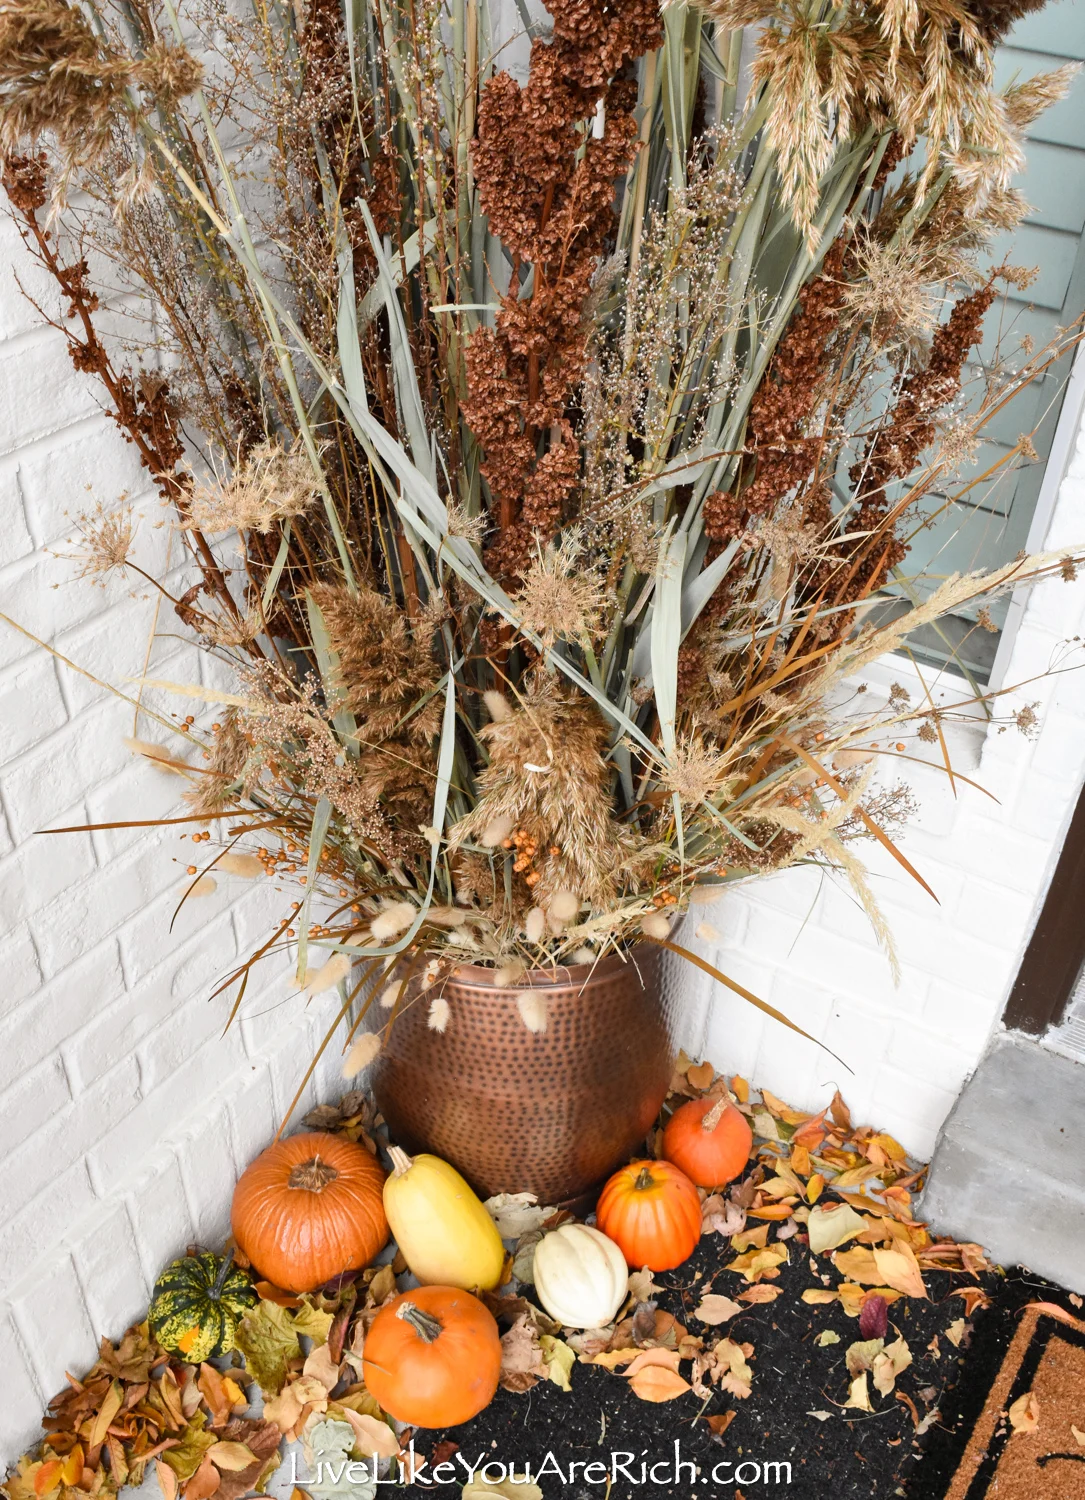
- Place the fragile and thin grasses, bunny tails, berries, etc., into the sand around the rims, working longest to shortest. Place them from inner (longer) to outer/close to the rim (shorter).
This adds dimension and contrast.
- Stand back, assess the balance and look of the arrangements. Move things around so the arrangements are similar and well balanced with height, color and texture.
- Spray with hairspray.
Note- Everything, even the thin-stemmed grass and plants, have held up extremely well and not come out for the last 3 weeks despite having strong winds whip them around. - Move into place.
- If desired, put pumpkins, gourds, etc. around the base of the planters.

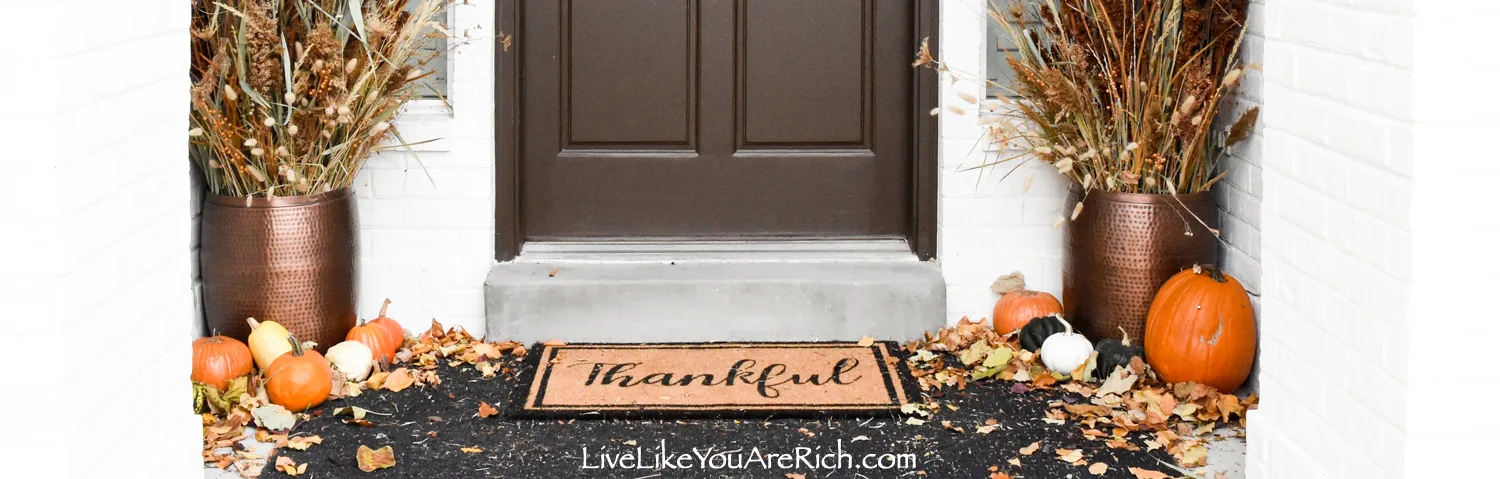
- Add a fall mat or neutral/matching door mat. I got mine from Sam’s Club for $10.00.
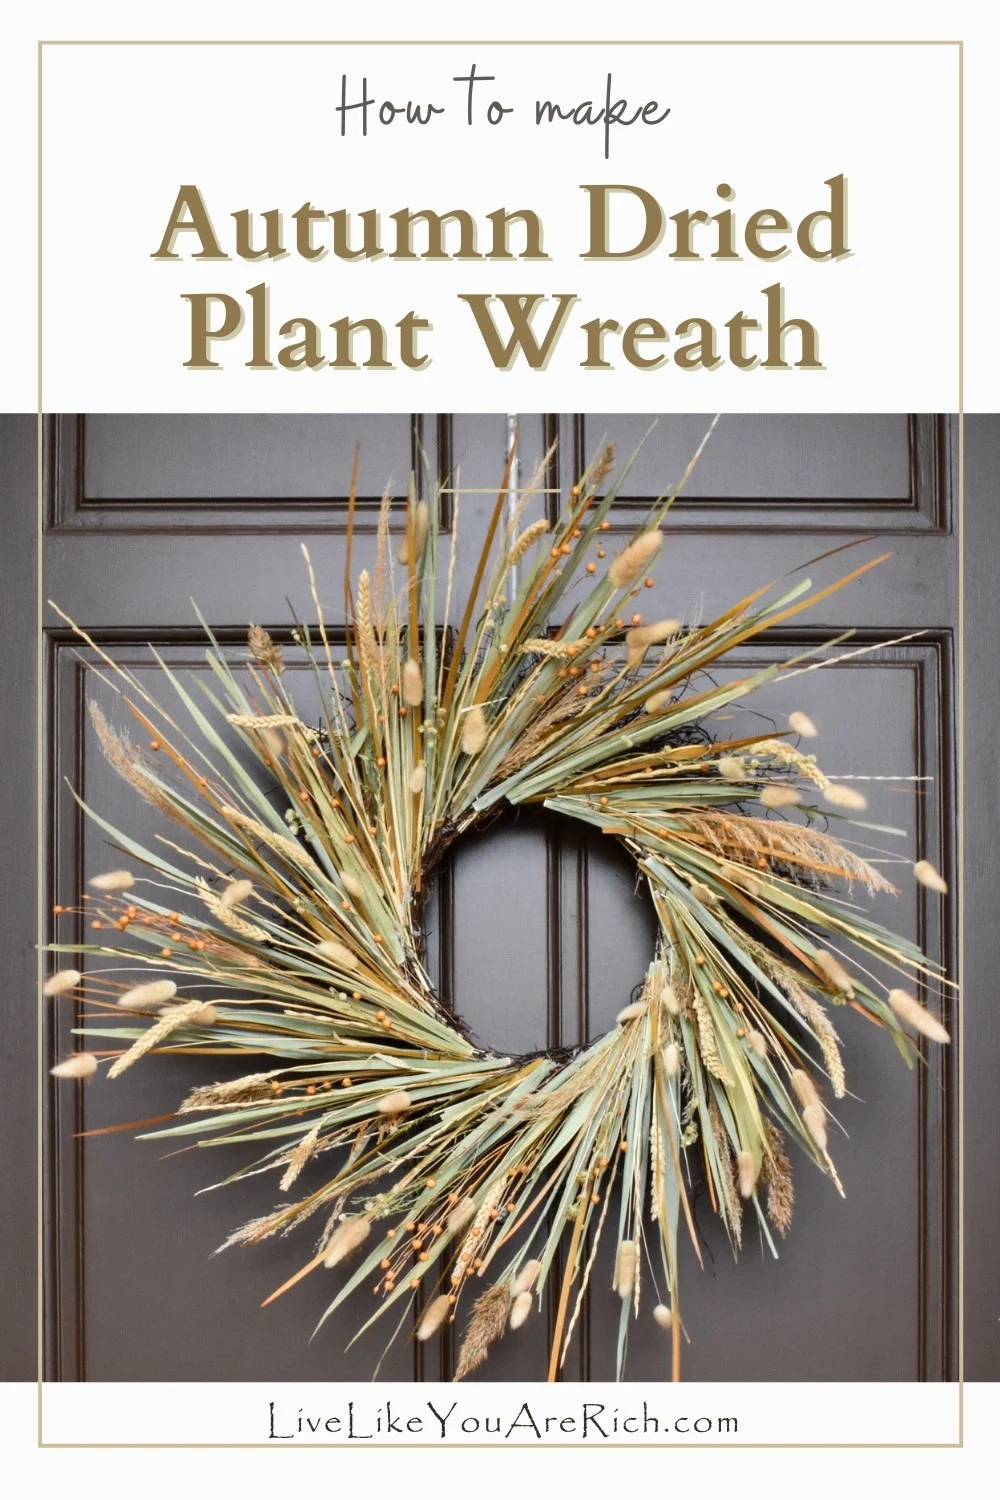
- Optional, with left over grass, plants, berries, etc. make an Autumn Dried plant wreath.

And that’s it! I was able to make these arrangements for under $15.00 each and I think they turned out very nicely.
I hope this helps you make inexpensive Tall Autumn Arrangements as well.


For other ‘rich living tips’, please Subscribe Here or connect with me on these other platforms: