


When we found my dream home. Although it was a ‘fixer upper’ it had a great floor plan, had many endearing features, matched up with most all of my ‘must-haves’ and ‘wants’, and was in the right price range.
We had bid on another house shortly before we found our home but since it was a down market and people were bidding like crazy on homes, we lost. The house we lost on had over 40 bids on it. We were shocked because we even bid $20k more than the appraisal price and lost.
After more research, we found that the appraisal prices were set unusually low to get lots of bids coming in on HUD homes. So when we found our house and we knew that wanted it, we decided we were not going to lose! Again, this house was a HUD home and had a very low appraisal price so we bid $37k over the asking price. Despite 60 or so bids, we won it!
We were so ecstatic that we actually both got pretty emotional. We were just so happy with the purchase of what we feel and think will be our life-long home!
In the next few weeks the reality of an entire home renovation set in. It was going to be a massive amount of work and neither of us could take time much time off of work. So, we began preparing early and buying items for the renovation as soon as it was fairly certain that we would close on the home. We stored them in ‘free for a month’ storage units. We had about 3 free storage units we could use for a month. Which proved very useful because I could stock up on essential items and take the items out during the renovation process when we needed them.
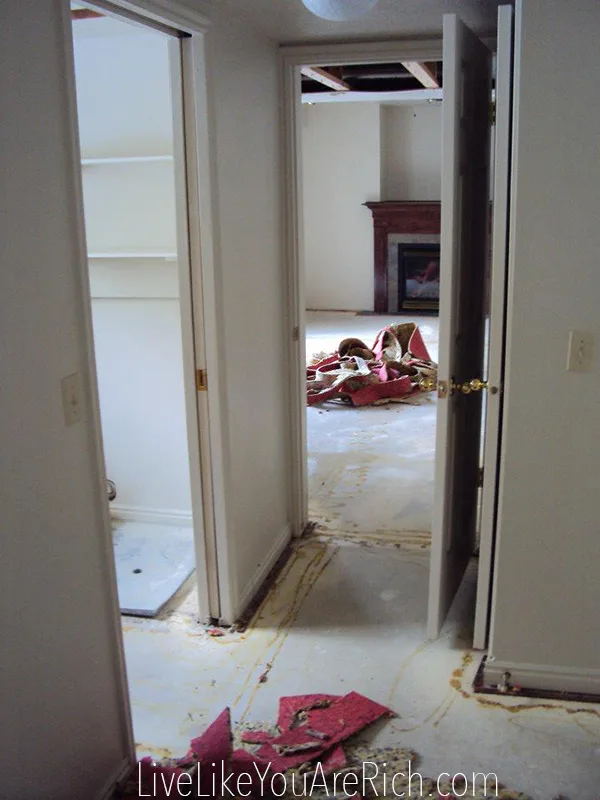
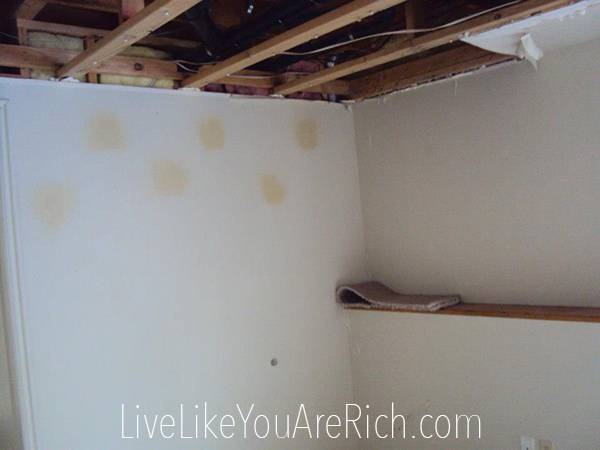
Our house is 2,500 square feet. It is a multi-level house with 4 levels and it was in pretty rough shape because of a broken pipe that had destroyed a lot of the sheet-rock, ceiling, etc. (I will show before and after photos on each post in this series). In addition to making it live-able, we wanted two laundry rooms, we wanted to finish the basement, and we wanted two kitchens for a mother-in-law apartment, another full bathroom, and basically wanted to make the entire home look really nice.
Conservatively speaking I can say that we saved WELL OVER $45,000.00 on our home renovation. If I were to use the national average cost of what we did, I could easily say that we saved over $100,000.00 on our home renovation.
Our renovation included:
- installing a full kitchen,
- installing a full bathroom,
- redoing all flooring,
- all new paint,
- all new lighting,
- fixing up 2 run down bathrooms,
- repairing holes in the walls and some broken plumbing,
- completely tearing out and re-sheet rocking a ceiling that was falling down,
- re-shingling the house,
- re-insulating the house,
- installing a water heater,
- framing and finishing the basement completely,
- installing two laundry rooms,
- and buying furniture and decor for all rooms involved.
Total we spent just over $23,000 for our entire home renovation!!! Some people spend that on one kitchen alone!
People were amazed at how inexpensively (yet very nicely) we did everything and have asked me to share the tips and tricks we used. What is perhaps even more impressive is that we did not do all of this handy work alone. In order to afford this house and renovation we had to keep our full-time jobs. We had no choice (and most often lacked the skill) to do it ourselves. Thus, even with hiring major projects out we completed it for $23k! If you are especially handy, you could do this yourself even cheaper.
Since so much went into this project I will be doing a Money Saving Renovation Series. In this series, I will be covering how we renovated, installed, updated, and decorated our entire house for tens of thousands less than the average person thinks it will cost. Some of the posts in this series will include our:
Full Bathroom Install
Framing and Completely Finishing an Unfinished Basement
Decorating and furnishing two large Living Rooms for Under $2,000 each (including flooring)
Updating old bathrooms for under $300.00 each
How to Re-shingle and update the outside of a home for less
How to decorate each room luxuriously or comfortably for under $1,000. (including flooring)
and possibly a few more.
I have already posted about these three rooms:
Room 1 Top Level before:
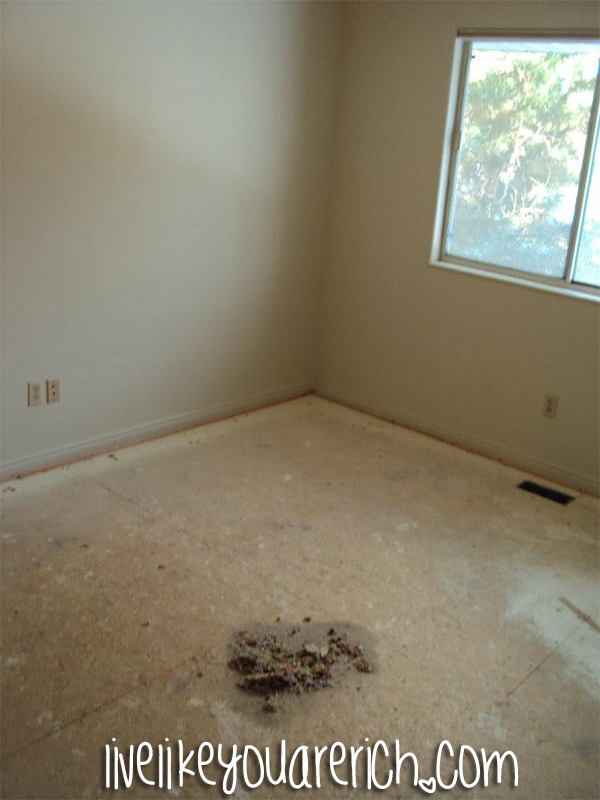
To see the after and how we renovated, painted, floored it, etc. for under $500. Link here: How to Decorate a Nursery for $500.00 or less
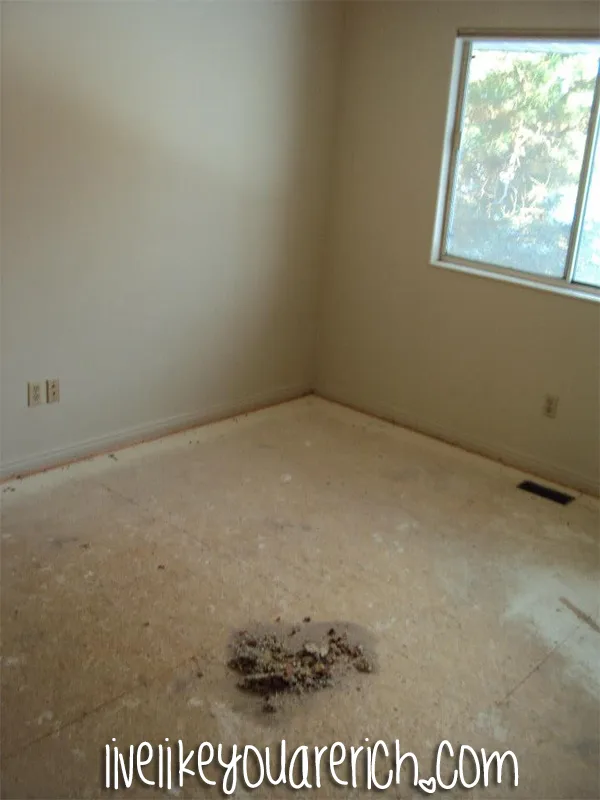
Room 2 Top Level Before:

We first used this room as an office which was basically free to furnish so I’ve instead linked to the most updated version of this room which breaks down the expenses including paint and flooring:
How to Decorate a Navajo nursery for under $500.00.
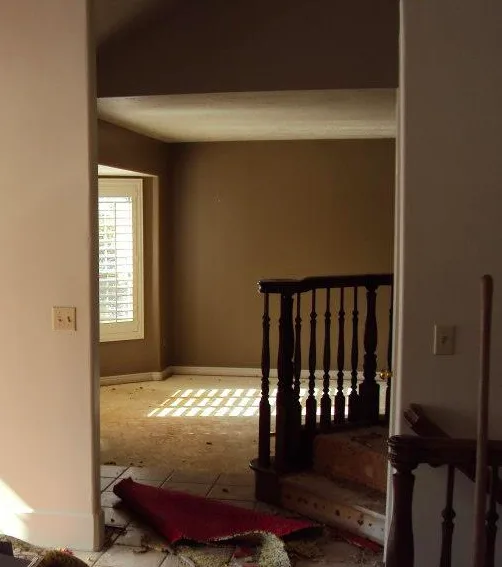
Level 2 Dining Room Before (below) Click here for the after and see how I repainted, relighted, decorated and furnished it for under $200!
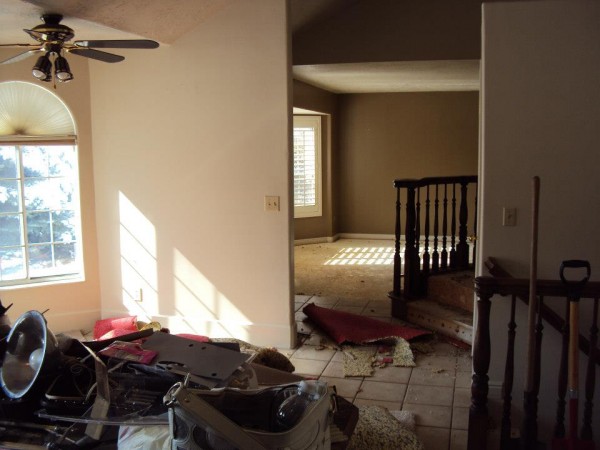

Level 3 Mother-in-law Kitchen Before (below) Click here for after and another kitchen I recently helped remodel.
Level 3 Living Room Before Click here to see how we renovated it and remodeled it for $1,900!


Click here to see how we renovated it and remodeled it for $1,900!
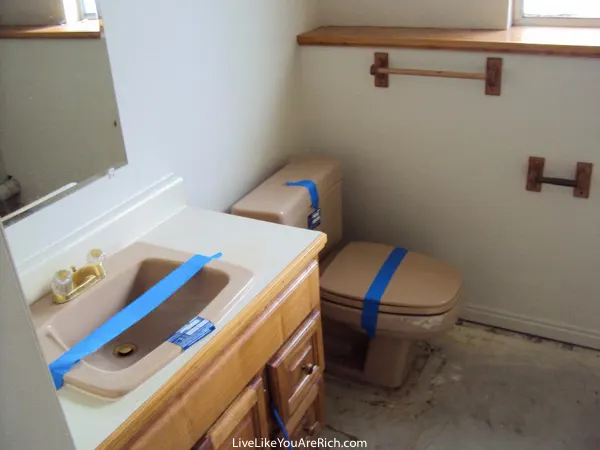
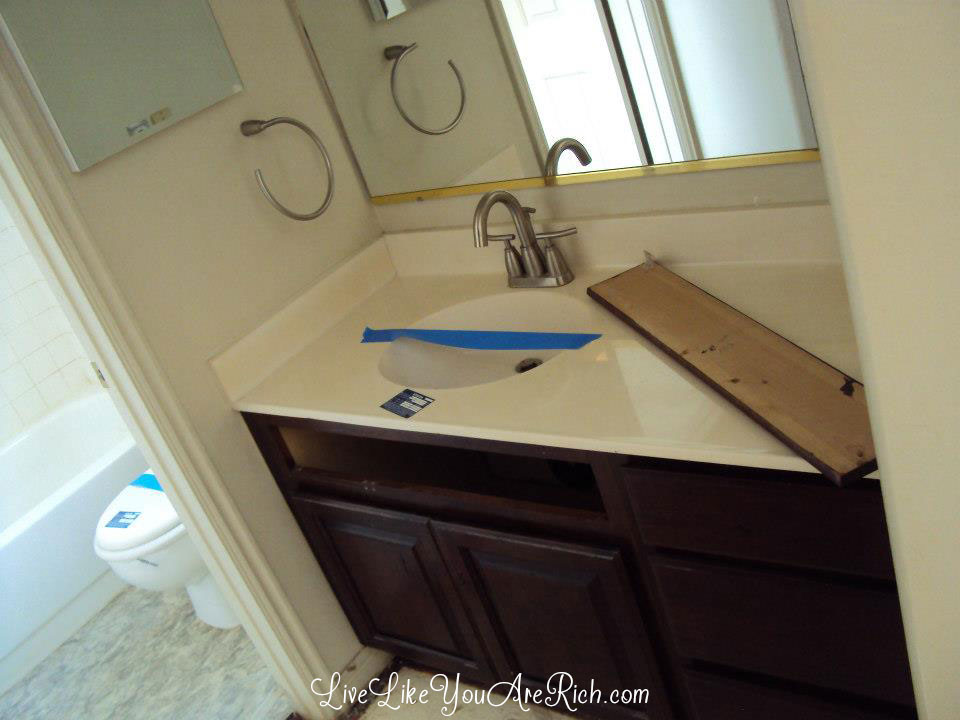
Level 3 Bathroom Before- Click here to see the After

Level 2 Front Room Before –Click here to see the After

Click here to see how I renovated, furnished, and decorated for $560.00 (without flooring included)
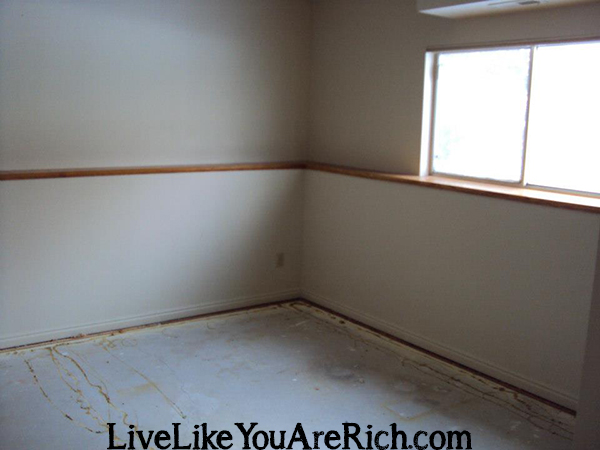
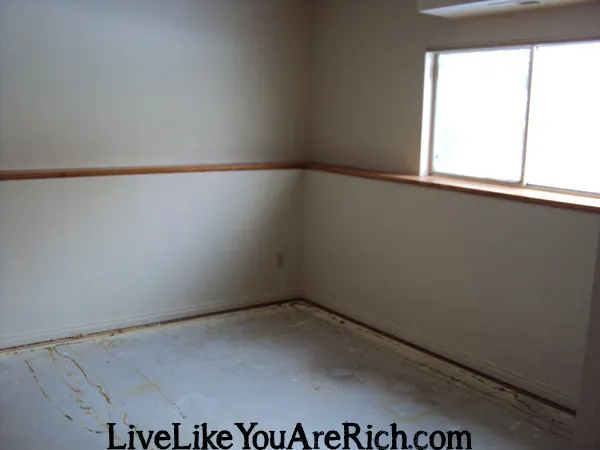
Level 1 Master Bedroom Before
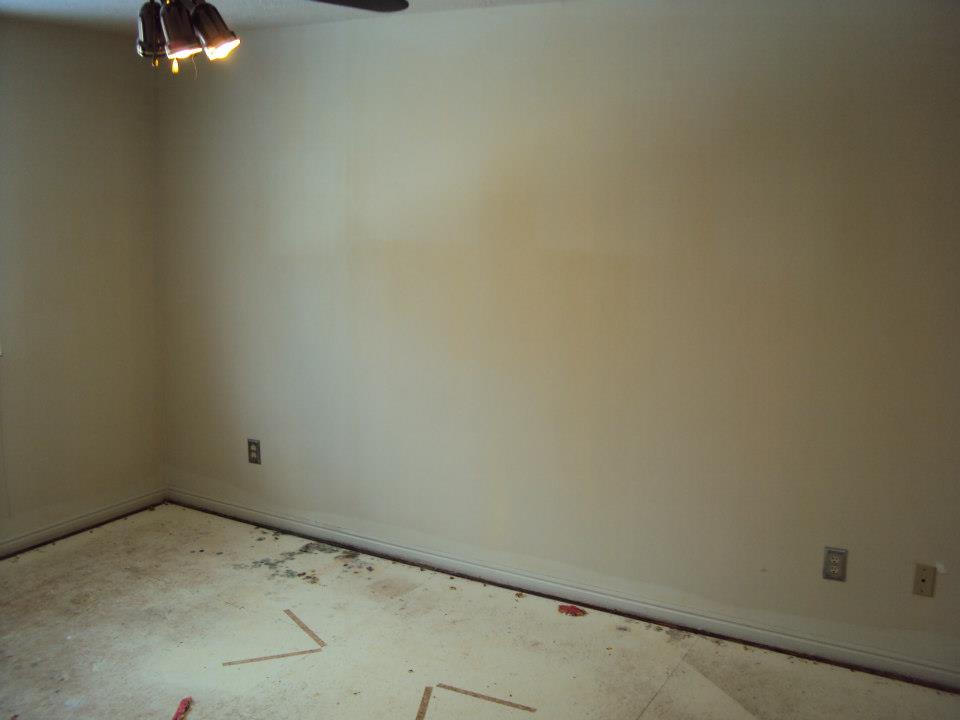
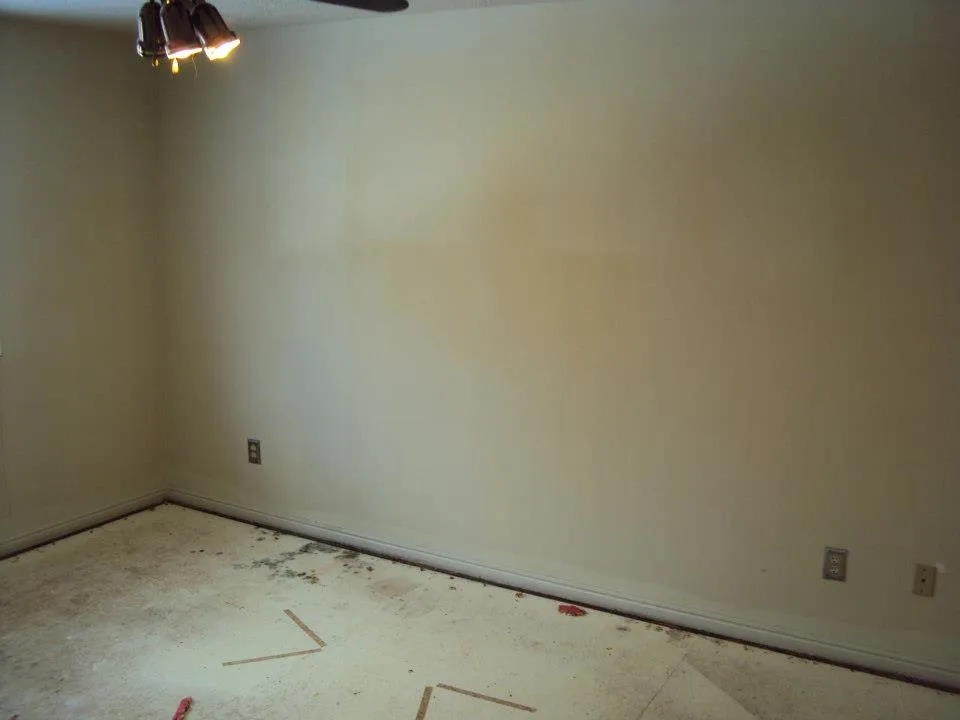
Click here for After
Level 1 Master Bathroom

Click here for After
My hope is for other ‘fixer upper’ home-buyers or for those of you who are looking to decorate or renovate an entire room, that you will be able to glean from this series what is applicable to you and save thousands (even tens of thousands) on your home renovation(s).
After our renovation, we requested a professional appraisal of the home. It went up $75,000 in value and has since gone up even more. We gained a huge amount of equity within just a few months without a change in the market and now since the market has gone back up, we are well over that.
Through this experience, I have come to find that you really do not have to sacrifice style and comfort for the money. If you follow these steps you will come to realize this as well!
So check out the links as they are added and hopefully this series will end up saving you thousands…even tens of thousands on your renovation.


For other ‘rich living’ and money-saving Tips please subscribe, like me on Facebook, and follow me on Pinterest and Instagram.


Tips For a Beautiful Home - From Kimberly Duncan - The Ana Mum Diary
Friday 24th of December 2021
[…] They saved money by hiring a contractor to do all of the work they needed at a discount rather than to pay full price for one room at a time. They bartered their services. The result was their renovations were completed quickly and for a lot less money. For more on that, click here. […]
Bob
Wednesday 22nd of April 2020
OMG it was a huge job, Anita! My congrs and thank you for the post, it makes a sense!
Am Needed
Thursday 22nd of August 2019
Thanks for sharing a wonderful blog post! I'm Really impressed it's very useful tips.
Anita
Friday 23rd of August 2019
Thank you!
Alex Maker
Tuesday 23rd of April 2019
OMG! How much works you did! Now I doing same works at my home, but I built it from zero. Also I can say that I need some renovations now in my hall, but it is practically new finish works... My works in another rooms broked the hall :( Anyway, all works I doing myself and I like it! :)
karan zale
Monday 25th of February 2019
thanks for sharing this amazing posting.