Mirabel Encanto Barbie Doll Cake
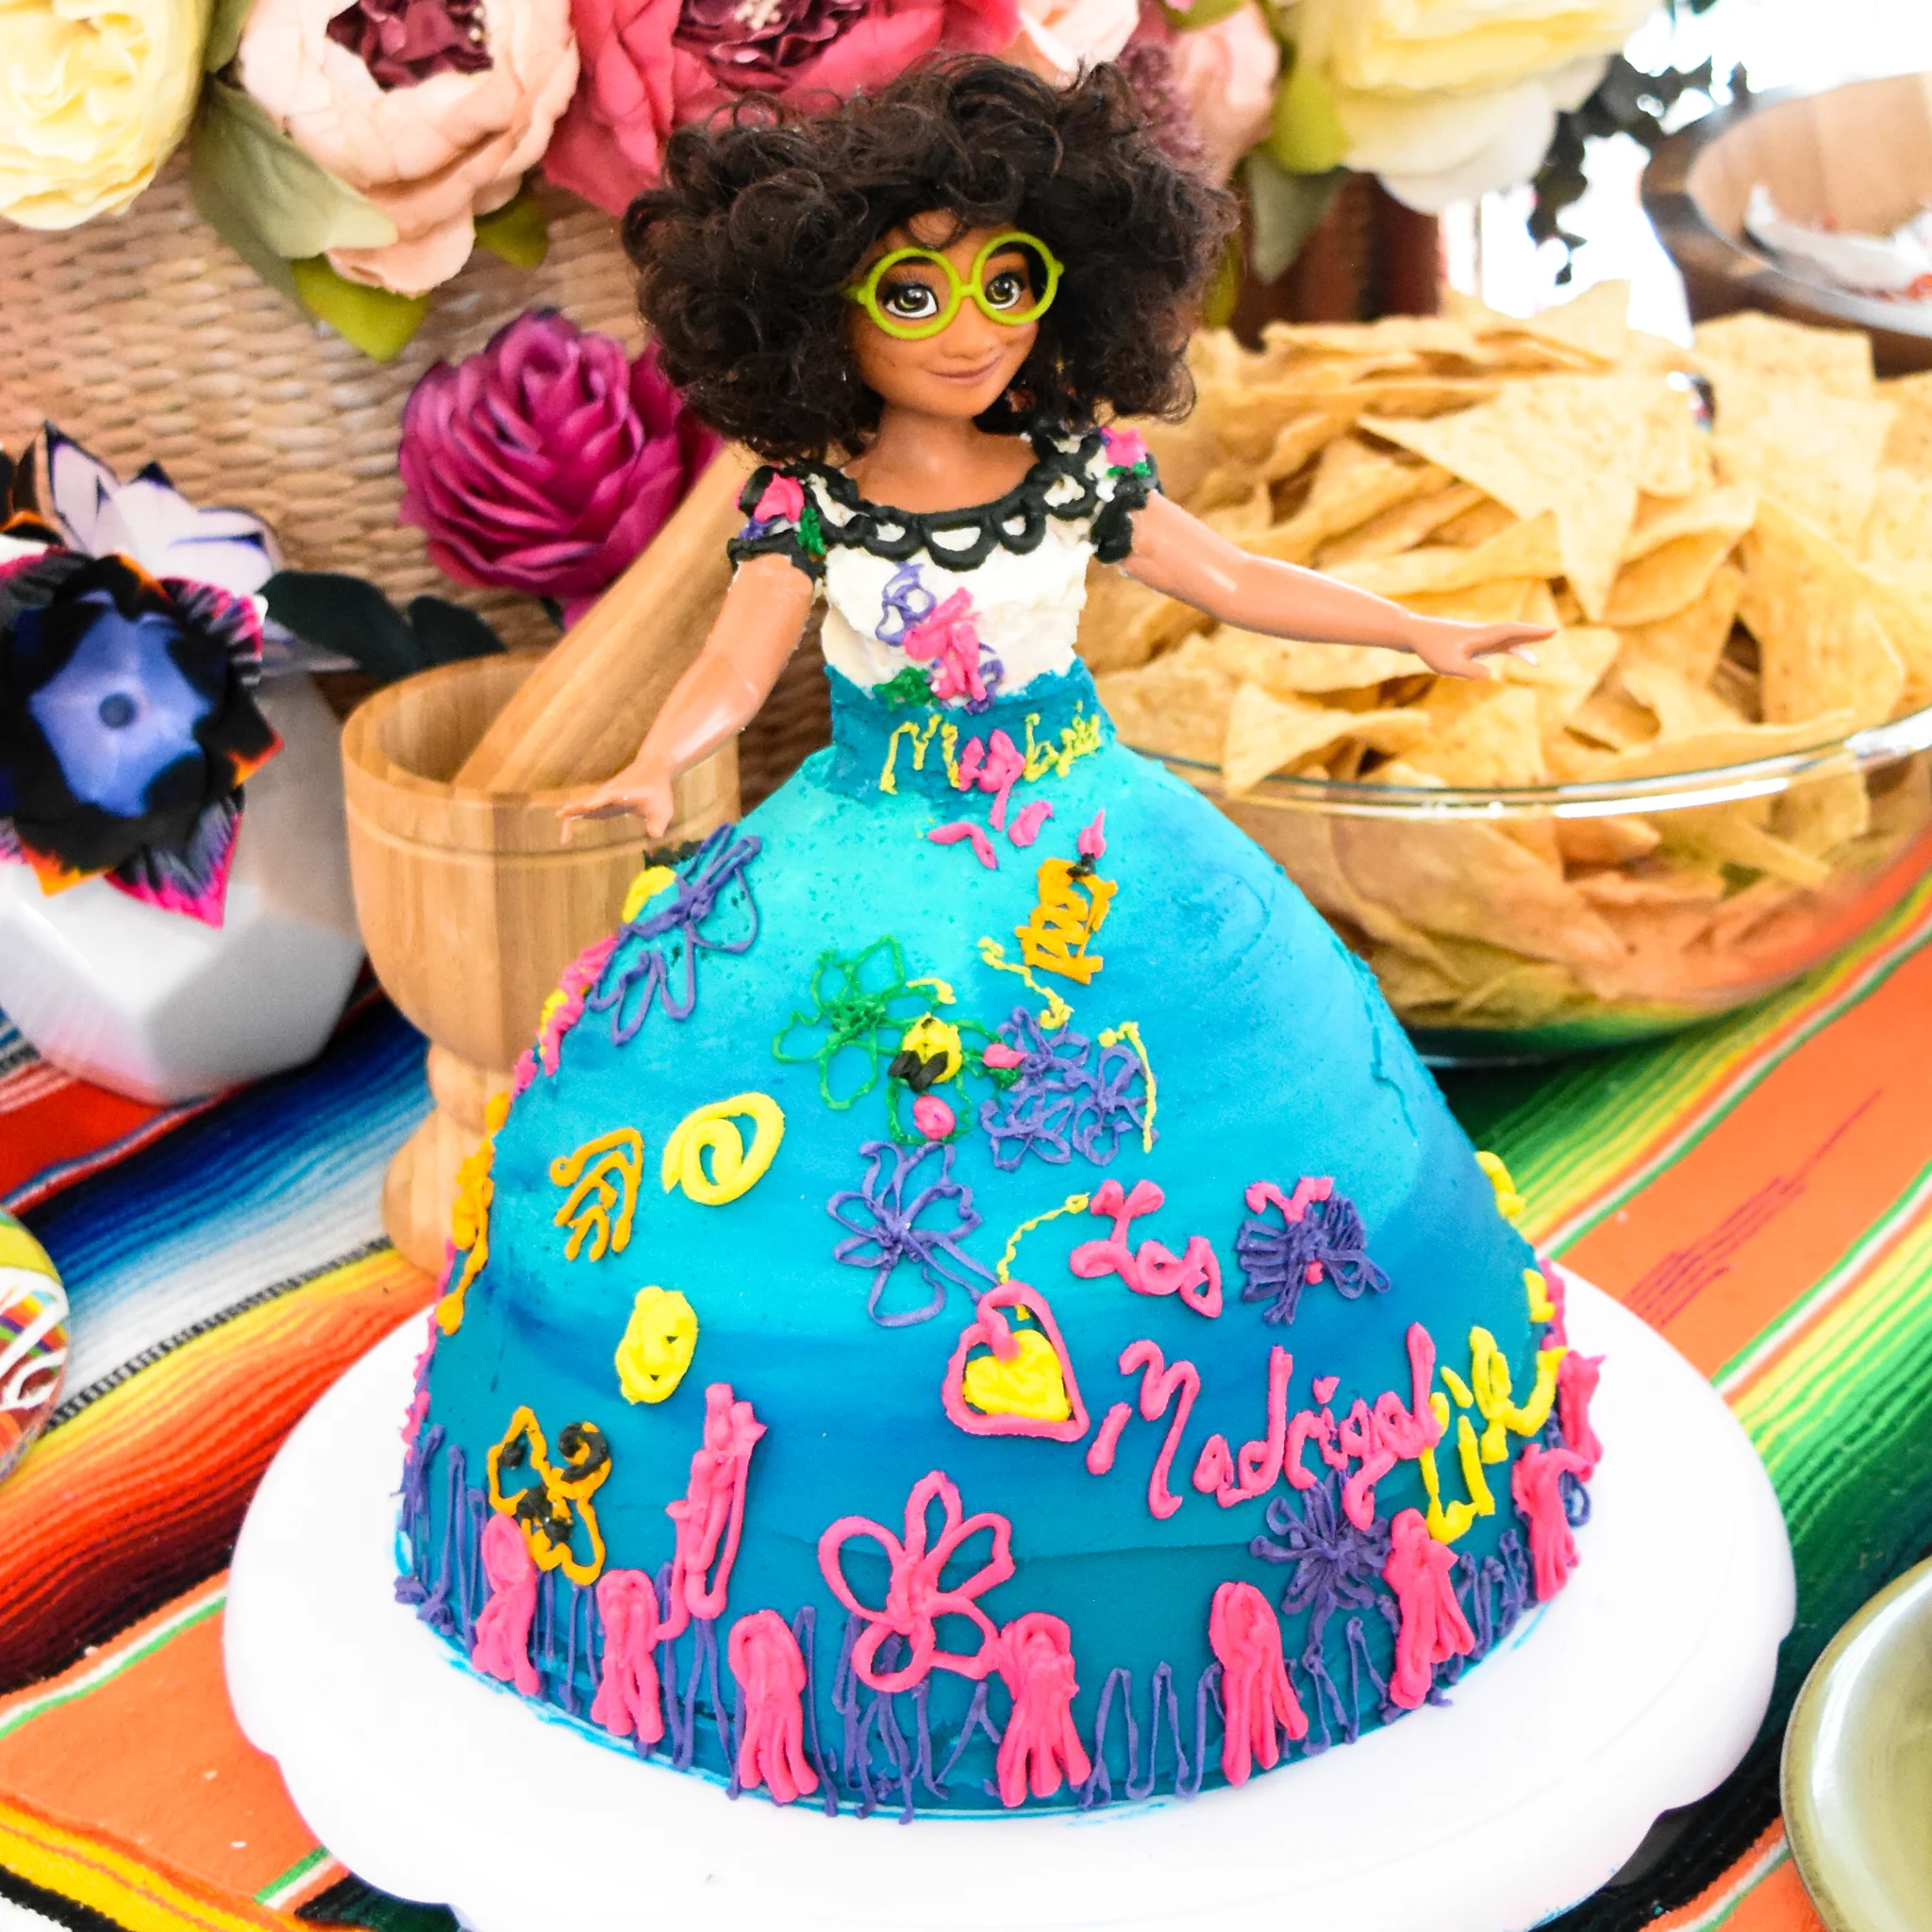
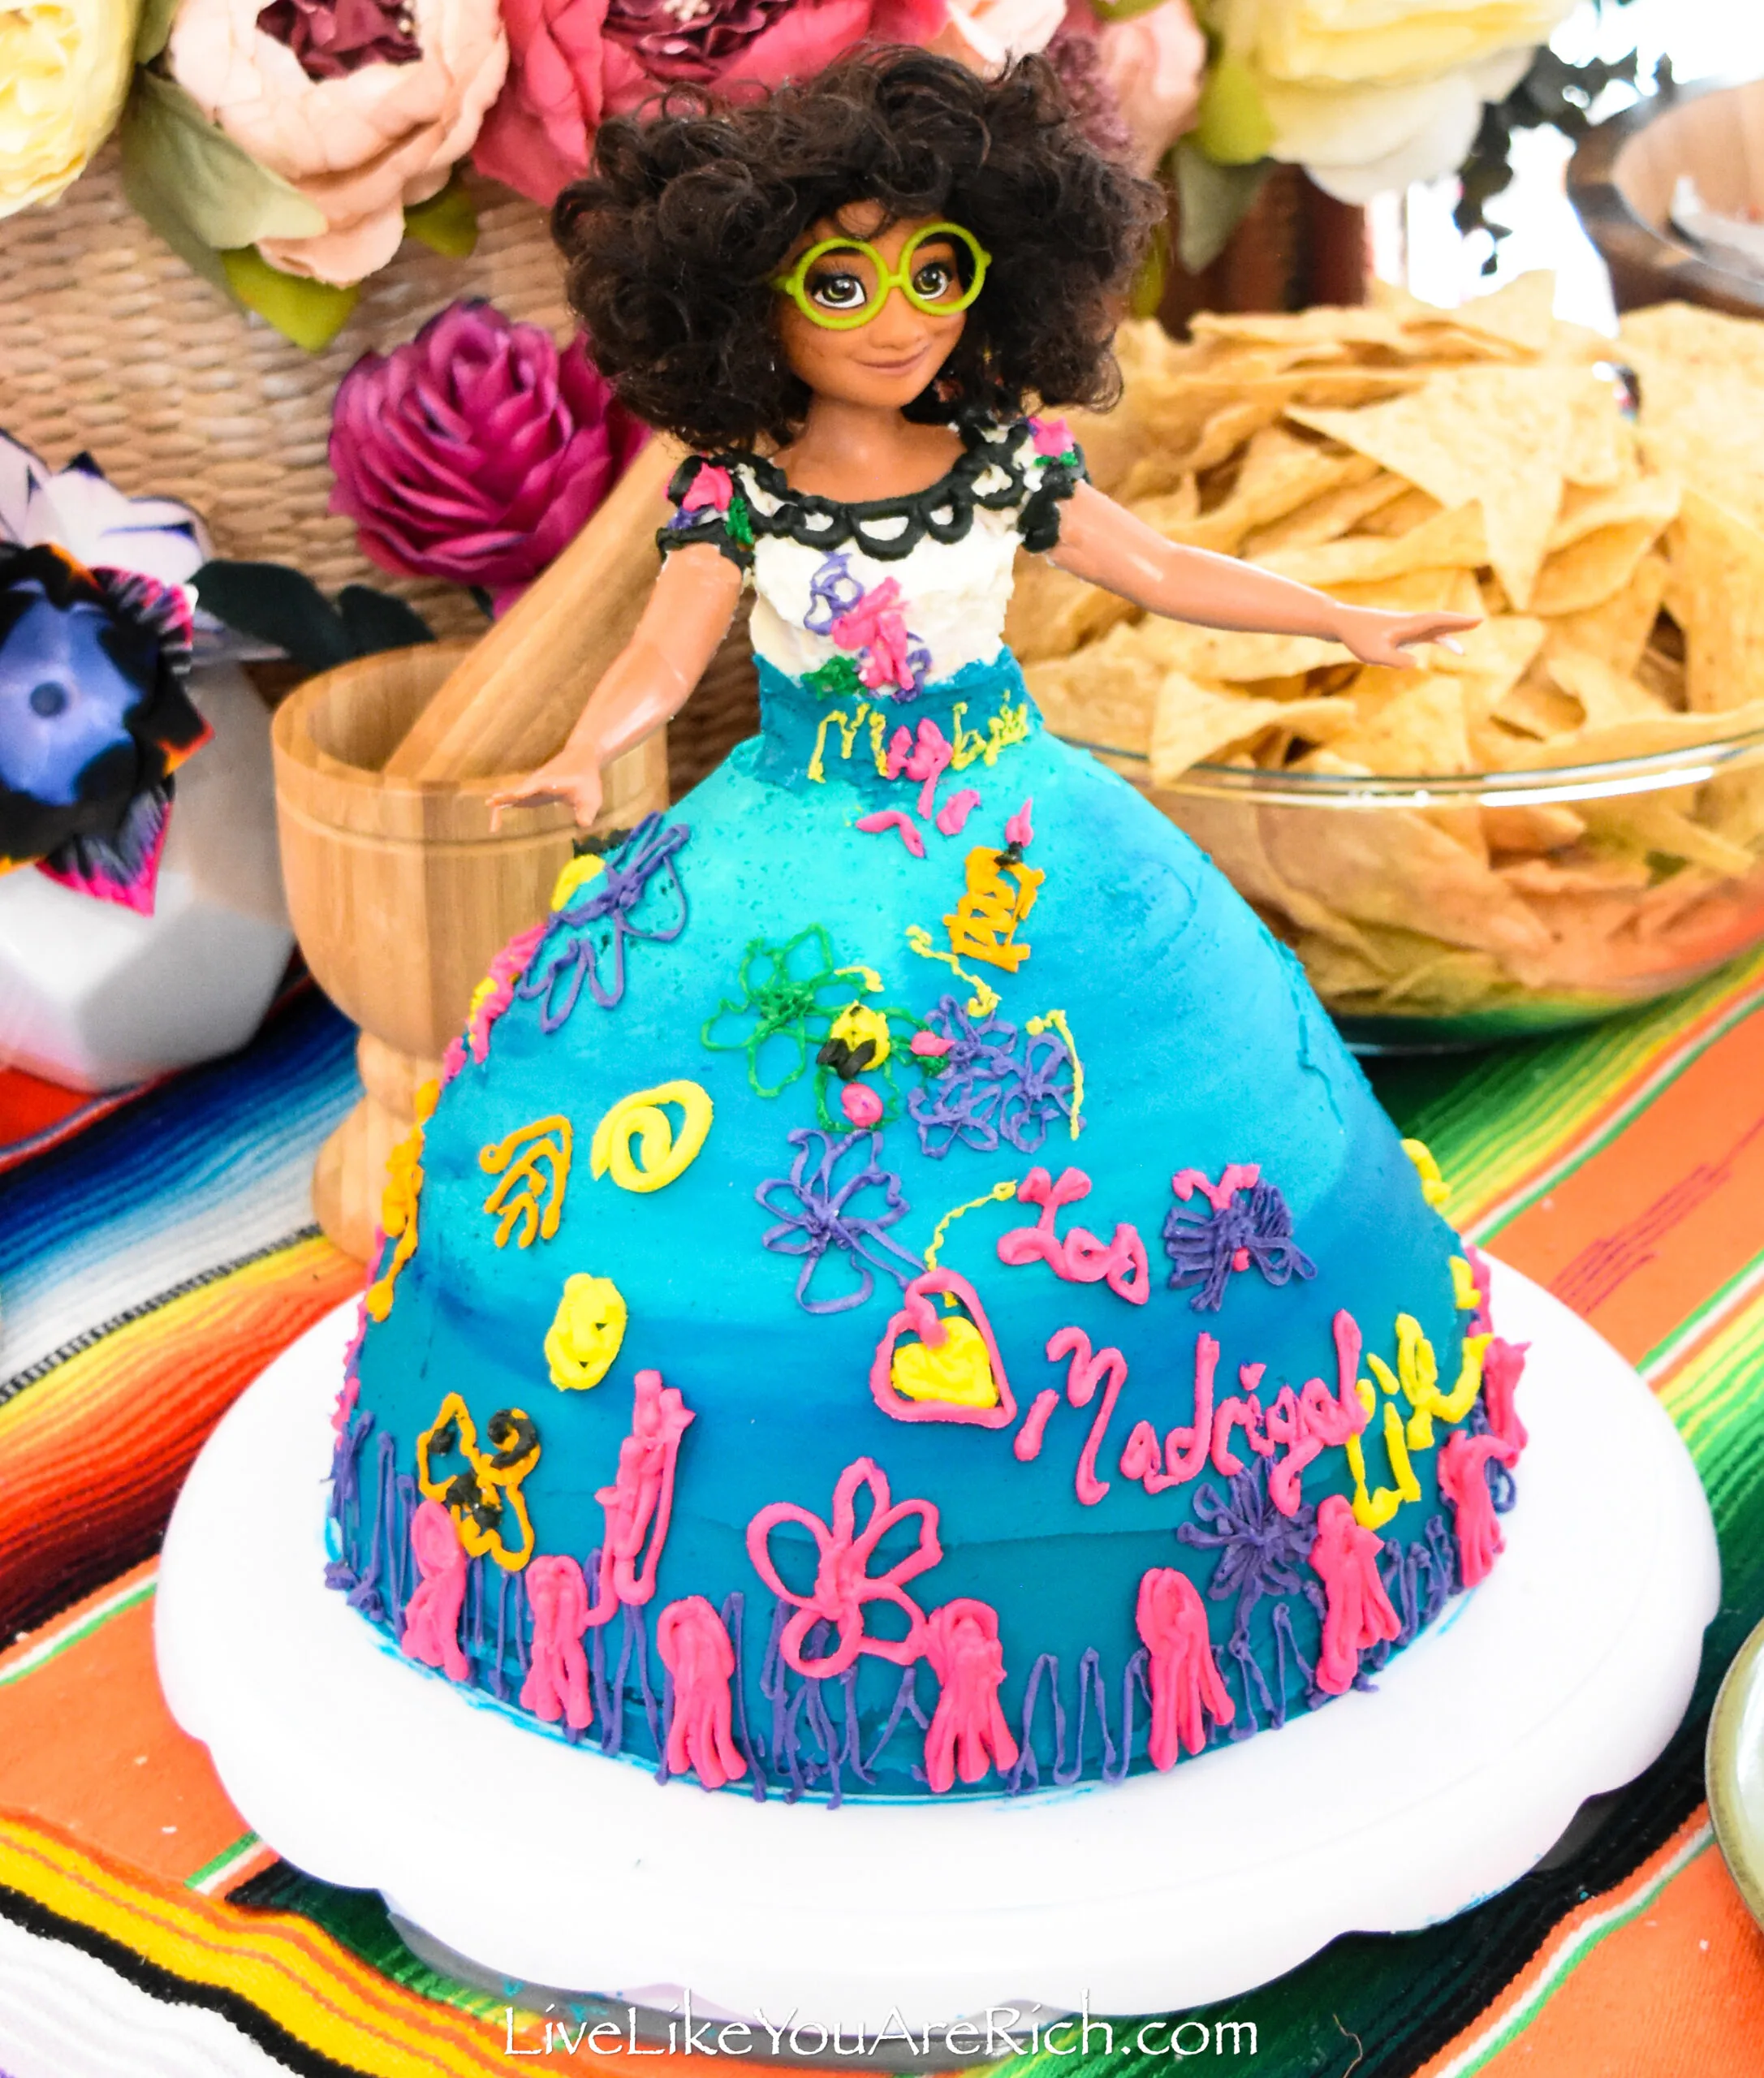
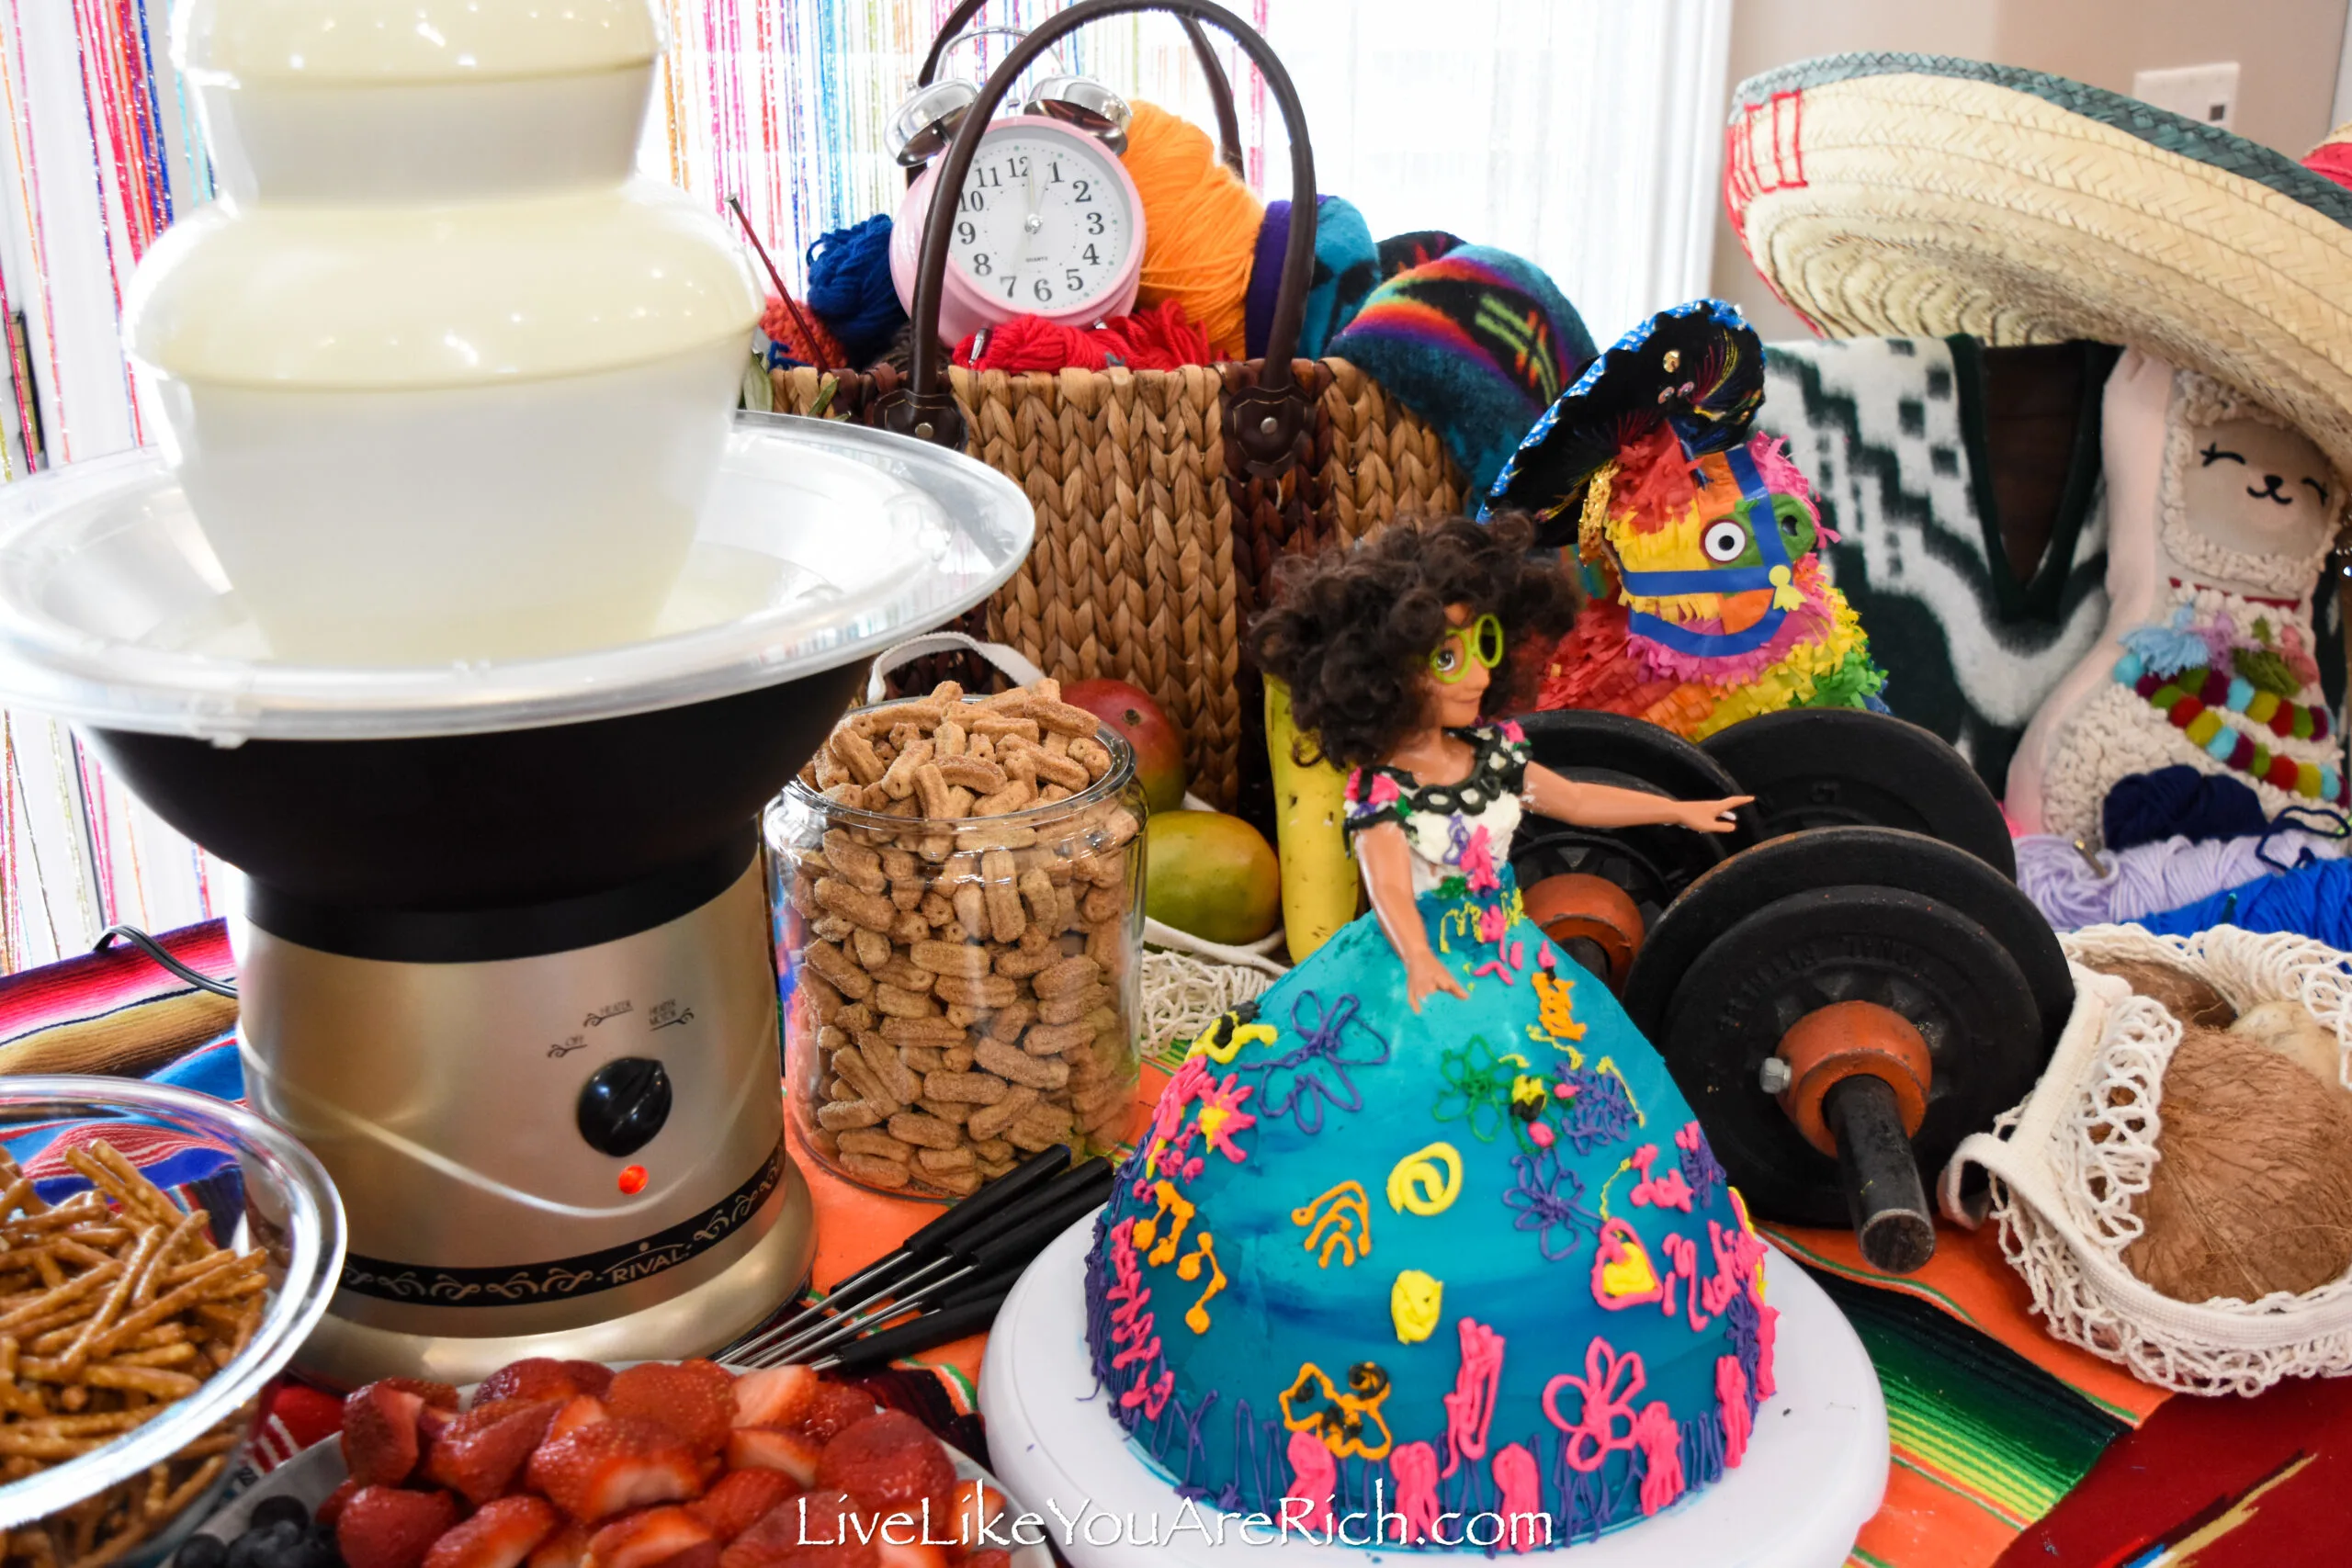
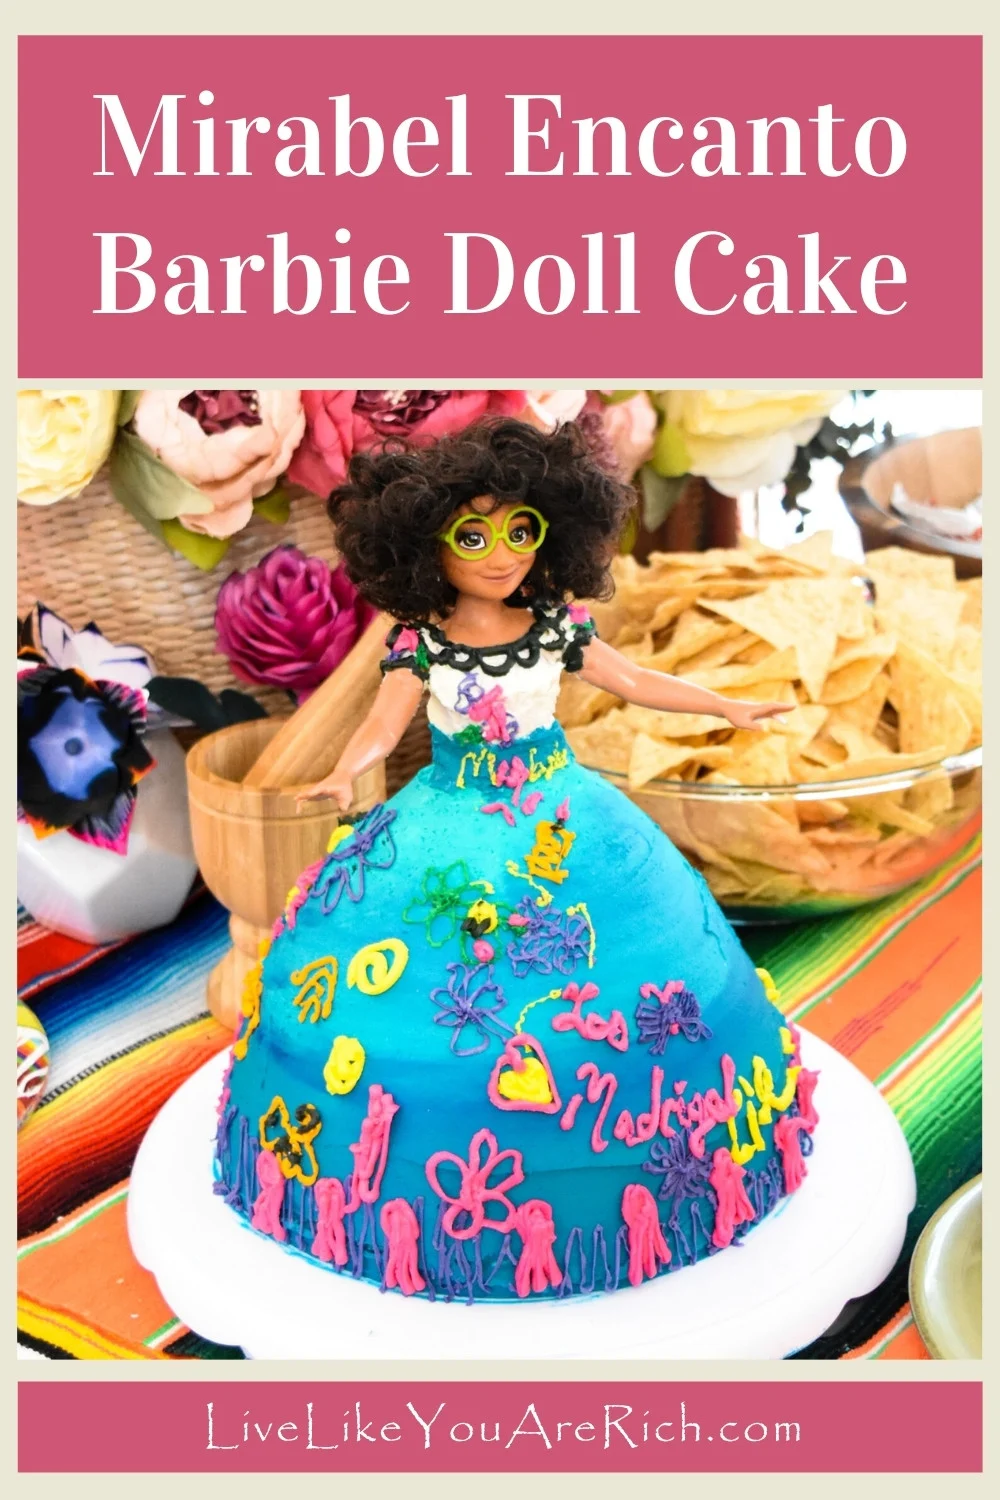
My daughter loves Encanto and so I threw her an Encanto birthday party. I made two birthday cakes for it; one Mirabel Barbie Doll Cake and one Isabela Barbie Doll Cake.
They only cost a few dollars each to make (if you have the dolls and cake molds already).
They were also fun to bake and decorate.
I confess that I am not a professional cake decorator. This tutorial is for someone who wants to make a Mirabel Encanto Barbie Doll Cake that may have some imperfections.
Although there were piping mistakes, overall, I was quite happy with how the cake turned out and the 6-7-year-old girls at the party LOVED the cakes.
I’d highly recommend giving this a try, even if you feel like you aren’t the best cake decorator.
There is a video on this page that I hope may help even if you are a beginner.
Supply List for a Mirabel Encanto Barbie Doll Cake
Barbie cake pan (Wilton Wonder Mold Doll Shaped Cake Pan Set)
Ingredients for this Best Vanilla Cake Recipe or 2 Funfetti cake box mixes
Milk
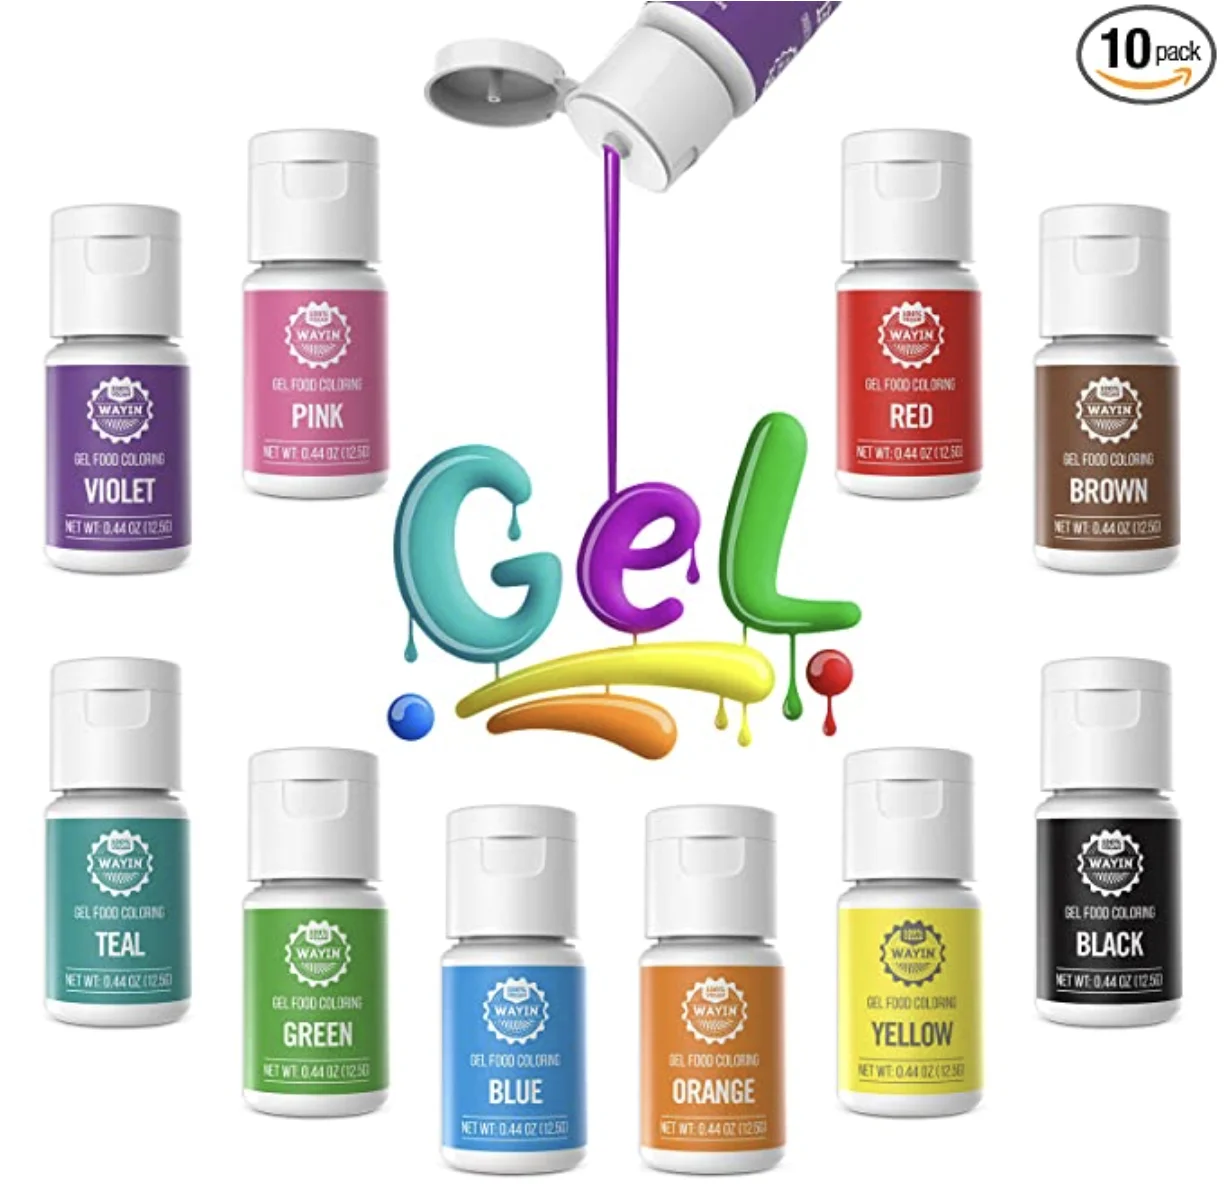
Food coloring (I used these for all of the colors except purple—as purple looks blue/black). For purple, I used Wilton and Kroger food colors. I think I may have used some blue from Wilton as well to make the turquoise color of Mirabel’s dress.
scissors
How to Make a Mirabel Encanto Barbie Doll Cake
Watch the video located here and/or continue reading…
1- Preheat oven to 350°F.
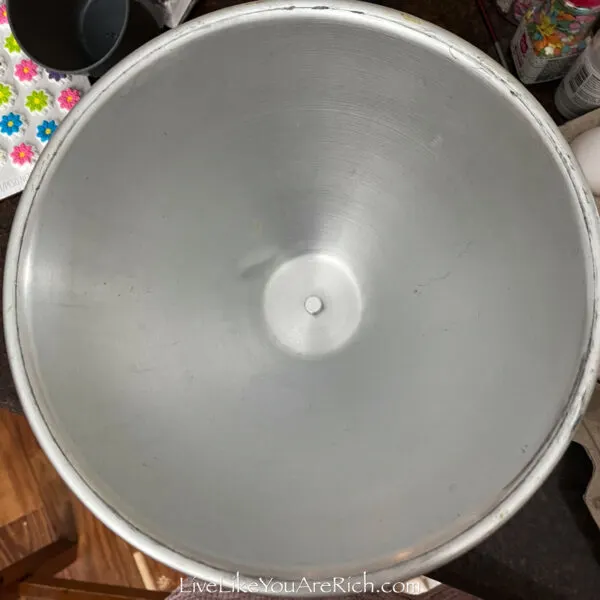
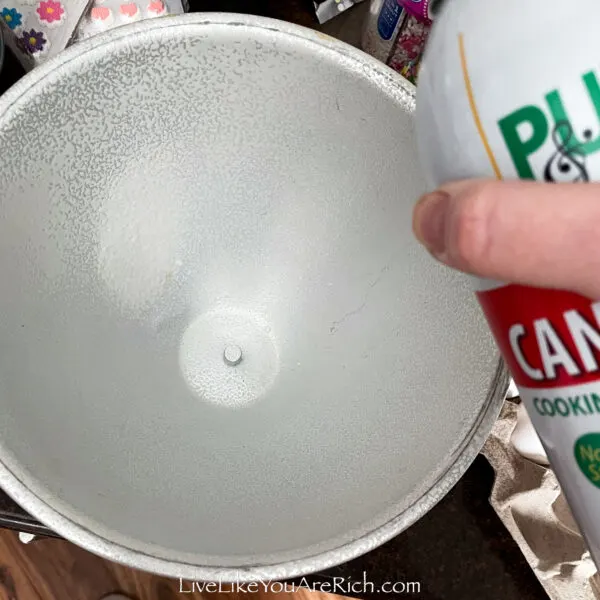
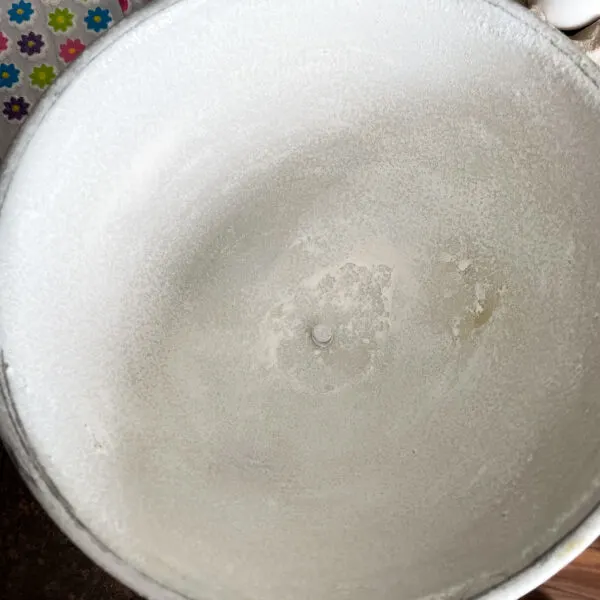
2- Clean, spray, and flour a Barbie doll mold pan.
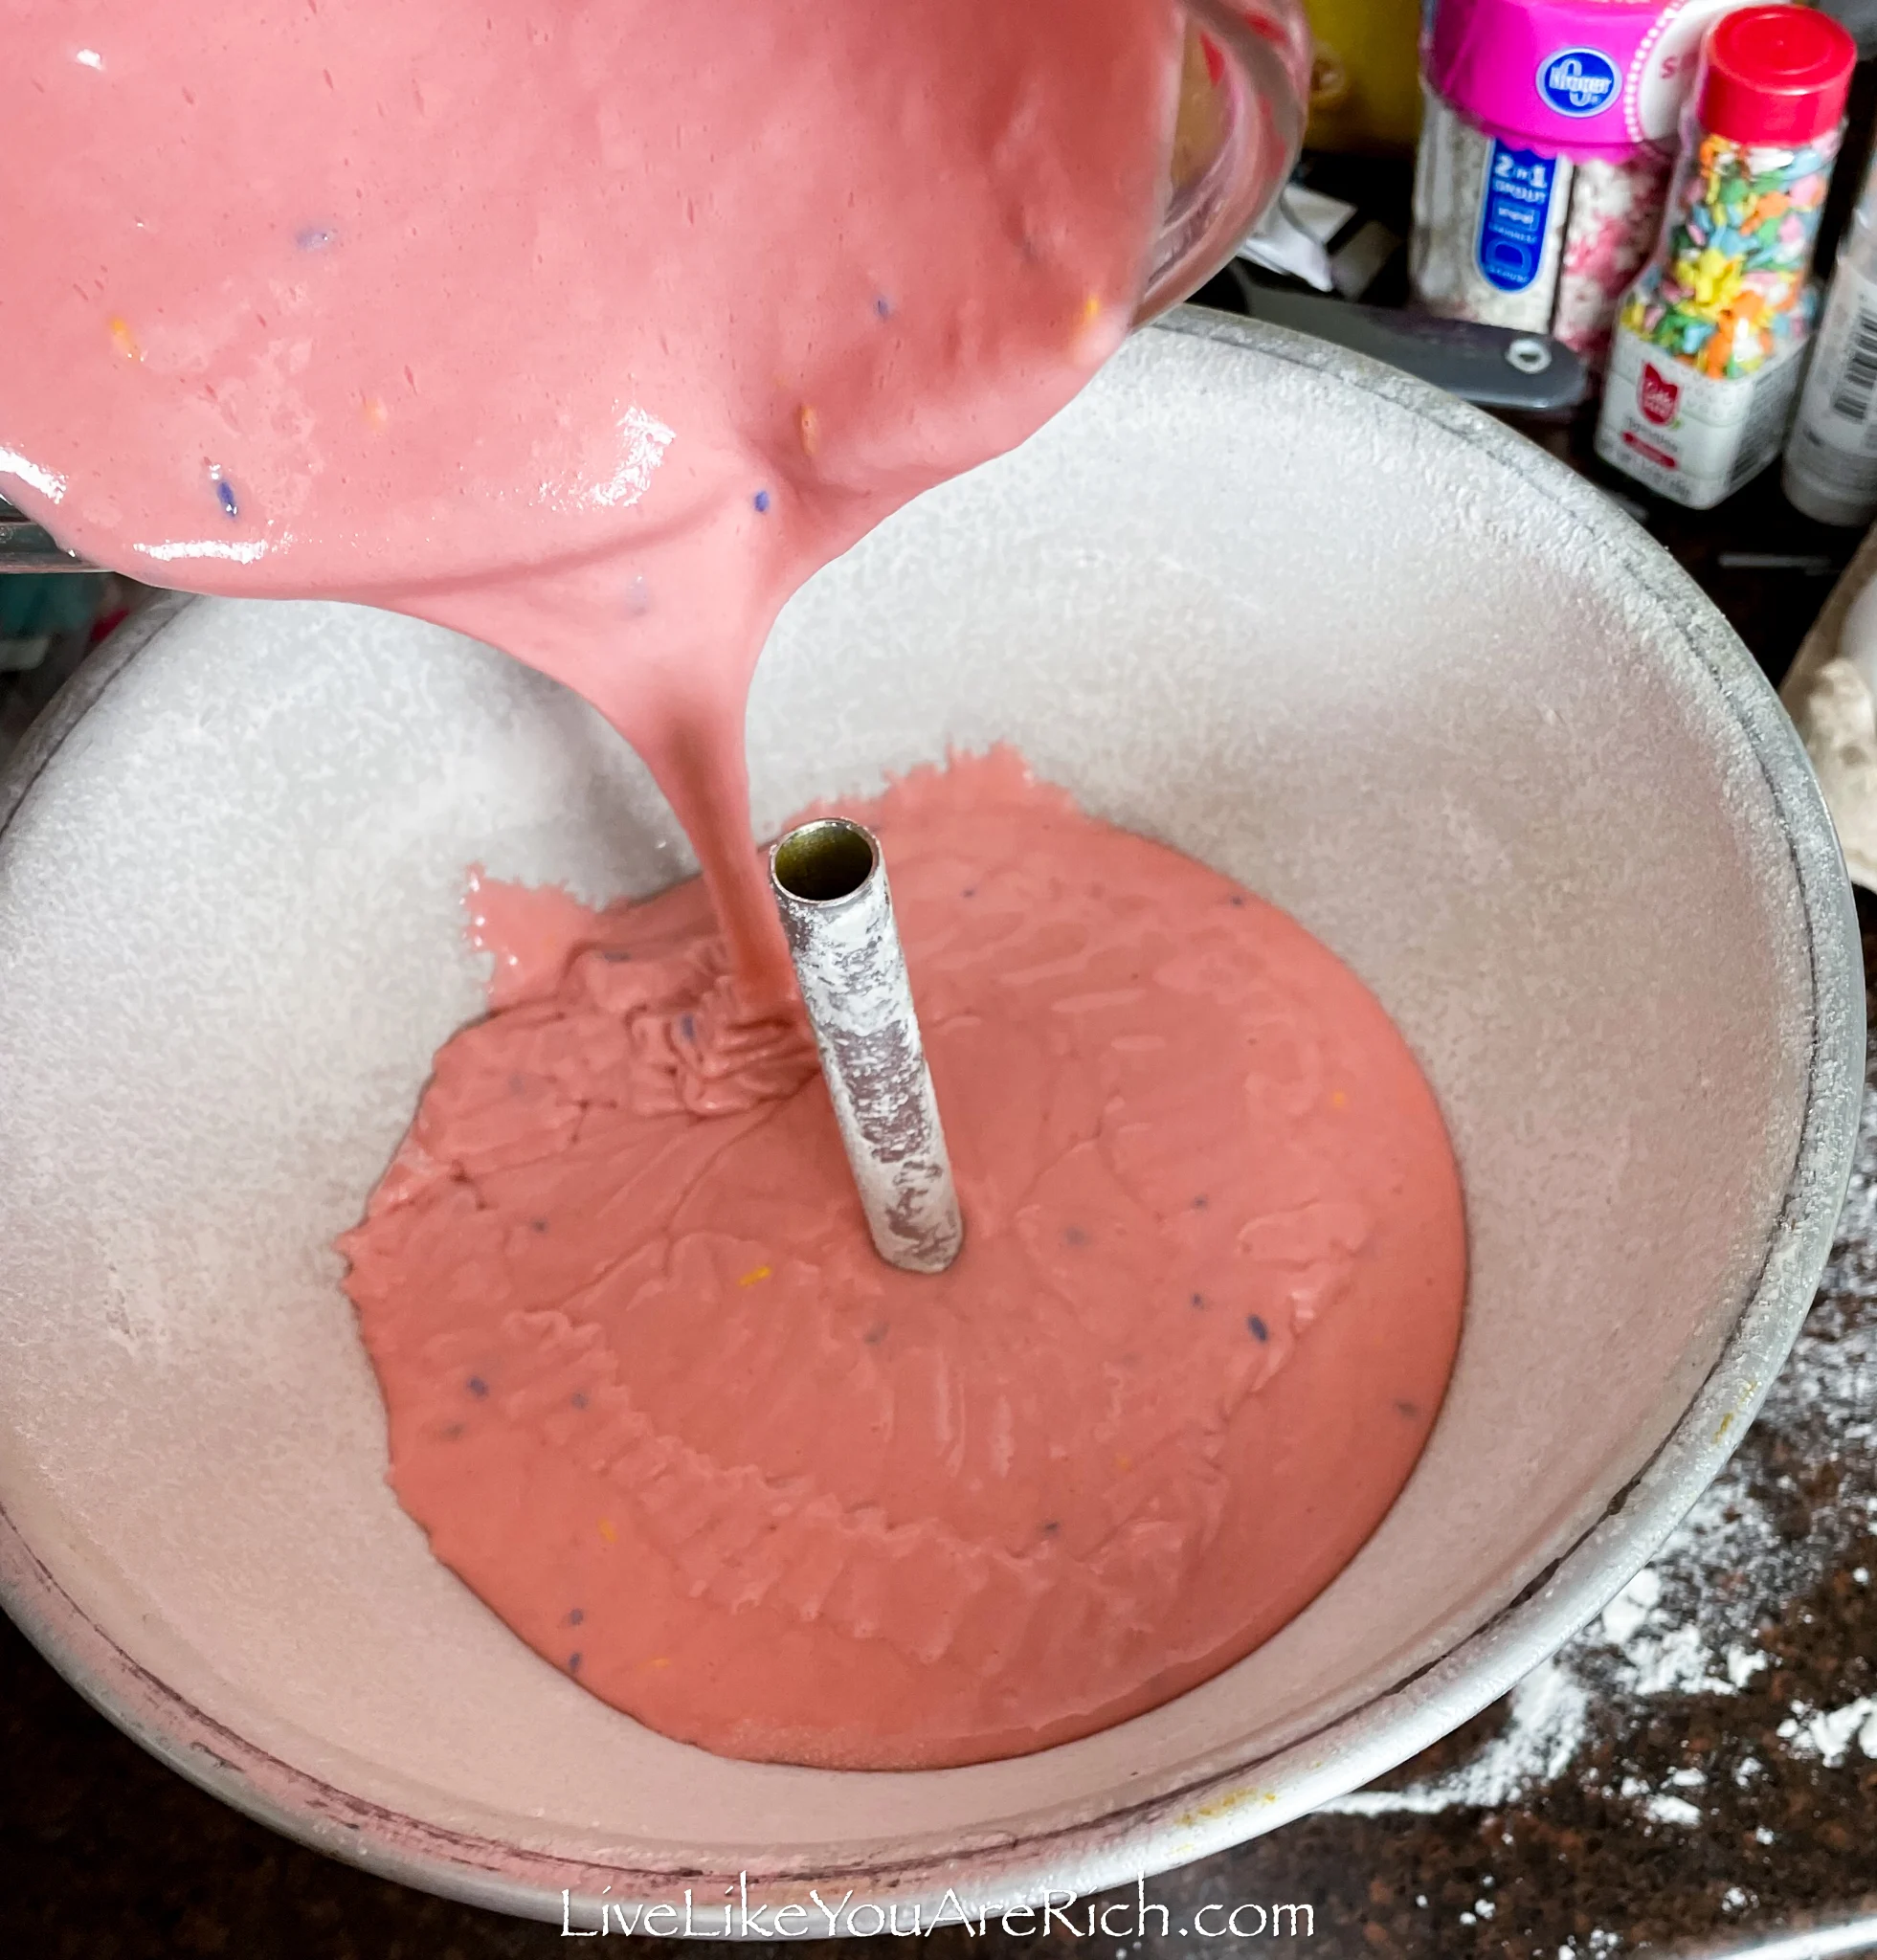
3- Mix up this recipe for the best vanilla cake recipe or mix 2 boxes of cake mix (about 6 Cups of mixed batter) and pour it into the cake pan.
4- IF using 2 cake mix boxes bake the cake for 70 minutes or so. Begin checking at 60 minutes and take out of the oven once a long thin skewer or toothpick pushed down far comes out clean. For the vanilla cake recipe on this blog, start checking it at 35 minutes.
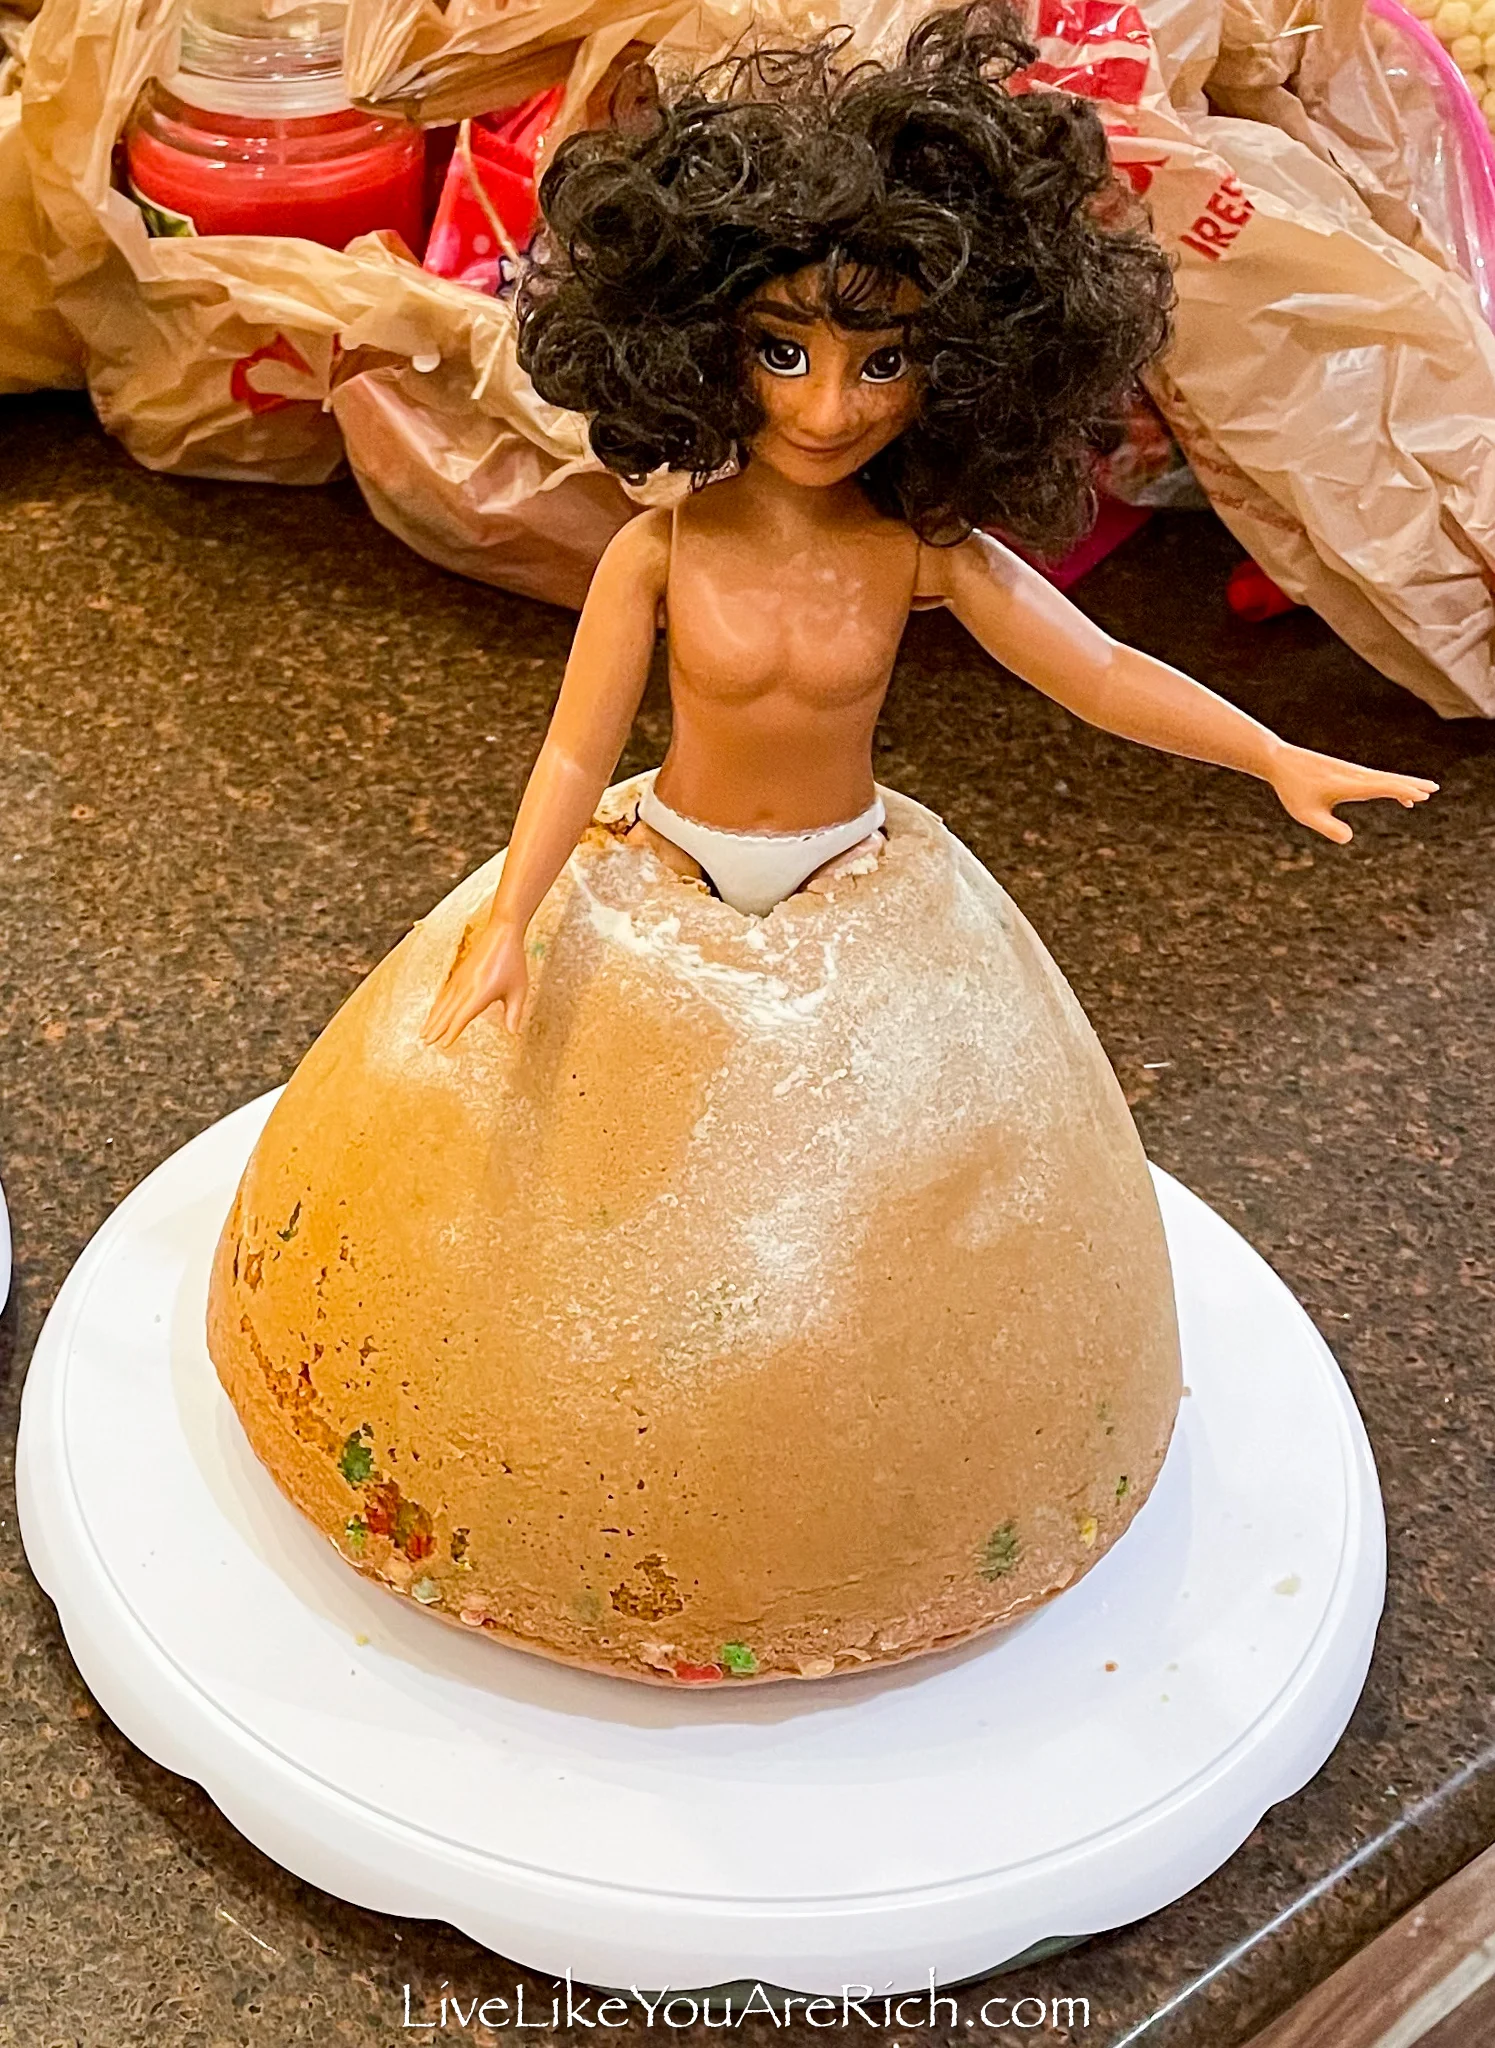
5- Let cool completely then turn out onto a cake decorating turn table. Insert an undressed Mirabel doll.
6- Mix up 1/2 of the frosting recipe located here (mix 1/4 C milk in it to create frosting for a crumb coat).
7- Spread the crumb coat on Mirabel’s body, upper arms, and the cake.
8- Let the crumb coat set for about 15 minutes and come back and smooth out bumps and bubbles with an icing spatula or straight edge.
9- Place the cake in the fridge for at least a few hours for the crumb coat to harden.
10- Mix up the full frosting recipe here and do not add milk as you did with the crumb coat.
11- Color 1/2 of the frosting with turquoise and blue food coloring (reserve 1/2 of the recipe for the designs on her skirt)
12- Ice 1/3 of the top of the dress in a light turquoise color.
13- Add more turquoise, blue, and green to get a darker color to the remainder of the icing and ice the middle of the dress.
14- Put food coloring on the edge of a spatula and go around the dress to separate the two top colors (see video). Smooth/blend with the straight edge of the icing spatula.
15- Add more turquoise, blue, and green to the remaining turquoise icing to get an even darker color, then ice the bottom of the dress.
16- Put pure food coloring on the edge of a spatula and go around the mid-bottom section of the dress to separate the two bottom colors (see video). Blend with a straight edge or icing spatula.
17- Smooth and smooth the frosting on the dress until you have a nice smooth surface. Use an icing spatula or straight edge to do this. This will give it a nice ombre look and a great base to add to the designs.
18- Using an icing tip (slit tip) add some turquoise icing to Mirabel’s waistline to make Mirabel’s belt.
19- Clean up the cake turn stand and put the cake back in the fridge to set/cool.
20- Using the remainder 1/2 icing, divide it into 7 bowls (there should be more pink and purple than the other colors). Use food coloring to mix up 7 colors you’ll need bright yellow, bright pink, purple, bright green, black, bright orange, and white. See the supply list for the brand of food coloring I used.
21- Put these different colors in their own individual piping bags and cut off a tiny bit of the tip with scissors (no piping tip needed if you cut the bag small enough).
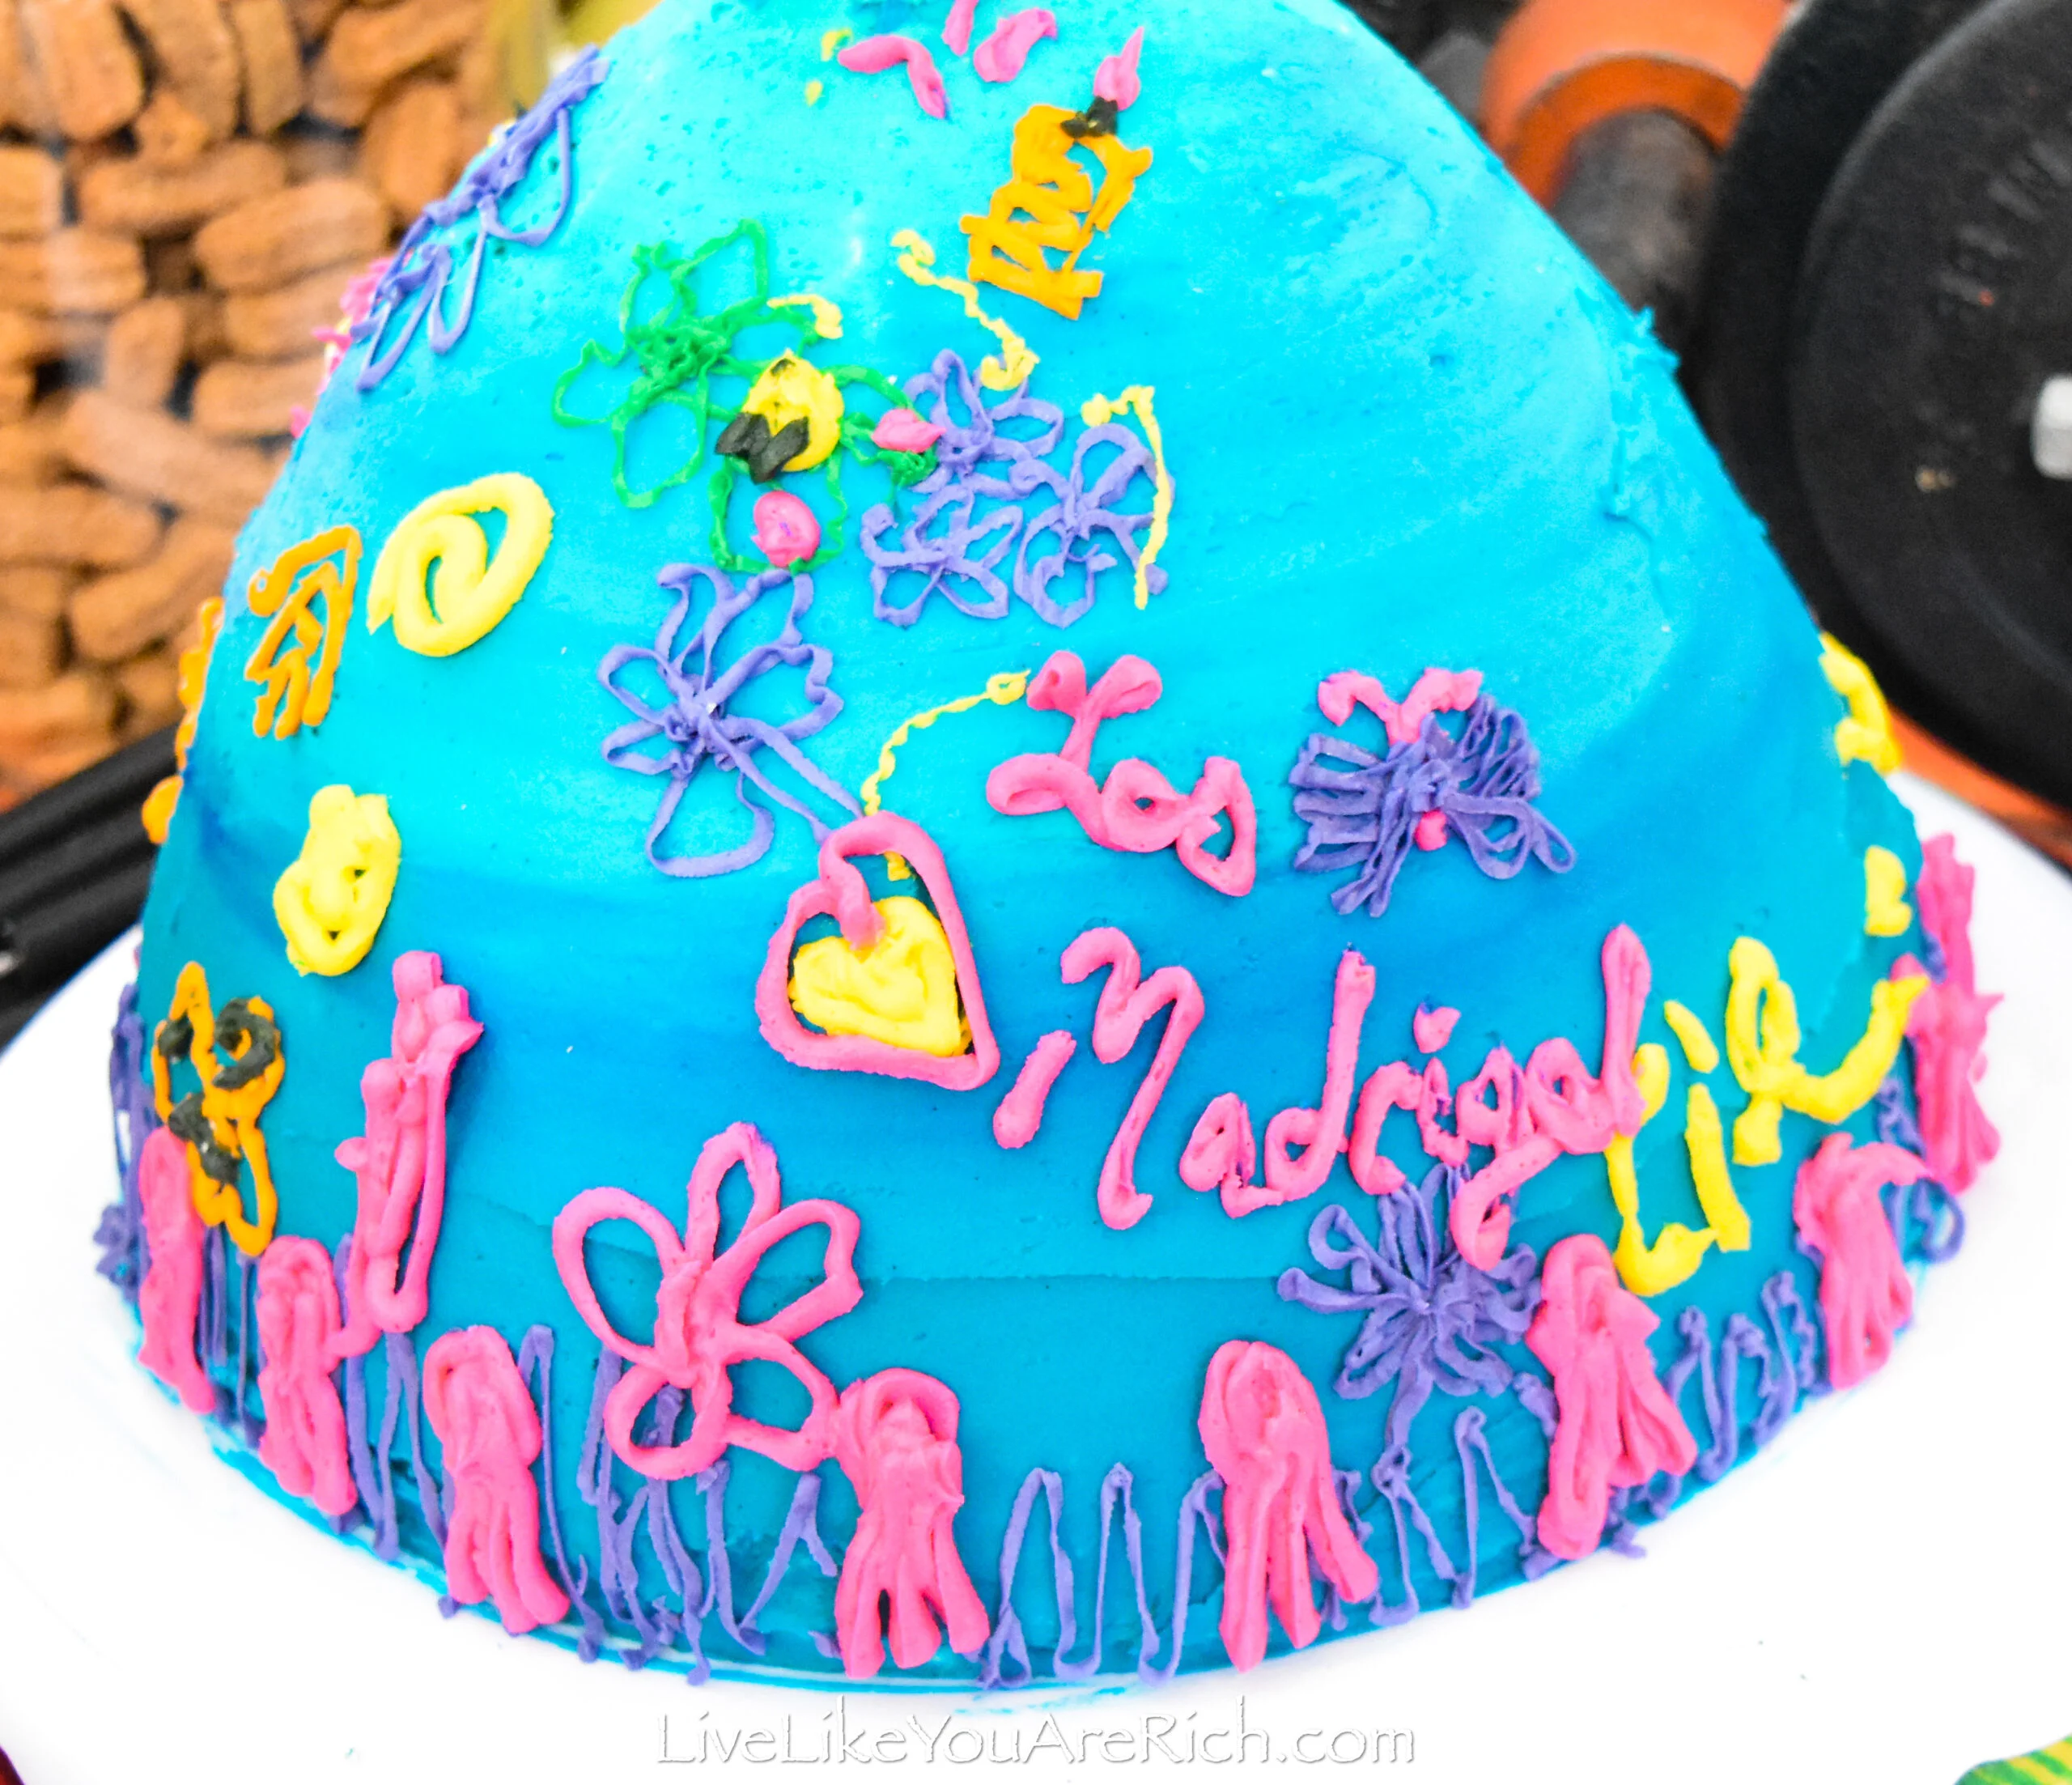
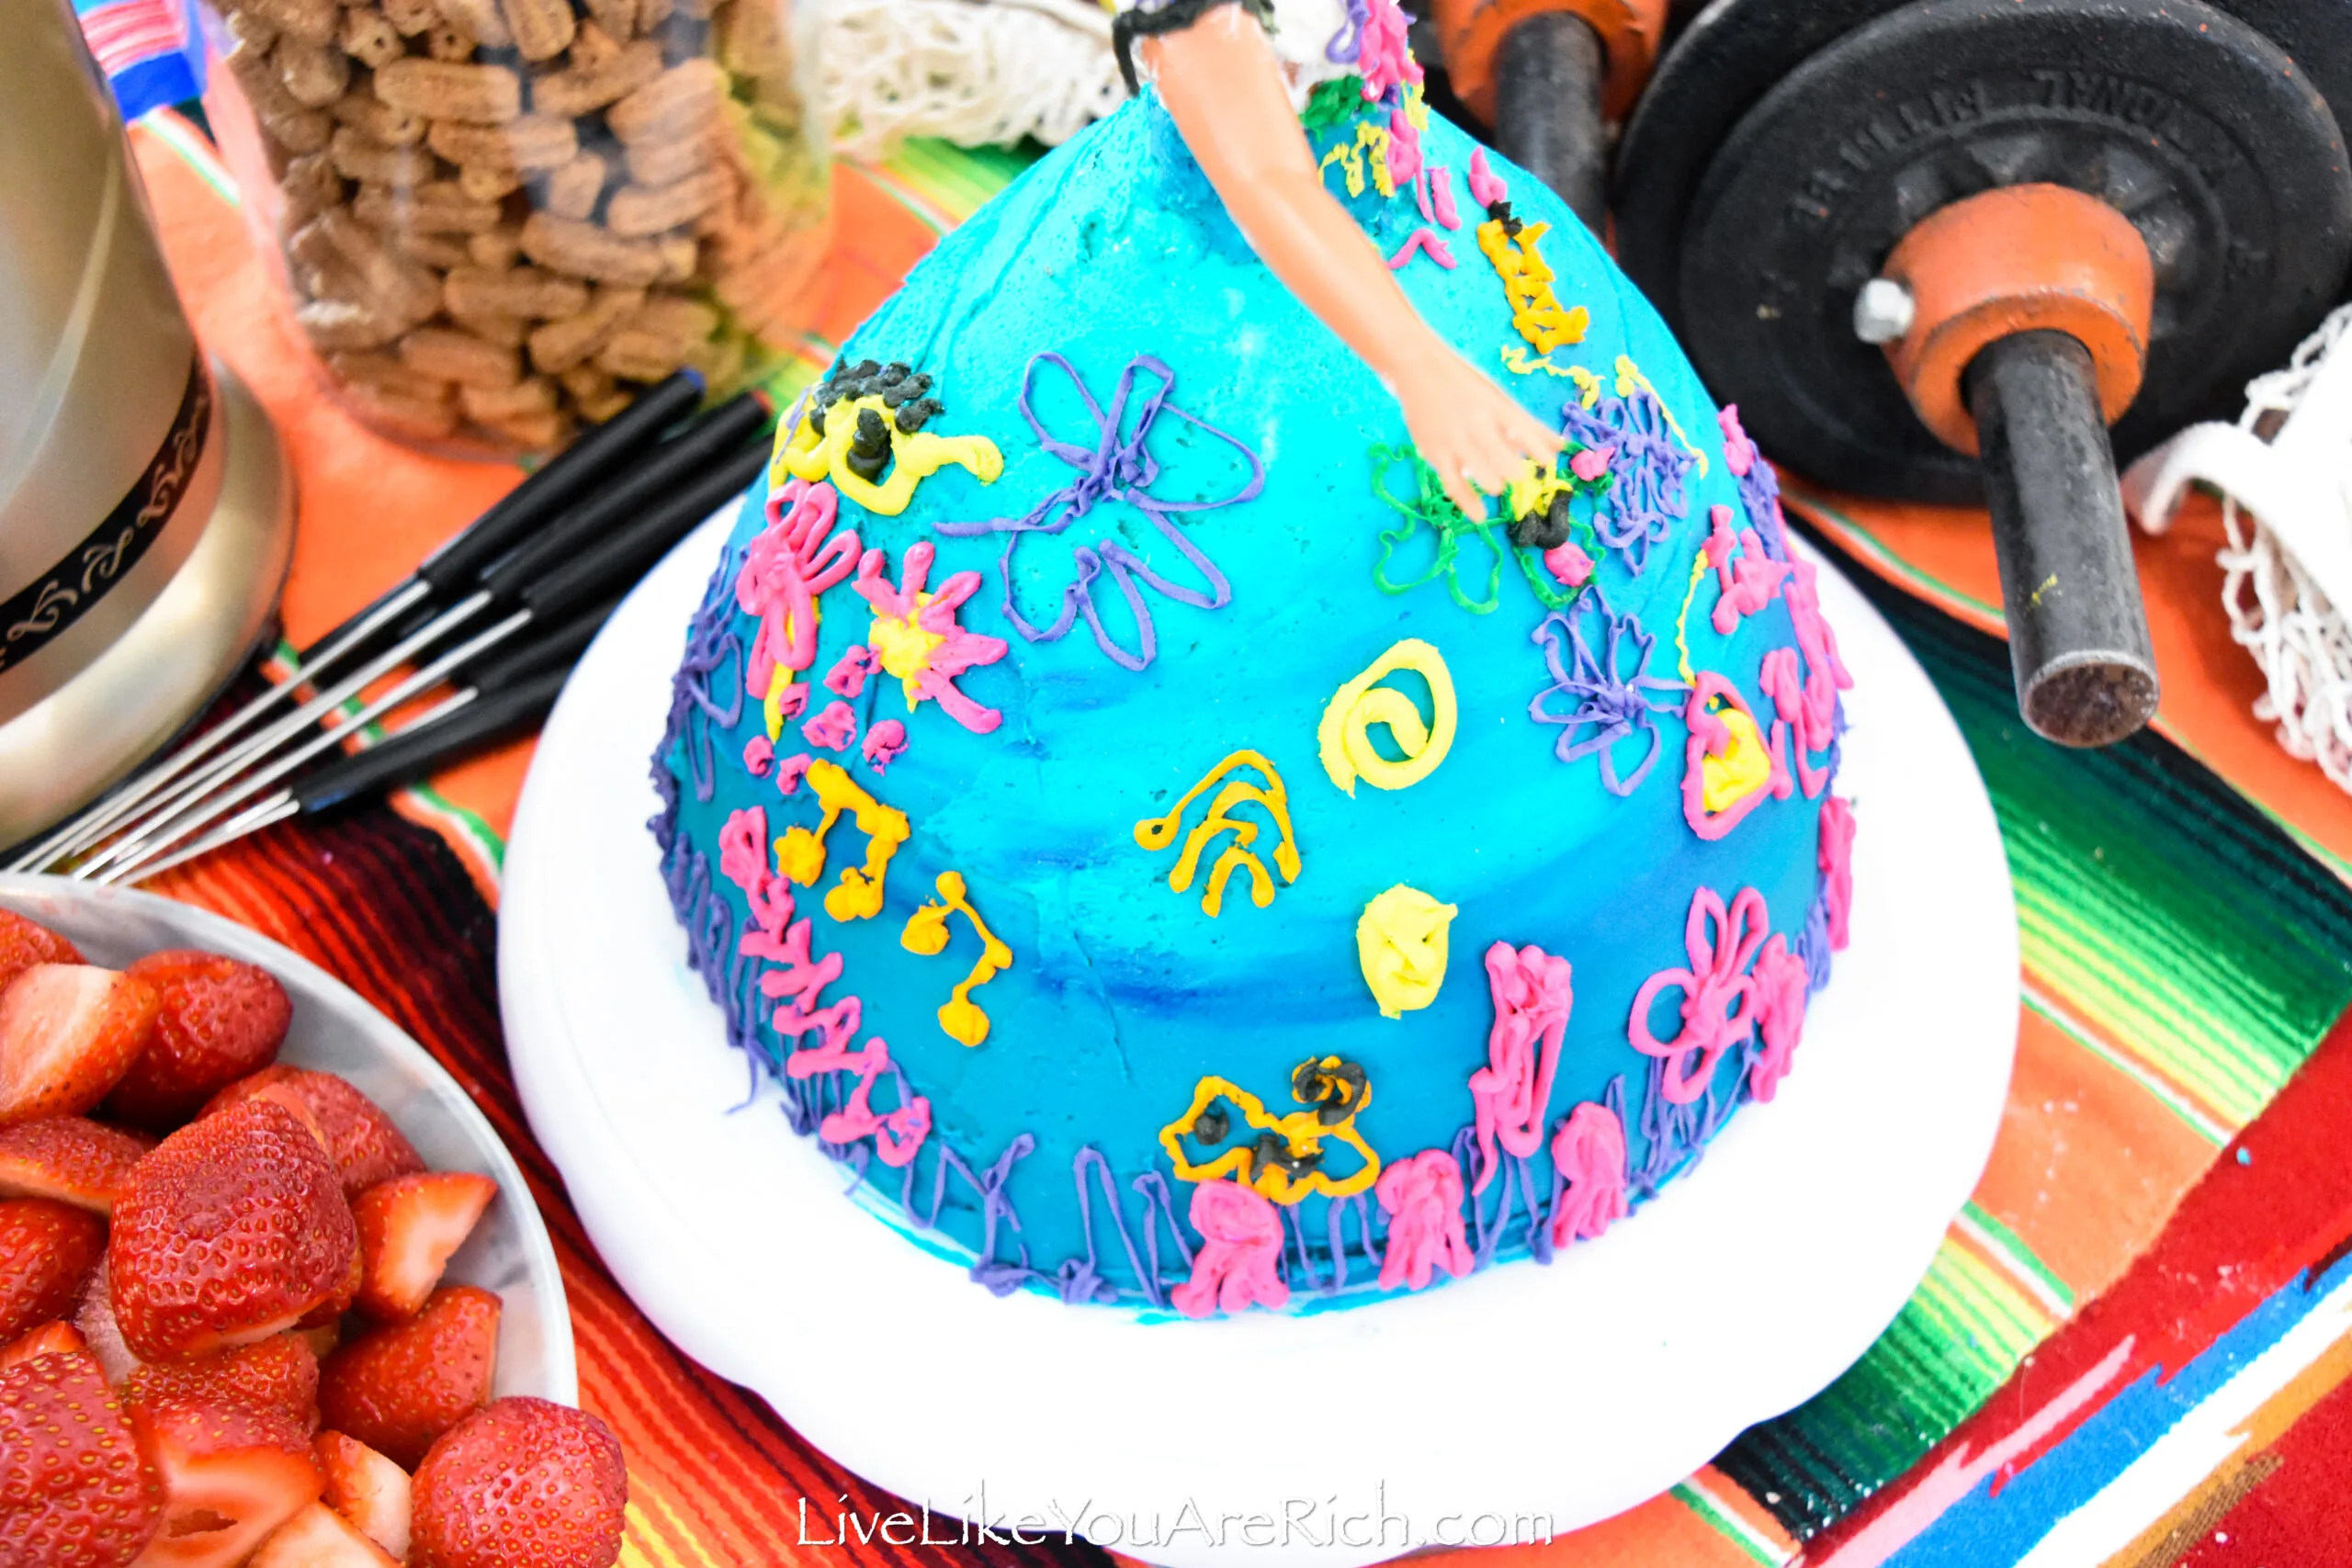
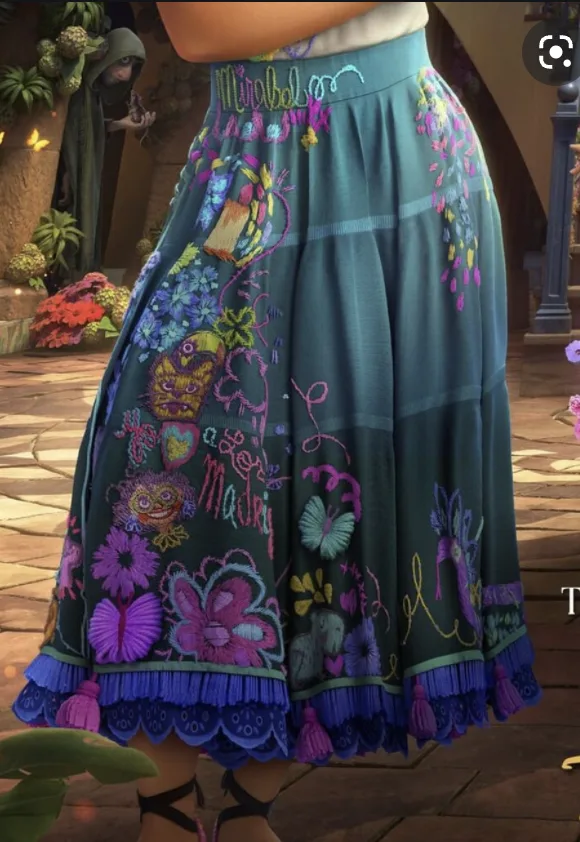
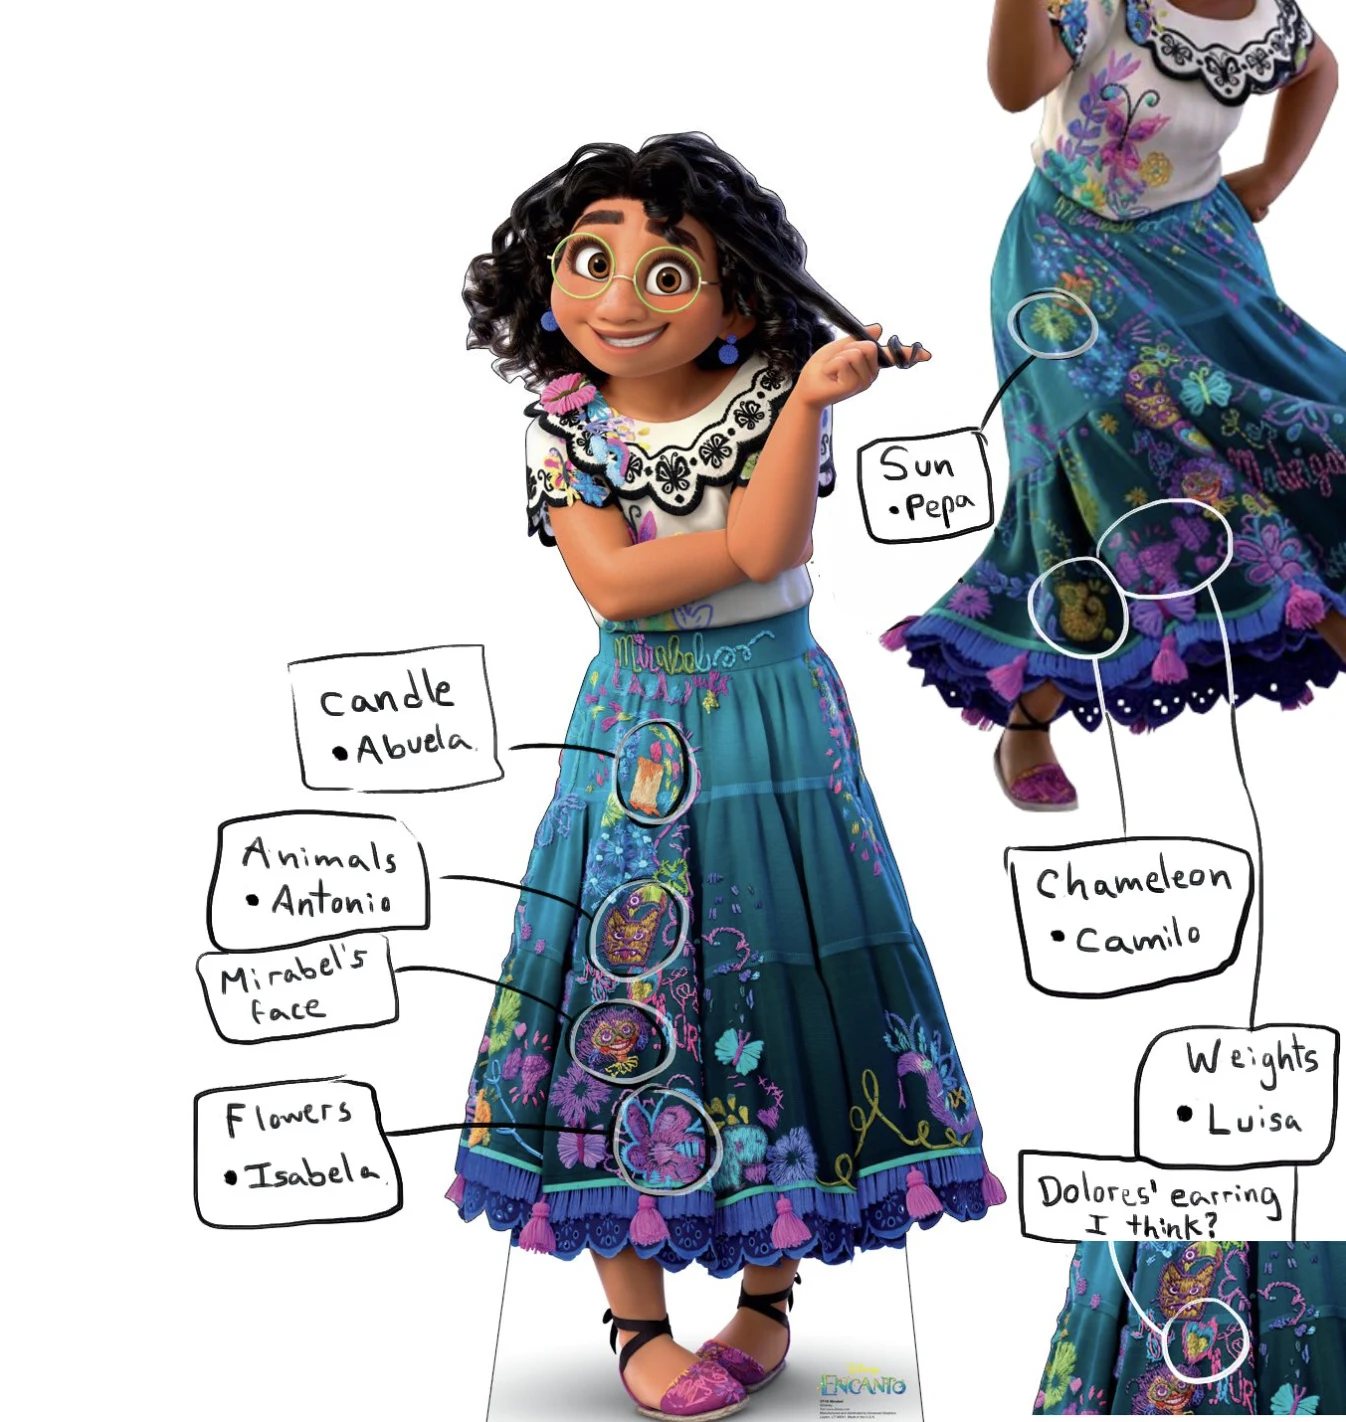
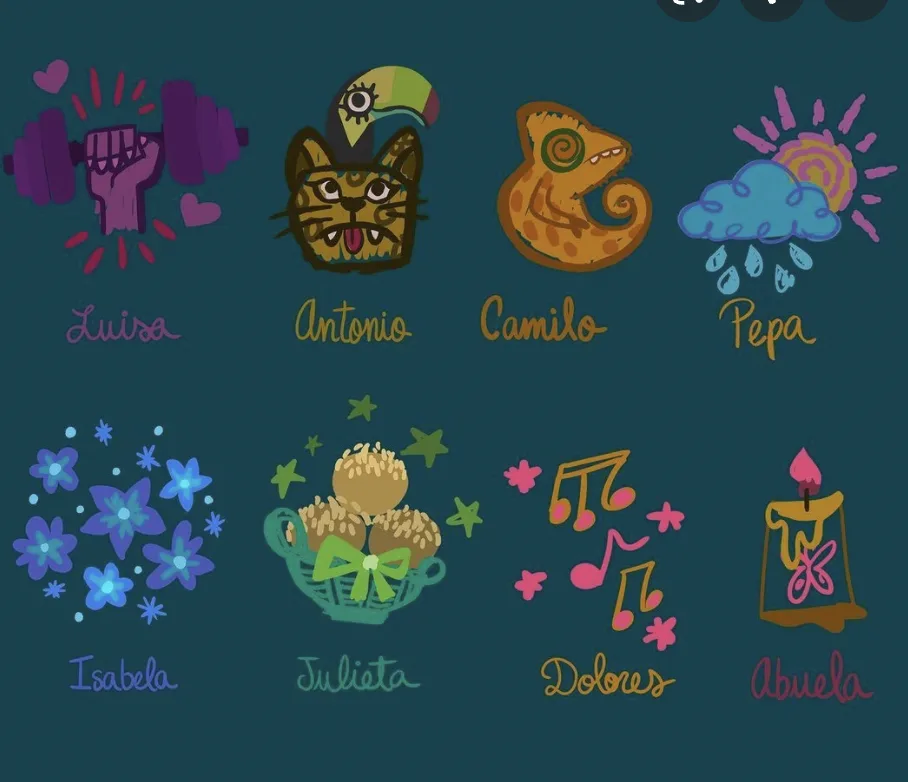
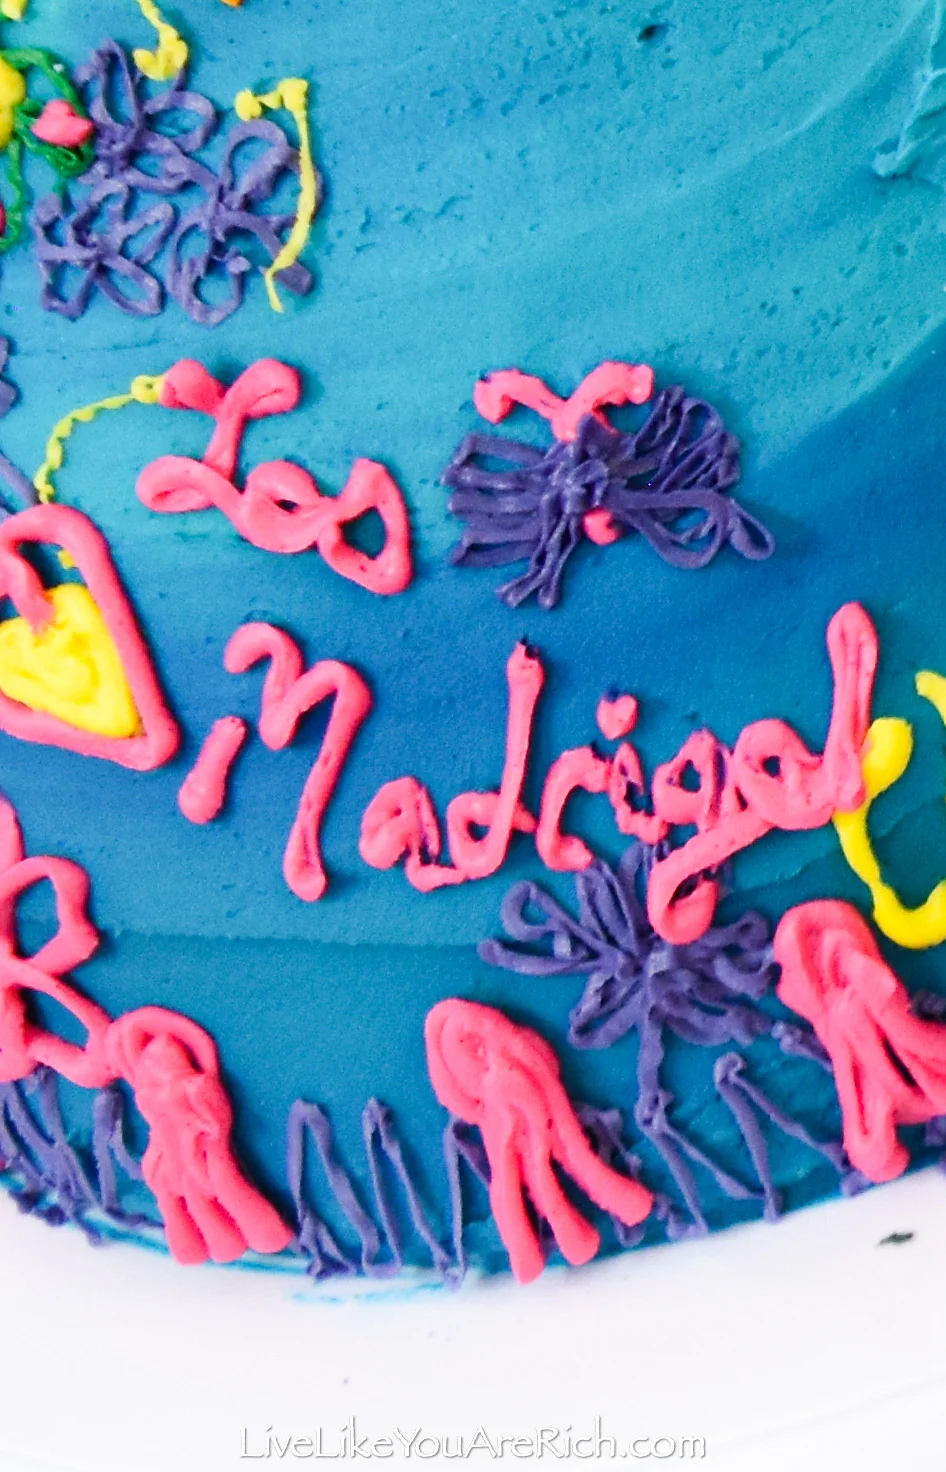
22- On a food cutting mat or board, practice making the dress designs. You can use the images here or video to help you.
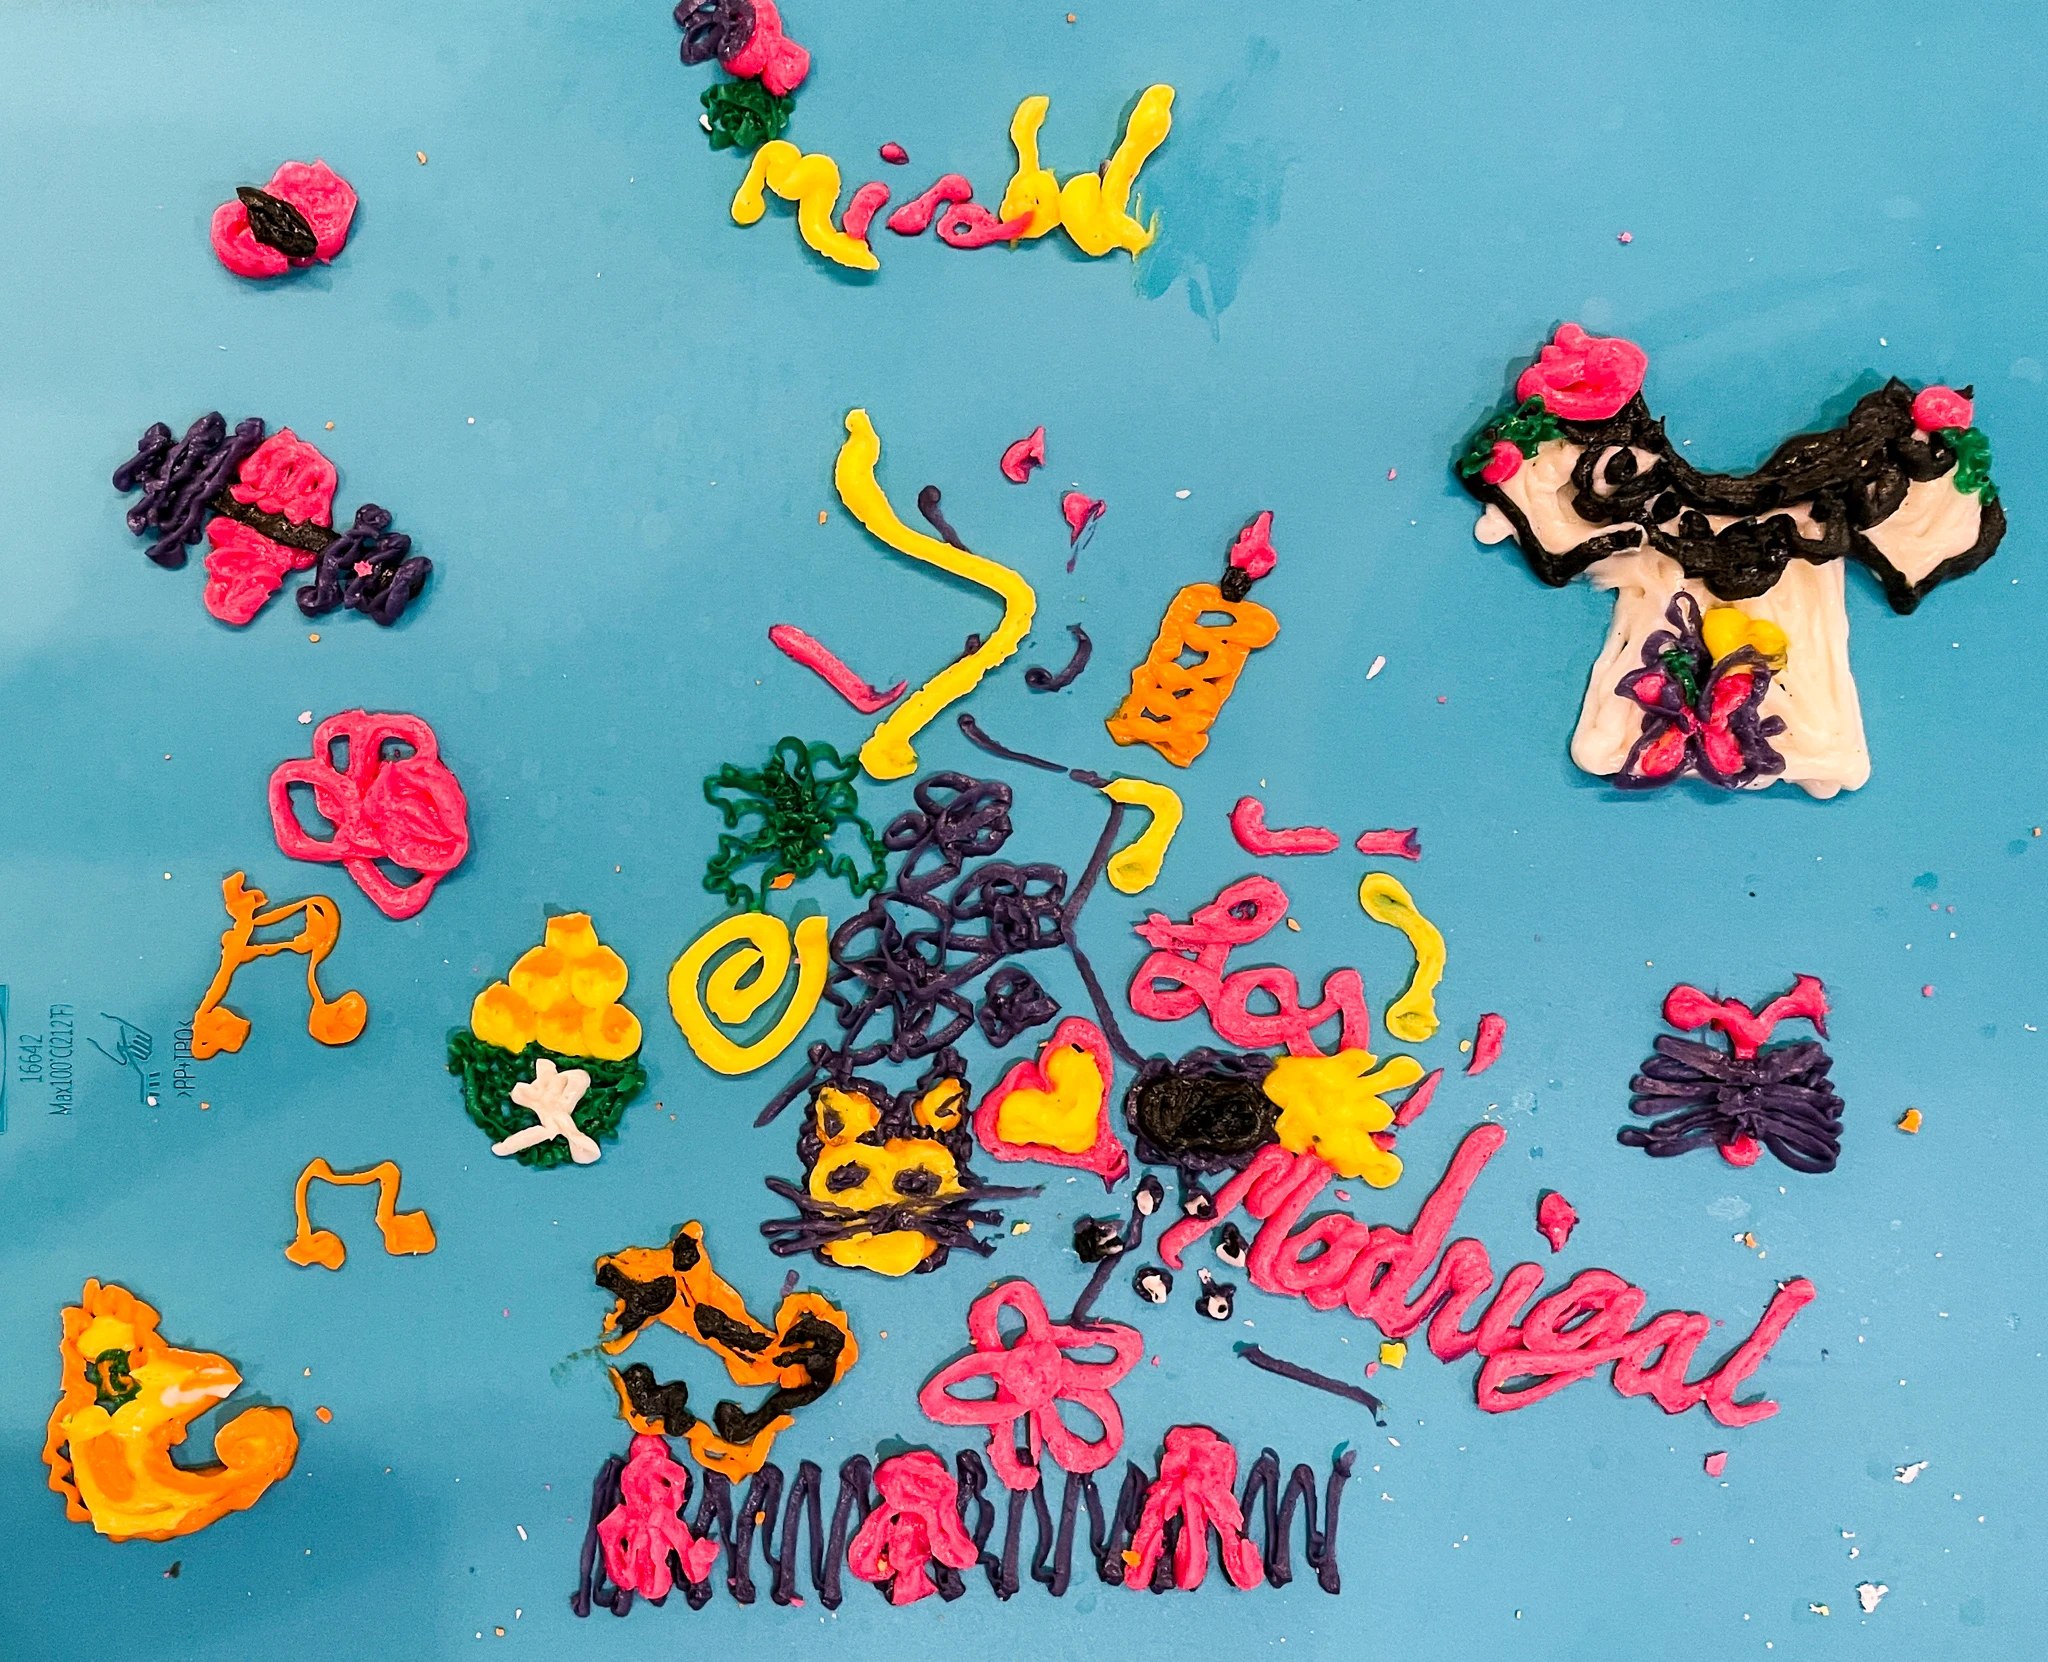
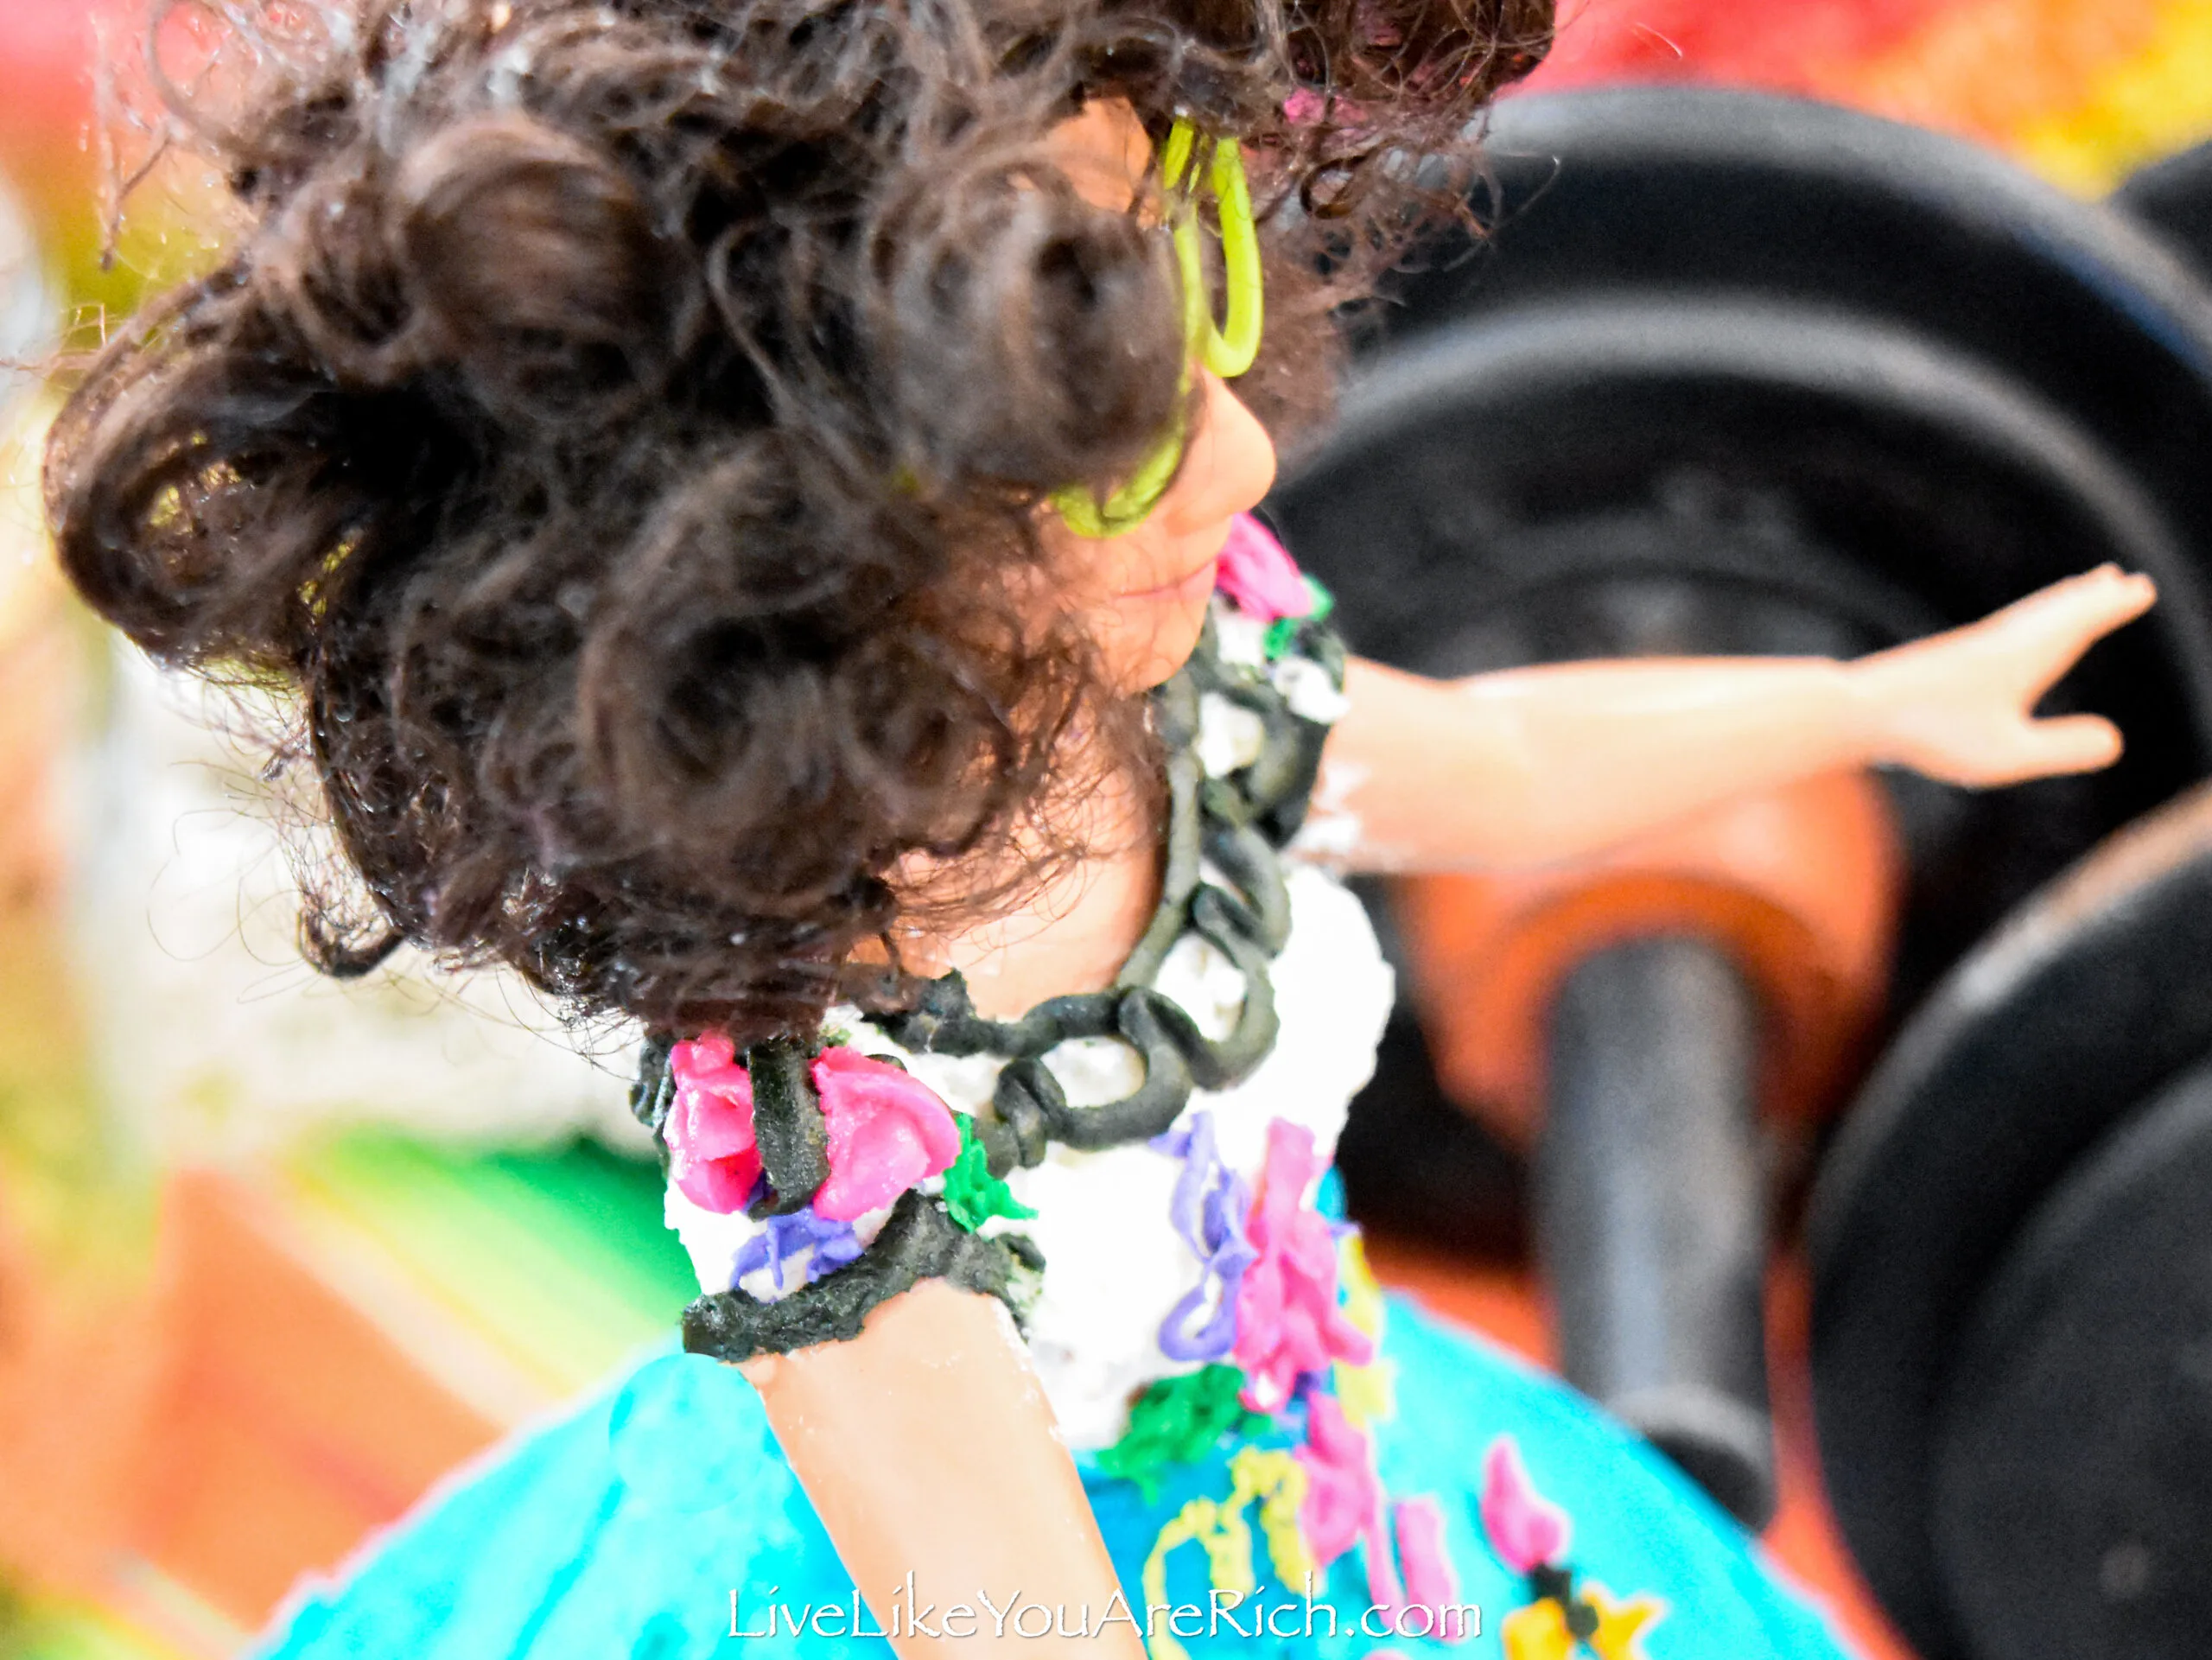
23- Once you feel comfortable with the dress designs, pipe them onto Mirabel.
24-Once finished, put the cake in the fridge until it’s time to party.
25- I put candles for the signing of Happy Birthday in the front middle of the cake/dress and I liked the way they looked.
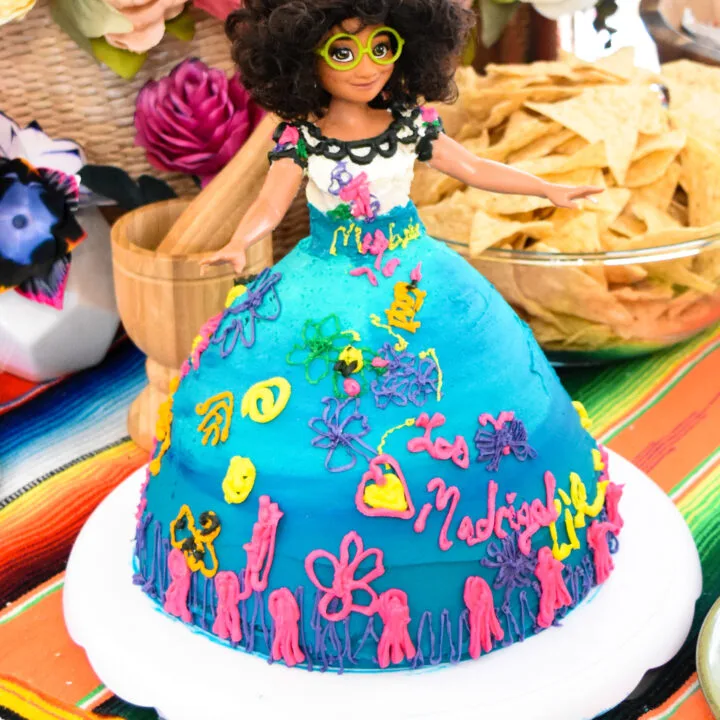
Mirabel Encanto Barbie Doll Cake
Even if you are not a 'professional cake maker' using cake mixes, a barbie doll mold pan, and a proven frosting recipe and food coloring, you can make a beautiful Mirabel cake too. Simply follow this tutorial/video.
Ingredients
- 2 cake mixes and their necessary ingredients to make them
- flour and oil (for pan)
- frosting ingredients (found at: https://livelikeyouarerich.com/the-best-vanilla-bean-frosting/)
- food coloring (see supply list on blog post for specific ones)
Instructions
Watch the video located on blog post and/or continue reading...
1- Preheat oven to 350°F.
2- Clean, spray and flour a barbie cake pan (make sure to follow the cake mold instructions to do this correctly).
3- Mix 2 cake mixes (about 6 Cups of mixed batter) and pour it into the cake pan.
4- Bake the cake for 70 minutes or so. Begin checking at 60 minutes and take out of the oven once a long thin skewer or toothpick pushed down far comes out clean.
5- Let cool completely then turn out onto a cake decorating turn table. Insert an undressed Mirabel doll.
6- Mix up the frosting recipe here (half it and add 1/4 C milk to it for a crumb coat).
7- Spread the crumb coat on Mirabel's body, upper arms and the cake.
8- Let the crumb coat set for about 15 minutes and come back and smooth it over again with an icing spatula or straight edge.
9- Place the cake in the fridge for at least a few hours for the crumb coat to harden.
10- Mix up the full frosting recipe here and do not add milk as you did with the crumb coat.
11- Color 1/2 of the frosting with turquoise and blue food coloring (reserve 1/2 of the recipe for the designs on her skirt)
12- Ice 1/3 of the top of dress in a light turquoise color.
13- Add more turquoise, blue and green to get a darker color to the remainder of the icing and ice the middle of the dress.
14- Put food coloring on the edge of a spatula and go around the dress to separate the two top colors (see video). Smooth/blend with a straight edge of icing spatula.
15- Add more turquoise, blue and green to the remaining turquoise icing to get an even darker color, then ice the bottom of the dress.
16- Put pure food coloring on the edge of a spatula and go around the mid bottom section of dress to separate the two bottom colors (see video). Blend with a straight edge or icing spatula.
17- Smooth and smooth the frosting on the dress until you have a nice smooth surface. Use an icing spatula or straight edge to do this. This will give it a nice ombre look and a great base to add the designs to.
18- Using a icing tip (slit tip) add some turquoise icing to Mirabel's waist line to make Mirabel's belt.
19- Clean up the cake turn stand and put the cake back in the fridge to set/cool.
20- Using the remaineder 1/2 icing, divide it into 7 bowls (there should be more pink and purple than the other colors). Use food coloring to mix up 7 colors you'll need bright yellow, bright pink, purple, bright green, black, bright orange, and white. See the supply list for the brand of food coloring I used.
21- Put these different colors in their own individual piping bags and cut off a tiny bit of the tip with scissors (no piping tip needed if you cut the bag small enough).
22- On a food cutting mat or board, practice making the dress designs. You can use the images on the blog post or video to help you.
23- Once you feel comfortable with the dress designs, pipe them on to Mirabel.
24-Once finished, put the cake in the fridge until its time to party.
25- I put candles for the signing of Happy Birthday in the front middle of the cake/dress and I liked the way they looked.
I hope this tutorial helps you to create a Mirabel Encanto Barbie Doll Cake as well.
CHECK OUT MY OTHER ENCANTO POSTS:
Free Encanto Birthday Party Invitation
La Casita Encanto Party Banner
Disney Encanto’s Birthday Party
Encanto Personalized Gifts for Party Attendees—Free Downloads
Encanto Colombian Party Hats—Free Printable
What’s in Mirabel’s Basket Encanto
Encanto Birthday Party Activity Ideas

For other ‘rich living tips’ please subscribe, like me on Facebook, and follow me on Pinterest and Instagram.

23 Ideas for a Charming Kids' Encanto Birthday Party - FireSwirl
Wednesday 22nd of March 2023
[…] in animals with an Antonio topper. You could showcase Mirabel’s signature dress with a doll dress cake or have cake inspired by Casita with the entire family on […]
24 Best Encanto Cake Ideas - Good Party Ideas
Wednesday 1st of March 2023
[…] 1. Mirabel Doll Cake […]