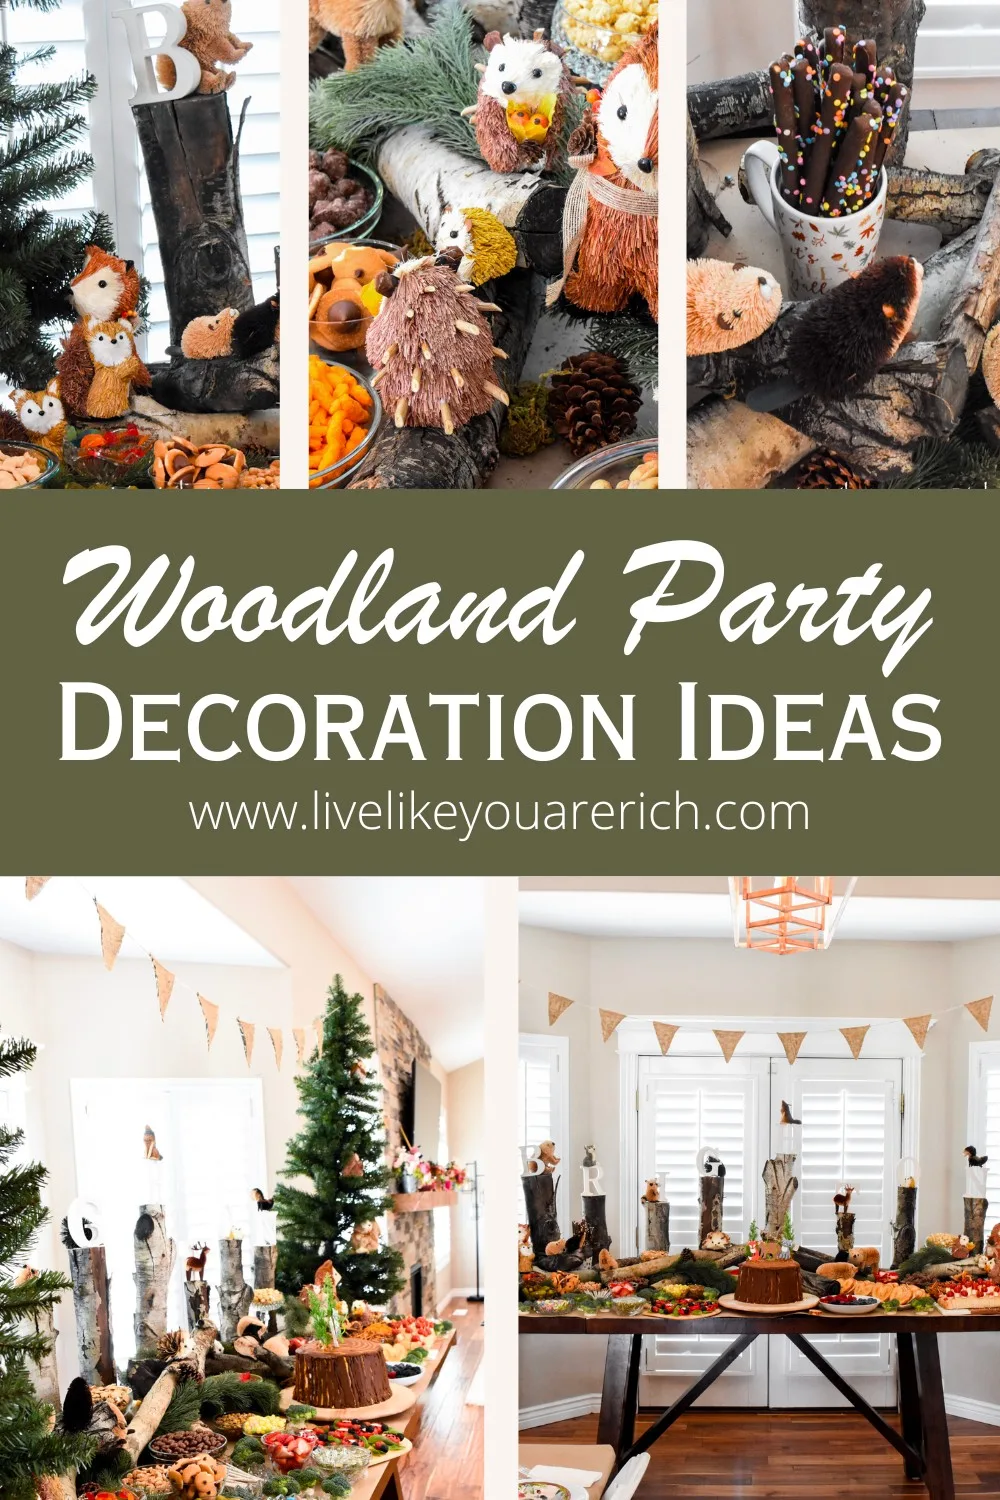
Woodland Party Decoration Ideas
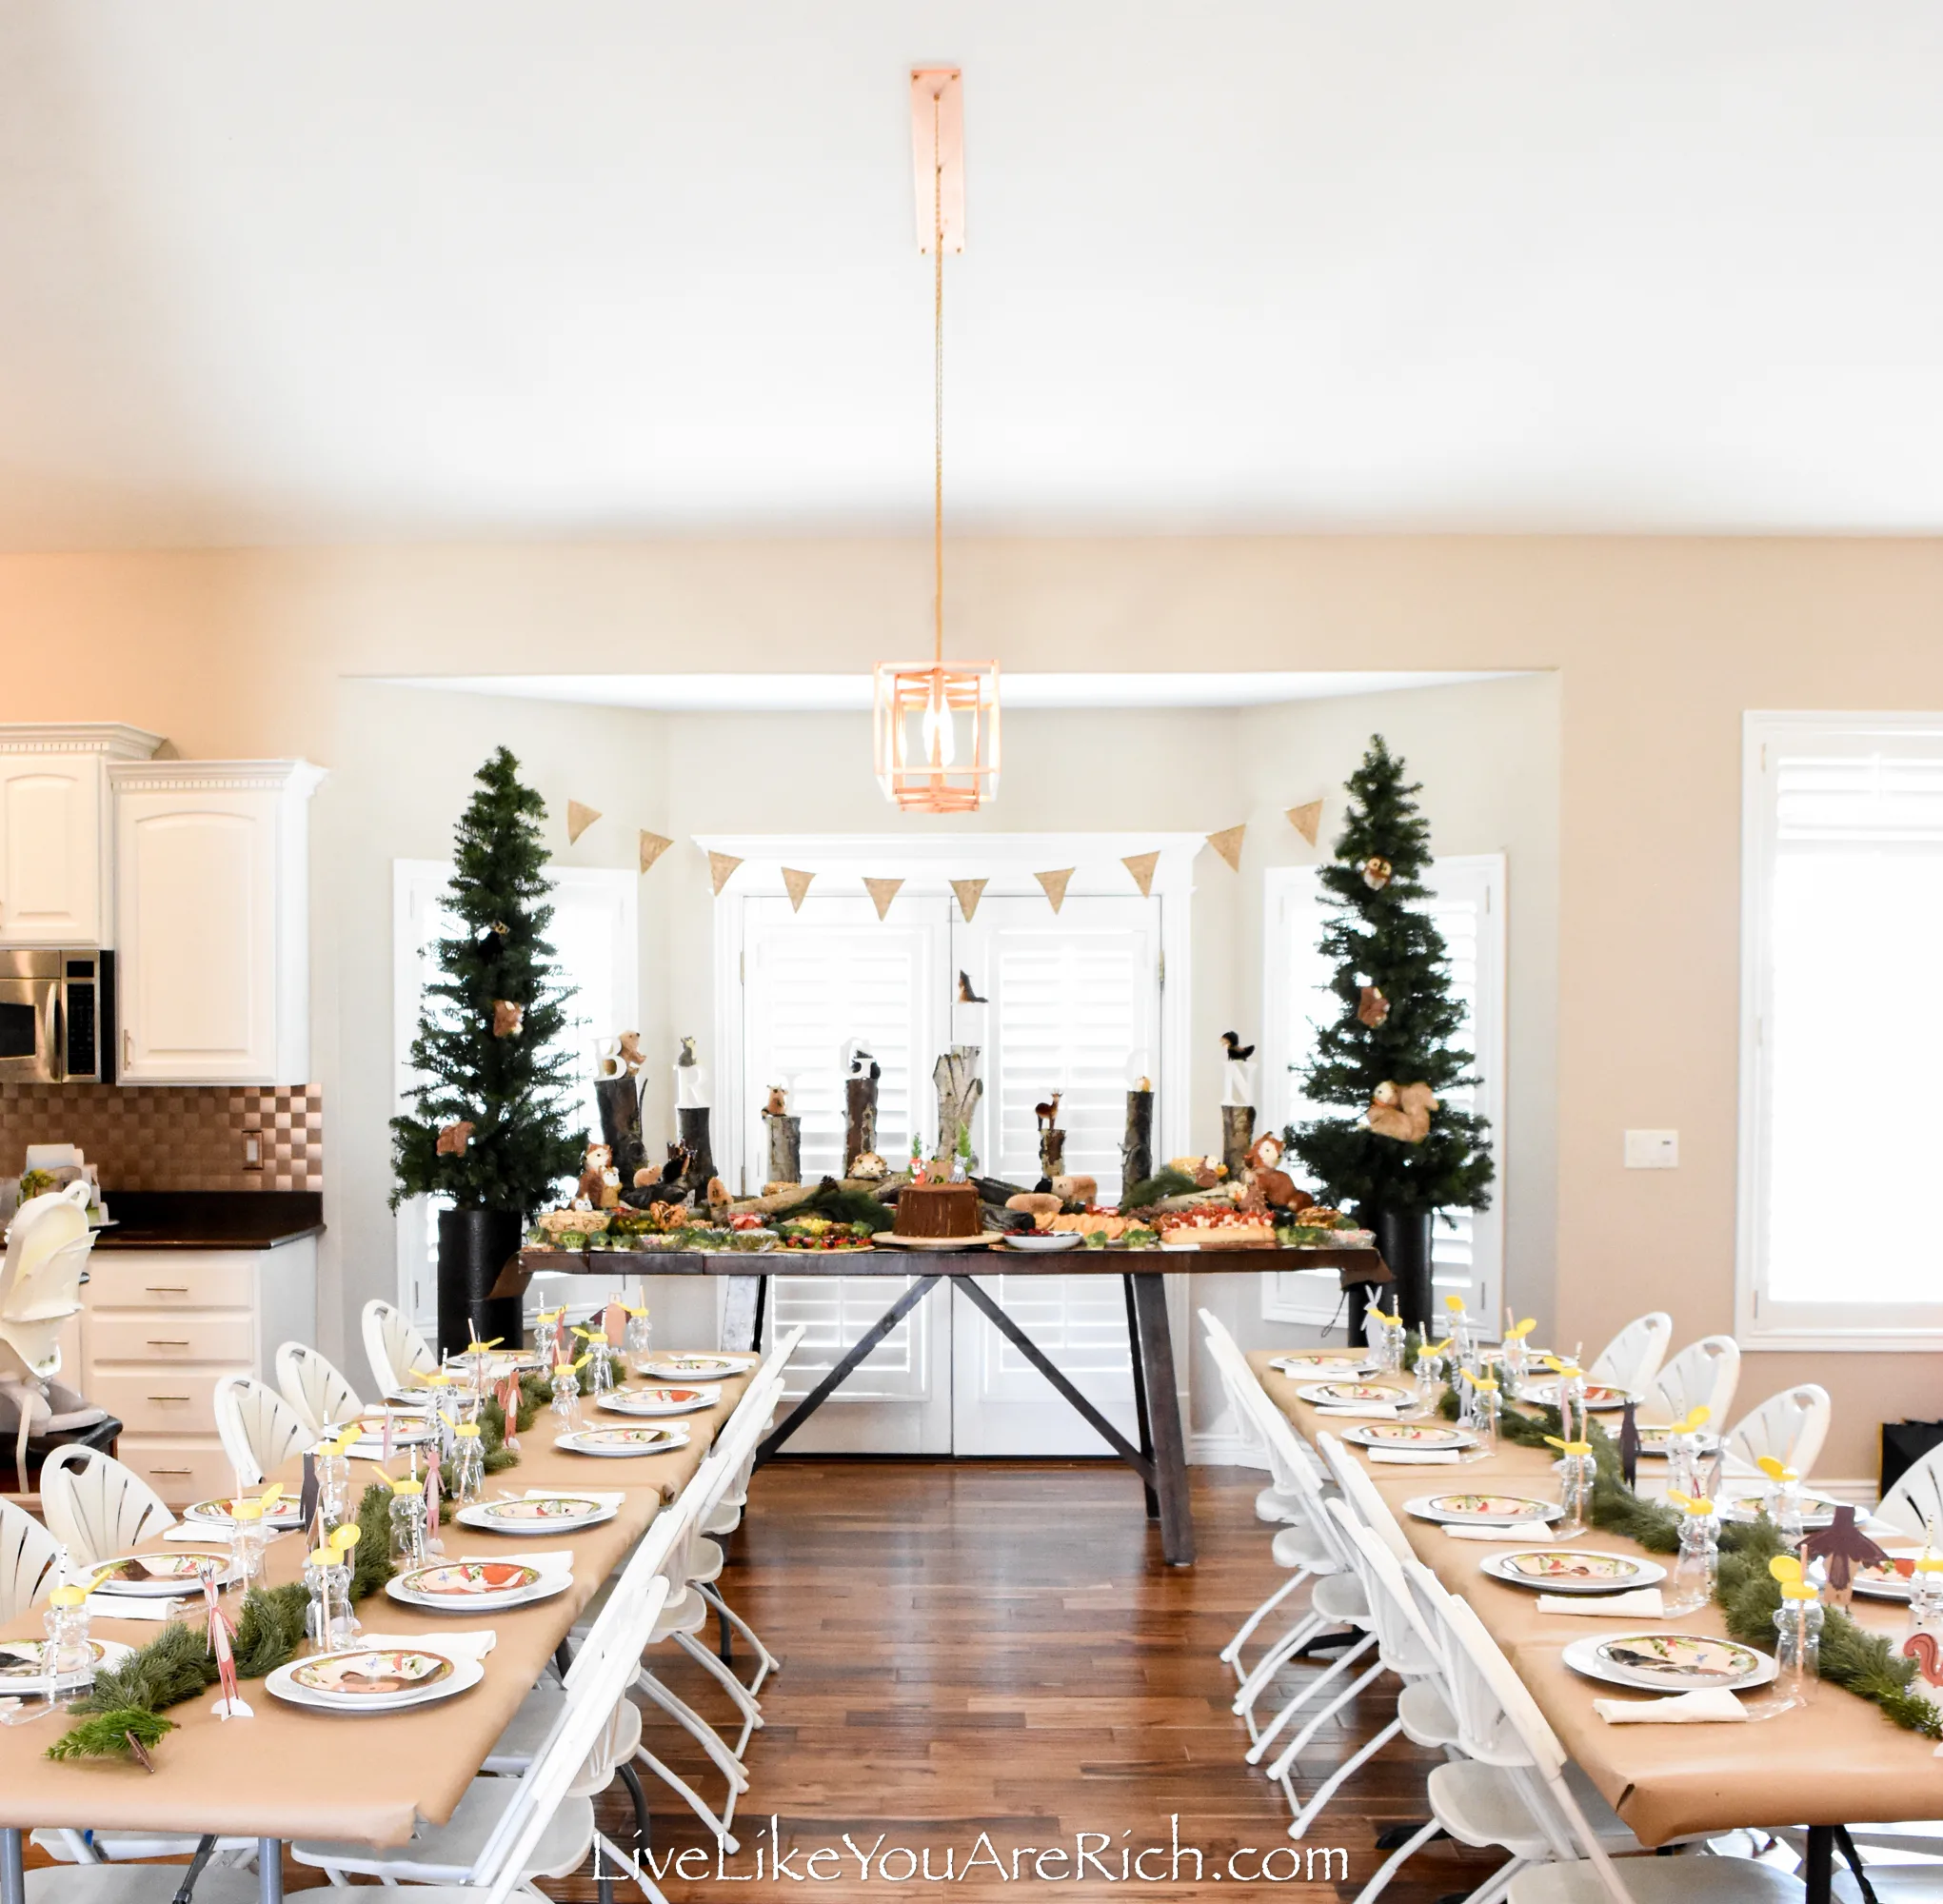
I decorated for a woodland-themed party for my son’s two-year-old birthday.
I decided to try to decorate using items that I had on hand and could forage myself, thereby saving money and getting a more authentic woodland feel using the decorations.
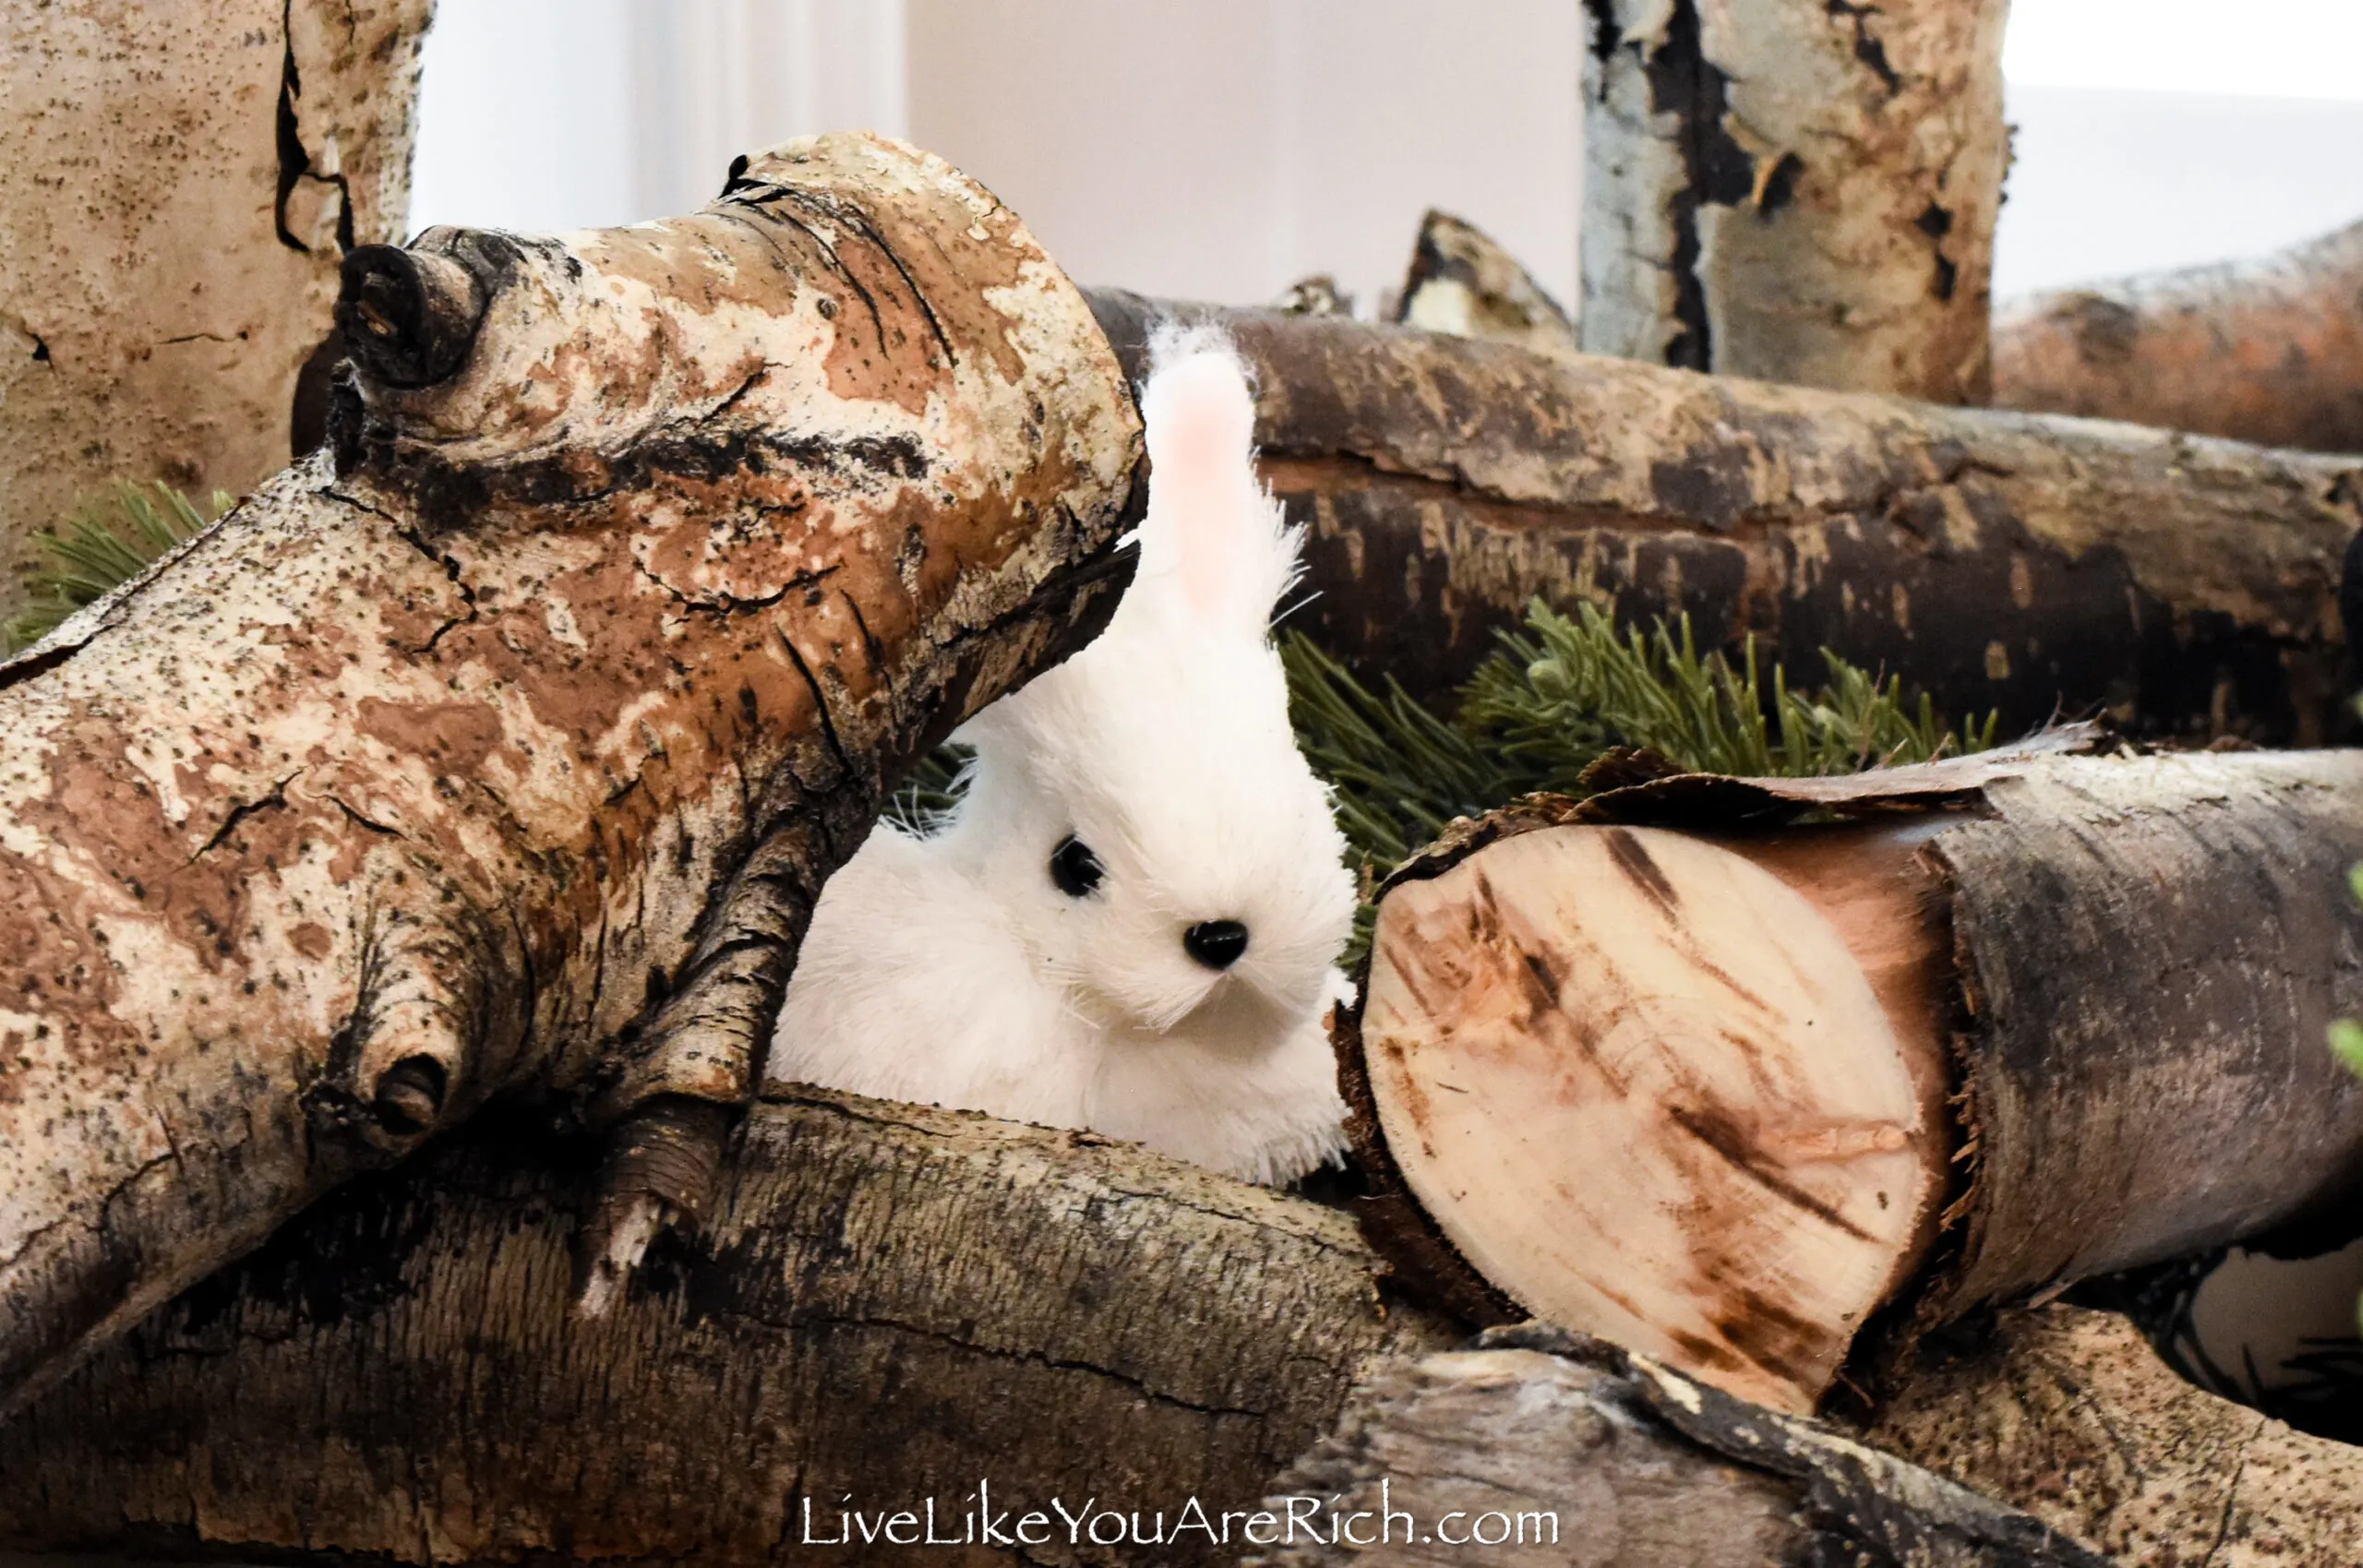
I had some cut logs that were from aspen trees in our backyard. I used these for our Christmas porch decor.
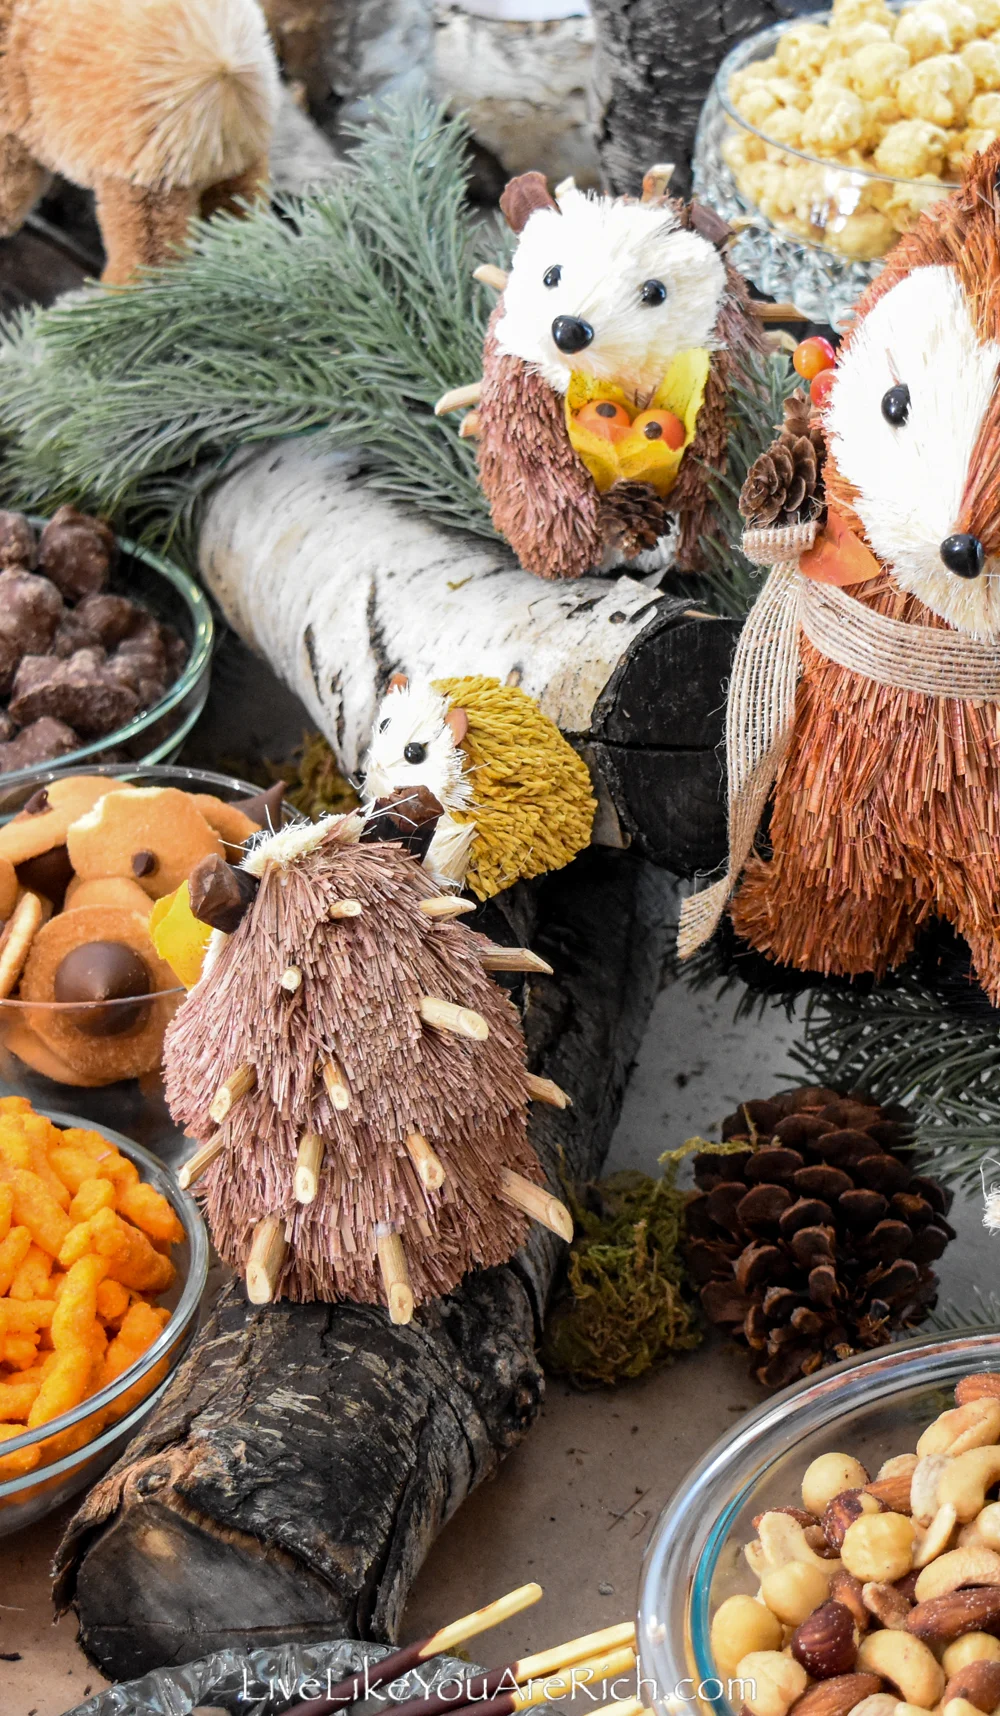
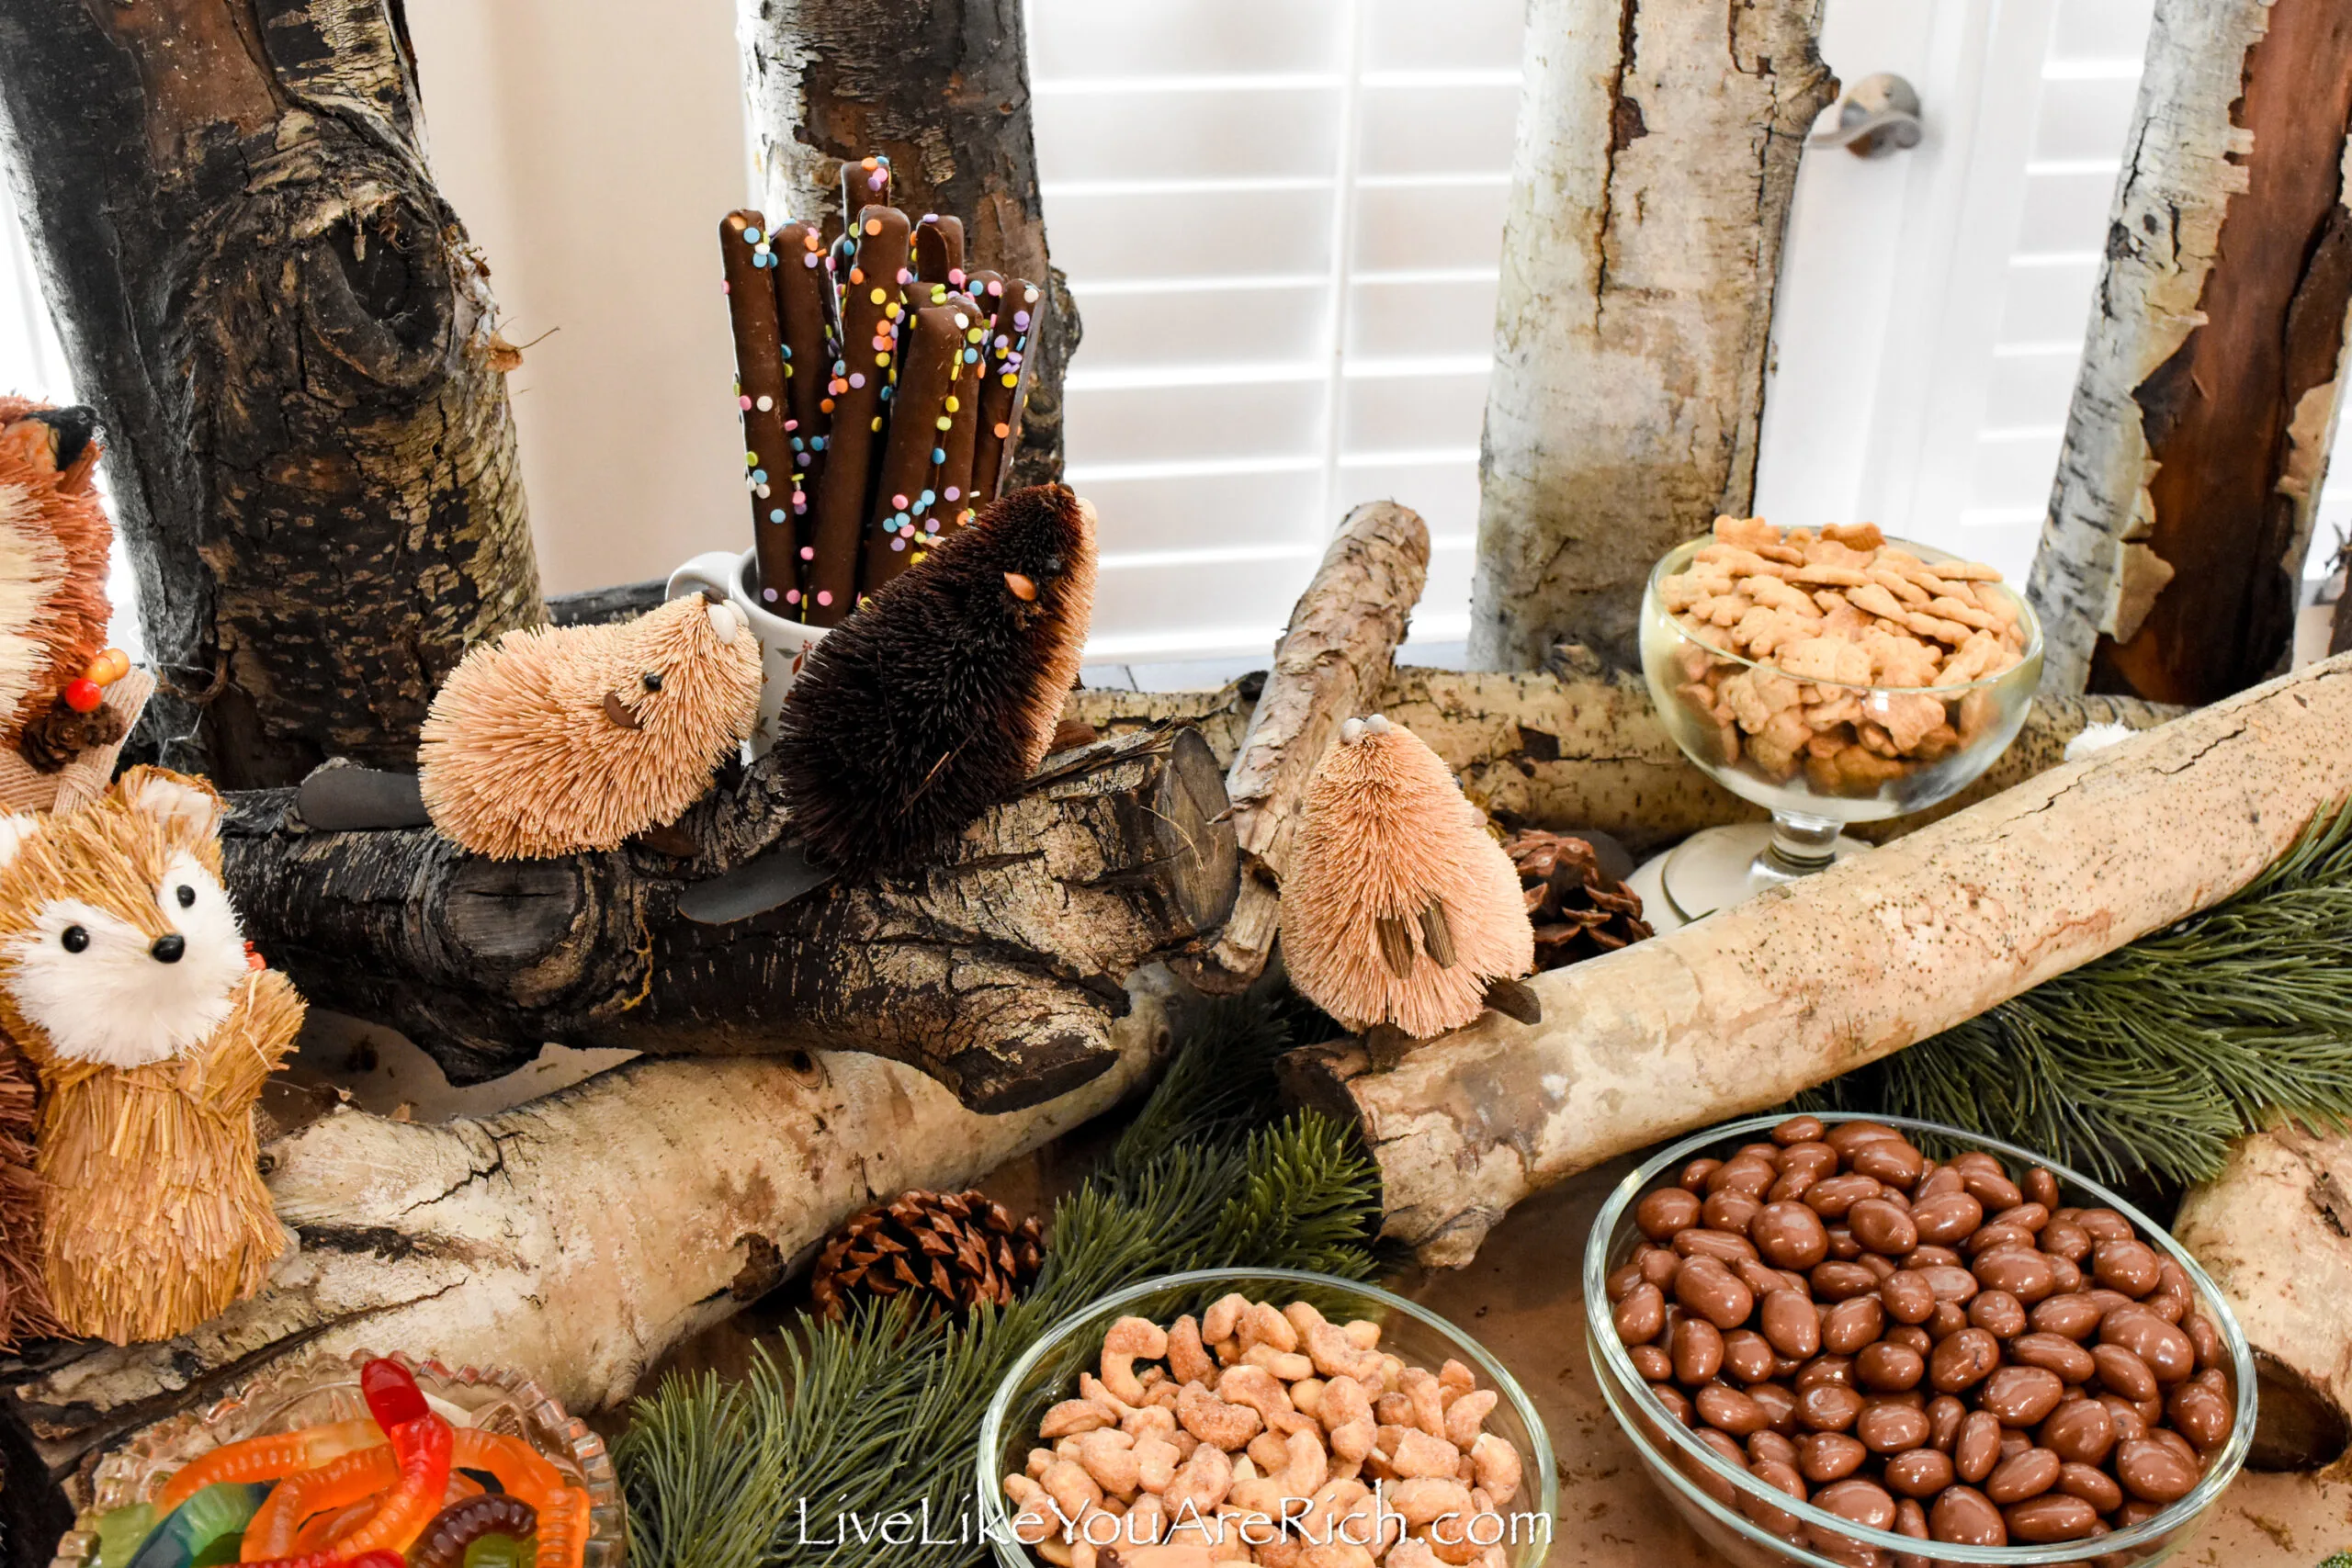
I had many sisal animals from decorations (a tablescape, mantel decor, and even easter decor). I purchased more for this party though.
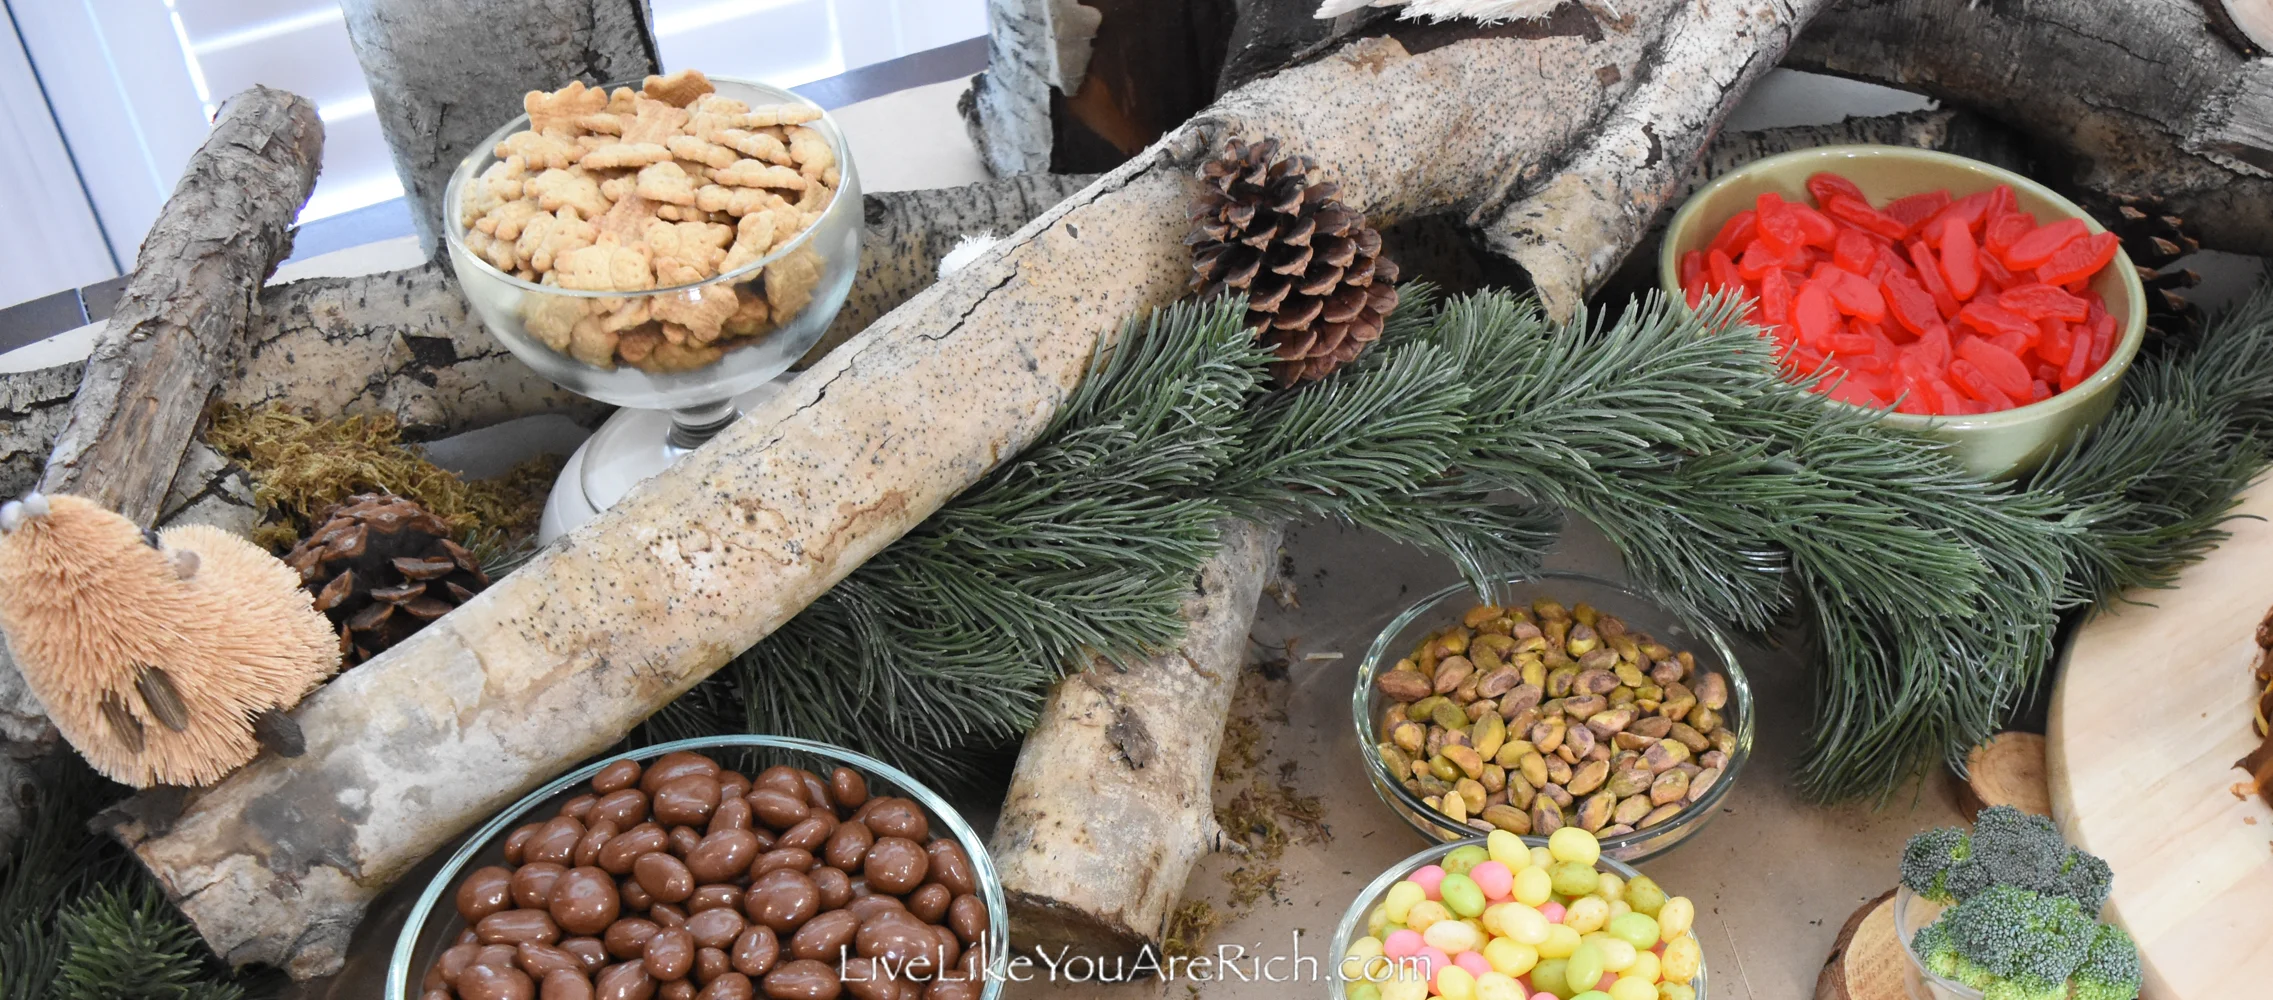
I used pine cones that I had in my yard and pine garland that I had on hand as well.
I only needed a few additional supplies to make this woodland tablescape.
Supply List for this Woodland Party Decoration
Rolls of brown craft paper, scissors, and packaging tape or tablecloth
Birch or Aspen logs found outside or similar can be found on Amazon
tall planters to set the pine trees in. I used cardboard and plastic sacks to hold the trees up.
faux or real pine tree branches or 2- 6′ foot pine garland-exact ones, similar on Amazon
Moss-2 bags from Dollar Tree or similar on Amazon
pine cones- found outside or also on Amazon
sisal aka bristle aka buri animals- Christmas in Prescott and Amazon
Wood letter blocks (Hobby Lobby or a similar Amazon buy)
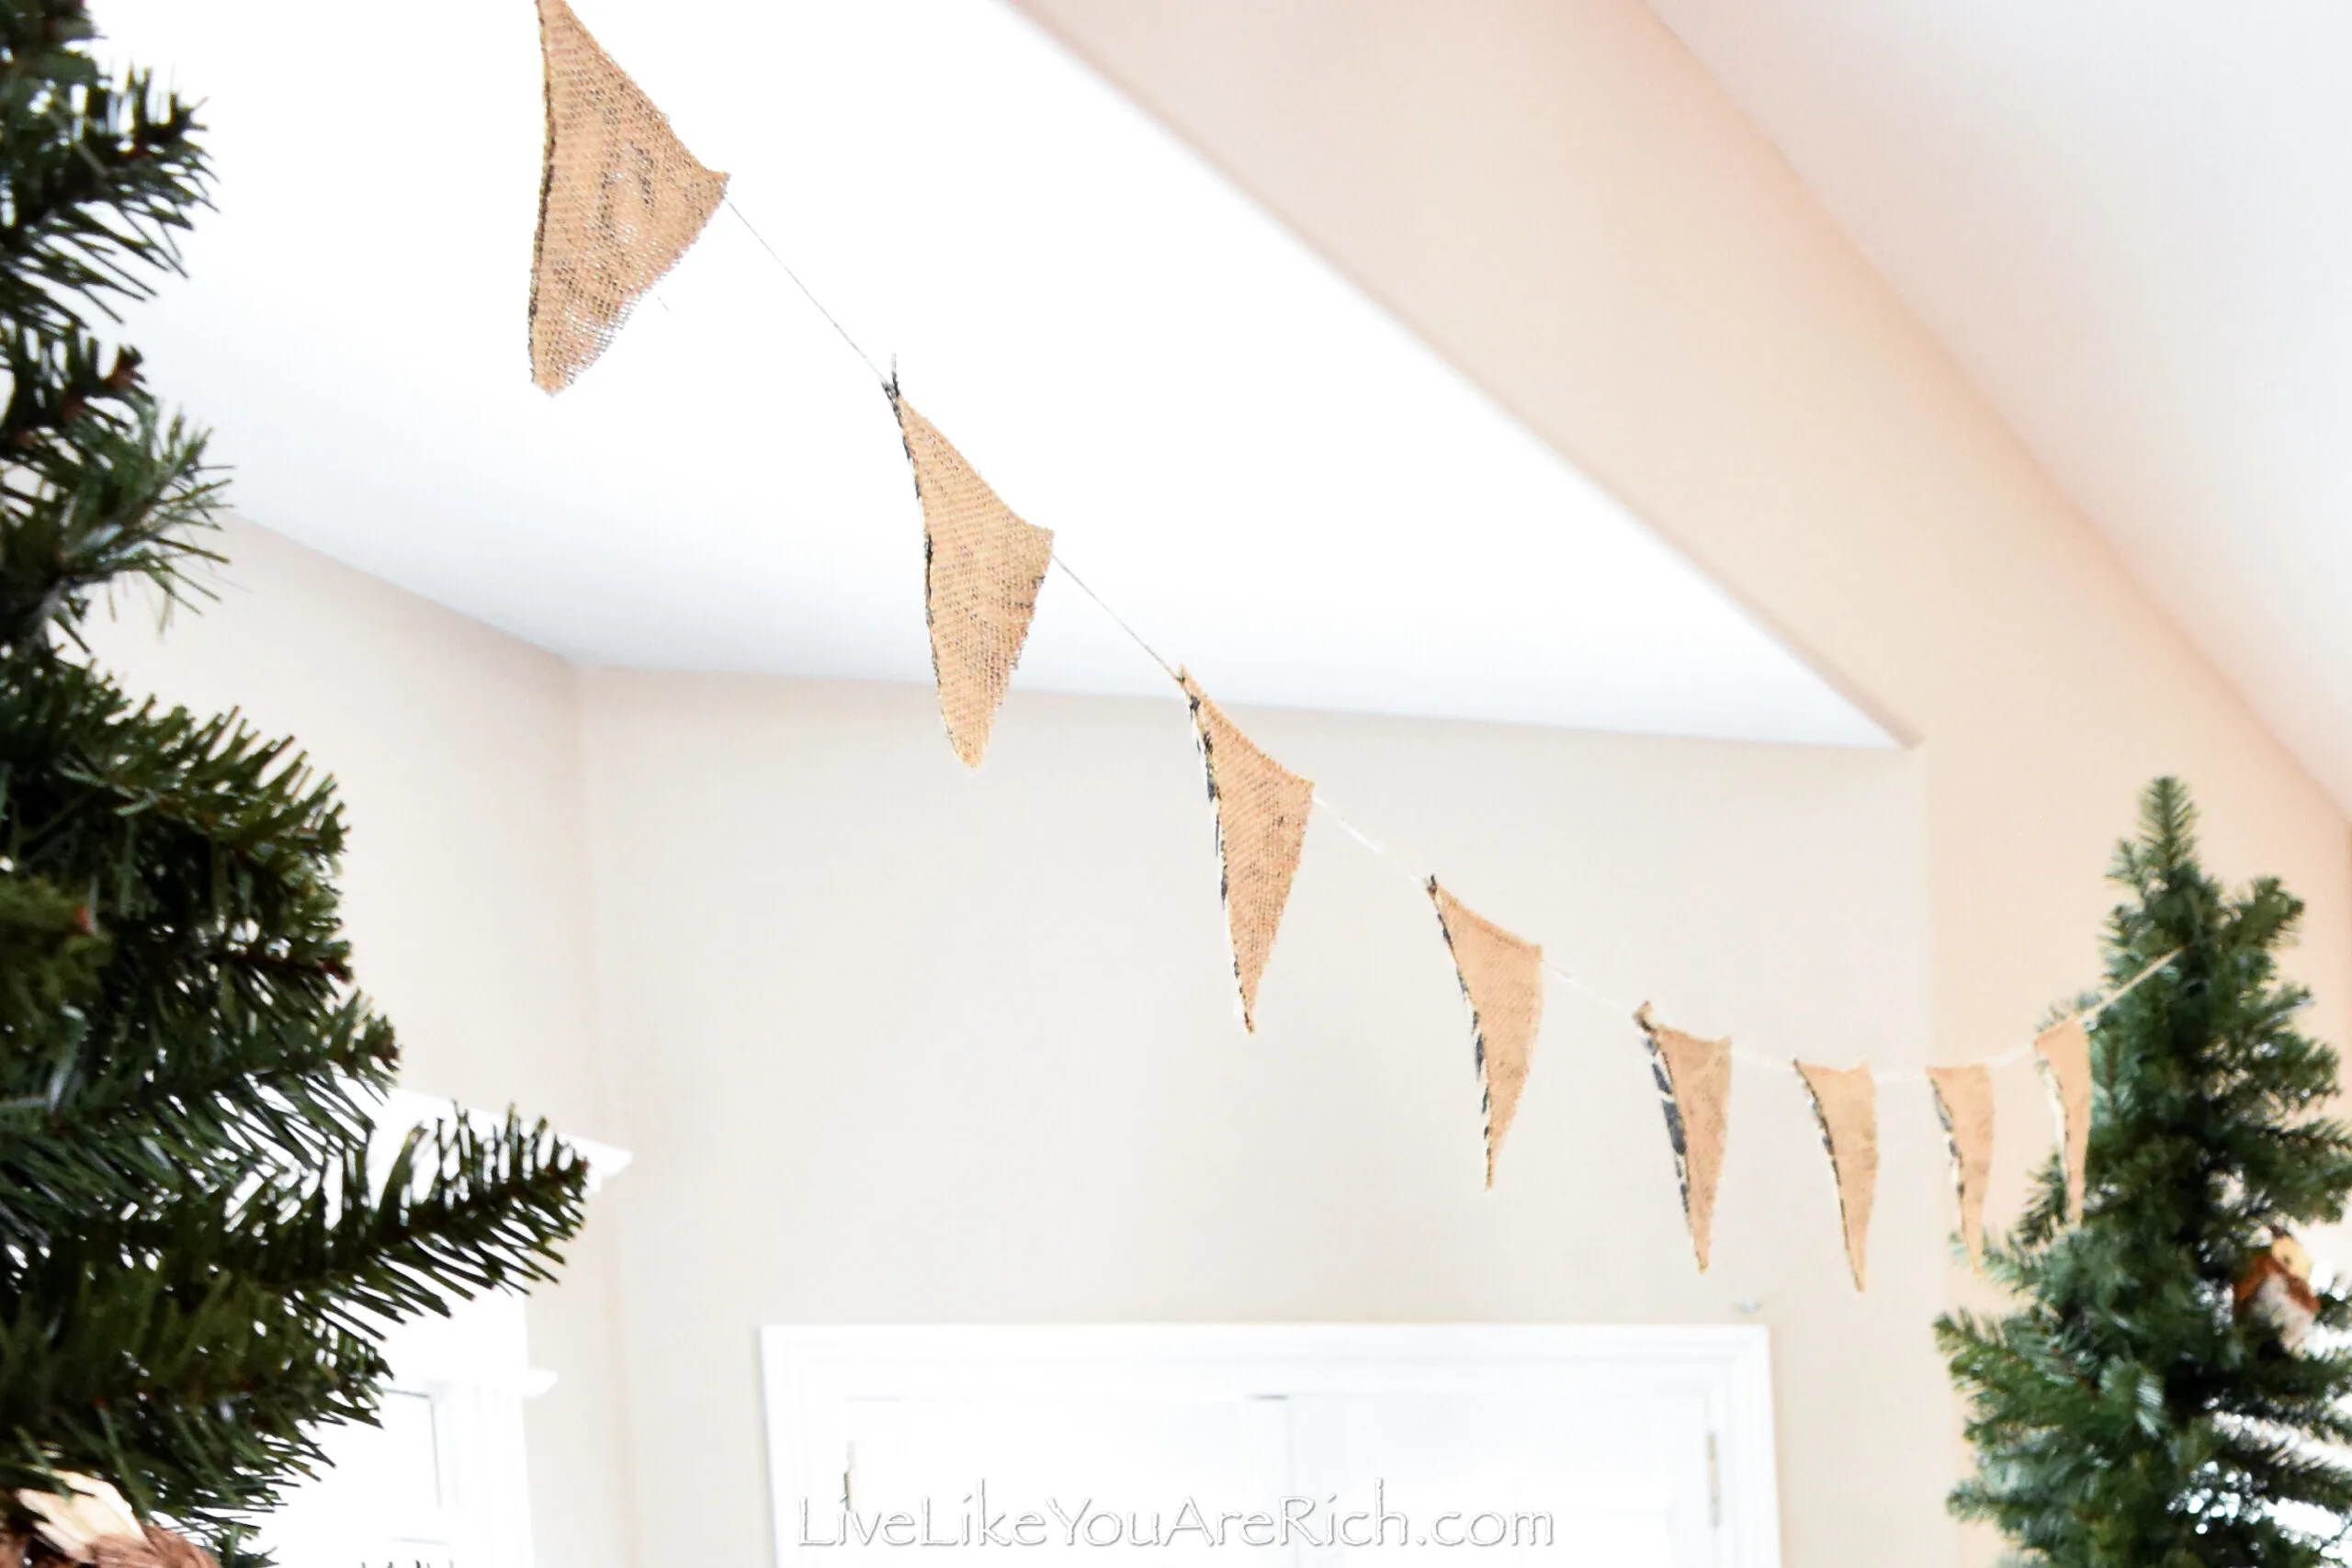
DIY burlap garland (post coming soon)
How I put together these Woodland Party Decorations
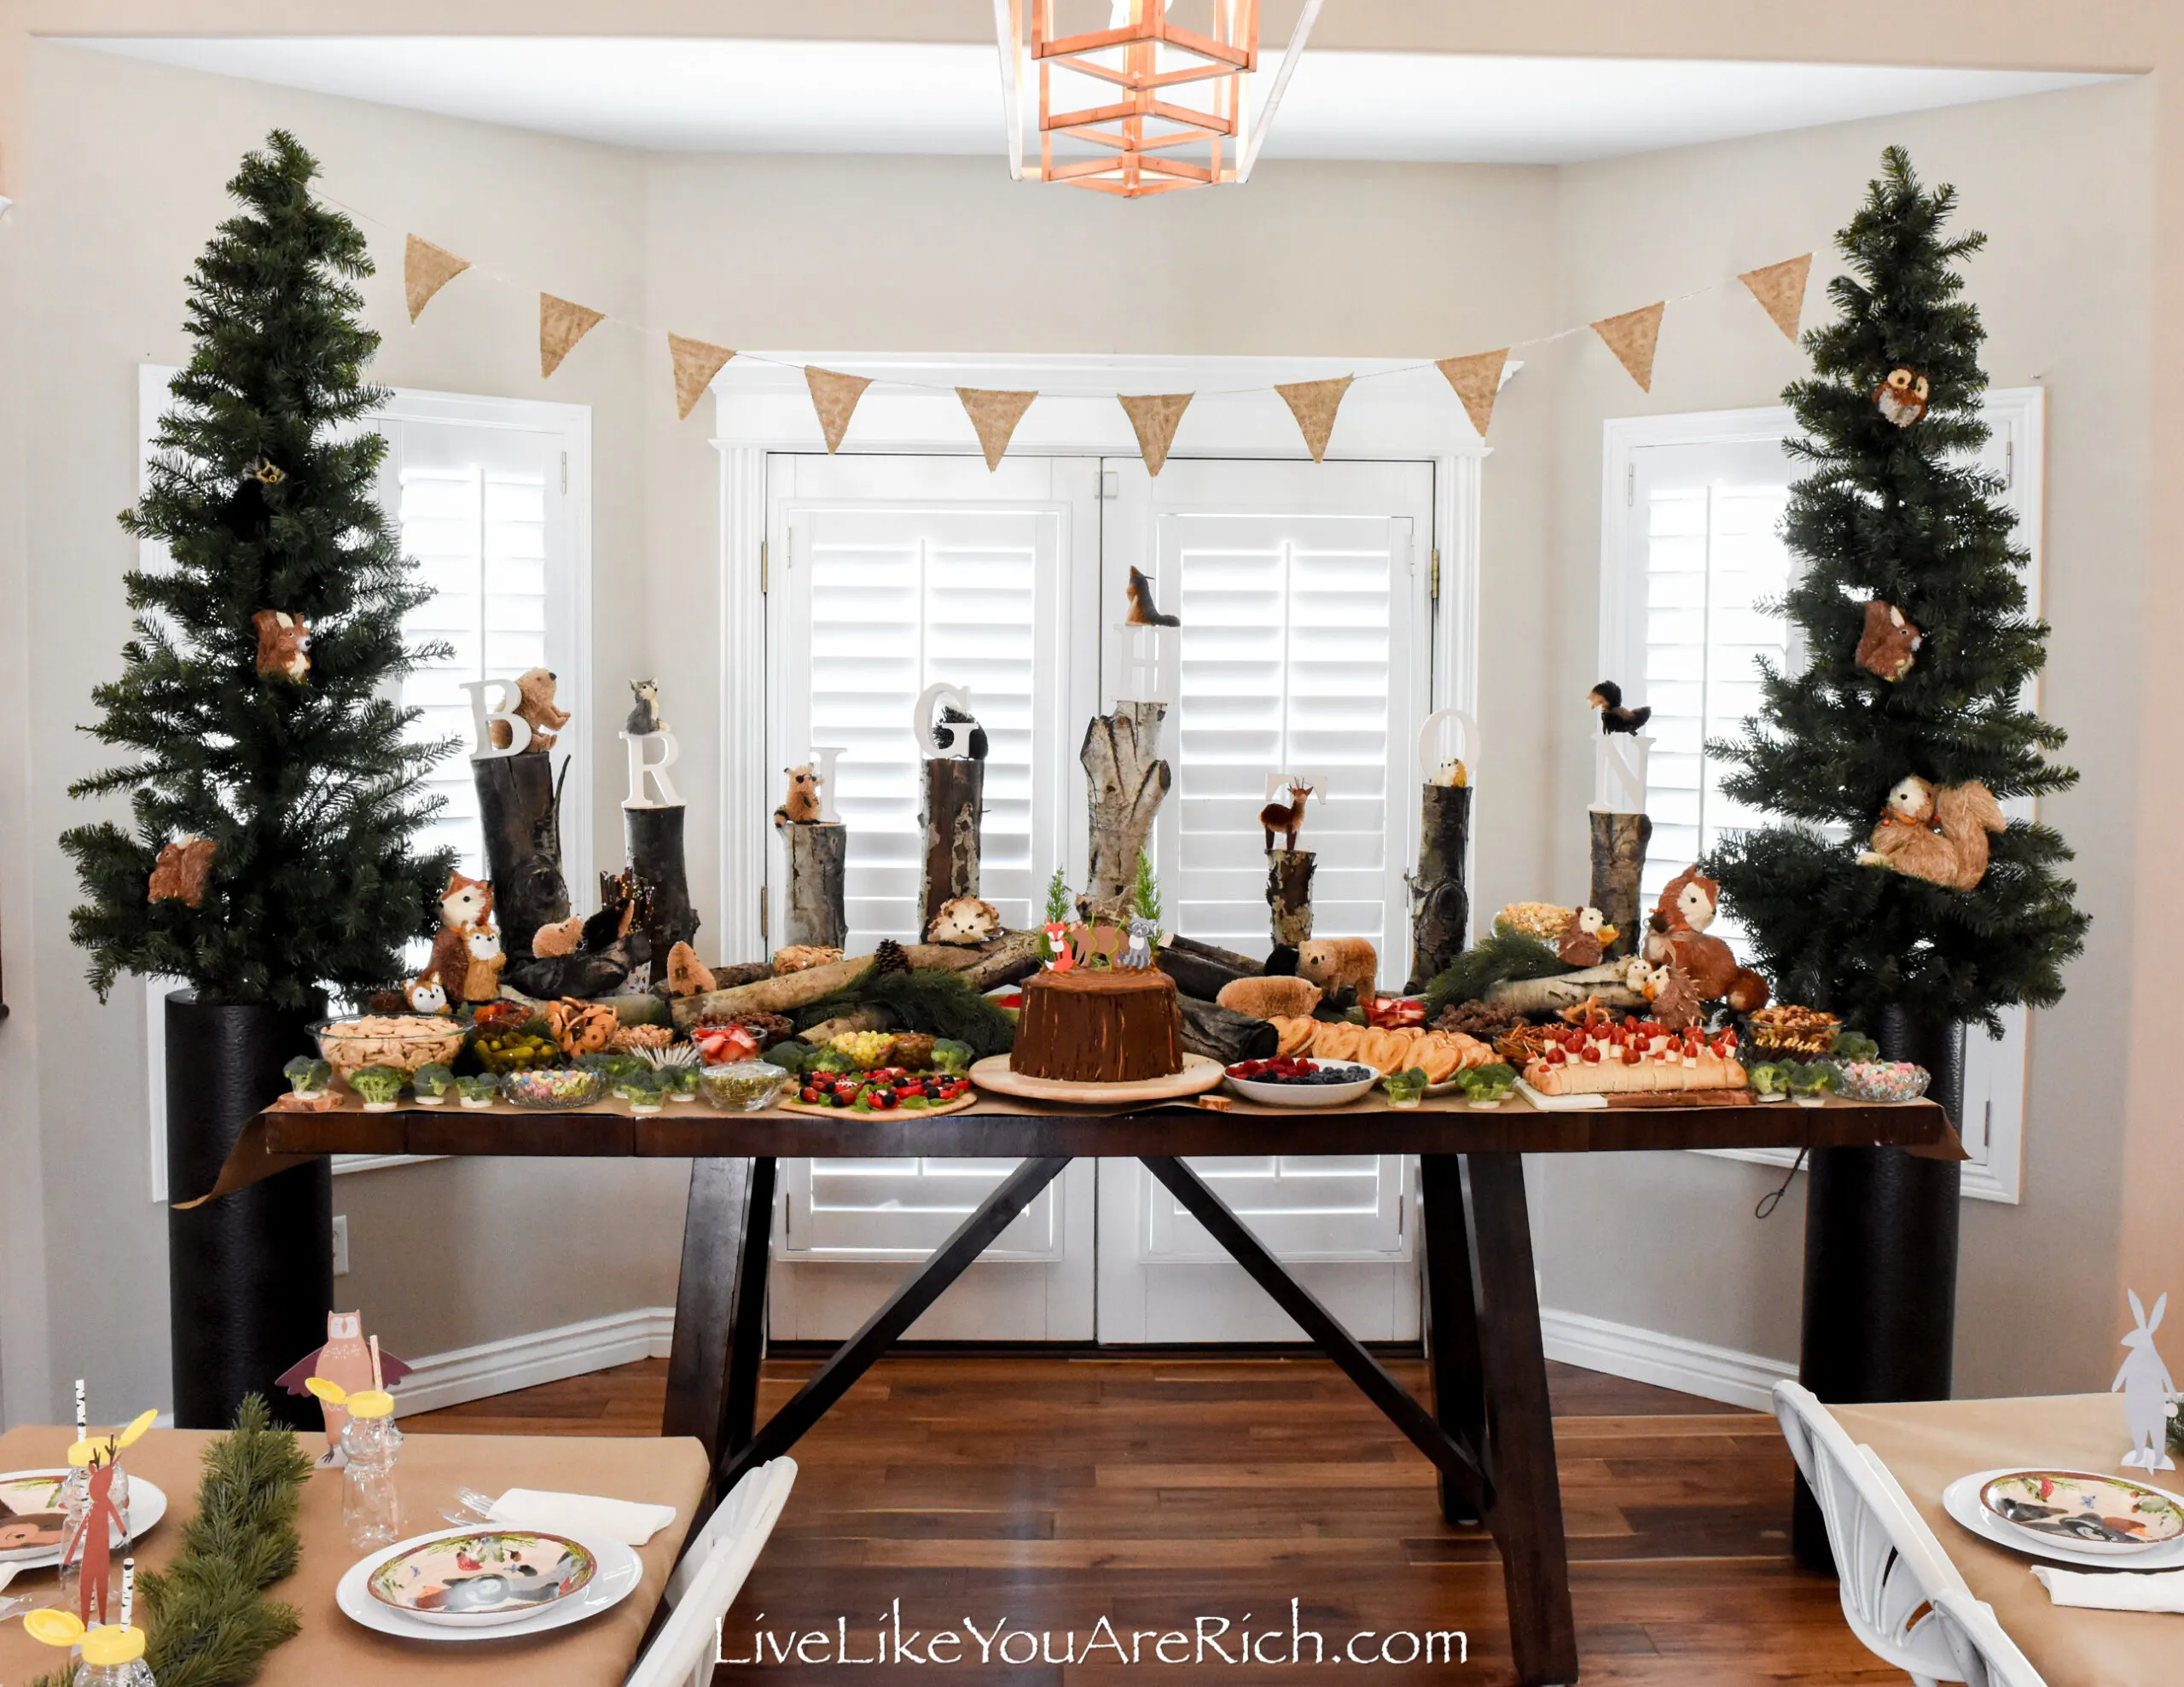
1- I put craft paper down as the tablecloth to protect the table from the heavy logs.
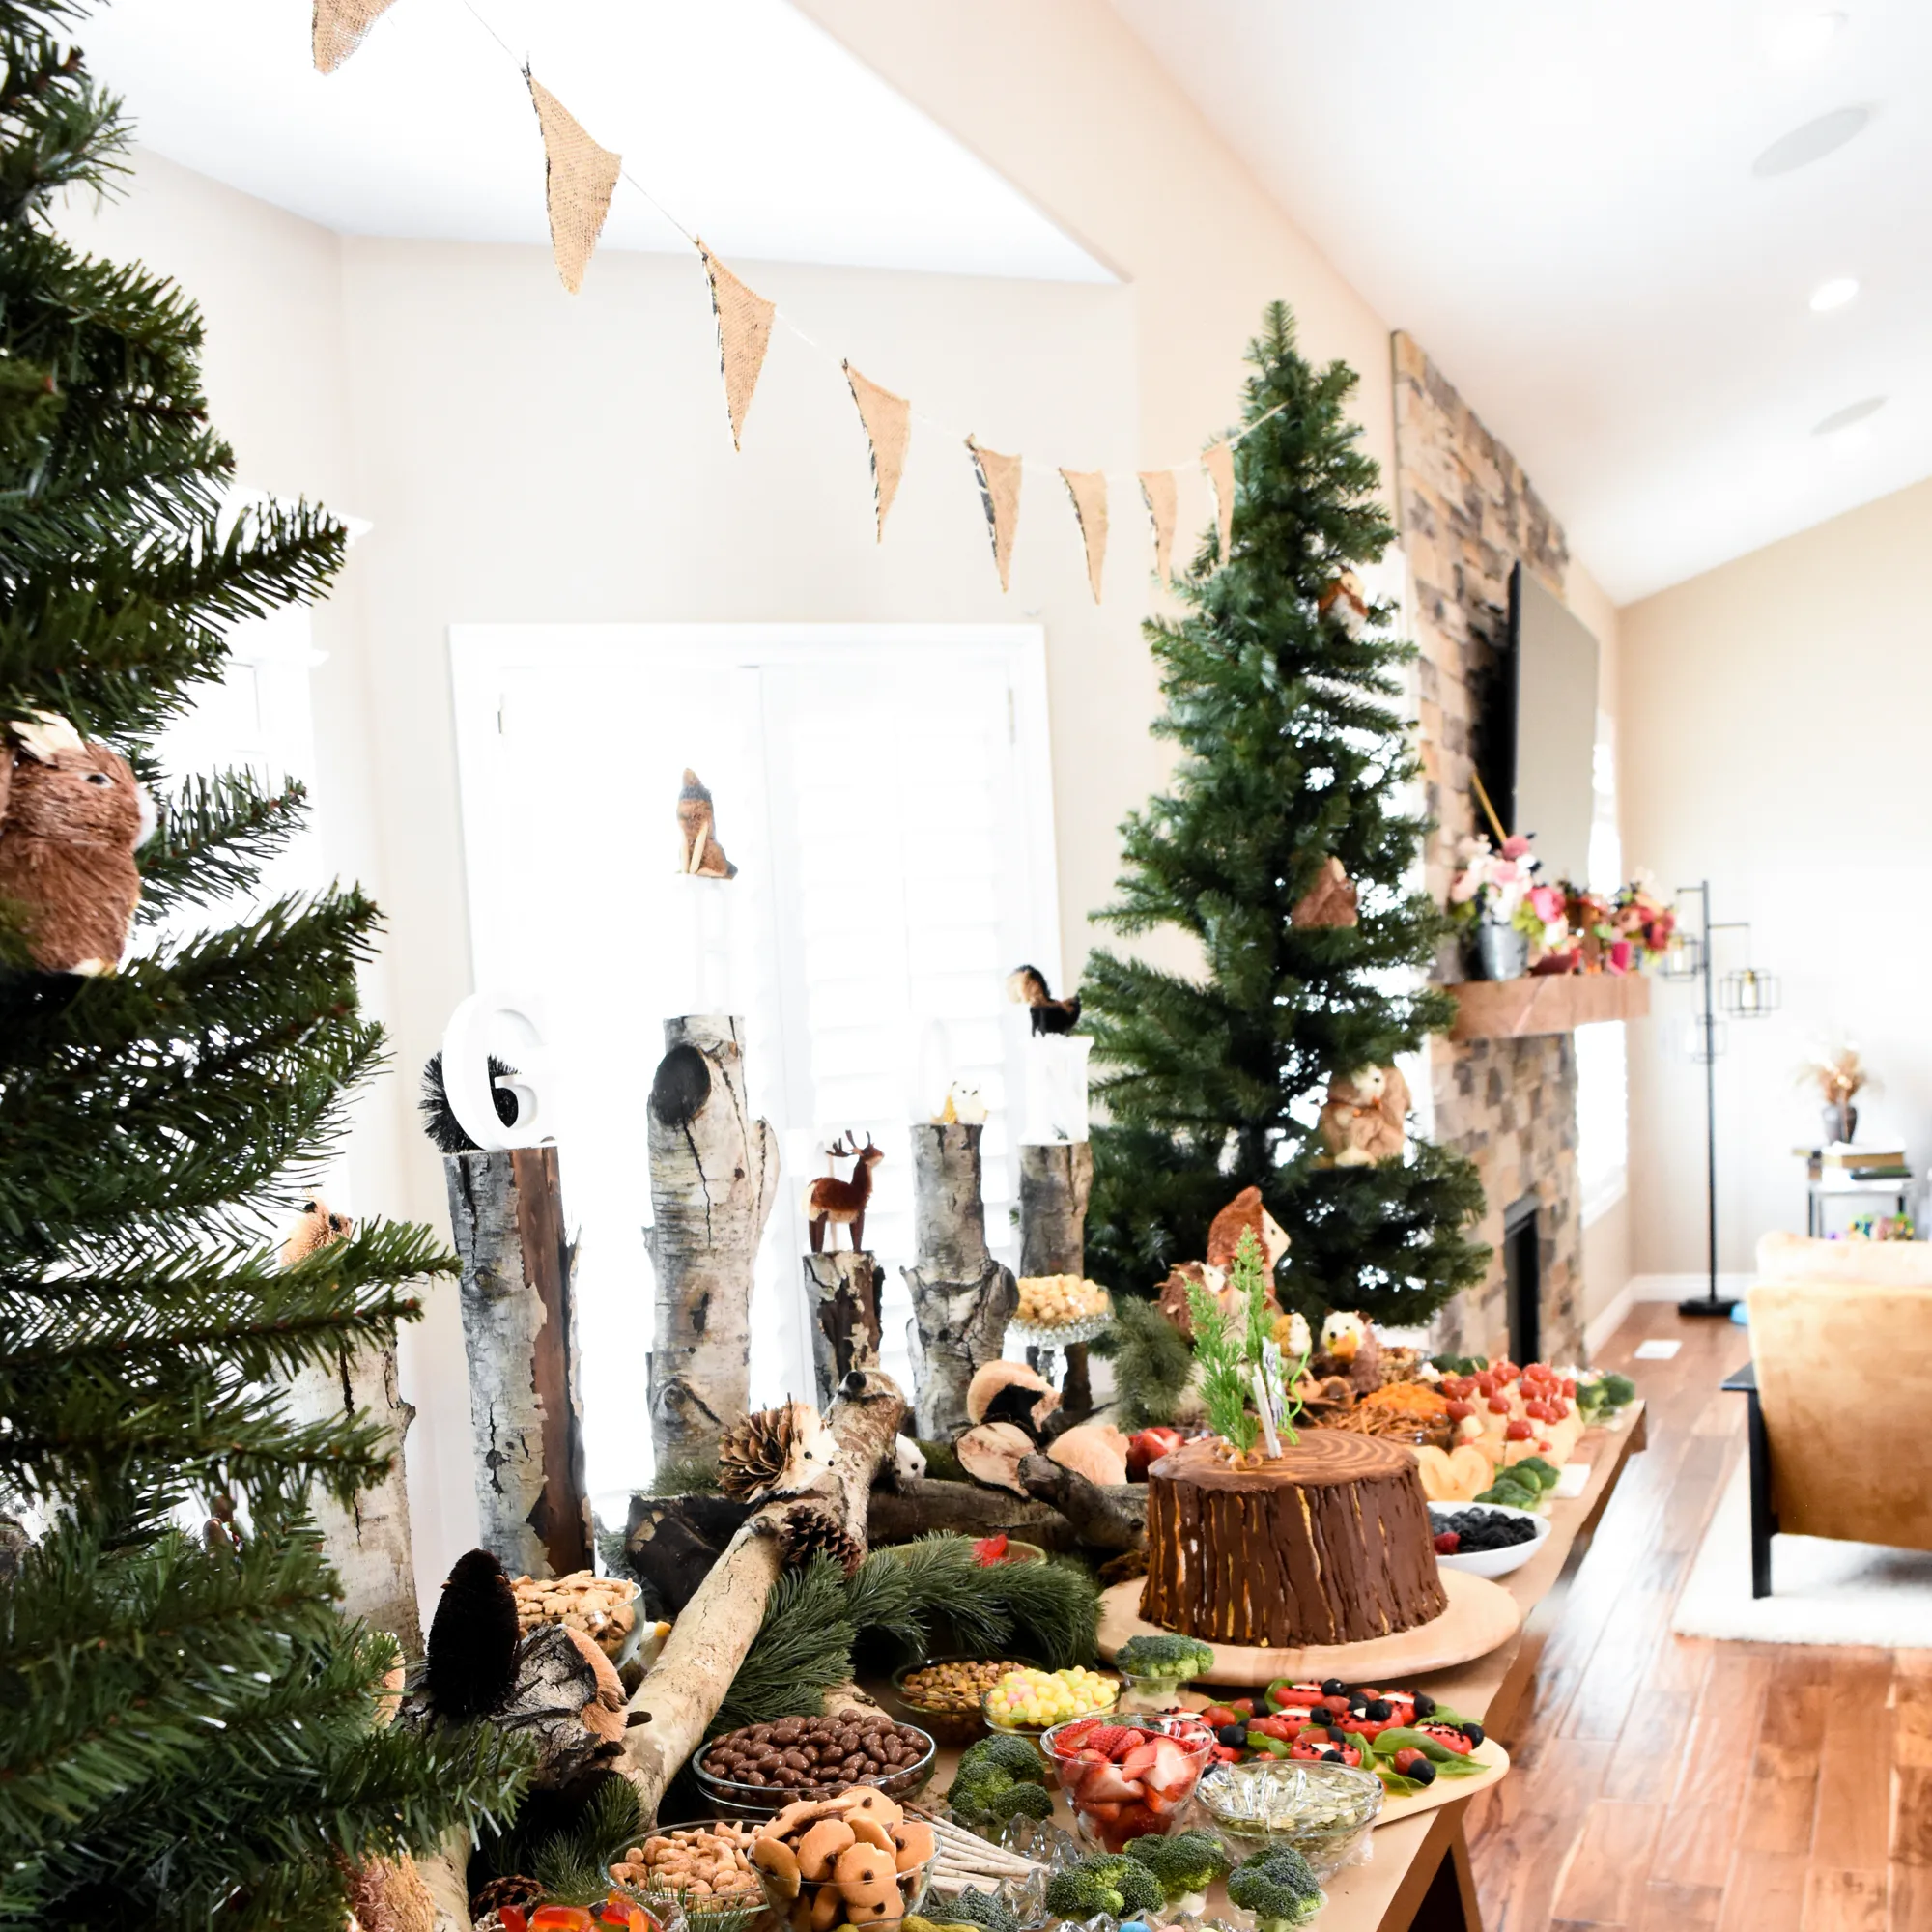
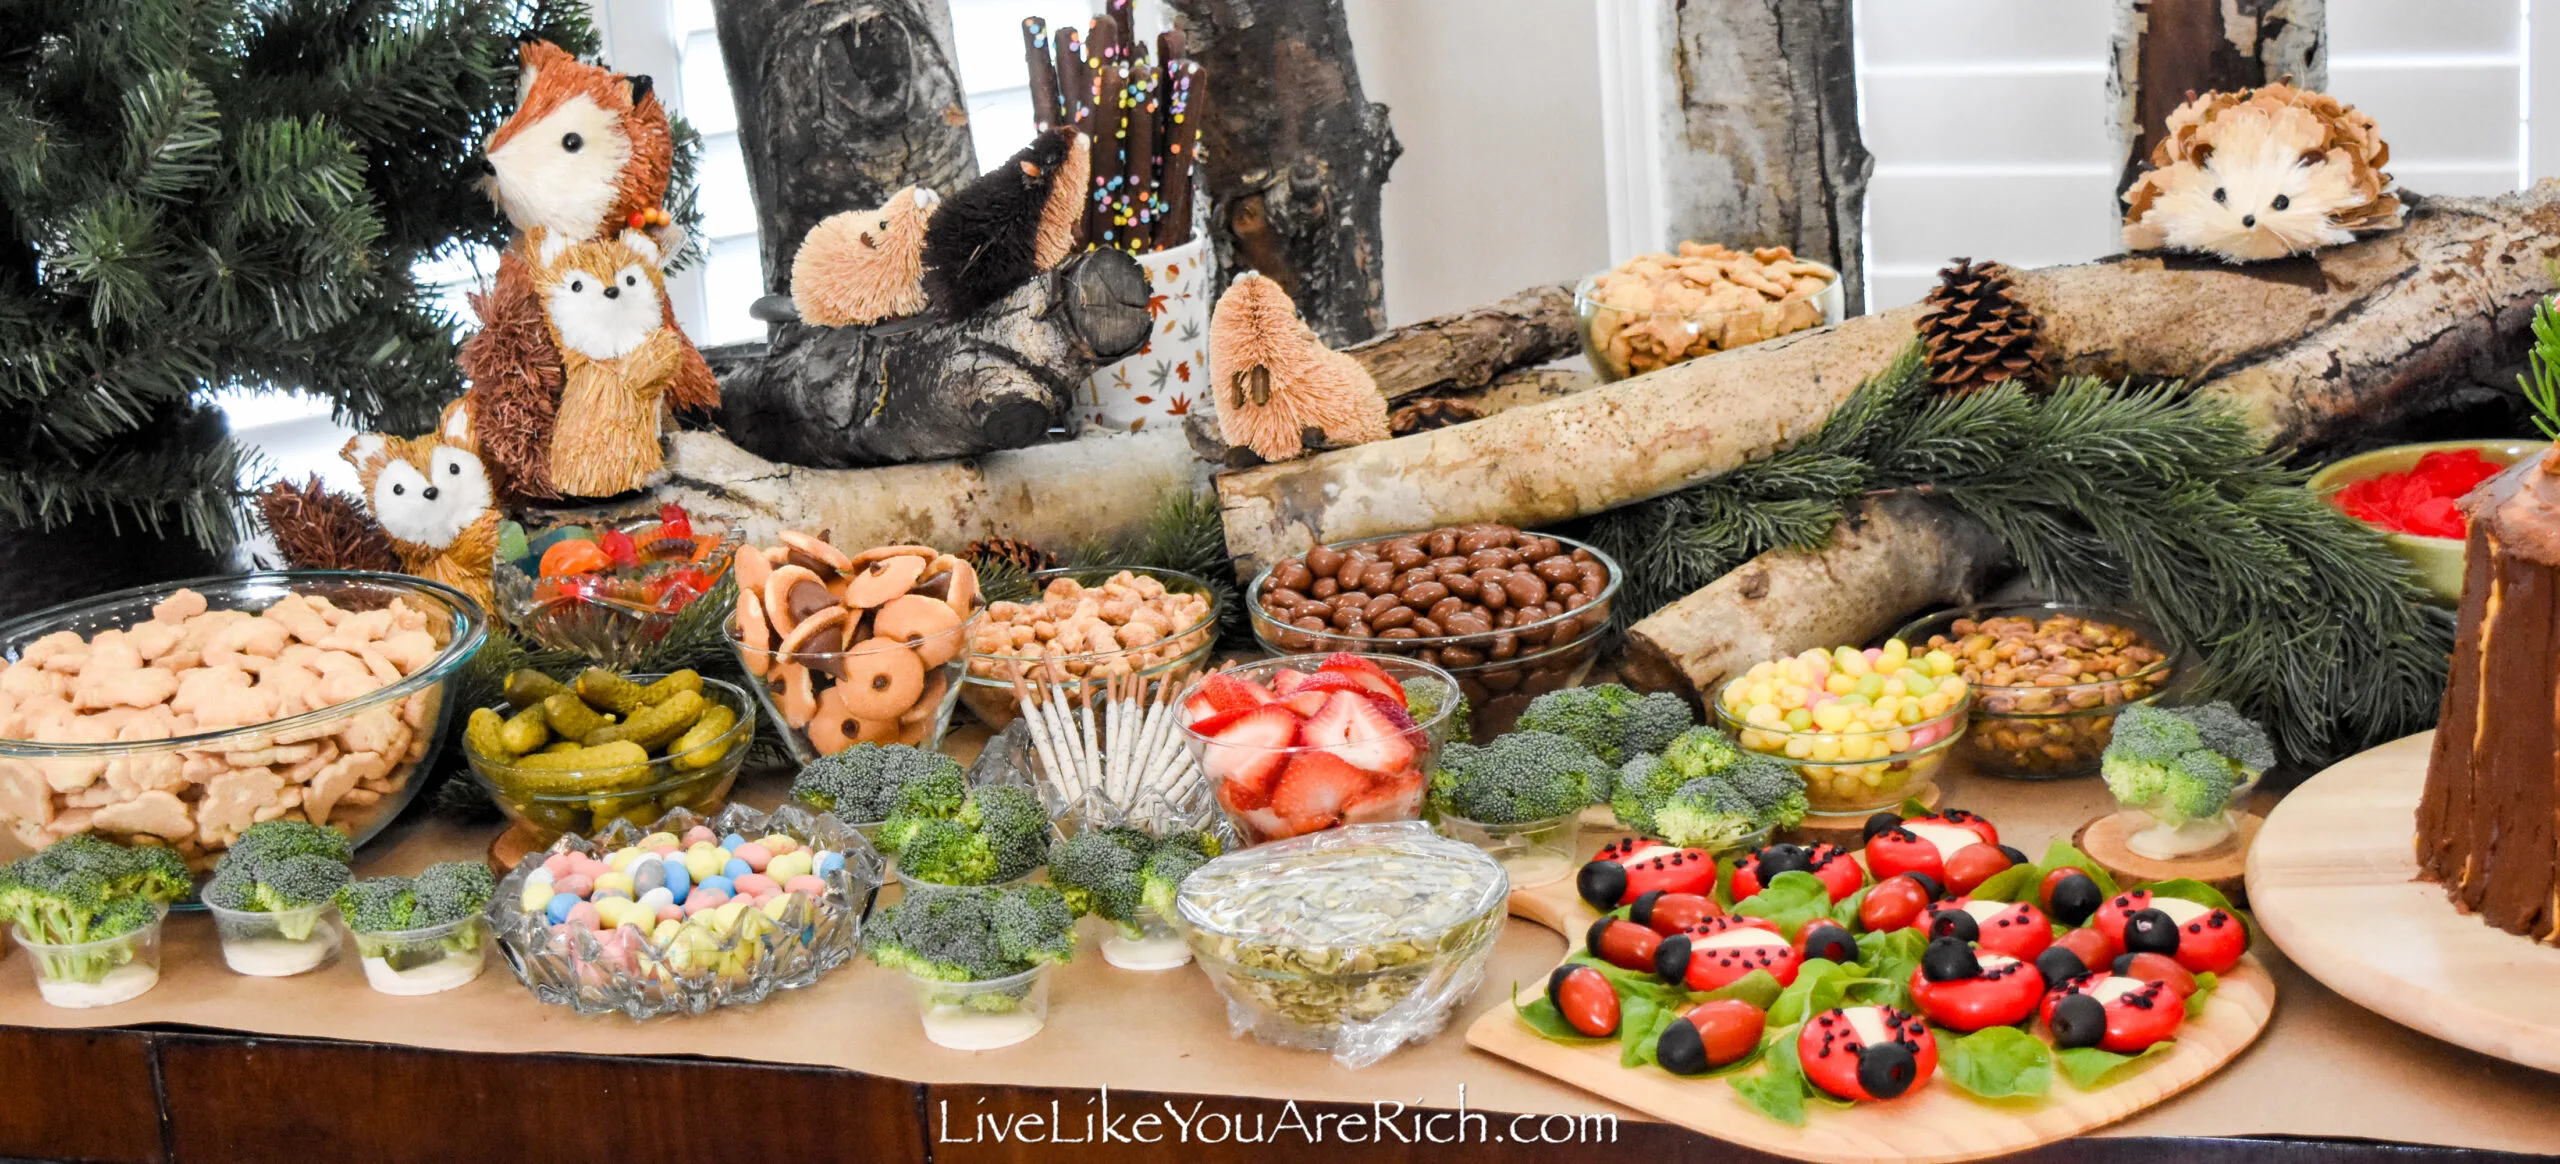
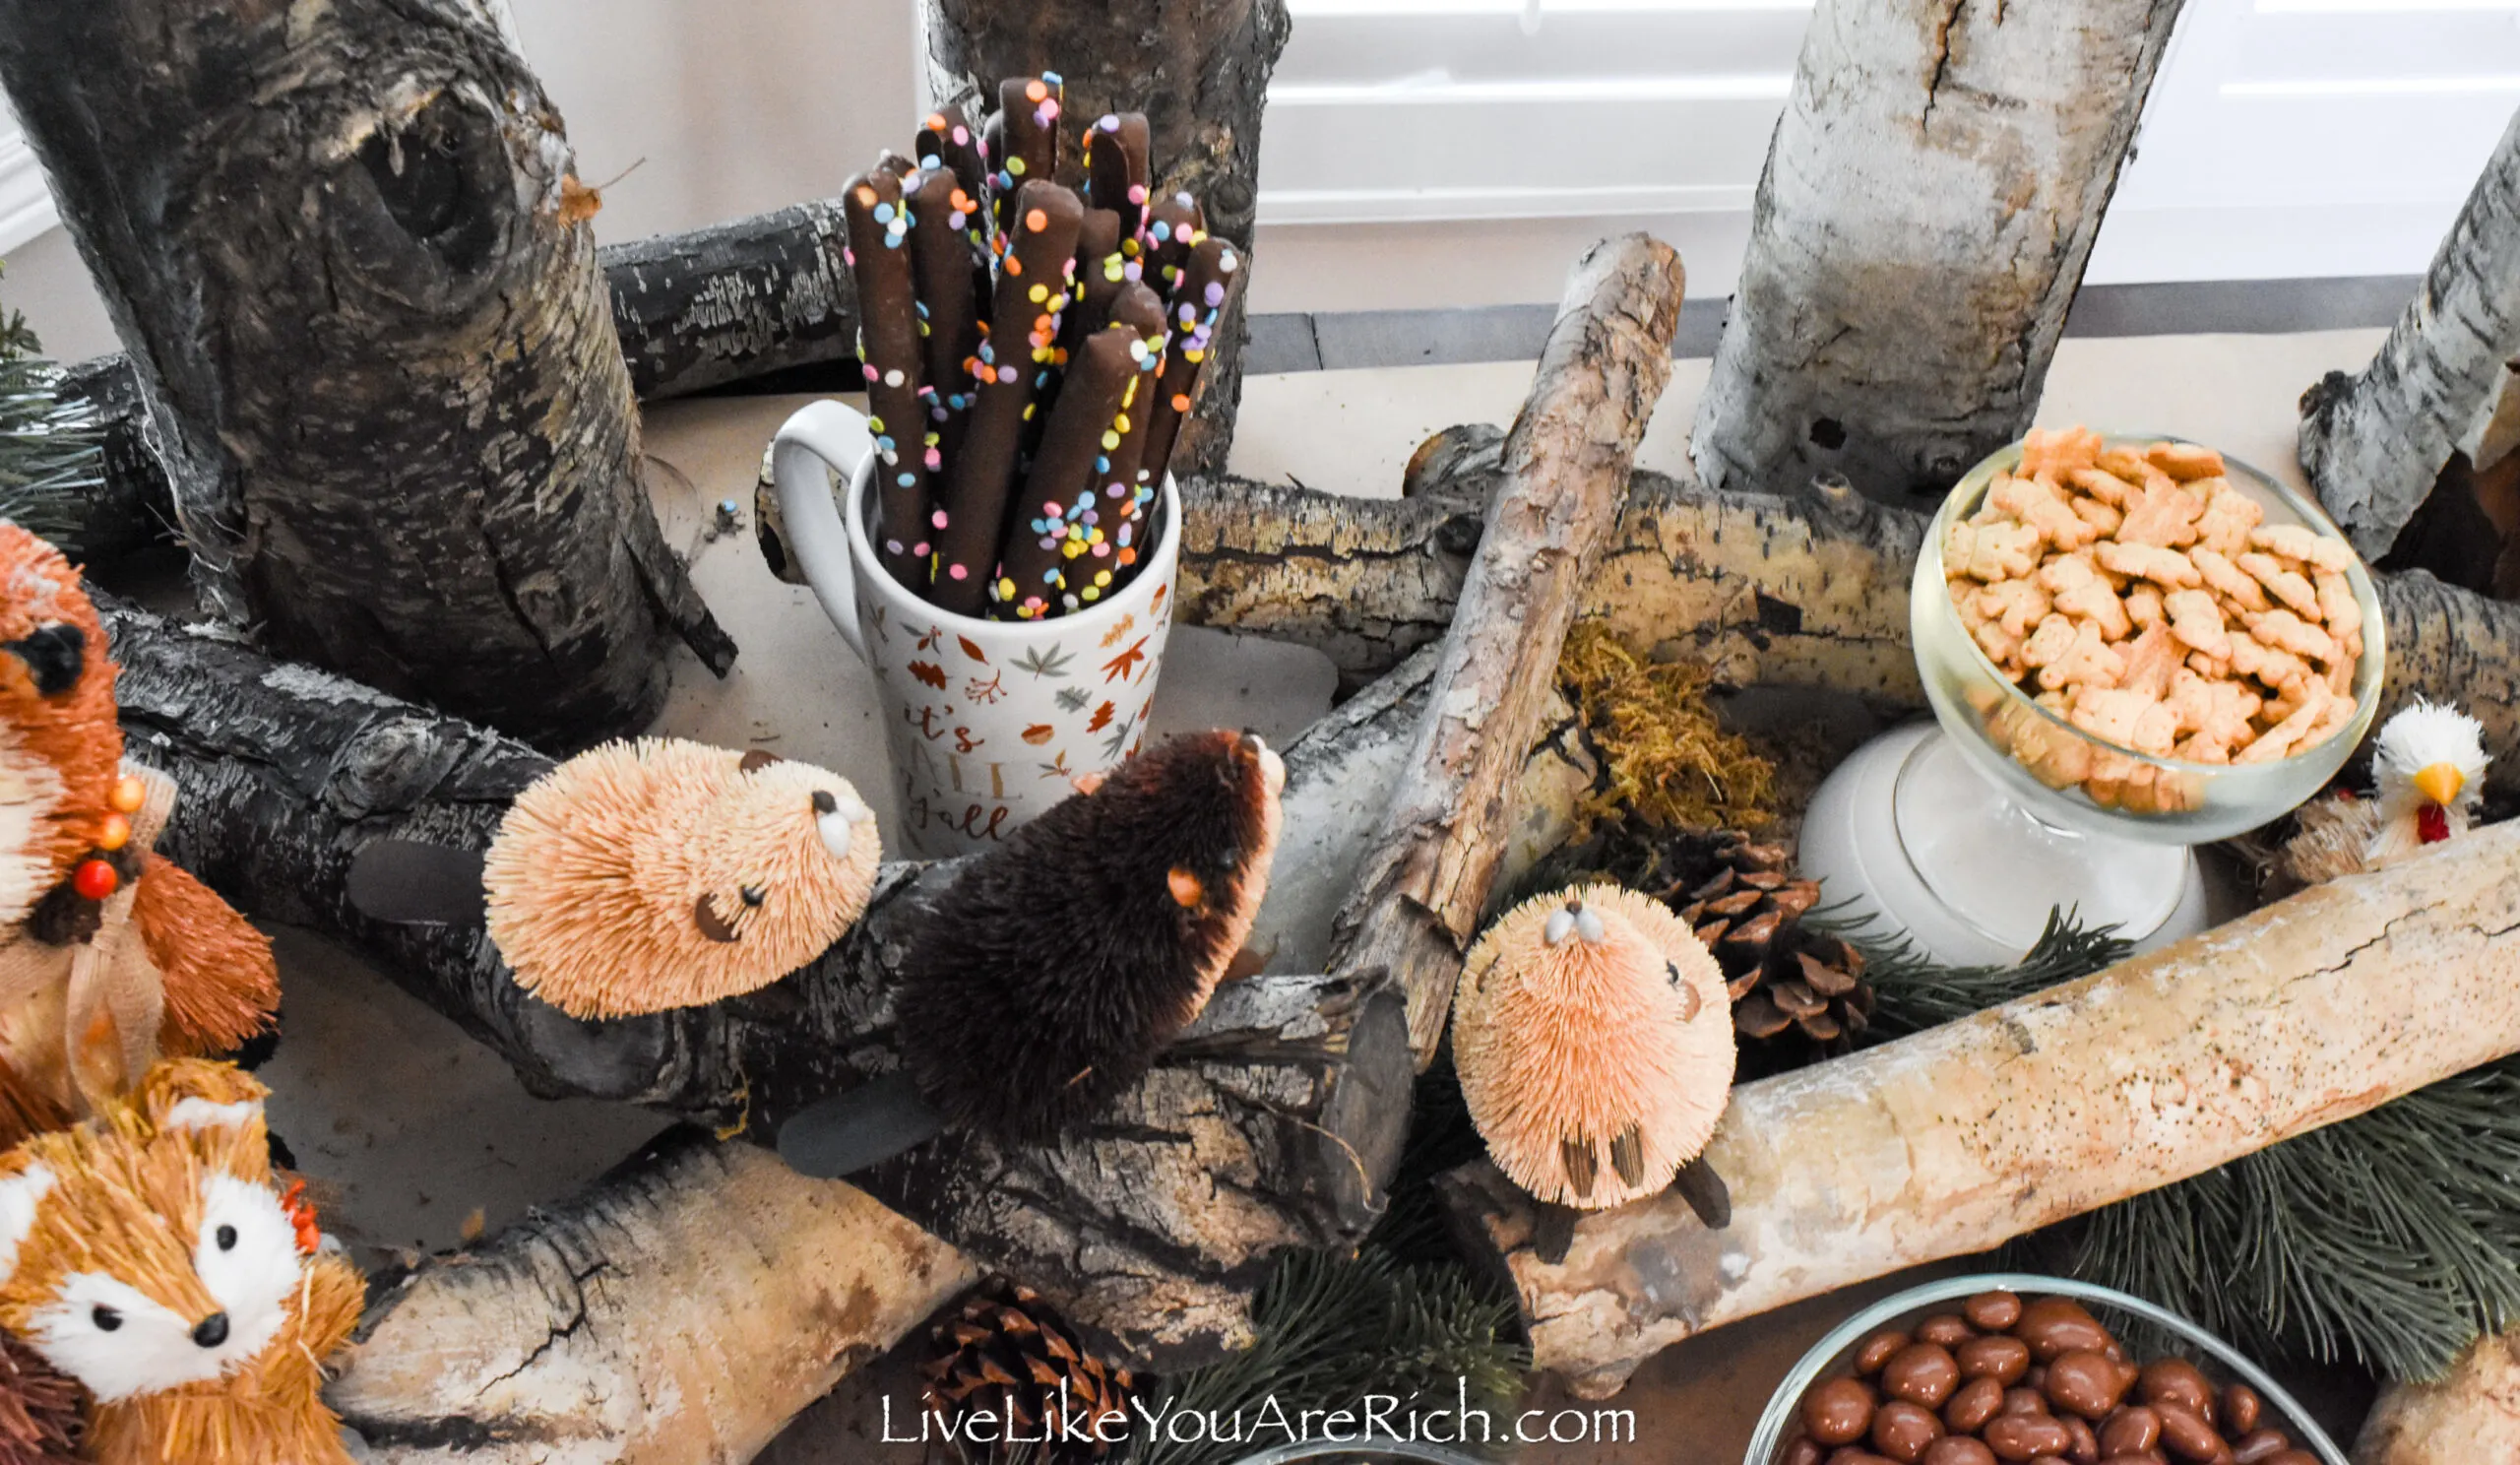
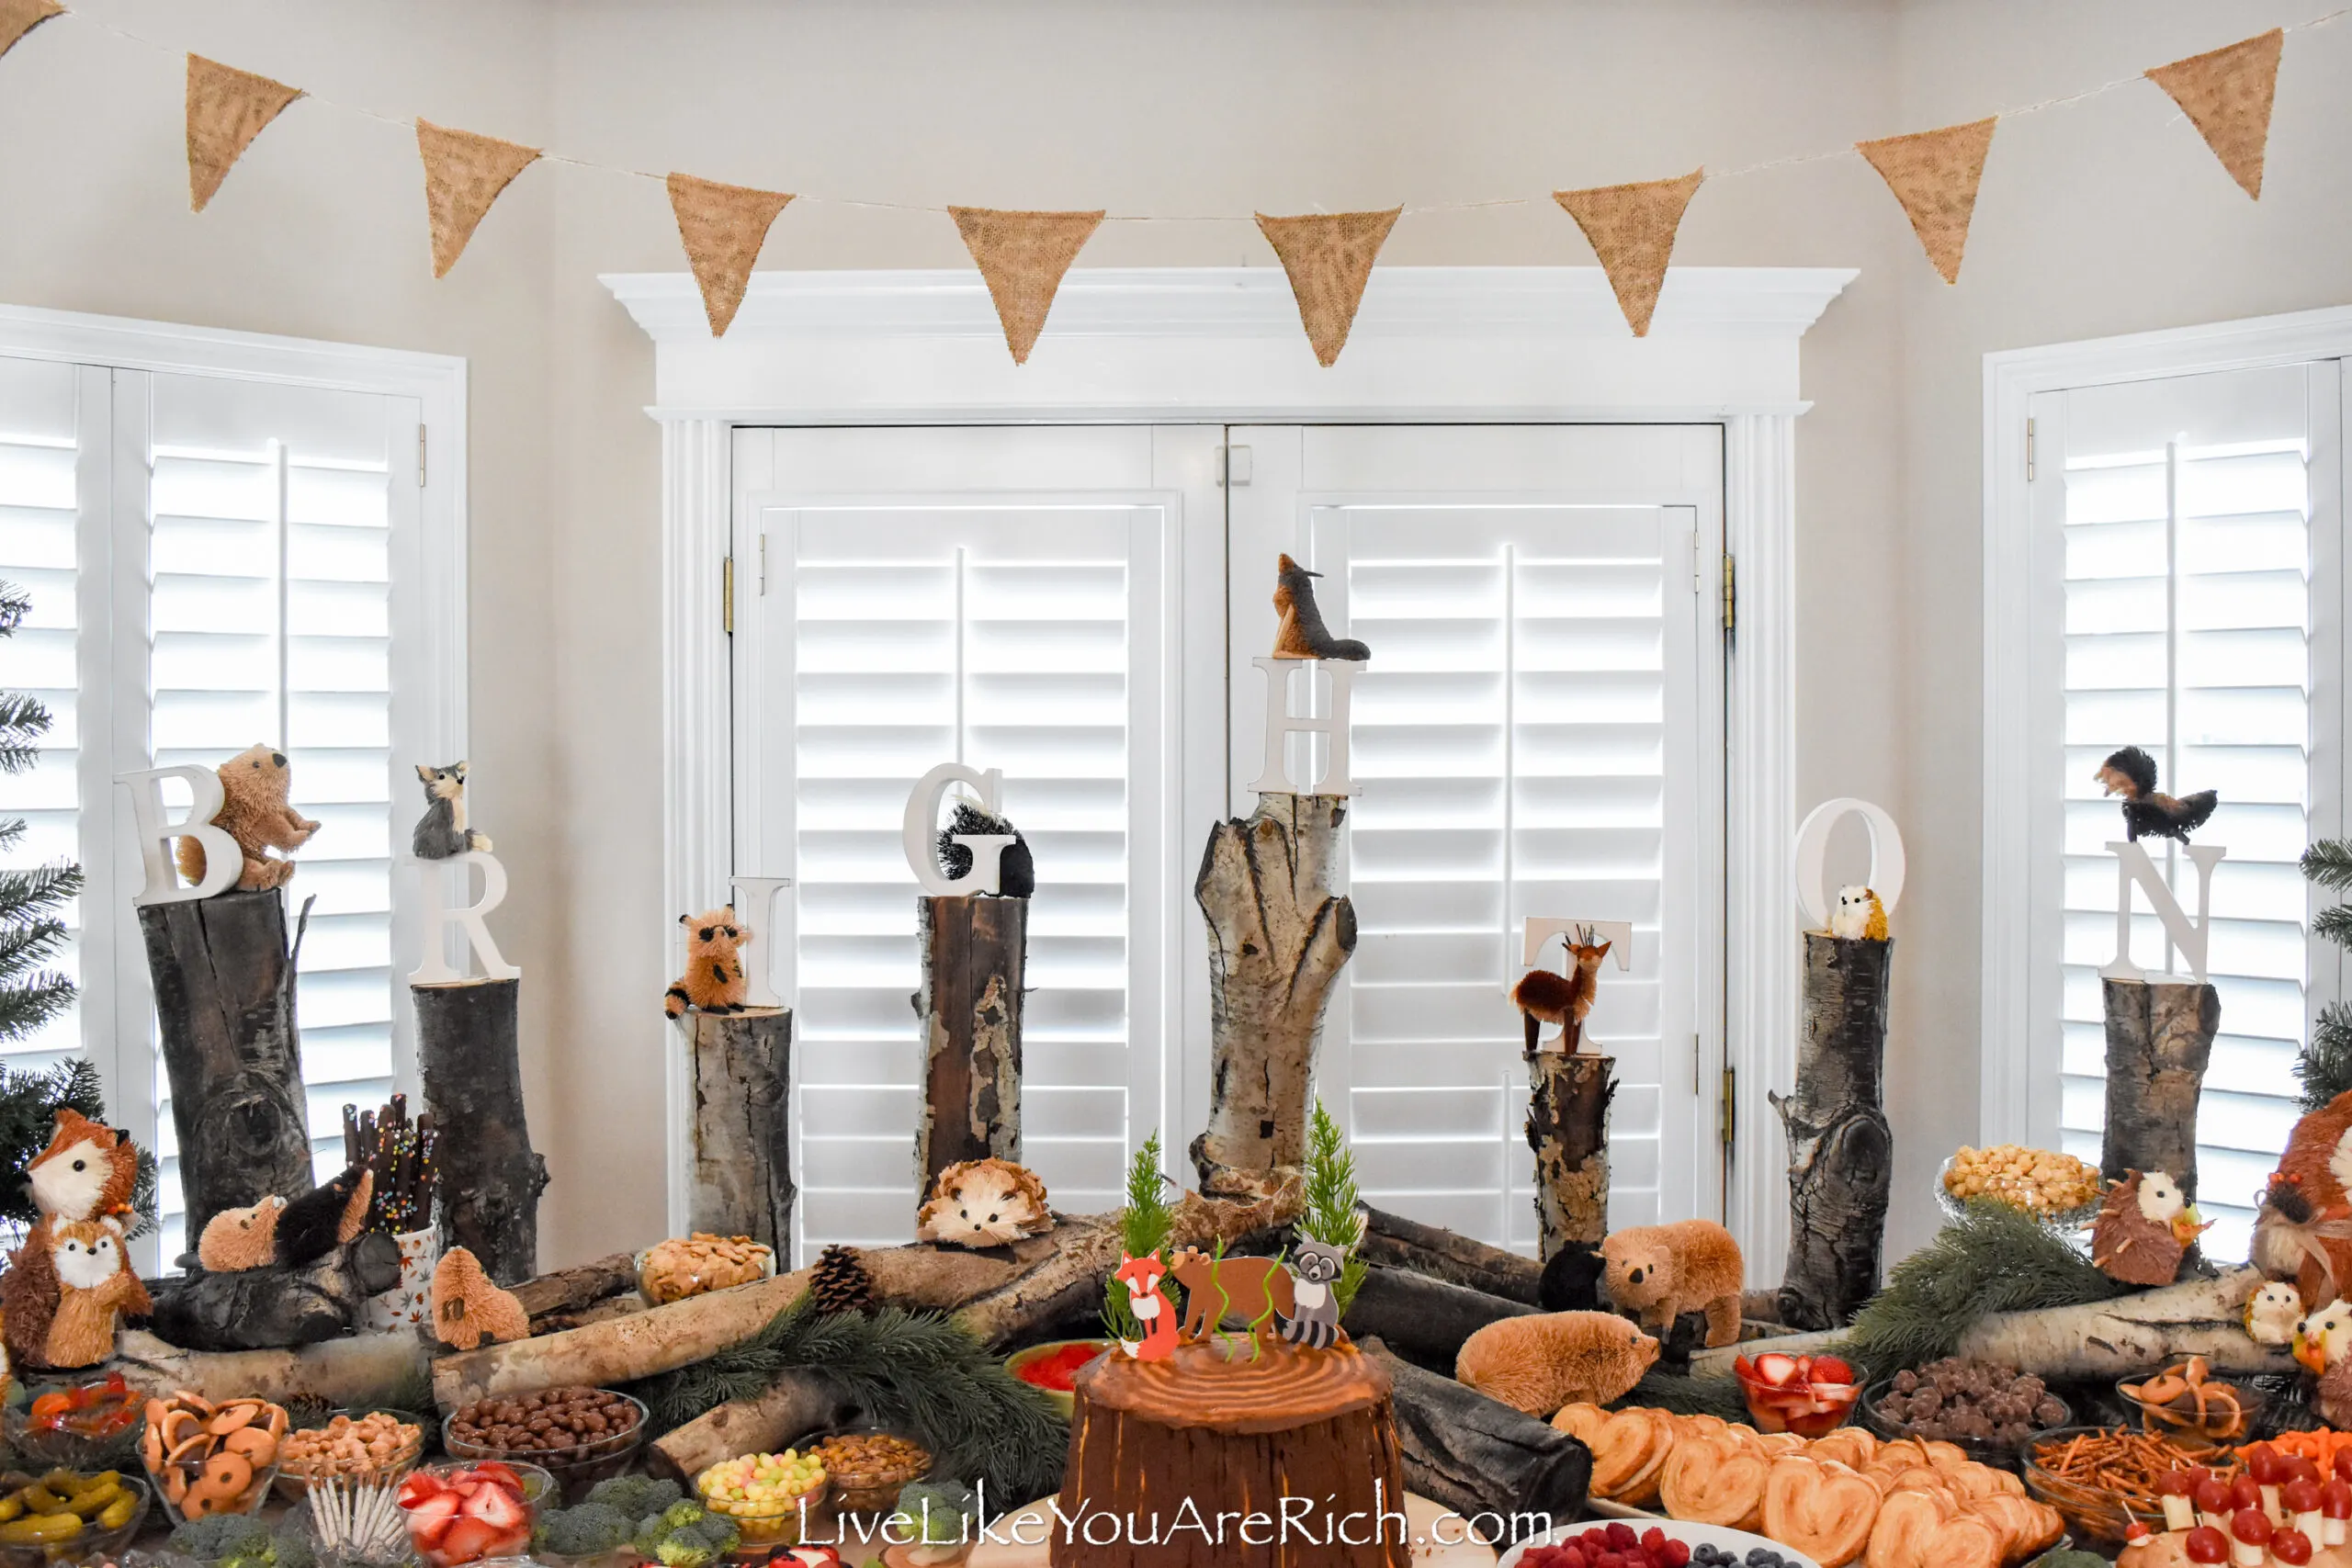
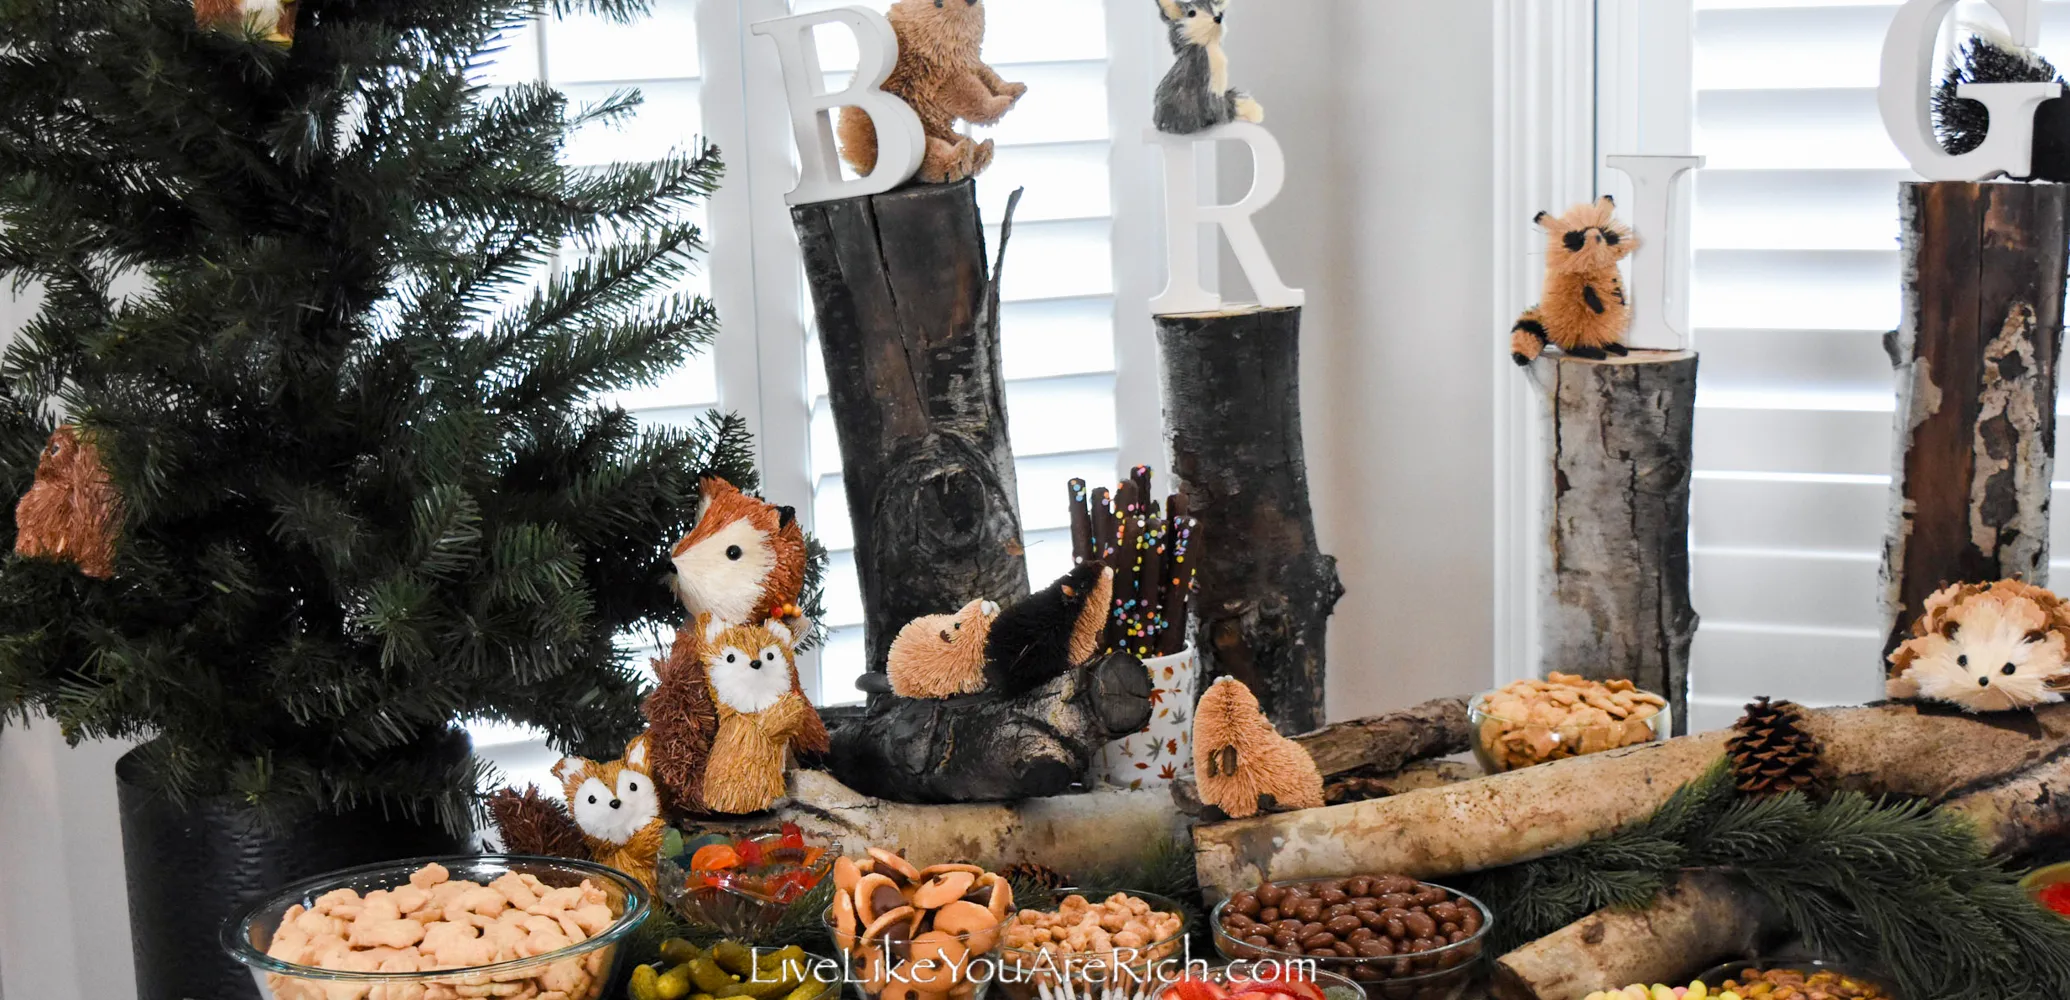
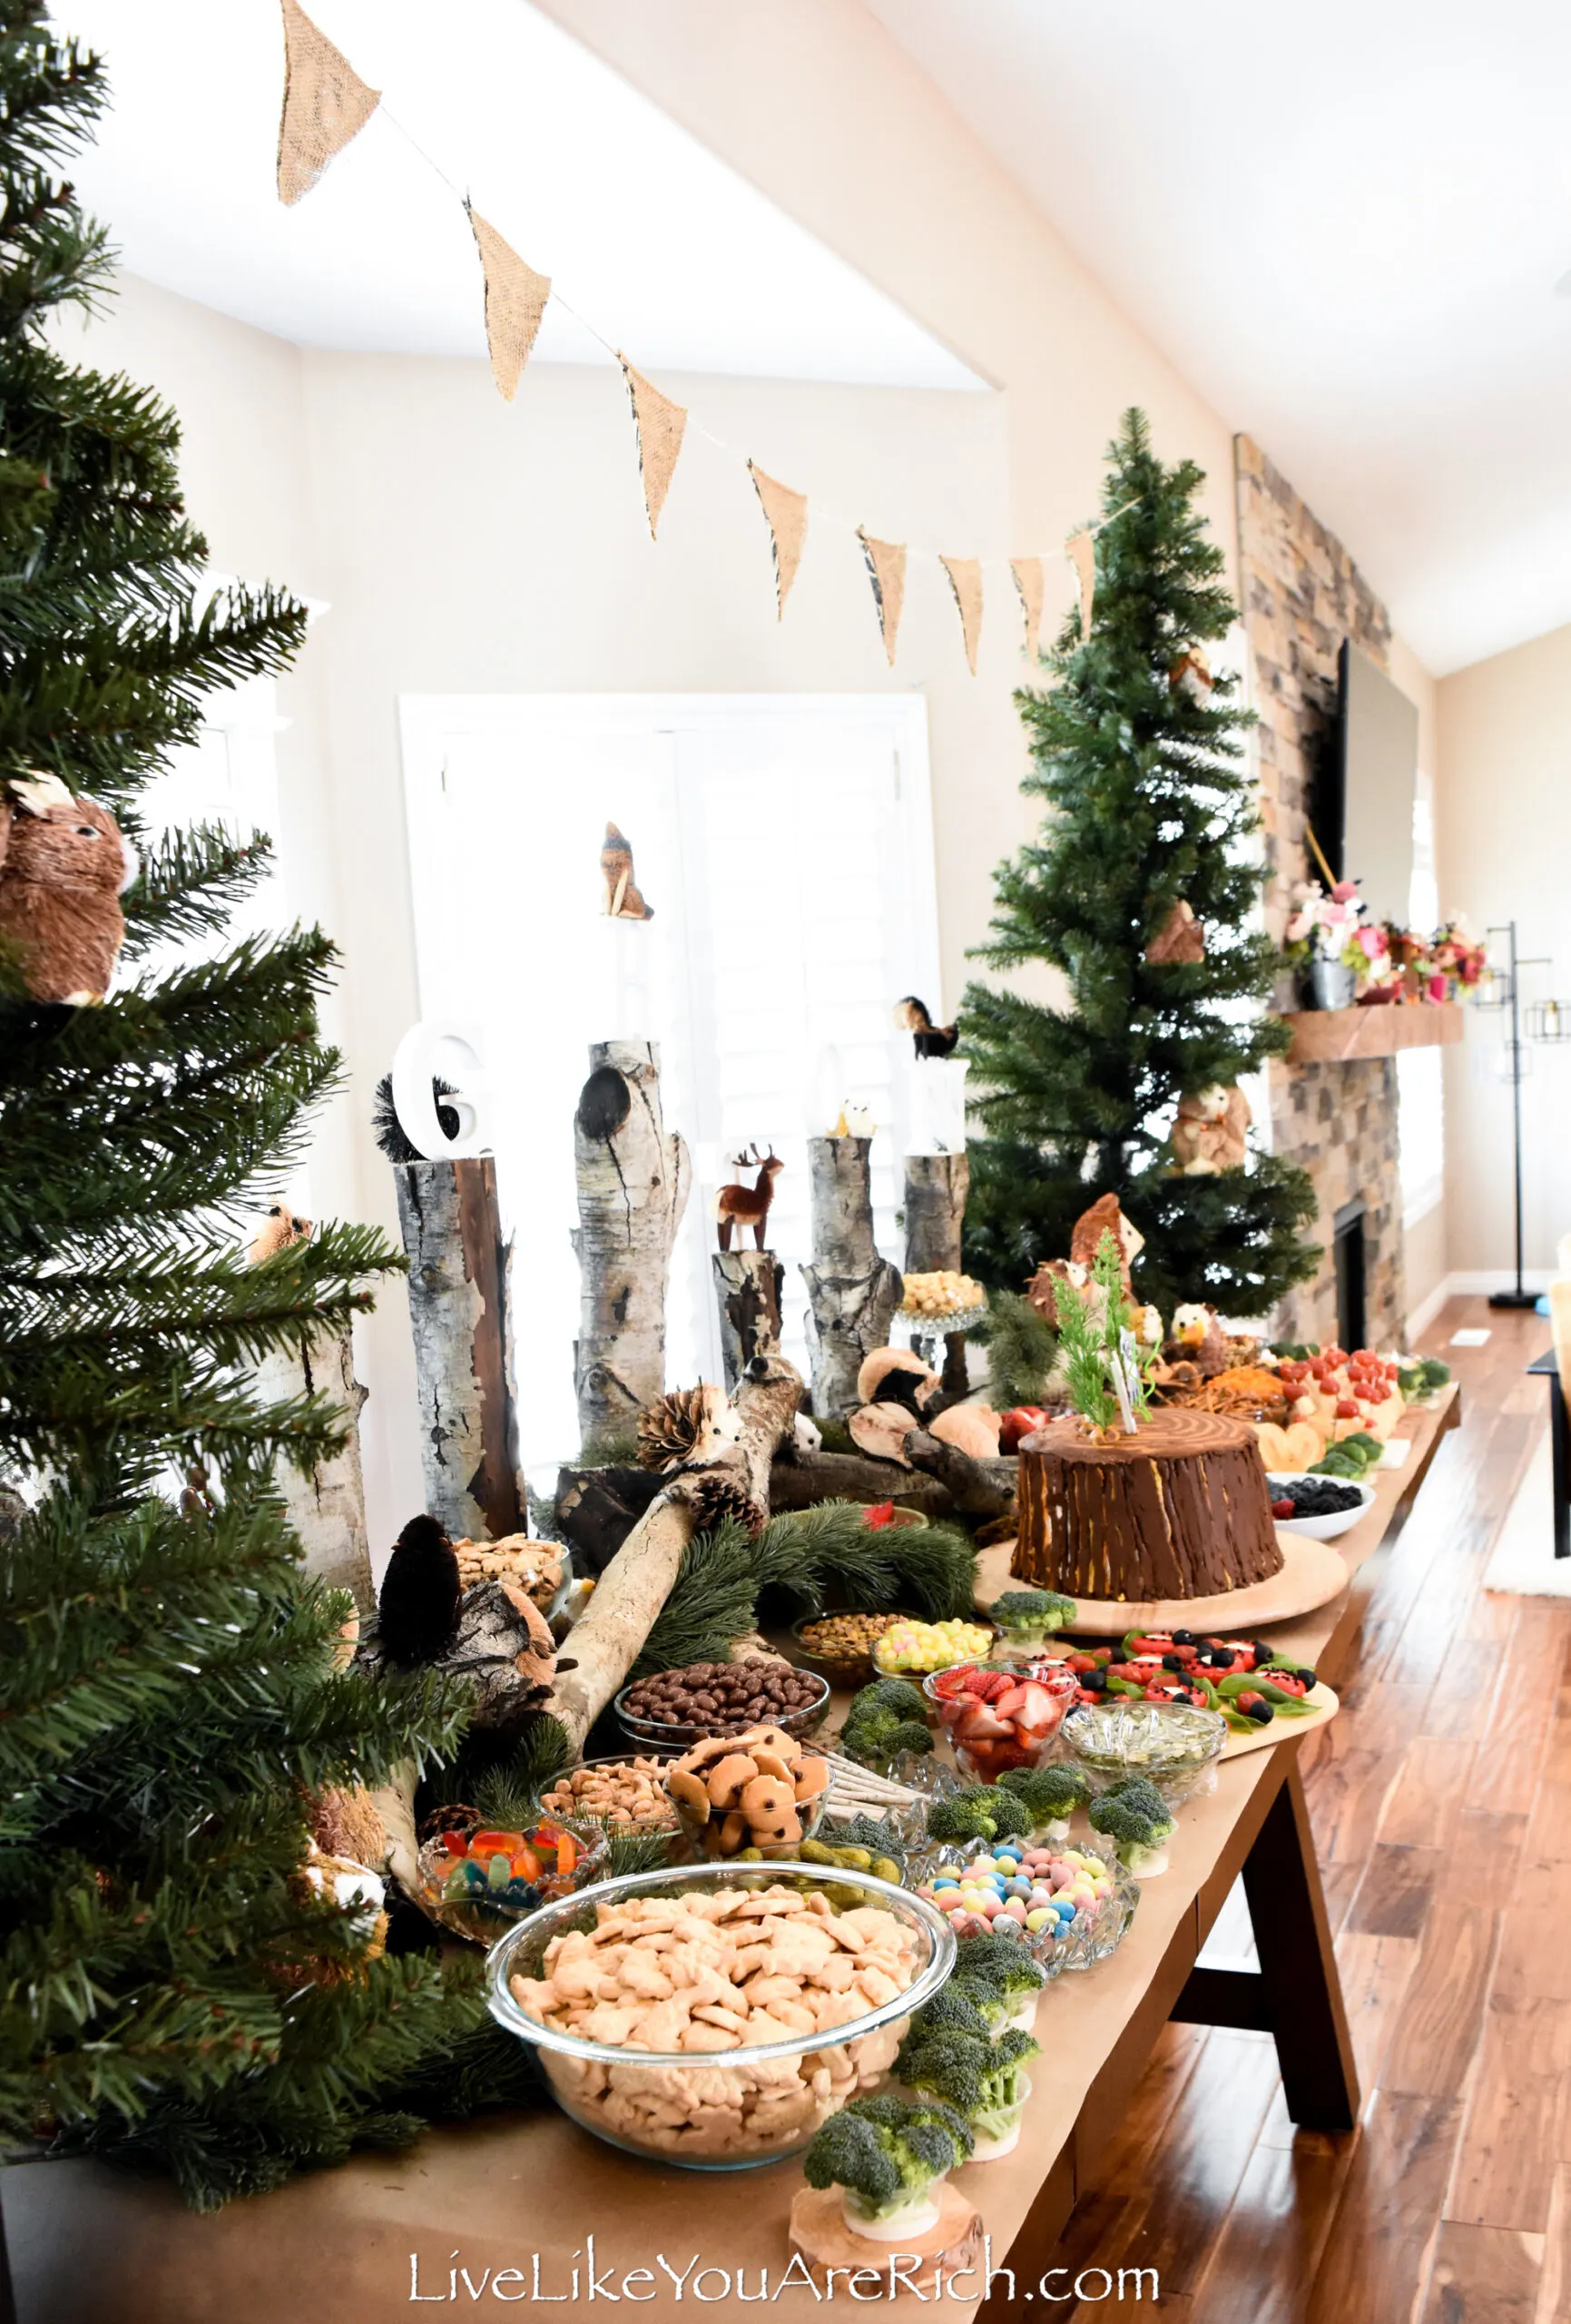
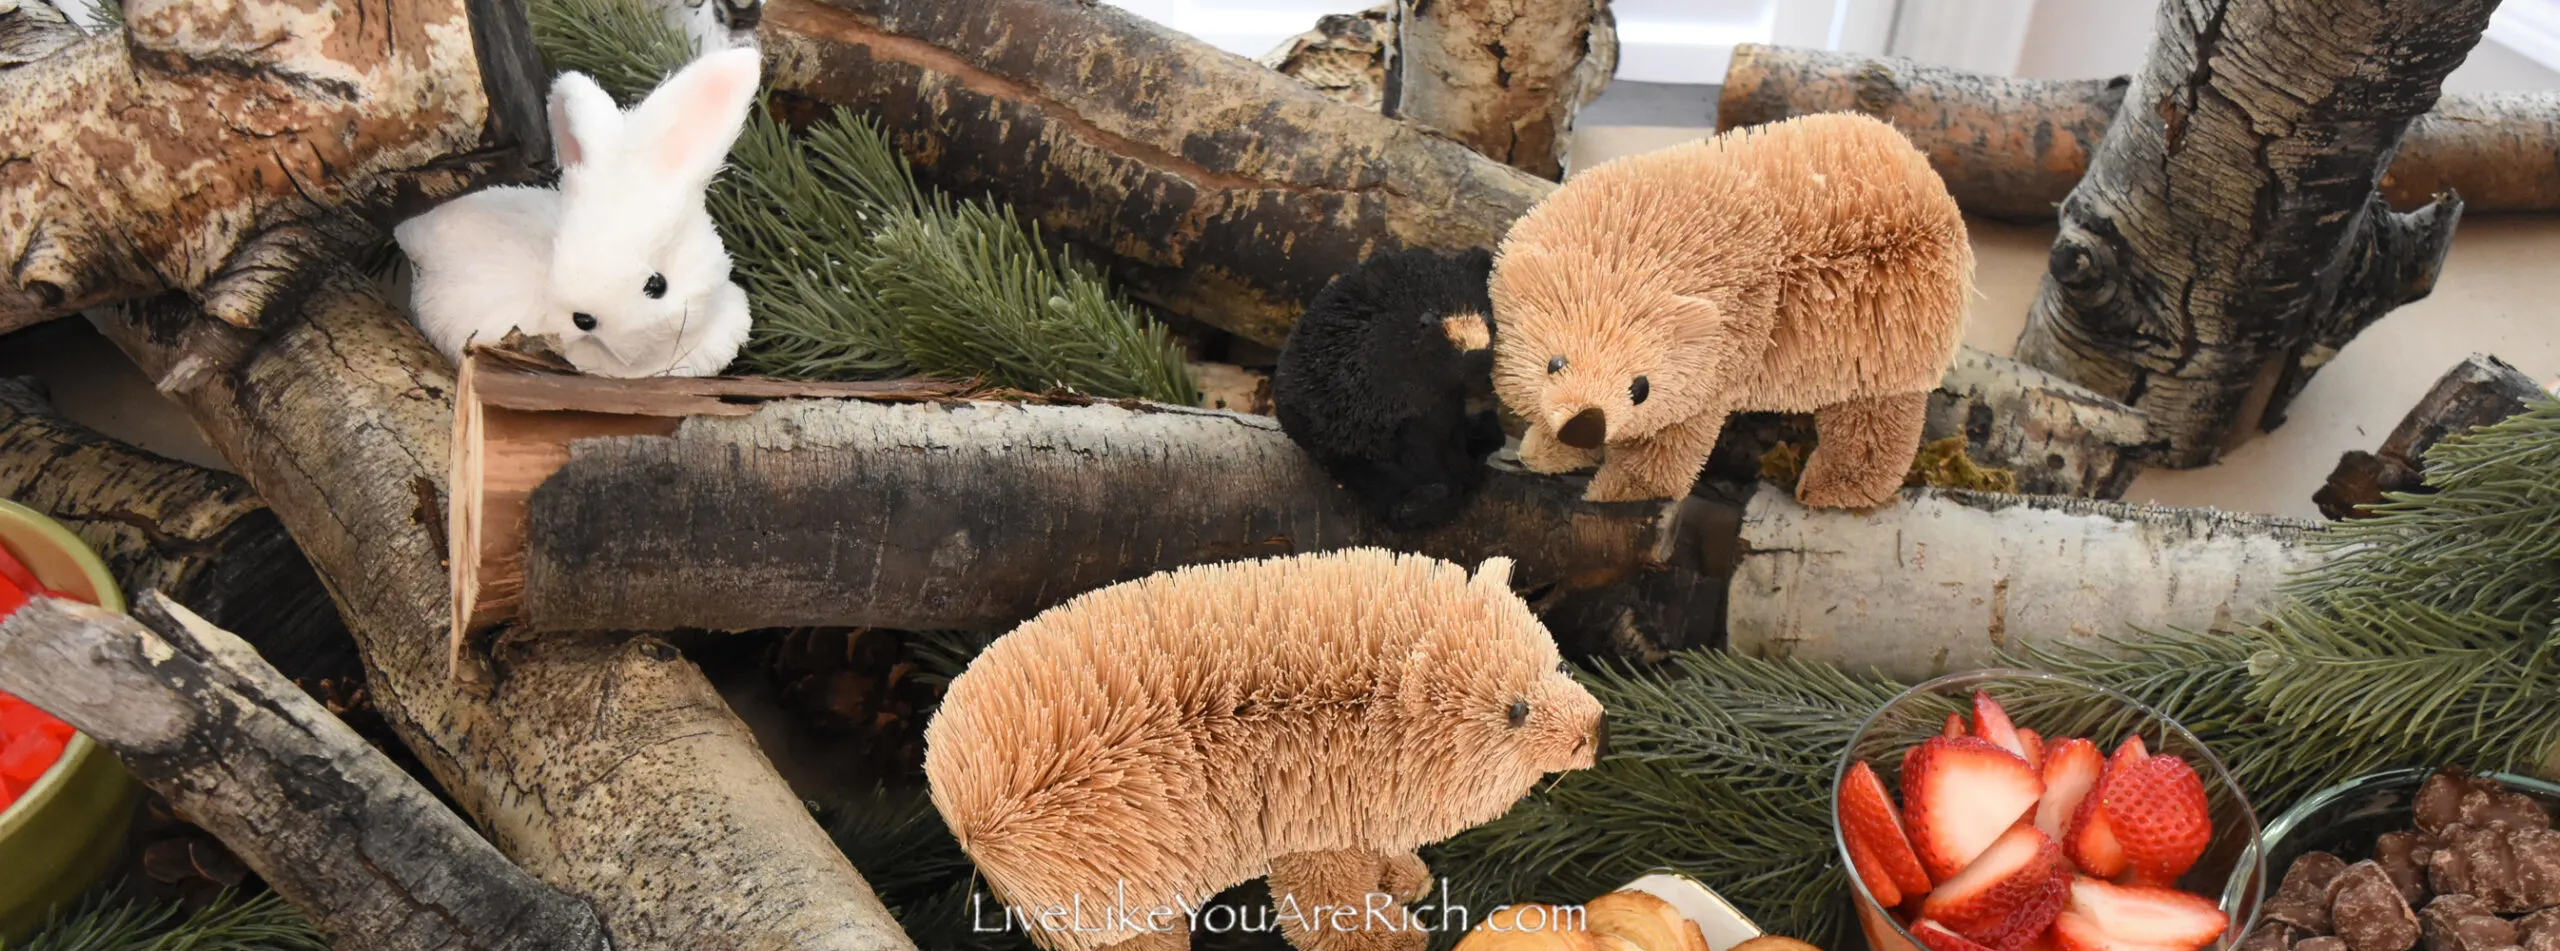
2- I set out Aspen logs intertwined with pine garland.
I focused on setting the logs all over the back portion of the table—saving room for most of the food to be in the front of the table.
I wove the garland in between the logs to make it look like fallen pine tree branches and trees.
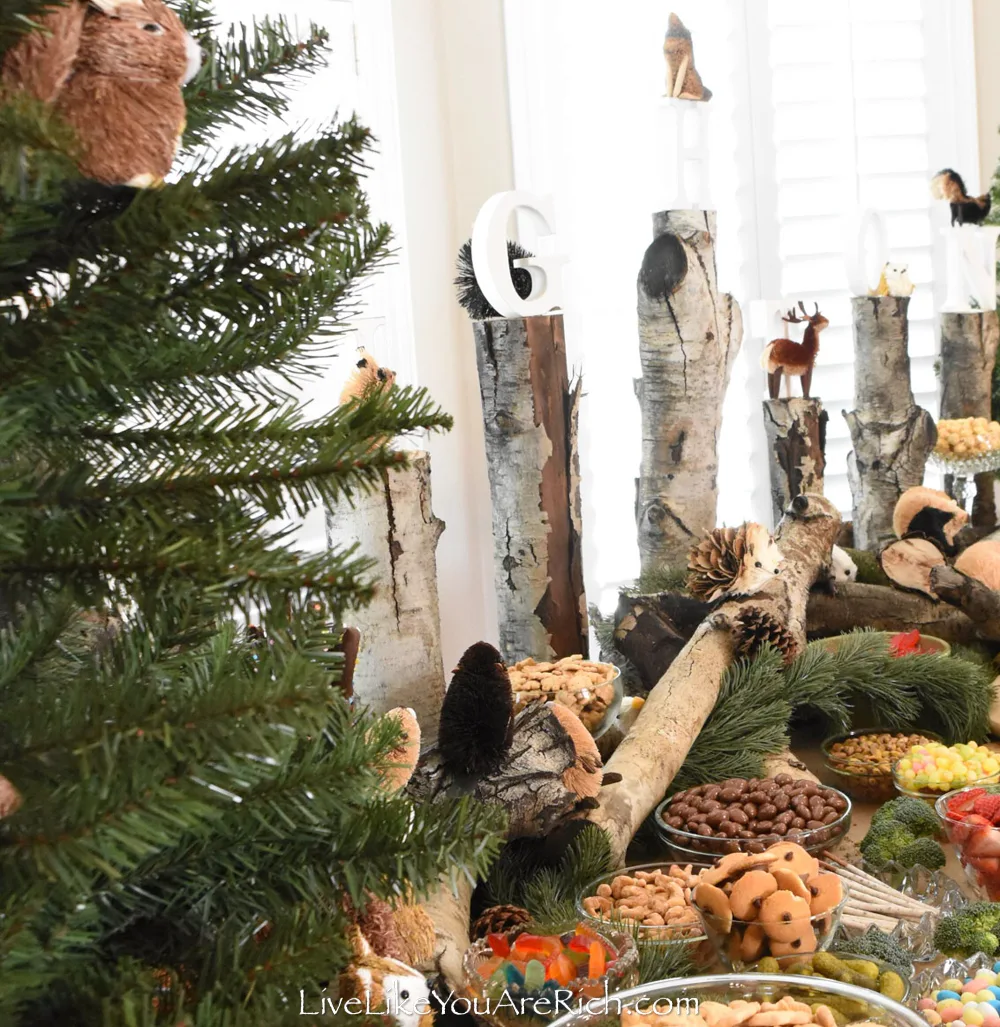
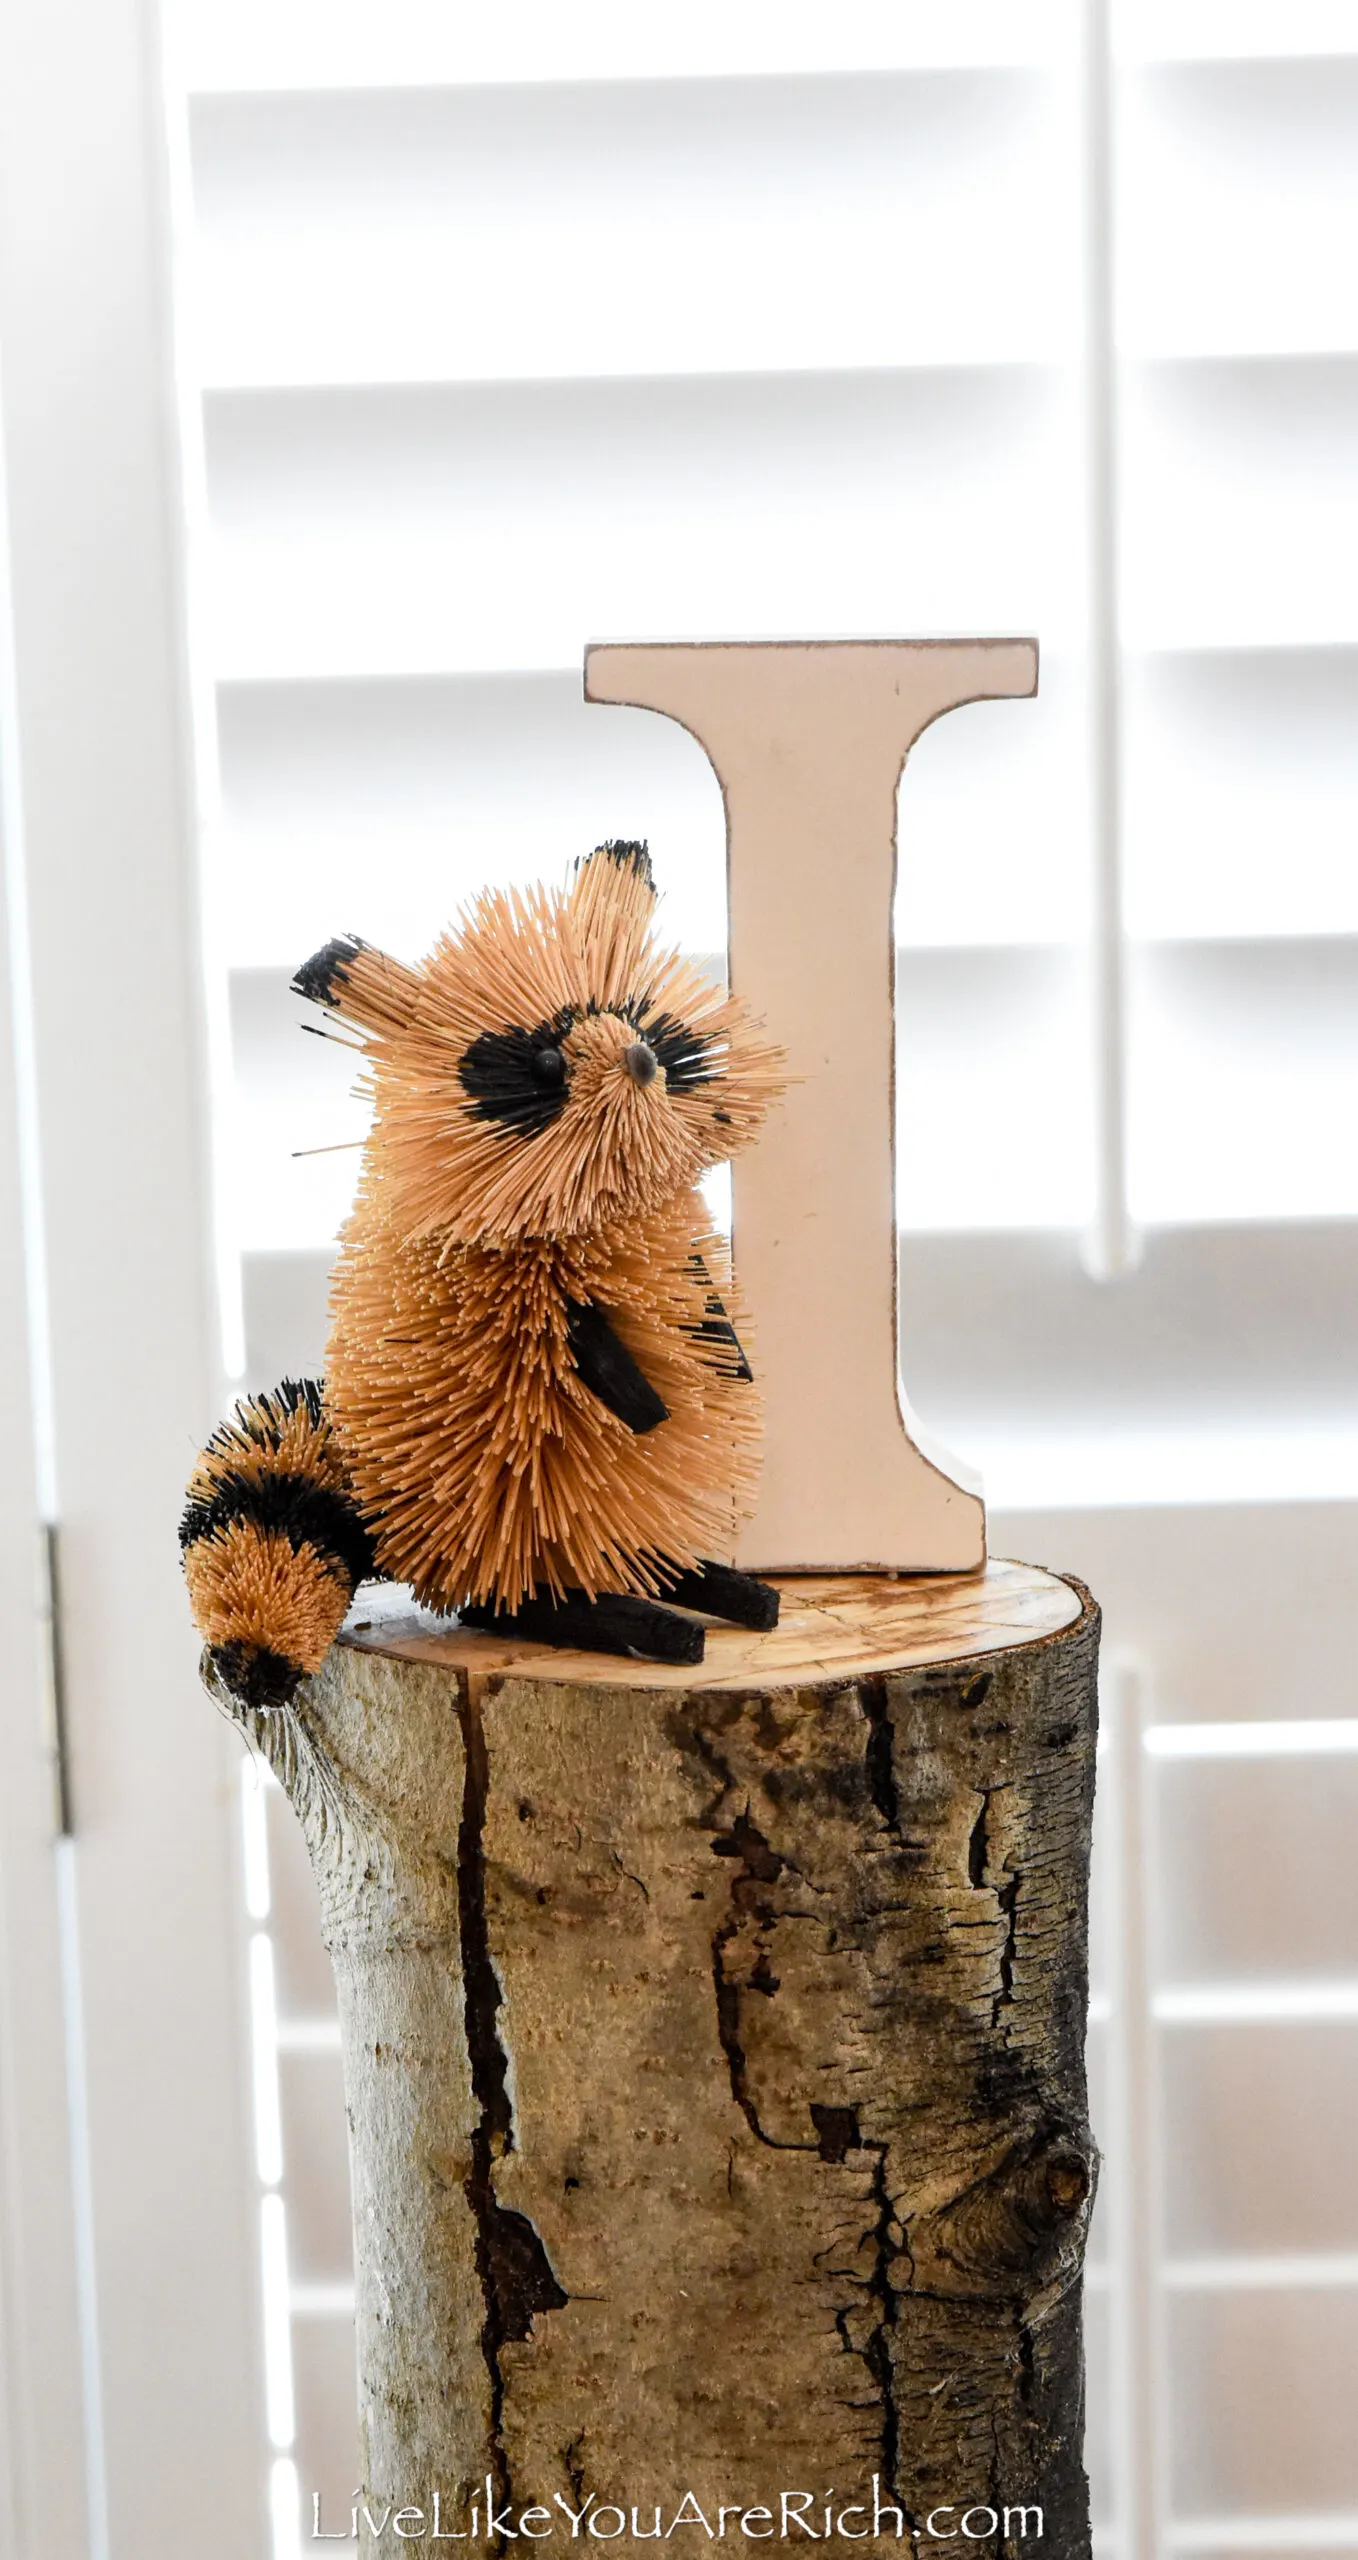
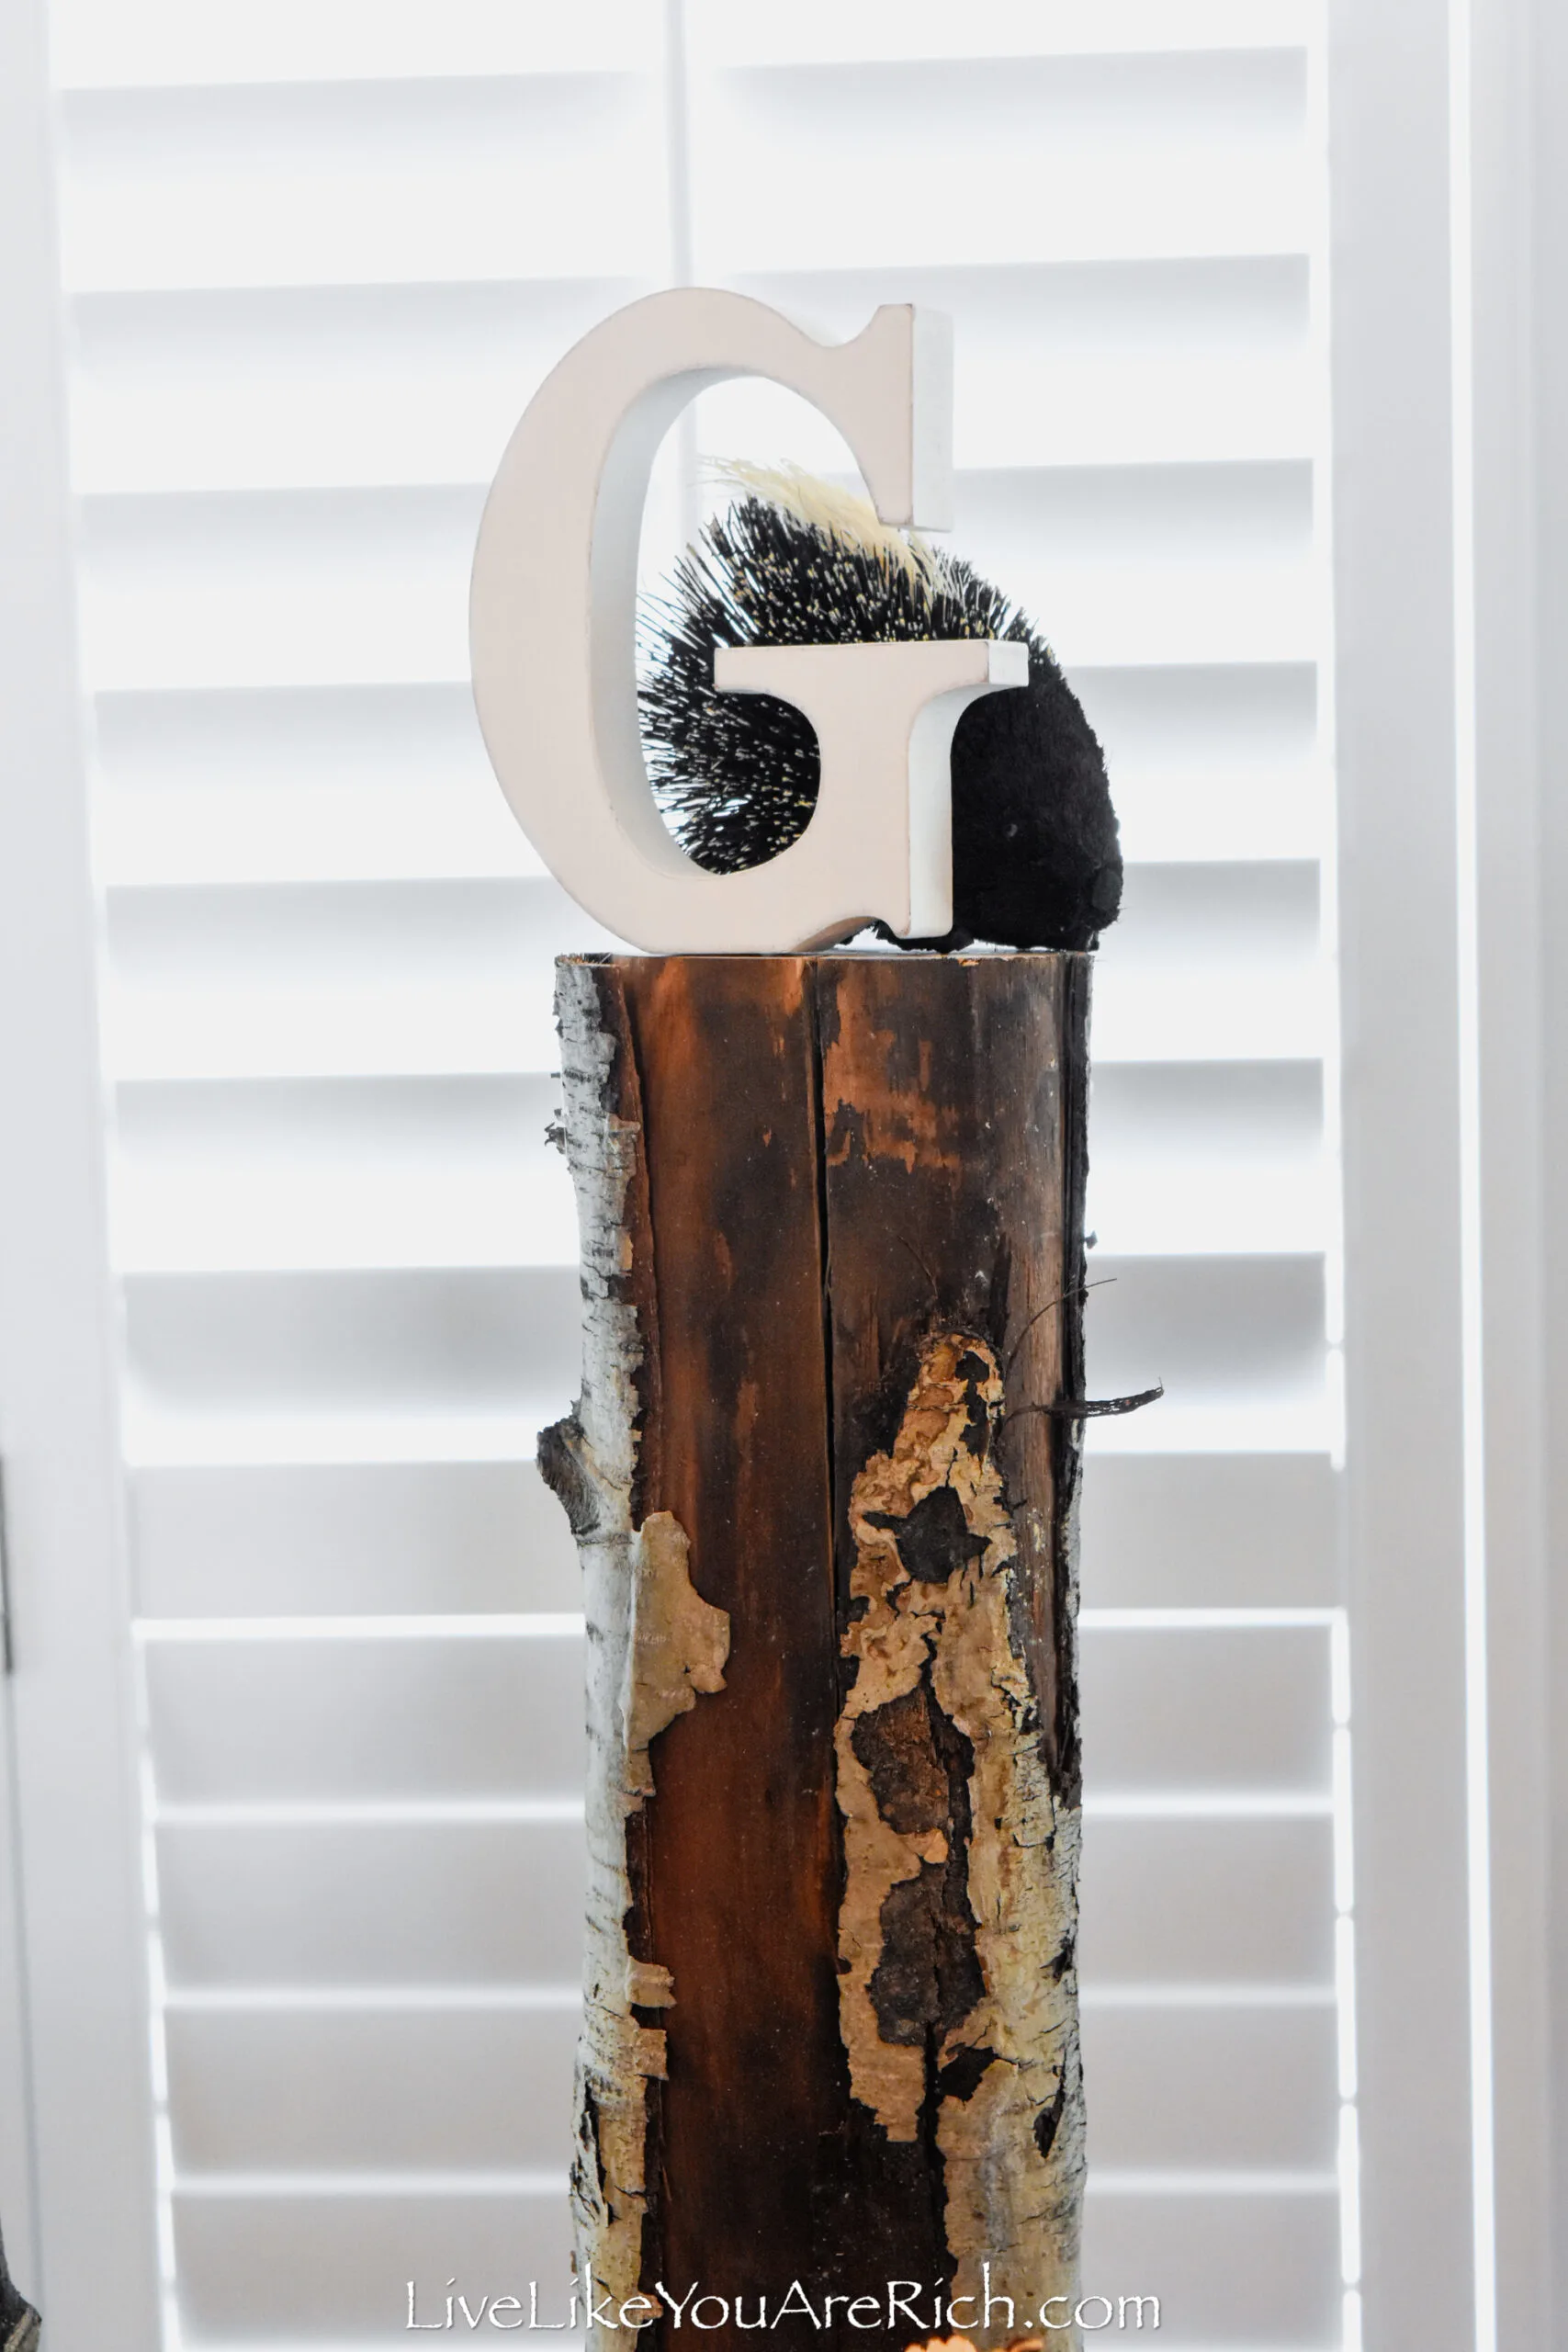
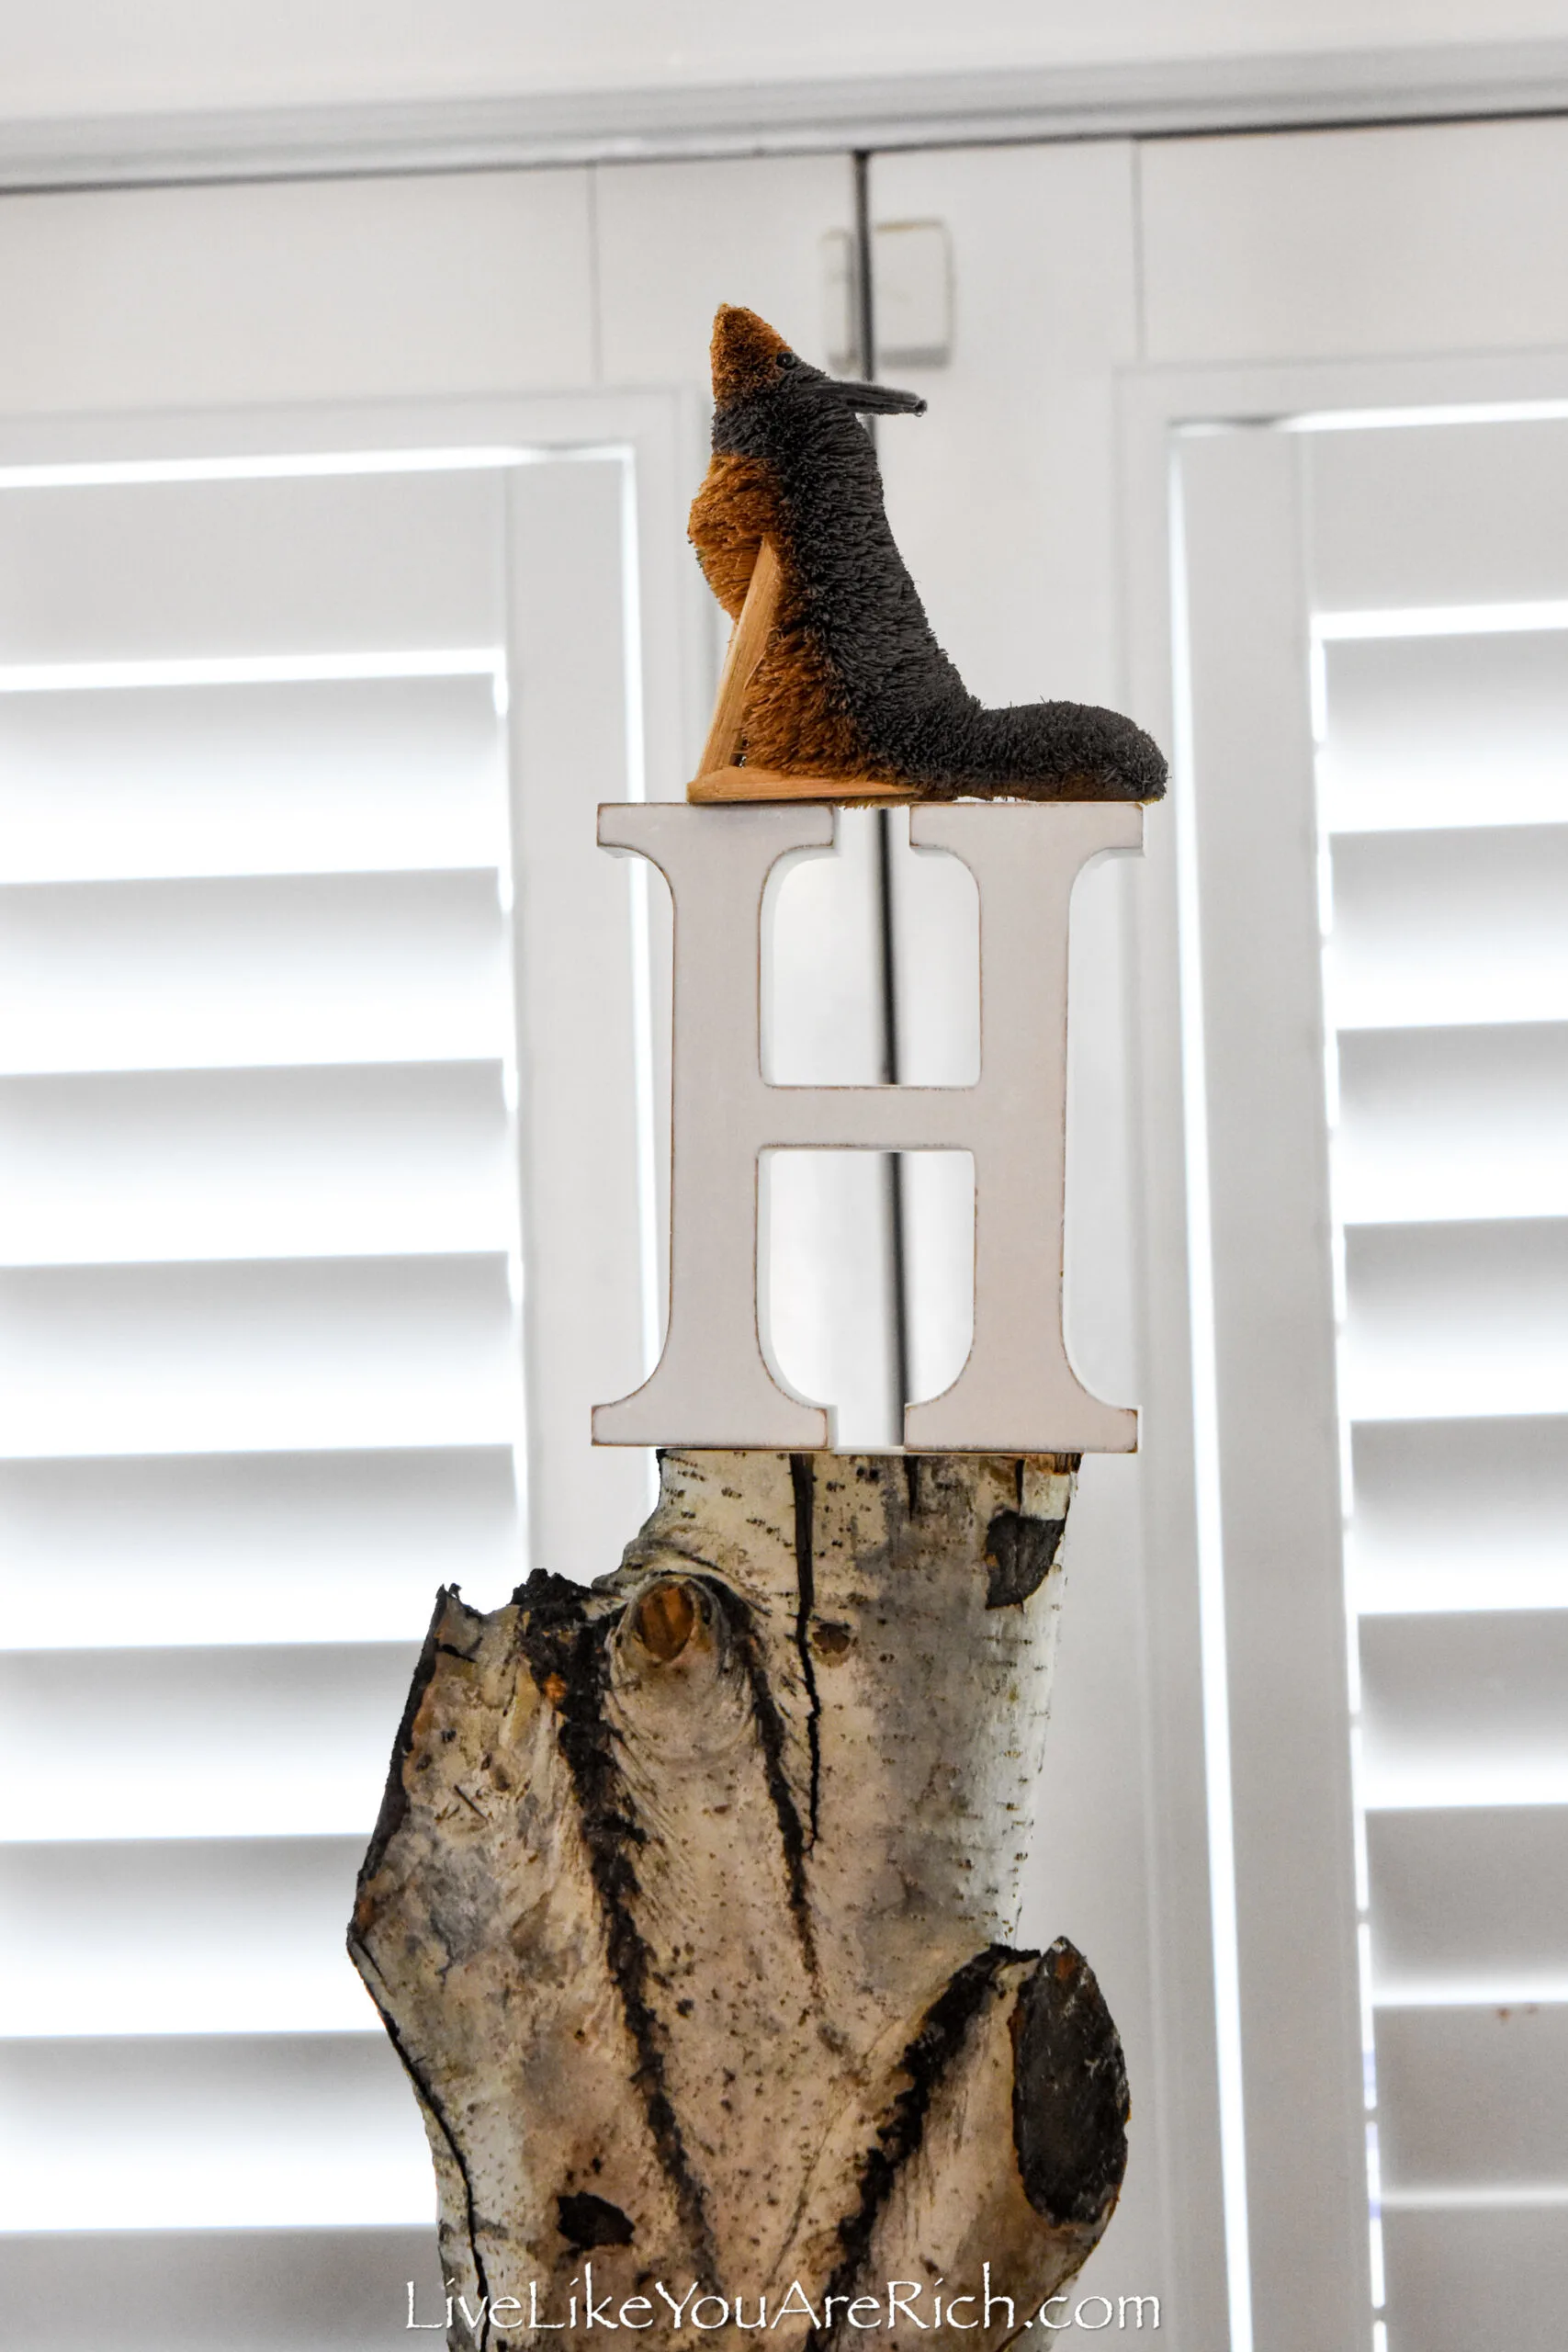
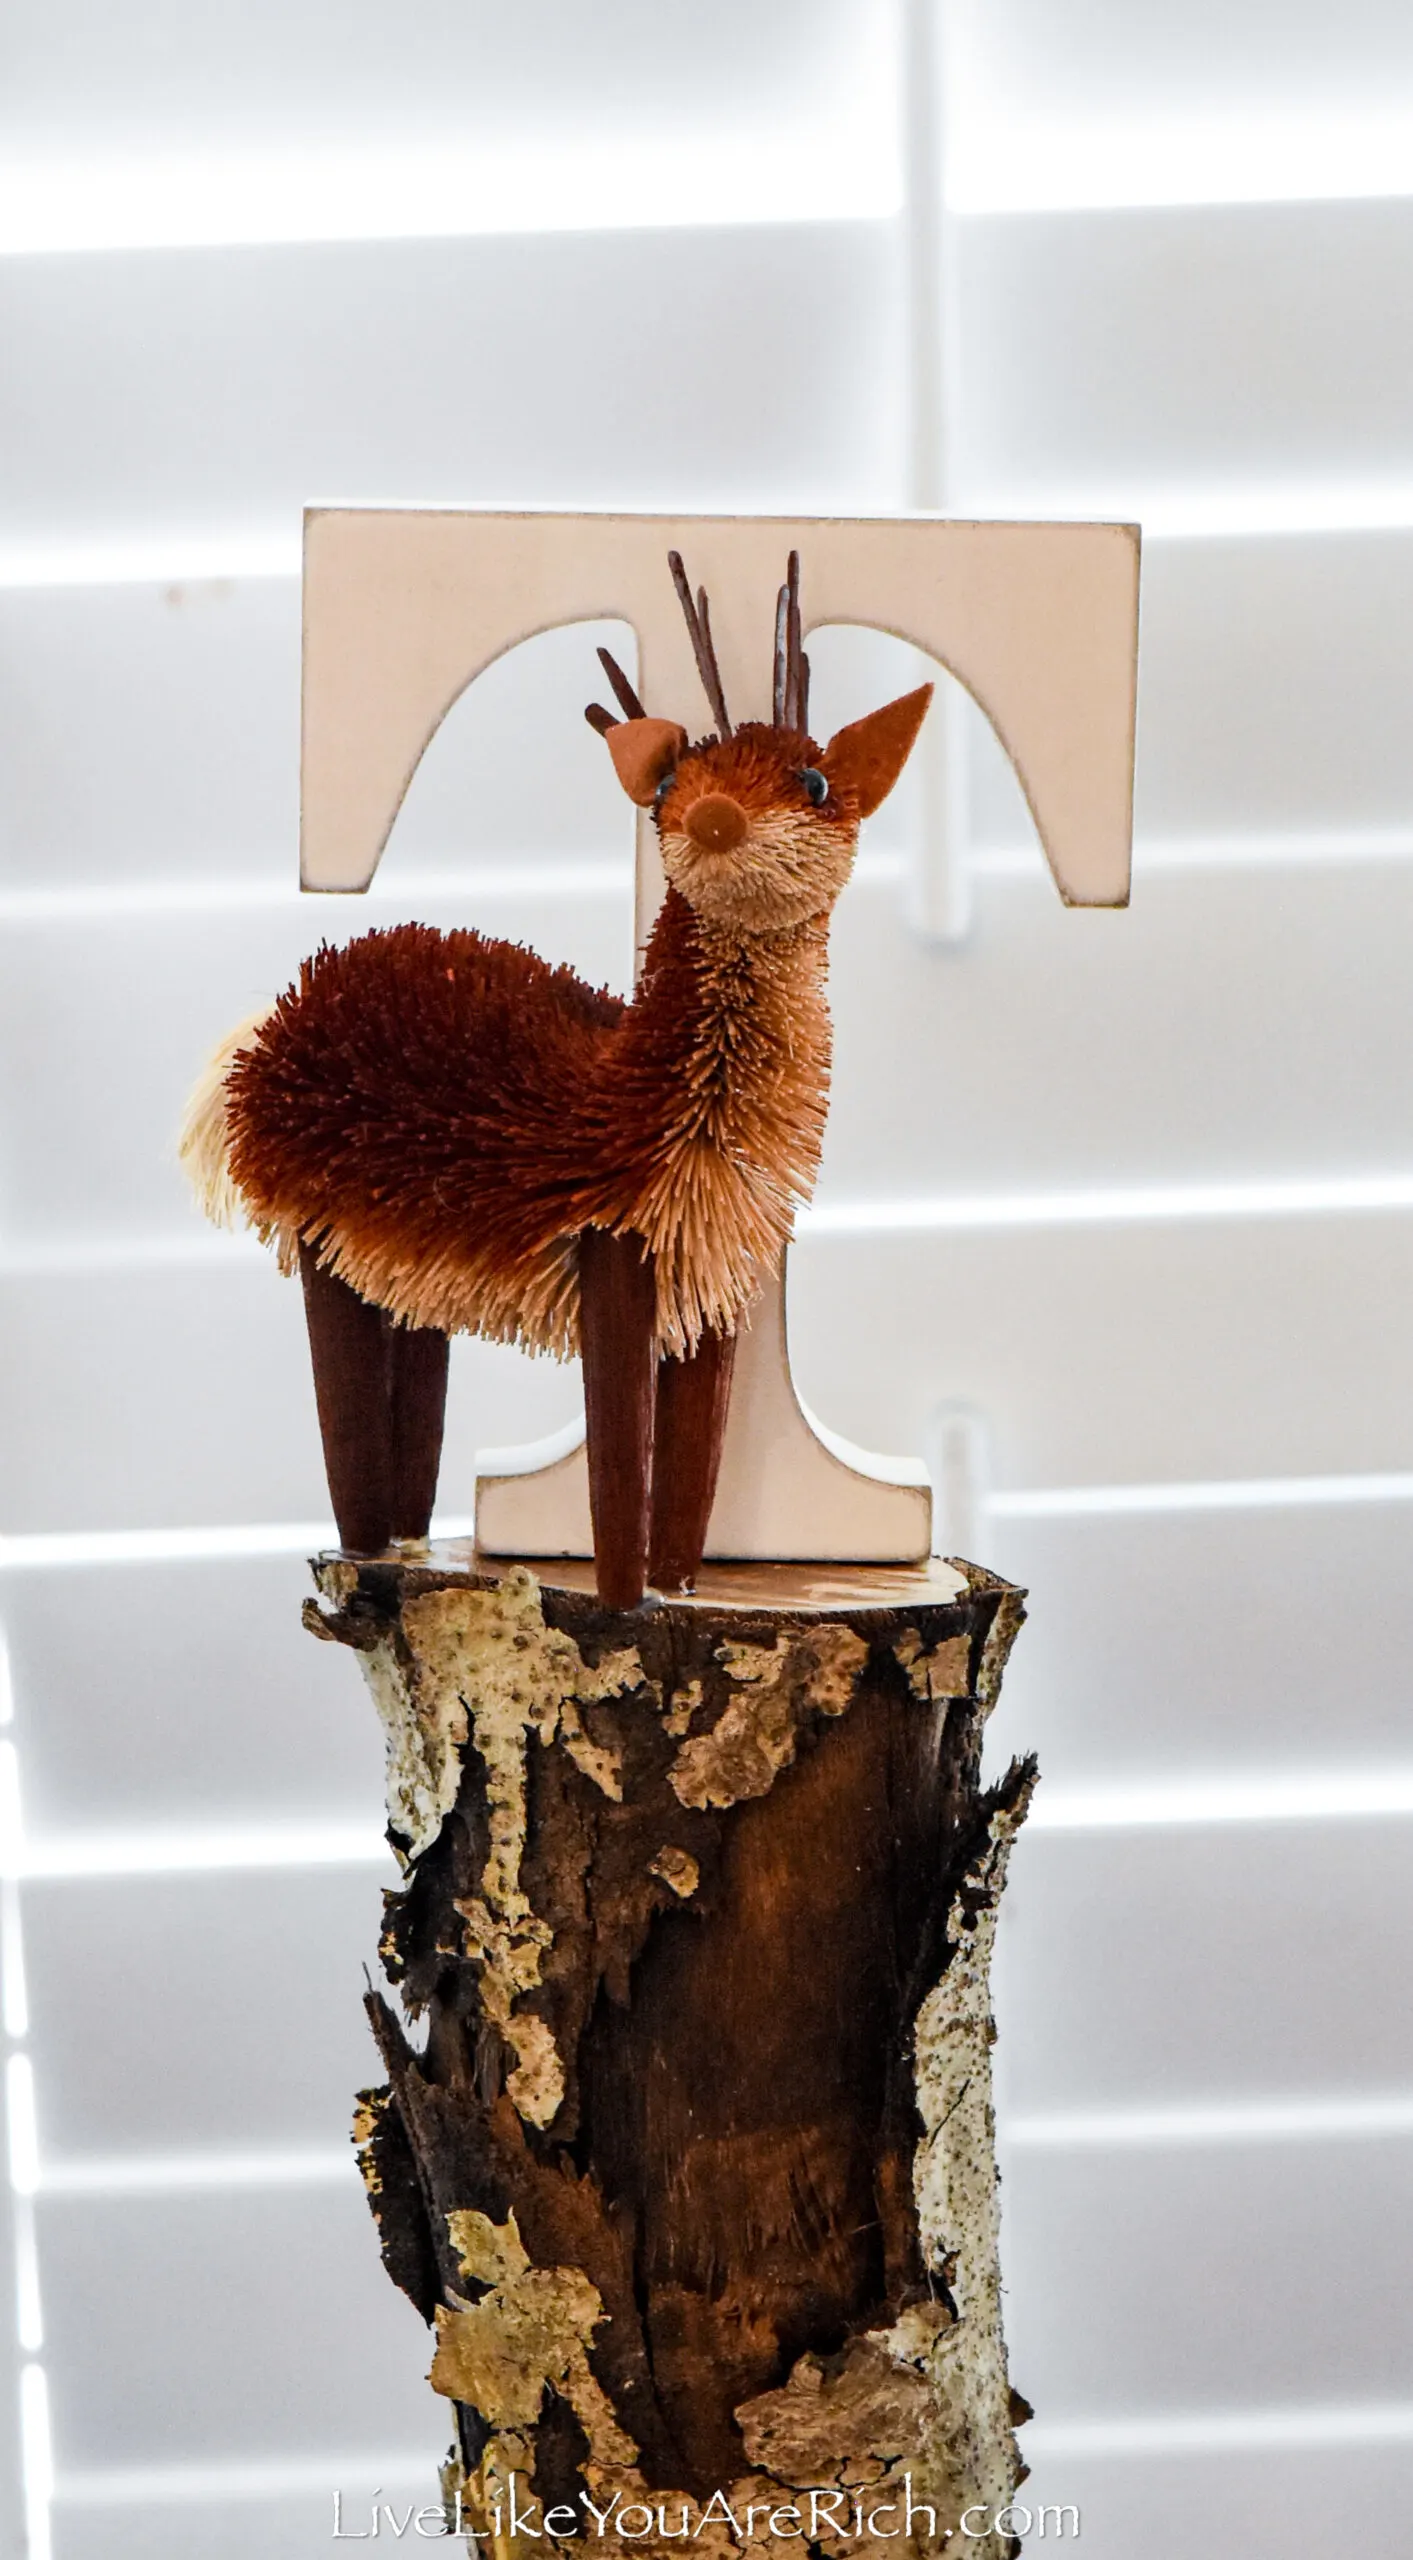
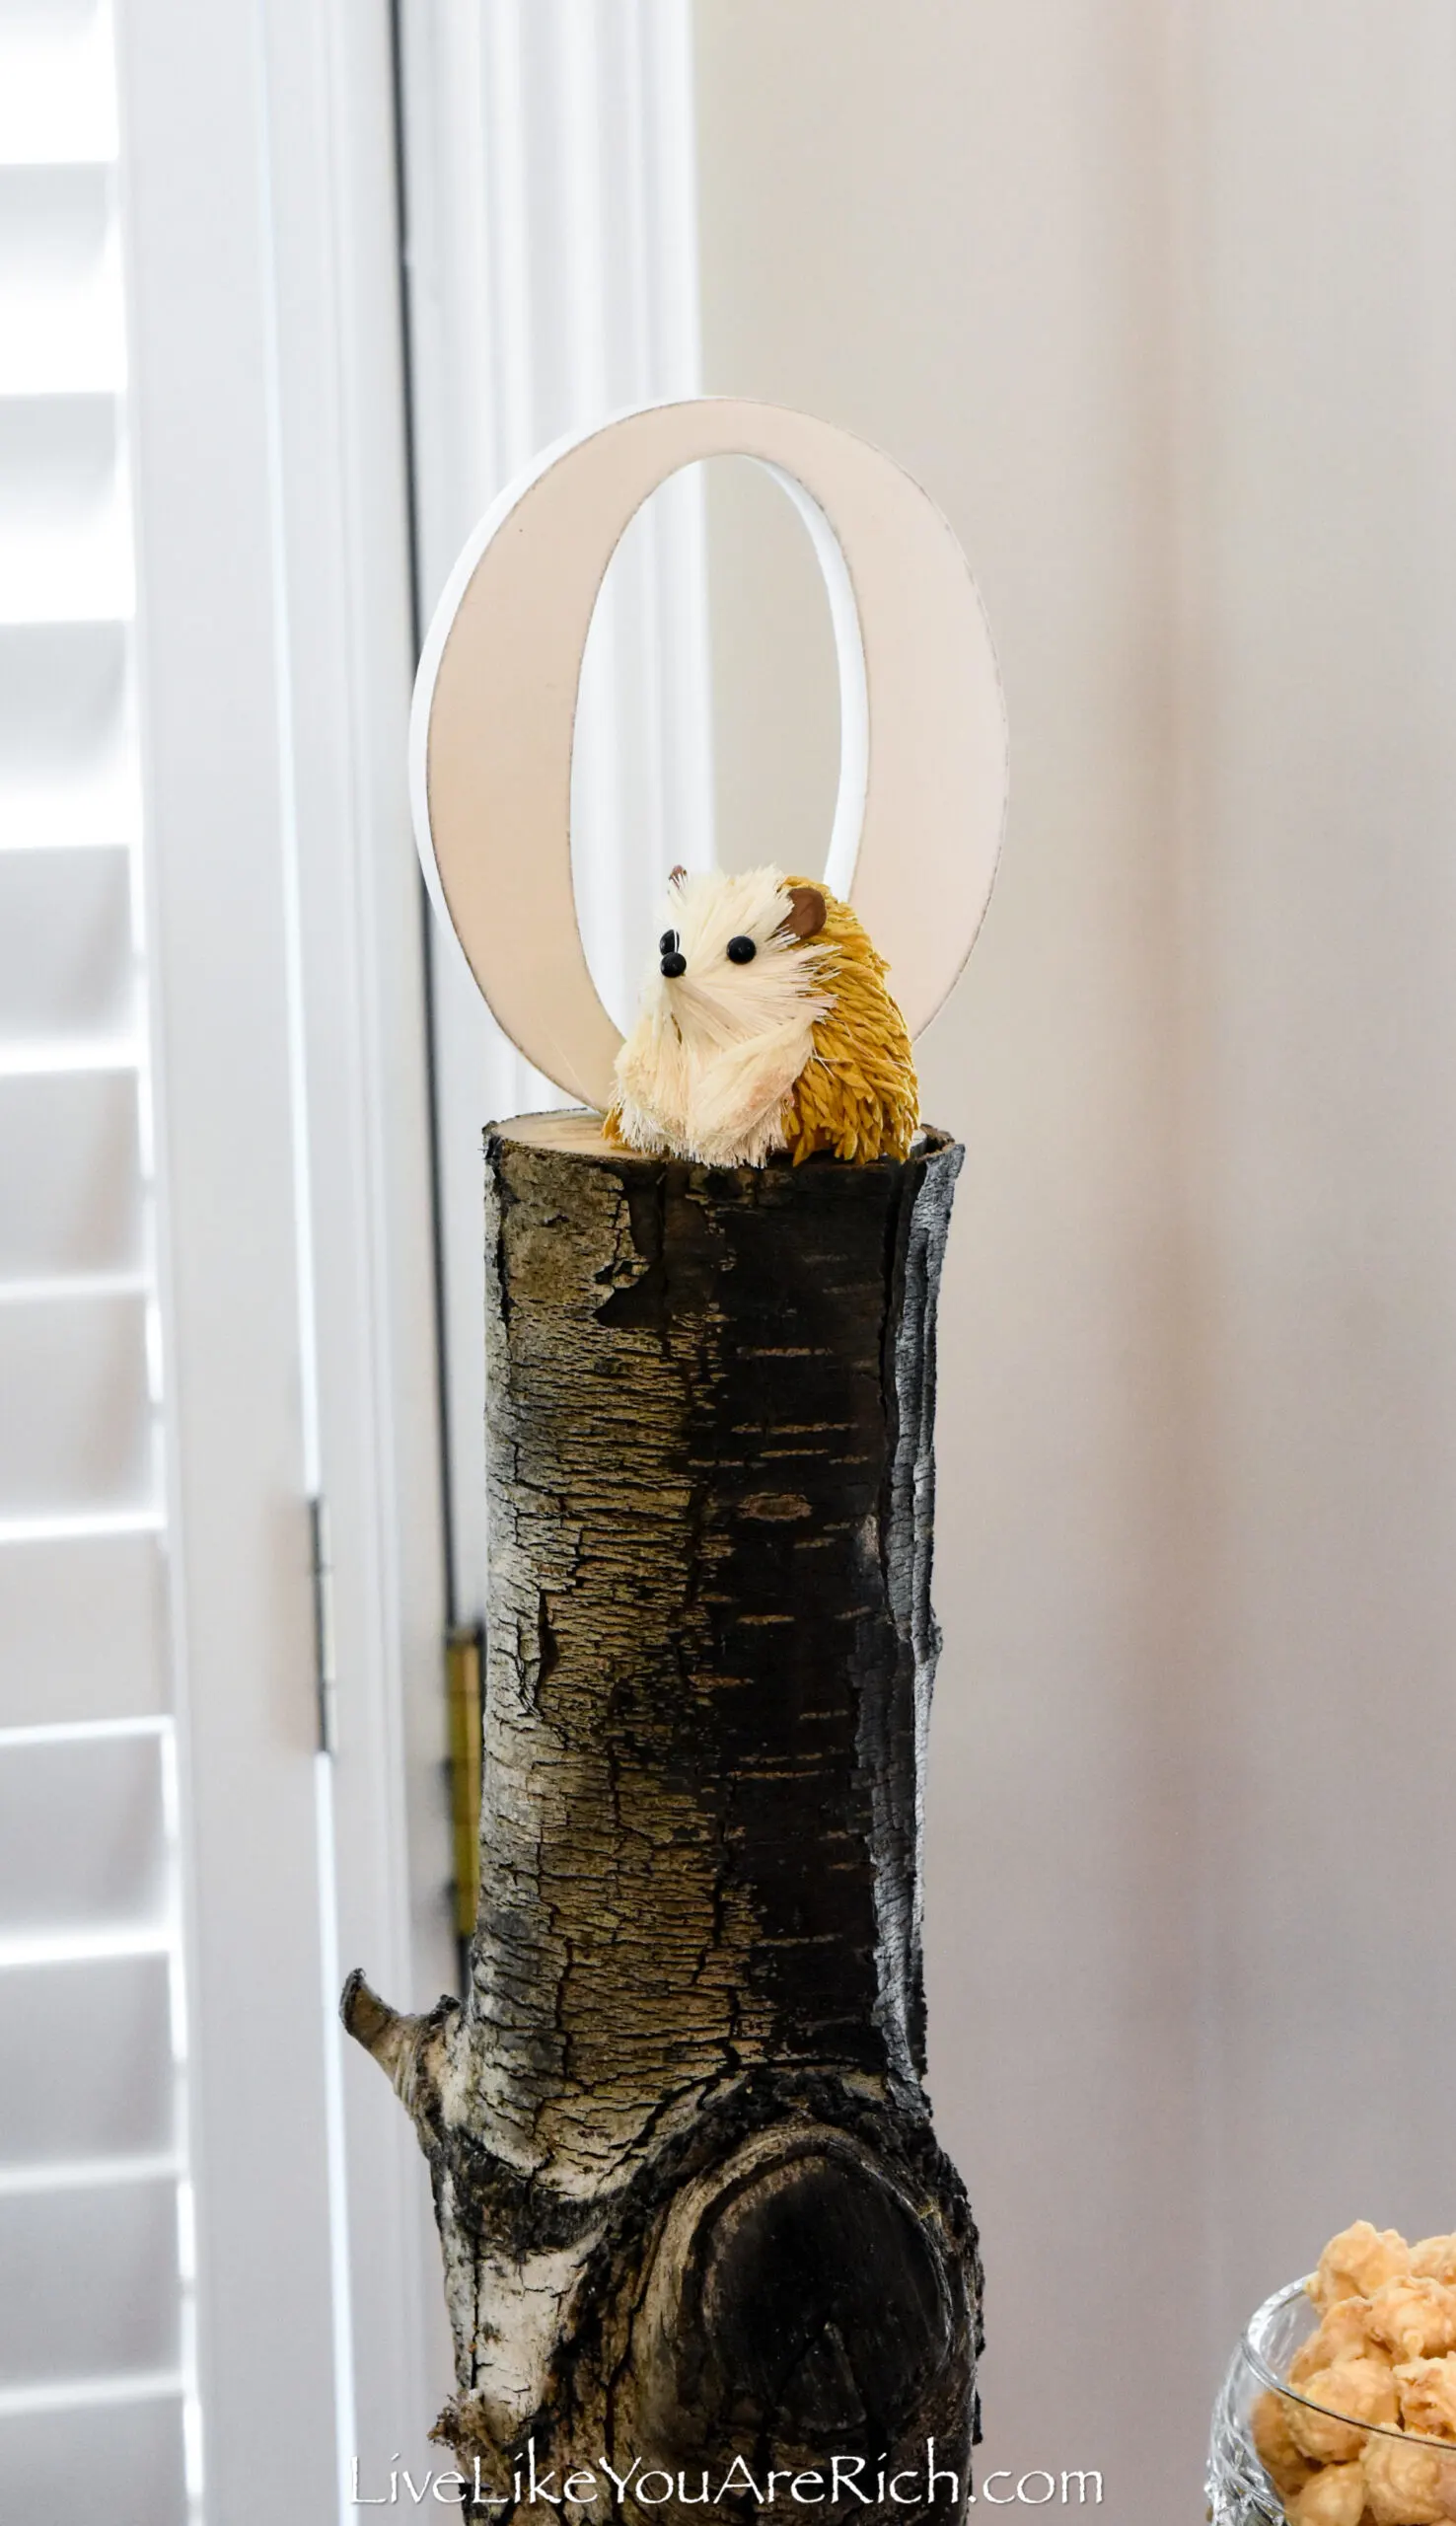
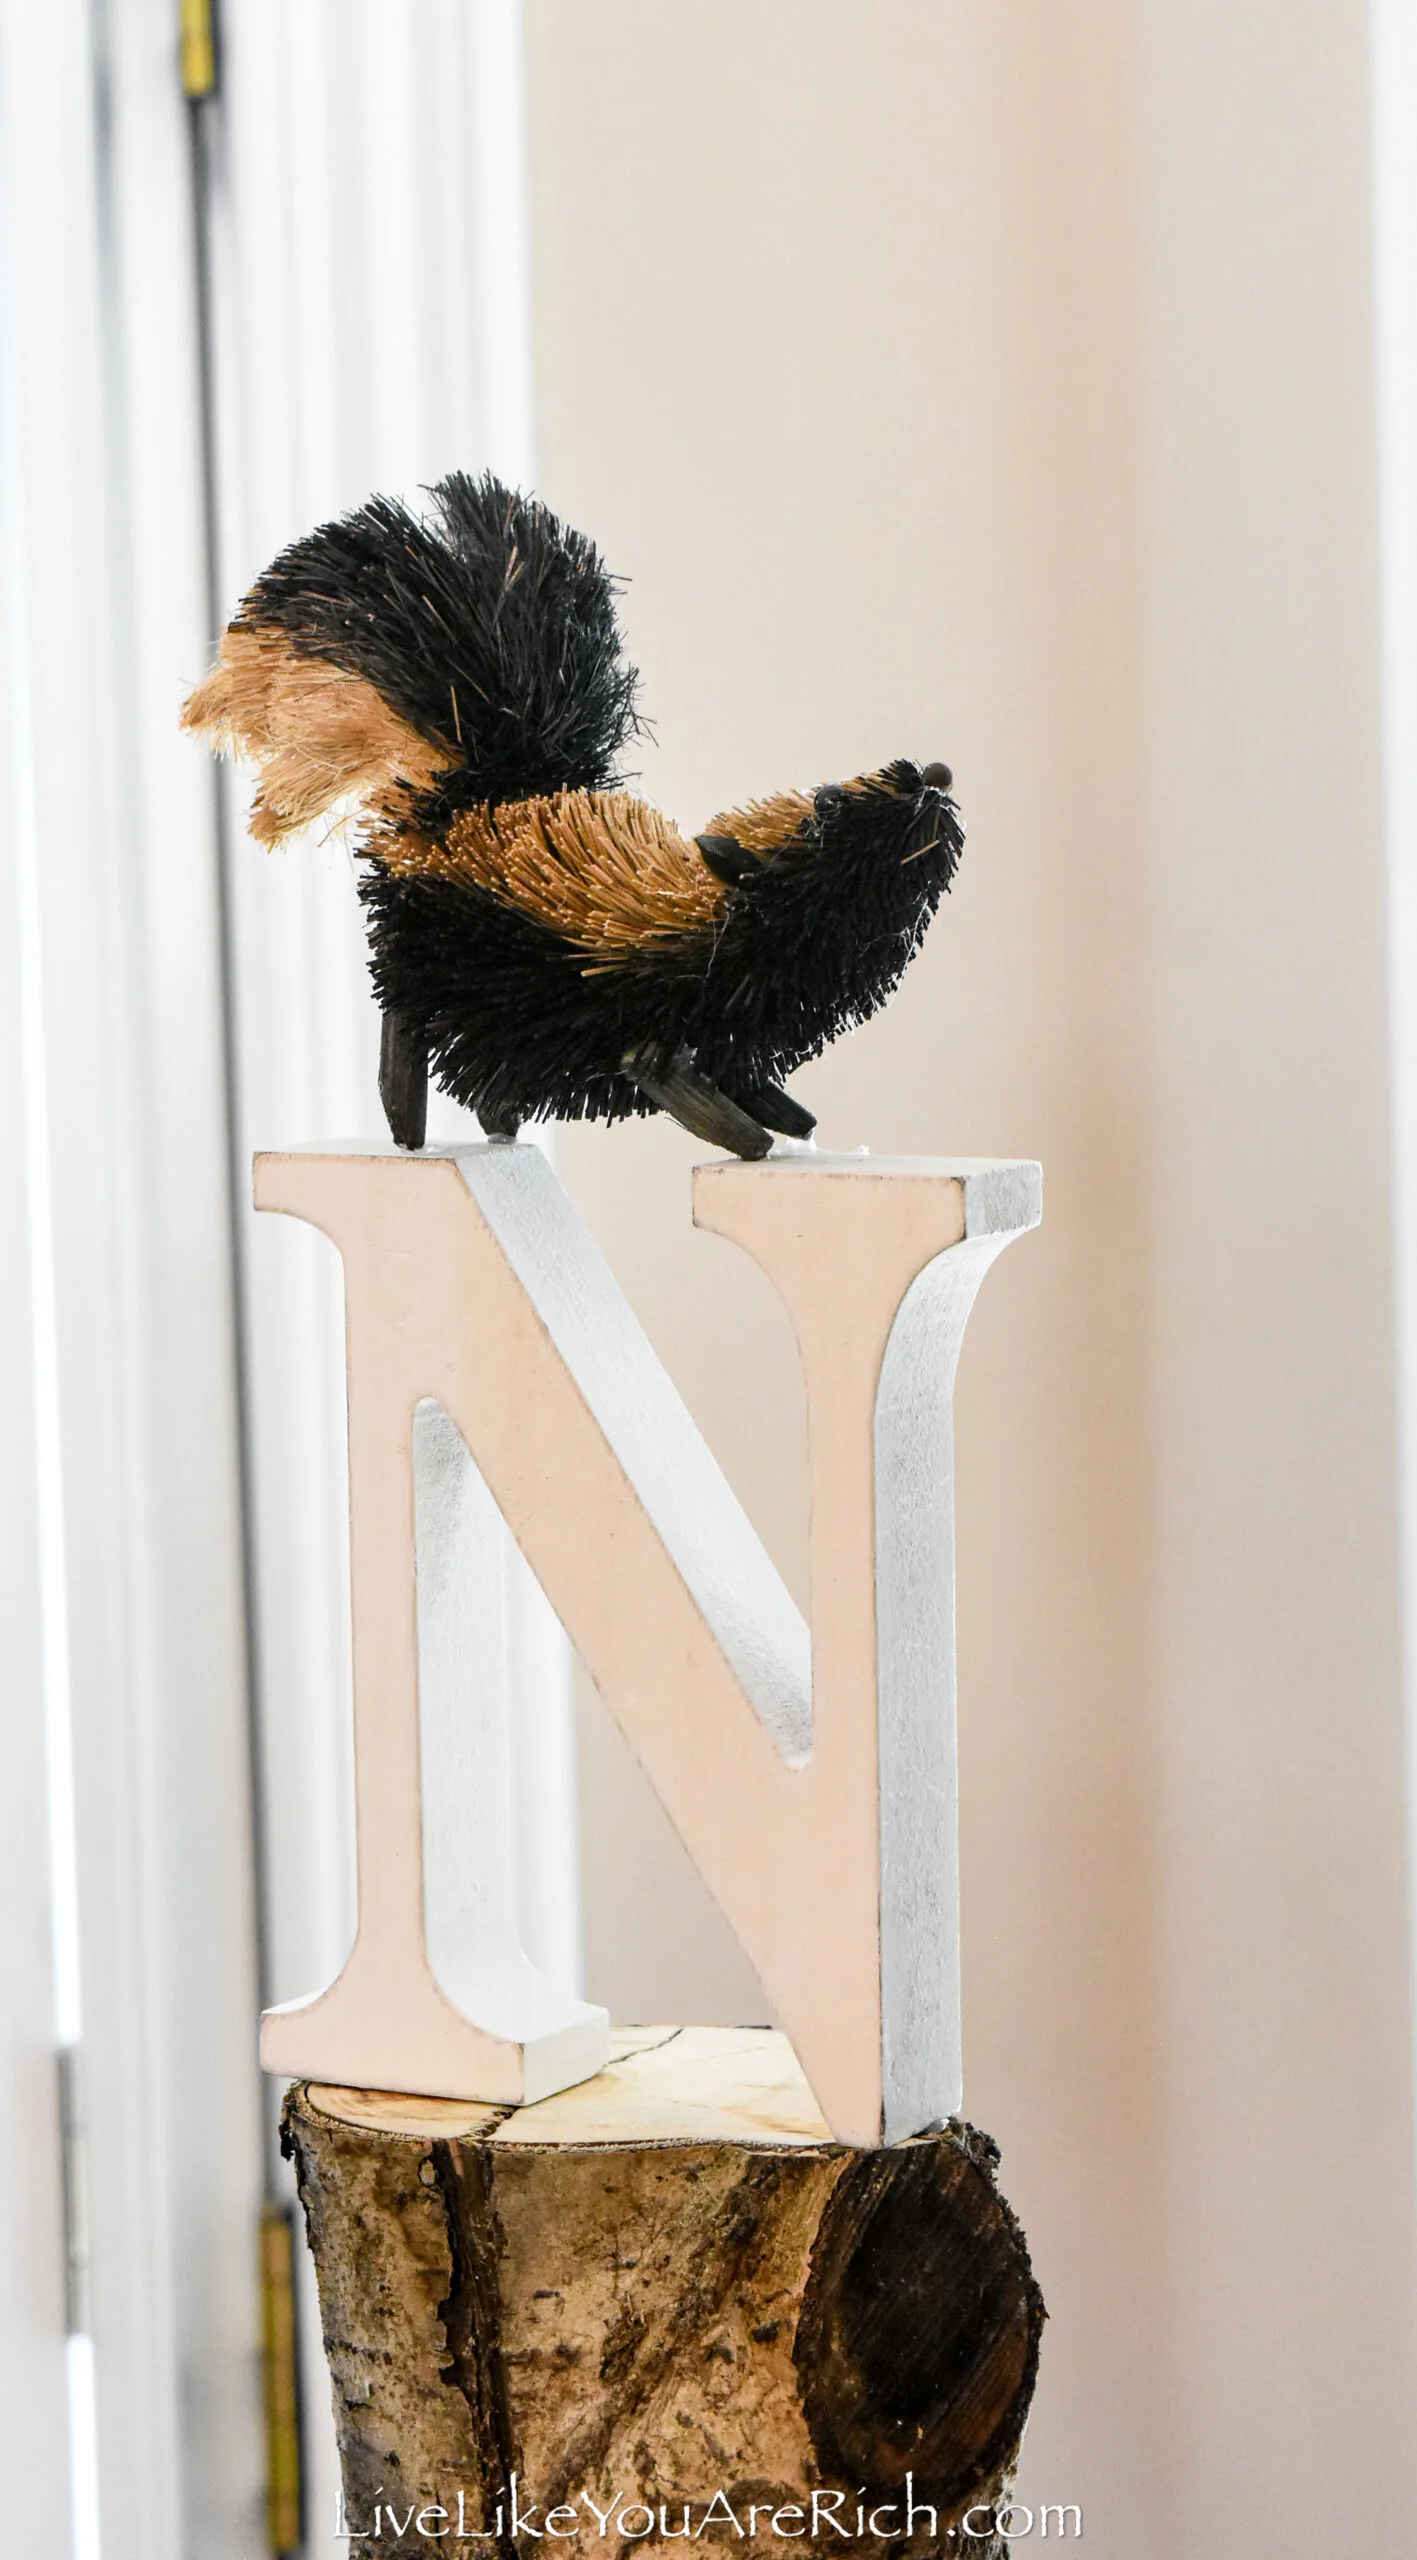
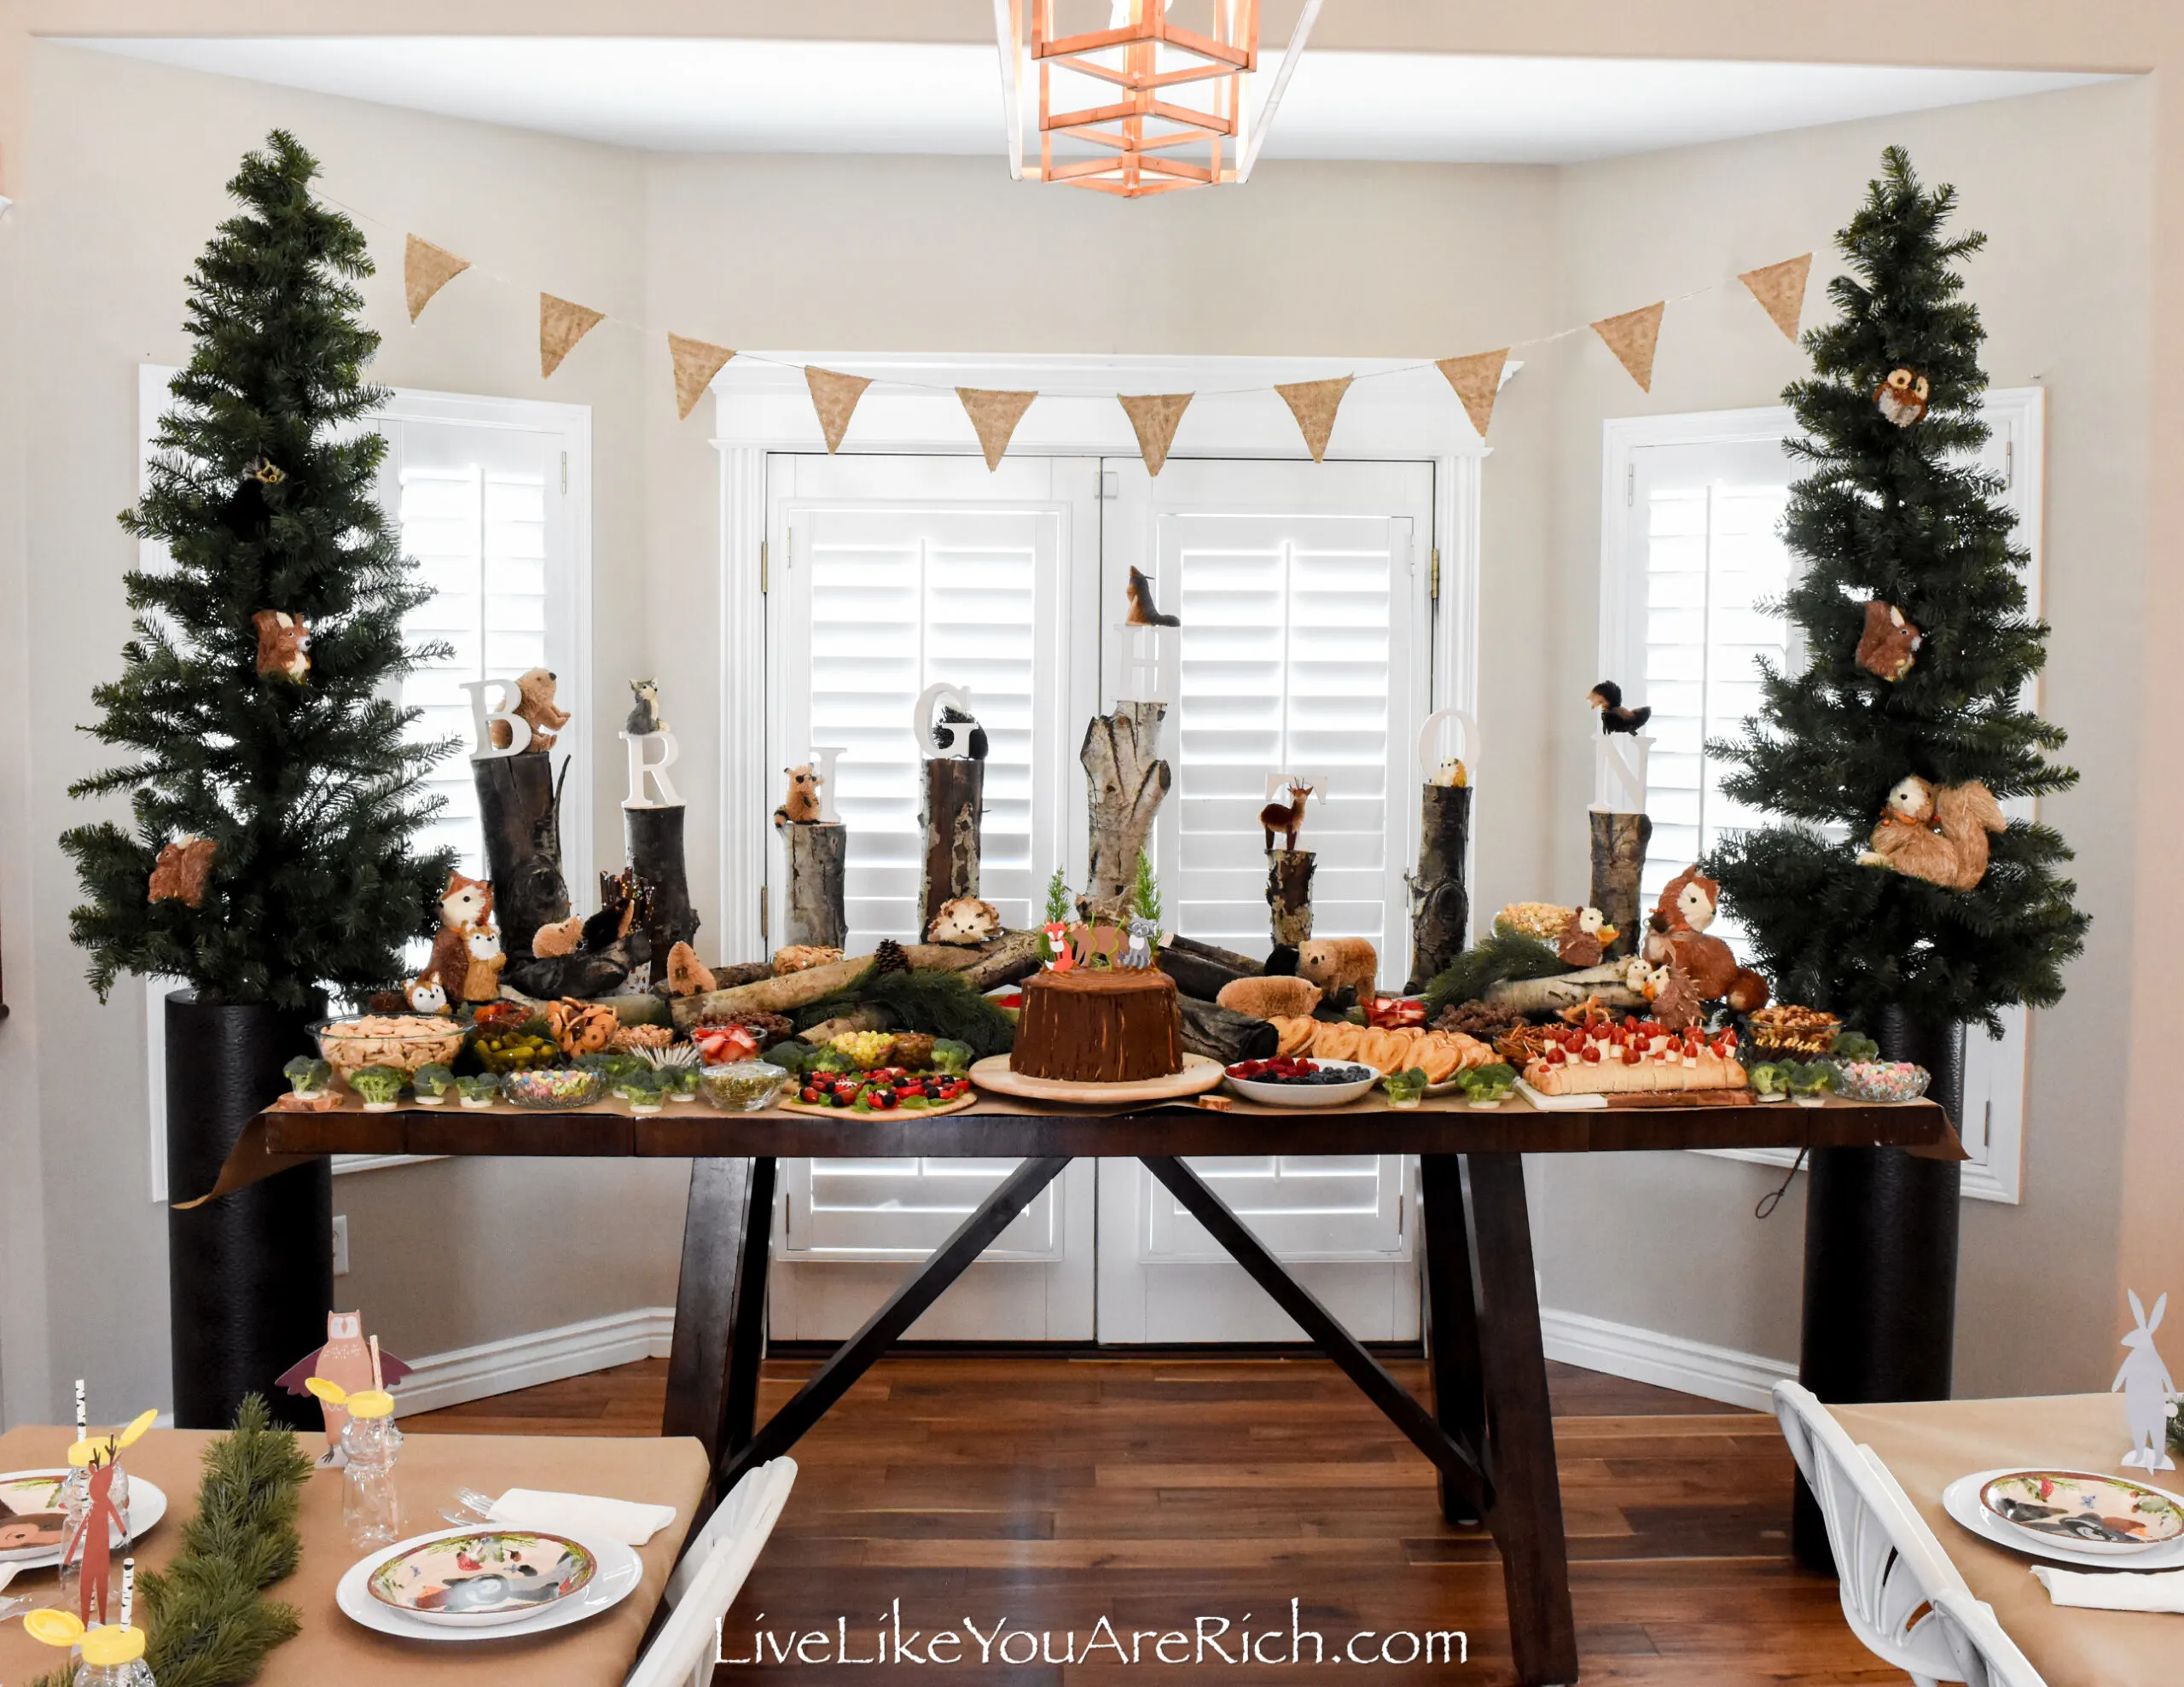
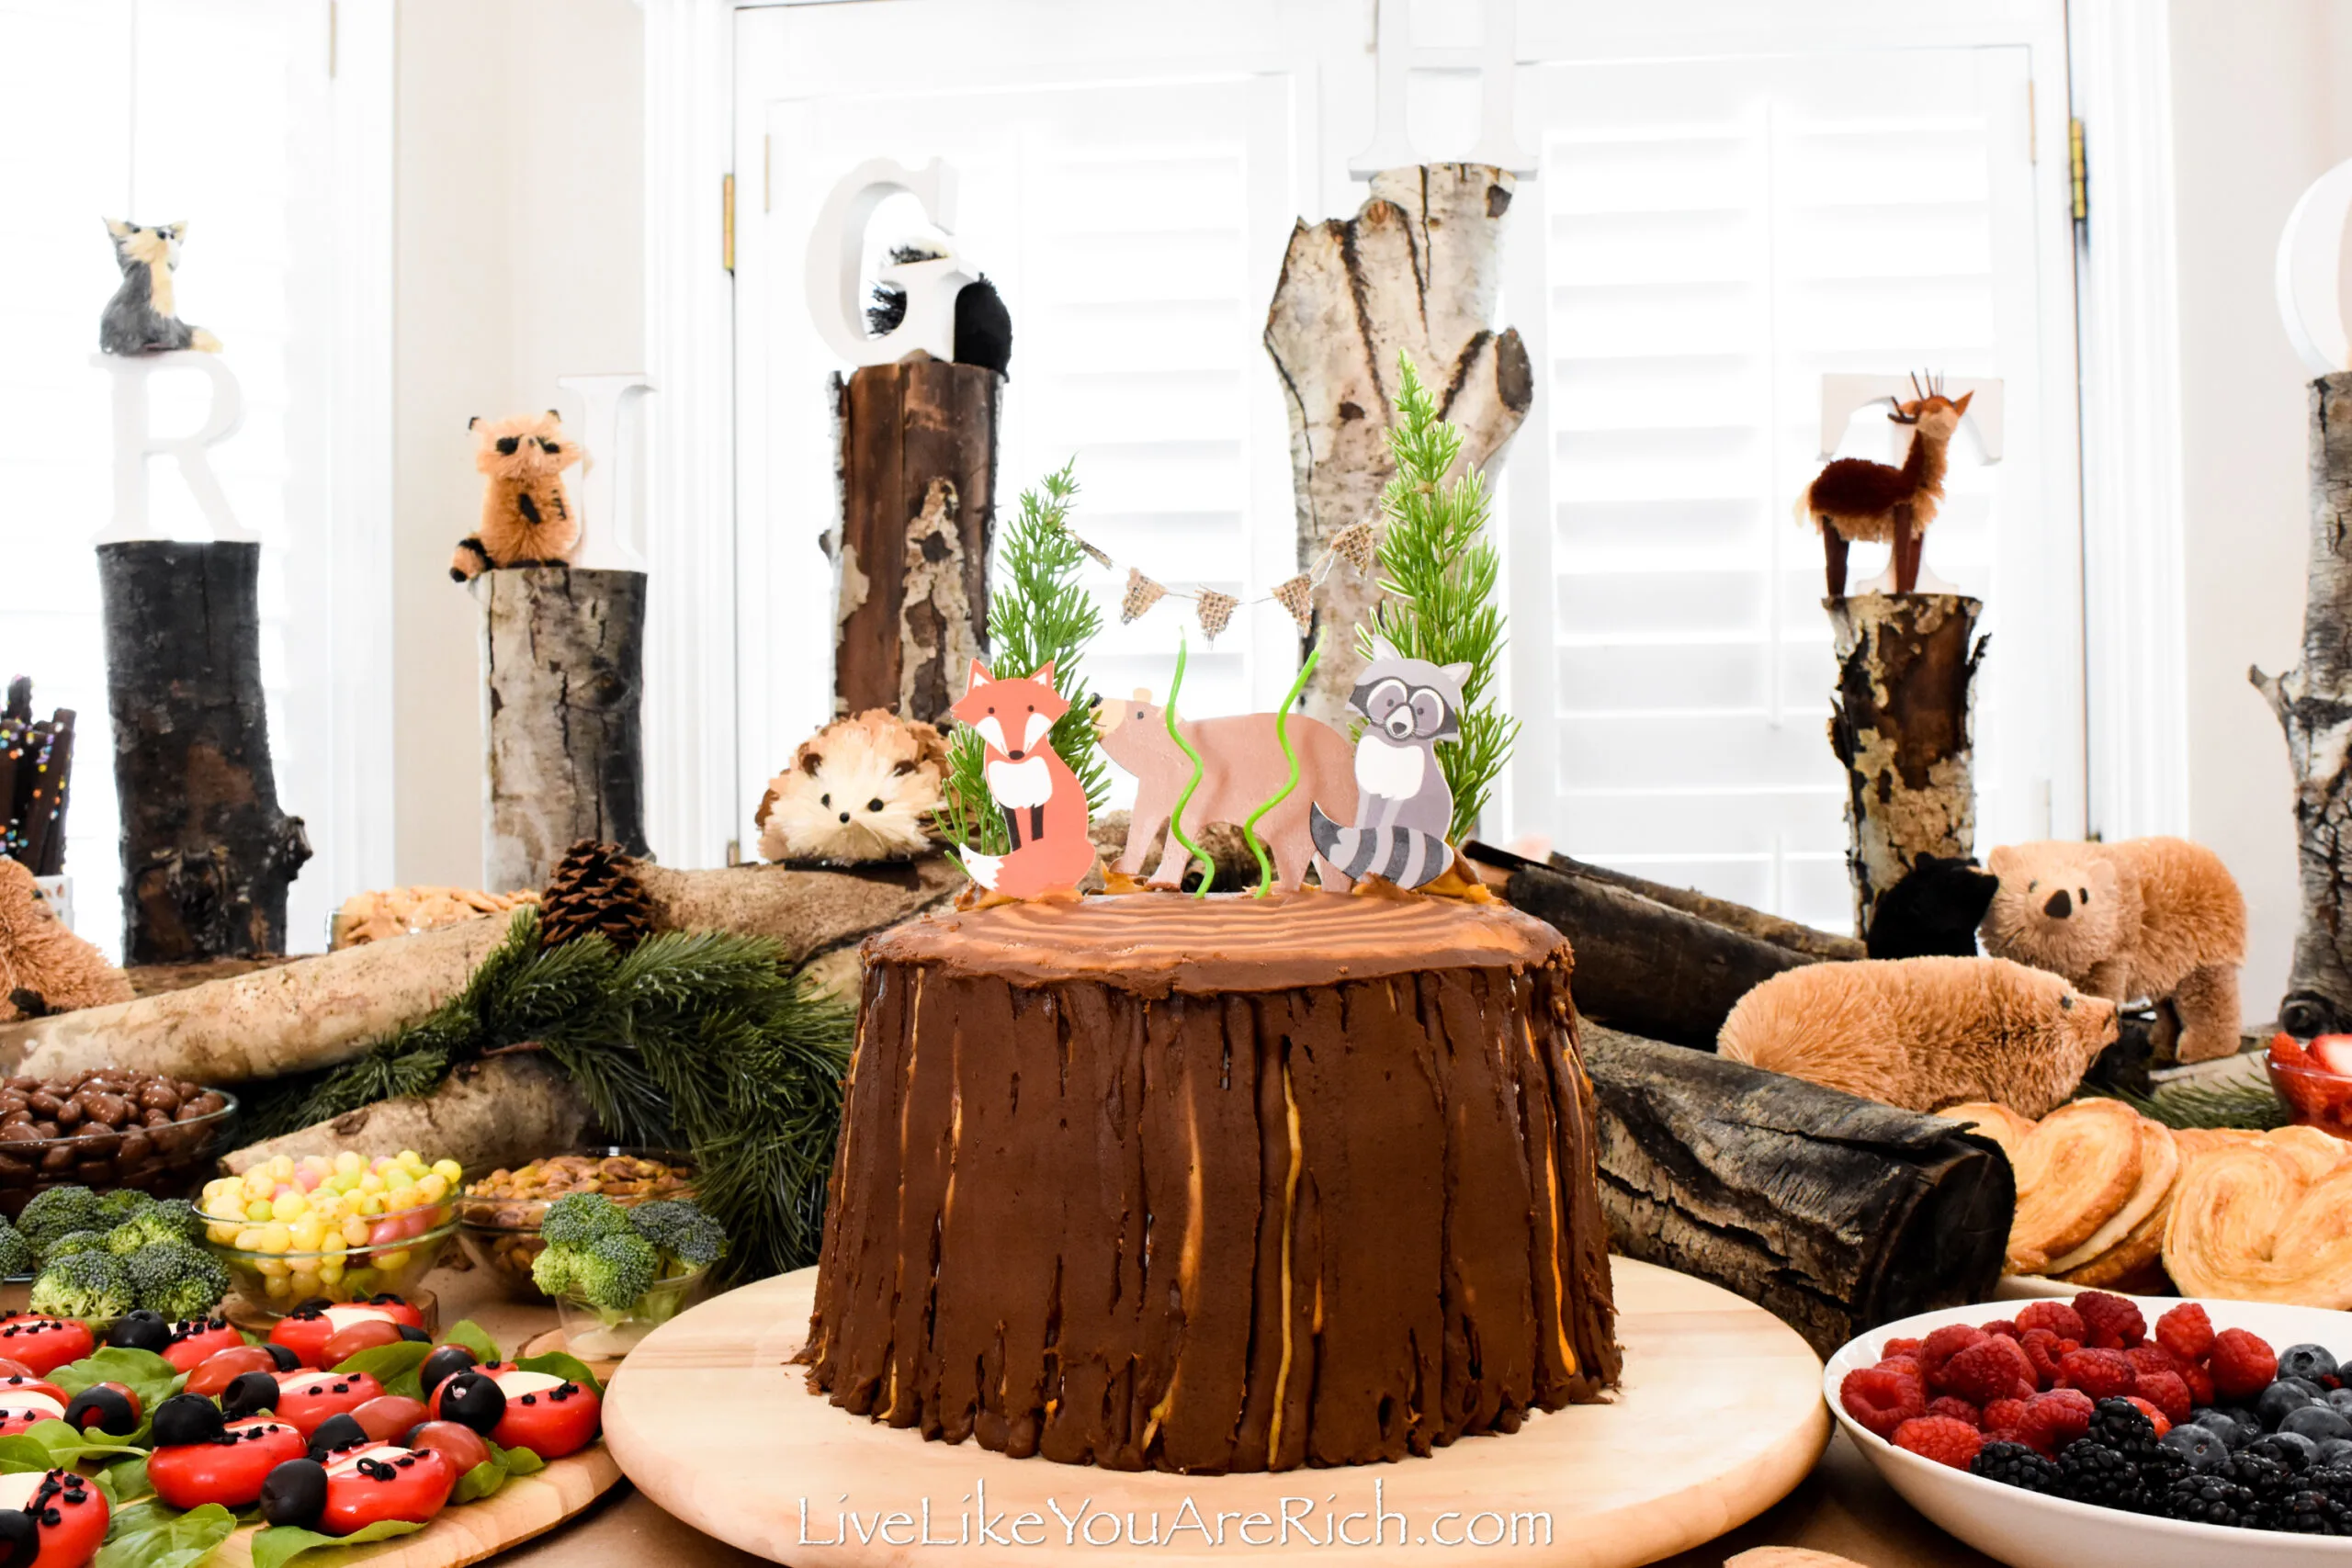
3- I cut eight logs level on the bottom and top so they would stand up still and be flat enough on top to hold the letter blocks of my son’s name, Brighton.
4- I set the logs up evenly along the back of the table.
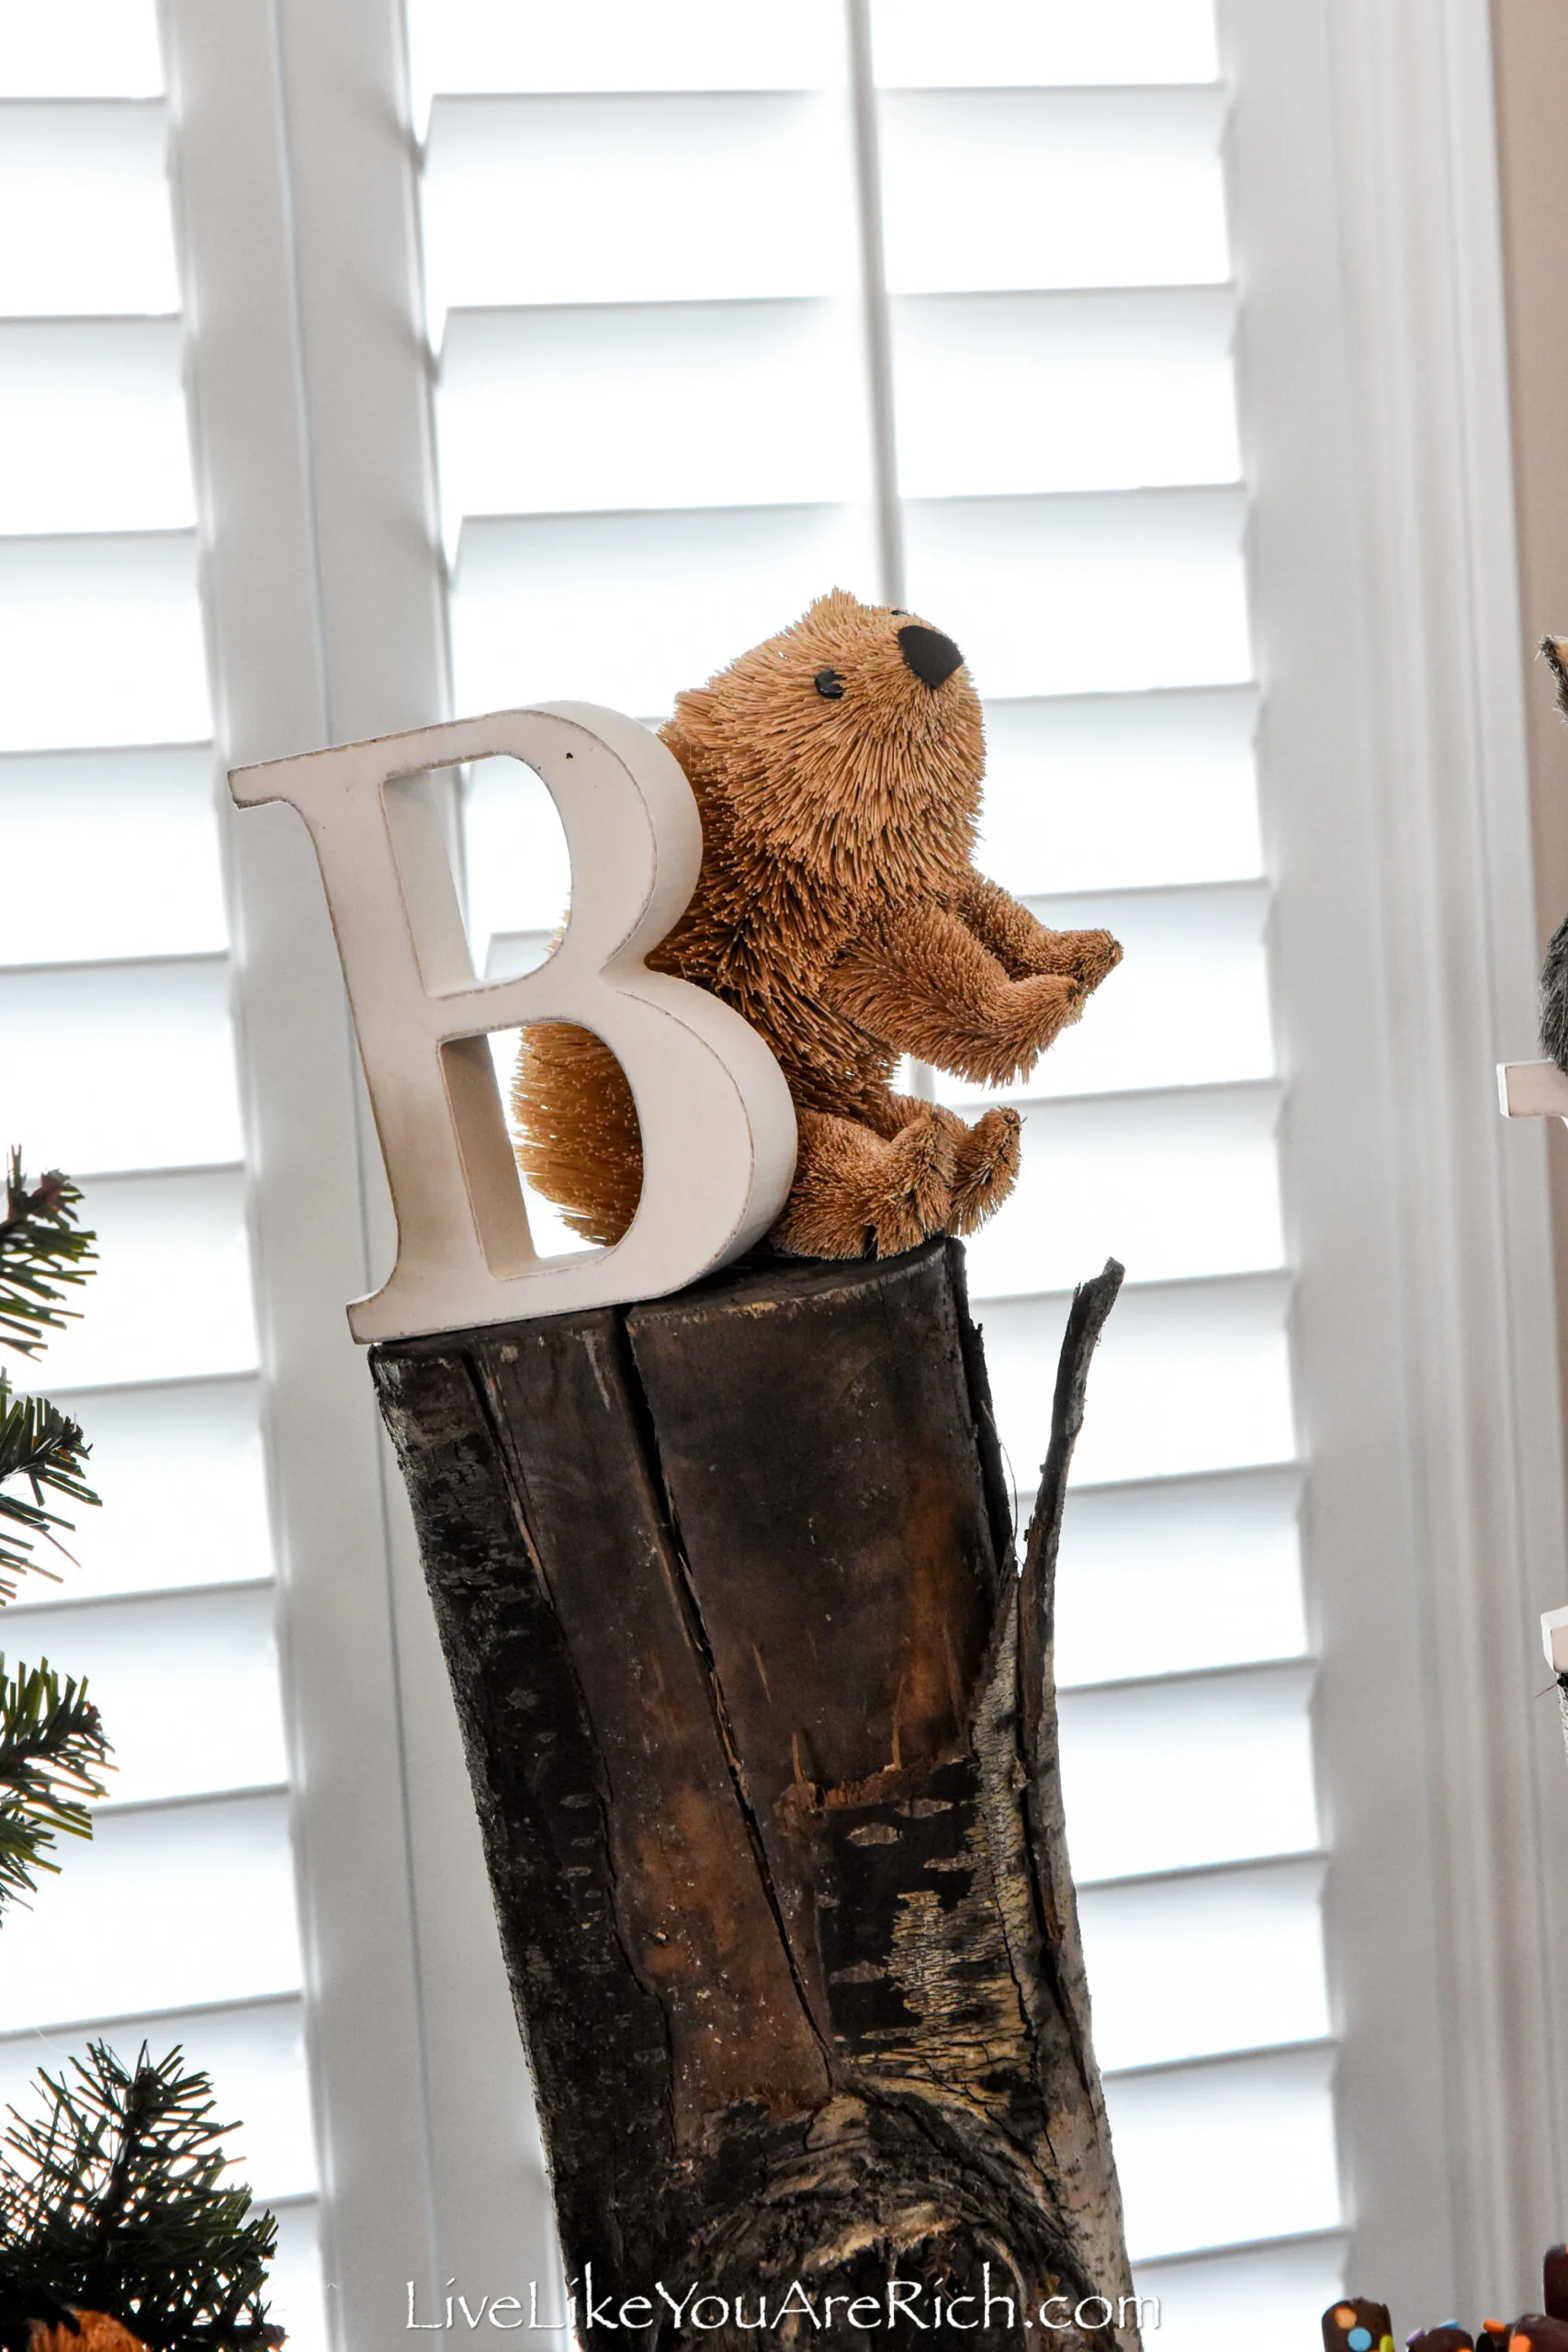
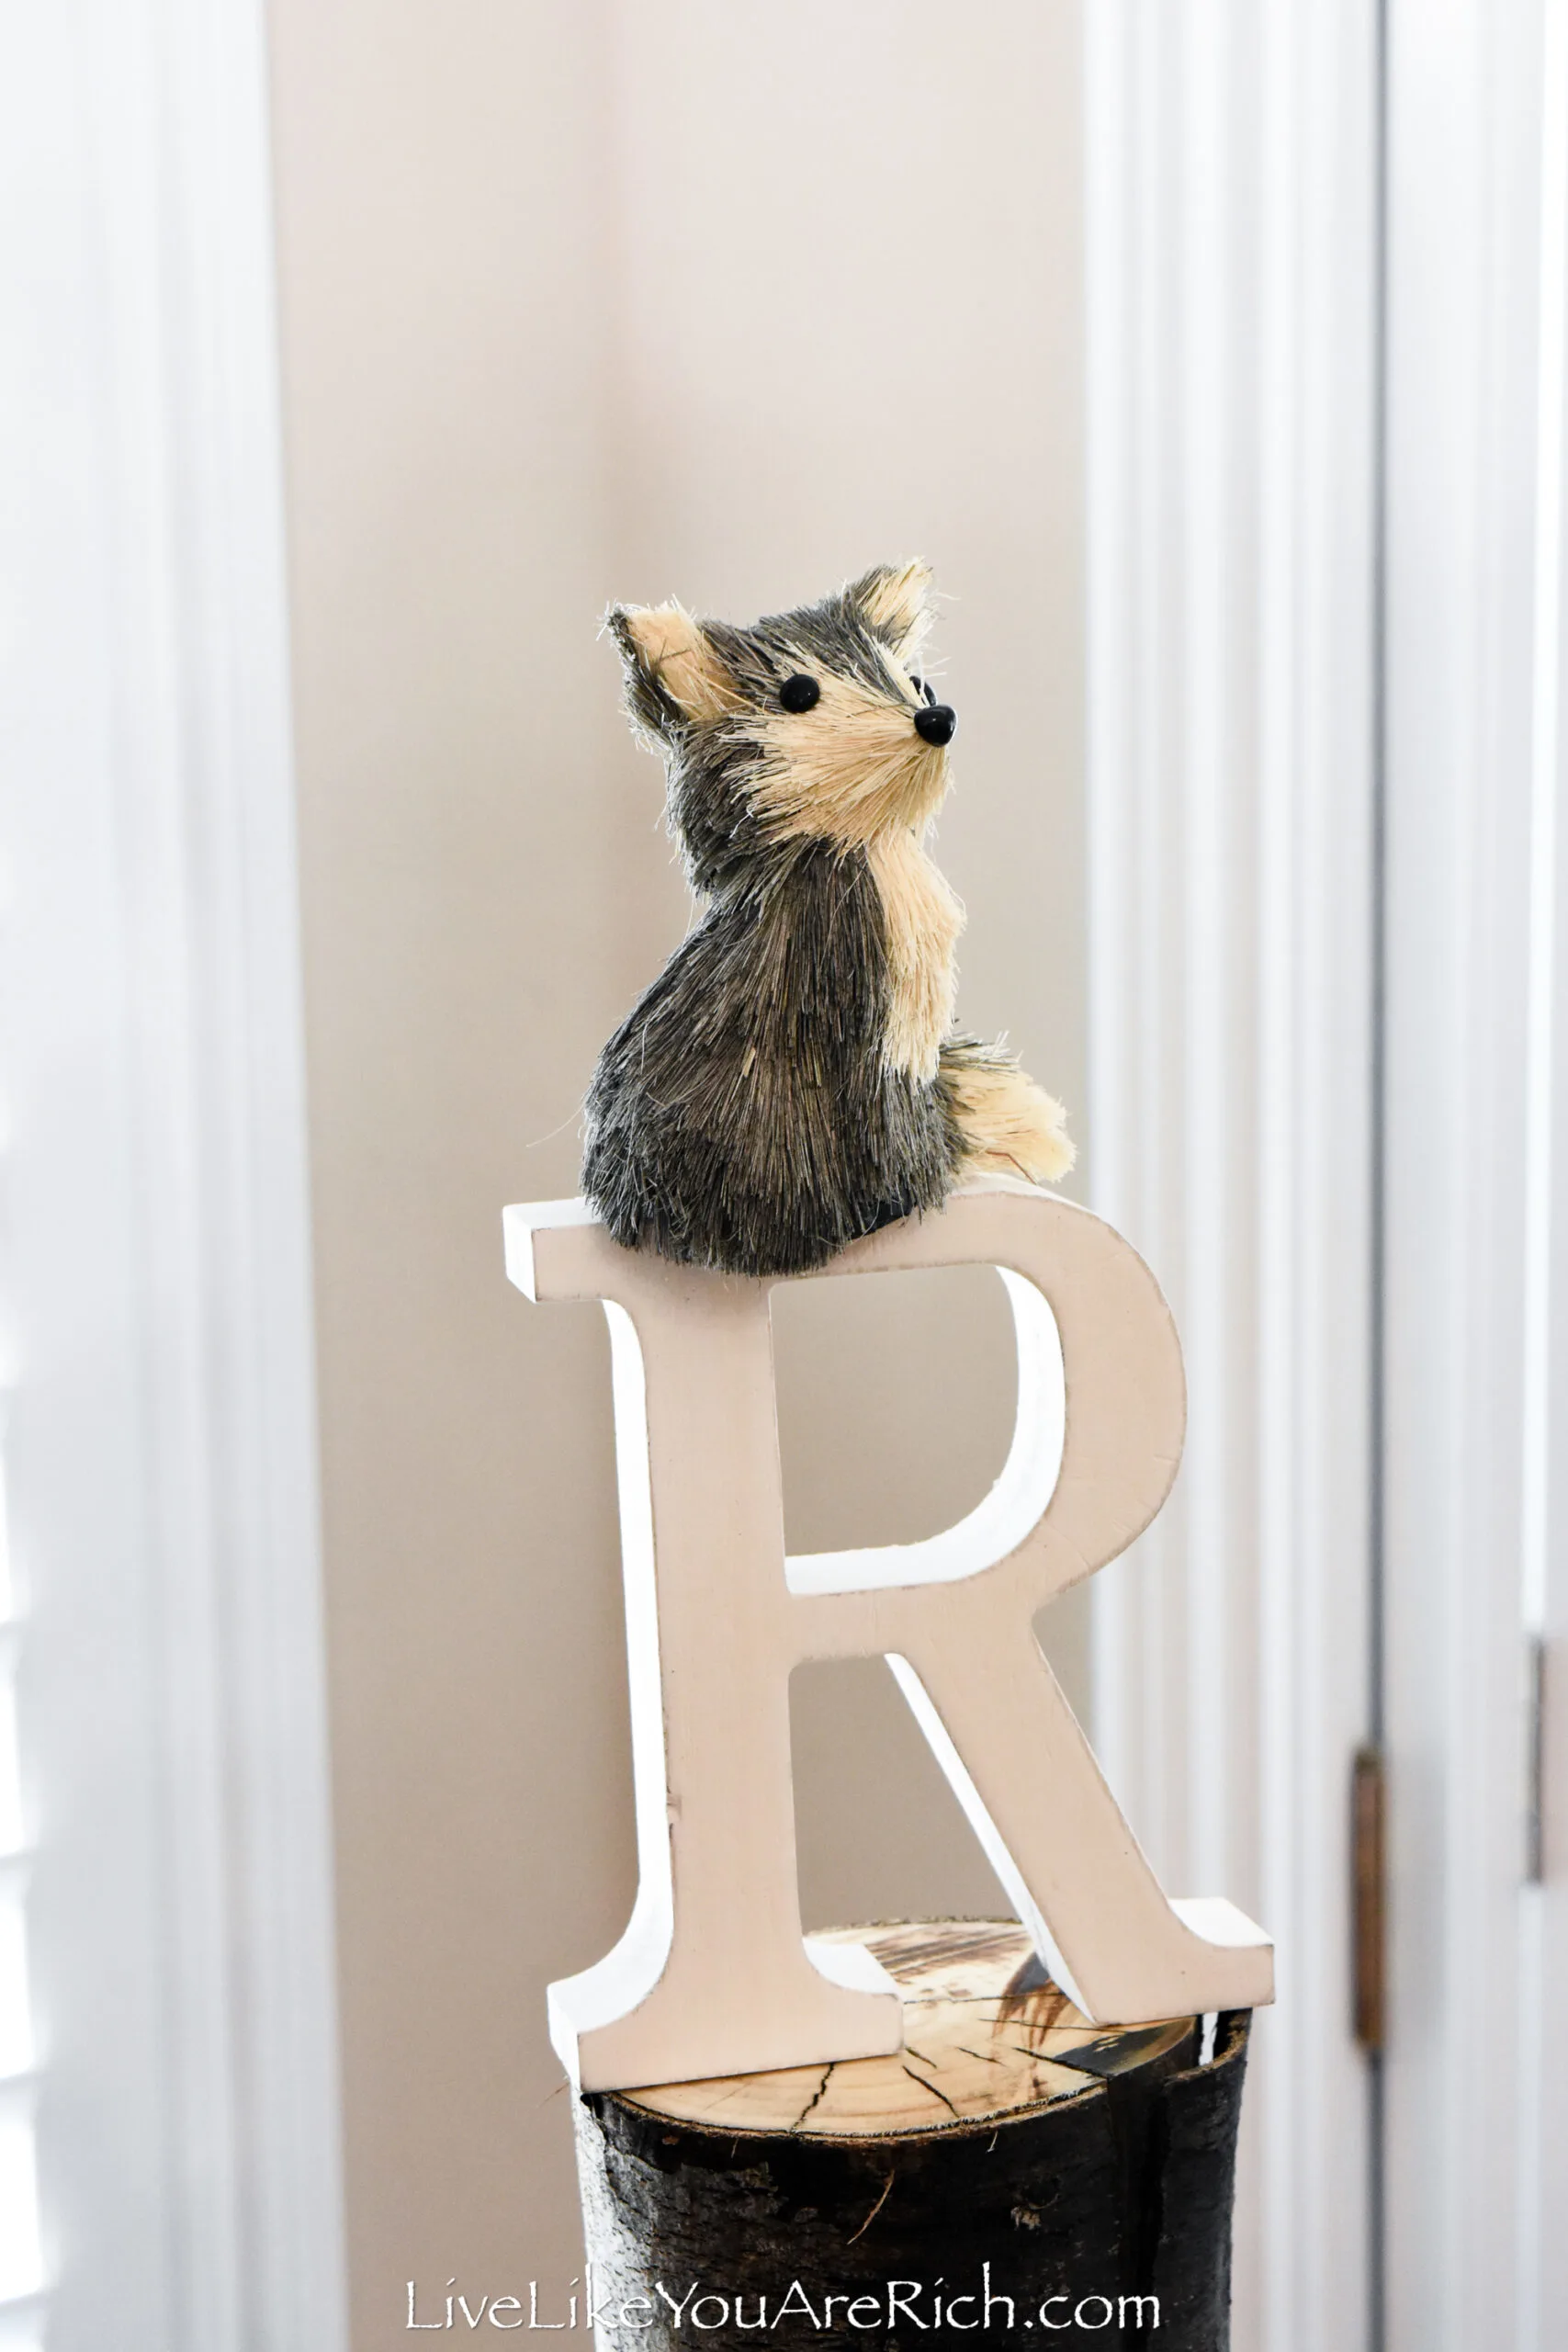
5- I set out the letters and a small sisal/buri ornament animal with each letter.
6- Using a hot glue gun, I glued down the letter and the small animal onto the log with tiny dabs of glue.
I tried to use animals that looked good with each letter and that fit each log/stump.
I varied the log height and animal color to add variety to the display.
I loved the way this name display turned out.
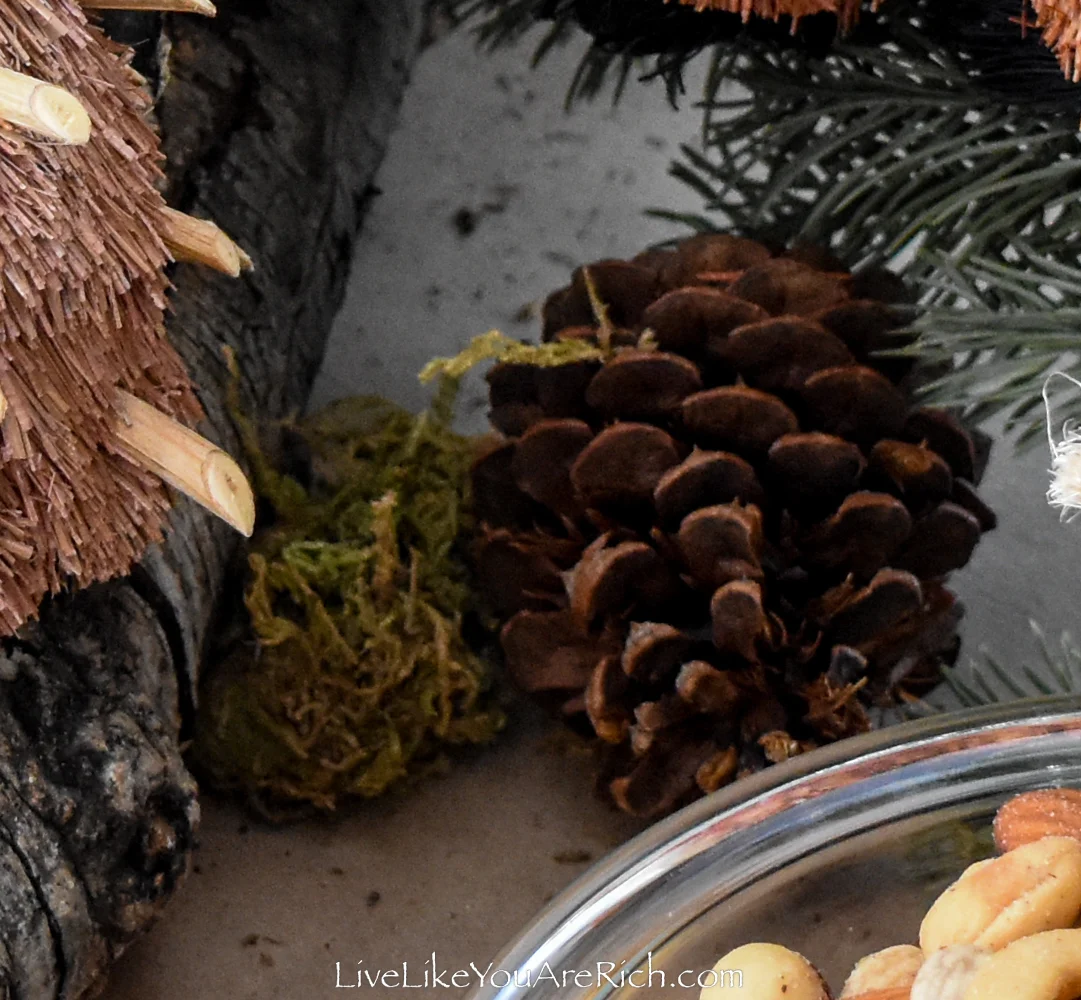
7- I added pine cones and moss throughout the display—but not in excess.
I didn’t want to overwhelm the table with moss and pine cones and I also wanted to save room for food so I just placed a few ‘here and there’.
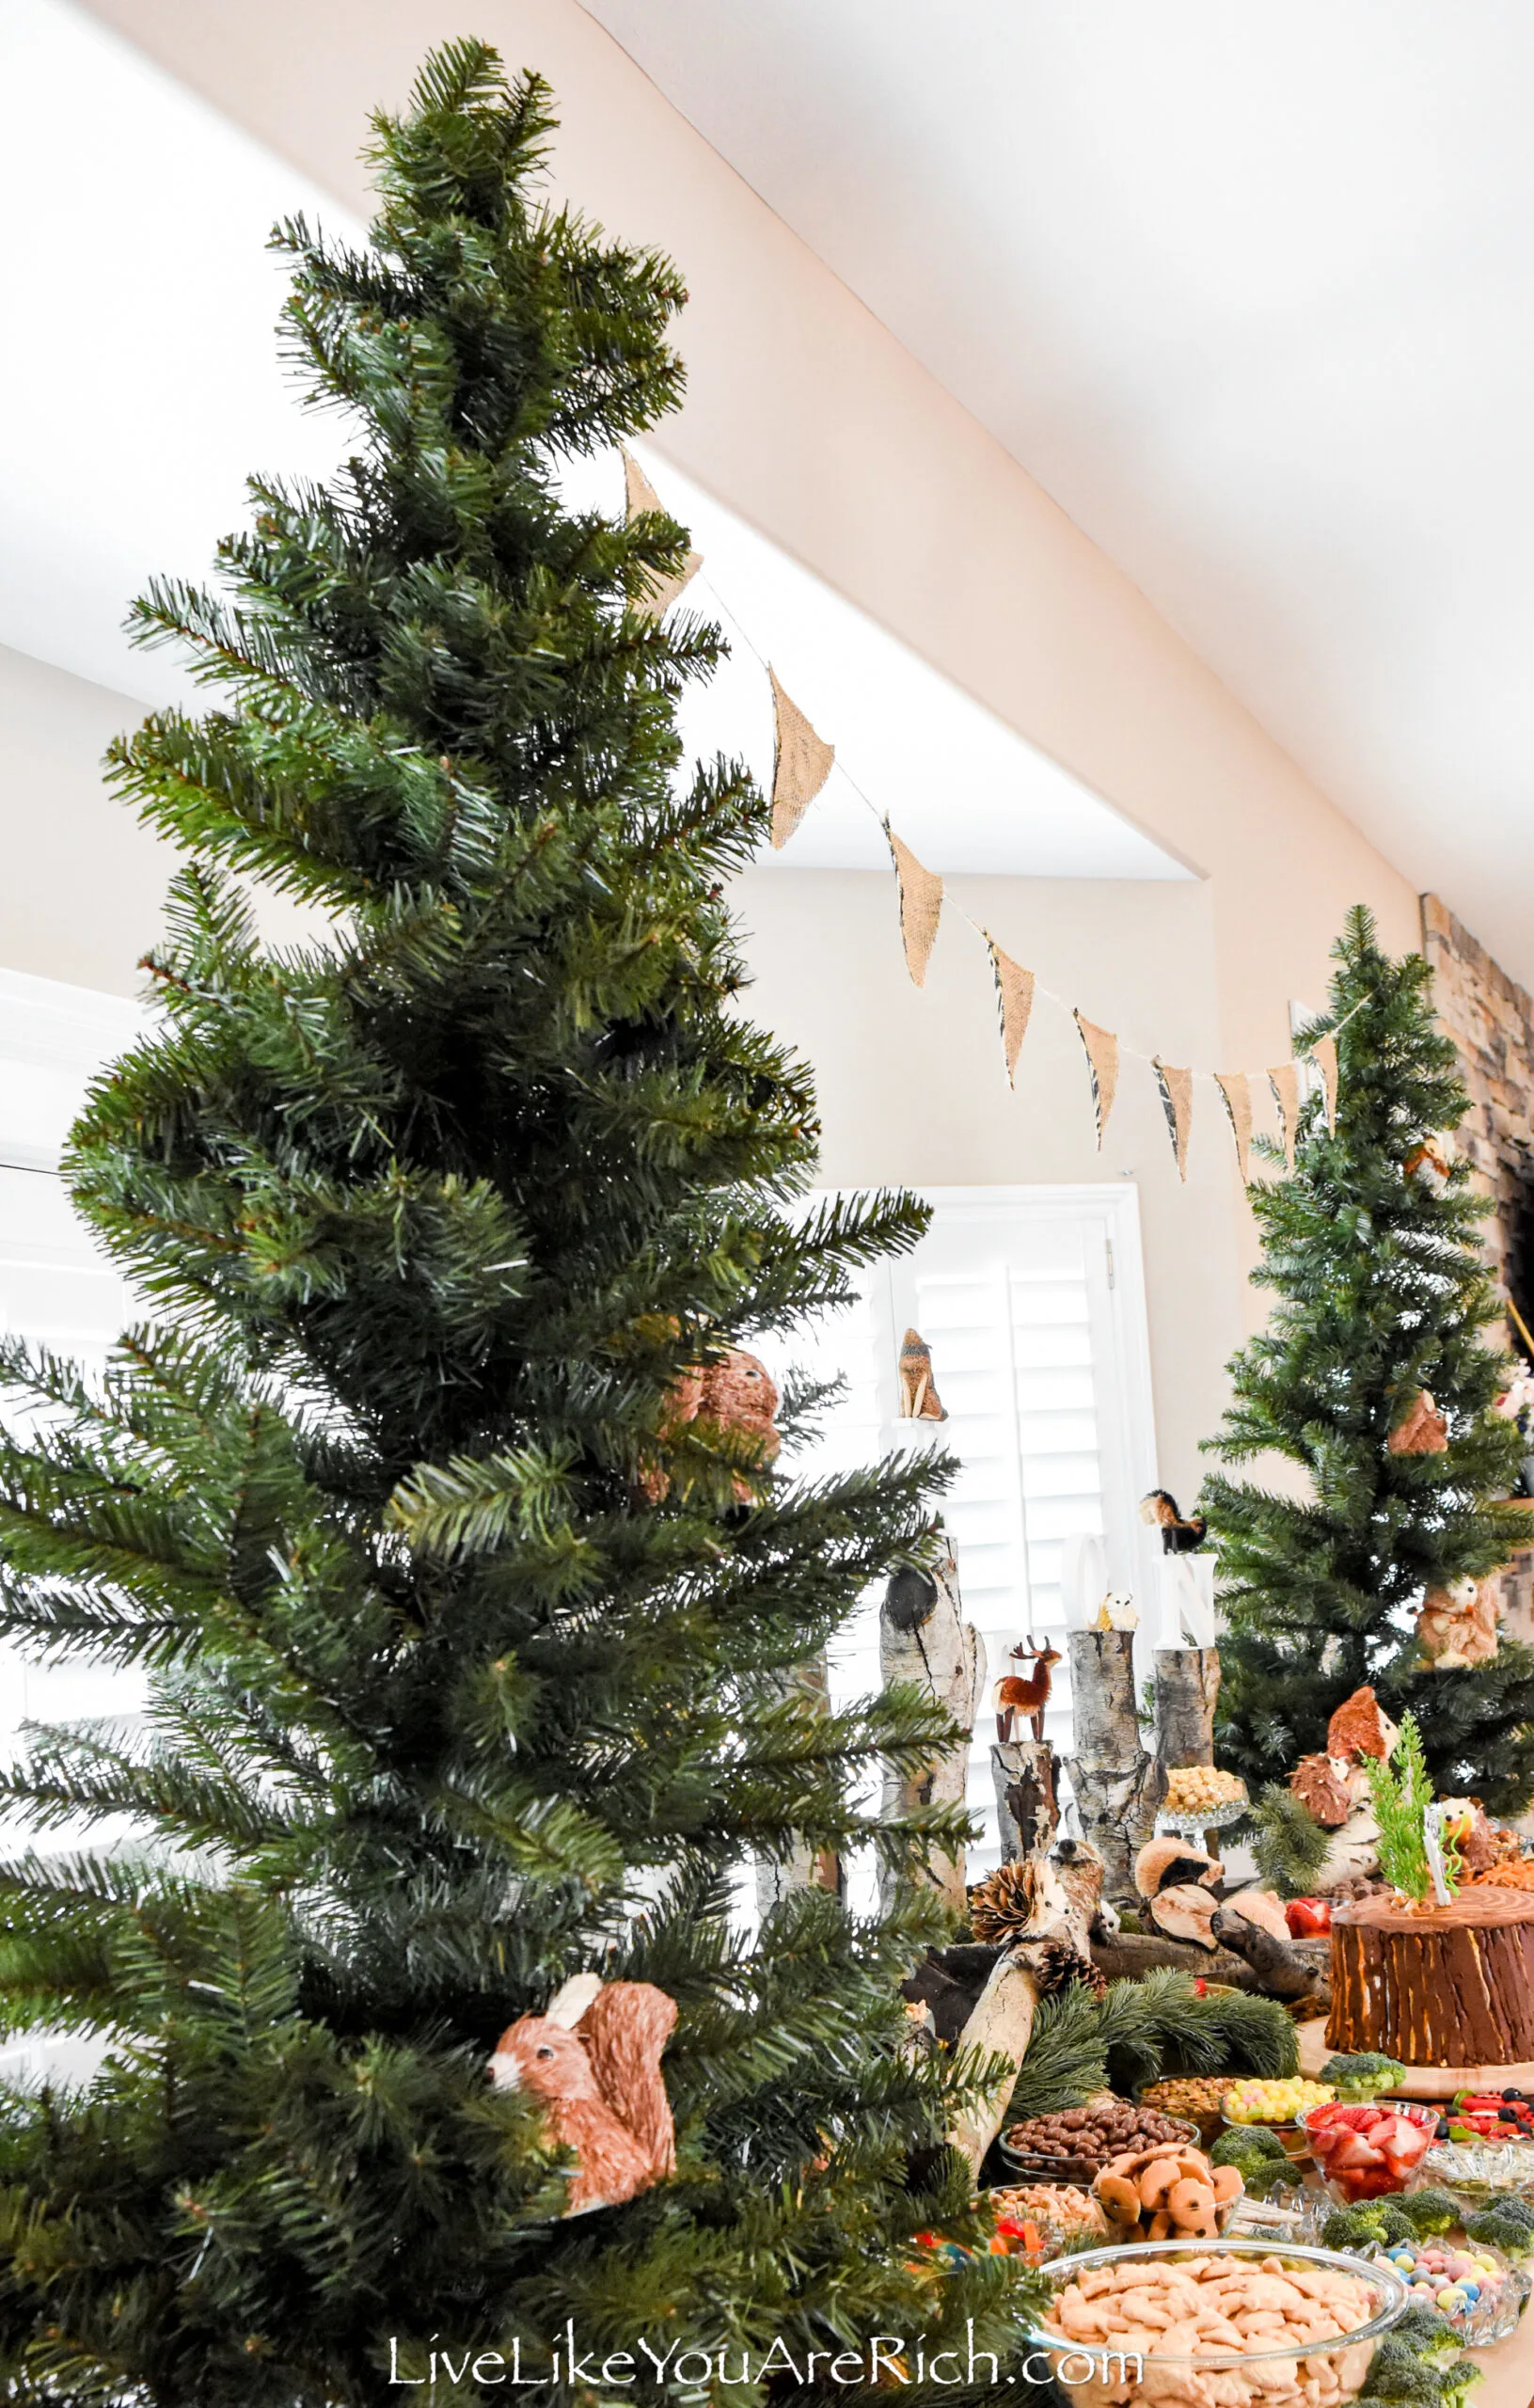
8- Then, I set up the Christmas trees that I used for my Christmas front door decor display last year on both sides of the table.
9- I put cardboard and grocery sacks in the bottom of my tall planter pots and because they were full, they were able to hold the trees up.
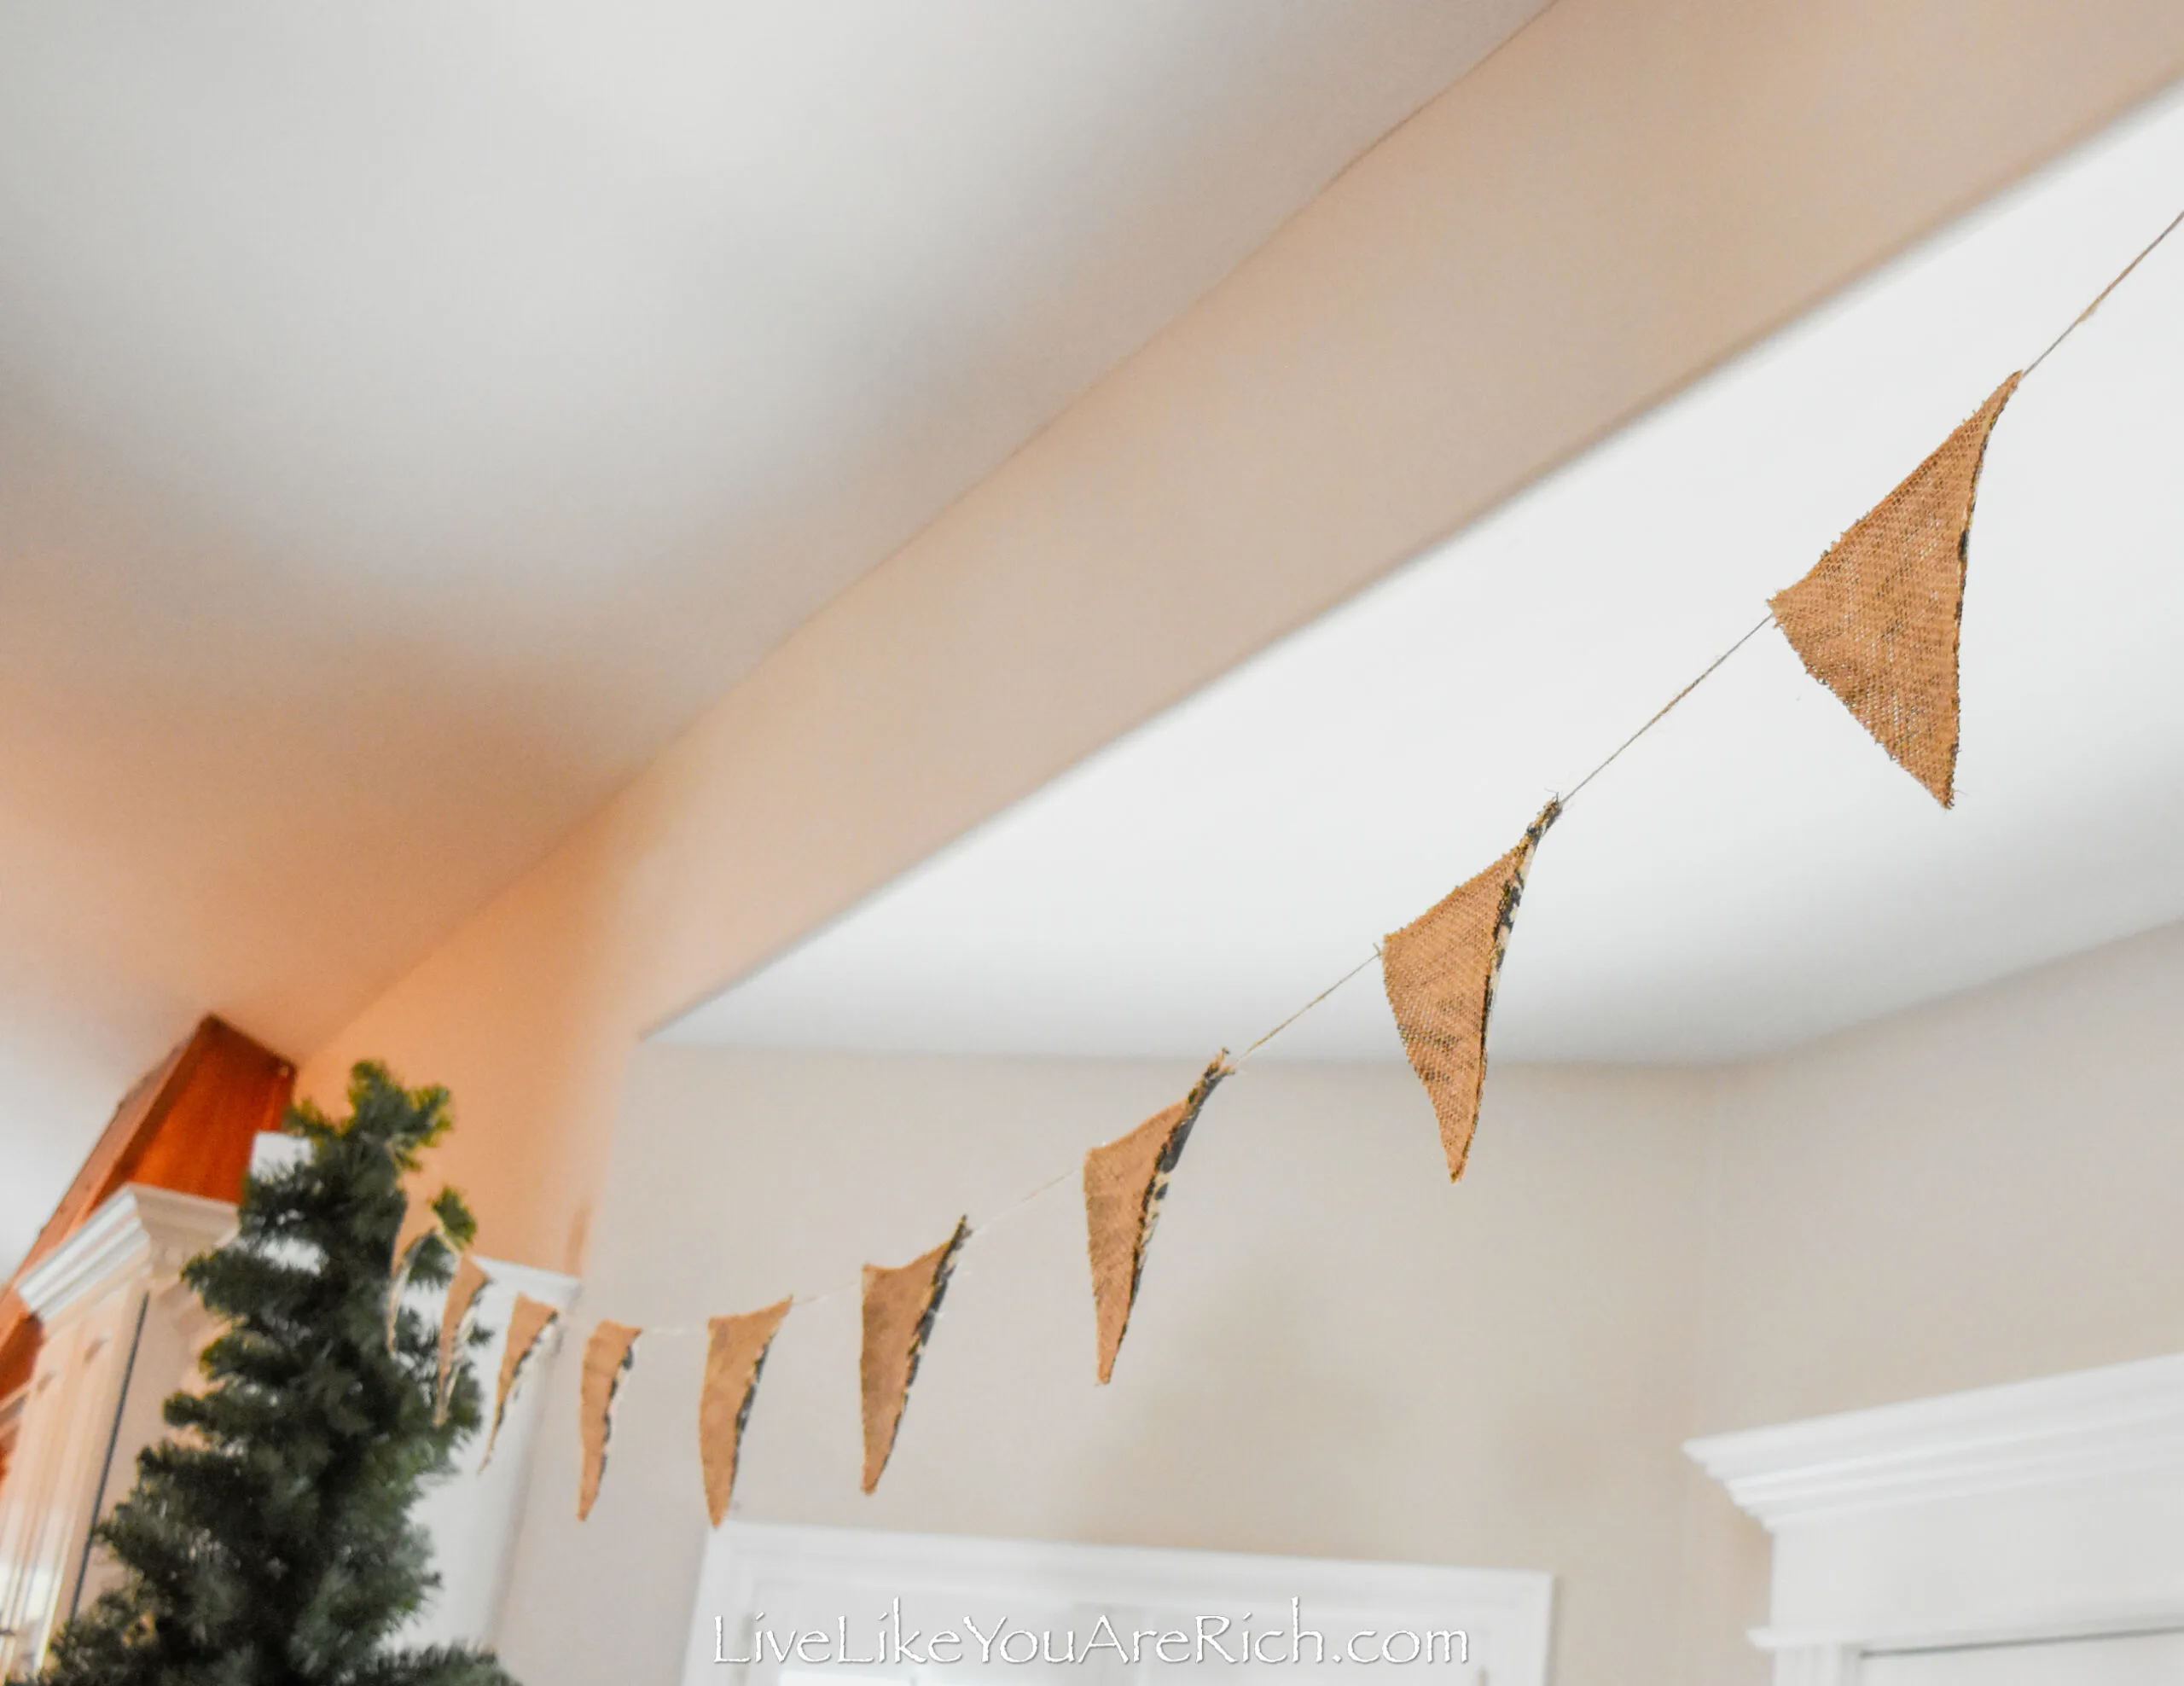
10- I made a DIY burlap banner, there is a link to a tutorial on how to make this below. I secured each end to the top of the faux pine trees.
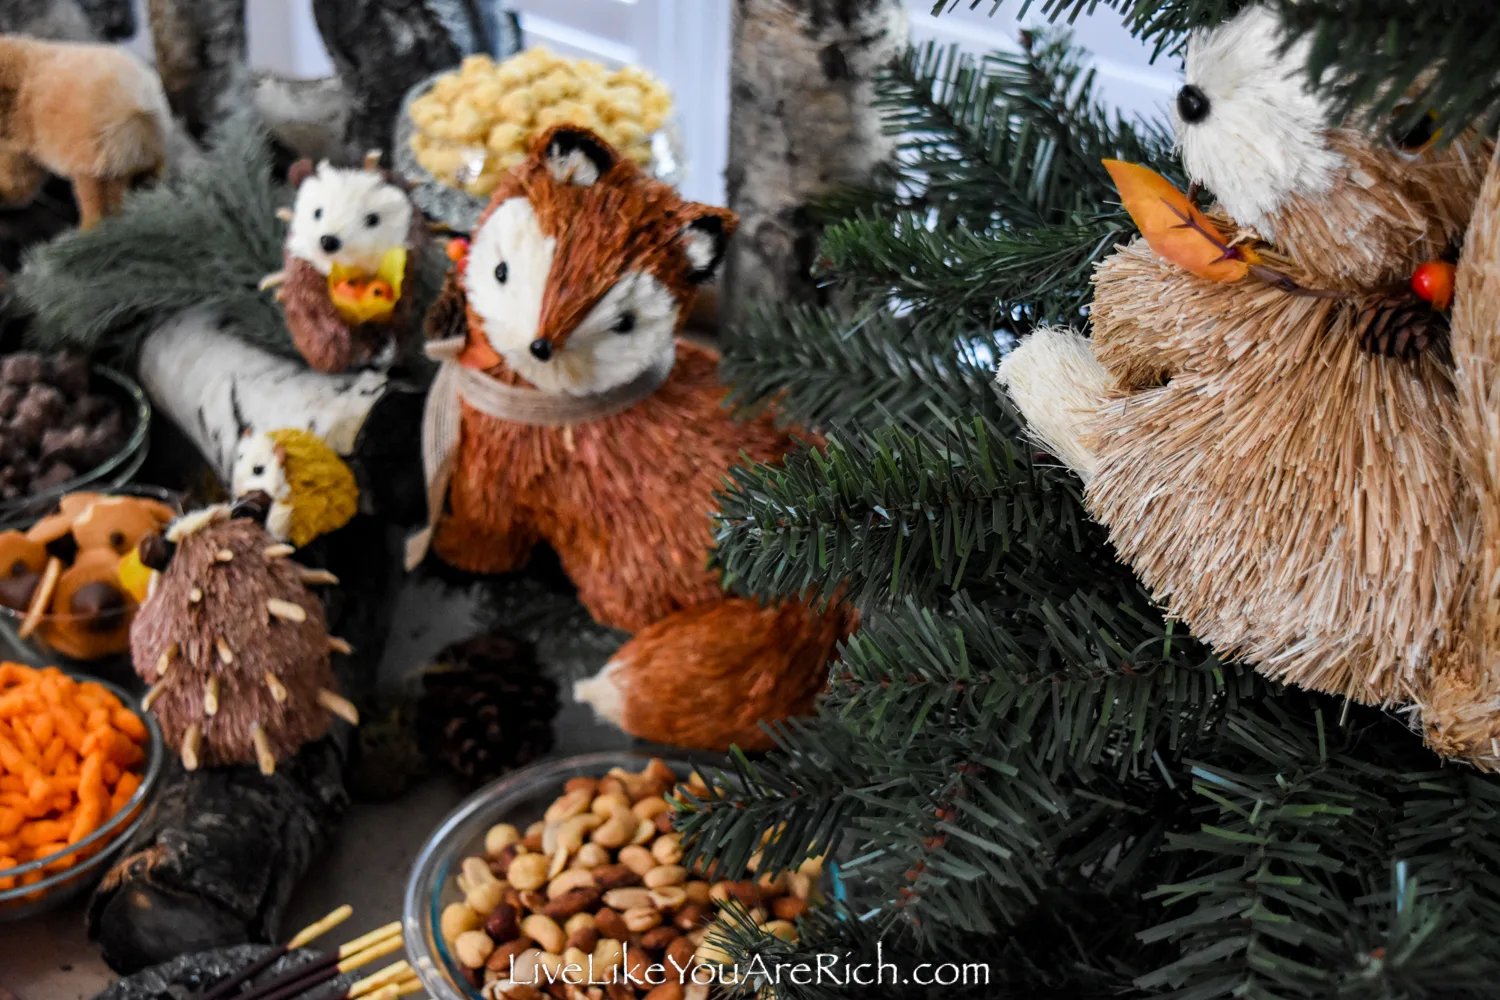
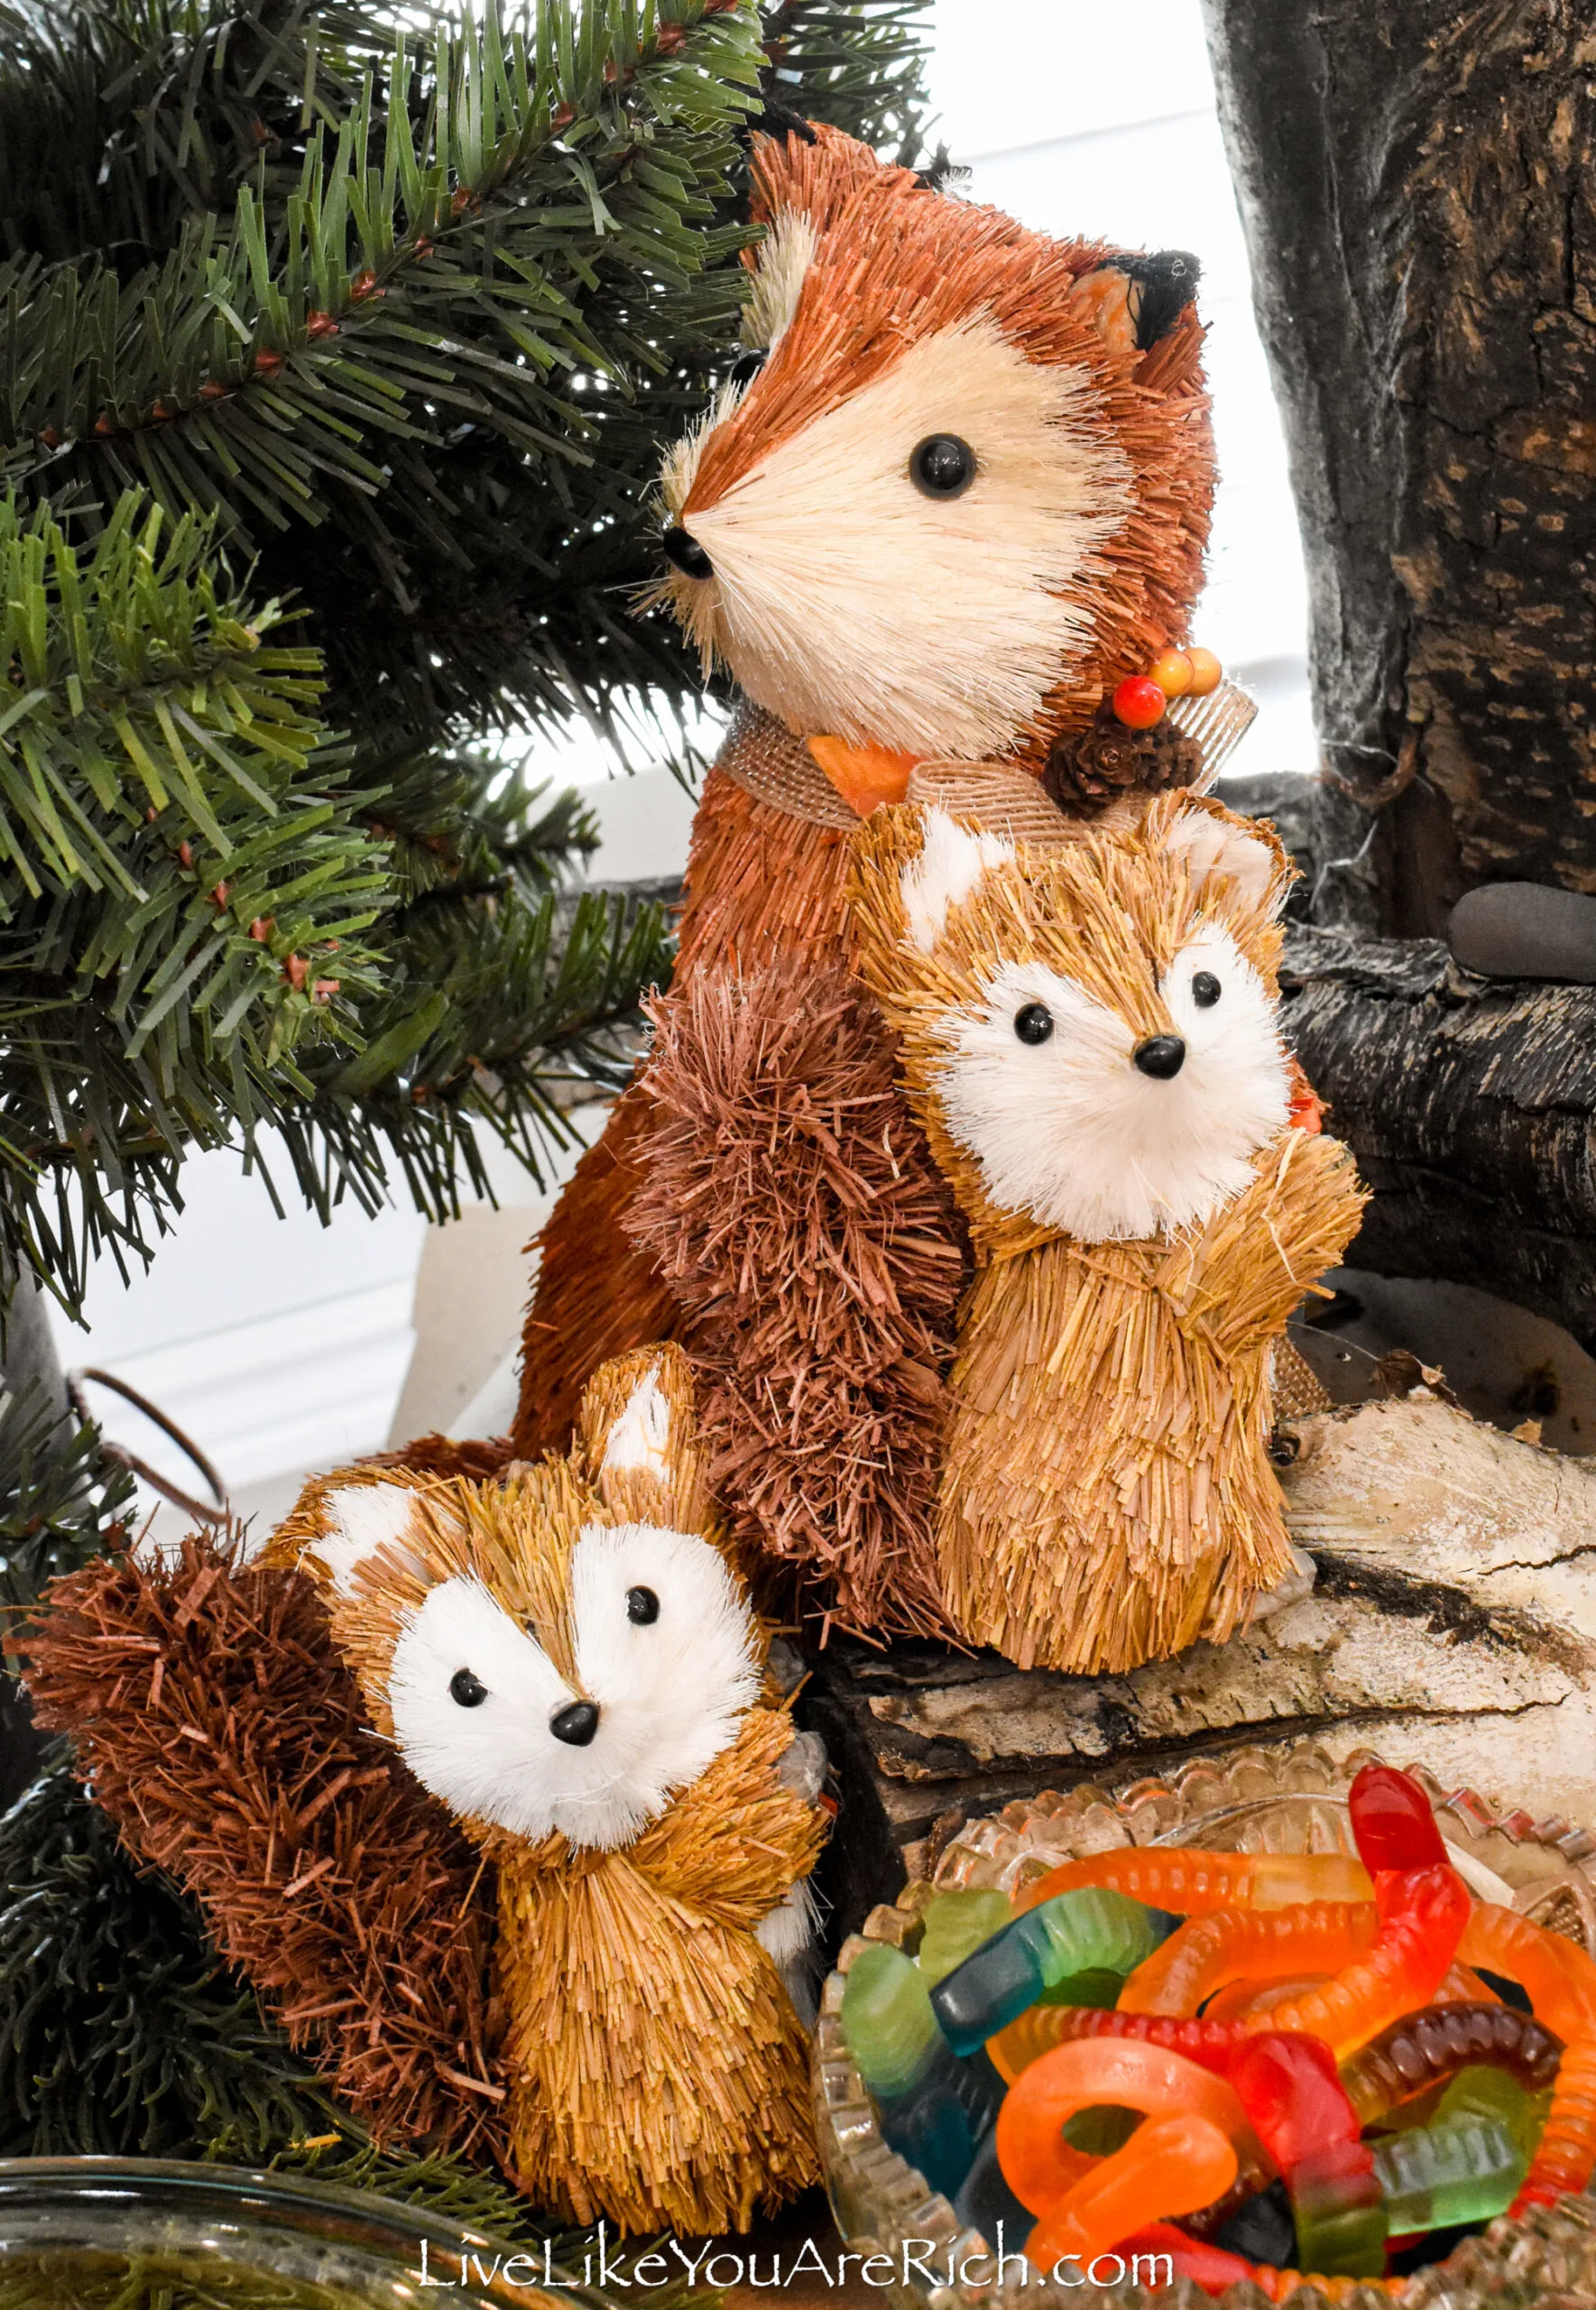
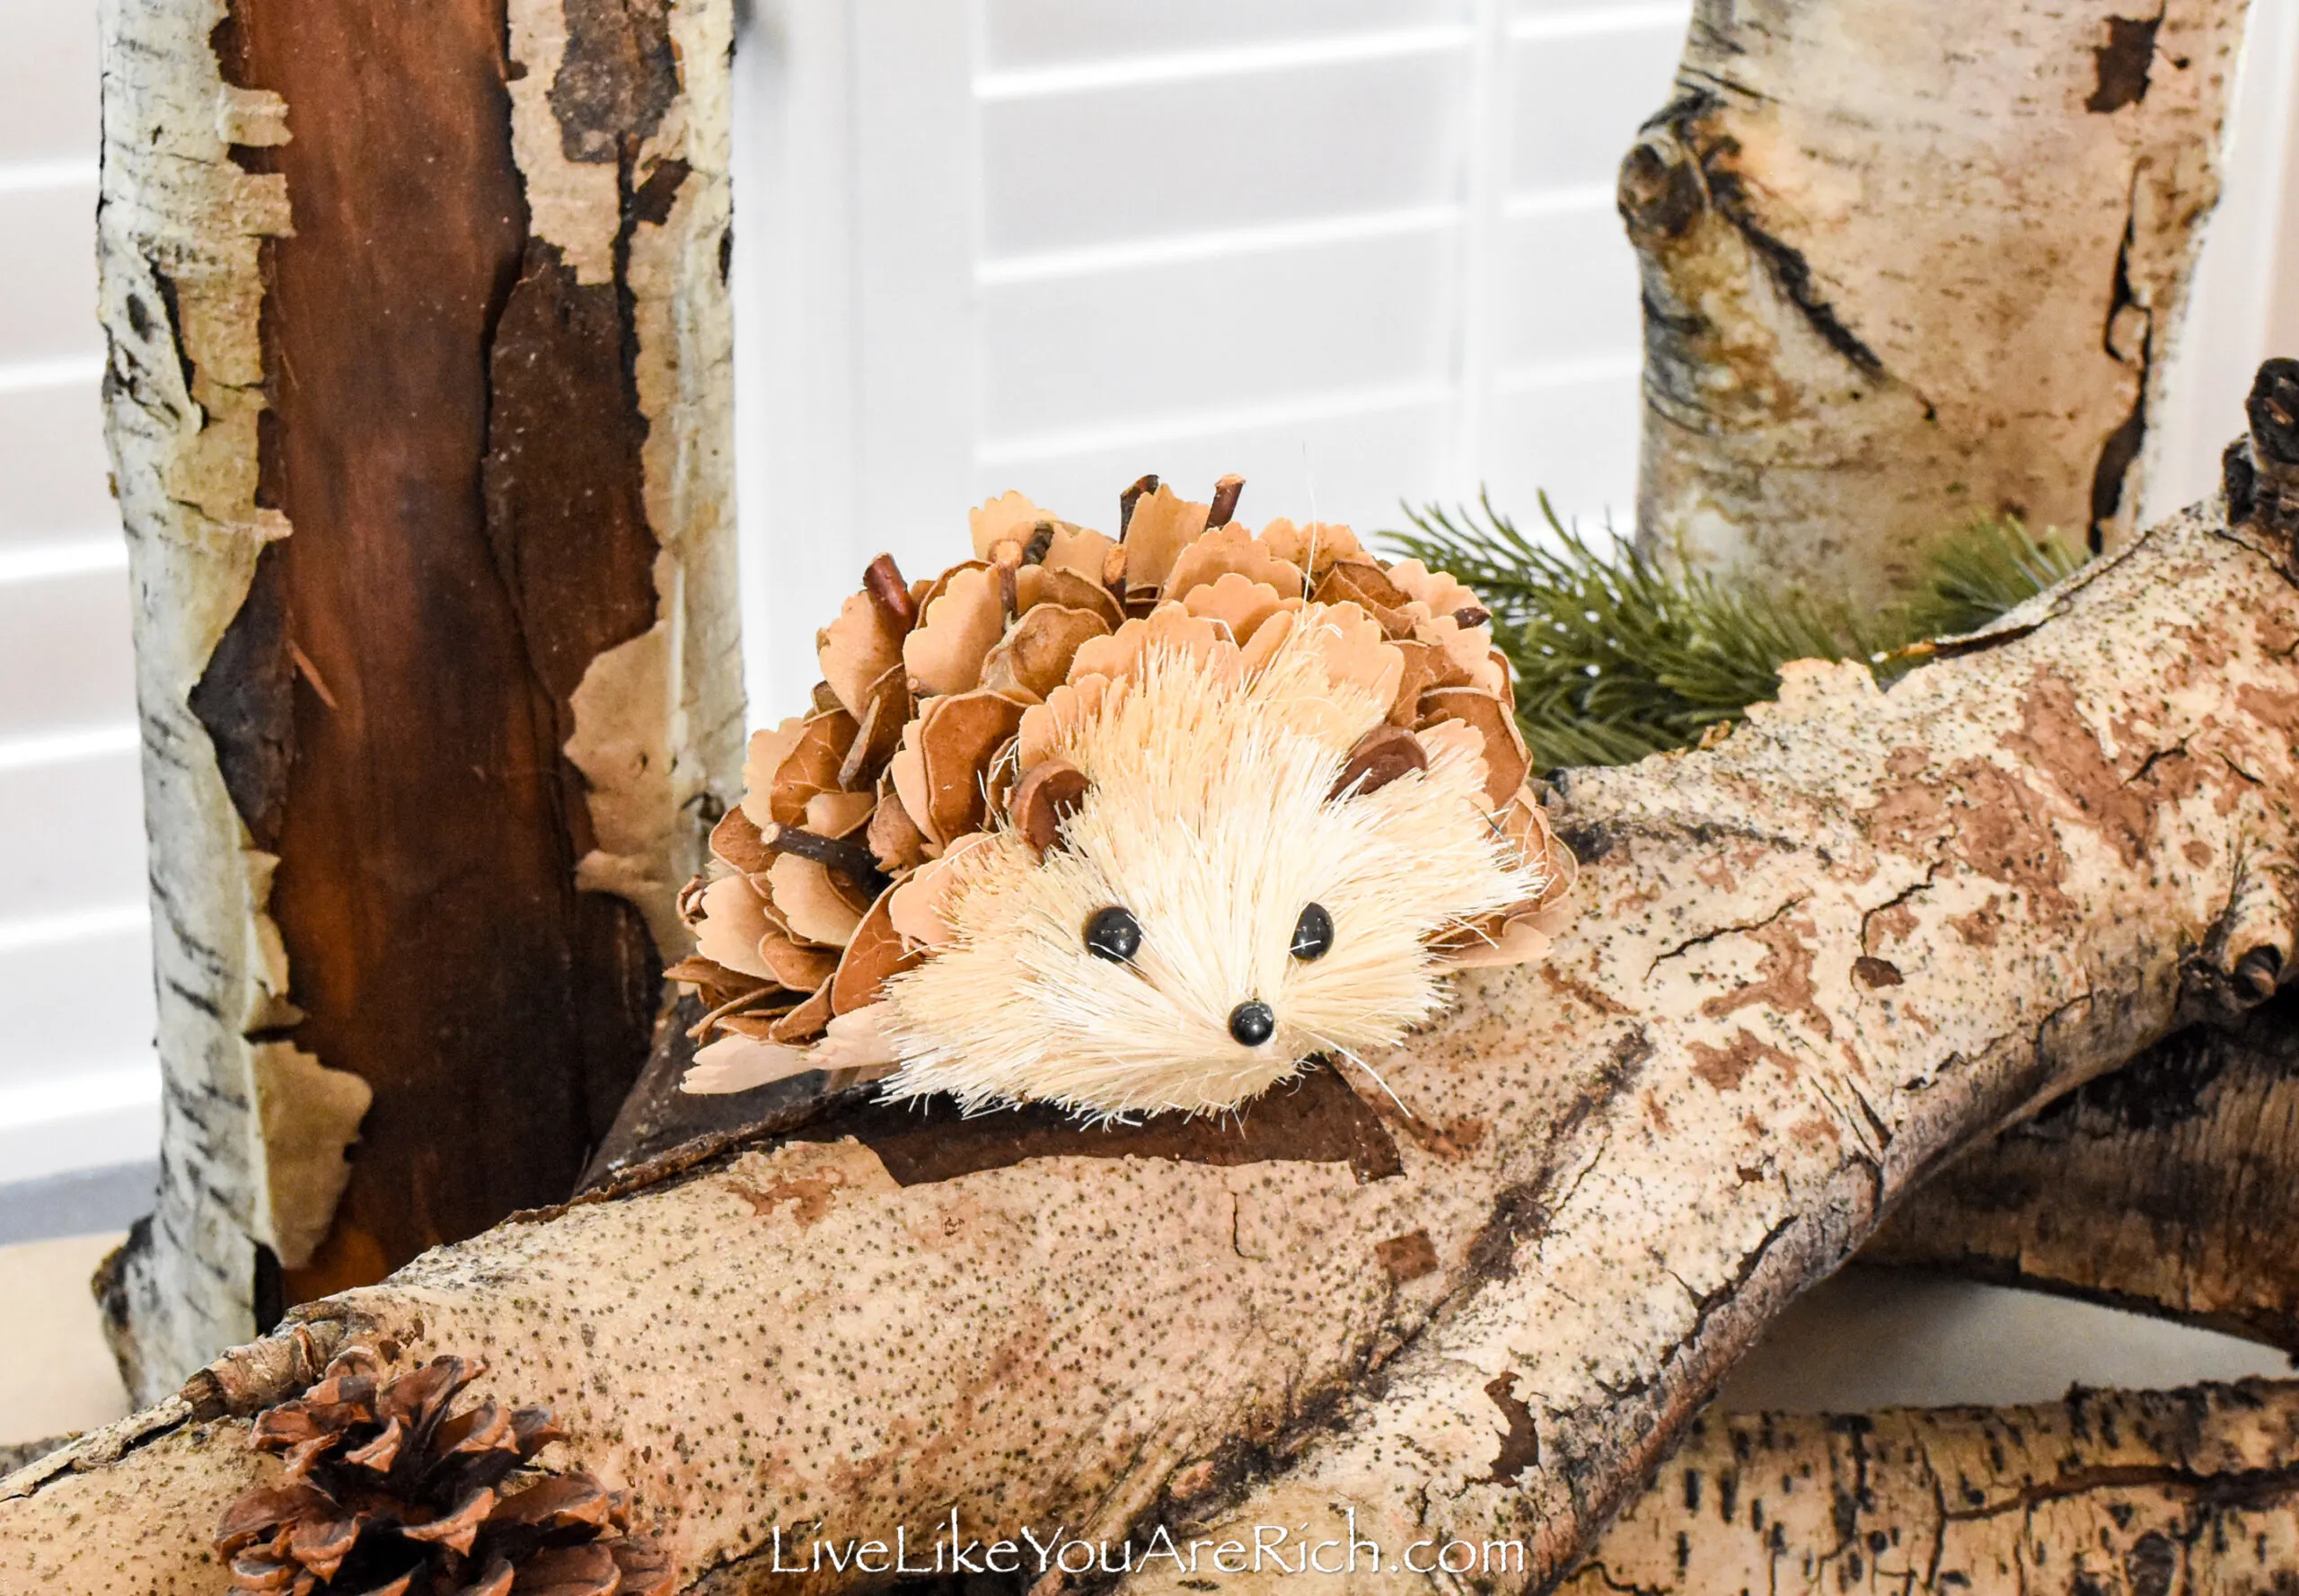
11- And finally, for the fun part, I set out the sisal animals that I already had on hand and those that I had ordered online for this party.
When setting out the animals, I prioritized the block letters. I needed the smallest animals on the block letters. I also wanted a variety so I made sure to have at least 8 different small (ornament sized) bristle animals on hand.
Then, I set the rest out on the table.
When purchasing the animals, I was going by first budget and then to variety, and finally, once I realized I could get them cheap enough to buy multiples of certain animals, I went for groupings of 1, 3, or 5.
It’s best when decorating to have odd numbers of groupings.
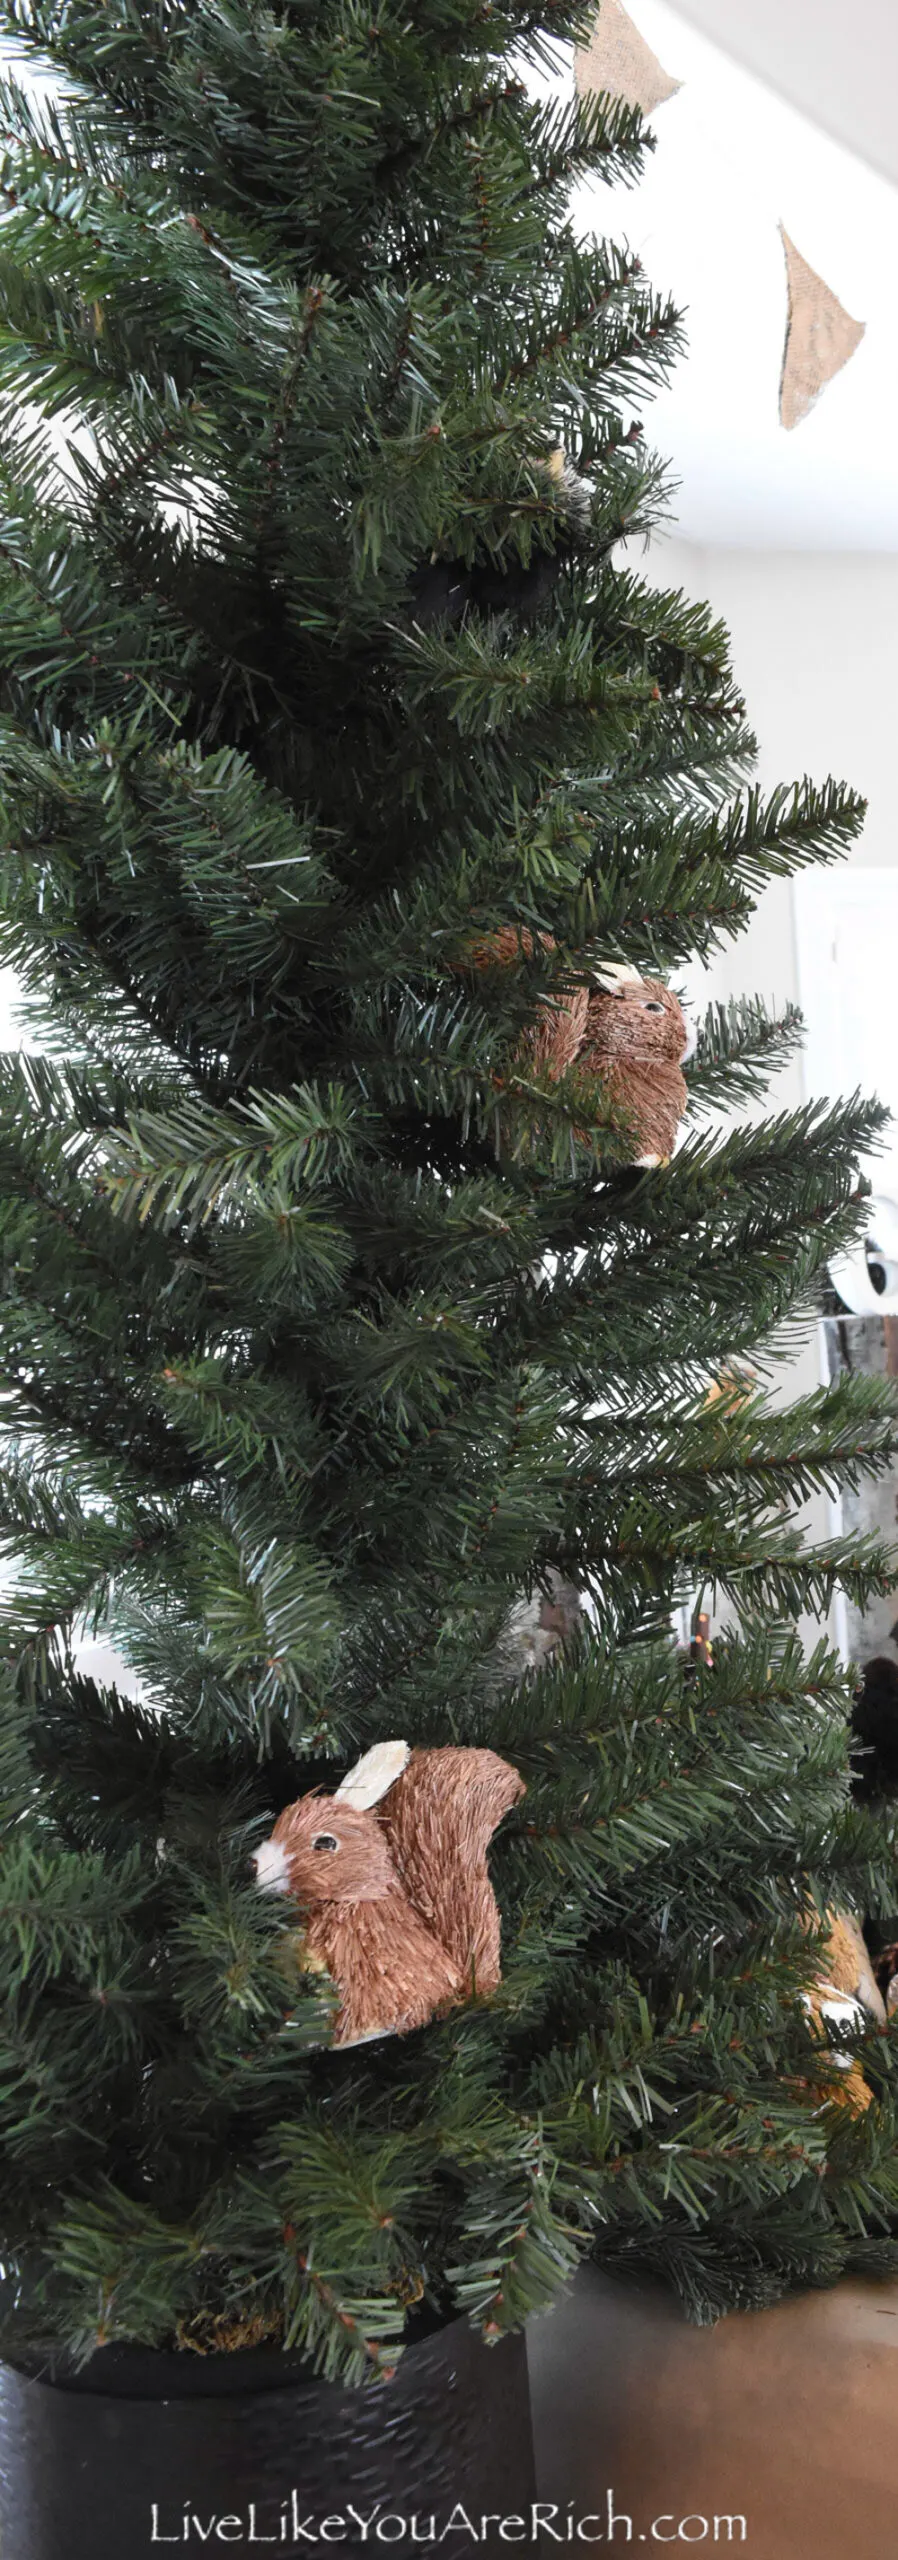
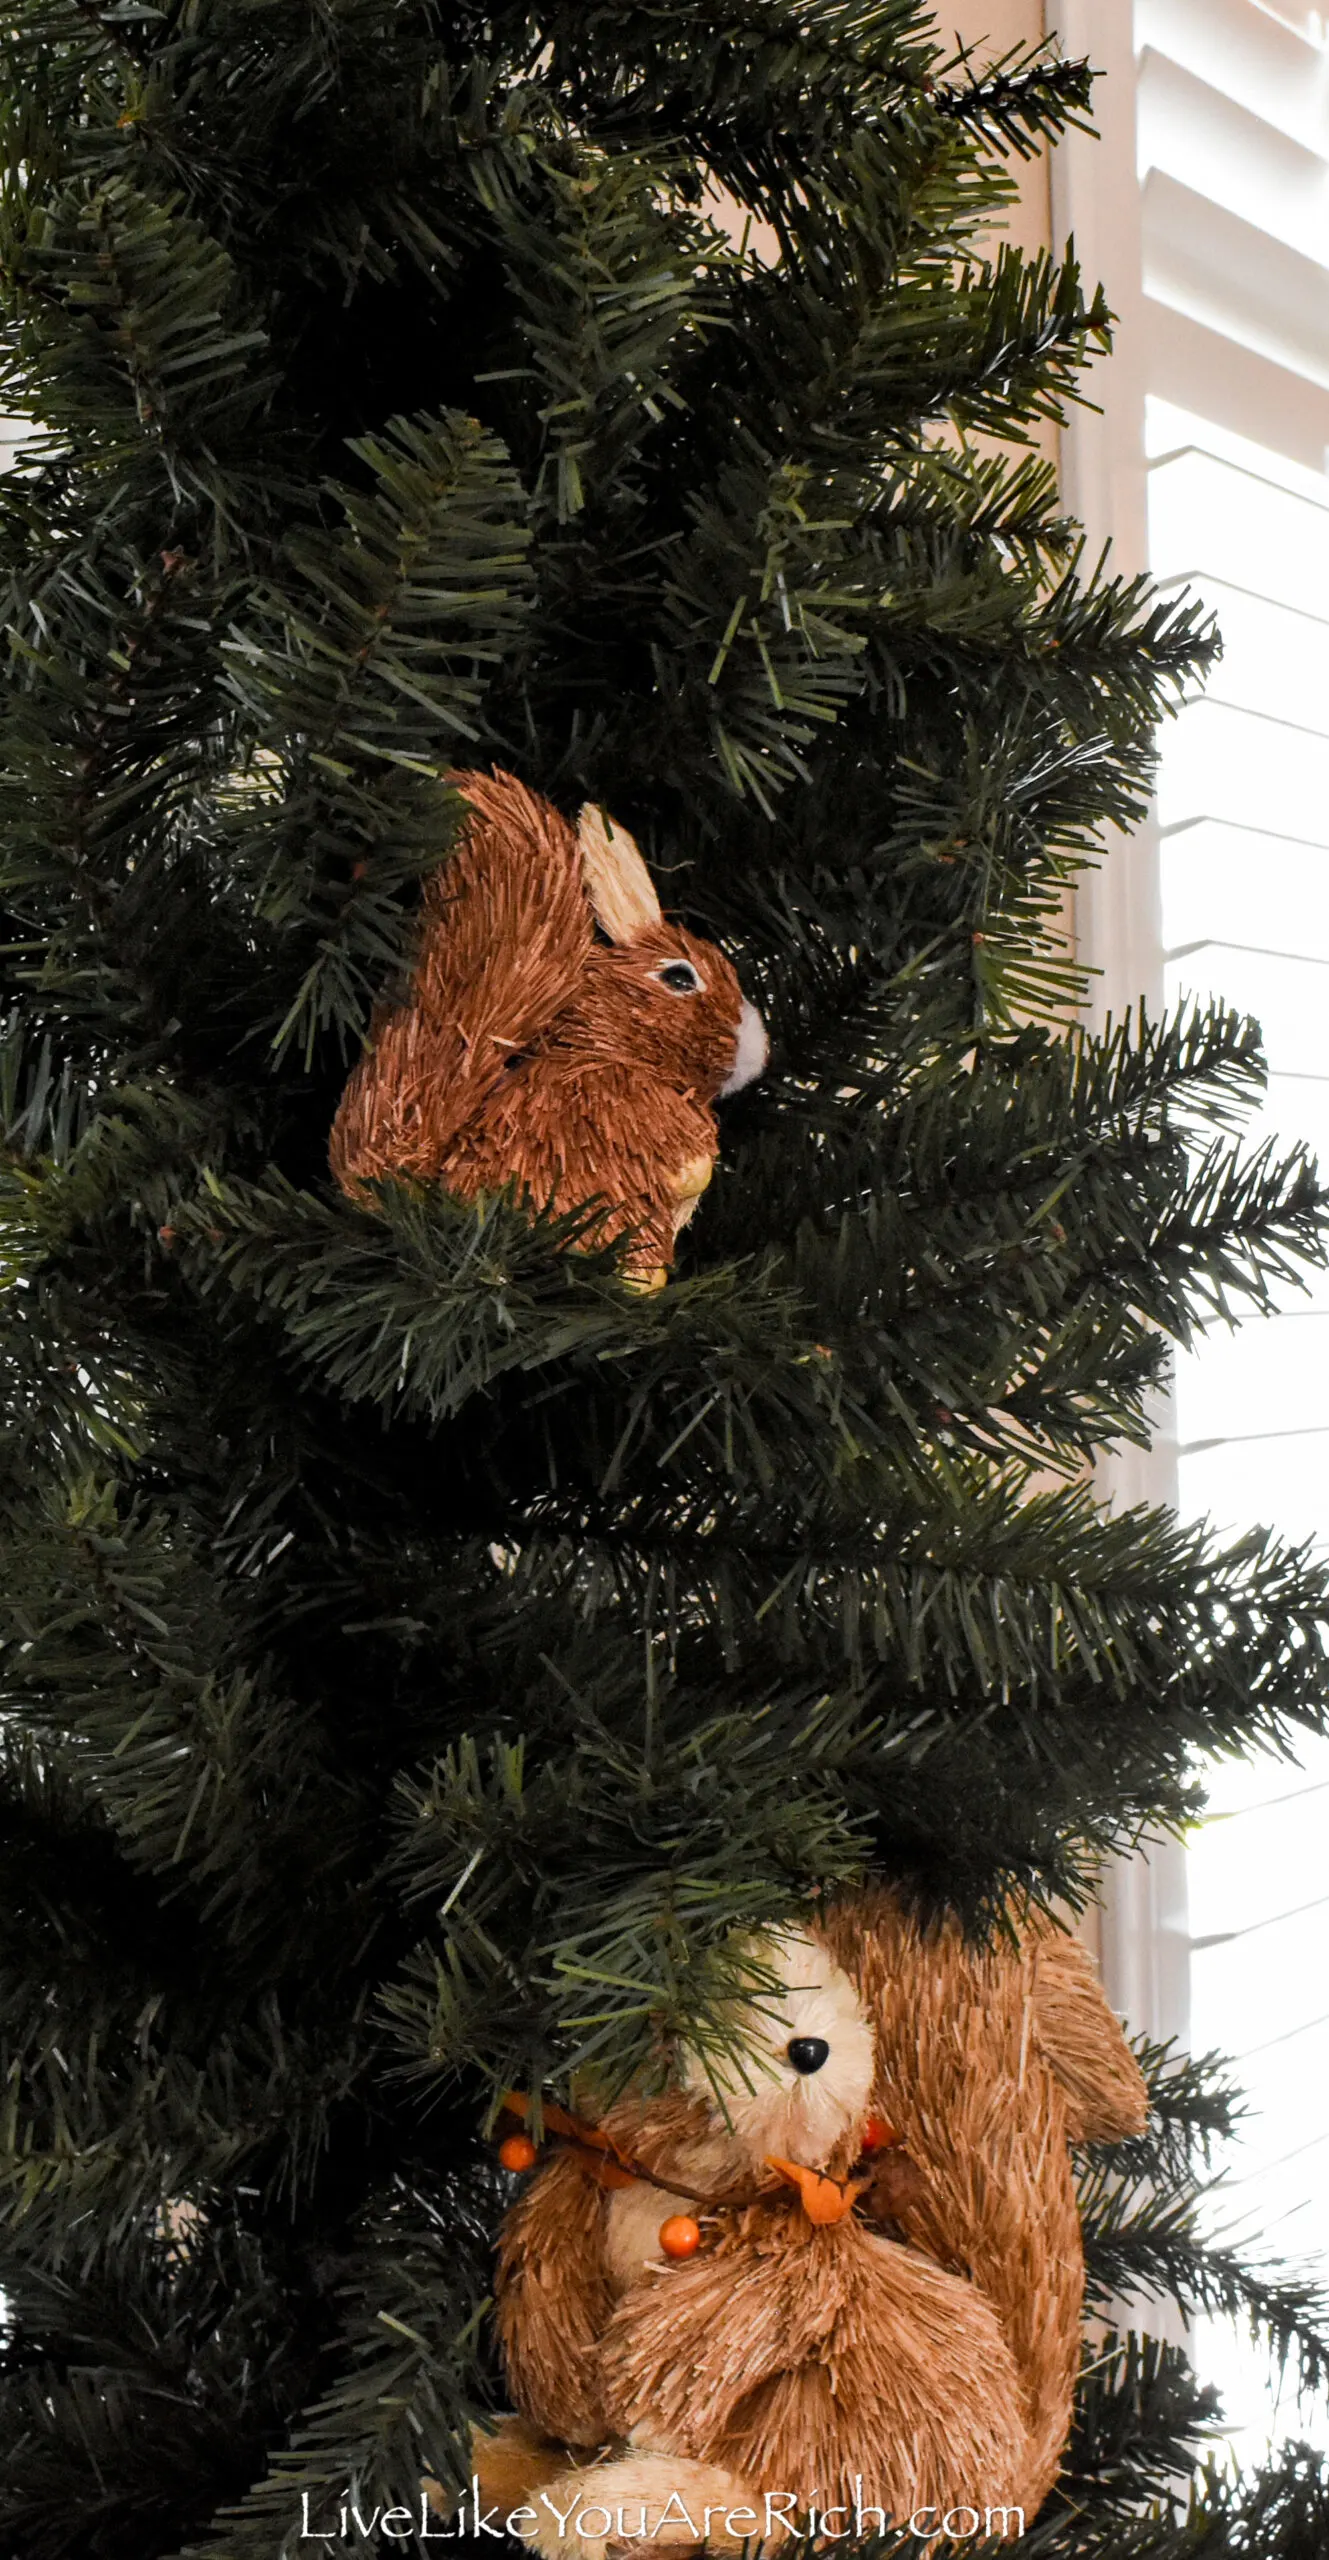
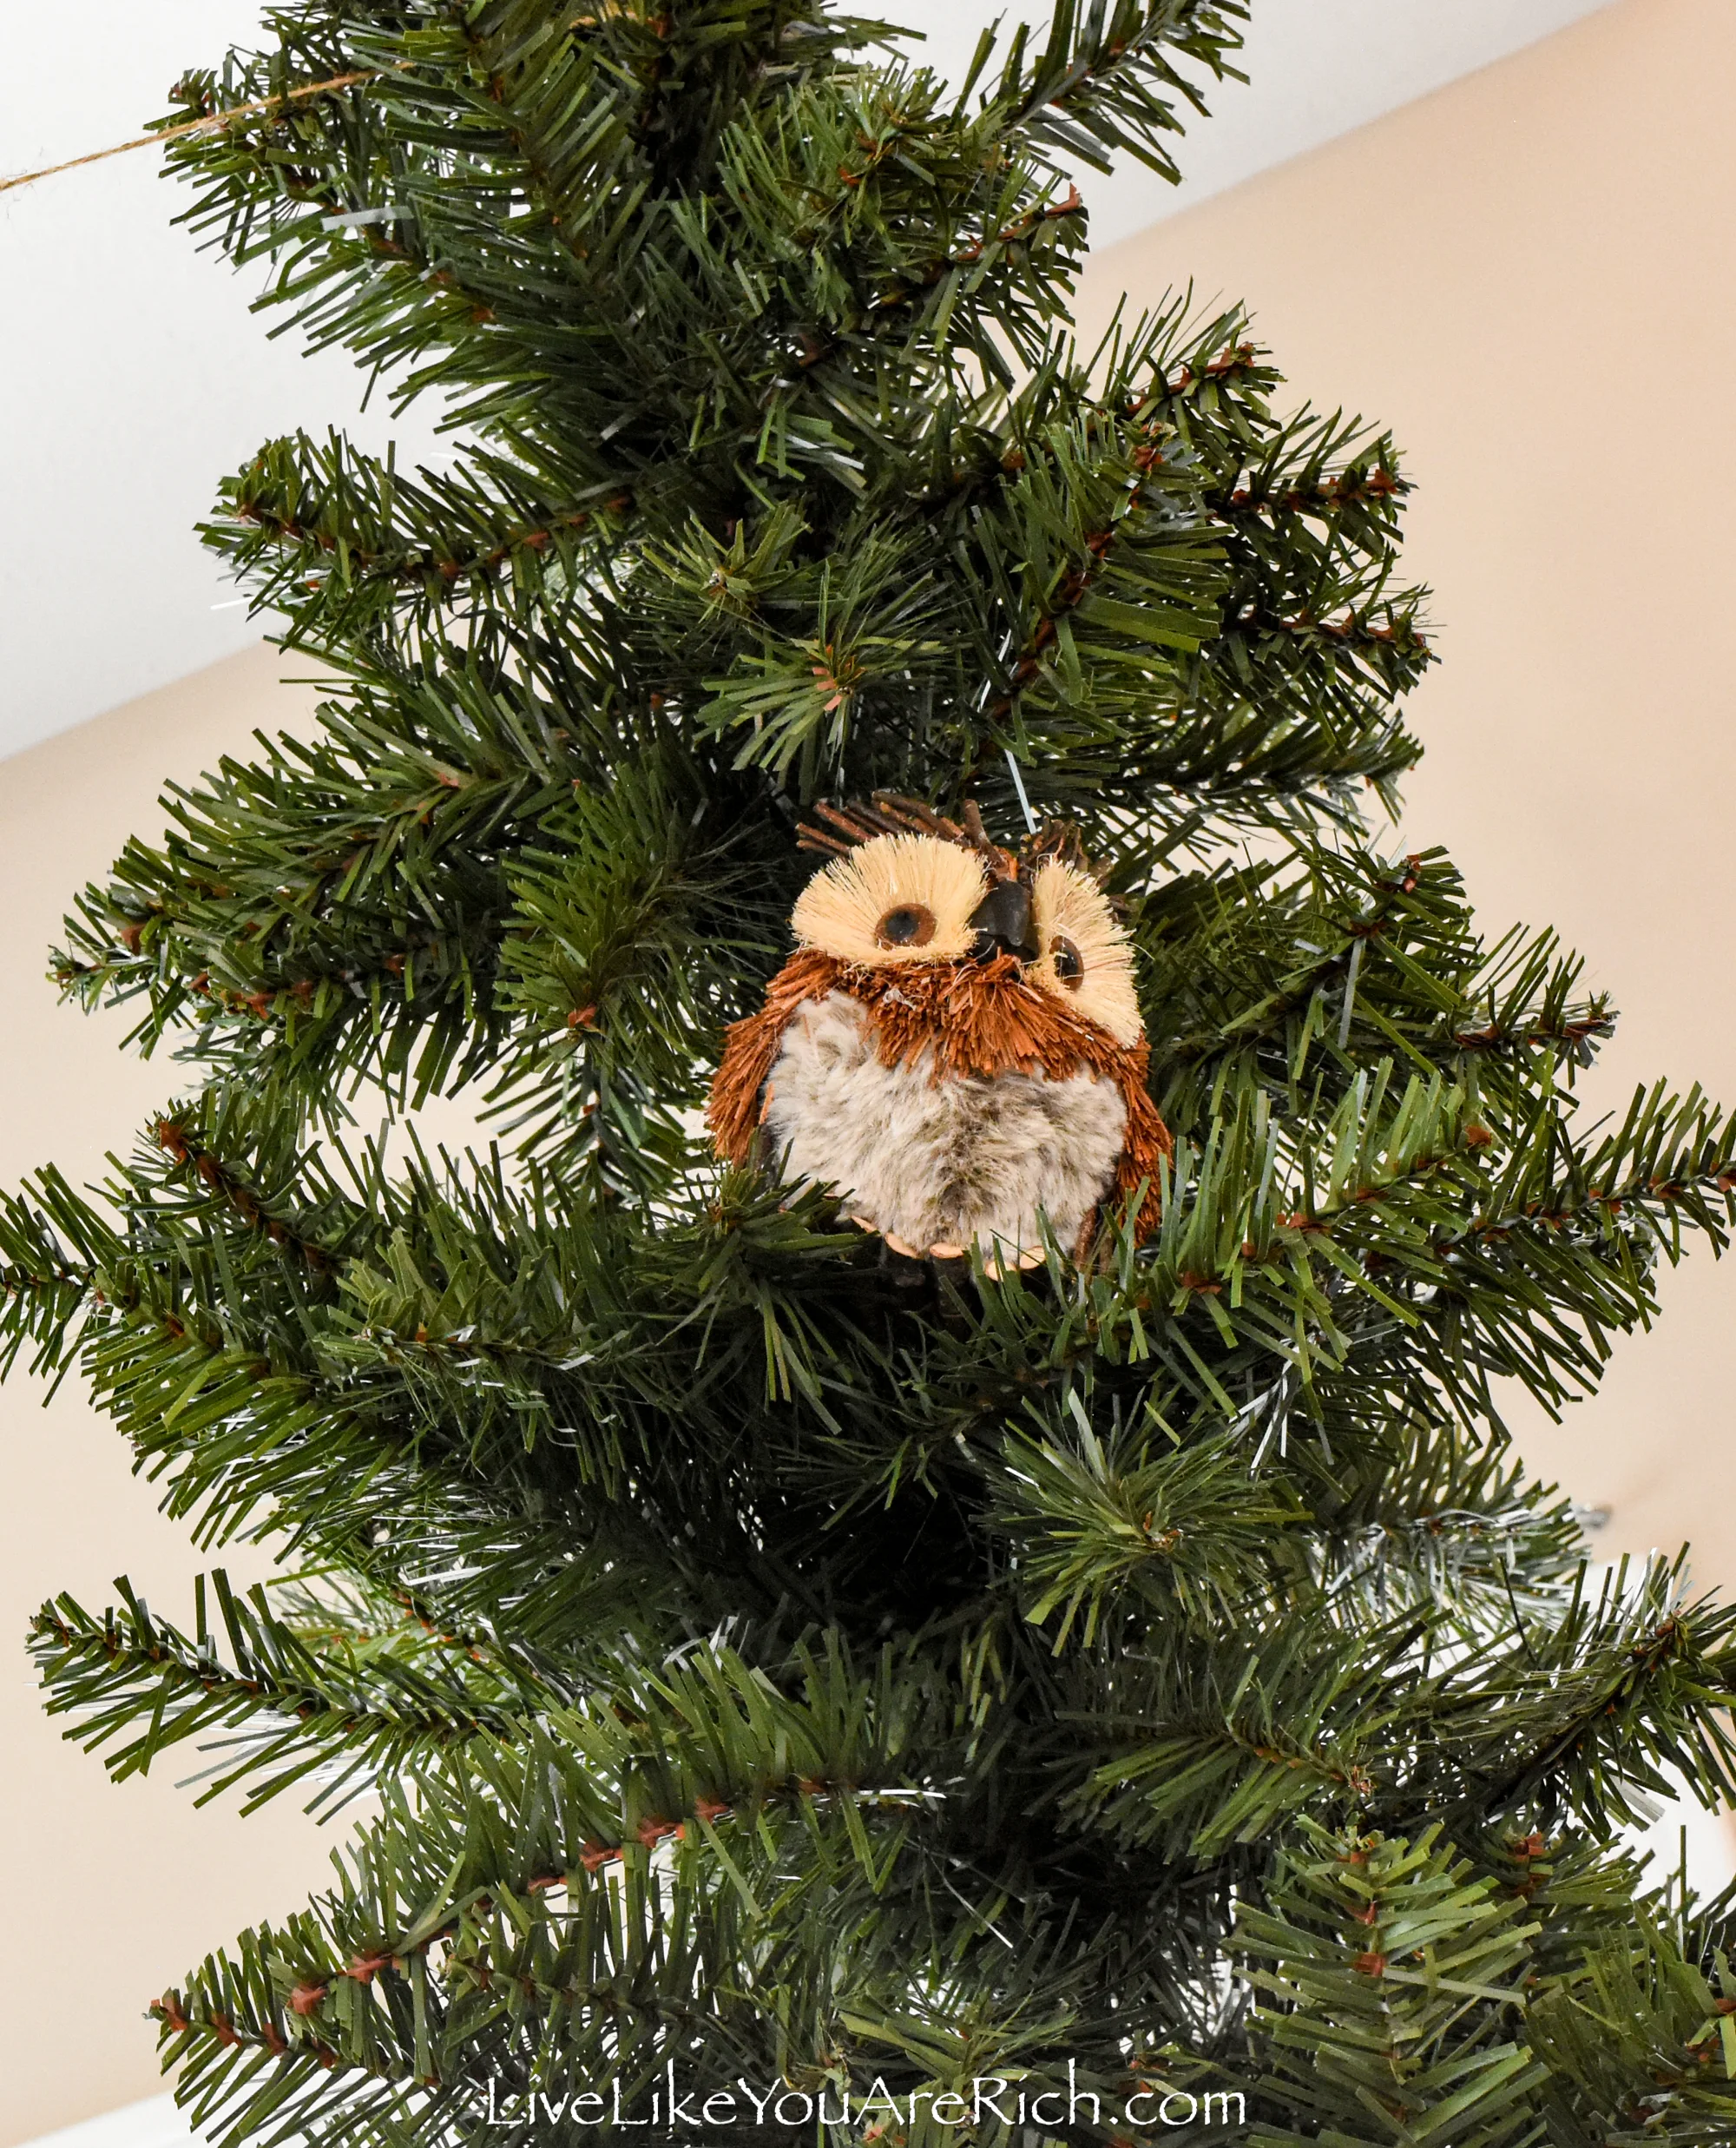
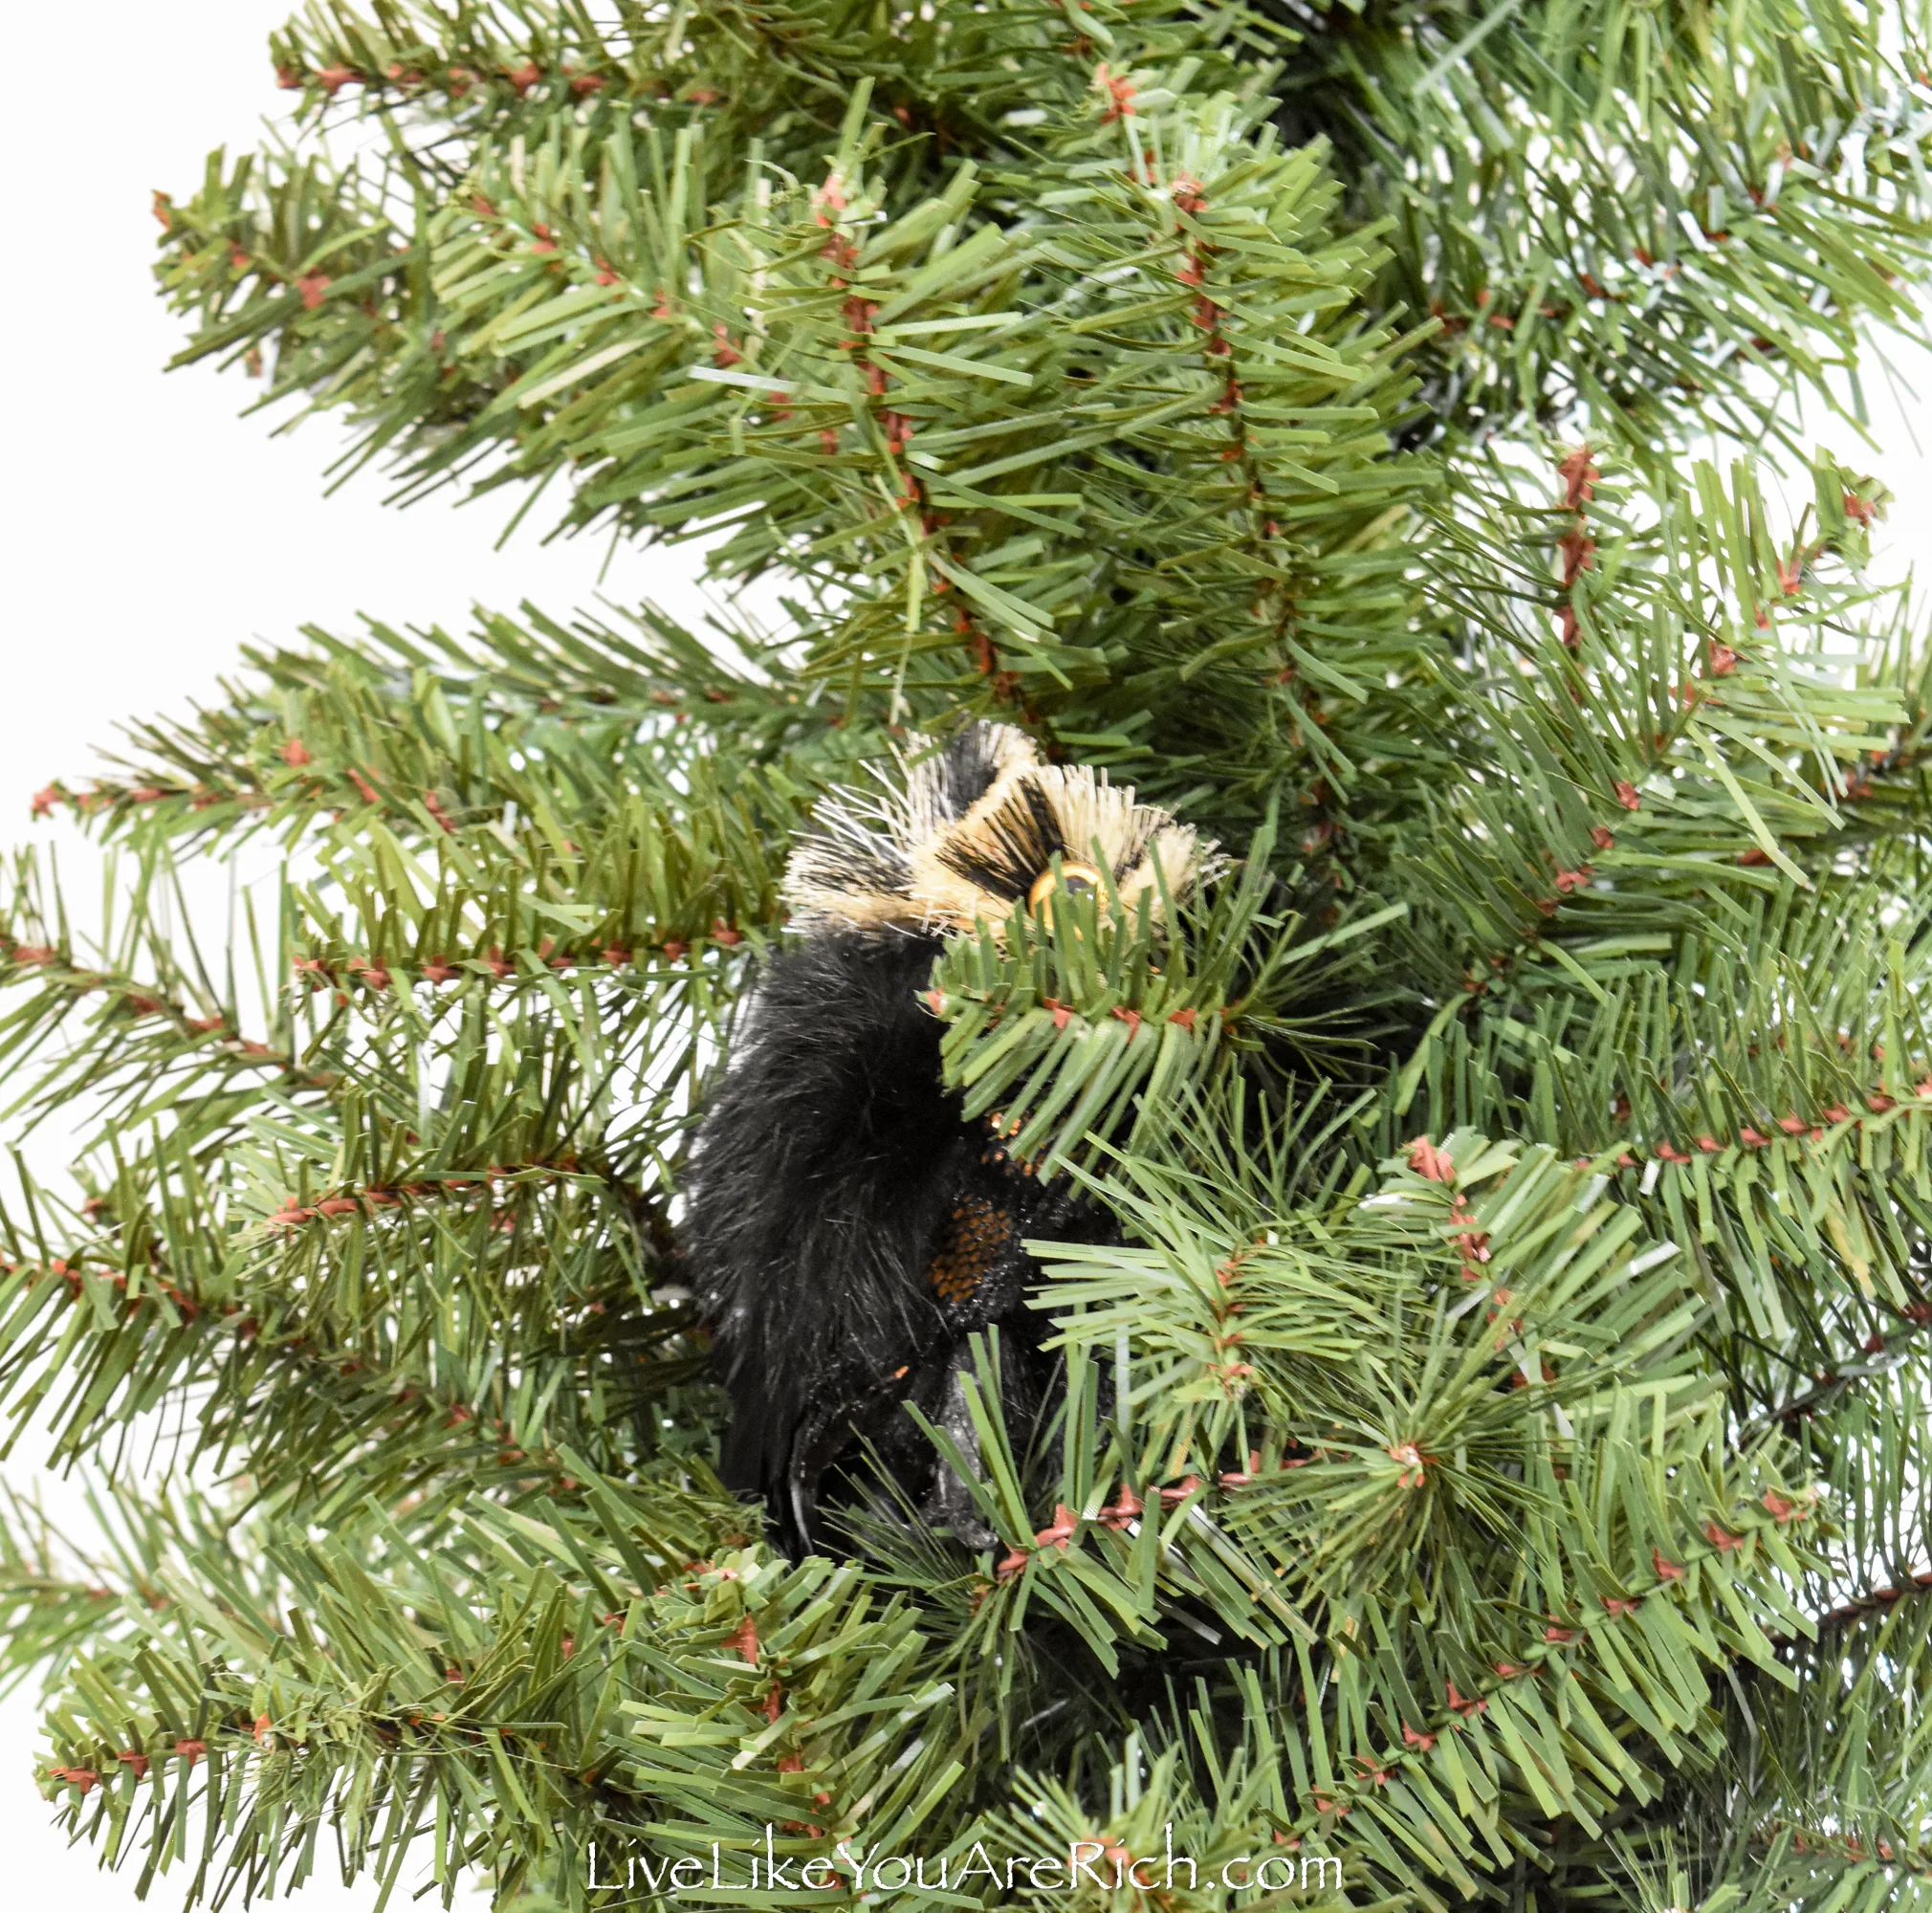
A few of the party guests told me how they loved that I put some of the animals in the trees.
I put the animals in trees that you’d usually find up high.
I put the squirrels and
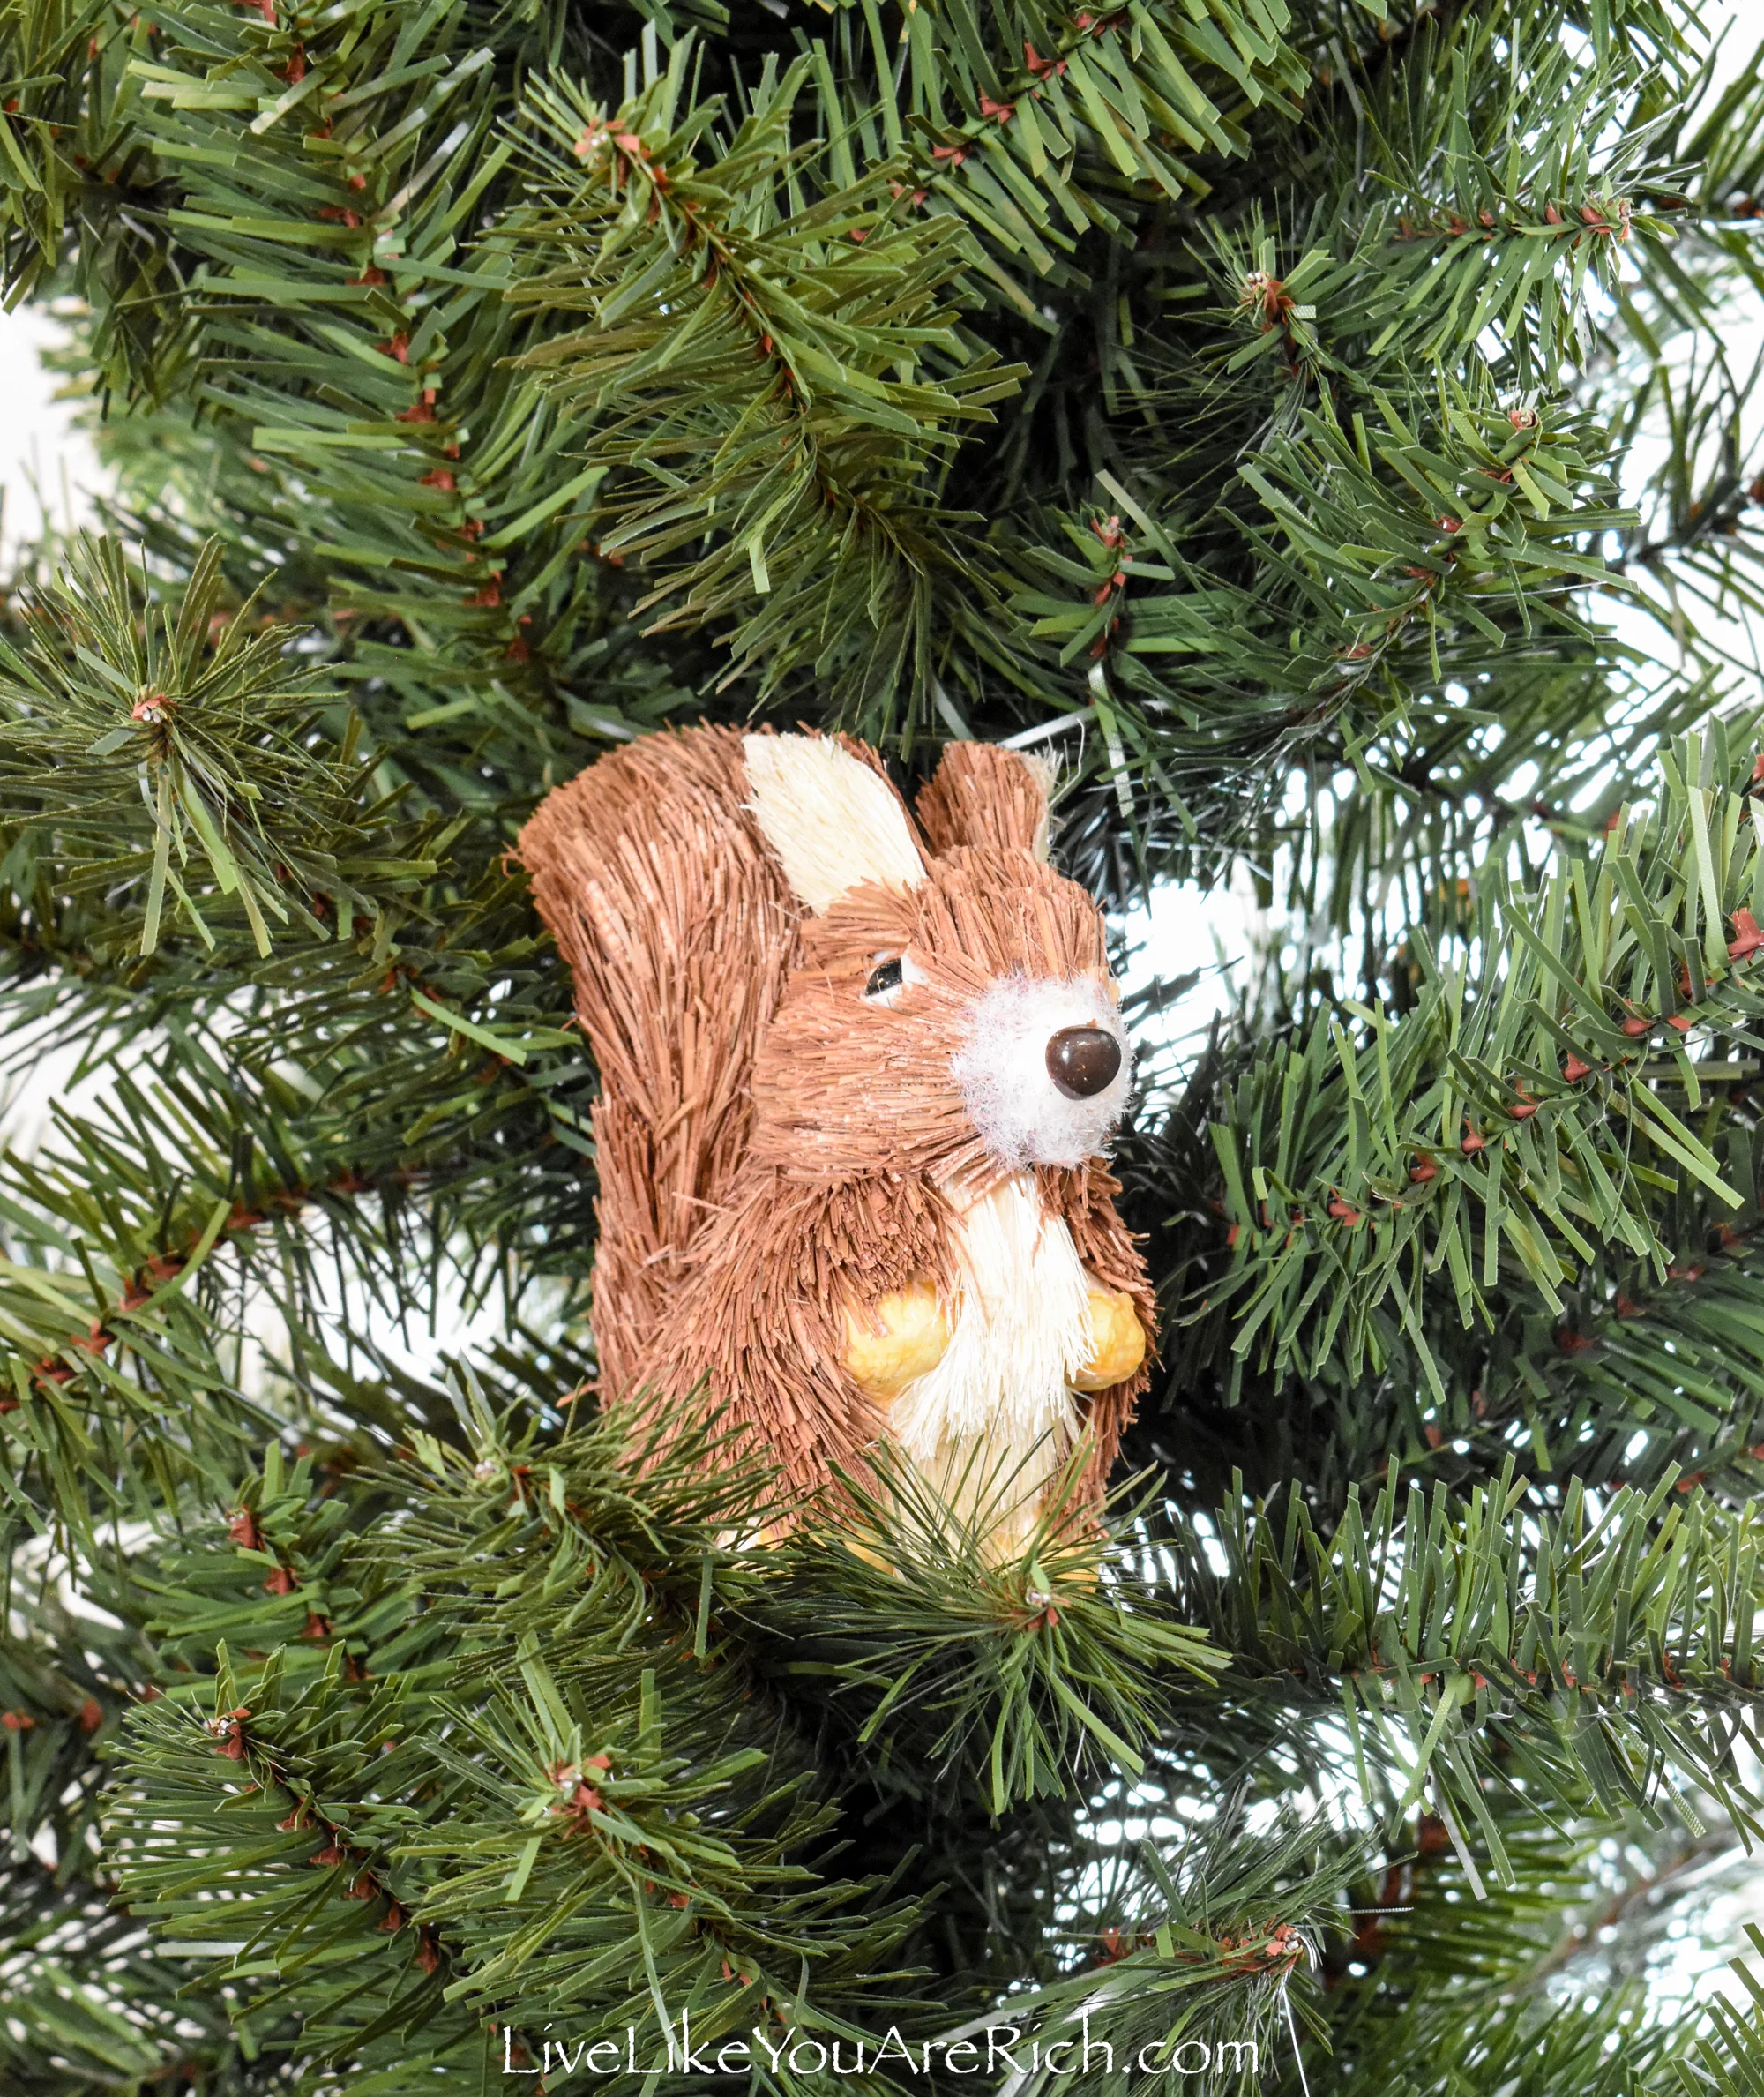
the owls in the trees.
The bird sisal animals were very expensive for some reason, so I skipped birds altogether.
Those would have been a fun addition though had I had the budget.
This leads me to the part where I tally up how much this cost.
Cost for this Woodland Party Decoration:
Since I used most of what I had on hand, the cost of this display was within my budget of $150-$200.
I had the logs, most of the animals, pine cones, pine garland, planter pots, butchers paper, the table, burlap for the banner, and, the two pine trees.
Wood letter blocks (Hobby Lobby or a similar Amazon buy) cost $20.00 total (they were on sale for $2.50 each free shipping).
I bought 2 packs of moss (Dollar Tree) for $2.50.
I purchased sisal/buri animals from Christmas in Prescott most of which were on sale. I also got a trio of sisal animals off of Amazon. So total, they cost $75.00.
The total for this party decor cost is $96.00. Which, along with my tablescapes, the cake, and other food, added up to under $200.00
To see more posts for this Inexpensive Woodland Birthday Party check out these posts below…
Invitations and Details- Inexpensive Woodland Birthday Party
Decoration– Woodland Party Decor
Decoration– Kids’ Woodland Party Tablescape
Decoration- Adult’s Woodland Party Tablescape
Decoration- No-Sew DIY Burlap Banner Woodland Cake Topper (coming in the next few weeks)
Food- Woodland Party Food
Food- Cheese & Tomatoes Mushroom Display for a Woodland Party
Cake- Easy Tree Stump Cake for a Woodland Birthday Party
Cake- Mini Burlap Banner for a Cake
Food- Edible Ladybugs for a Woodland Party
Food- Easy Nilla Wafer Acorns
Happy Partying!
For other ‘rich living’ tips please subscribe, like me on Facebook, and follow me on Pinterest and Instagram.

